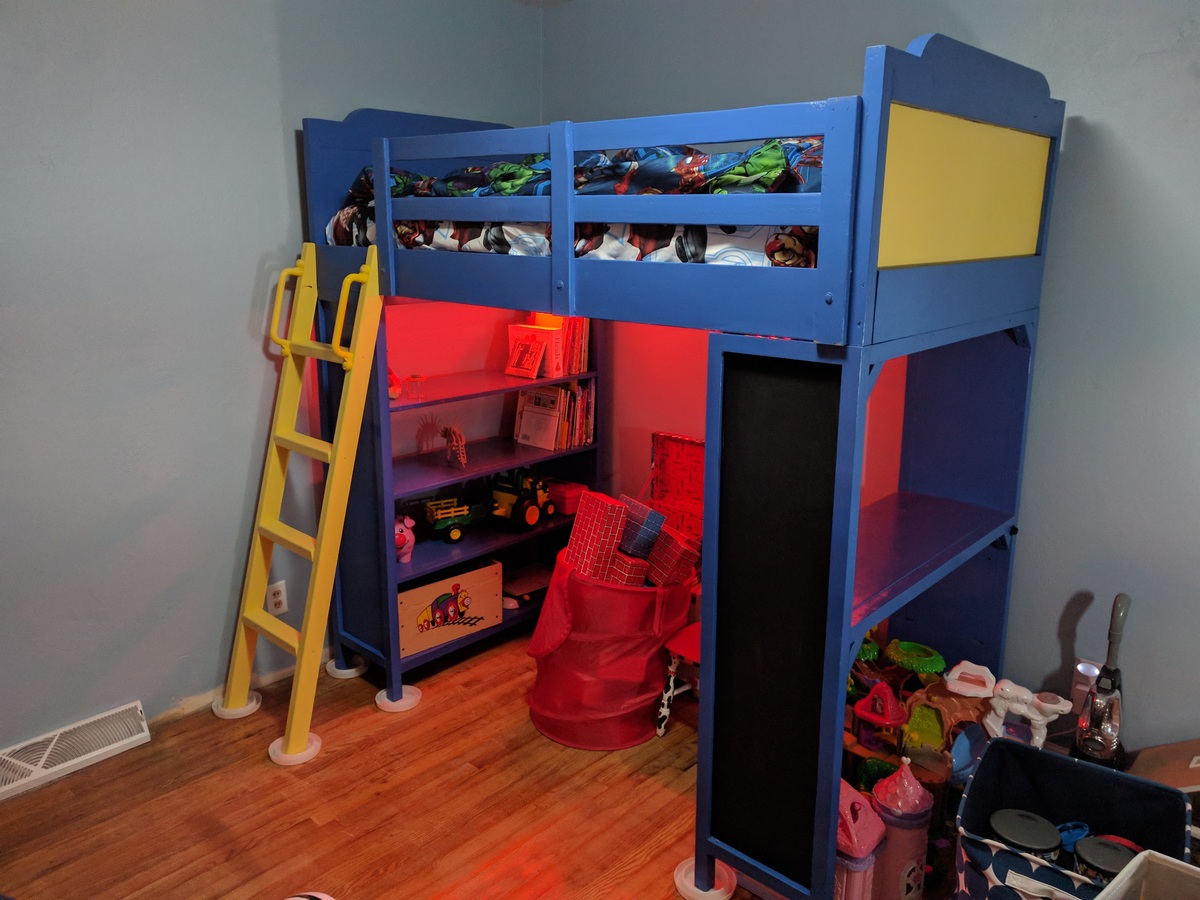
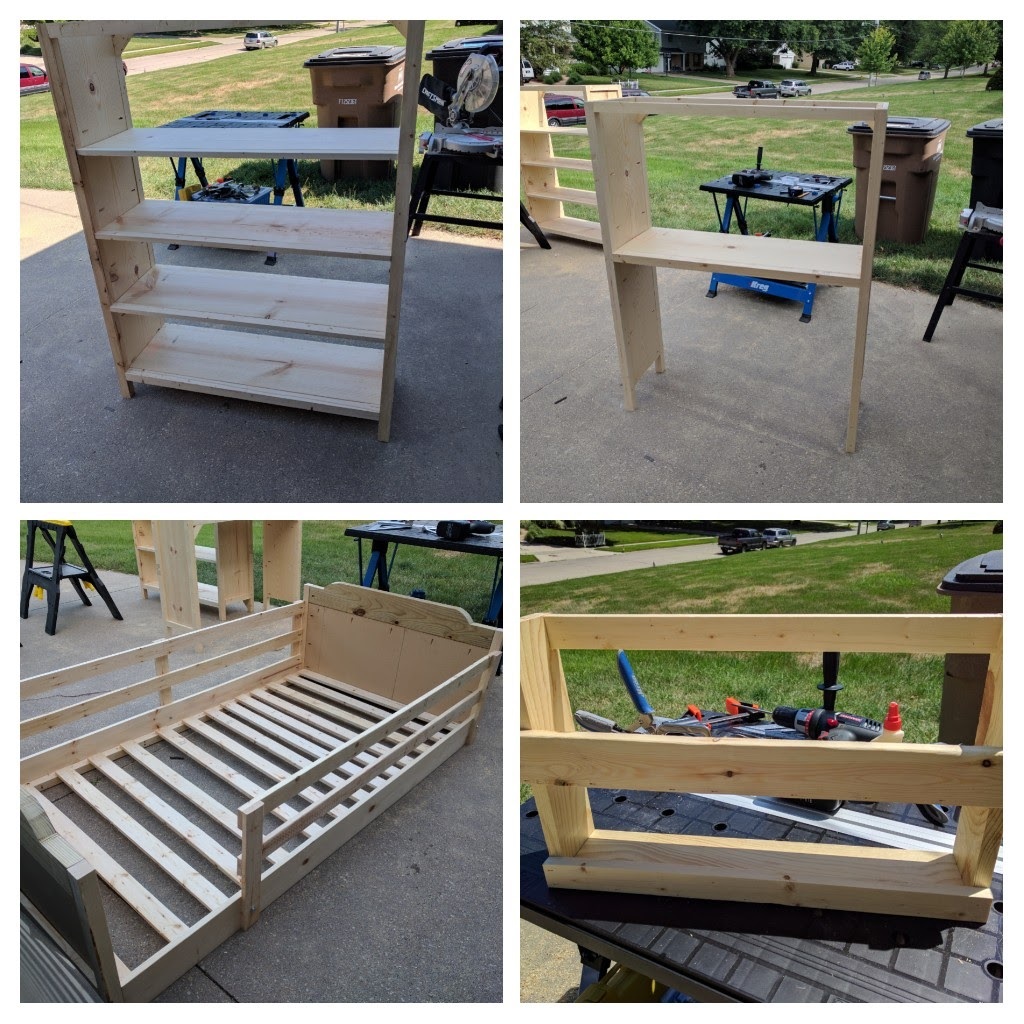
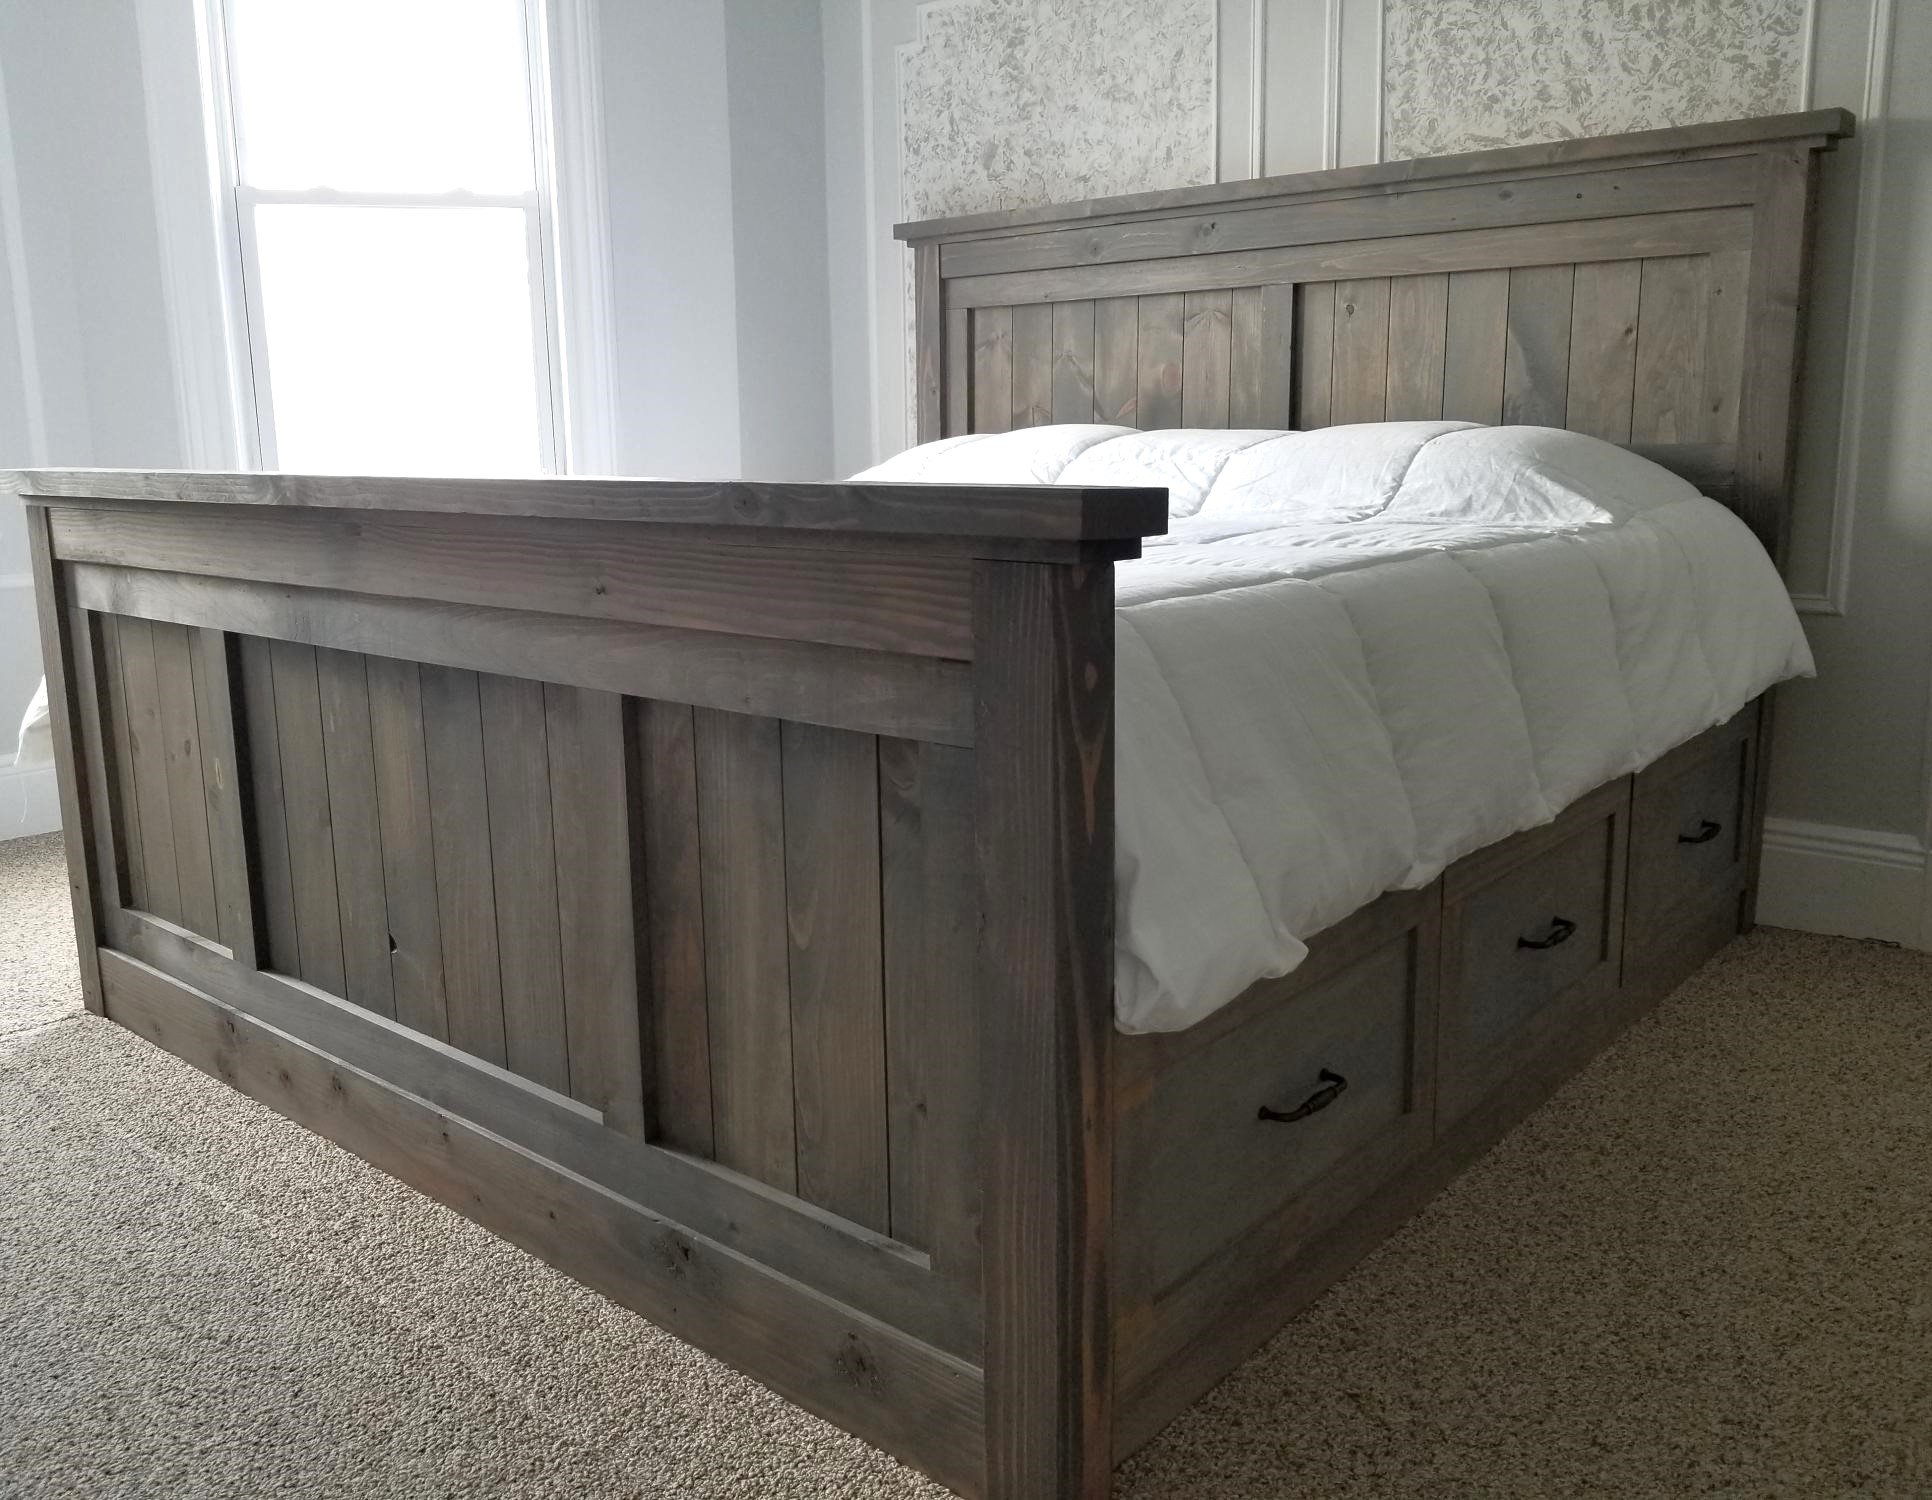
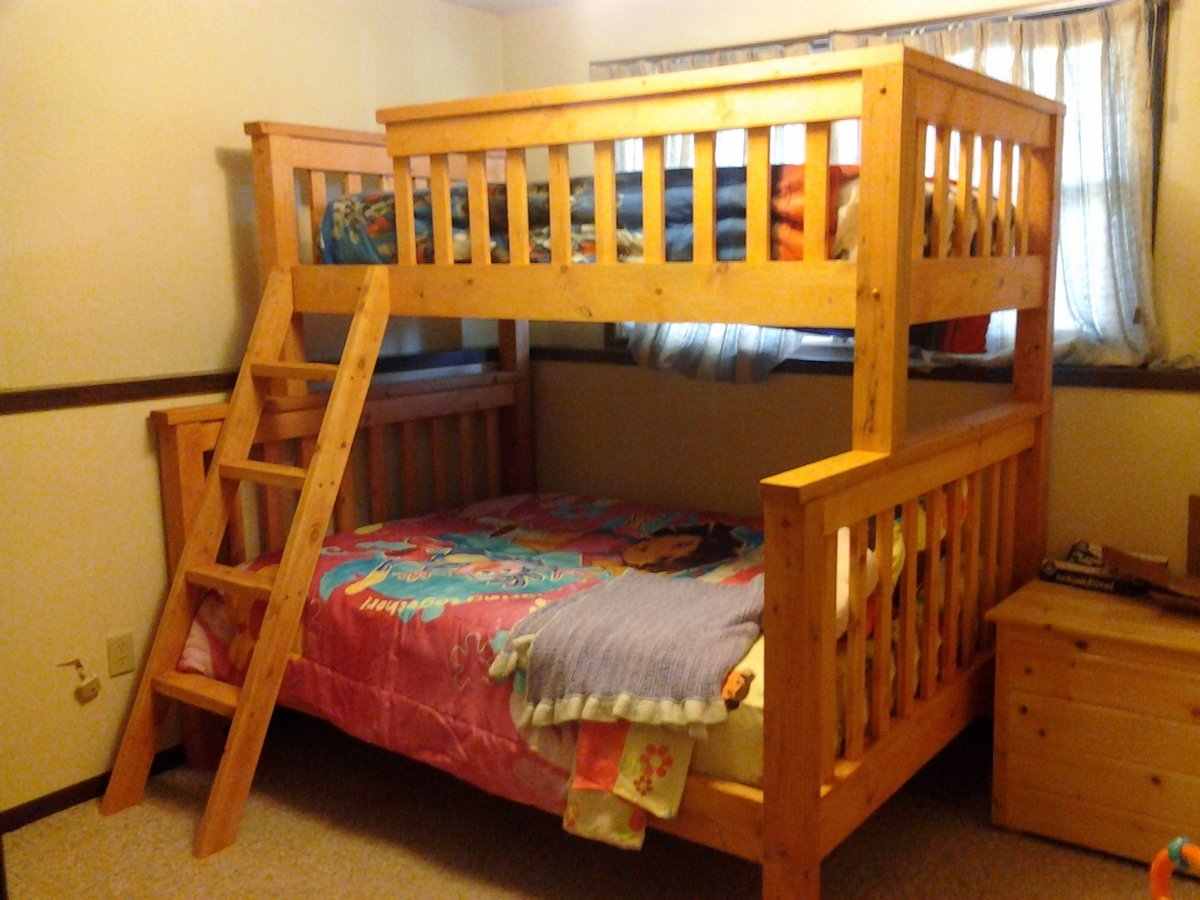
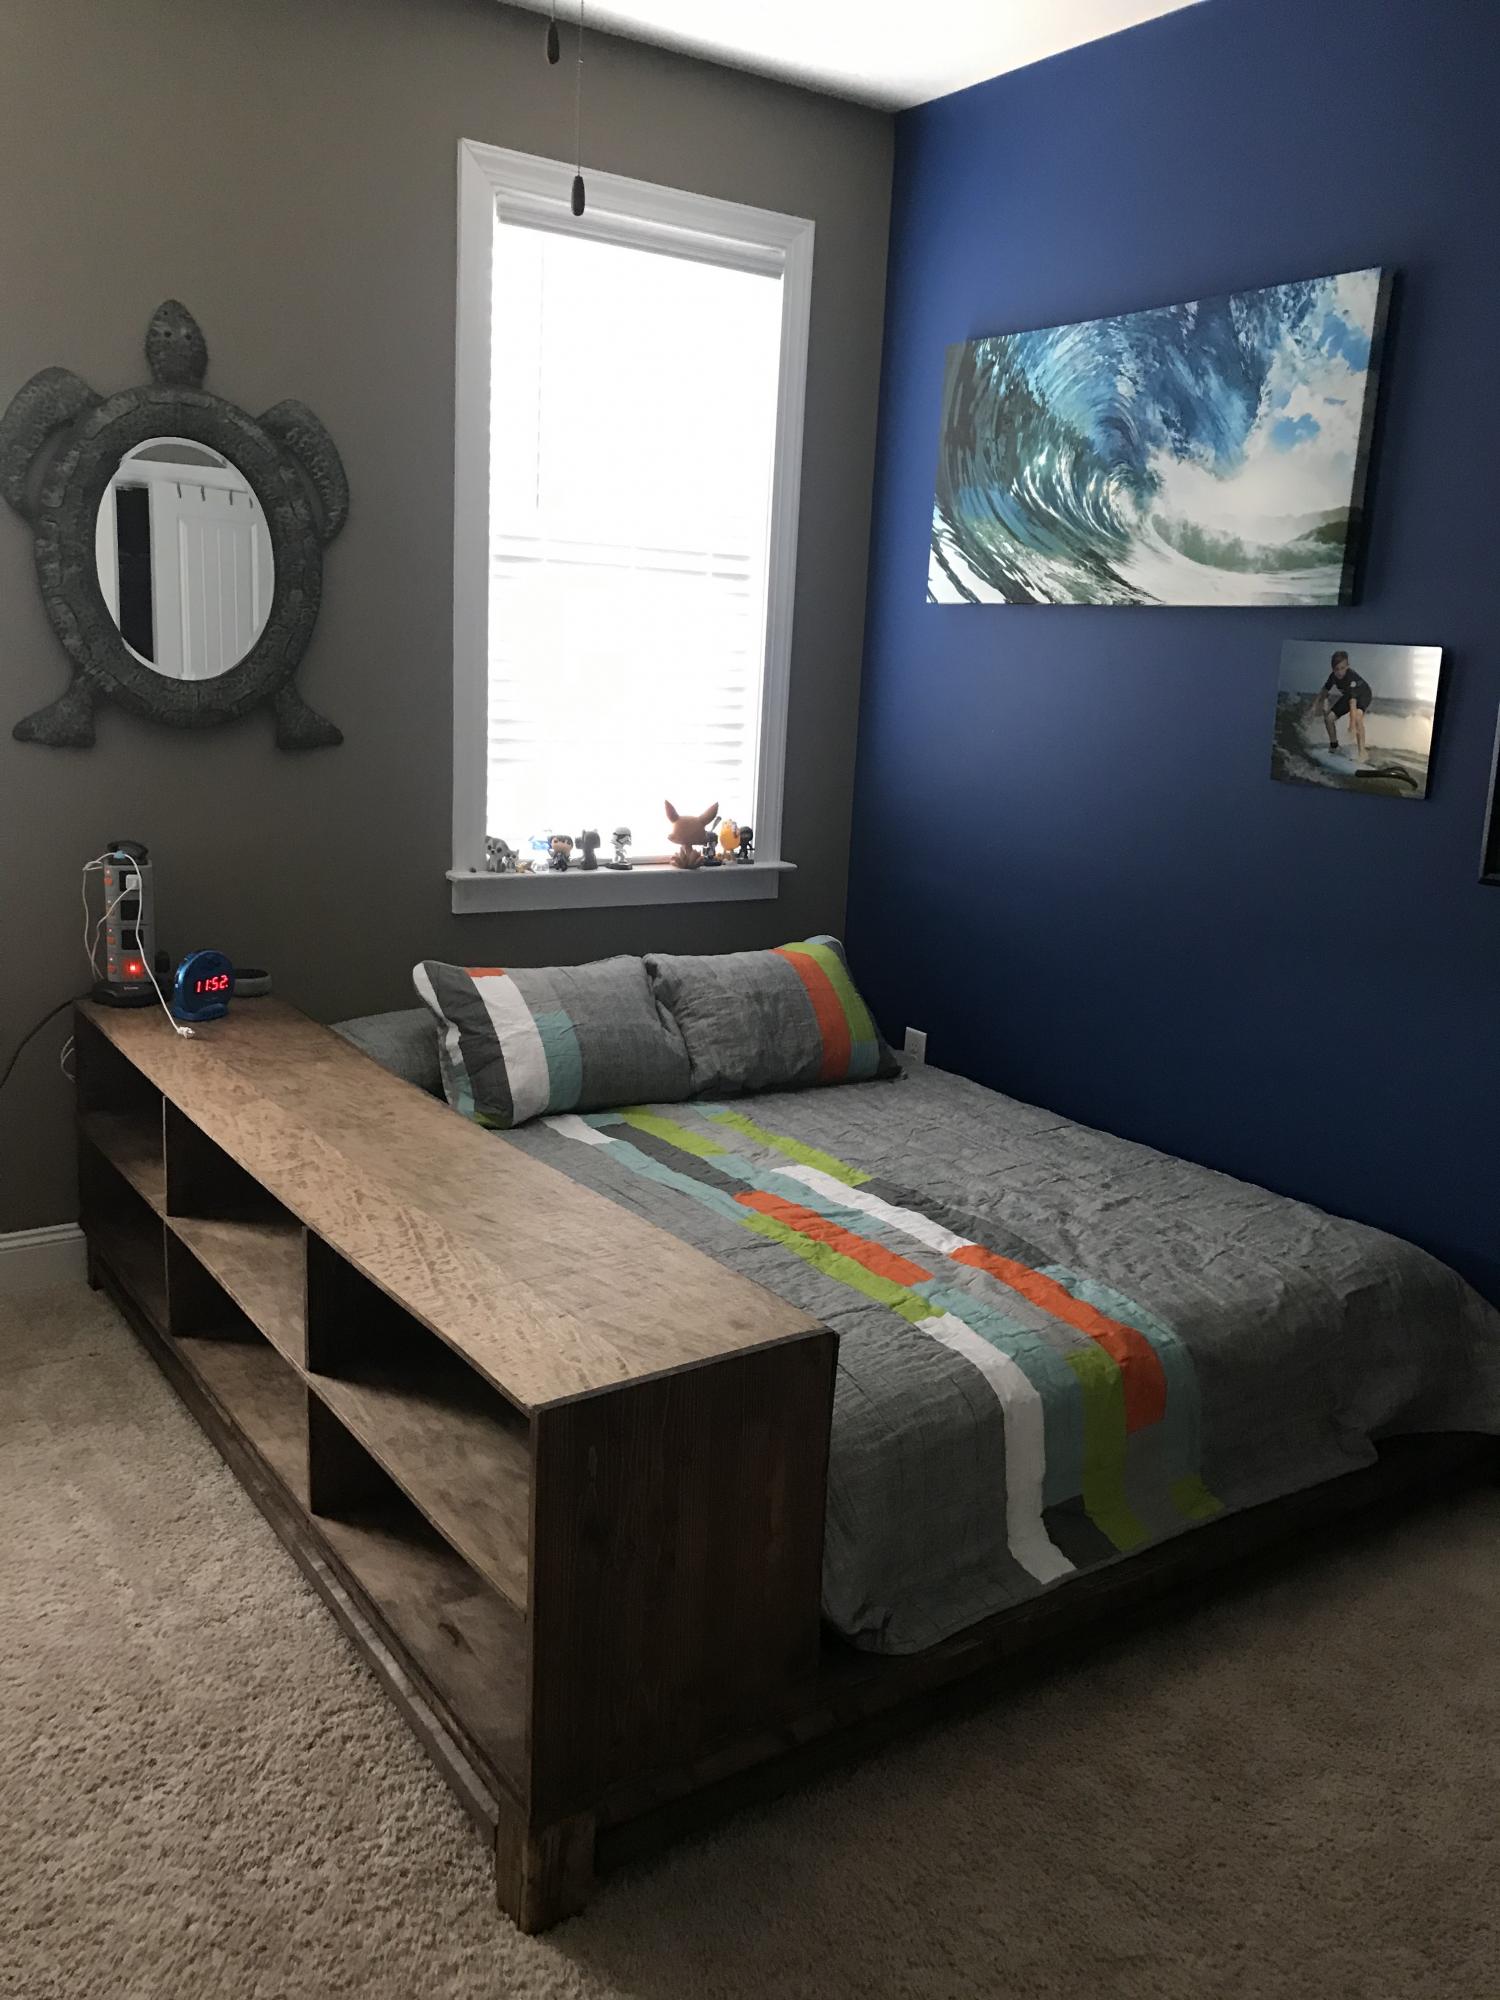
Wanted to make a loft bed for my 4-year-old son's room that could accommodate a toddler bed beneath it for when my 1-year-old daughter eventually starts sleeping on her own. I was torn between the Chelsea and Cabin bed plans, but eventually settled on the Chelsea because I liked the look of the headboard better.
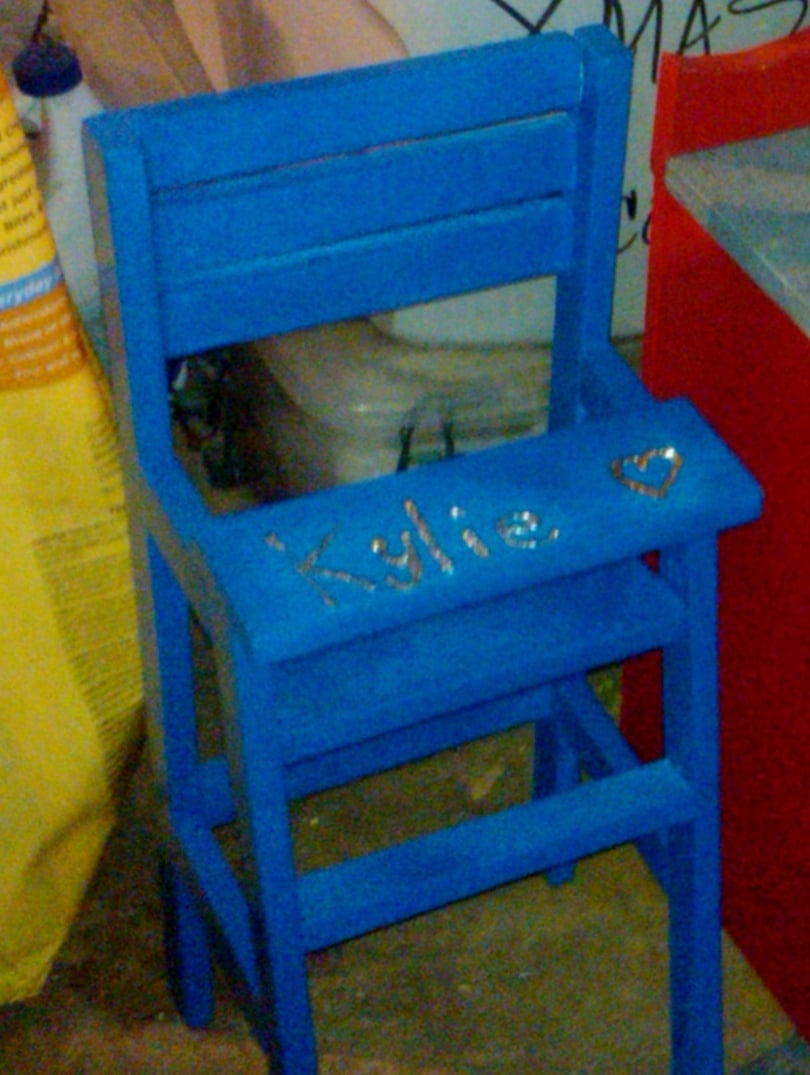
I looked through all the brag posts to get modification ideas. I ended up mostly stealing ideas from "chadwickstafin", and like him took the great idea from "groovymom2000" to use chalkboard paint (though I only used it to paint the side of the desk end, since I knew the bookshelf end would be mostly blocked by a ladder). I decided to skip the decorative feet and just extend my 2x2s to the floor for extra strength, a mod that most people appear to be doing with this plan. I saw some people using 2x3s in place of 2x2s for added strength, but I can confirm that 2x2s are plenty strong enough on their own (2x2s are stronger than people give them credit for, and there's 8 of them here to distribute the load).
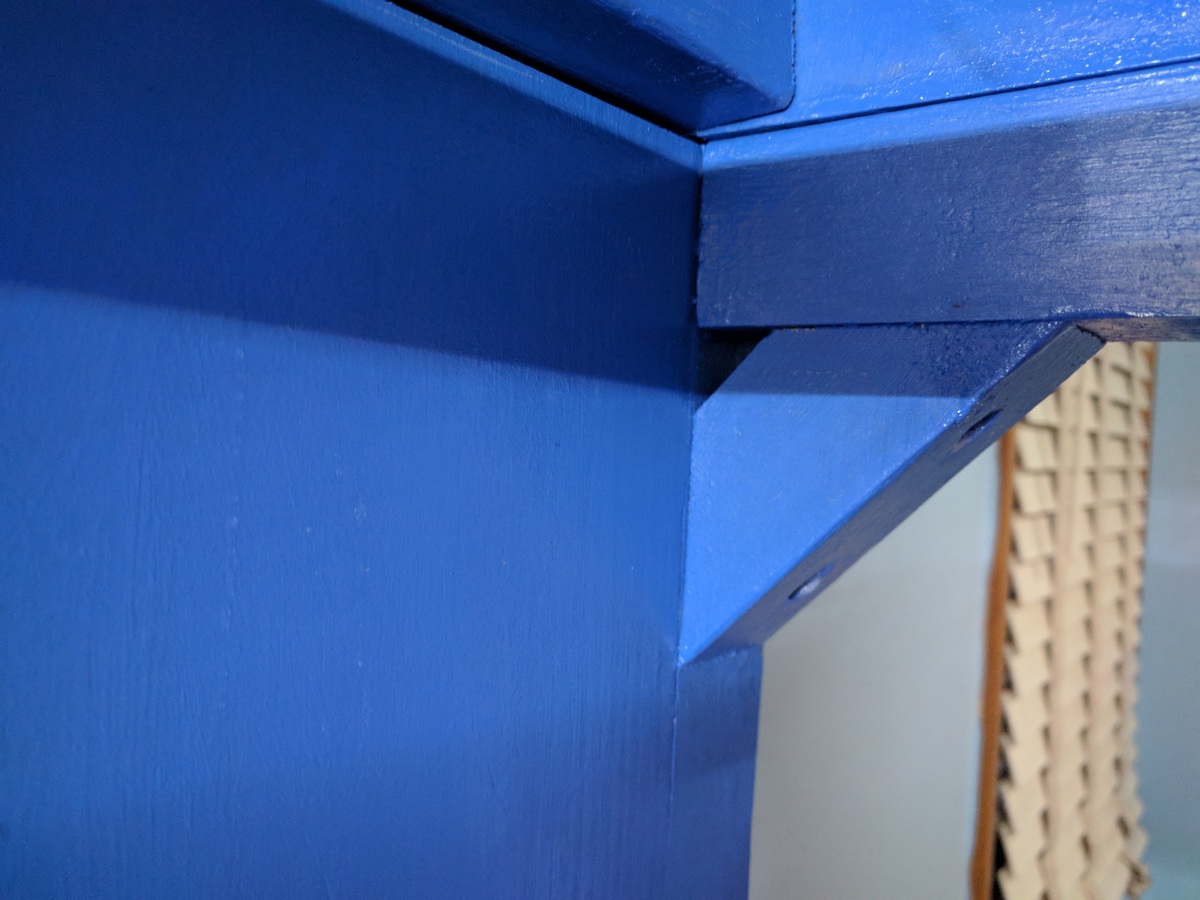
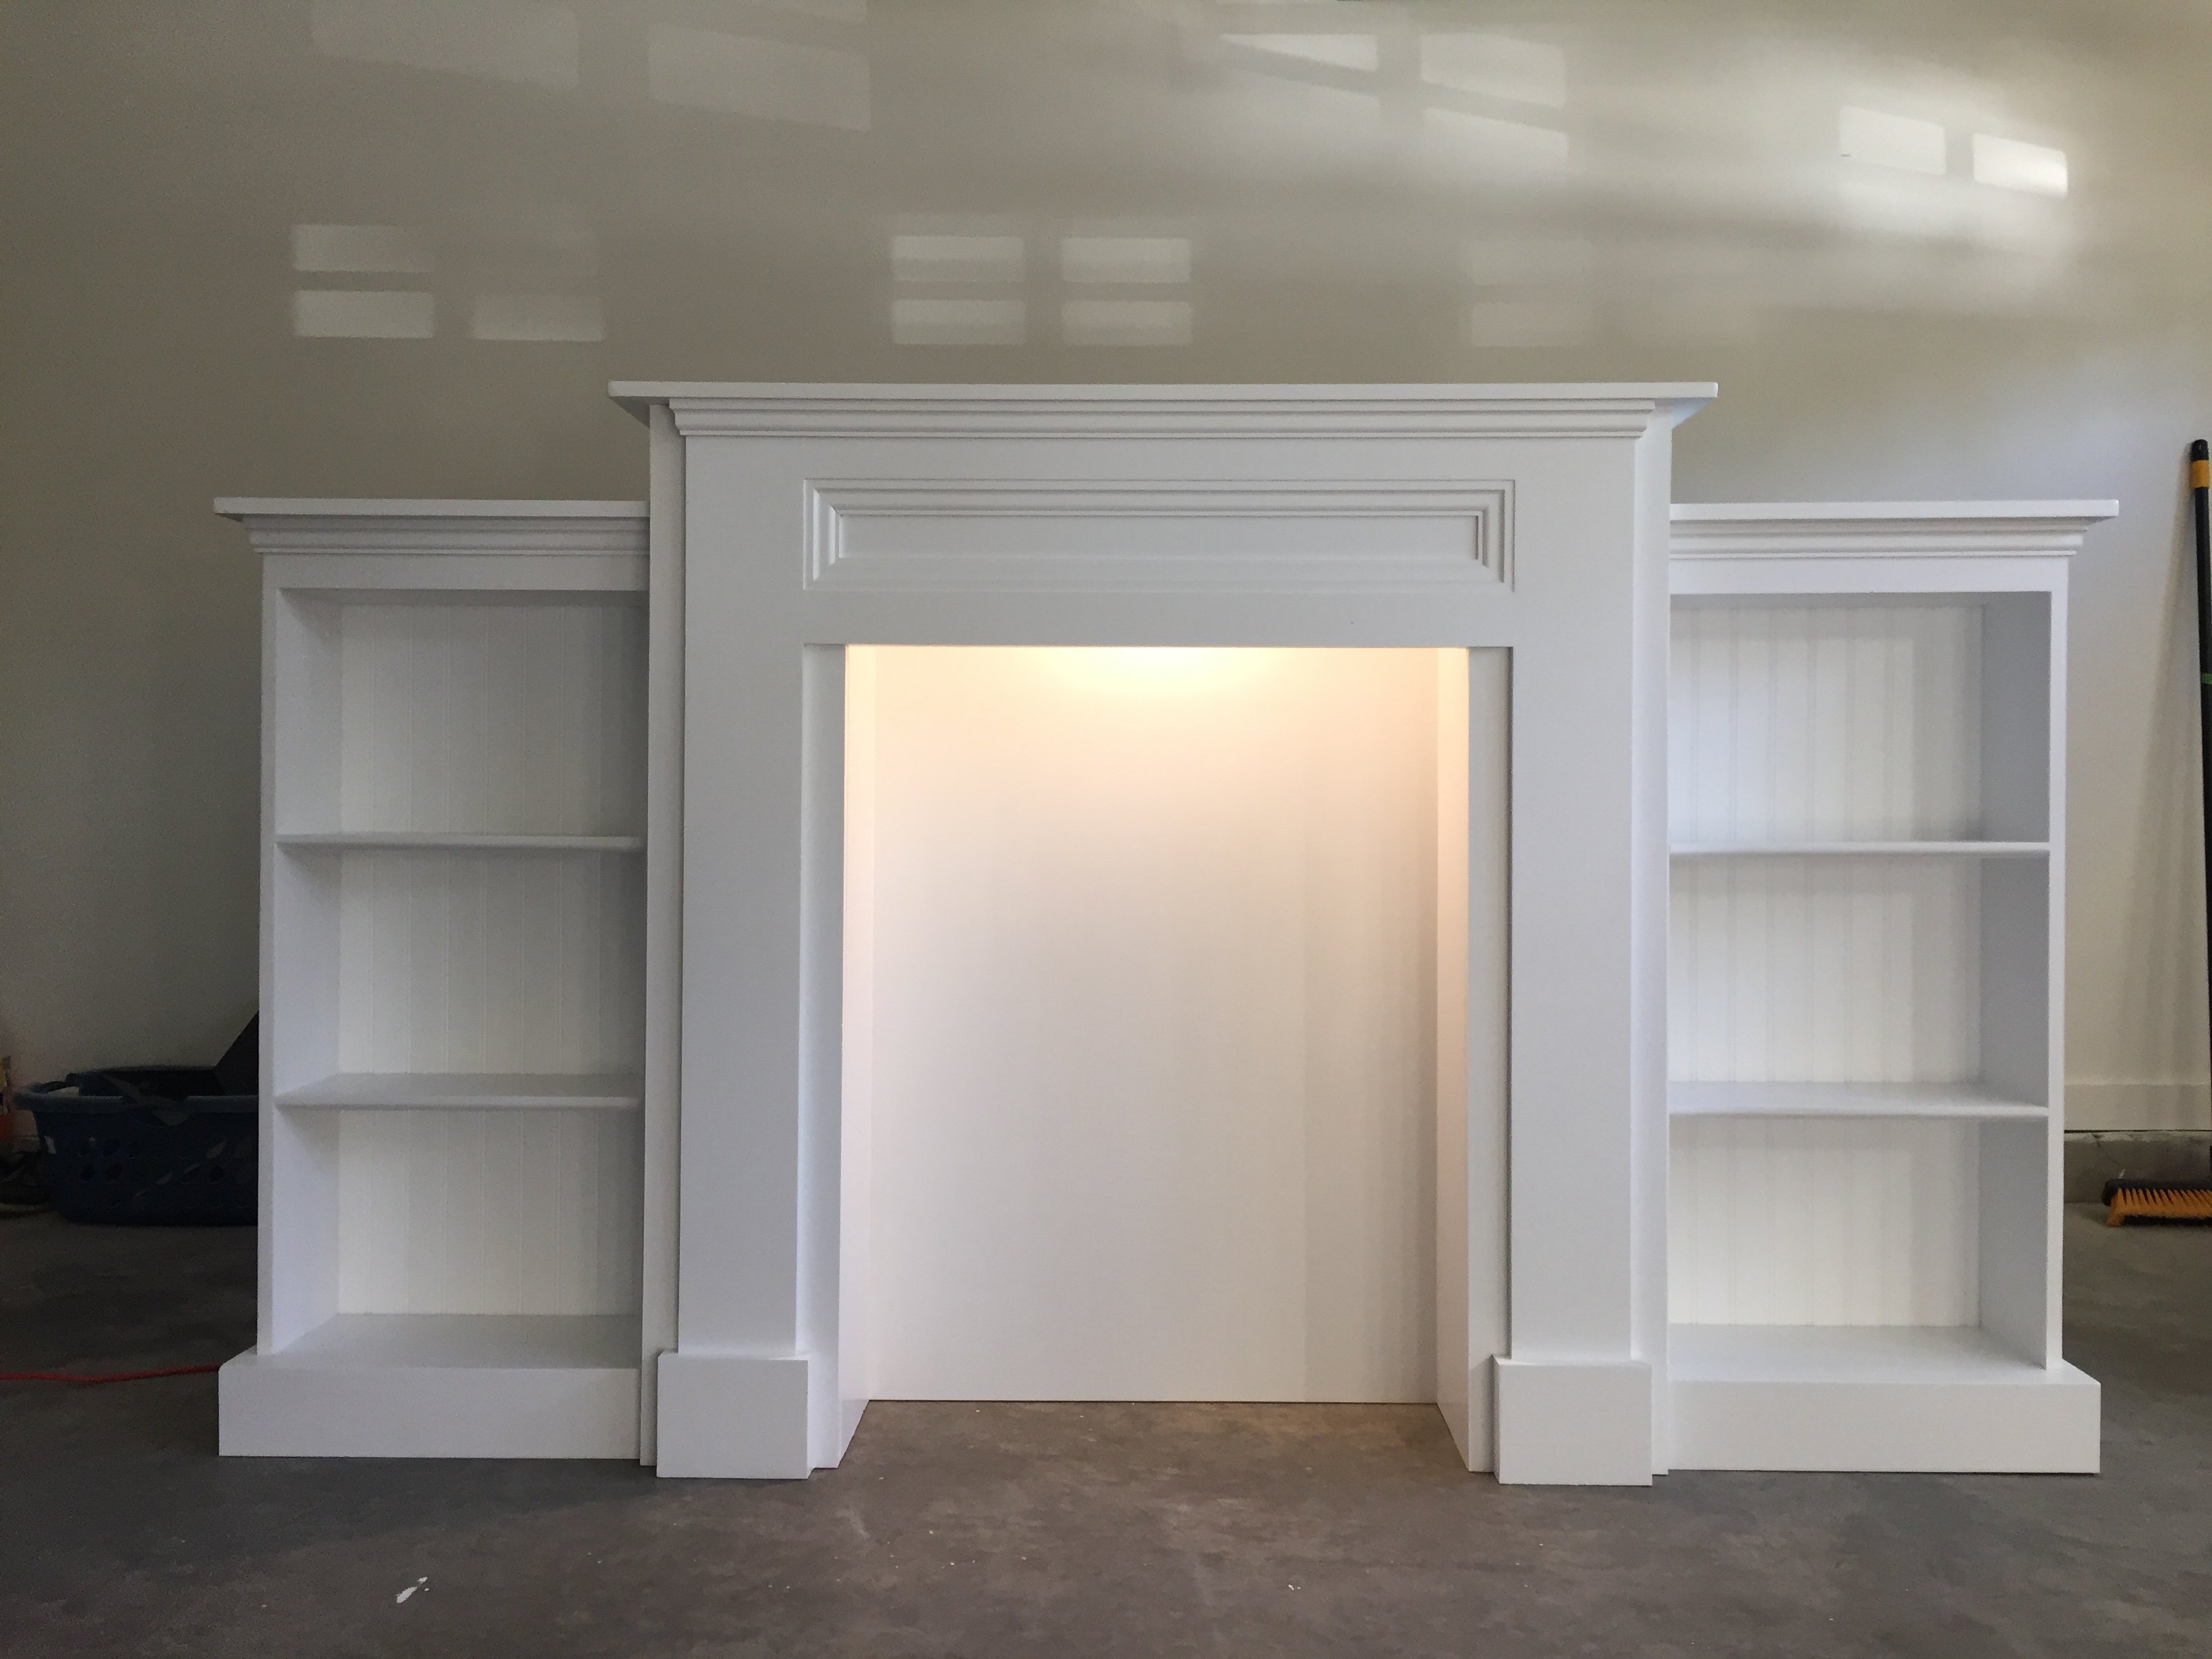
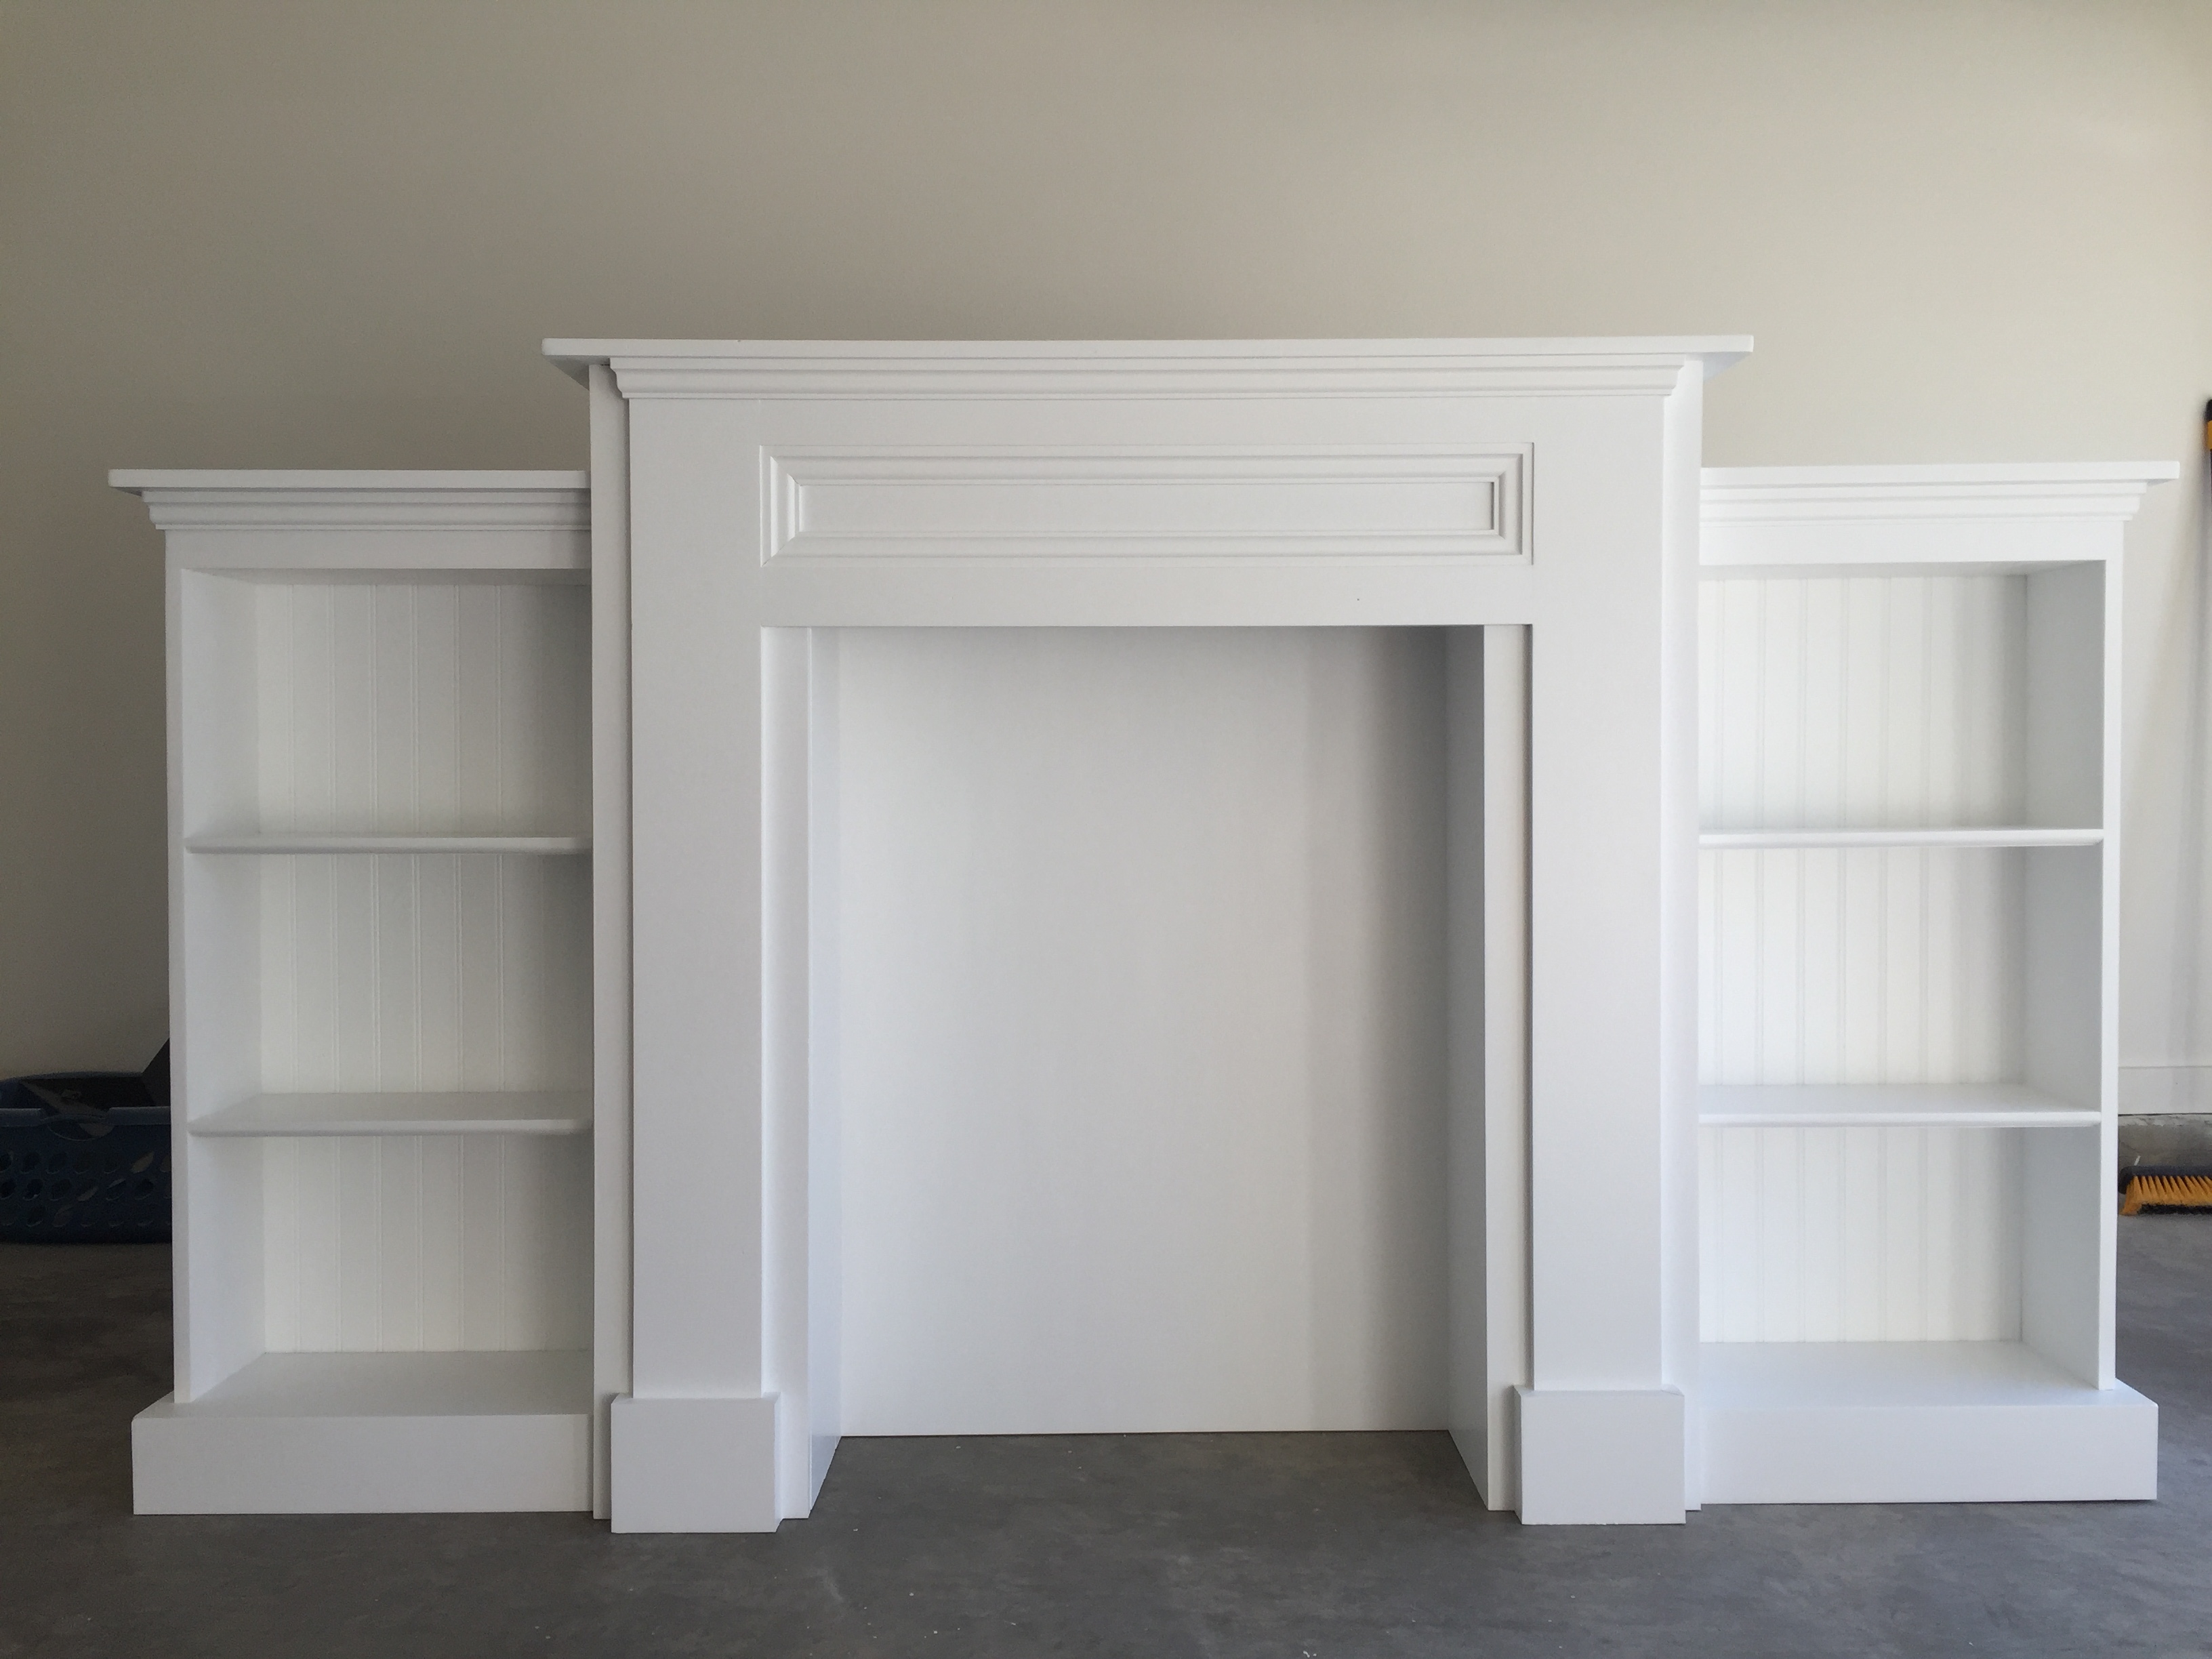
Like chadwickstafin, I cut my headboard a little differently, and I used short lengths of scrap 2x2s cut at 45-degrees to brace the top and bottom corners of both end units. There is no wiggle to the bed at all, it's stabilized so well. I also added a middle support to the short rail, just for a little extra safety, and secured the inside ends of the railings to the headboard/footer with pocket screws. I skipped the filler pieces for the railing, and just did a little extra sanding to make sure all exposed corners were smooth and splinter-free. I made the opening to the bed a bit wider than the plans, 15" instead of 13". I used 2x3s for the ladder, which gave me the sturdiness I wanted without the full bulk of using 2x4s, which looked especially chunky next to a loft unit made with mostly 1x boards. I played with some different angles, but eventually went with a 15-degree ladder. There were some leftover plastic handles sitting in my garage (originally from an outdoor playset ladder before I replaced it with a climbing wall), so I added those near the top of the ladder for some extra safety. I put some color-changing strip lighting under the bed, so there would be plenty of light for the desk and bookshelves (my little guy loves to just plop down on the ground beneath his bed and read).
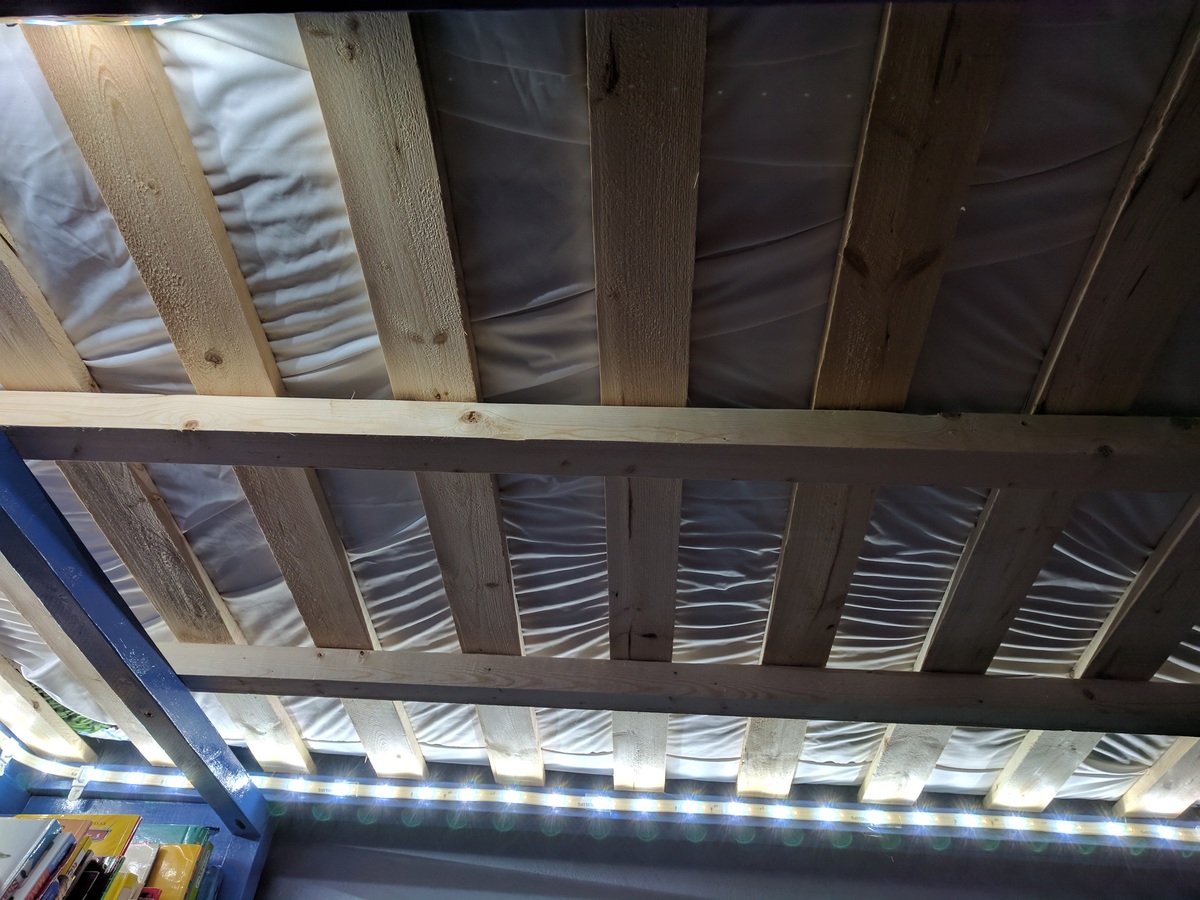
I spaced the 1x3 slats about 3.5" apart (used scrap 2x4 blocks as spacers). Because my wife or I will lay in bed and read to our son at night, I easily added a couple 2x2 support rails under the 1x3 slats for extra mattress support. I'm a big dude at 6'3 and 250 lbs, and the slats alone WERE strong enough to hold me when I did a test, but they bowed just enough in the center (unnoticeable to me up on the mattress, but I had my wife watching the slats for me below) that I felt I should add a bit more support. Now there's no bowing at all.
I also used Ana's Top Bunk Organizer plans to give my son a little extra storage up top (and a place to set a glass of water during the night), and painted it to match the bed's color scheme. Everything was sanded, painted, sanded again, repainted, and then given a couple coats of polycrylic (the painting process took longer than the cutting & assembly!).
Cost-wise I was extraordinarily lucky. We have a Habitat For Humanity ReStore near us, so I was able to get my paints and a 3x6 sheet of MDF for $15 total. I also had some rebate cards from Menards (regional hardware store, similar to Lowes or Home Depot), plus happened to go there on a week when pine wood was on sale, so I got all my lumber for less than $60.
I could not be happier with the end results, and my son absolutely loves his new bed.


Comments
Lindseypw1
Sun, 01/28/2018 - 19:05
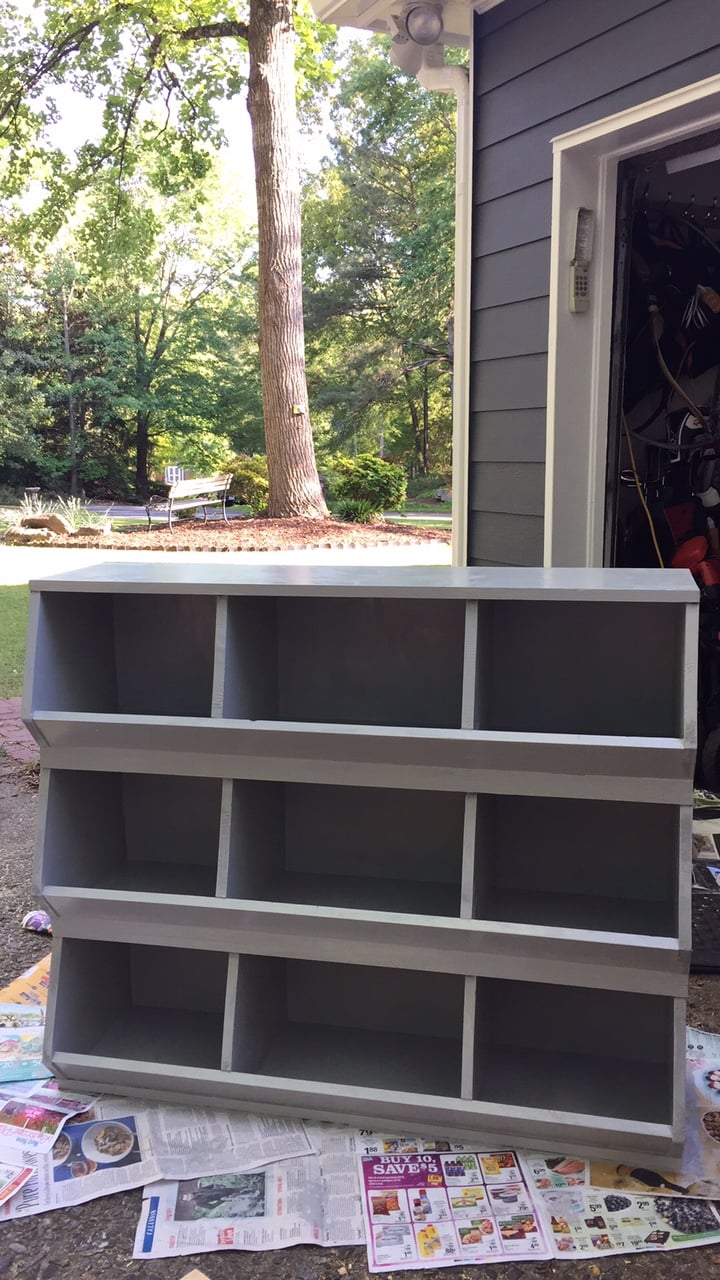
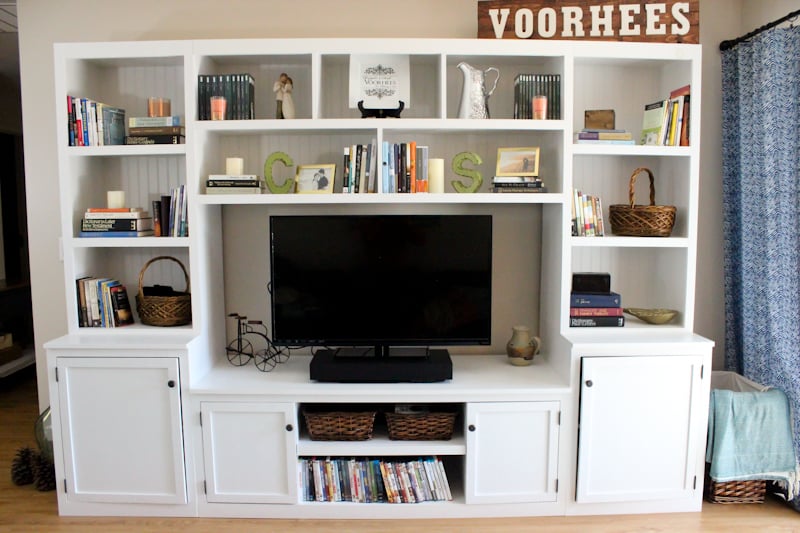
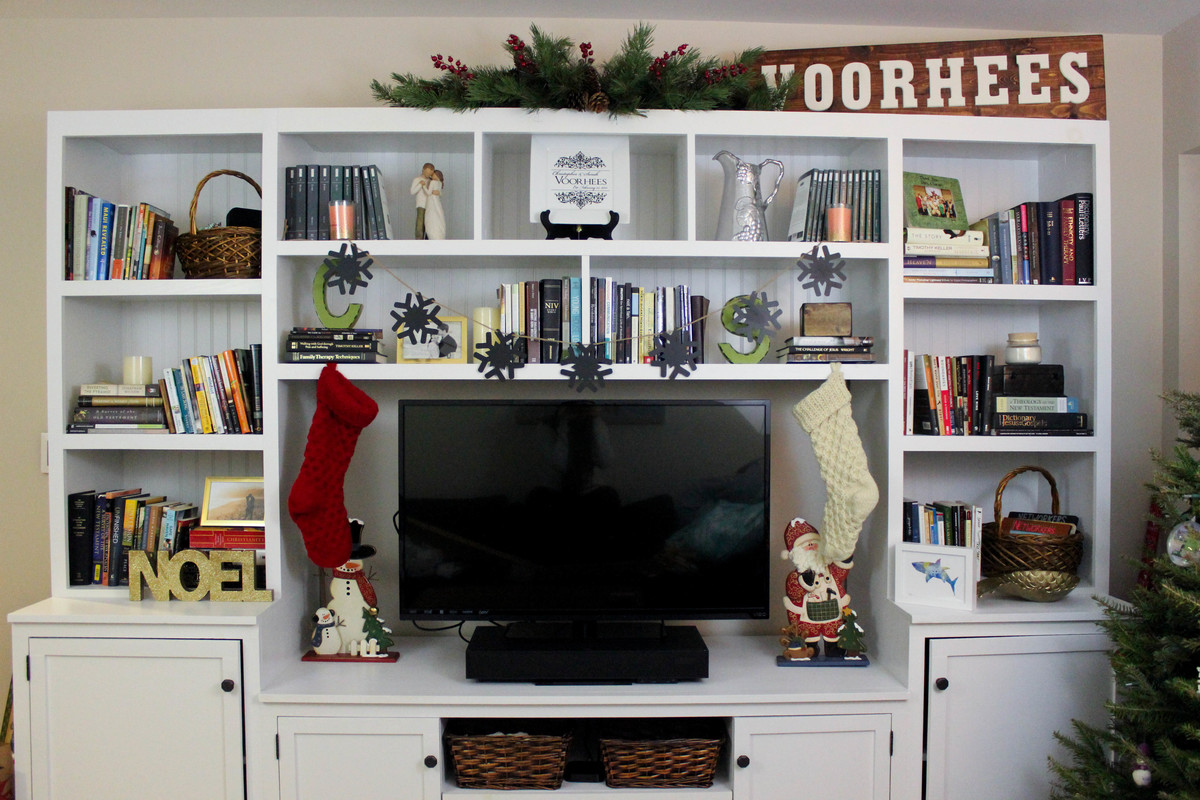
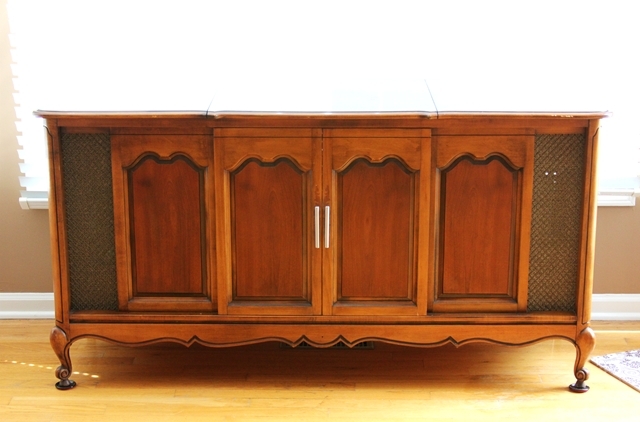
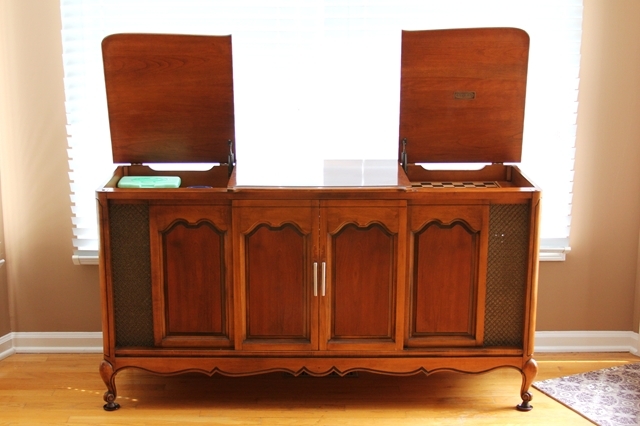
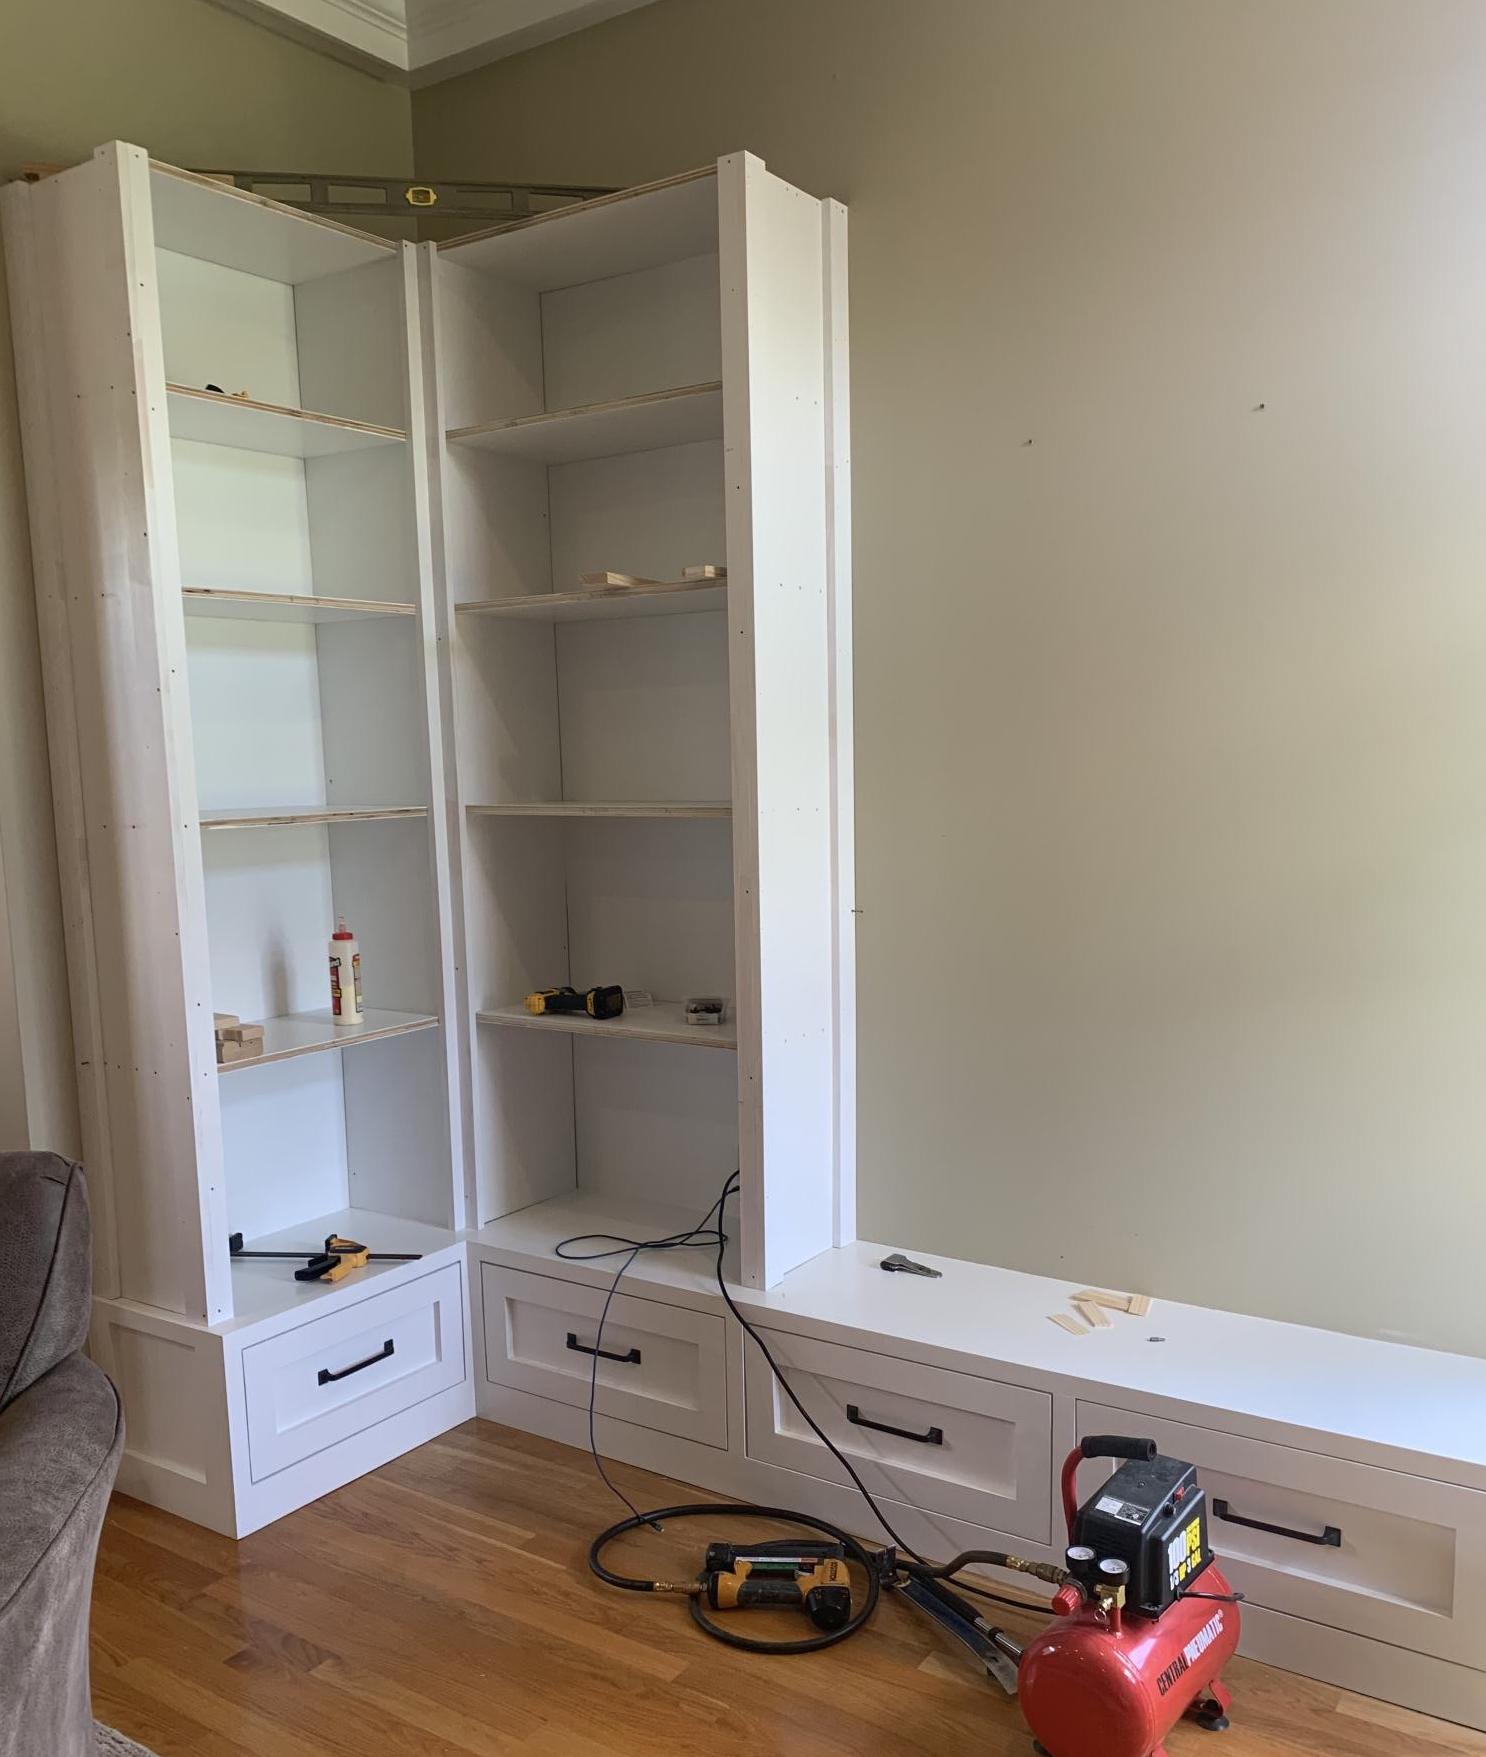
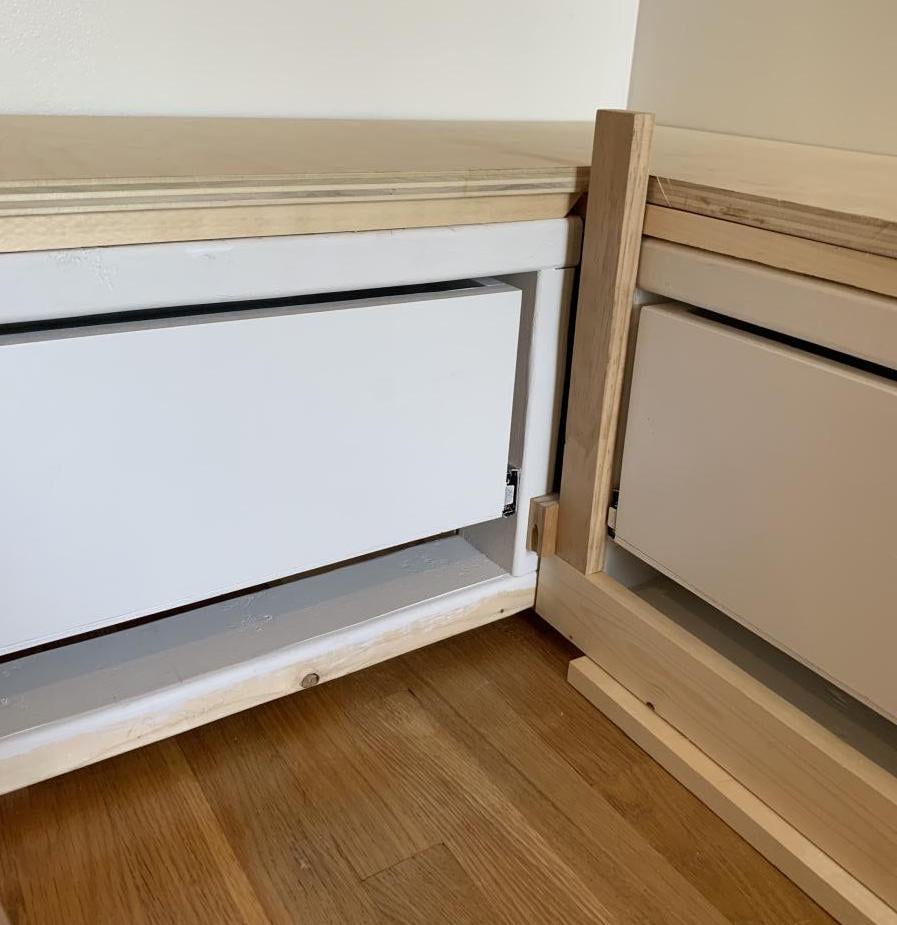
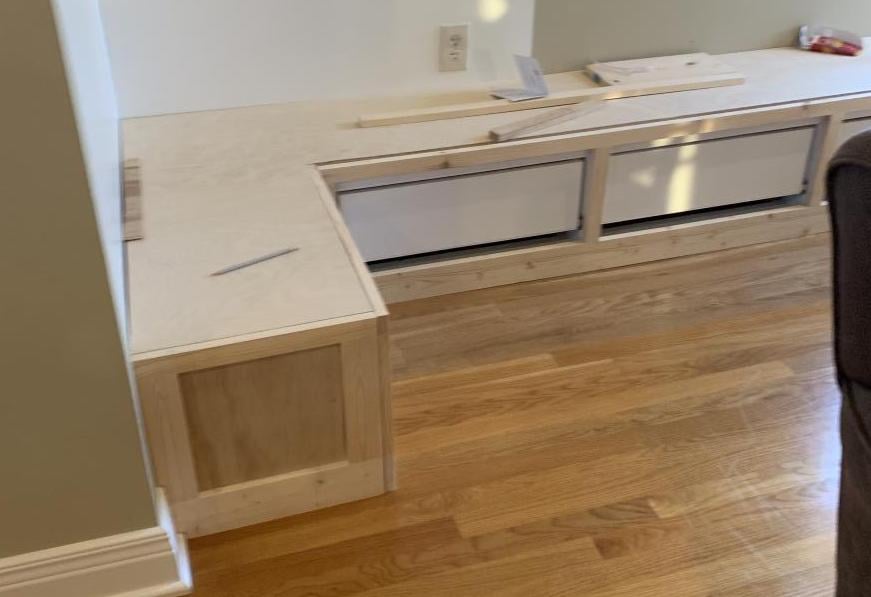
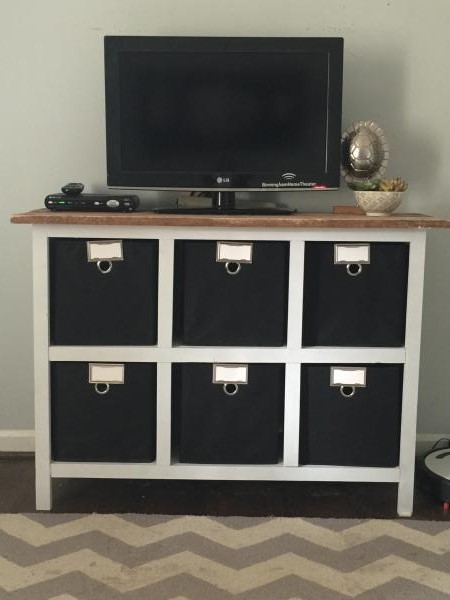
Dressers
Are the dressers pictured one of your designs?