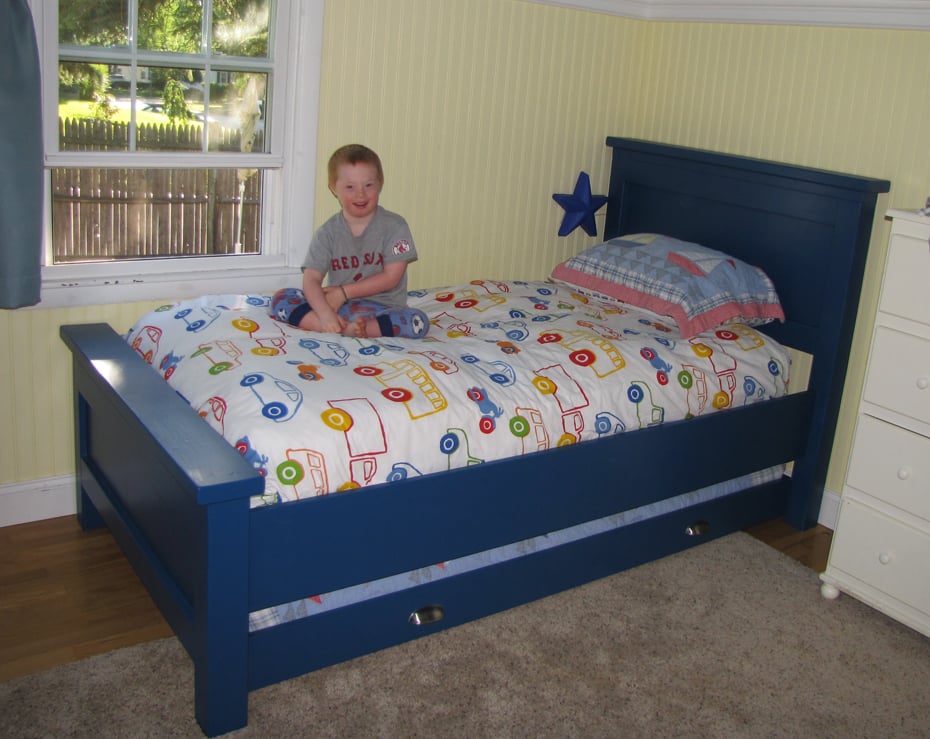
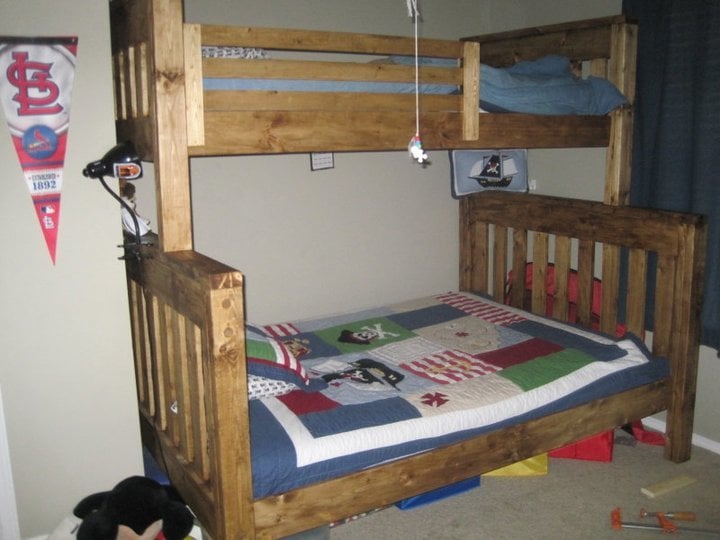
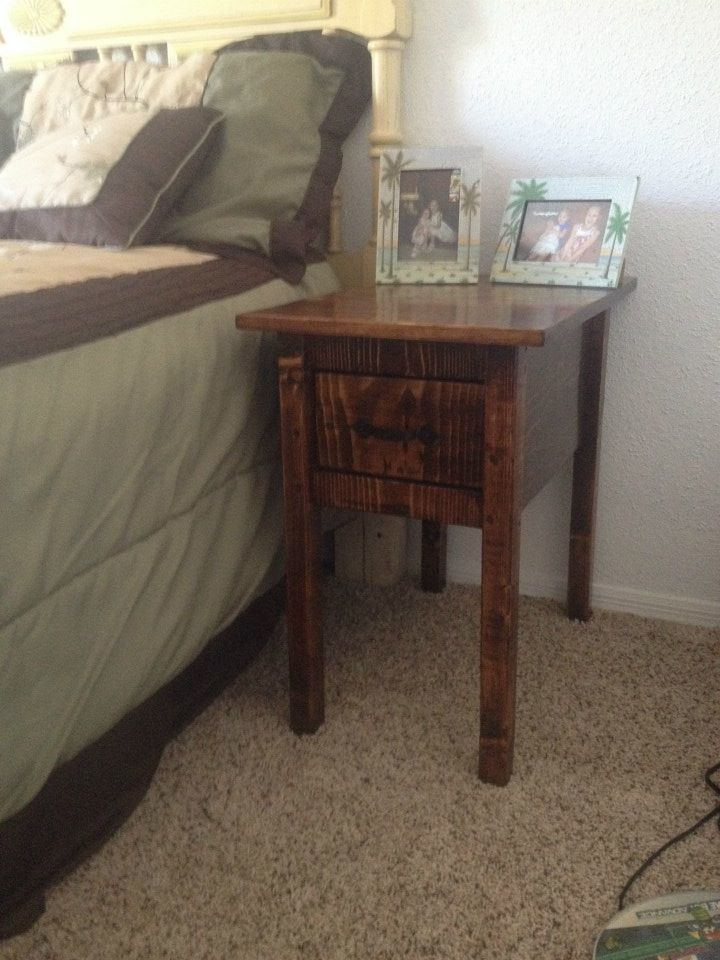
The Boy's Bed
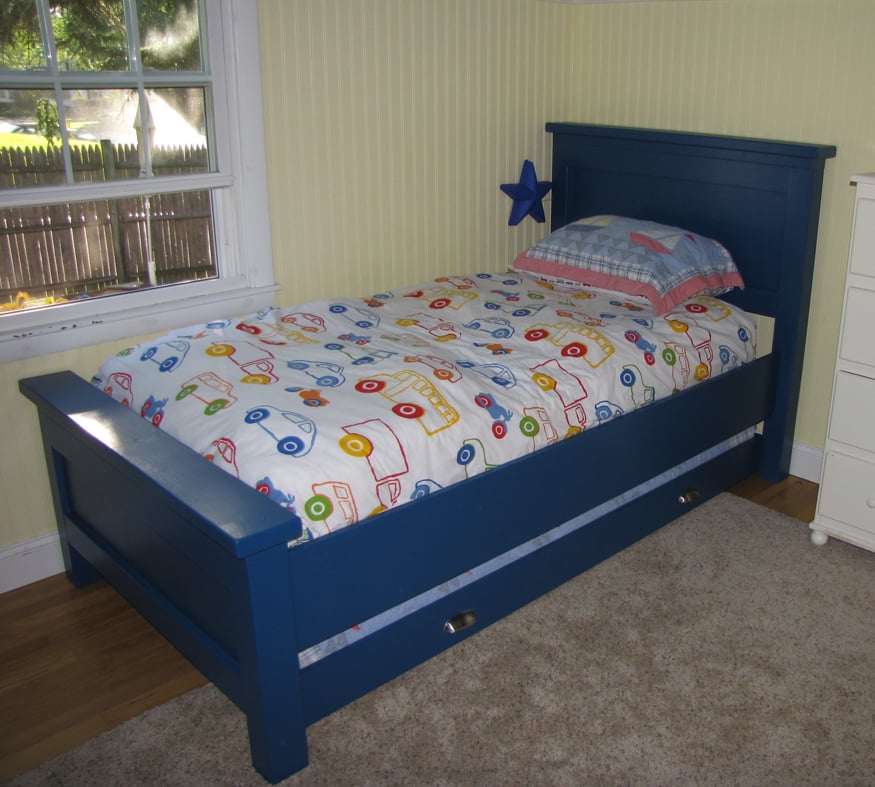
We had the Upside-Down bed from IKEA for our little guy, but my husband continued to complain on how he had to "crawl" into the bed. Okay, scrap that. No problem. I just searched Ana's plans for a nice bed I could make. And add a trundle. There you go.
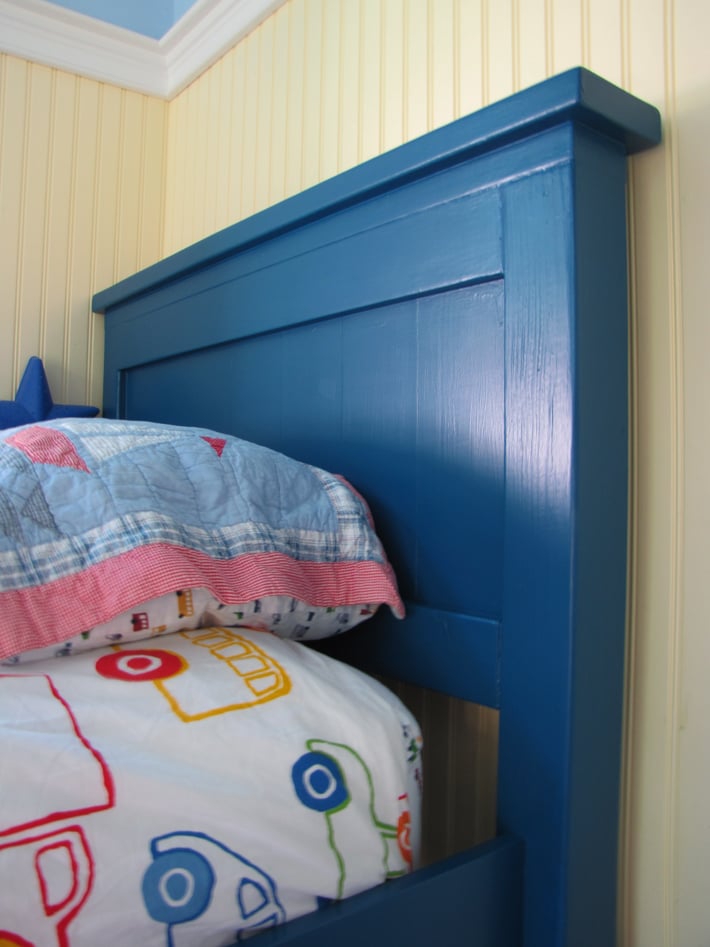
I did modify the height of the headboard, as I plan on moving Jack to an upstairs bedrooms that has slanted walls. I wanted this bed to fit in any configuration, so I had to take 10" off the headboard. Also, due to the impending moving, I wanted the bed to easily be taken apart. So I attached the side rails with surface mounted keyhold brackets from Rockler Woodworking. They work great.
Built from Plan(s)
Estimated Time Investment
Day Project (6-9 Hours)
Finish Used
I love to distress and antique furniture, but to my husband's delight, I just decided to paint this bed. I used Sherwin William's Regatta. I first put on two coats of primer and then 3 coats of the paint. I did want to use my nifty Wagner spray gun, but we were having really rainy weather and I couldn't set up outside. And because I'm impatient, I just decided to brush it in the garage.
Recommended Skill Level
Beginner


Comments
kelli224
Sun, 08/21/2011 - 21:36
This looks so incredible!
This looks so incredible! You did a fantastic job and I love love love this bedding. My boys would go crazy over it!
kmatt55
Tue, 08/23/2011 - 12:00
Looks great, nice job.
Looks great, nice job.
Guest (not verified)
Mon, 08/29/2011 - 07:51
Great job! I am hoping to
Great job! I am hoping to make two of these for my boys and would love to have the trundles. Could you give the specs on that? Thanks!
debandtom25
Wed, 08/31/2011 - 17:42
Specs are always different
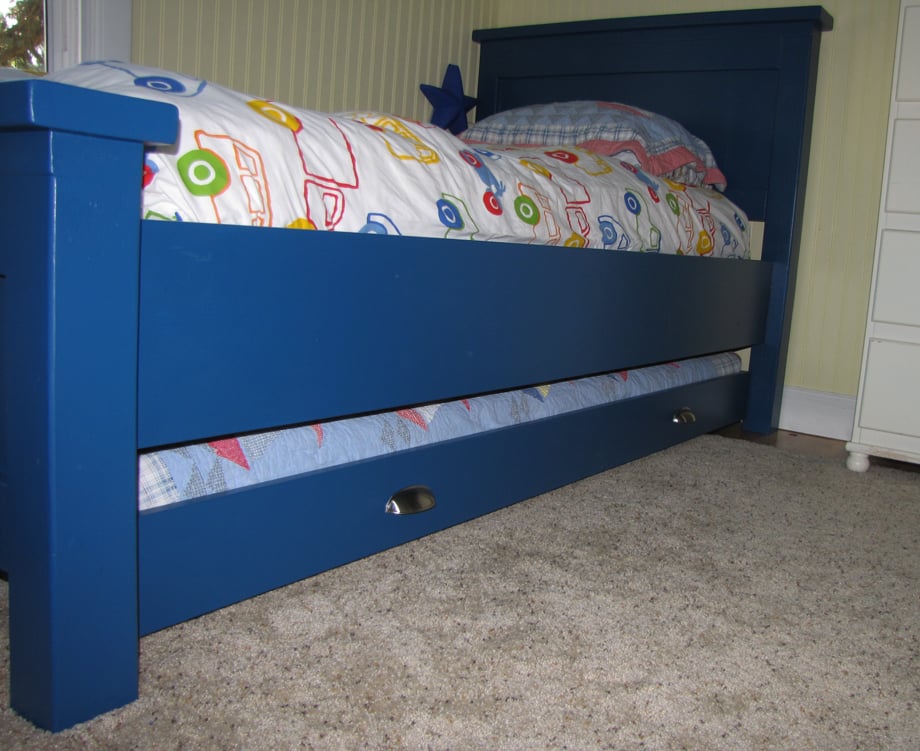
The specs will be different depending on the size mattress you have -- what I mean by size is height. I just used a foam mattress that was only 5 inches high. I wanted the mattress to fit bigger than the sides of the trundle, so I might have made it just 4 inches high (not including the wheels underneath). I made sure I had about 1.5" of clearance total between the headboard and footboard to move the trundle in and out.
Just make sure you take into account how thick your mattress is, the widths of your boards and the height of your wheels. Give yourself a little room for bedding and you should be all set.
Guest (not verified)
Mon, 11/21/2011 - 10:06
questions
The bed looks awesome! The hubby and I are gonna attempt to make one just like it (with the shorter headboard as well). I also have a 5 inch mattress for the trundle. The questions I have are: 1) How much space did you leave between the floor and the bottom of the trundle? 2)What is the distance between the floor and the bottom of the side rail? 3) did you use the 1x10 for your side rail? (we are going to be using a 1x8 instead). 4) Did you order your casters from Rockler as well, or find them at a home improvement store?
Thanks so much, in advance!
debandtom25
Wed, 11/23/2011 - 11:58
To answer questions
1. The sides of the trundle are not flush with the bottom. The bottom (that the bed rests on) is about 2" higher than the side rails. This allows room for the wheels and about an 3/4: between the floor and the side rails. This measurement will all depend on the size of the casters you get and how much room you have beneath your bed for the trundle.
2. As mentioned above, there is about 3/4" between side rail and bottom of floor. Like I said before, it's total preference and how much room you have to work with.
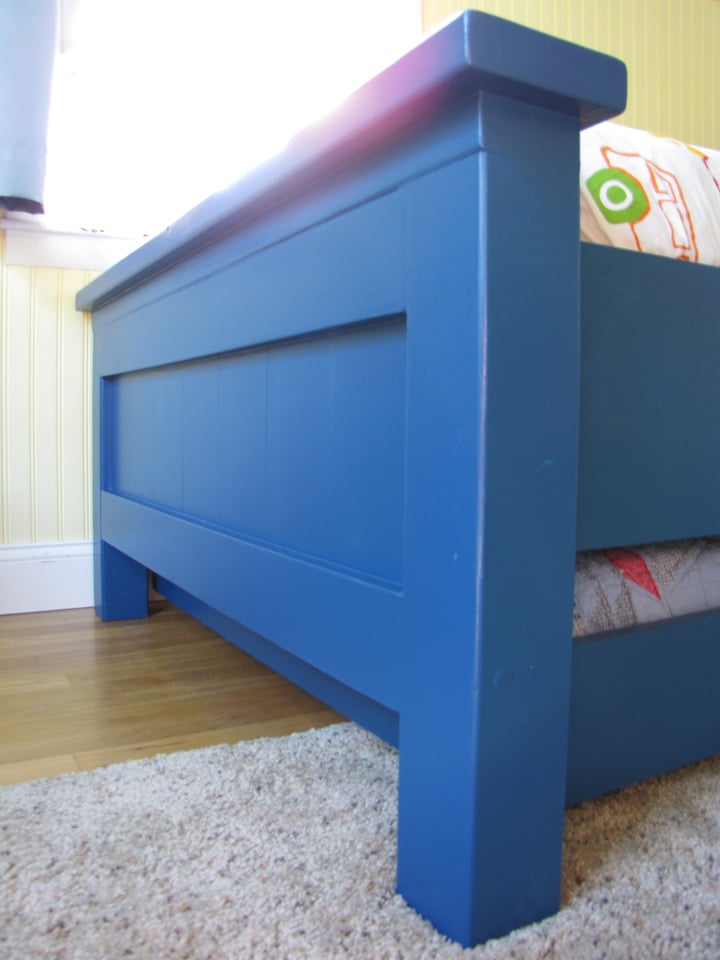
3. I did use a 1X10, mainly because I like the look of the wide board.
4. I got the casters from HD or Lowes (can't remember).
Hope this helps!
Guest (not verified)
Sun, 01/29/2012 - 23:15
Attaching the sides to the plywood base
I love this and am going to make for my sons bed but I didn't see what you used to attach the sides to the base...unless I just didn't see it. :-) Did you use "L" brackets?
Saadia (not verified)
Sun, 03/25/2012 - 12:30
Rockler Brackets and Cleats
Hi, I was just wondering how you adjust the cleats when you are using the rockler brackets? I plan on using 2 x 8 for the siderails so there isn't enough room to fit the bracket and cleat along the edge. Did you have to shorten your cleat by just a little bit?
KAD050209 (not verified)
Fri, 08/17/2012 - 23:32
Gap From Bed To Wall...
I was wondering if you could tell me how many inches the gap is from the bed to wall (where you have the bed horizontal against the wall)? Just trying to get an idea; my daughter is young and don't want her falling between the gap at night :) Thanks ahead of time!
In reply to Gap From Bed To Wall... by KAD050209 (not verified)
debandtom25
Wed, 09/05/2012 - 20:16
Great question
The gap is about 3.25". I remember one of the first nights that Jack slept in his bed he fell in the gap. I wasn't expecting that at all. We just stuffed the extra bed pillows in there at night. We don't even remember to do it anymore and he's never fallen in again.
Hterrin
Tue, 04/16/2013 - 22:03
Great job
You should be proud.