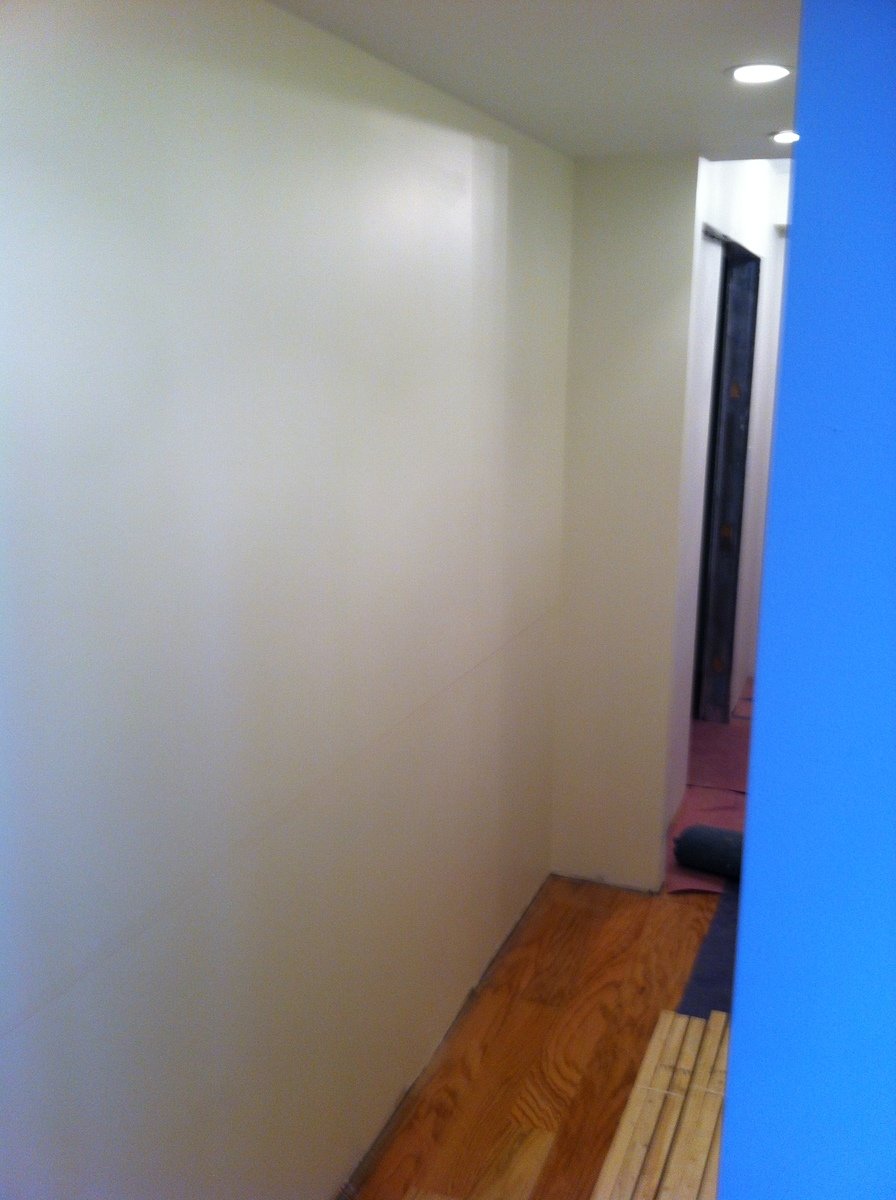
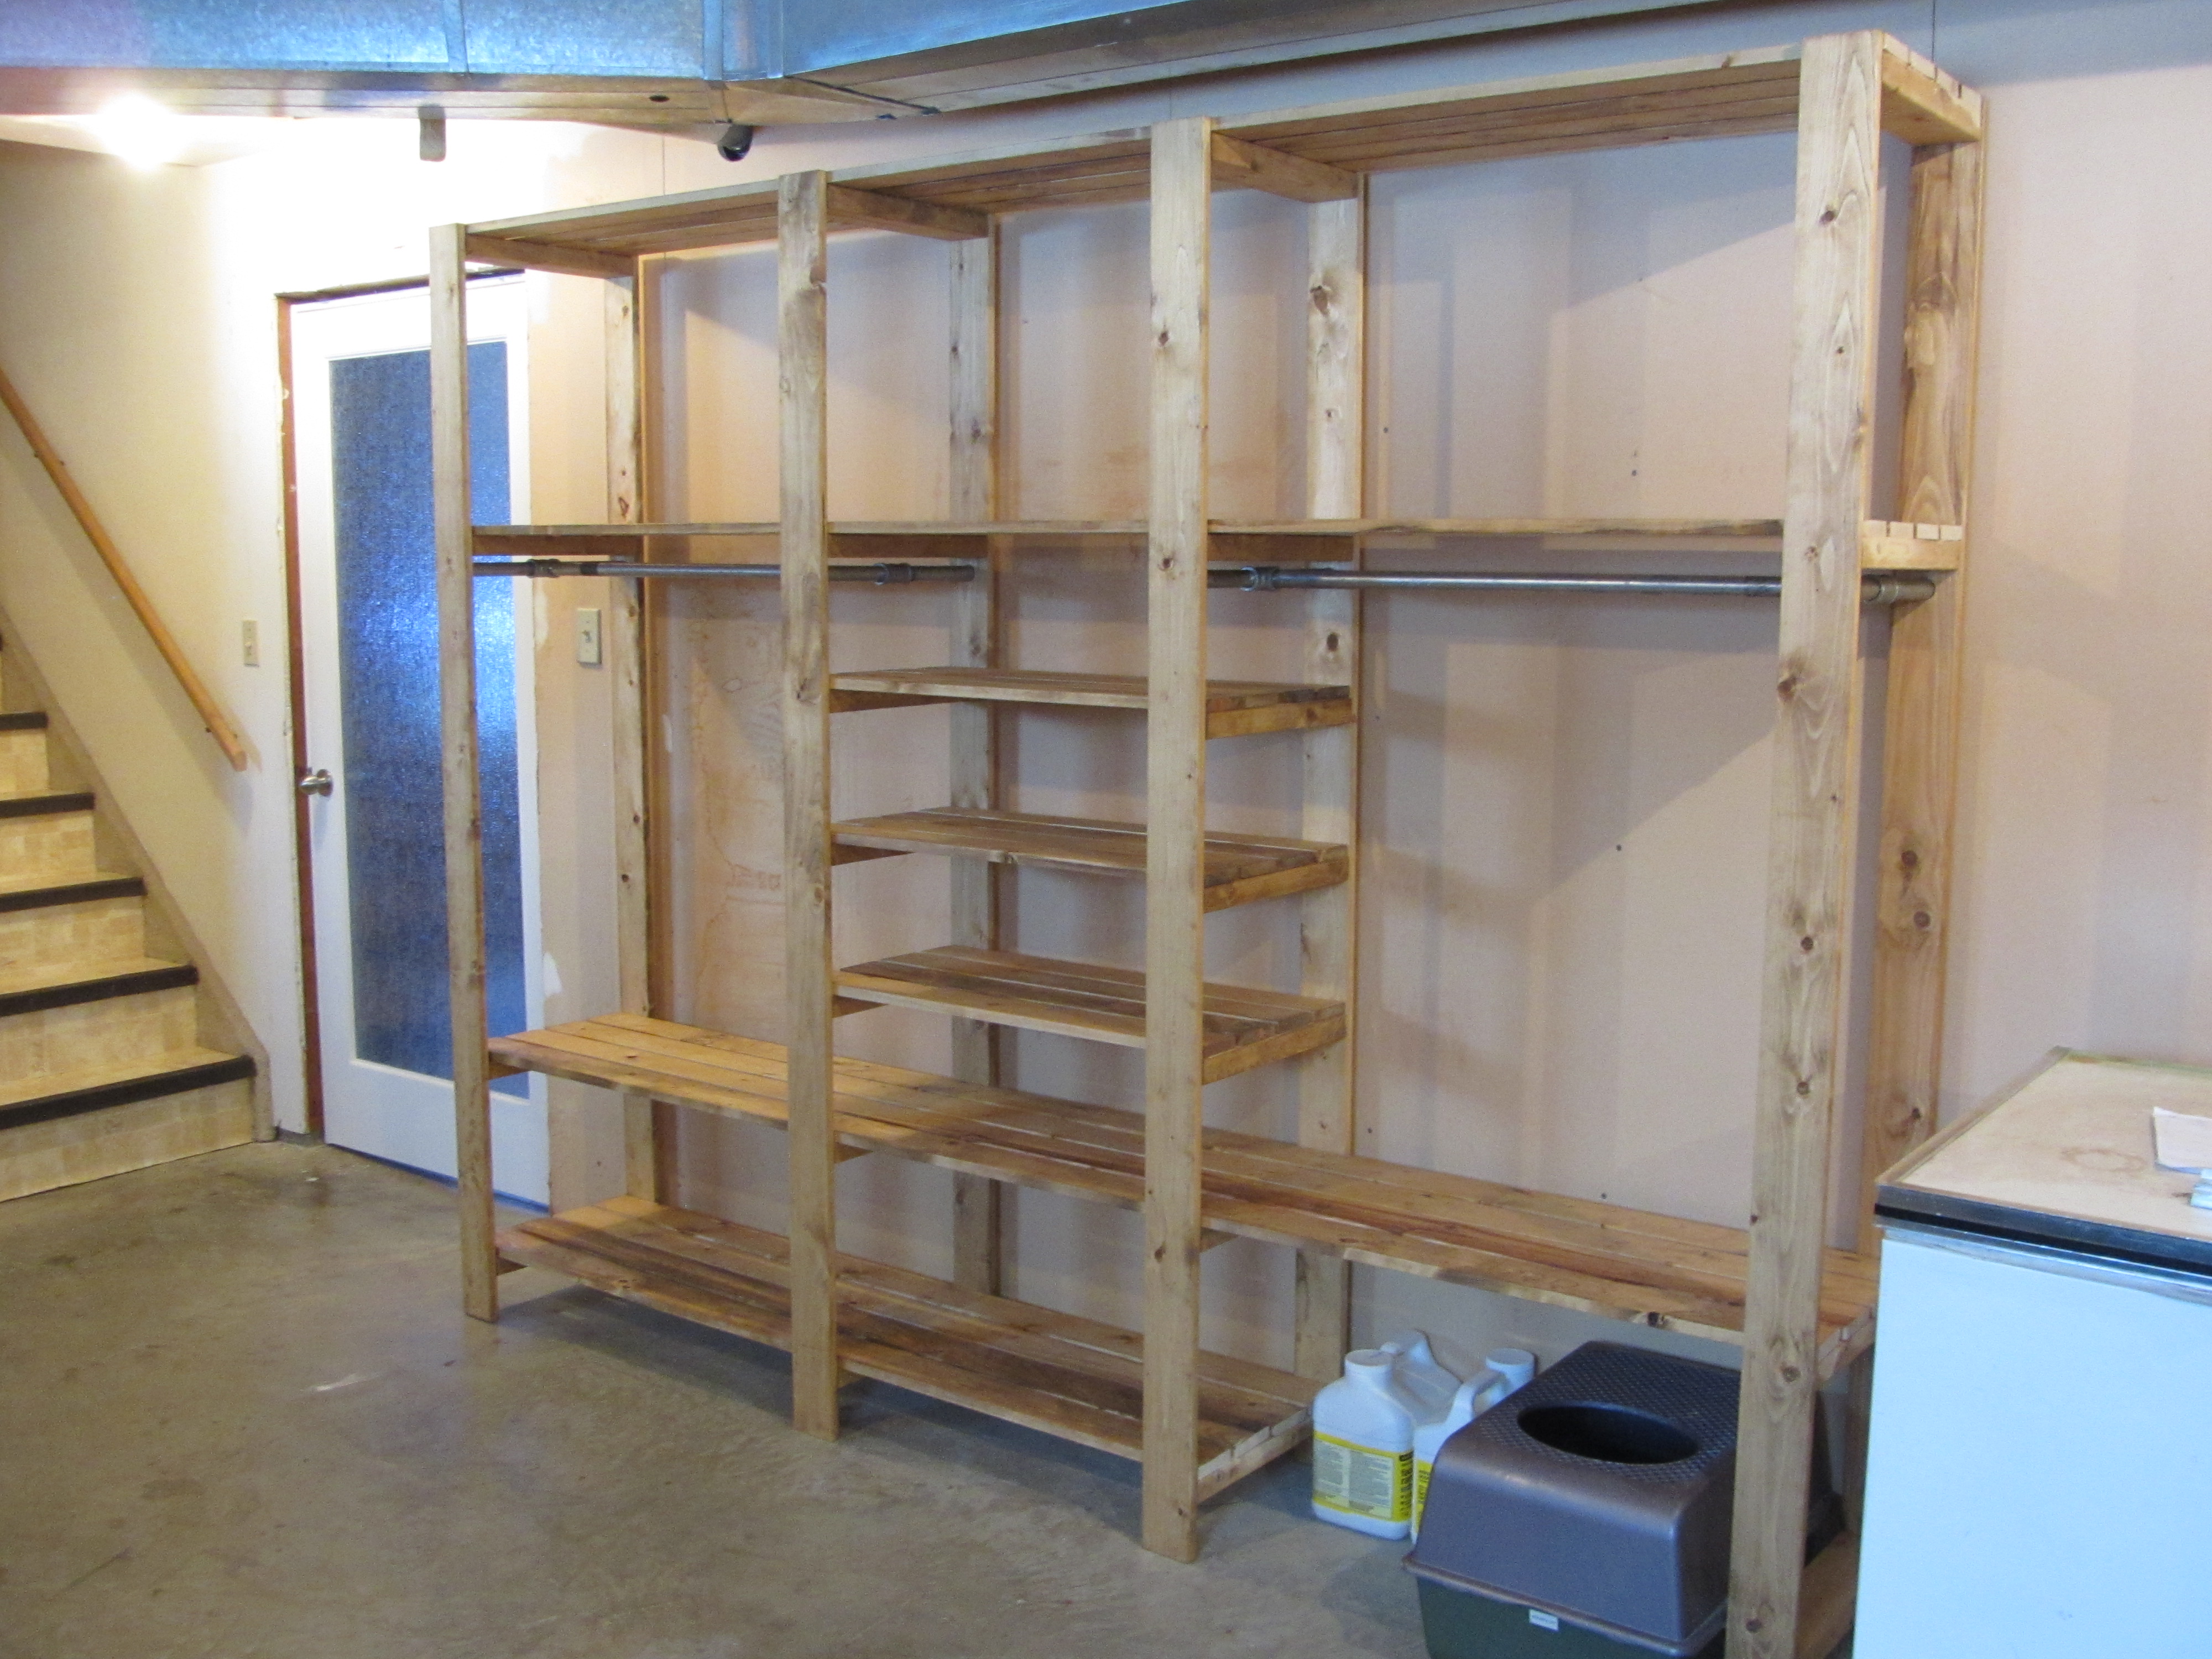
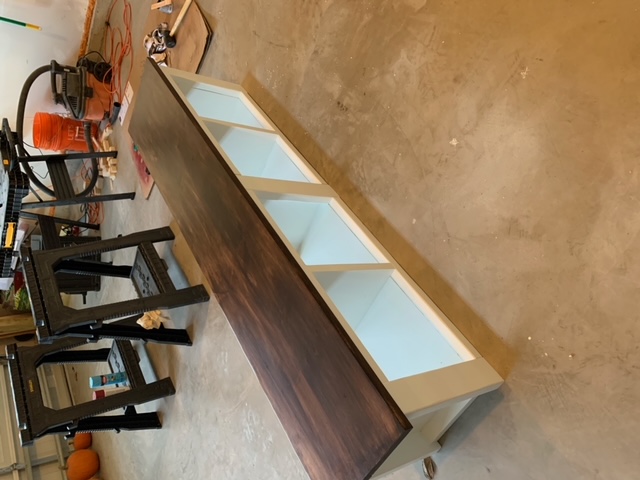
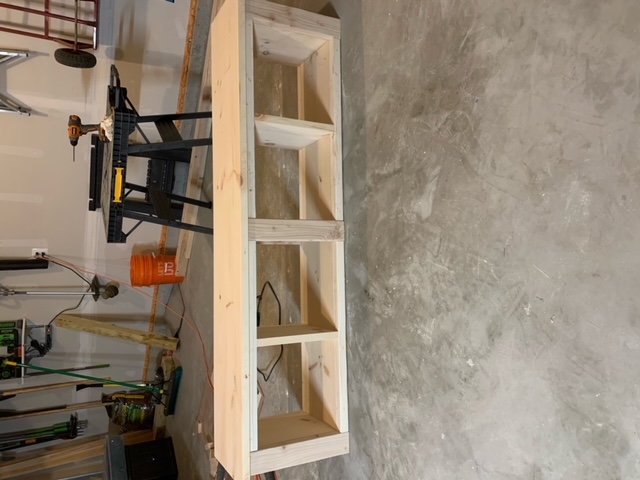
Master Closet System

Followed plans with slight modifications:
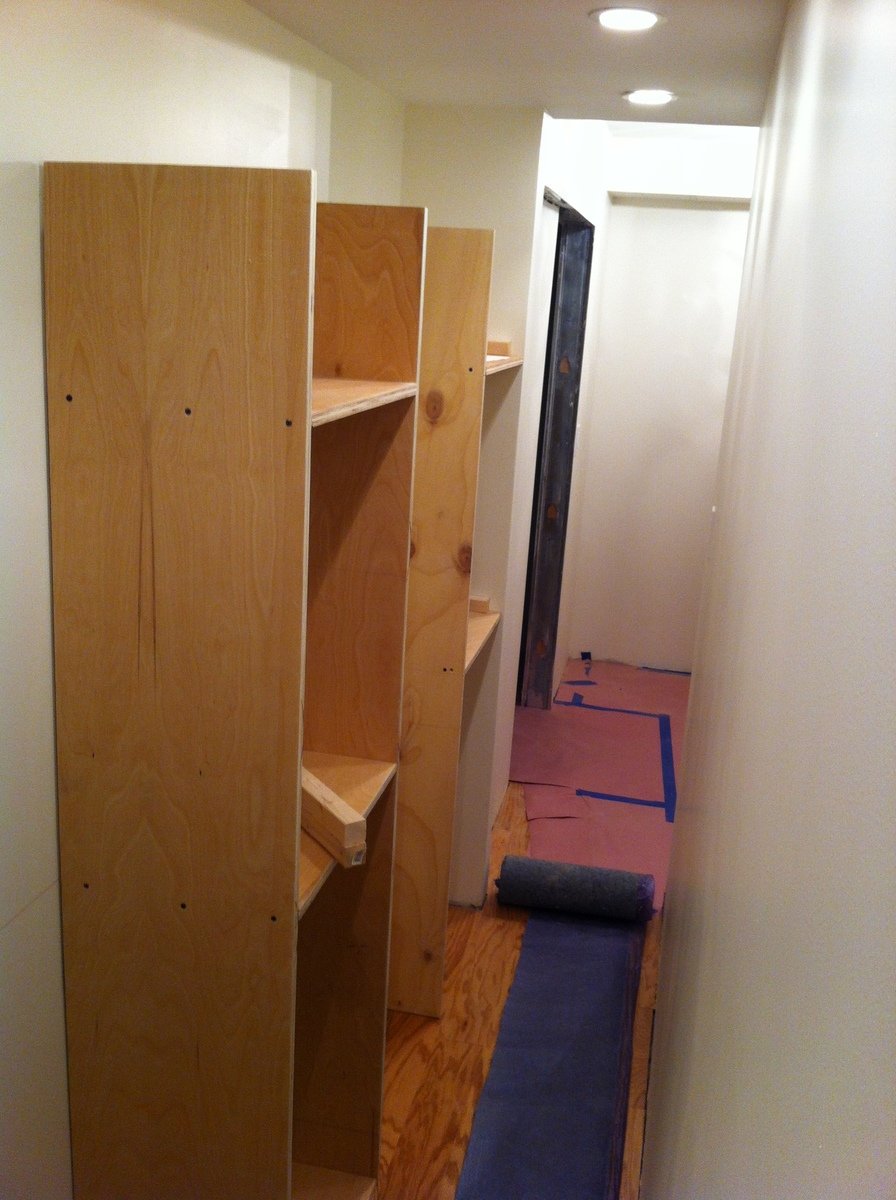
1. Made shelves deeper but narrower
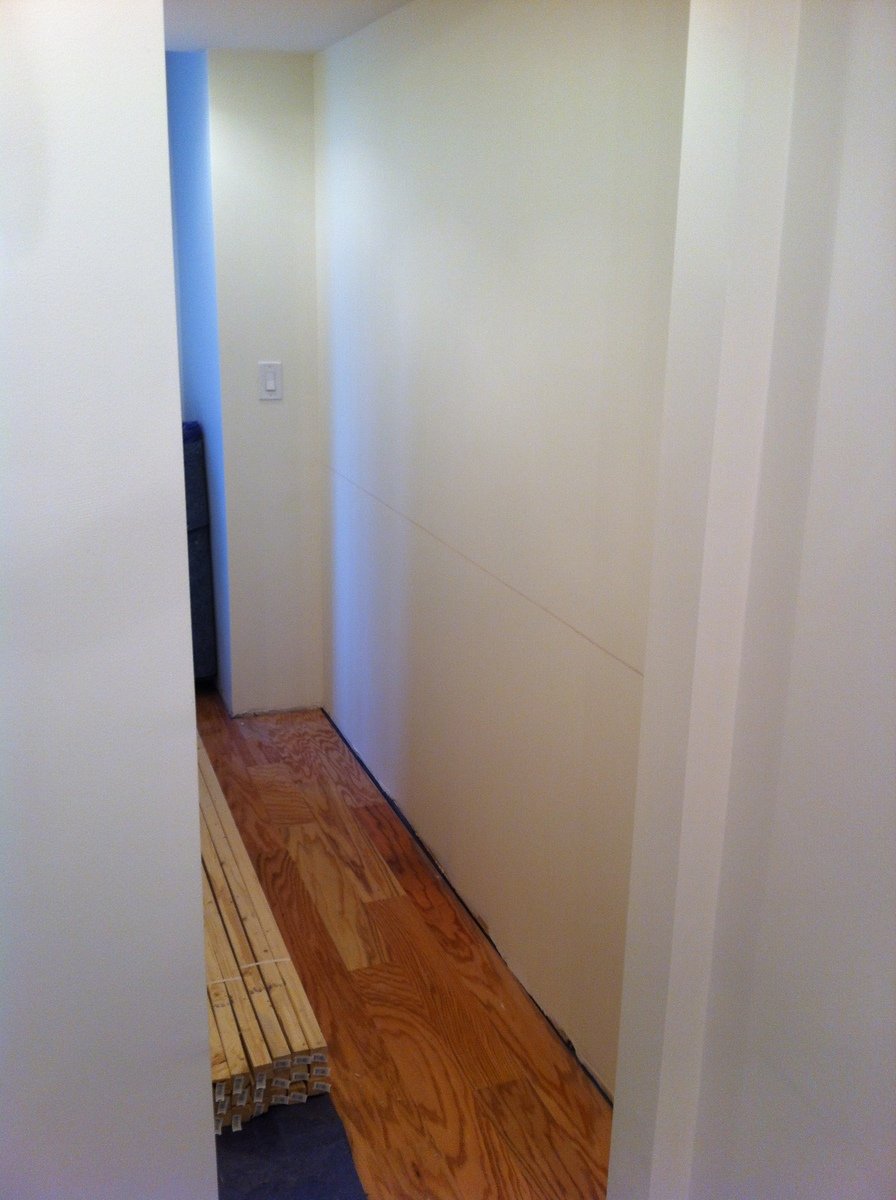
2. Used 3/4" Birch Plywood for all
3. Built no base just mounted to floor & wall
4. No drawers just shelving

Built from Plan(s)
Estimated Cost
Under $80
Estimated Time Investment
Afternoon Project (3-6 Hours)
Finish Used
Clear Poly
Recommended Skill Level
Starter Project


Comments
rhettar
Sat, 01/19/2013 - 04:43
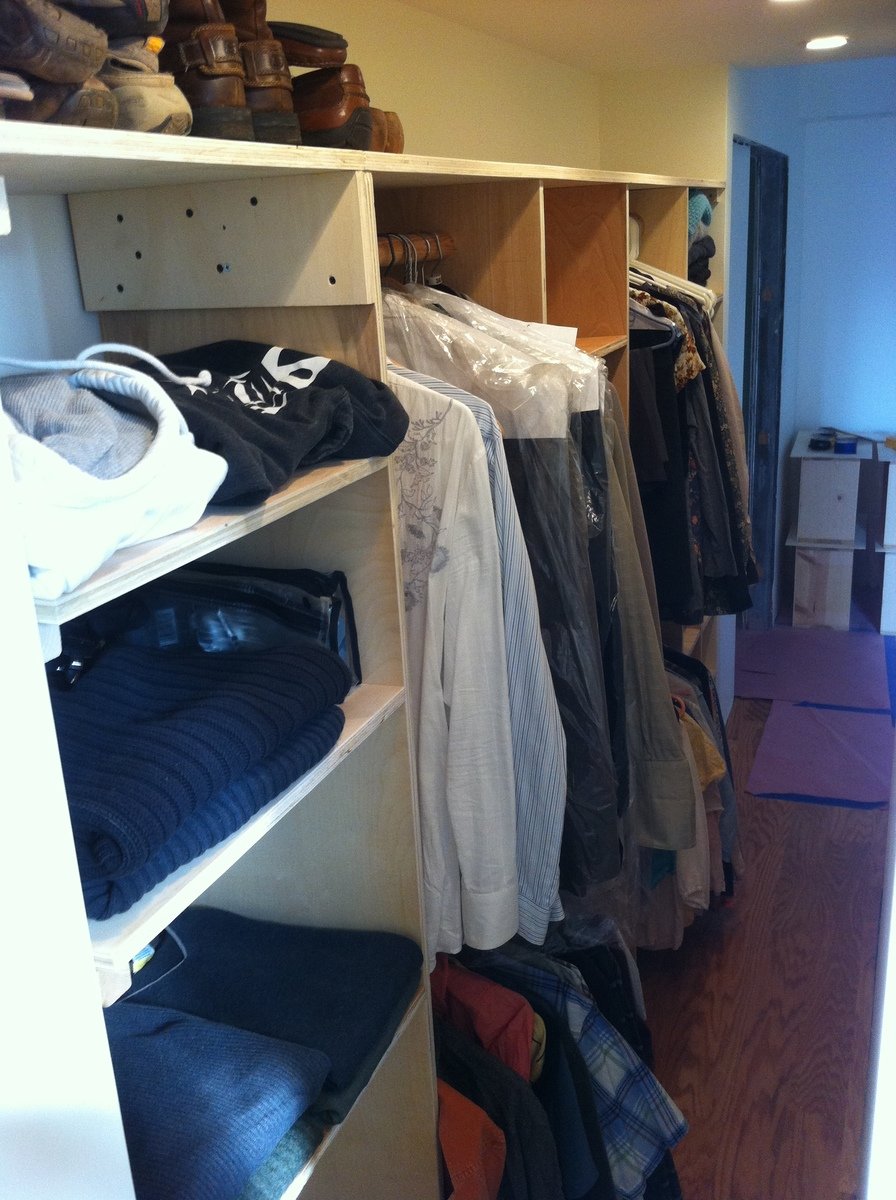
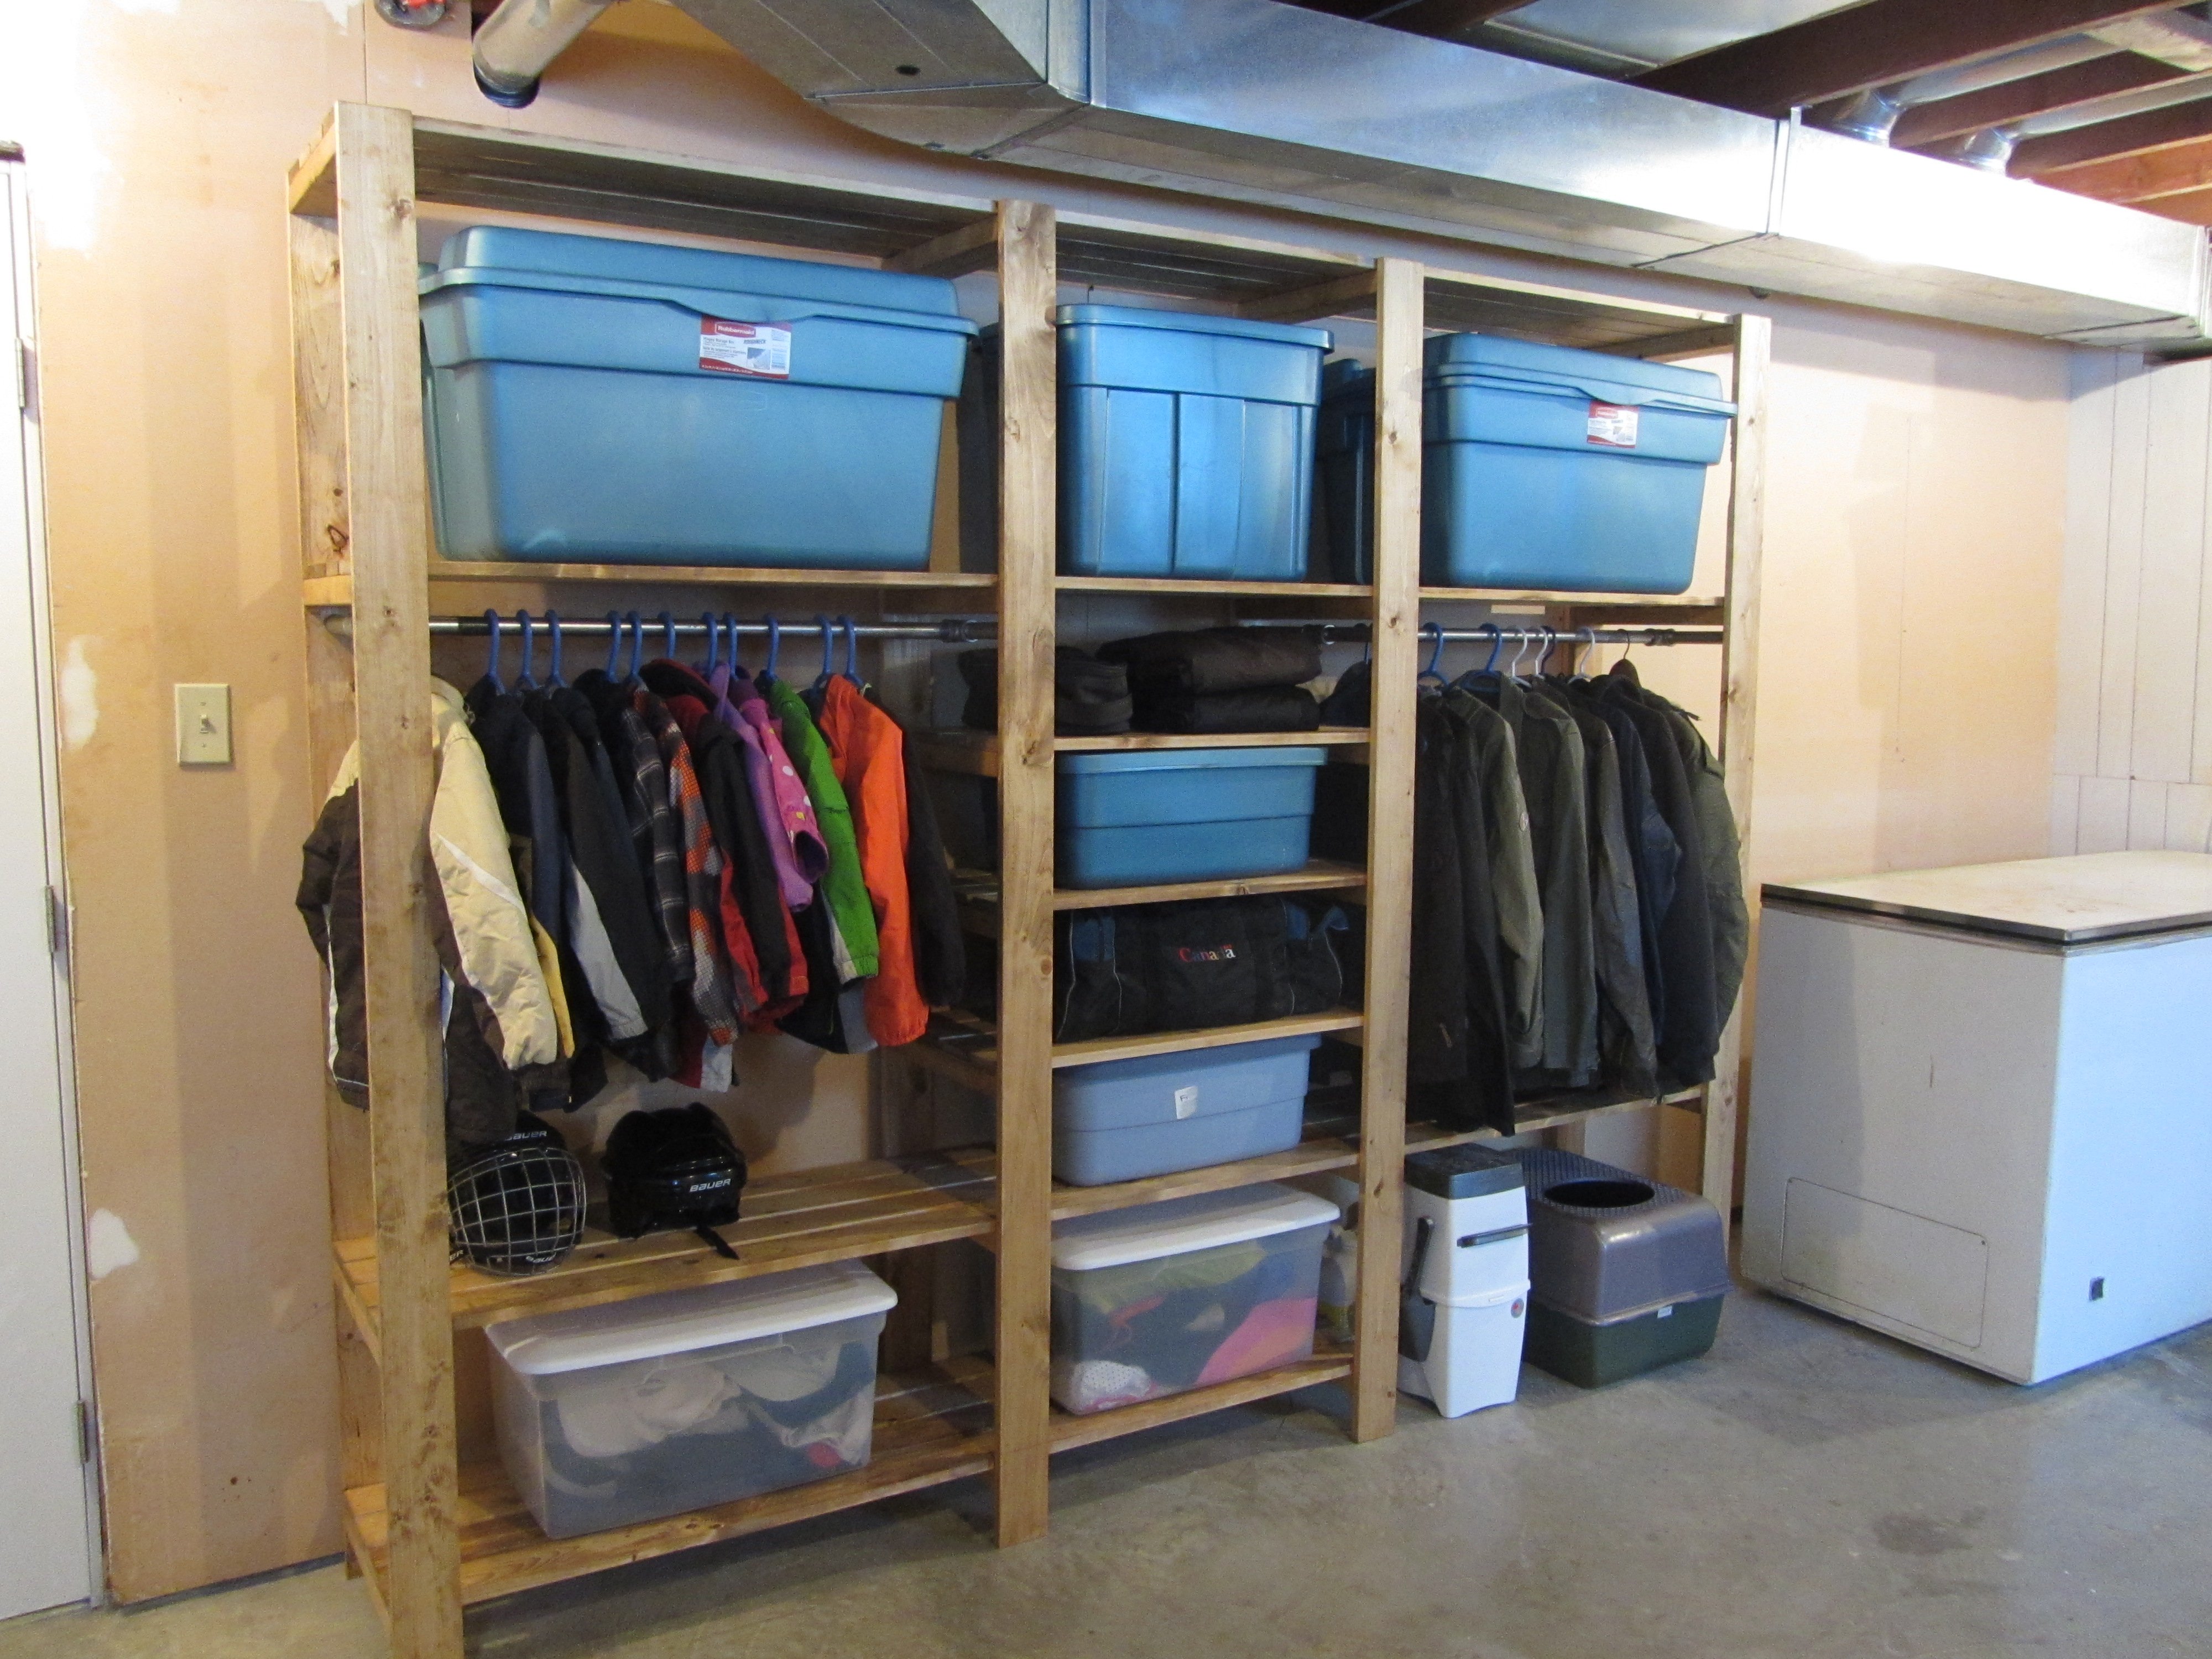
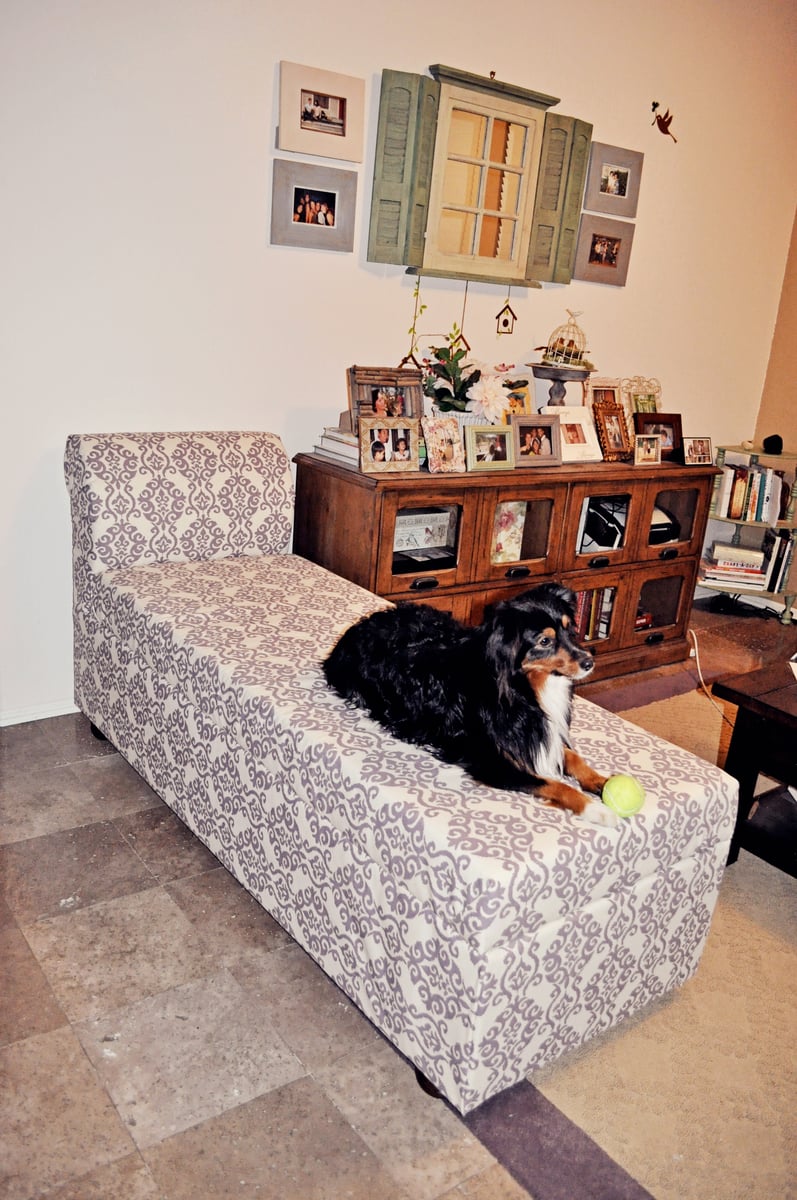
There's stuff in there...
It's nice to see the closet system with actual stuff in it, so you can see how much it really holds. Good job!