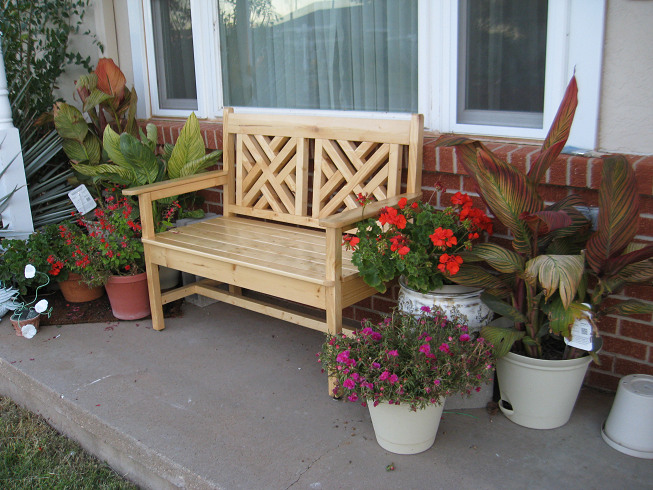
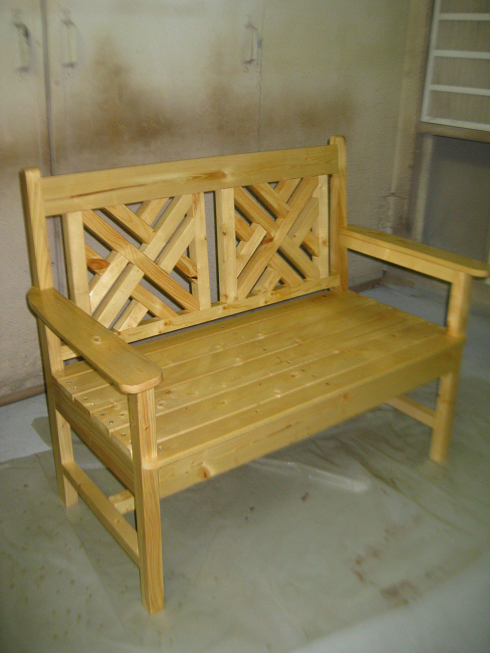
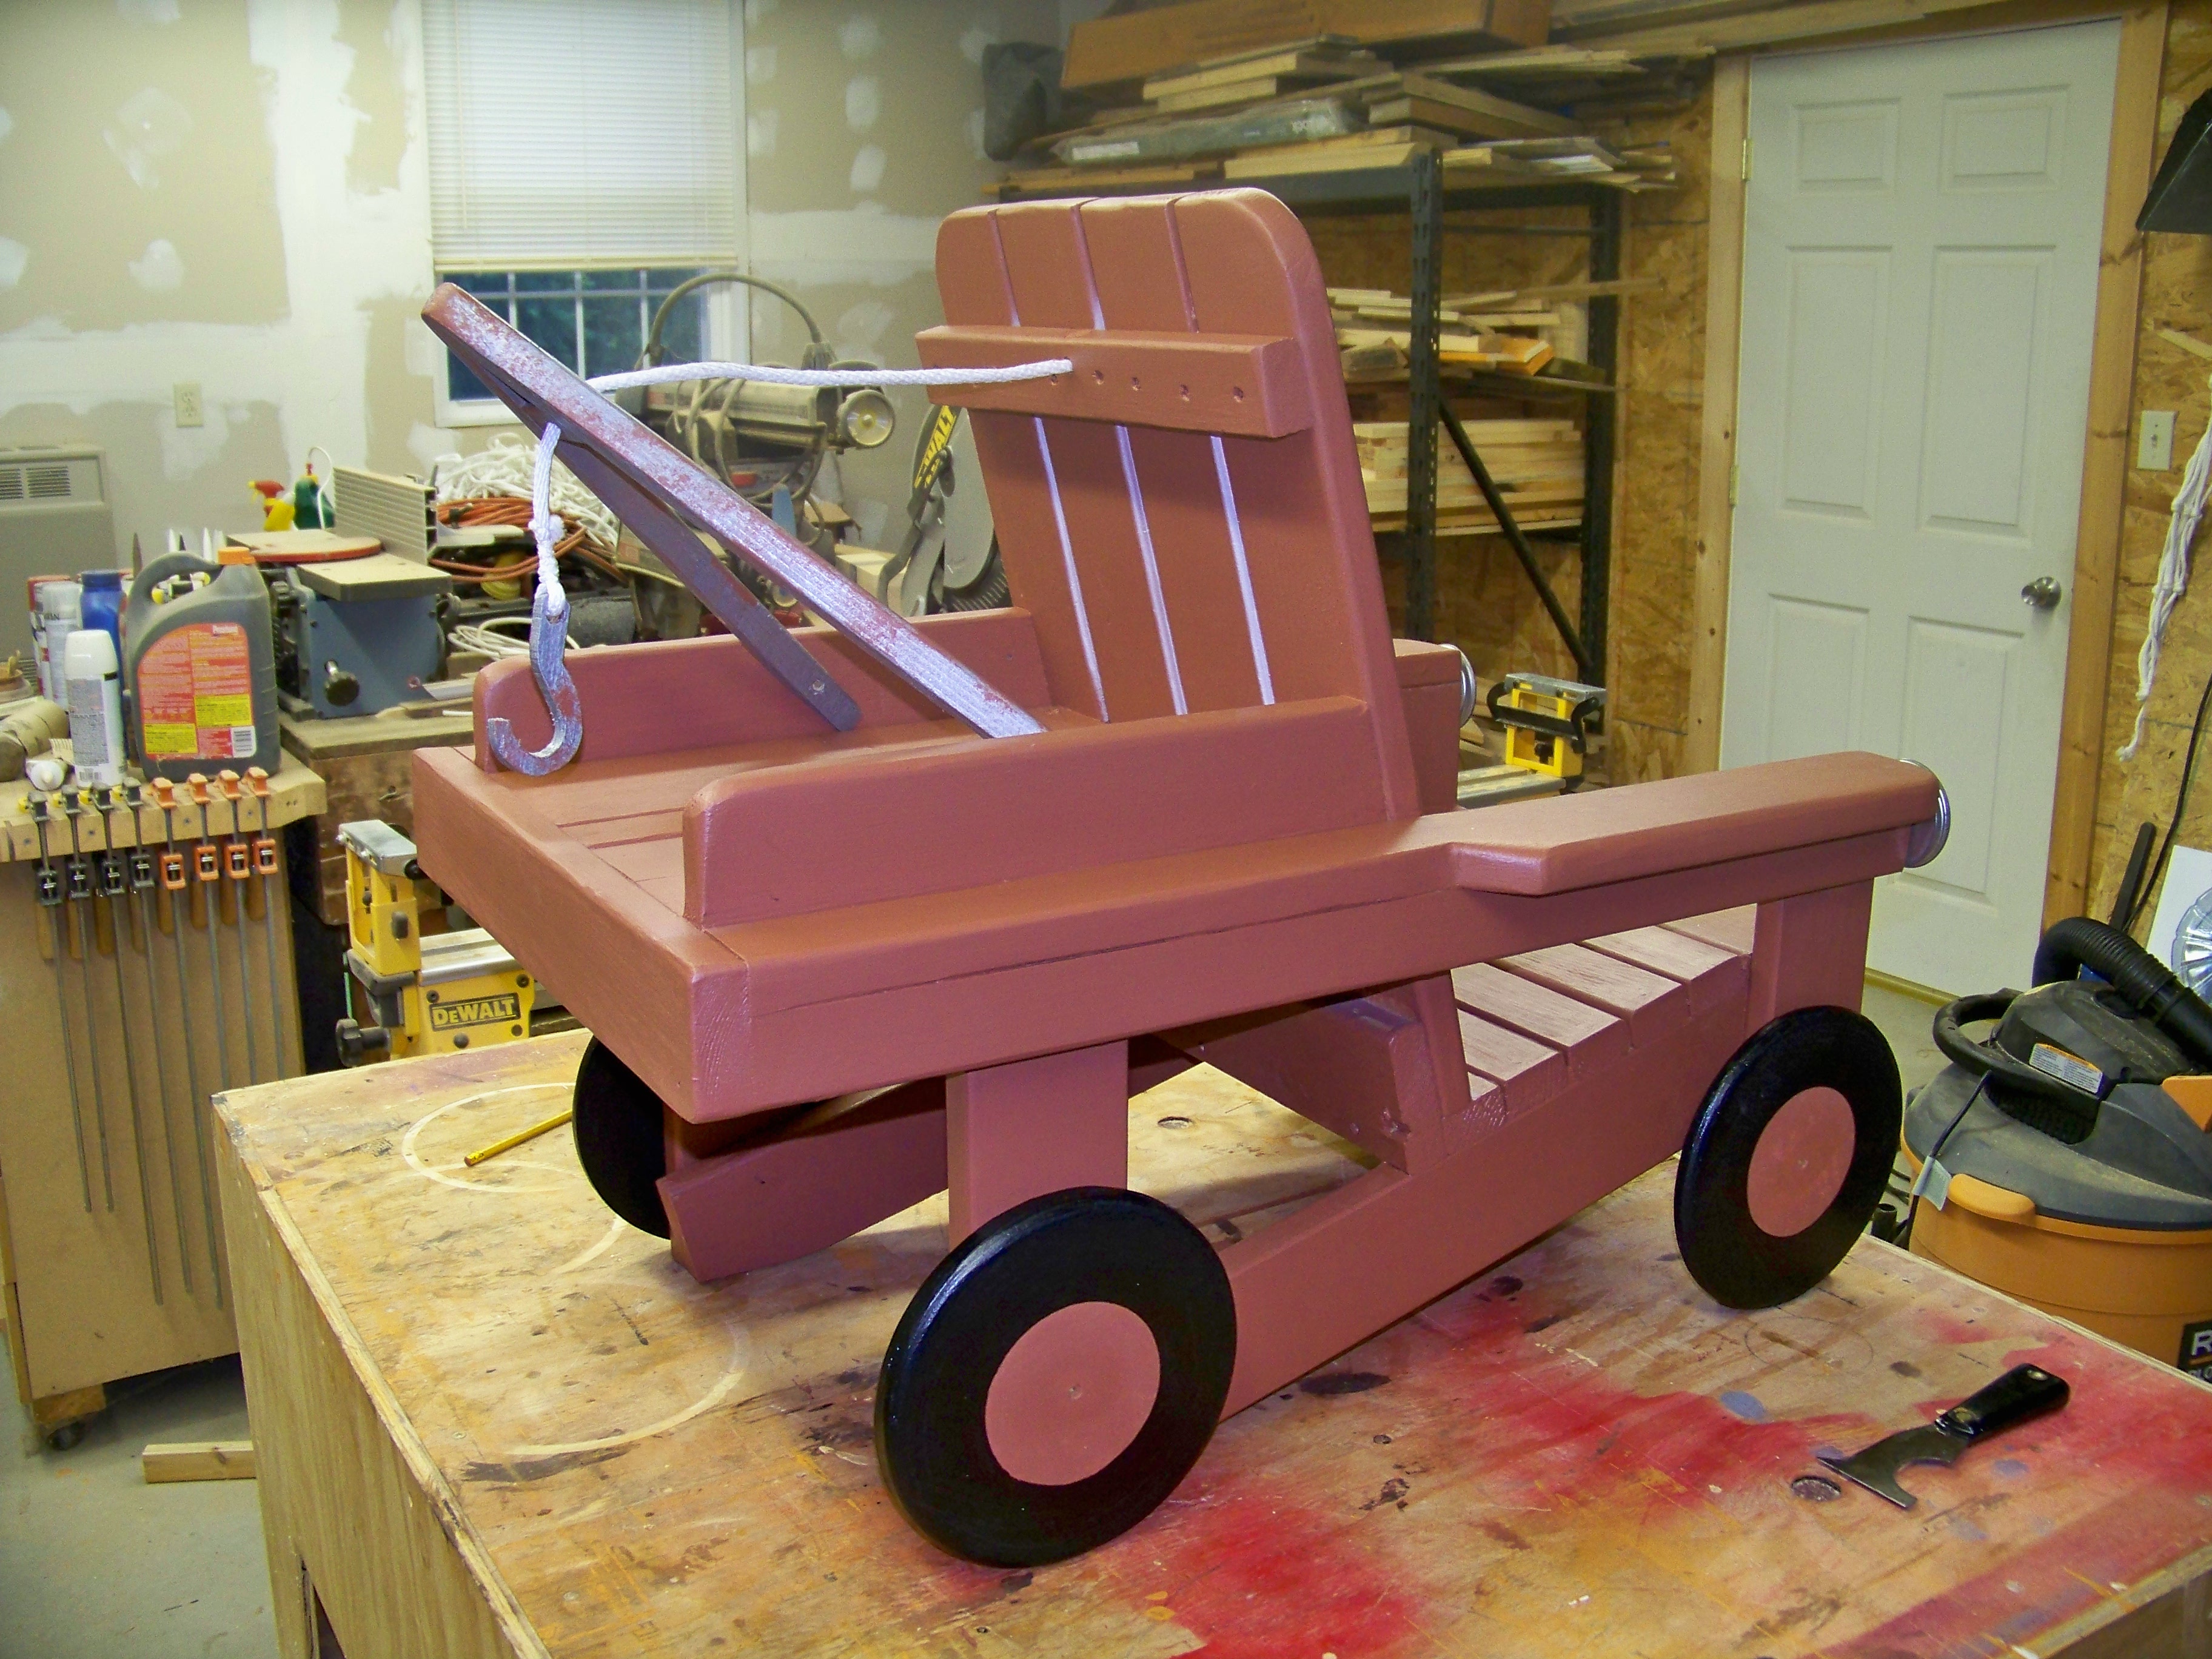
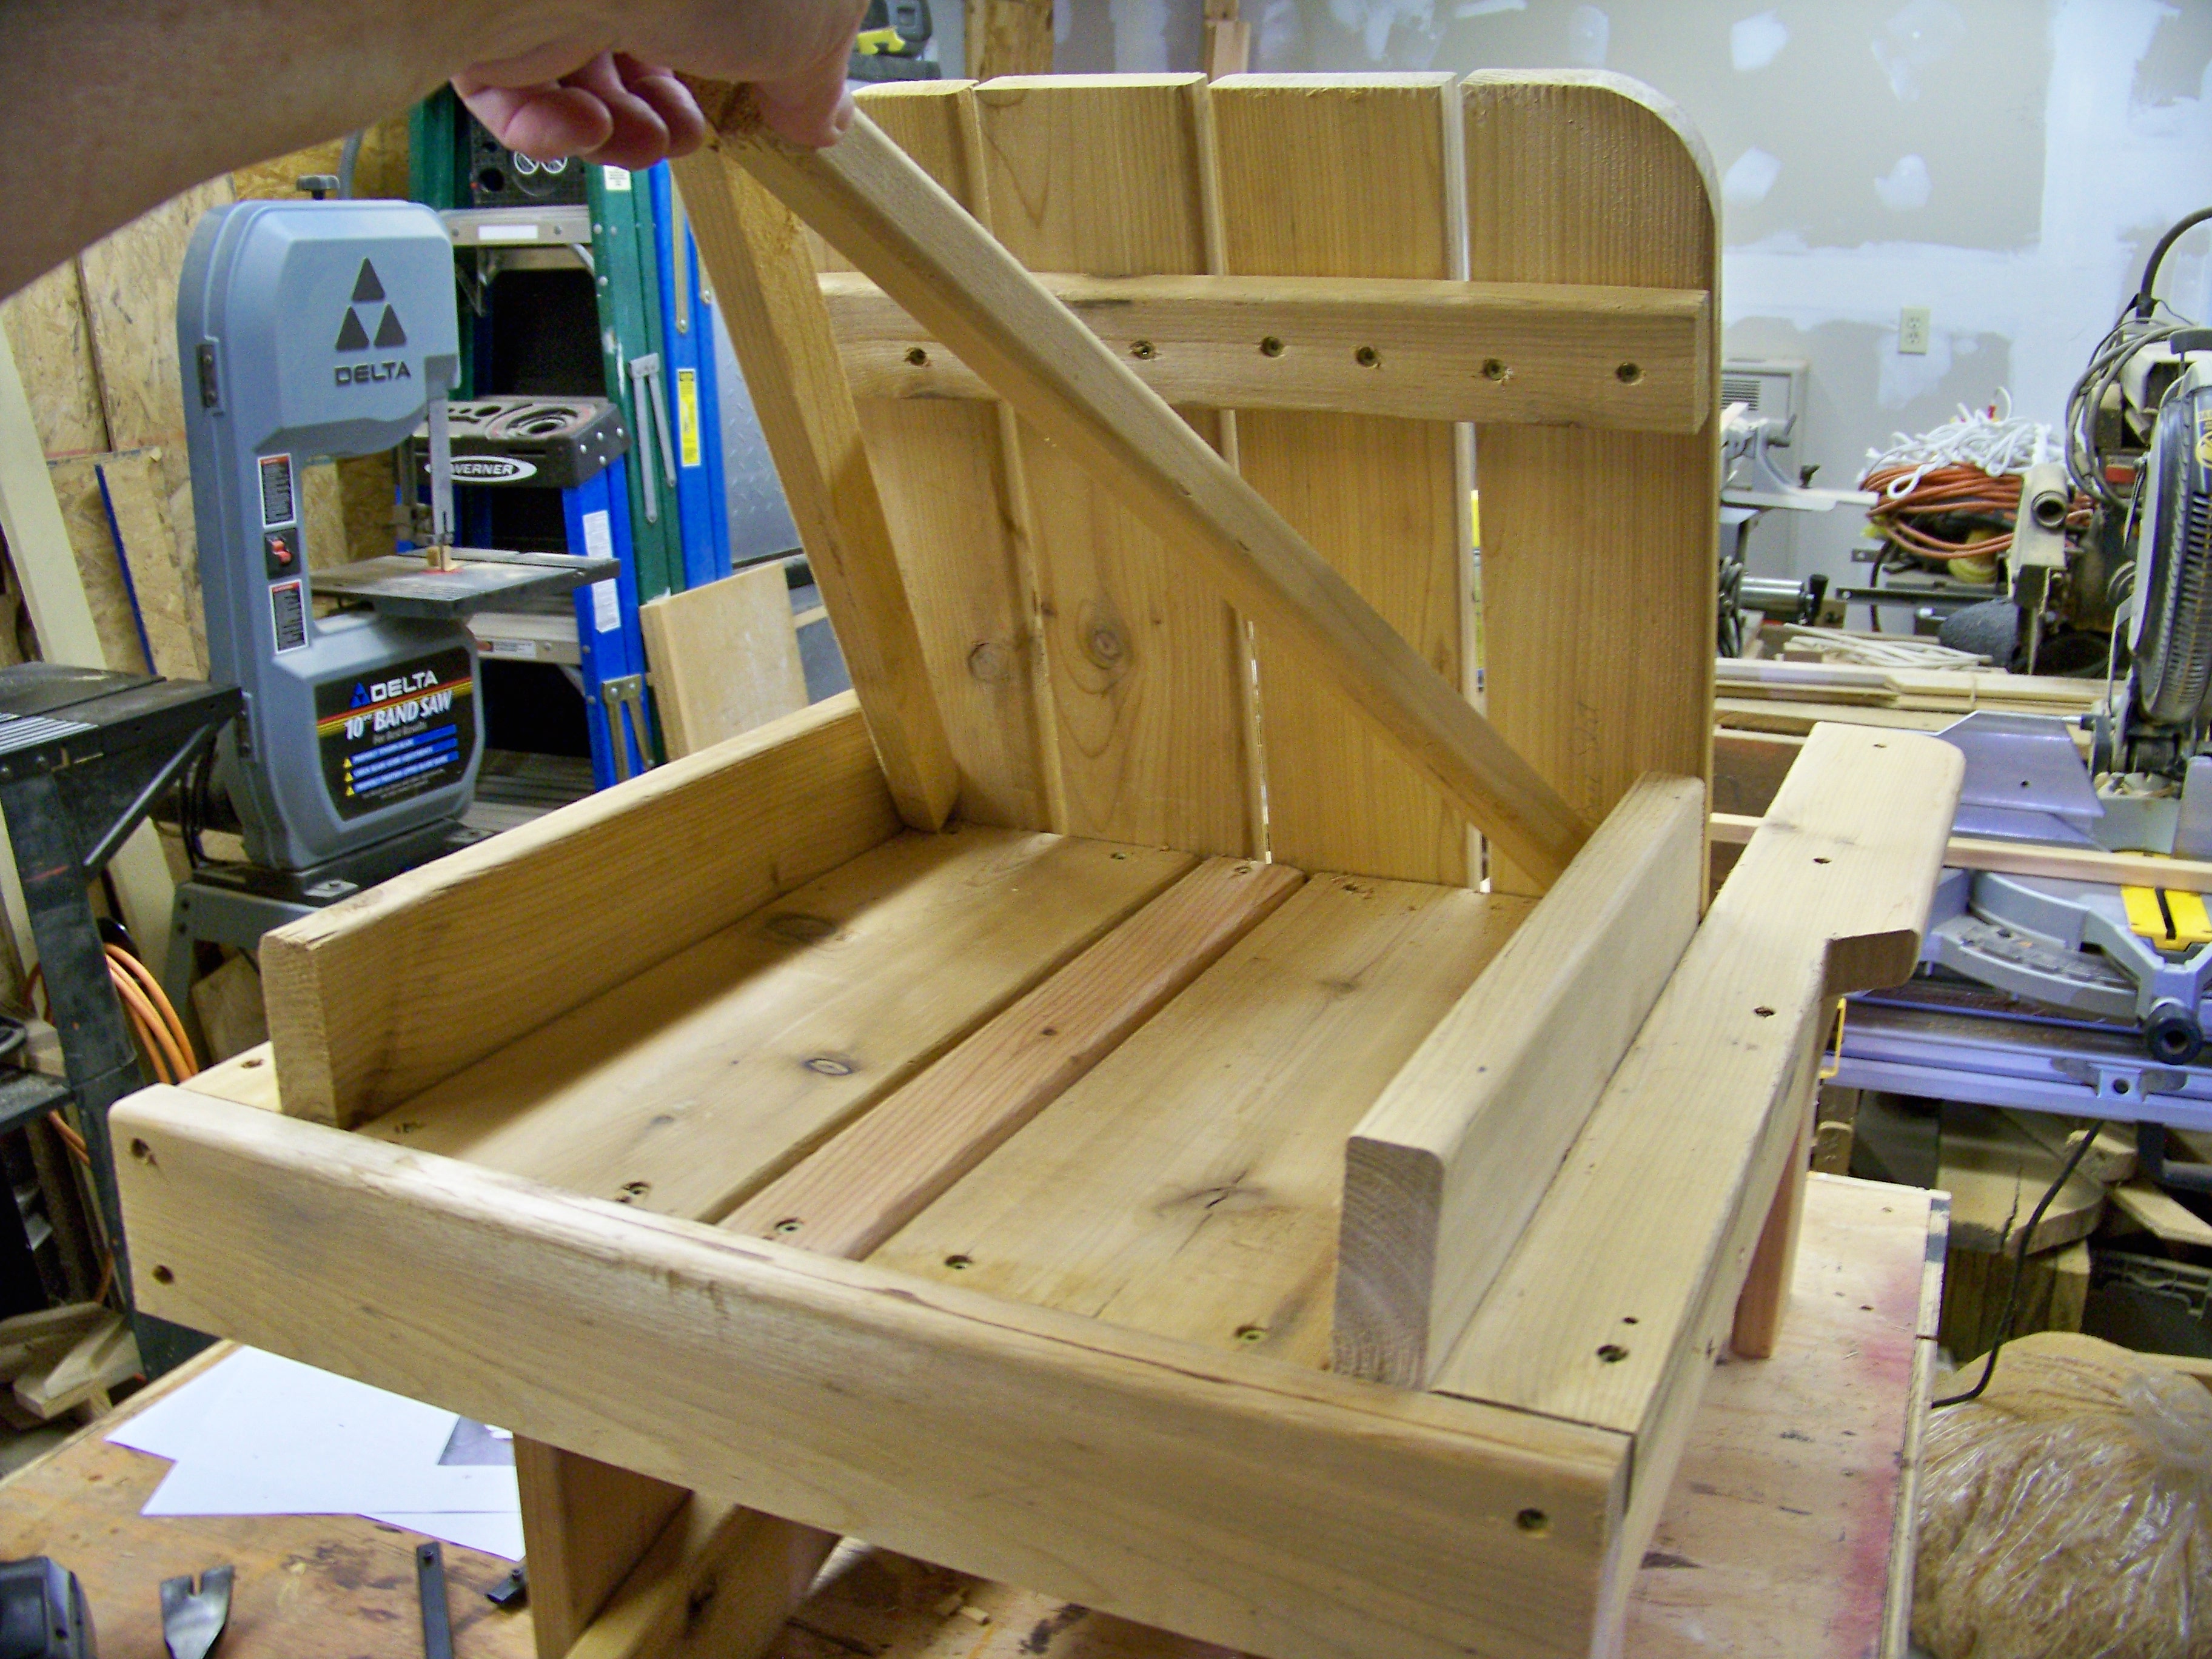
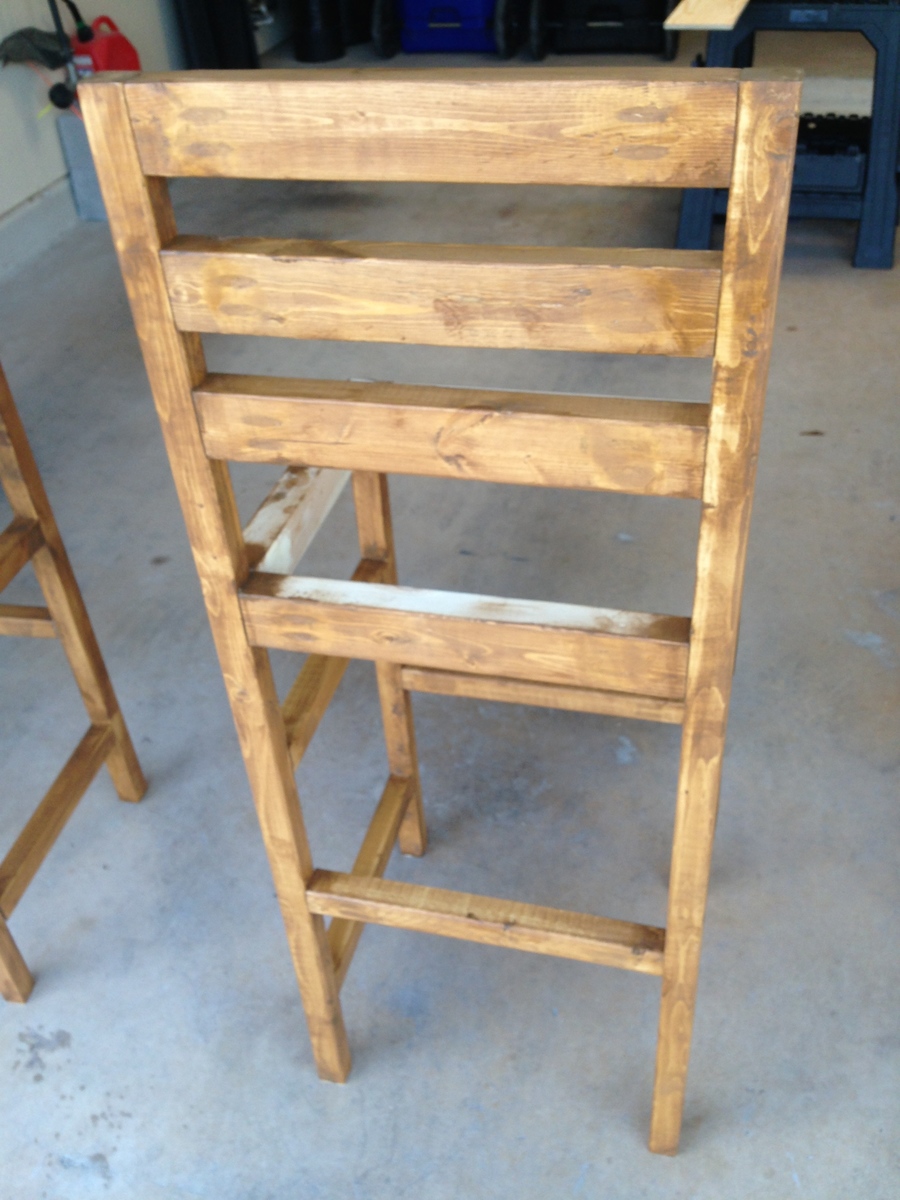
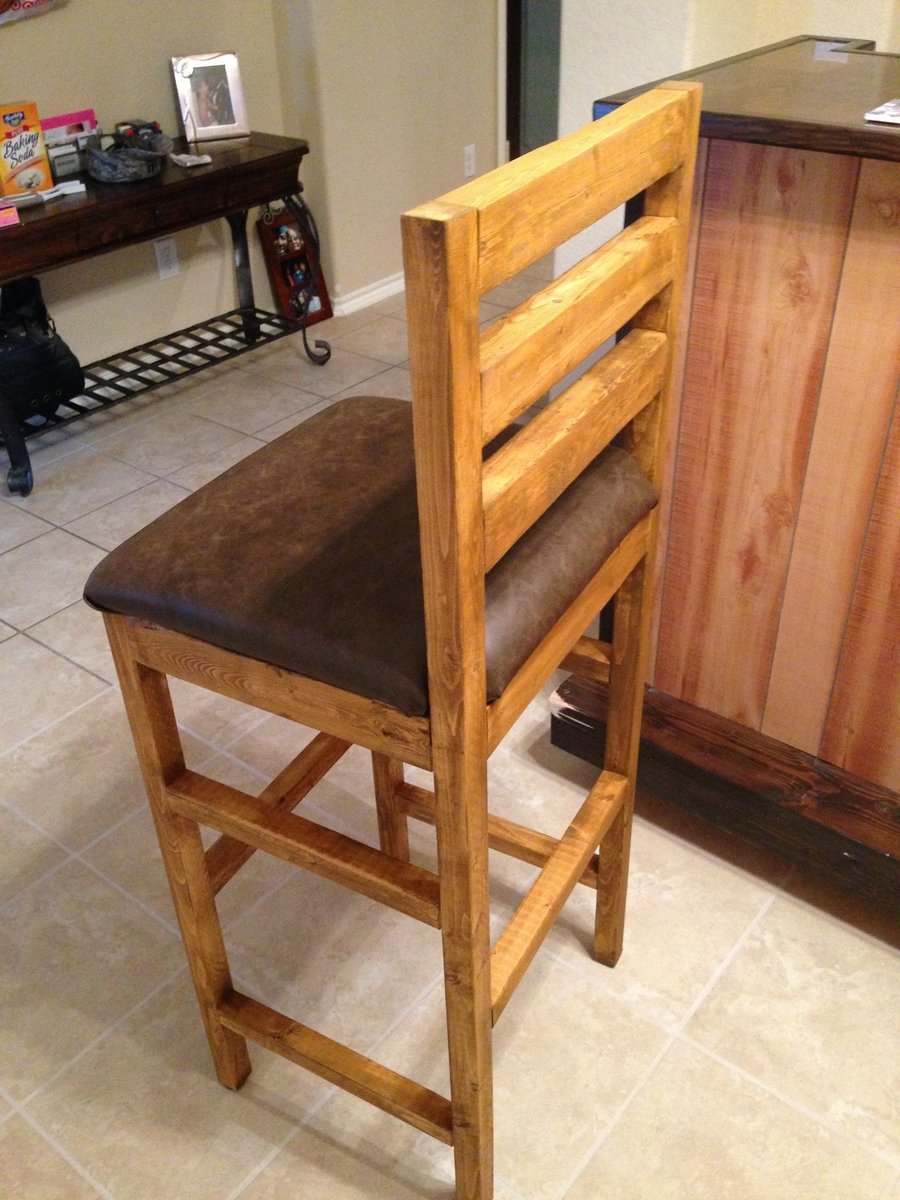
Woven Back Bench
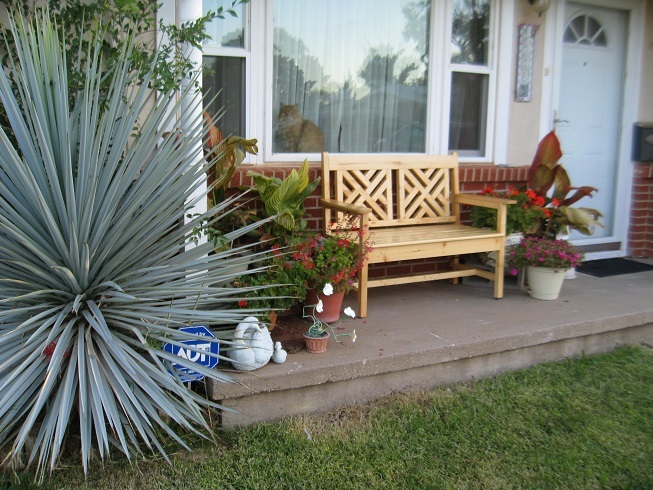
This took approximately a week to build, but was fairly simple. Drew arm rests freehand and applied 3 - 4 coats of Helmsmen.
I am a complete newbie to anything woodworking. I just turned 60 and used a drill for the first time about 9 months ago. Thanks to Anna and her plans and videos, I have developed some some self confidence in this art and absolutely loving it.
Farmhouse coffee table and king size bed is next.
Thank YOU Anna!!! You totally rock!!!!!!!!
In reply to Amazing! by Ana White Admin
Tue, 01/19/2021 - 14:31
Awwwww thank you sooooo much! That means so much coming from you! I appreciate you. 🤗🤗
I made this plant stand using the adirondack stool plans. I did not leave spaces between the boards on the top, and I added breadboard ends.
This is a chair I made from the Super Easy Adirondack Chair plan from your website.
Fri, 12/05/2014 - 18:01
This has to be T H E cutest chair I've ever seen! Keep up the great work.
Made from plans, no modifications. I've made it twice, once in a weathered natural look and once with a darker stain.
Tue, 05/14/2019 - 08:16
They turned out beautifully! What stain/finish did you use for the weathered natural balustrade table?
I wanted to show you the stand we made this year, using your plans. It was a big hit! I made the base pieces 15” long for added stability since we put 7 hooks on it and plan to add more to the “backside” as our family is growing.
Thank You for sharing !
Here is the 95% completed Fancy X Desk. The plans were very easy to follow. I would call it an intermediate level project simply because of the angle cuts. I had to reduce the size a little to fit our space. Built it in an afternoon and then applied one coat of primer and two coats of black paint. I have to wait until it is a little warmer outside to apply the poly as I didn't want to do it inside and my garage is about 30 degrees. I haven't figured out what it cost me to build but I feel comfortable saying it was hundreds less than it would have cost to buy at retail. Very excited about the result.
Sun, 07/13/2014 - 15:12
I like how you made this shorter, could you tell me how long you made it, and what the length of the 45 degree supports at the back are? I assume you had to shorten the due to shortening the length, but I can't figure how out long they should be.
Thanks! I'm really excited to start this!
I fell in love with a Printer's Collection media cabinet at the Pottery Barn, but I couldn't afford the $$$ price tag. So I decided to build it myself. Theirs was made out of pine but I made mine out of birch. It wasn't very hard to build, it just had a lot of pieces. I made 3 pieces, the center being 3 sections, and 2 shelf sections on the ends. I thought it turned out great and fits our space perfectly.
Sun, 12/07/2014 - 17:07
Charae22, this is verympressive work! Your build looks like a piece one would find in a fine furniture store for a few thousand dollars. You have built something that will surely be a family heirloom.
Fri, 01/16/2015 - 16:53
Hi Charae22,
I love this version!! I am trying to find all the plans to make the media cabinet, but I am wondering if you wouldn't mind sharing your plans for your media cabinet?
Built this using Anna White's "MIMI'S FAUX MANTLE" but instead of using crown molding I elected to use STONE TILES in neutral tones and finished the surround and mantle in white giving the piece a nice soft appeal. The building plans were easy to follow and took about 2 days to complete the whole process (because of drying times) not to mention how reasonable the cost was. I already had the tiles, adhesive, and paint from left over projects.
Distressed antique wood finish curing nicely. Minwax common grey, dark walnut, and an off-white latex limewash. Stoked for the mattress to arrive!
First project from Ana White, and loved it! Building more as we speak. We loved this table but wanted it in painted finish. We chose to fill in some of the gaps to make it look a little more finished. Very happy with the result!
Tue, 02/05/2013 - 18:44
Thank you! It was our first attempt at a glaze. We shortened the table length wise and then used 3 2x10s instead of 4. For the finish we painted the table Navajo White Behr color from home depot. We then mixed about 1 part of a Minwax espresso stain with 4 parts of Behr Faux Glaze. Then we just rubbed it on with rags and waited a little bit and rubbed it off.
Wed, 02/06/2013 - 15:29
WOW Extremely nice I am from Arizona and the color you have chosen is just perfect nice job and finish congratulations on being the proud owners of a Very Beautiful Table
Mon, 02/18/2013 - 17:39
Great job! Beautiful finish. I have yet to build anything, but this is my favorite plan from Ana White and I will be starting it as soon as the weather cooperates :/
Nicely done!
Wed, 06/05/2013 - 18:58
Nice job, I just finished mine and followed plans 90% of the way. I altered the legs to look beefier. I have not finished mine yet. I spaded the top and will be using it outdoors so unsure what I want to do for the finish. But thanks for sharing.
I needed a 6 foot desk, but could not find one online that I liked that was within my budget.. I decided to make this desk and modified it to a 6 foot with a foot rest in the middle so I can have both sides functional and have a spot to put my feet up... I also added 8 shaped fasteners to attach the top to the base.. I was so inexperienced when I started this project that I had to watch videos on how to use a drill and the pocket hole jig...So if I can do this, anyone can, Thanks Ana for inspiring me!! I am on fire to do so many more... !! I need so much more tools now!!!
Mon, 01/04/2021 - 09:54
I am so happy to see your first project, I'm sure there will be more to come! Thanks for sharing:)
We had to narrow the width of the table so that it would fit in a hallway. We distressed it..a lot and then washed a stain over the paint. Soooo pretty and rustic. Love your website!!!
We started this late 2013 and finished it June 2014. We used an old IKEA bed hardware for the middle support for the full mattress. We had to use Hemlock Fir "white wood" for the 4x4's (found at Menards in Wisconsin). We used Satin polyurathane from Minwax and allowed a month for the fumes to die down. My boys and guests seem to enjoy the bed.
I ran across this when looking for ideas for a coffee table. My wife wanted a rectangular table, rather than a square - simple adjustment. I ordered the legs from
Osborne - great selection and good service.
theses are the $10 ledges, i used 1 1x4, 1 1x6, and 1 1x2. i made a total of four which measured 2ft long. it was very easy to do, and was pretty fast, and really cheap
Made this dresser for a friend. She has 2 boys and wanted a sturdy dresser. The Hudson plans are clearly written and the illustrations are great. I used 100 pound full extension drawer glides and reinforced the areas where the glides mount with 2x2's to ensure the glides would not rip loose. I modified the drawer construction using finger joints for increased strength.
The flush mount drawers offer a challenge to get the spacing right and that the drawers are flush.
We absolutely LOVE this clubhouse bed. Not sure who loves it more, my litte boy or his parents! My husband has zero wood working skills, but his dad has a few wood working skills, so together they made this happen. We bought half of the lumber-cheapest whatever we could find, and my father -in-law bought the other half -the much more expensive stuff. We probably could have made this around $150-$200 using all the cheap stuff. We added a window box to hold little super heros and a shelf on the opposite window, we also added a shelf half way up on one of the post at the bottom to hold a lantern. We raised the bed 4 inches higher to give more room at the bottom. We used ply wood for the bottom of the bed rather than slats. We used a cherry 223 Minmax -1 coat and then put a clear coat on it.
My wife and I built our whole bar, from the shelves, bar, and the kegerator! We needed stools to round out our endeavor but we werent willing to shell out the kind of money required. My wife found this plan and we morphed it a bit to meet our needs. The KREG JIG saved us big time! The seat upholstry took us a bit of time, but we figured it out thanks to YouTube. Great project for a weekend, took us a tad bit longer due to the arrival of our daughter but, we still got it done!
My wife used the benchmark media console plans with her own idea for the doors
Comments
Ana White
Thu, 12/04/2014 - 22:37
This is really nice! I love
This is really nice! I love the yard too!
earthbybike
Sat, 12/06/2014 - 12:27
Thanks!
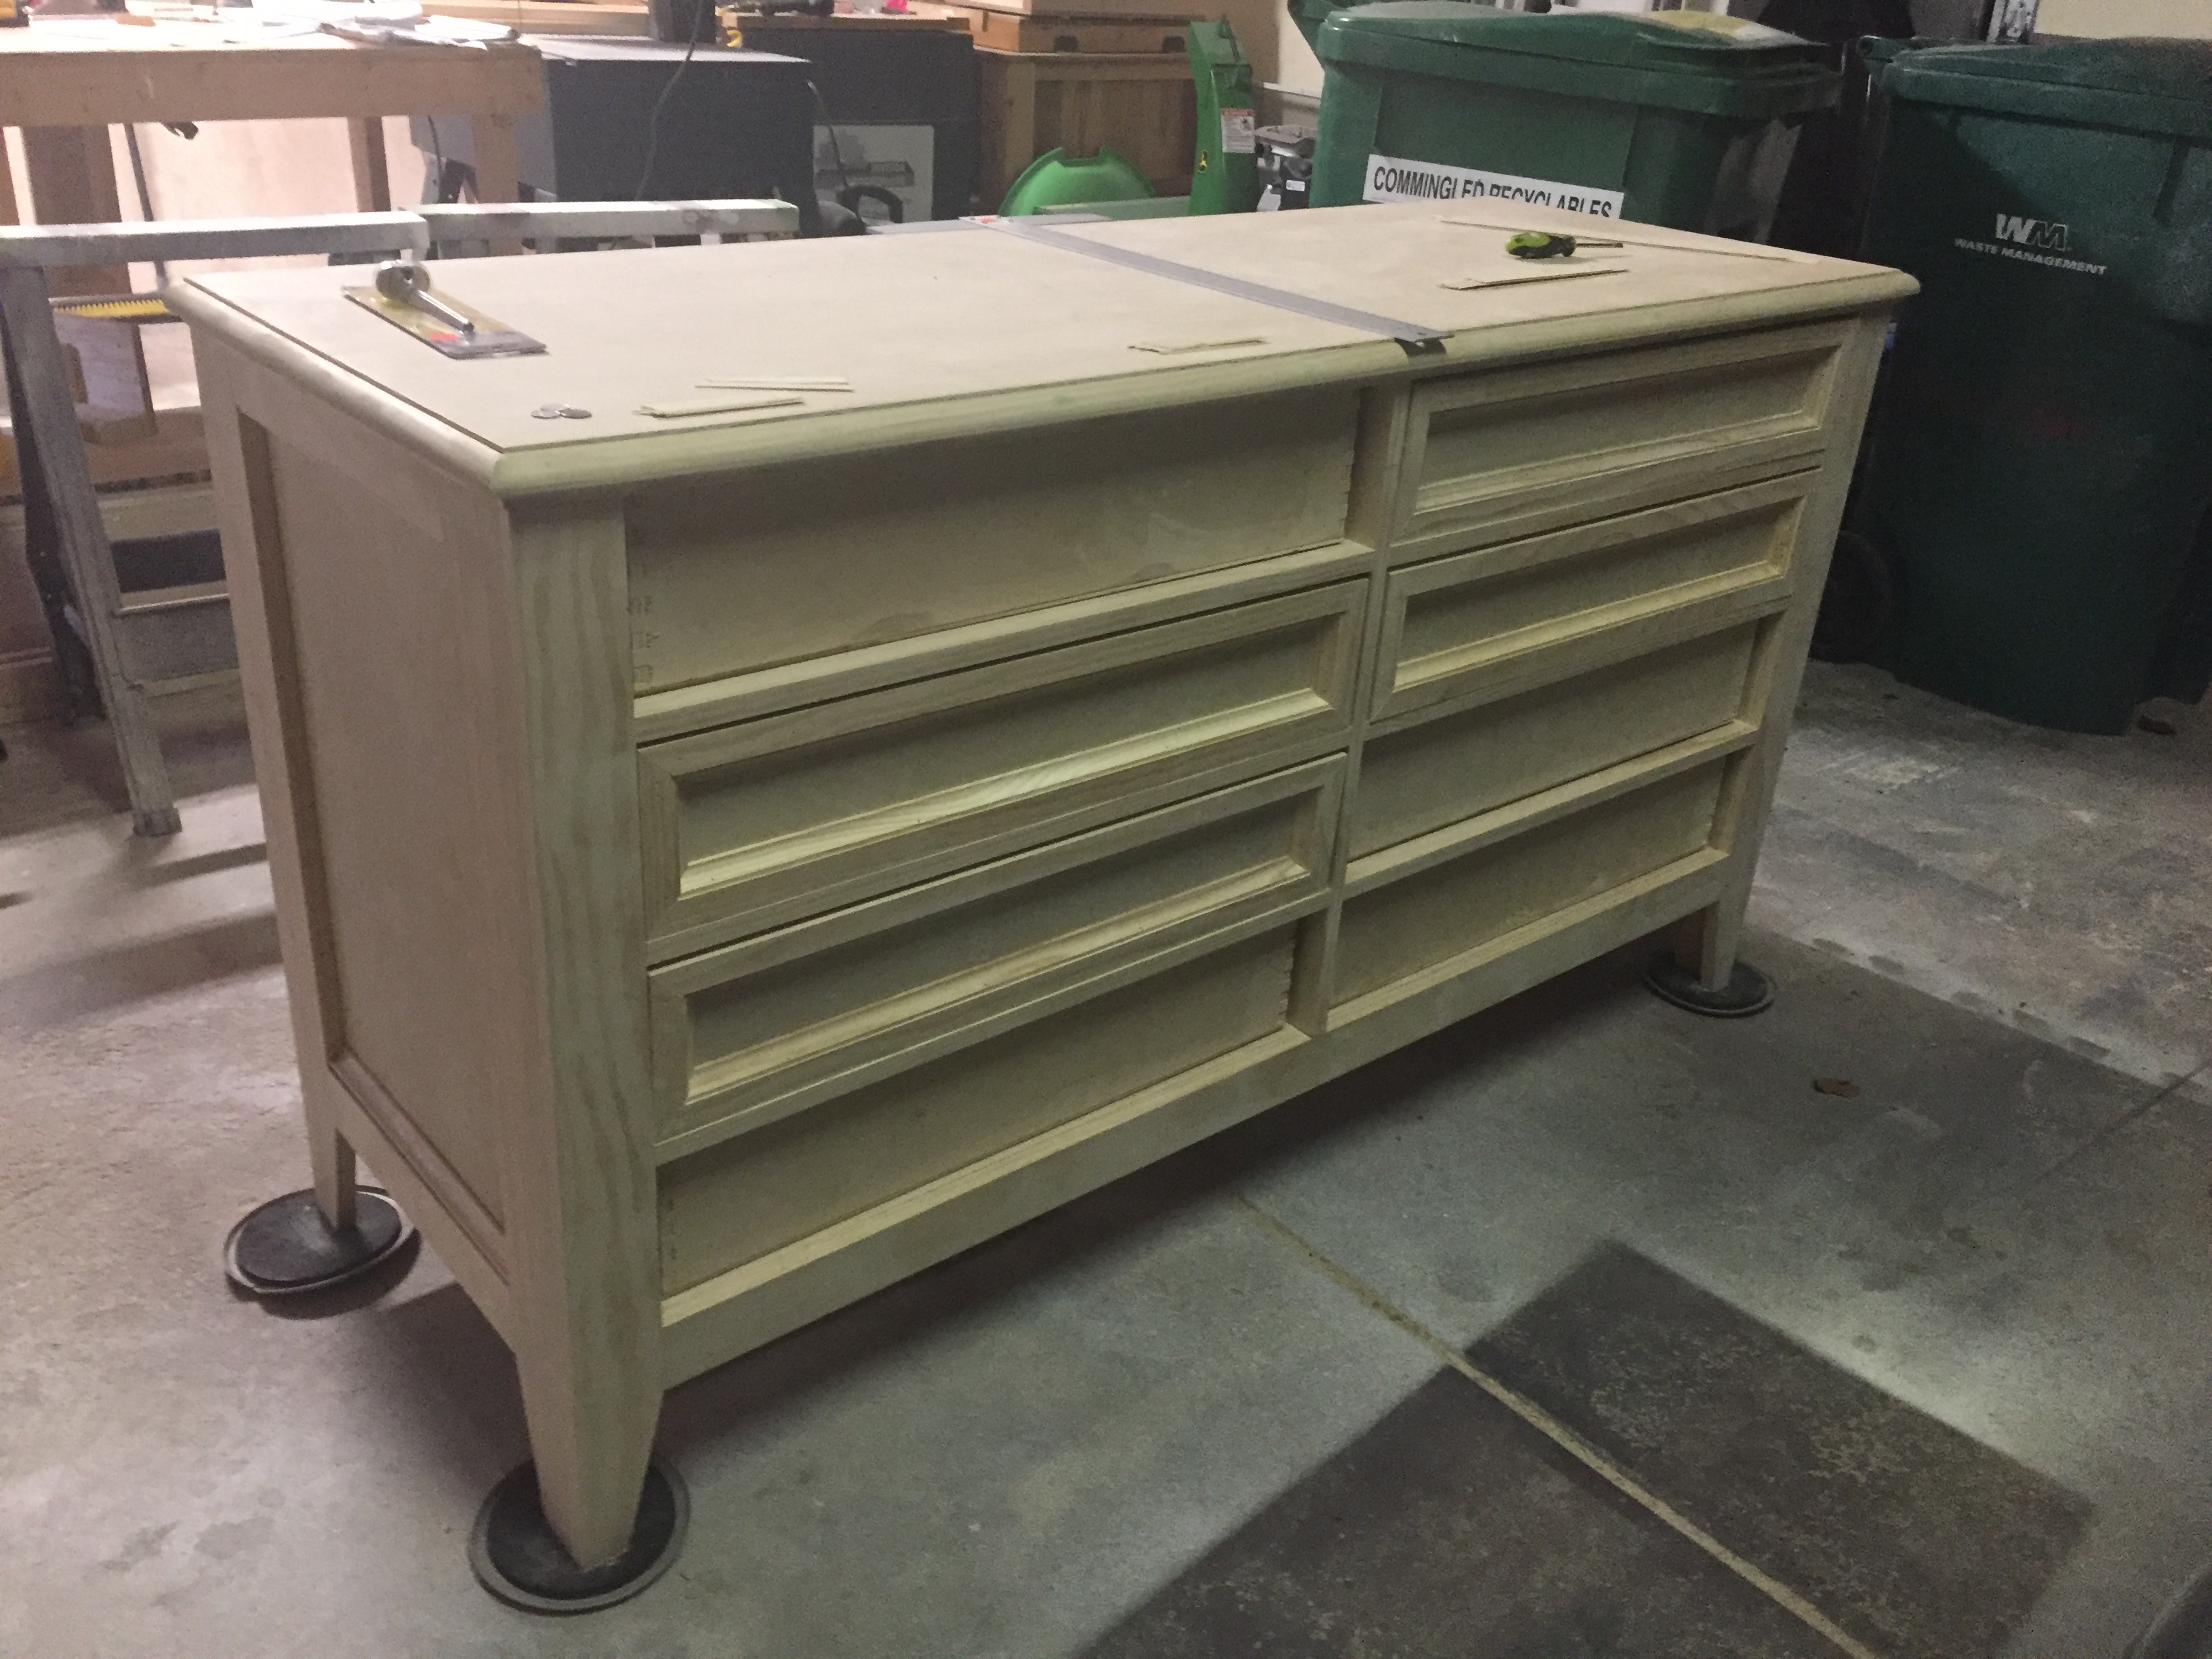
I built this at the local college woodshop and I am very happy with how it turned out. Our comminity is so very lucky to have a community college that has a wood shop and a huge spray booth. (Wood Shop 1 & 2 as well as Cabinet Building 1 & 2)