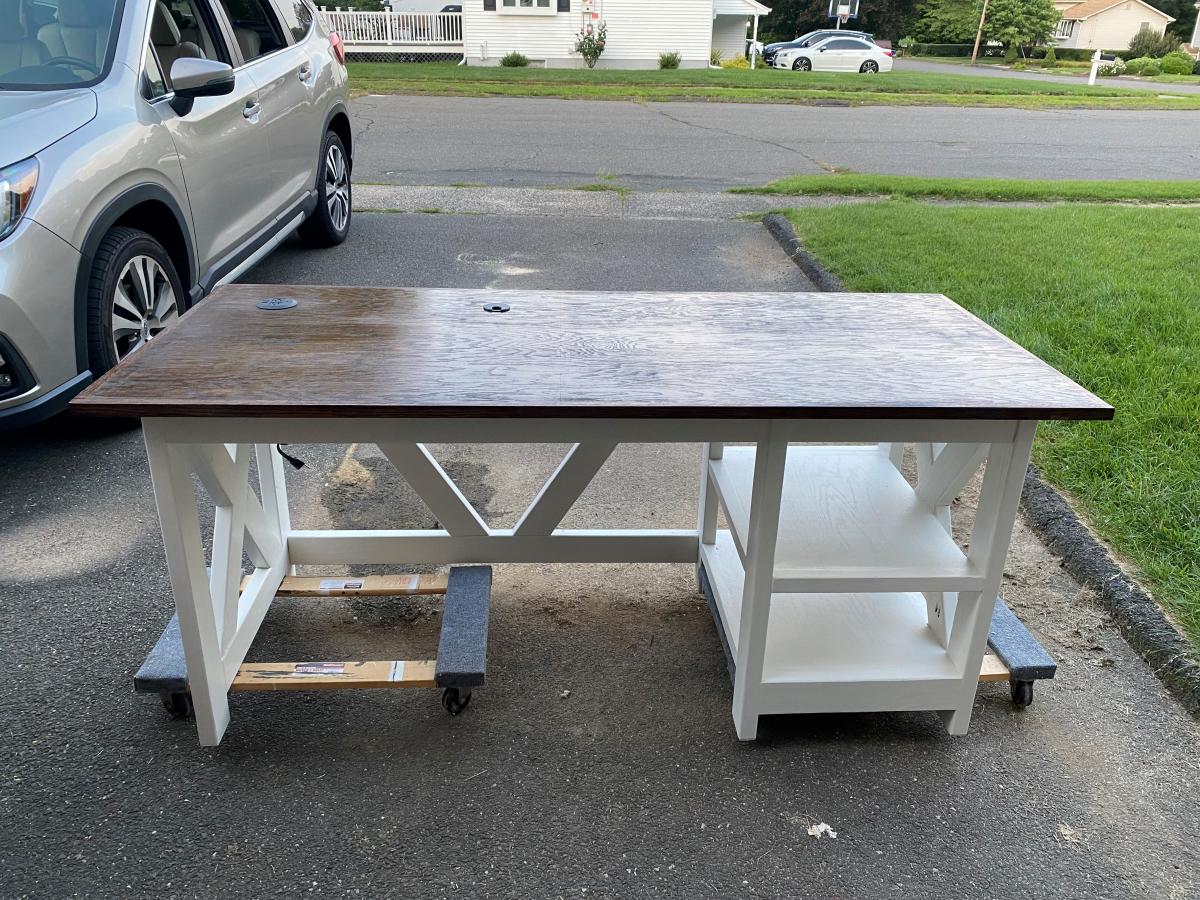
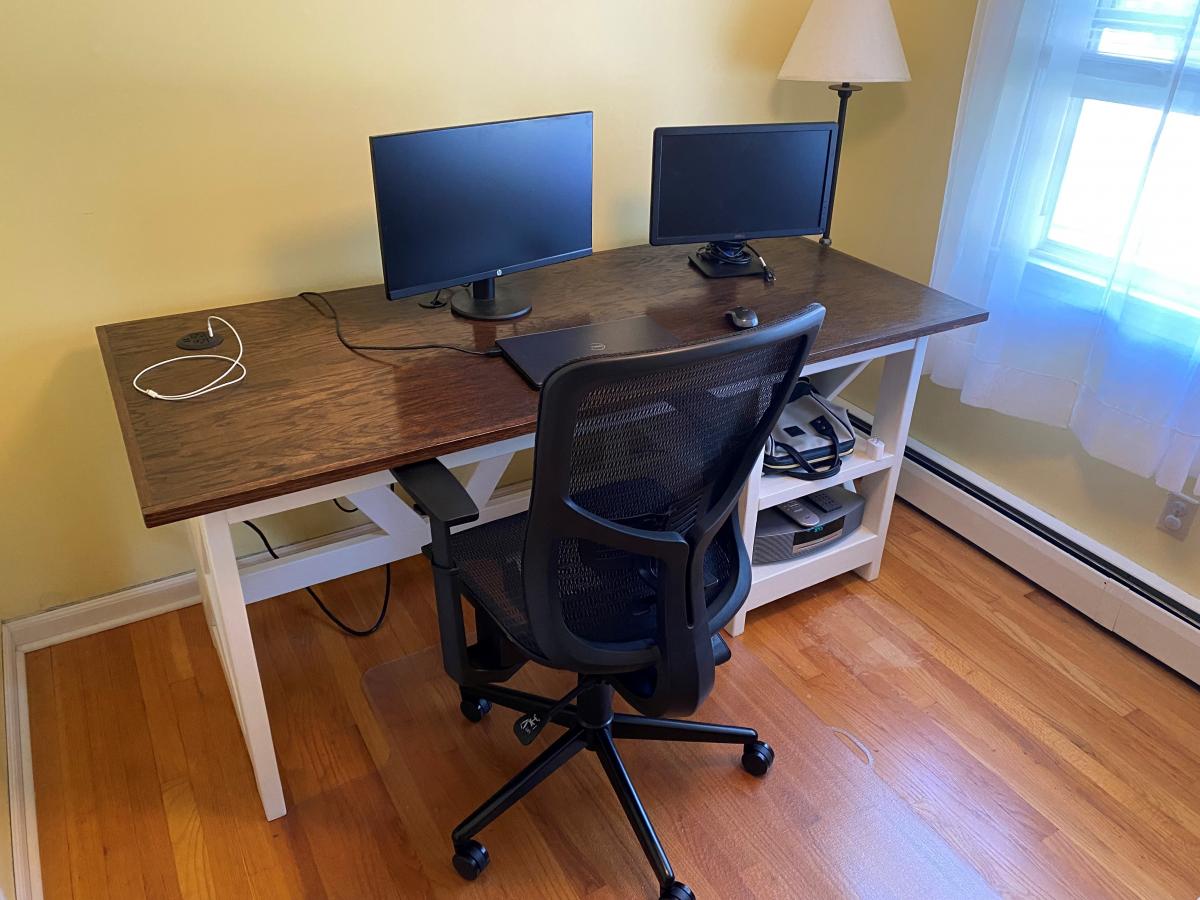
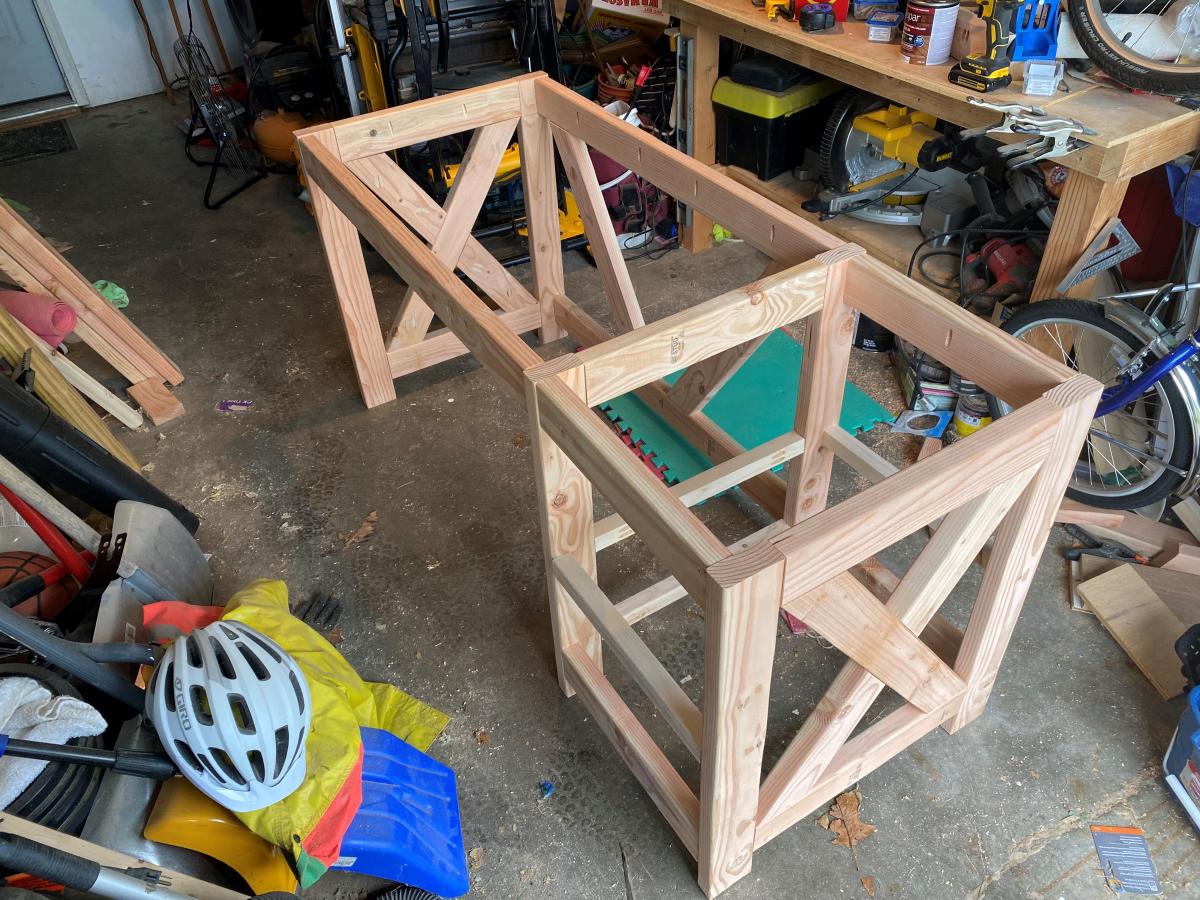
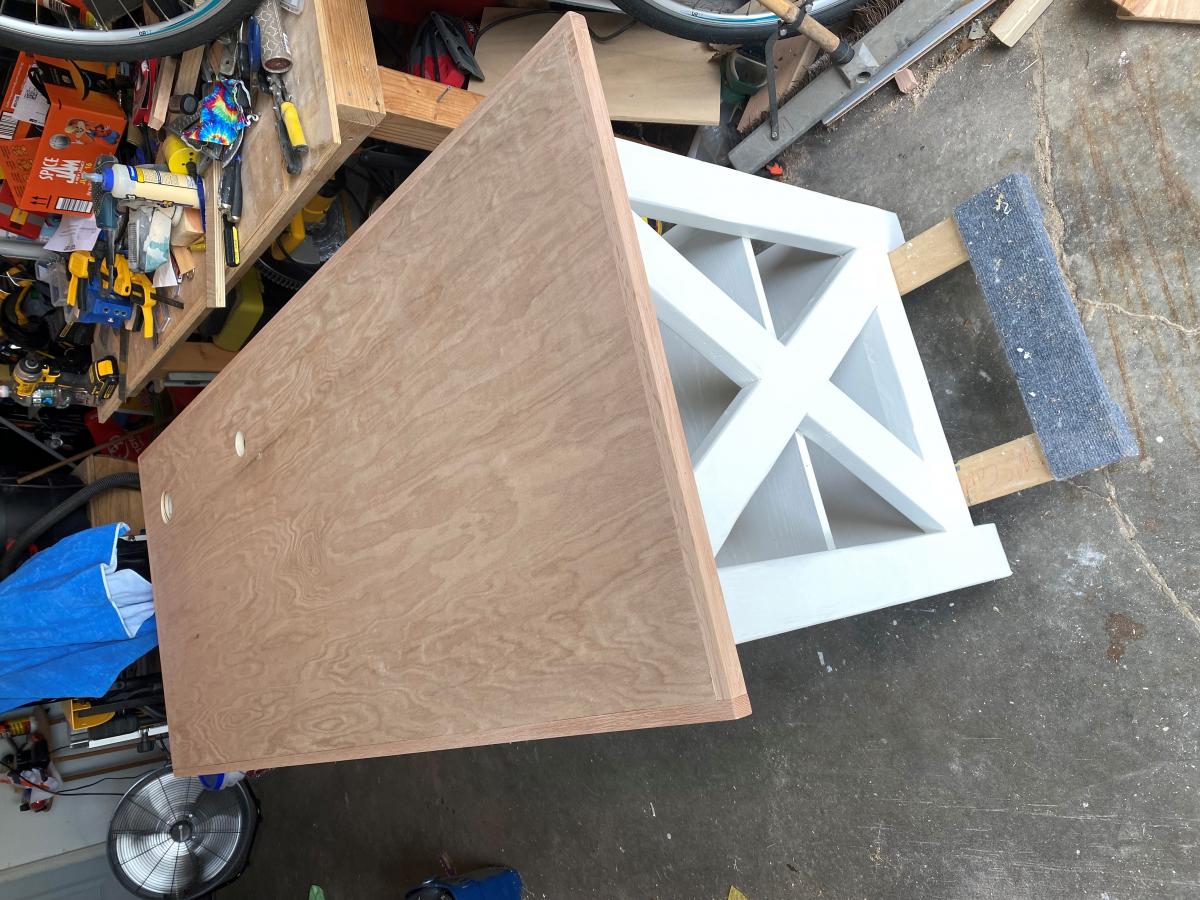
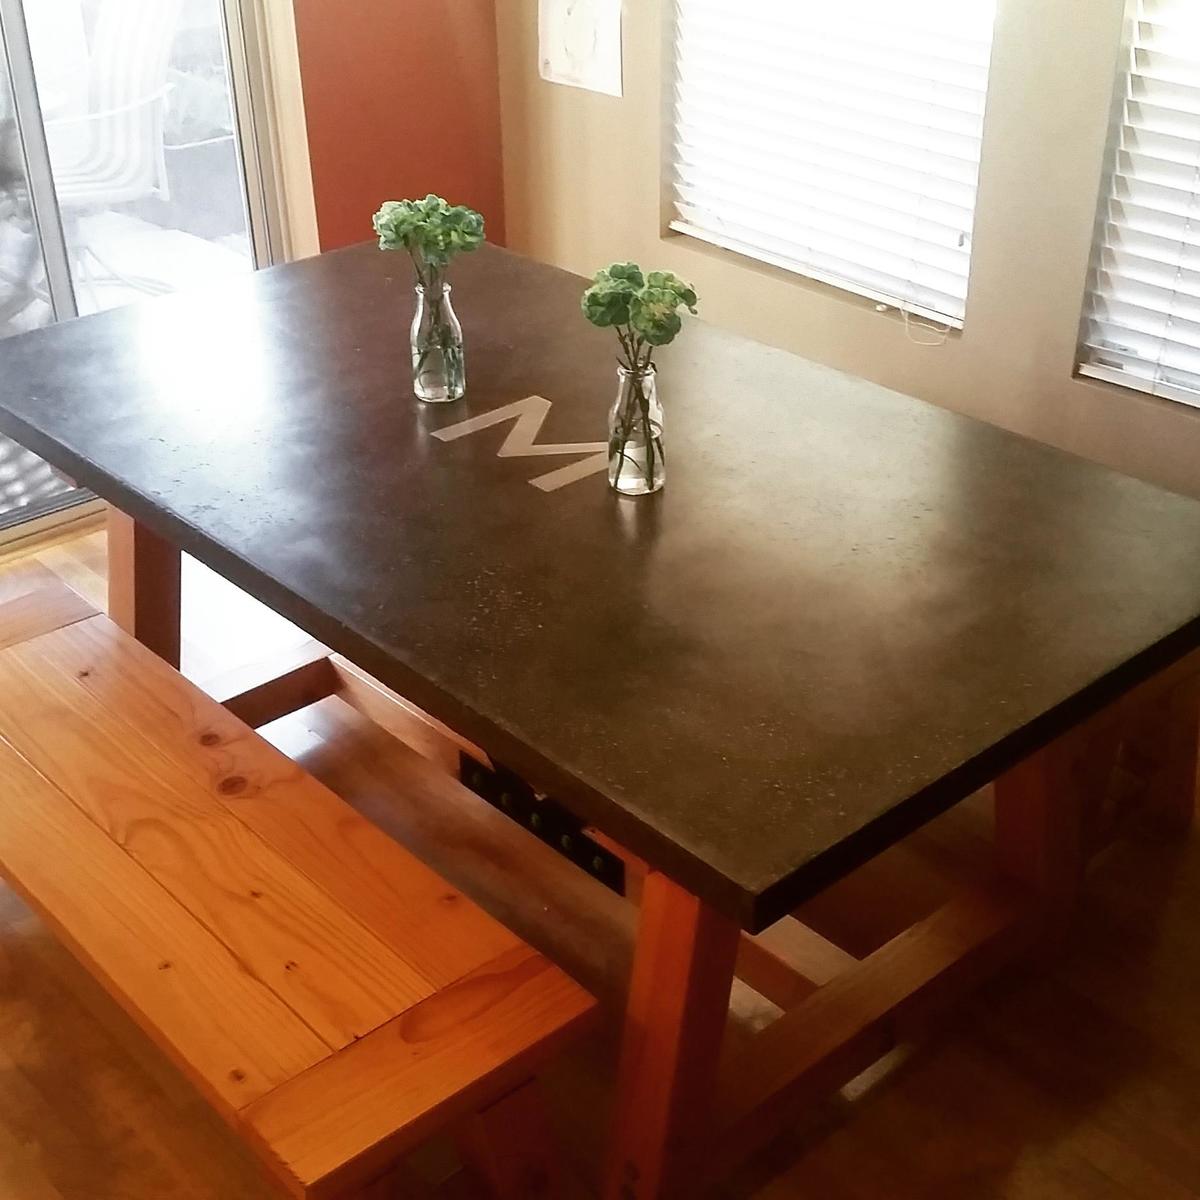
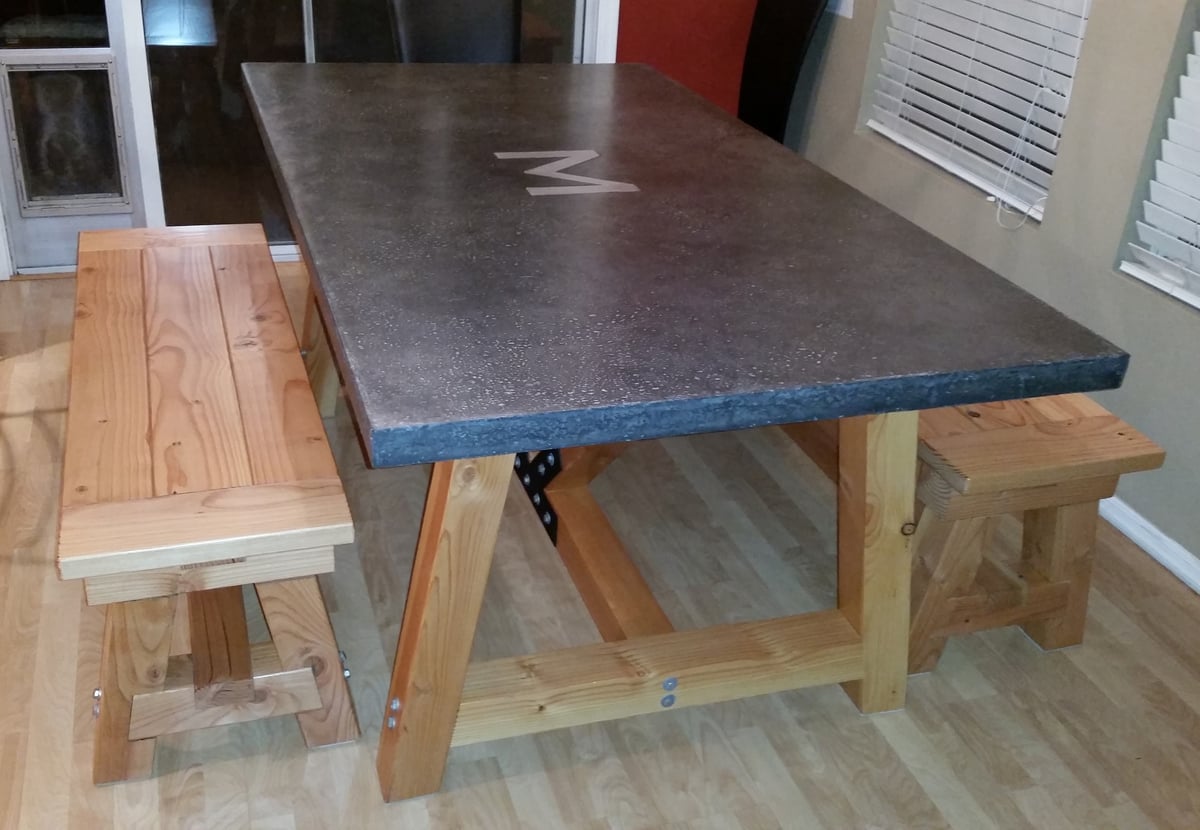
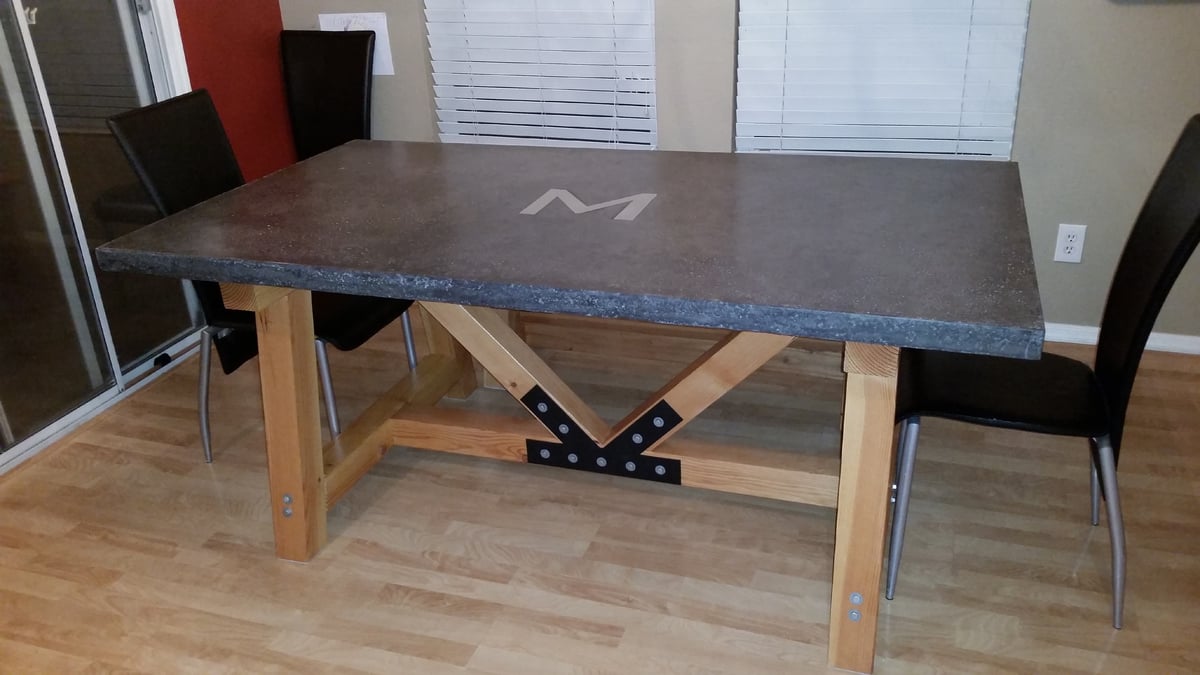
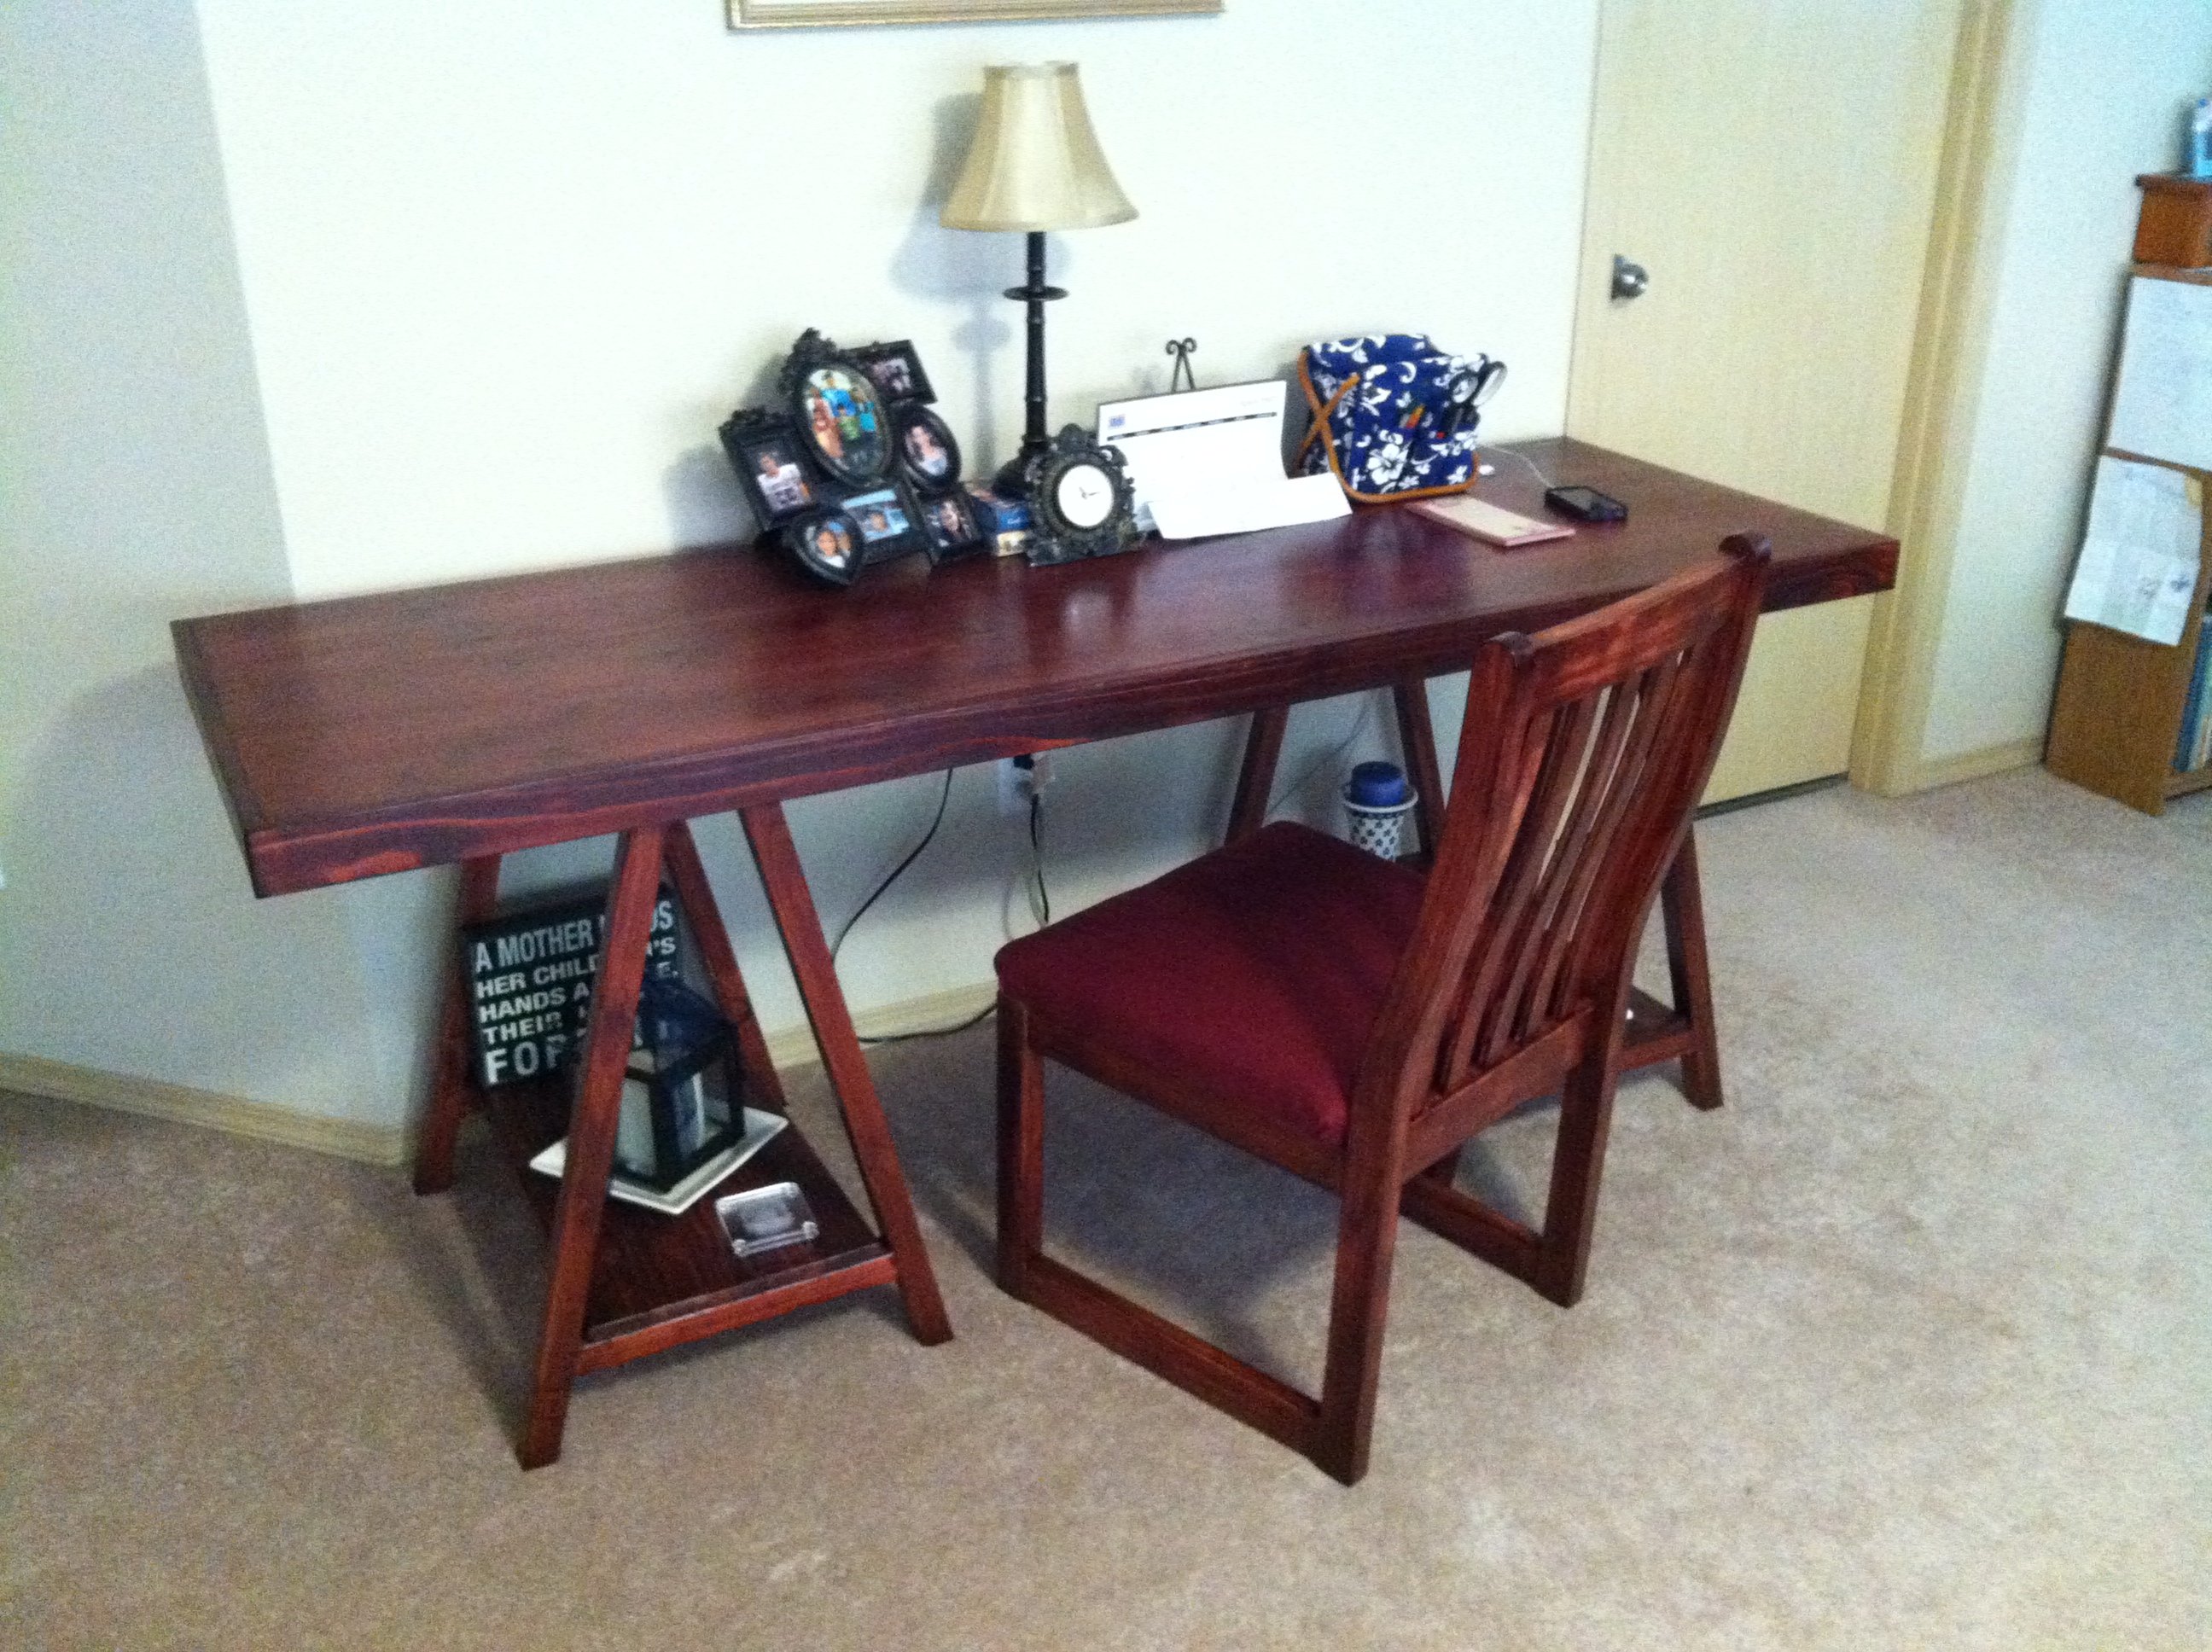
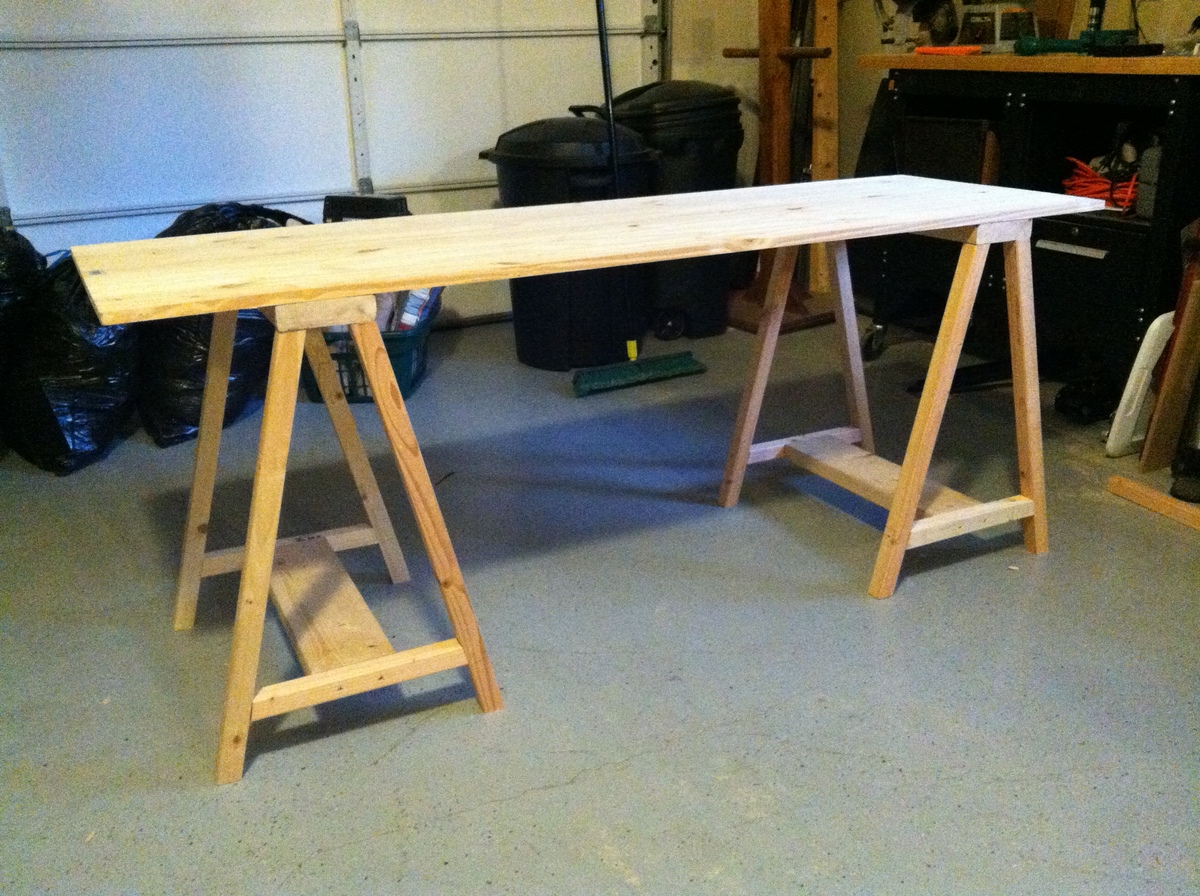
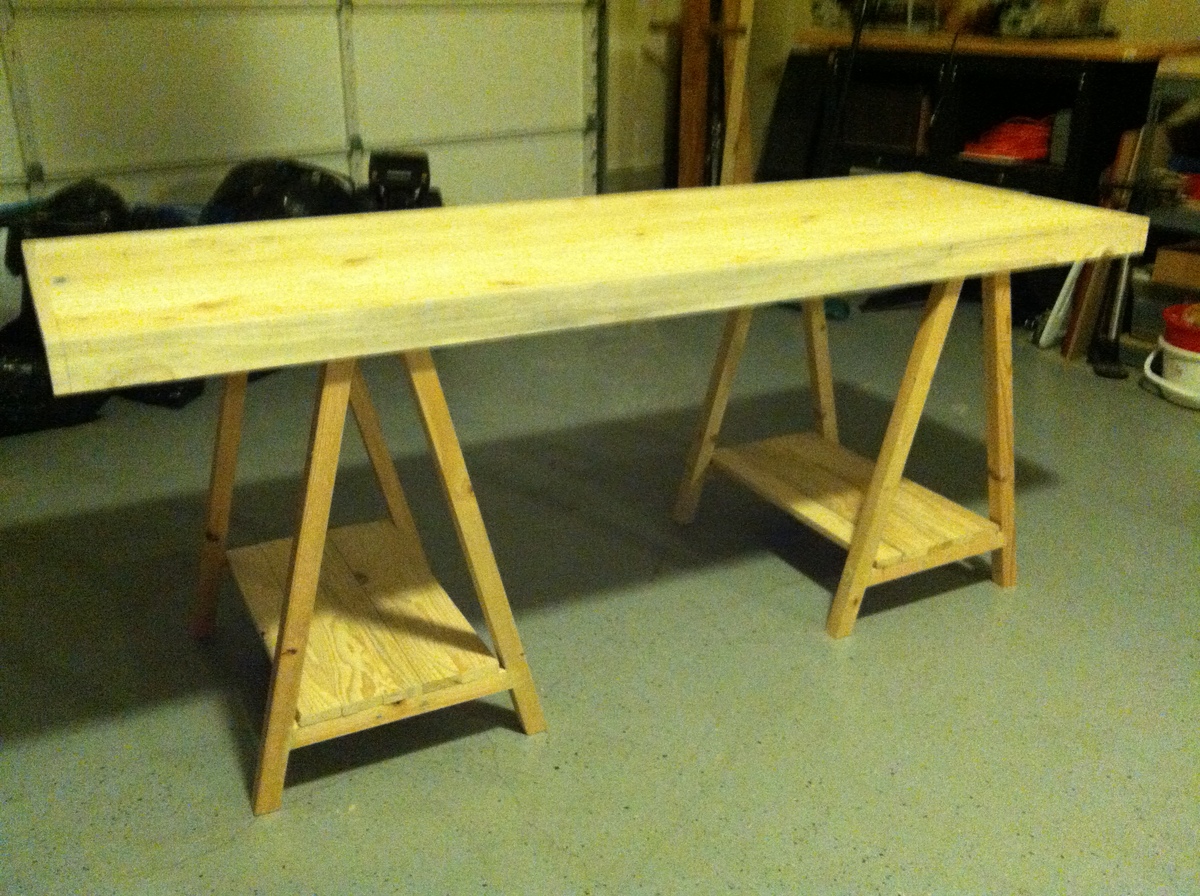
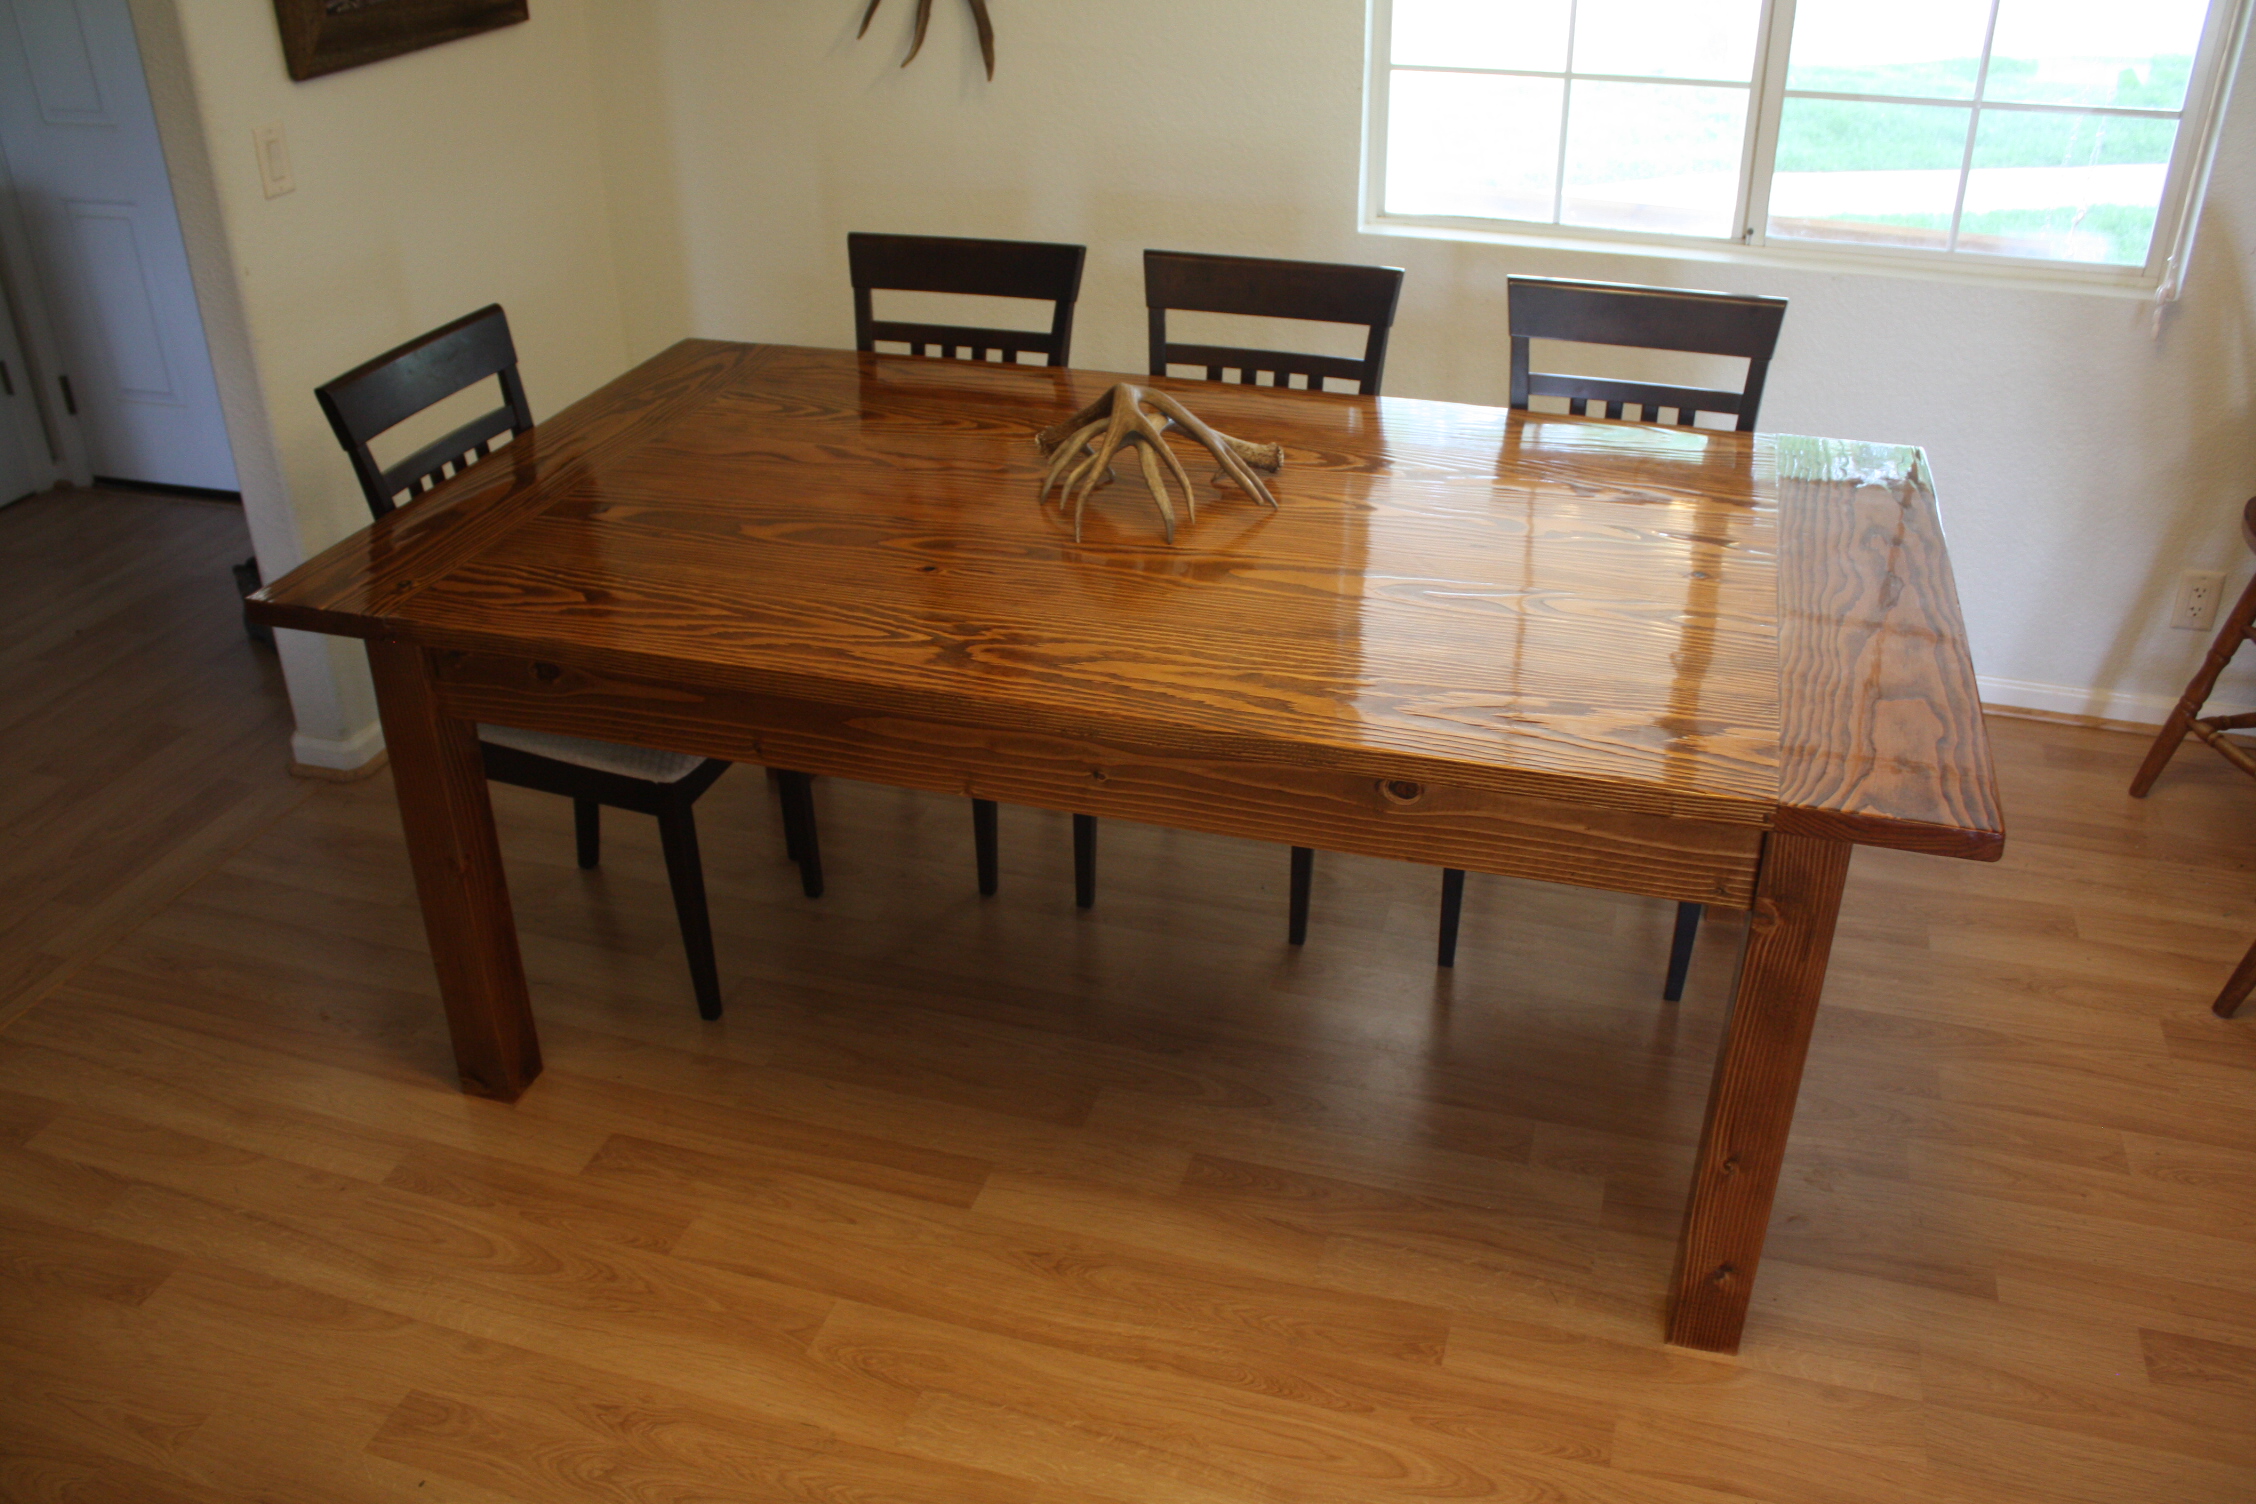
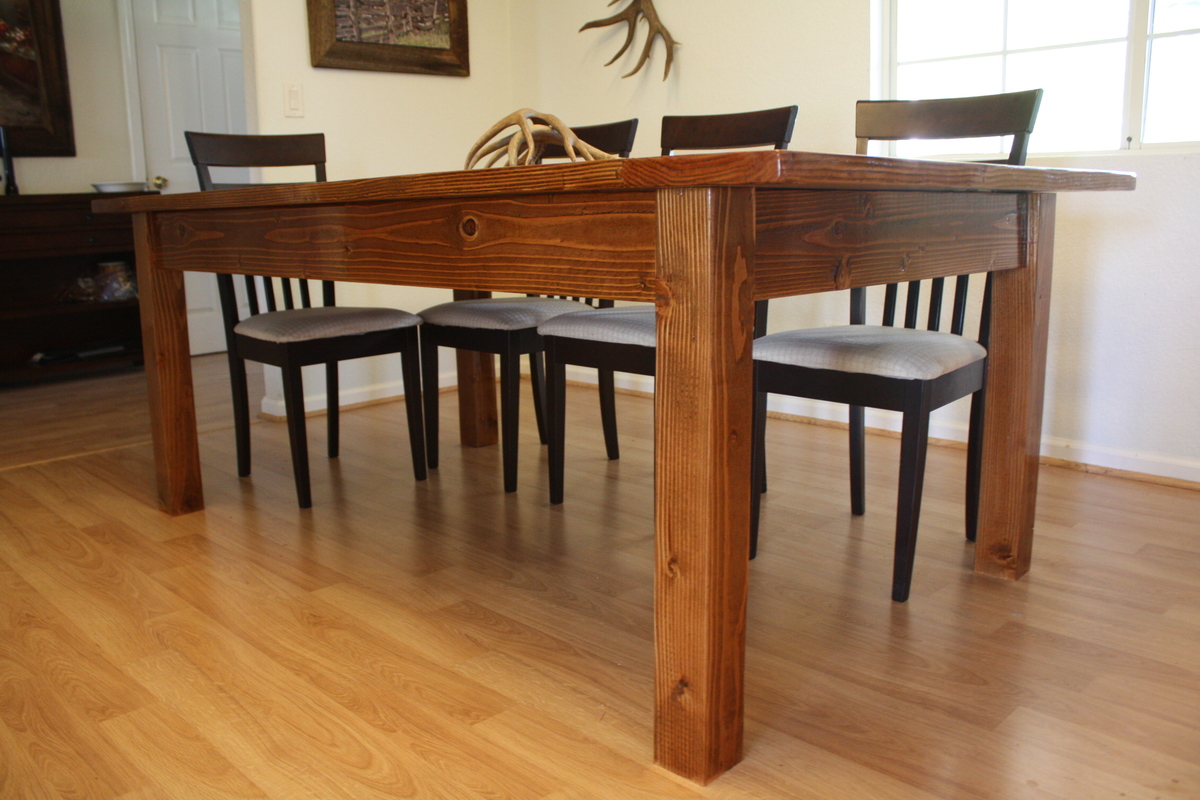
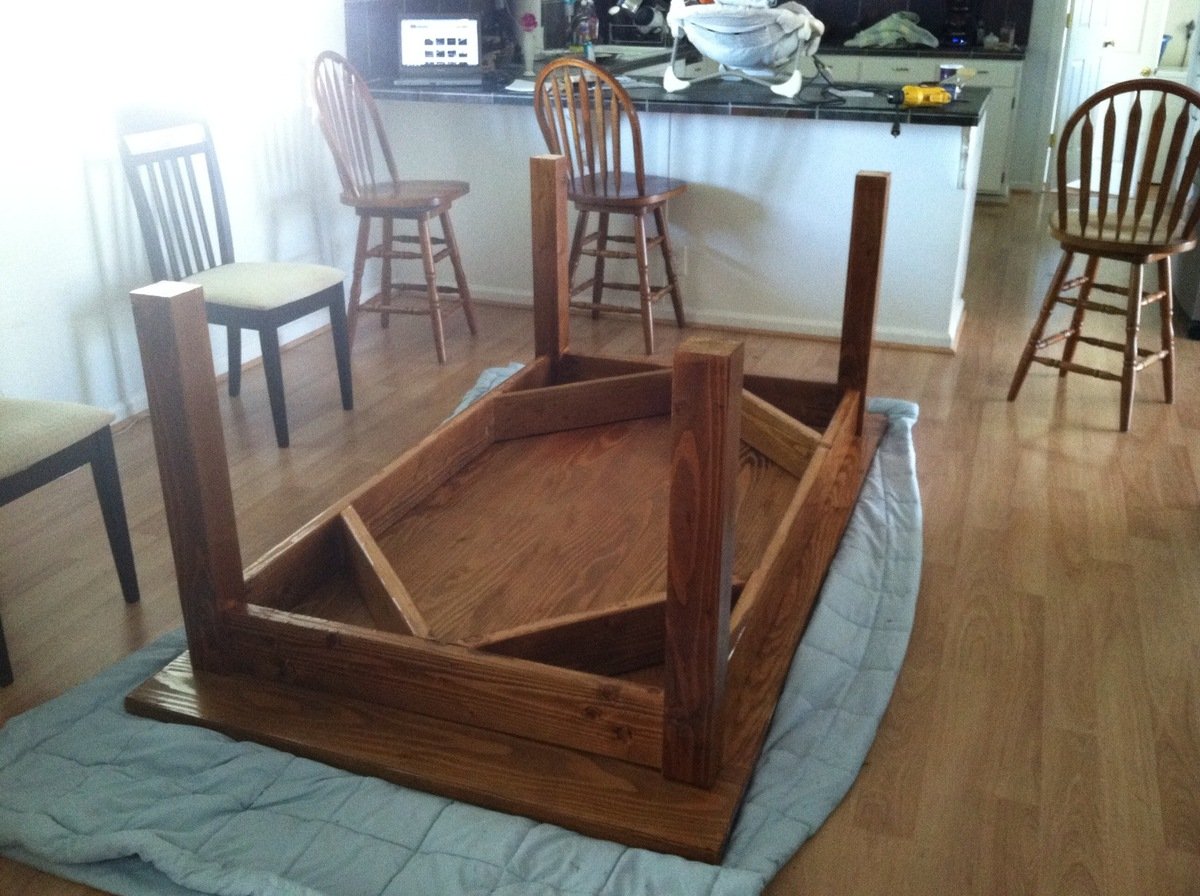
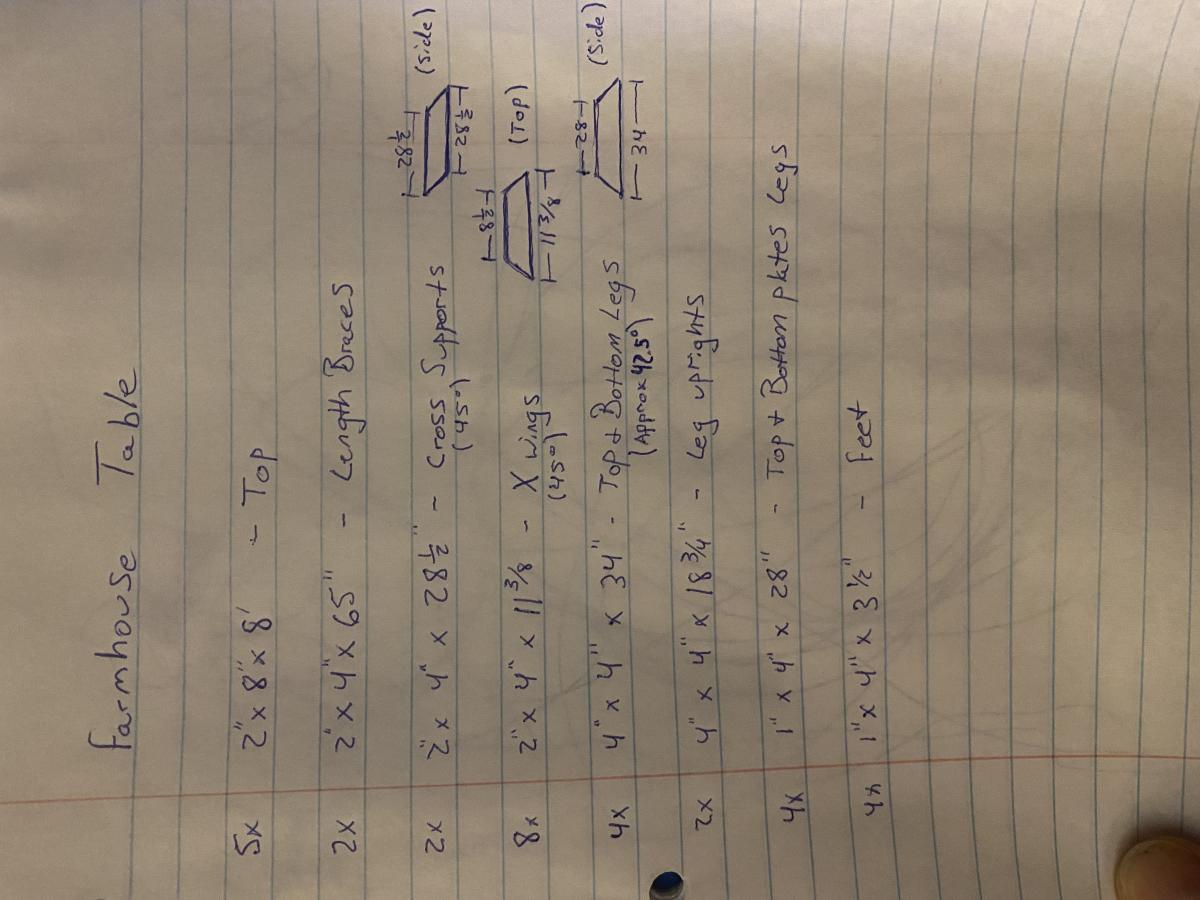
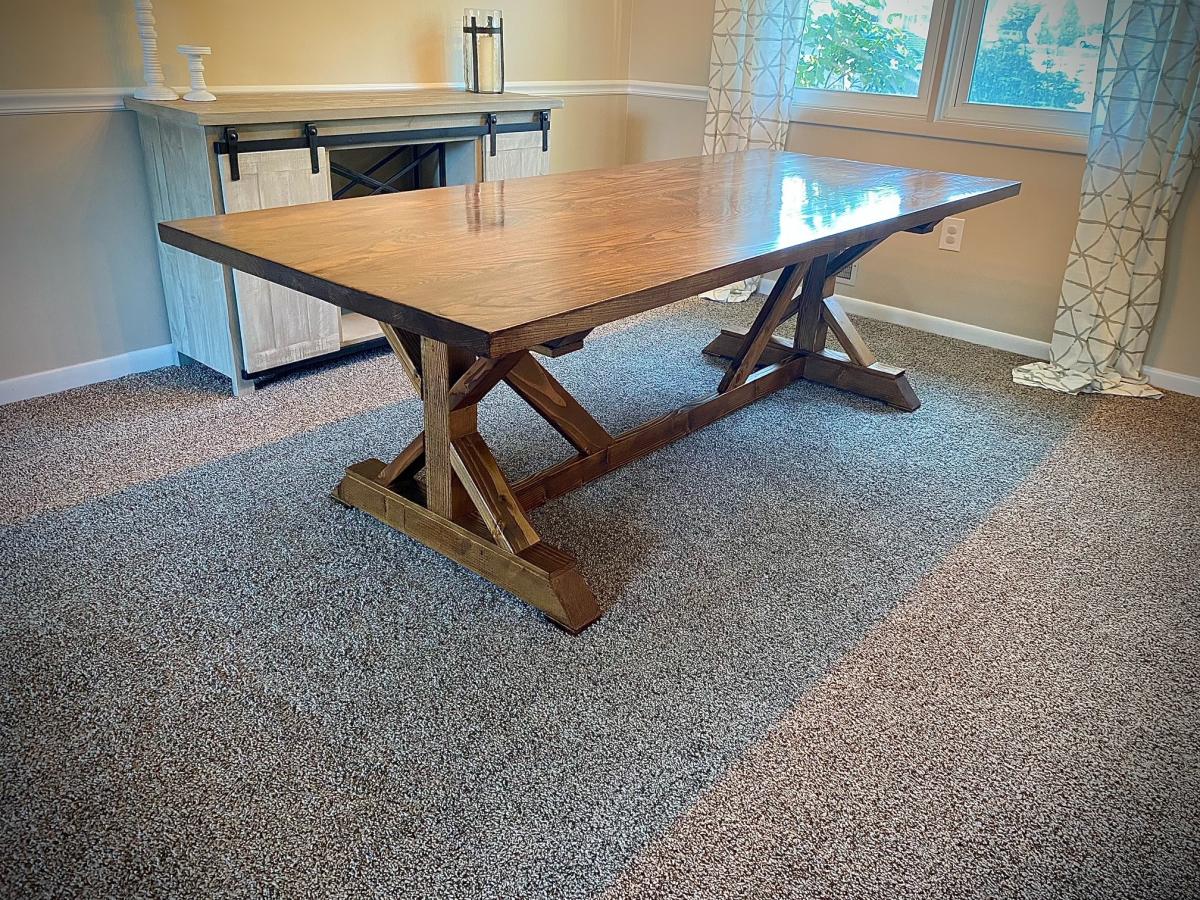
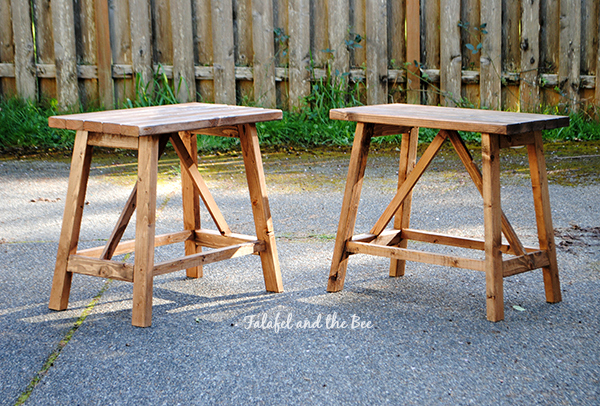
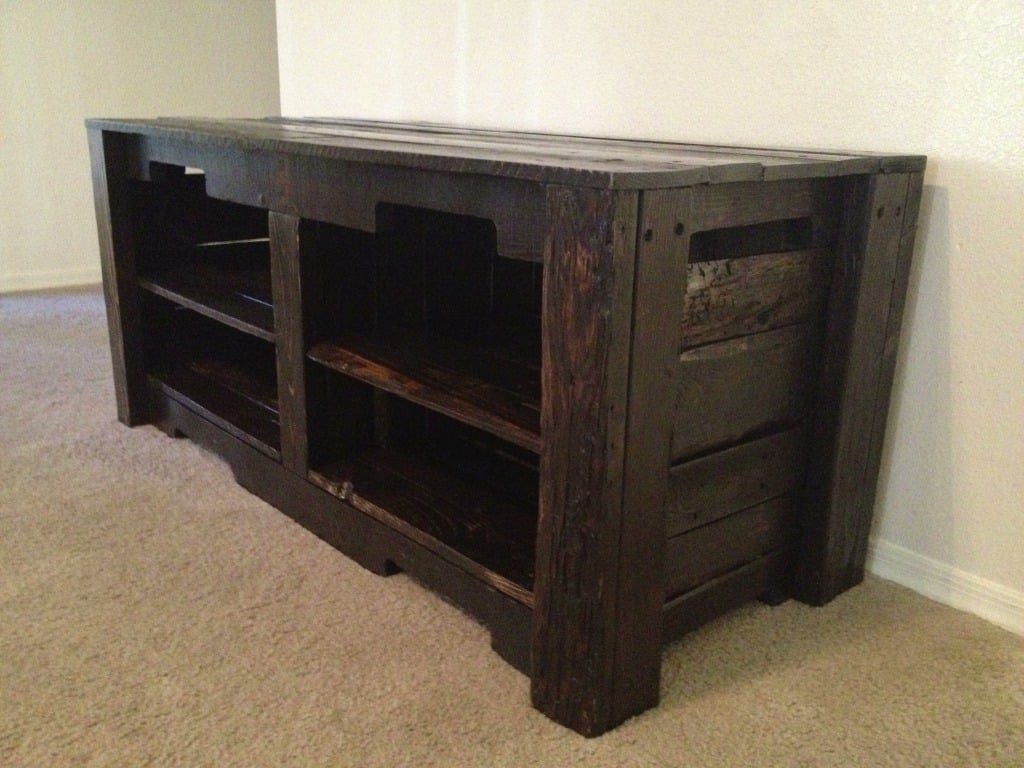
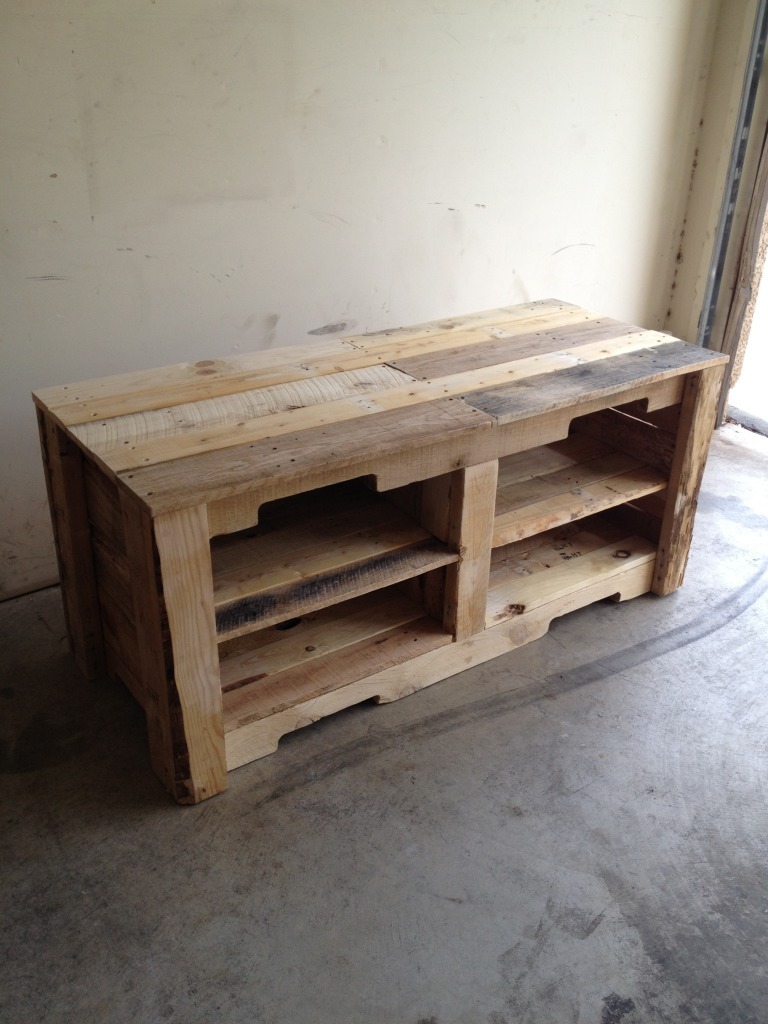
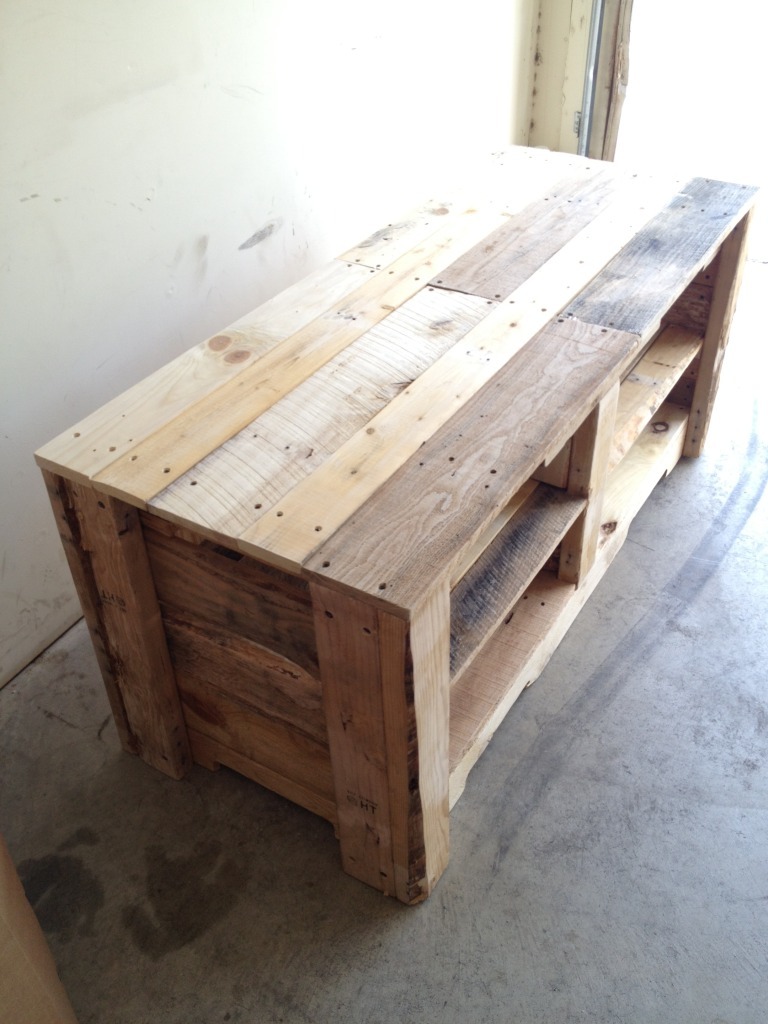
Douglas Fir 4x4 truss beam table, made from the listed plans (modified for a 72" table top and concrete used for the top). Also, added steal gusset plates with lag bolts to replicate appearance of exposed truss beams. Used pocket screws in conjunction with lag bolts. Benches were altered with half-lap joints for strength (very time consuming). Concrete table top made with Quikrete countertop mix (charcoal powder pigment added), an aluminum "M" inlay, and slurry coated with a lighter gray grout to fill in bugholes/ voids.
Table was fairly easy- hard part was finding straight wood (mostly green DF is sold near me, so some beams would warp beyond suitability as they dried). I had to purchase a few extras to get the pieces correct. If KD is available, go with that. I was able to find KD DF at another hardware store for the benches.
Concrete was a PITA. I never worked with concrete before. Watched a million youtube videos, read countless blogs, etc. So much good info out there and I probably over-researched it. I despise concrete, now (the mixing/ pouring/ screeding/ and weight) but I LOVE the result.
The project was my secret excuse to buy tools Ive always wanted.
If I wouldve been able to work straight through, I think I couldve completed this in a month. The table and benches were a couple of weekends worth. The concrete took most of my time with making melamine molds, special ordering the bags, renting the mixer, waiting it to cure, polishing and filling the top, etc. A wood top wouldve cut down on the overall time considerably.
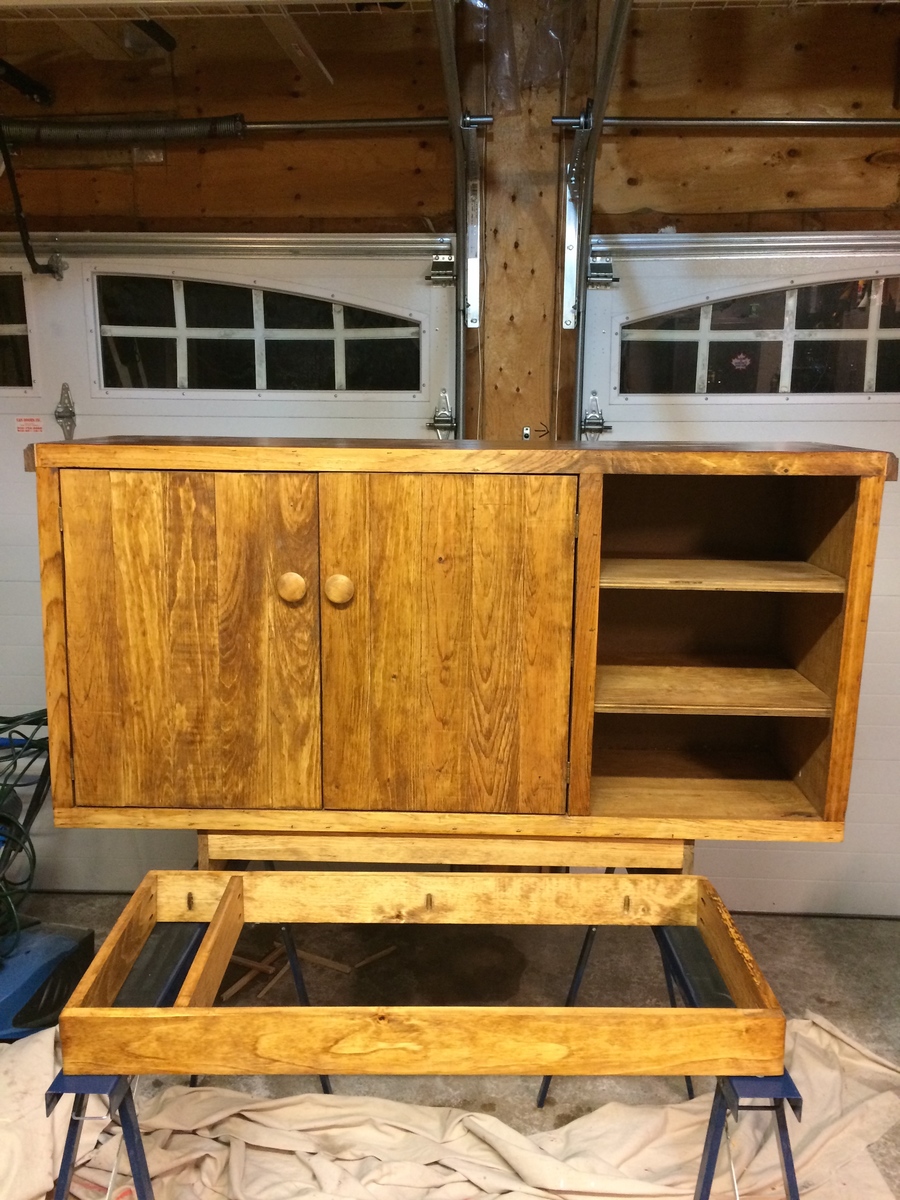
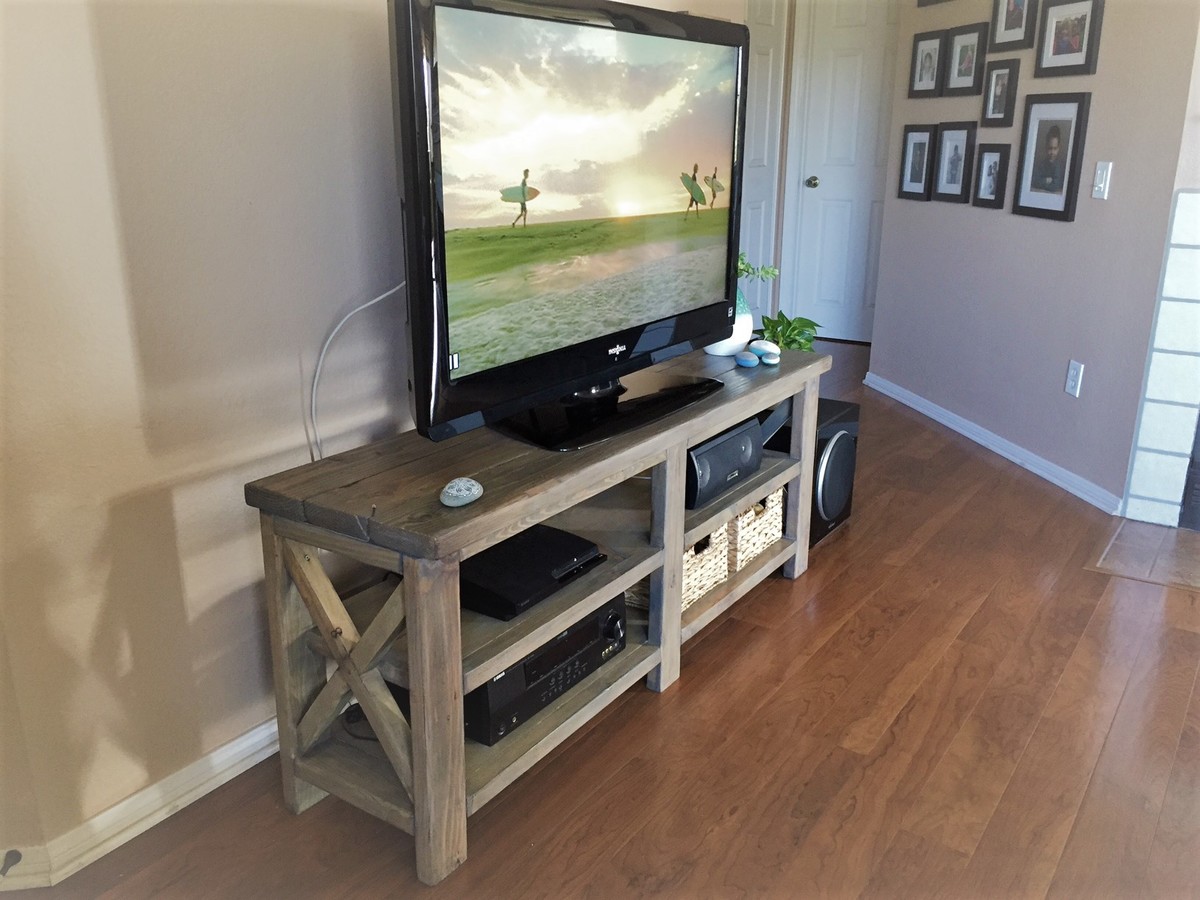
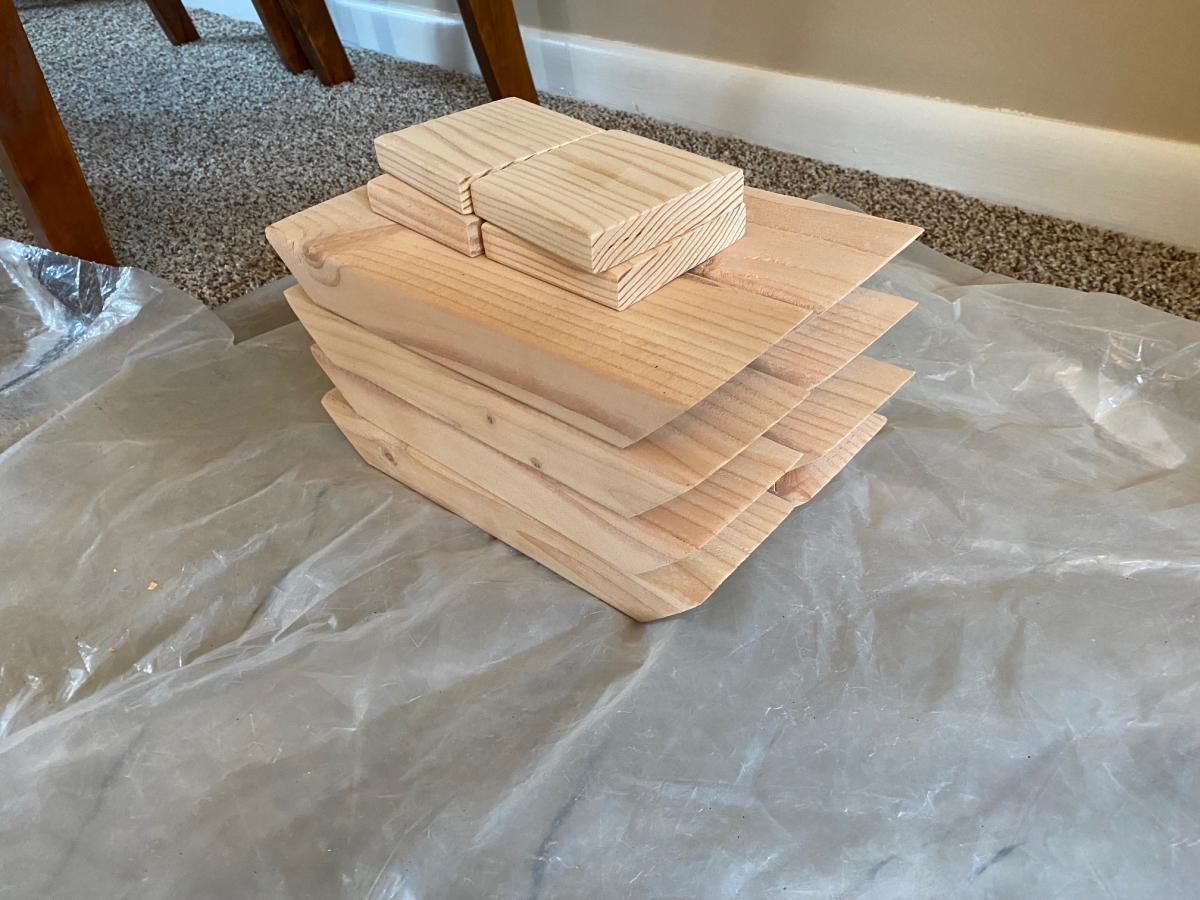
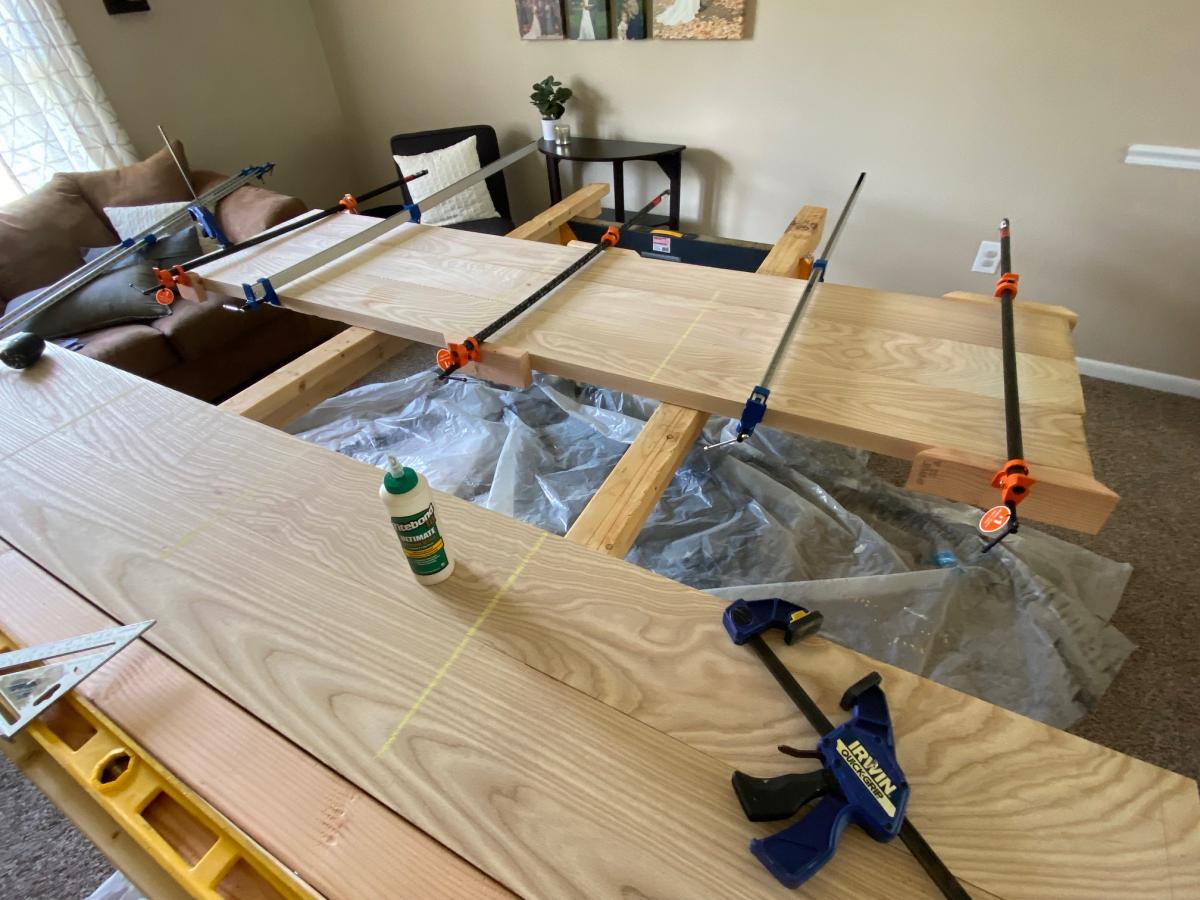
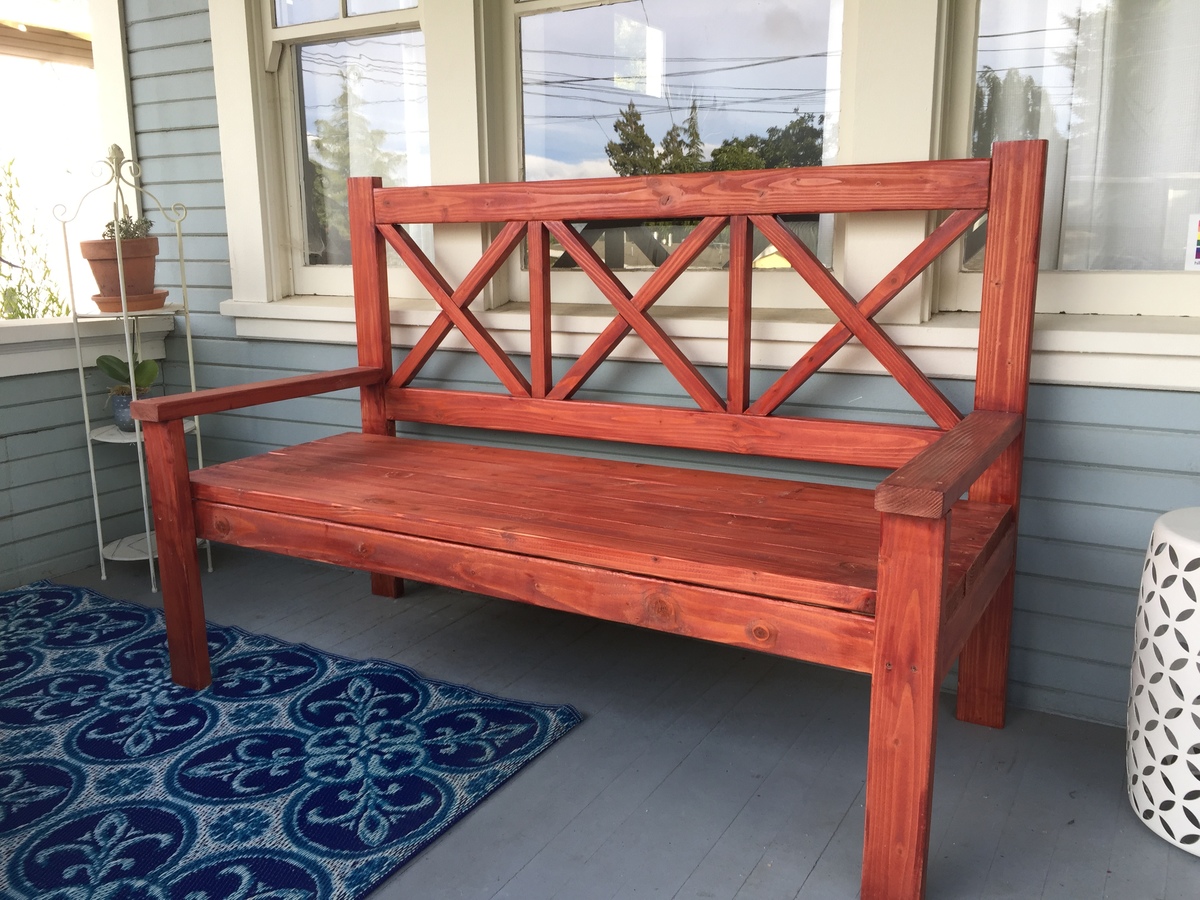
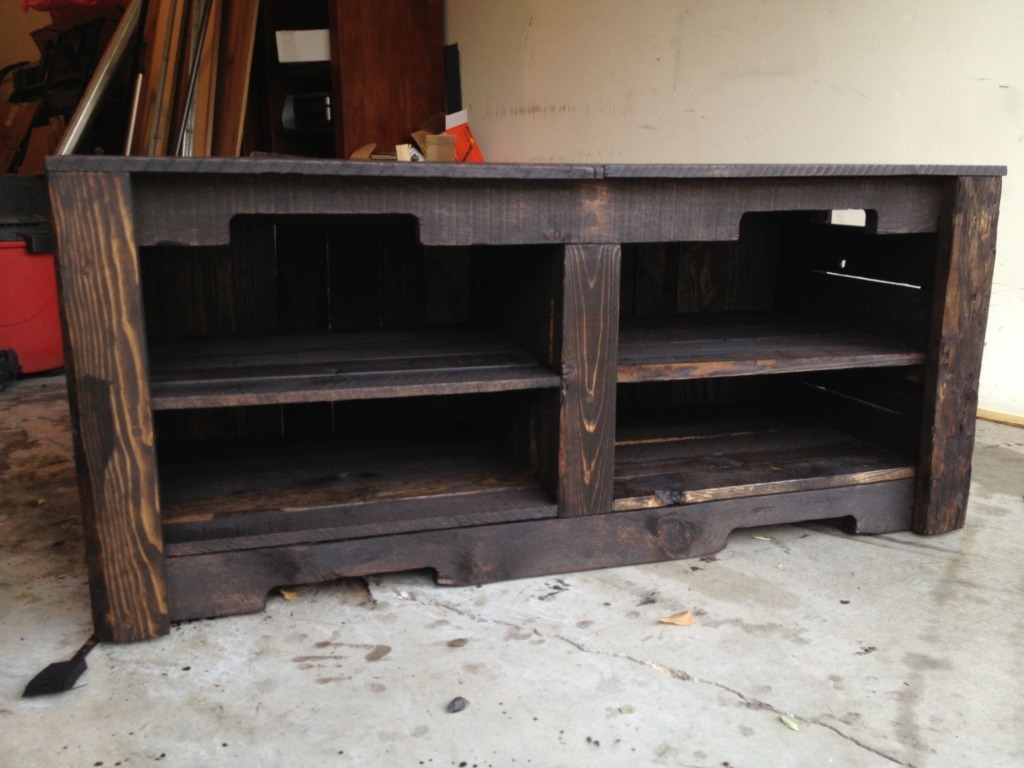
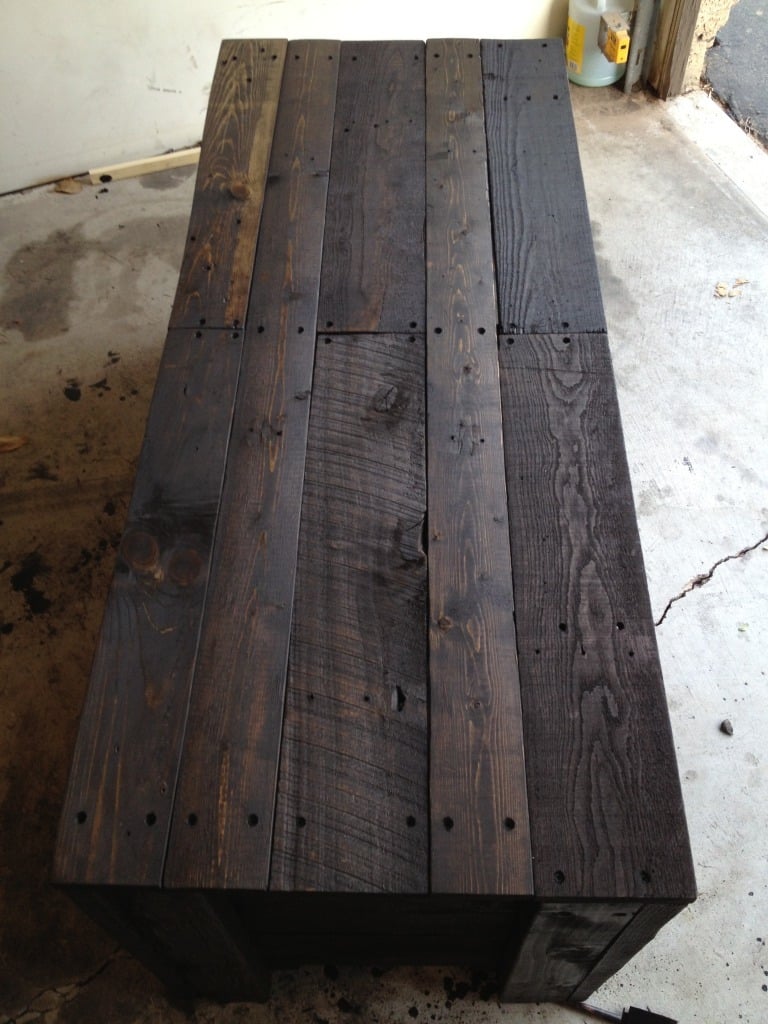
If you do a wood top (as I did for my benches), either use some type of joiner to get the board edges perfectly squared against one another with no gaps, OR leave gaps big enough between boards to let crumbs fall through, OR (this is what I did for my benches) I used a super clear (Lexel) caulk for the seams of the boards and then went over it after it dried with the satin polycrylic to take away any gloss. Now all those crumbs dont get wedged between the boards. They wipe away with ease.
Finally, I used heavy duty felt (4x6") from the local HD at $2.50 a pair. Cut them to size and used the self-adhesive WITH gel superglue to put on bottom of bench and table legs. A must.
Estimated Cost
Materials-
DF beams for table- $70
DF wood for benches- $100
Concrete, pigment, grout, melamine form molds- $250
Misc hardware- $50
Stain and clear finish- $20
Custom steel gusset plates and aluminum inlay letter- $150
Concrete Mixer rental- $40
I purchased several tools for this, as I did not own them before. I know I will use them for several projects in the future, so to me it was well worth the investment. I was able to make the table and benches with tools for under $1200. Not bad, considering the table without benches is sold at a retailer for $3000. I obtained a better finished product, customized, with some nice new tools for less than half. Plus I got to learn A TON!
I bought the following tools:
Kreg HD jig
Sliding compound miter saw (12")
orbital polisher/ sander (7")
random orbit handheld sander (5")
The concrete added the extra expense of diamond polishing pads as well.
Estimated Time Investment
Week Long Project (20 Hours or More)
Finish Used
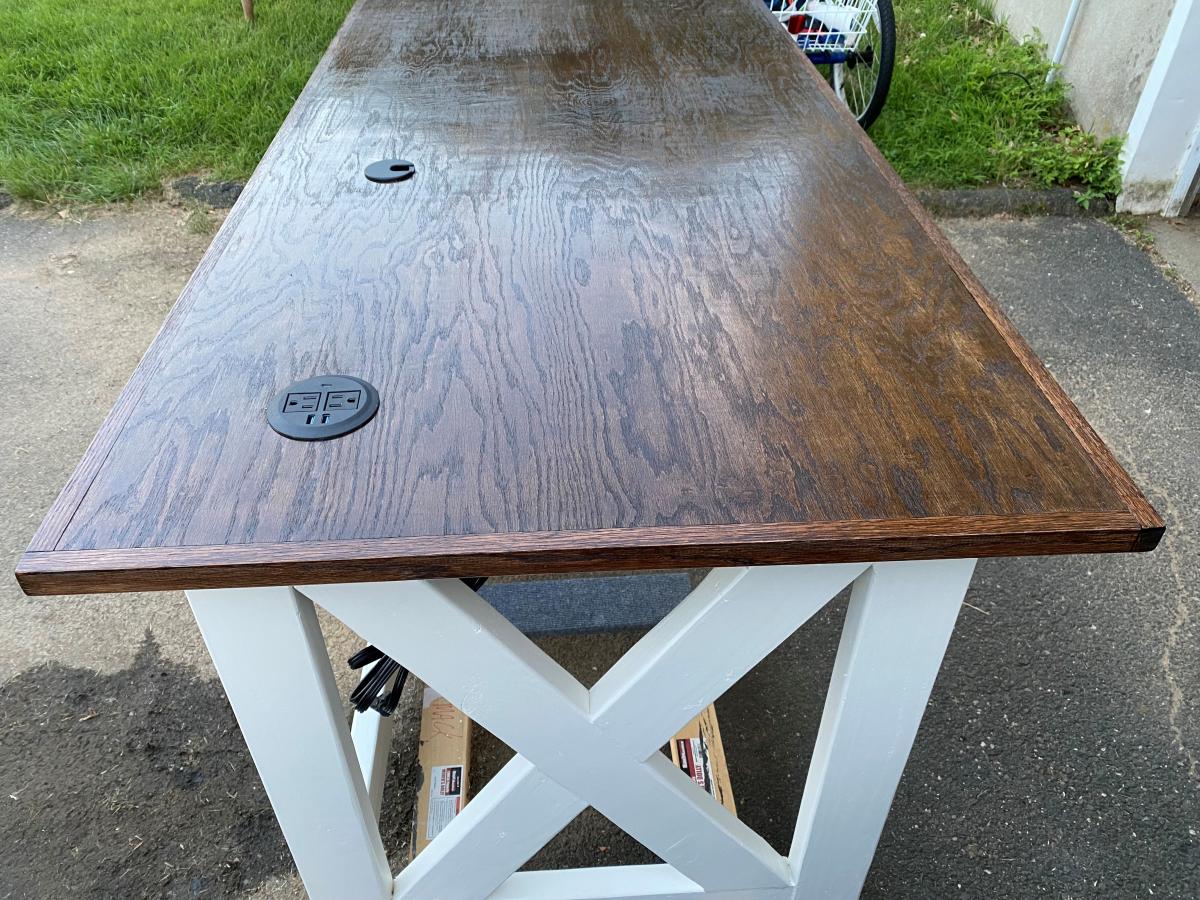
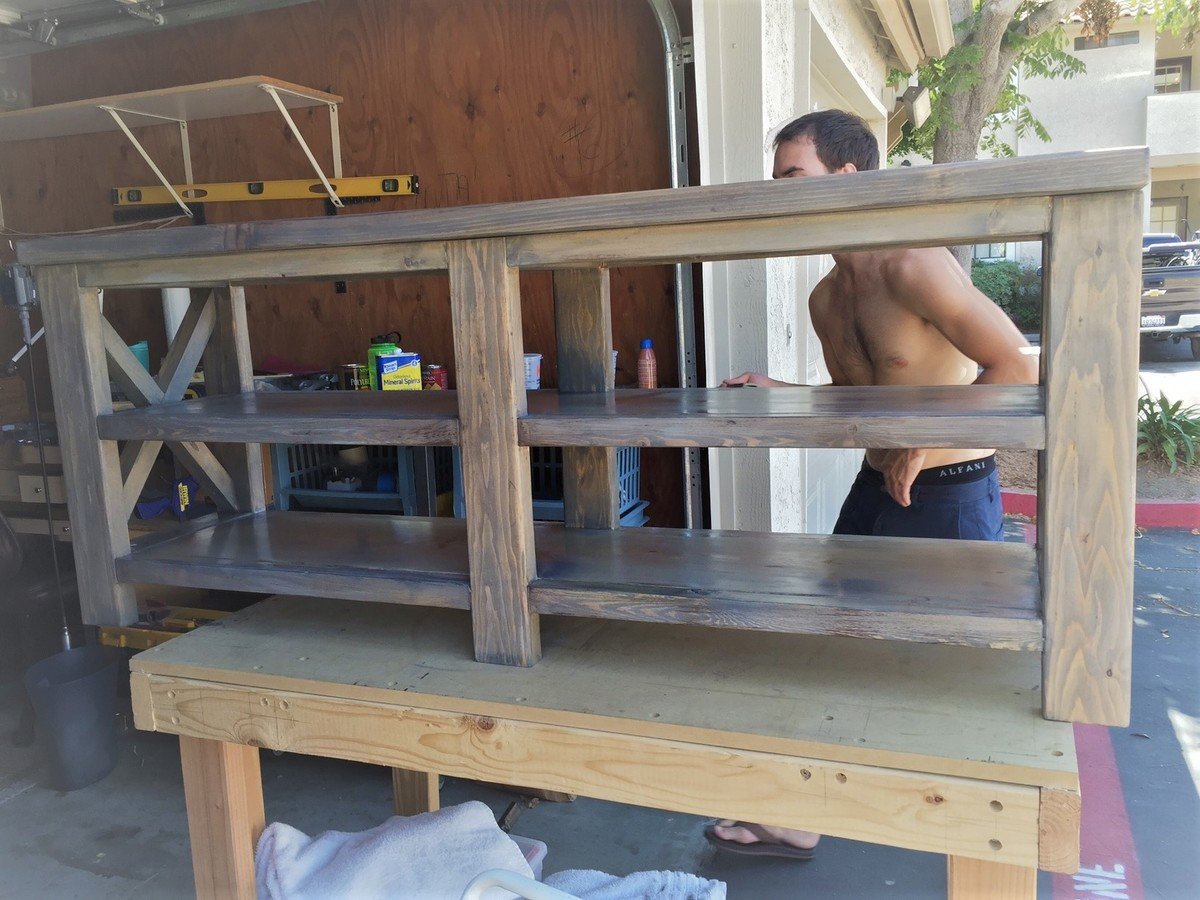
Minwax natural stain, Minwax Polycrylic satin. I used one coat of natural stain. I wanted it to be light, but finished. I love the way the natural finish came out. I wasn't going to put any clear on it, as I did not want any sheen. However, I have children and the wood wouldve been dirty by the second day. The Polycrylic satin was amazing. Not as shiny as I was afraid of. Much more forgiving than semi gloss or gloss. Three coats applied with foam brushes. Lay it on, dont brush it on to avoid bubbles. Go slow and smooth. Dries nice. I did 2 coats, then a very light sanding with 220, just to get rid of the roughness. One coat after that and done.
Recommended Skill Level
Intermediate


Comments
Ana White
Wed, 03/11/2015 - 15:56
Very nice!!!
Very nice!!!