Work bench
I was inspired by this workbench post to create a workbench, especially since I needed one! I painted it with exterior paint and added wheels. I also added extra wood around the bottom to make it sturdier.
I was inspired by this workbench post to create a workbench, especially since I needed one! I painted it with exterior paint and added wheels. I also added extra wood around the bottom to make it sturdier.
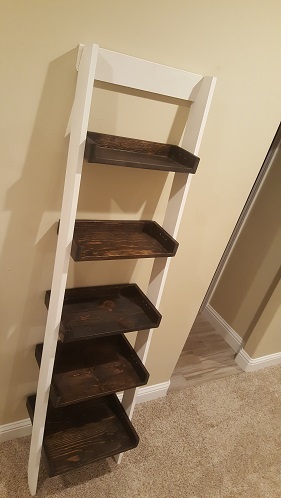
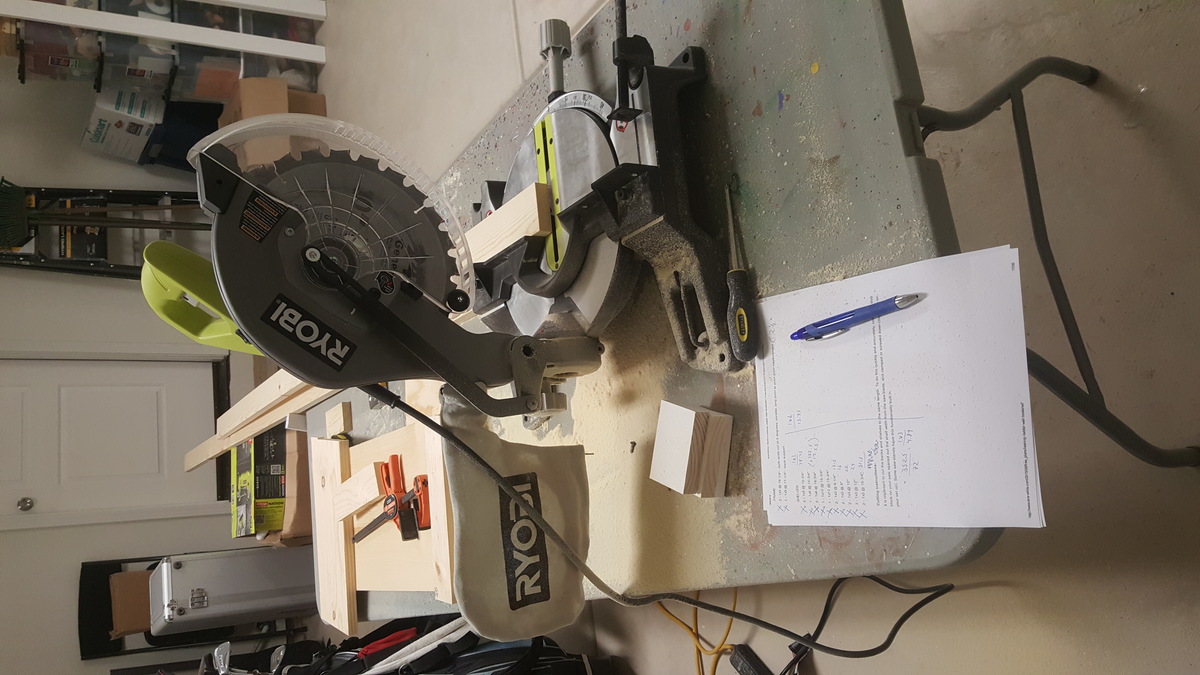
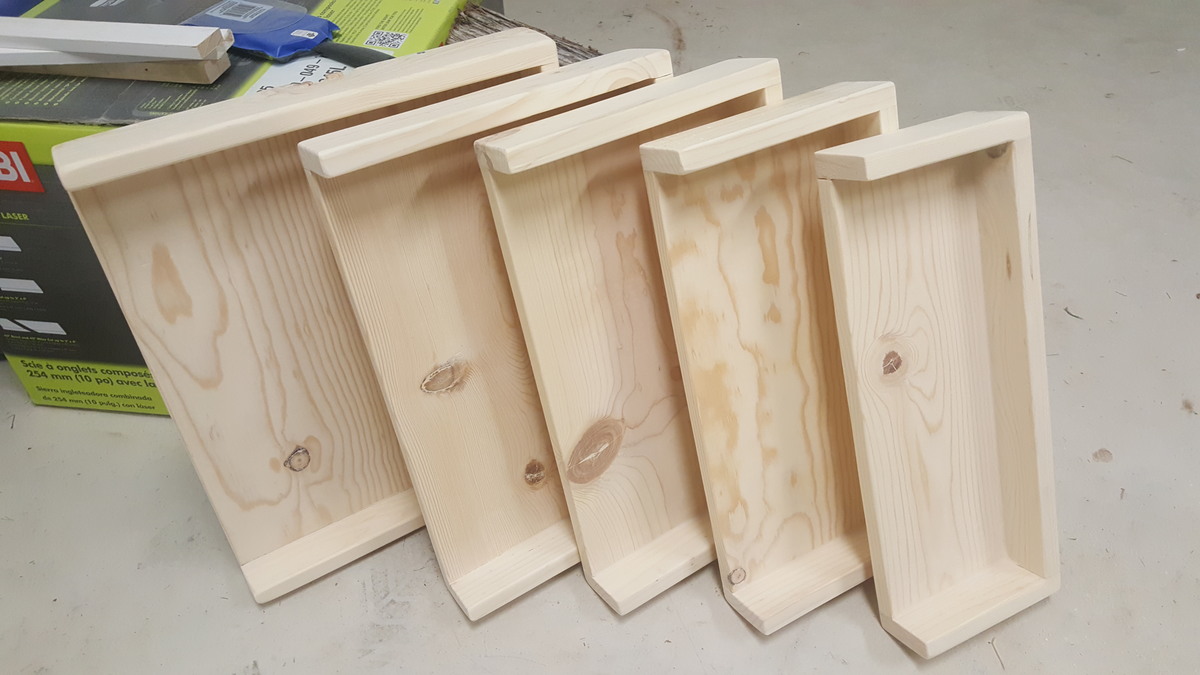
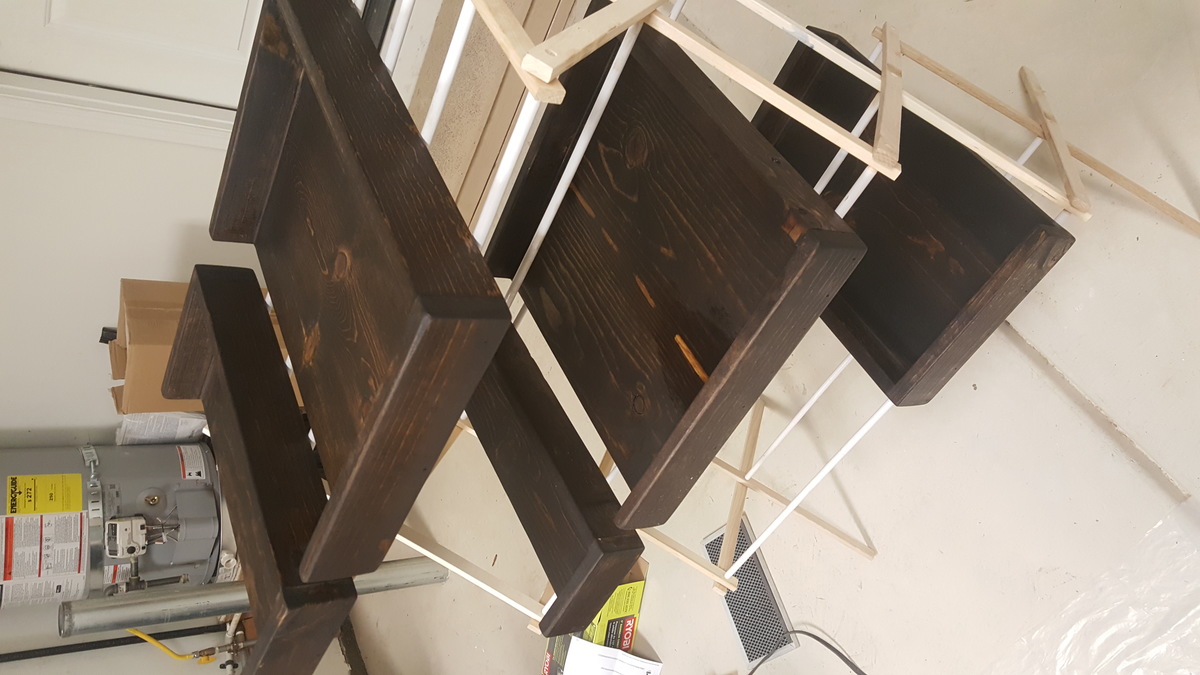
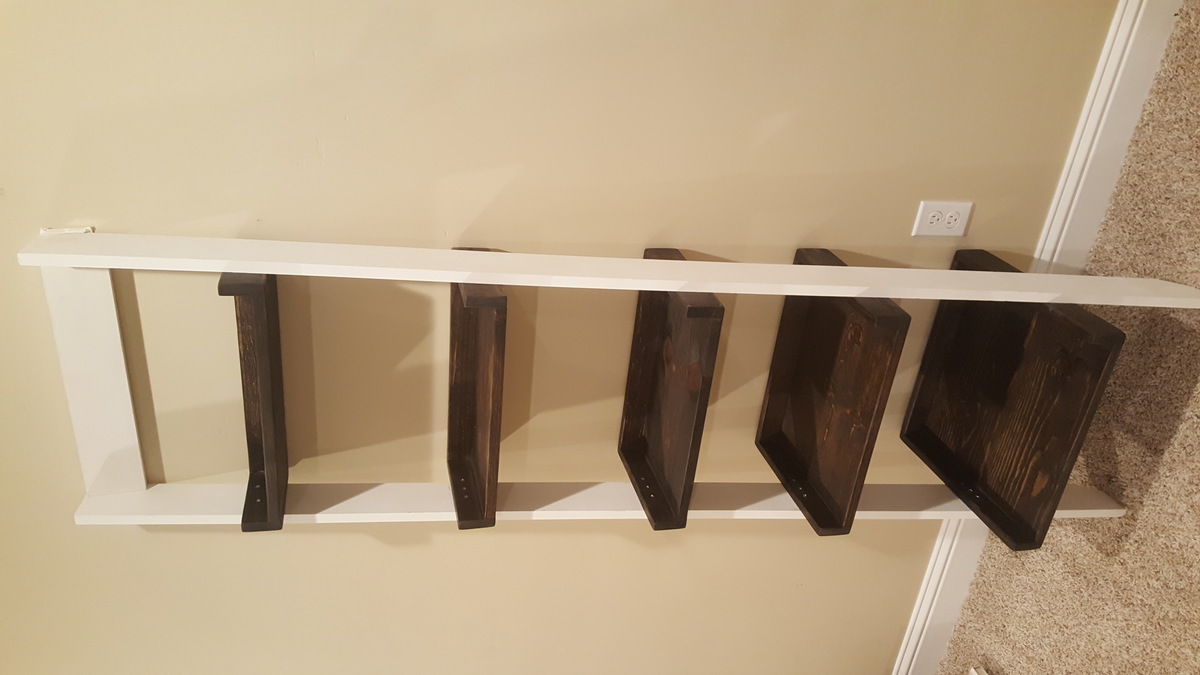
This was my first attempt at the leaning bookshelf project. I decided upon a modern-contemporary look by using white laminated 1x4s and opted for dark wood staining to give the shelves contrast. It was my first time using a compound miter saw, as well as intensive wood sanding and staining. I struggled with cutting the white support beams into the directed 5 degrees, and just made my best guess with a hand saw (however, I will try to improve upon this for our next set, since the additional cost of a second bookshelf is only about $50.)
I also learned about the trick of a 5-point shelf leveling (one for each corner, and the center point) in order to get a truly level shelf. Creating the jig in order to space out the distance between each shelf is a really good idea to help implement all of the setup.
Overall, I really enjoyed this project and wanted to thank Ana for her inspiration and plan details.
I look forward to reporting yet another success on our second bookshelf (and following writing desk) soon!

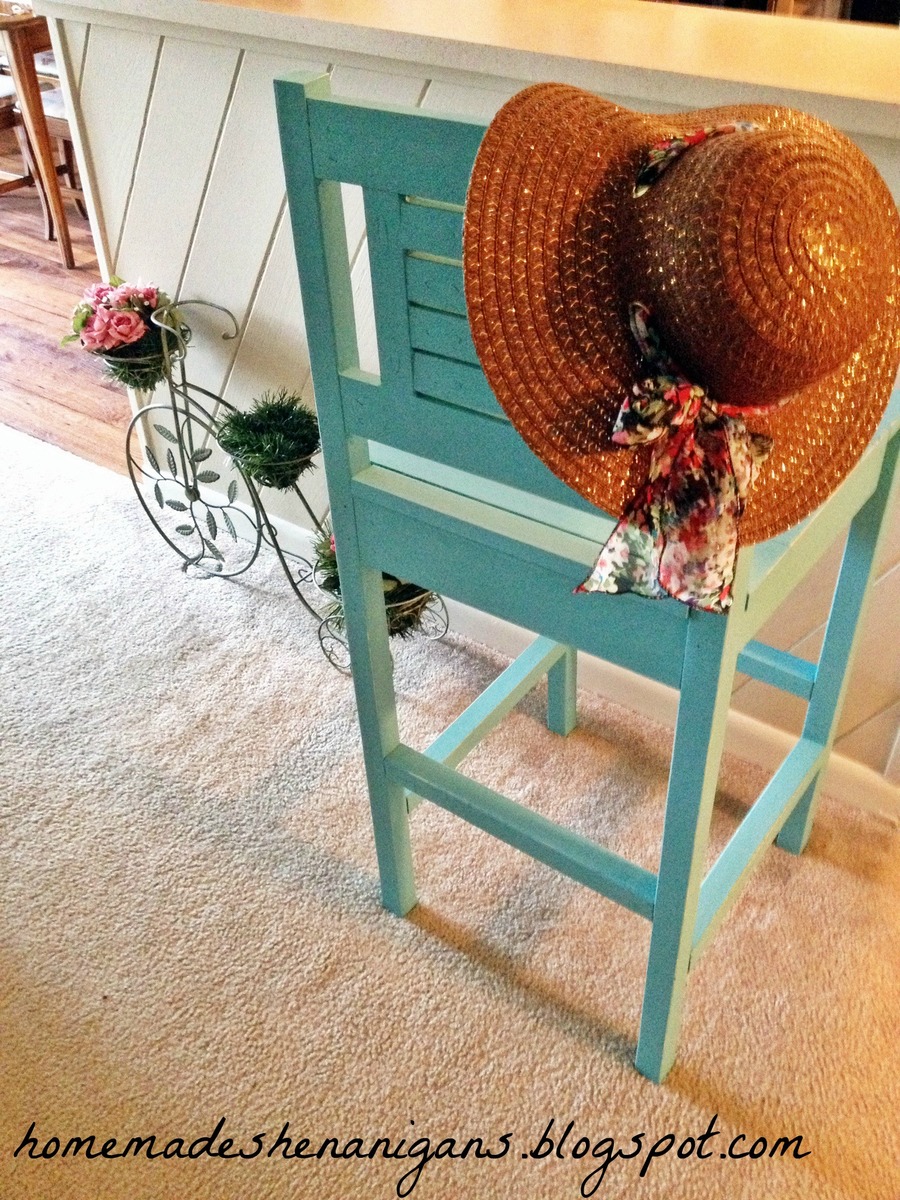
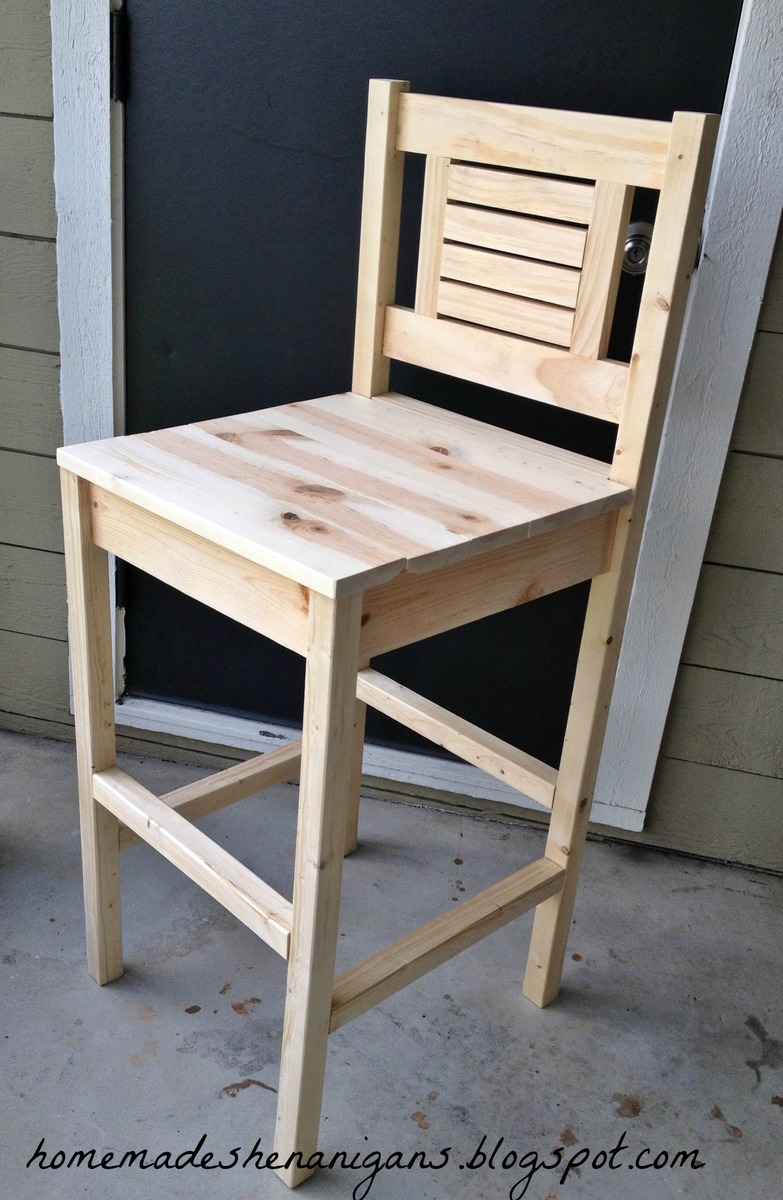
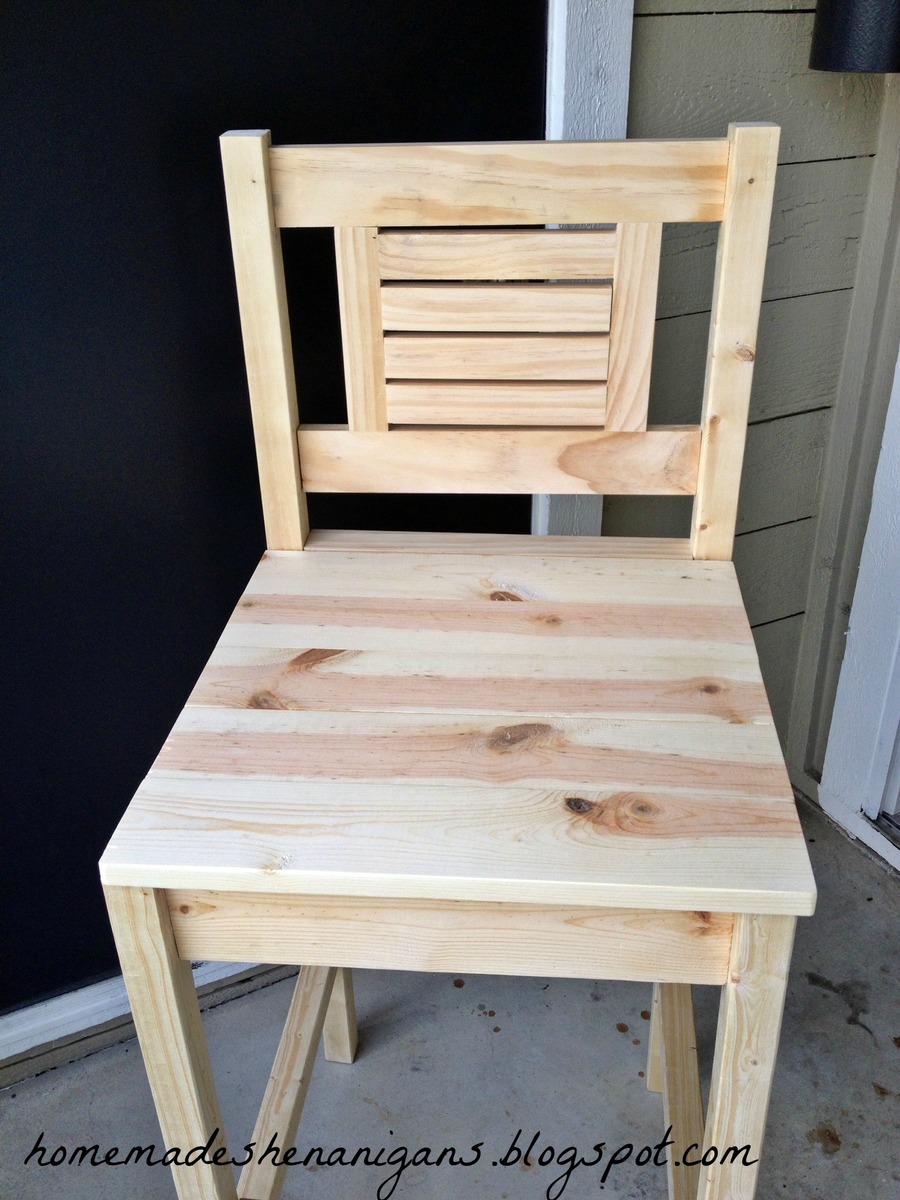
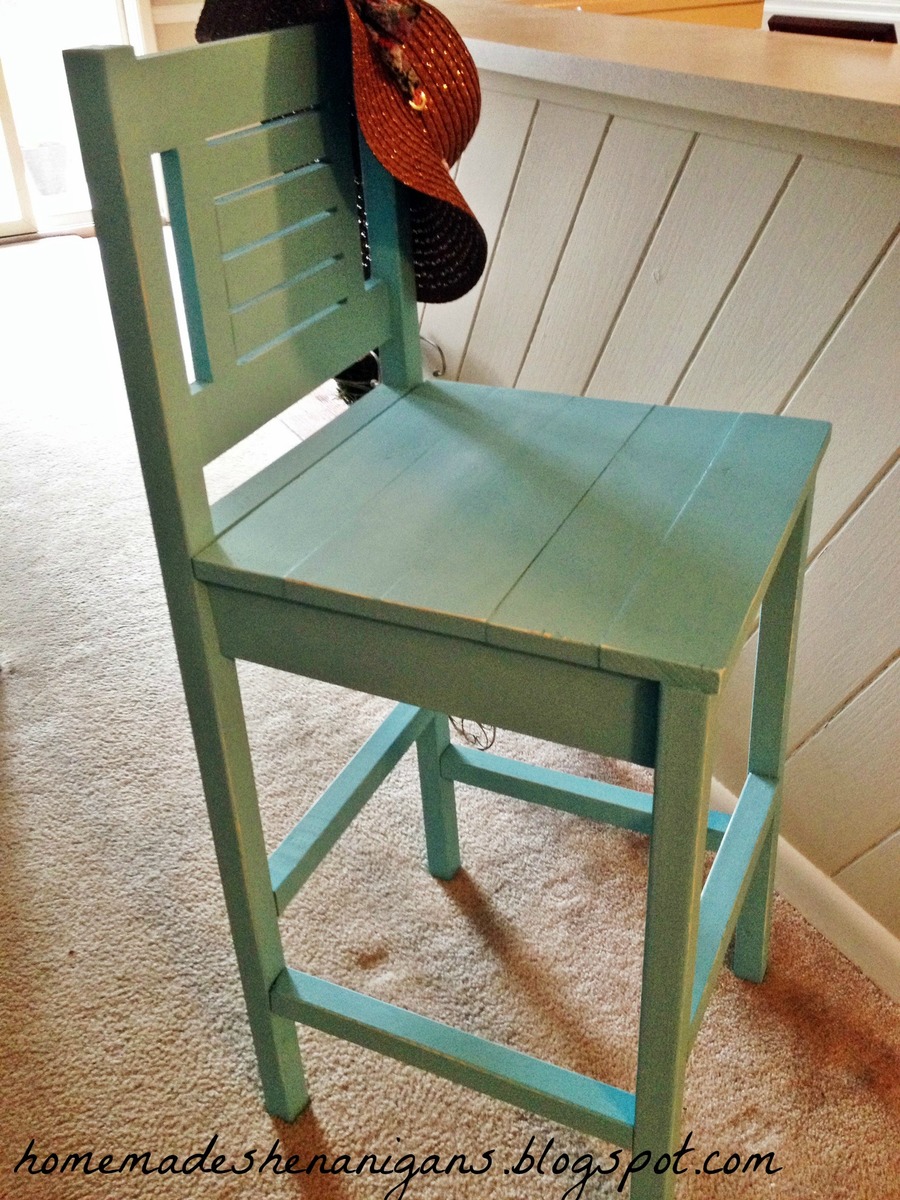
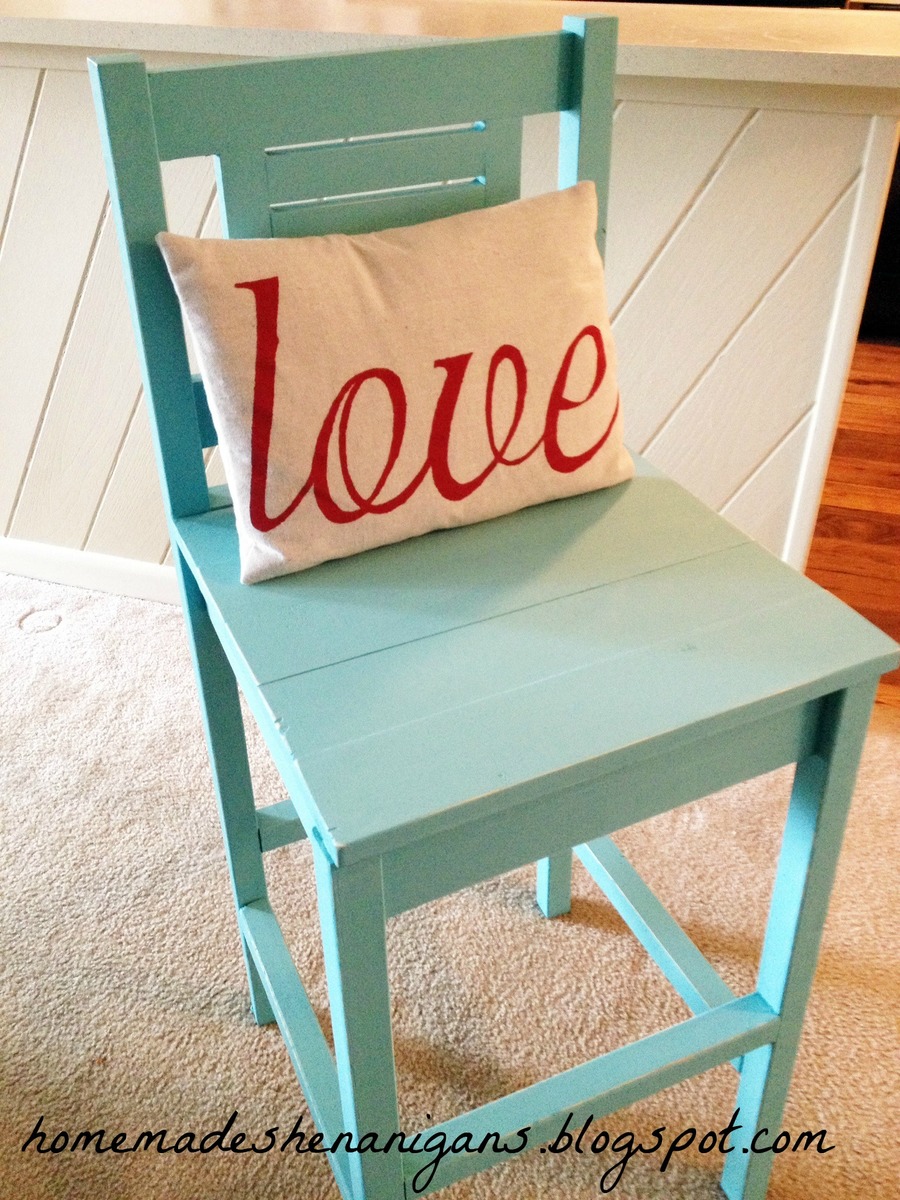
I wanted a bar stool for my kitchen counter and this plan was perfect for what I wanted. I painted it turquoise to match a bookcase I had in the connecting living room. Since I already had the paint and wax all I had to pay for was the wood.
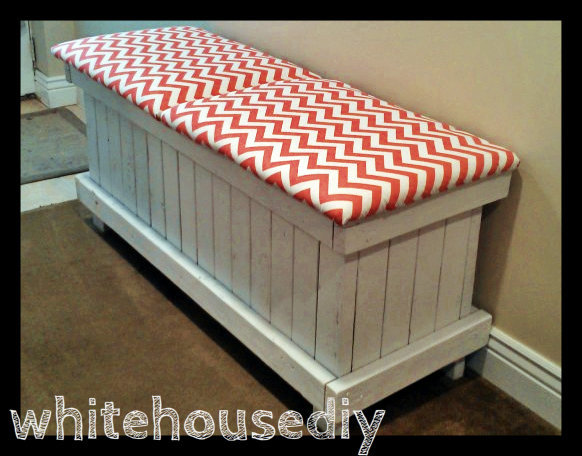
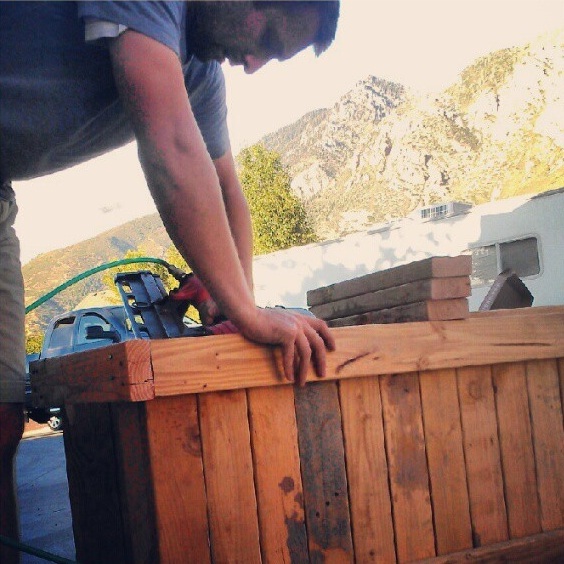
I based this project on the Outdoor Shoe Bench. We used some leftover wood from a large building project, so we had to make some changes depending on wood dimensions available, but it worked. We also did a few things a little differently, such as the overall dimensions and how we did the lot. I very much appreciated the help and inspiration I got from this website!
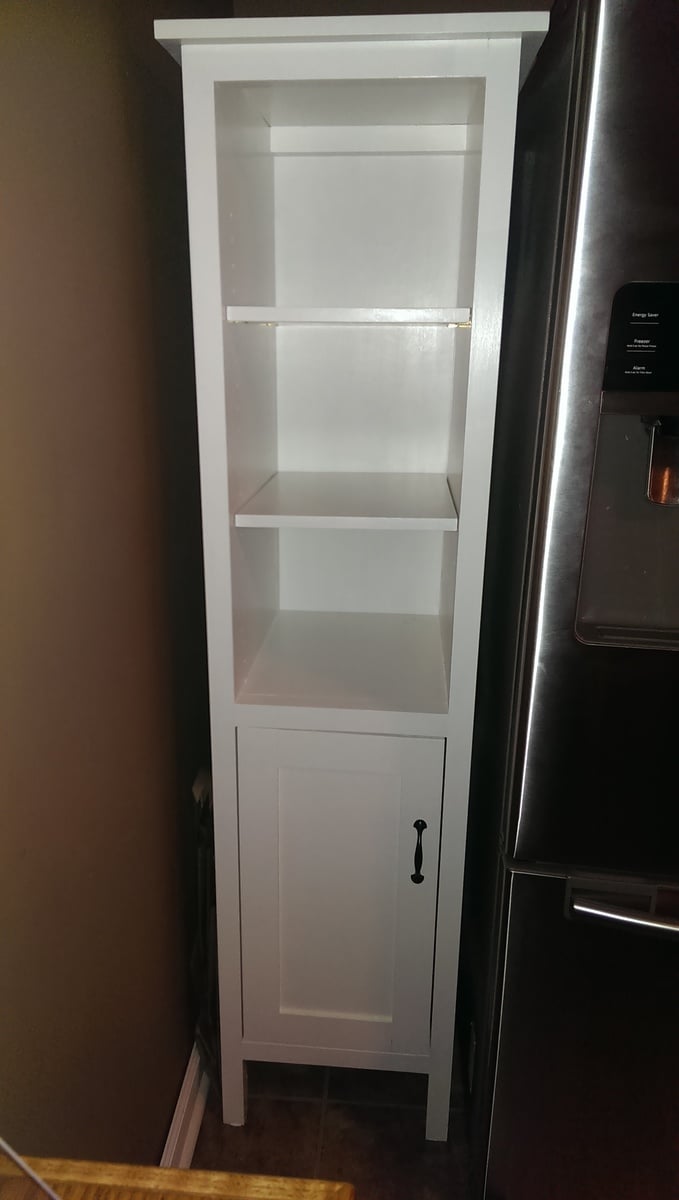
We needed some extra kitchen storage with a baby on the way and this project did the trick! We needed something skinny since space is a premium in our kitchen. I am happy with how this turned out. I made the shelves adjustable using the Kreg shelf pin jig, which worked amazingly.
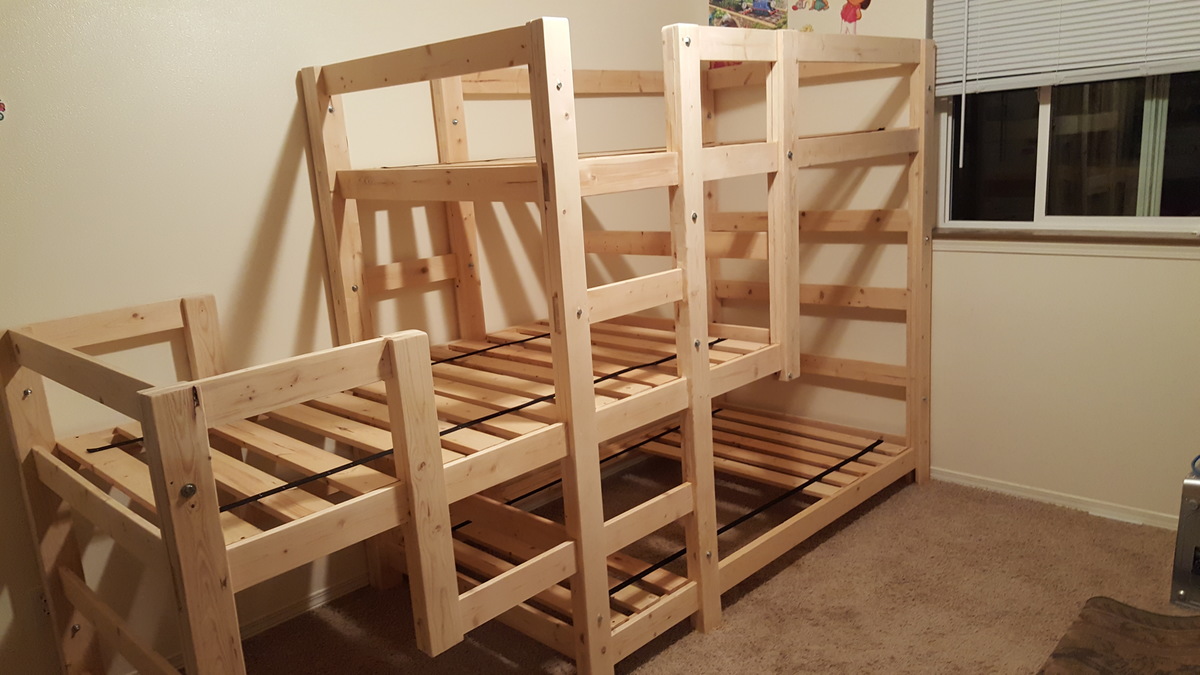
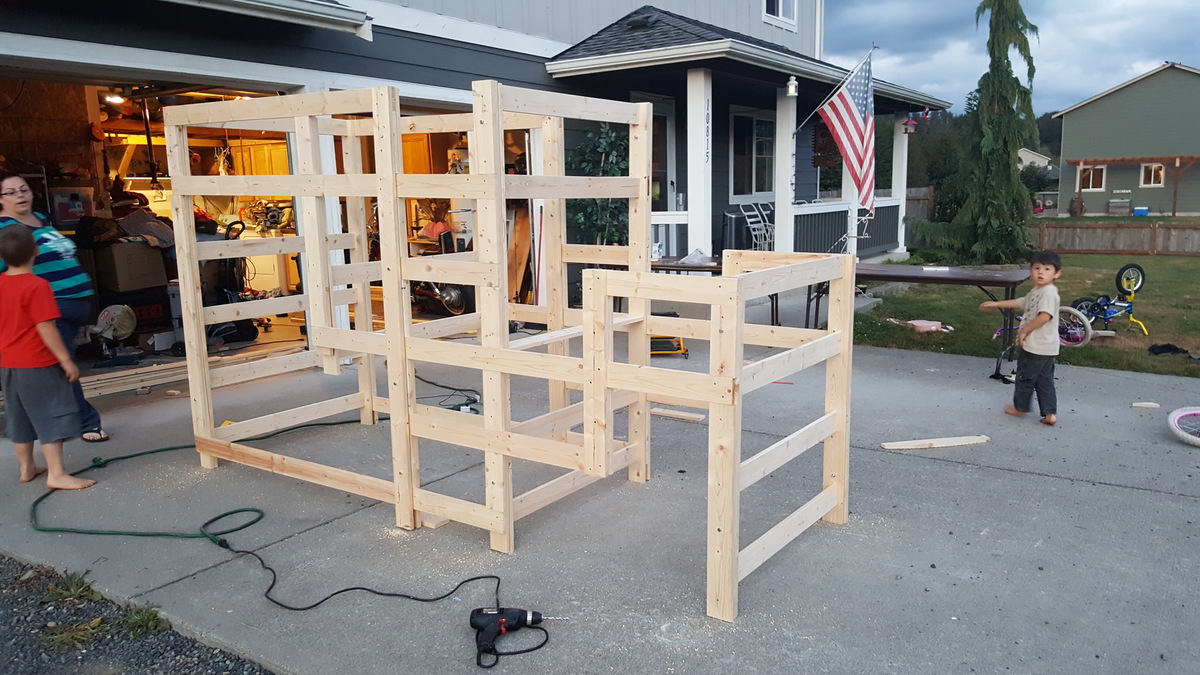
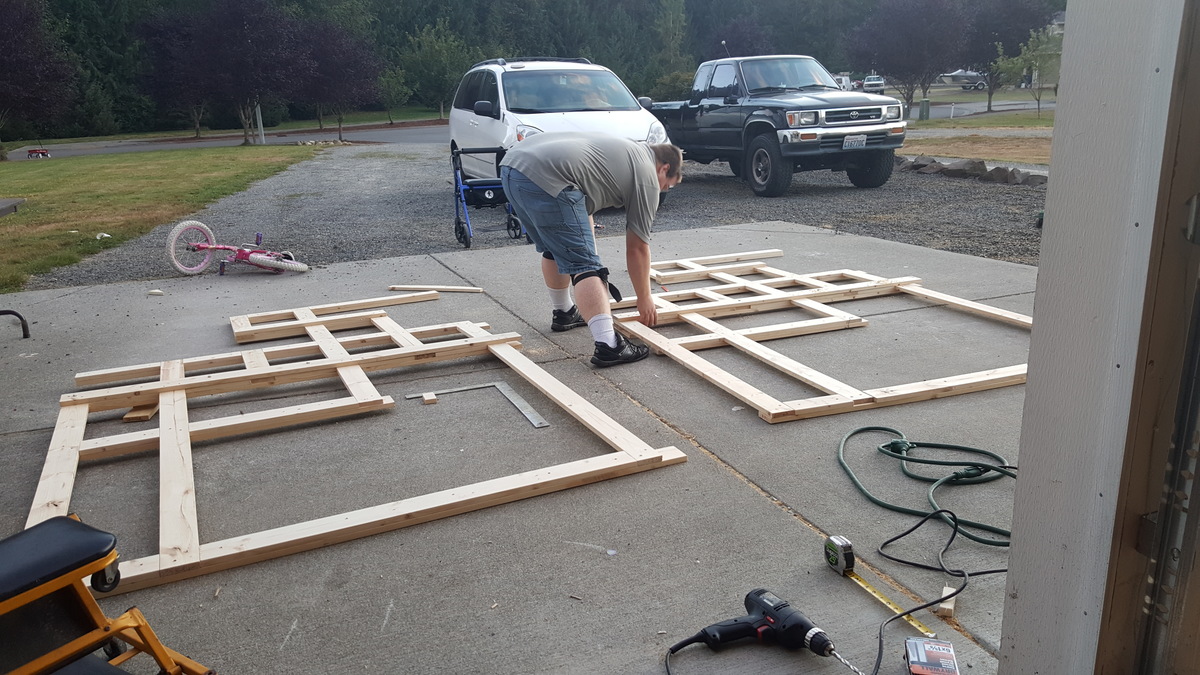
Thank you for sharing the plans for this. I really liked how out breaks down into 8 pieces to move. I felt the plans were lacking a bit of detail, I ended up downloading the sketch up app for $10. That app helped a ton! Due to lack of detail and not thinking ahead I ended up putting a couple bolt holes in bad spots and had to wood fill and move them. I also didn't understand what mirror image of left and right side were. Lol. I laid down the left side and carefully assembled, then I made the right side to look exactly like it. Lifted the left side, looks beautiful, lifted the right side and looks like a million screws. Lol. I also had to add additional wood to make it work since I essentially built the side inside out. I think I put the slats in a little closer then the plans suggested, I ended up cutting a few more if you notice the gap in bottom bunk slats. I also purchased "backpack strap" from ace hardware and laid it across the slats. I screwed the end slats and stapled the middle ones to the strap. All in all, a great project and it will last for years. Thanks for sharing. Built from http://www.ana-white.com/2013/06/plans/triple-bunk-staggered-beds
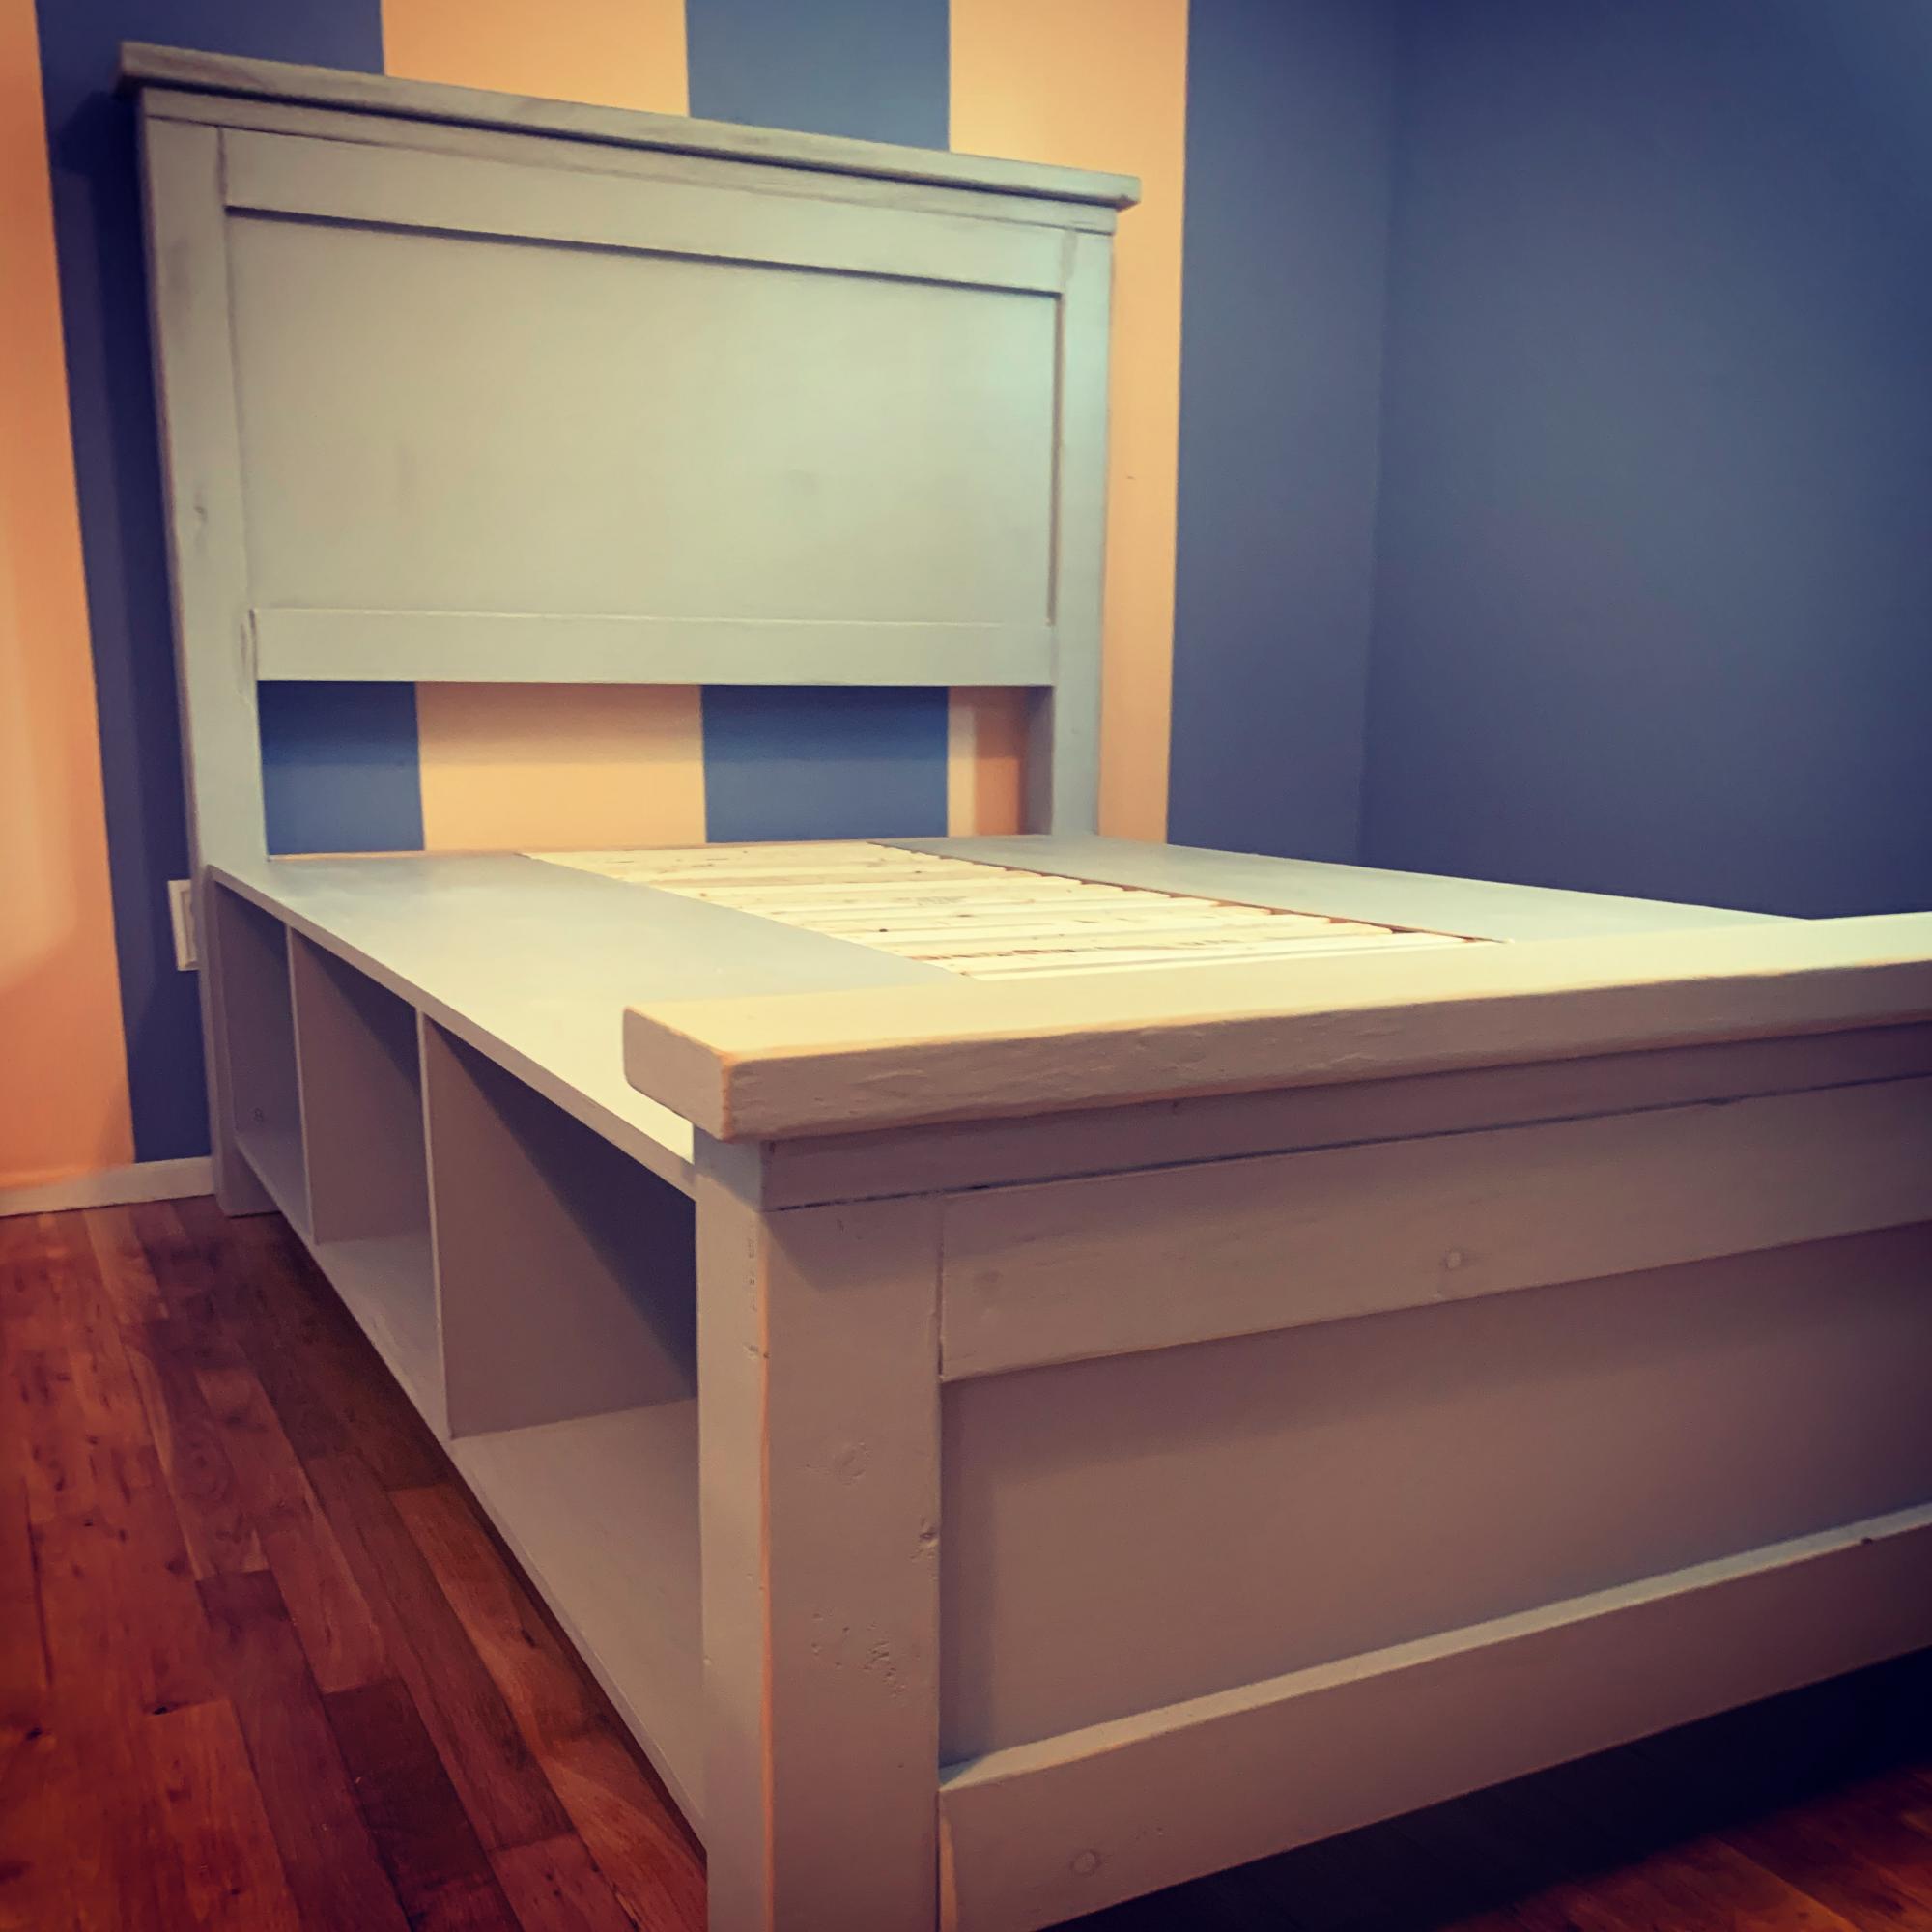
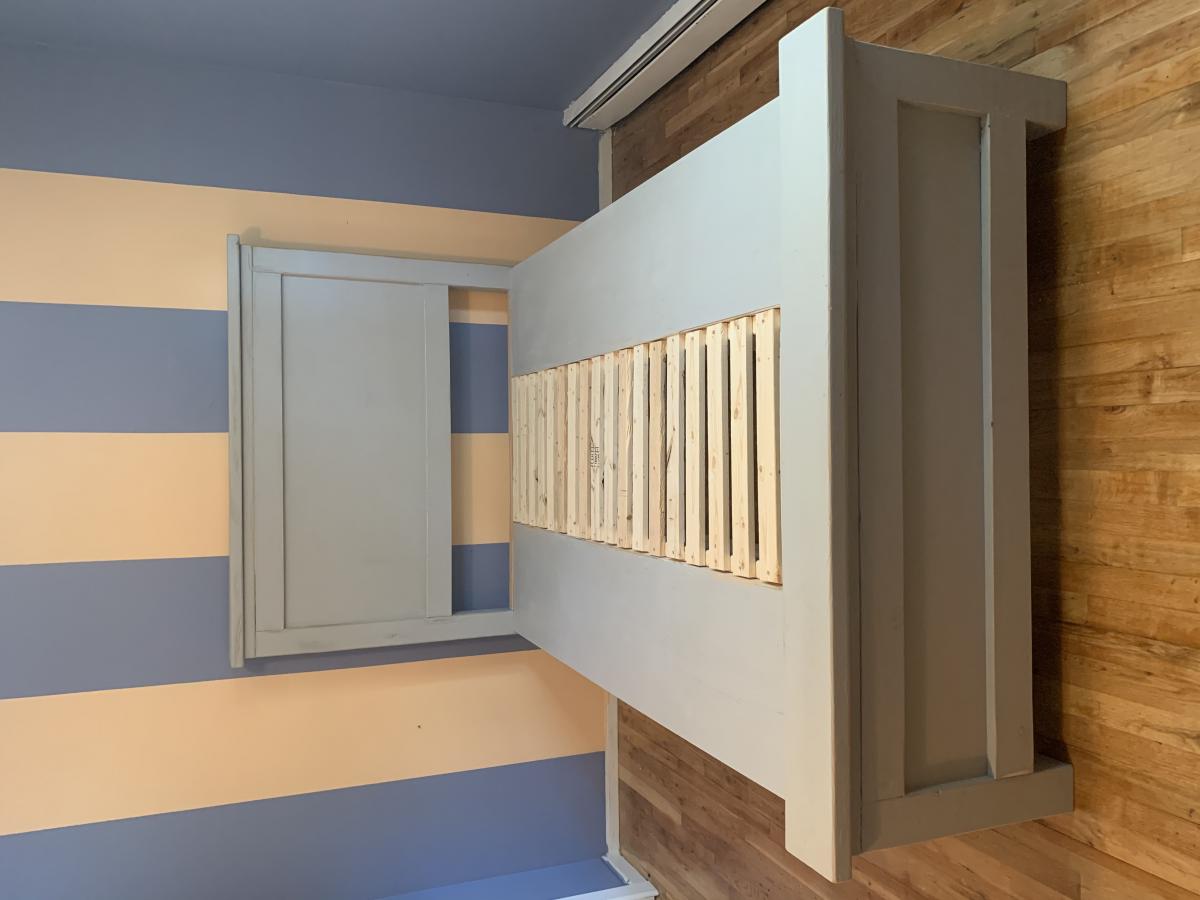
Full storage bed made from farmhouse storage plans.
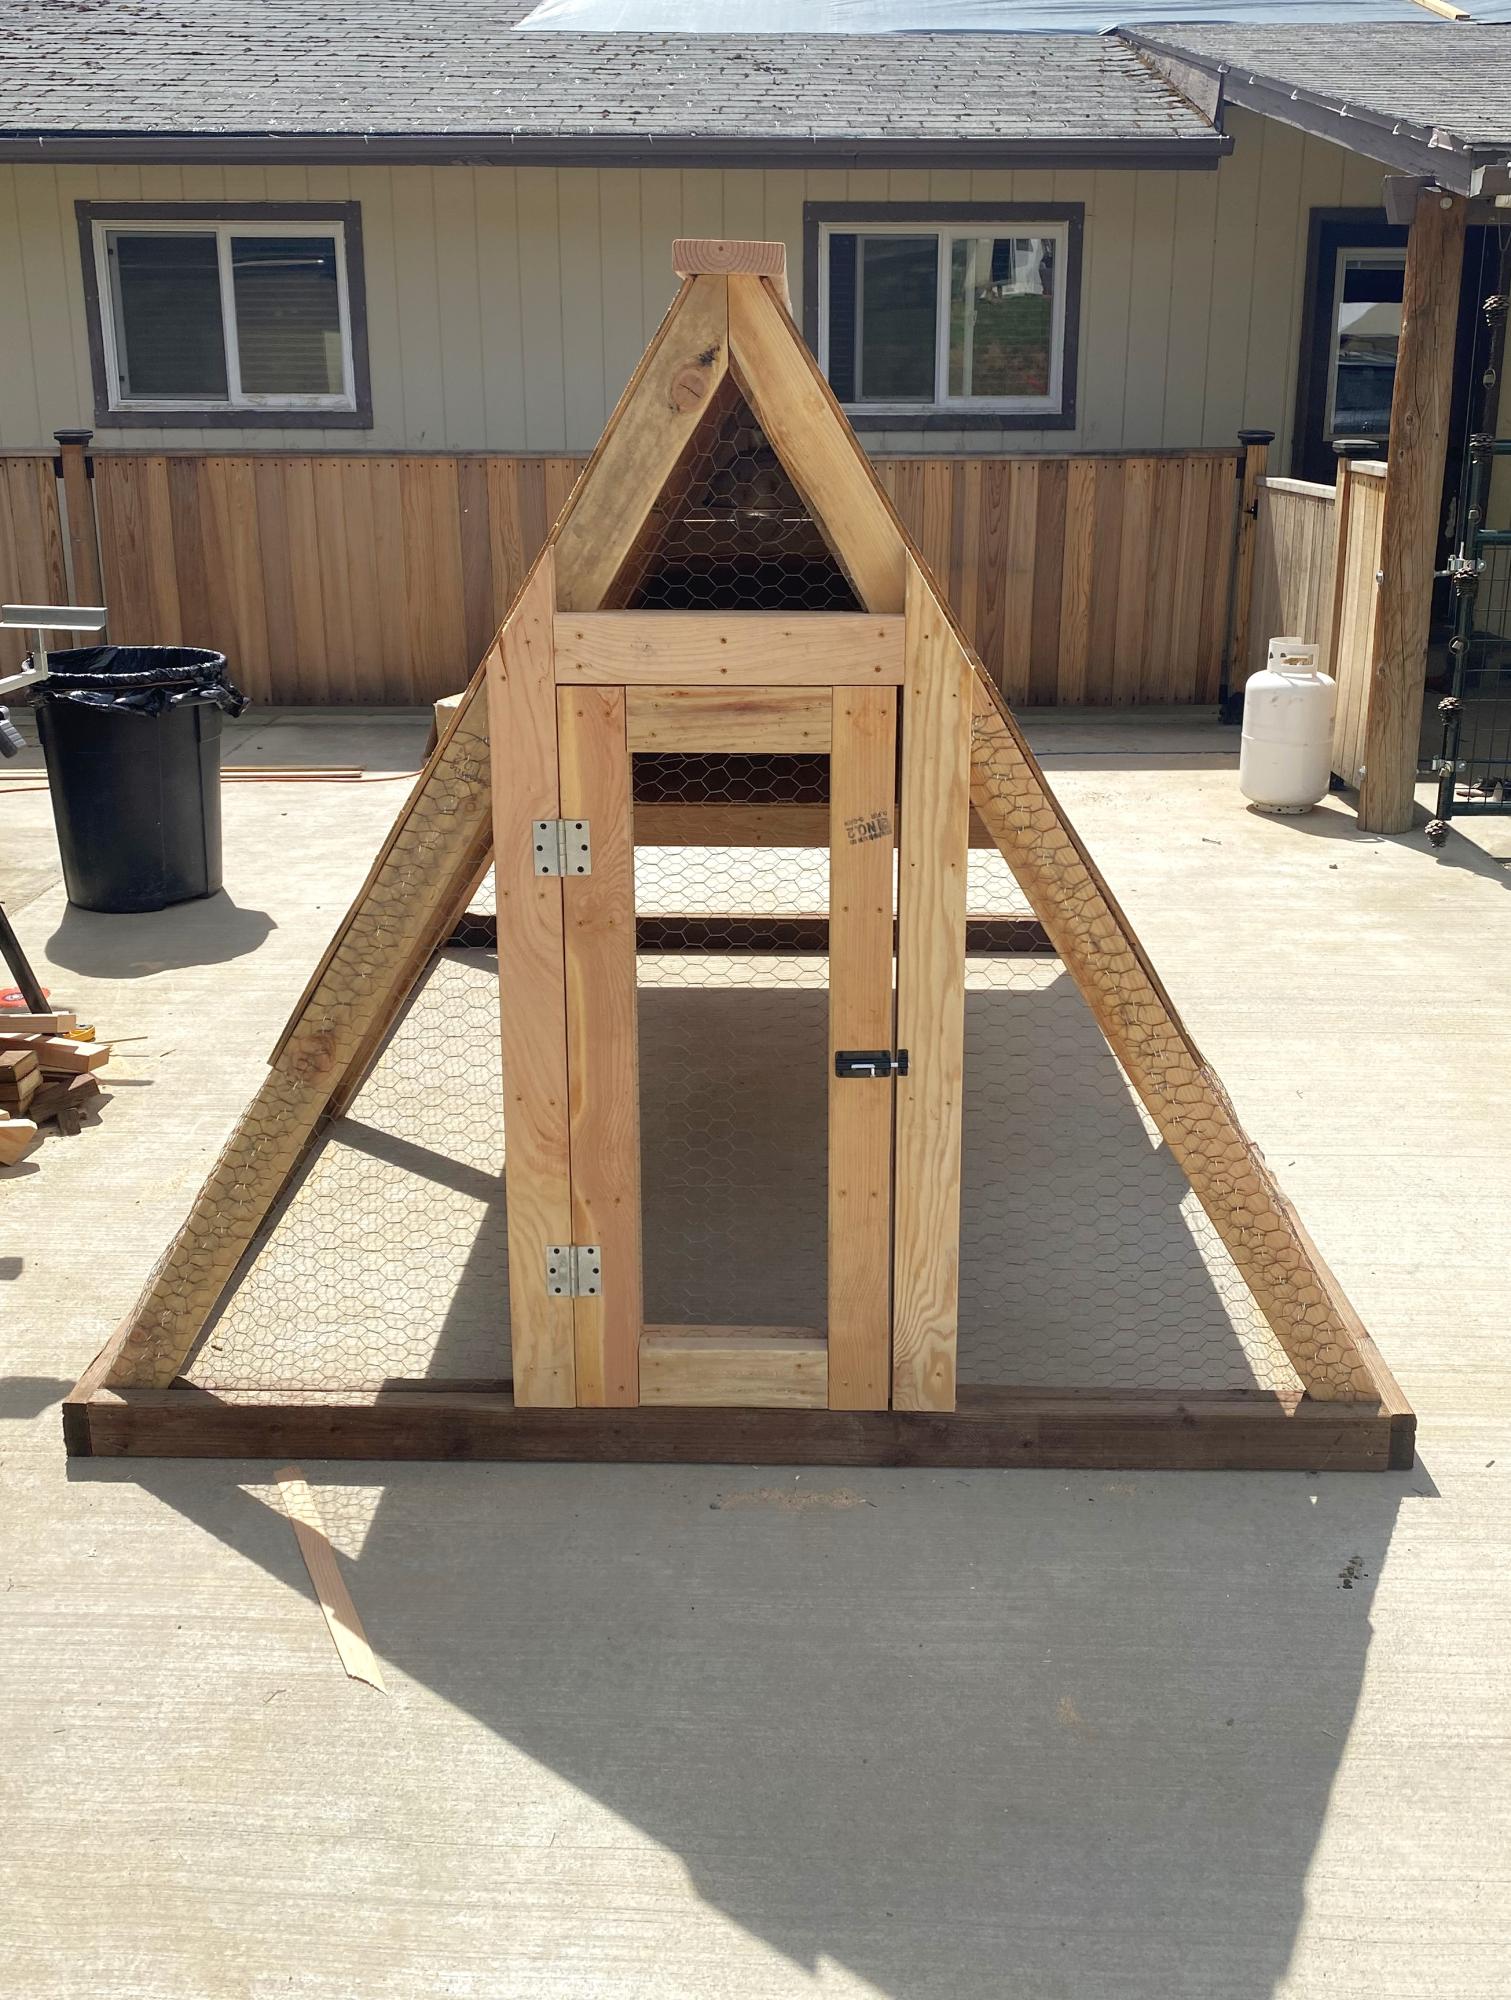
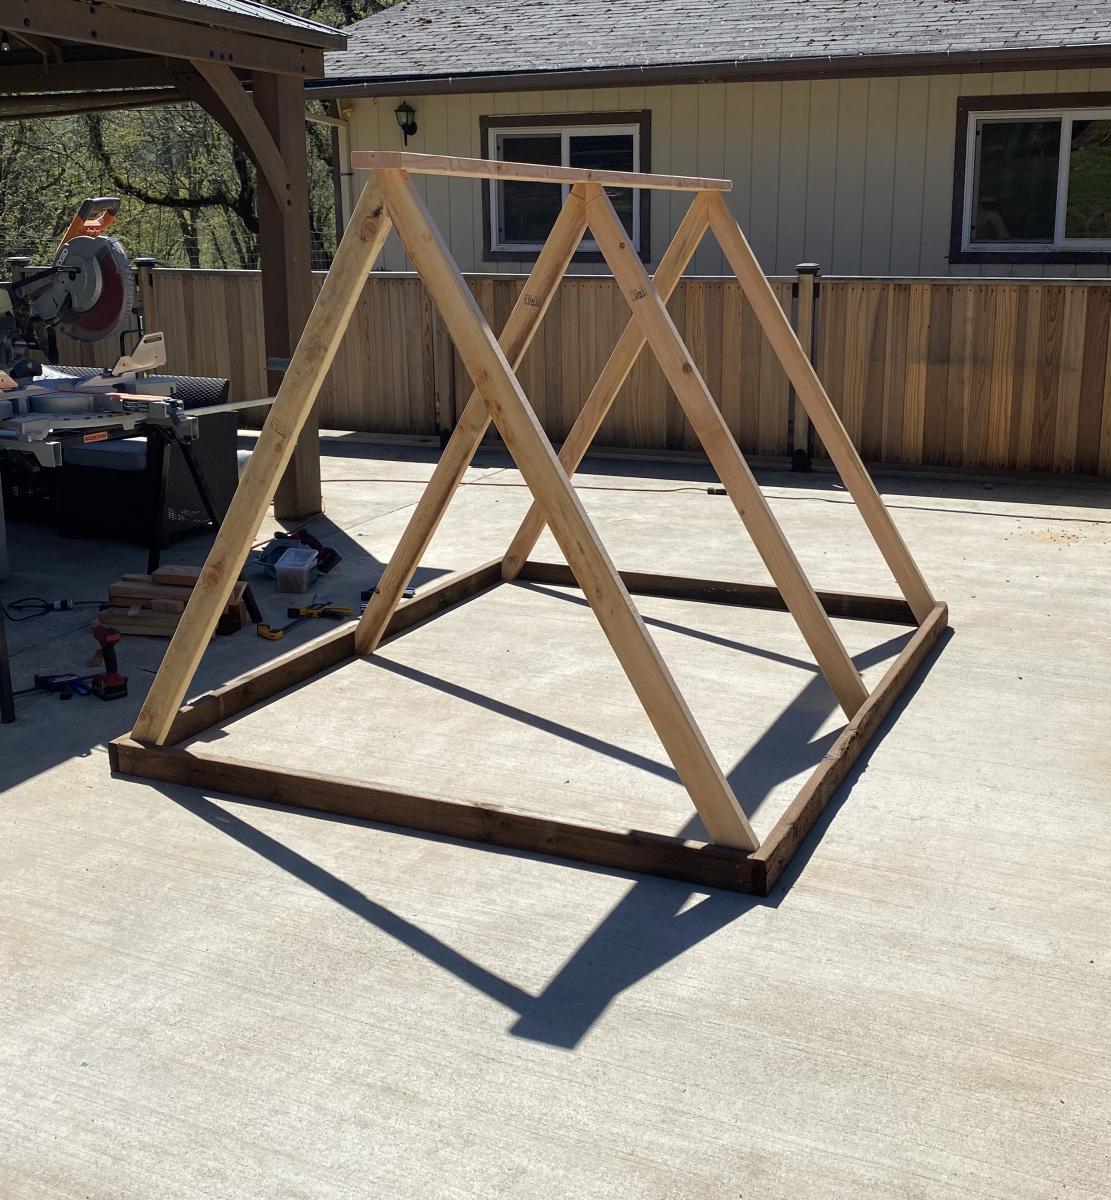
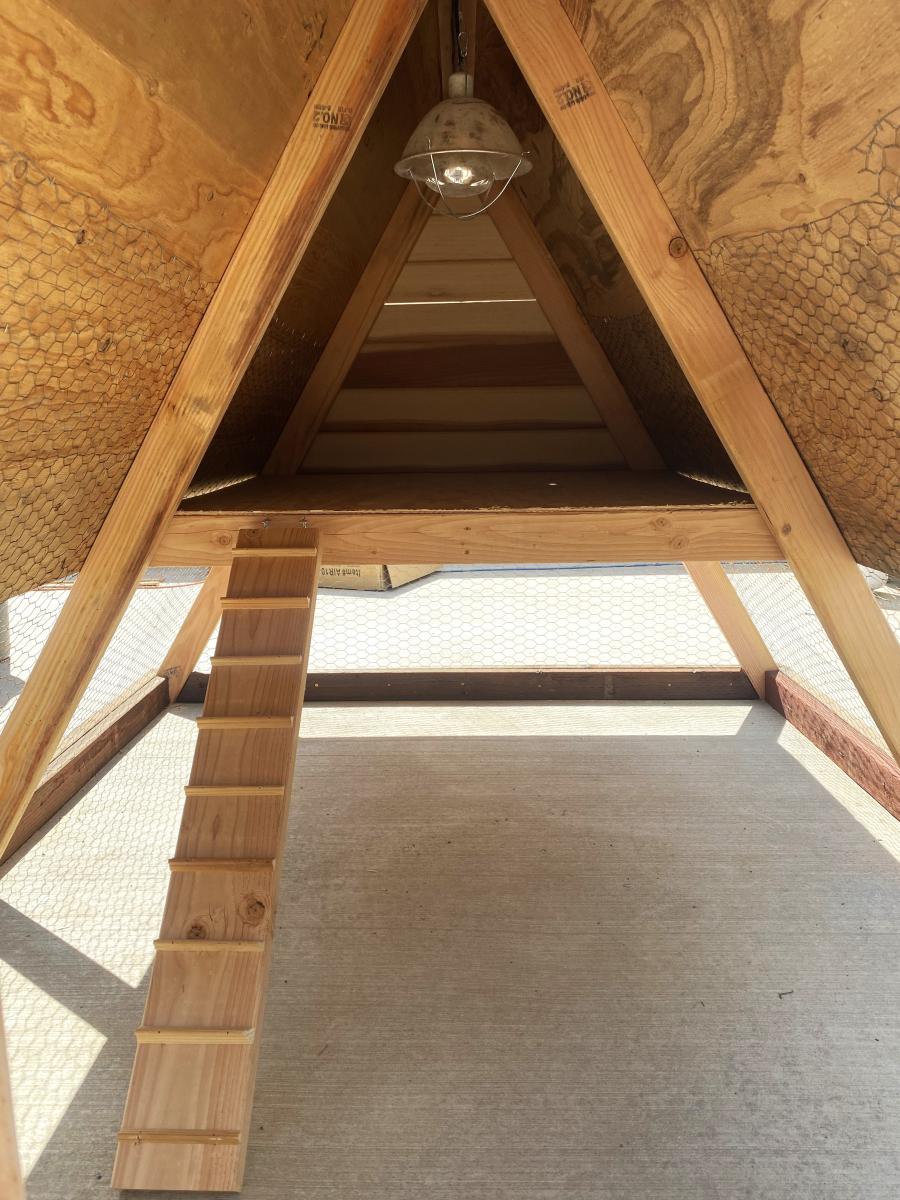
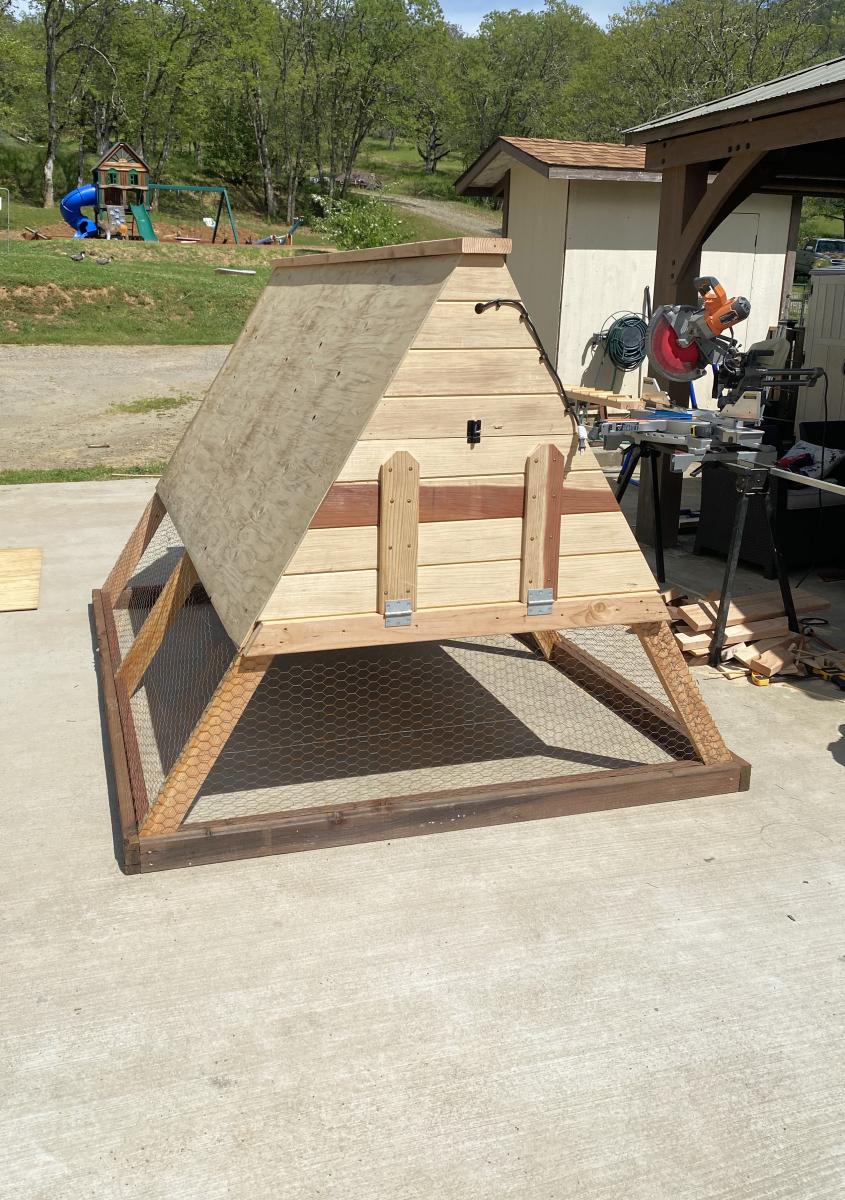
Great easy project to get the bigger chicks out of the garage to integrate with the older hens. Made some modifications because we have a lot of critters trying to kill the chickens/chicks.
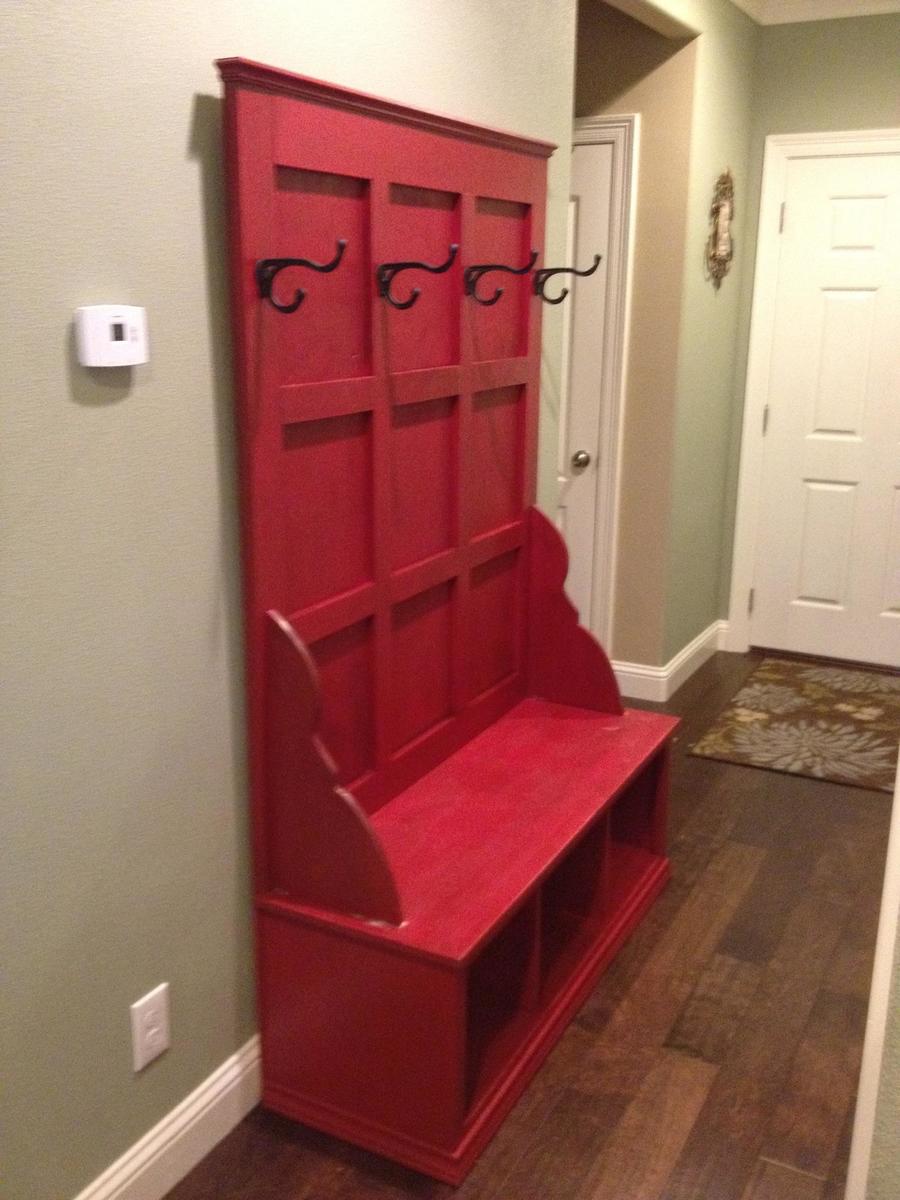
This was my first wood working project in a very long time. I was a little nervous about doing it because it would be on display in the main entry way of our house and I didnt want to make any mistakes. It took a little longer than I had hoped, but I think going slower helped make it perfect.
Sat, 09/01/2012 - 14:31
Great job! Been wanting to make one myself. Love the color and stain.

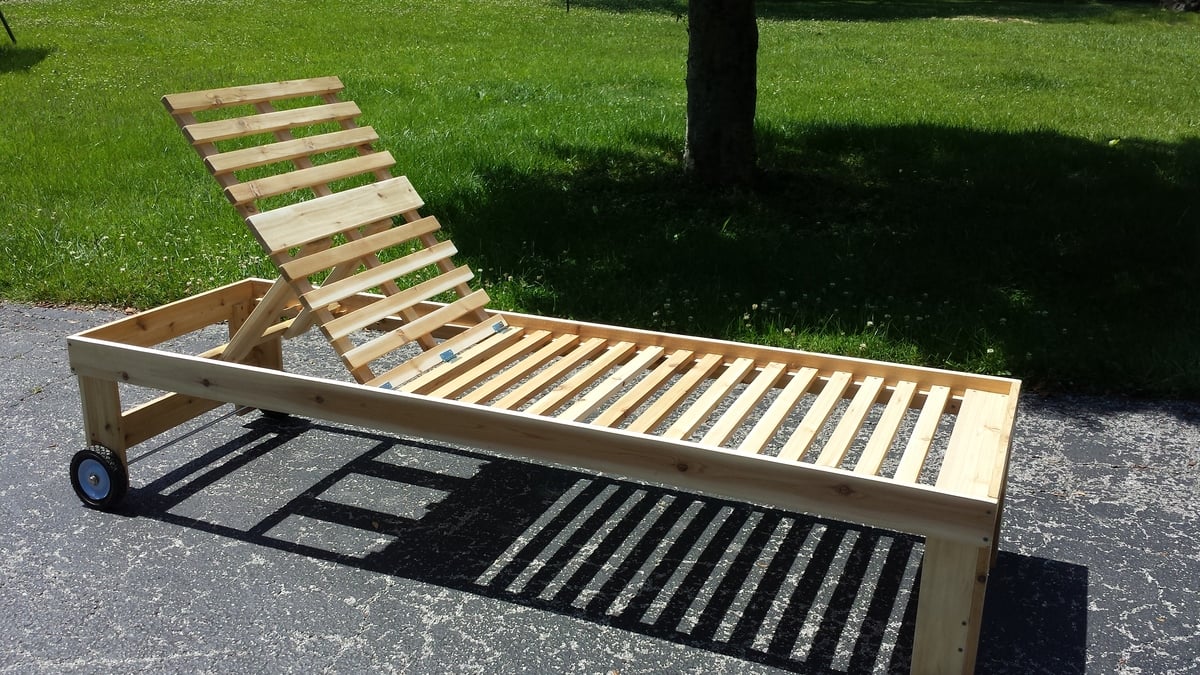
I wanted a set of pool deck furniture and your plans were exactly what I was looking for! I made two chaise lounges and two chairs. I bought the cushions from Big Lots at a great price. The longest part of the building process was sanding each board. I modified the plans by adding wheels, using a 1 × 2 instead of a dowel for the reclining bar, and changing the legs slightly. It was so helpful to have a buying and cutting list!

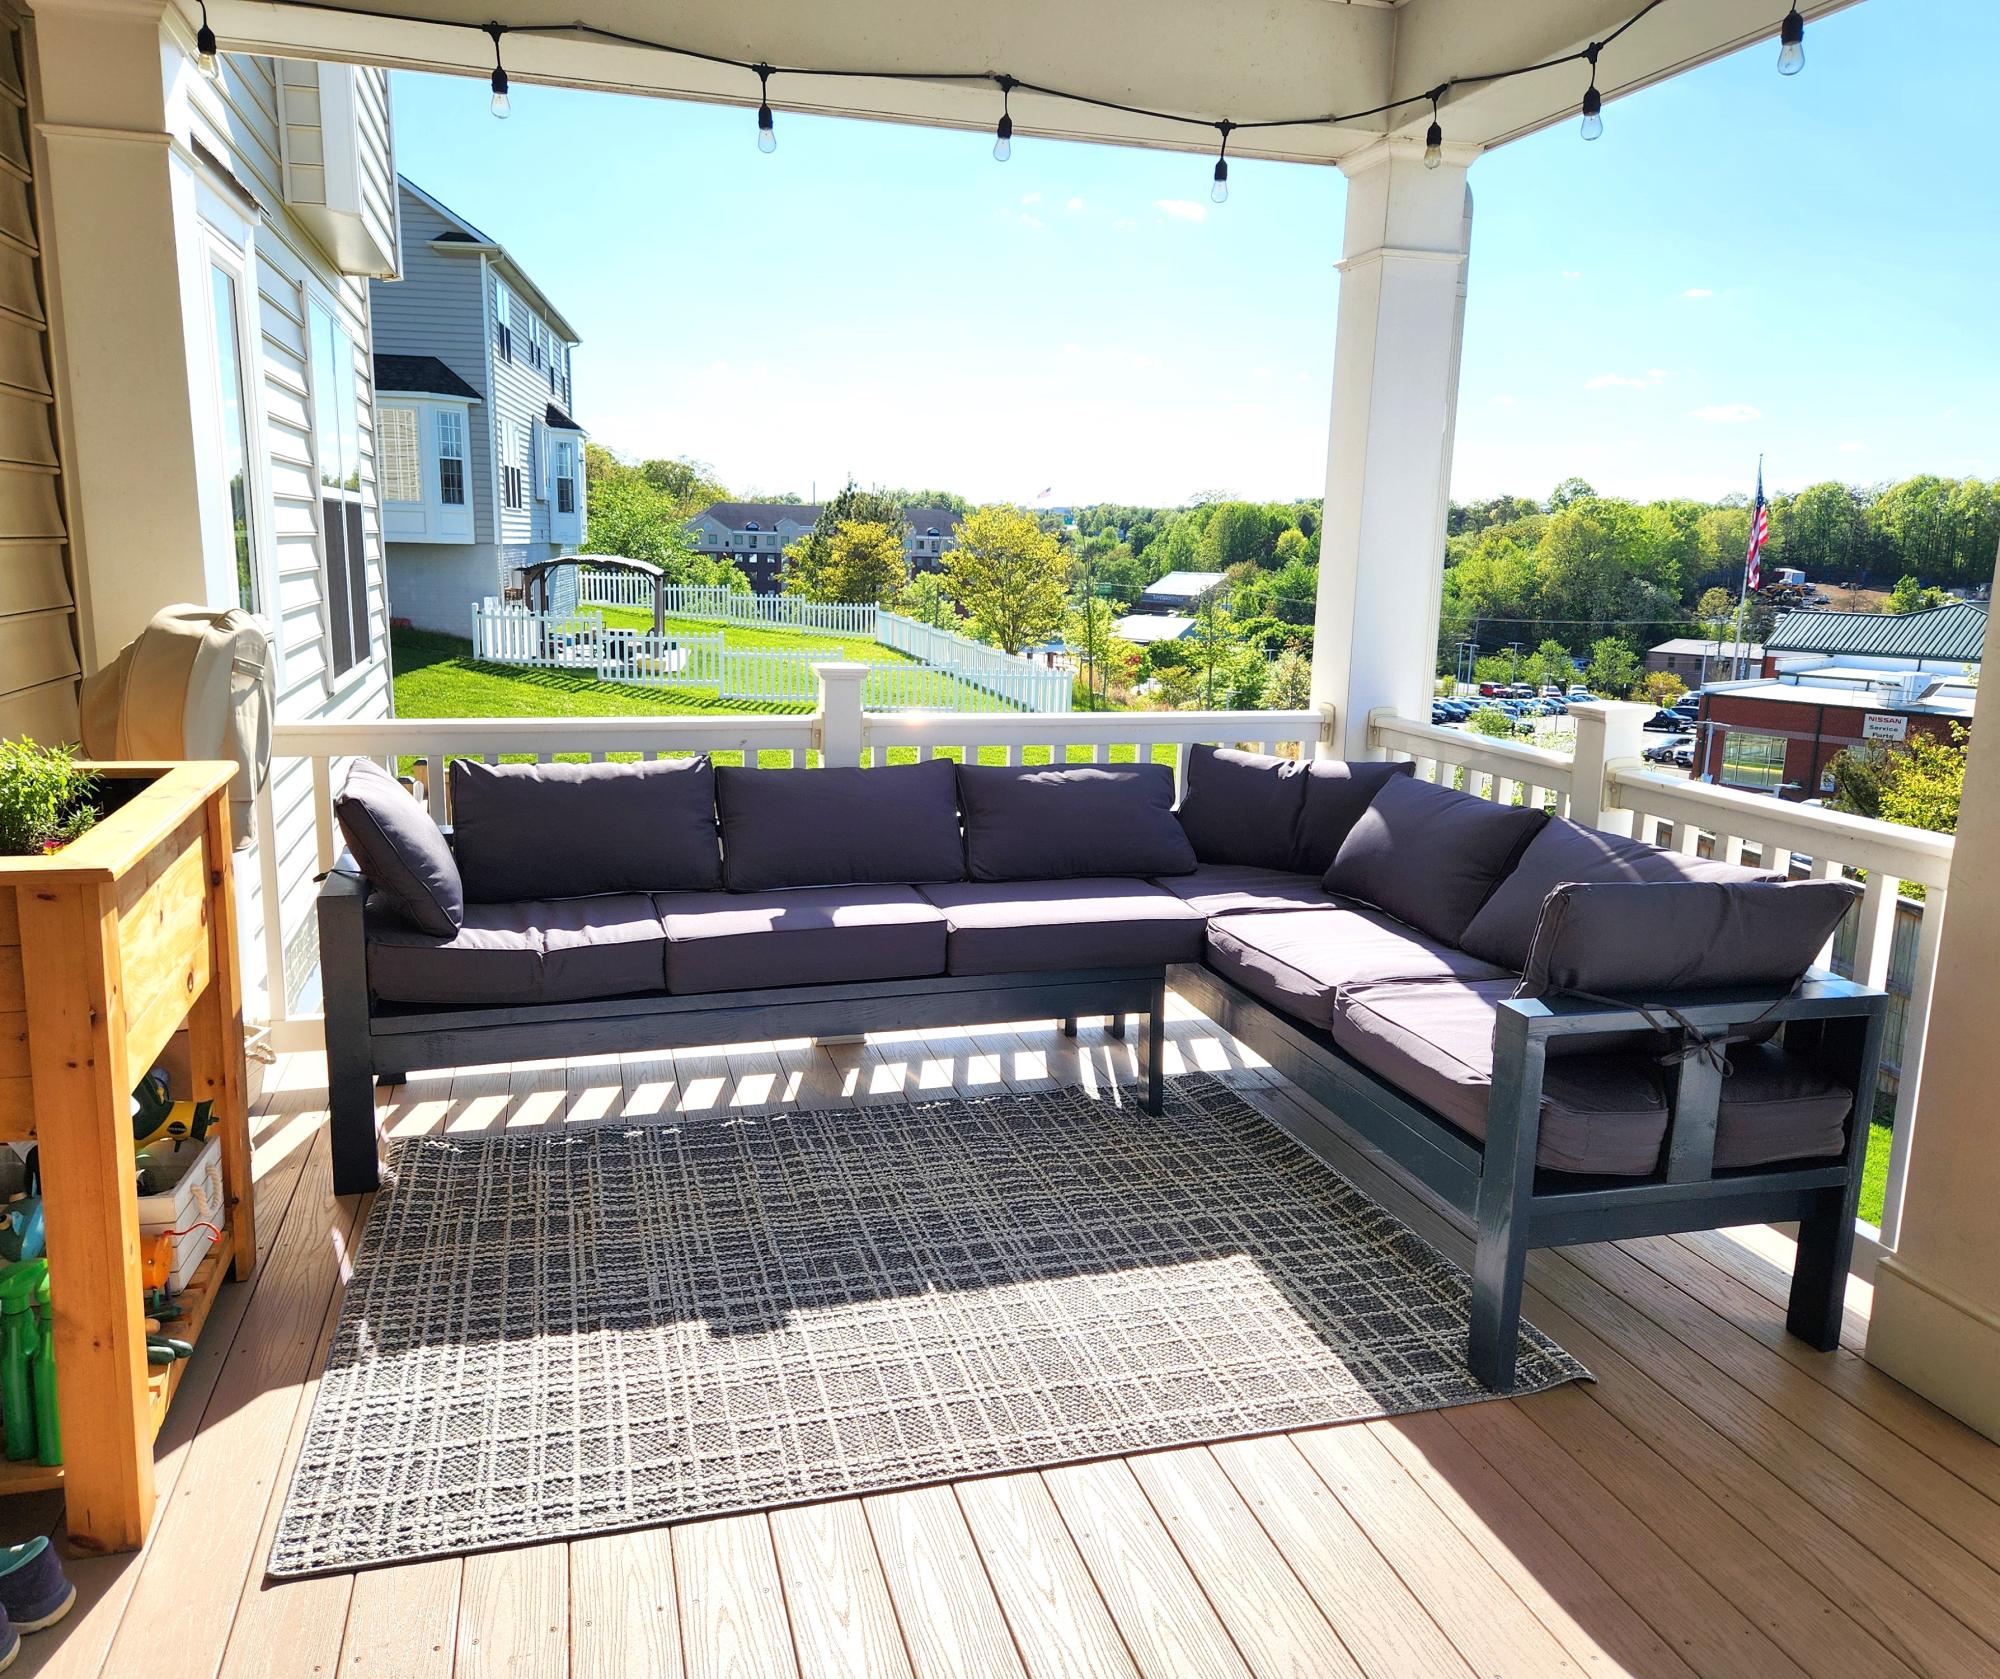
Porch sectional all done. Just need the fire pit.

This is my first attempt at wood working. Now I am going to try the rustic look finishing.

Tue, 07/08/2014 - 09:15
It took a few attempts and my miter saw would only go to 48deg but not hard just took some preplanning and practice on scrap wood
Sat, 07/12/2014 - 21:16
So I tried the rustic look stain with tee and oxidizer, and I it came out brown, so disappointed
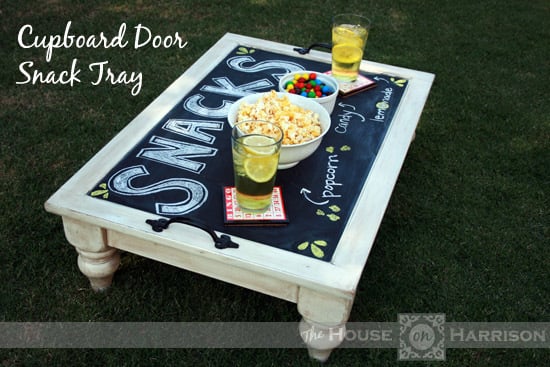
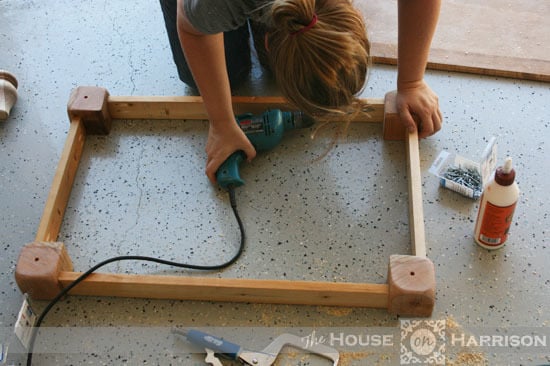
We really needed some sort of coffee table for our game room loft, but we didn't want something that big taking up space in the small room. Armed with the plans for Ana's Turned Leg Coffee Table and an old cabinet door we found on the side of the road, we made a snack table instead.
We modified Ana's plans a bit to accommodate the cabinet door. It was very simple, and only took us a few hours to build. You can find all the details on my blog.
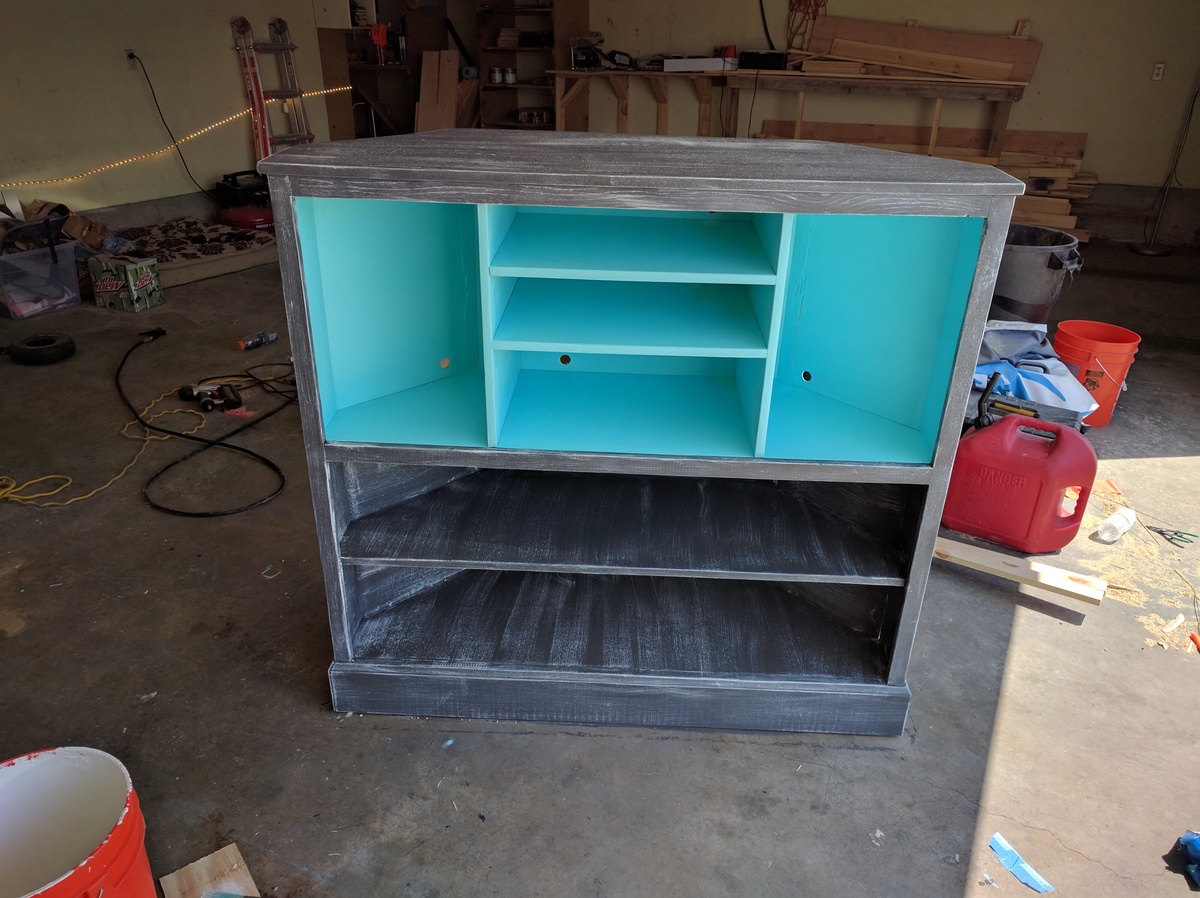
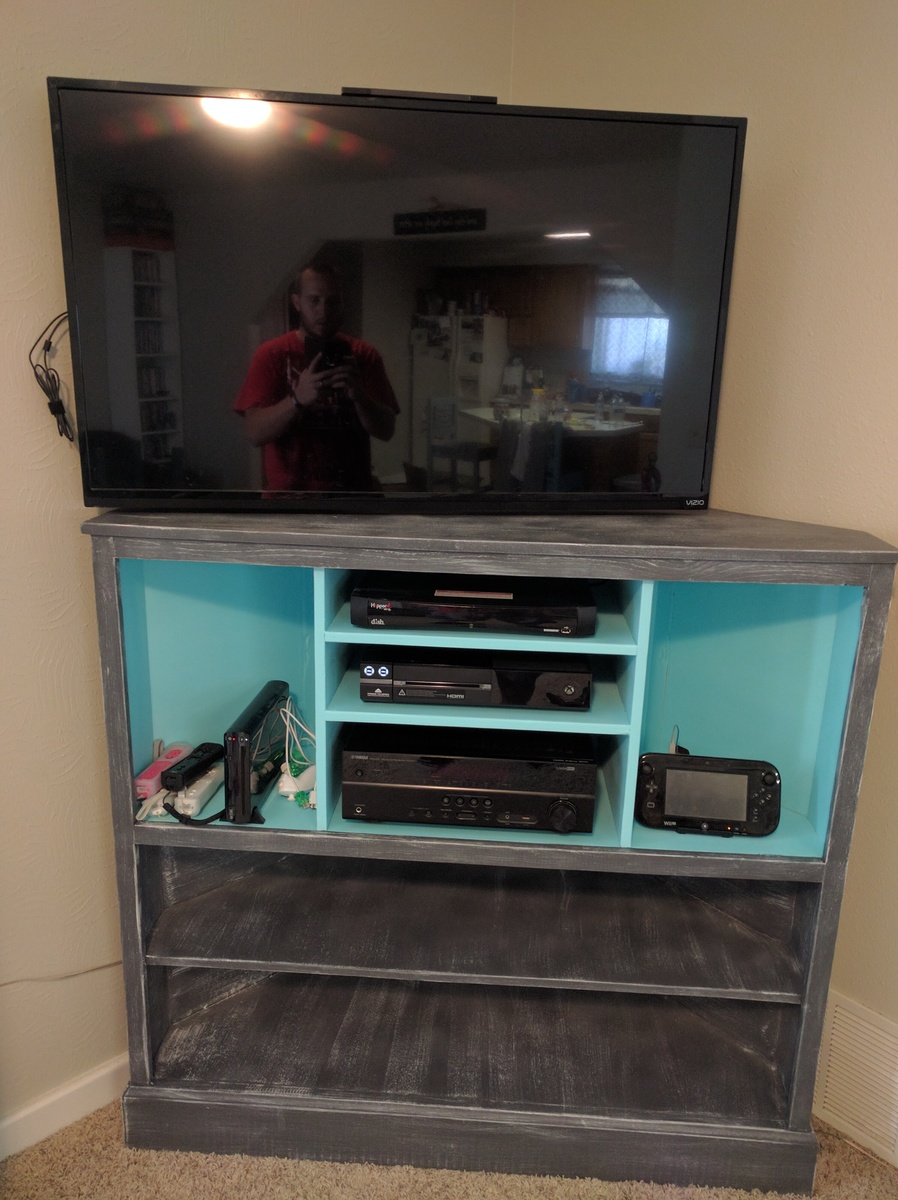
This project was so much fun. I had to make adjustments for the size of my systems, but it was well worth it. I will be adding the doors later after our baby is old enough to crawl. Thank you so much for sharing this project!
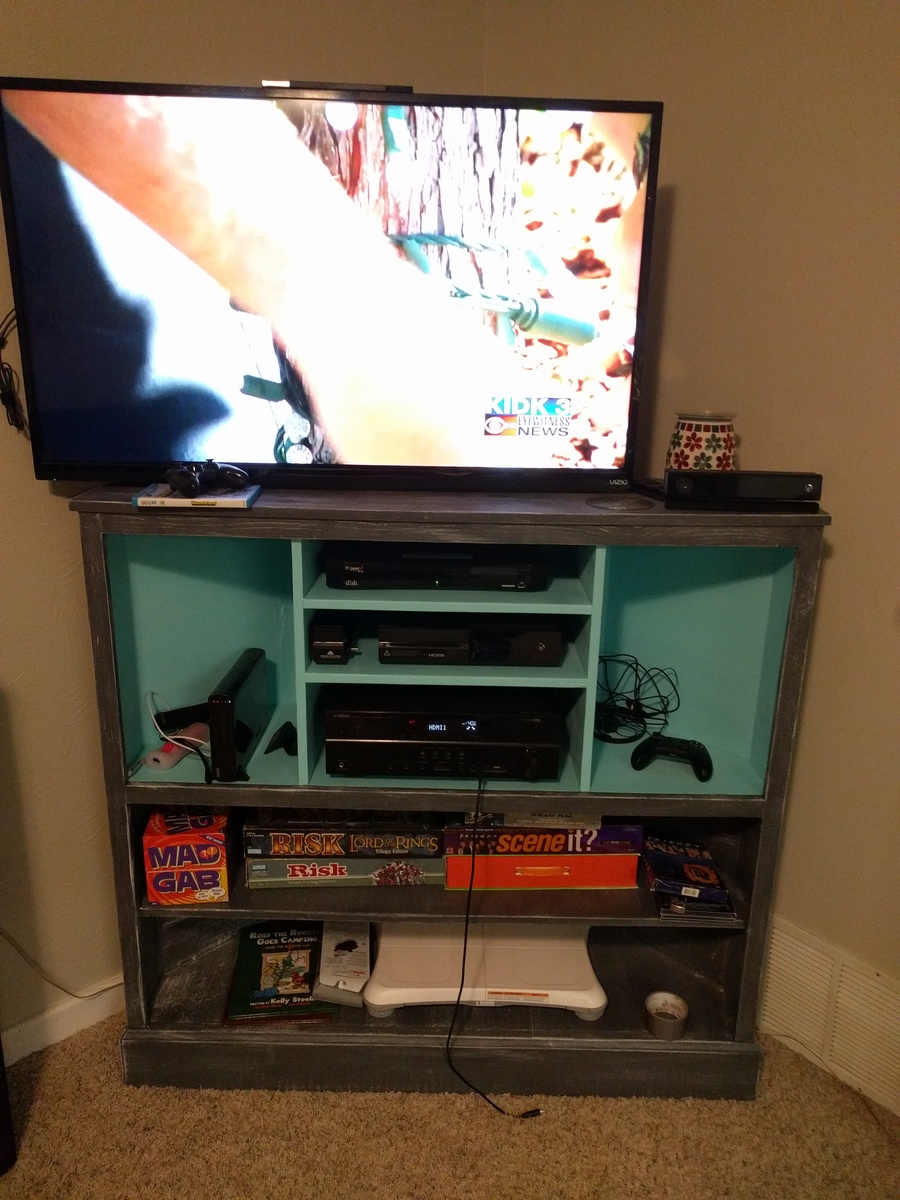
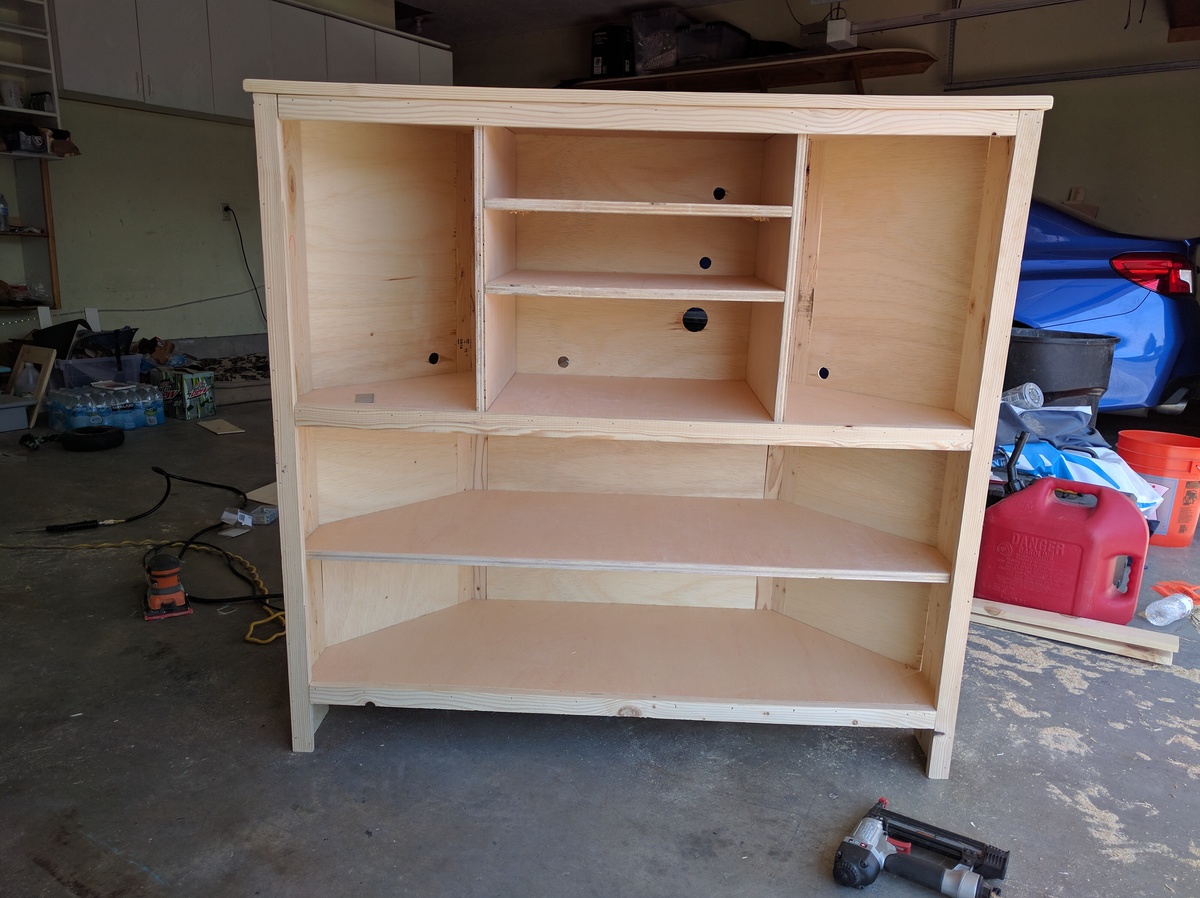
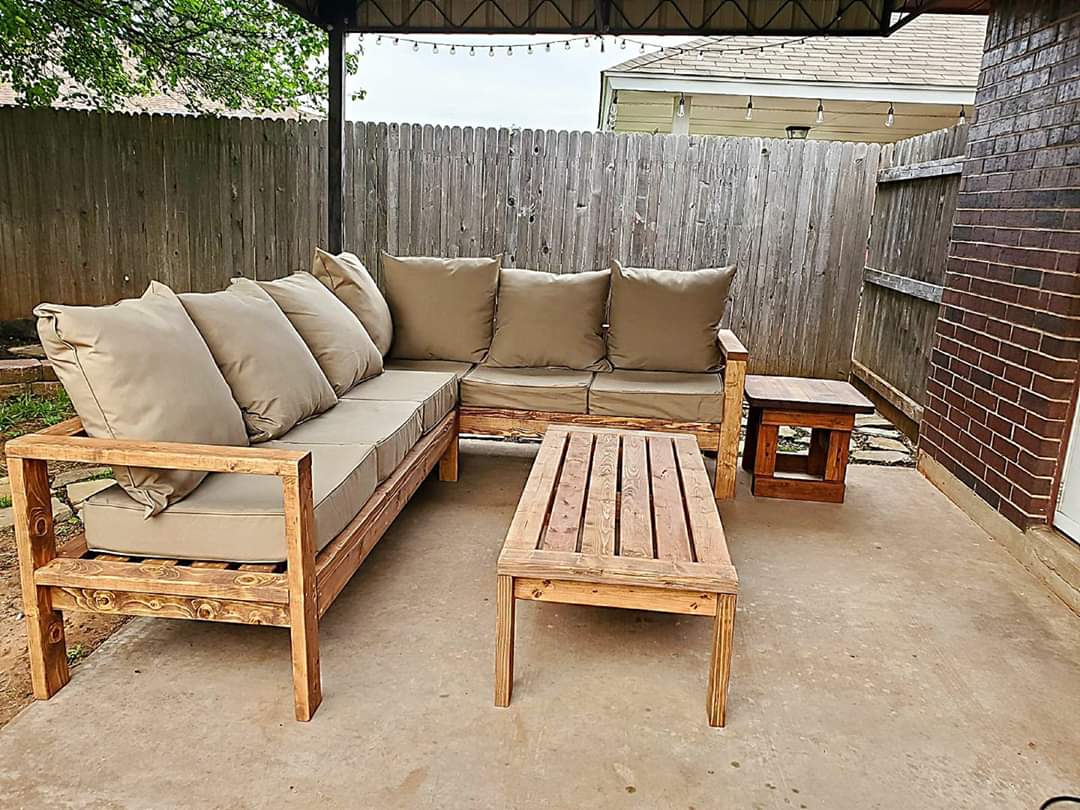
Loved these plans! Was my first project I tackled trying my hand with a new hobby of wood working to stave off quarantine craziness :-) finished project looked awesome and got me started working on other plans on the site.
**note**
Side table was just sanded and refinished, wasn't built just tried to match.
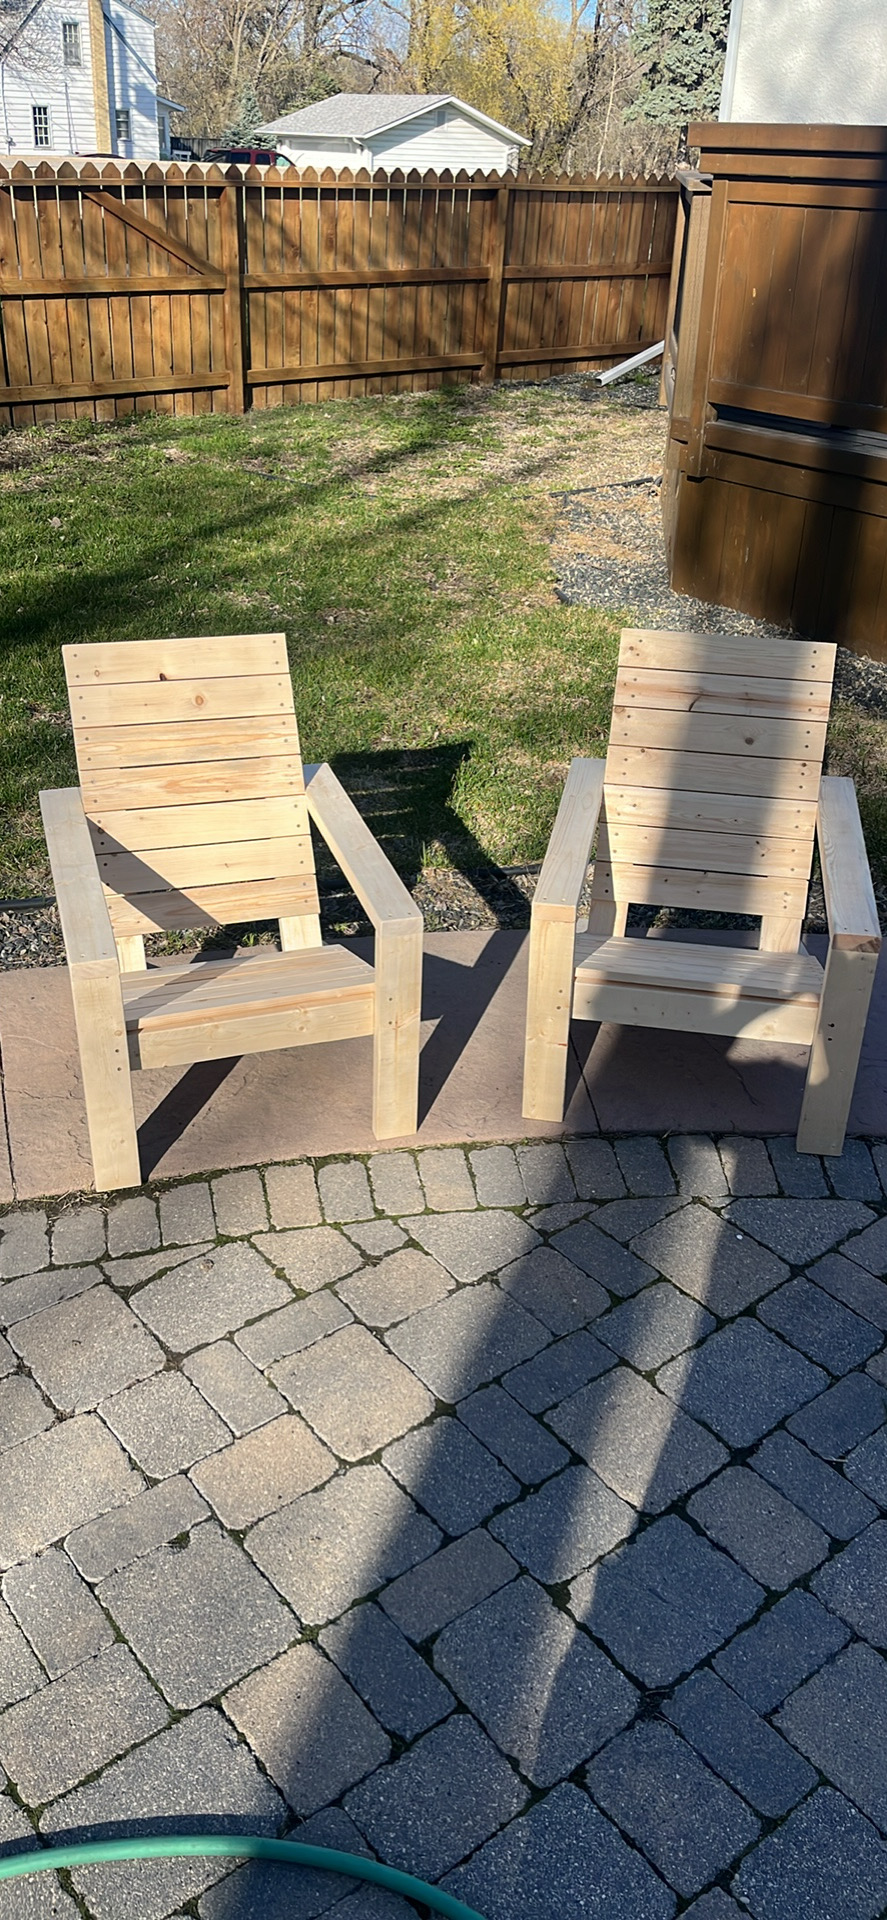
Switched 1x10 for 1x4

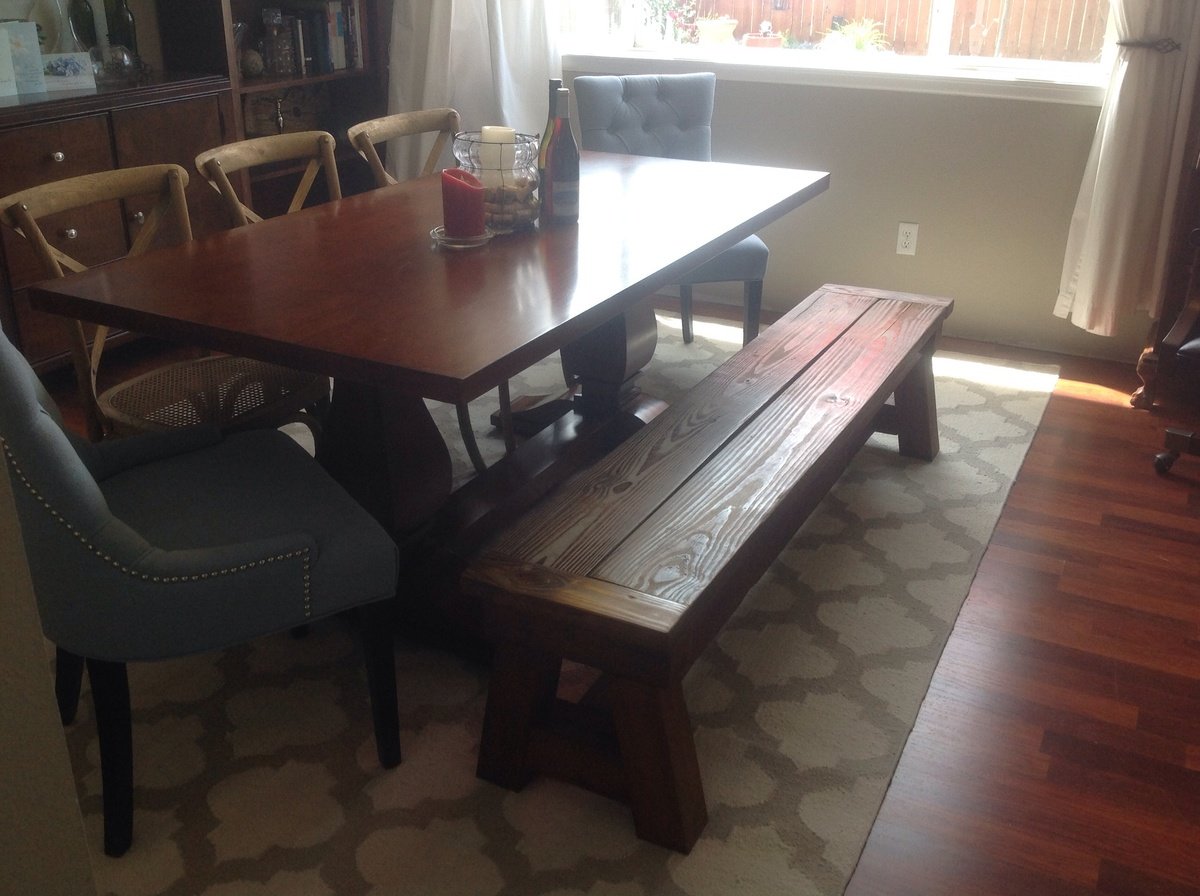
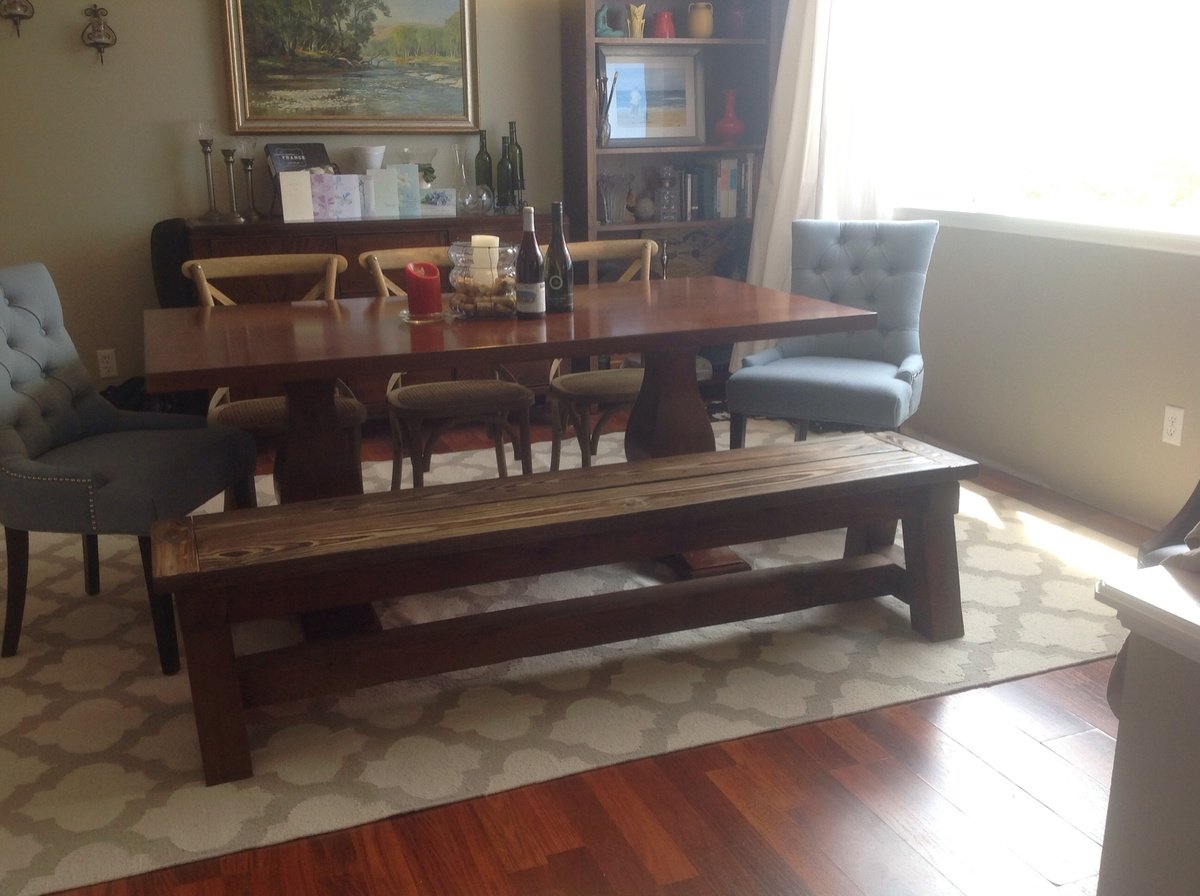
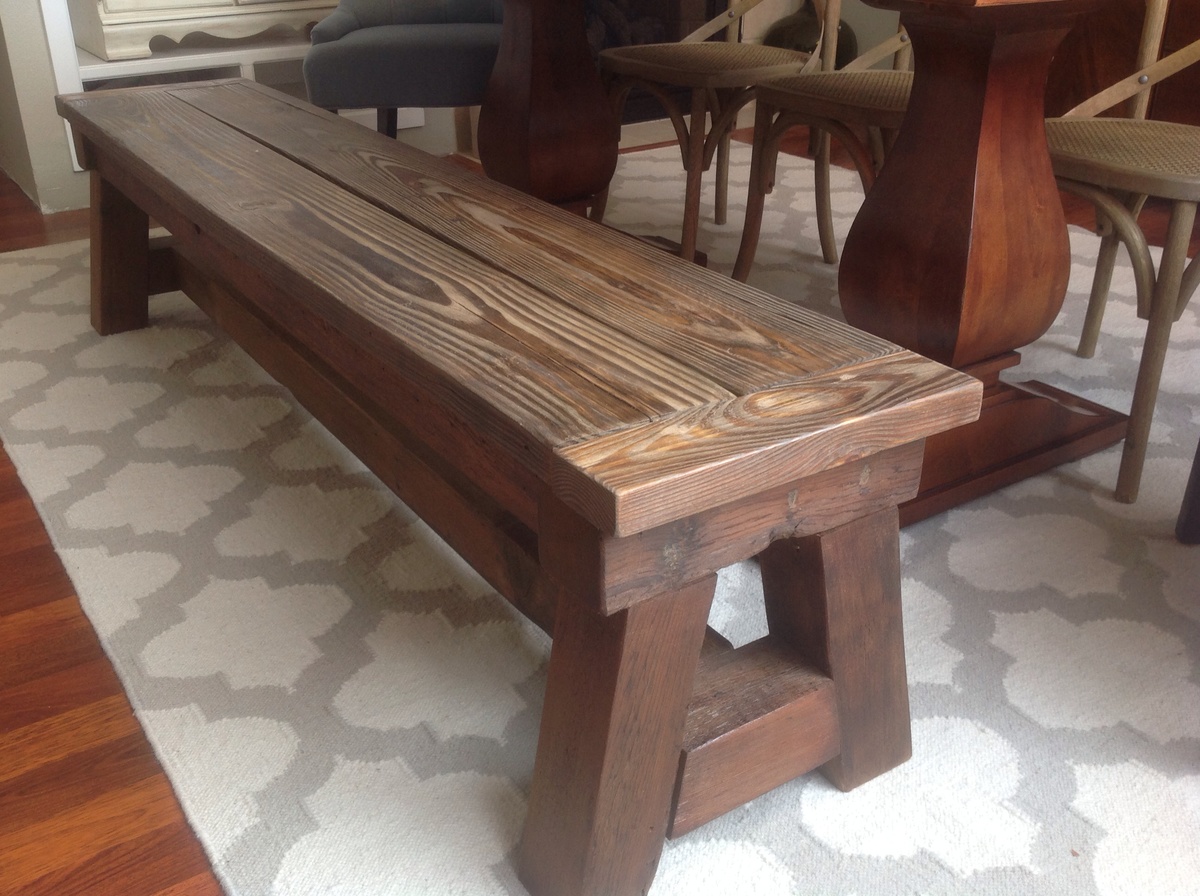
Using the 4x4 Truss Bench plan (http://ana-white.com/2013/10/plans/4x4-truss-benches), we built this bench using entirely reclaimed lumber. (We had removed an old patio and part of a fence.) We already had all of the lumber, screws, etc. so the only cost to us for this project was the cost of the stain.
We modified the plan slightly, using 2x4s on the ends.
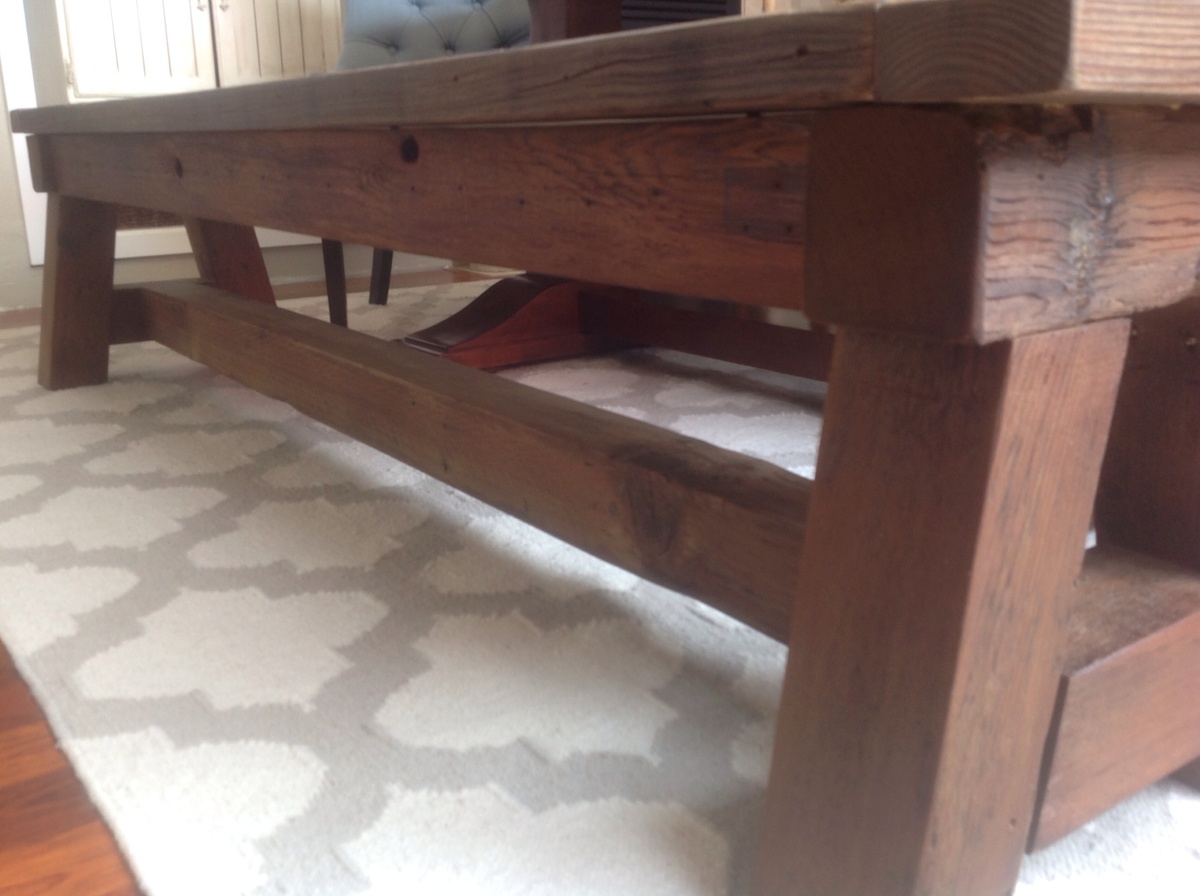
My husband is obsessed with decking screws. Thus the entire bench is held together with 2 1/2 inch decking screws. (Unfortunately, we purchased our Kreg Jig a day following the completion of this project.)
Because the lumber was very old and weathered, there is a lot of character to the wood. There were some incredibly soft spots which made sanding a challenge, and some of the boards were somewhat warped. However, we still really like the way it turned out.
I sanded (and sanded and sanded) using 60 grit, then 80... then 120... then 220. I filled the screw holes with wood filler (and sanded again). I then conditioned the wood with Minwax pre-stain wood conditioner. I used Minwax Early American oil based stain on the entire project. I then went over the top only with Minwax Weathered Oak. After about 36 hours of drying time, I used 2 coats of Minwax Fast-Drying clear semi-gloss polyurethane.
This bench is a beast! I'm sure it weighs over 75 pounds. It is extremely solid, and quite beautiful in our dining room. The plans were easy to follow, and the whole thing went together fairly quickly. (It would have been completed even more quickly had we had our Kreg Jig at the time. Lesson learned.)
