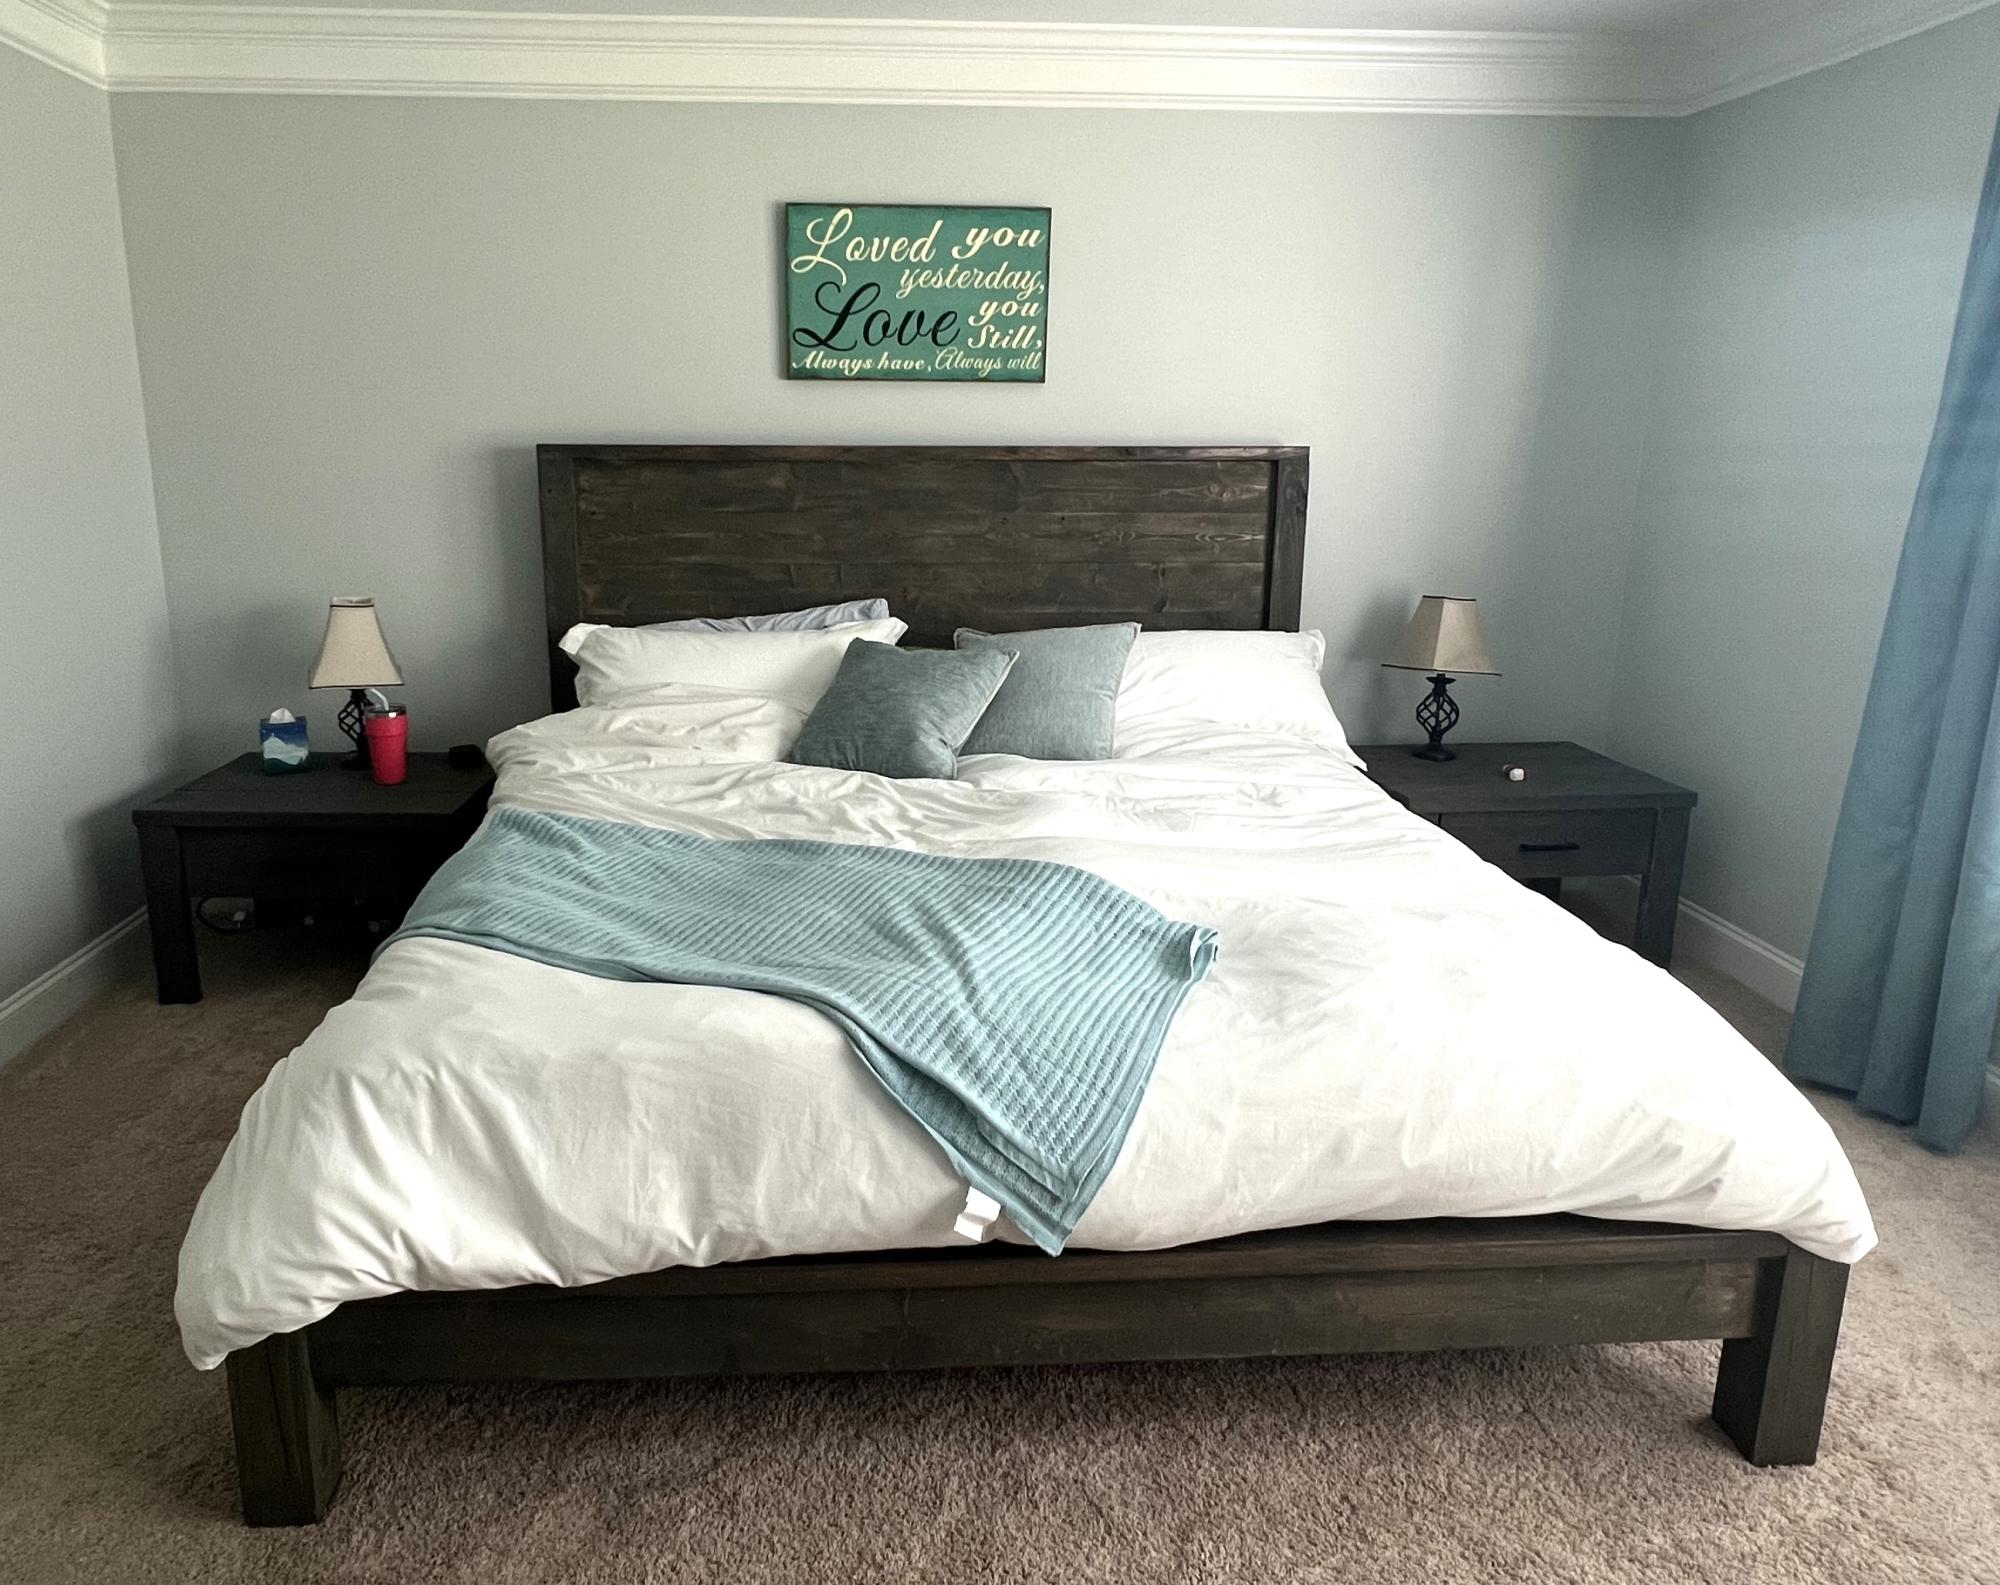
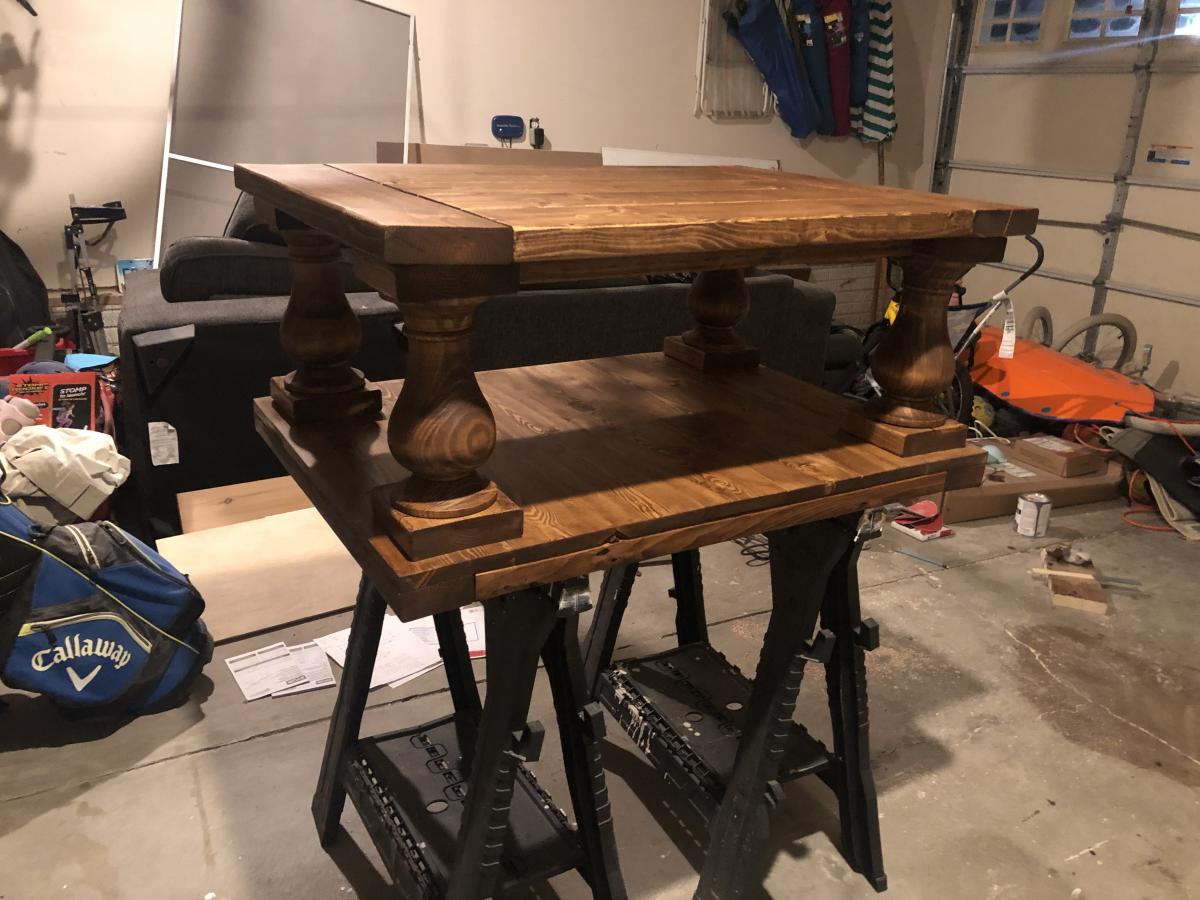
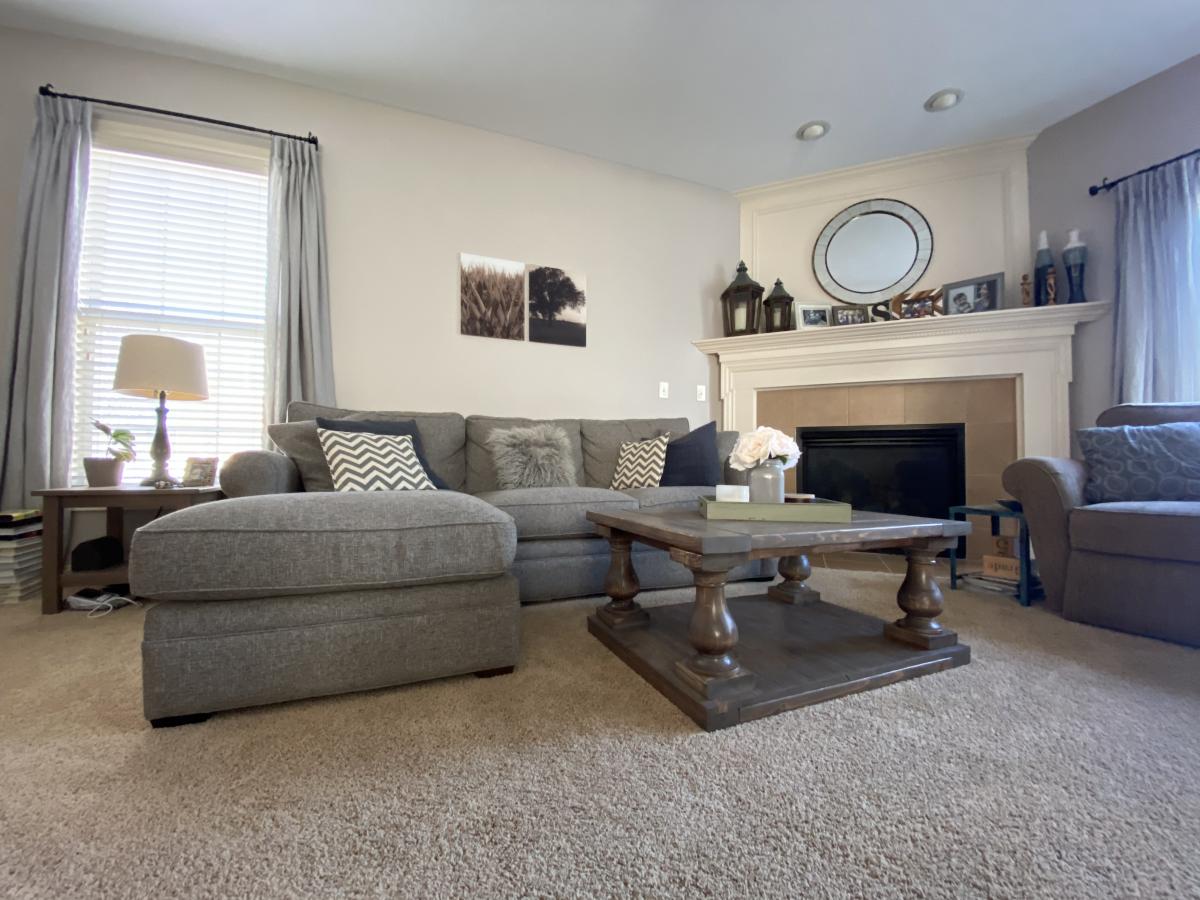
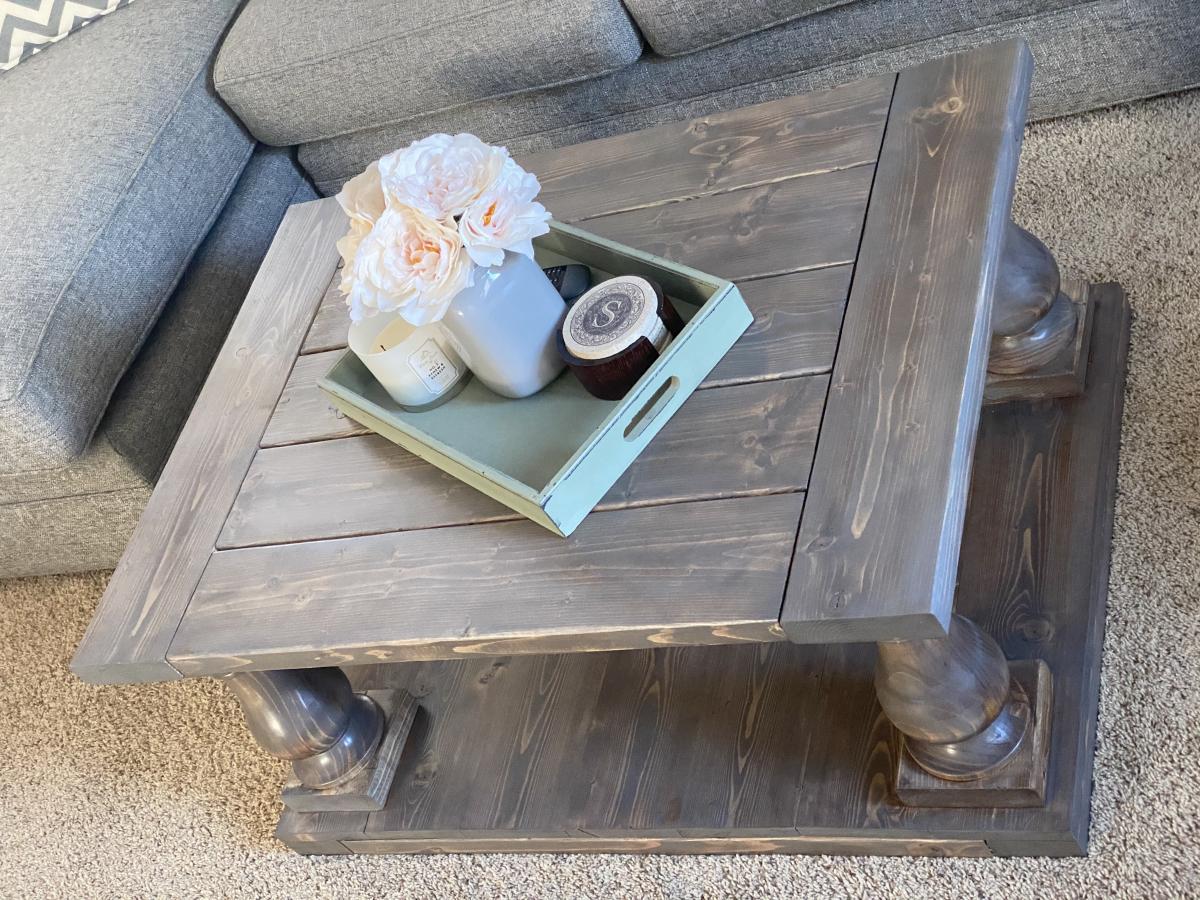
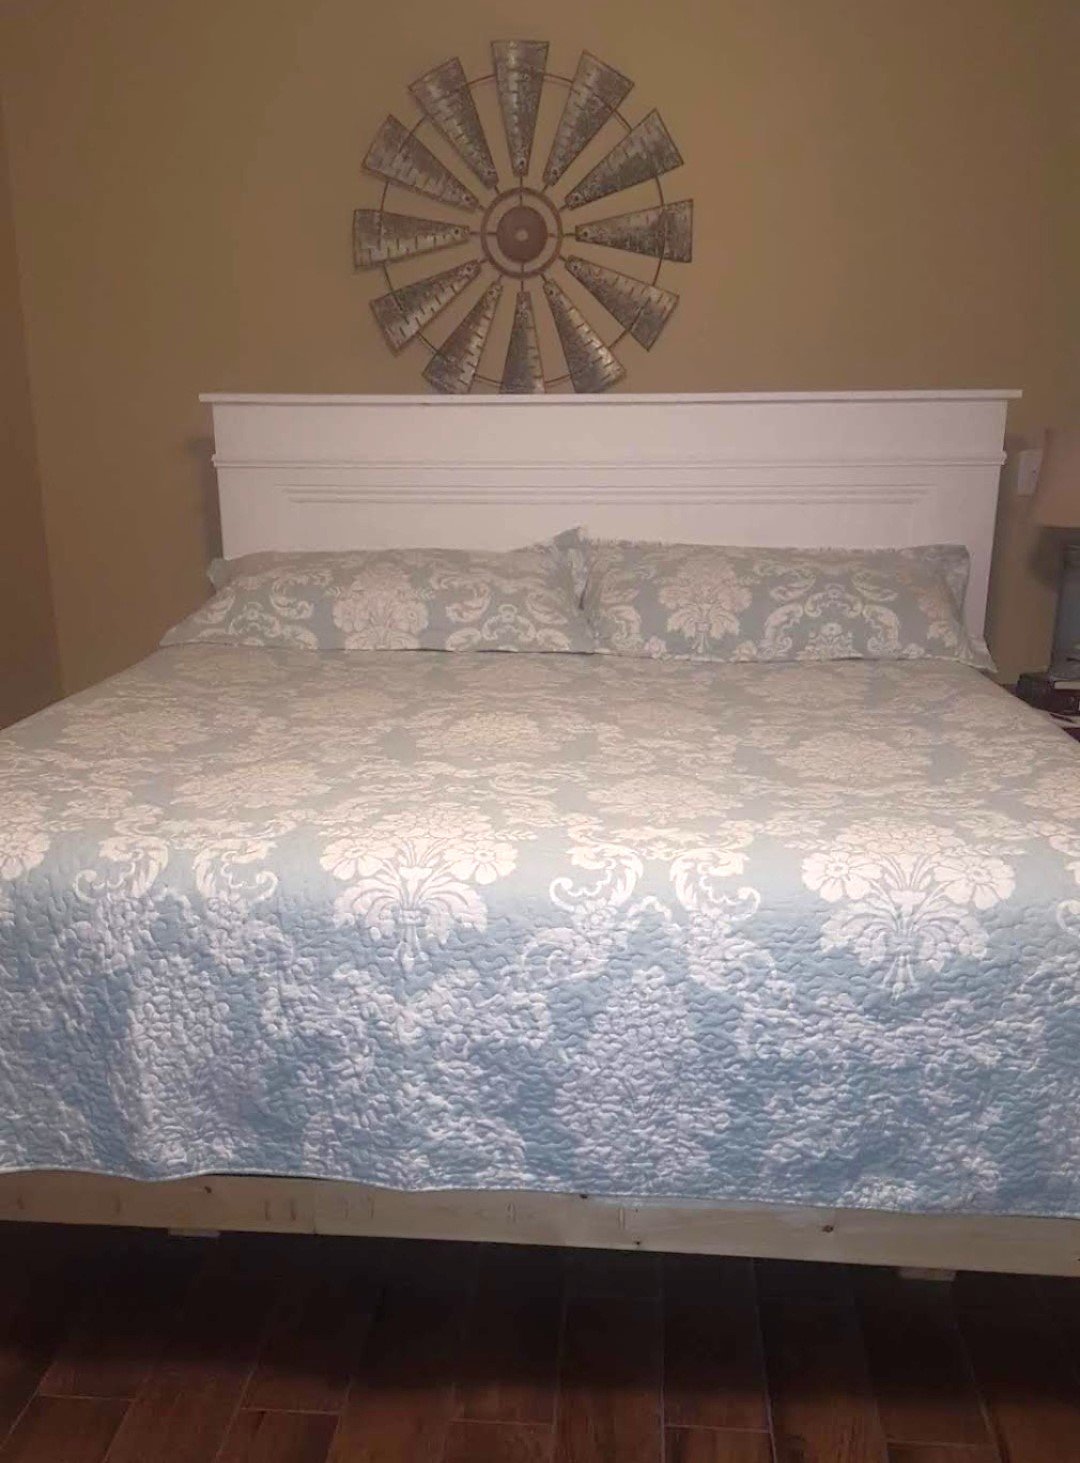
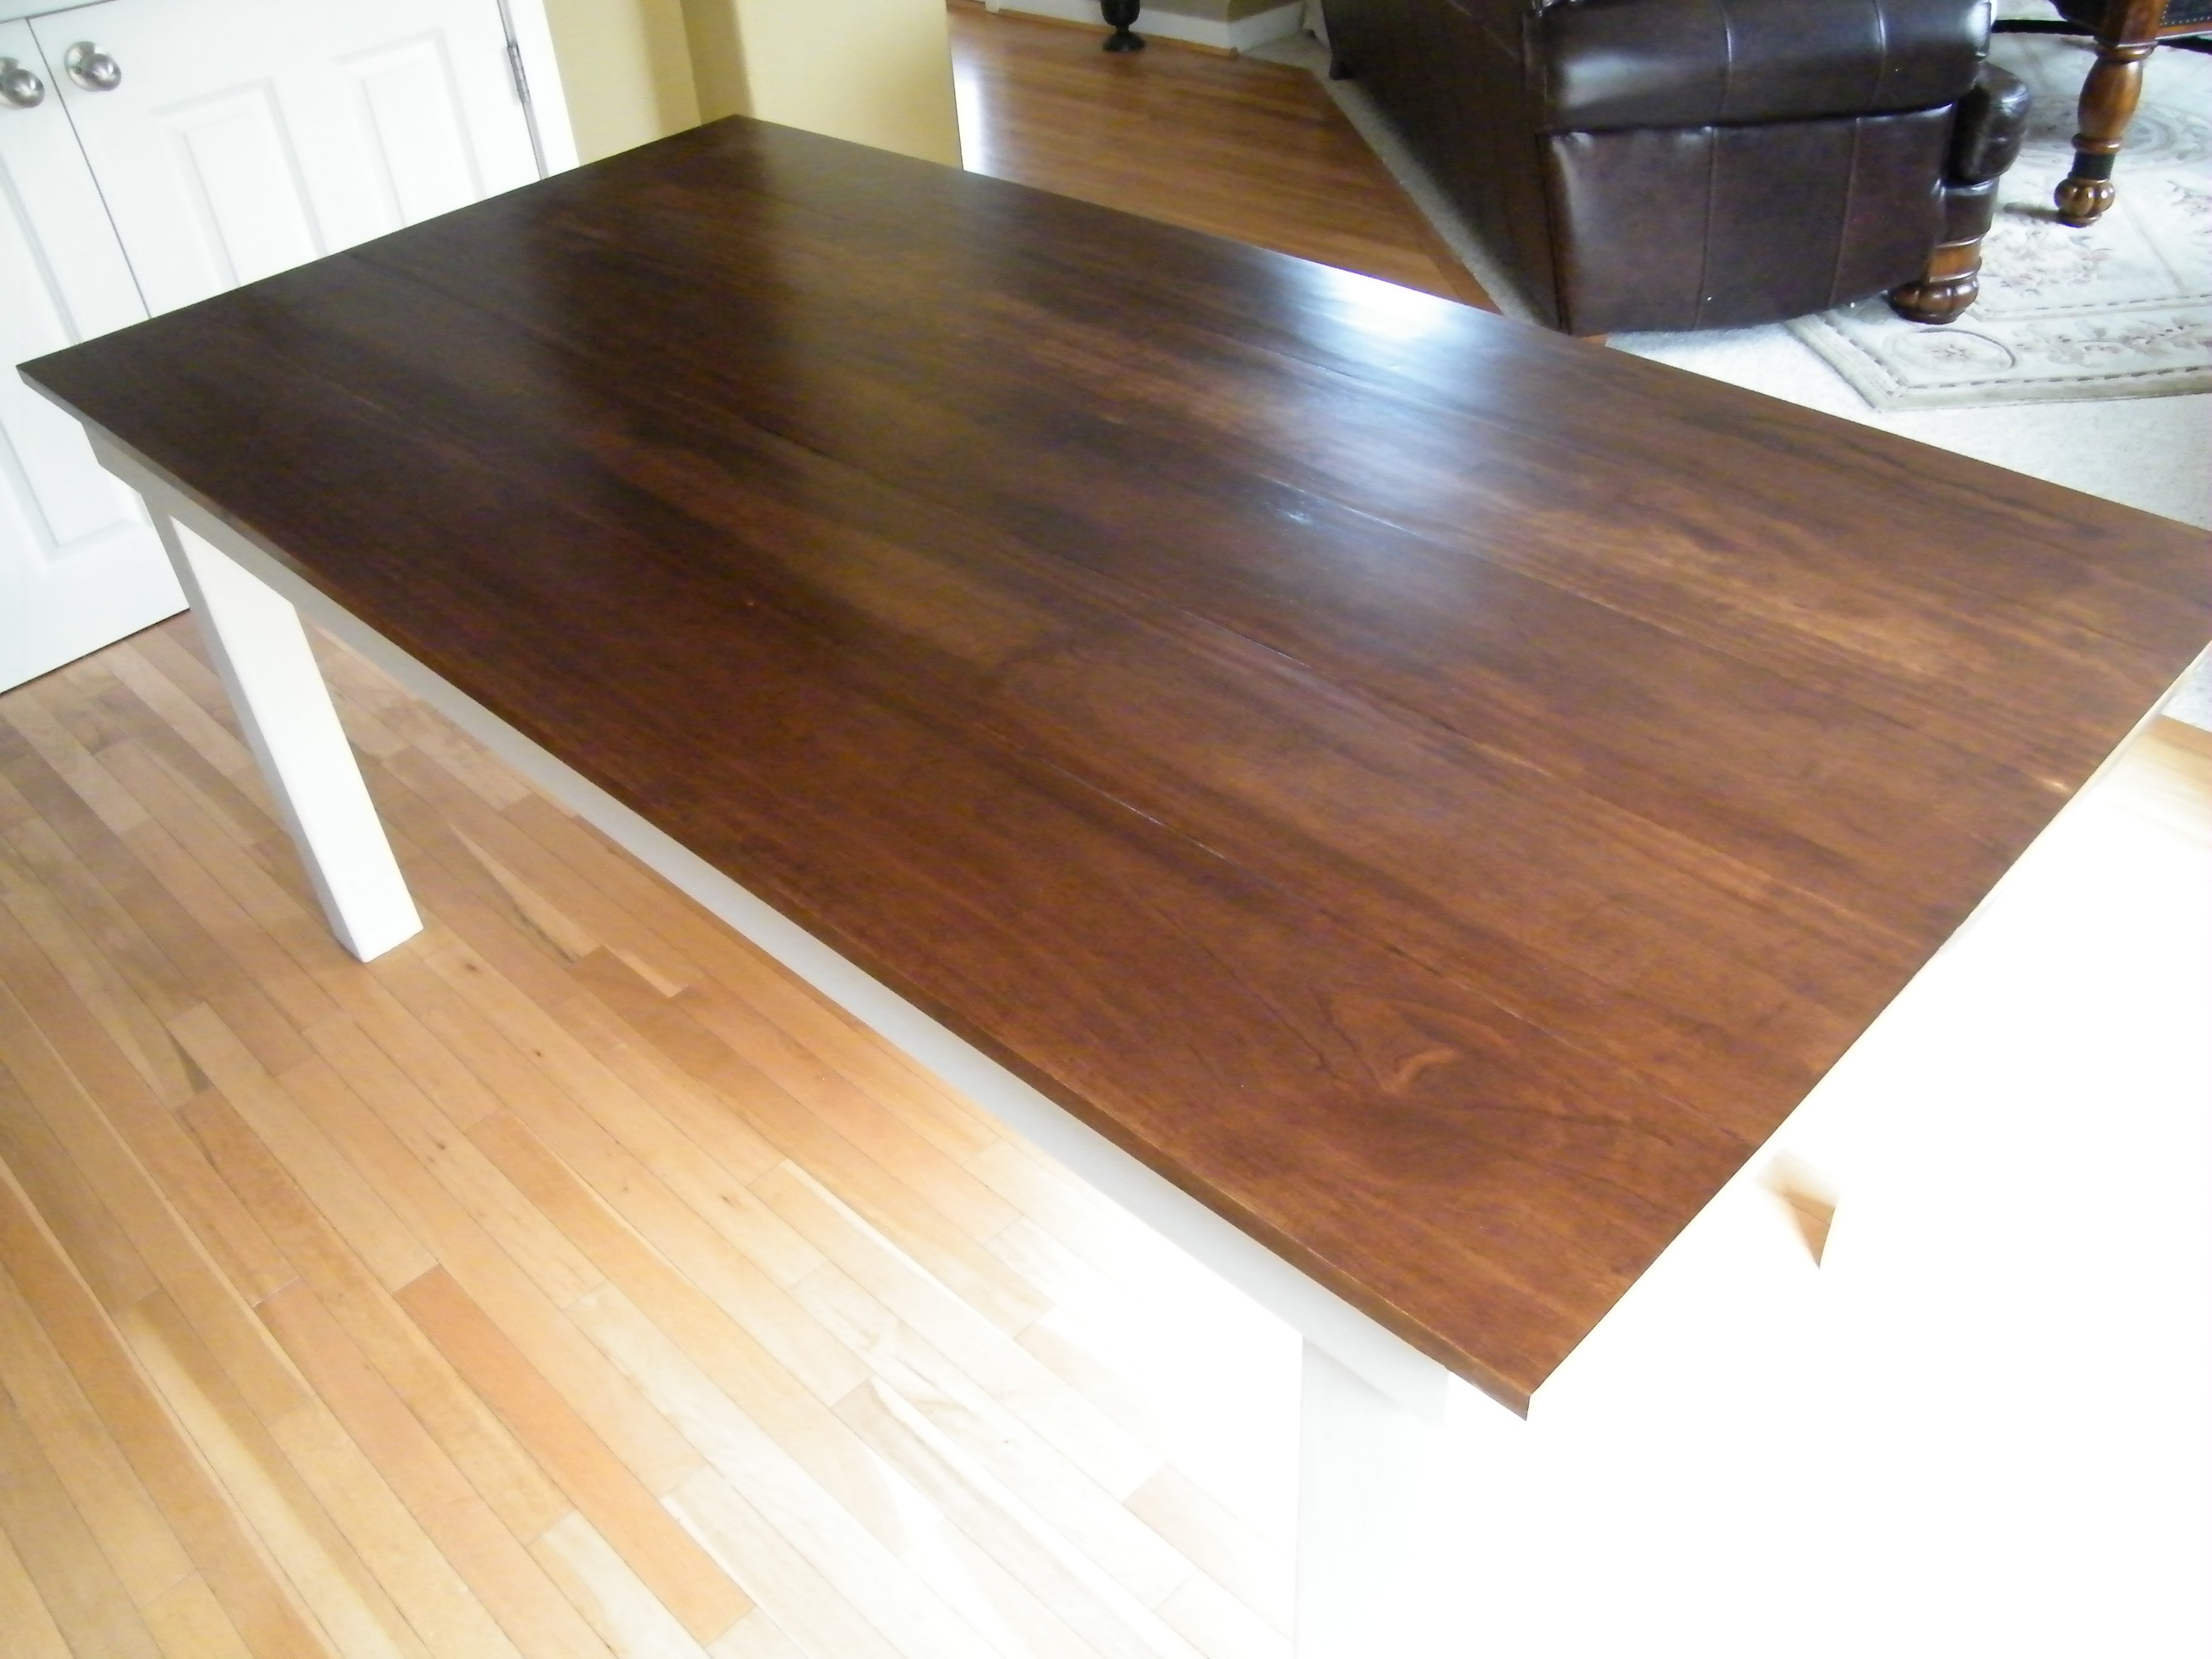
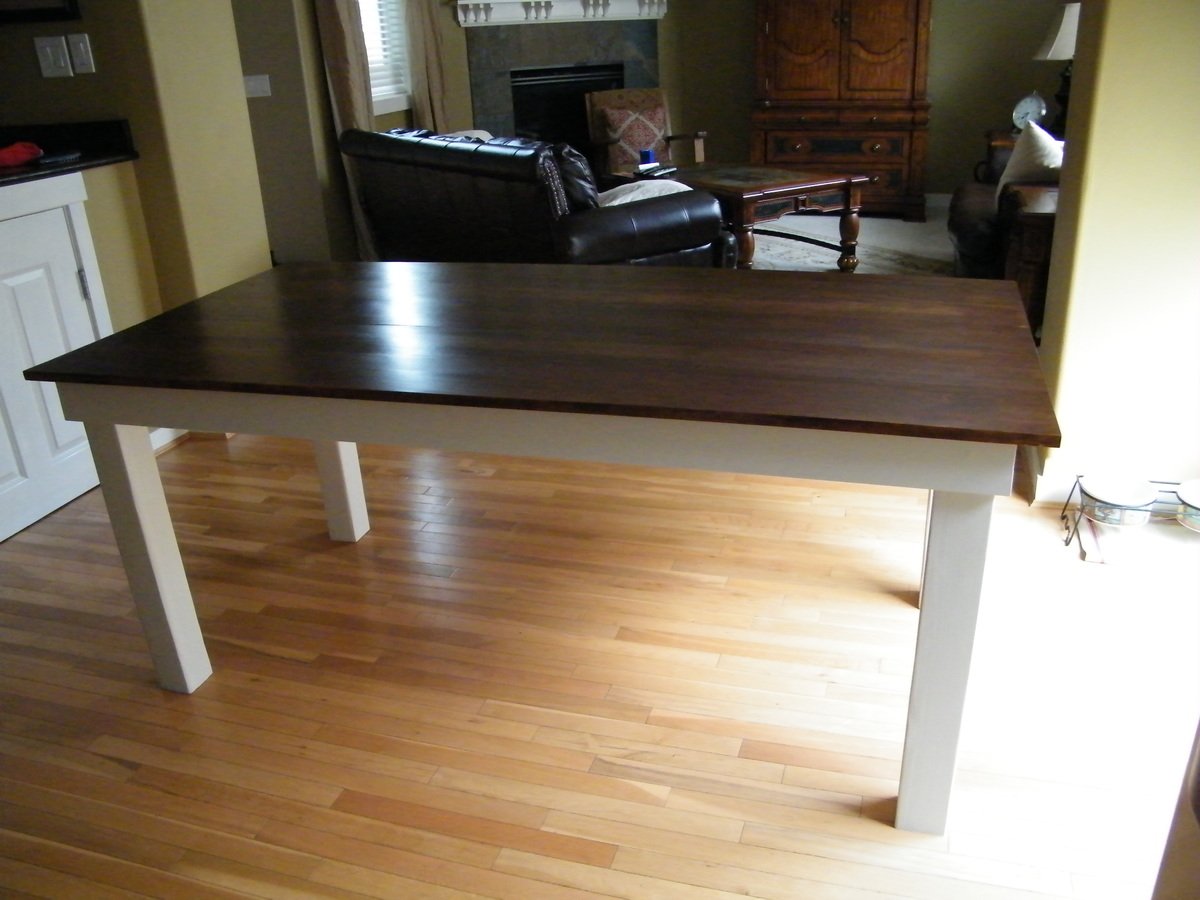
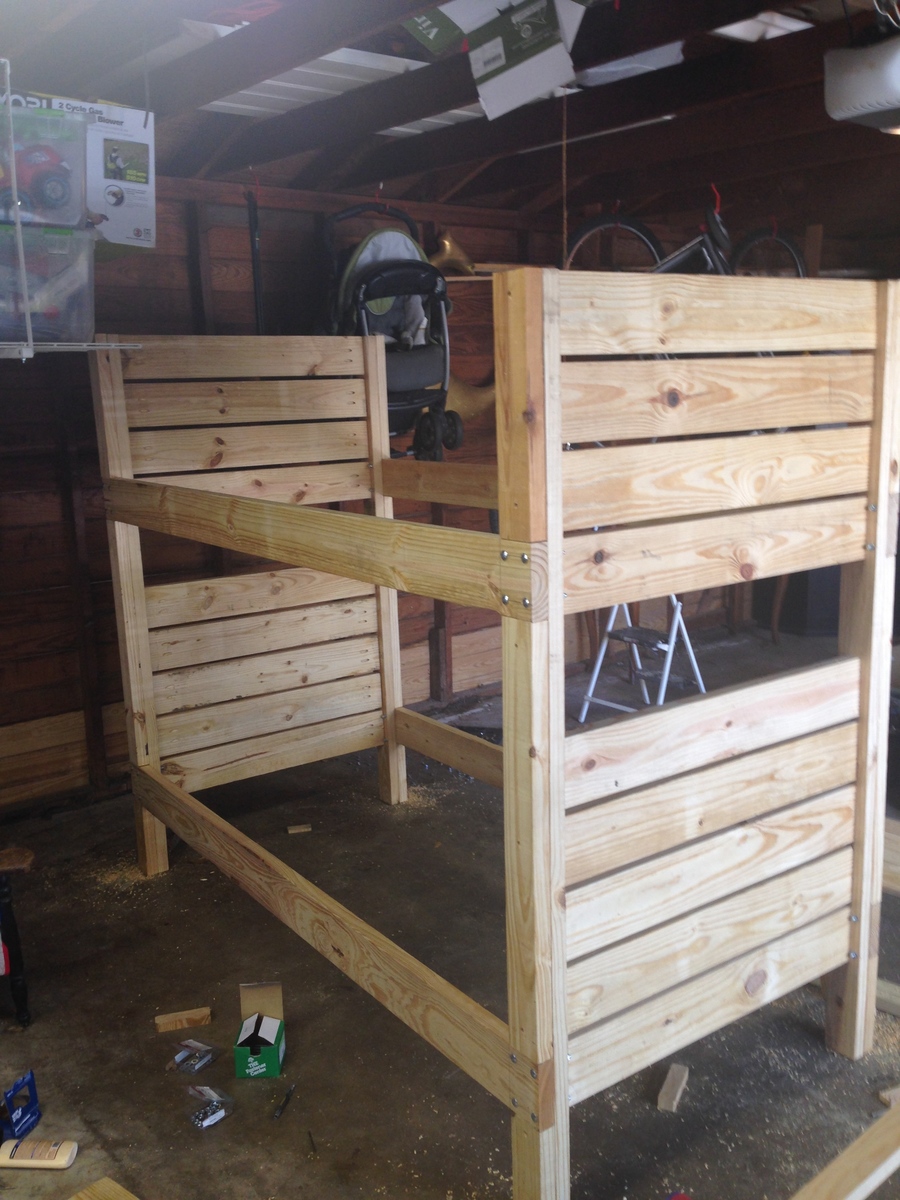
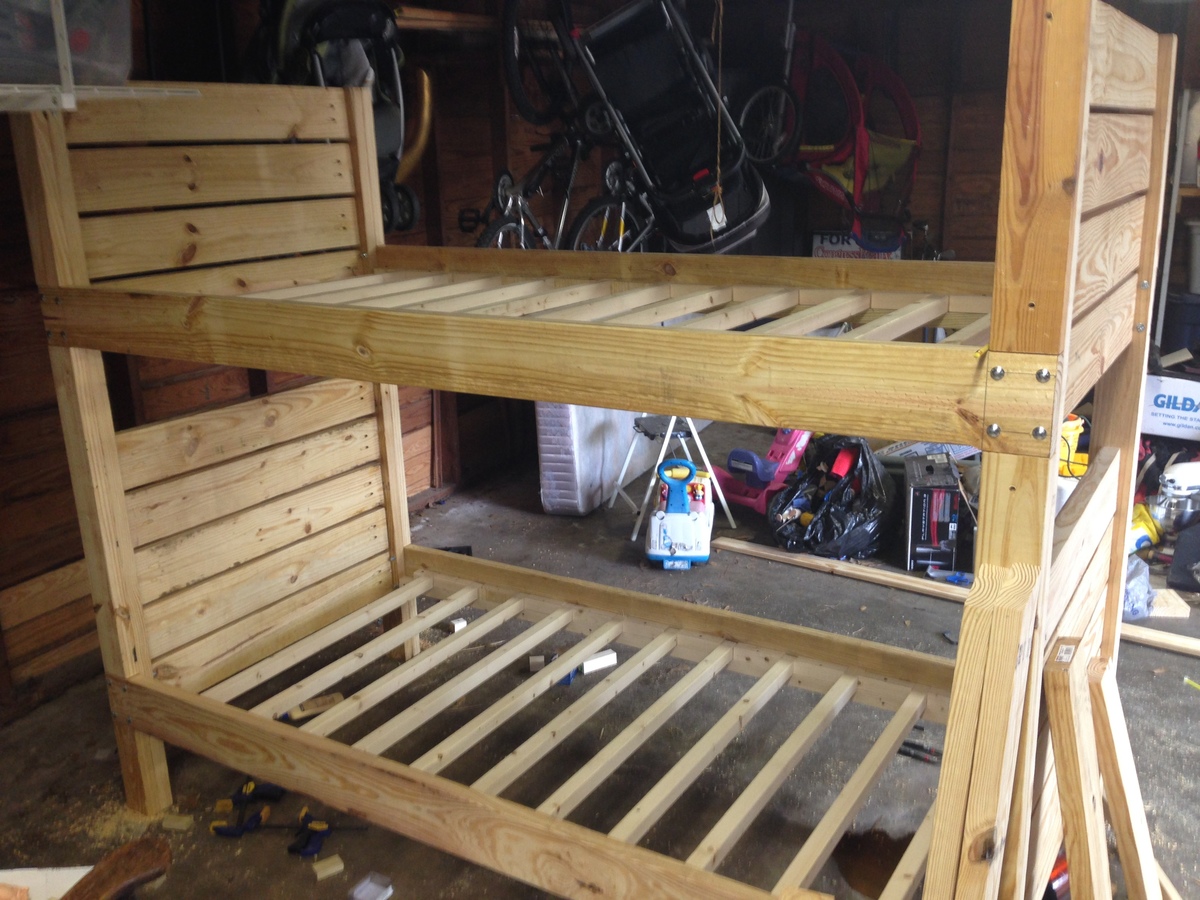
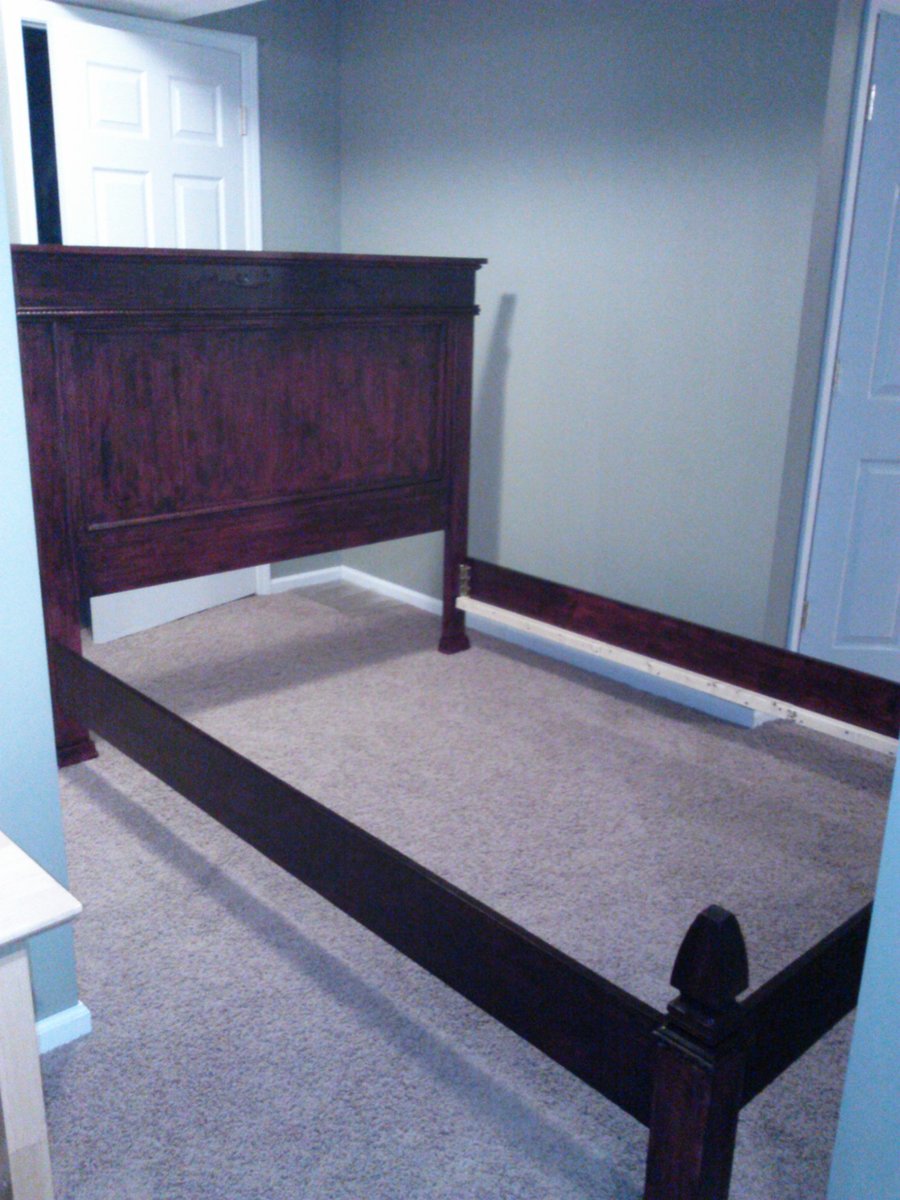
Debbie's Fancy Farmhouse Bed
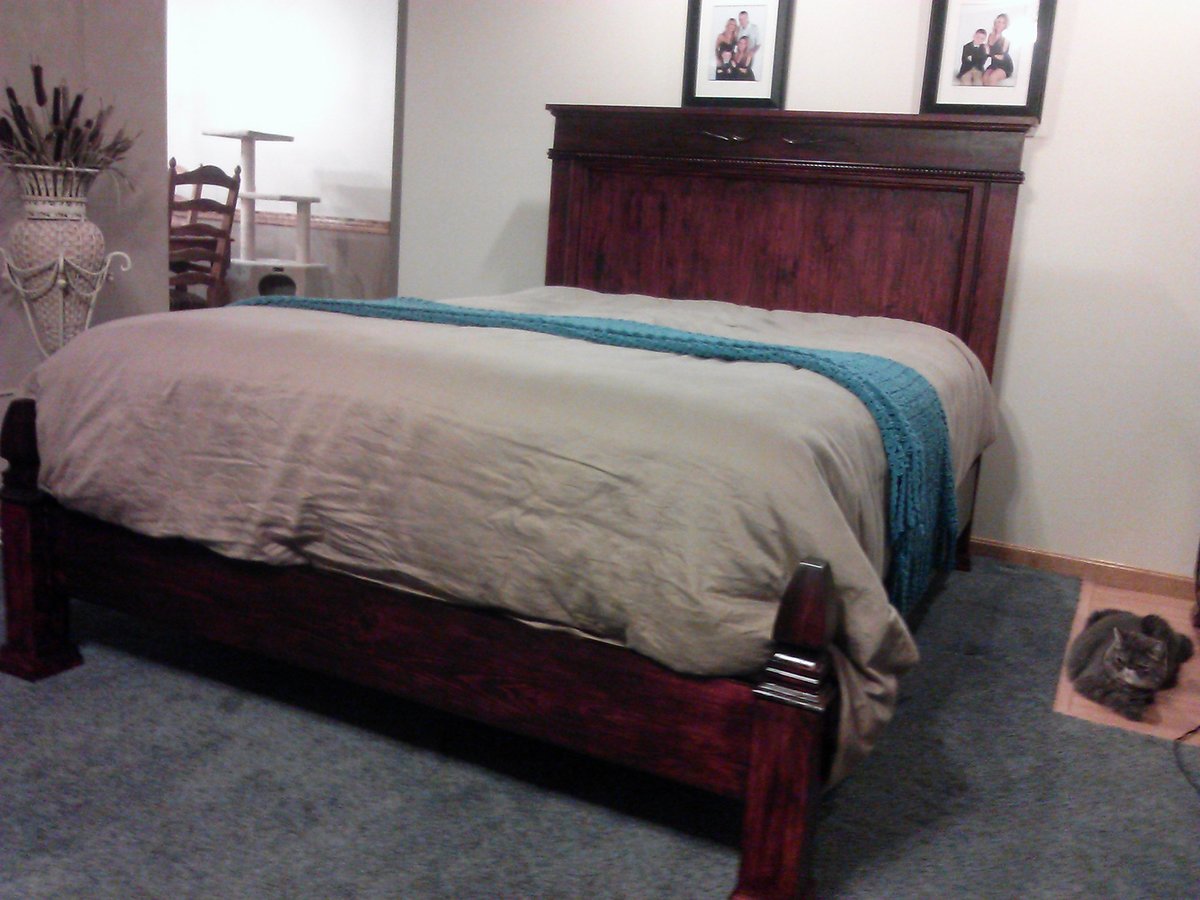
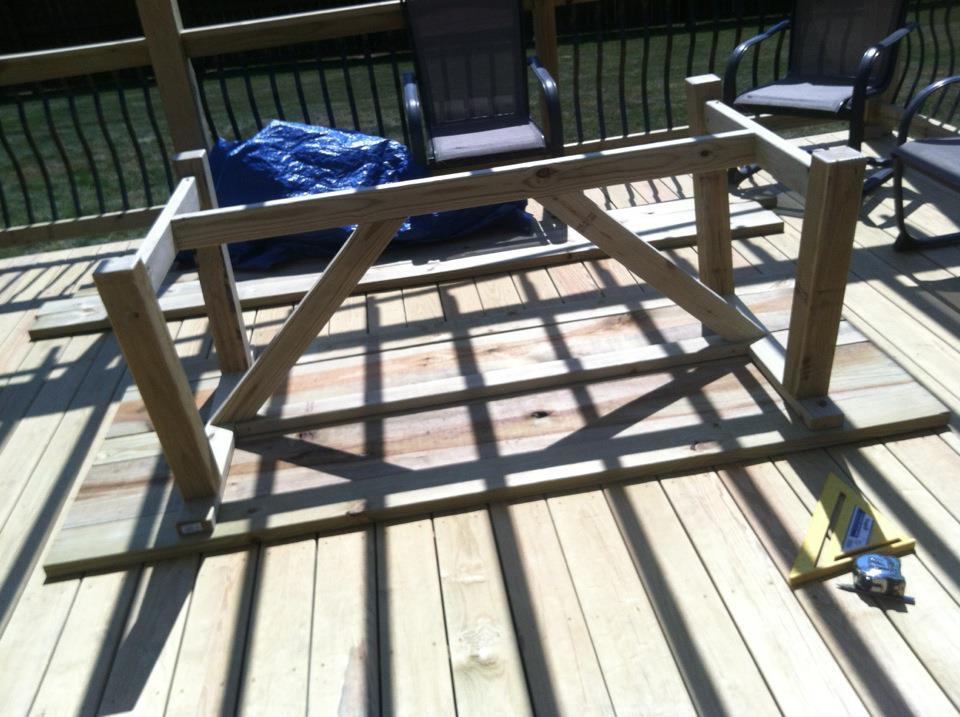
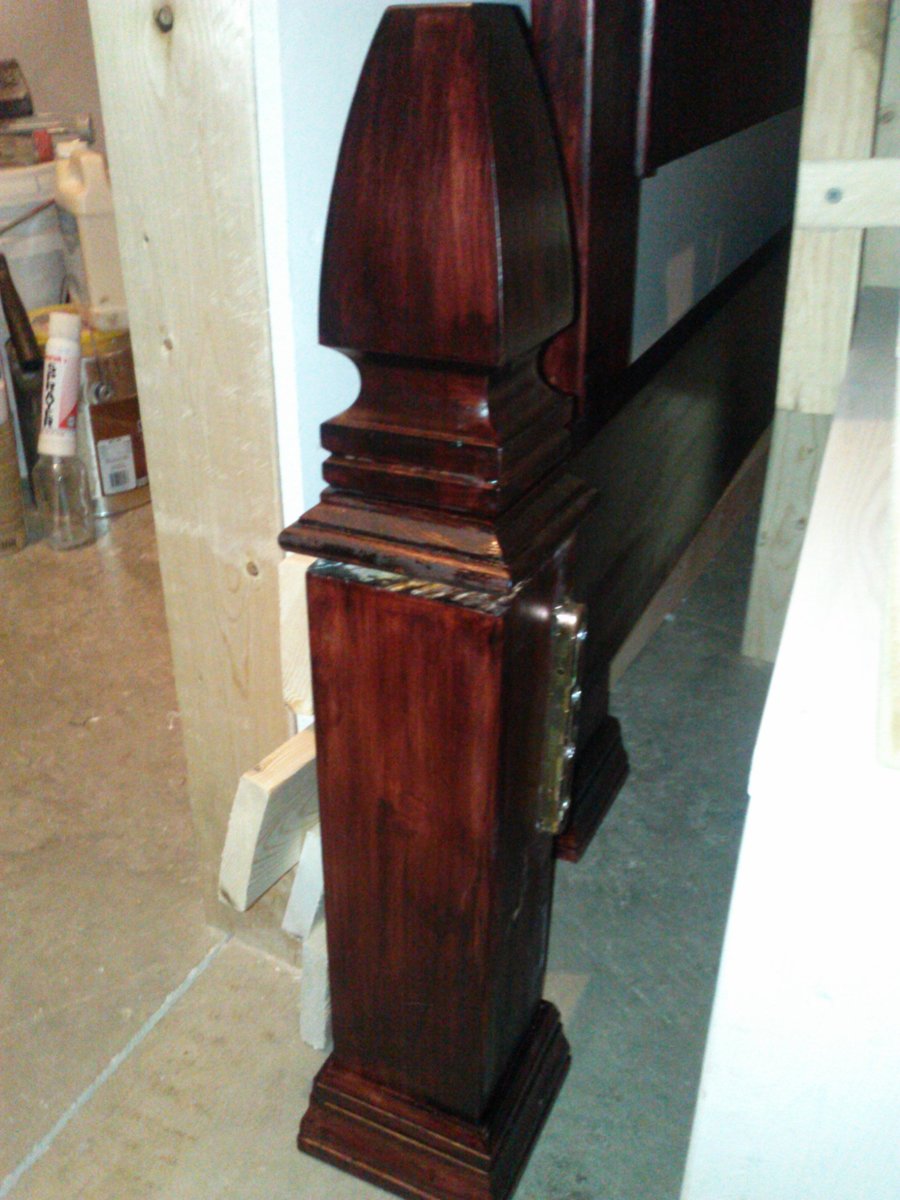
I followed the plans exactly except I used 4X4's for the "footboard' legs. I added molding to all the feet. I also added screw in fence top posts to the footboard legs. I had a small blemish I wanted to hide on the headboard, so I added wooden appliques to cover the mark.
To make the bed easy to move and store, I bought bed rail fasteners from this site http://www.wwhardware.com/wood-technology-bed-fittings-wt8056.

Built from Plan(s)
Estimated Cost
$200.00
Estimated Time Investment
Week Long Project (20 Hours or More)
Finish Used
Minwax Polyshades Bombay Mahogany
Recommended Skill Level
Beginner