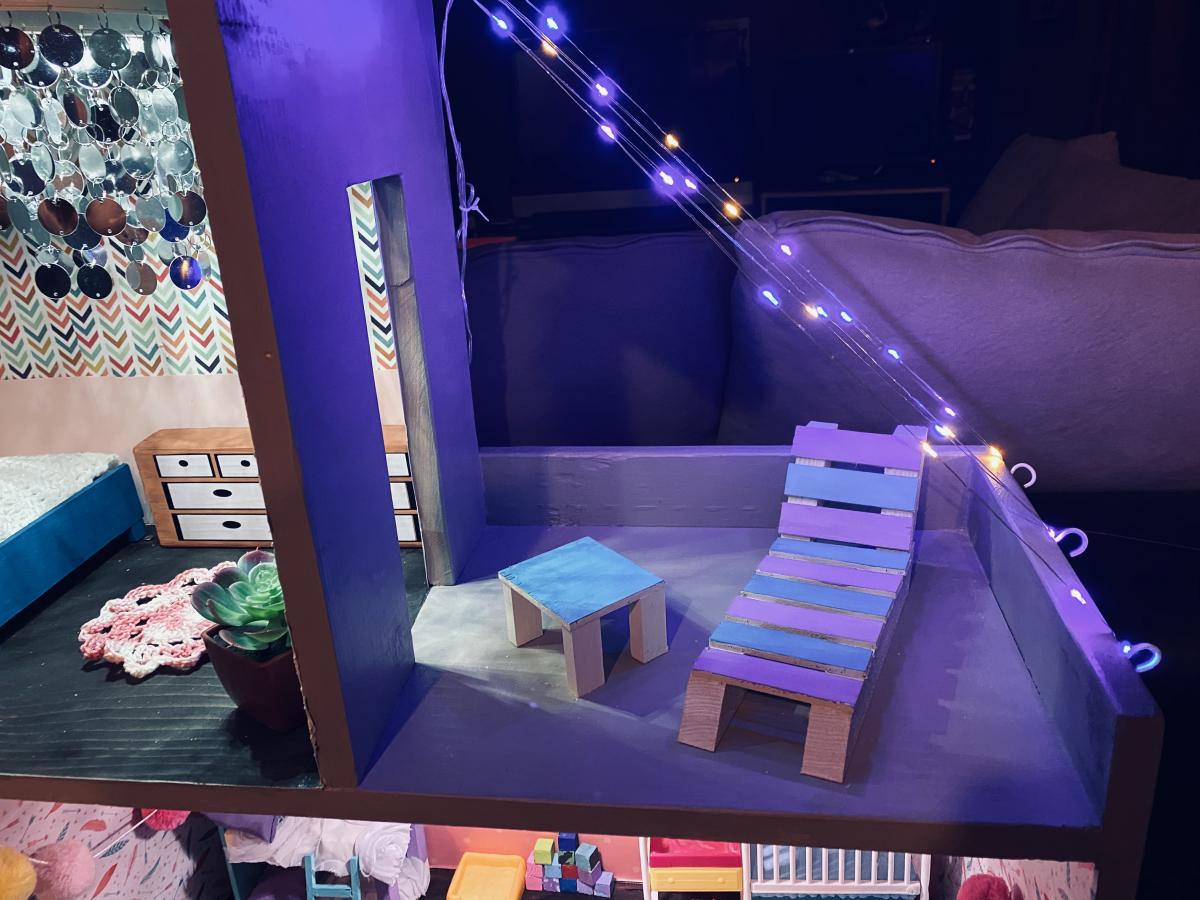
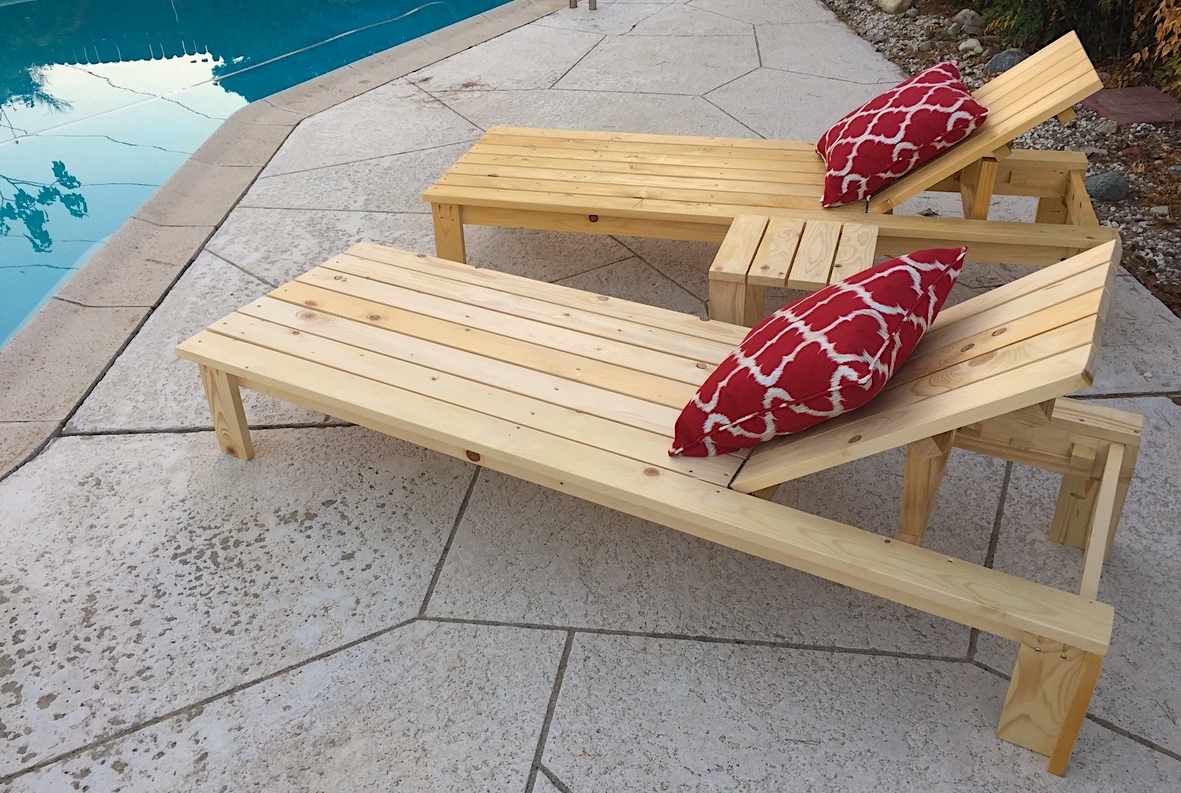
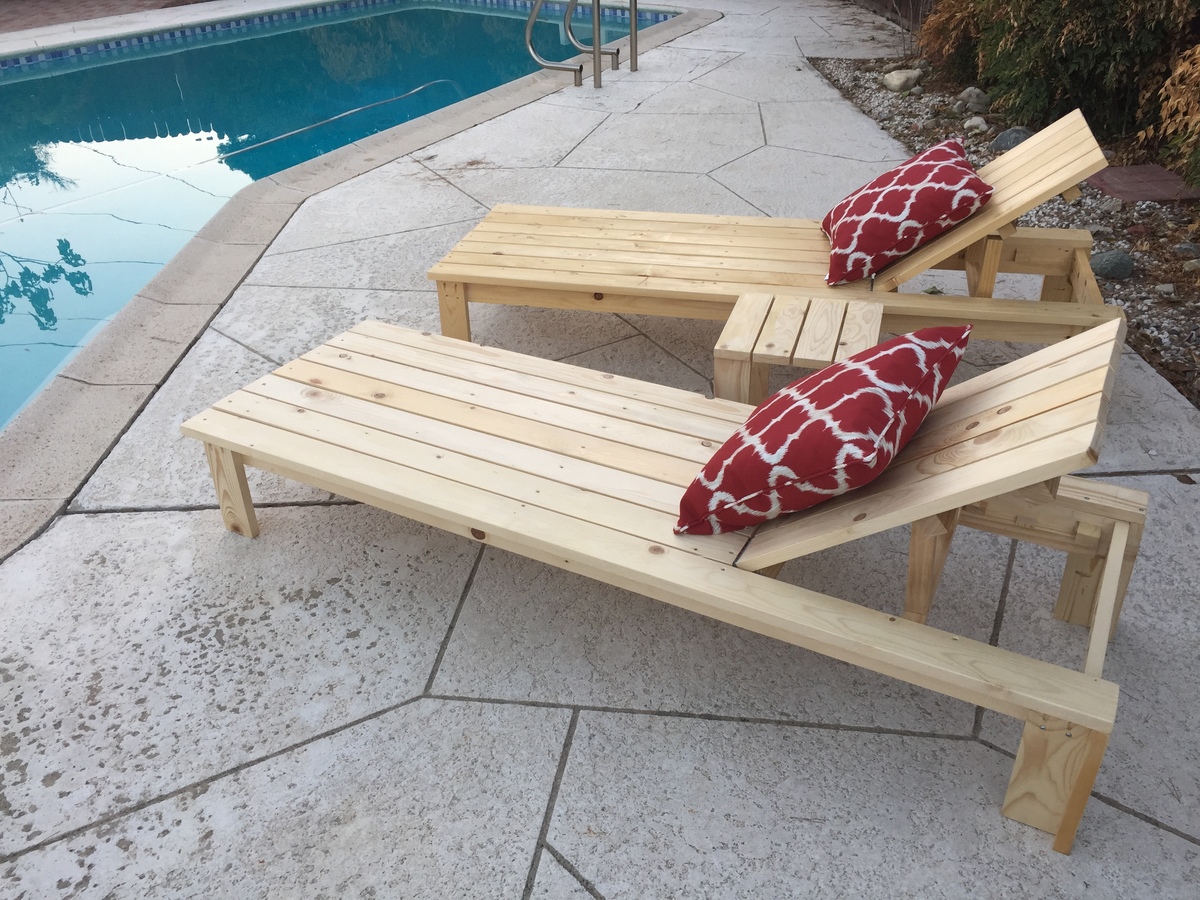
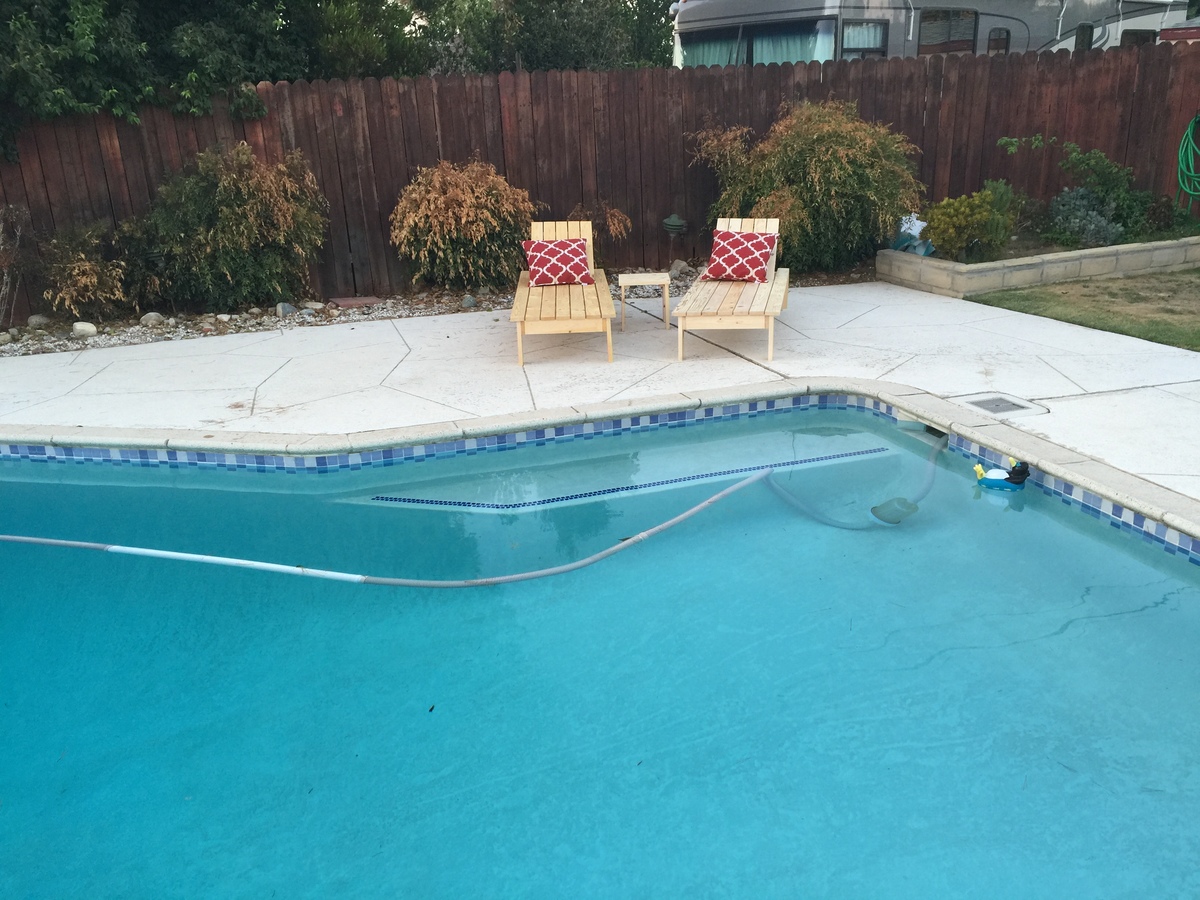
I HEART Ana White Outdoor Chaise
THANK YOU ANA FOR ALL THE GREAT PLANS!!
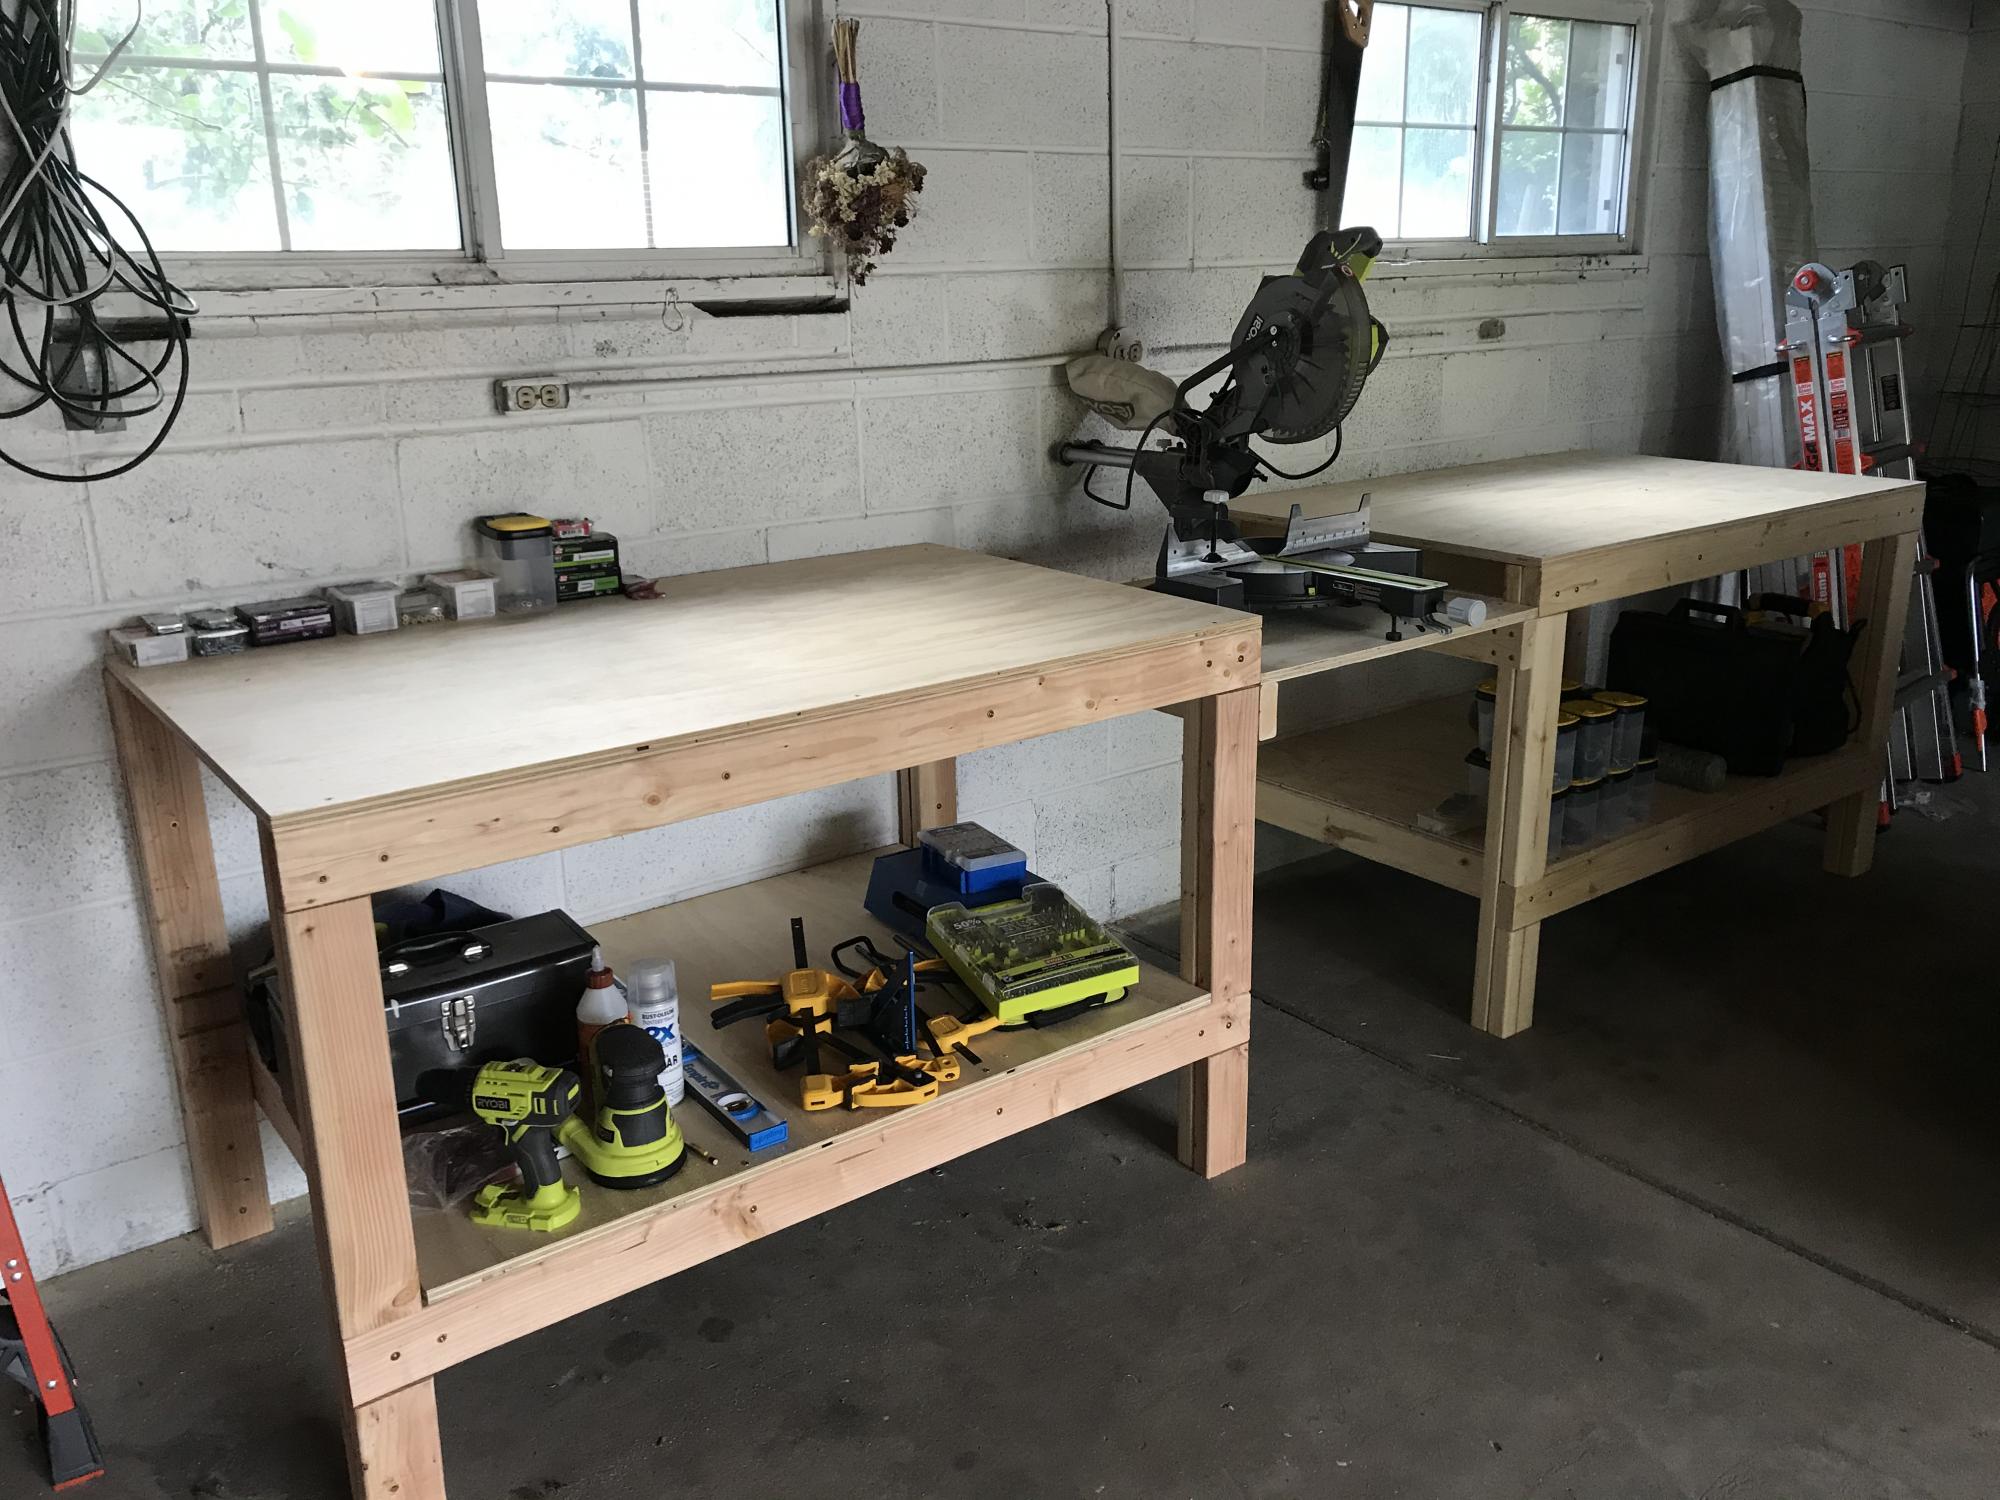
I am in southern california (mild weather) so i just used pine and coated them with urethane.
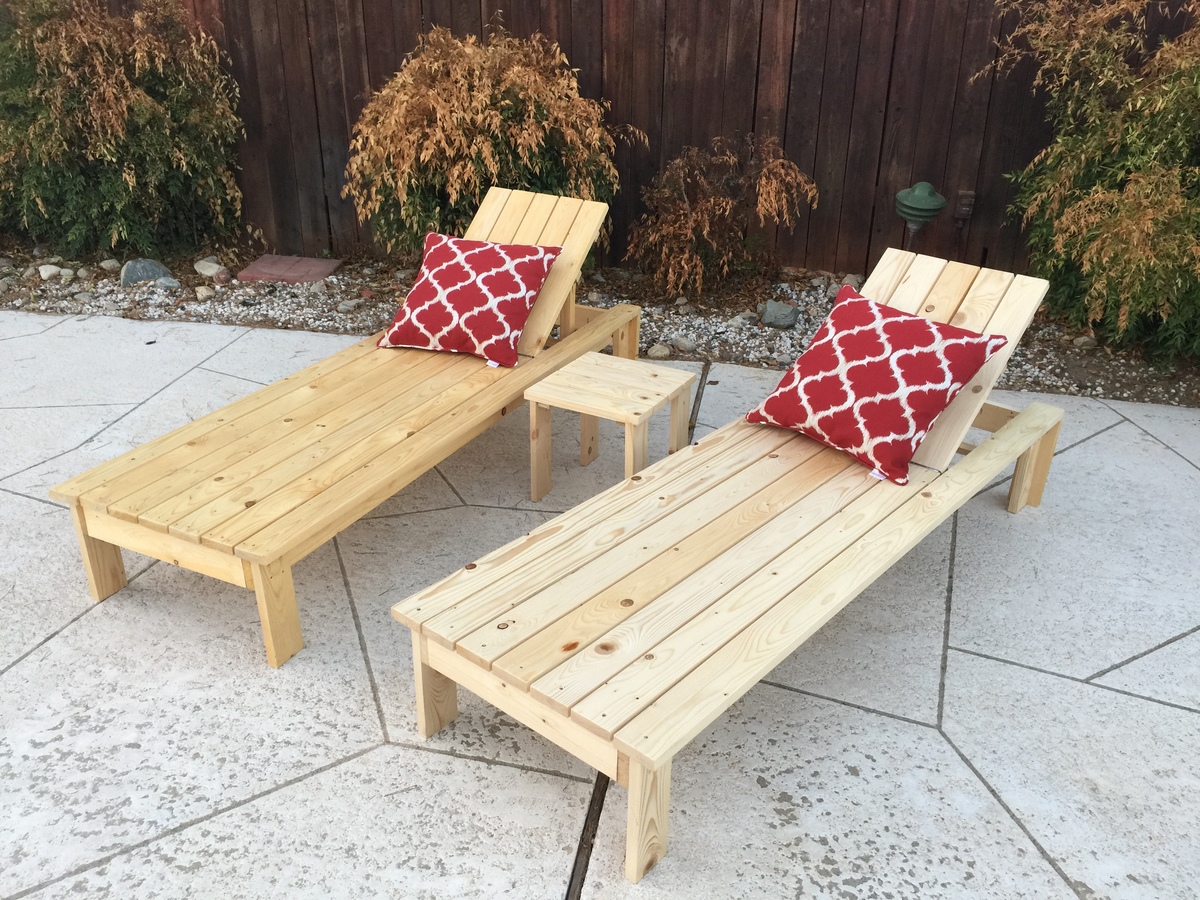
Built from Plan(s)
Estimated Cost
$60 each
Estimated Time Investment
Day Project (6-9 Hours)
Finish Used
Urethane
Recommended Skill Level
Beginner