DIY Wood Stool

For my son's wedding!
Built from Plan(s)
For my son's wedding!
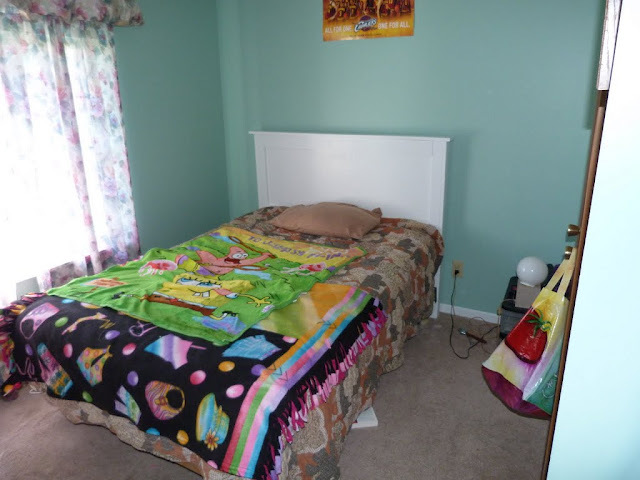
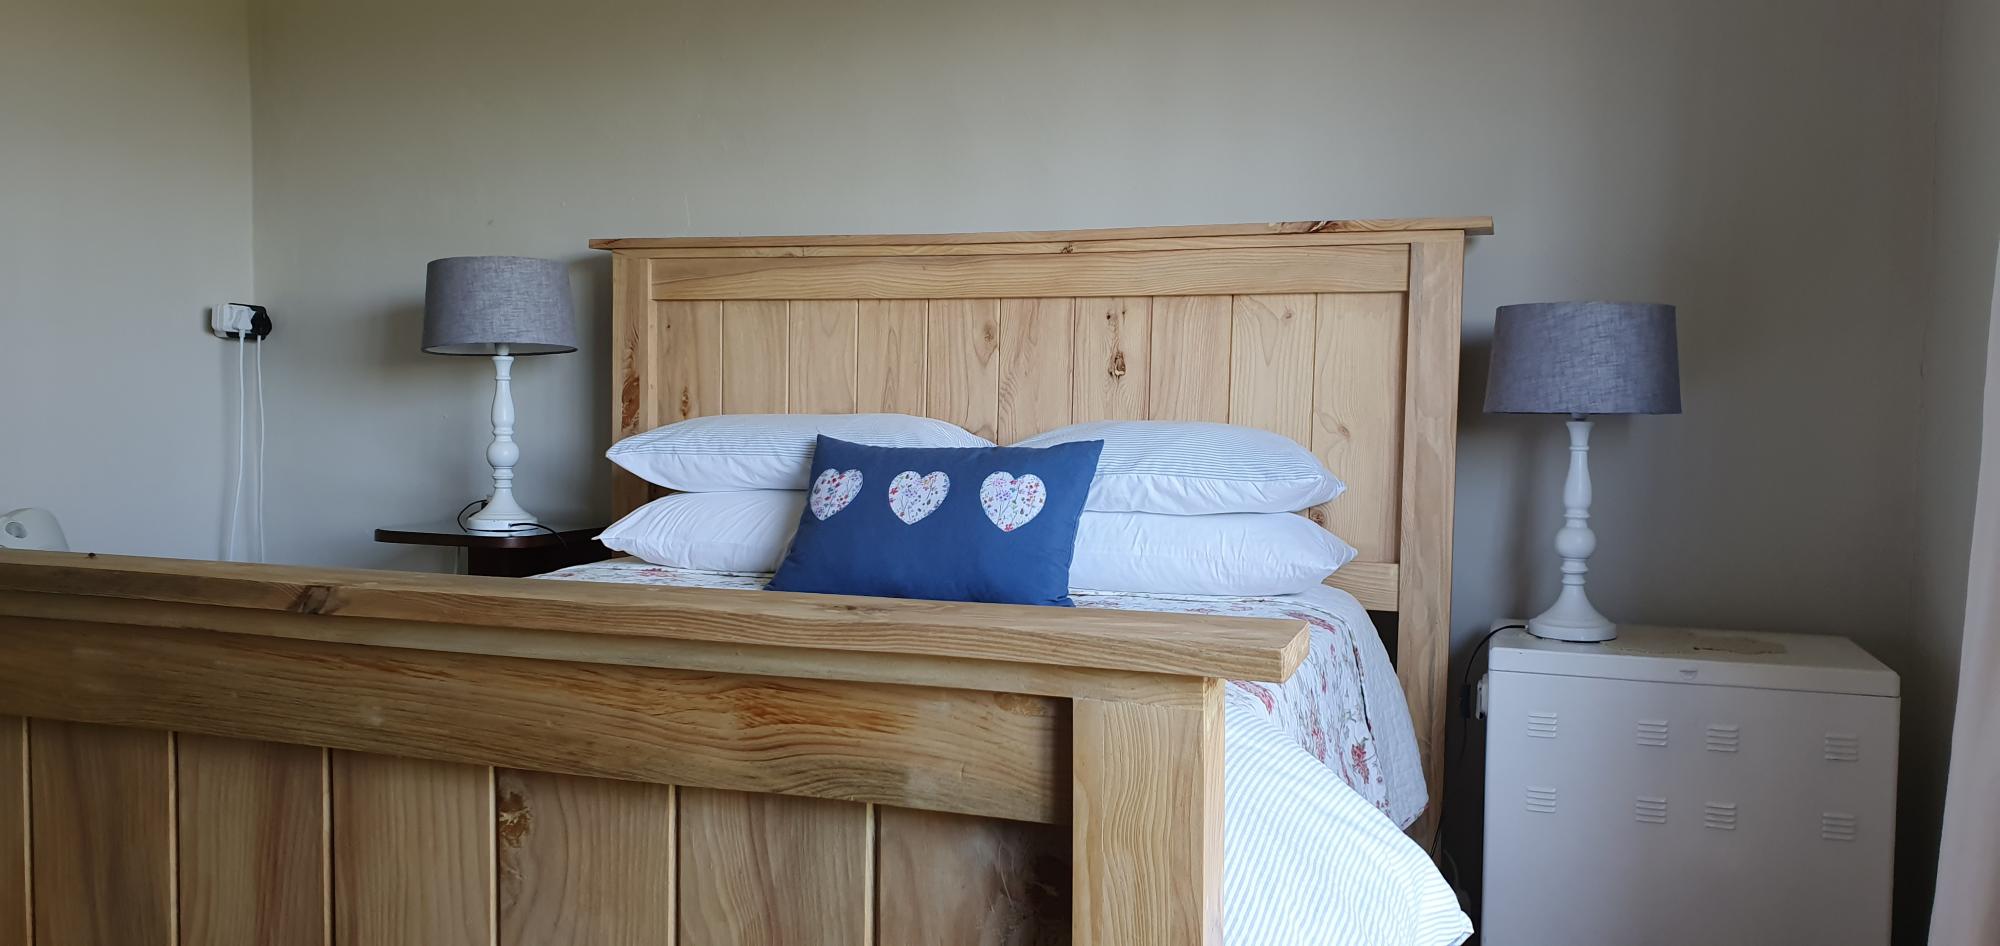
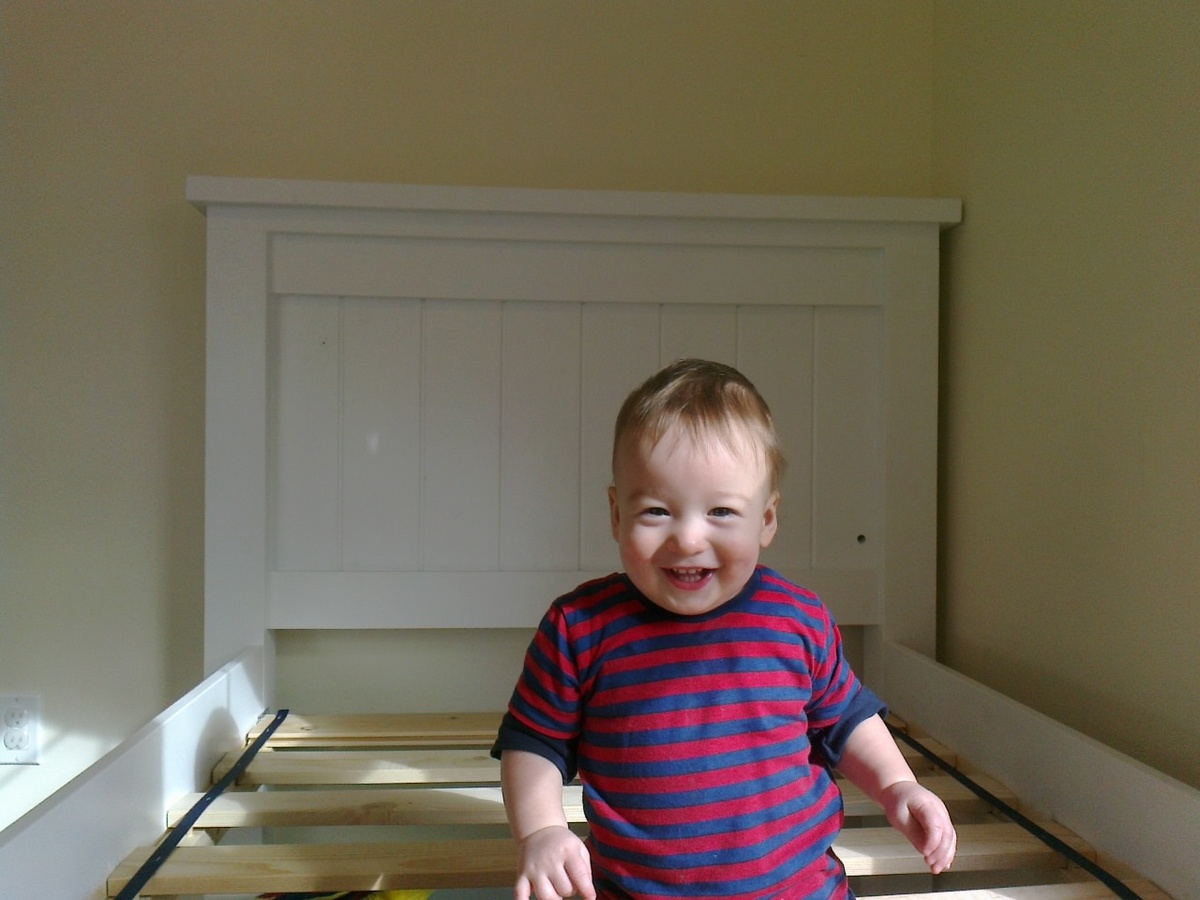
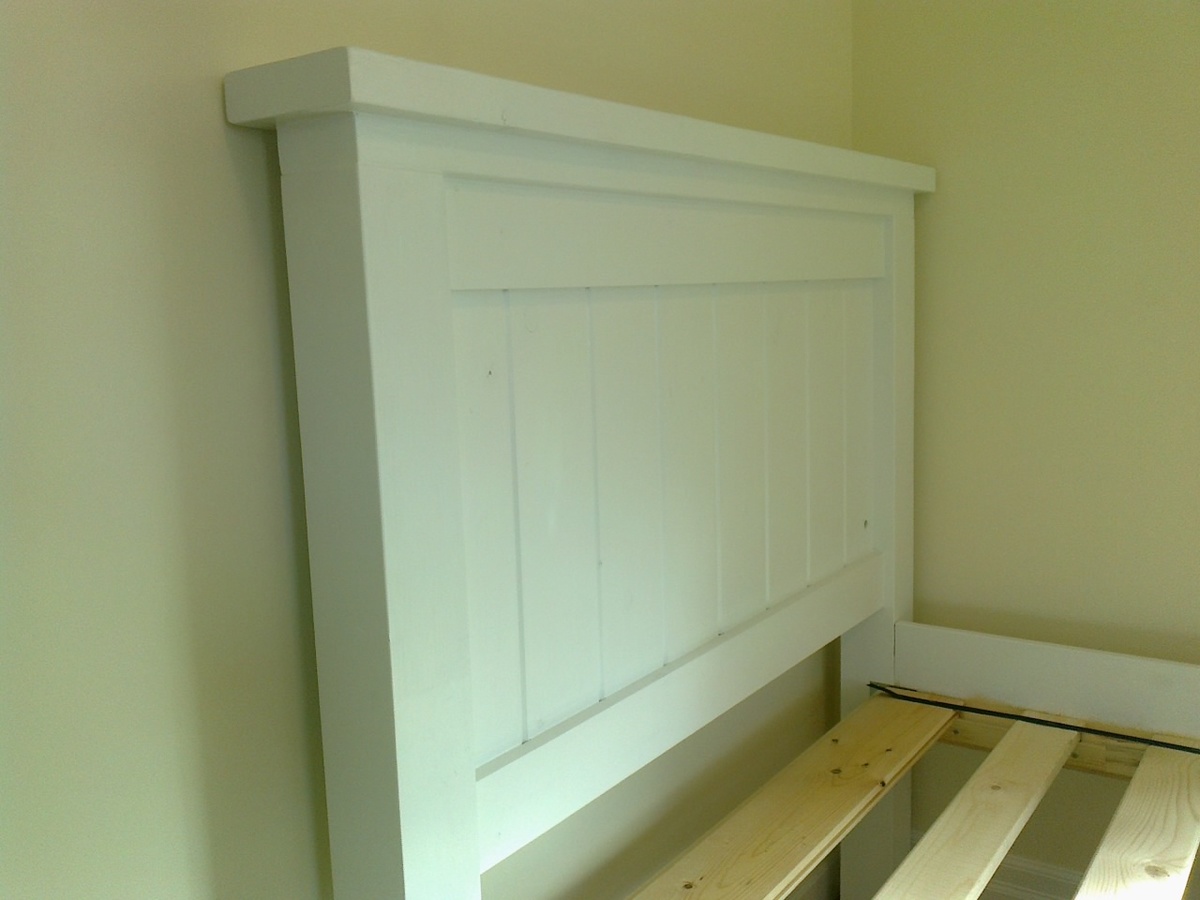
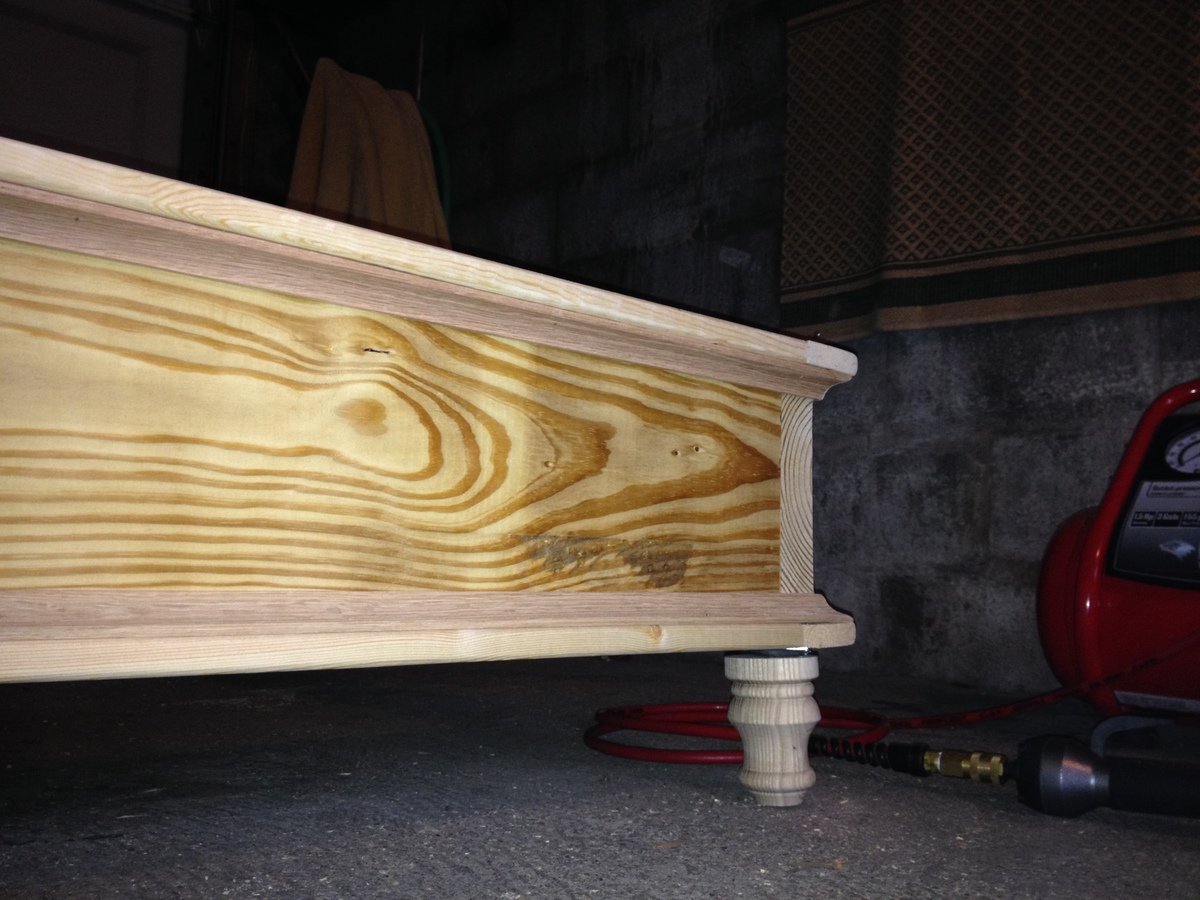
Built a simple headboard for my daughter's bed. Simple pine construction, glued and brad nailed. Used the paint I had left over from painting the trim in her room. Backboard made from pine plywood that was left over from another project.

My husband and his Dad built the red tower for my daughter, but when my son was old enough to climb all he wanted was to be in the tower, too! Another was built, and people that come over are always asking for the plans, and we direct them to your site. Thank you for this amazing gift! My kids love to stand in their towers and help me cook, they color, have snacks, everything. Can't imagine my life with my kids, without these towers.
This rough milled lumber had to be planed quite a bit. and the sizes also differed. We ended up with thicker sections than on the original plan. Also used bolts to bolt the heavier headset and footrest to the base.
Screws were used instead of nails. This inland Karoo area pine is very hard and crack very easily. warps too. Well seasoned wood were used. Finish is normal sanding sealer for a mat look.
thanks for the lovely plans Ana.
this is a proven classic.
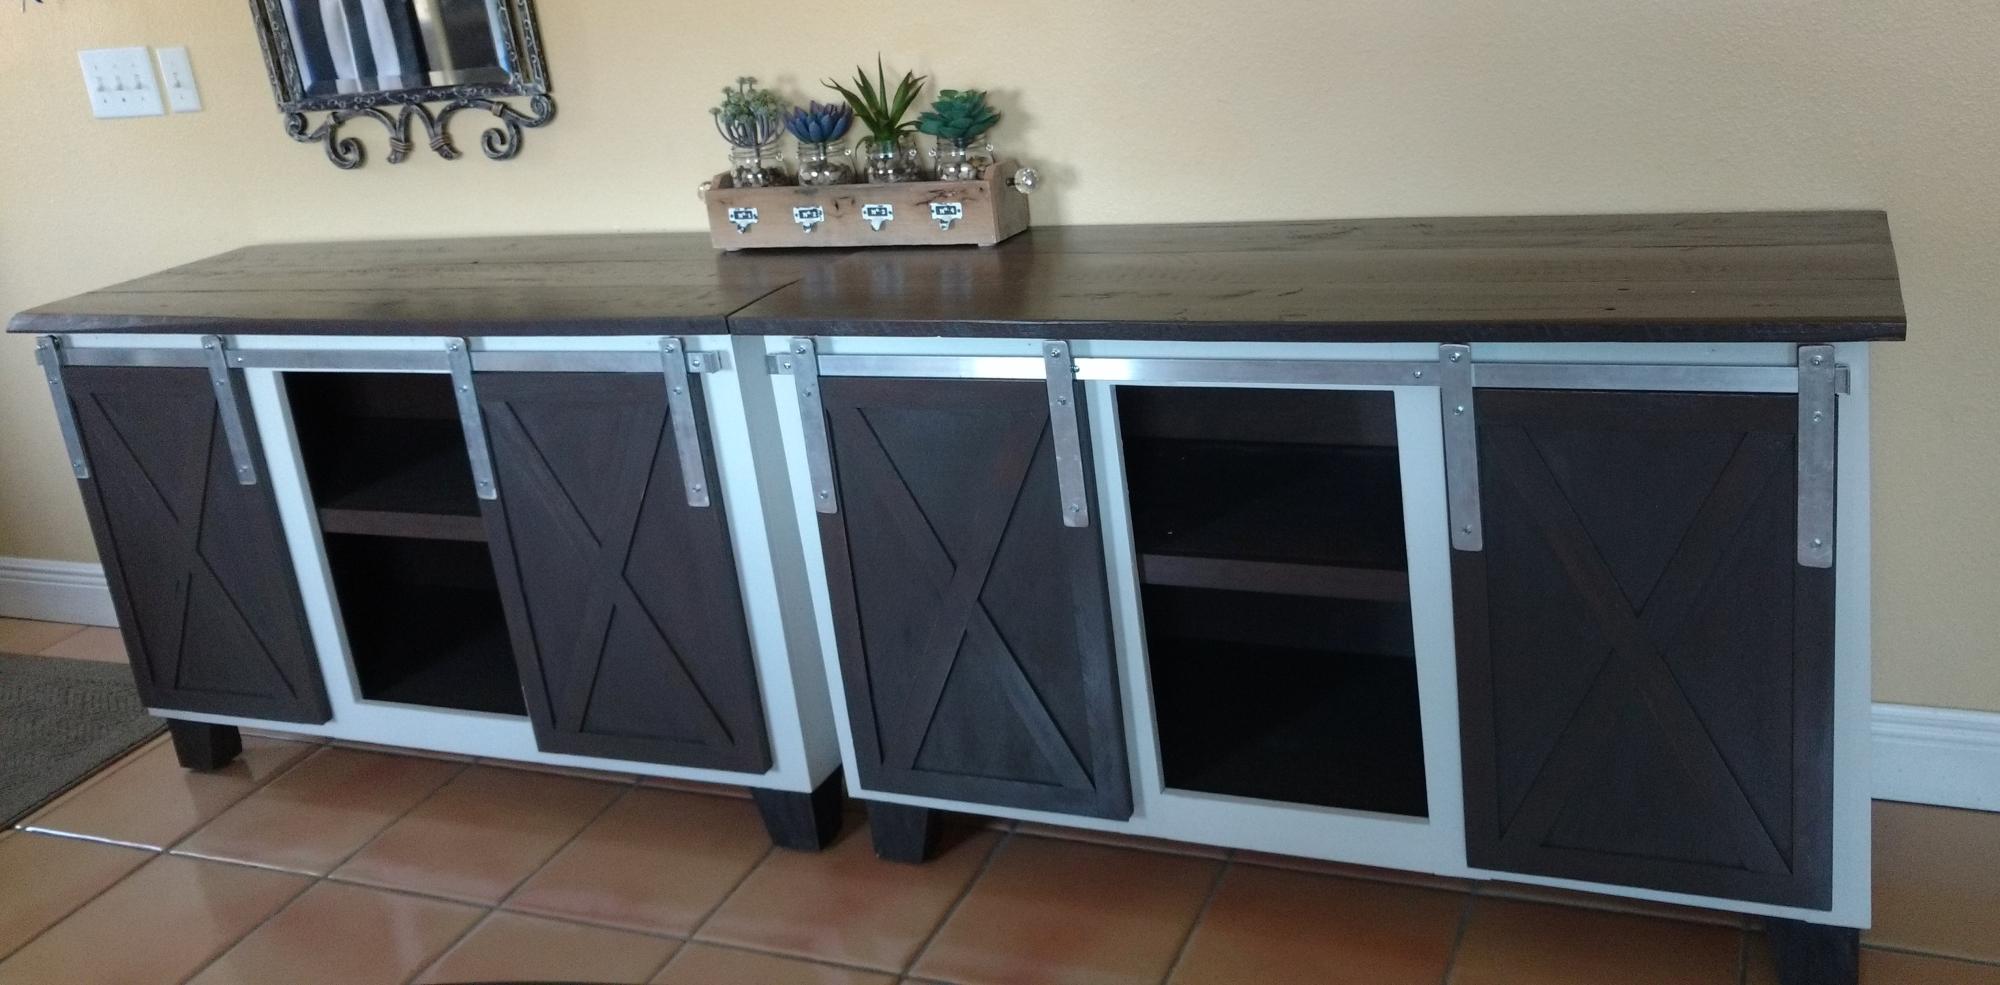
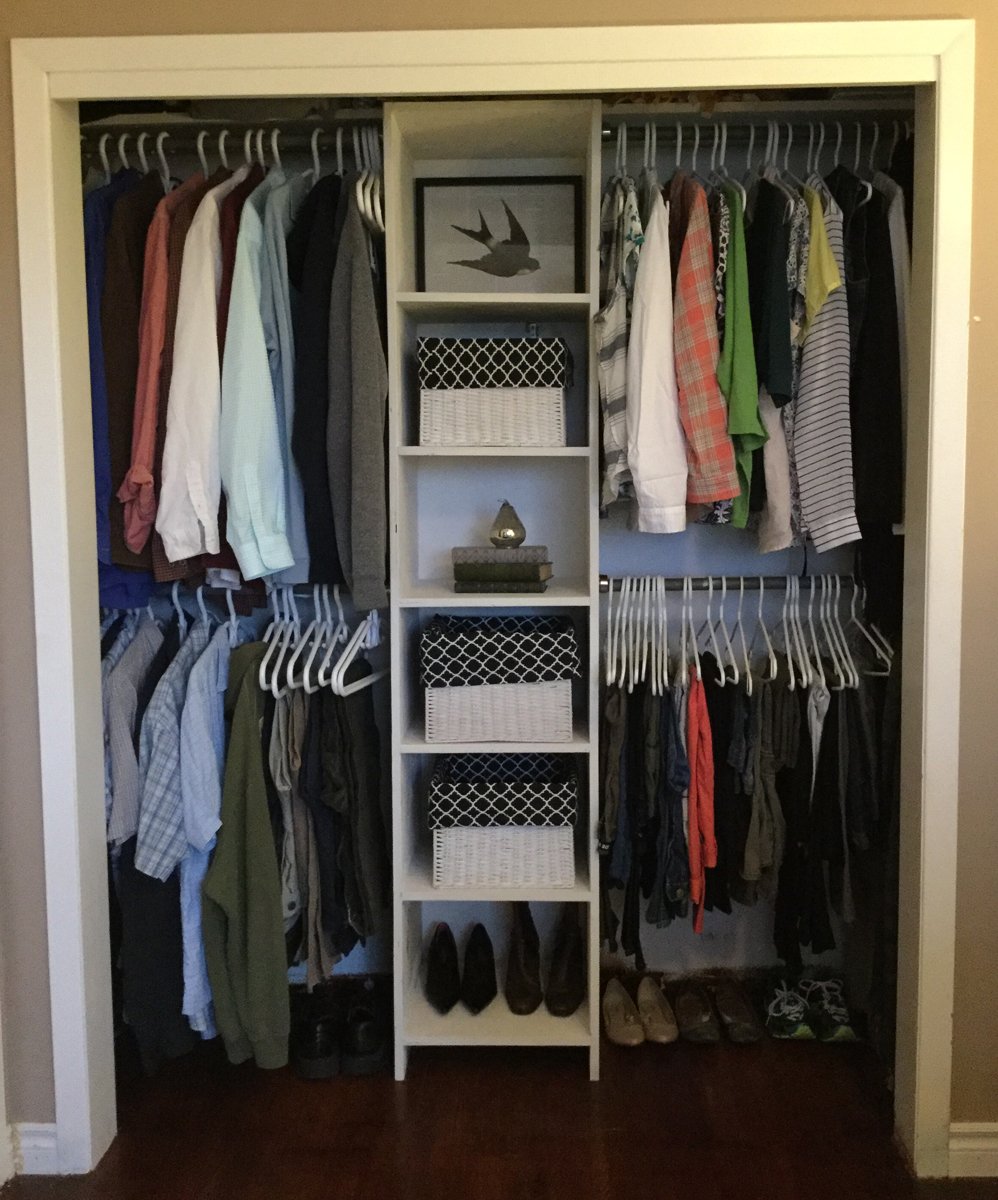
My daughter needed decorative storage in a long entryway, Ana's plan was perfect. Thank you
Cathy B
We changed the dimensions a little to make it up to counter height, and widened it out also. This is our third build ever, and our first time customizing a plan. How fun!
Fri, 03/16/2012 - 07:19
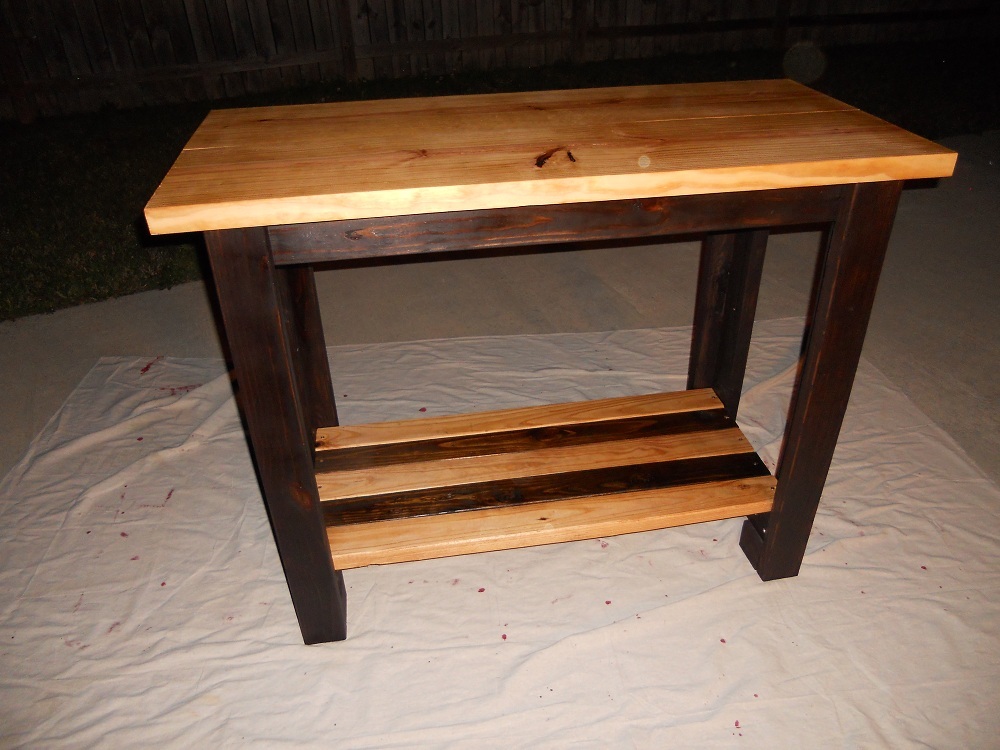
I was thinking about making one the same height as my table saw, so that I can set them together to increase my sawing capabilities....
Yours looks way too pretty to be getting it all dirty! :)
Nice work!

Tue, 03/27/2012 - 00:27
That is a good idea. Our workbench is used for our compound miter saw and kreg jig since we use them the most. Happy building!
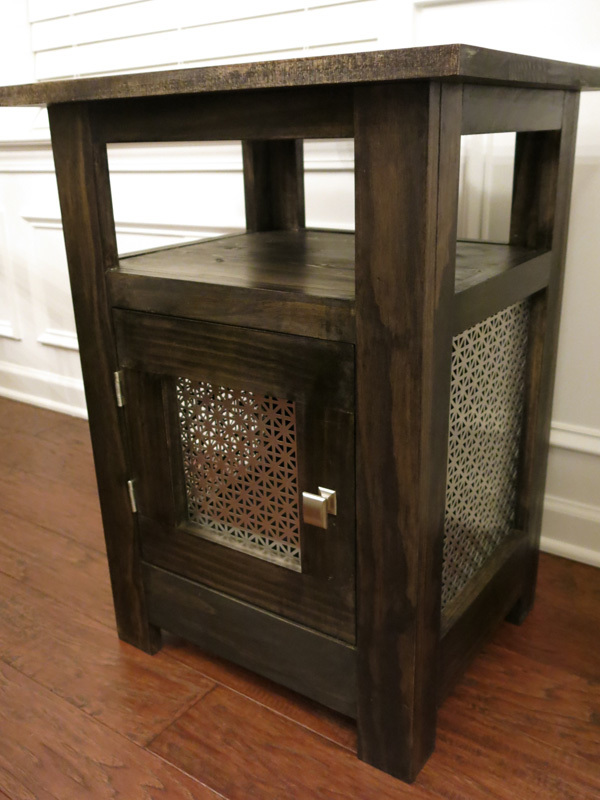
Based this nightstand on the Kentwood nightstand design but wanted to add a shelf. Also made a bit smaller and decided to use a metal mesh for the door and side inserts. Everybody who has seen it loves it.
Wed, 01/08/2014 - 16:49
I love this and it's exactly what I have been looking for! Nice job!

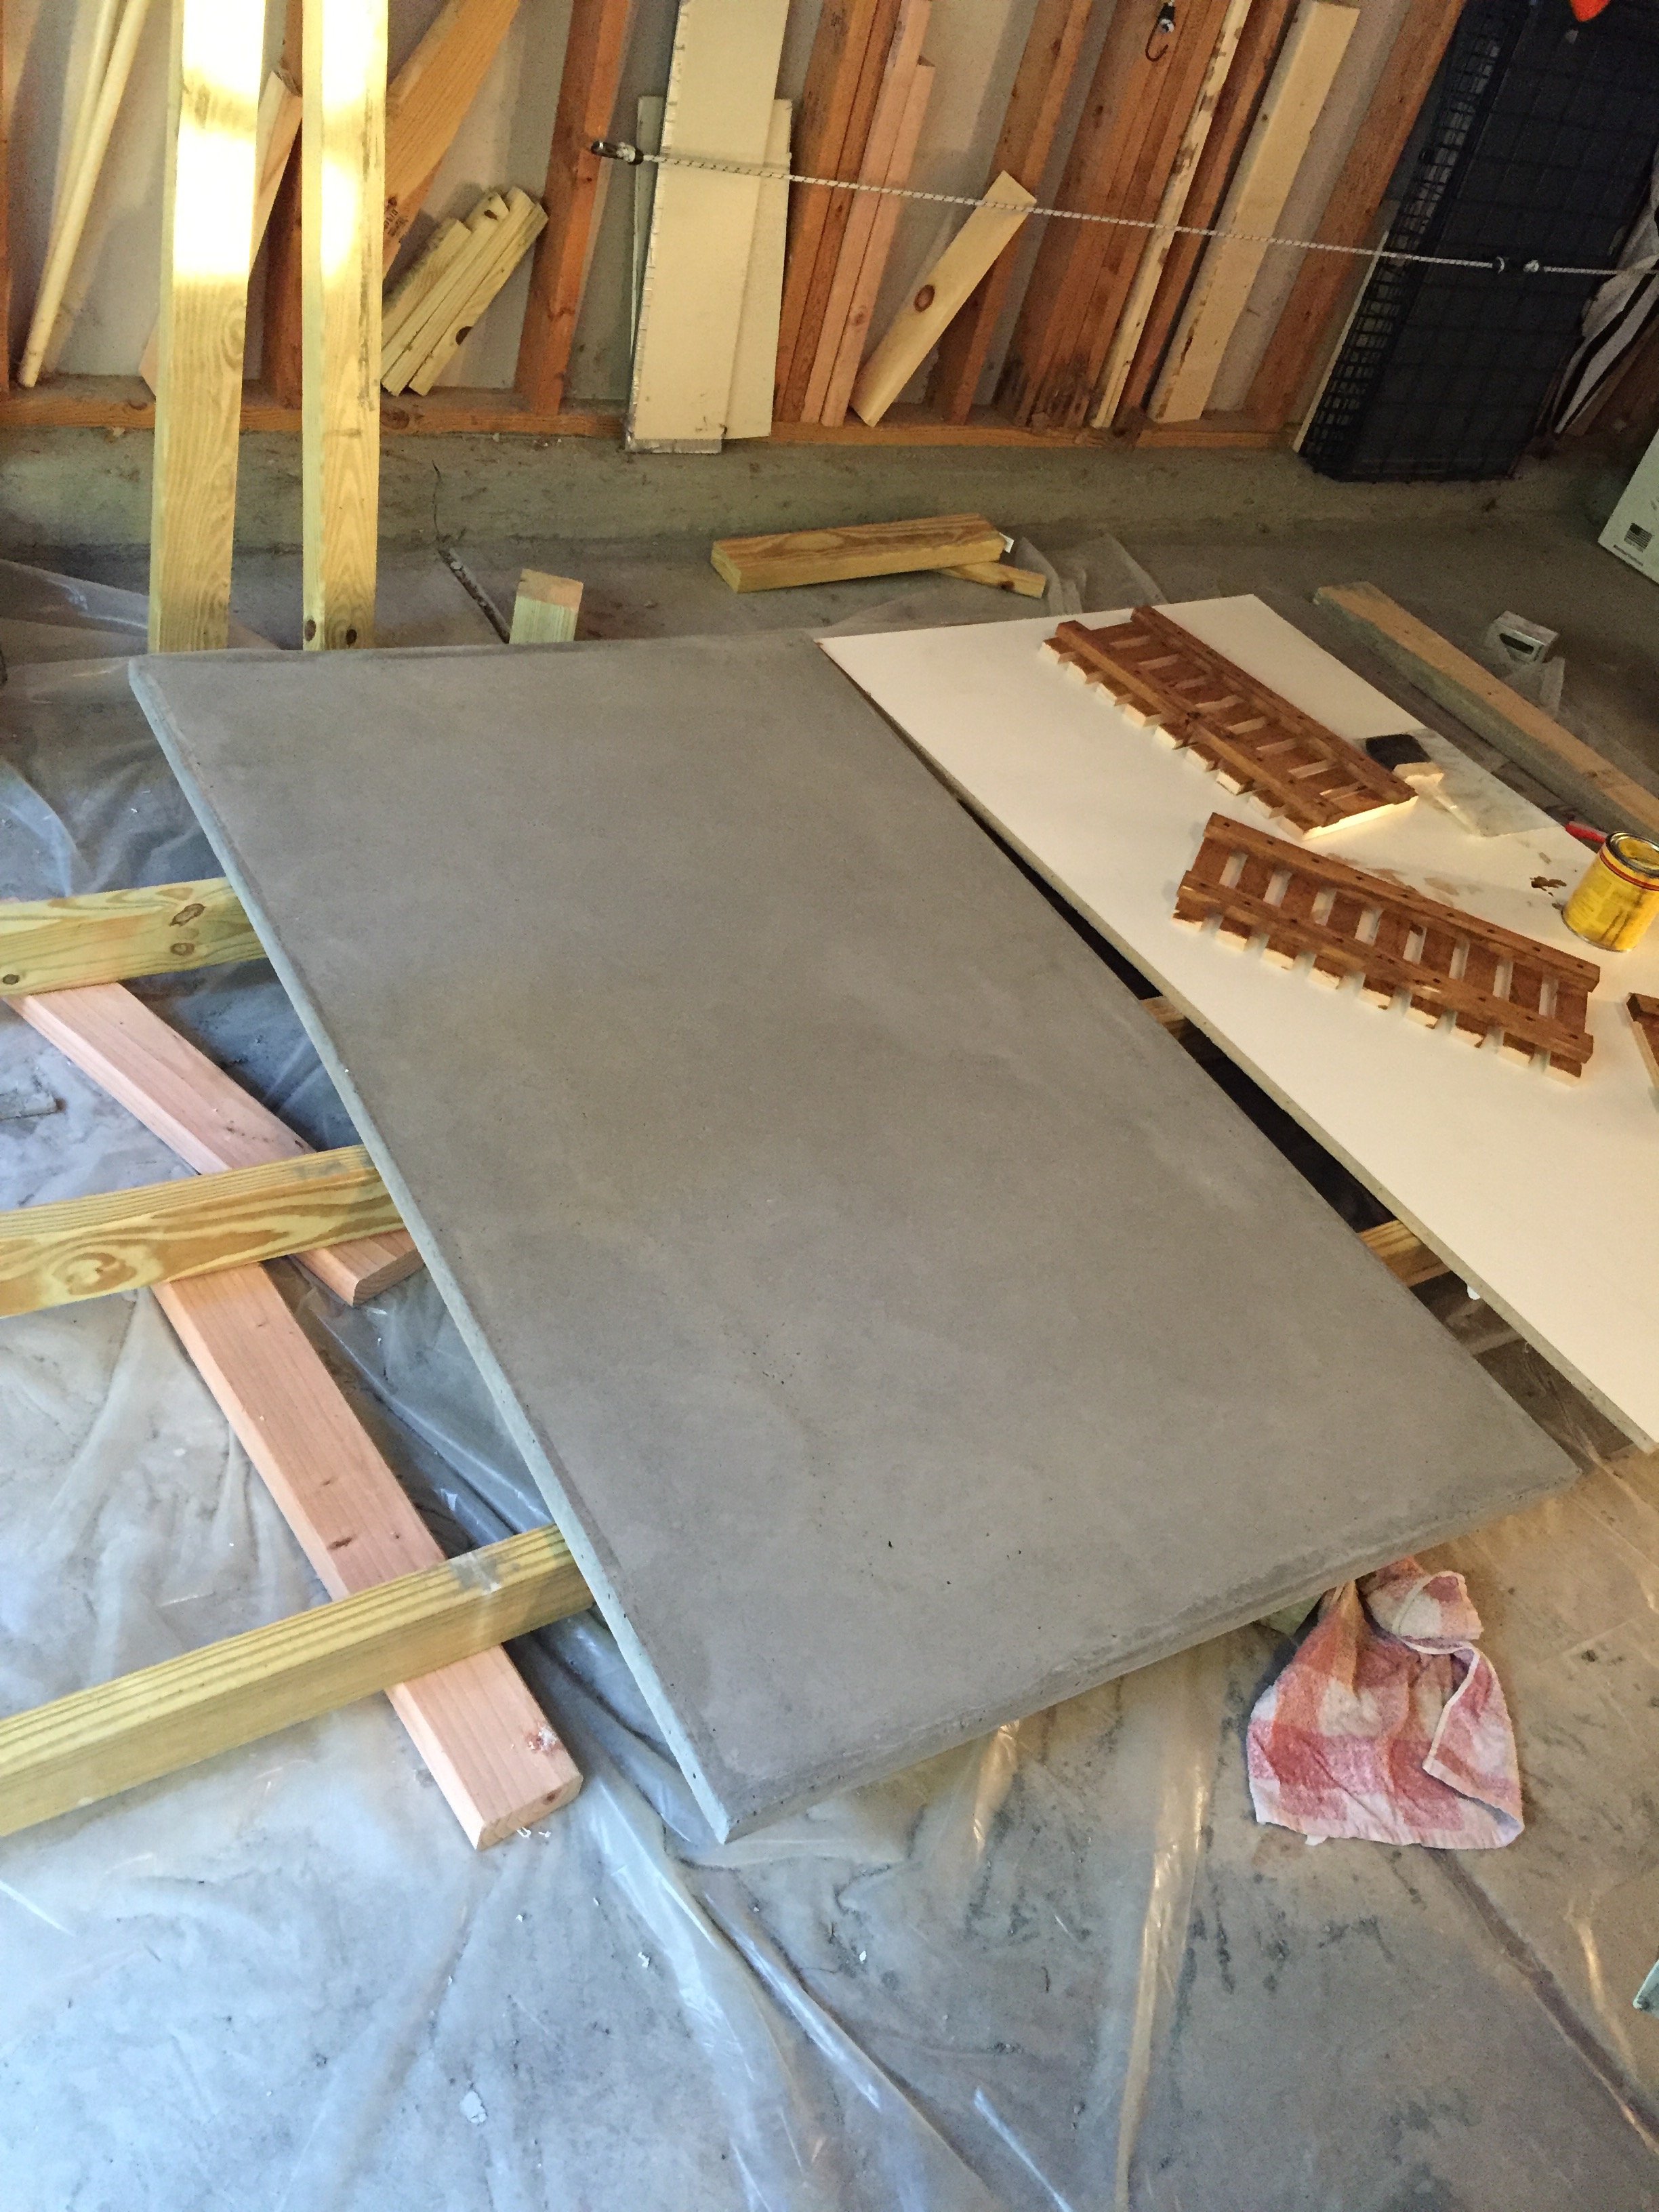
I used the Farmhouse Table plans as inspiration for my concrete kitchen island. I doubled up on the stretchers to add additional support for the 3x5 (275lb) cast concrete top and reversed the legs to expose the notches which were cut using a table saw. I used two coats of Minwax Golden Oak stain and two coats of Minwax polyurethane for the finish. The galvanized lag screws on the end supports are decorative, not structural. I used galvanized plumbing pipe to support the shelves and accessorized with bottle/wine openers. The top required 3 80lb bags of Quikrete 5000 and was sealed and waxed using Cheng concrete products. Because the concrete top was cast off-site, I had to build an A-frame to transport it safely to the installation site.


Tue, 05/17/2016 - 03:55
This might be one of the coolest builds I've seen yet! Love the combination of wood, metal and concrete!
Fun project. Quite easy, but extremely sturdy. Gonna work great for kids.
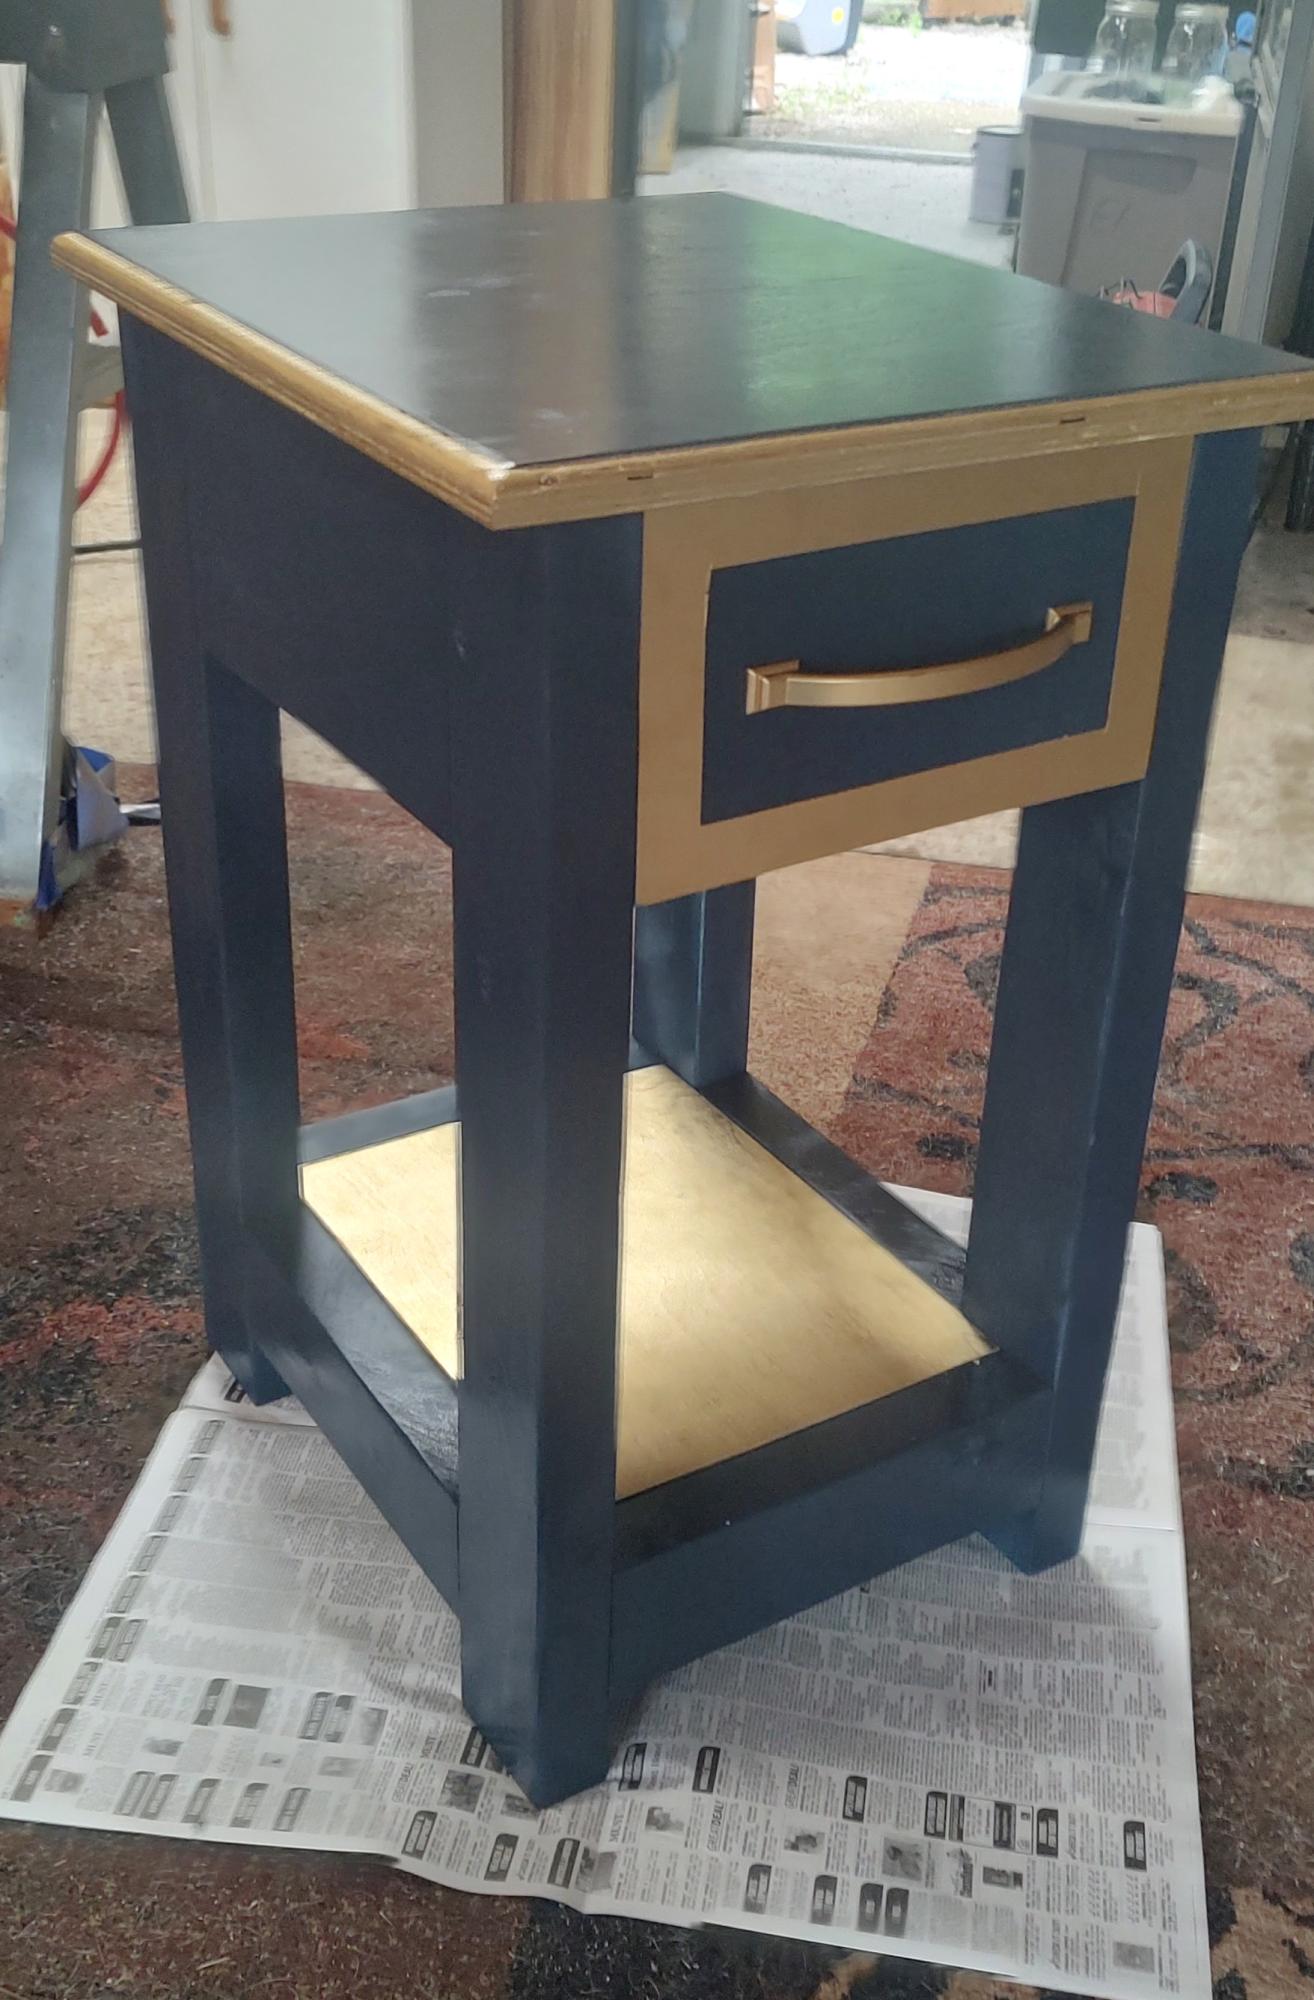
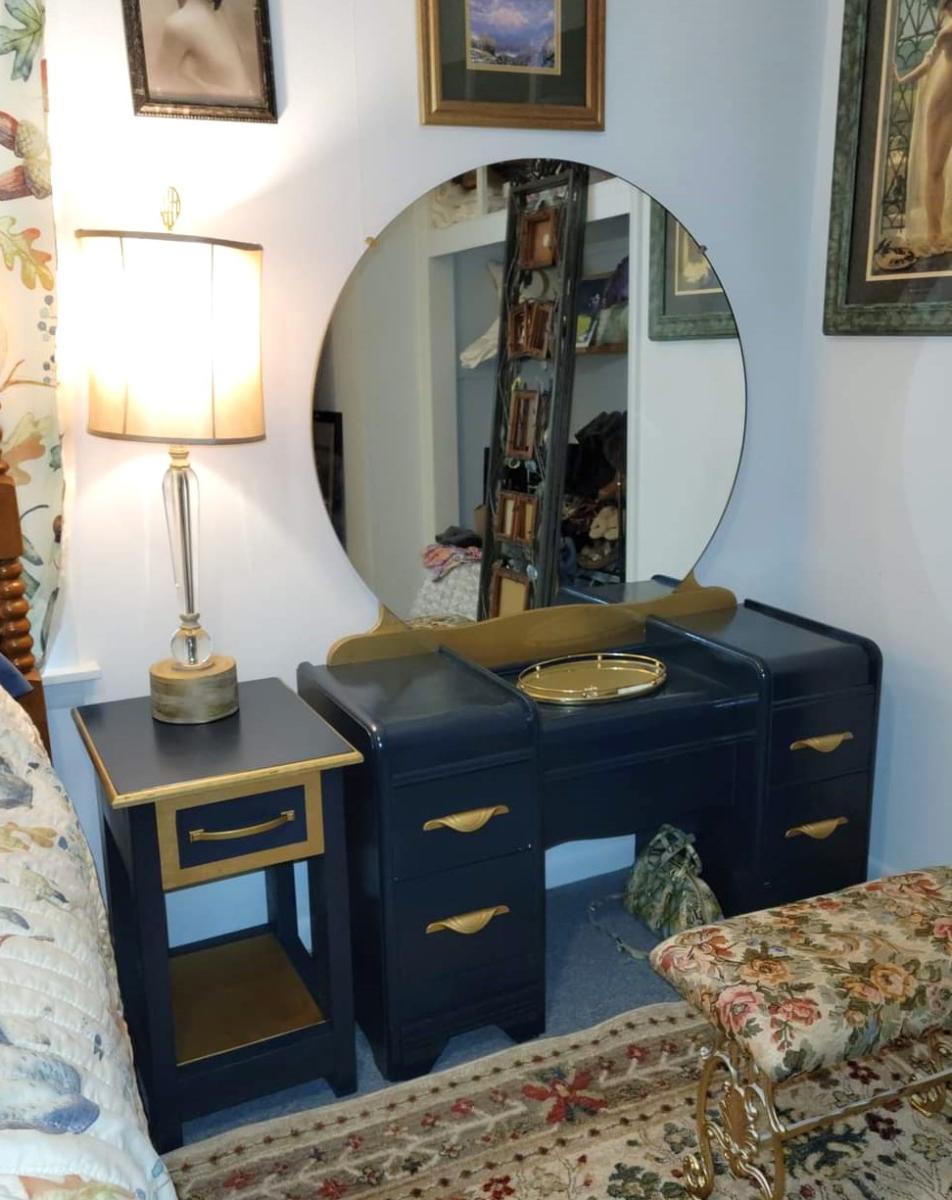
My wife bought the vanity on market place and I refiinished it with Amy Howard's Belgium Blue. So I built a night stand to match it , she's happy.
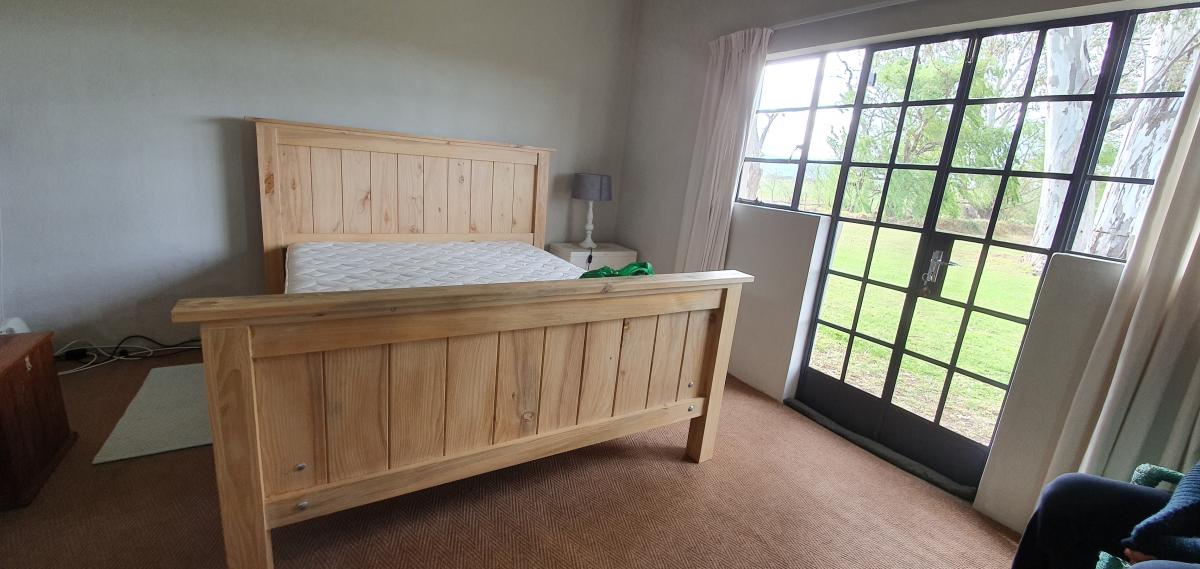
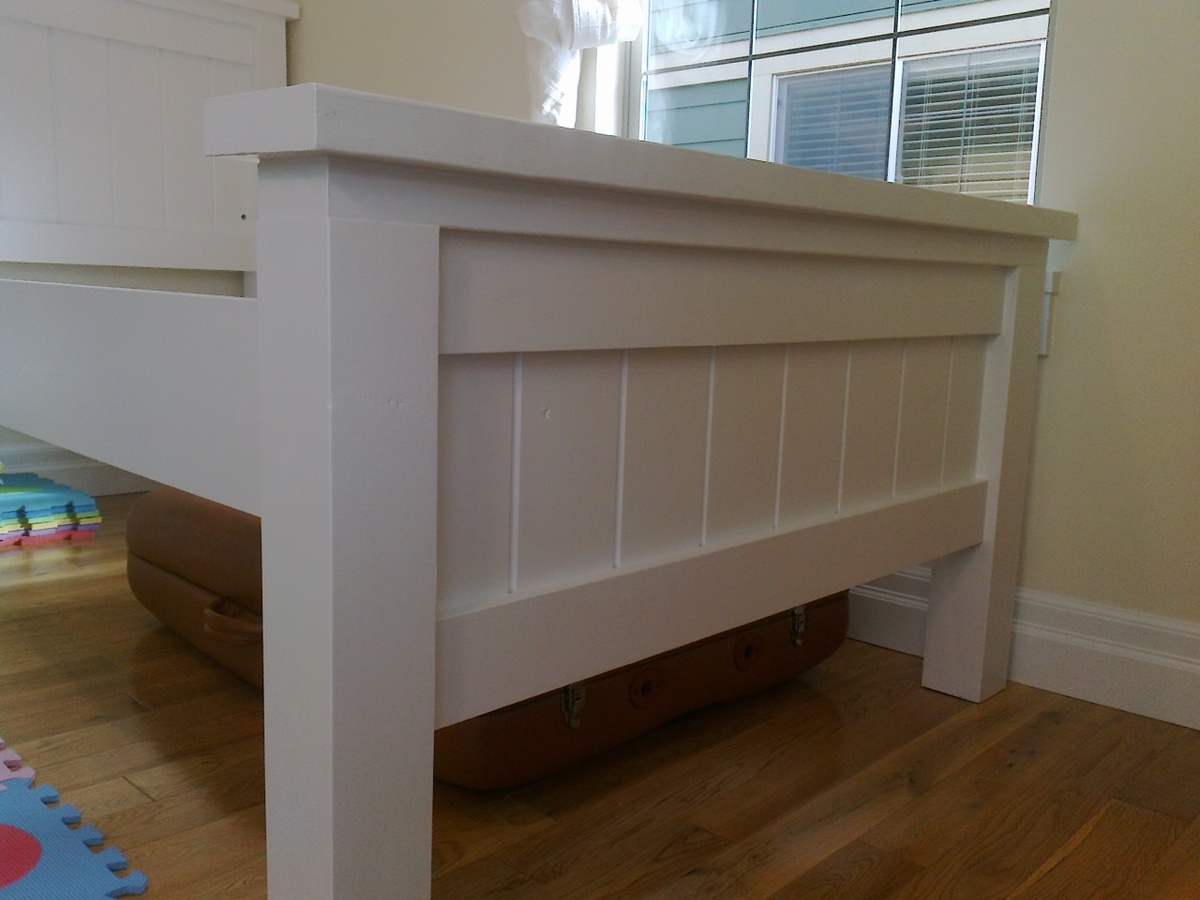
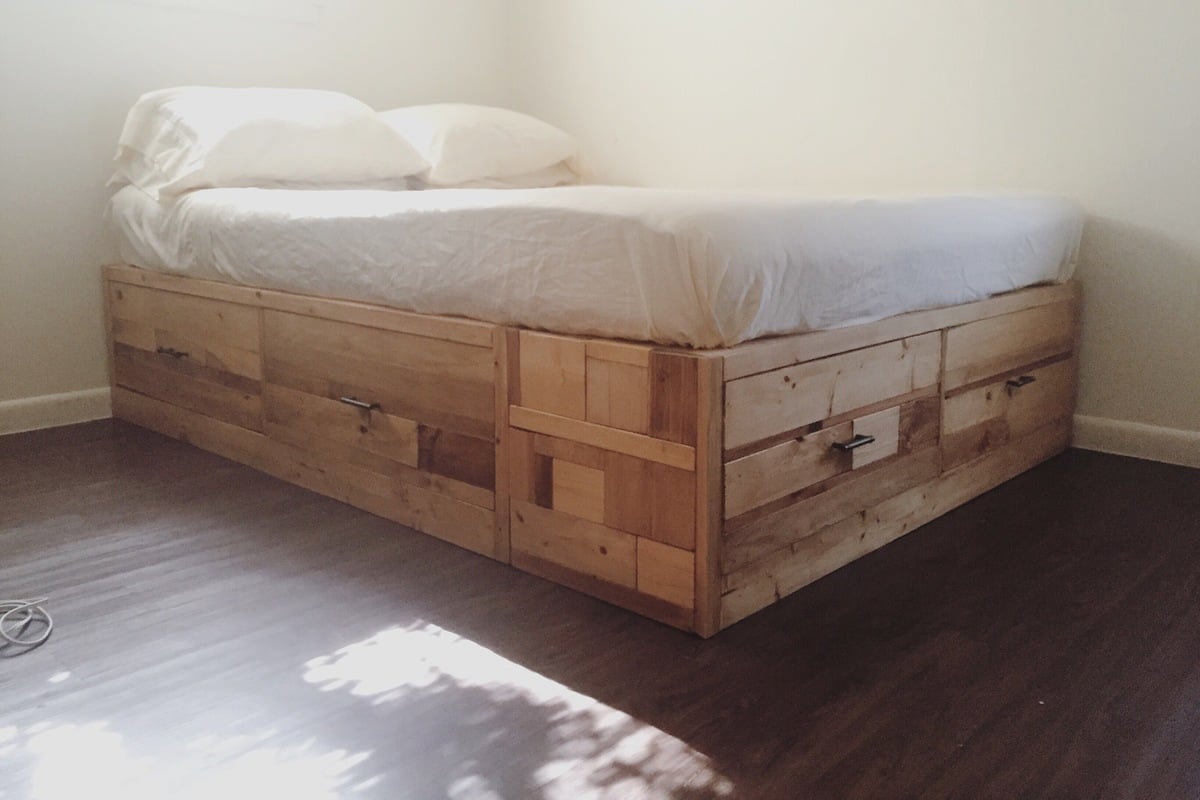
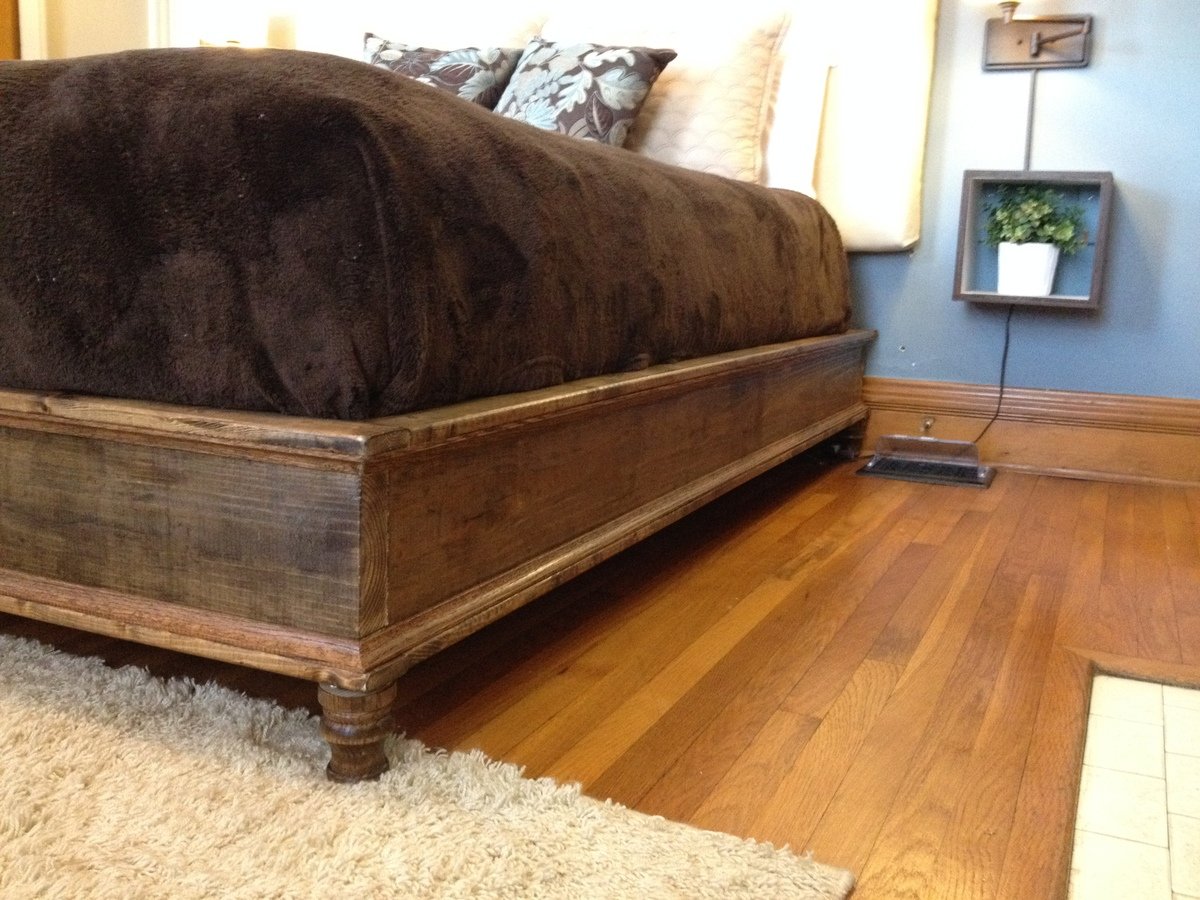
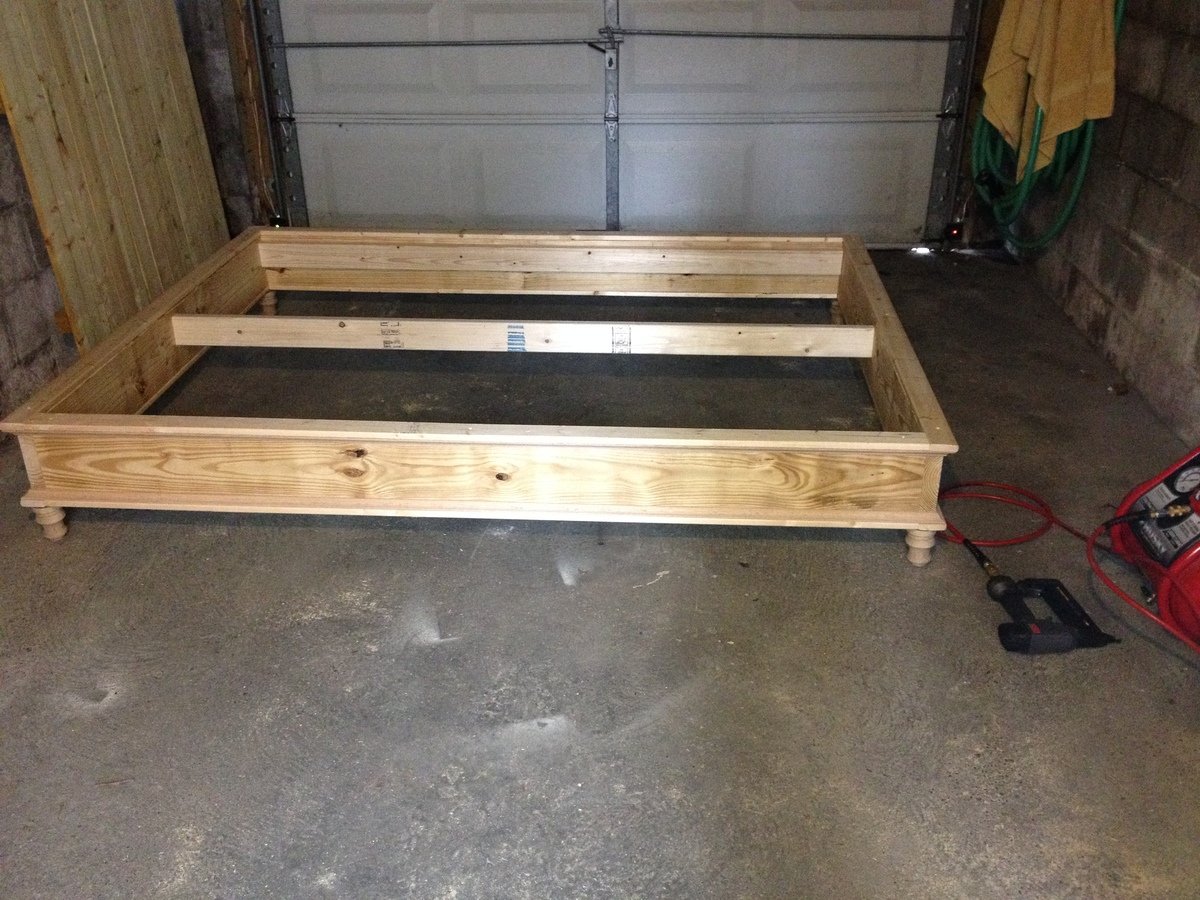
this is an awesome project for beginners. i had the luxury of a chop-saw which sped things up but a skill saw would have also sufficed.
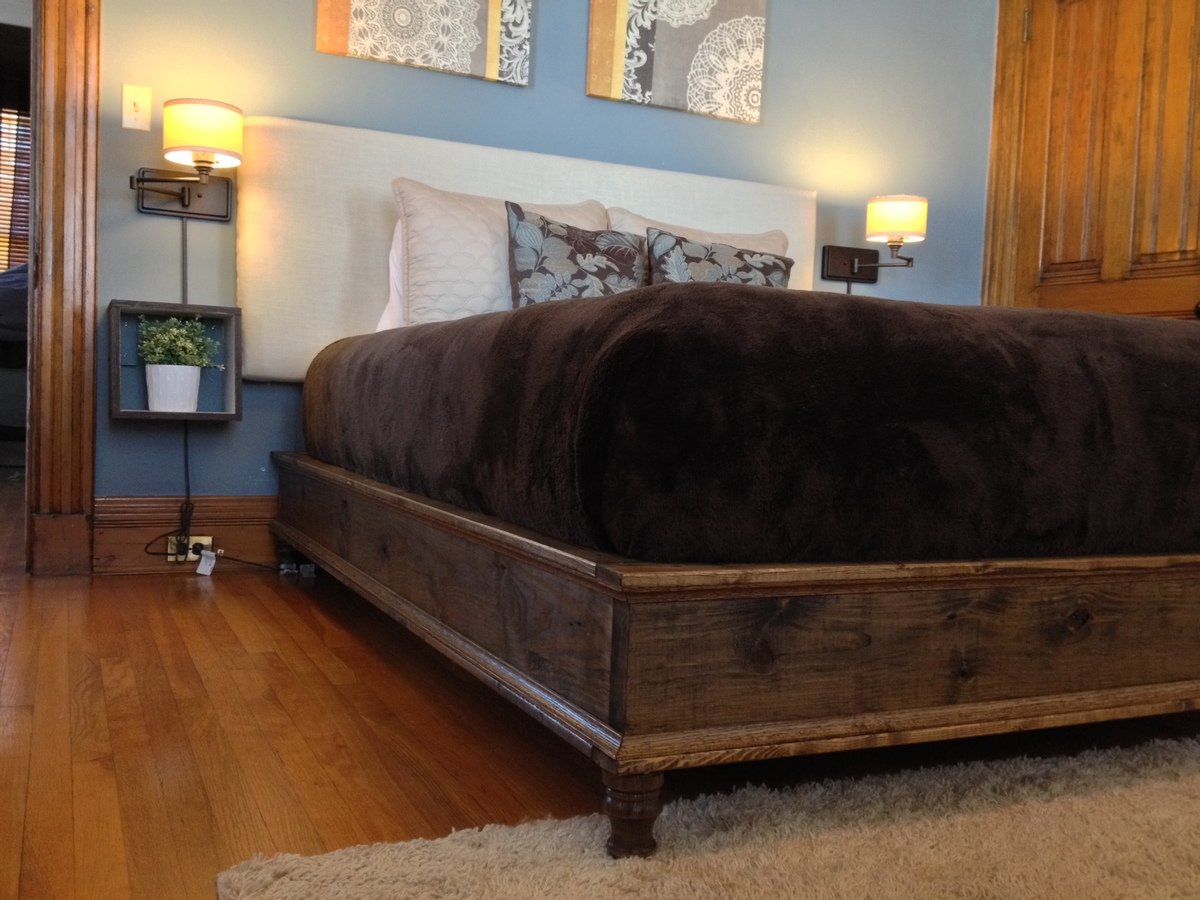
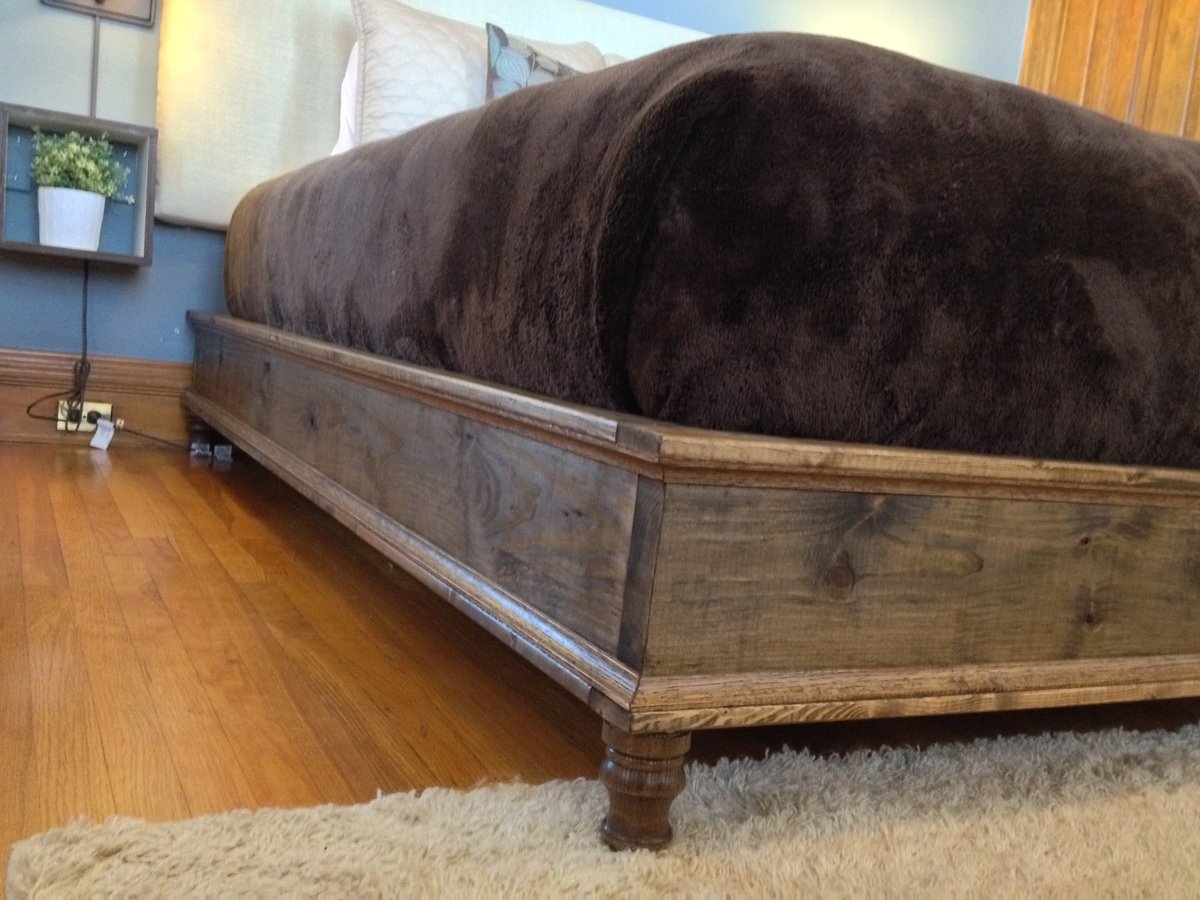
4x4 posts are pine and so too the tung and groove panelling. all the rest is KD Spruce.
if your looking at this project and feeling a little intimidated (as i was) just do what i did. go out, buy all the material. this way you'll almost feel compelled to at least give it a go rather than having the material collect dust in the garage. grrrr.... i hate clutter!!!
good luck guys and great site Ana, thanks so much for helping us all out :-) i know my son is gonna love this bed in a year or so's time...
i really do recommend buying a Blk and Decker mouse sander. these are amazing and really reach into every nook.
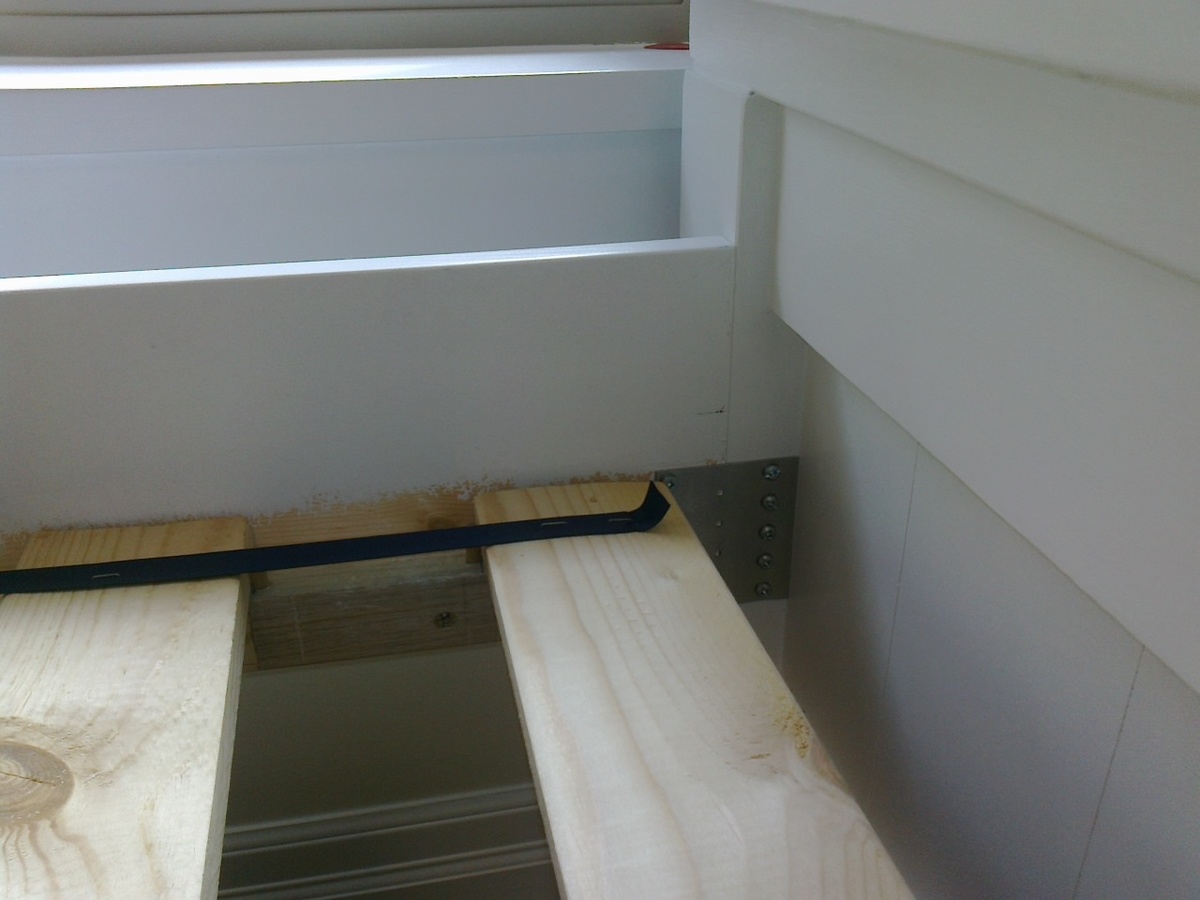
i have to also mention that my bed is real easy to take down, i used galvanized steel plates to mount the side rails, pls see pics. i used 2x2 cleats to support the 1x4 slats which i can roll up with the fabric that i stapled to them. also used 1/4" dowels to hold the slats in place. i got this idea from ikea.

Sun, 03/18/2012 - 23:28
So nothing is even near as special or darling as your baby! But I love your Farmhouse Bed! I can't believe this is your first project! Smart to use the brackets too! Thank you so much for sharing.

In reply to So nothing is even near as by Ana White
Mon, 03/19/2012 - 19:52
thanks for the response Ana. he sure is the twinkle in my eye, as i'm sure your little monkey is too... i'm sure i'll be posting again soon, once again thank you for inspiring us all and creating such a wonderful community :-)

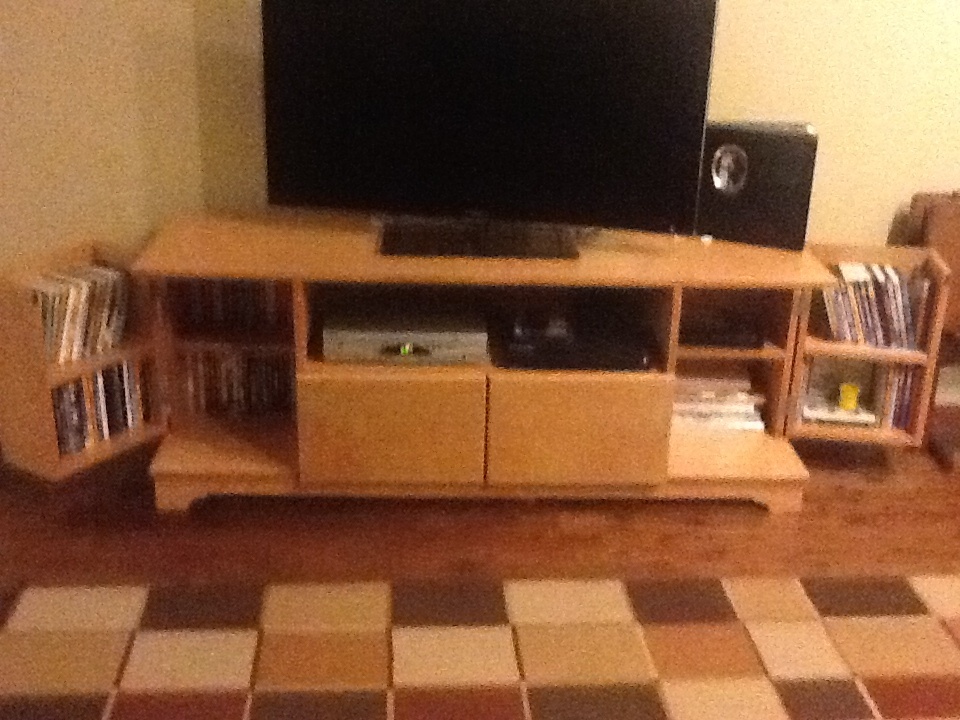
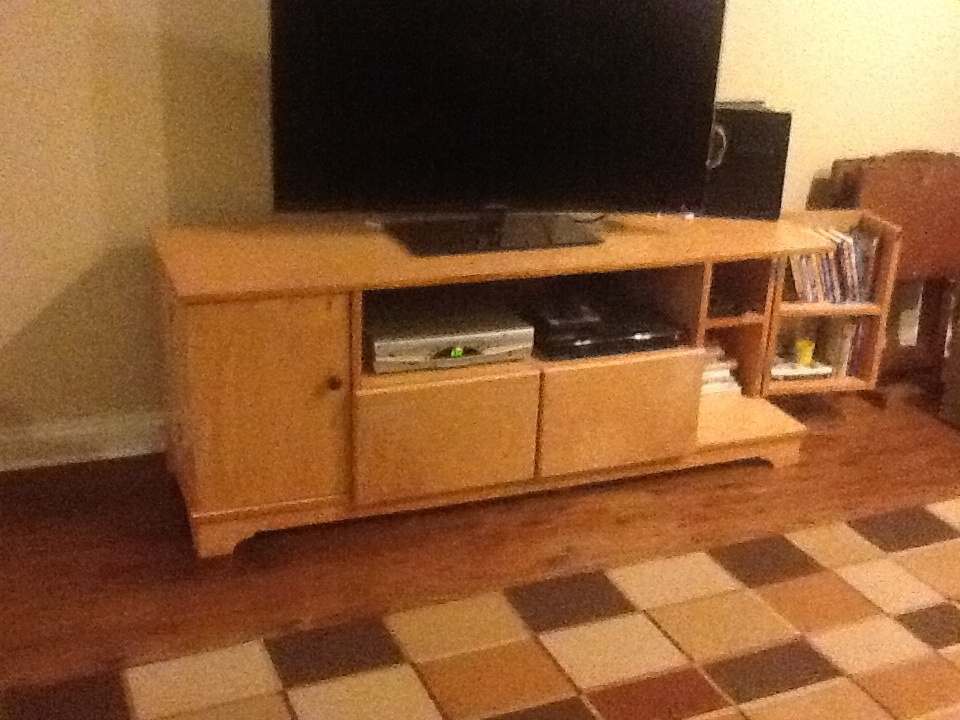
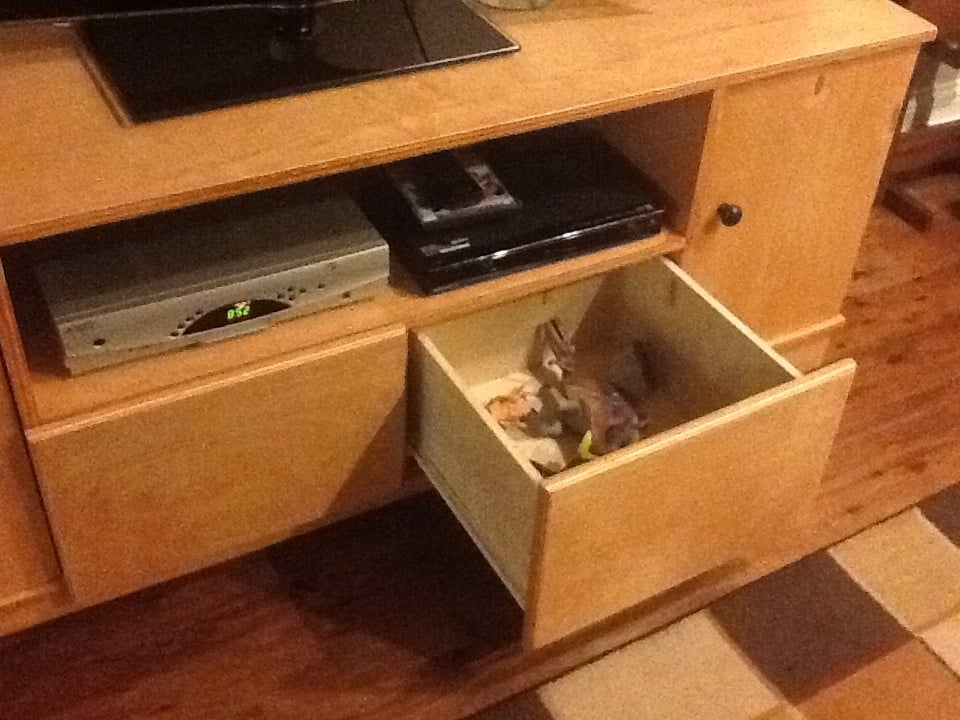
I built this media console using mainly 3/4 inch maple plywood which the store cut to 2 foot by 4 foot sections for me. I used 1/2 inch plywood for the doors and DVD storage. Overall I'm happy with the look of the stained plywood, however I may have used a darker stain if I could redo it. I finished with 2 coats of polyurethane in semi gloss. I may remove the drawers and replace with baskets as I am a little unsatisfied with the design I chose which has the front face sticking past the rest of the console. I really like the hidden storage for movies and am overall very happy with this project.

Thu, 01/09/2014 - 08:00
You could probably fix the drawers to be inset pretty easily. May require repositioning the slides, if you used them, and trimming the face of the drawer to fit inside the cabinet. Unless the whole drawer is glued up, or the full depth of the cabinet - that might make it a little harder. You could also add a design element to the doors - such as a graphic cut out or just a frame that would bring the doors out to the same position as the drawers, so they match. Even just a rectangular frame out of plywood - perhaps stained in a darker color.
Good job!

Thu, 01/09/2014 - 08:11
Looks really good.
I wouldn't get rid of the drawers completely. Instead I'd do as Bunnie suggests and just cut them down enough that the fronts are inset.
Fri, 01/10/2014 - 16:07
Thanks Bonnie and Pam! I think you are both correct and I will simply modify the drawer design to be inset. They are on slides that should be easy to move/modify and I really like the idea of staining the fronts a darker color!
Will probably add a scrappy short headboard, overall very pleased with the design and look

My first project! I was surprised how much fun and how easy it is to build something that’s beautiful & functional. I’m hooked! I can’t wait to build more!

I loved the look of the original but went with more of an antique icebox feel. Made from cherry and aged with lye and a danish oil top coat.
reader build


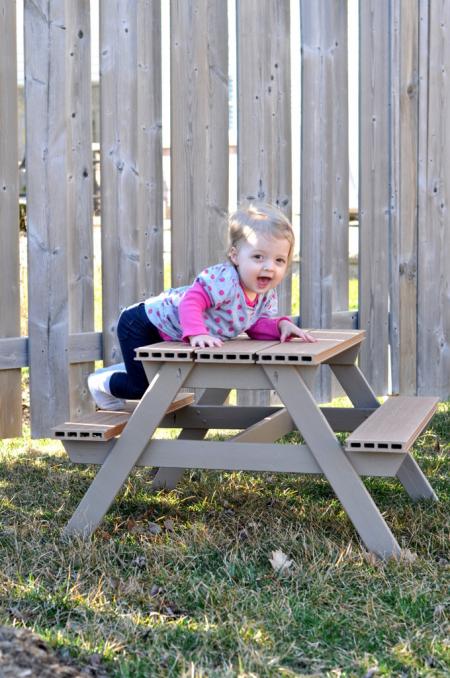
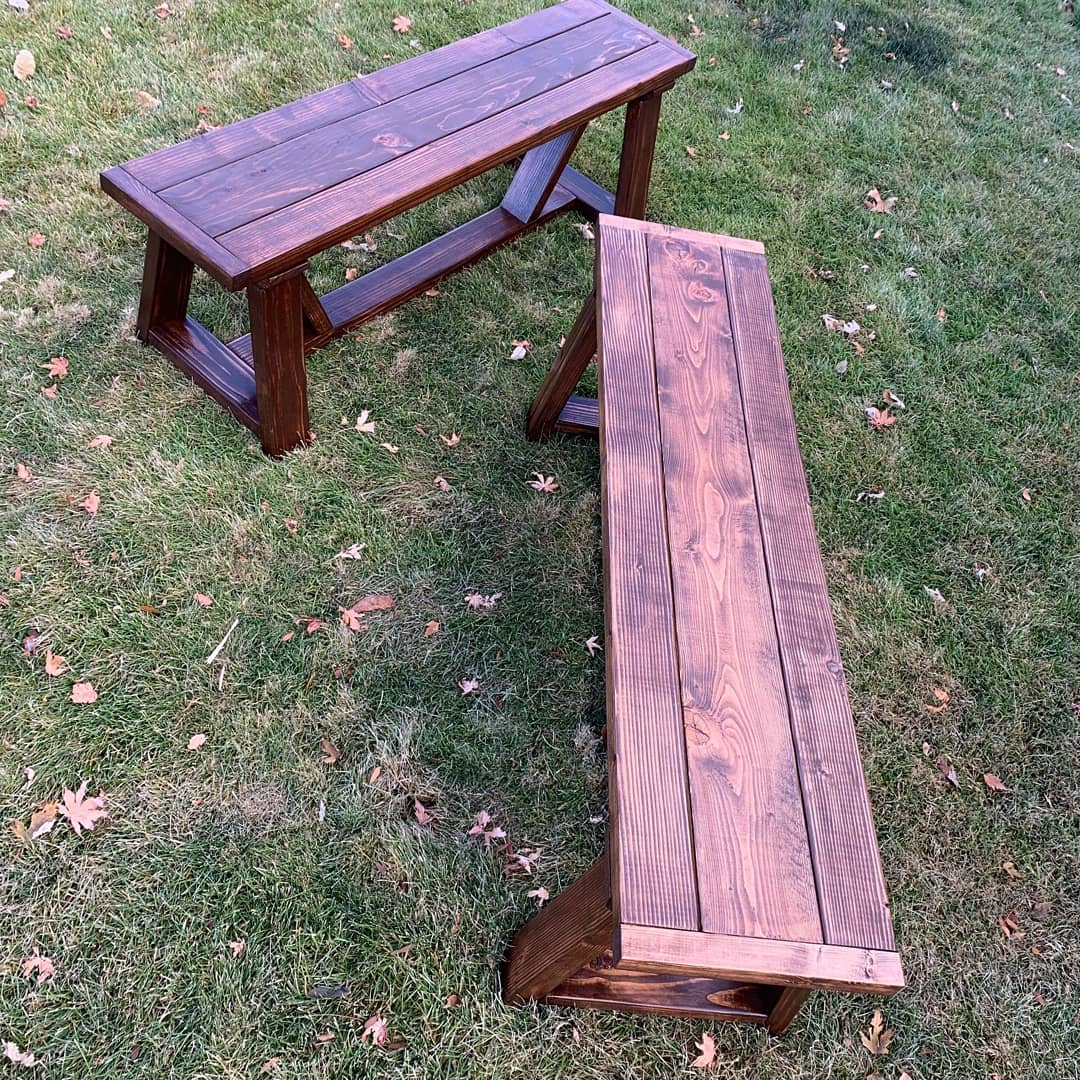
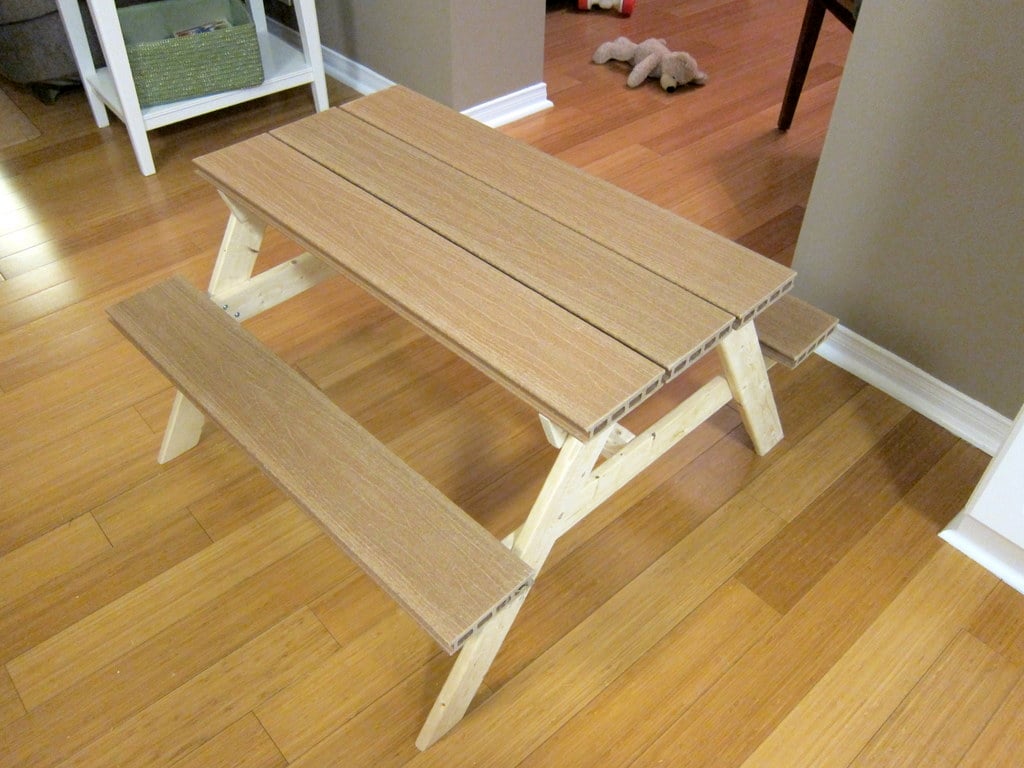
I used some leftover boards from our composite deck for the surface part of this picnic table. I used a lot of Kreg joints to screw up into the boards from underneath, so I didn't have many exposed screw heads. I did have to redesign this plan slightly for me because of my composite board width. Ended up costing $5 for the 1x3 spruce, and I finished it with primer and exterior latex paint leftover from painting our garage doors.


Wed, 03/21/2012 - 00:15
This is awesome! I love that you used scrap decking - no splinters! Thanks for sharing, love it! PS - what a cutie!!!
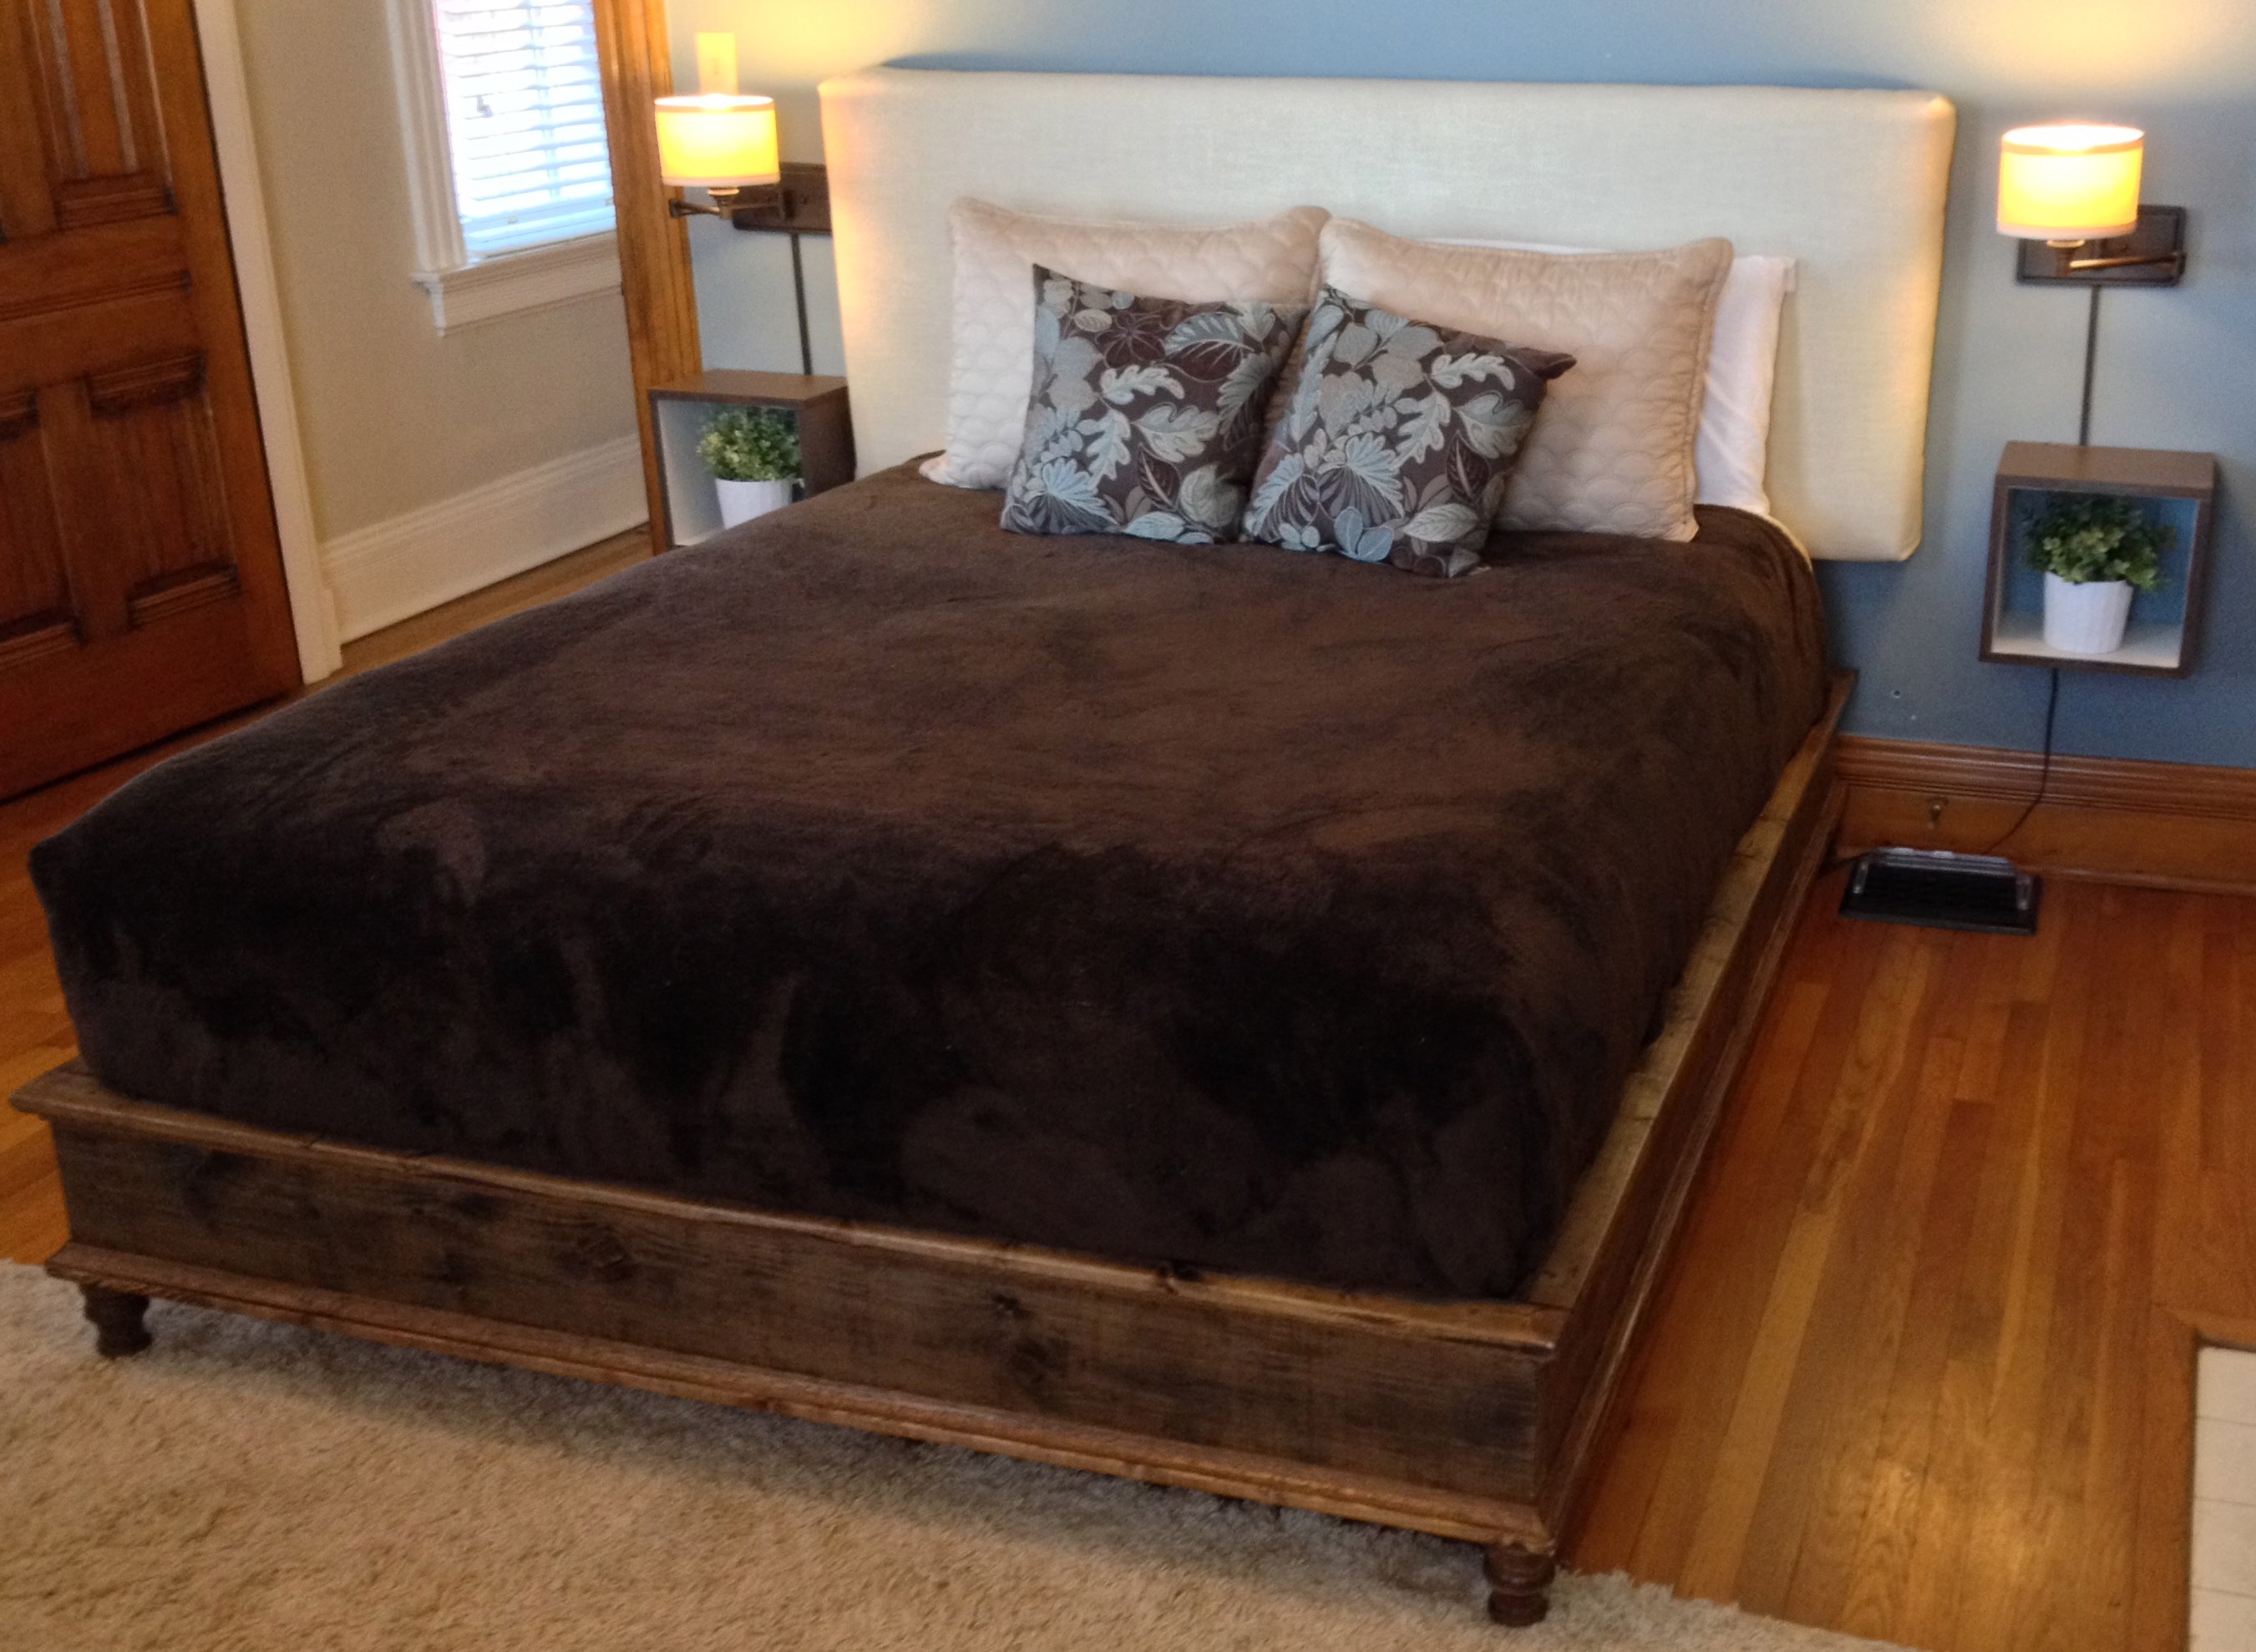
Built the Chestwick Queen Size platform bed - see my blog for complete details. http://chiclyhandy.blogspot.com/2014/01/chestwick-platform-bed.html
Made from one piece of plywood
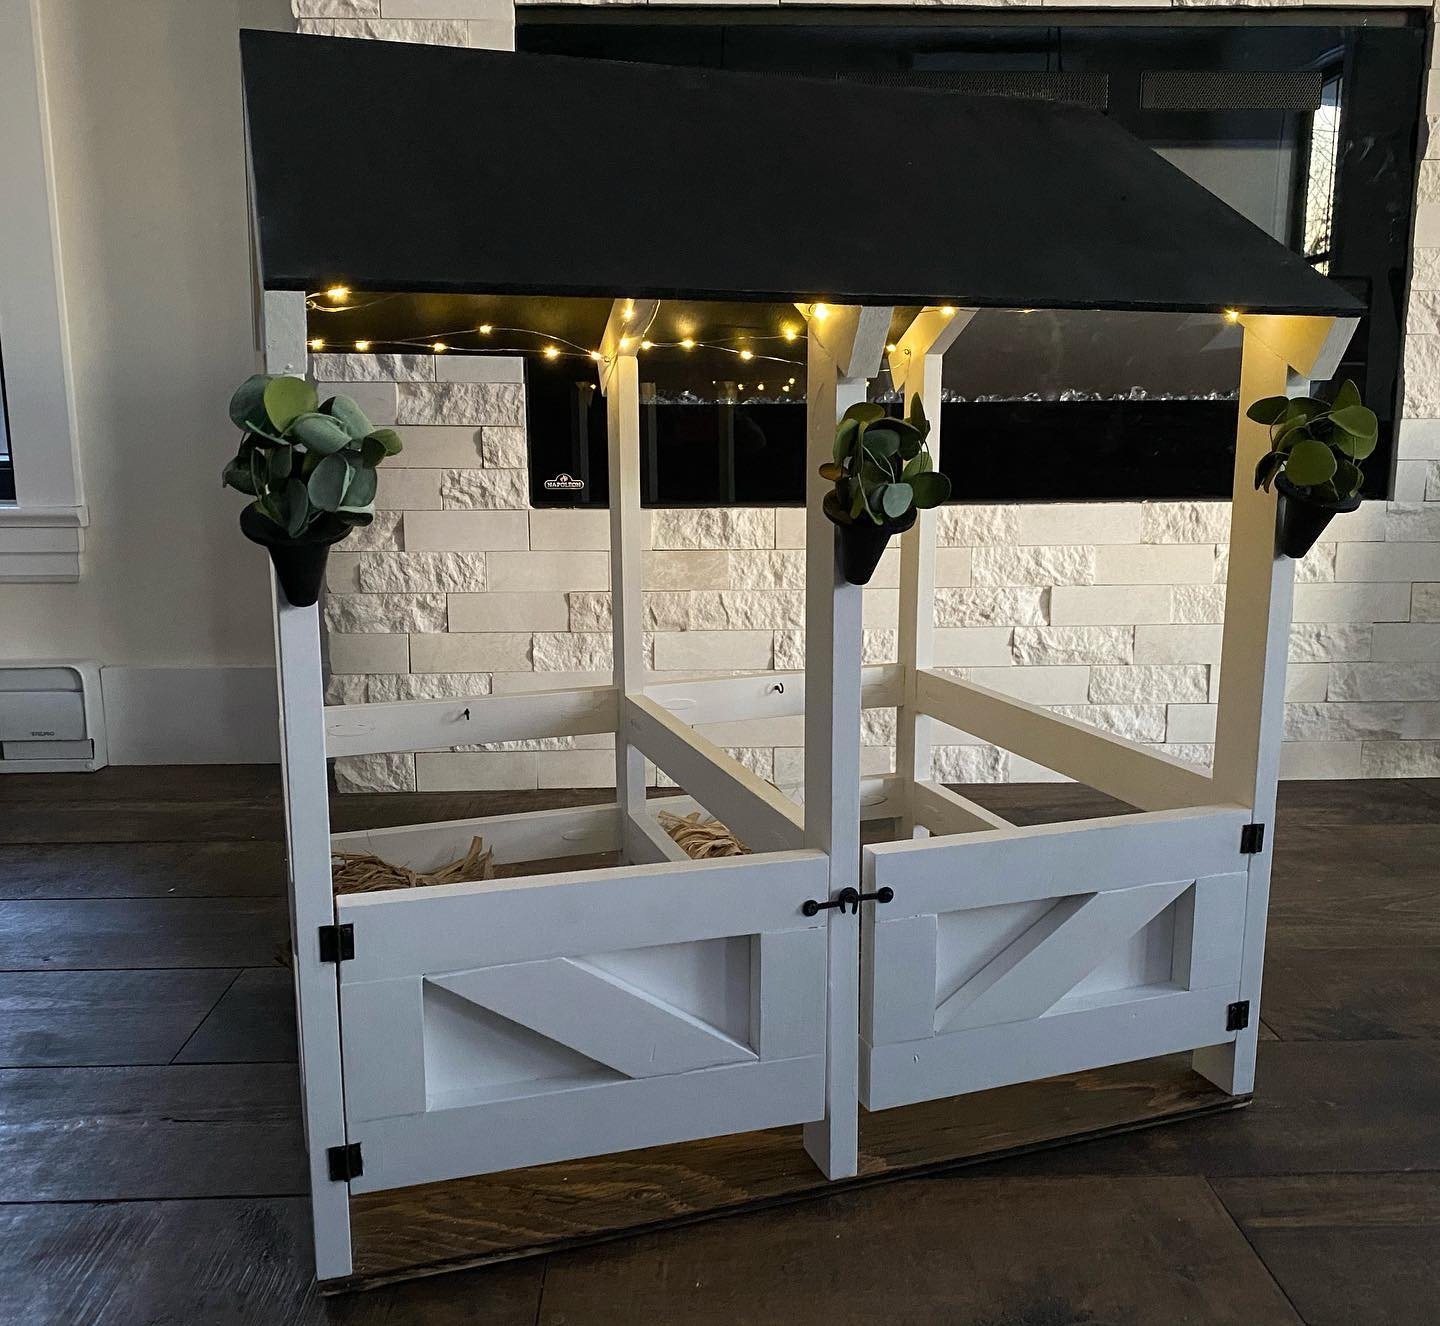
Loved creating the Ana White Horse Stable with a few additions! I added planters and twinkle lights for my girl!
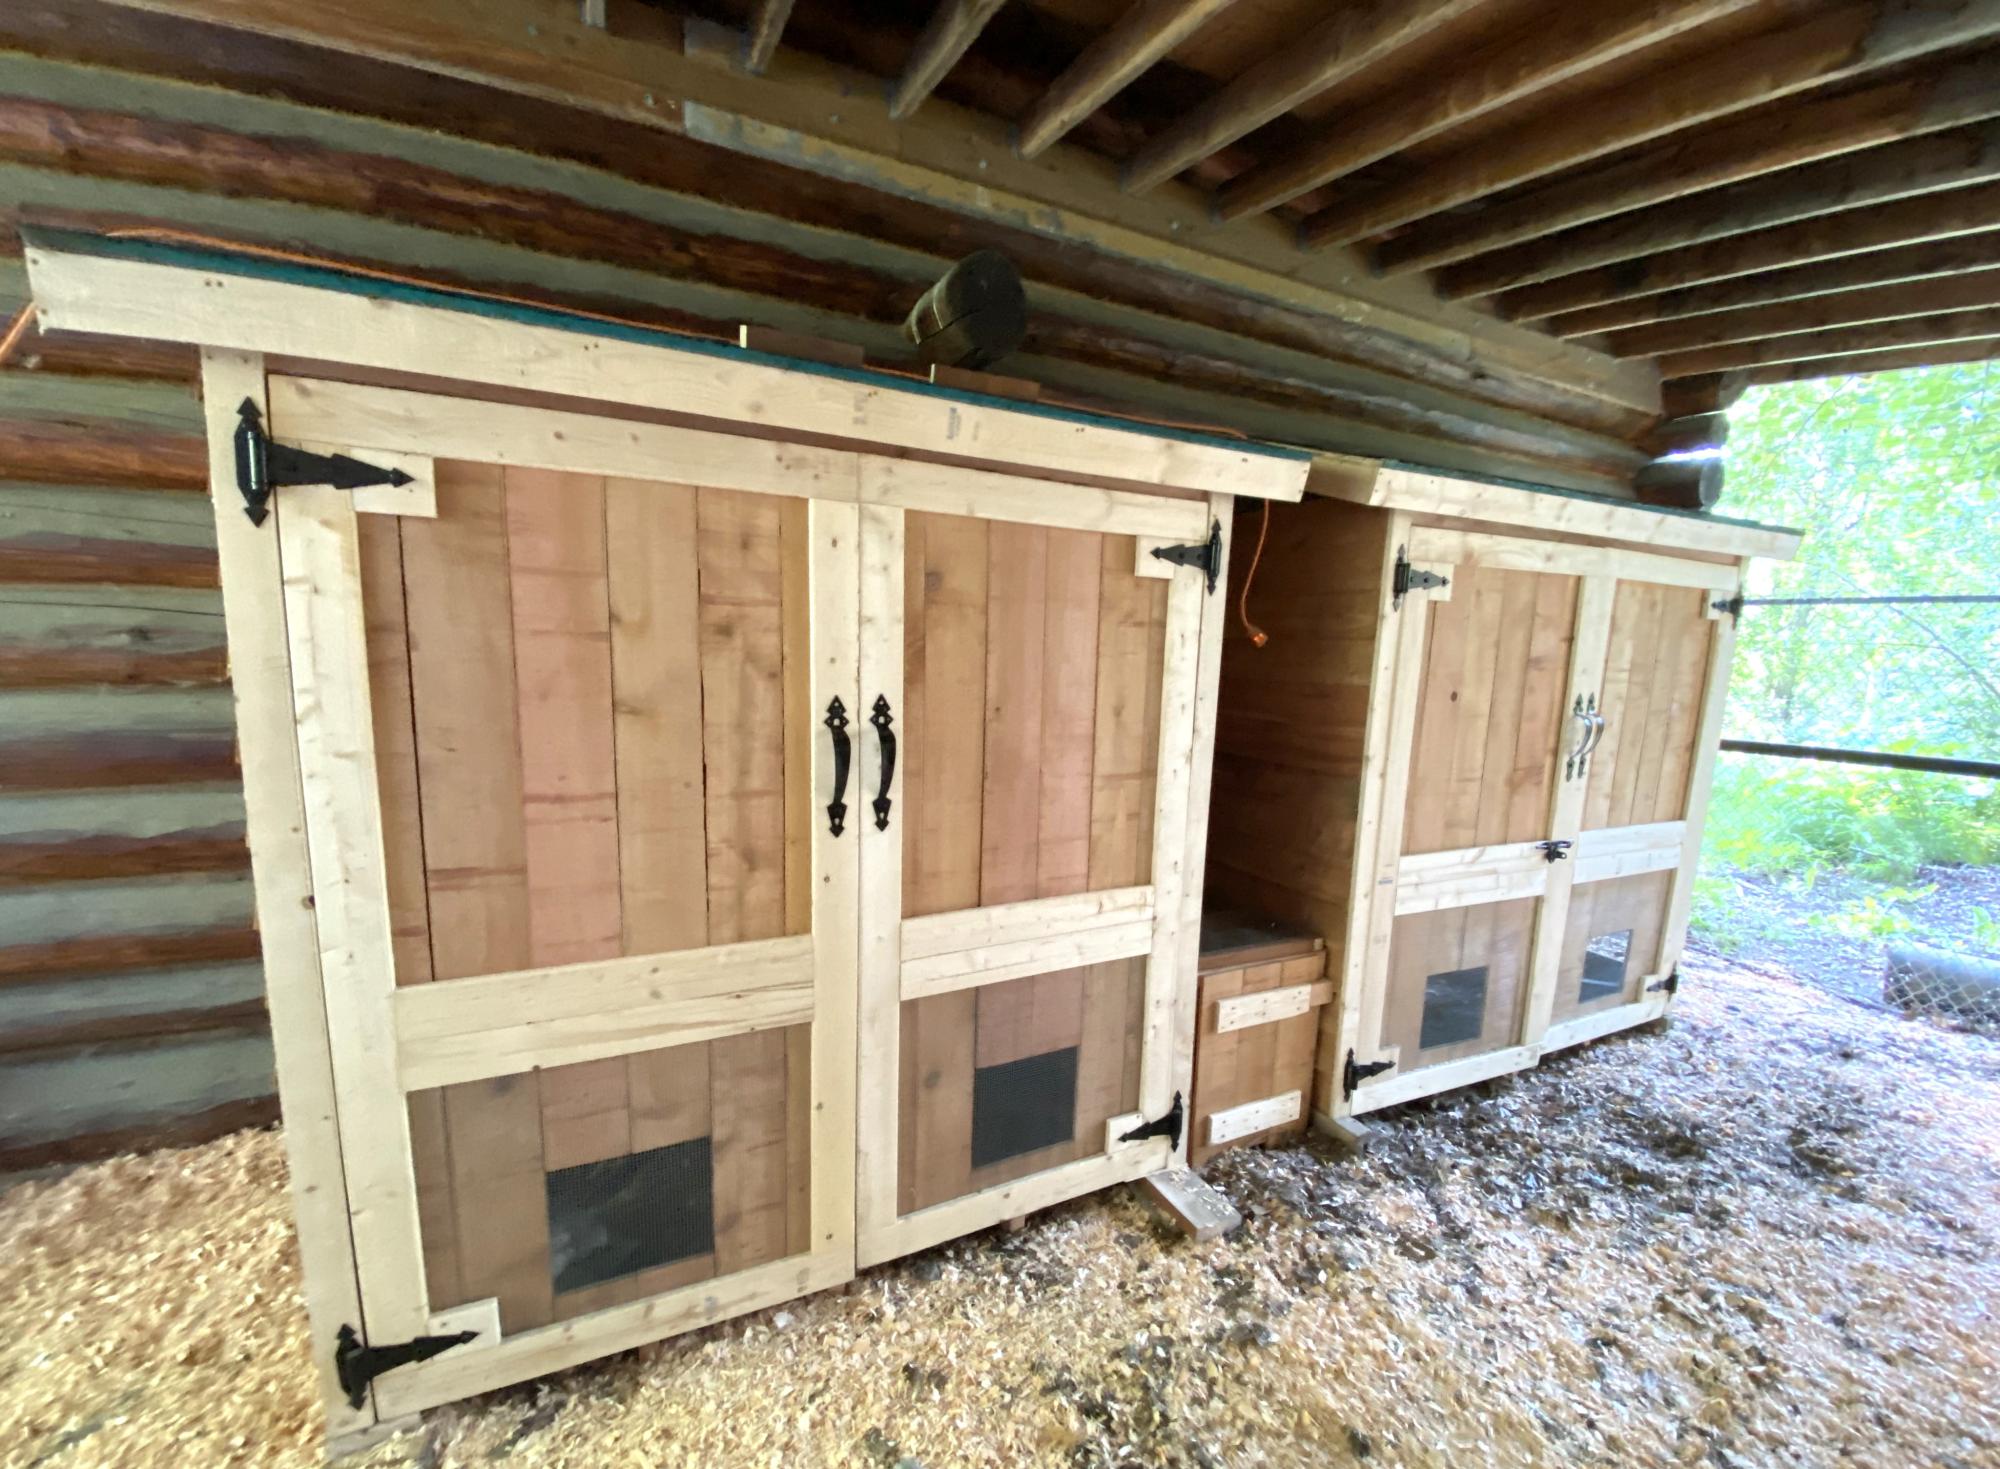
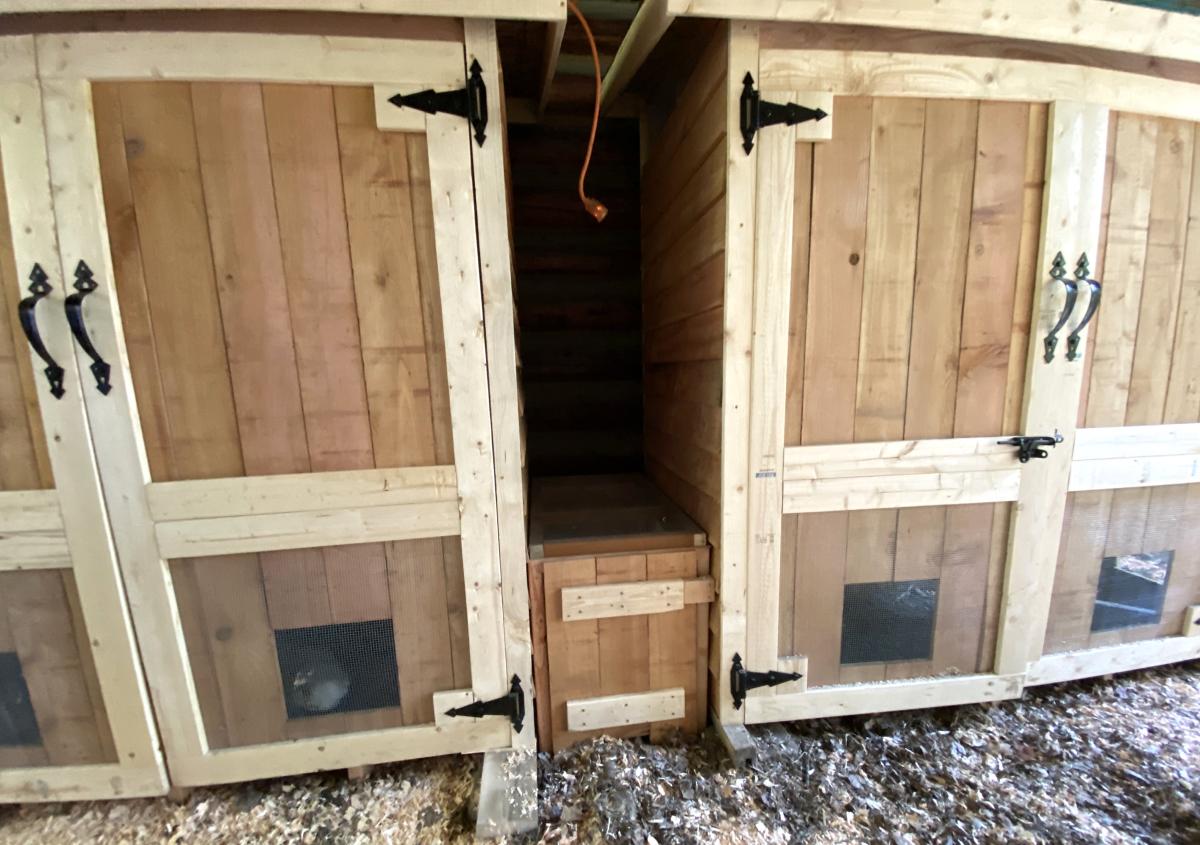
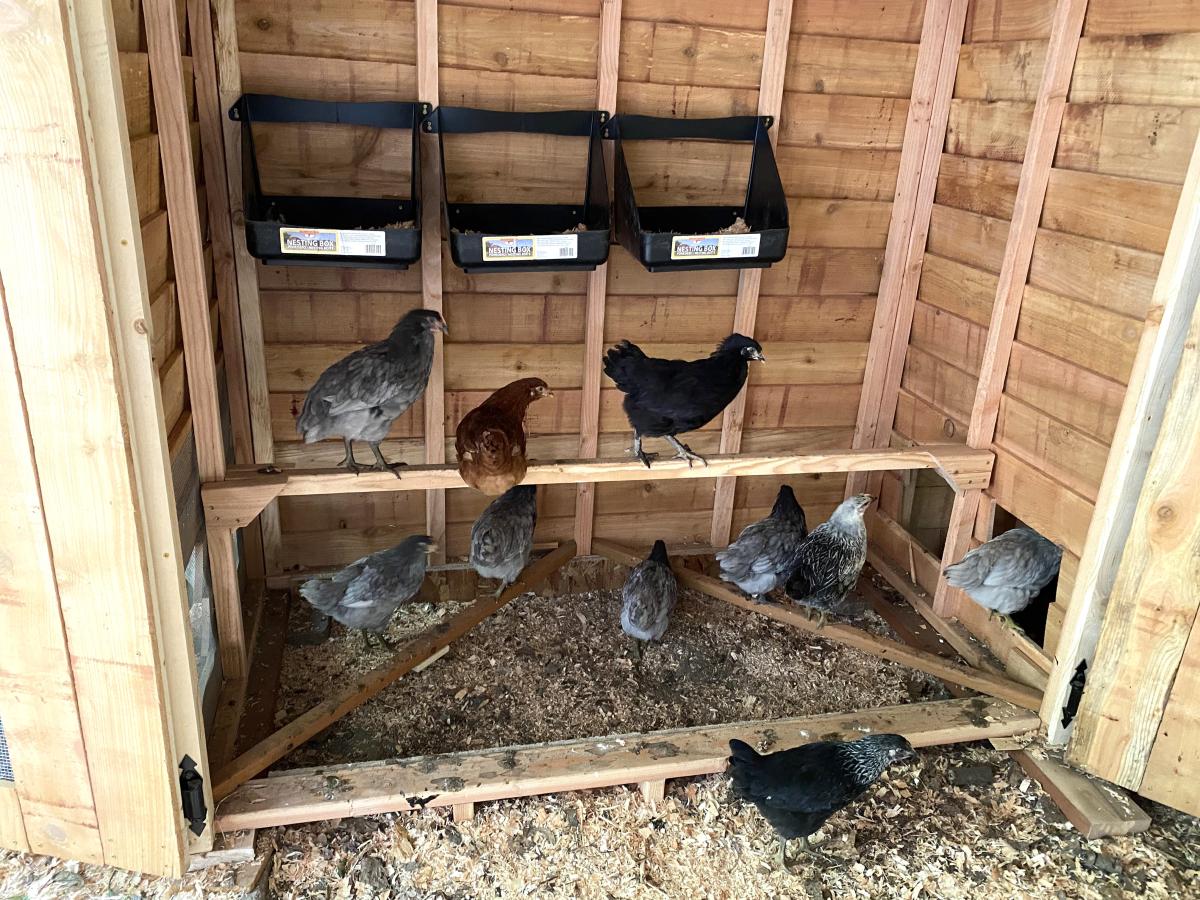
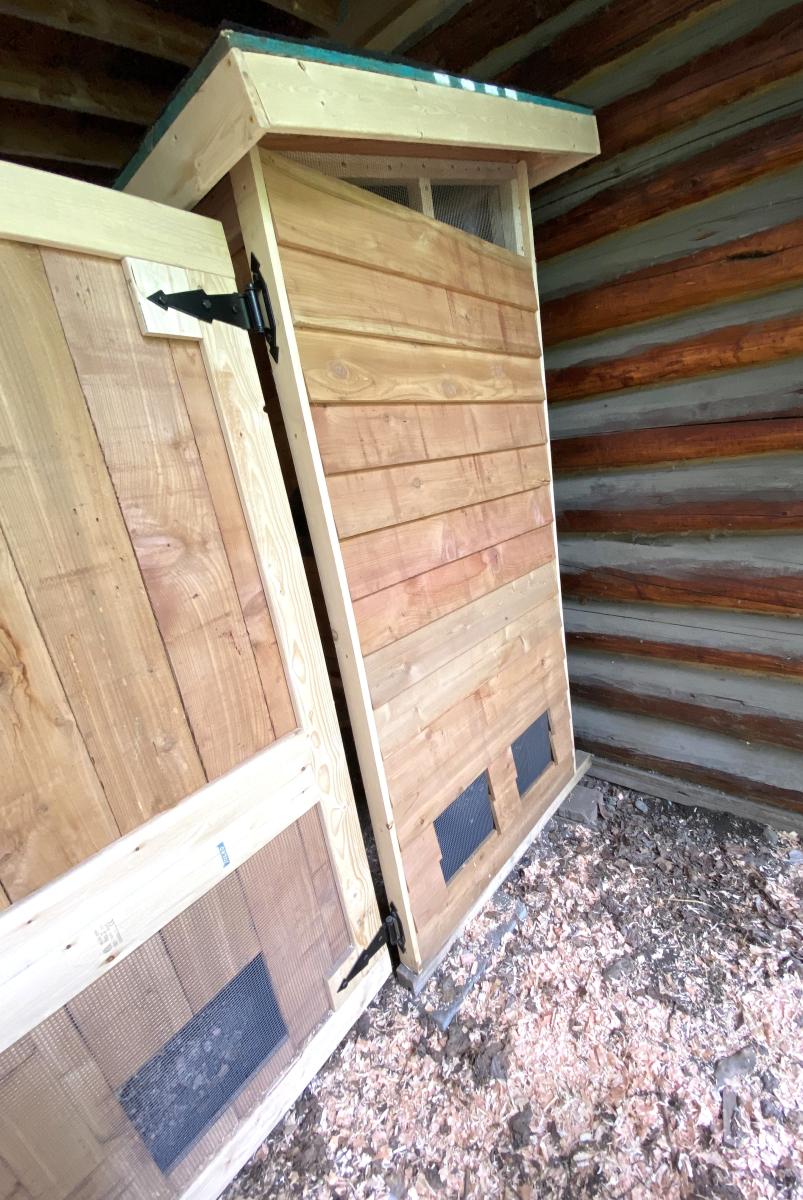
Our family decided to raise chickens but needed a place to keep them safe at night. We used your shed plan and adapted it to create necessary venting for the chicks.
Since we had 16 chickens we knew one coop would not be enough space so we built two. We created a vented tunnel between the two coops so the hens could go back and forth between them as they wished while still being protected. The girls are very happy in their new space!
Thank you for your great plans.
Holly