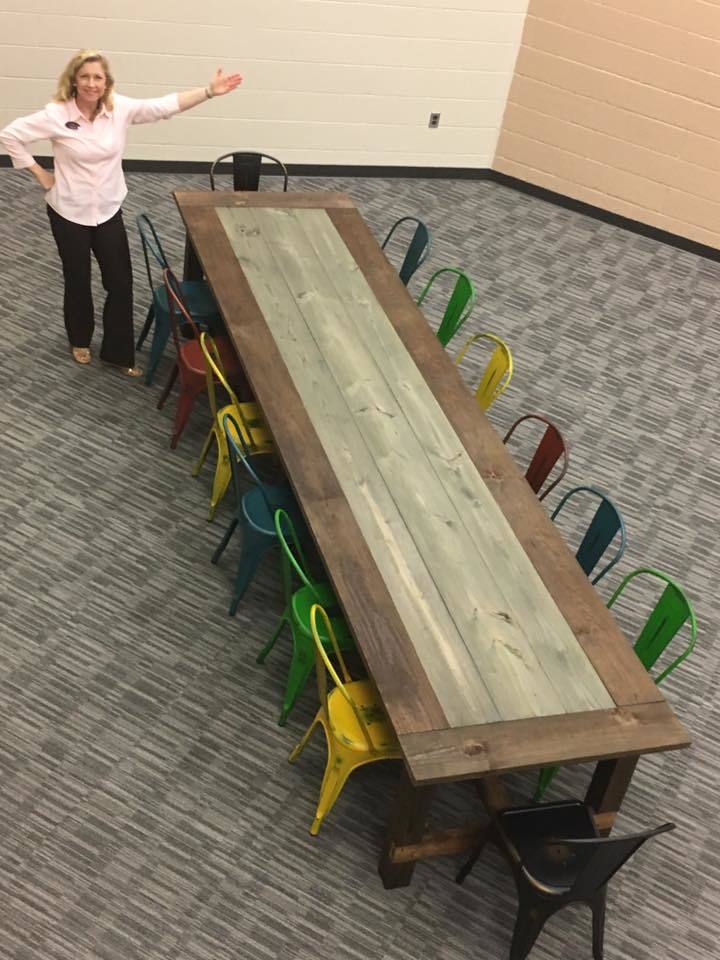
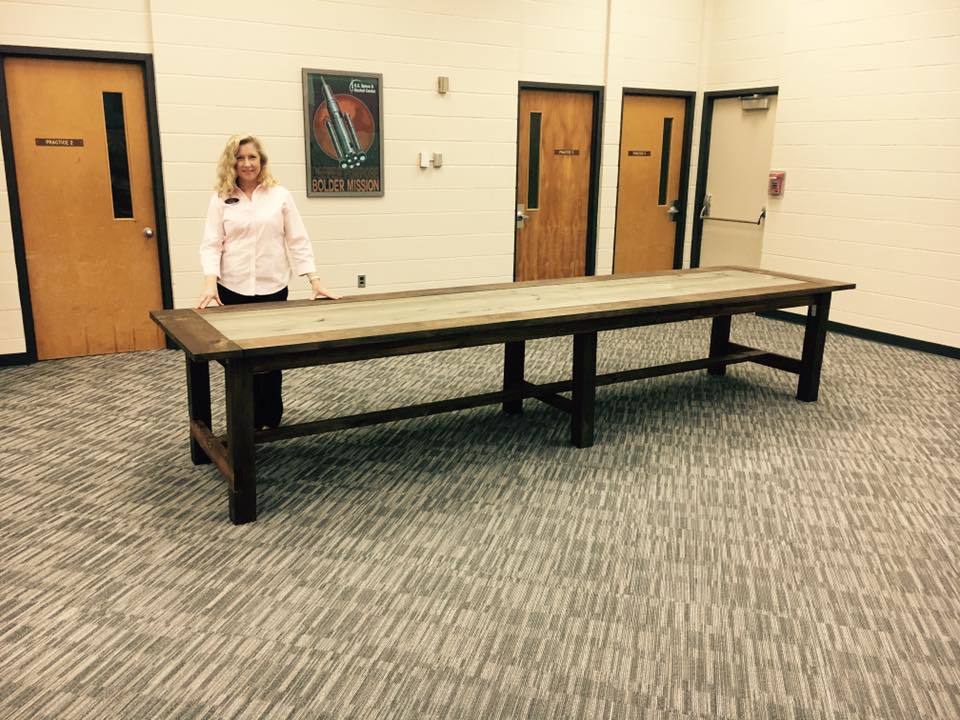
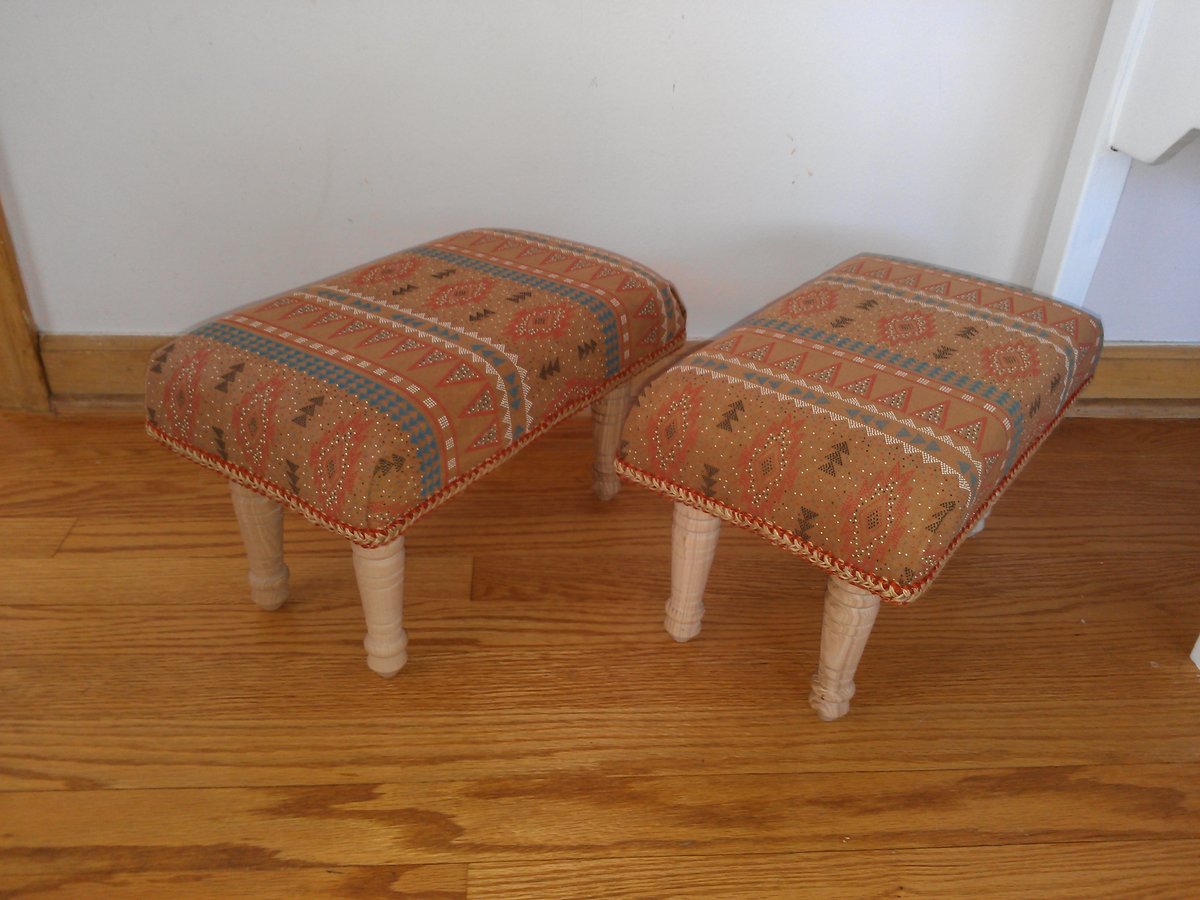
Very quick stools: 45 Minutes
Materials:
Lumber (plywood or solid 3/4 stock)
foam & batting to size
Straight Legs Plates
pre-made legs (finish to taste)
spray adhesive
staples
fabric
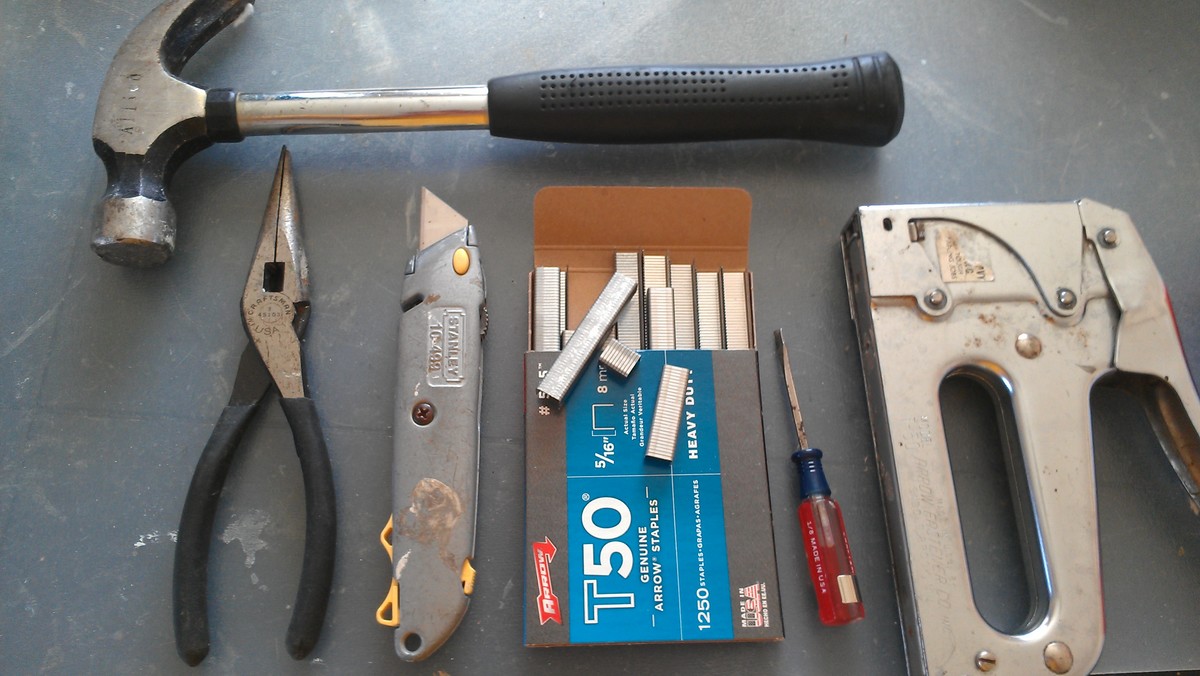
Tools:
Hammer
small flat head screw driver (helps to have one on hand)
small drill bit and screw driver (or cordless drill)
good shears and a razor blade. I circular fabric cutter is awesome and leaves a clean edge)
Staple Gun
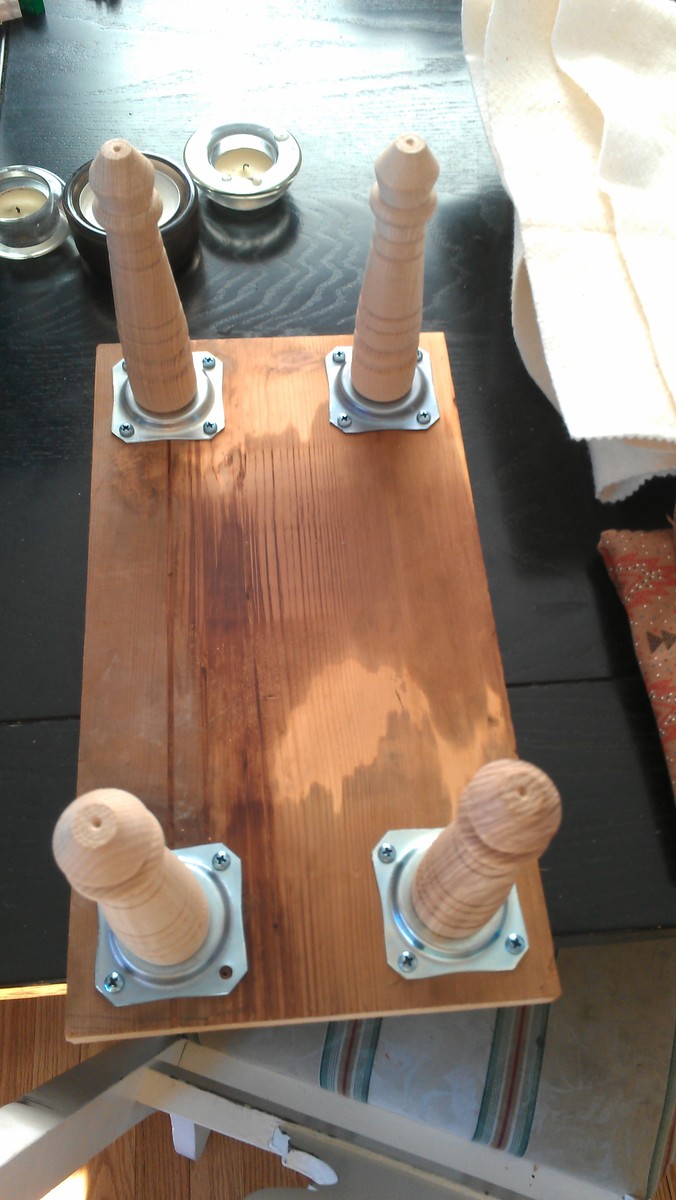
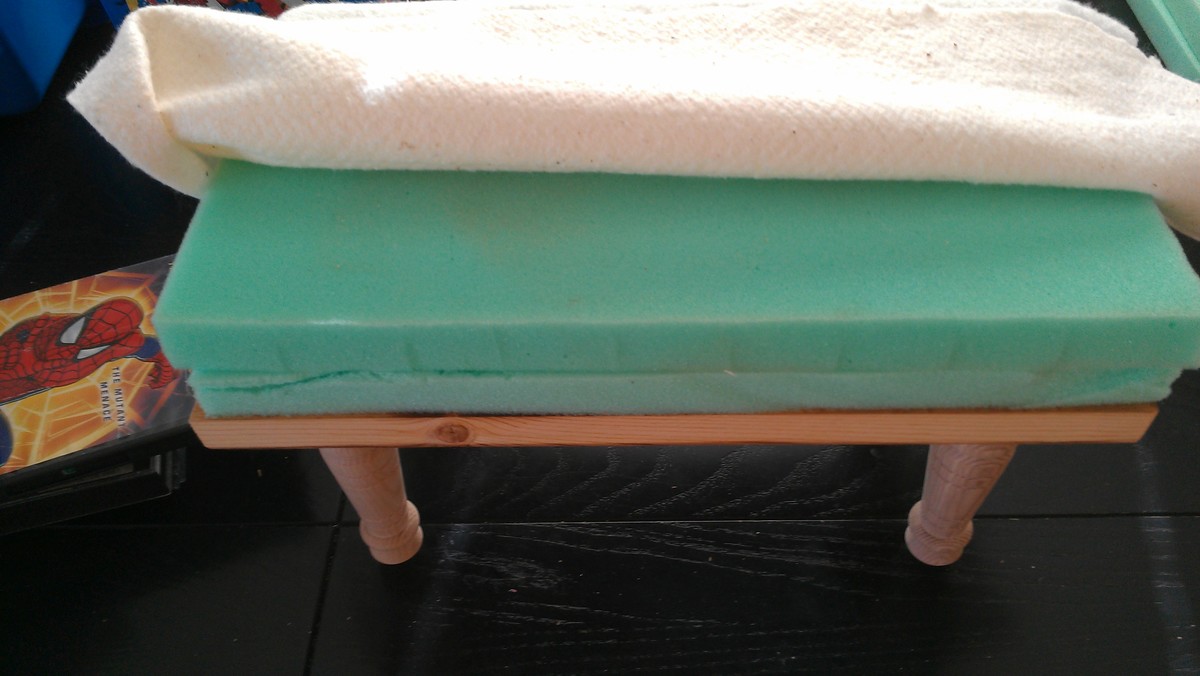
* Out of a reclaimed 1x12 cutout 2 8"x14.5" pieces of lumber.
* Space out and attach the Straight Leg Plates (pre-drill the holes)
attach legs
* spray adhesive foam to the board.
* drape your batting over the foam. (I stretch and stable the batting).
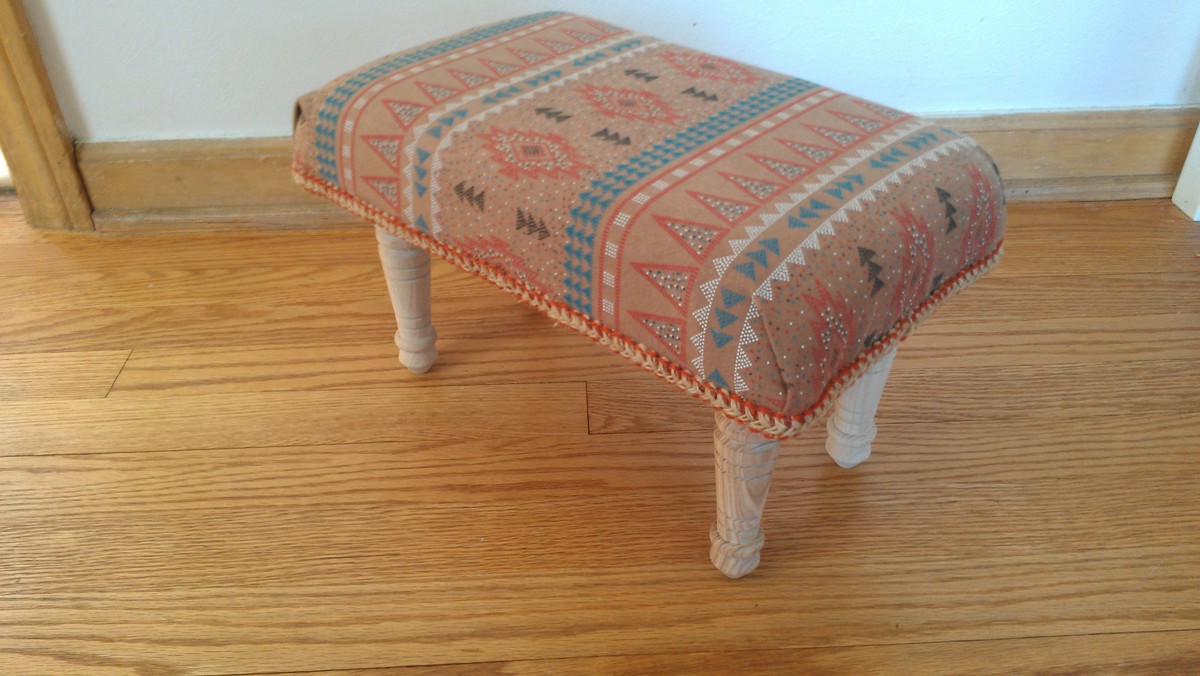
* drape and cut fabric to the right dimensions (leave a little overhang to fold under.)
* Staple the fabric (either pleat or 45 the corners)
* Hot glue or nail head on your trim. If using nail heads make a ribbon from the fabric you are using.
* Done :)
My next set will be solid with nailheads


Comments
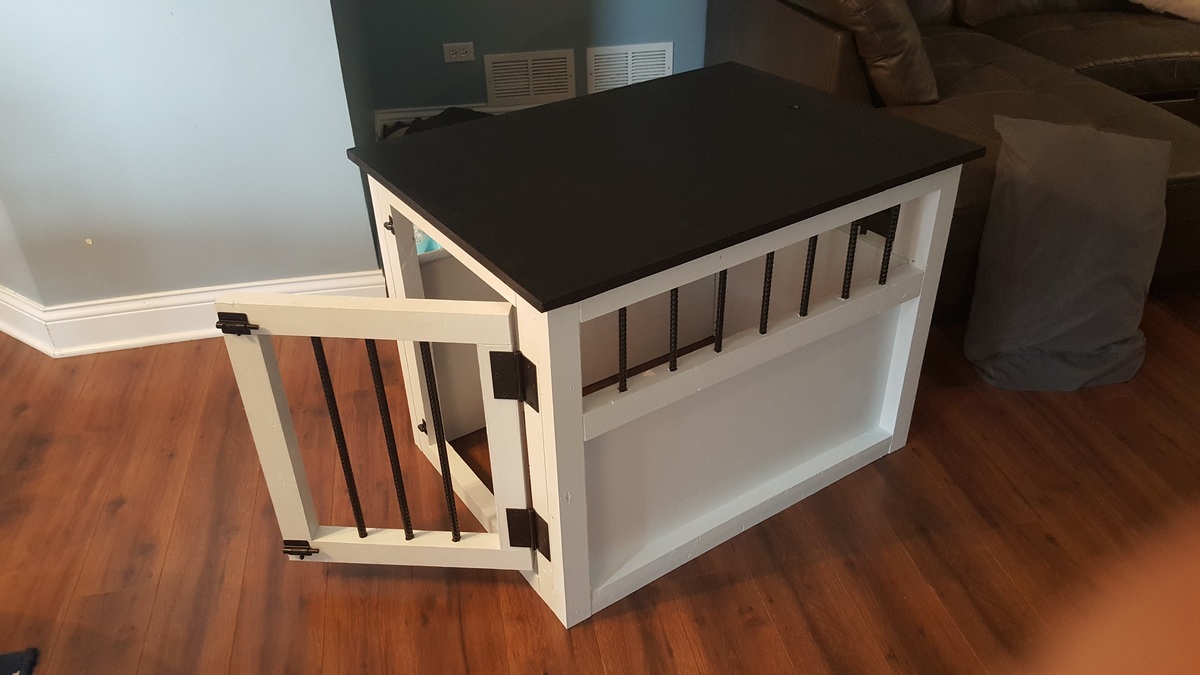
Ana White
Sat, 11/08/2014 - 12:03
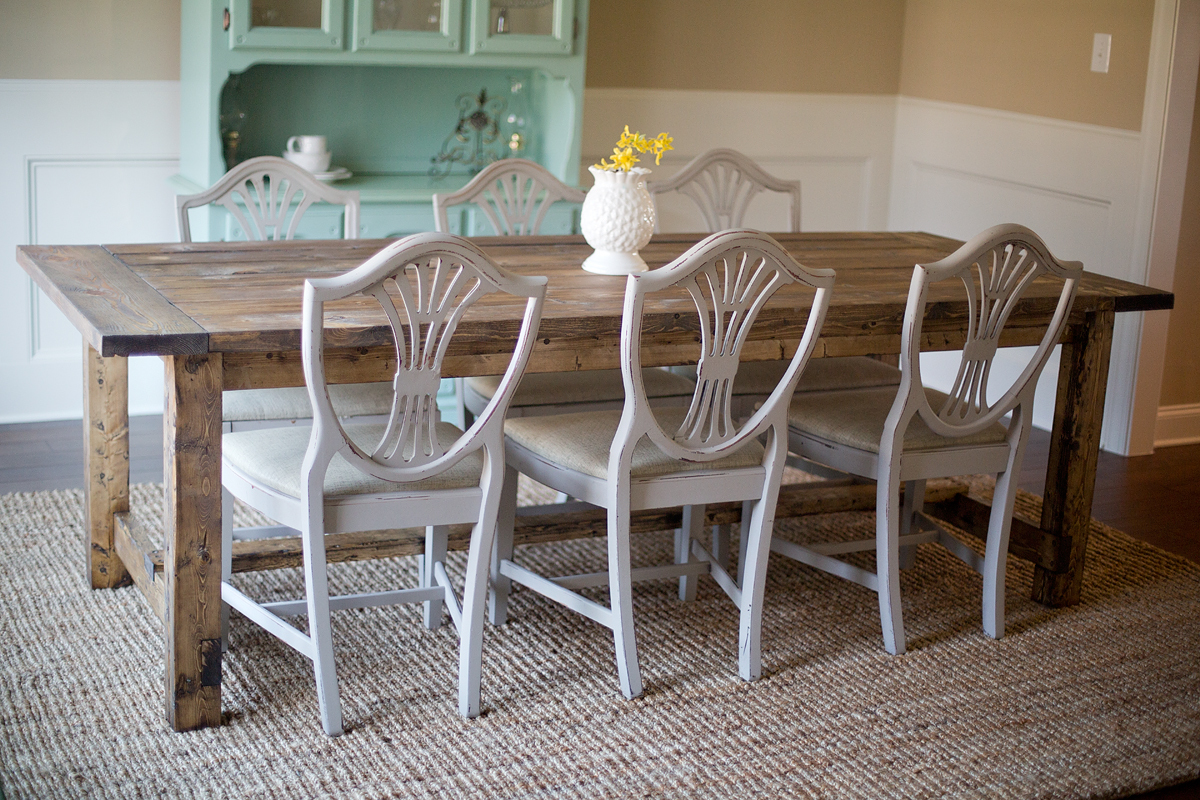
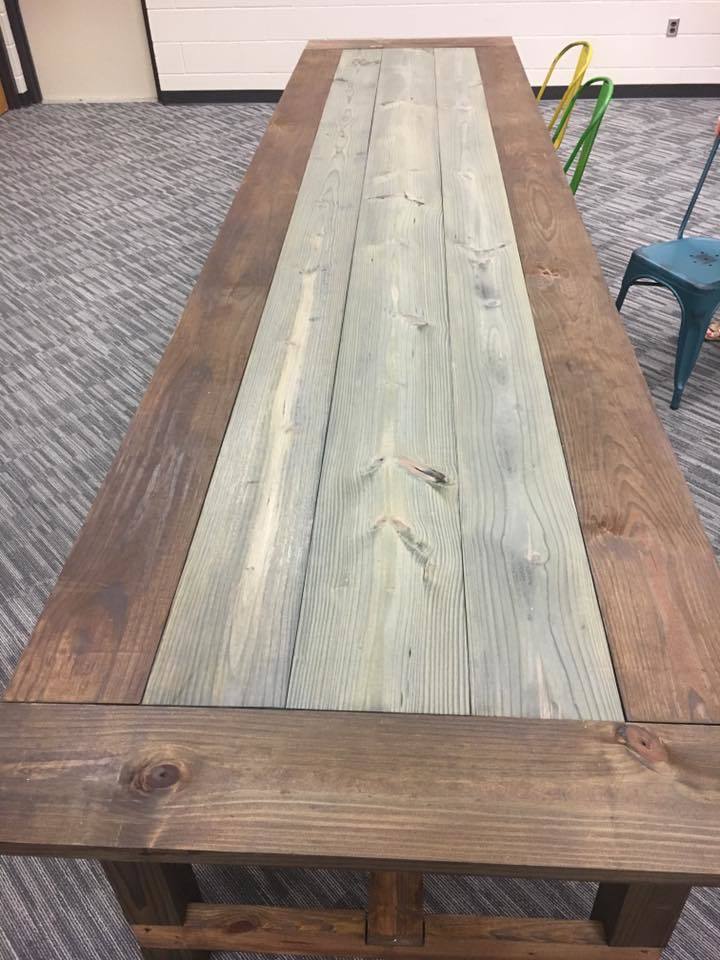
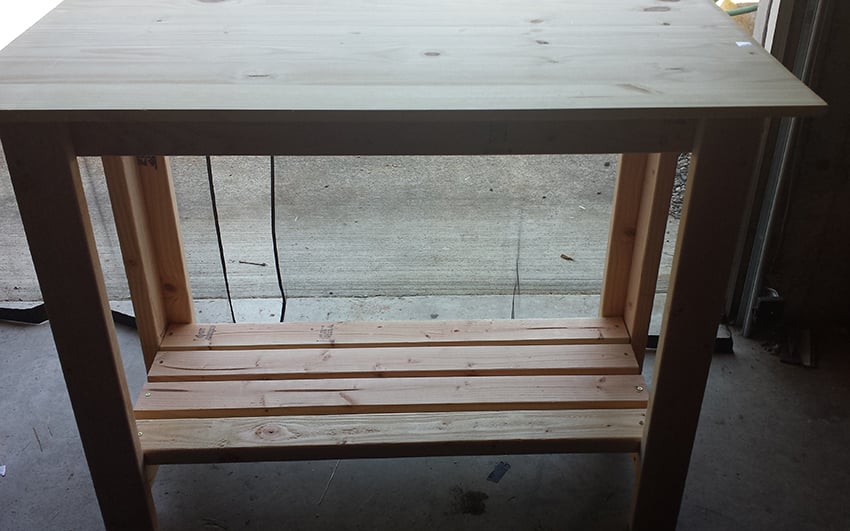
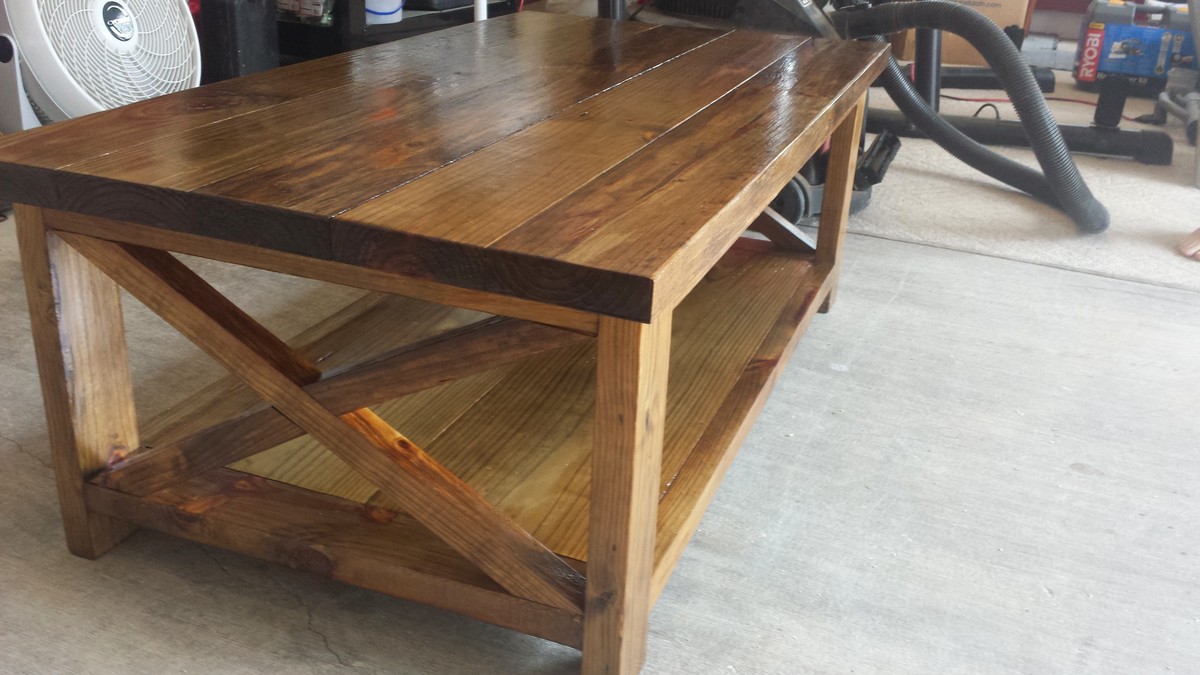
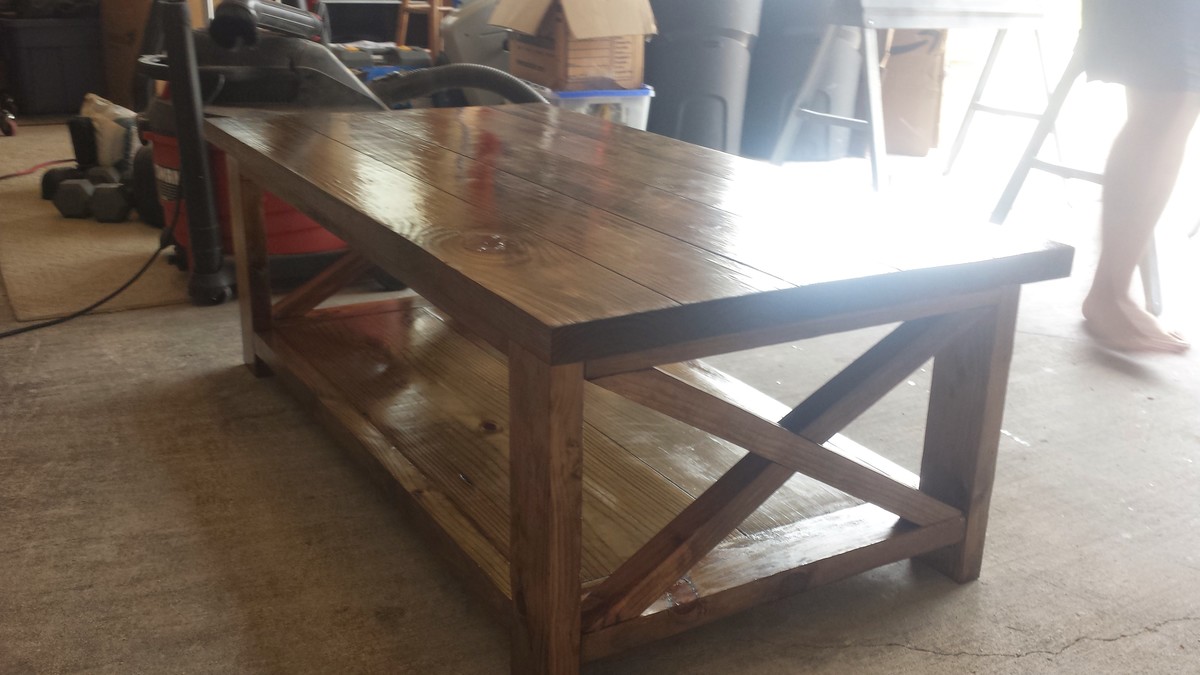
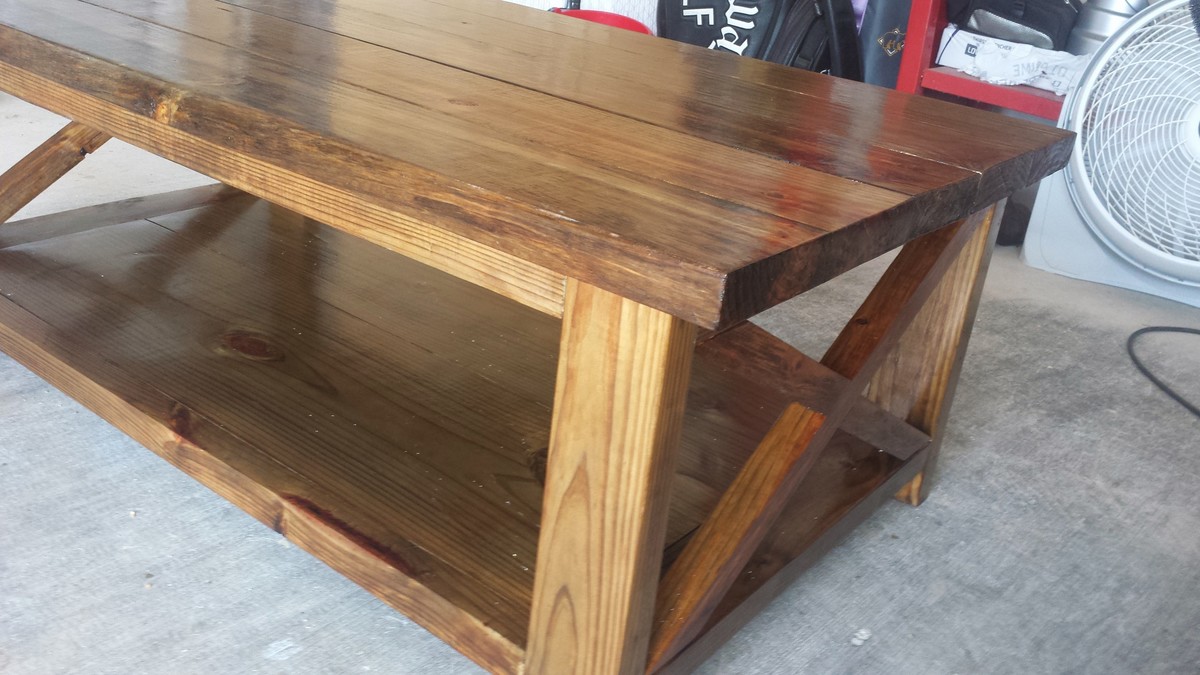
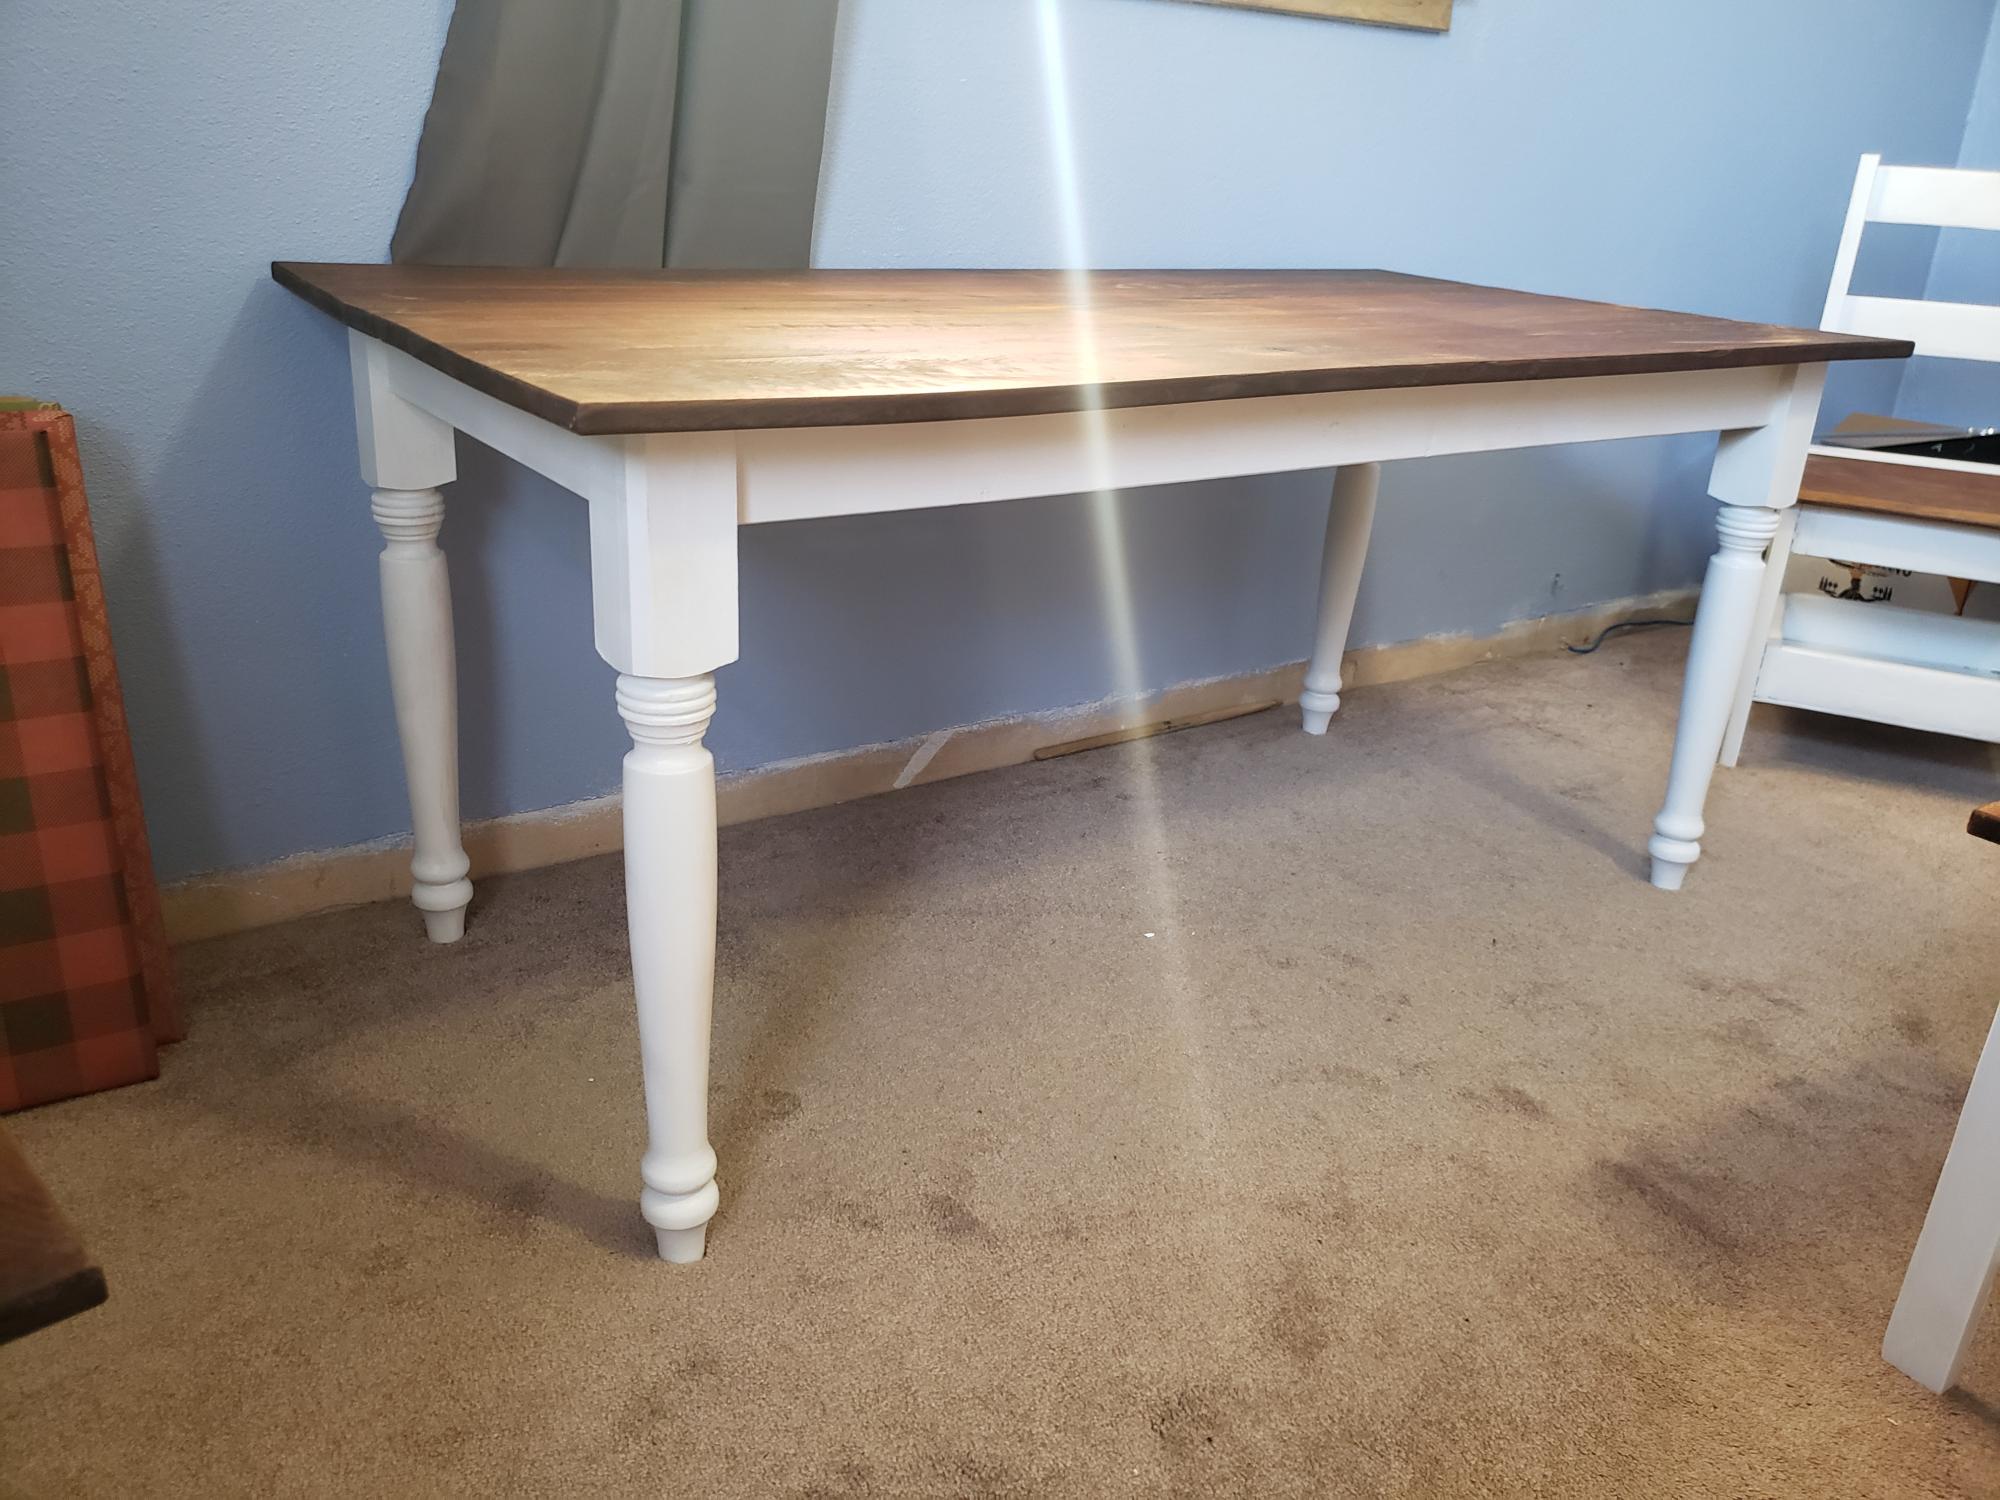
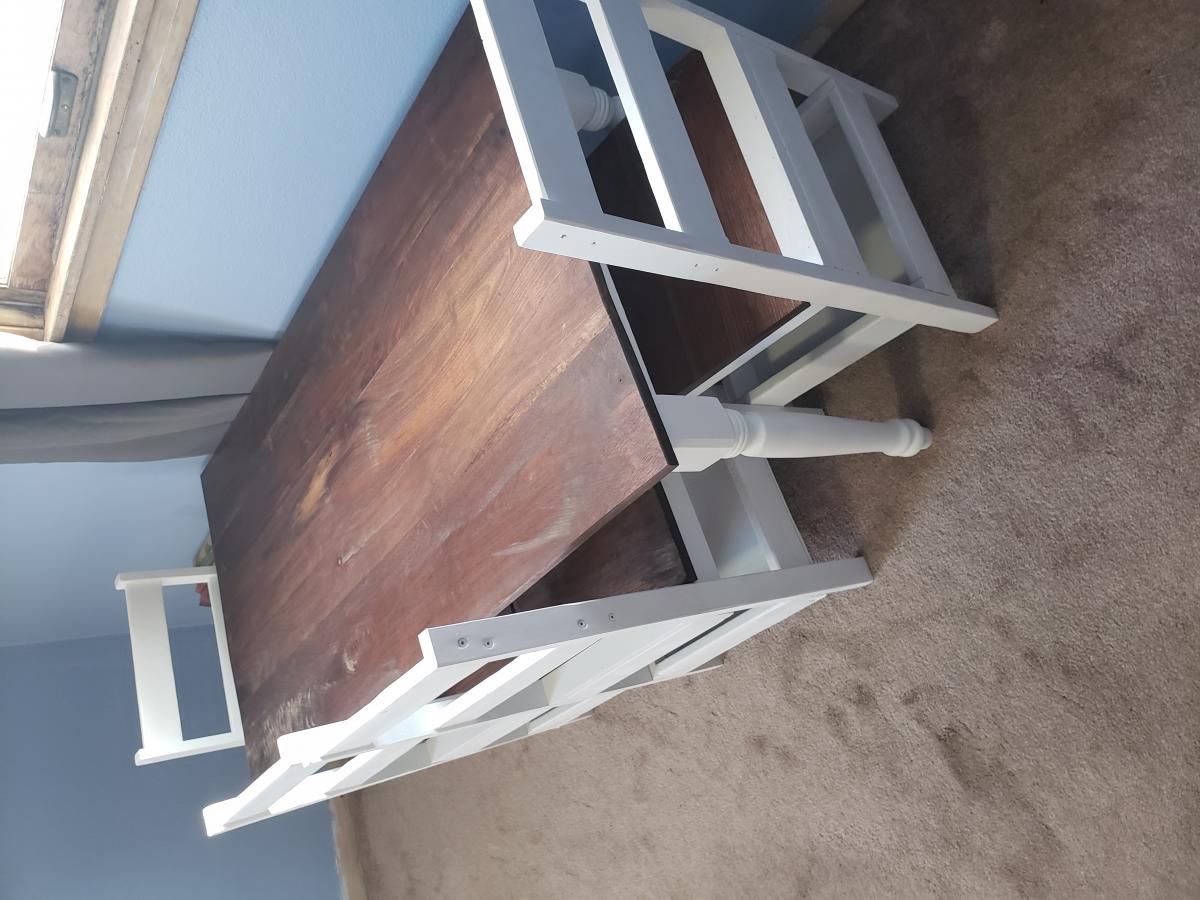
I love the color of stain on
I love the color of stain on this one! It really works well in this room!
sagey
Sun, 11/09/2014 - 18:41
wow
I love this table sooooooo much .
please explain exactly how you achieved the finish on it > is the wood reclaimed!!!!
sagey
Sun, 11/09/2014 - 18:42
wow
I love this table sooooooo much .
please explain exactly how you achieved the finish on it > is the wood reclaimed!!!!
chelwags
Sat, 09/11/2021 - 06:25
Table
Where are the white chairs from!?