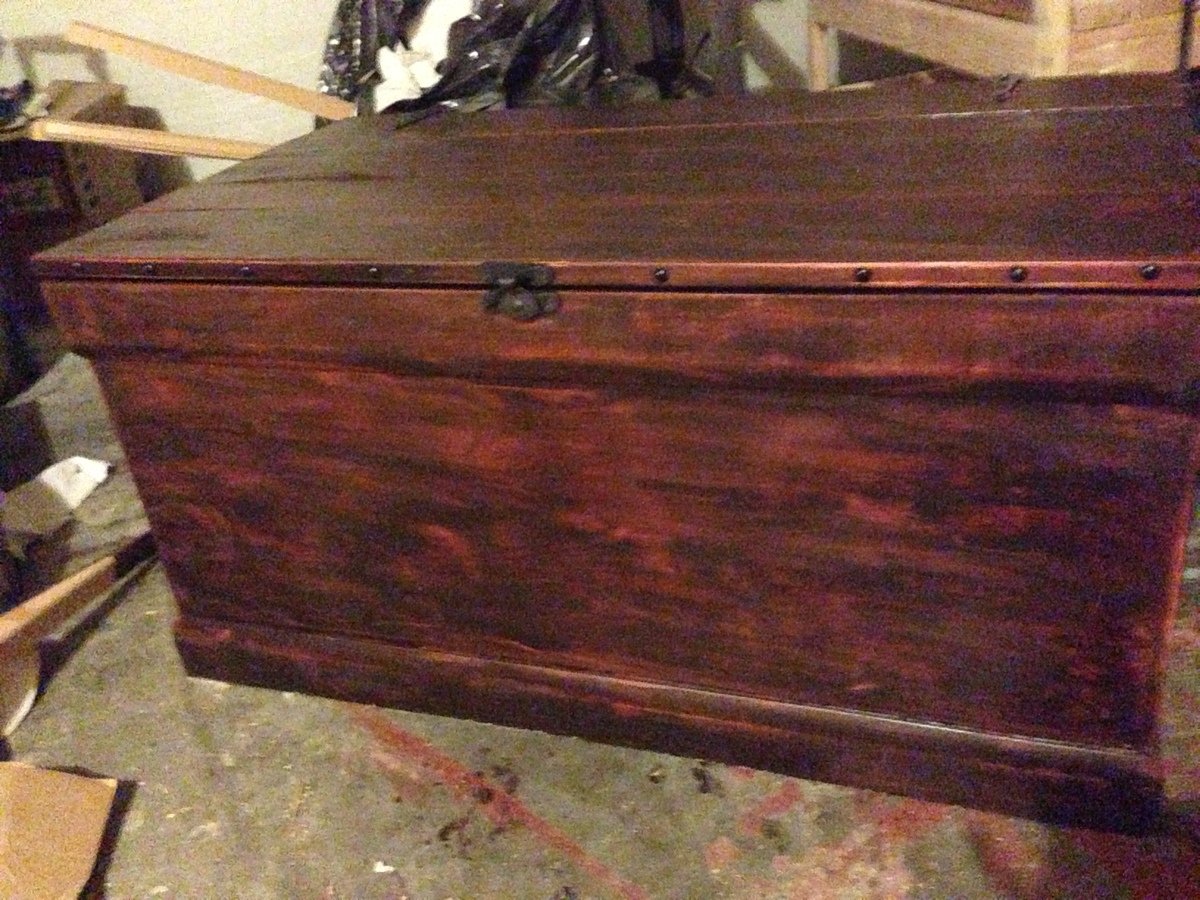
My best friend has really wanted an antiqued trunk but they were way out of her price range.
I built the becca trunk but planked the top with 1x4's and 1x6's and made the trunk just a tad deeper. Worked perfectly!
For the finish I stained it minwax china red and then added gf java gel stain over the top. distressed it and sanded it until I got the look i wanted.
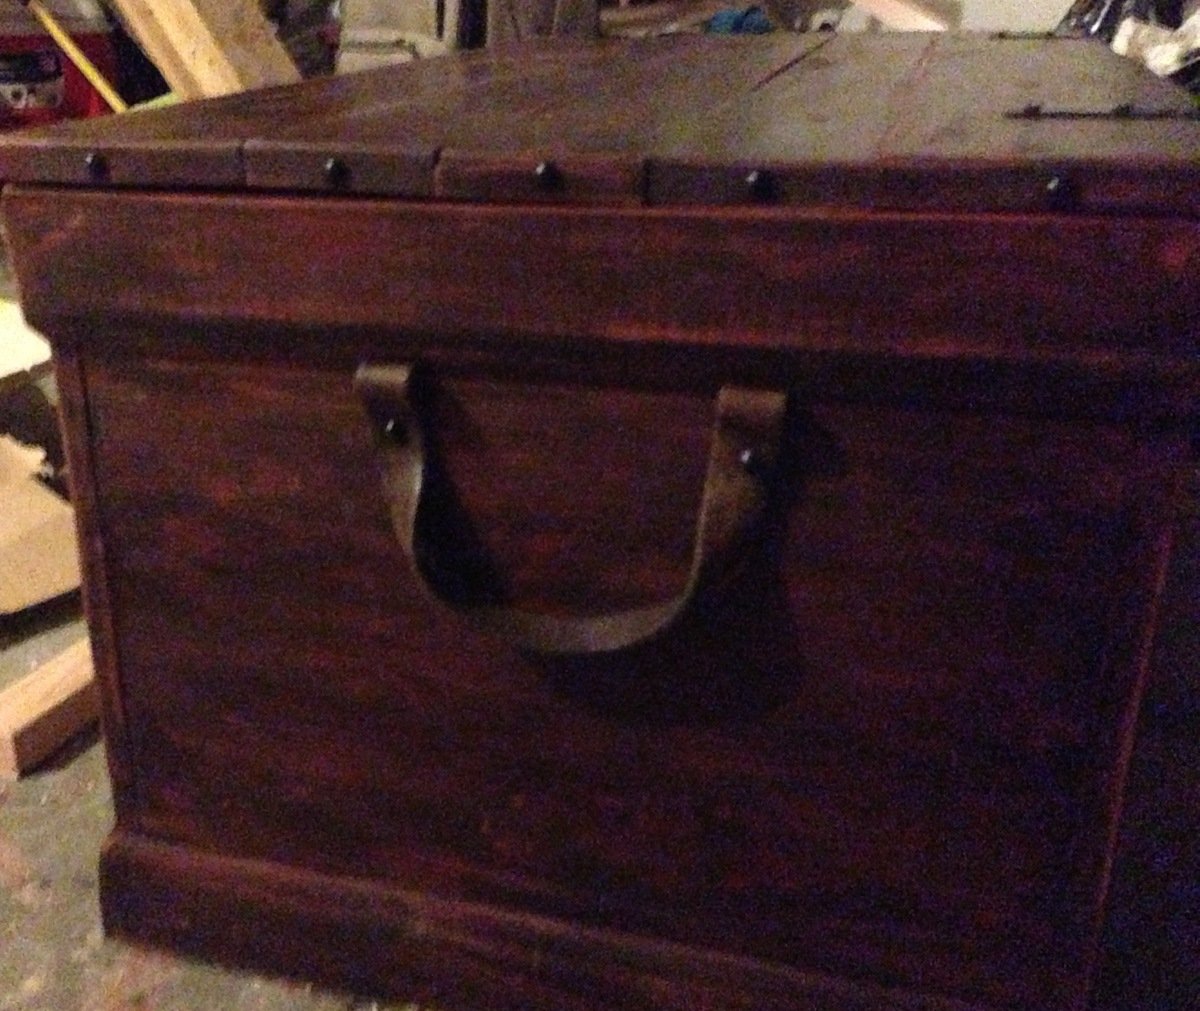
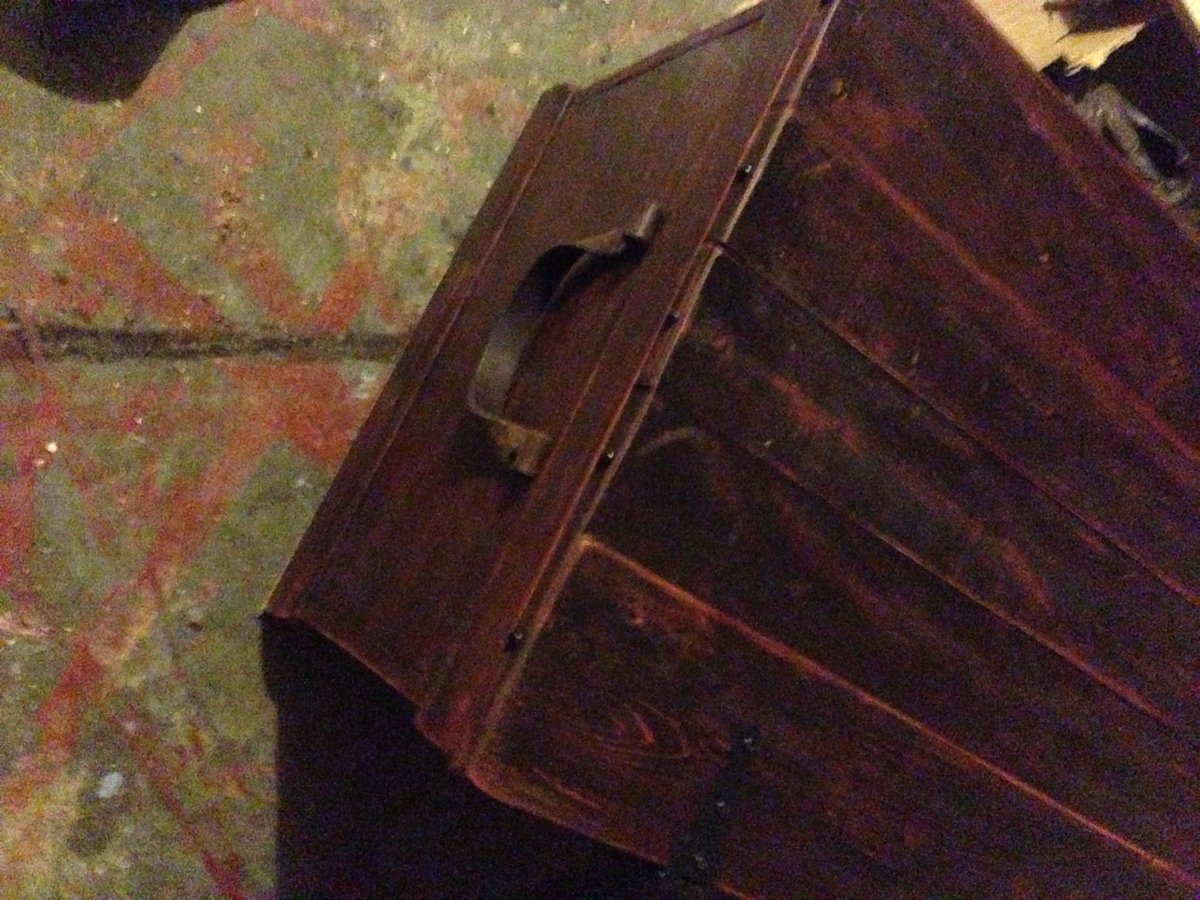
I cut up an old belt we had and used that for handles, found a window sash lock, nail head trim and black strap hinges at blue. The base molding I bought was only 3 1/2 inch as it was much cheaper (82 cents a foot) than the 4 inch. worked great for me.
It was a super easy and fast build! Now I get to make one for me :)
This trunk is super sturdy and she absolutely loves it!
Price breakdown for me as I had screws and nails, scrap wood for lid and even the java stain...
40.00 for one sheet of 3/4 purebond plywood (will make another trunk with other half)
13.00 for one sheet of 1/4 ply
16.40 for base moldings
2.00 nail head trim
6.00 strap hinges
12.00 minwax china red stain.
4.00 for latch


Comments
Ana White Admin
Tue, 06/22/2021 - 17:36
Awesome!
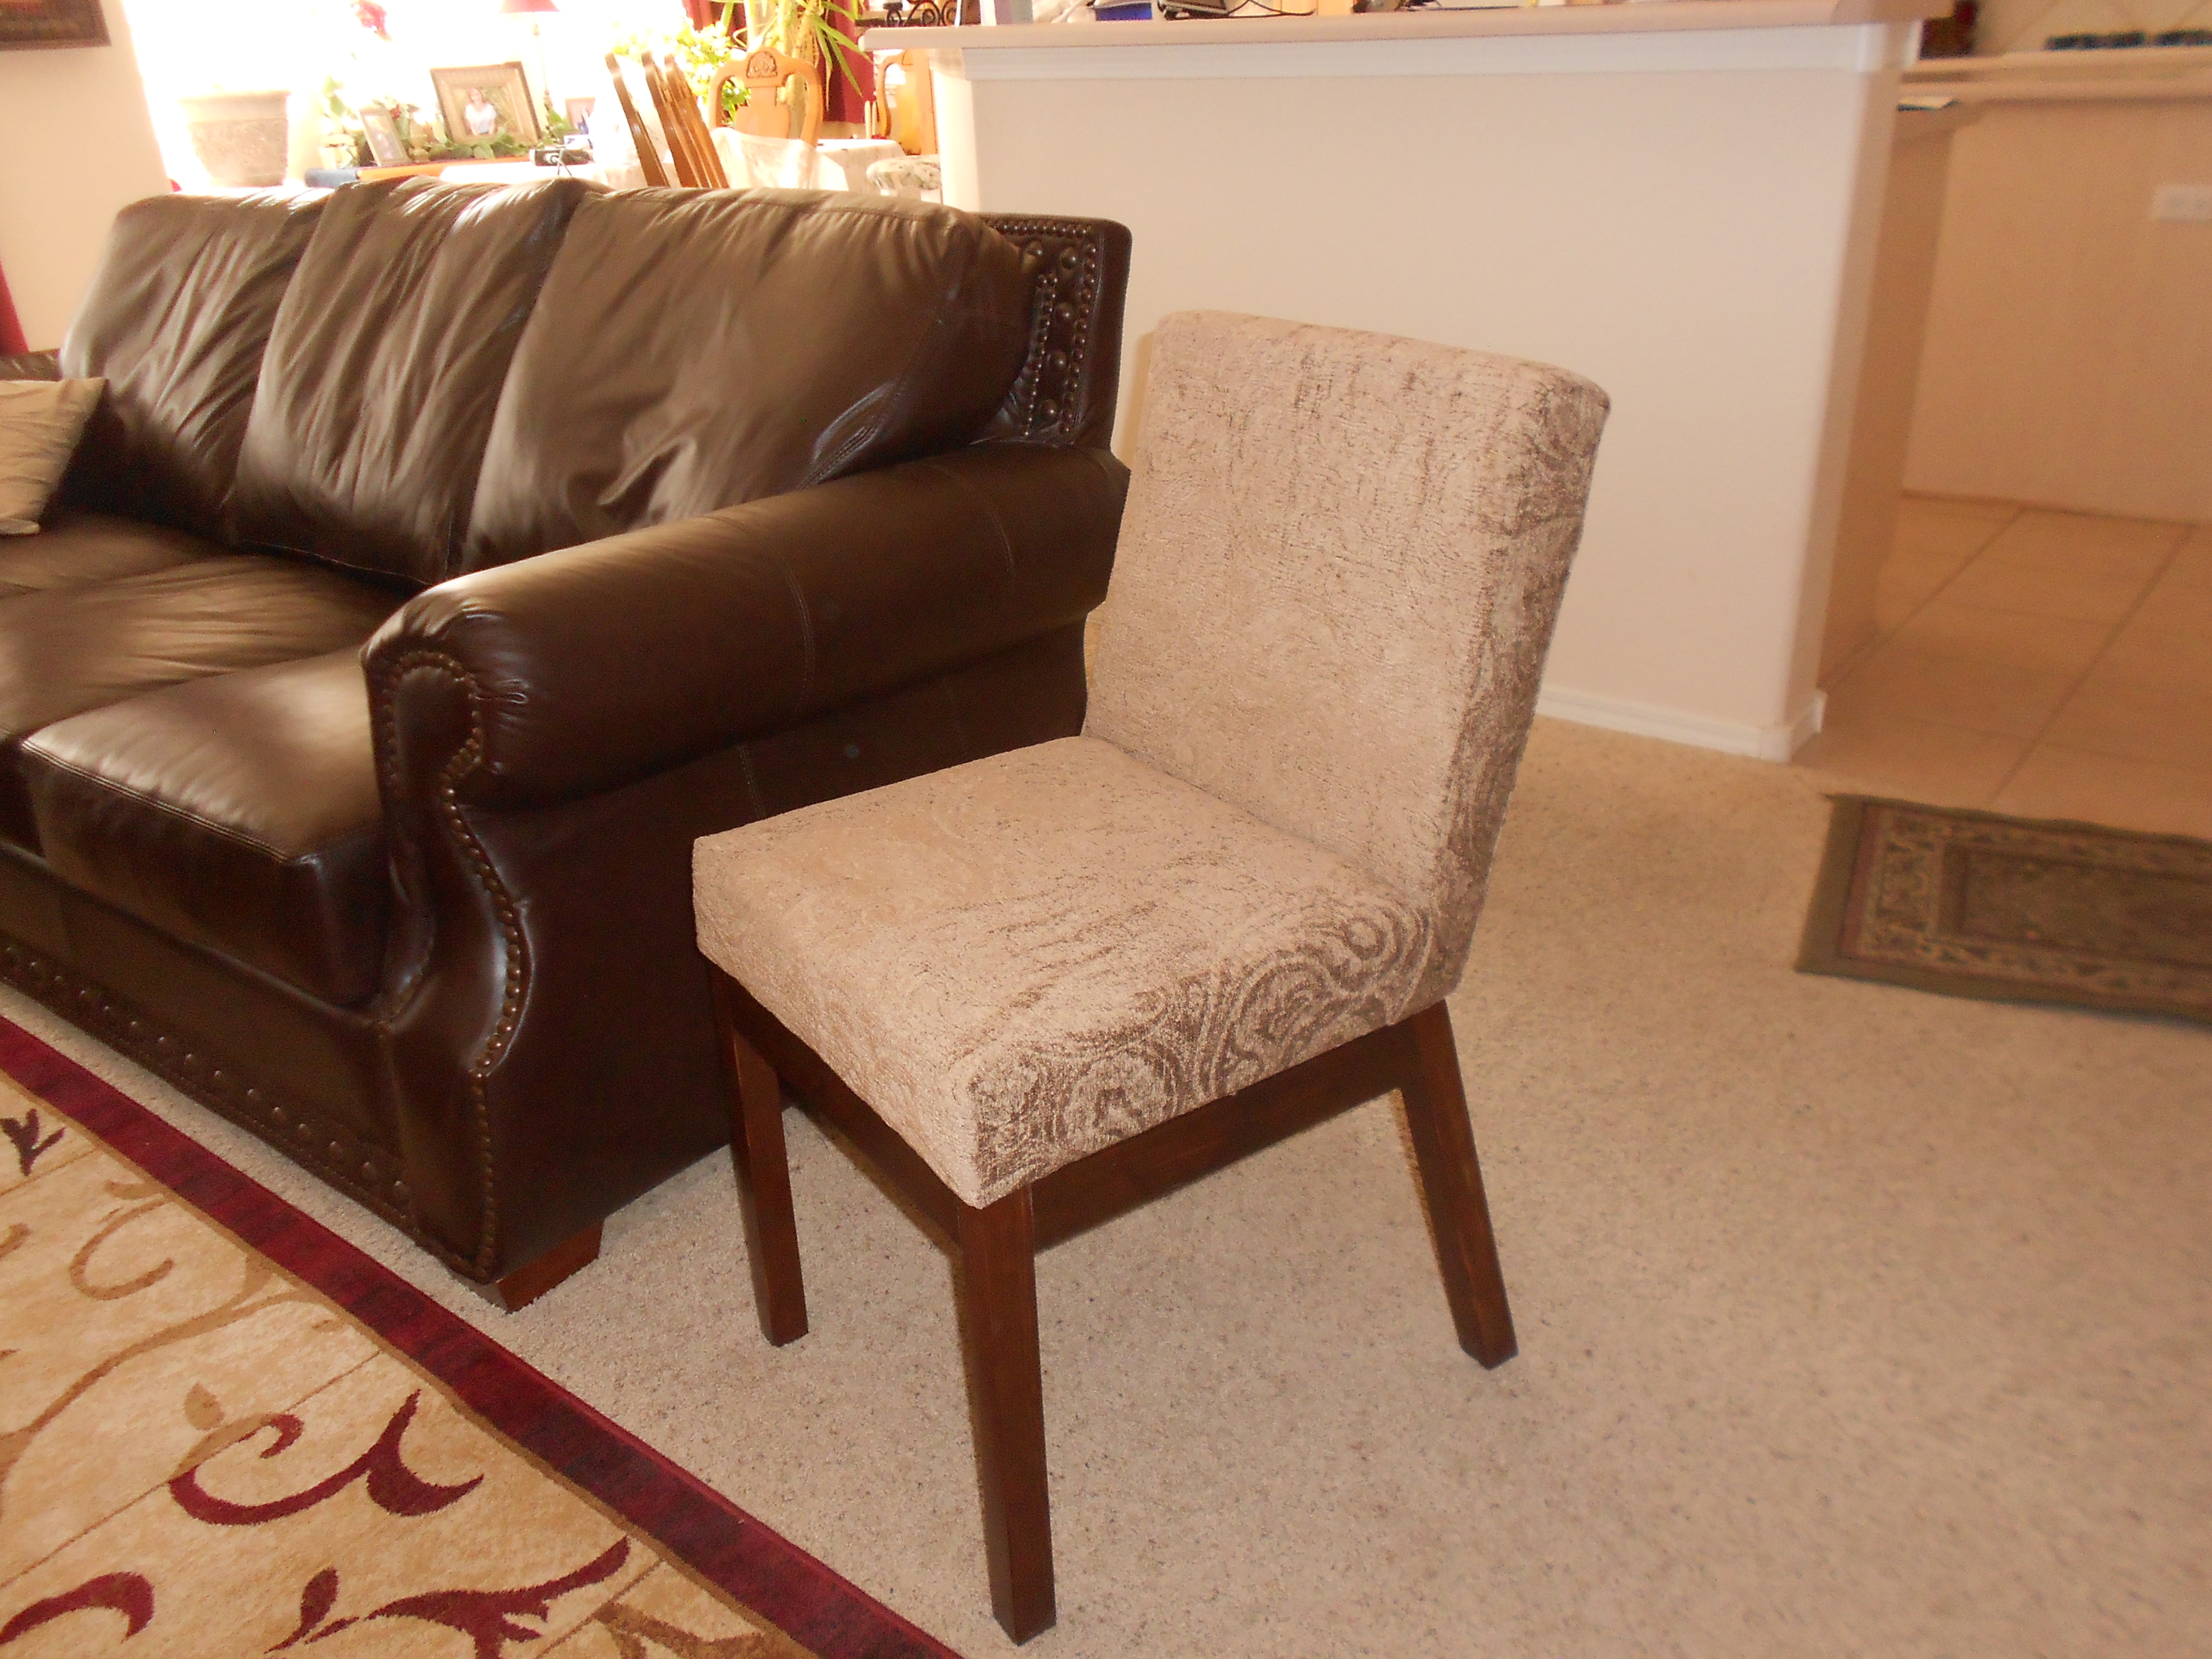
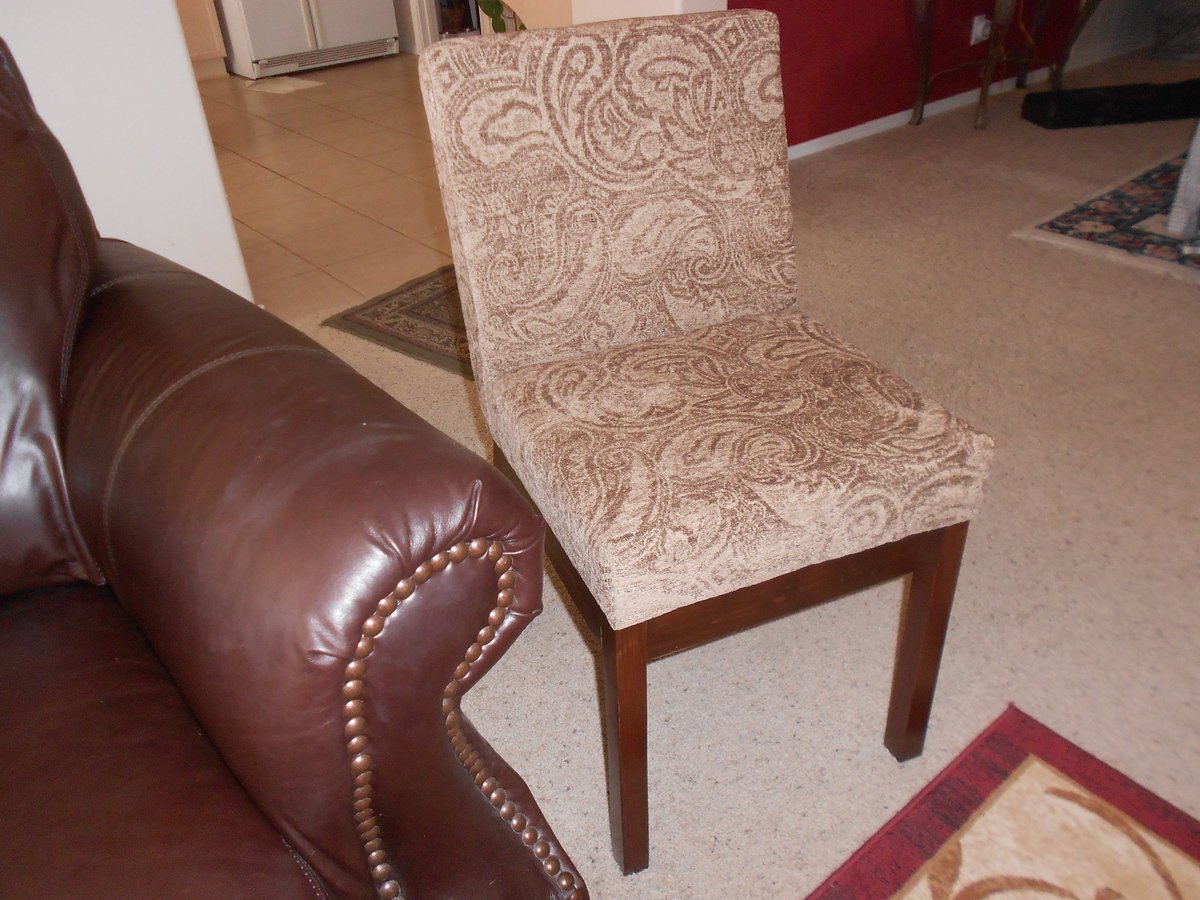
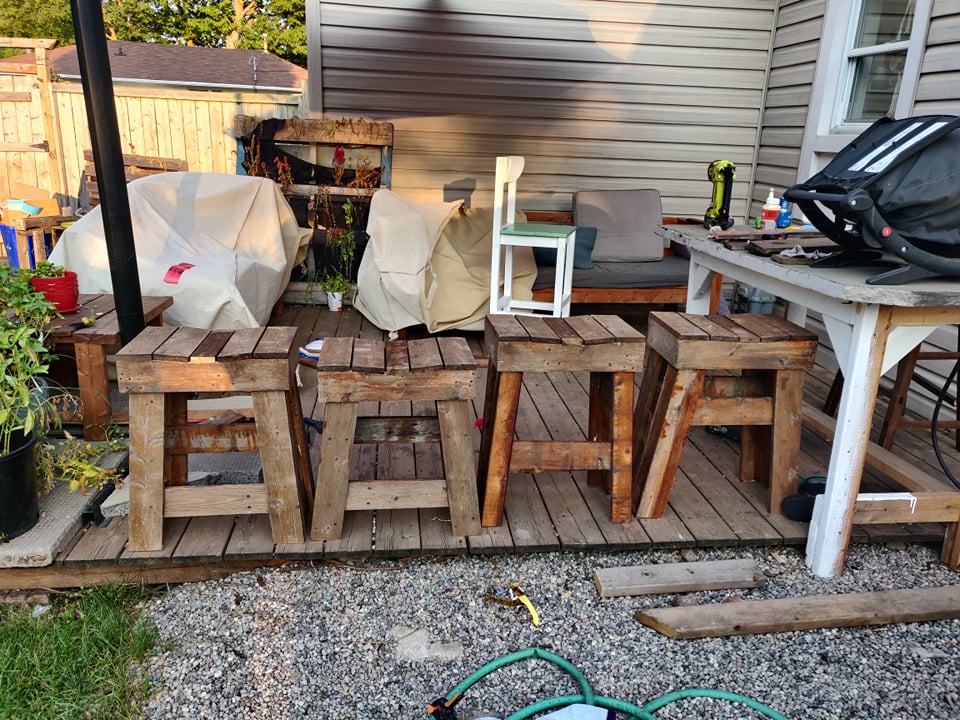
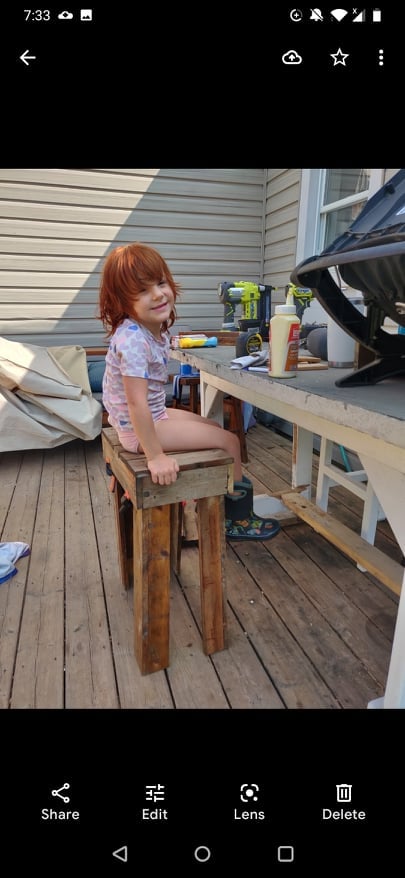
Great job, seats for everybody!