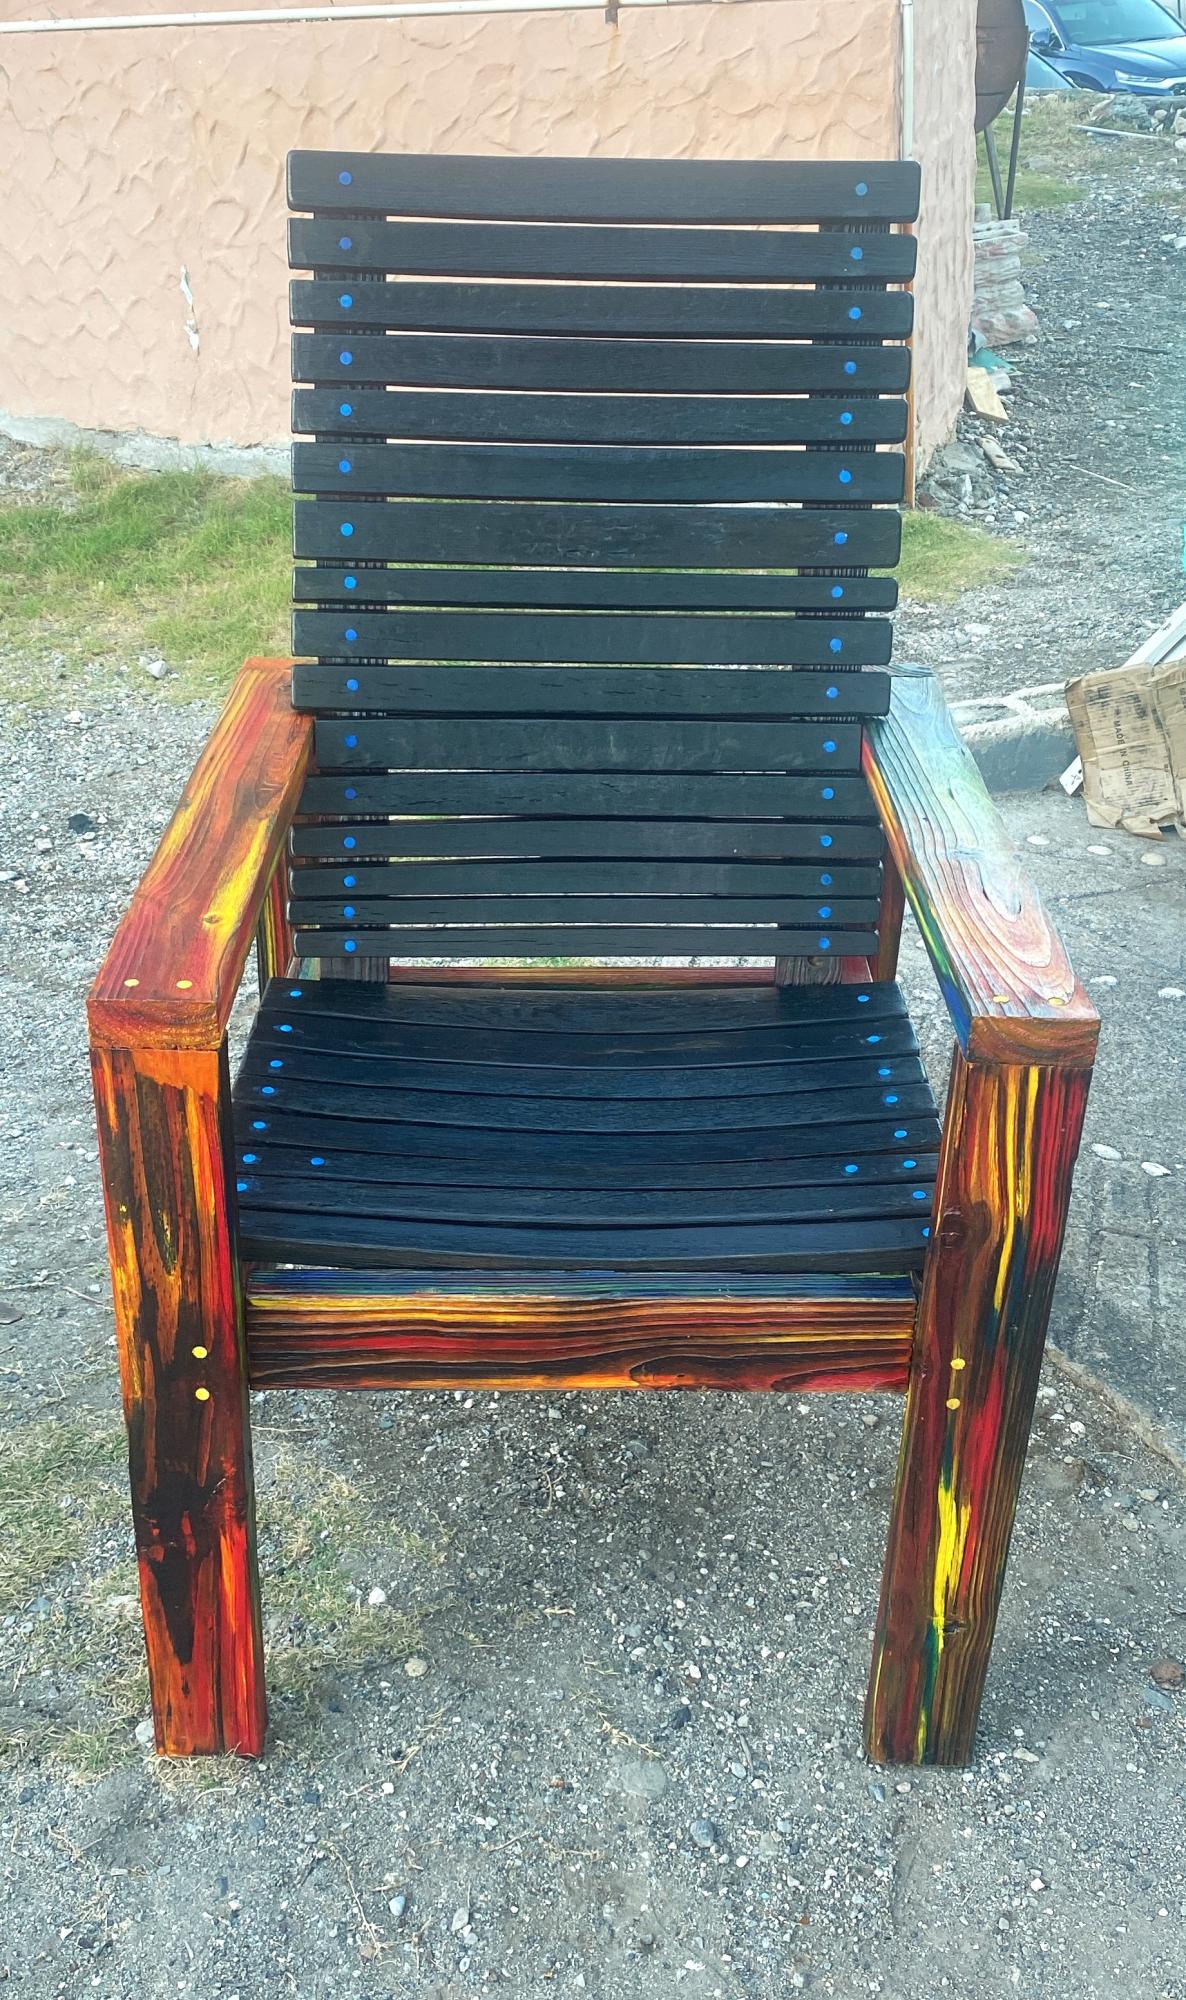
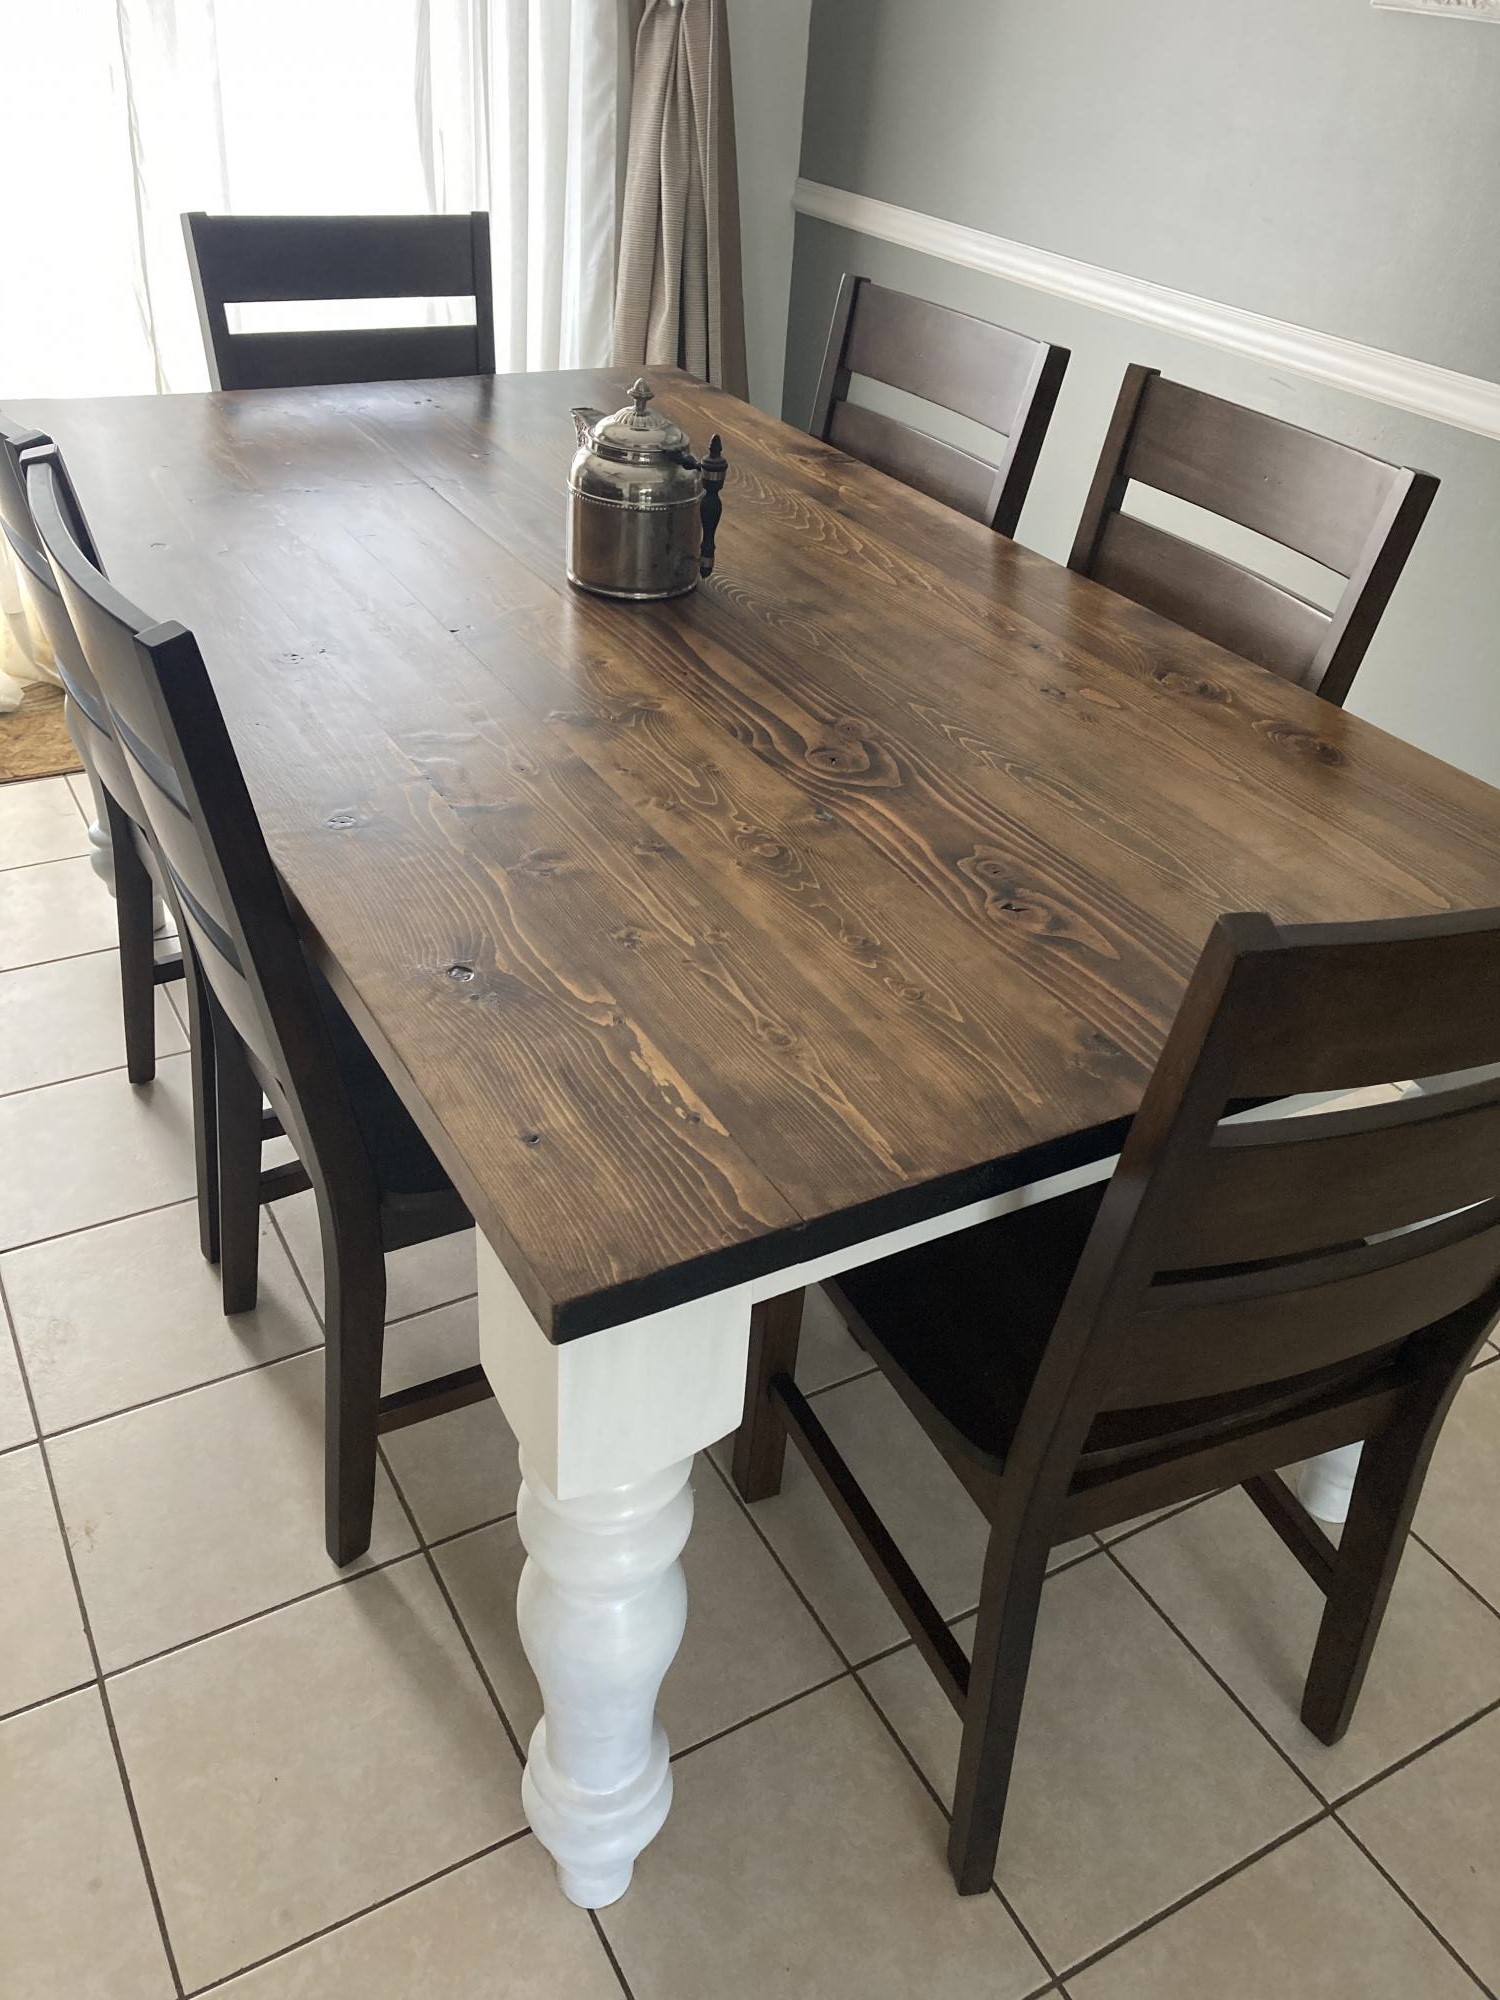
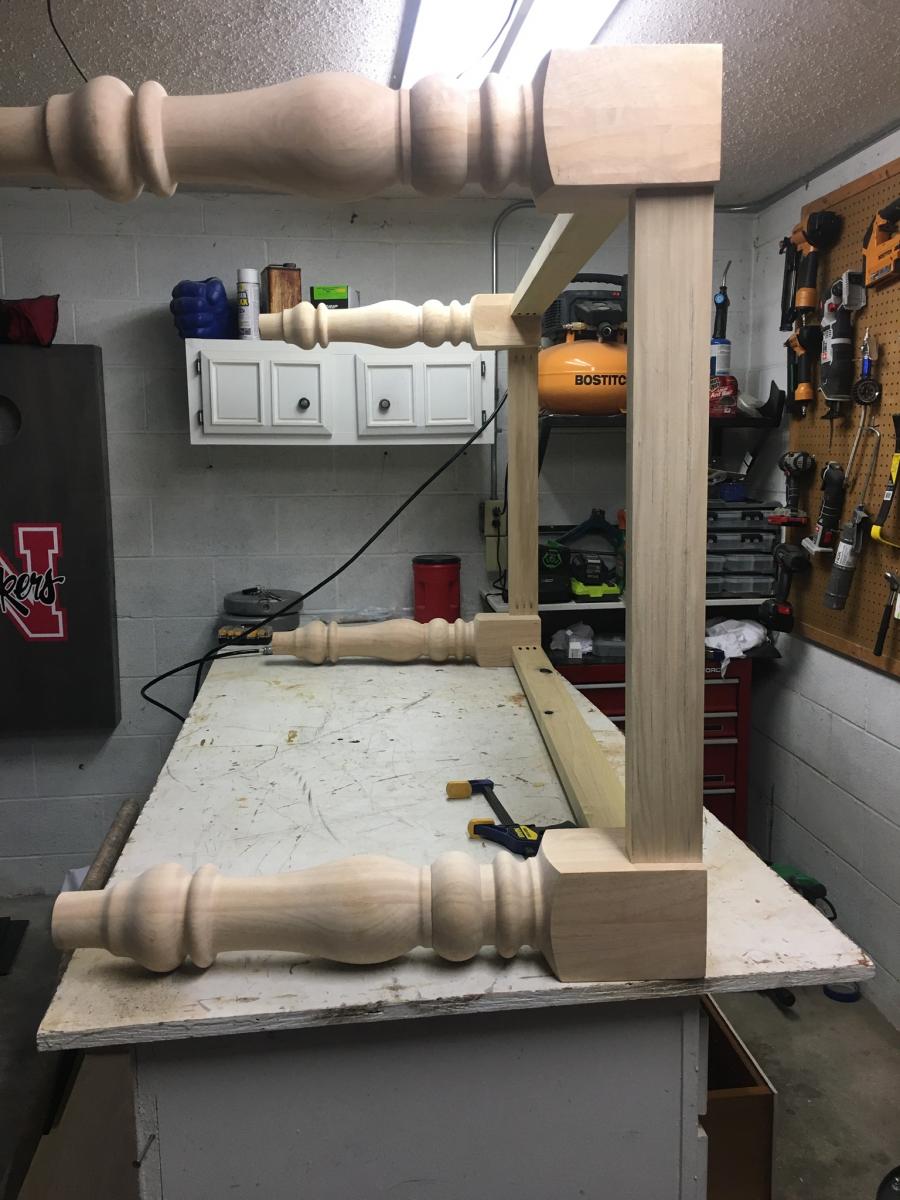
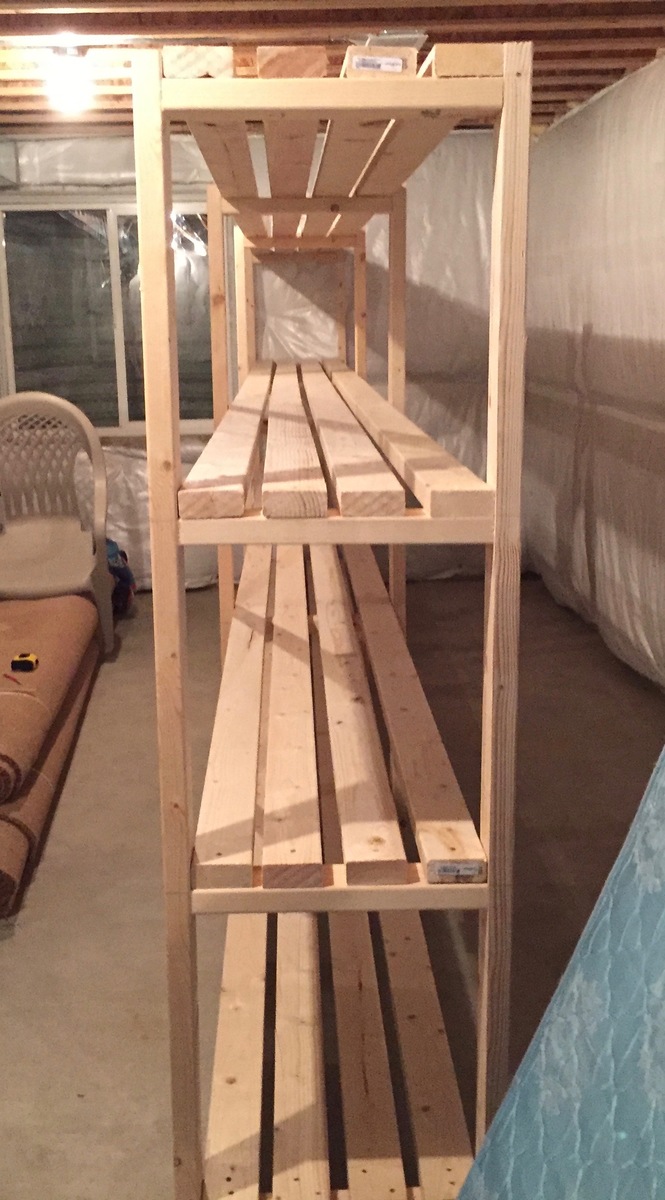
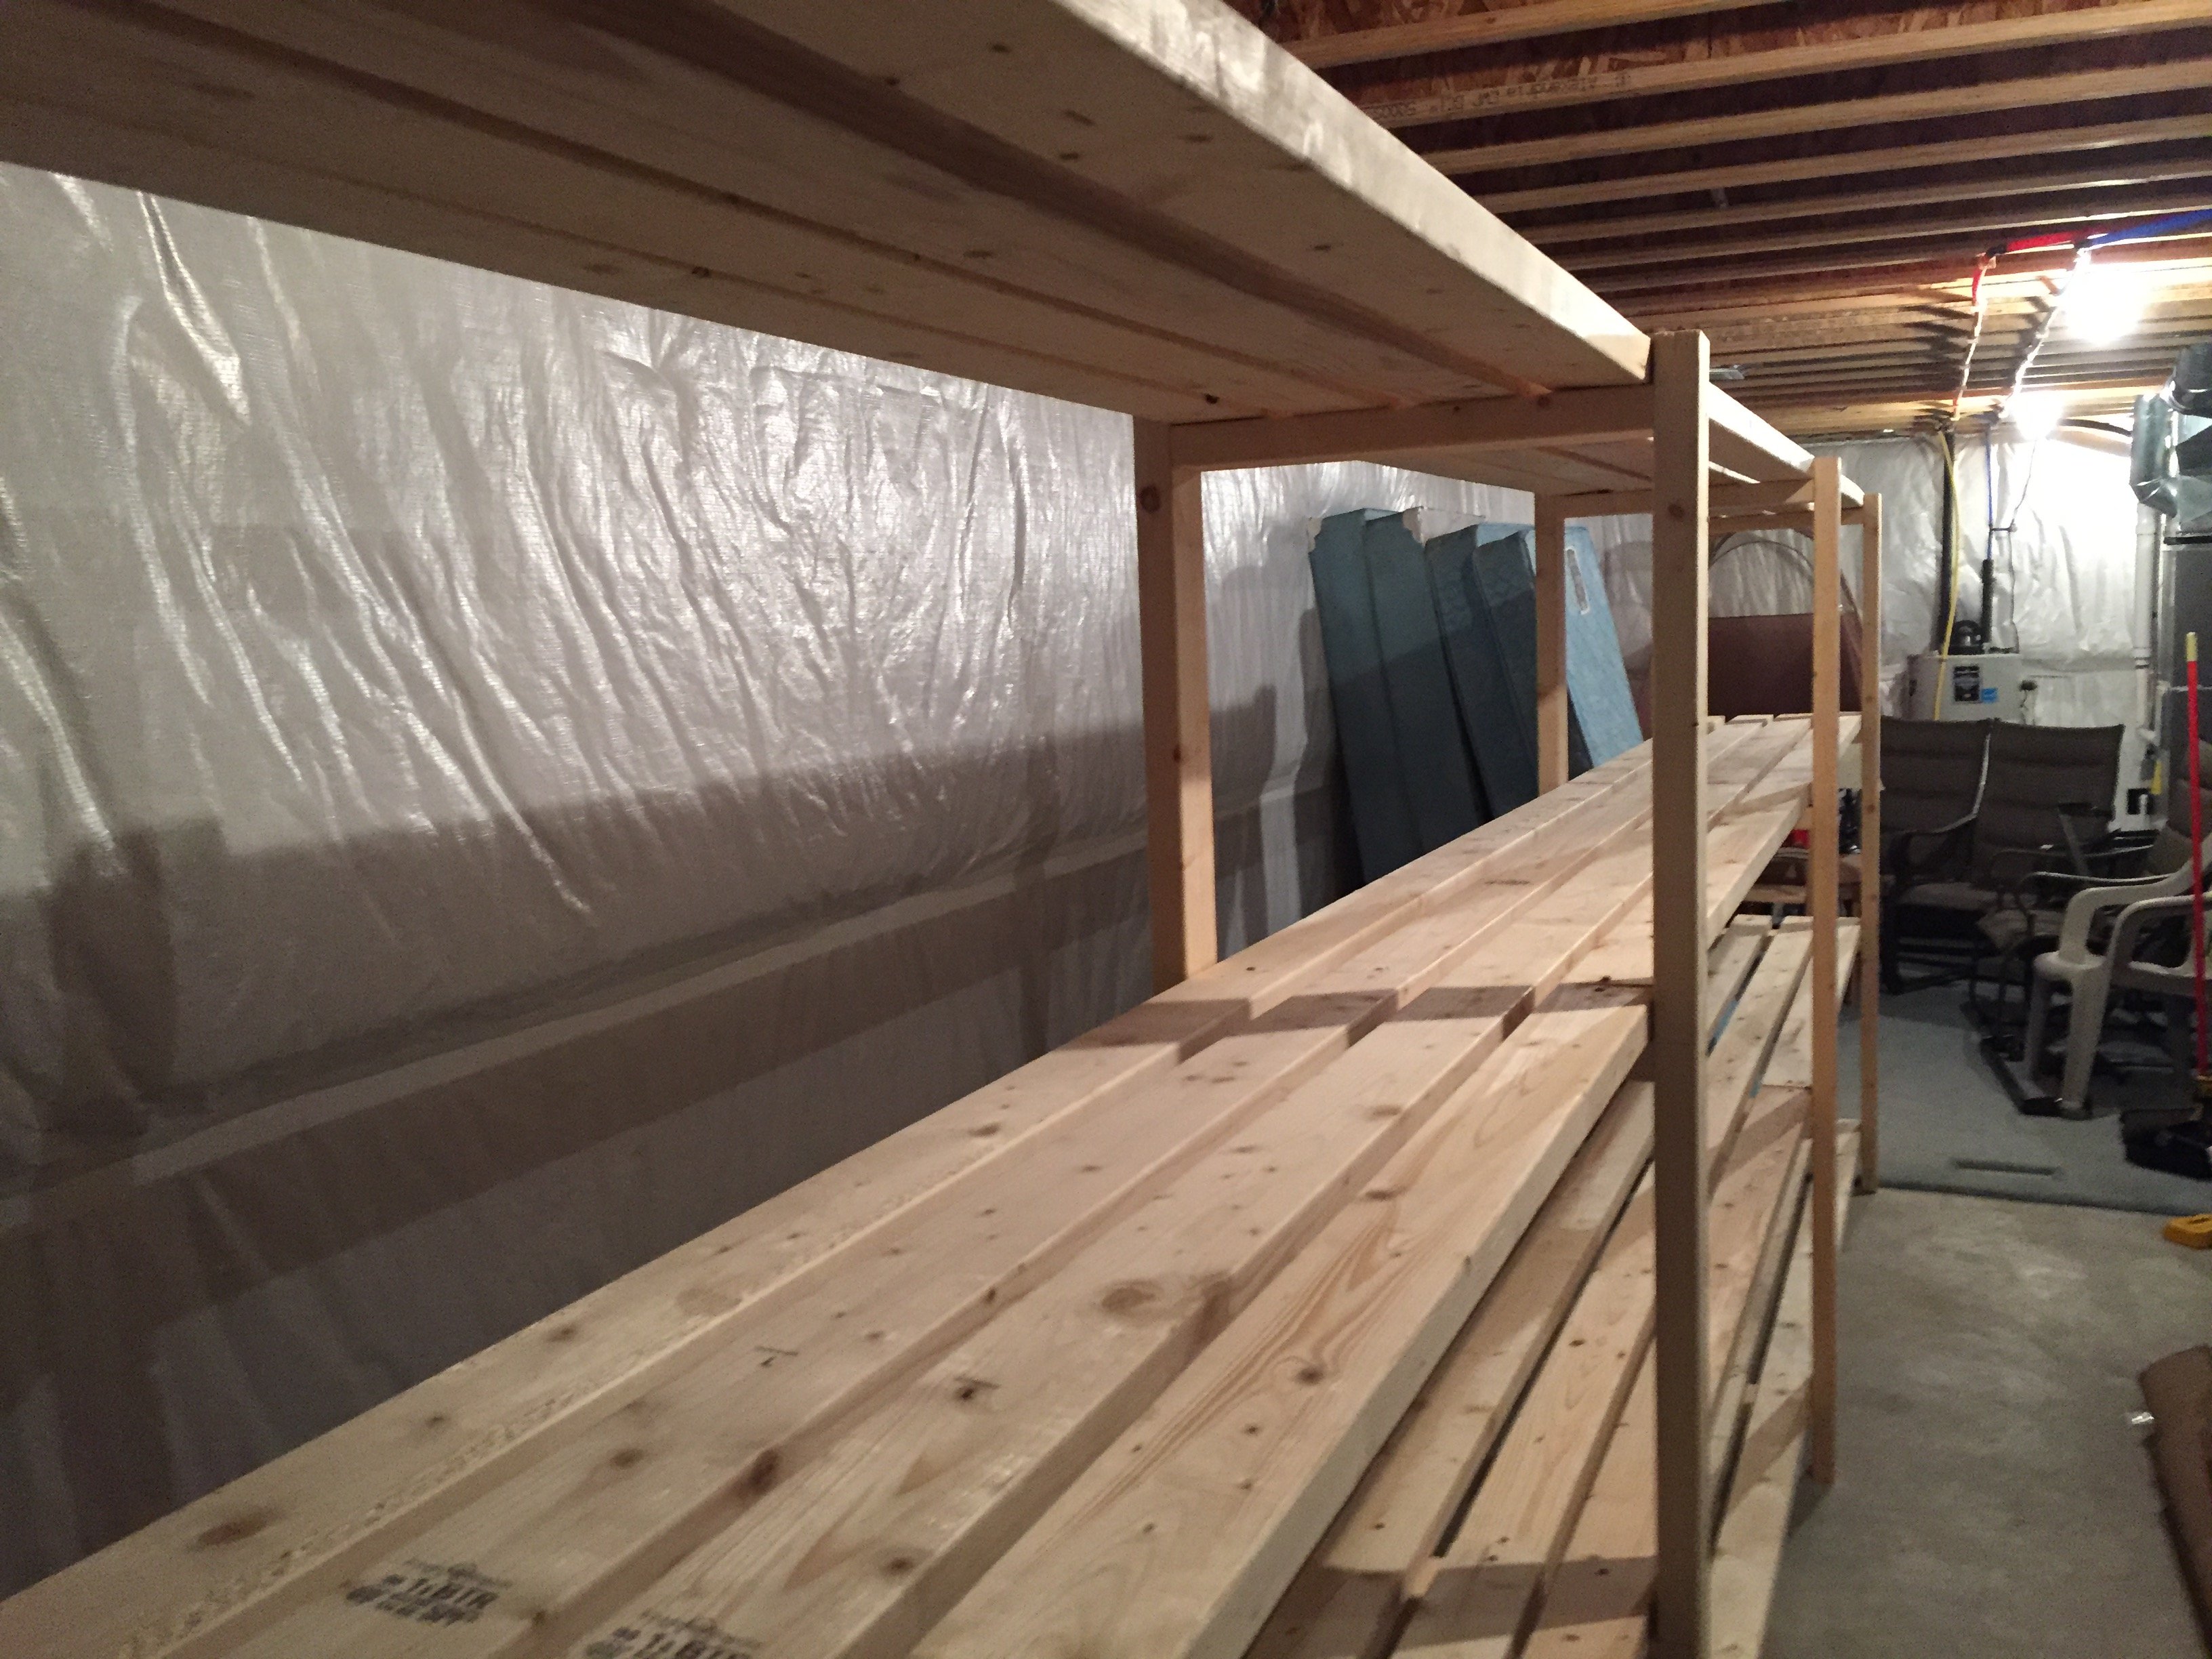
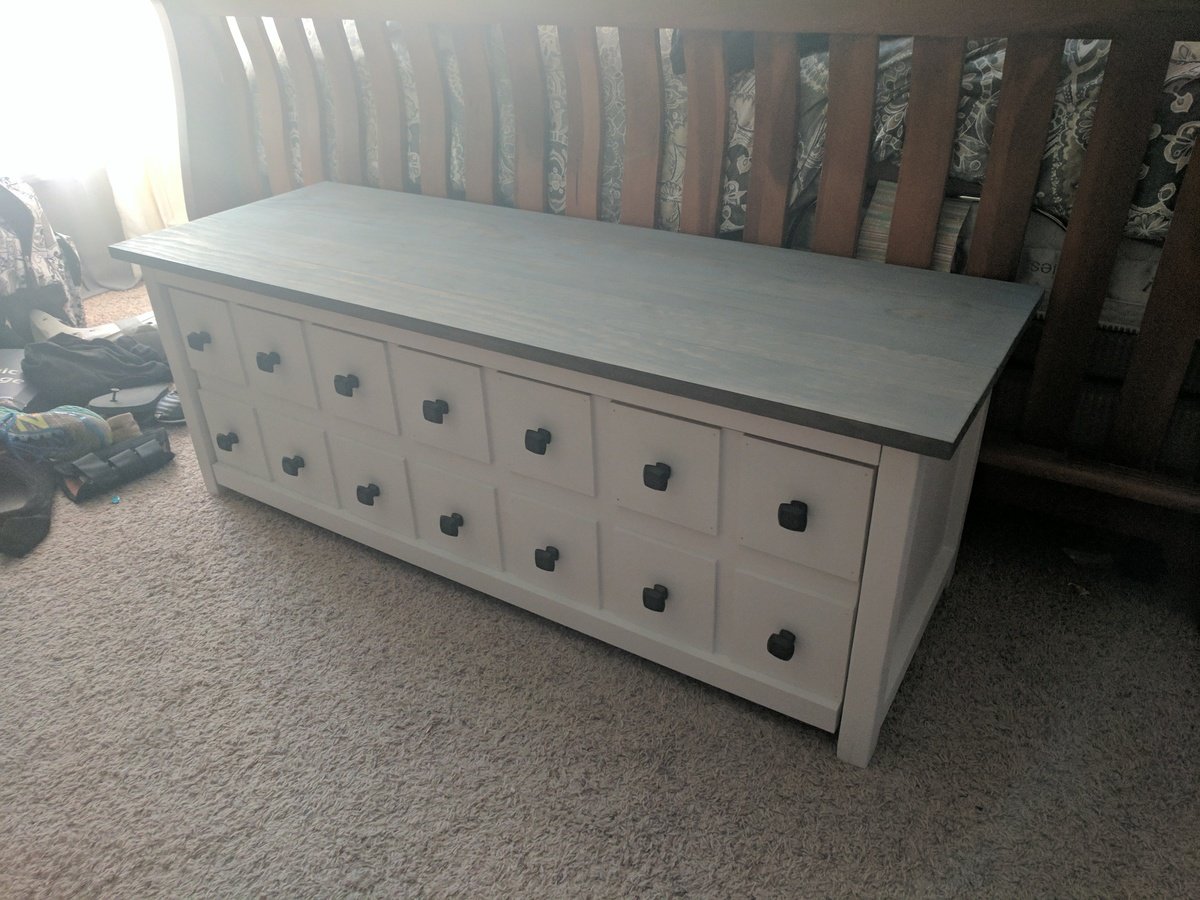
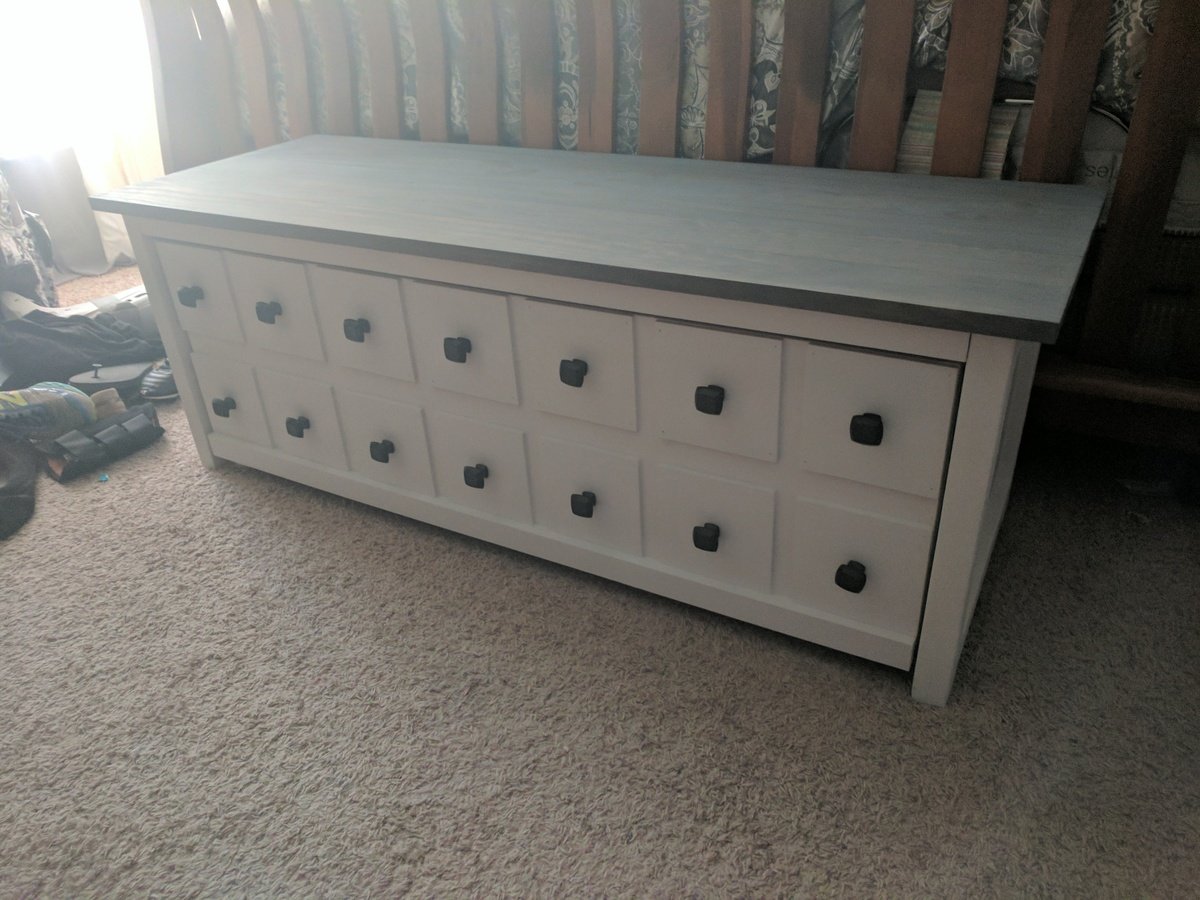
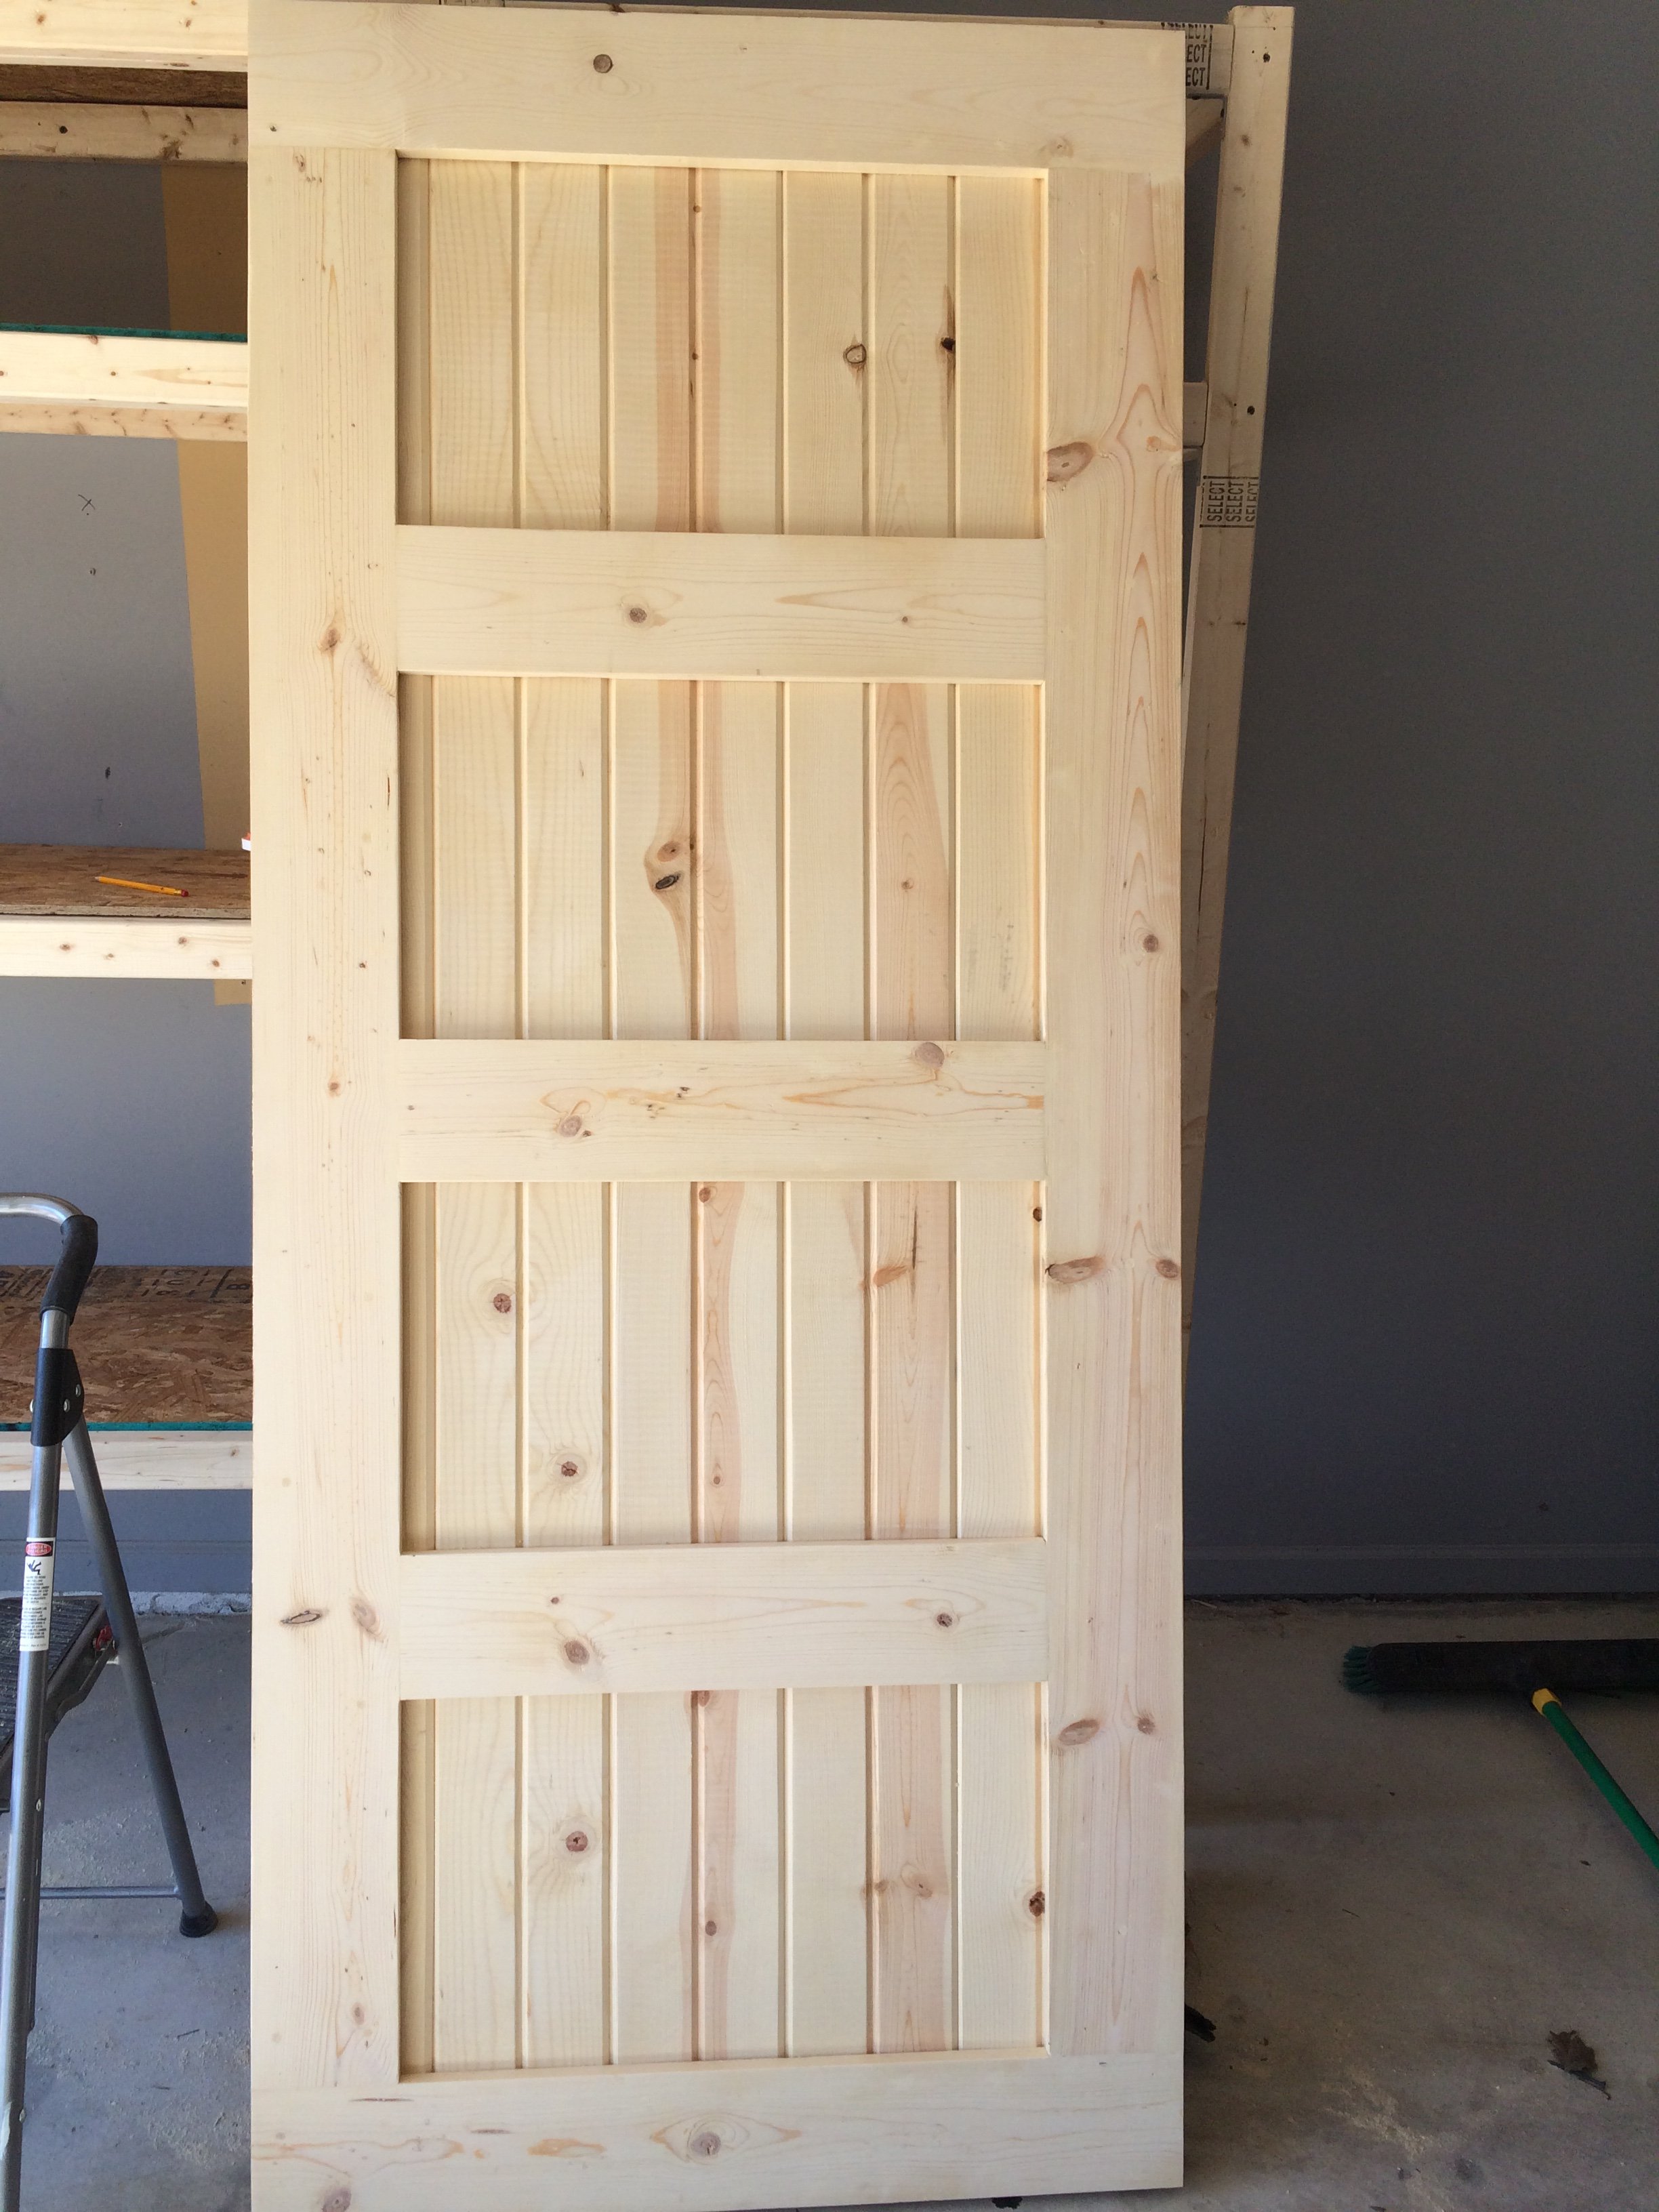
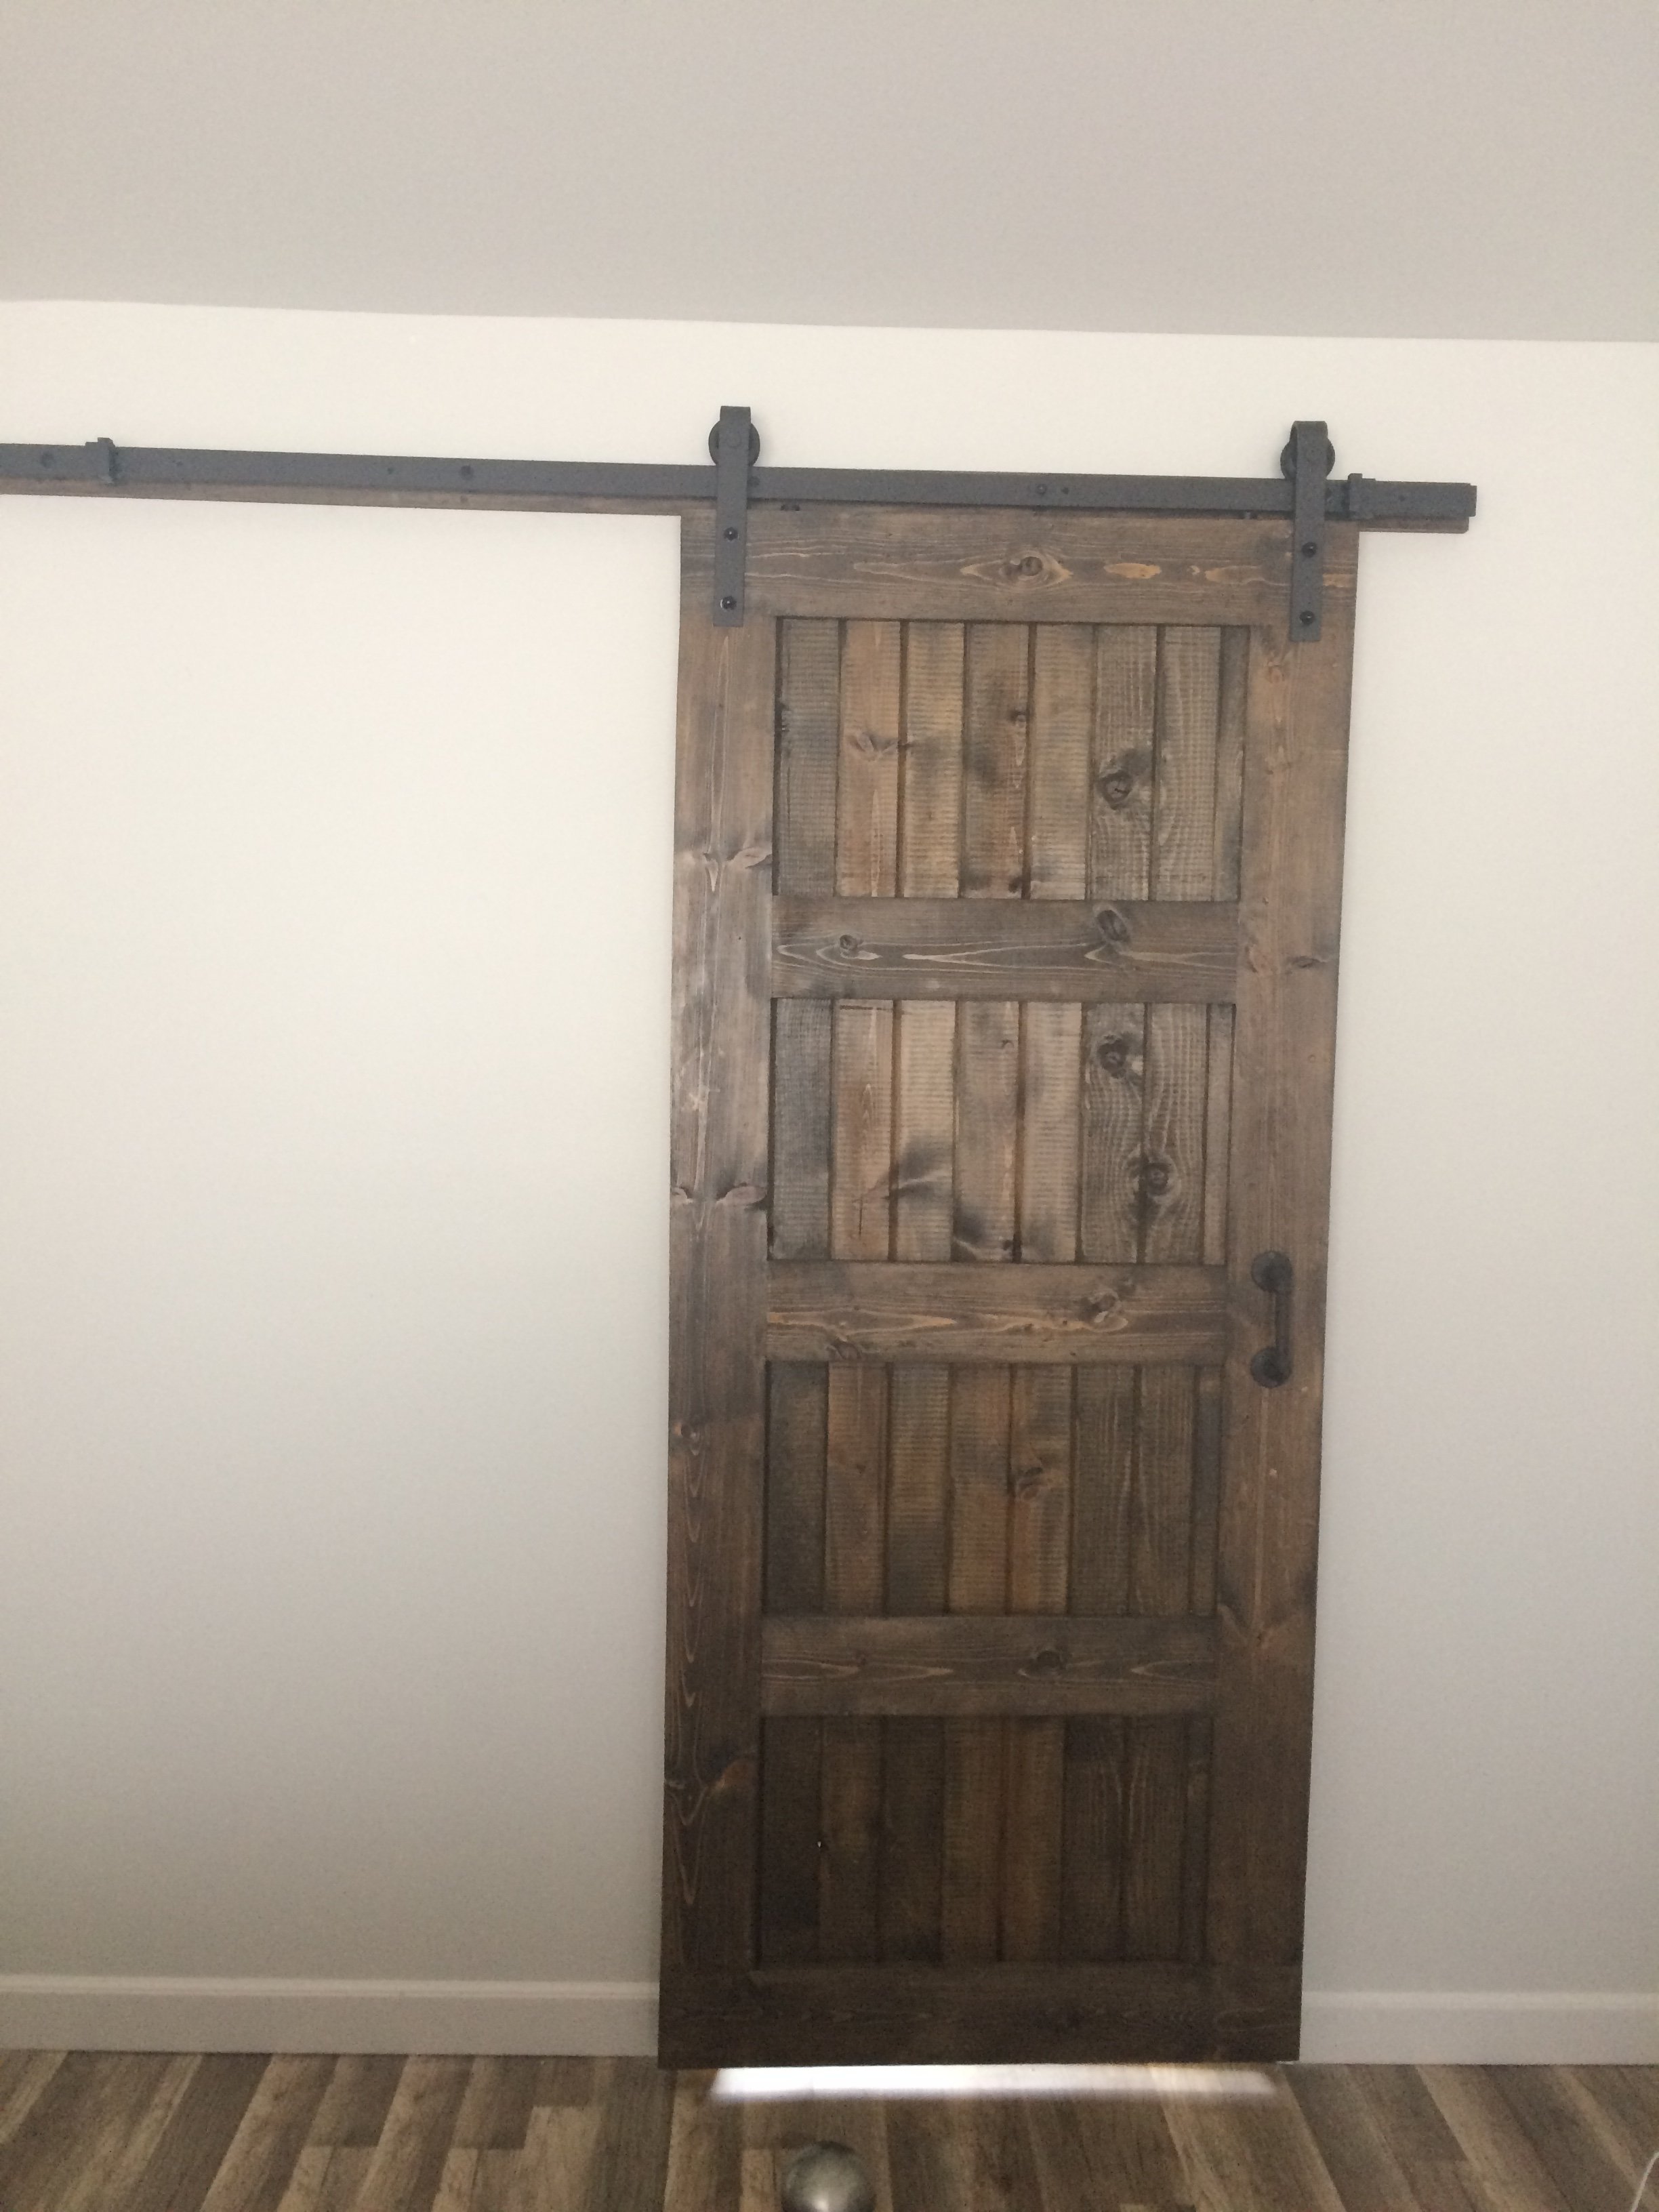
Panel bed king
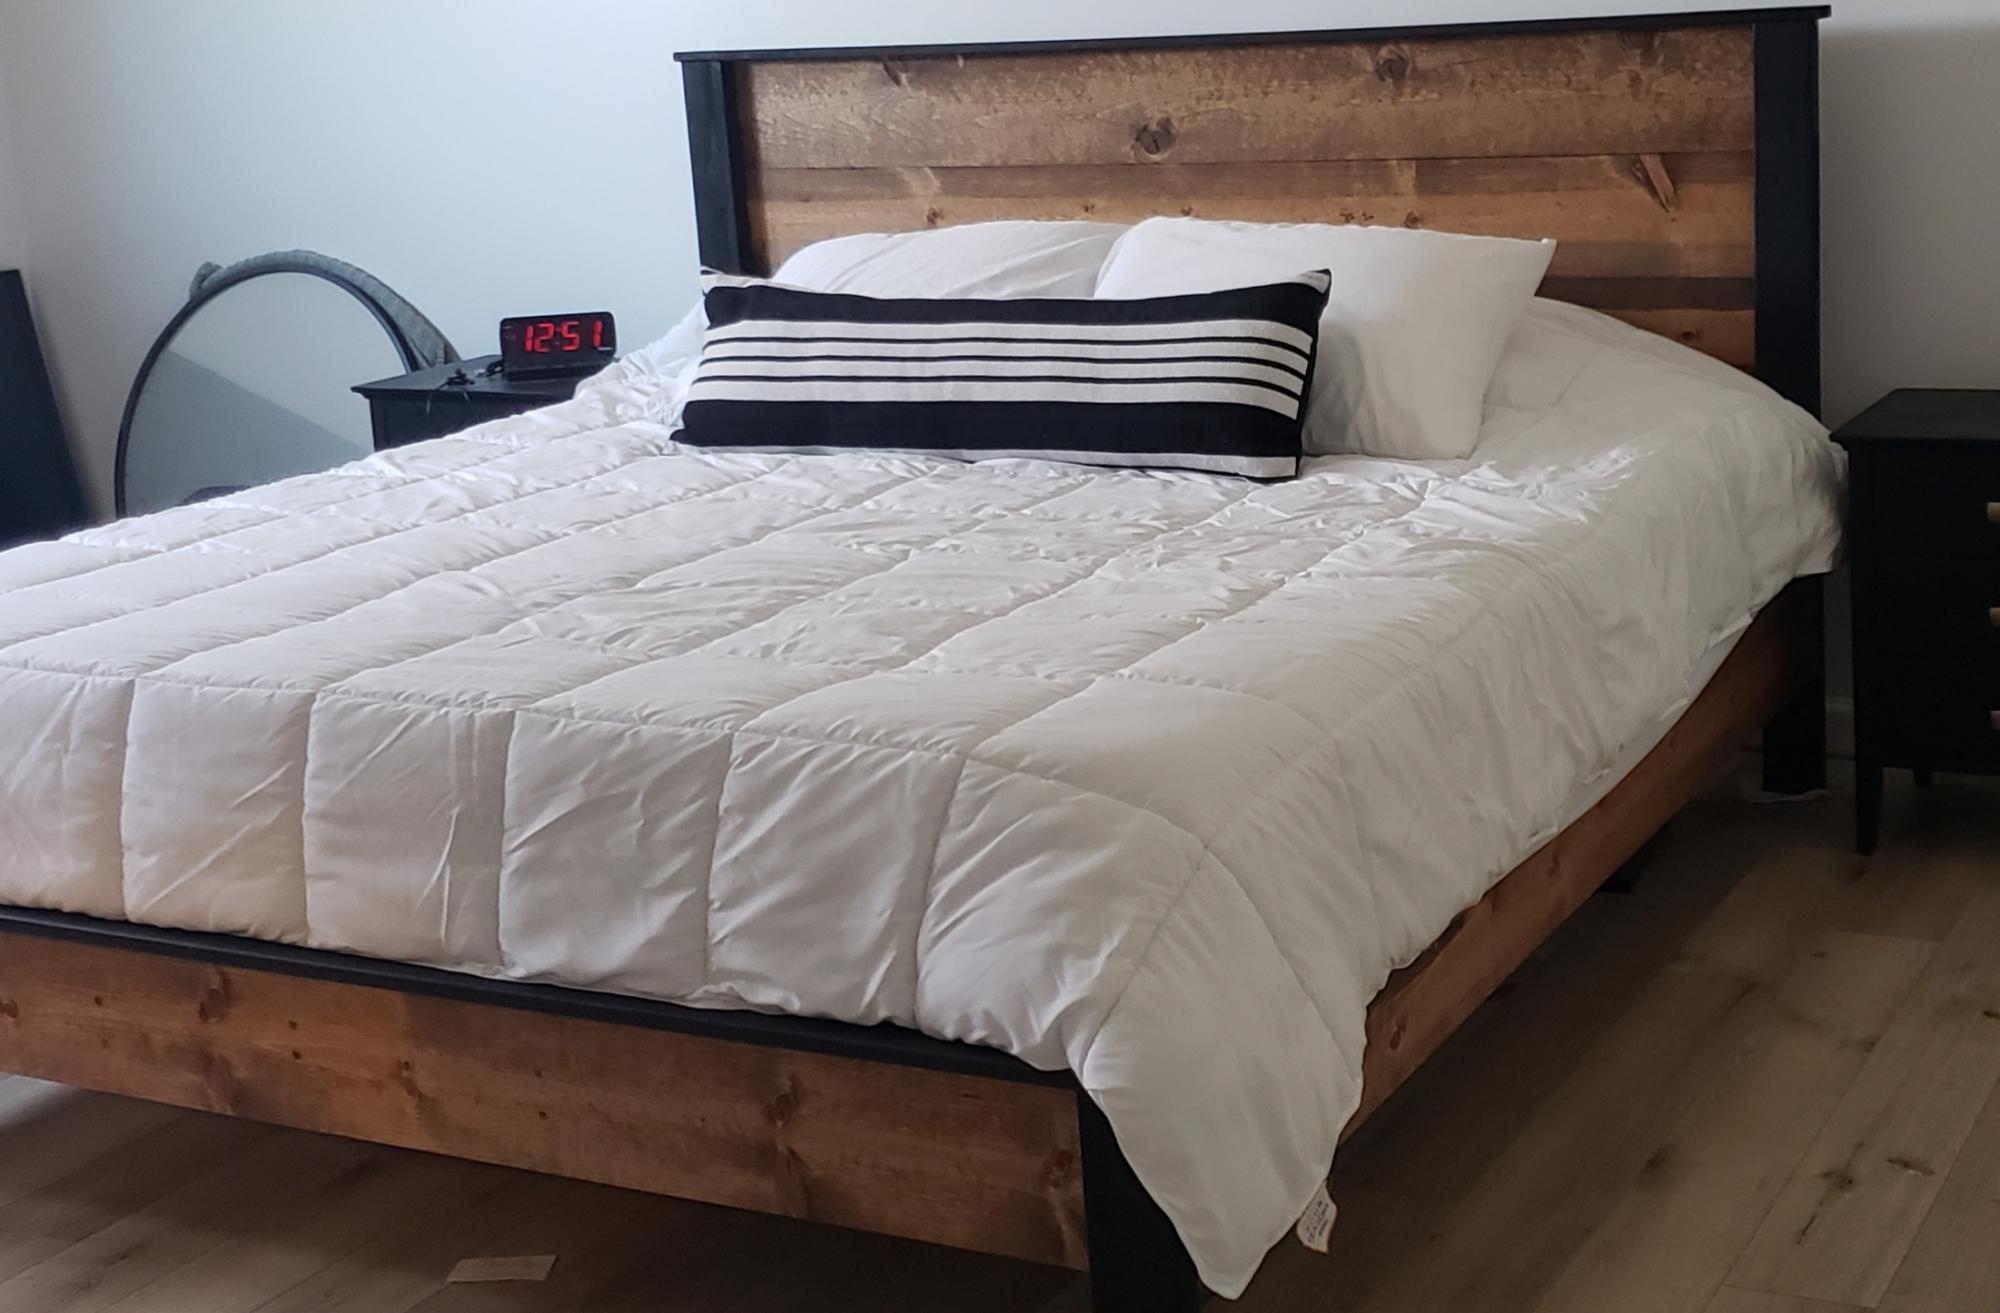
Needing a new bed frame because we upgraded our mattress to a king size. Looking for something simple and inexpensive. We came across this plan and loved the outcome!!!!!
Built from Plan(s)
Estimated Cost
$150
Estimated Time Investment
Weekend Project (10-20 Hours)
Finish Used
Minwax Early american
Matte black for the border
Matte black for the border
Recommended Skill Level
Beginner


Comments
Ana White Admin
Fri, 10/29/2021 - 08:28
SO pretty!
Love the two tone finish, beautiful build!