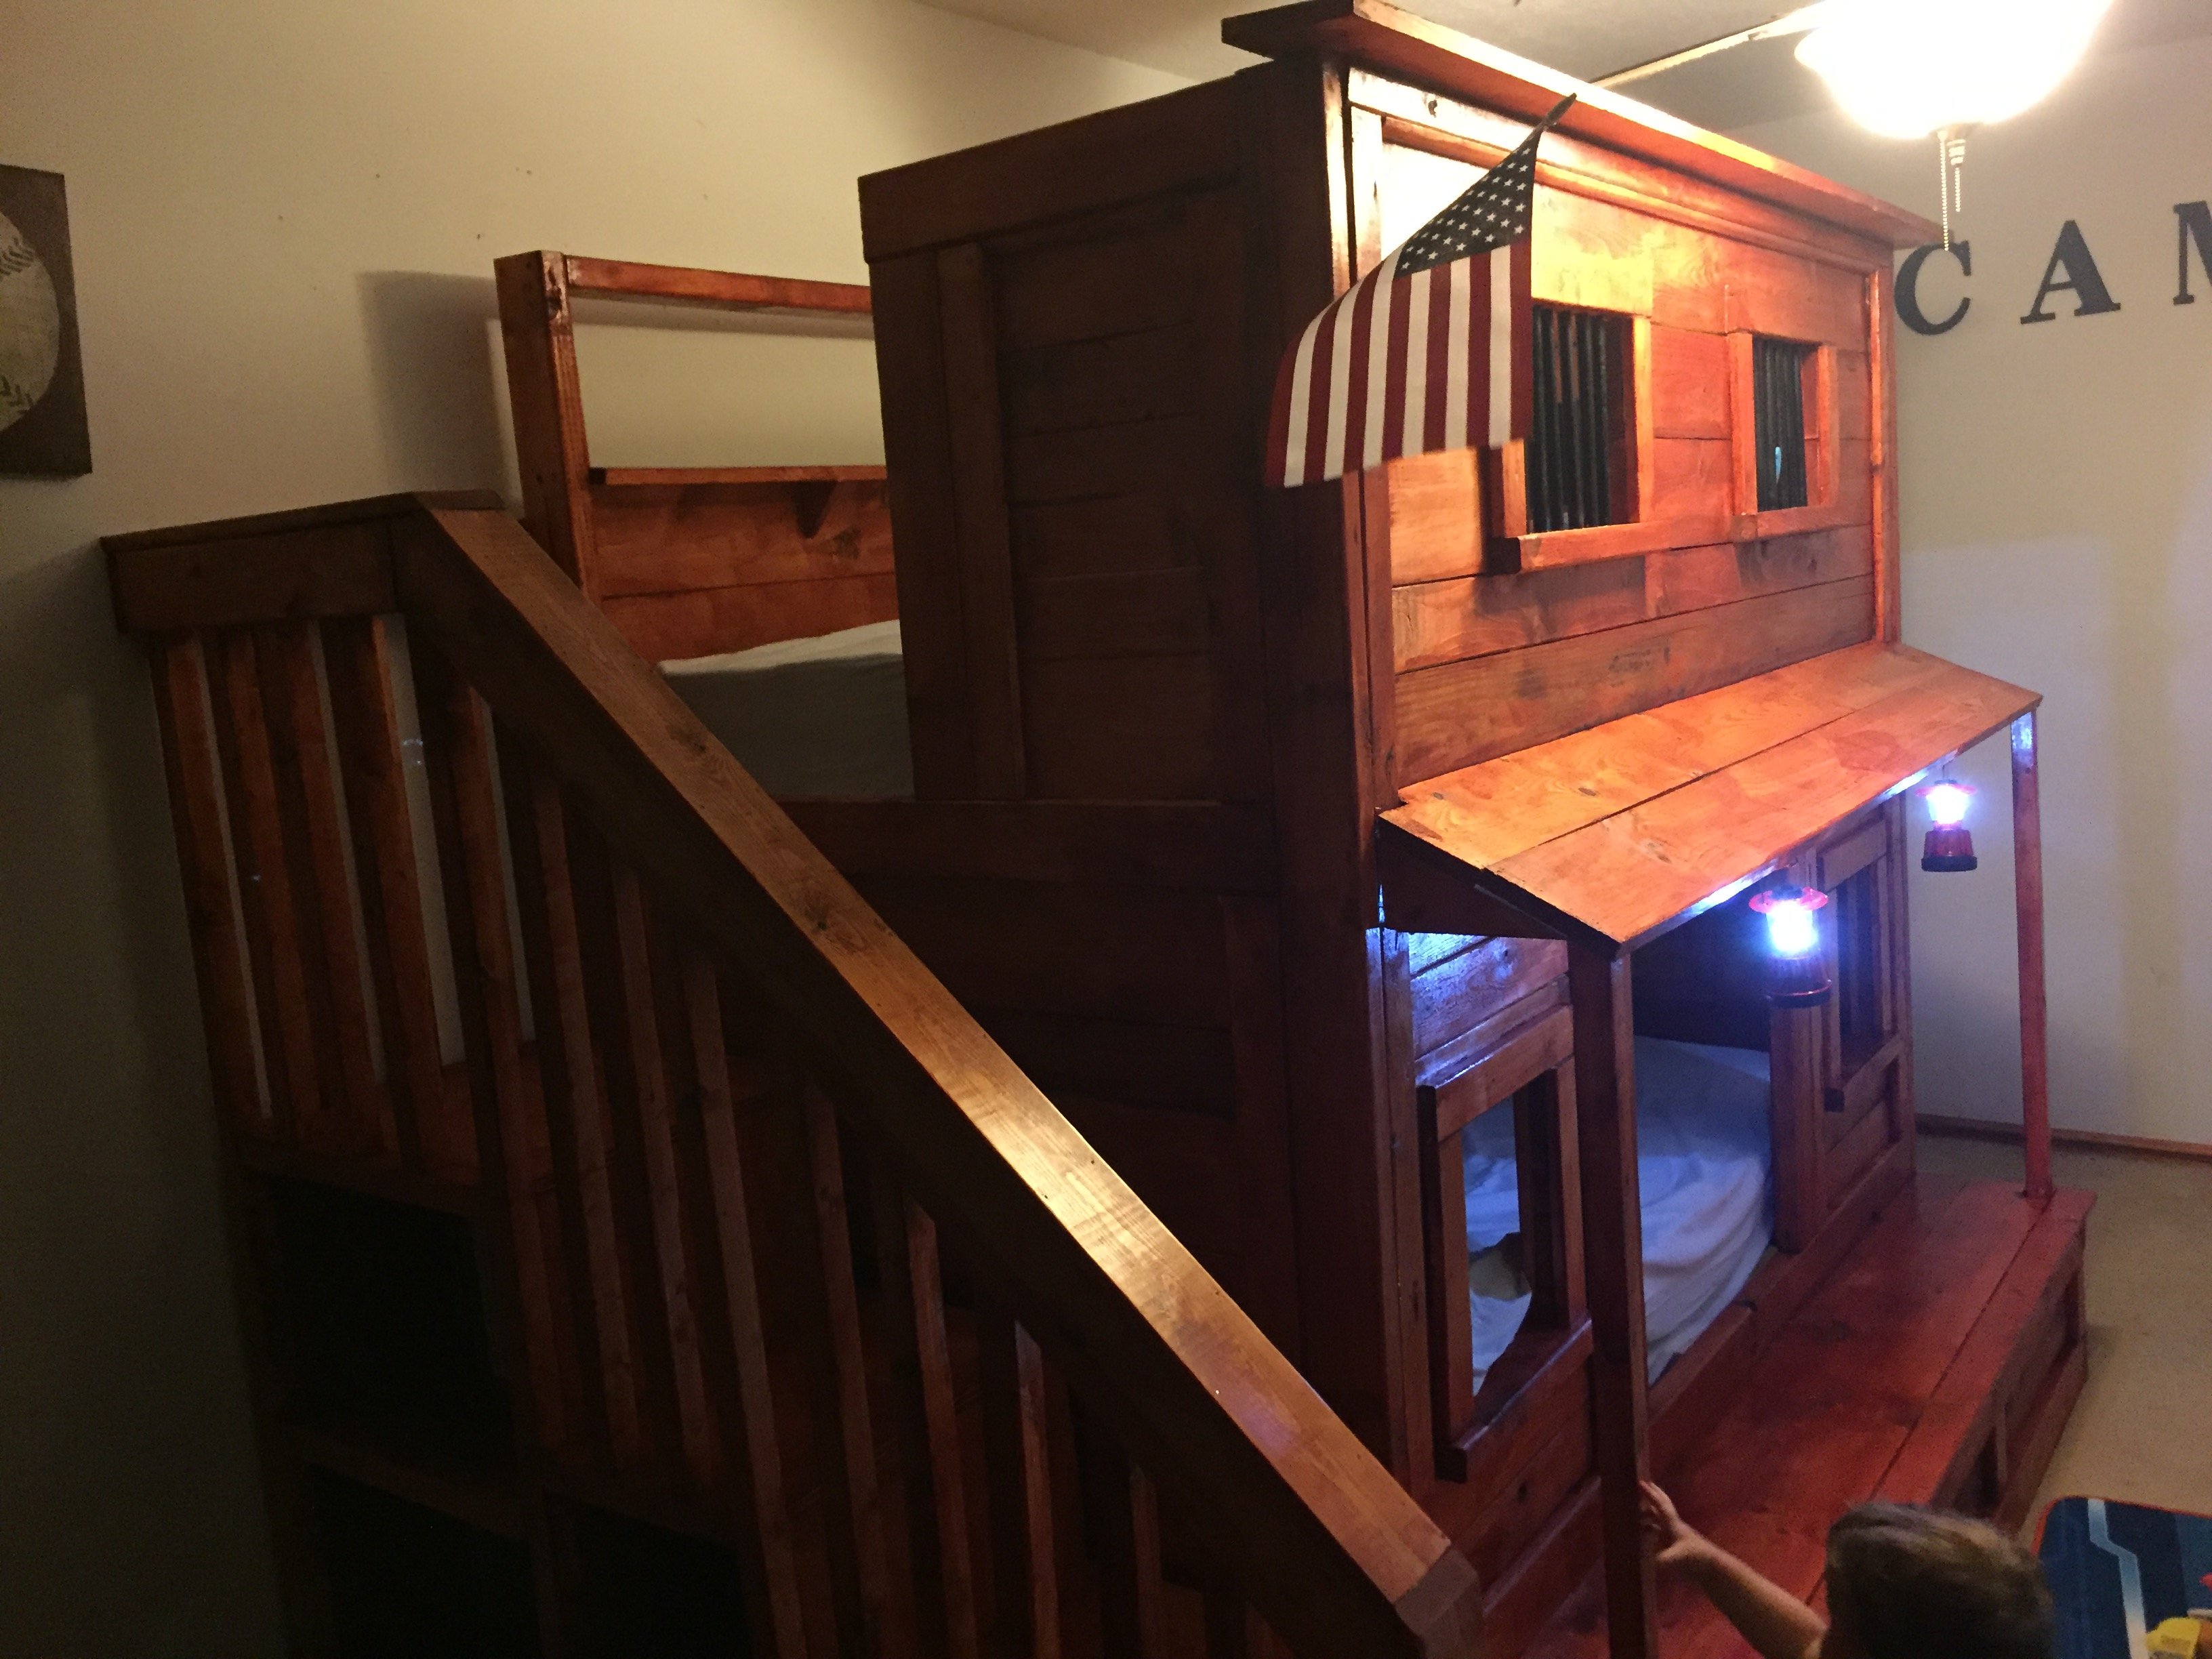
Western jail bunk bed
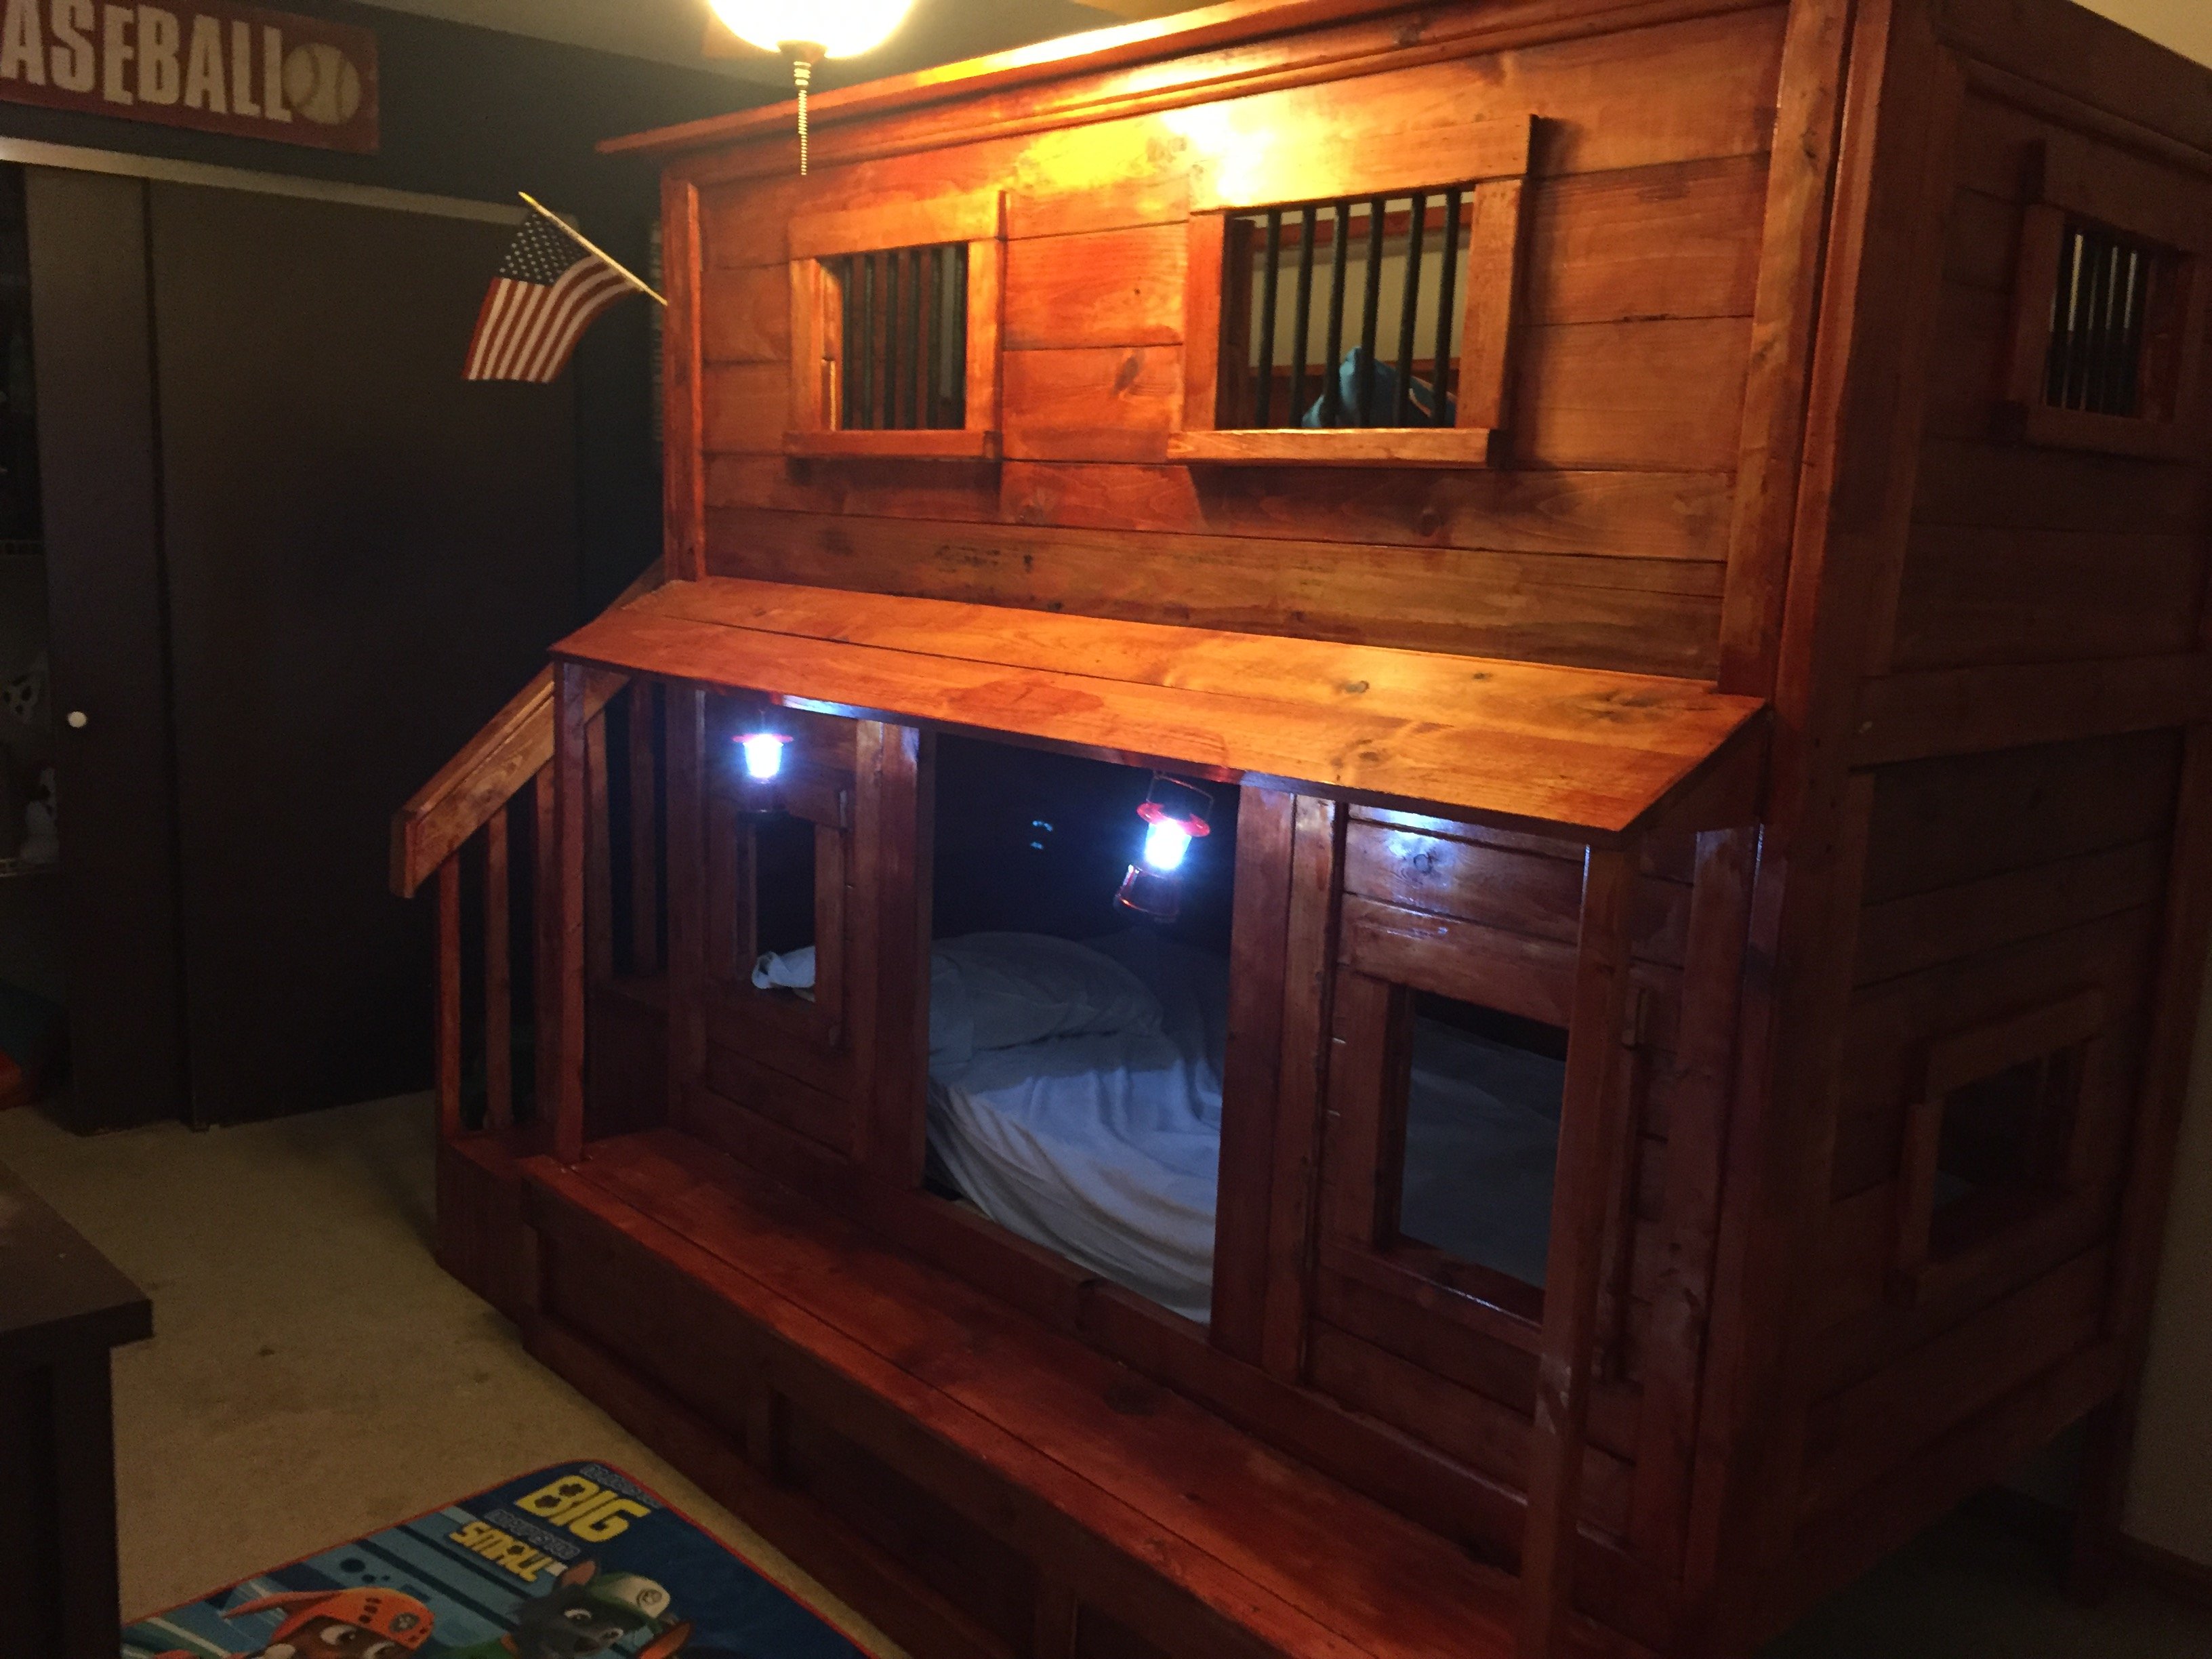
Still waiting to add the stained jail sign. But a dad's twist to a mom's honey do project added the porch to the front to catch my youngest if he falls out of bed.
Built from Plan(s)
Estimated Cost
$400
Estimated Time Investment
Week Long Project (20 Hours or More)
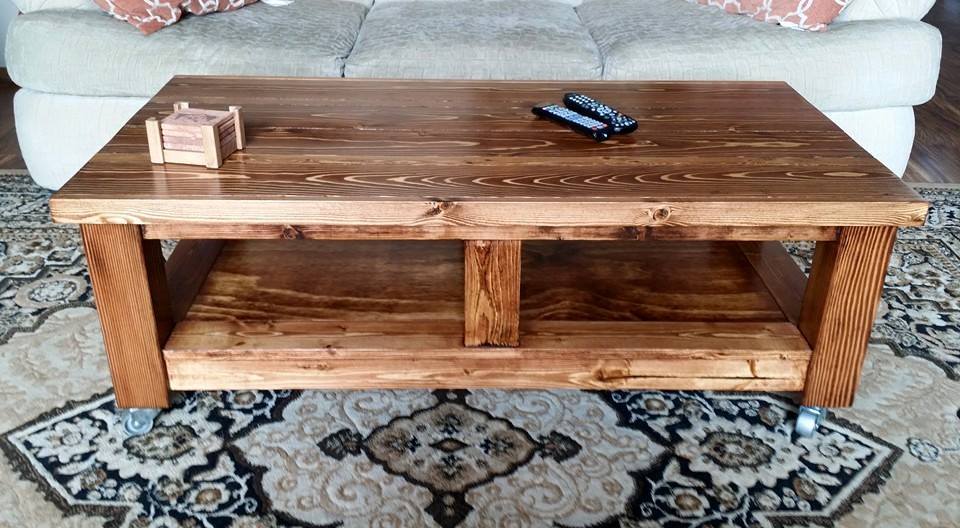
Finish Used
Cedar stain and high gloss finish
Recommended Skill Level
Intermediate