Community Brag Posts
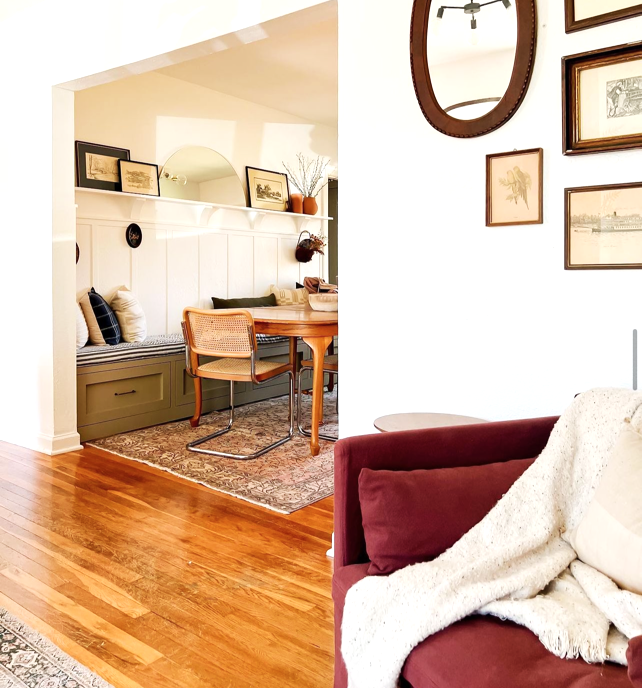
Dining Storage Bench

Love, love, love this gorgeous dining room with the storage bench, such a beautiful space @mylushabode
Built from Plan(s)
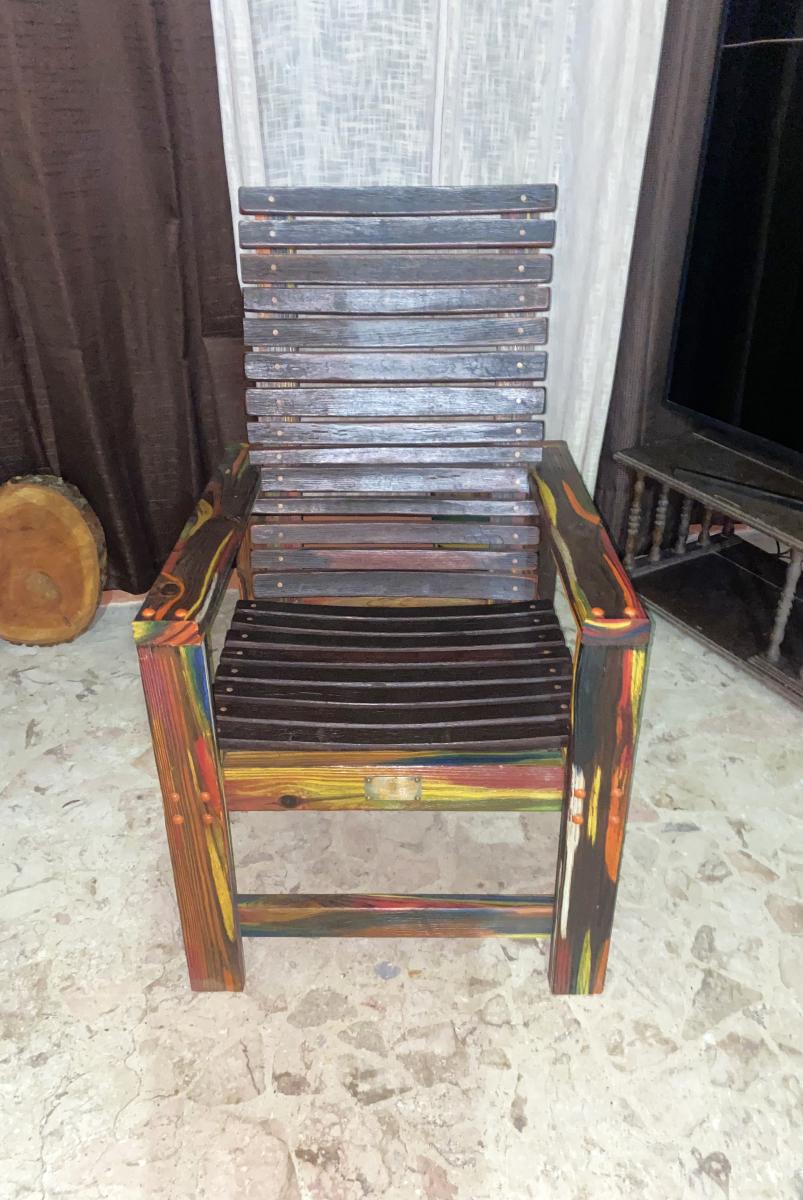
Custom Adirondack Chair
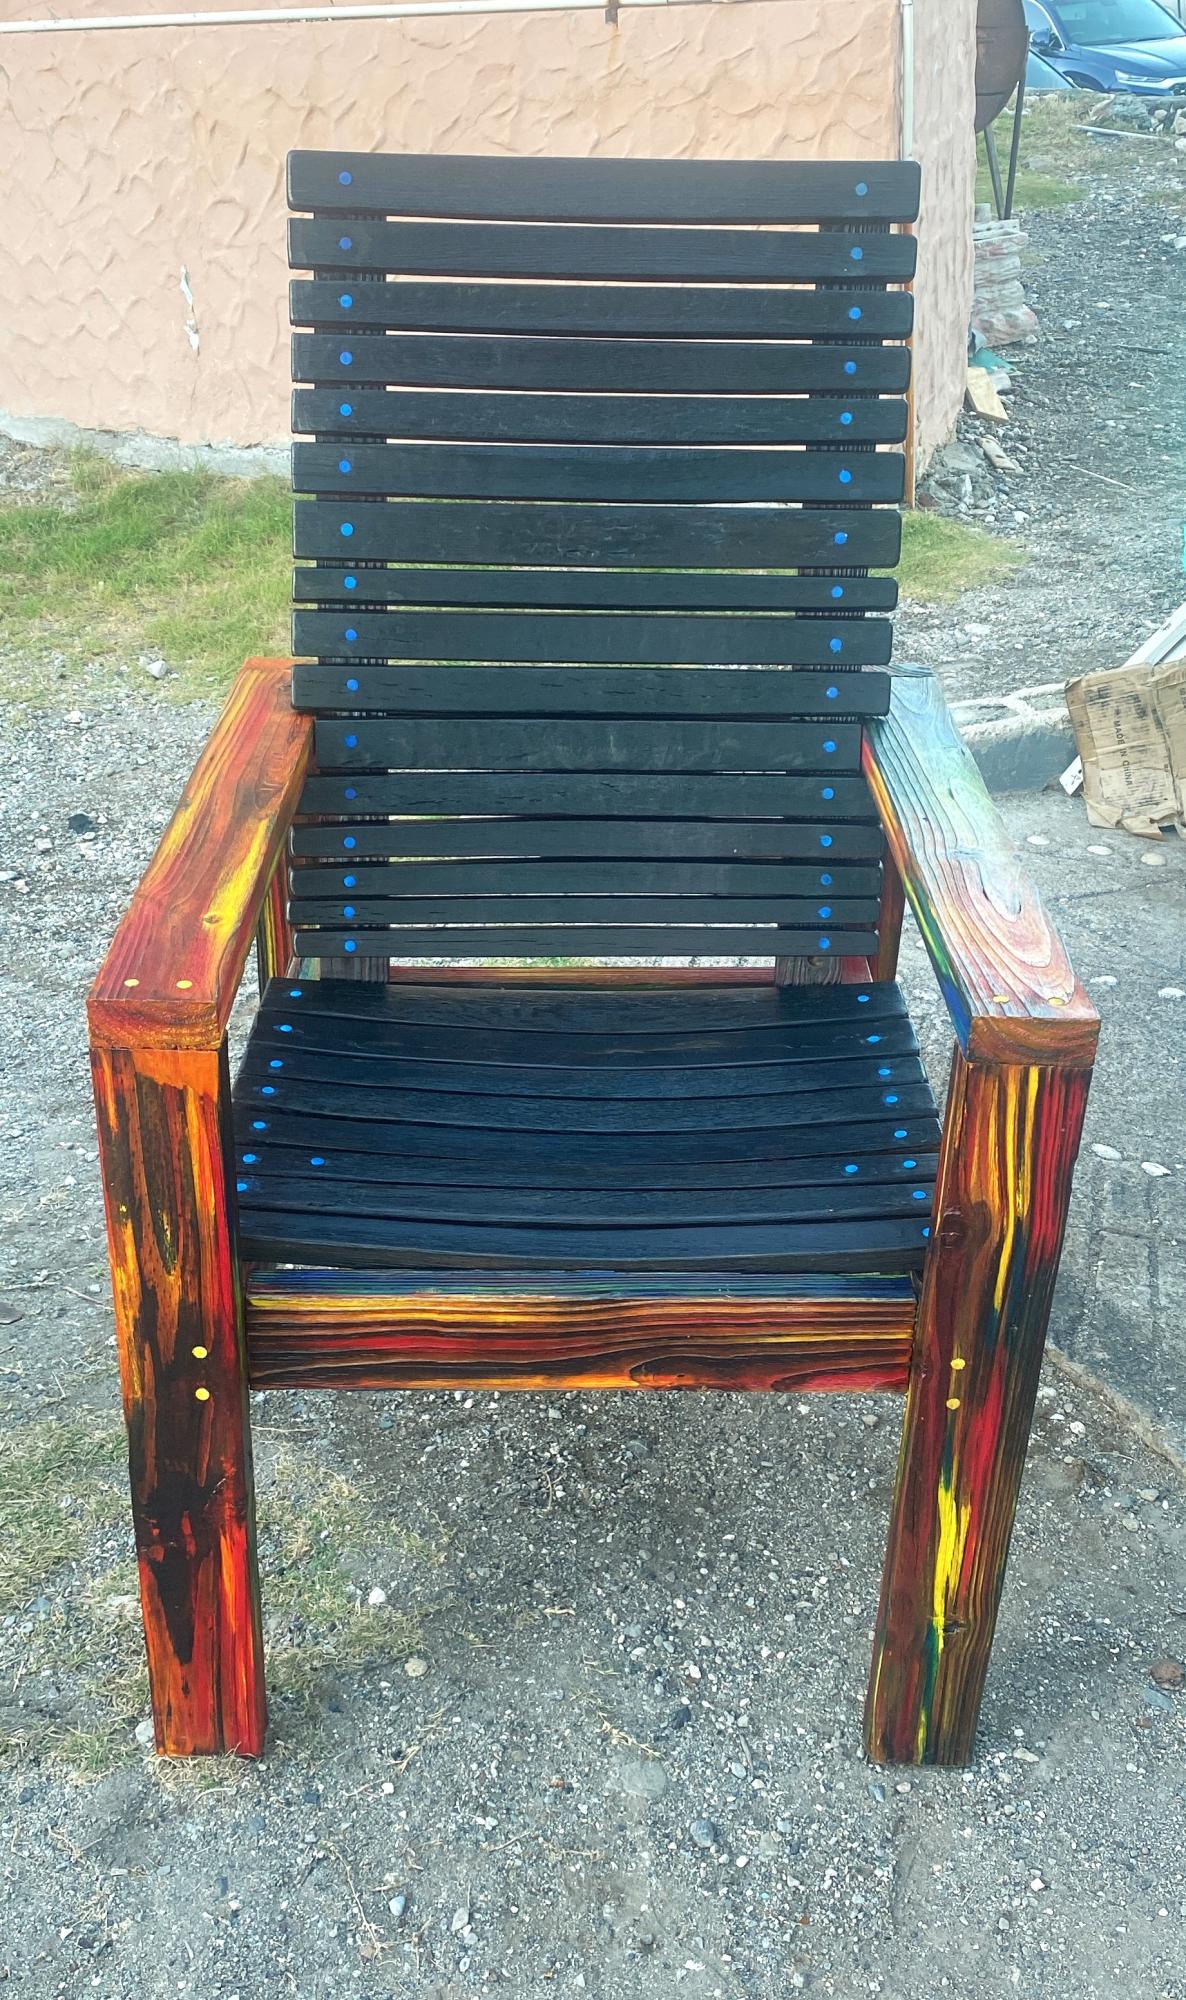
A modified version of one of Ana’s chairs. I widened it by a few inches and used the staves from a retired whiskey barrel for the seat and back. I then added a Sho Sugi Ban effect to the frame and then stained it using Unicorn Spit.
mcglashanpatrick
Built from Plan(s)
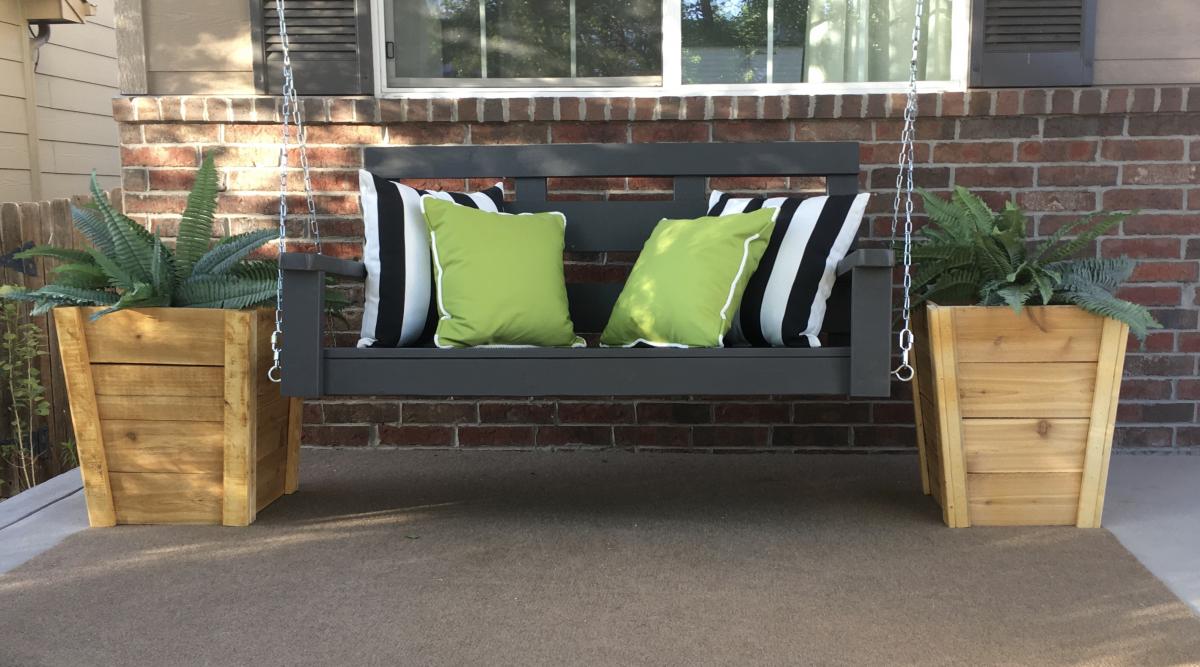
My First Builds!

Made the swing and two sets of planters since we were on stay Home orders. I’d never done anything like this...ever! My husband helped me hang the swing. We love, love the results. (Now to make a seat cushion😆) I couldn’t tag the plans for the modern square planter boxes. They are huge and I can hardly wait until Christmas to put trees in all four!

Built from Plan(s)
Comments

Outdoor Play Kitchen
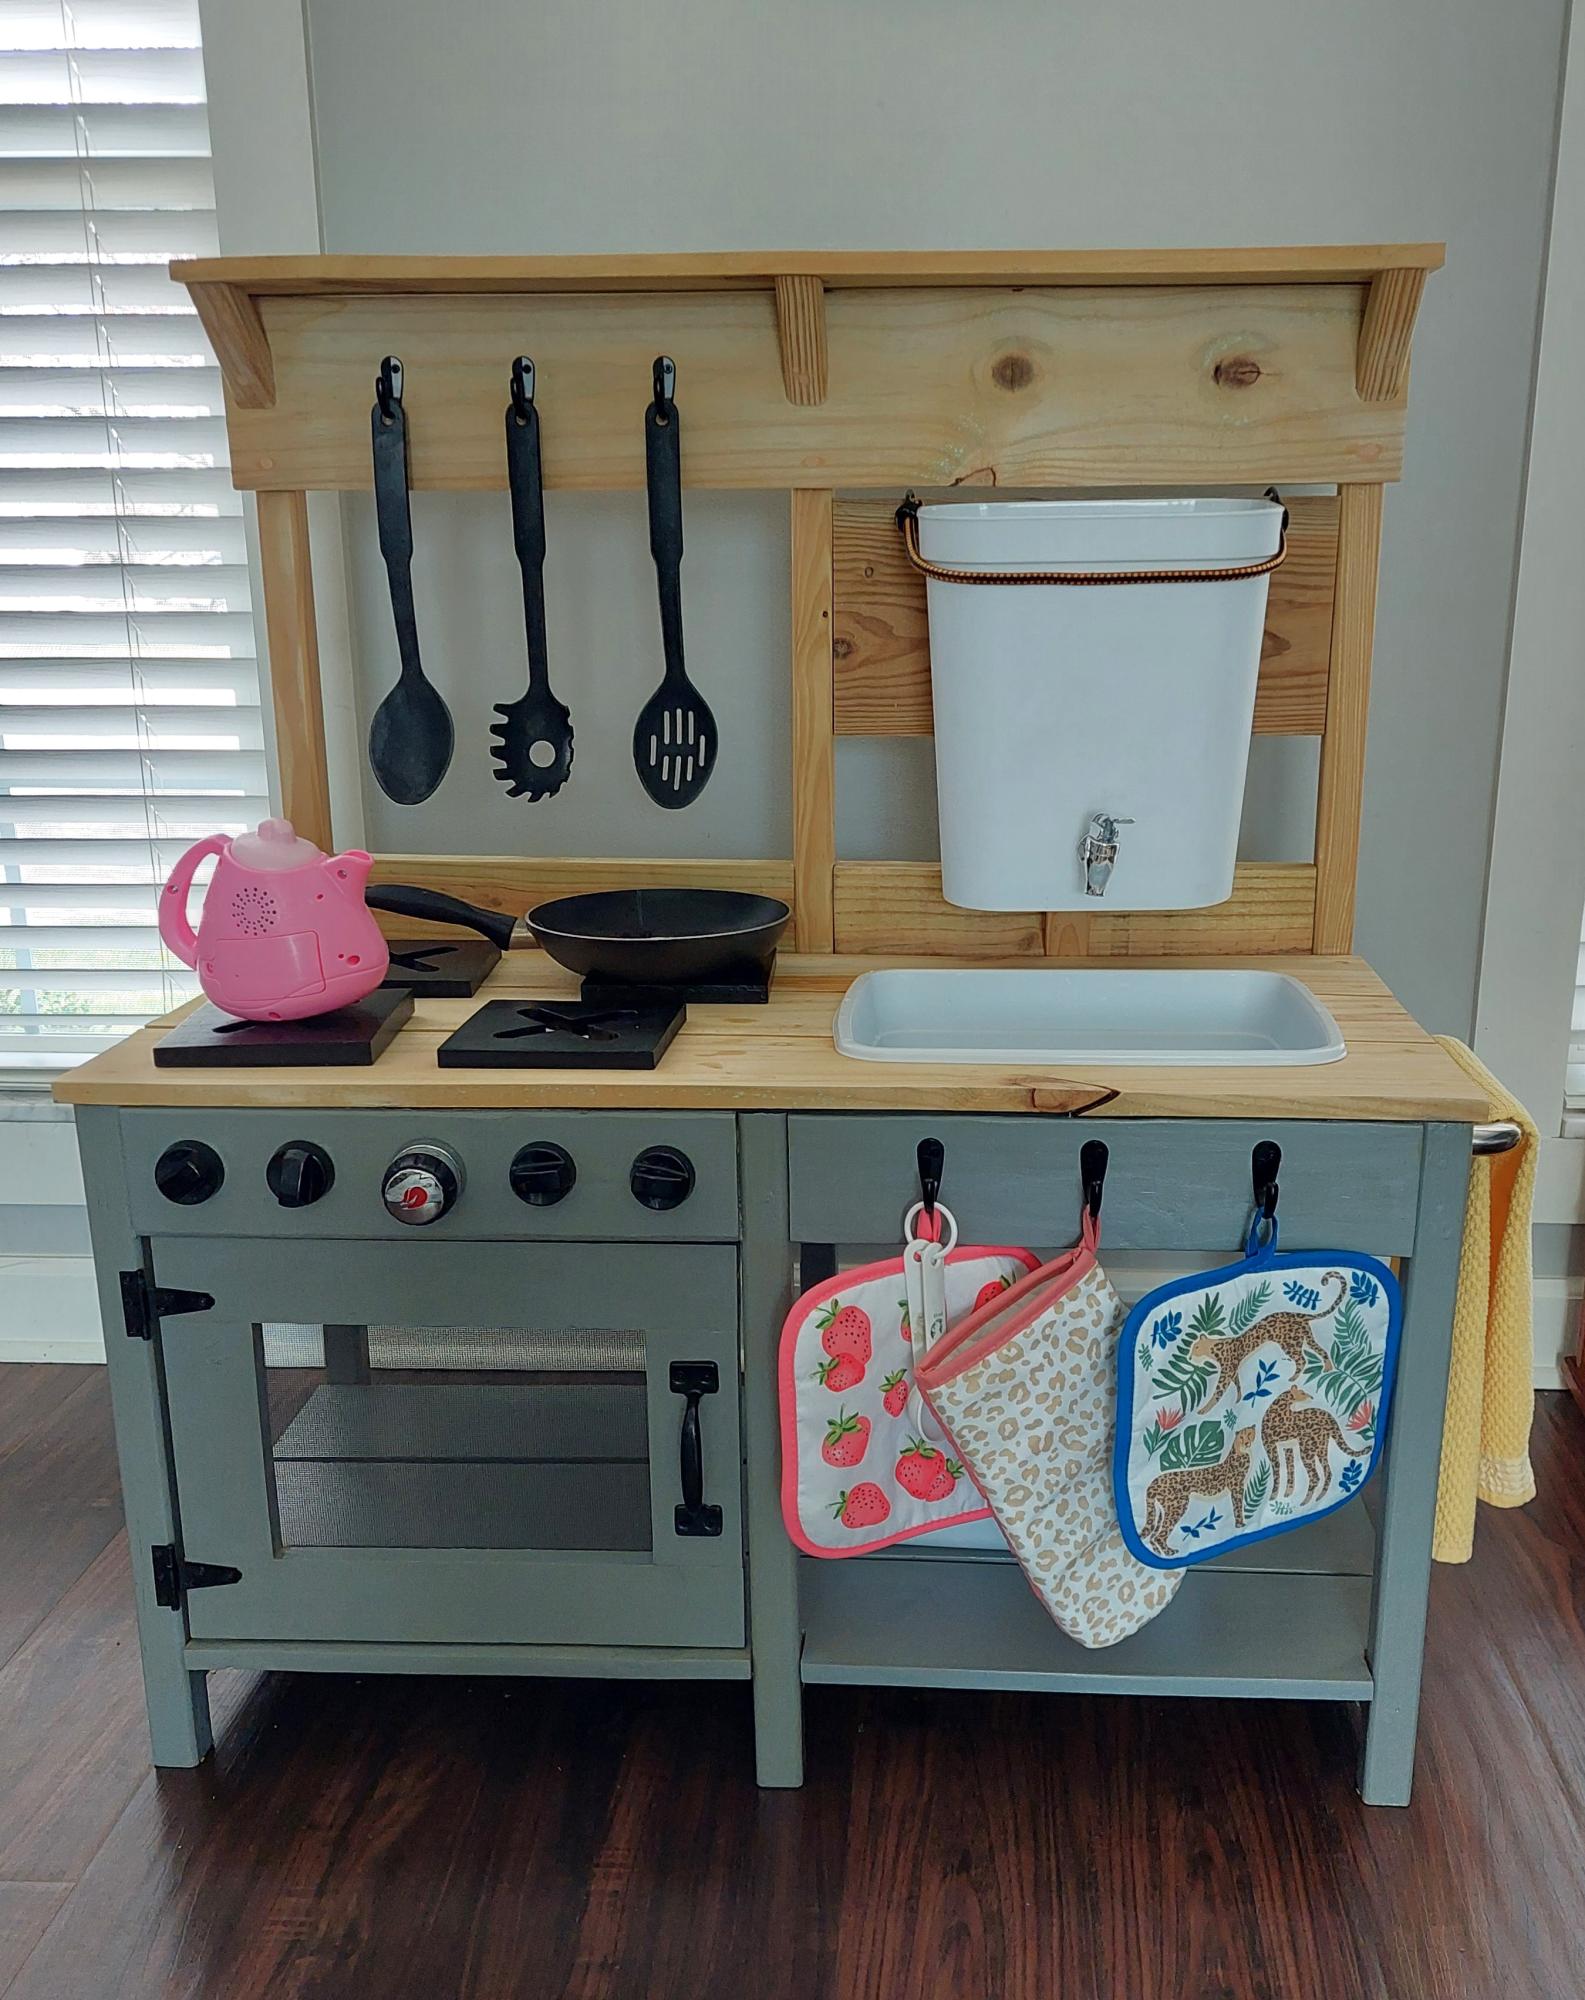
I built this using Ana's plans for her outdoor play kitchen. I live in North Carolina and took it to my grandchildren in Ohio. They love it! I used an inexpensive beverage dispenser installed into a trashcan and connected a small aquarium pump to recirculate the water from the sink to the water tank. I'm super pleased with how it turned out!
Nancye Butterworth
Built from Plan(s)
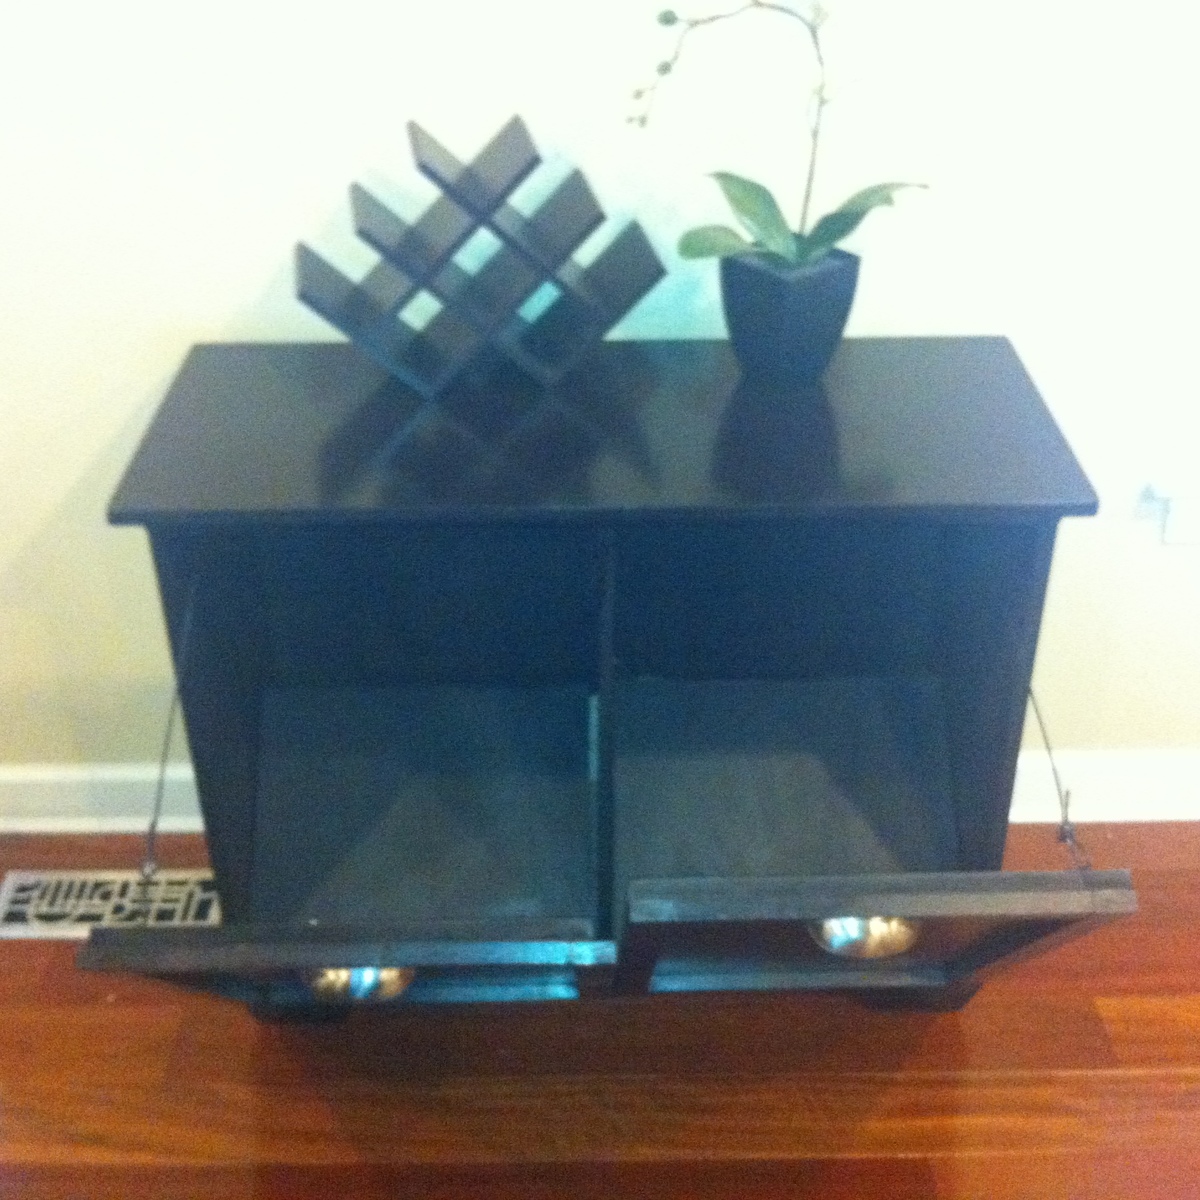
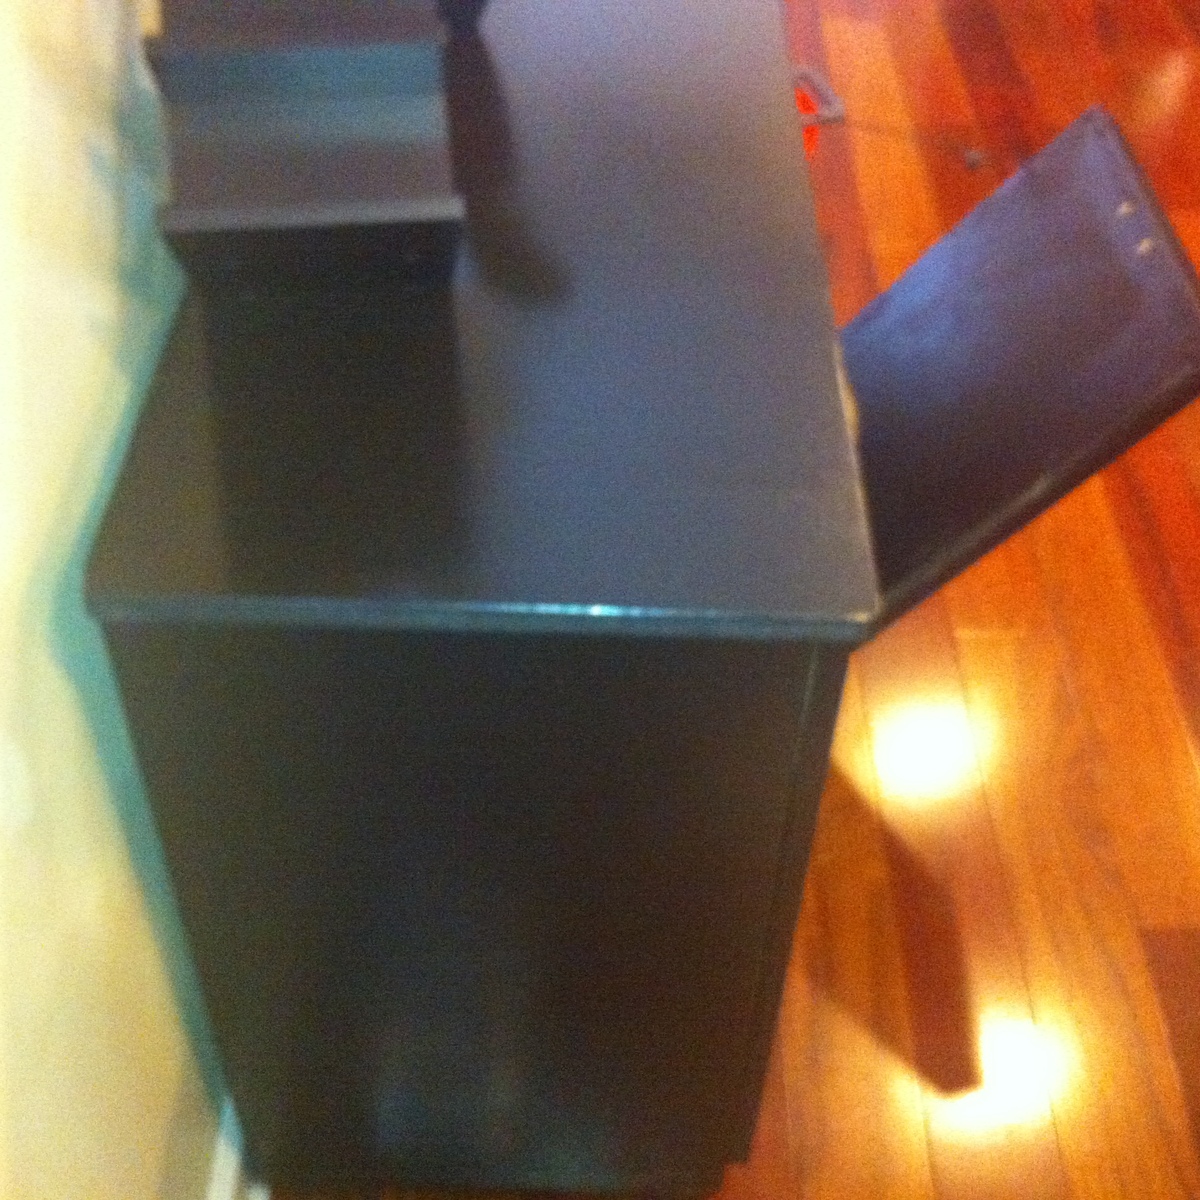
Tilt-out recycling sorter --Modified Build
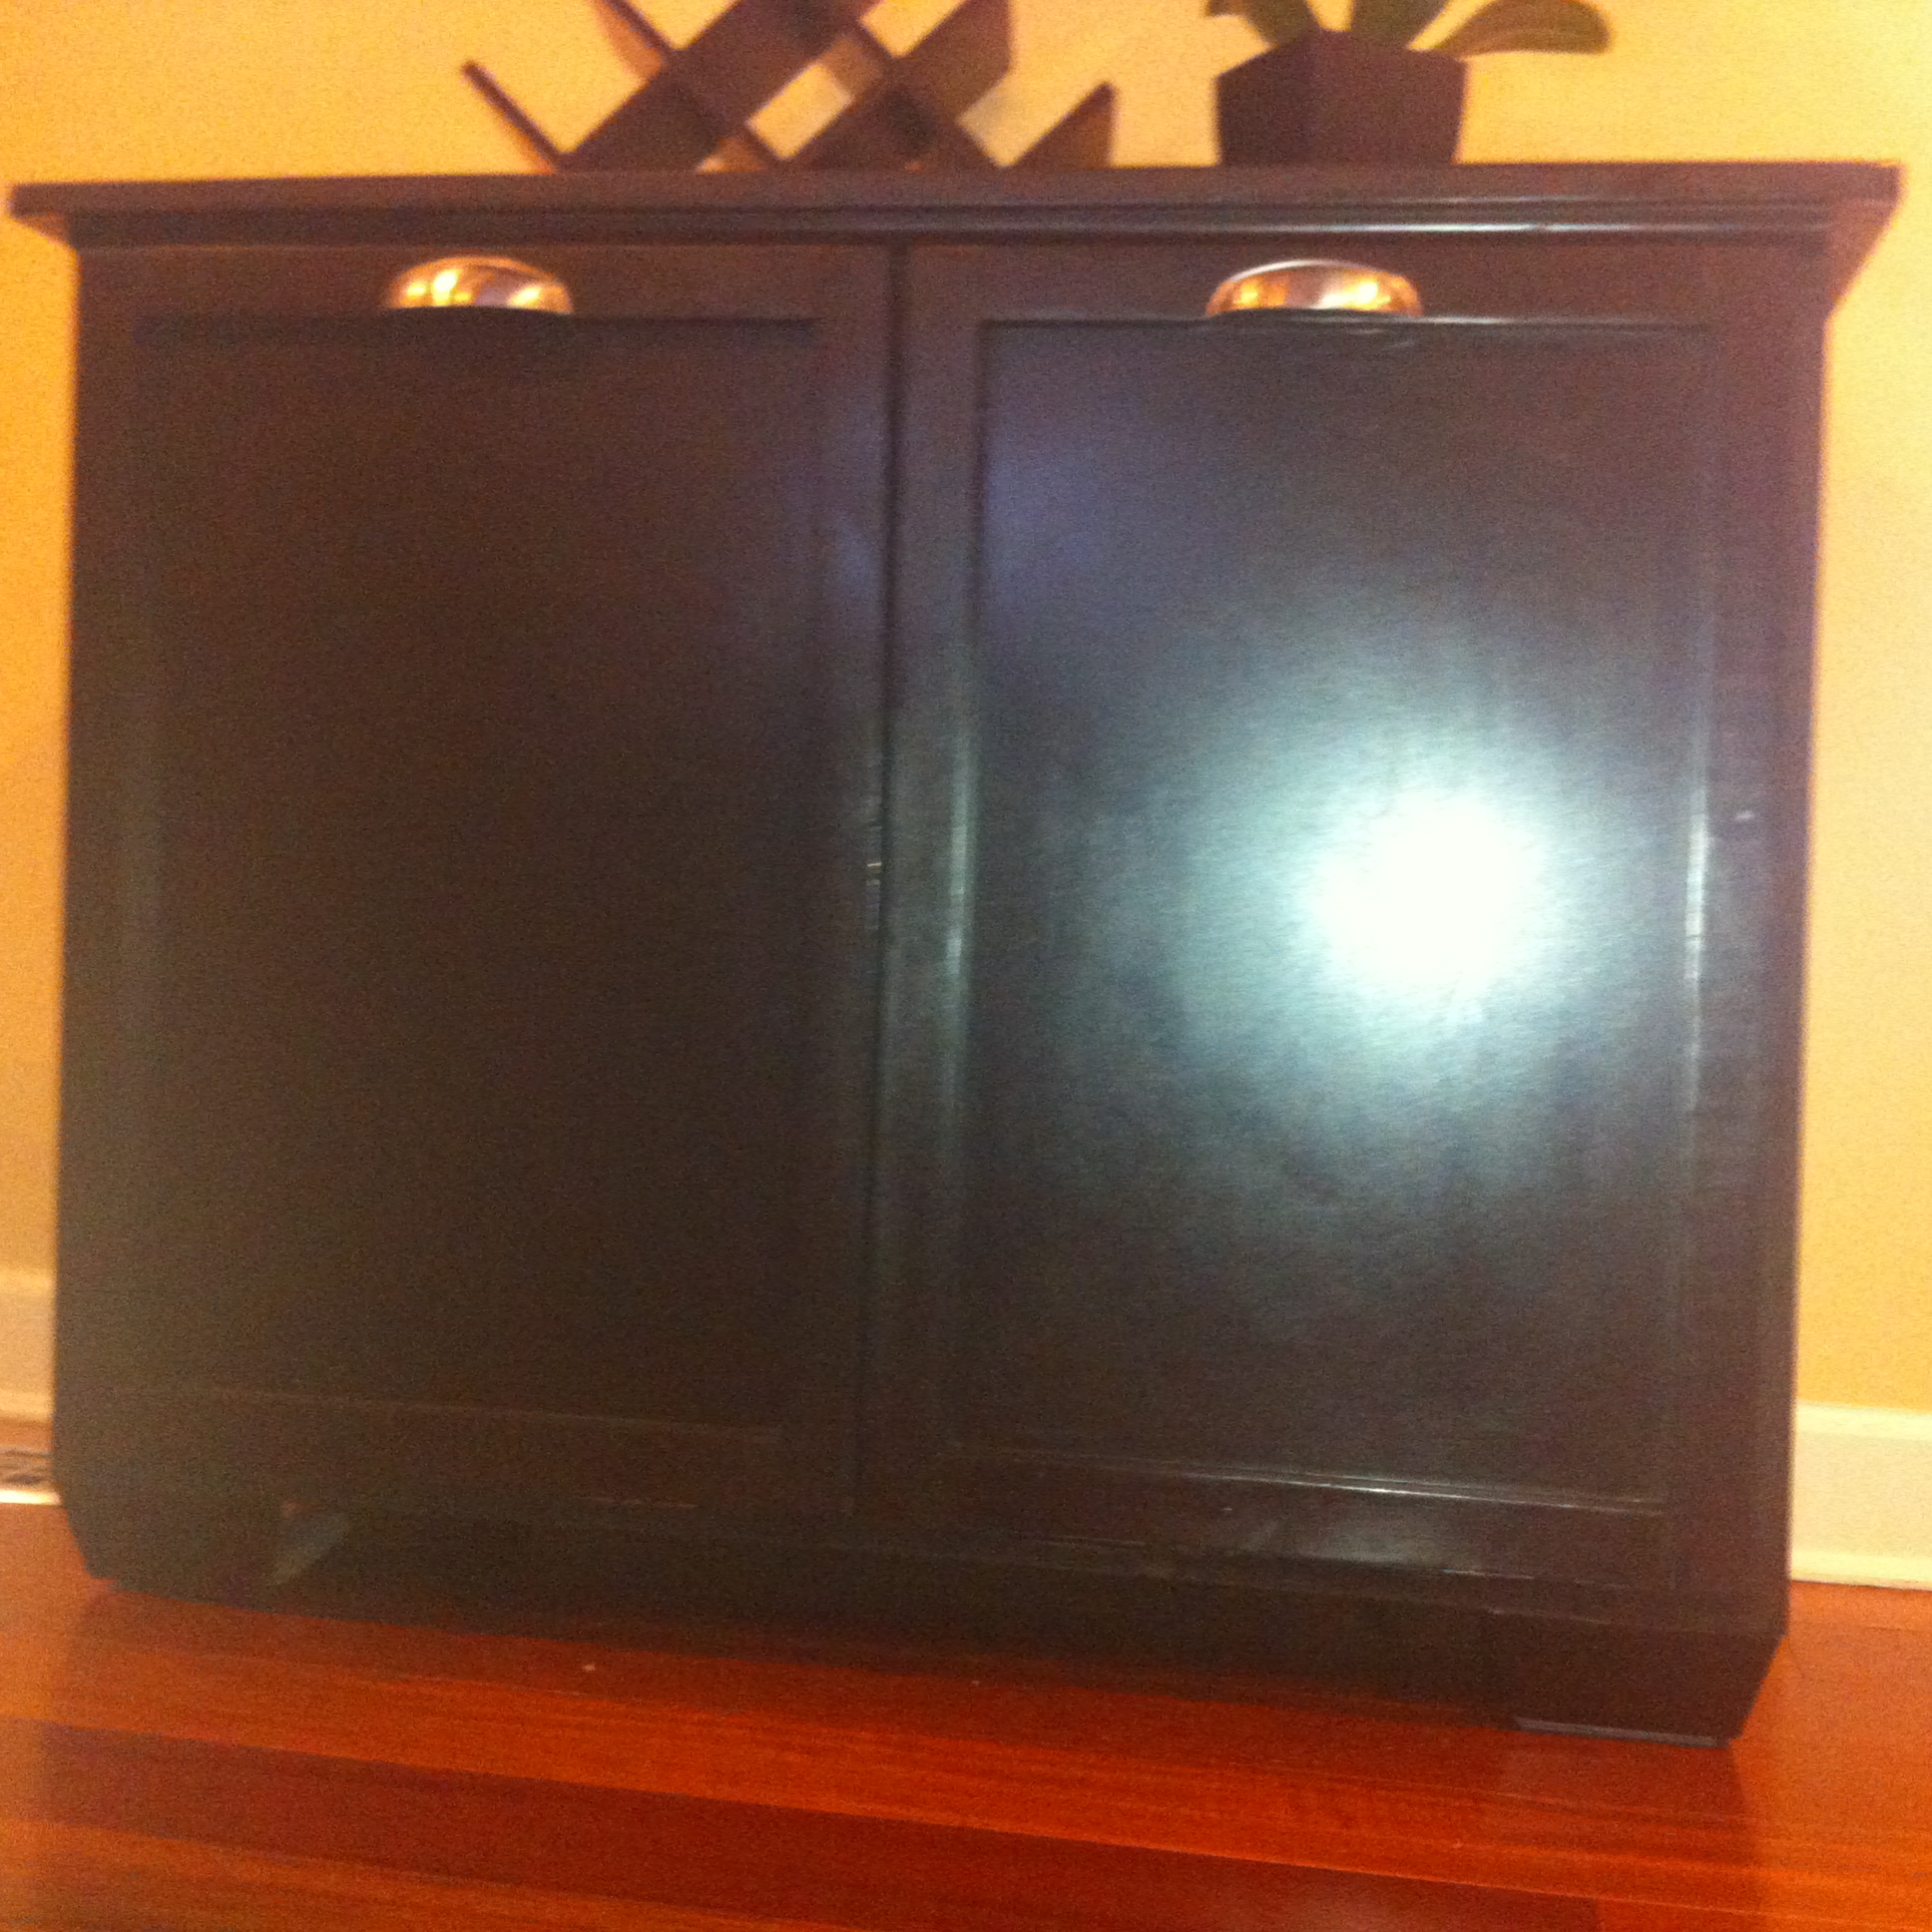
I attached the tilt out portion using a Kreg jig and eventually removed the brace (it wasn't necessary and removing the brace gave it a cleaner look.
I used 2 x 2 as a trim around the outside which also allowed me to hide the hinge.
Other than that -- followed the build pretty closely. I used a cable on either side to stop the tilt out from falling to the floor (which allows me to leave it open as well.
This was my first project and it was a battle to figure out how to install the hinges and I did not love my jig saw work with the plan feet so I bought and installed furniture replacement feet which turned out much nicer (IMO).
Good luck!
Built from Plan(s)
Estimated Cost
$150.00
Estimated Time Investment
Weekend Project (10-20 Hours)
Finish Used
General Finishes Java Gel
Recommended Skill Level
Intermediate
Fancy Jewelry Box

Great plans and a fun build. I made some modifications. My drawers are 1.5” high and 10” long. It allowed for 6 drawers. Overall height is 13.75” and length is 17.5”.
I used rabbits and dados rather than butt joints. There is flocking in the drawers.


Built from Plan(s)
Estimated Time Investment
Week Long Project (20 Hours or More)
Finish Used
Garnet Shellac at a 2# cut. Wiped on. I used 4 coats sanding with 400 grit after coats 2 and 3. I used 0000 steel wool after coat 4. Then I applied Paste wax.
Recommended Skill Level
Intermediate
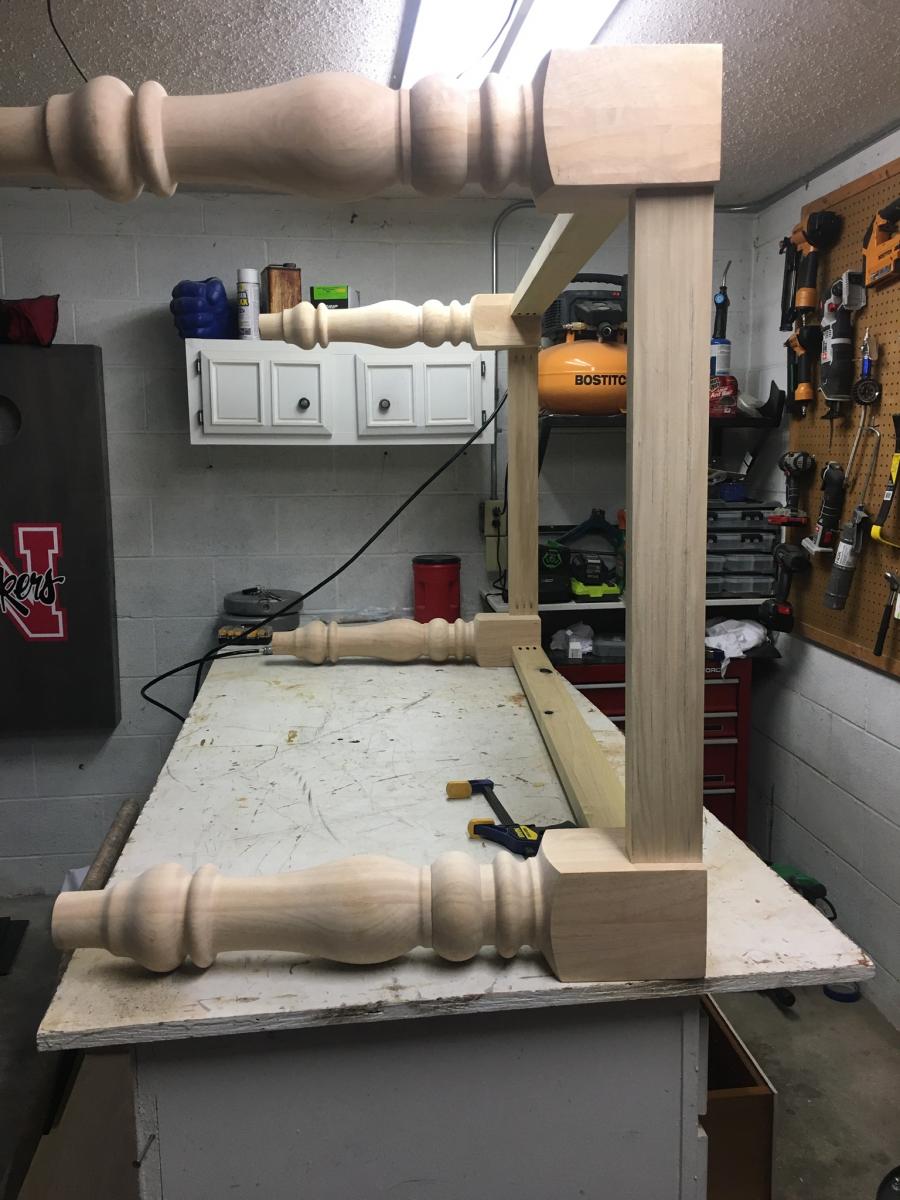
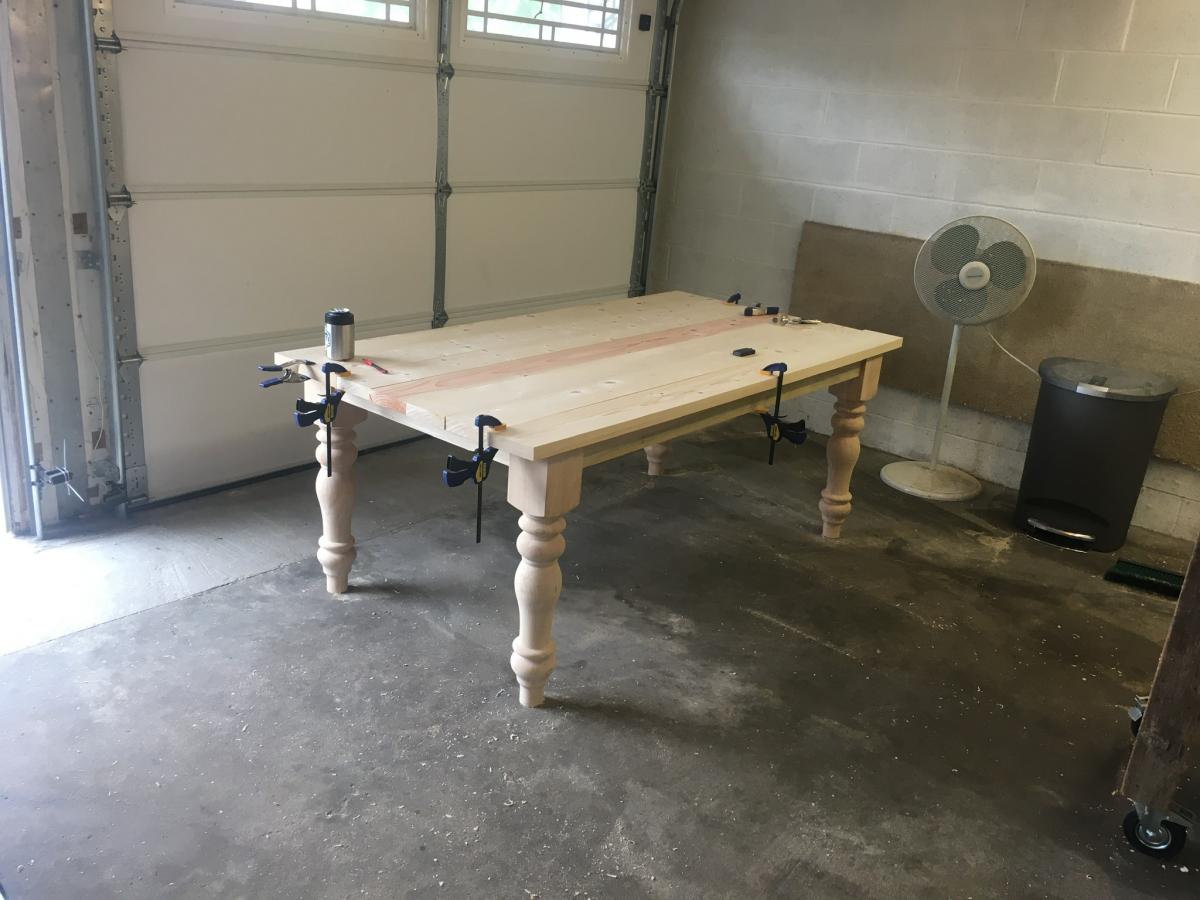
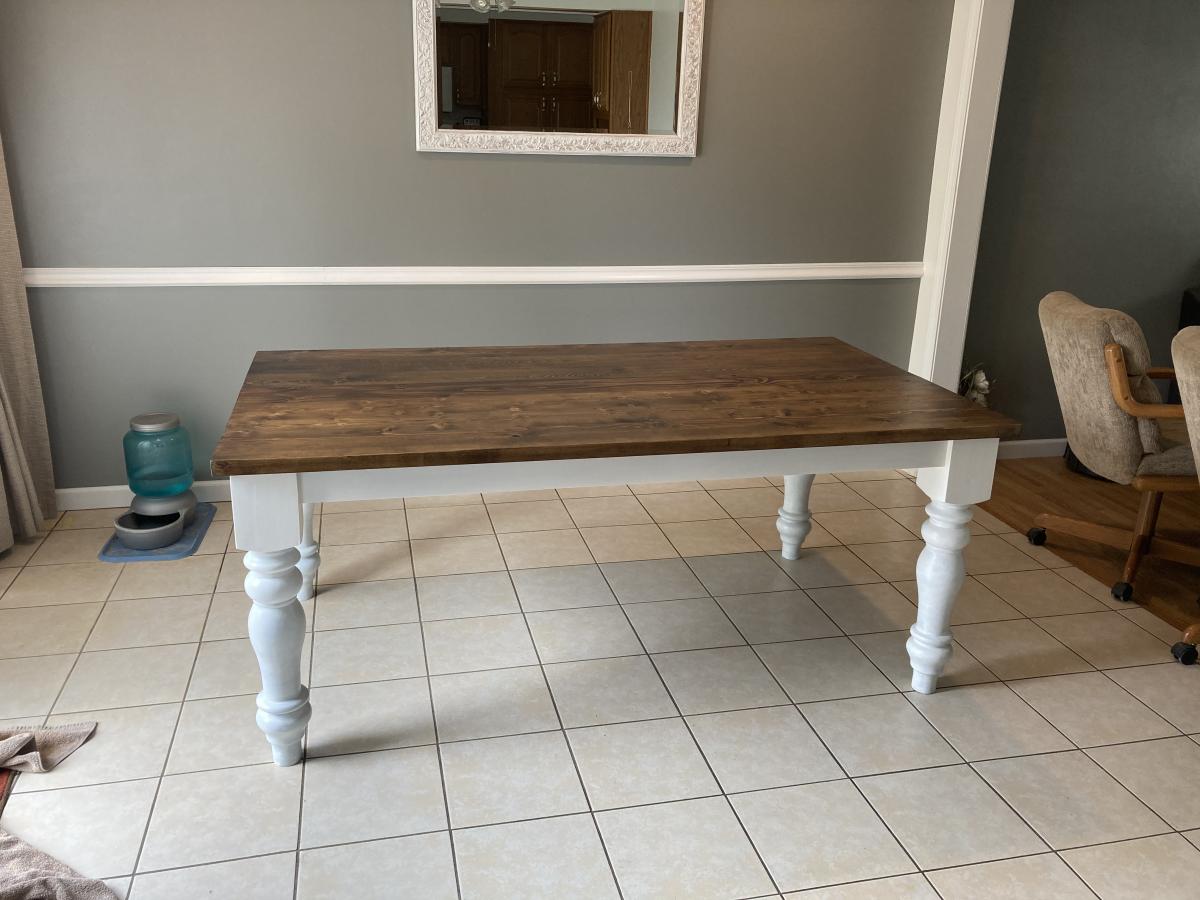
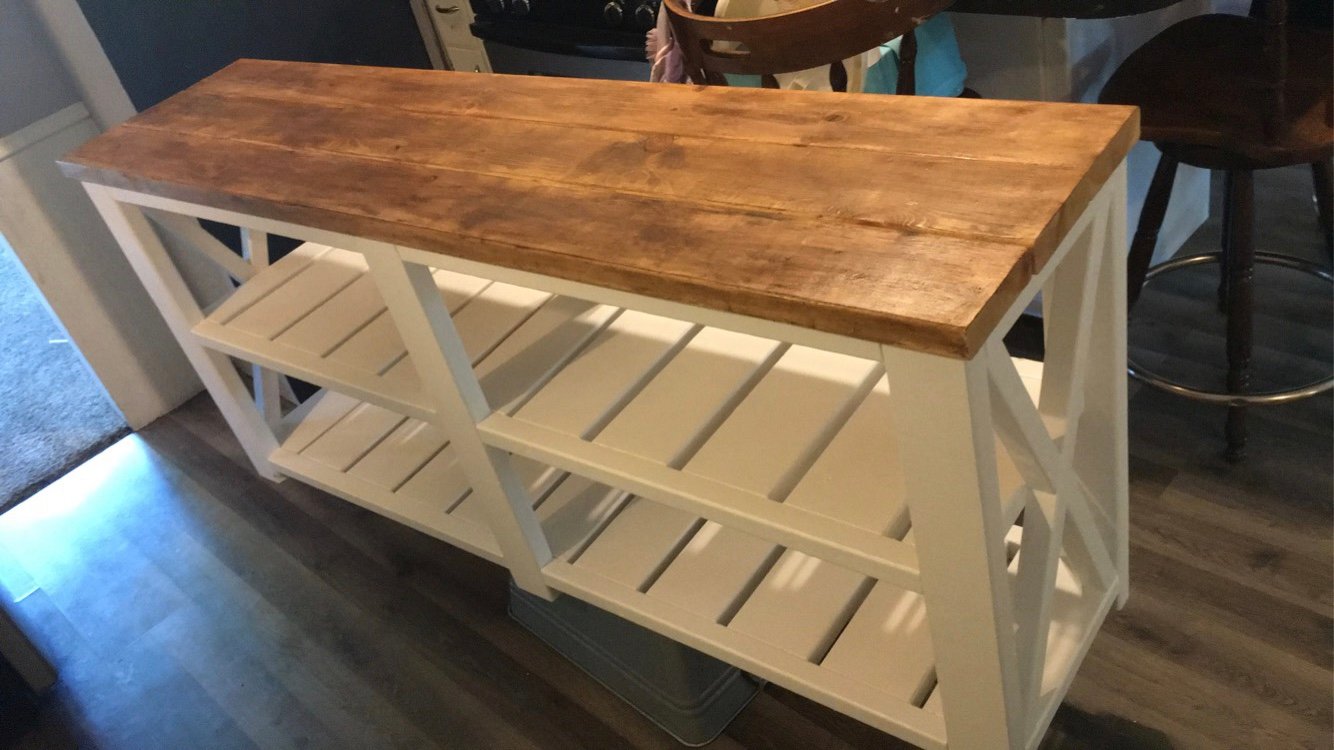
Husky farmhouse table
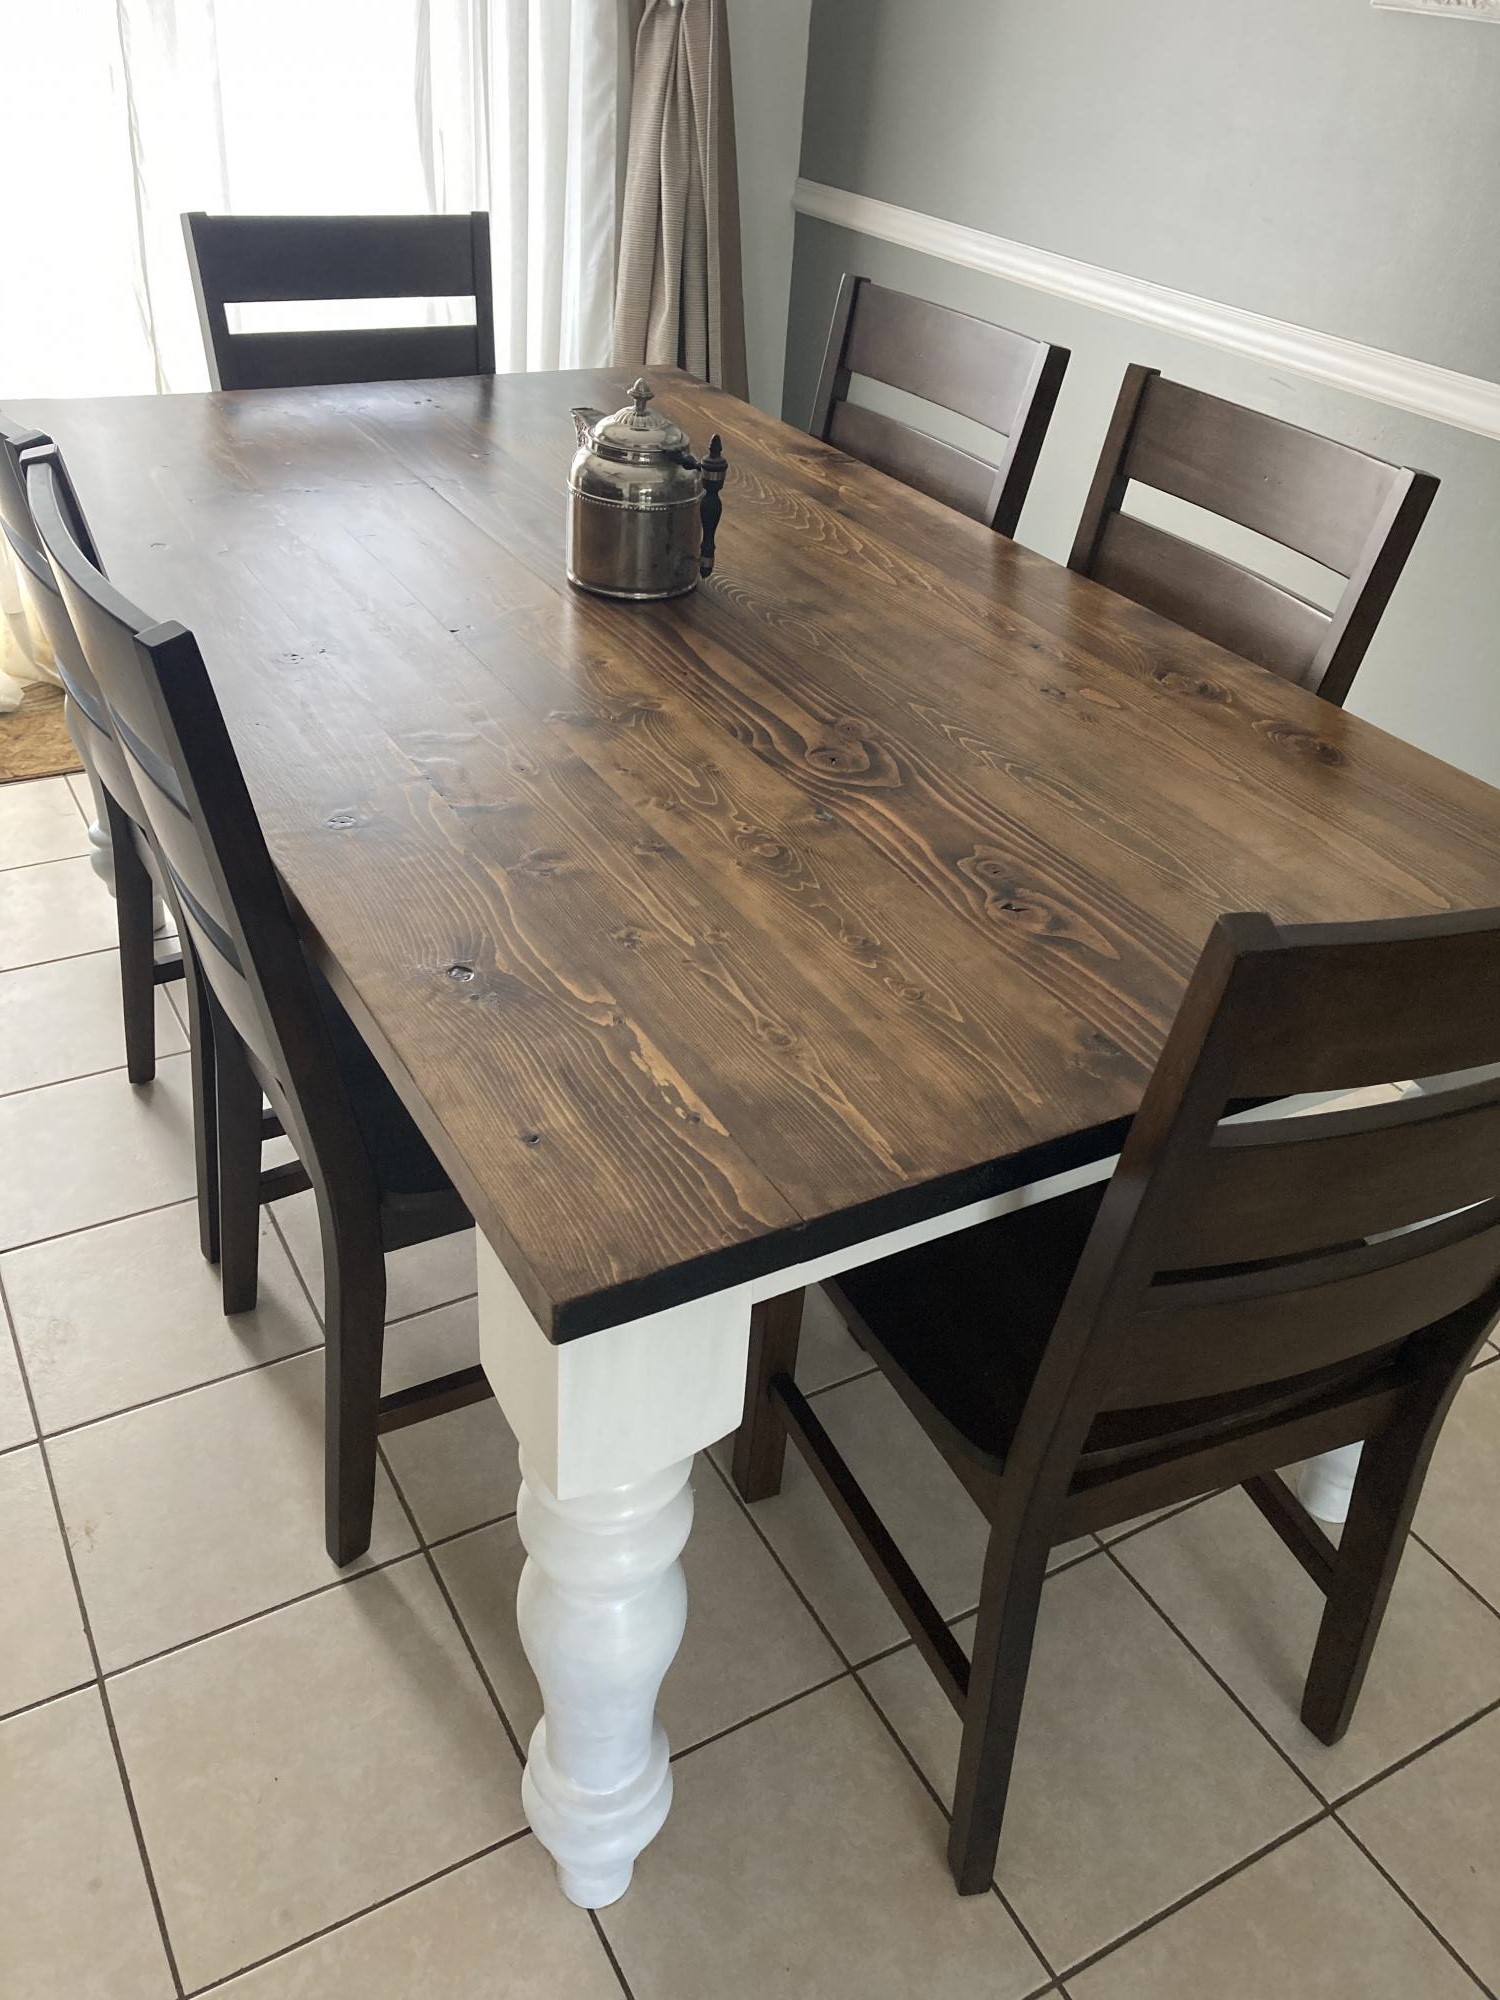
This was a fun project to replace our old oak table. Anna’s project plans was very easy to follow. My wife wanted a semi plank look so I used a wood jointer and a wood planer to get the top nice and snug without many gaps. I used popular for the sides and I used 3 pocket holes for every frame connection to add strength. 2 pocket holes seemed a little weak. I used valspar aspire white for the paint and Minwax walnut stain. For the poly I used varathane 3x thick satin oil based polyurethane. I tried using semi-gloss but it was two shiny for us. I added 2 cross braces for added support for the lower portion of the table and to add more points of contact to keep the table flat. And secure. Don’t be afraid to have small imperfections. They give it the authentic look.
Built from Plan(s)
Estimated Cost
600-700
Estimated Time Investment
Week Long Project (20 Hours or More)
Finish Used
Minwax walnut stain
Varathane oil based polyurethane
Varathane oil based polyurethane
Recommended Skill Level
Beginner

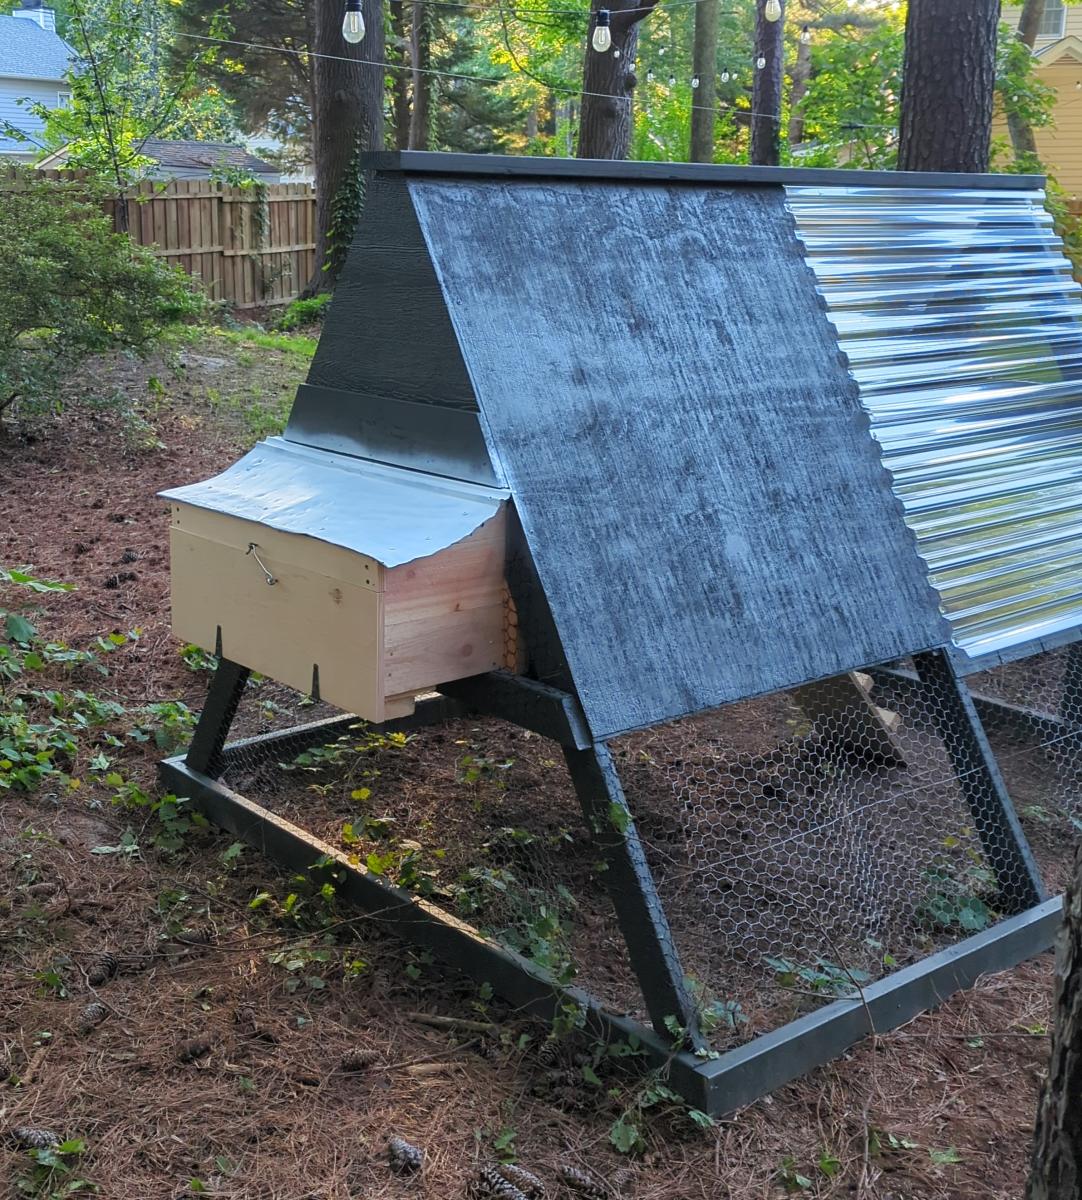
Small A Frame Chicken Coop

I wish I would have made the door a little bit taller. I added a nesting box and on one of the roof panels I put a hinge so that you could pull it up and clean the coope
easier.
Pat
Built from Plan(s)
Farmhouse furniture set
Had fun with this one
Outdoor Sectional and Adirondack Chairs
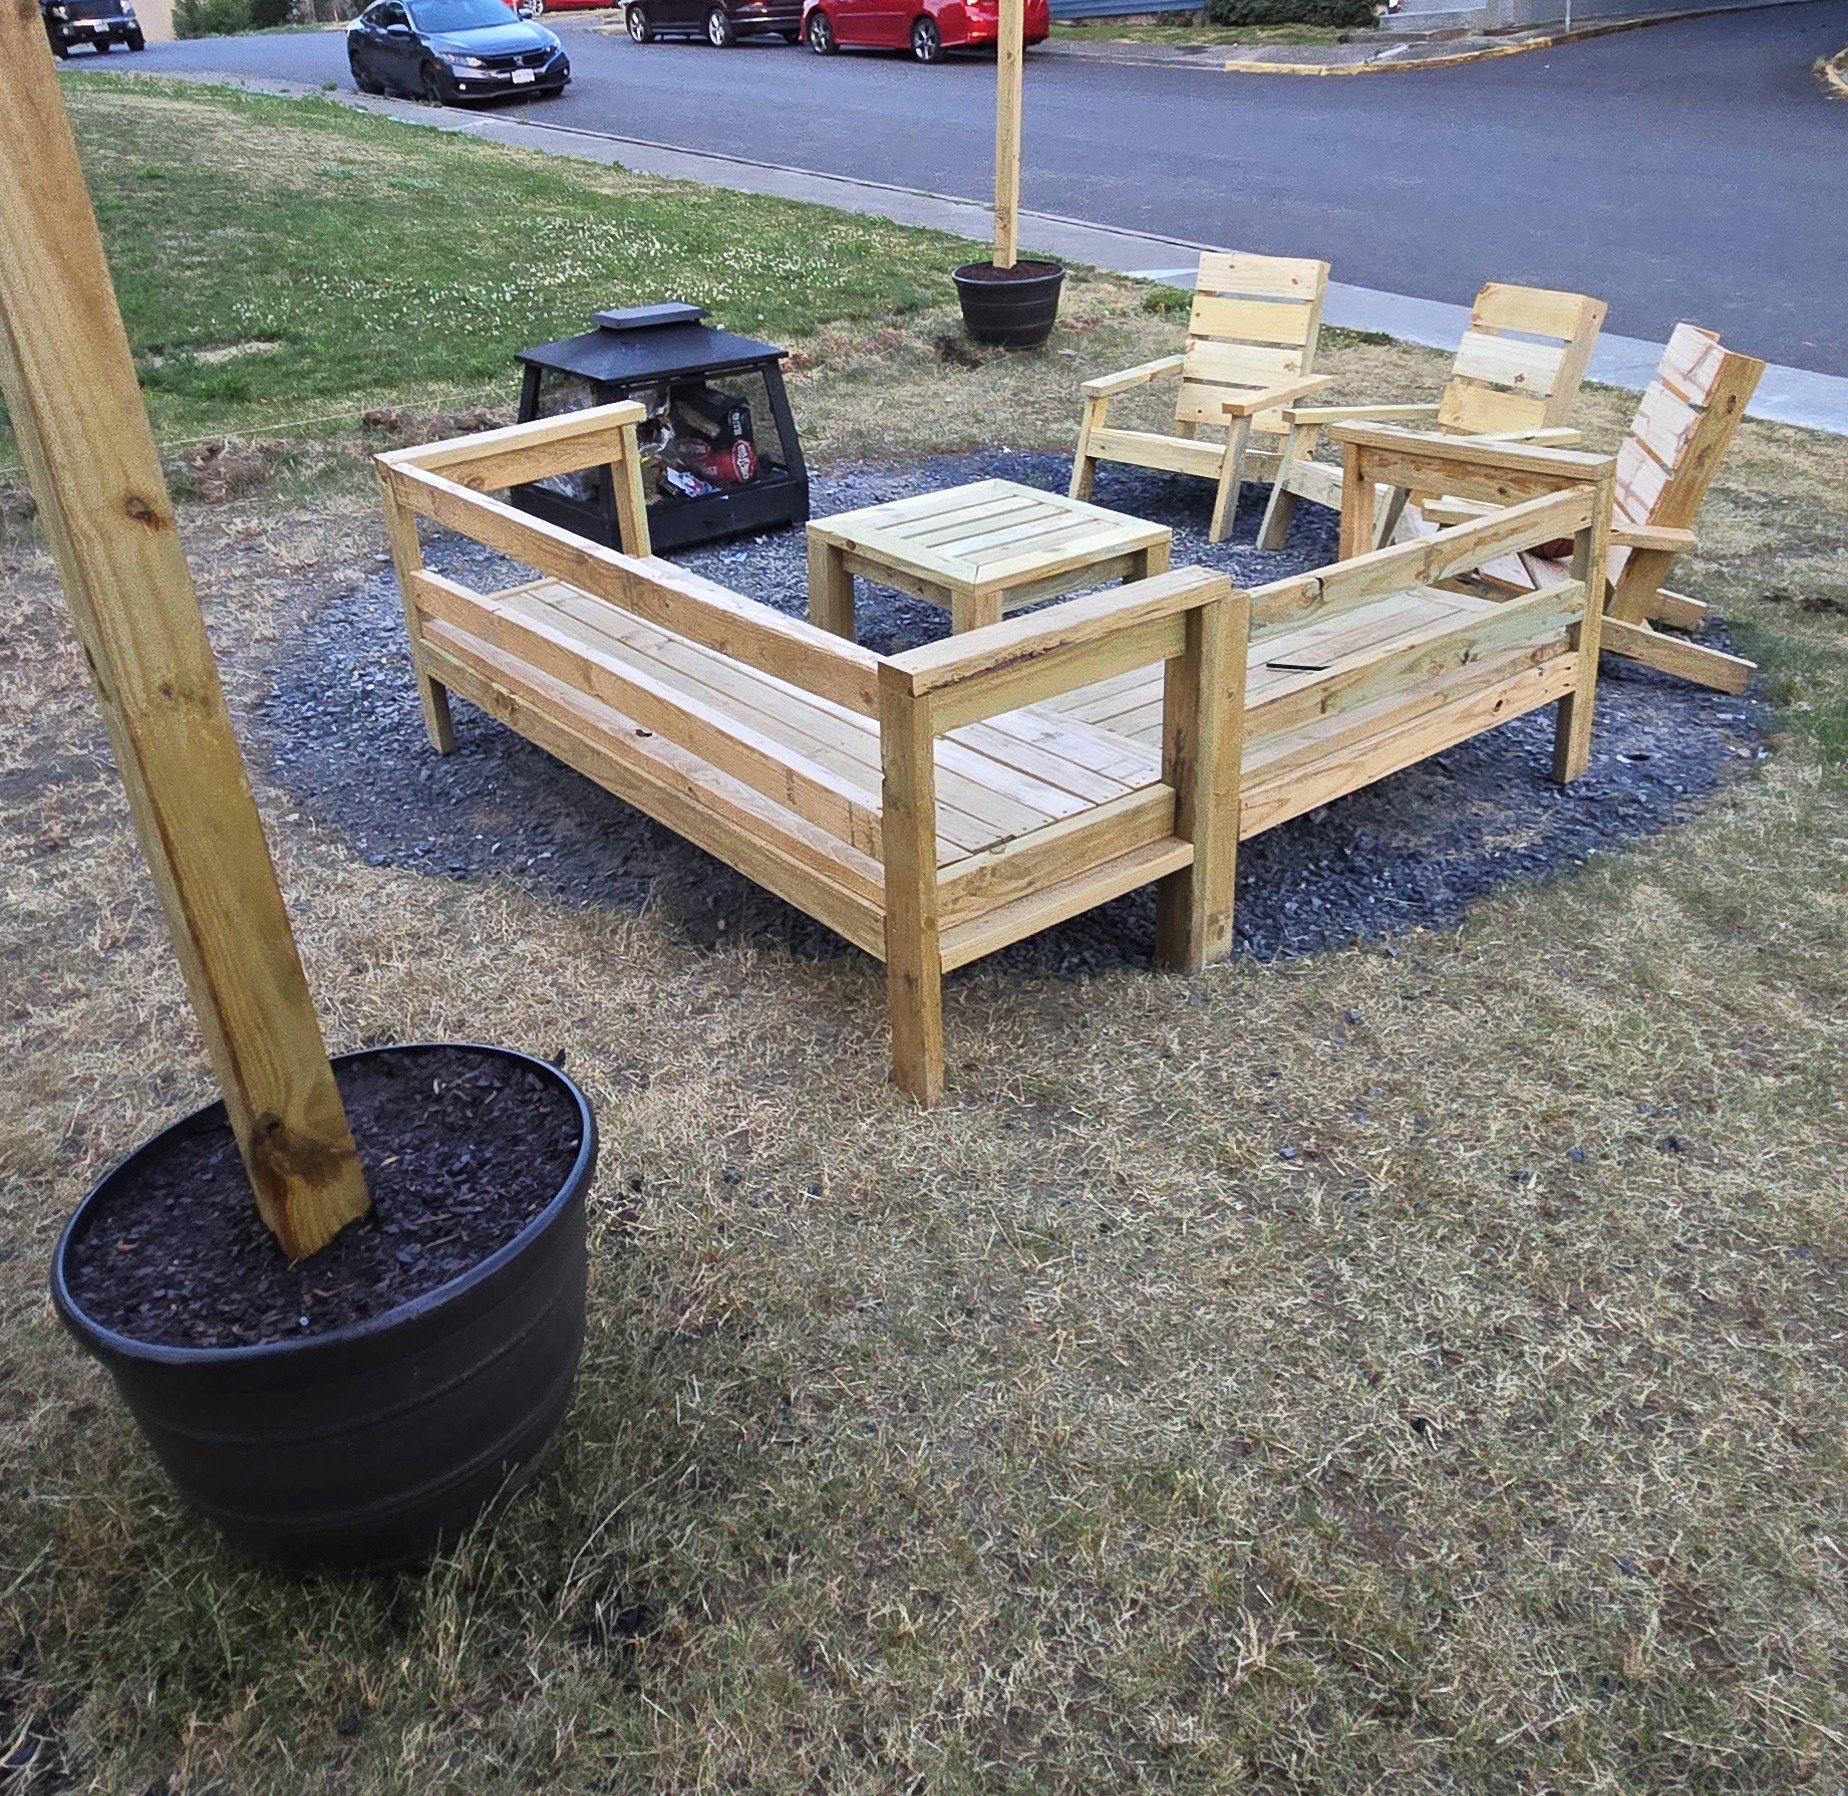
Made 3 Adirondack chairs with your plans. They're waiting for stain but work perfectly around our fire pit!
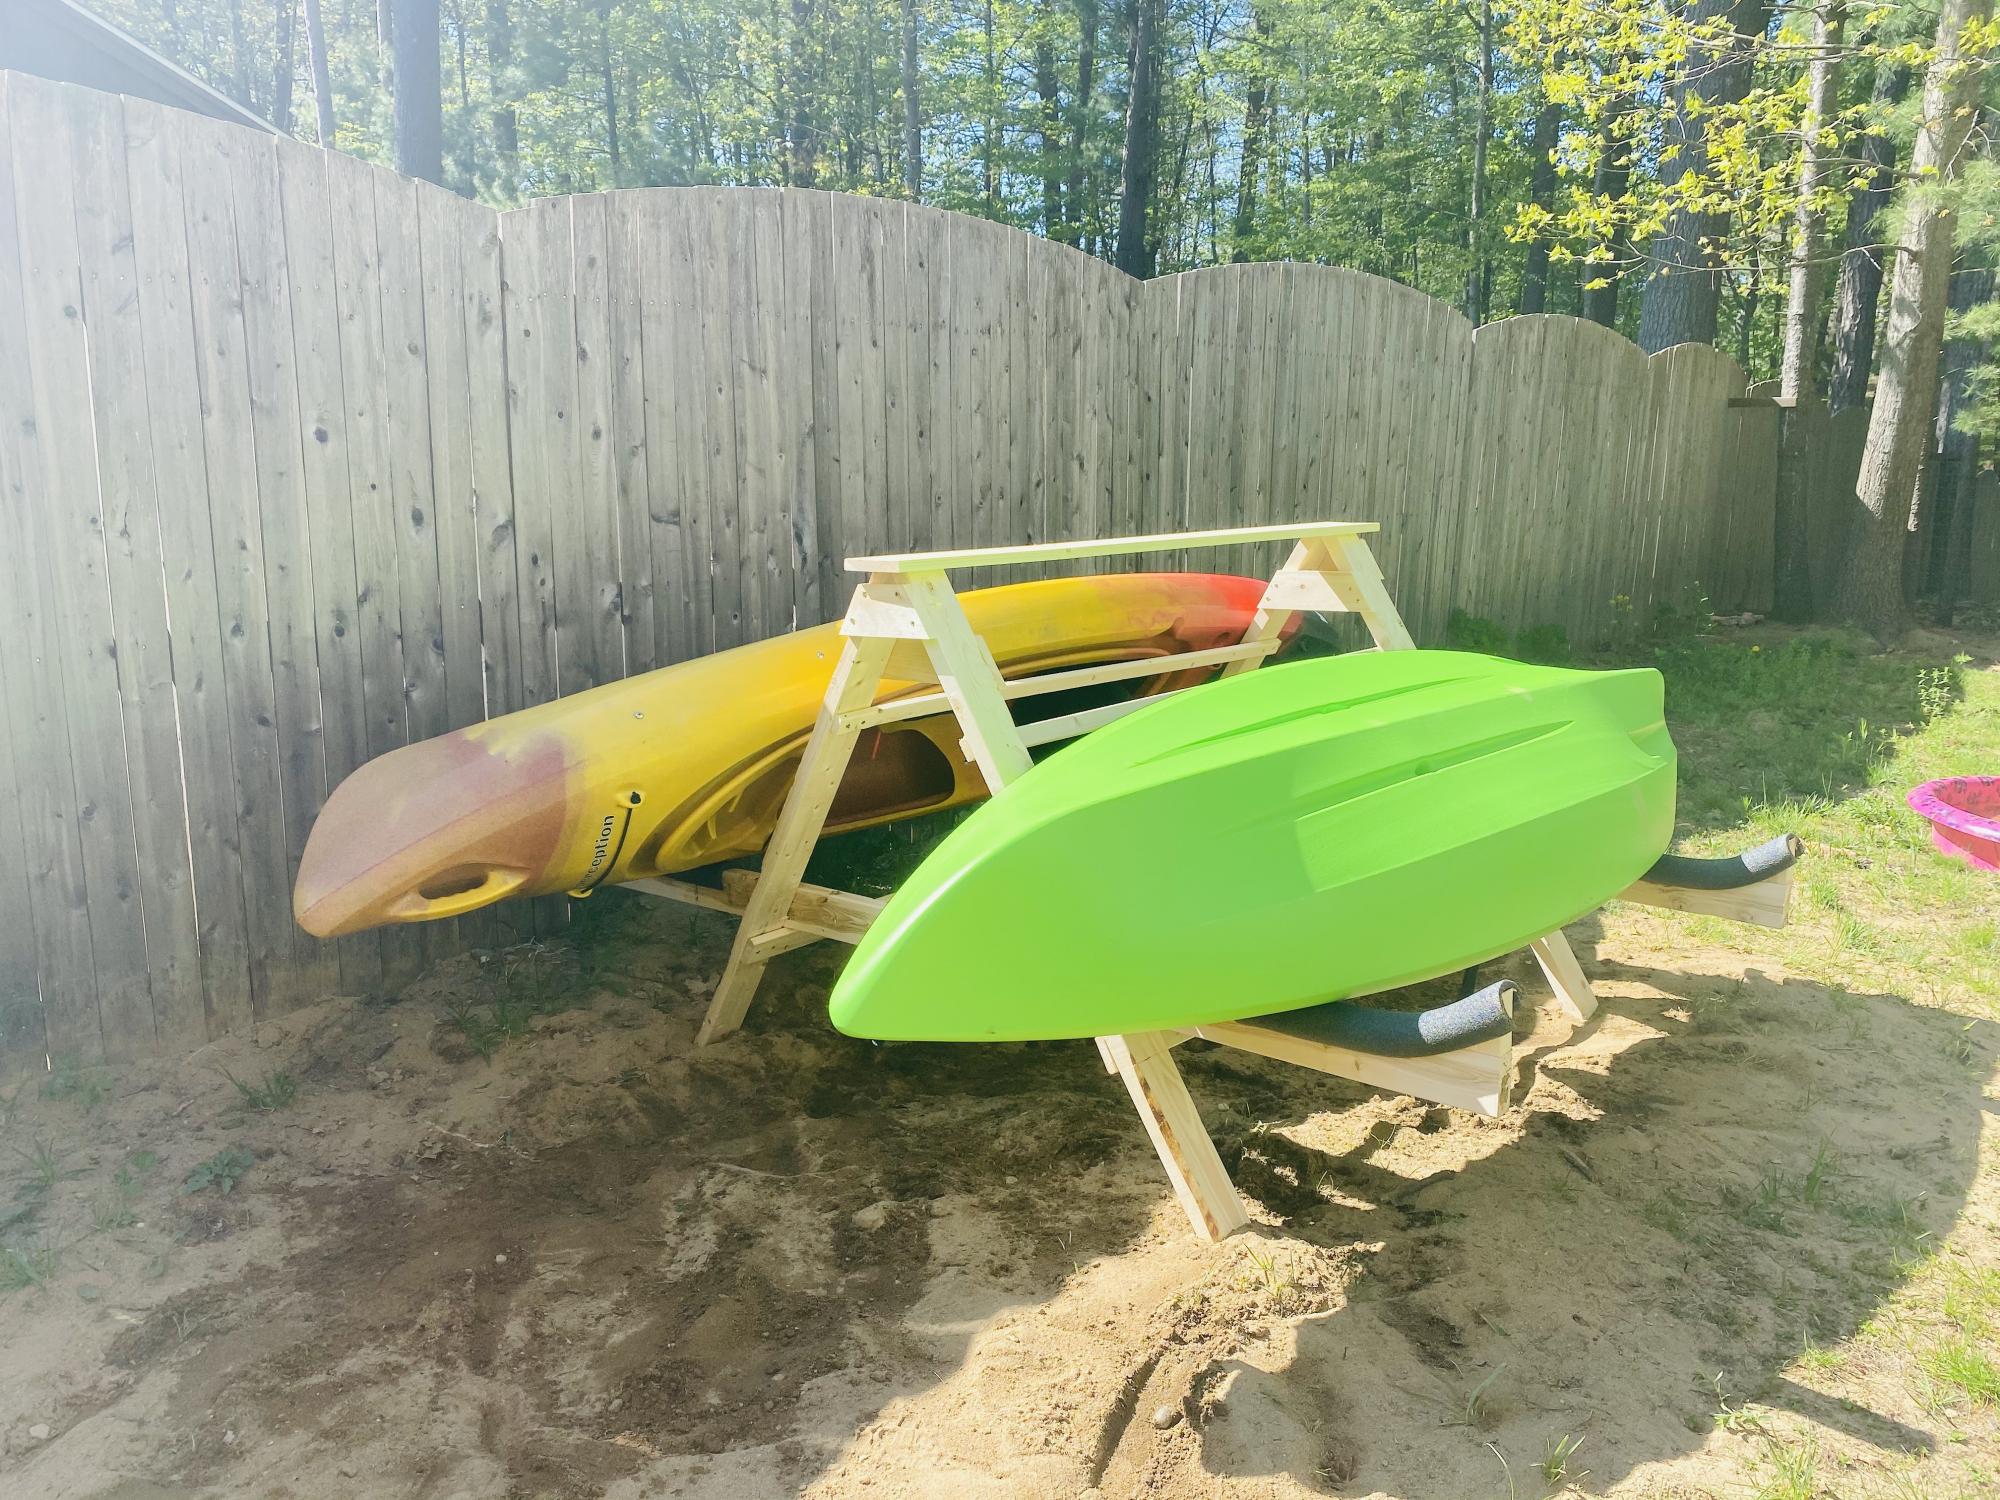
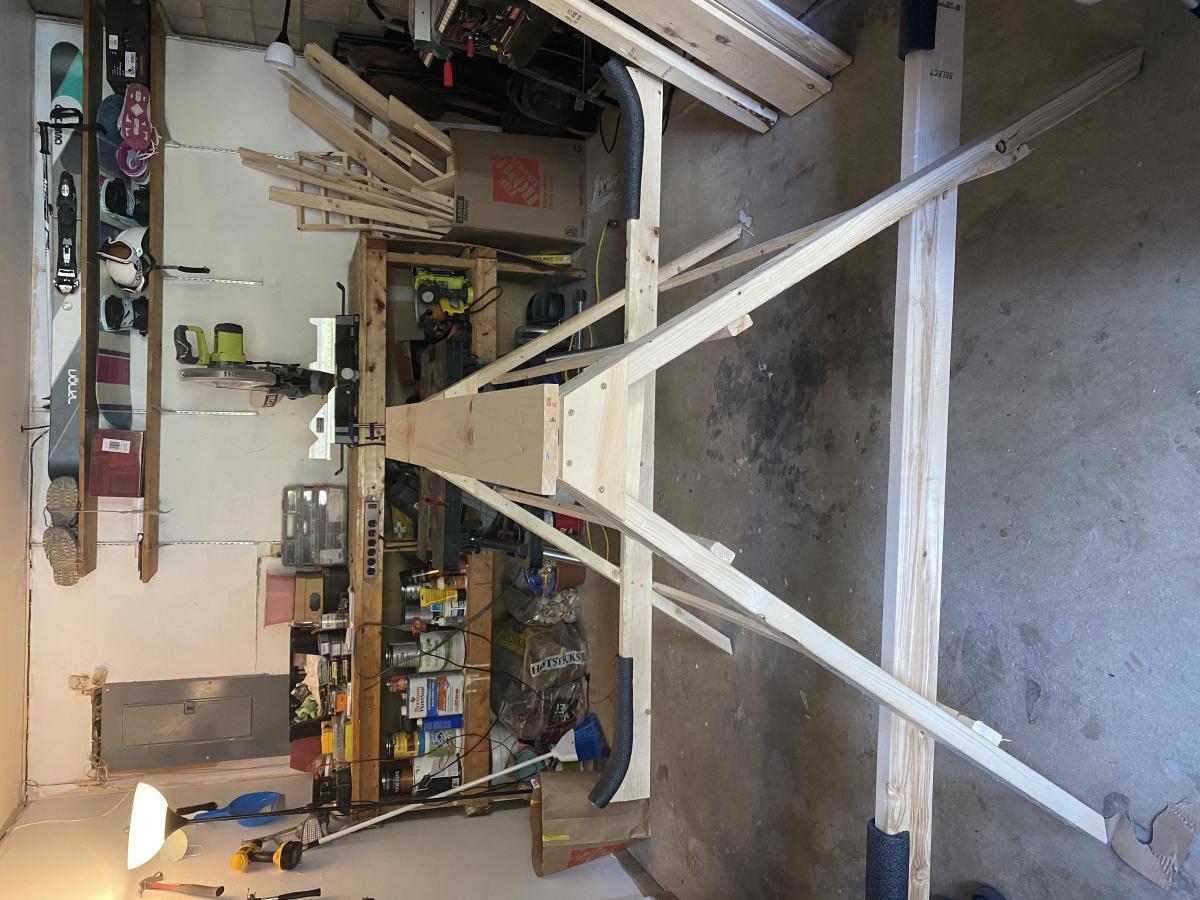
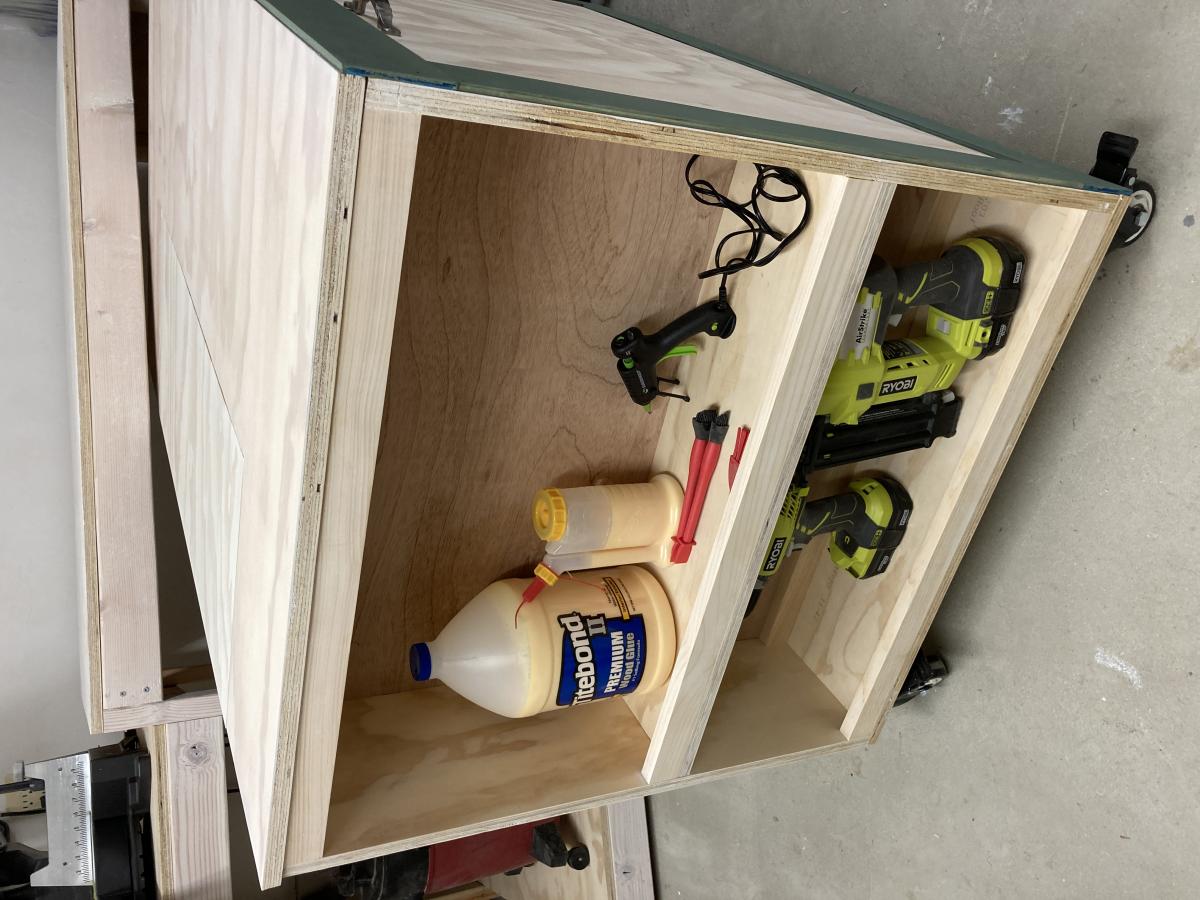
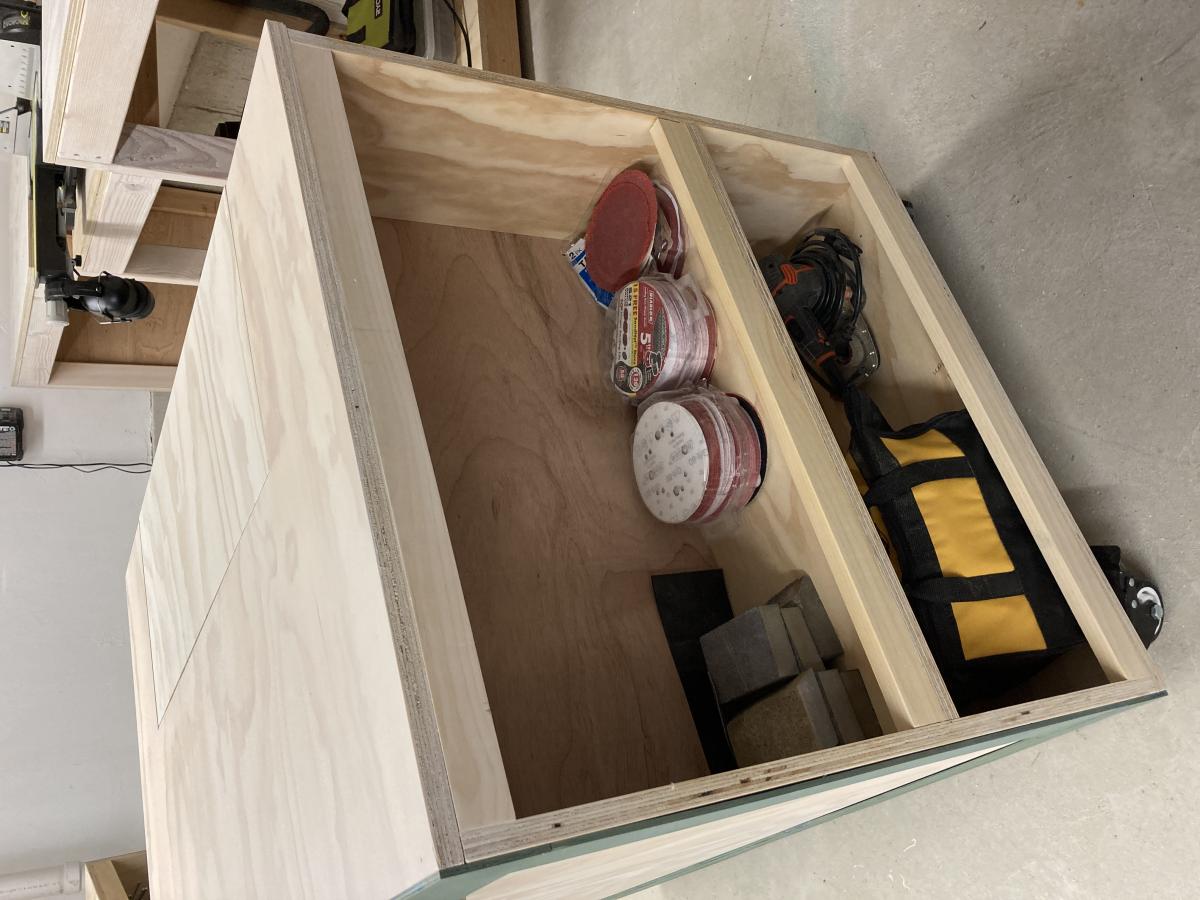
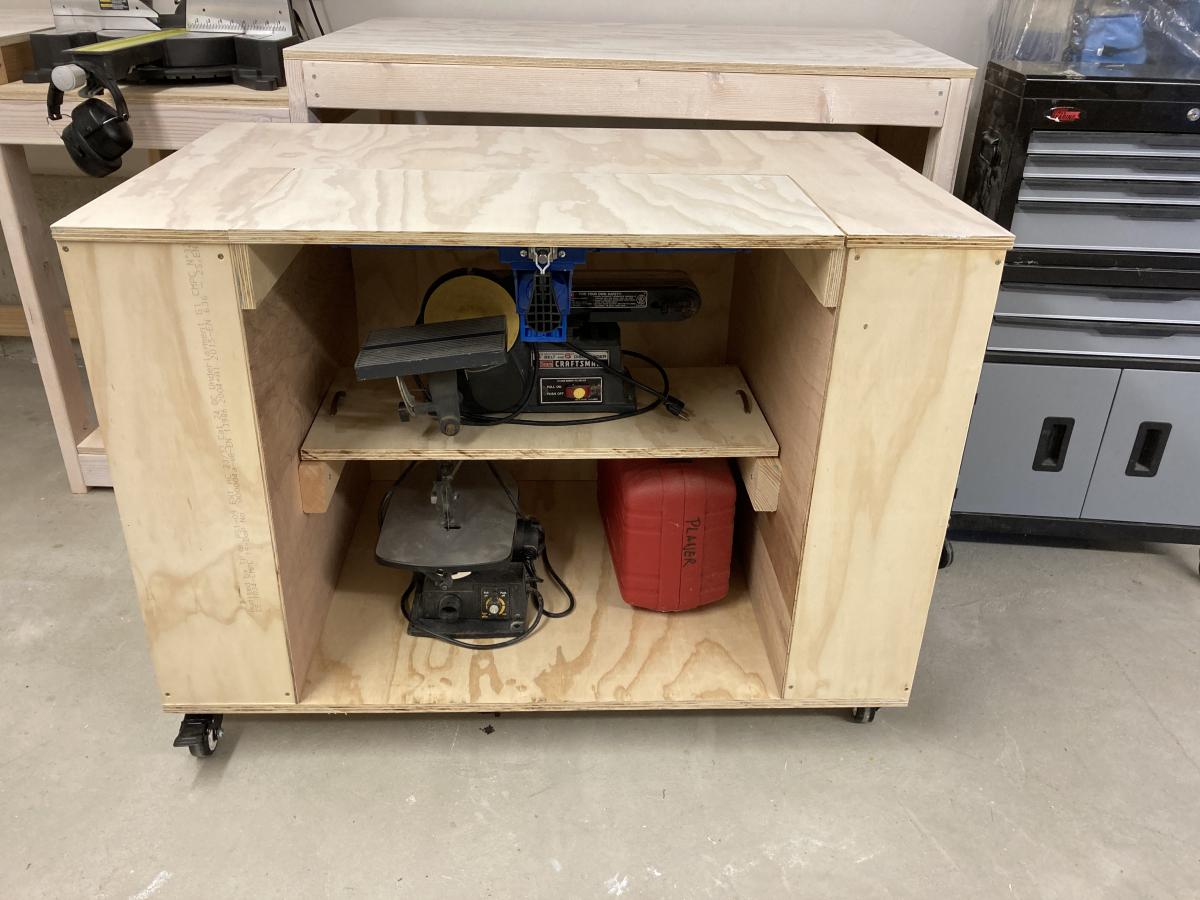
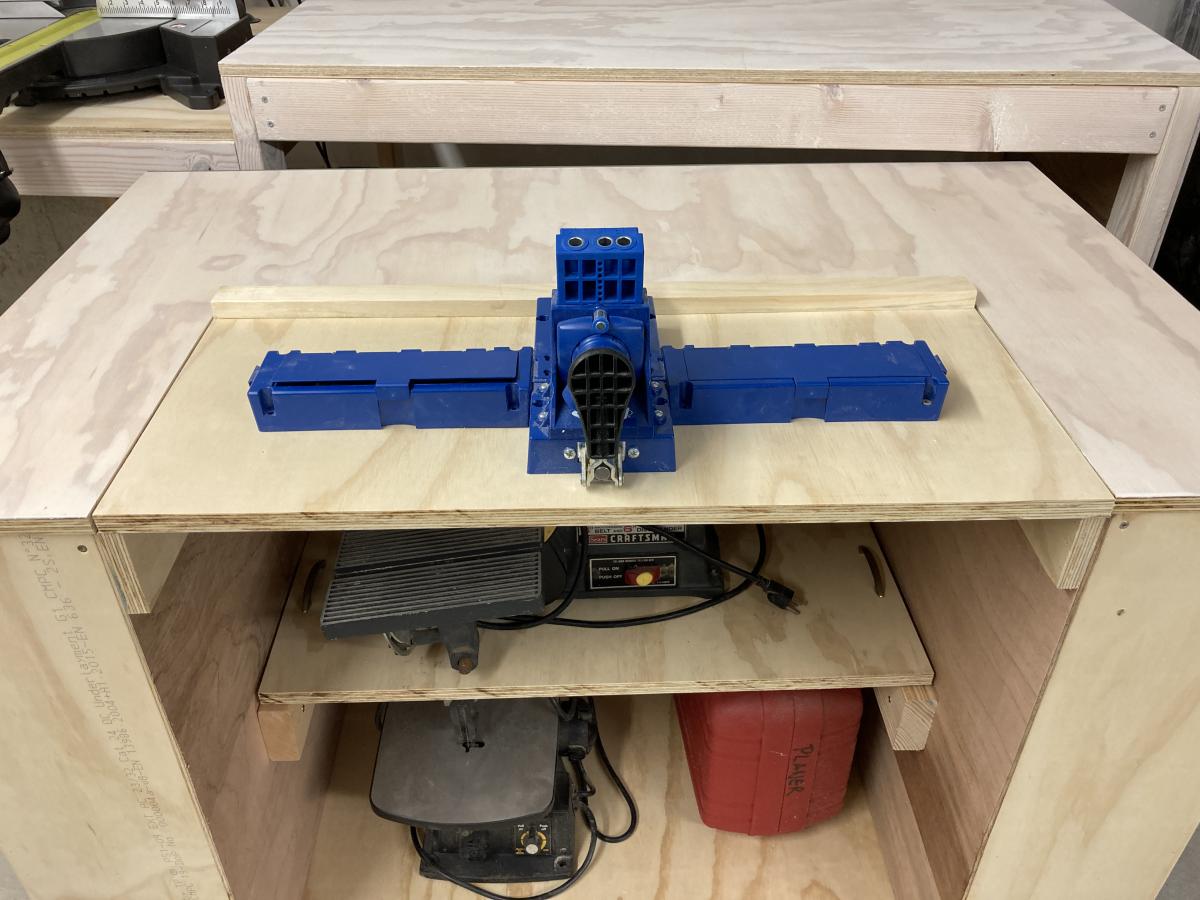
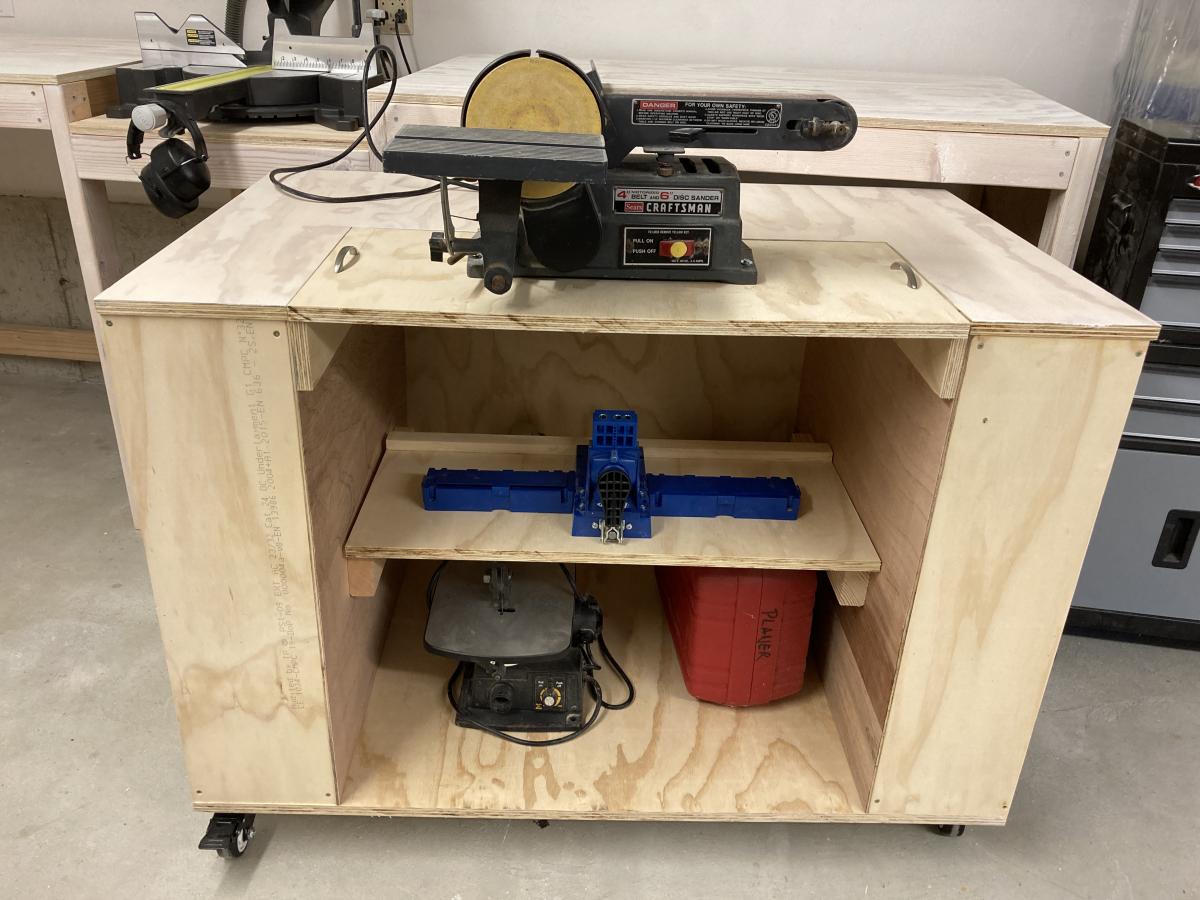
Ultimate Work Bench using Ana's plans
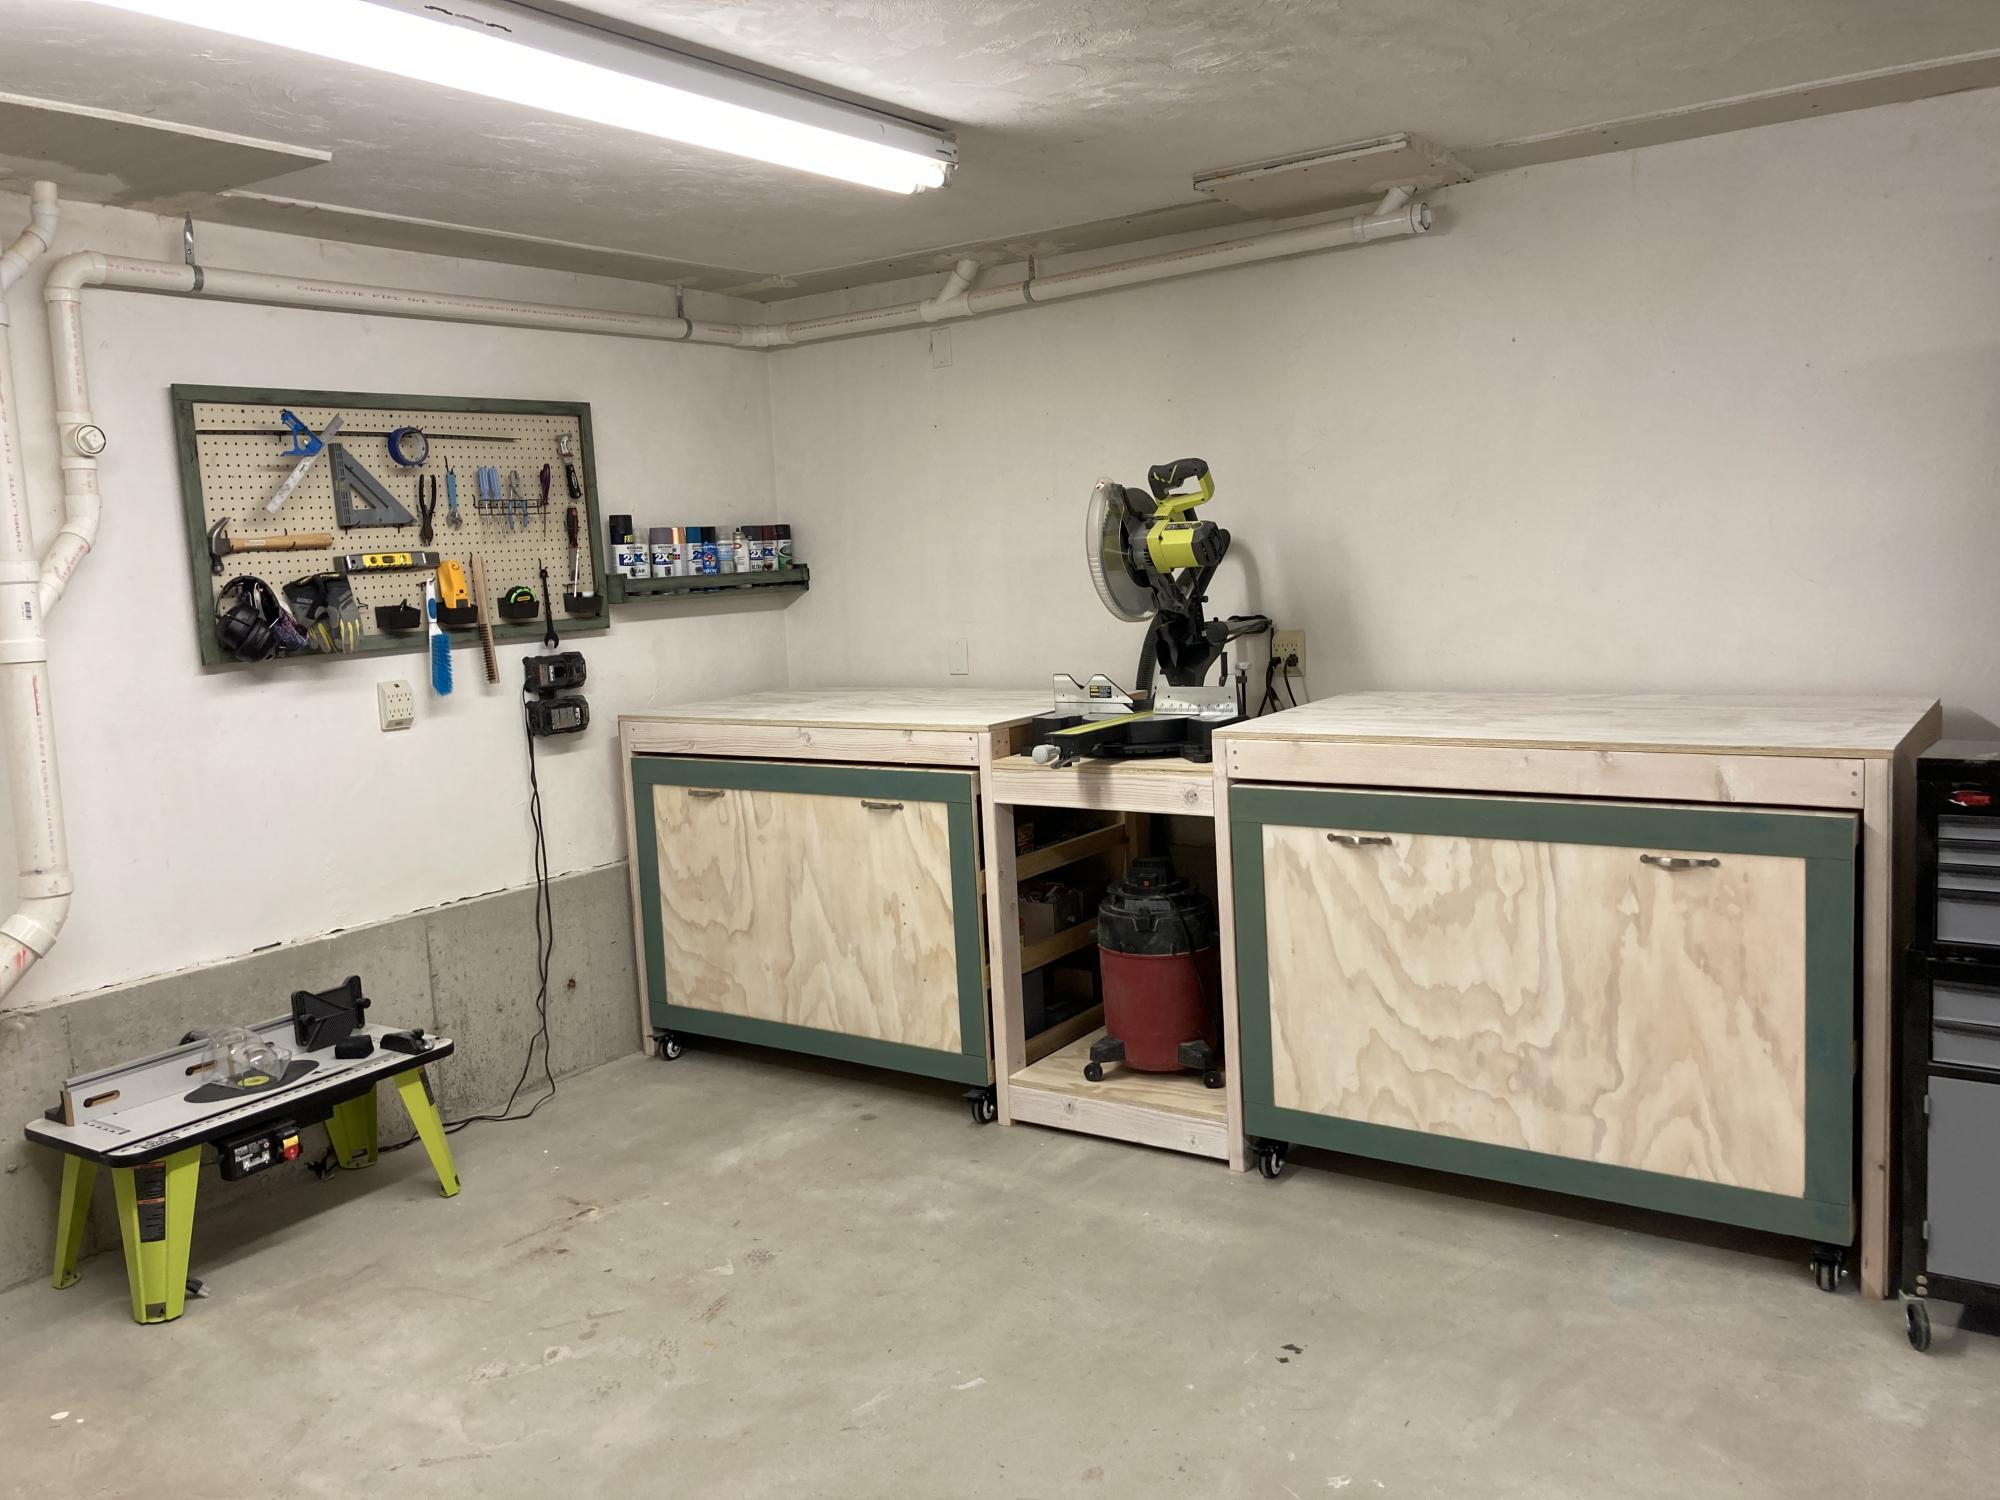
When I first saw Ana's Ultimate Work Bench I was blown away. I *had* to make this. I love how neat the garage looks when everything is put away.
I had to make a few extra cuts in order to allow room for my table saw fence, but other than that the only thing I did differently was to pretty it up using a white gel wood stain that I sealed with finishing paste. I also added trim using the leftover 1/4 inch plywood.
Thank you for being such an inspiration, Ana. I love your plans!
Built from Plan(s)
Estimated Cost
$375
Estimated Time Investment
Week Long Project (20 Hours or More)
Recommended Skill Level
Beginner
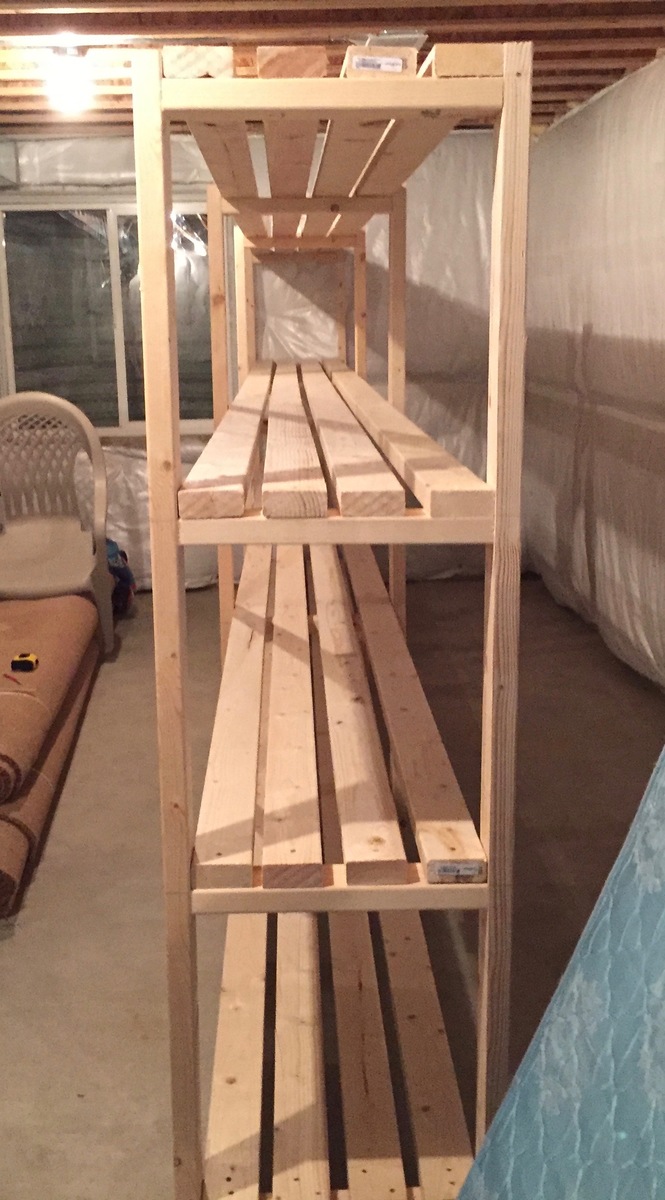
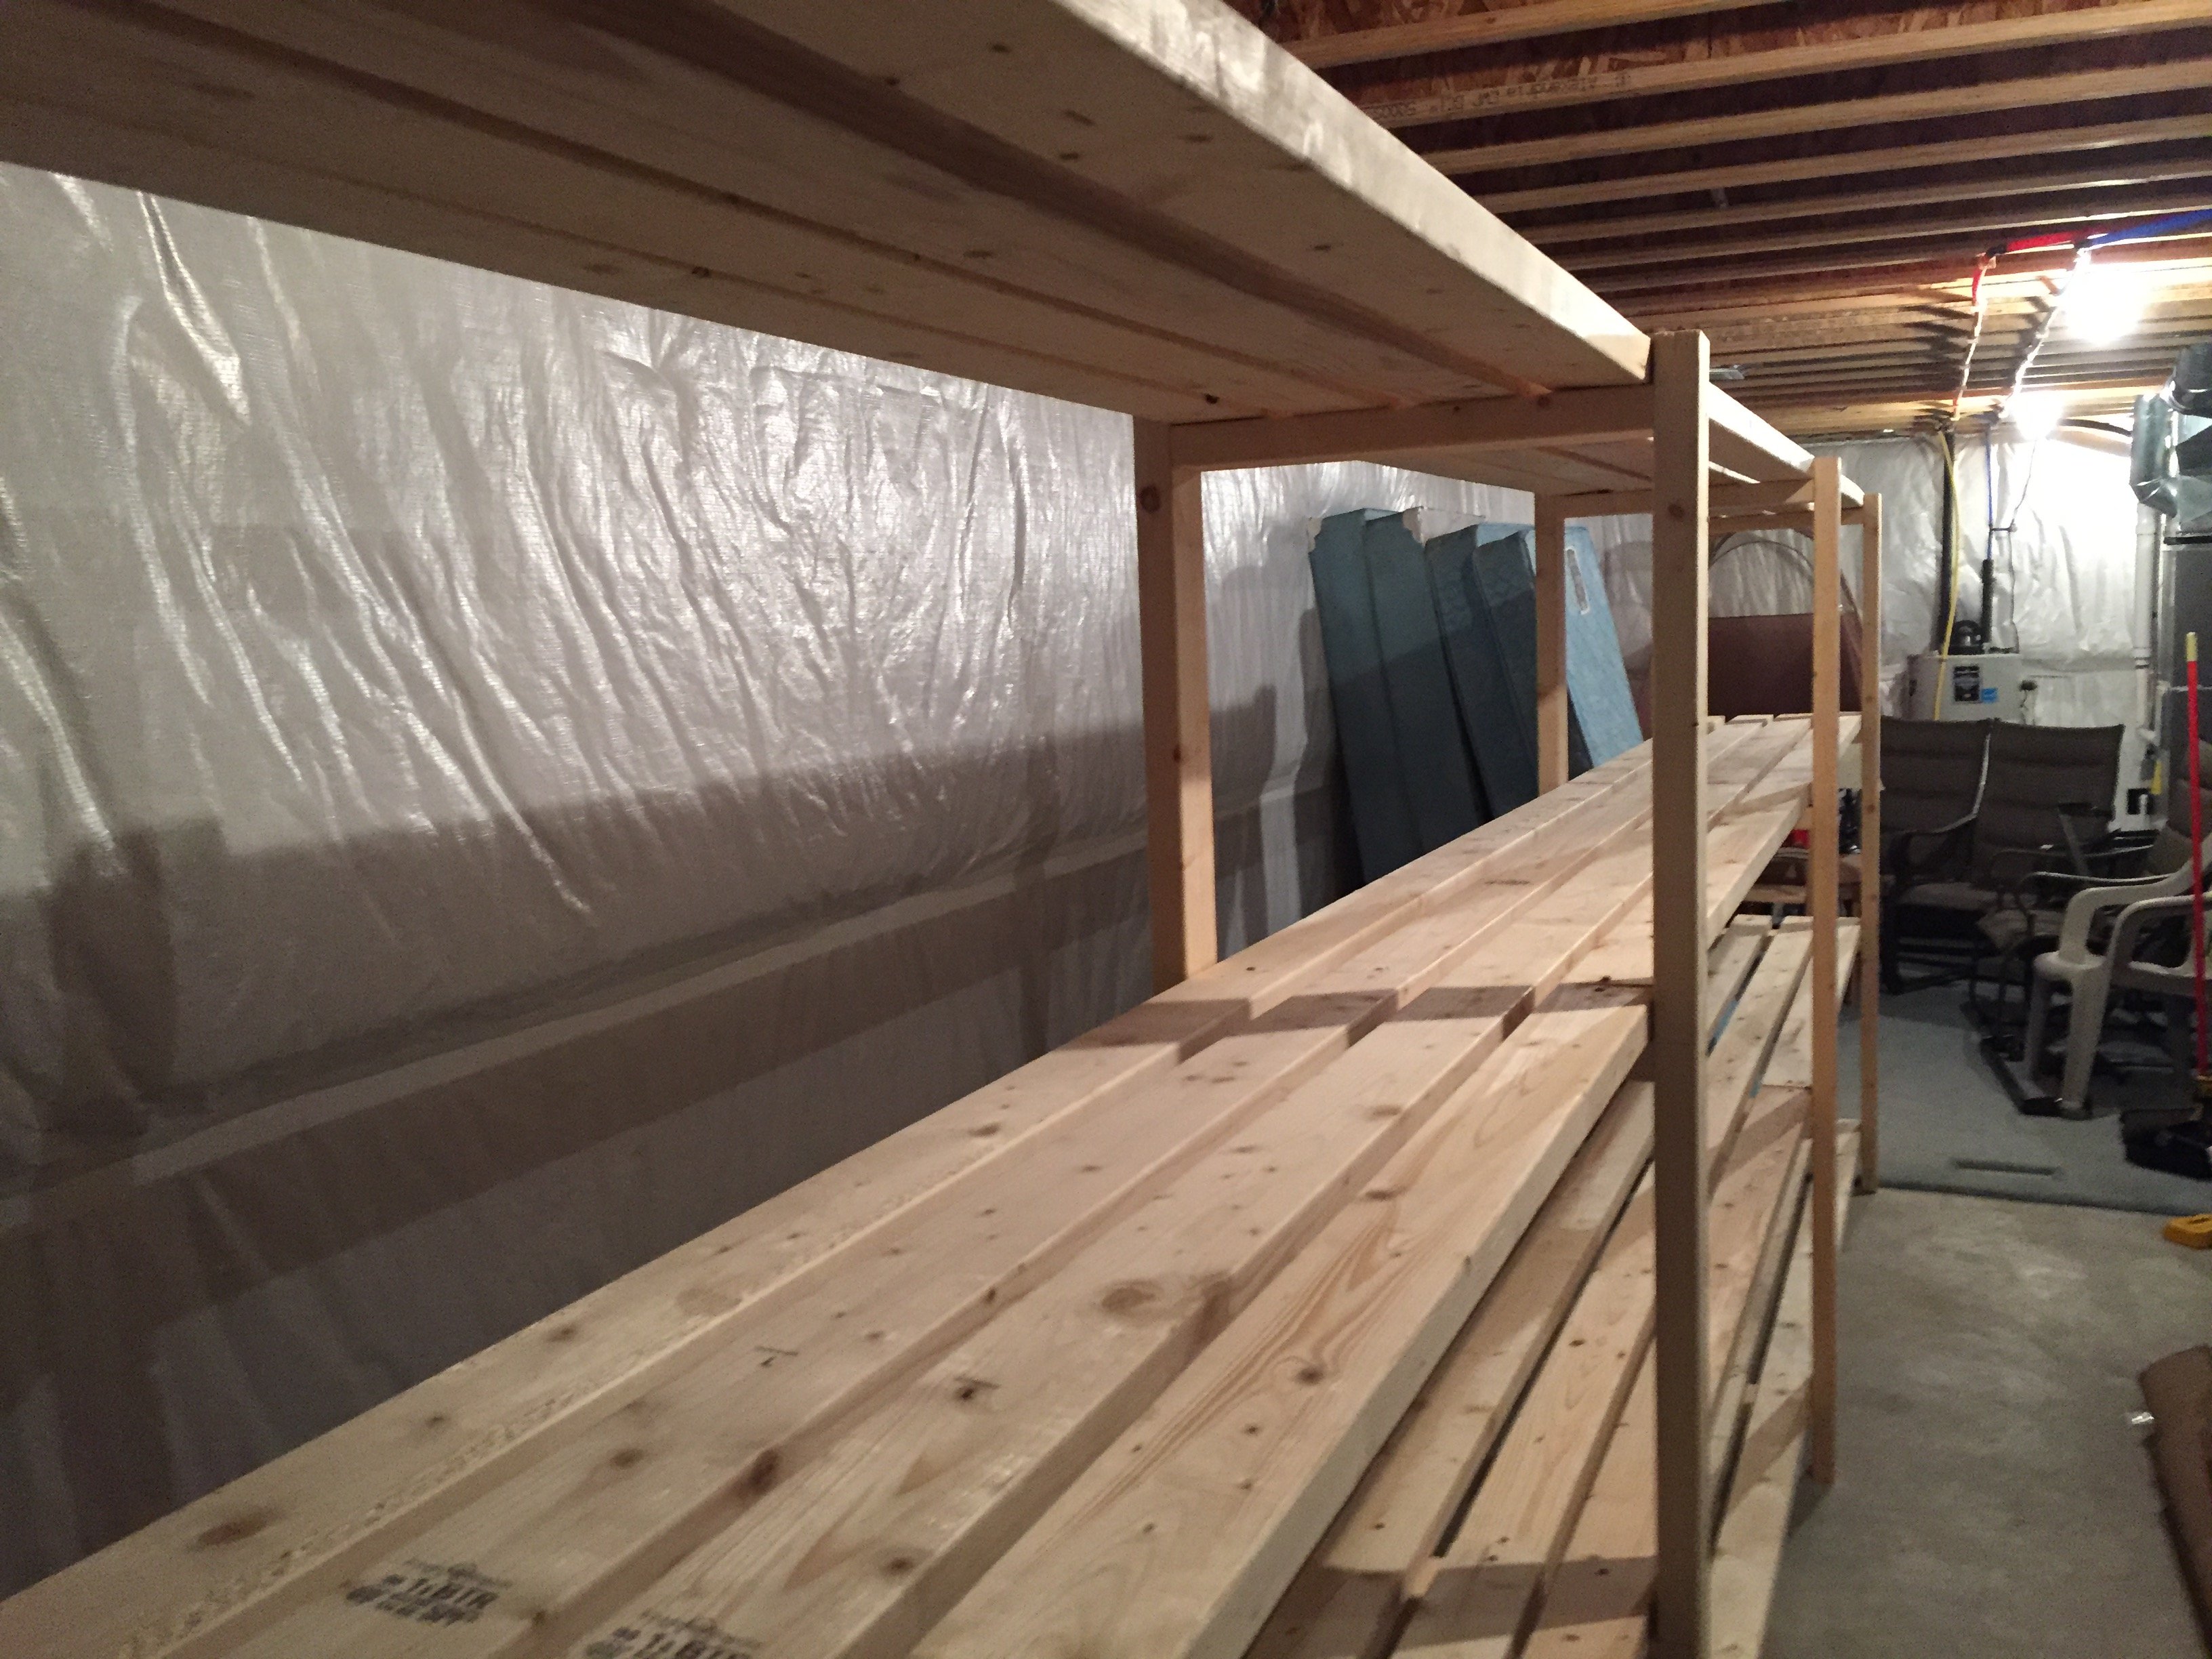
Basement Storage
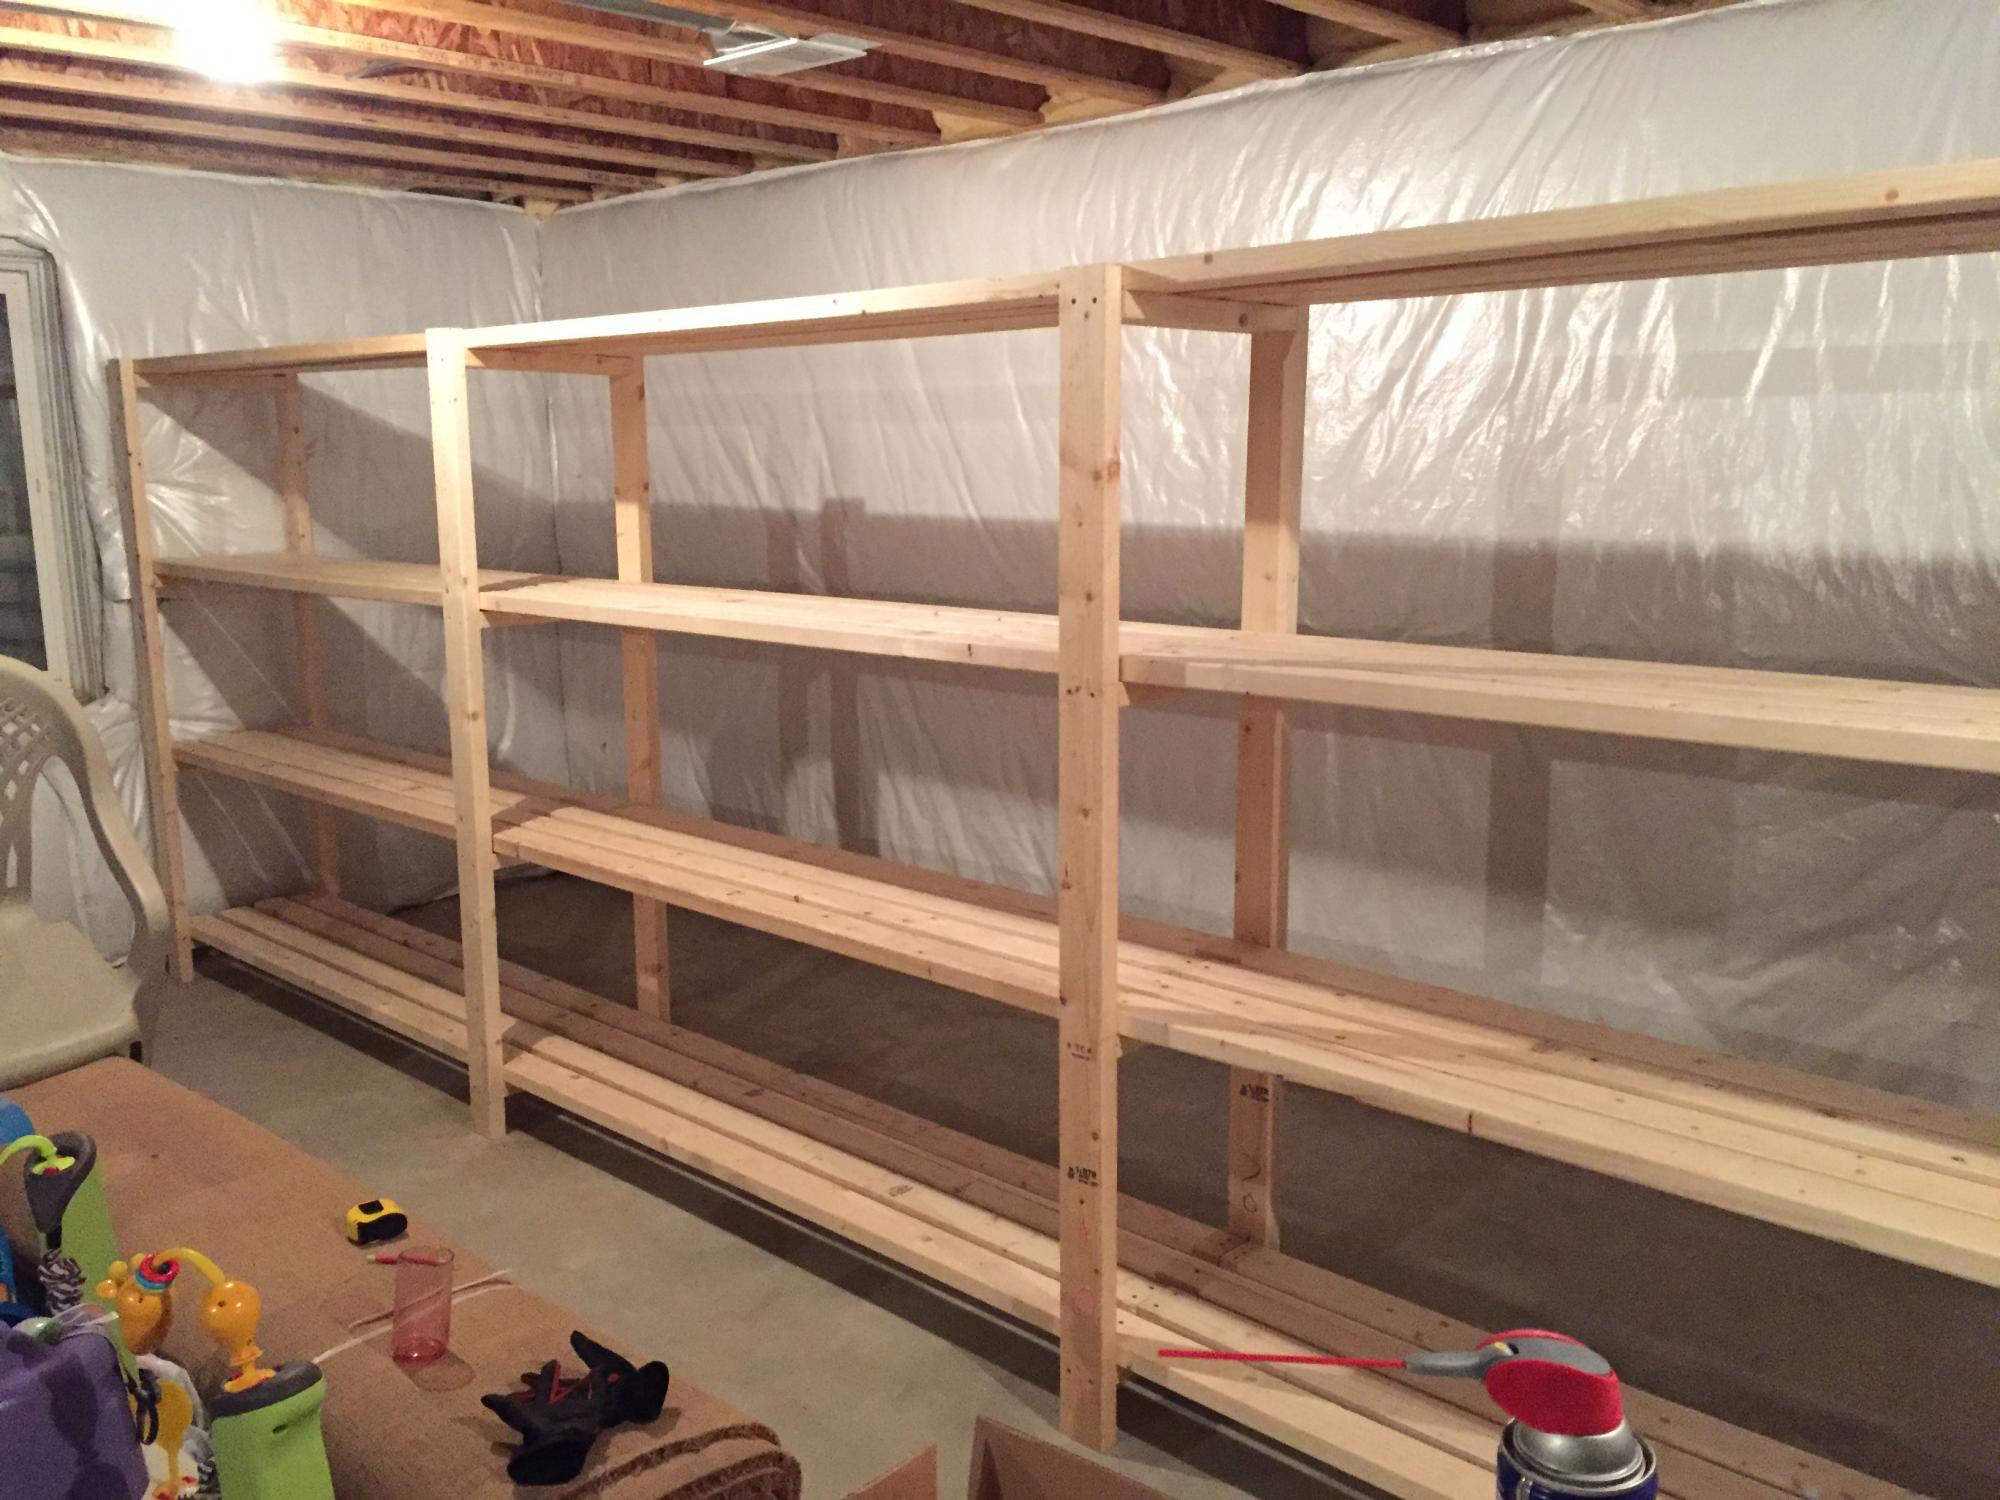
Thanks for the instructions! Here's my version. I haven't built much of anything before, but I needed it in my basement to handle kids' stuff. My version is 18 feet long. I combined a 12-foot and 6-foot 2x4 to get that length, which meant less cutting, which I had done at Lowe's (for free). I used the 6-foot 2x4s throughout the shelf to ensure it was strong (in other words, I didn't want a 12-foot "section" and a weaker 6-foot "section" added on).
I was able to get everything in my car but the ride home was slow. I also had to use my egress window to get the 12-foot boards in the basement.
Total cost for me was about $170 including a couple boxes of screws and wood glue. I could've easily spent double the cost on store-bought shelving. Thanks for the plans!
Built from Plan(s)
Estimated Cost
$170
Estimated Time Investment
Day Project (6-9 Hours)
Finish Used
None
Recommended Skill Level
Starter Project
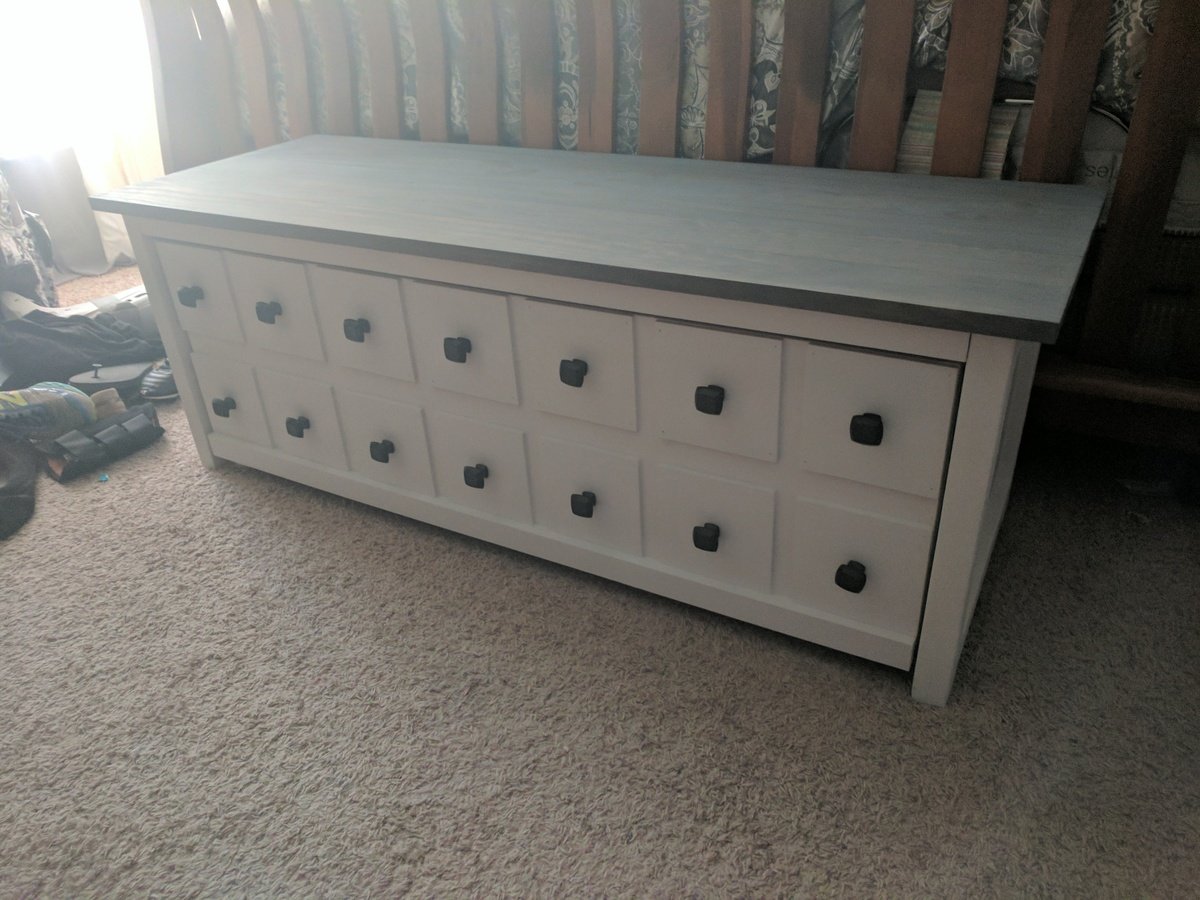
End of the bed storage bench
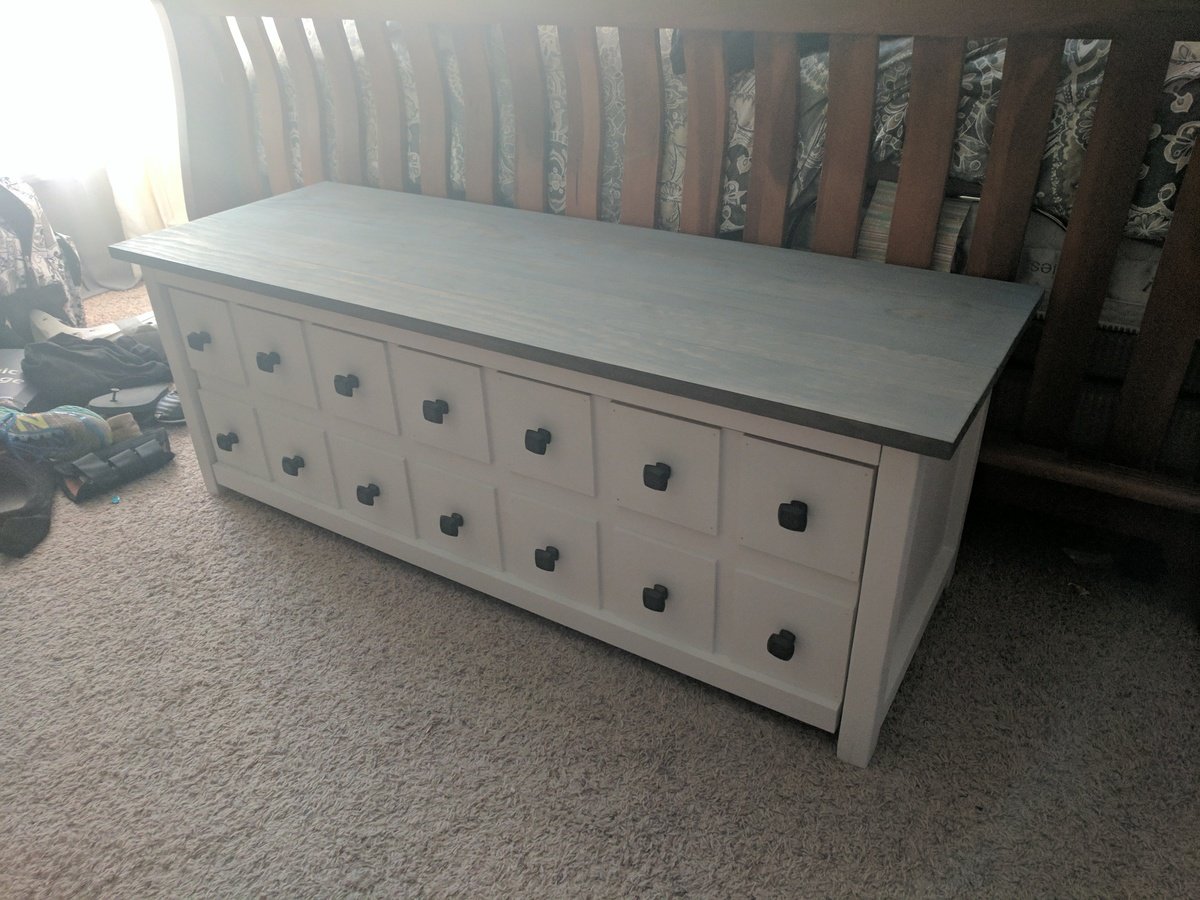
I changed up the dimensions to make a storage bench for the end of our bed. I wanted something different and couldn't be happier with the way it turned out. I stained it with weathered grey, then a coat of golden oak and then another of weathered grey. And painted the box with linen white chalk paint. I love the black knobs with the grey and white!
I only used 2x2s for the legs. I made the seat frame from 1x2s because of the warping I. The 2x2s. It made my life so much easier!

Built from Plan(s)
Estimated Cost
I used mostly scraps so it only cost me about $50 because of the knobs
Estimated Time Investment
Day Project (6-9 Hours)
Finish Used
Linen white Chalk paint, Rust-Oleum weathered grey stain and golden oak stain. Black knobs from home depot
Recommended Skill Level
Intermediate
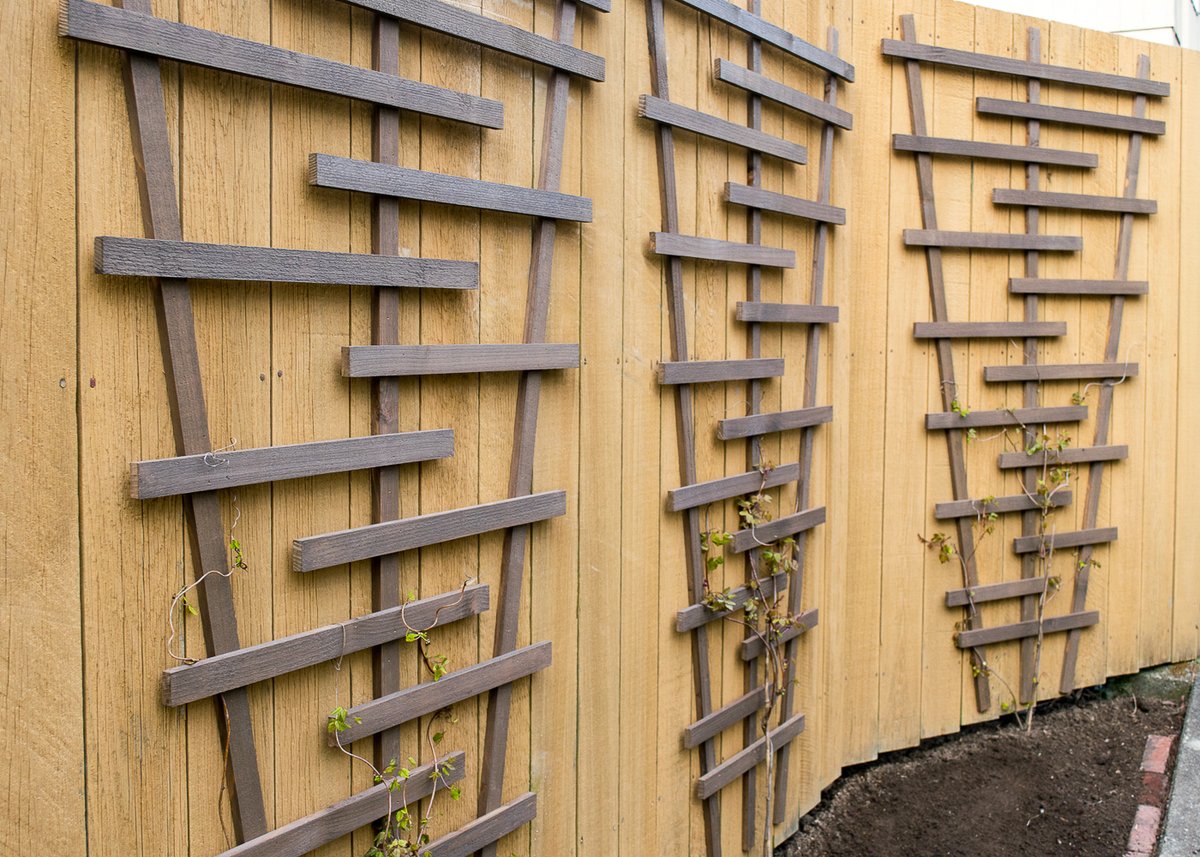
Modern Garden Trellis
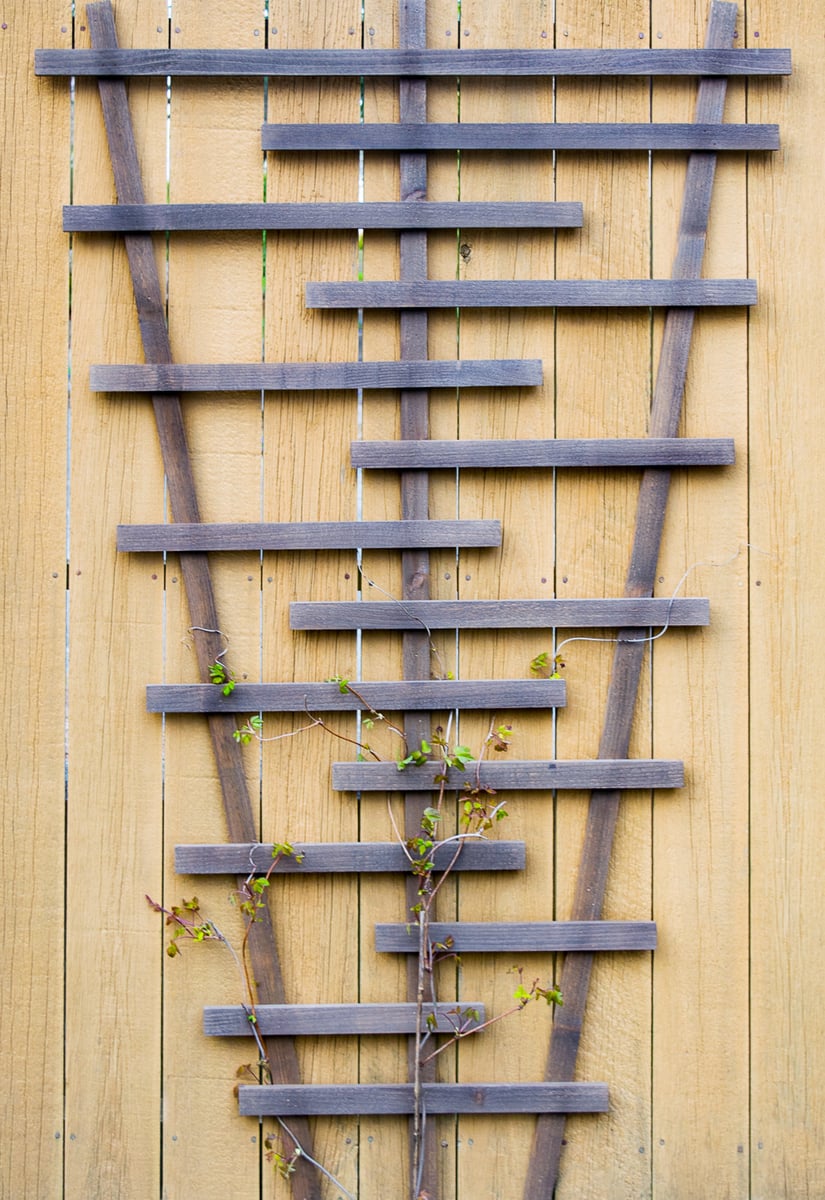
I made this garden trellis with cheap 6' cedar fence pickets ripped down to 1 1/2" strips. Get the free plans and tutorial at The Handyman's Daughter!
Estimated Cost
Less than $10 each
Estimated Time Investment
Afternoon Project (3-6 Hours)
Recommended Skill Level
Beginner
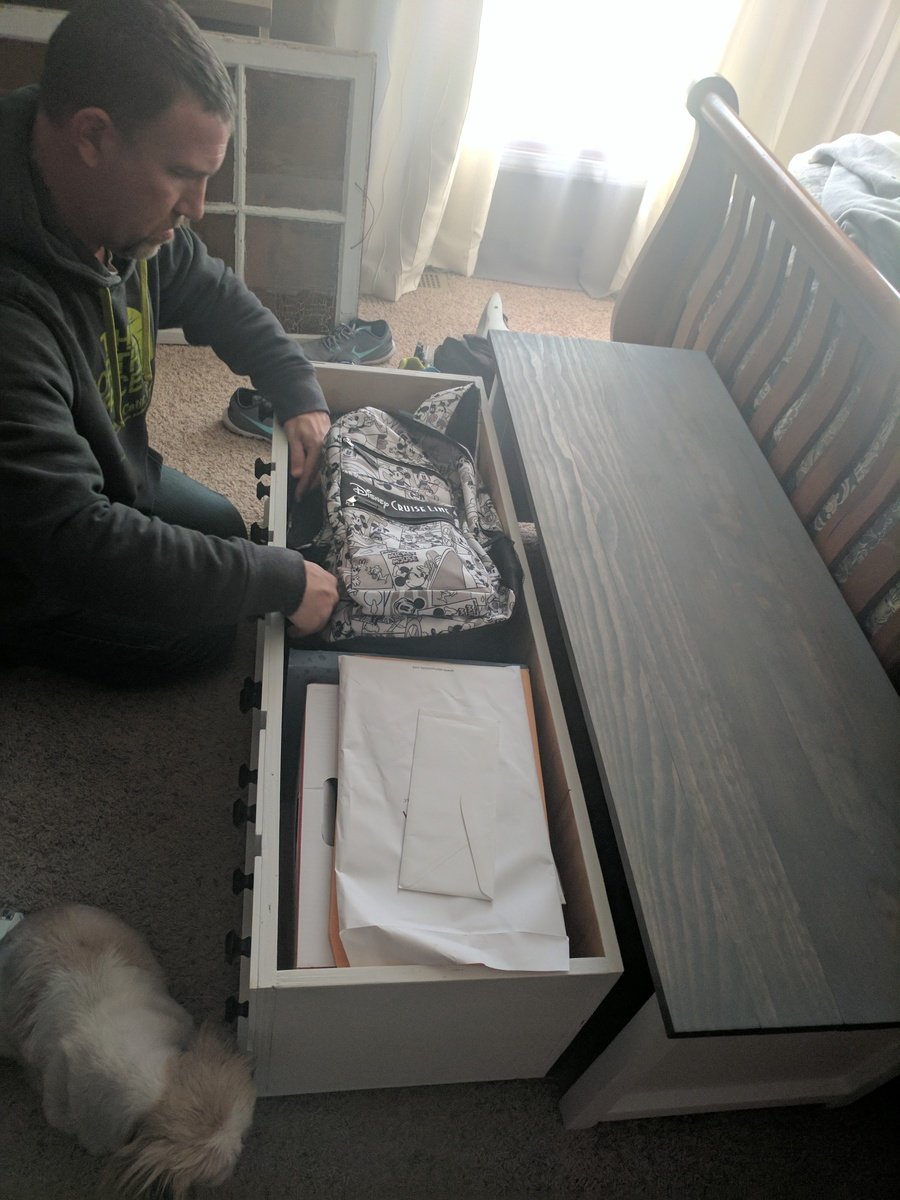
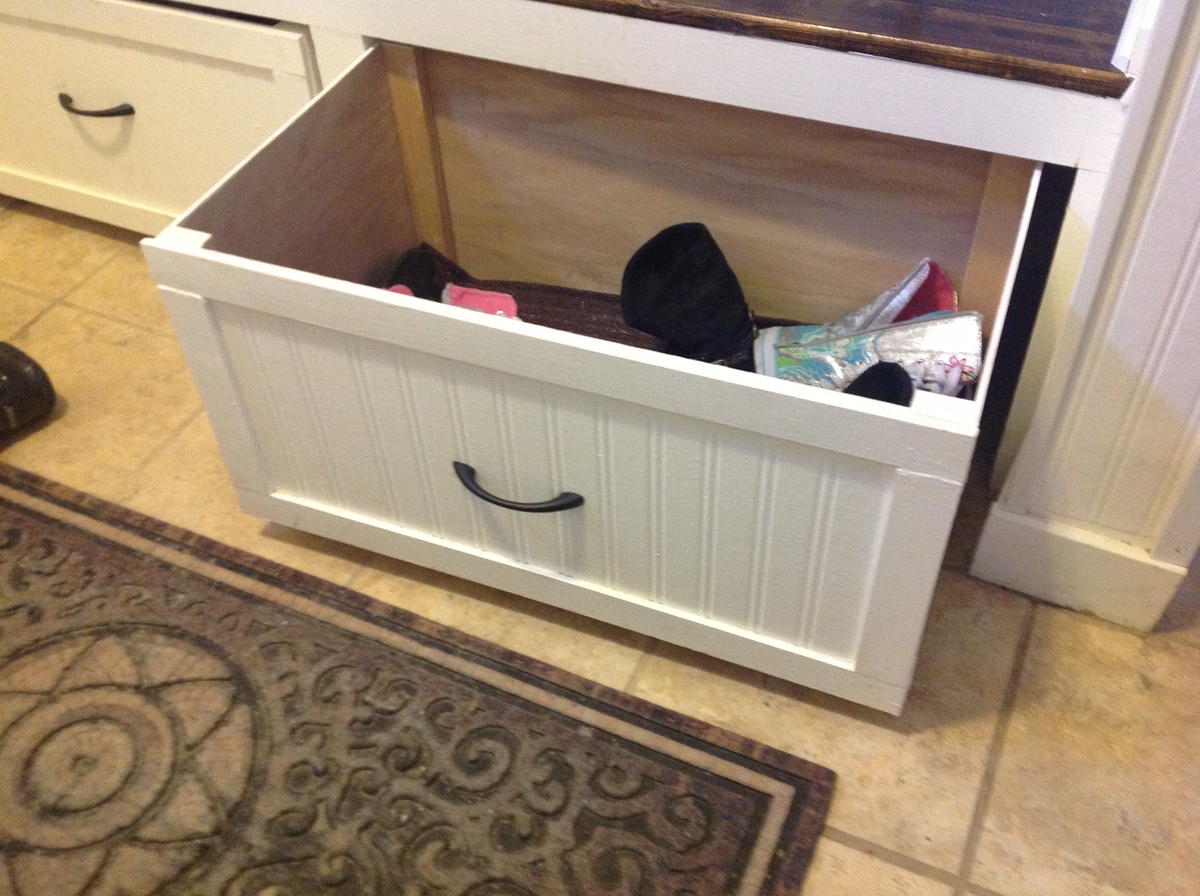
A twist on Modular Family Entryway Mudroom System - Pullout Rolling Bench Cart
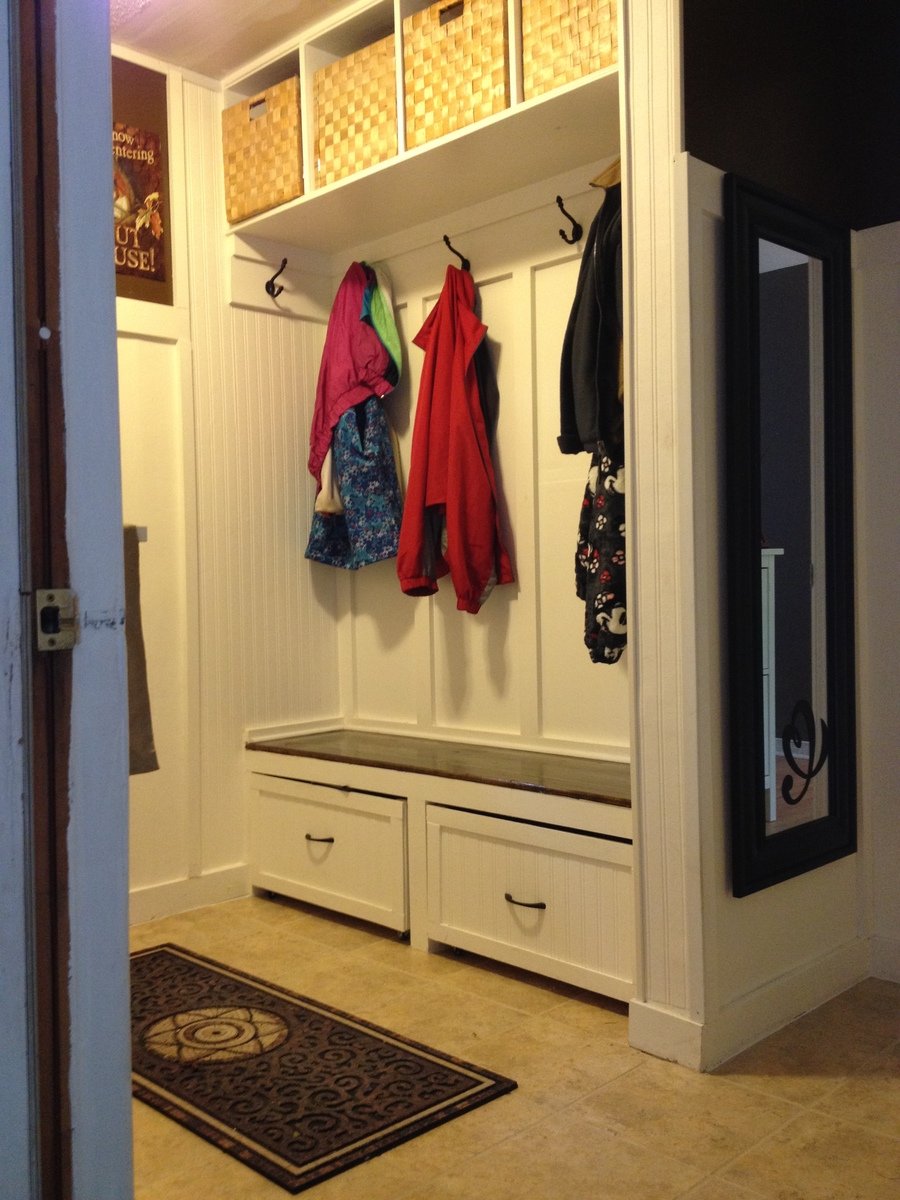
This is a twist on the Modular Family Entryway Mudroom System - Pullout Rolling Bench Cart . There have been many posts on the net for a mudroom locker set such as the one I have. In our case we had a mudroom with a closet, not much room to move when sliding the doors open, and as well we have kids that need a place to sit in order to put boots/shoes etc on. I took advantage of my husband's work assignment out of the country to rip back the closet,to 20 inches deep and open it up and added a bench for seating, baskets above for out of season/rarely used stuff, and used rolling cubbies below, but in my case I wanted storage bins instead. My thinking was so that I could make it look clean pretty quickly by just chucking every thing in to the bin... These are tall enough for our boots. In the bottom of the bins I put a piece of outdoor carpeting, then a plastic grid, and over that another layer of outdoor carpeting so if the footwear is wet it will drain and dry-no biggie to vacume or sweep out. Best deal: I can simply roll them out of the way when I want to sweep underneath! I measured cubby space to basket size above, and made the bins below after doing the bench and middle supports, to ensure a good fit. The bench top is an old piece of pine board I sanded, stained and used 4 coats of marine varnish so it would take lots of wear and tear.
Built from Plan(s)
Estimated Time Investment
Week Long Project (20 Hours or More)
Finish Used
minwax walnut stain, and marine varnish benchtop
behr marshmallow paint
behr marshmallow paint
Recommended Skill Level
Intermediate
Comments

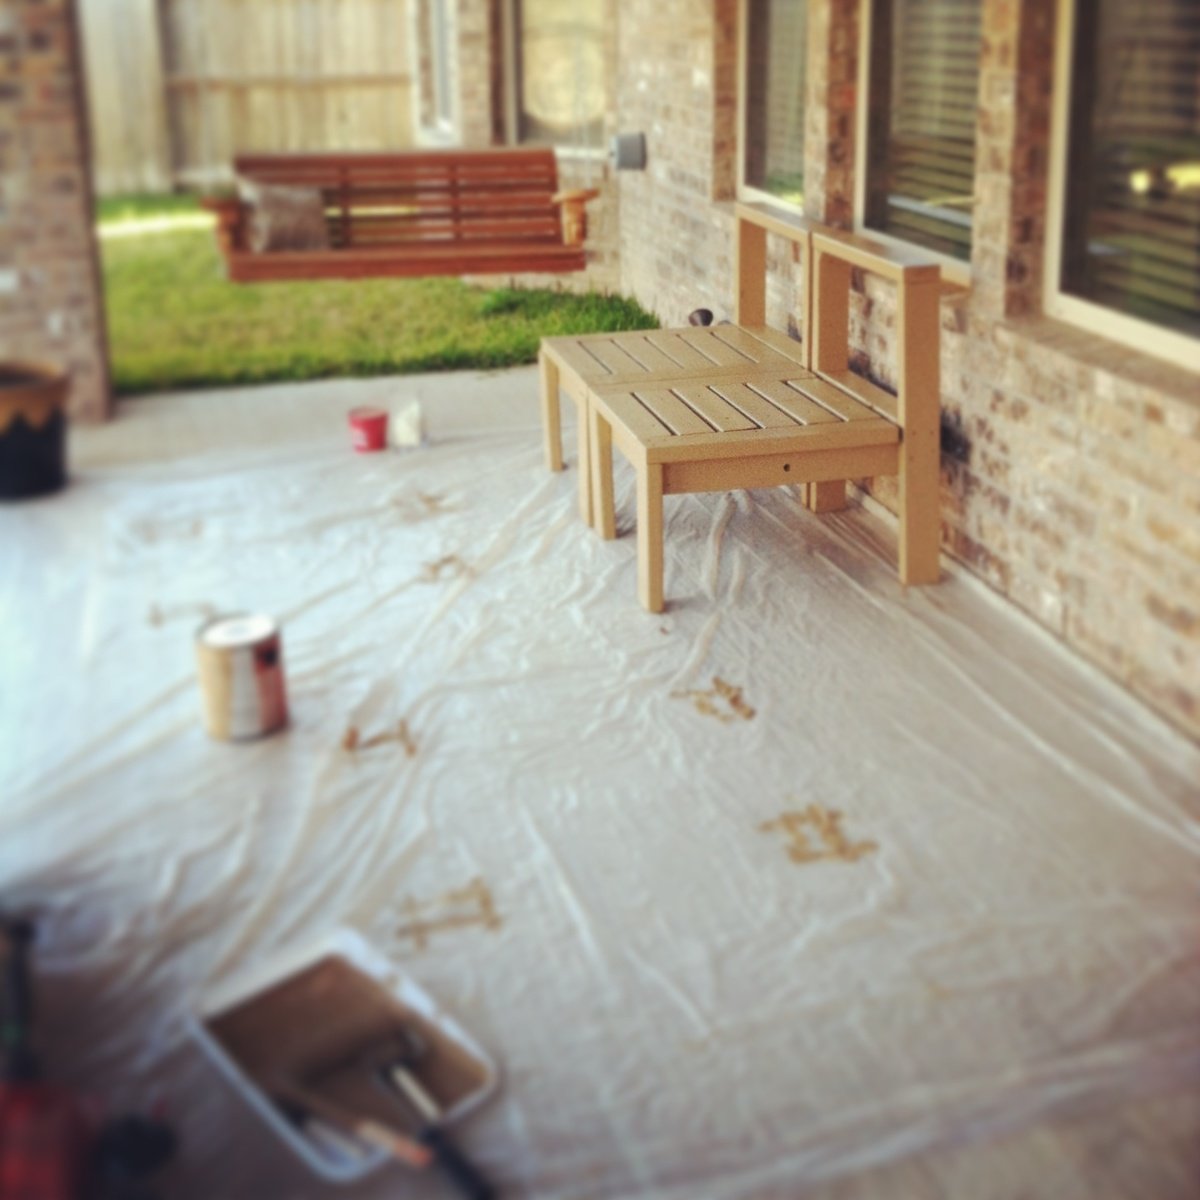
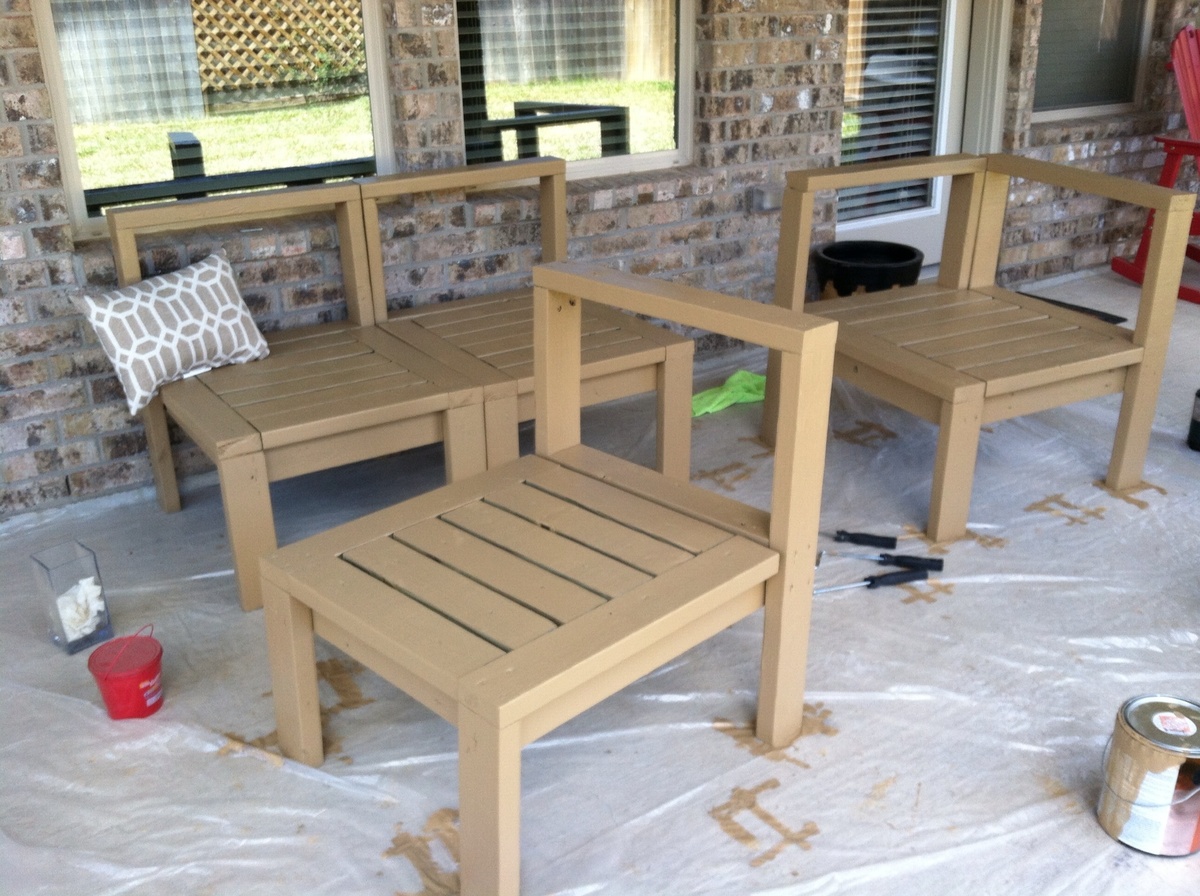
Outdoor patio sectional
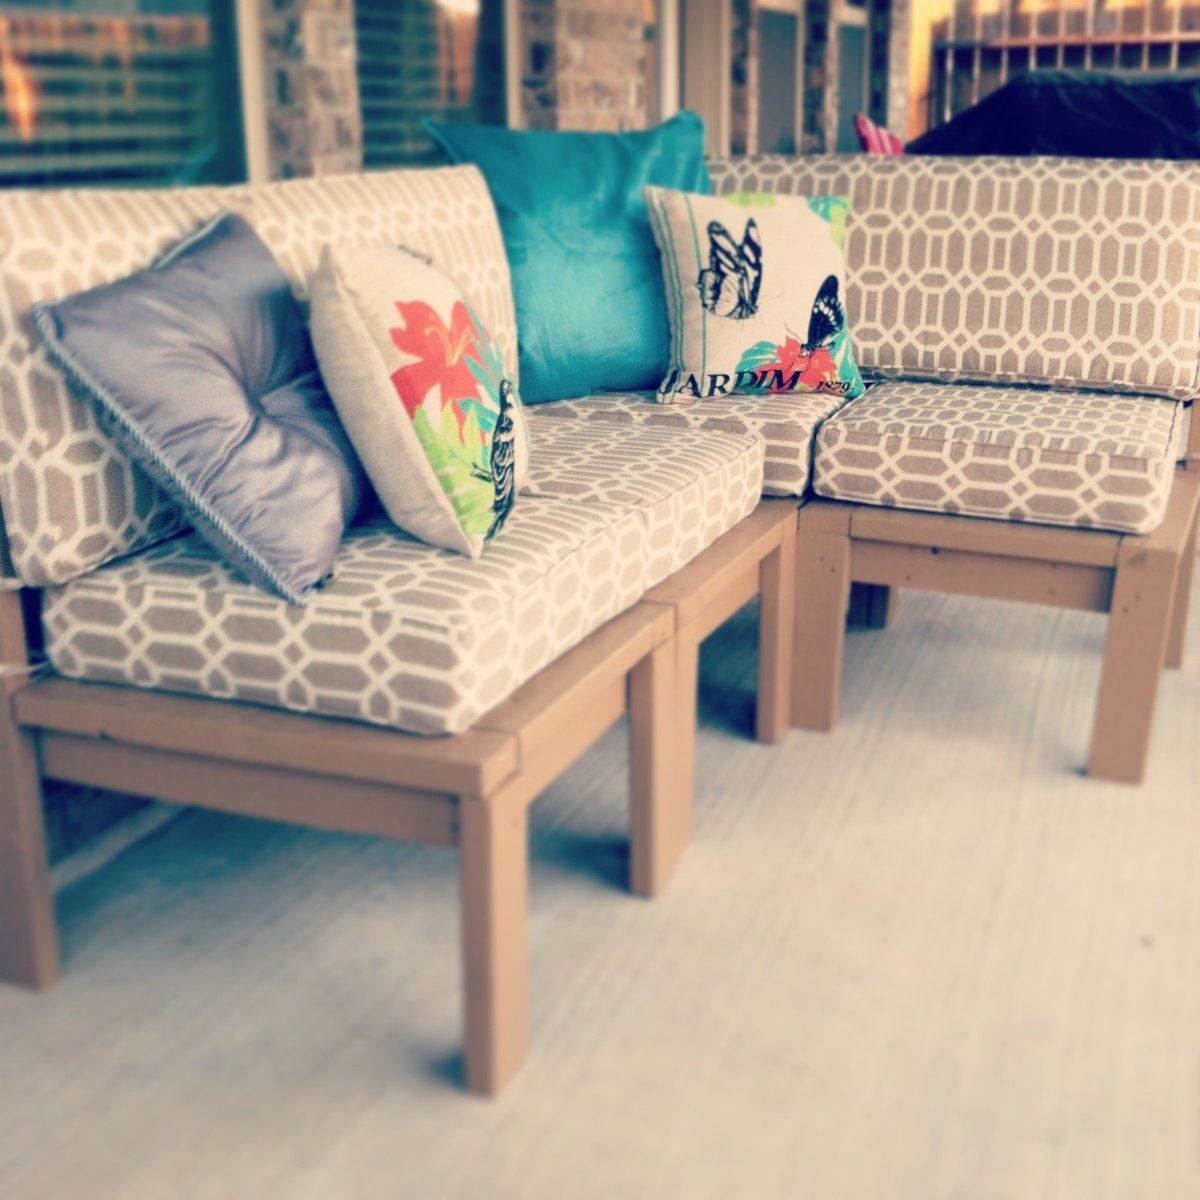
My husband built this sectional from Ana's outdoor seating plans. Overall, it was a simple and easy project for our spring break. The paint is Glidden's Water Chestnut all cushions are from Garden Ridge. We love it!
Built from Plan(s)
Estimated Cost
$300
Estimated Time Investment
Weekend Project (10-20 Hours)
Finish Used
Glidden's Water Chestnut
Recommended Skill Level
Beginner
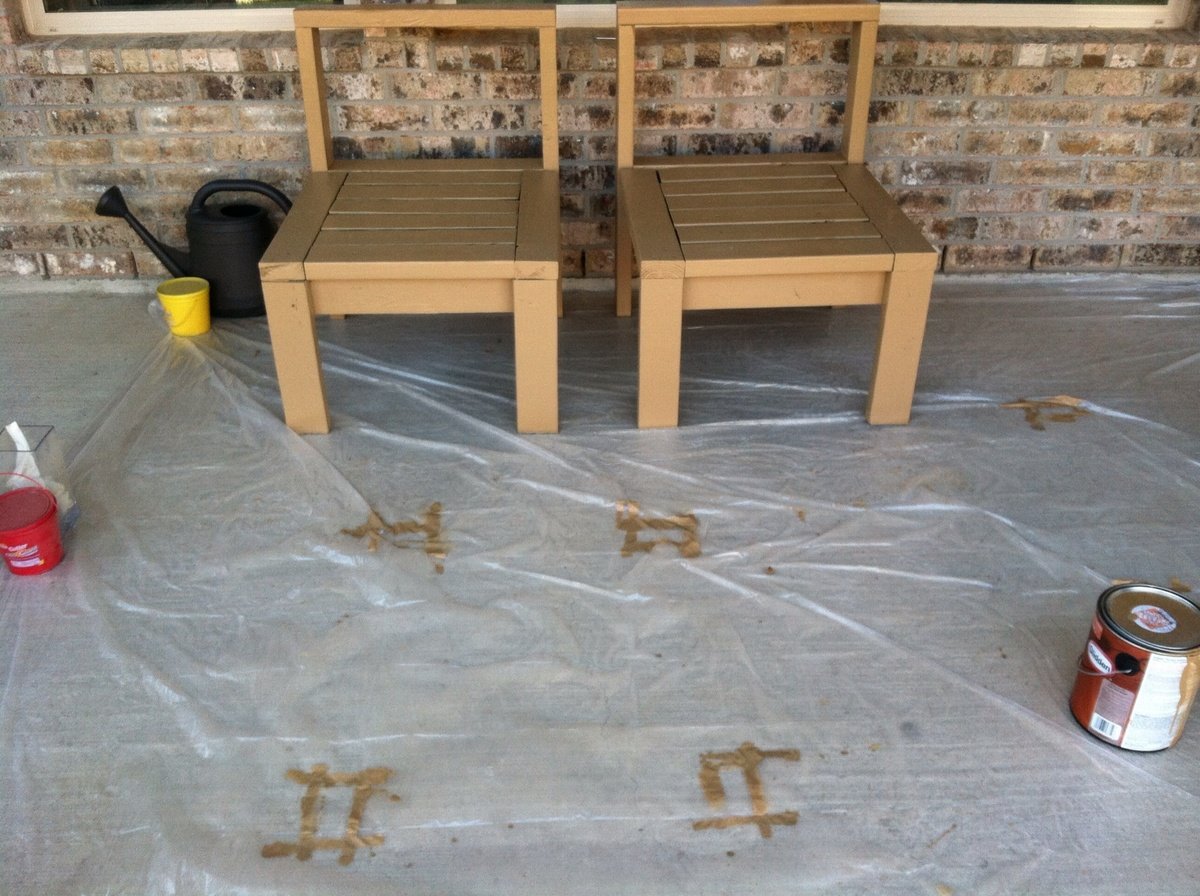
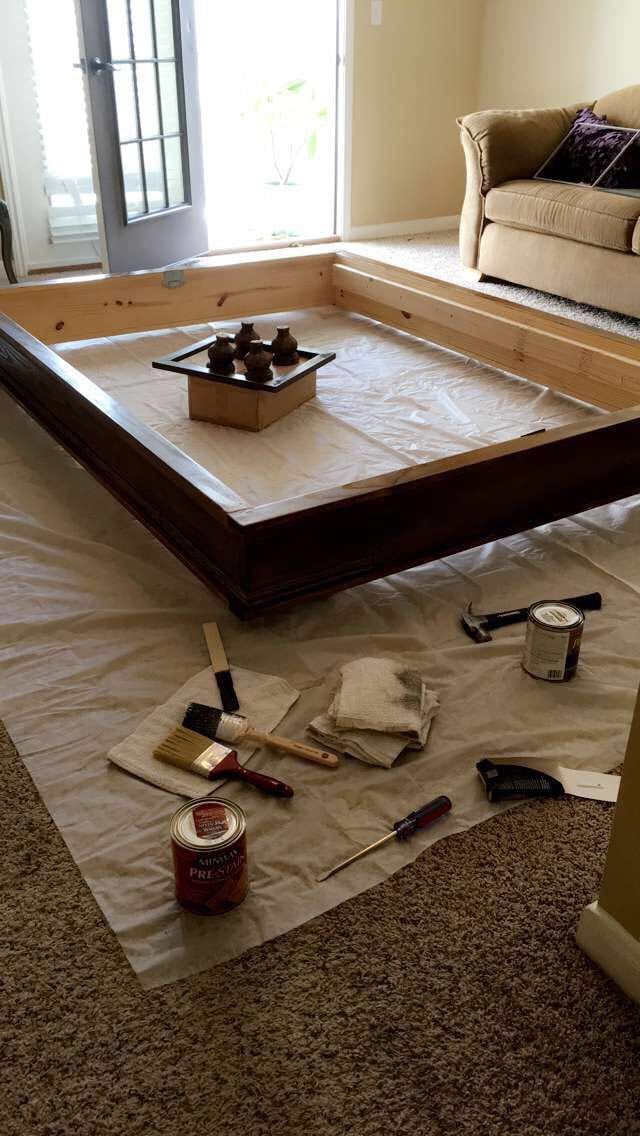
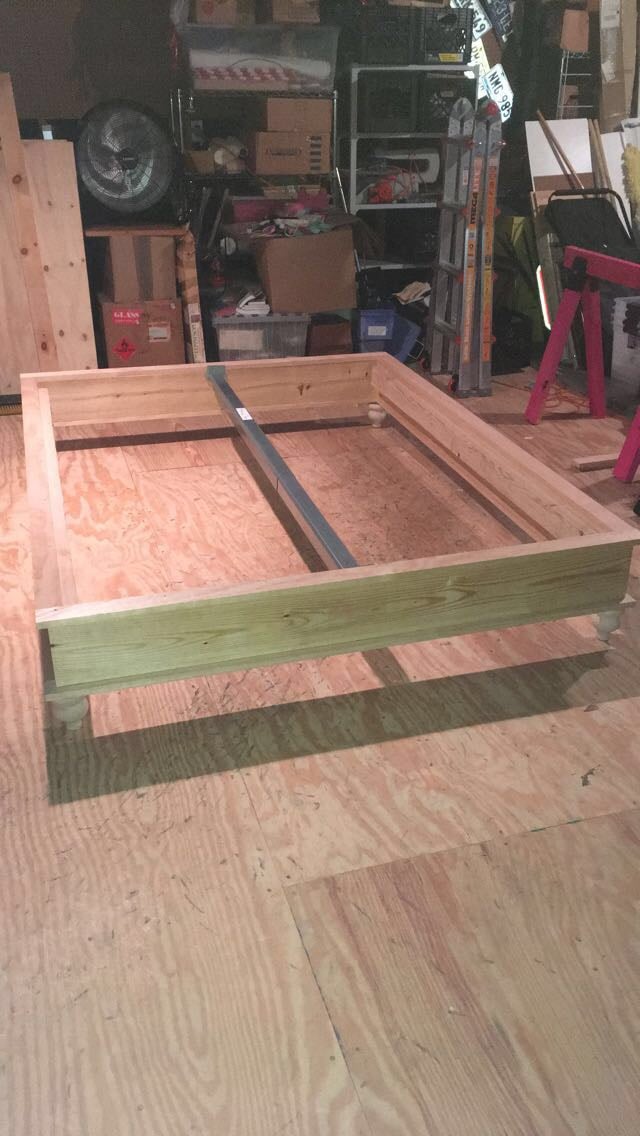
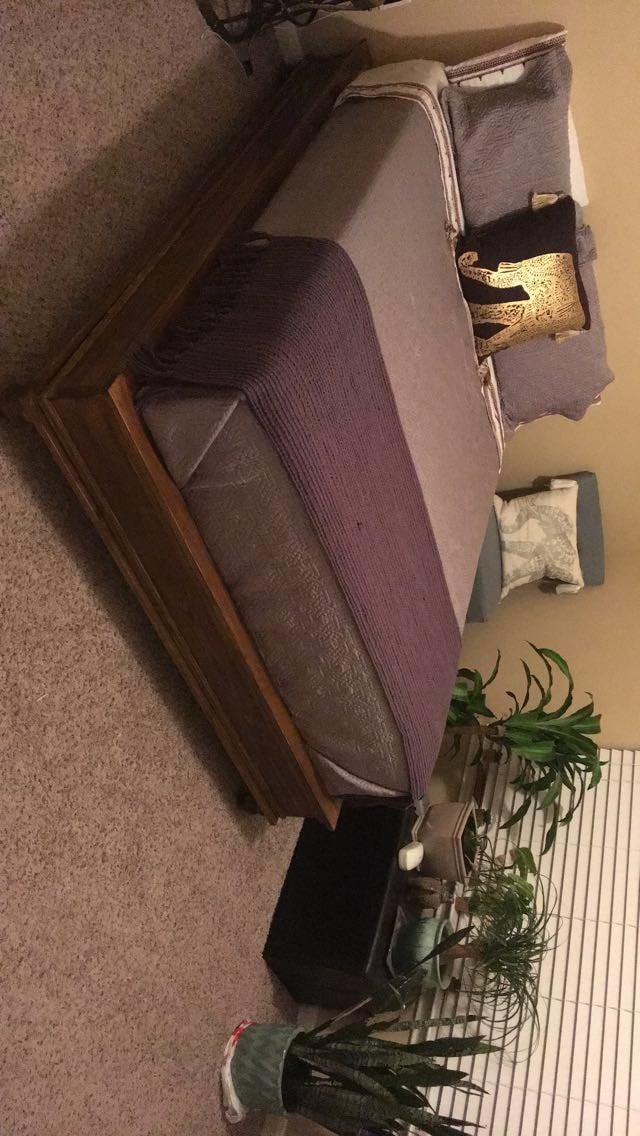
Platform bed
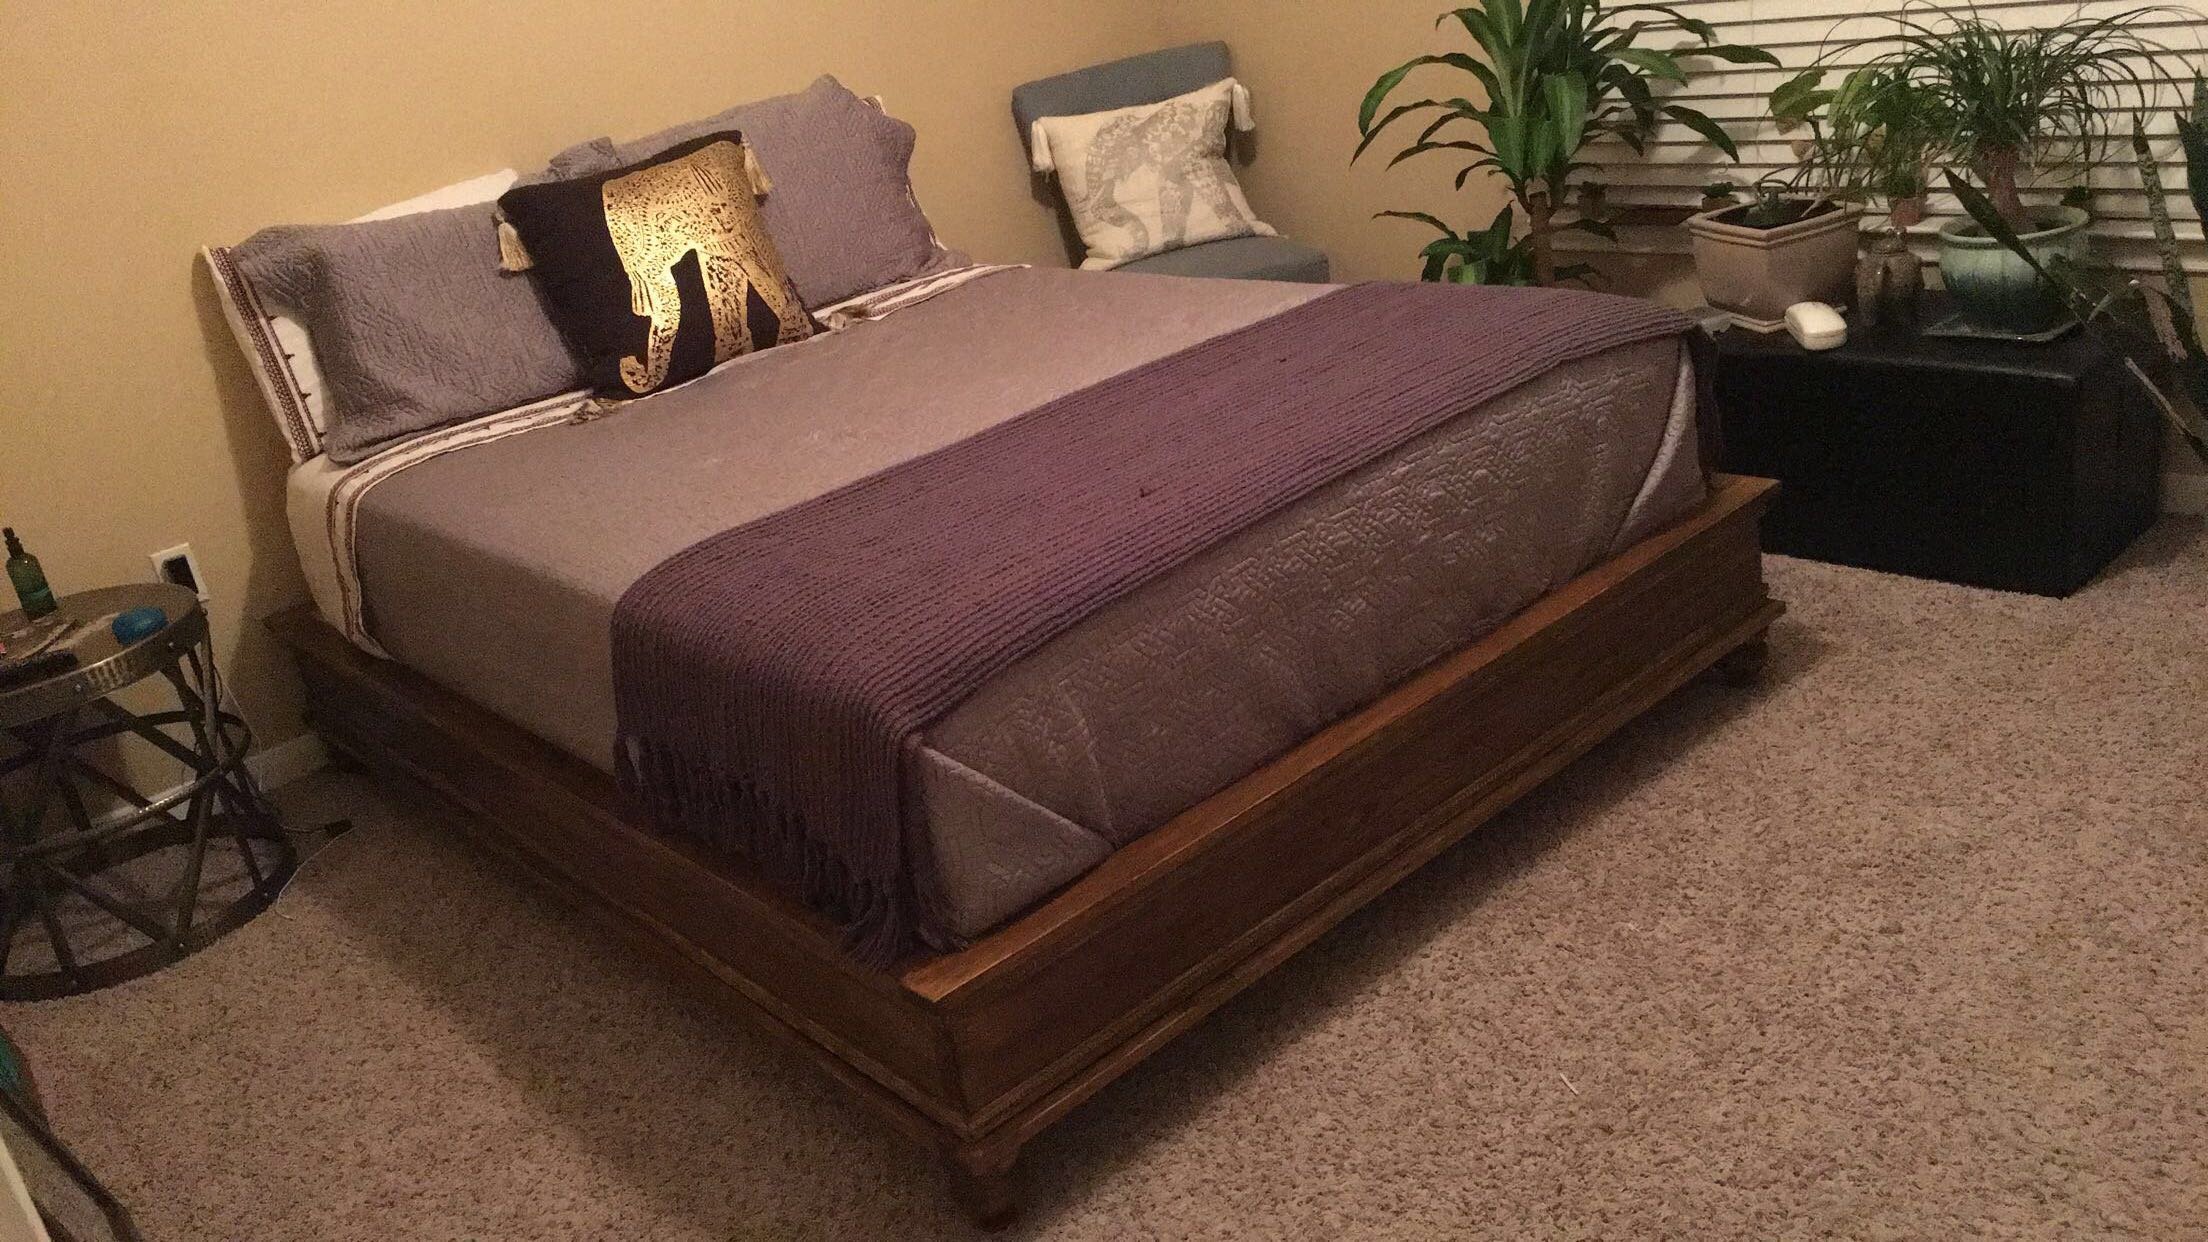
My first build!!!! I live in an apartment, so I was nervous to undertake any project... luckily I was able to borrow a garage one weekend to build it, and then moved it in and finished it. It took more than just the weekend to complete. It probably took me a lot longer than if I had more experience and knew what I was doing...I stopped every two minutes to double check myself and reread the directions lol. I'm so happy with how it turned out. I used the IKEA center beam from my old bed for the center support, and cut wood slats for my mattress to rest on so I don't have to use a box spring. It looks so much more expensive than it was. my next project is a headboard...as soon as I have a space to build it in :)
Built from Plan(s)
Estimated Time Investment
Weekend Project (10-20 Hours)
Finish Used
Minwax polyshades- satin honey. I used minwax wood conditioner as well.
Recommended Skill Level
Beginner
Glider
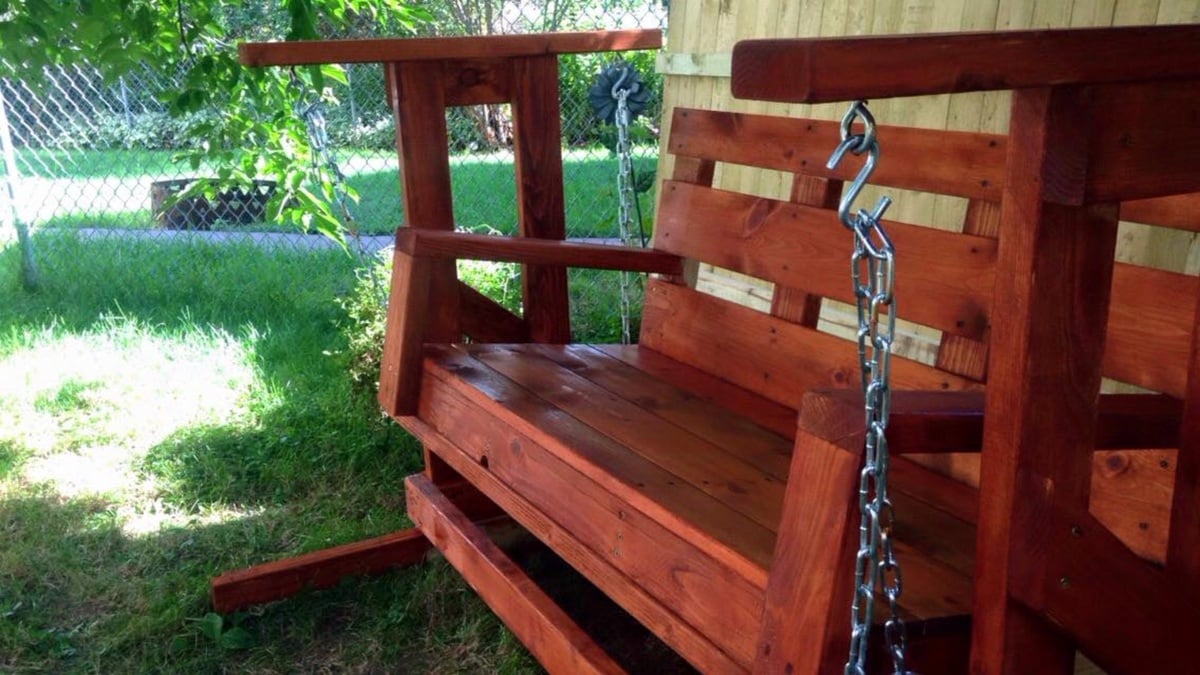
The bench was easy to build with great instructions. I had Home Depot make my cuts for this first project and then I went and bought a miter saw and other power tools for future ones. So much fun.
Built from Plan(s)
Estimated Cost
$100
Estimated Time Investment
Afternoon Project (3-6 Hours)
Recommended Skill Level
Beginner
Comments
Mon, 03/14/2016 - 08:35
This looks amazing!
Great work. DId you do anything different to the swing itself? How did you build the frame. I'm looking to do this exact thing for my patio. I don't have anywhere to hang the swing.
Thanks for sharing any info.
Sat, 06/13/2020 - 16:54
For those looking for measurements/dimensions on the legs here
Made the chair and then built the glider frame for it just eyeballing the picture. I can't figure out how to upload a photo of my design, but can try to describe it.
I made mine with a 4x4 on the base of each leg, but a 2x4 would work as well, it was just what I had on hand. The base board on each leg I made 48". From there I put two 48" vertical boards. The vertical boards were centered and from the front edge of the first board to the back edge of the second board. Two 16" boards were then used at the top and bottom of the vertical boards to hold them in place. Cap it off with a 30" board on top of the verticals. This is where you'll attach your eye bolts. I put both eye bolts 3 1/2" back from the front (a scrap of 2x4 works well as a guide). To join the two legs, I used two 52" boards on top of the base 4X4 of the verticals (one in front of the legs and one behind).
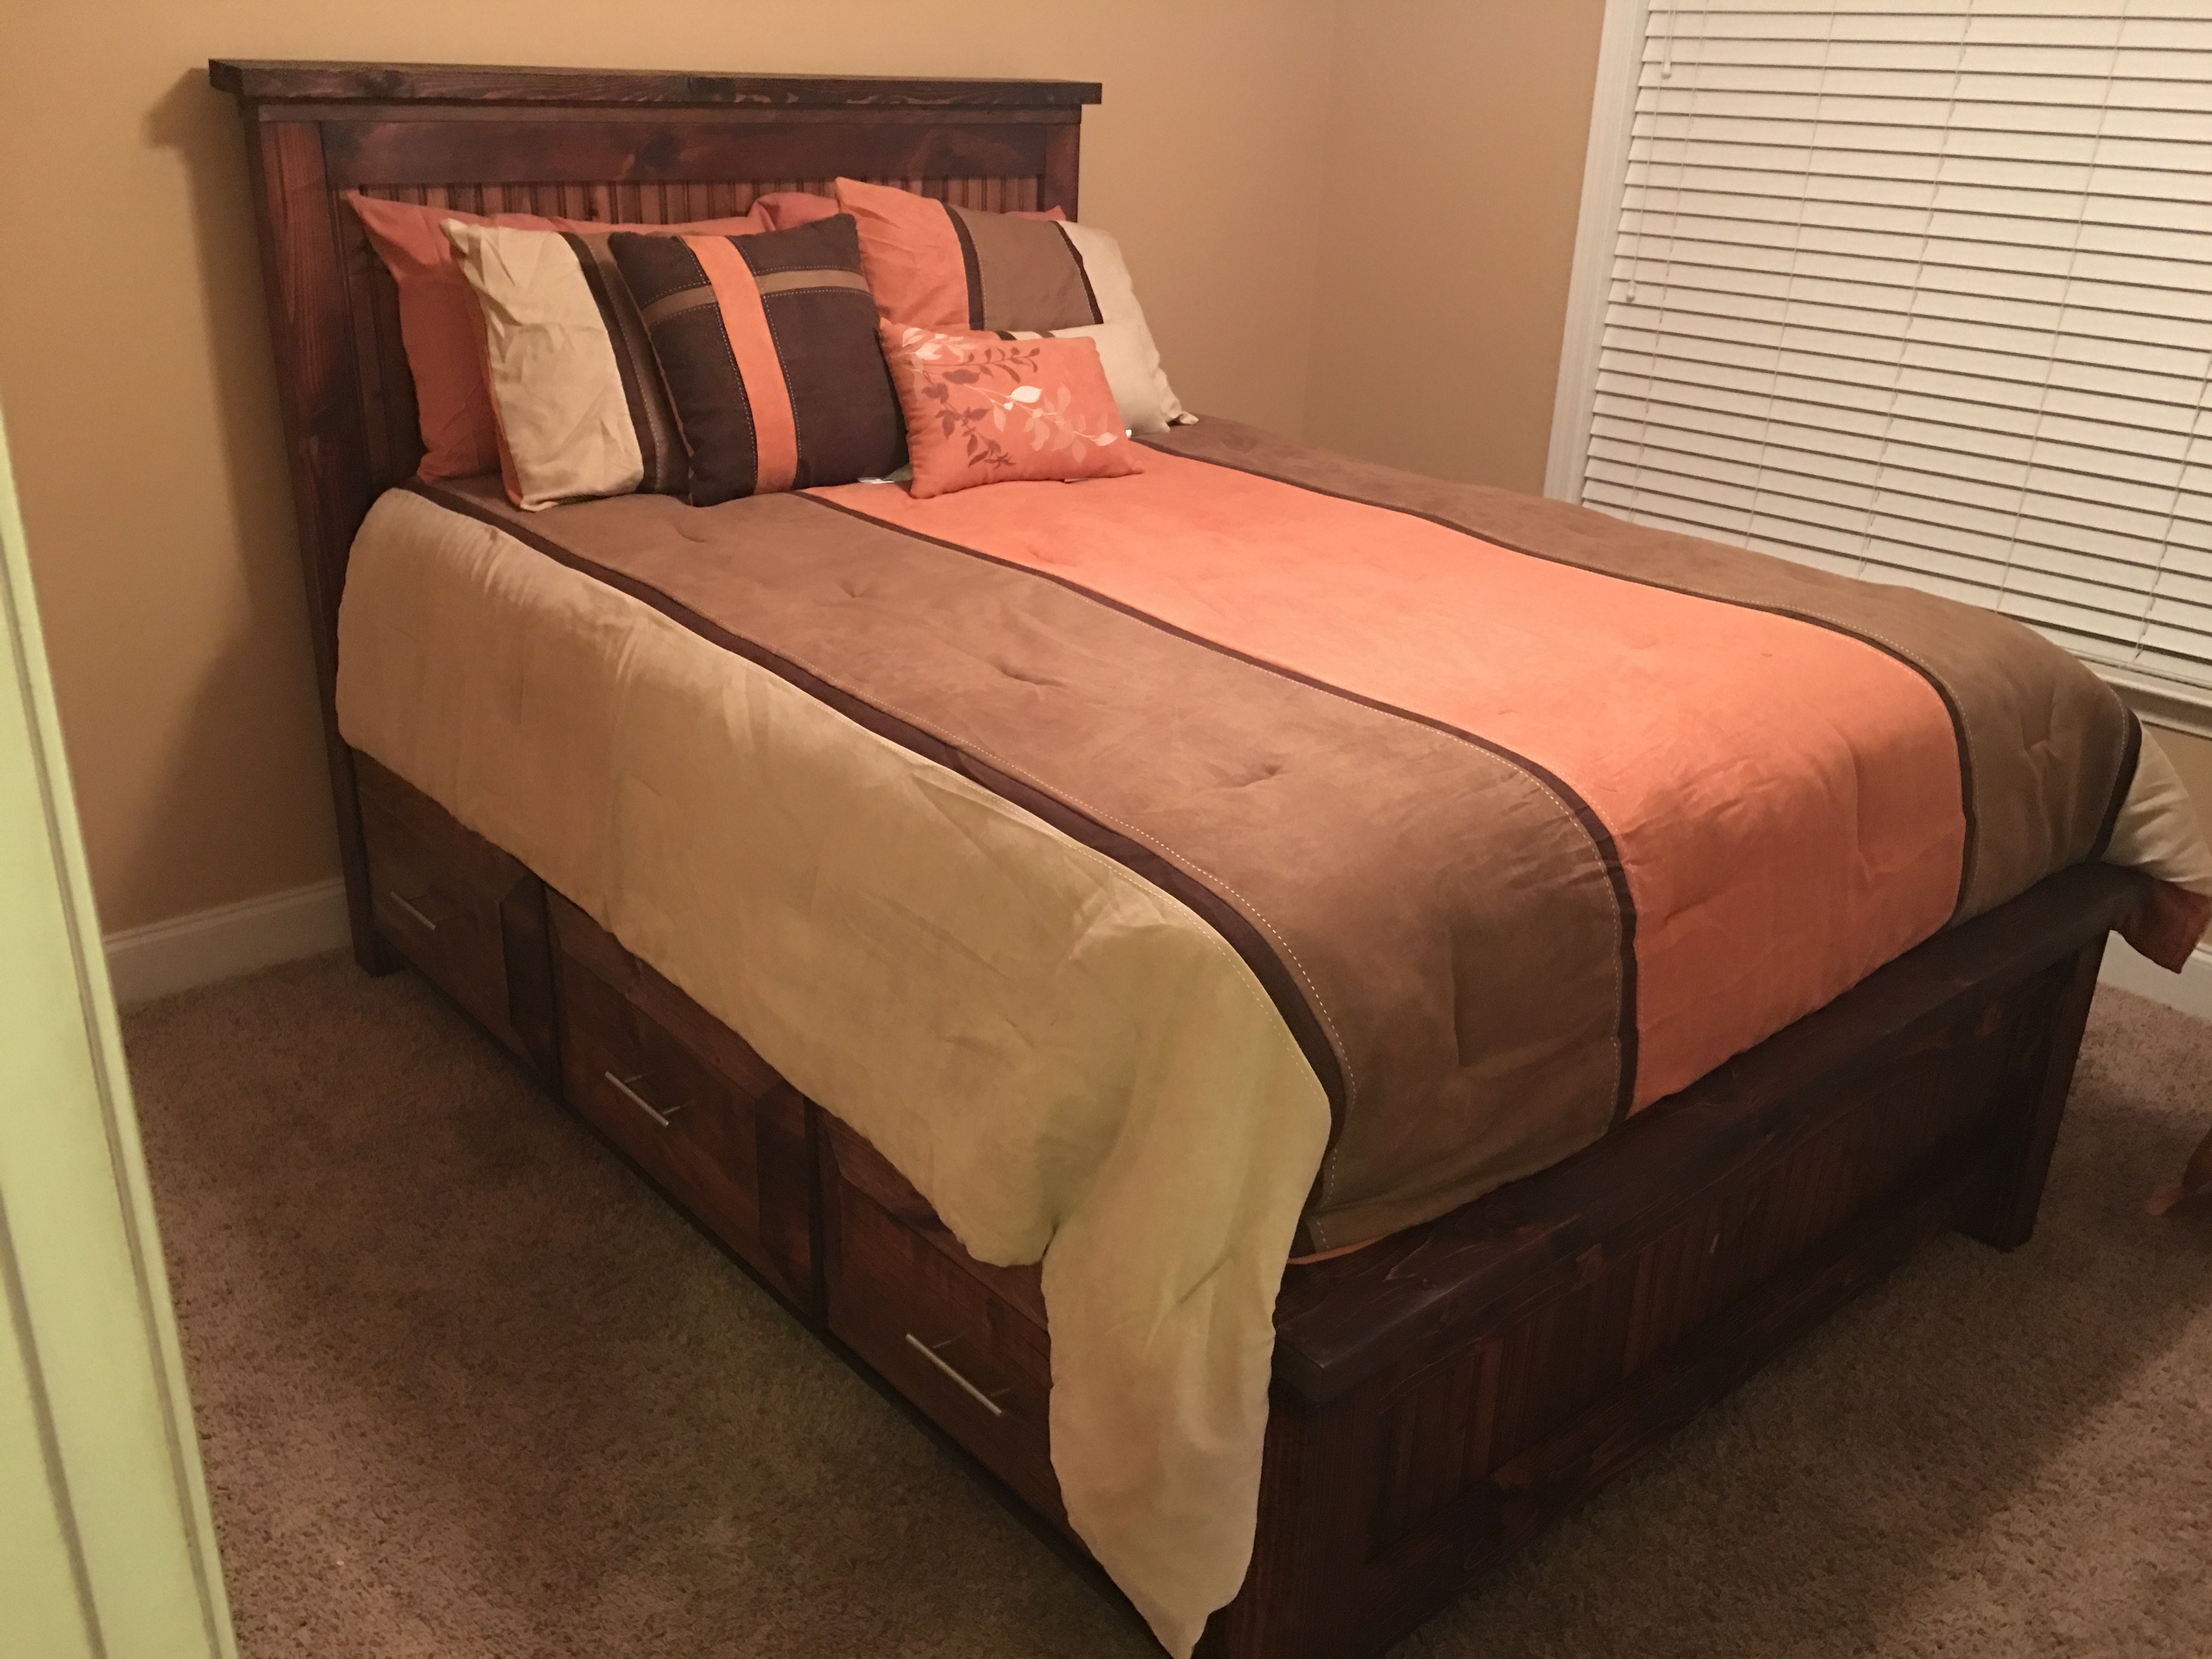
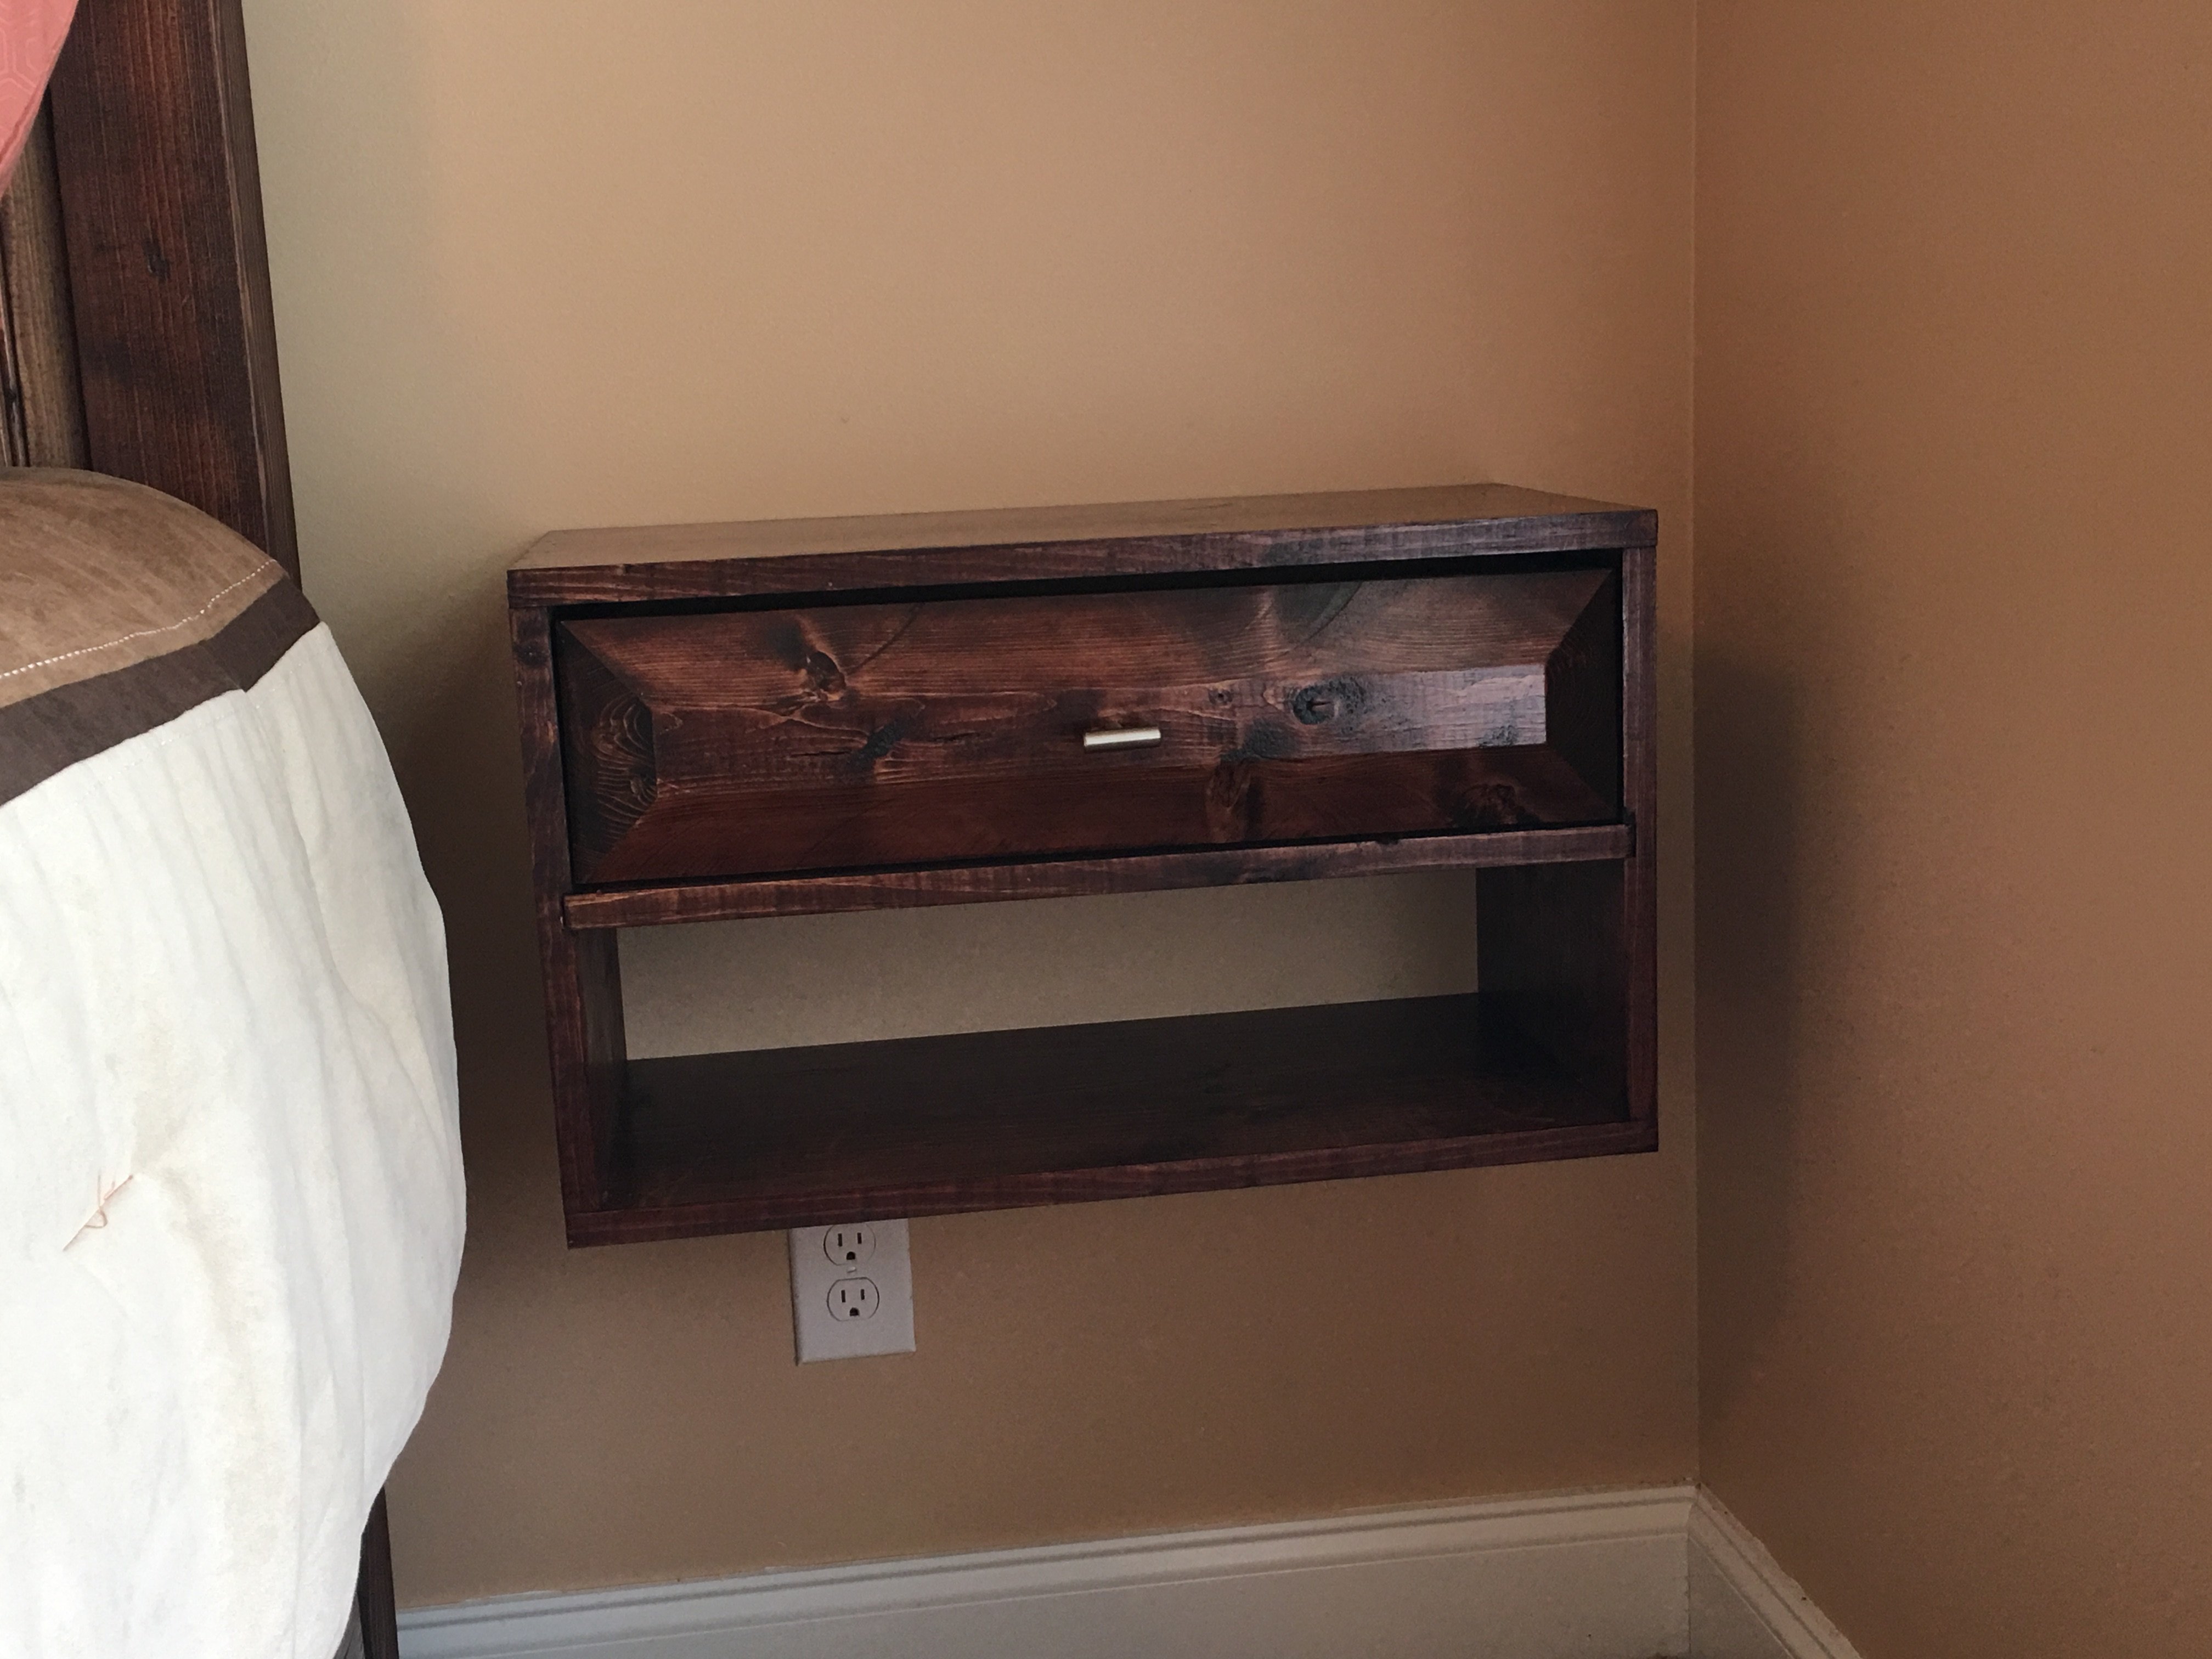
Farmhouse Bed with storage drawers

I had a great time building this project. Thanks For the idea and plans. I added floating shelves to the room.
Built from Plan(s)
Estimated Cost
$180
Estimated Time Investment
Week Long Project (20 Hours or More)
Finish Used
Red Mahogany and English Chestnut
Recommended Skill Level
Intermediate