Community Brag Posts

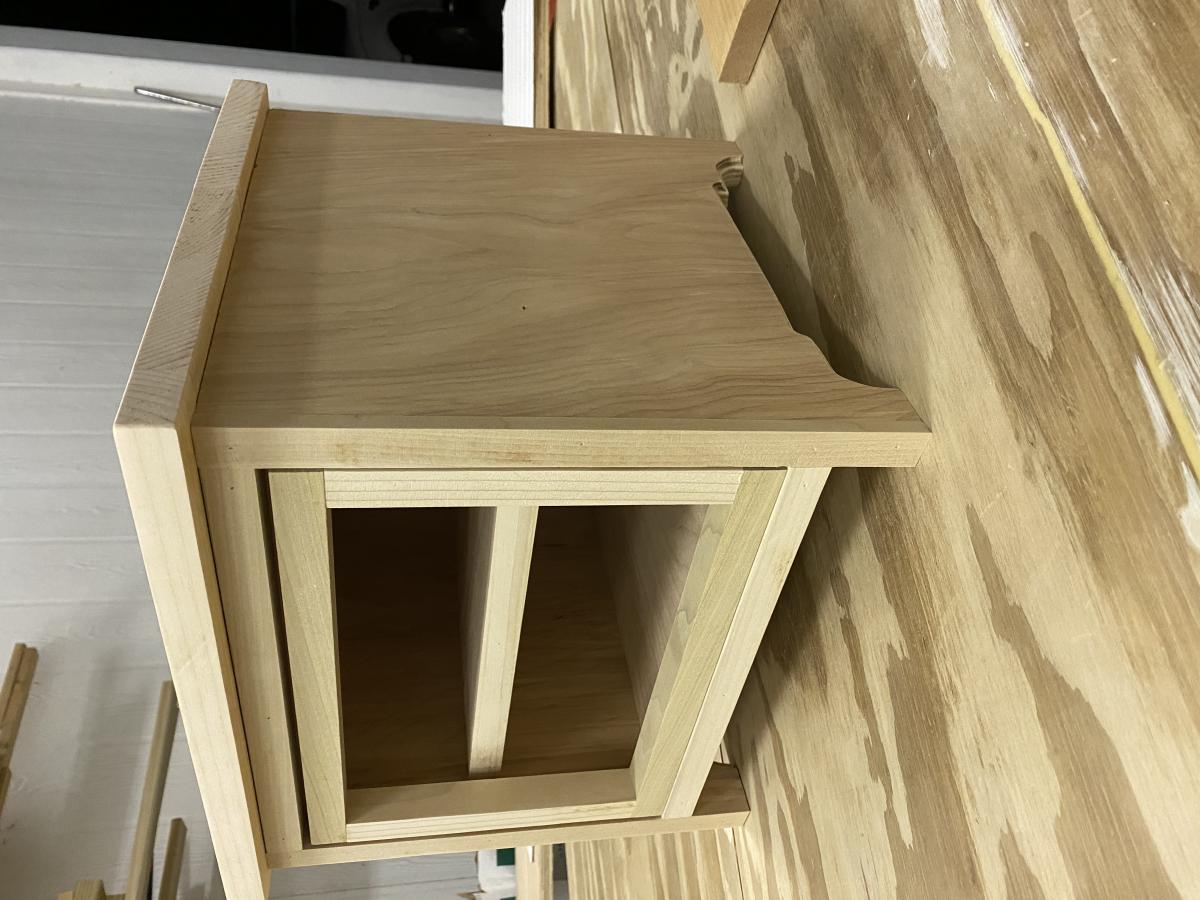
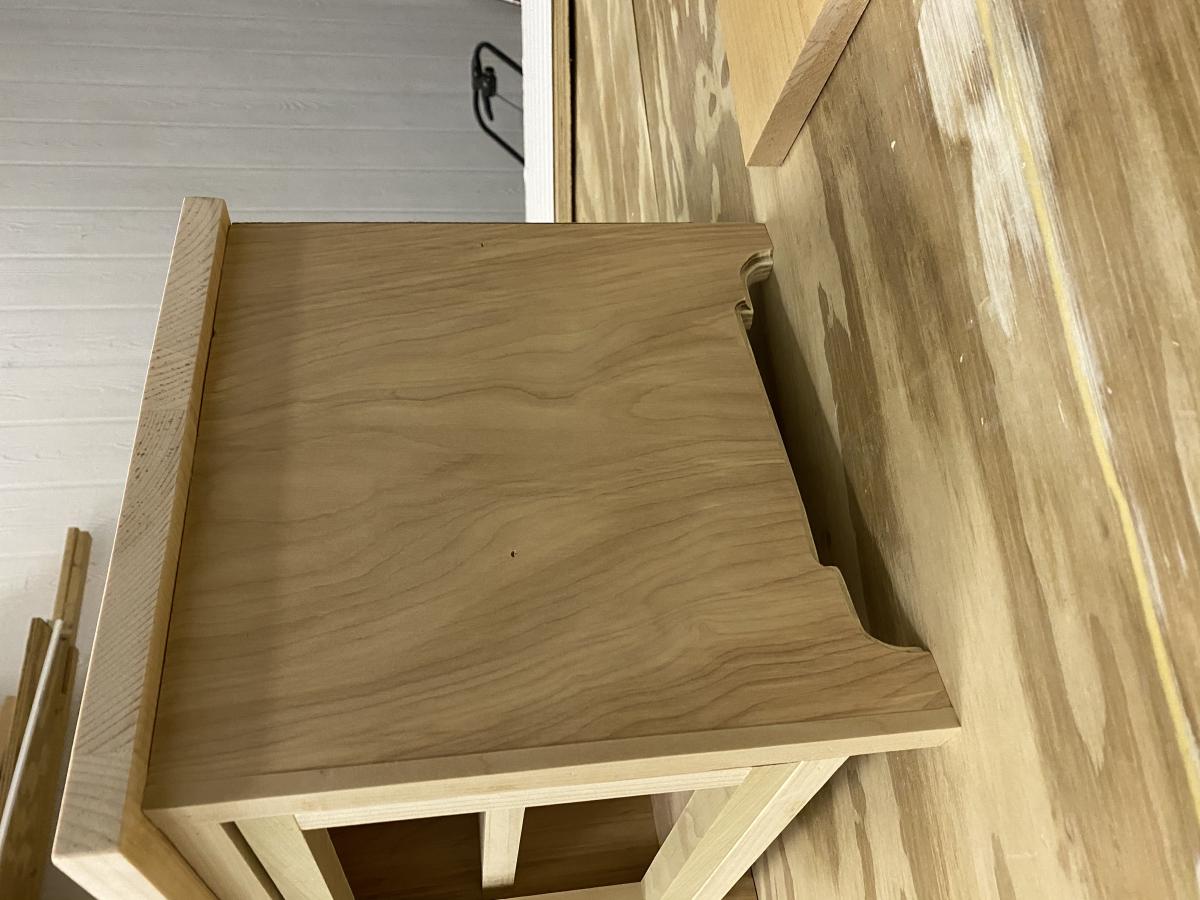
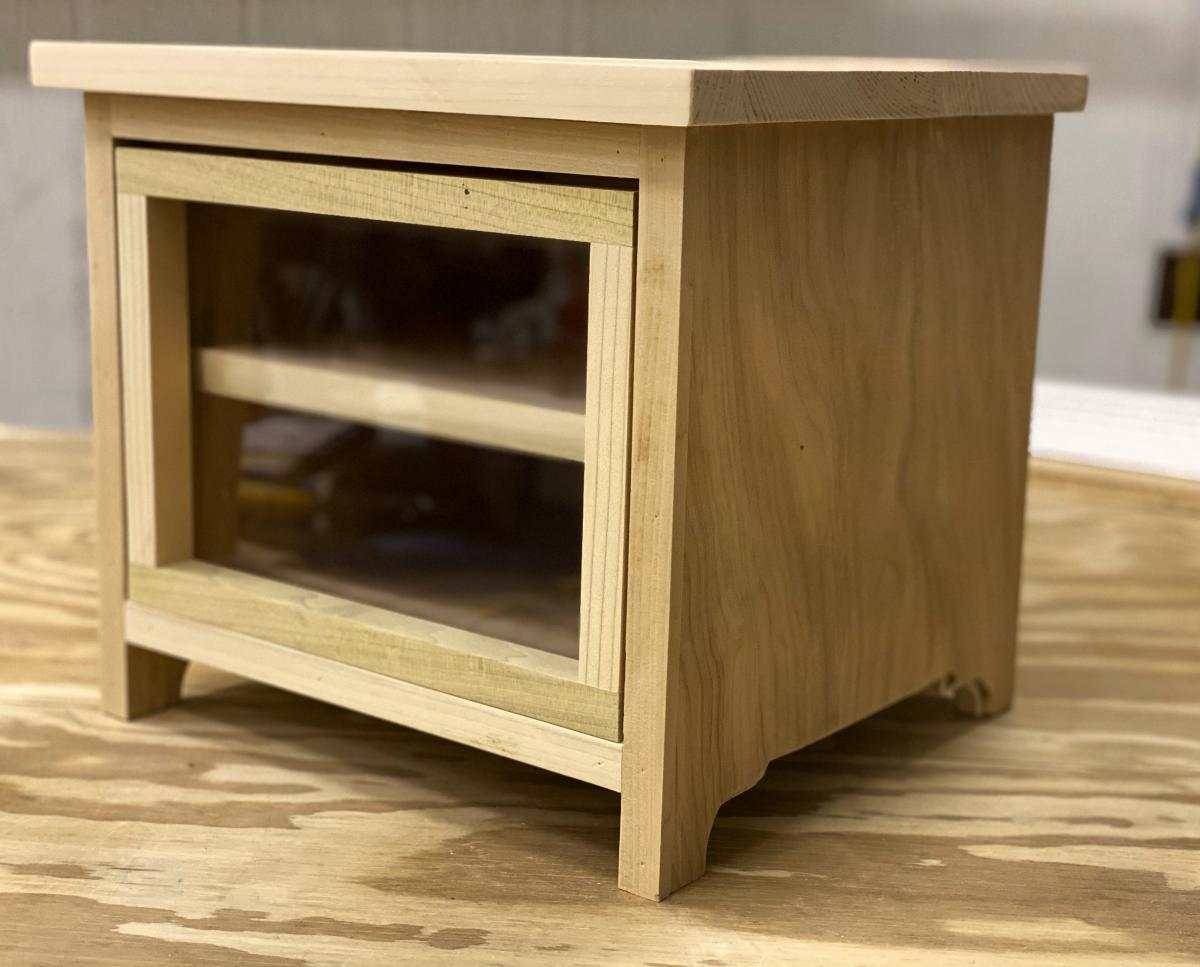
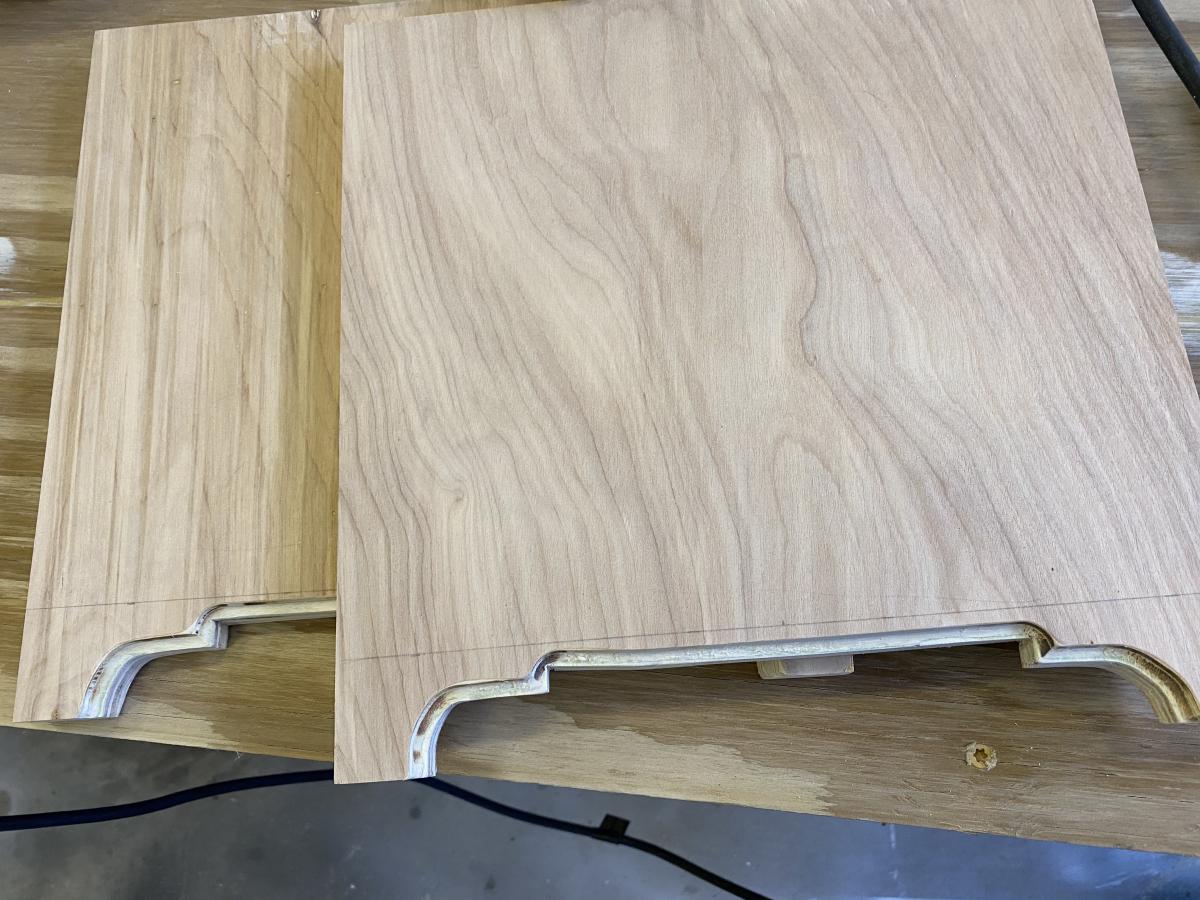
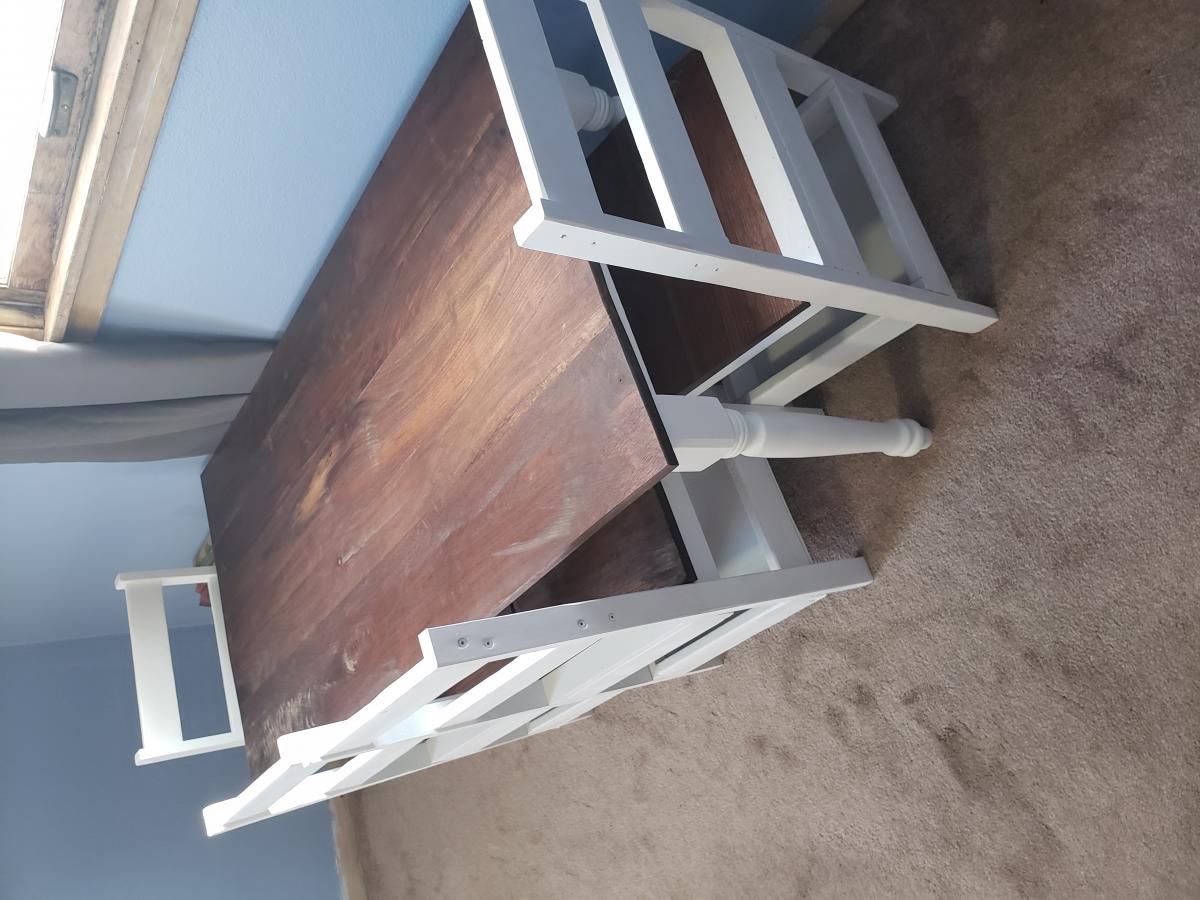
Night stand

We had a lot of scraps left over from a previous project so my husband decided to piece together a night stand for our daughter's room. We modified some end table and bar stool plans to fit what we were looking for accordingly. Because her furniture is natural color, we left the wood and just coated twice with polyurethane.
Estimated Time Investment
Afternoon Project (3-6 Hours)
Finish Used
Polyurethane
Recommended Skill Level
Beginner
Comments
Simple staircase bench

A simple bench to try my first Kreg Pocket hole Jig. I designed the bench myself, but did not create plans. I used pine wood and 3 layers of varnish for protection. My wife wanted to natural finish so I preferred varnish over paint.
Surprinsingly easy project ! And my wife is very happy that the staircase if finally tidy. Happy wife, happy life ;-)
Estimated Cost
20 euros
Estimated Time Investment
Day Project (6-9 Hours)
Finish Used
Varnish - 3 layer
Recommended Skill Level
Starter Project
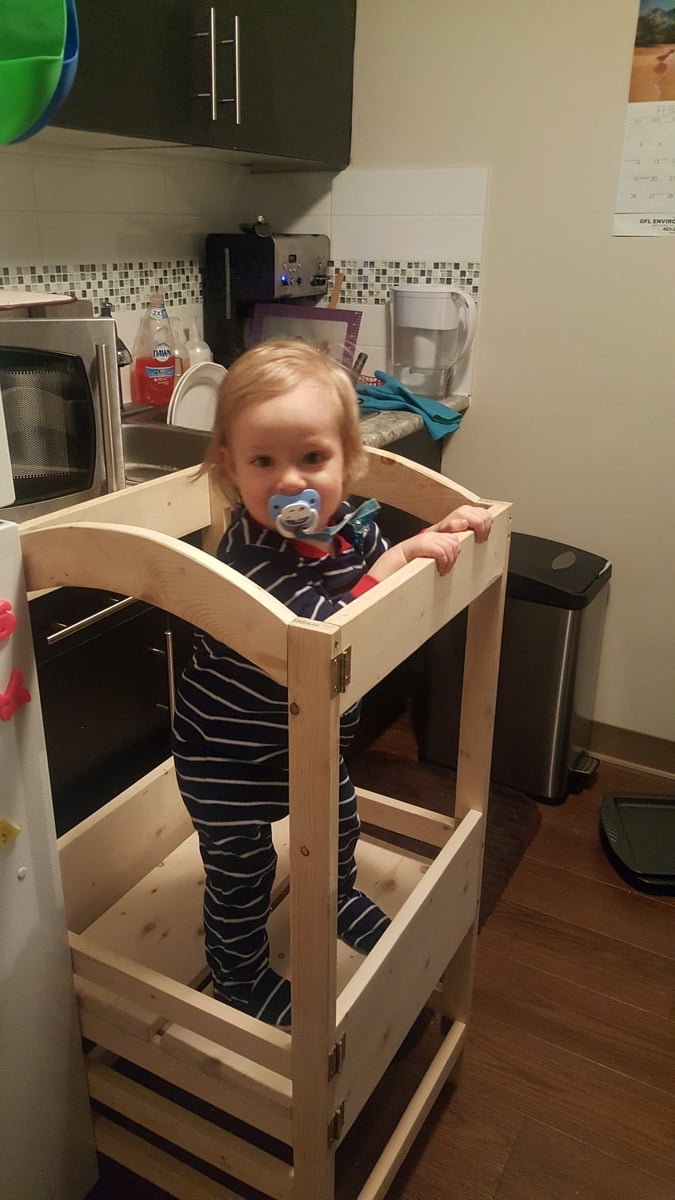
Little Helper Tower

This project is so great! At first I put one side of the hinges on backwards but it was easy to fix and now it actually folds flat. I left the stabilizer feet off because I only have about four inches beside my fridge to store the tower in but it it's still completely stable. My son was "dancing" on it yesterday and it held up perfectly! Thanks Ana, I'm so excited to use this for years!!
Built from Plan(s)
Estimated Time Investment
Day Project (6-9 Hours)
Recommended Skill Level
Beginner
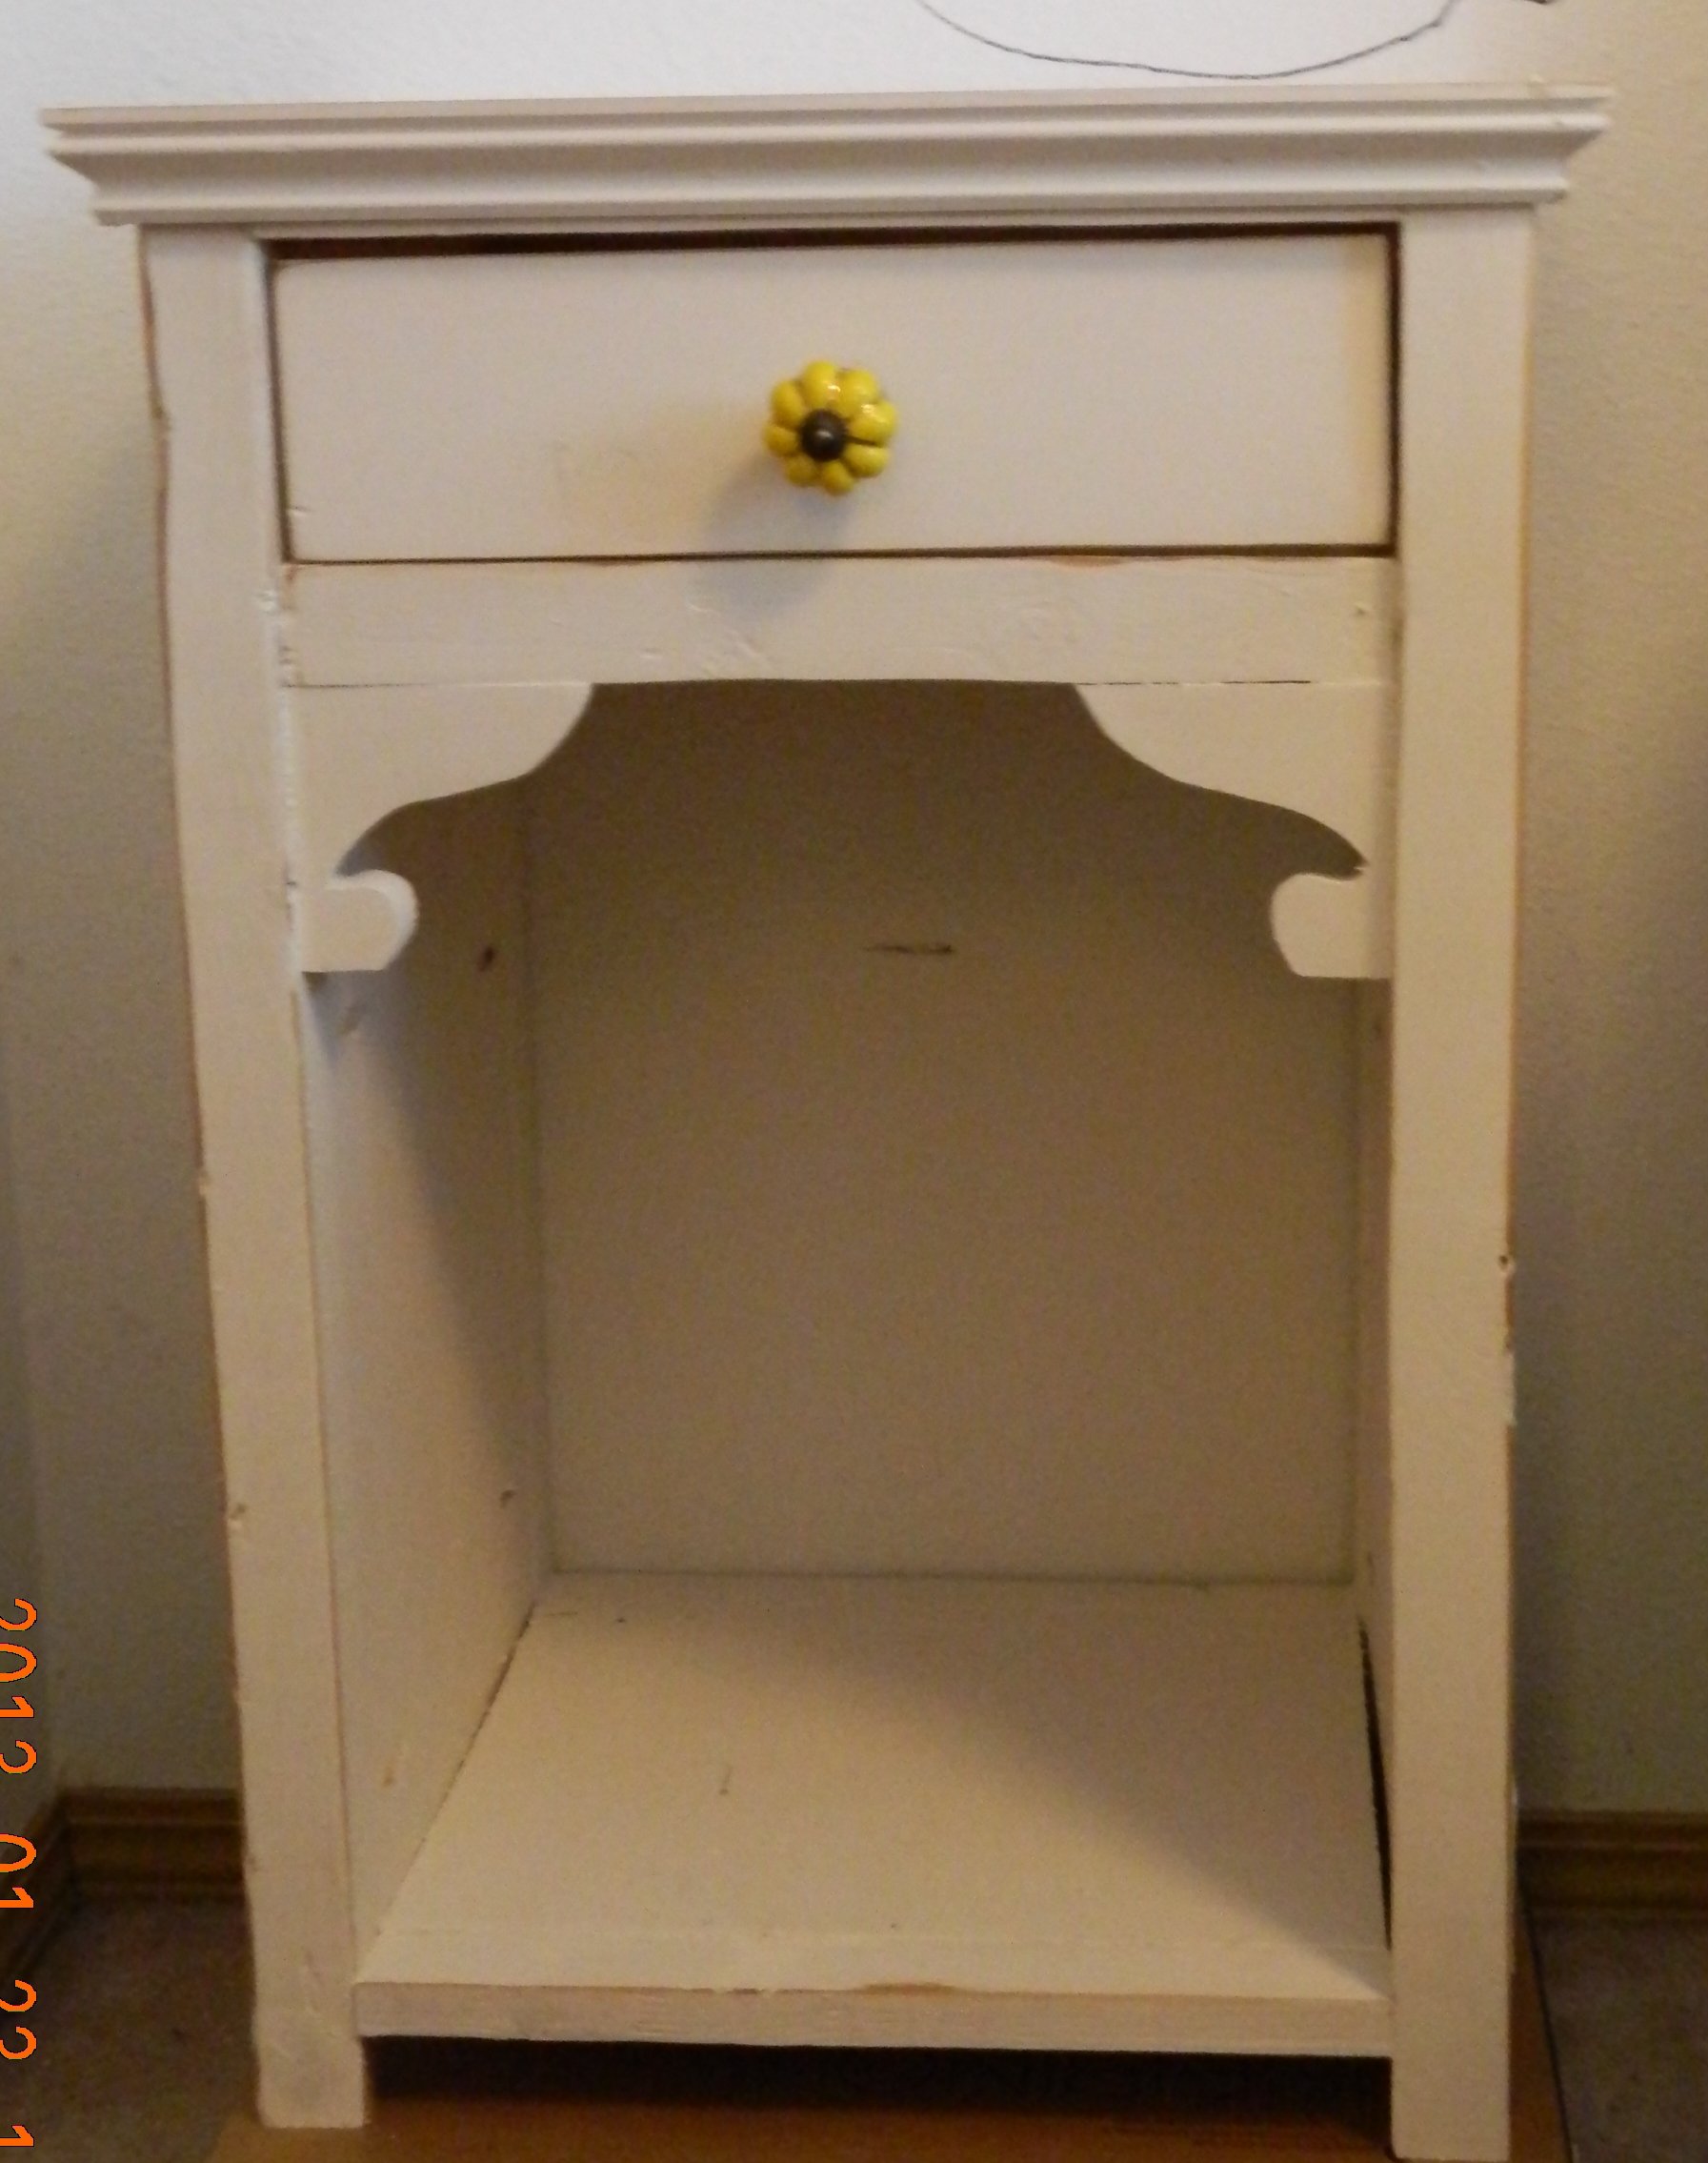
Christmas pie safe
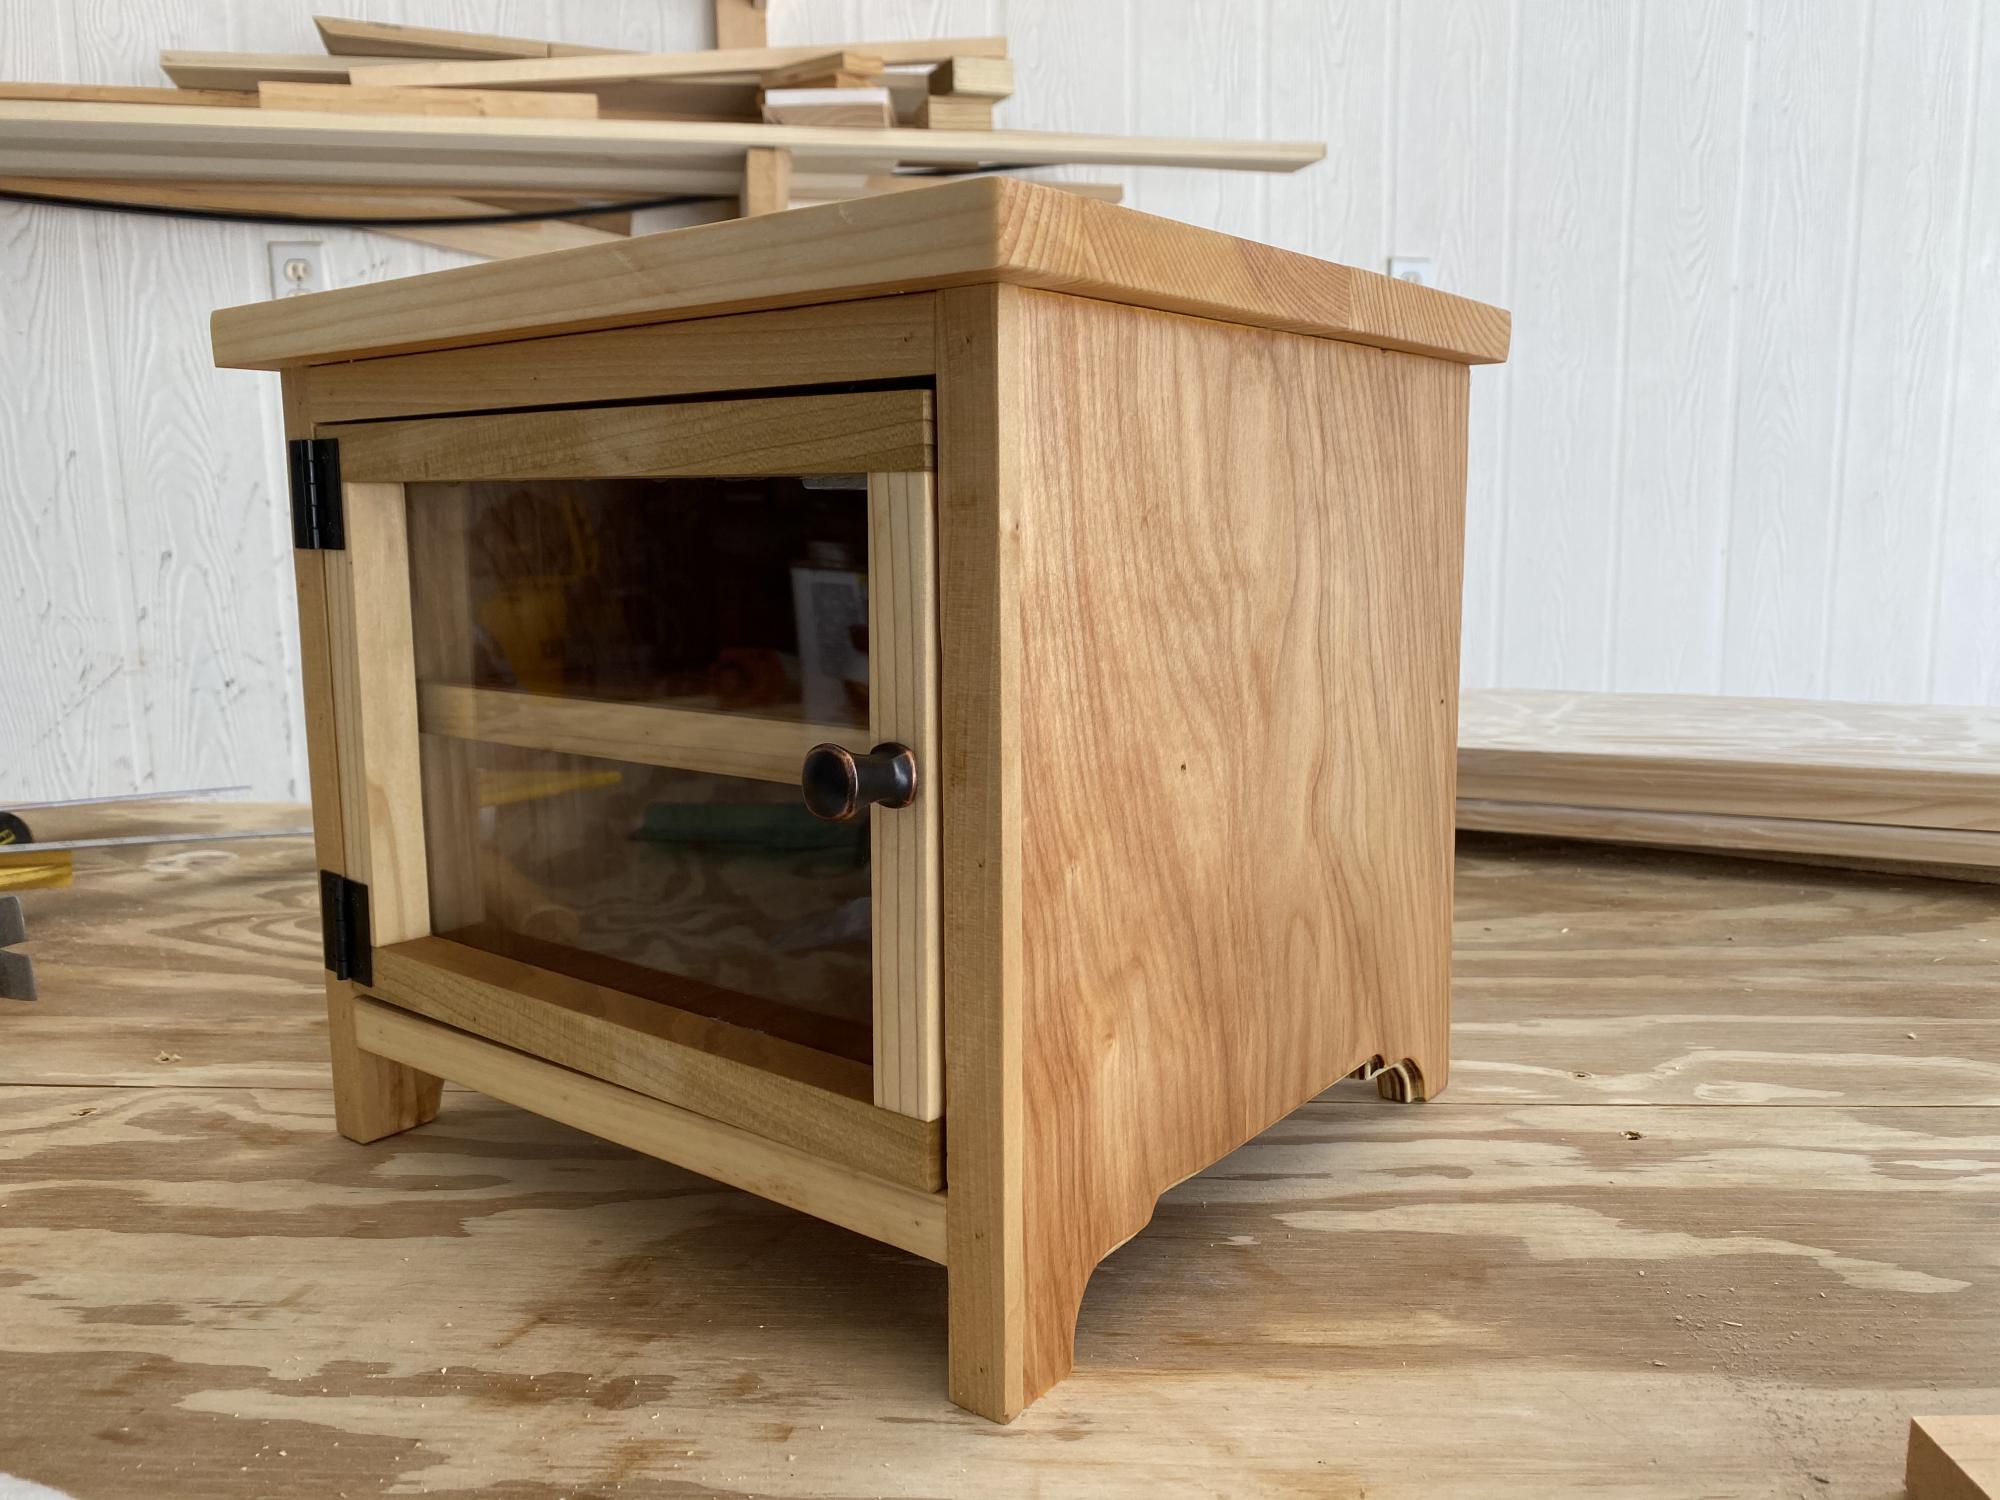
I found the knob on clearance for 59 cents at Lowe’s and the hinges were under $3. The rest was just pretty plywood and some thin poplar instead of edge banding with a boiled linseed oil finish.

Built from Plan(s)
Estimated Cost
Under $5
Estimated Time Investment
An Hour or Two (0-2 Hours)
Finish Used
Boiled linseed oil
Recommended Skill Level
Intermediate
Comments
Seasonal And Holiday
julia nightstand
Nice plan to do. Used an off white paint and antiqued it with stain pen.
Built from Plan(s)
Estimated Time Investment
Afternoon Project (3-6 Hours)
Recommended Skill Level
Beginner
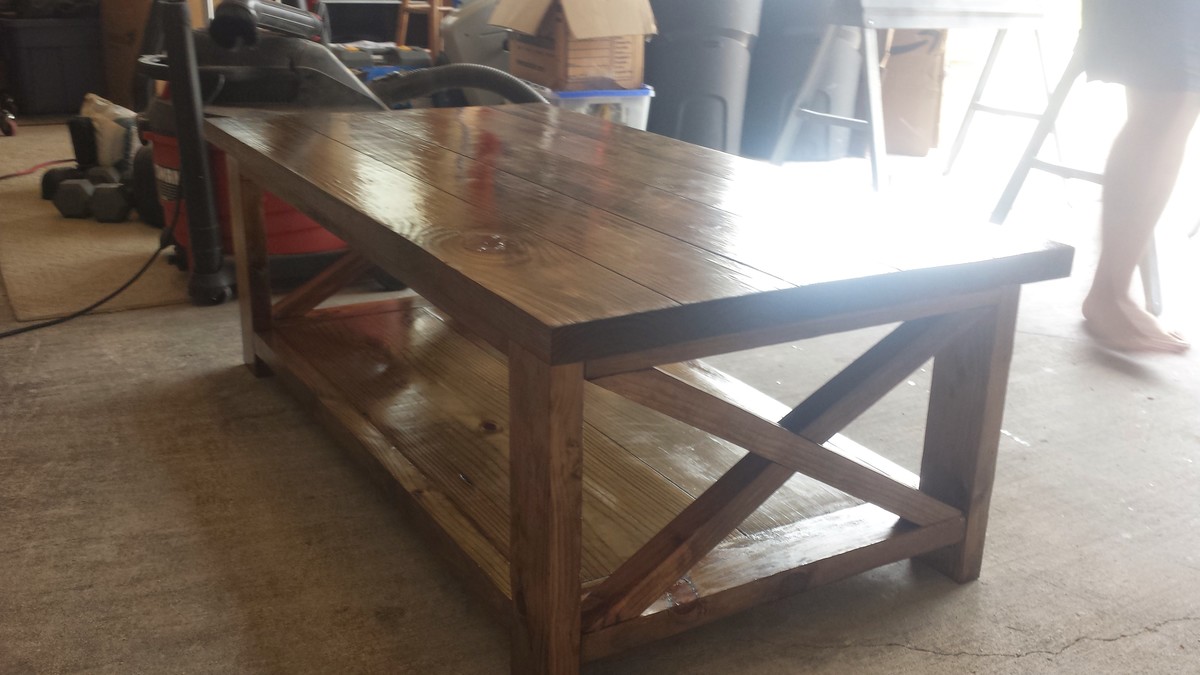
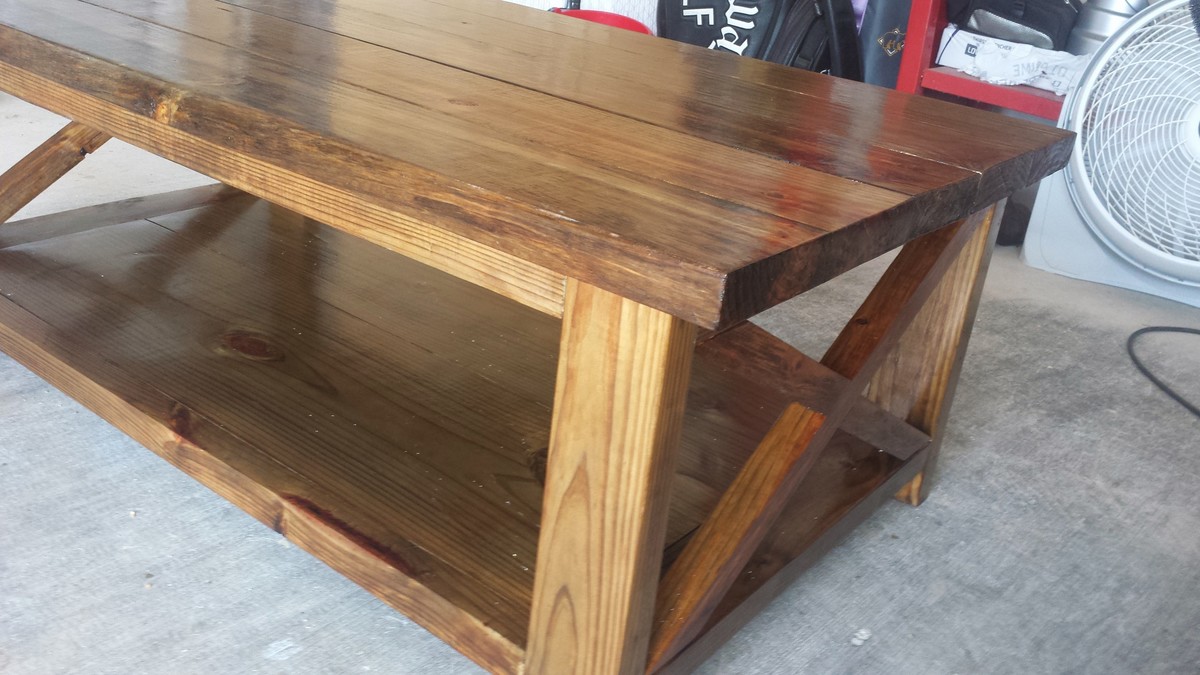
Rustic X Coffee Table
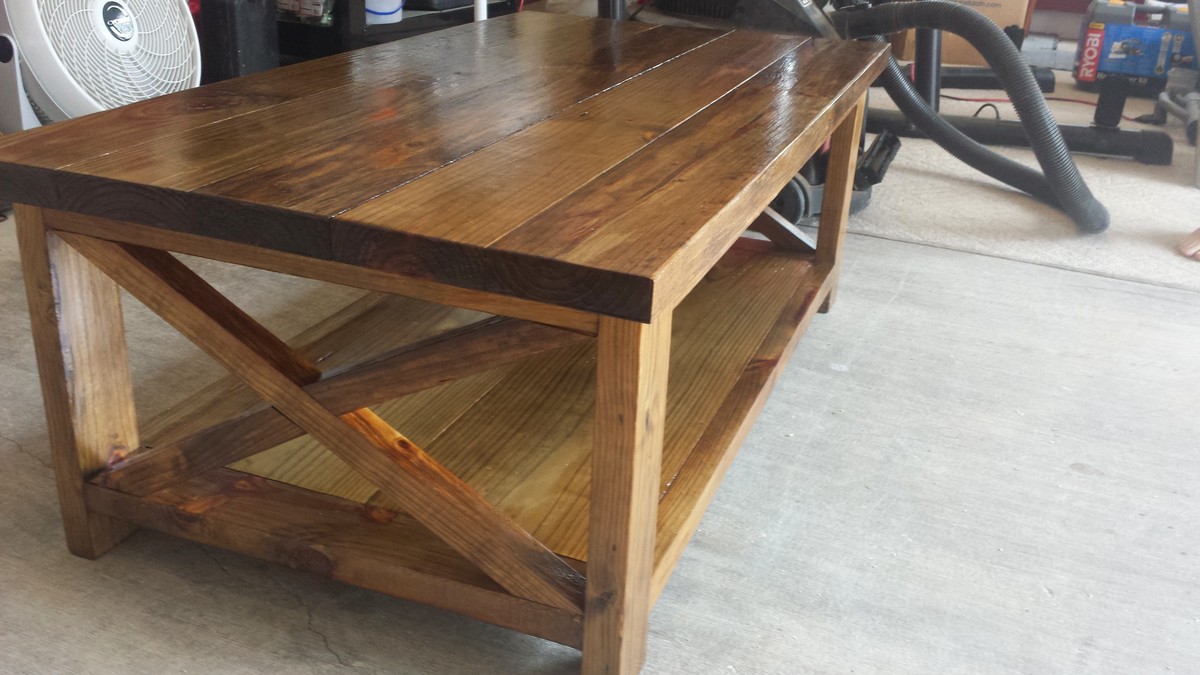
This was my first build and I'm really happy with how it turned out!
Built from Plan(s)
Estimated Cost
$45
Estimated Time Investment
Day Project (6-9 Hours)
Finish Used
I used the oxidation technique and finished with 5 coats of satin poly.
Recommended Skill Level
Intermediate
Comments

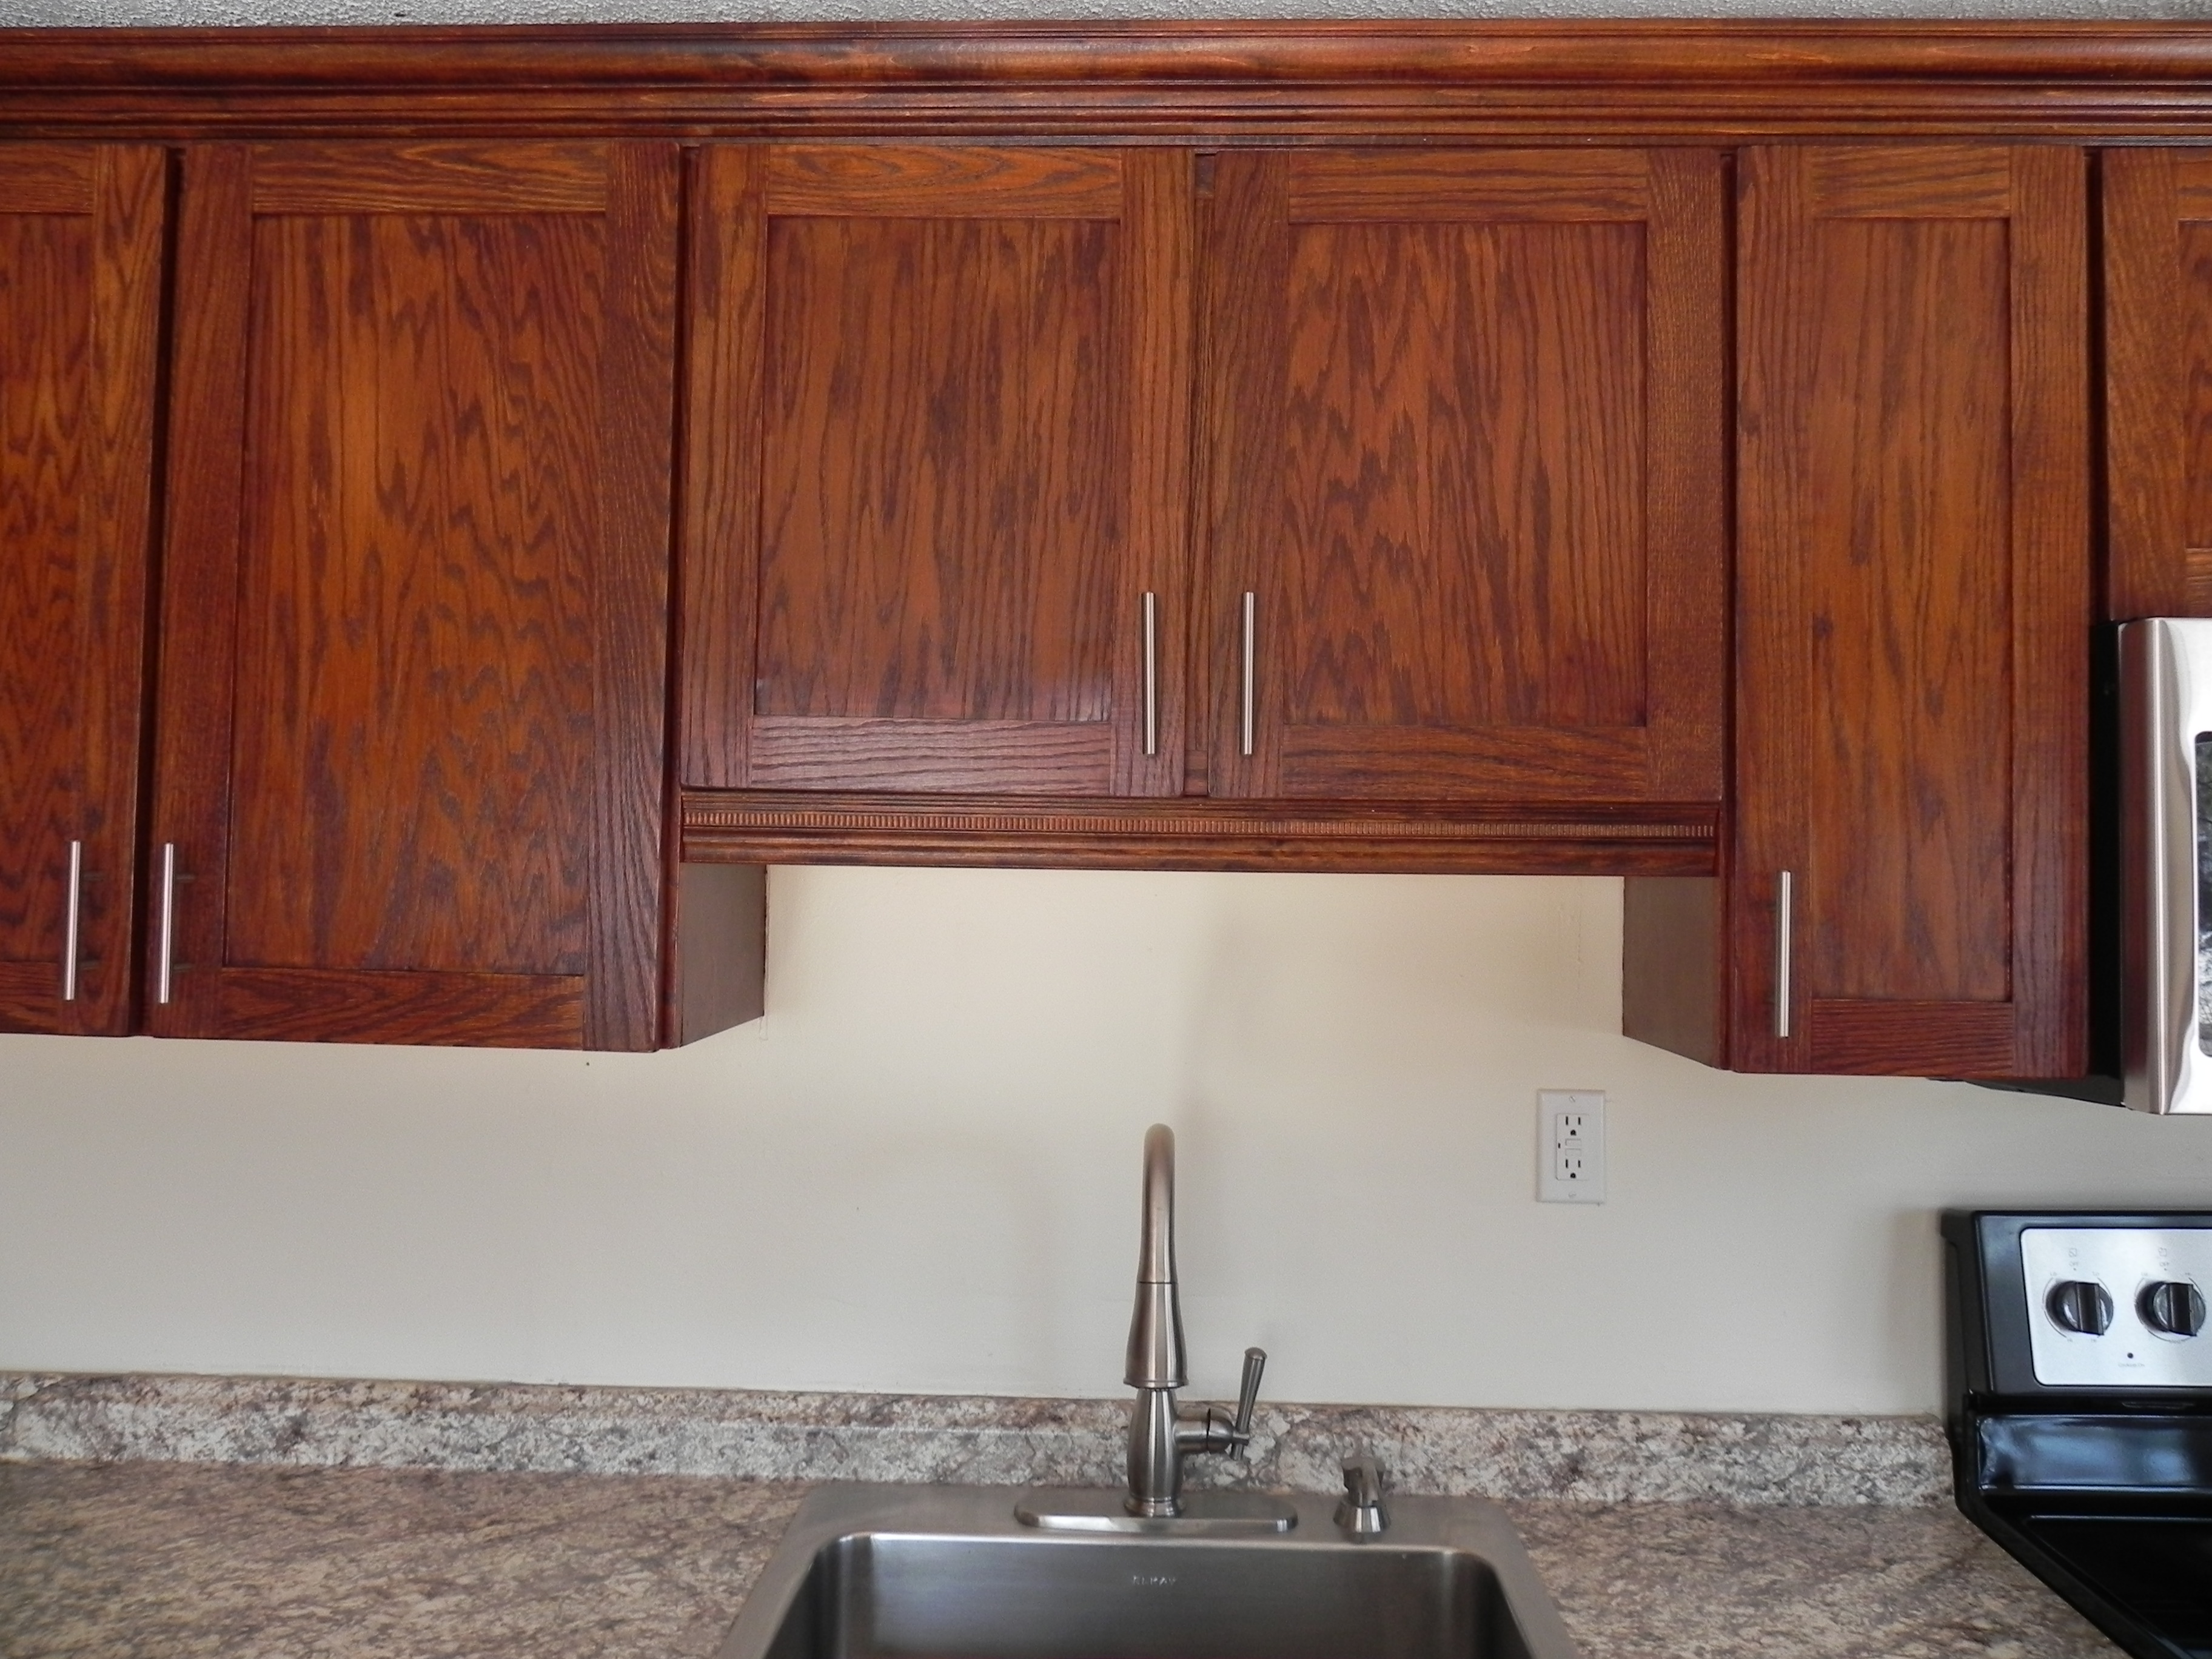
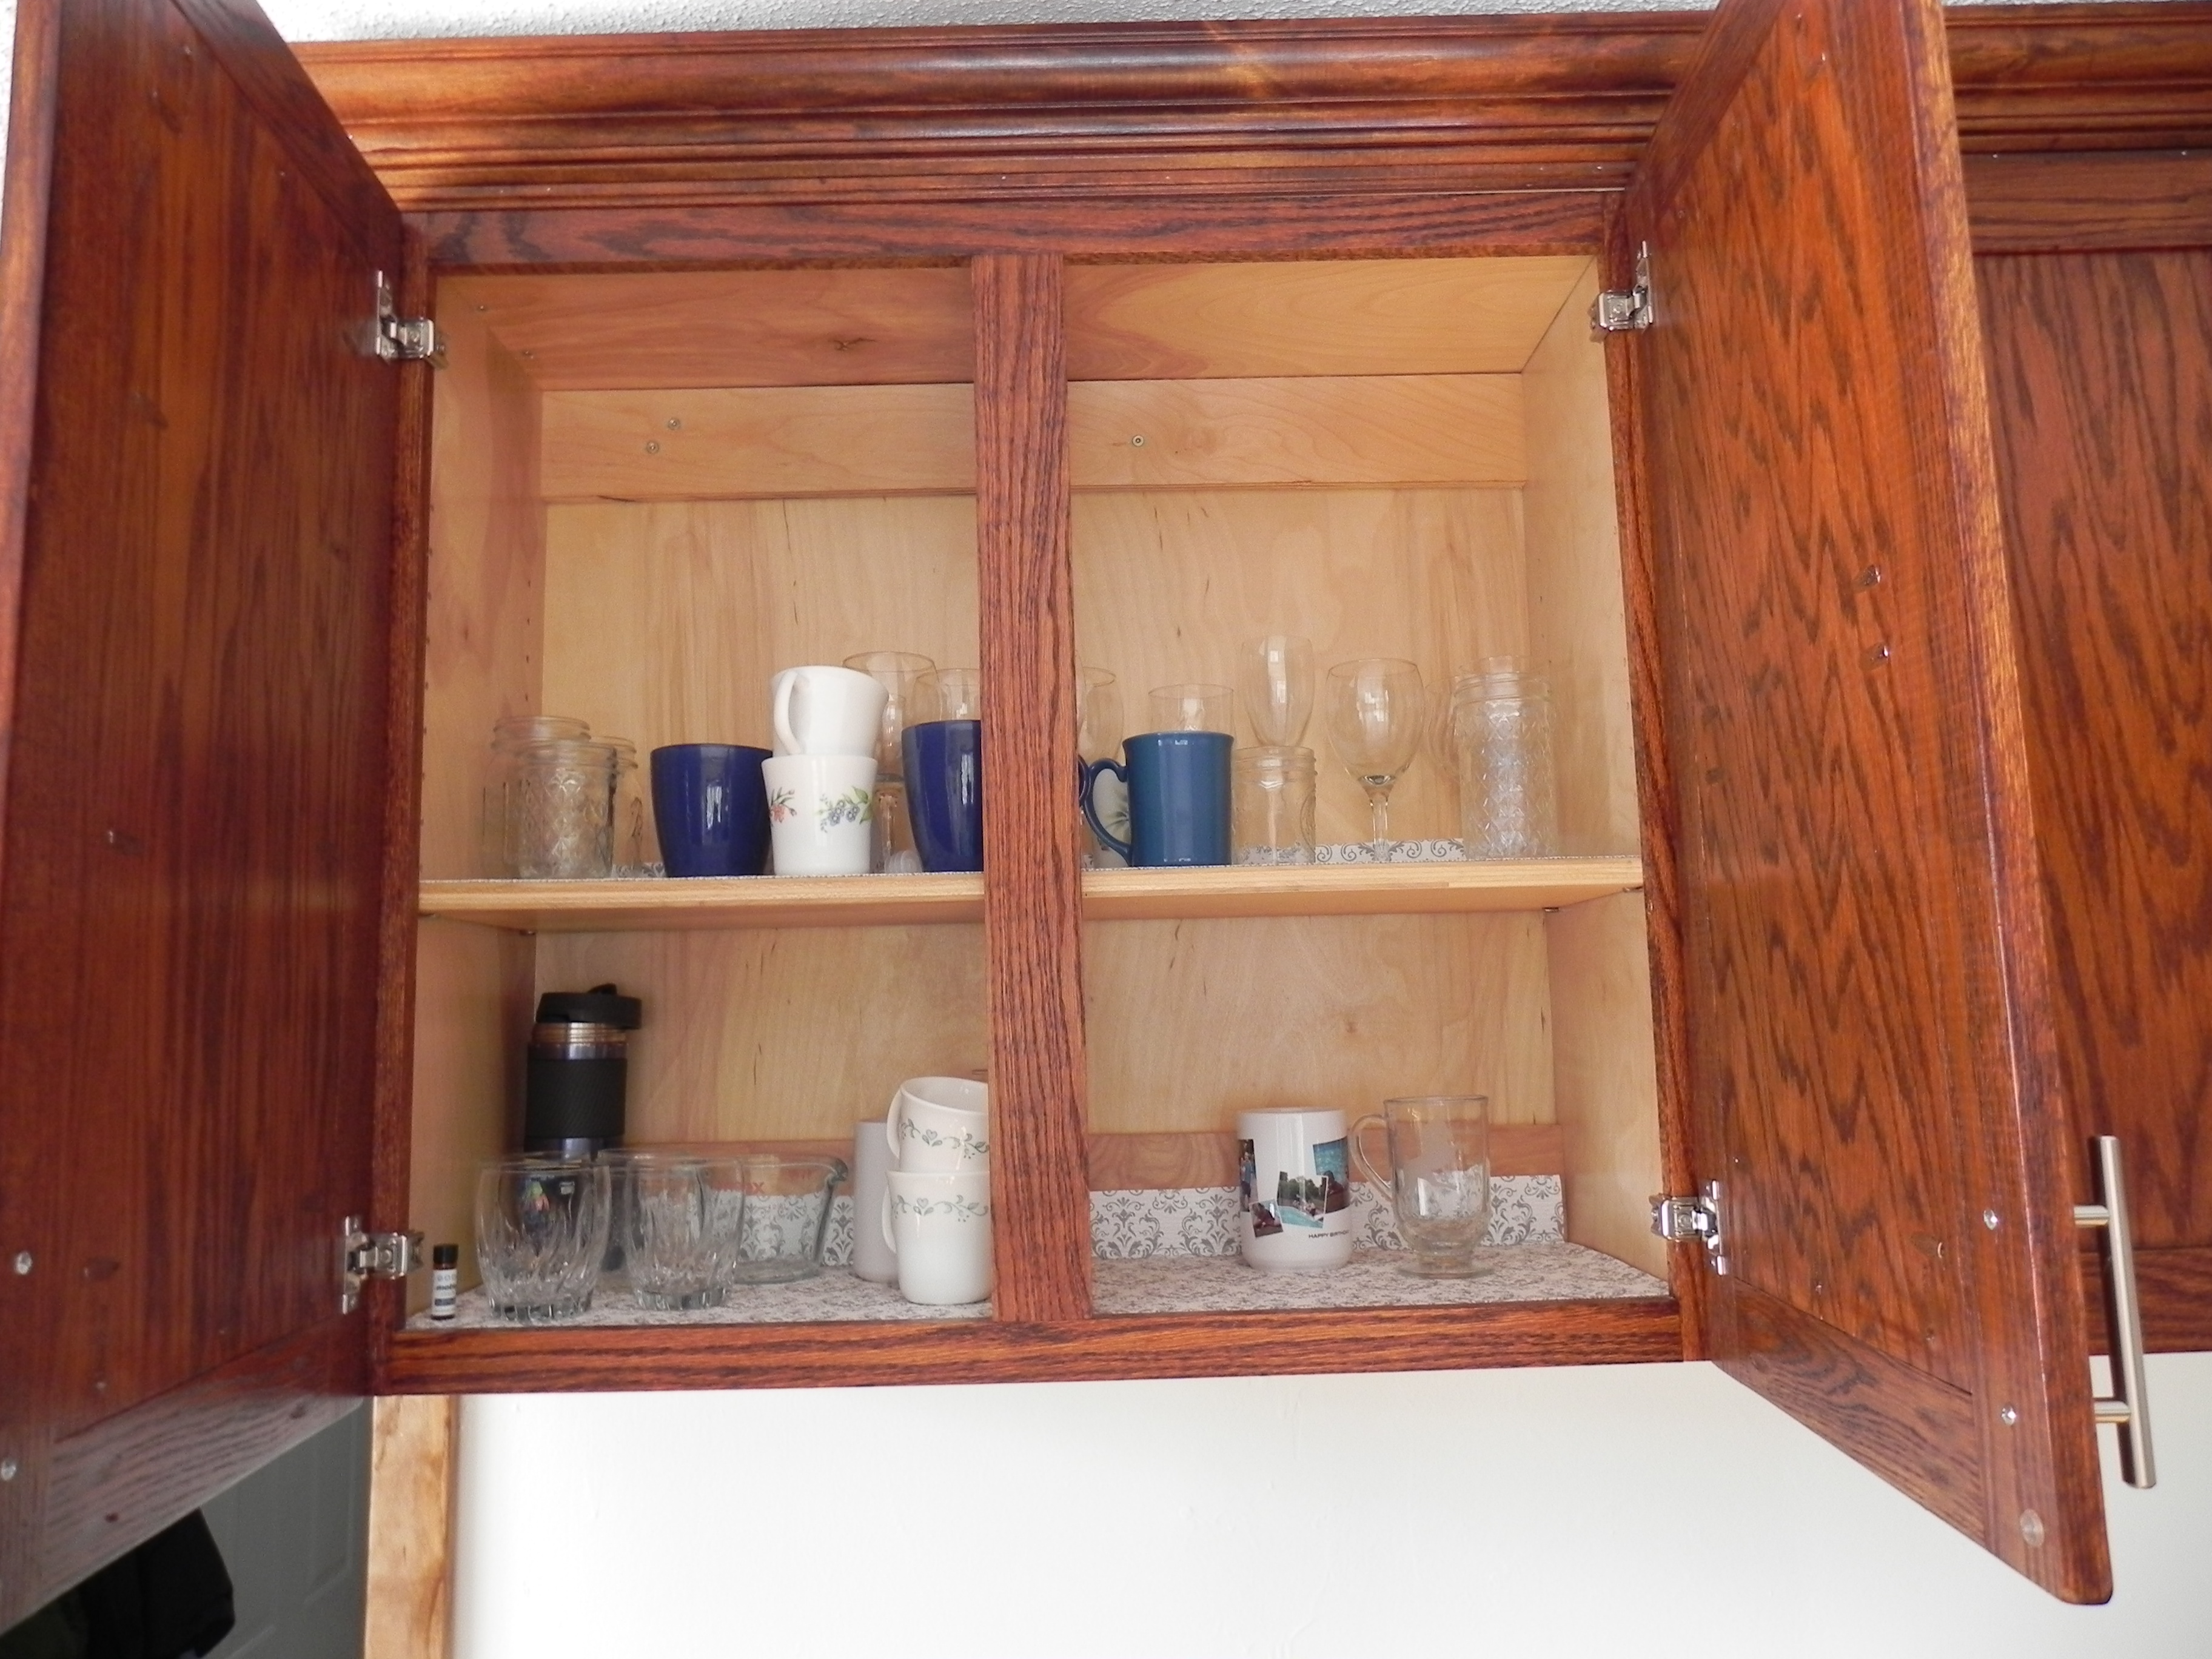
Custom built kitchen
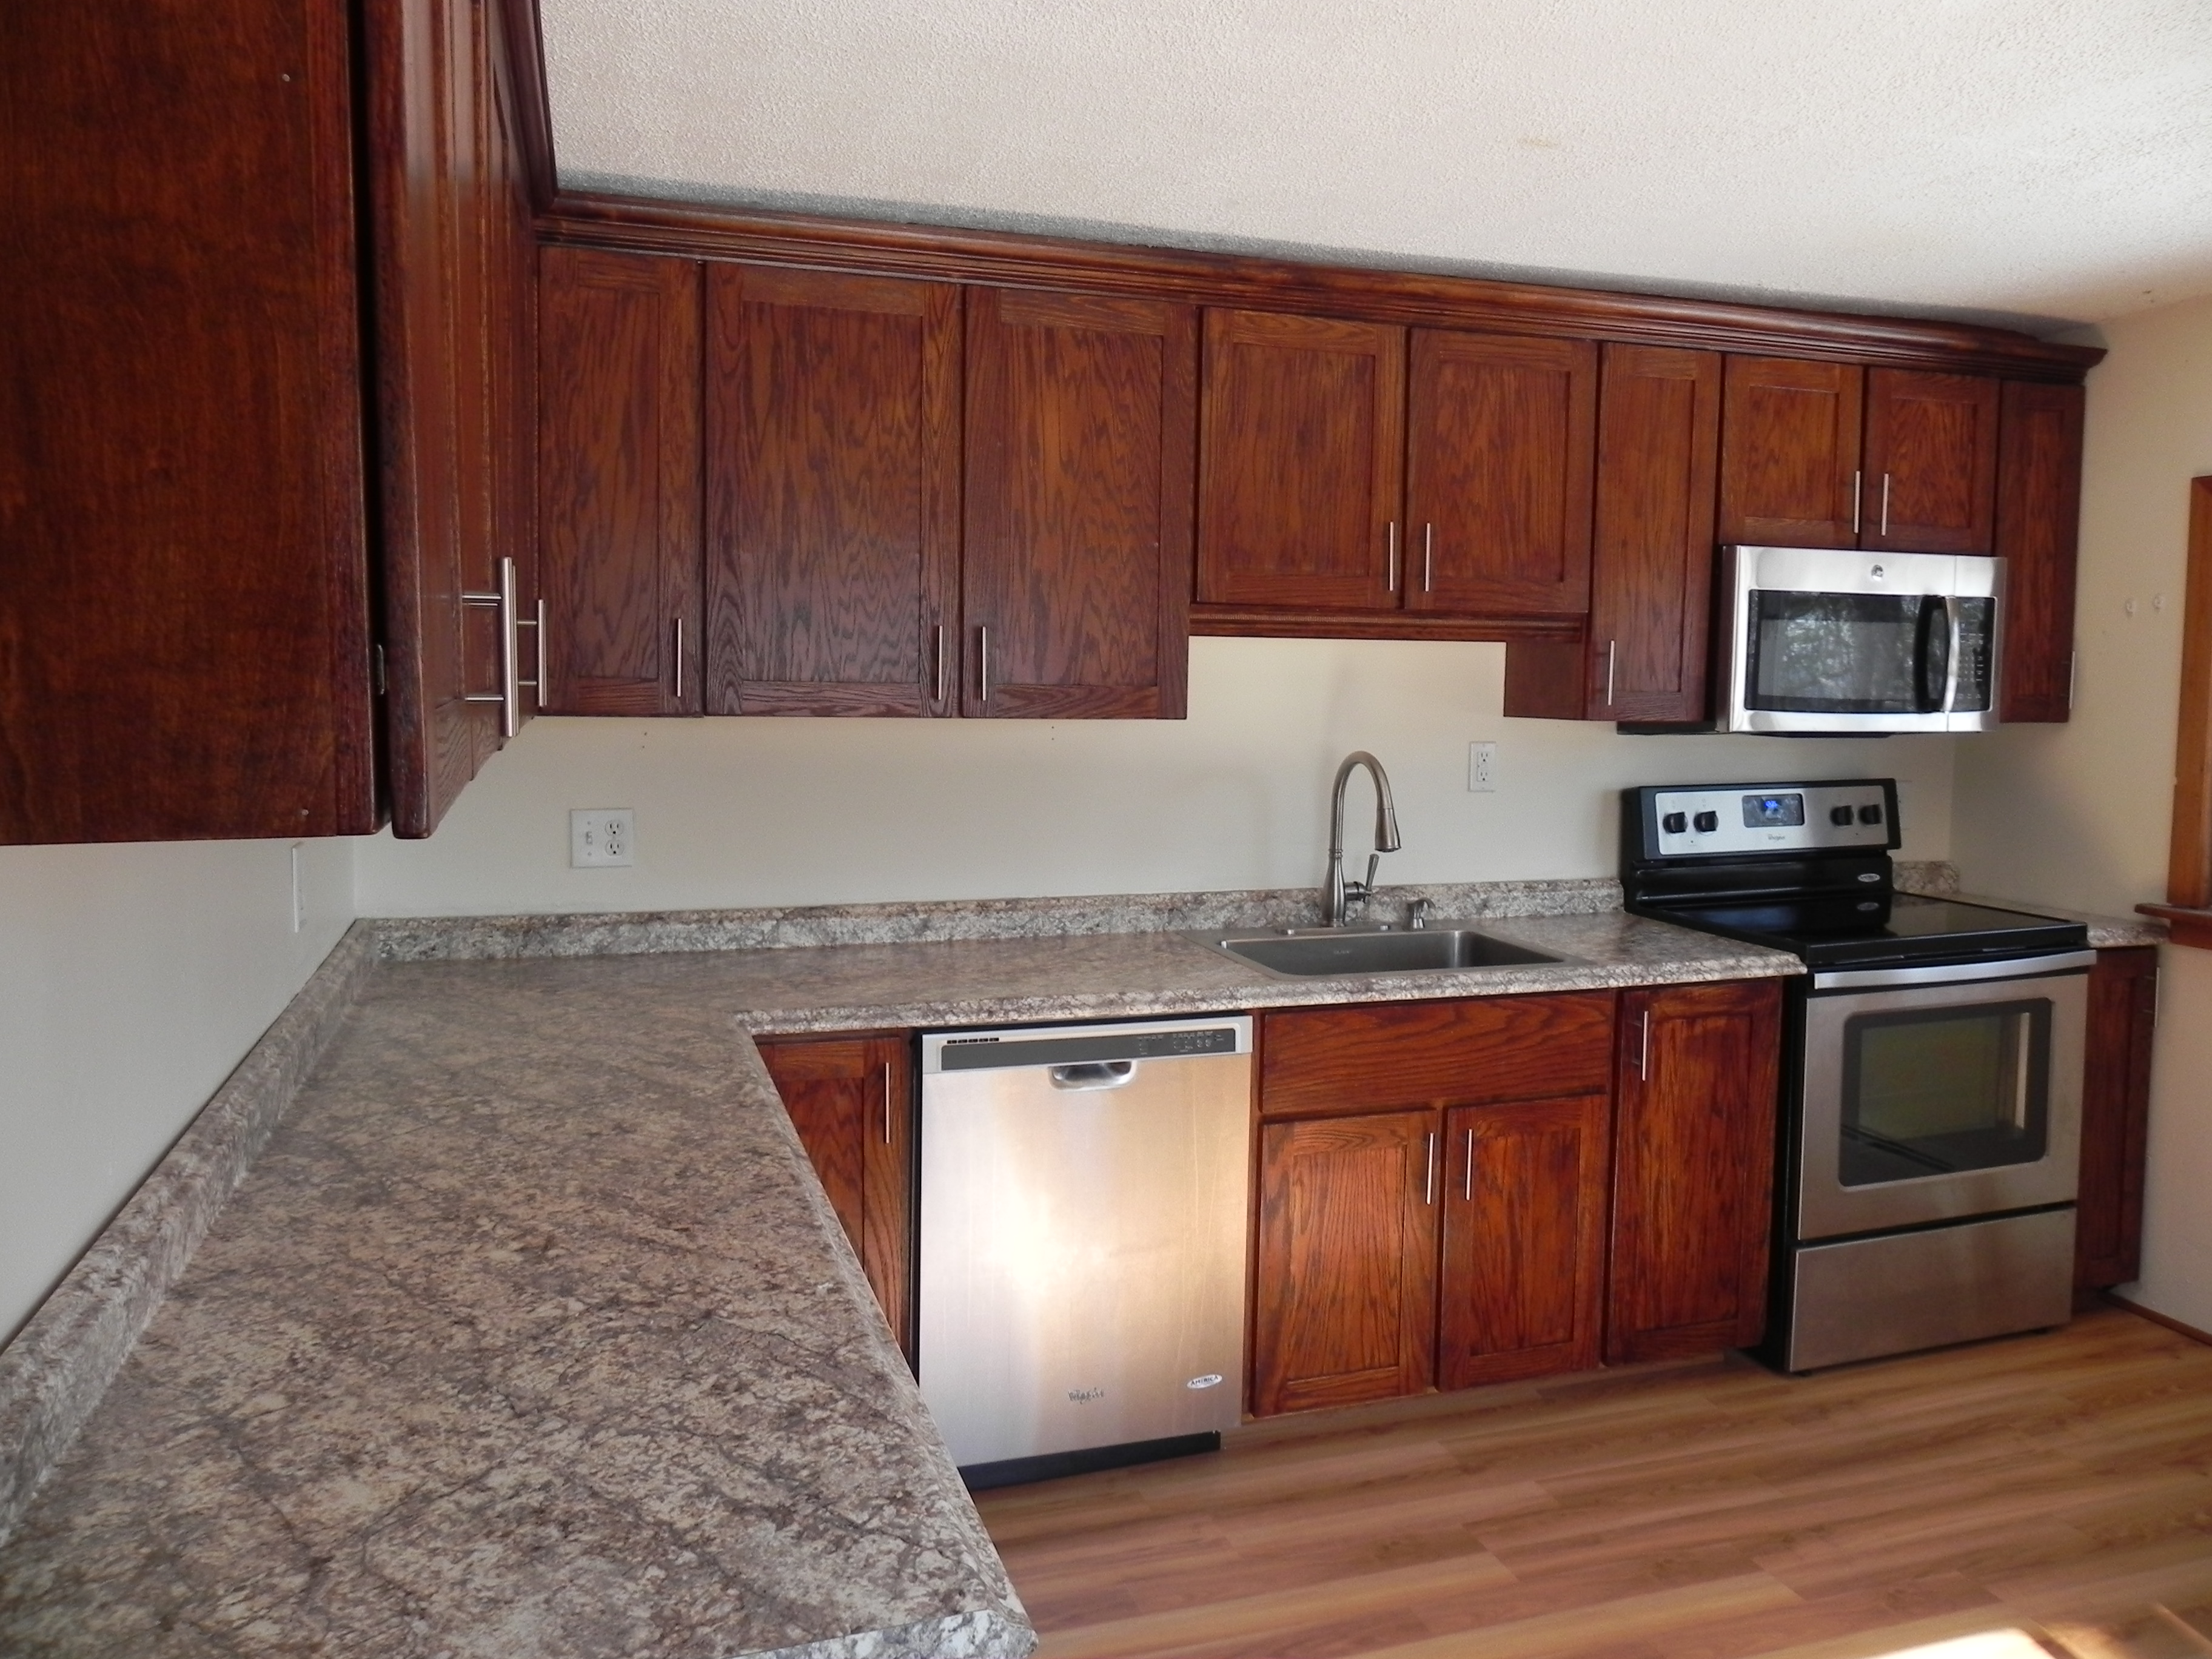
With our old kitchen crumbling to pieces, I decided to build a new kitchen. I followed several of Ana's cabinet plans to build the entire kitchen(more than I could list at the bottom). I was able to customize the cabinet sizes in order to maximize my kitchen space. I made the doors myself, so I didn't need to worry about standard sizing. It took me about a year from demolition to completion. I had to buy a few new tools, all the wood, appliances, the floor, and countertop, and still spent around $5,000. I learned so much from this project and we all love our new kitchen! Thank you Ana for all of your wonderful plans!


Built from Plan(s)
Estimated Cost
under $5,000 - including a table saw, hardware, appliances, flooring,
Estimated Time Investment
Week Long Project (20 Hours or More)
Finish Used
Target Coatings golden chestnut stain and waterborne alkyd varnish semi-gloss. You can order this online.
Recommended Skill Level
Intermediate
Farmhouse play table
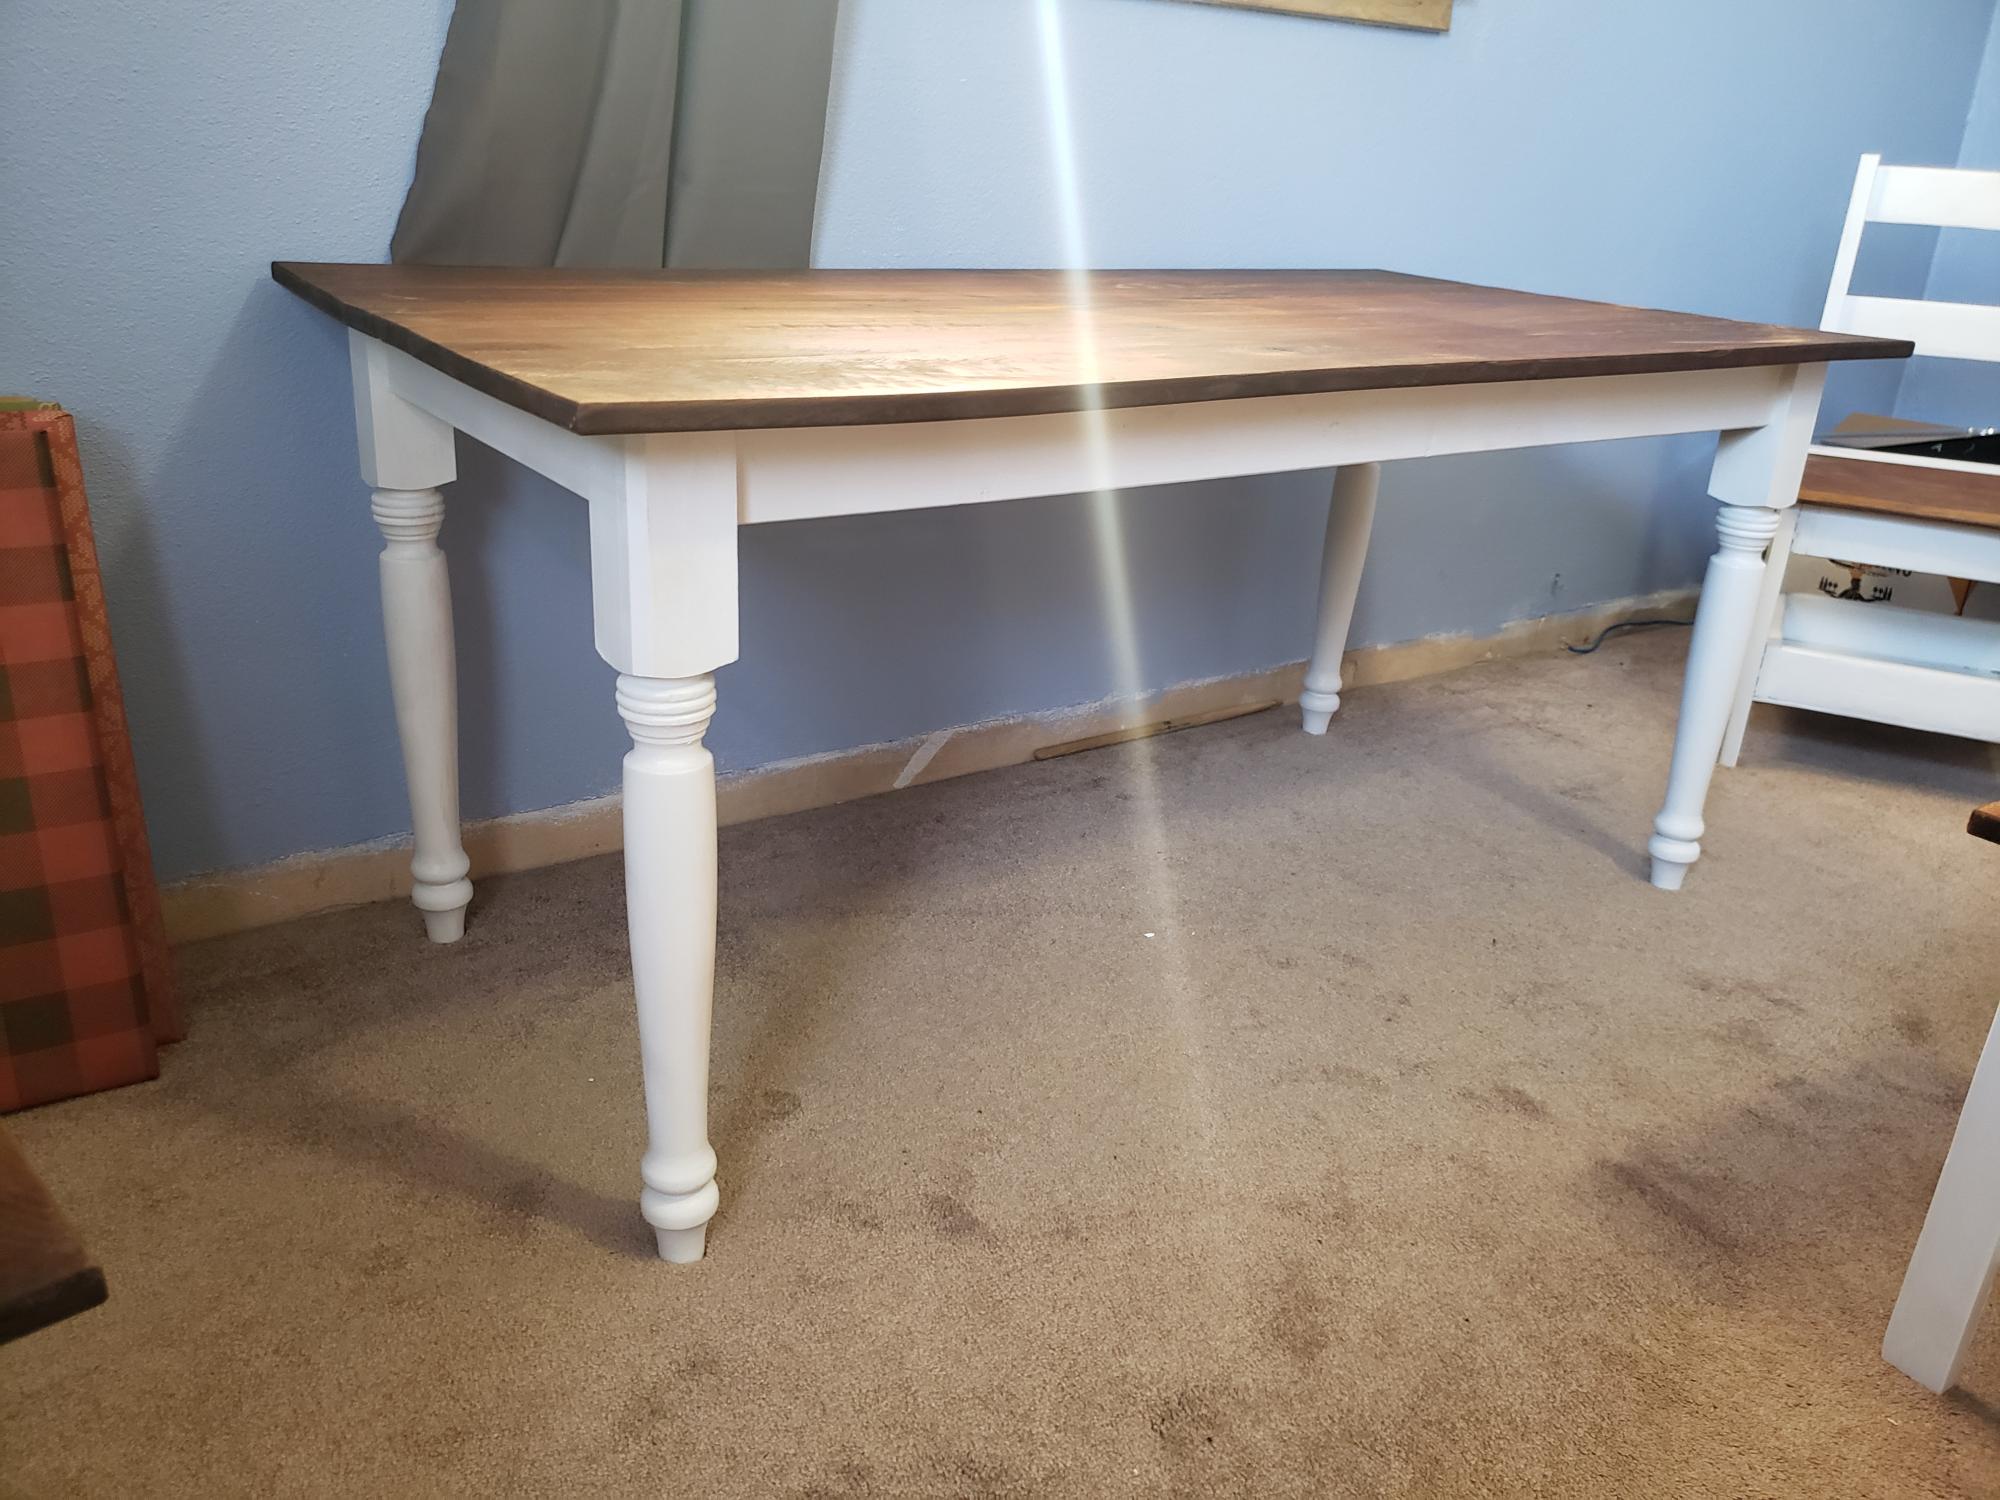
Made per the plans but I made walnut tabletop for it
Built from Plan(s)
First project!
I still can't believe how great this turned out and looks just like Pottery Barn's! It was our first project but we are now tackling bookcases for our family room... I can't wait to post again!
Estimated Cost
$150
Estimated Time Investment
Weekend Project (10-20 Hours)
Finish Used
Paint and stain
Recommended Skill Level
Beginner
Comments

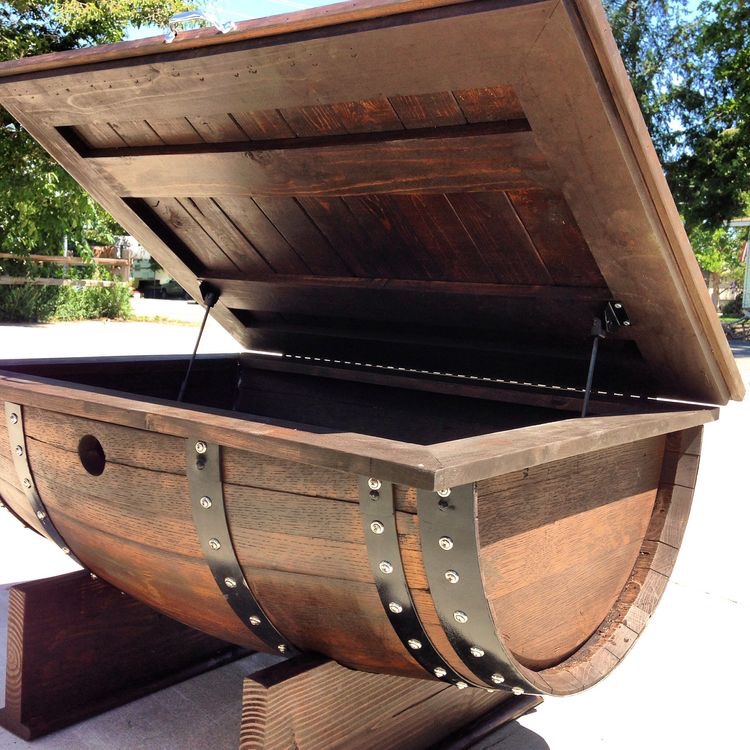
Restoration Hardware Industrial Wagon
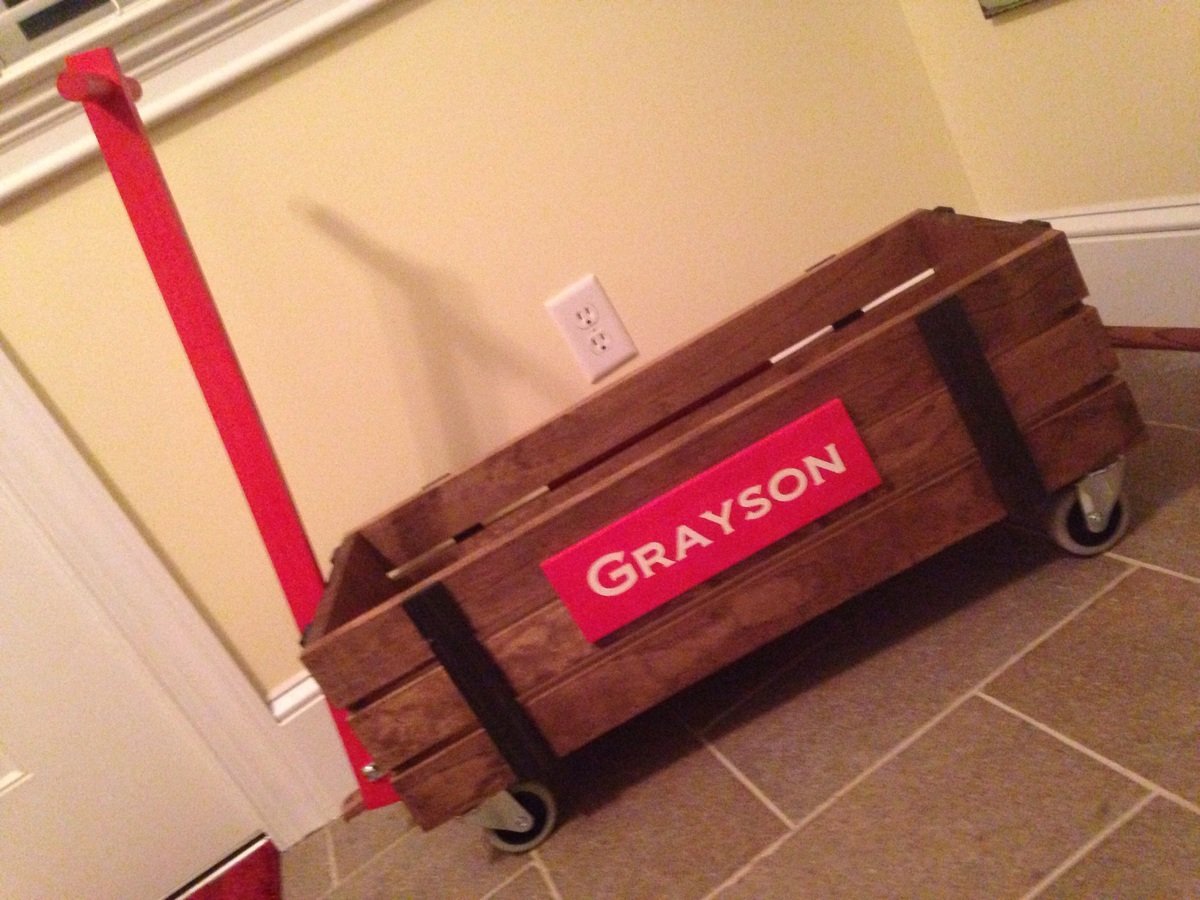
What new Mom wouldn't want this for a baby shower gift!!! Easy build
Estimated Cost
$65.00
Estimated Time Investment
An Hour or Two (0-2 Hours)
Finish Used
Early American stain on the body, ebony stain on the side slats, red satin paint on the handle and name plate.
Recommended Skill Level
Starter Project
Comments
4x4 Truss Bench

This was my first bench build and I’m happy with the way it turned out! I adjusted the plans to account for wood movement of the table top using mortise and tenon joinery and draw board pins on the bread board ends. Also edge glued the table top boards and used z-clips to attach the bench top.
Built from Plan(s)
Rustic X Console
I finally talked my husband into helping me whip this thing up. It didn't take very long to put it together, but it did take a long time for me to figure out a finish I would like. I used the steel wool/vinegar and black tea stain, but it ended up too dark, nearly black. So I sanded and sanded and applied a wood stain on top of it. It looks great!
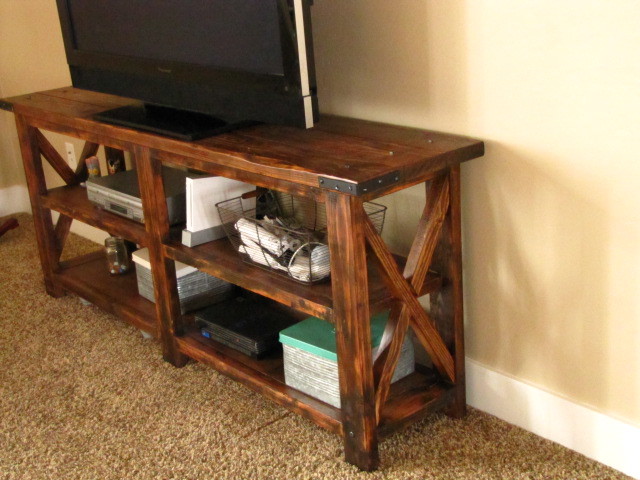
Built from Plan(s)
Estimated Cost
Less than 100
Estimated Time Investment
Day Project (6-9 Hours)
Recommended Skill Level
Beginner
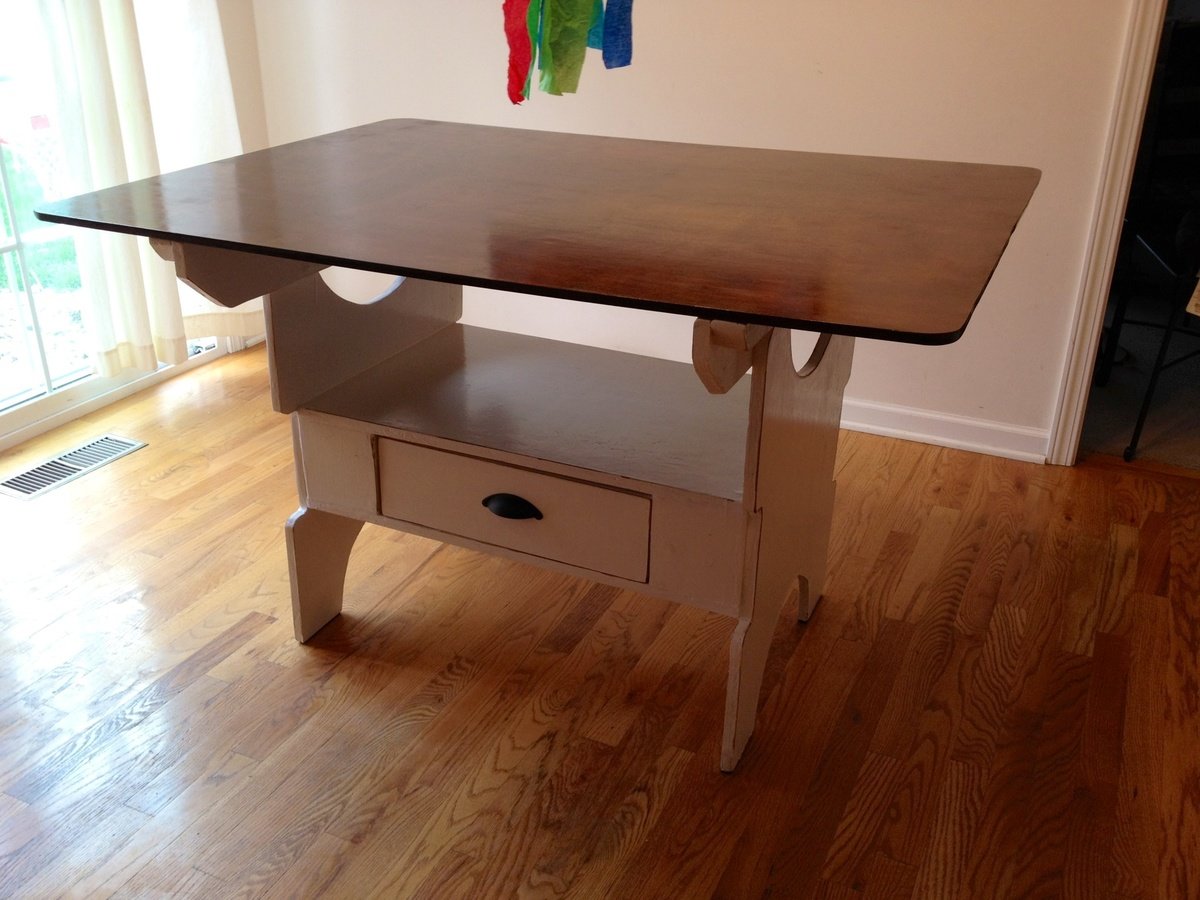
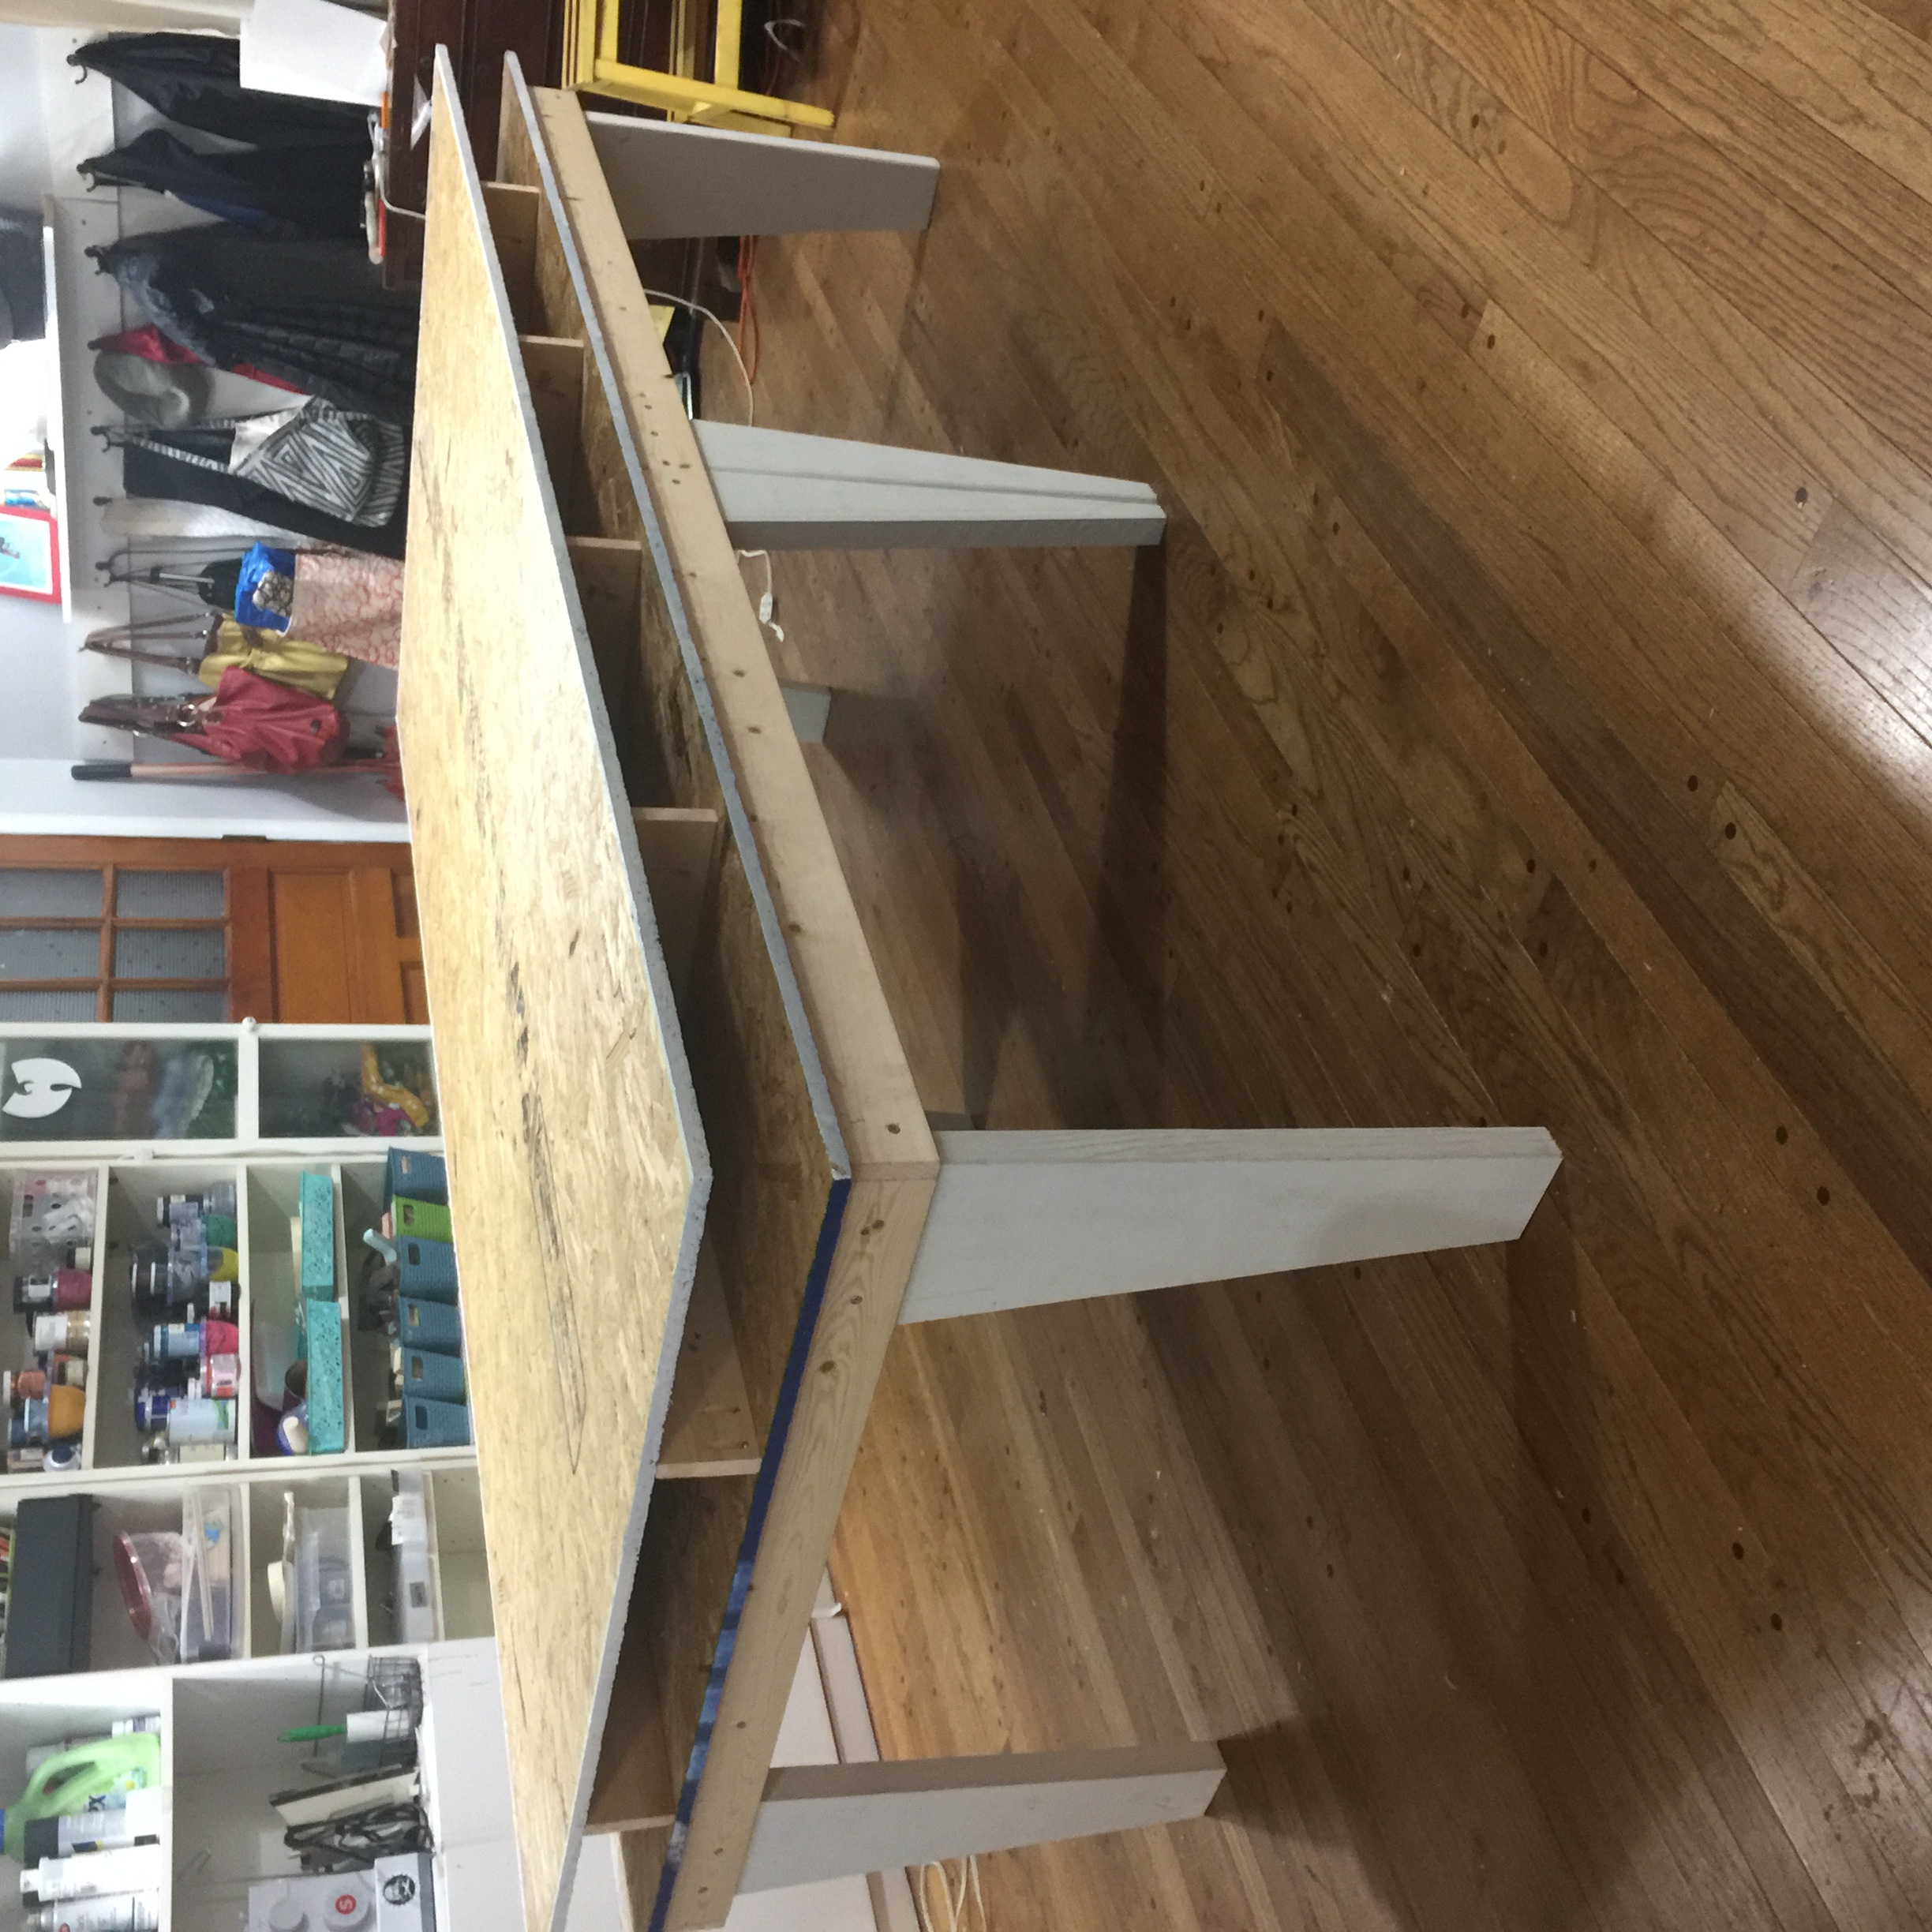
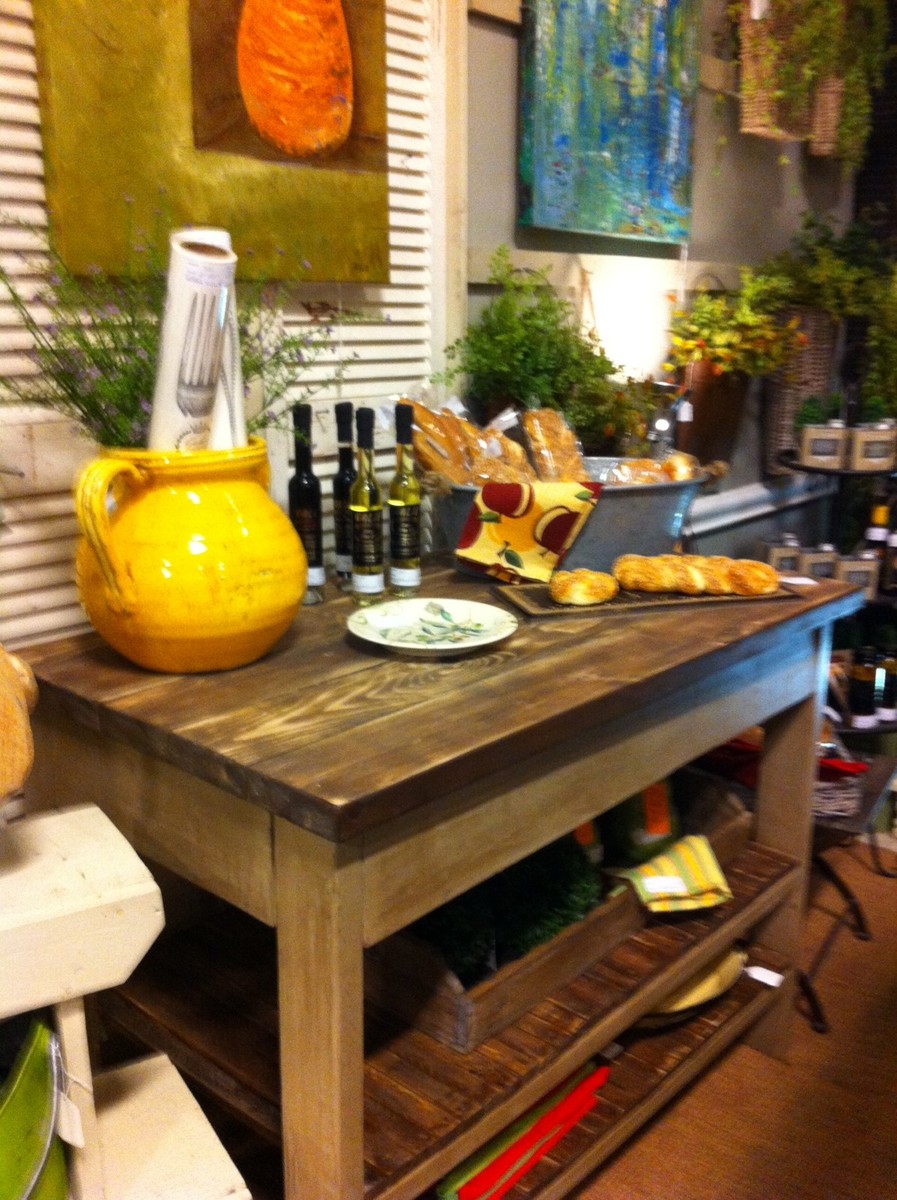
Massive Craft Table with storage cubbies
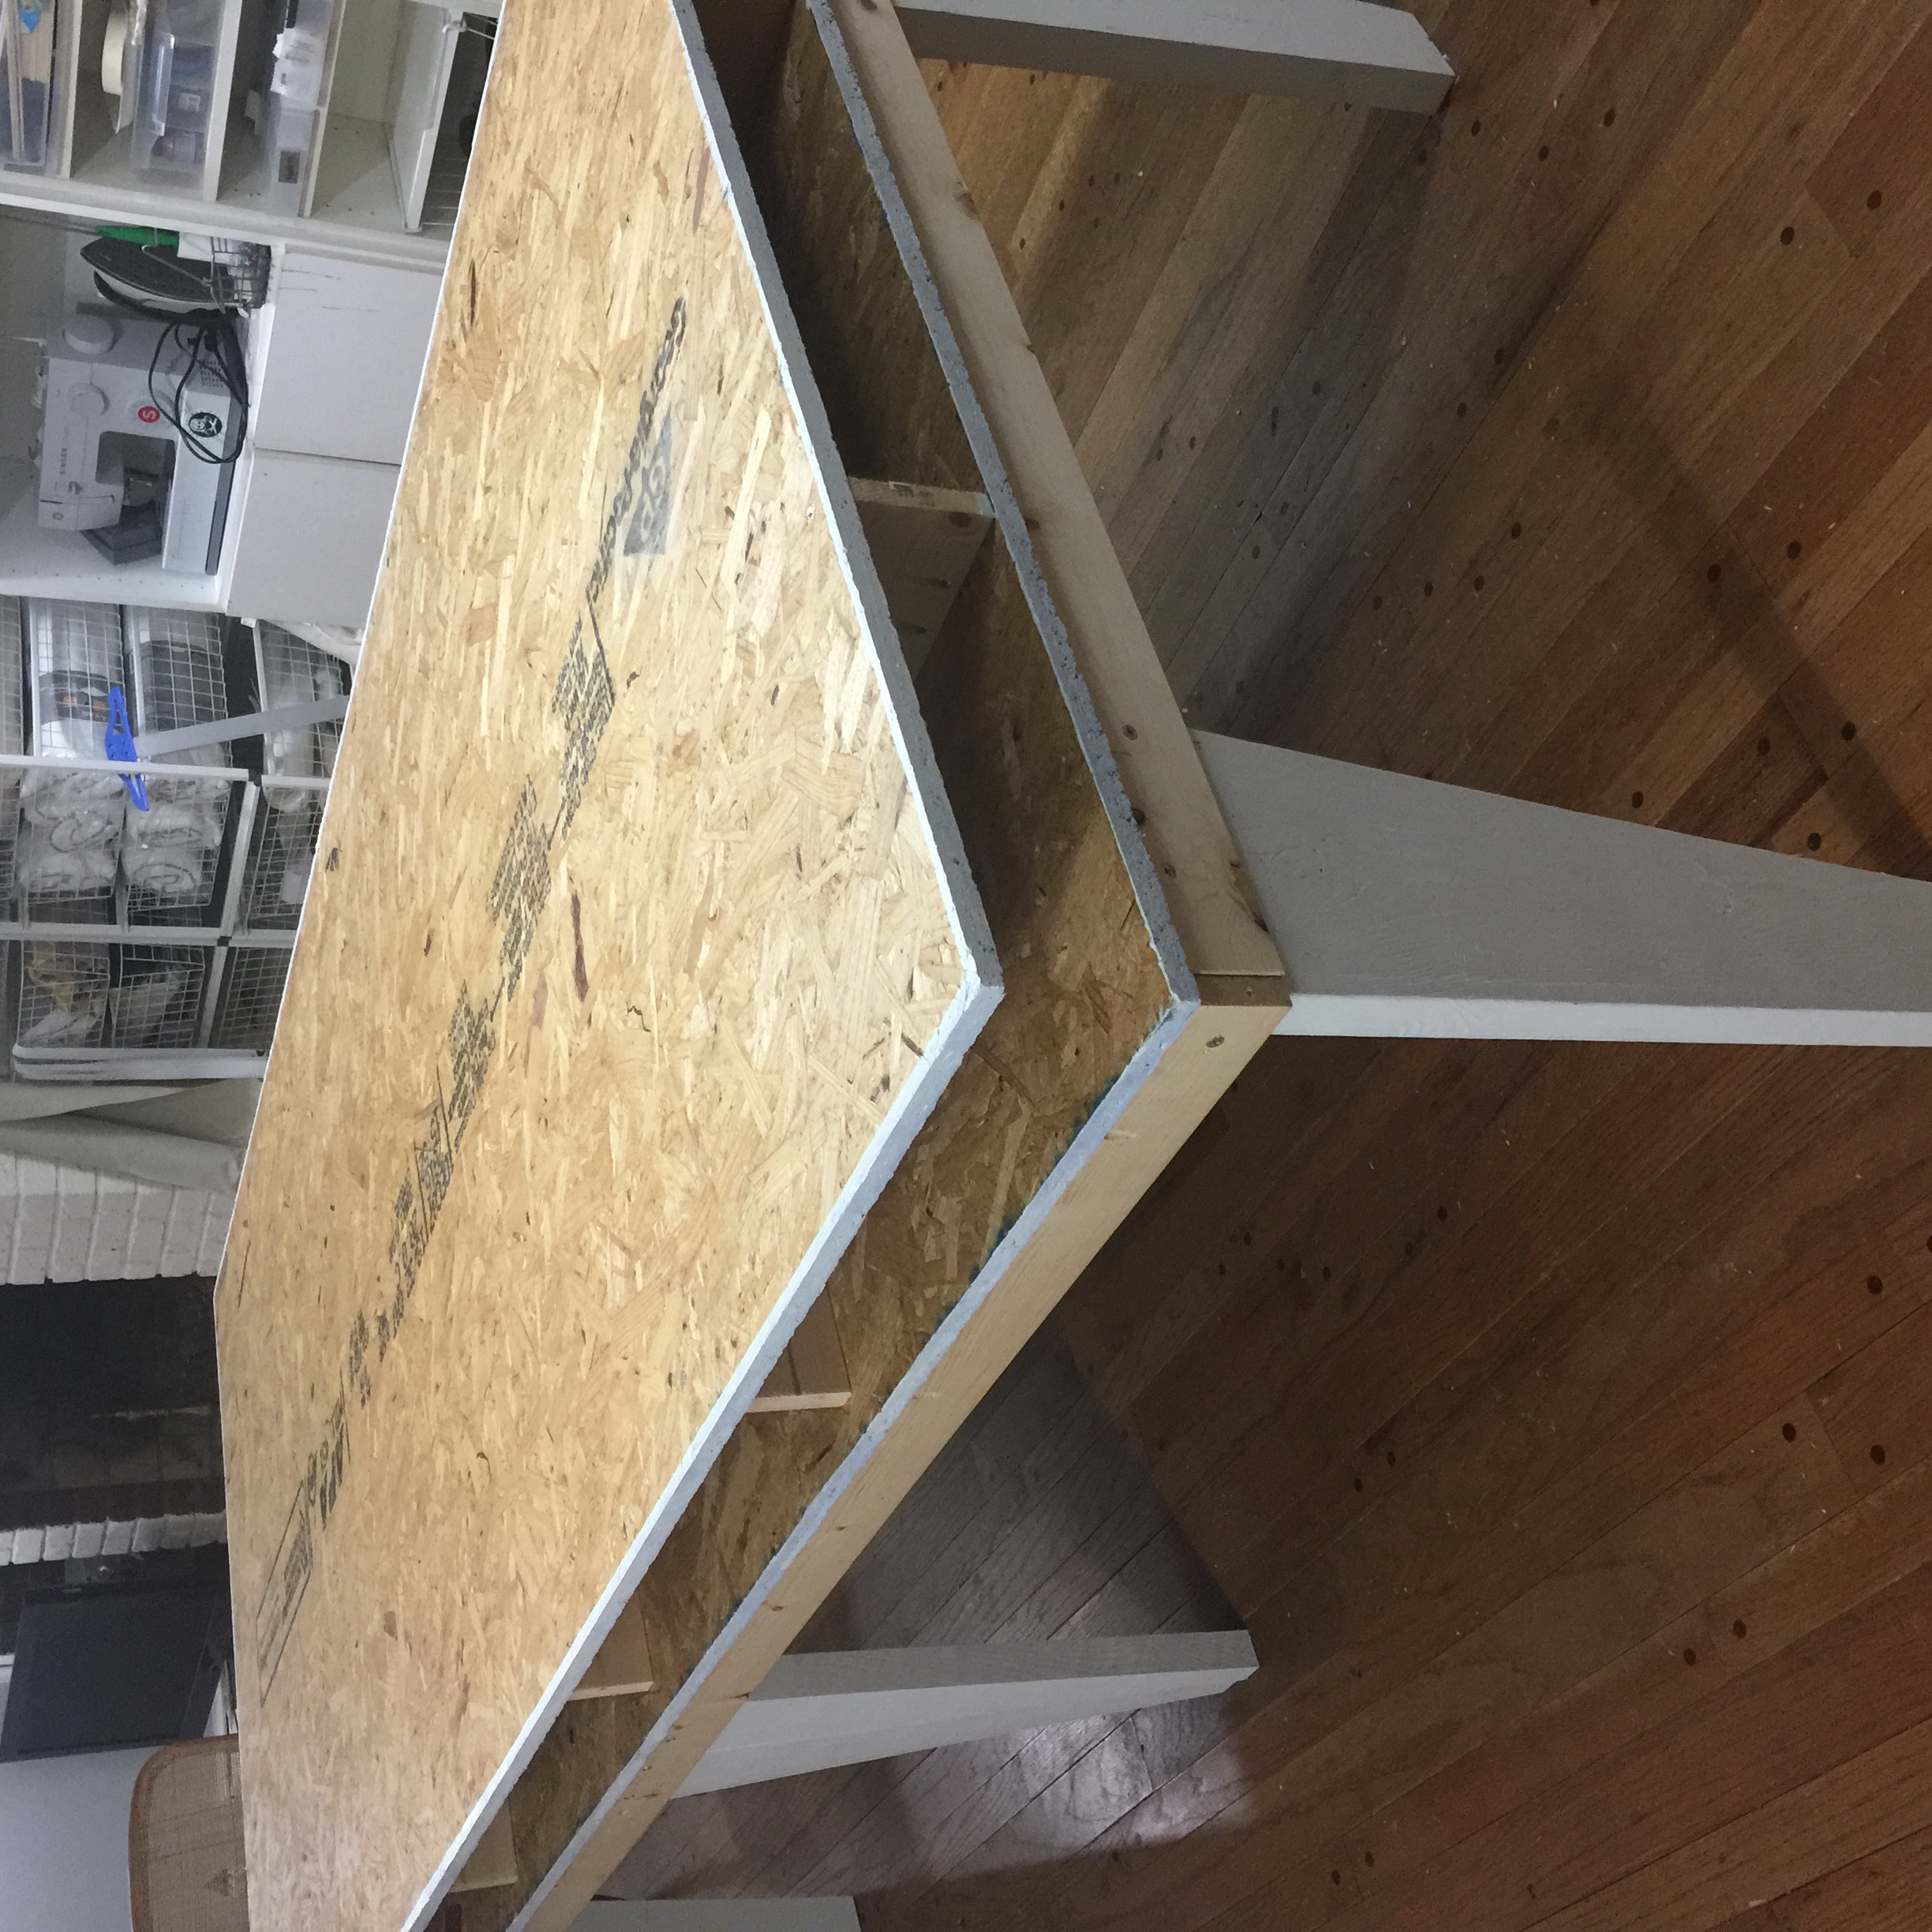
I am a Block Printer and Screenprinter, as well as indulging in other projects. I needed a fairly large table that would allow me to print fabric yardage fairly easily, as well as be able to layout the fabric to cut. I decided to build this table that I had seen on a couple of different sites. There was not much instruction on either site, but it was fairly easy, and I was able to figure it out pretty easily.
I wrote a more detailed blog post on my blog with details as well as what I learned while building this table.
Estimated Cost
$100
Estimated Time Investment
Day Project (6-9 Hours)
Finish Used
Annie Sloan Wax on the top, Latex Paint on the legs.
Recommended Skill Level
Beginner
Modified desk into makeup vanity
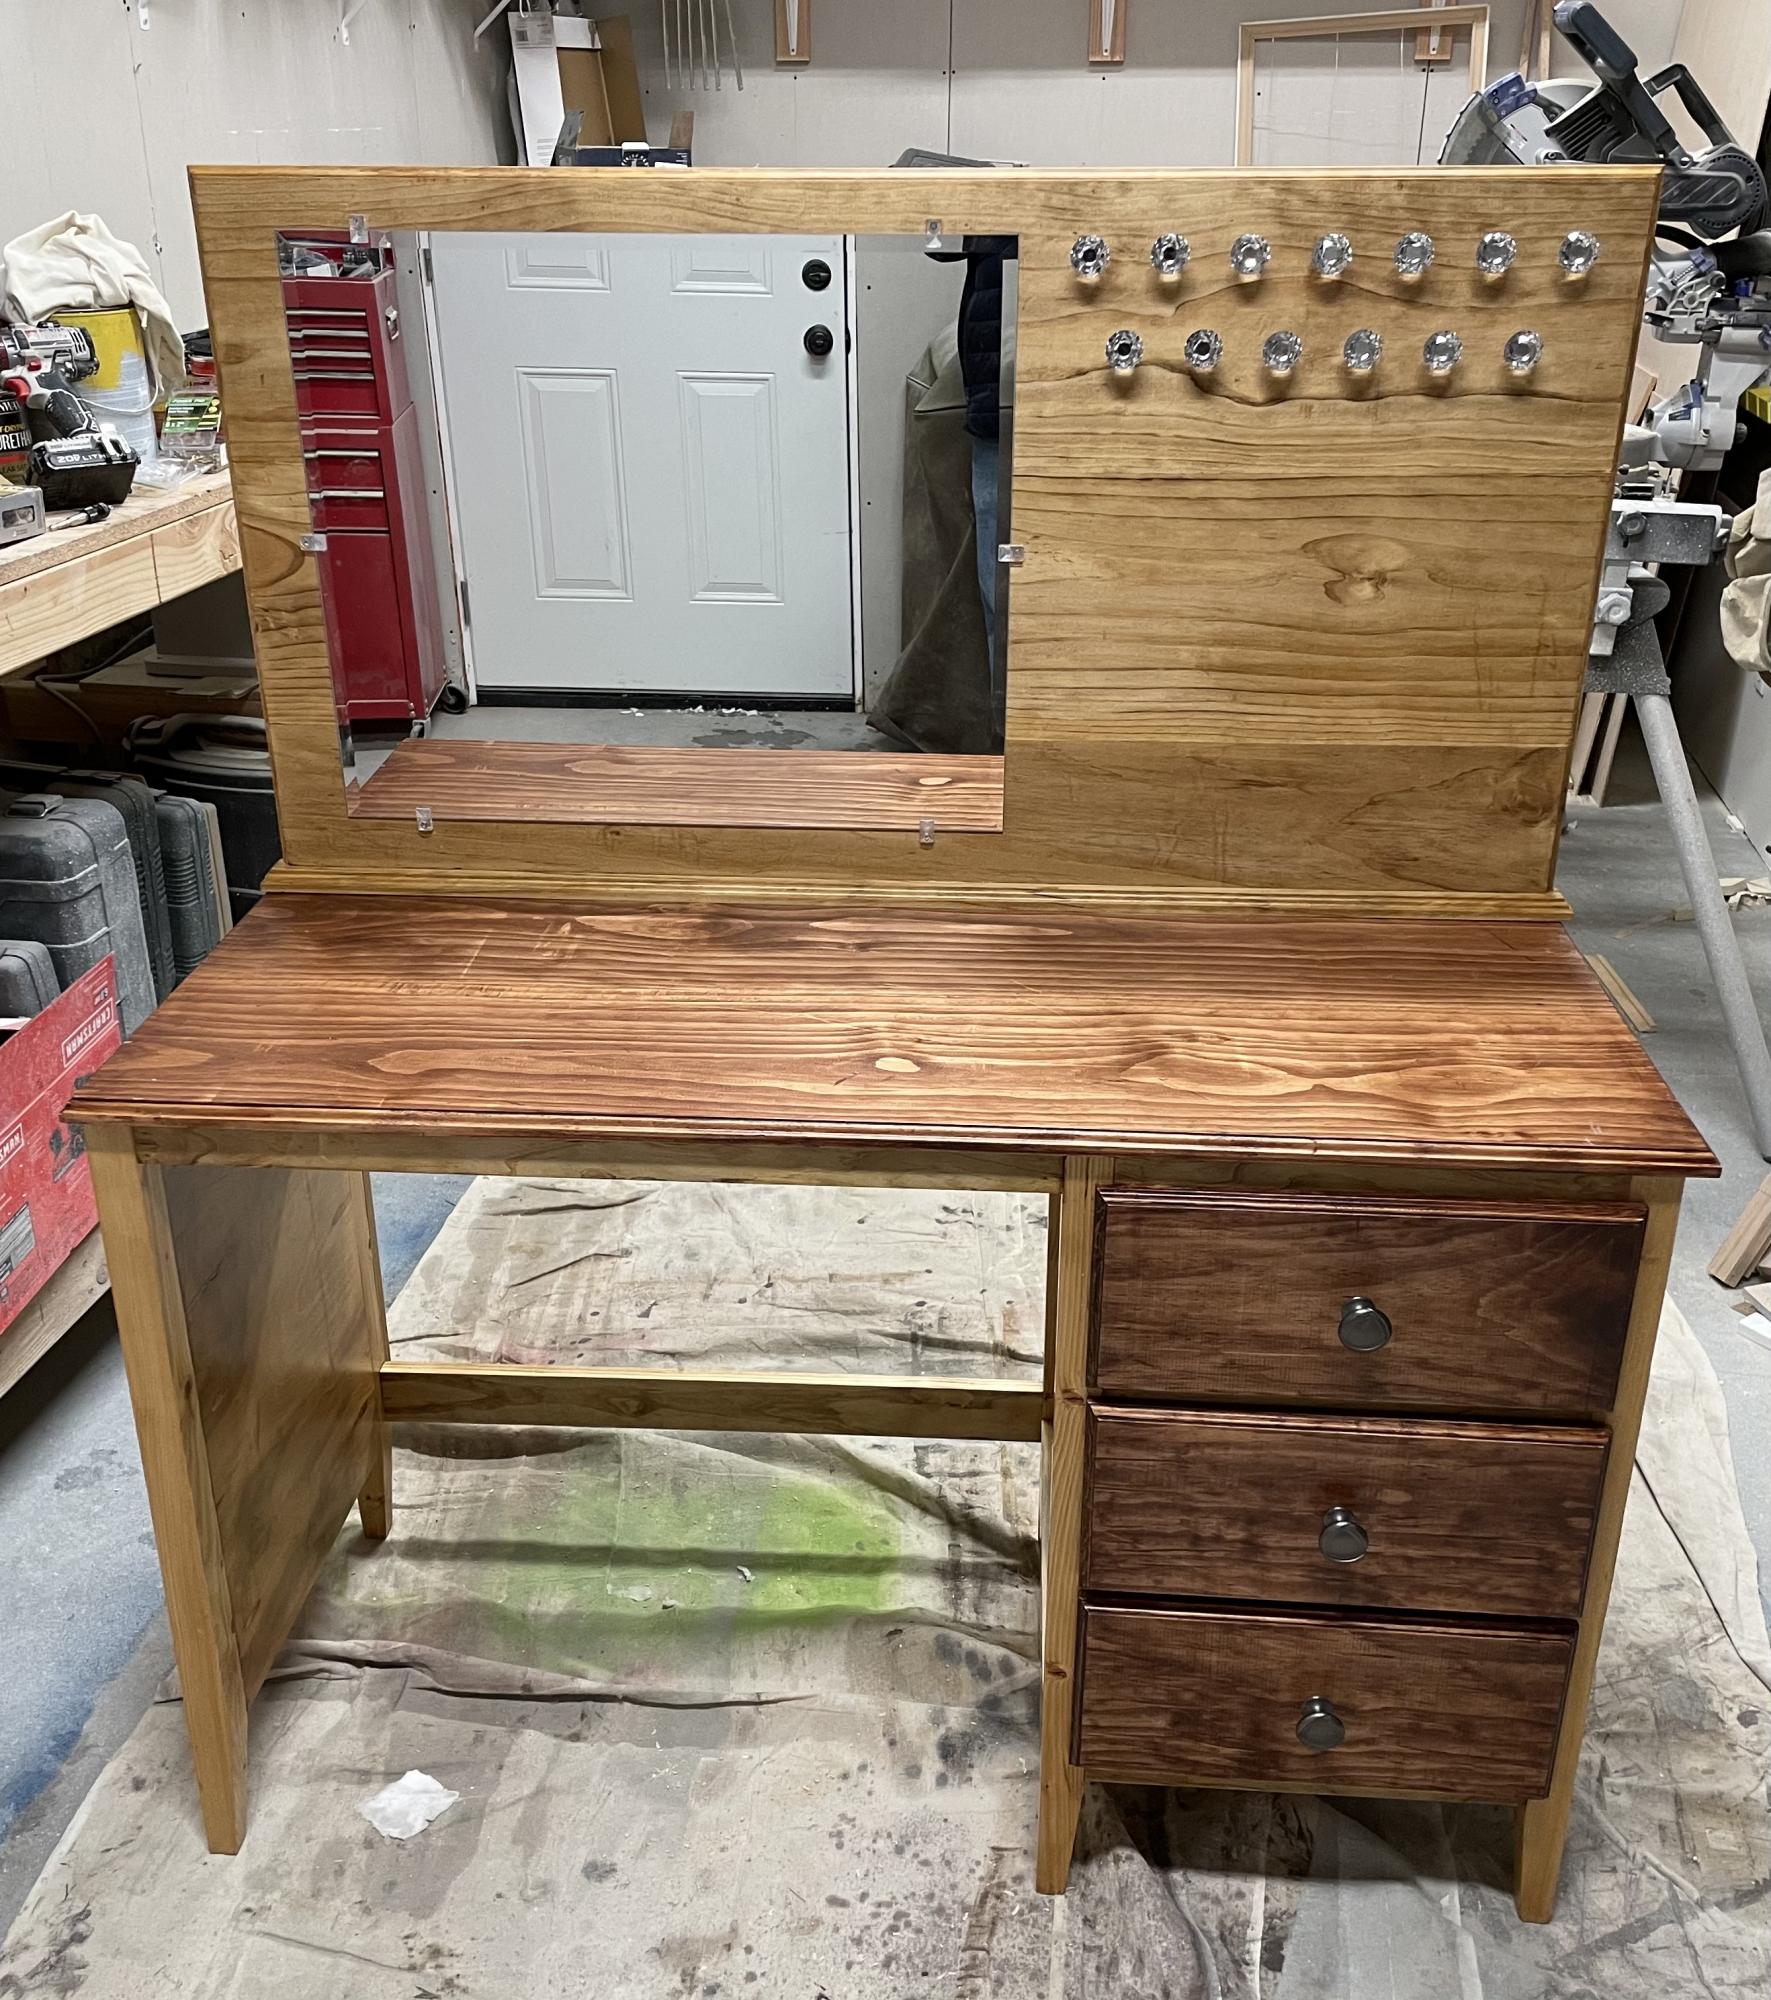
I built this for my adult daughter’s Christmas present. I modified the plan to have three drawers instead of the cubby. I also tapered the bottom of the legs. I added a back piece to hold a mirror. I also added door knobs to the back for necklaces.
The top and the back board are both 4 boards glued and clamped together. I finished the edges of the top, drawer fronts, and the back board with an ogee router bit.
Built from Plan(s)
Estimated Cost
$140 (lumber is expensive right now)
Estimated Time Investment
Weekend Project (10-20 Hours)
Finish Used
Mahogany stain on the top and drawer faces. It is a golden oak stain for the base. Finished with a satin polyurethane.
Recommended Skill Level
Intermediate
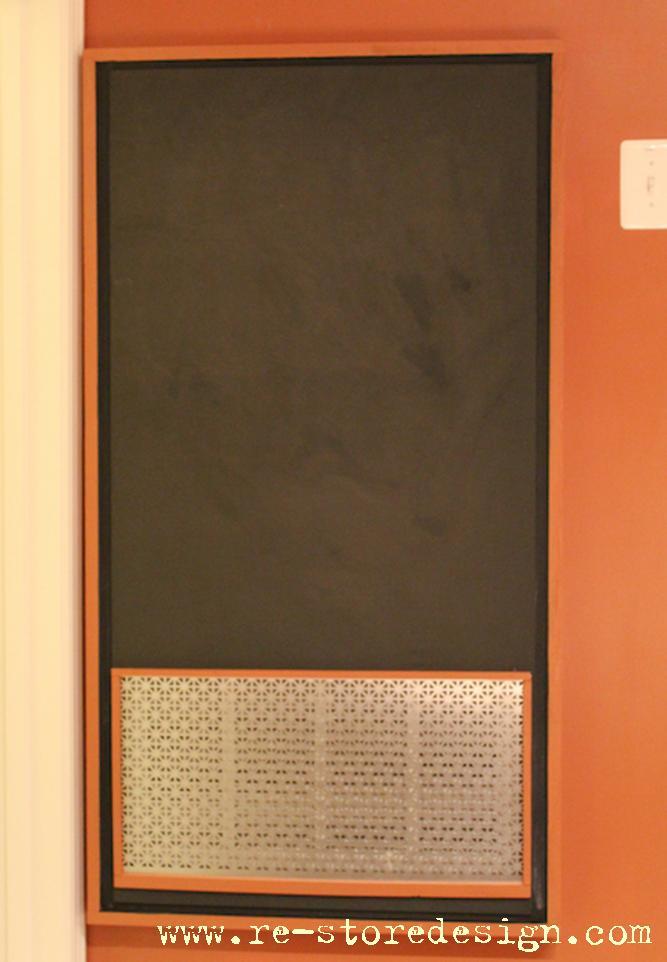
Ugly Furnace Panel~ Chalkboard Cover

We have a 2′x4′ metal furnace cover that takes up a big portion of our dining room wall. To say it is an eye sore would be an understatement! We both love chalkboards, so I decided to make a cover out of chalkboard. Since it still needs to function as a furnace I made a cutout where the vent is. I covered that portion with a tin sheet. It looks so much better!
Learn how to make your own chalkboard paint in any color!
Estimated Cost
$15
Estimated Time Investment
Afternoon Project (3-6 Hours)
Finish Used
DIY Chalkboard paint
Recommended Skill Level
Starter Project
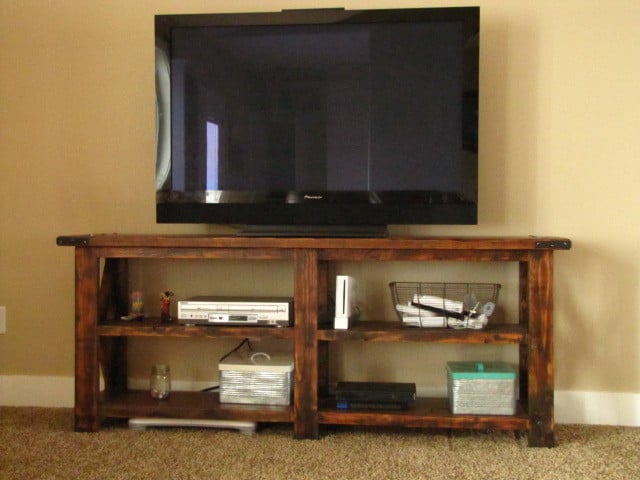
Console from Ana

We started this project on a Sunday and finished Tuesday. We did make the legs taller to fit under our tv, so we also needed to adjust the front and back 2x4 support to be a little taller.
other than that, we followed the plans. I stained the top with Rustoleyum Dark Walnut and the bottom is spray painted, painted and distressed using the Shanty 2 Chic ideas.
LOVE this table! It was exactly what I wanted! Now, to find 2 small lamps to sit on either side. :)


Built from Plan(s)
Estimated Cost
$150 with paint and stain
Estimated Time Investment
Weekend Project (10-20 Hours)
Finish Used
Rustoleyum Dark Walnut wood stain, Pantone String paint
Recommended Skill Level
Beginner
Comments

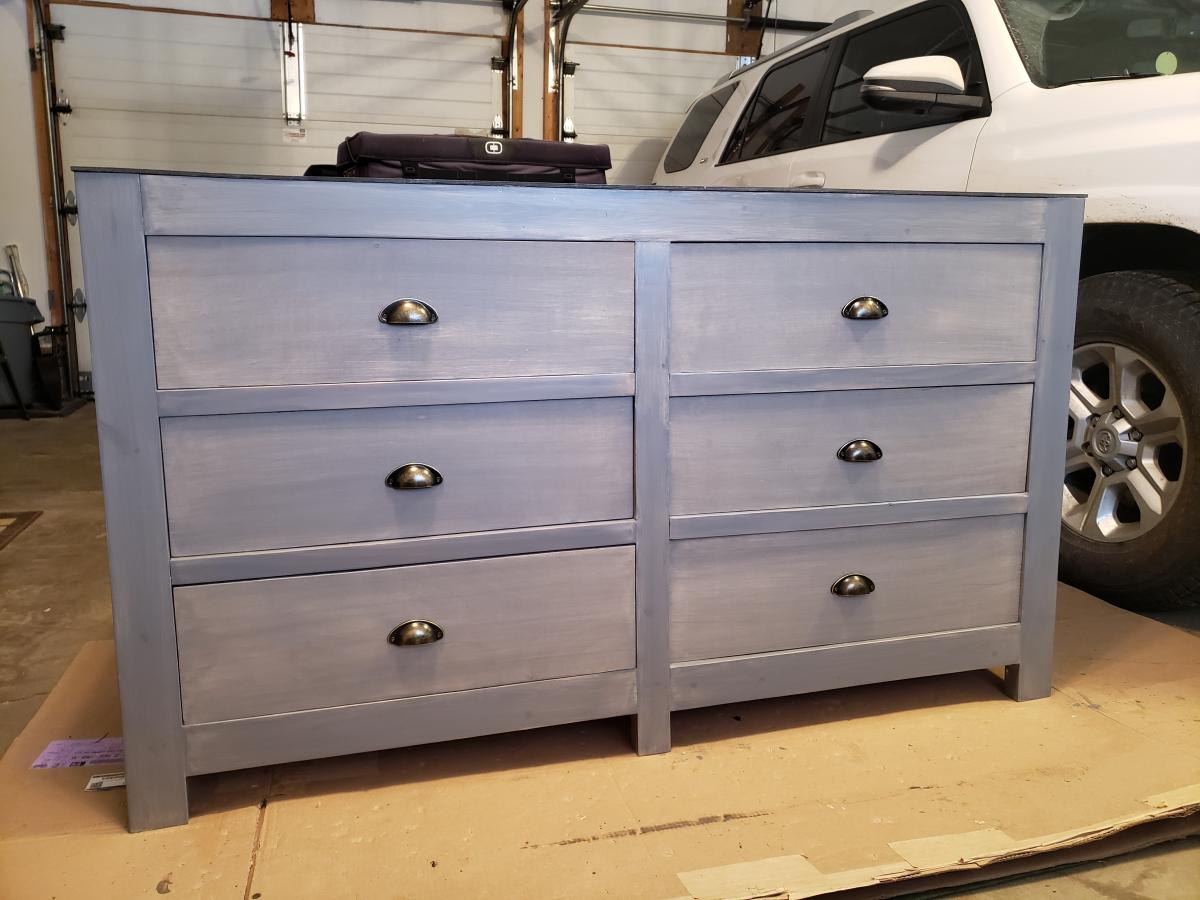
6 drawer dresser
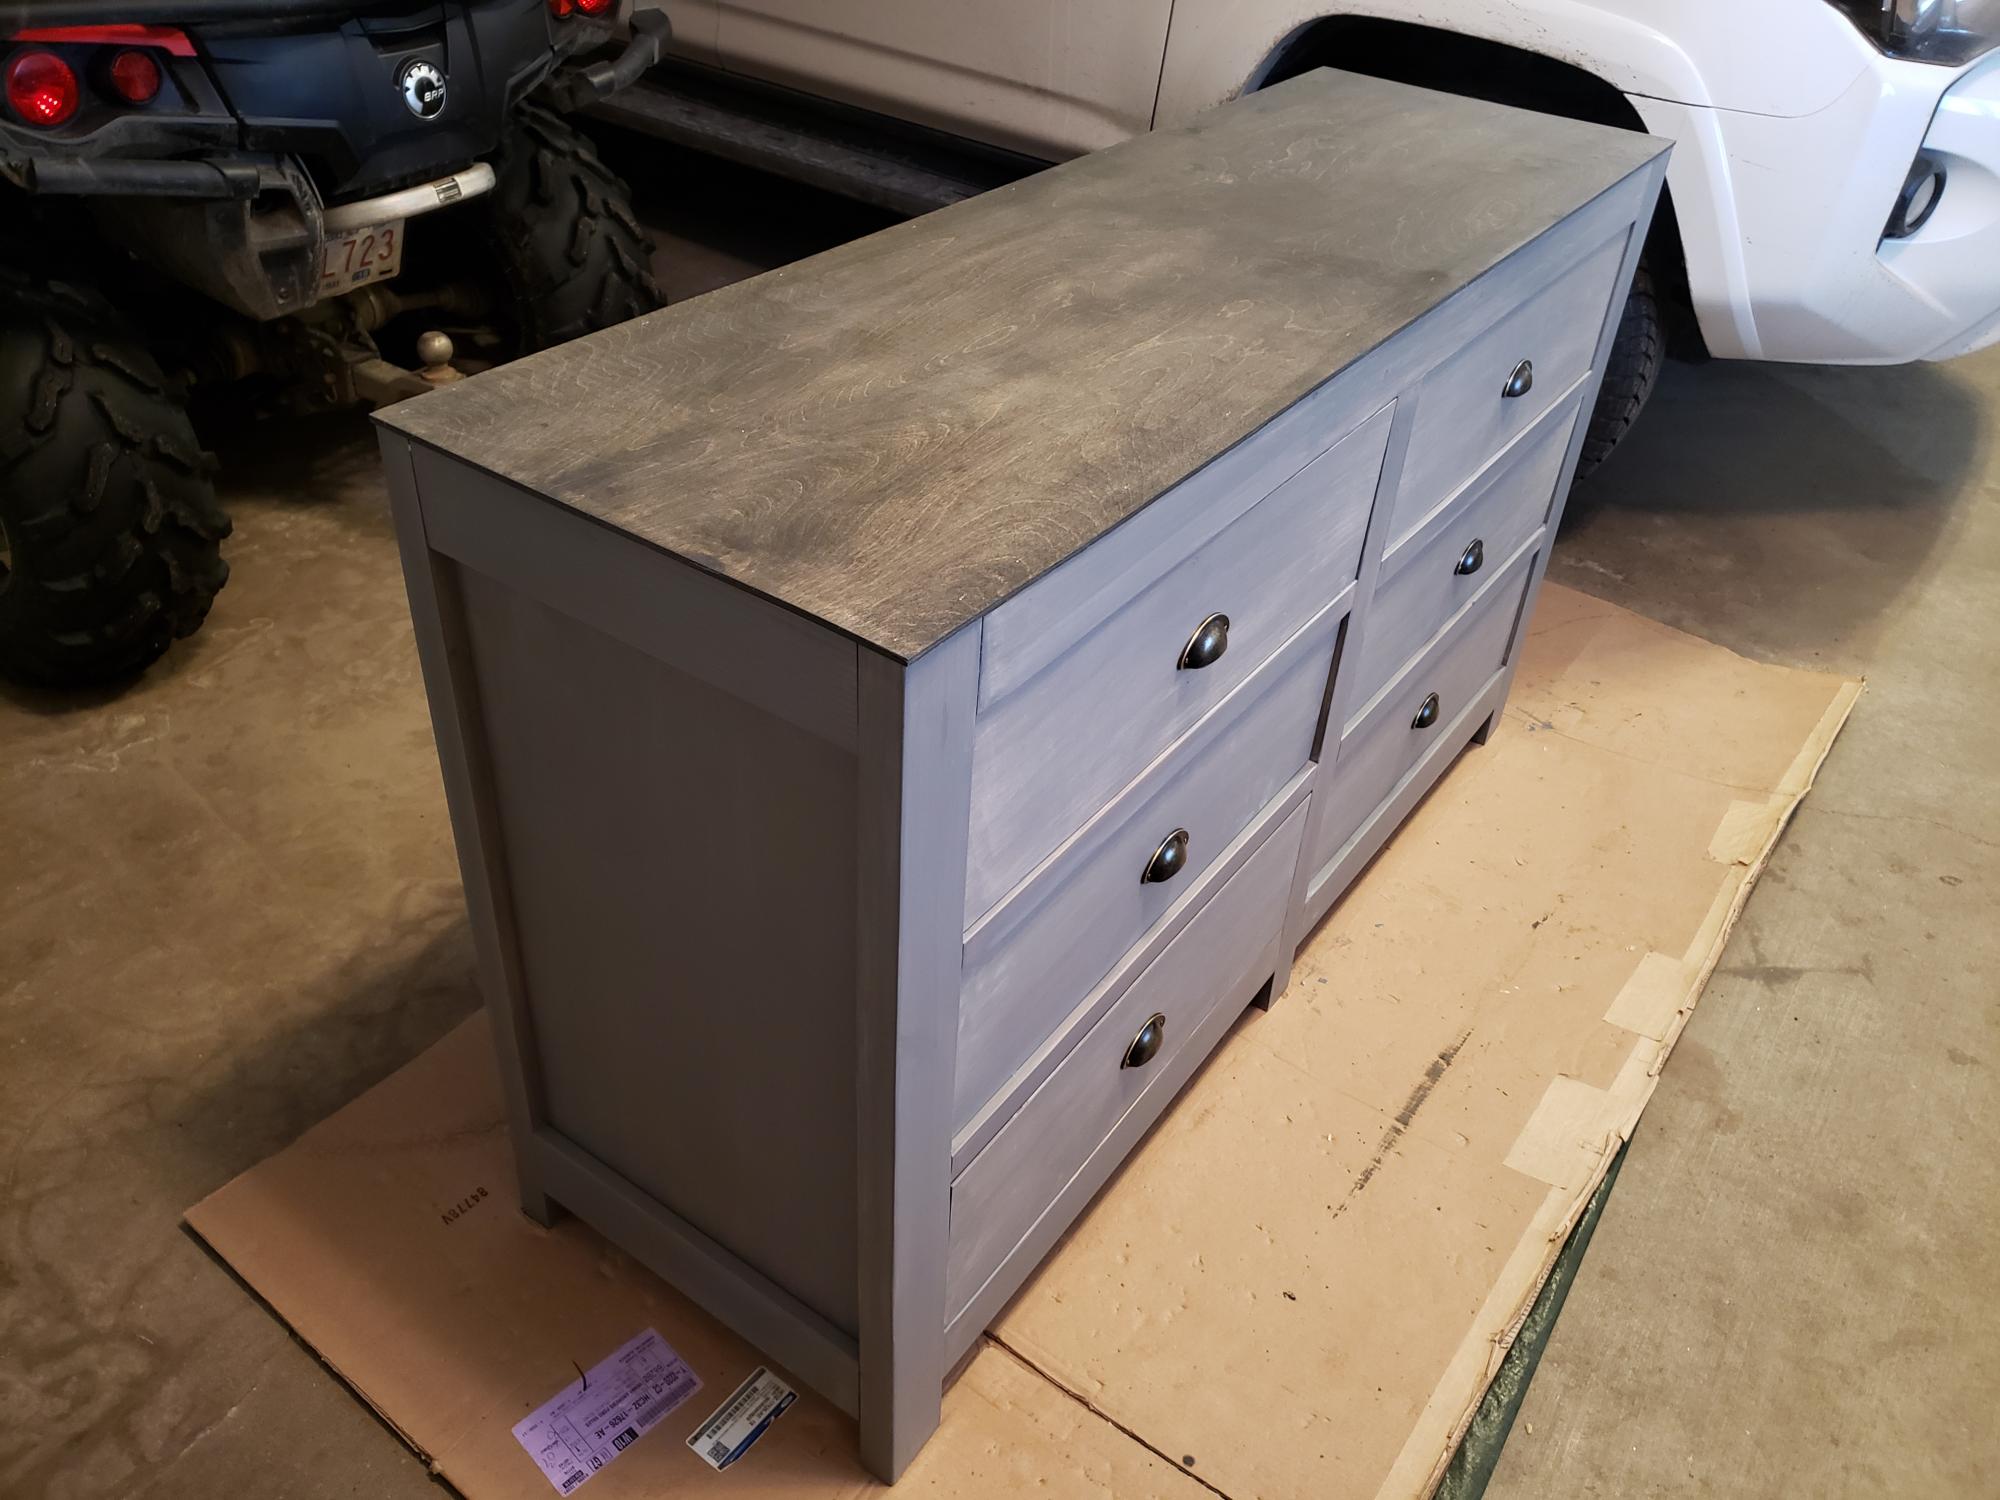
Made this dresser for my newest Grand daughter. Turned out pretty nice. A few mistakes for sure!!! But I am proud and its functional. Worked on it off and on for a month.
Estimated Cost
About 400$
Finish Used
Polyshades grey (pain in the butt to use)
Recommended Skill Level
Intermediate
Comments
Mon, 12/21/2020 - 11:23
Thank you for all the plans…
Thank you for all the plans. I started wood working a year ago and I am still learning.
My Version
Recently found the plans and this is what I came up with
Built from Plan(s)
Recommended Skill Level
Beginner
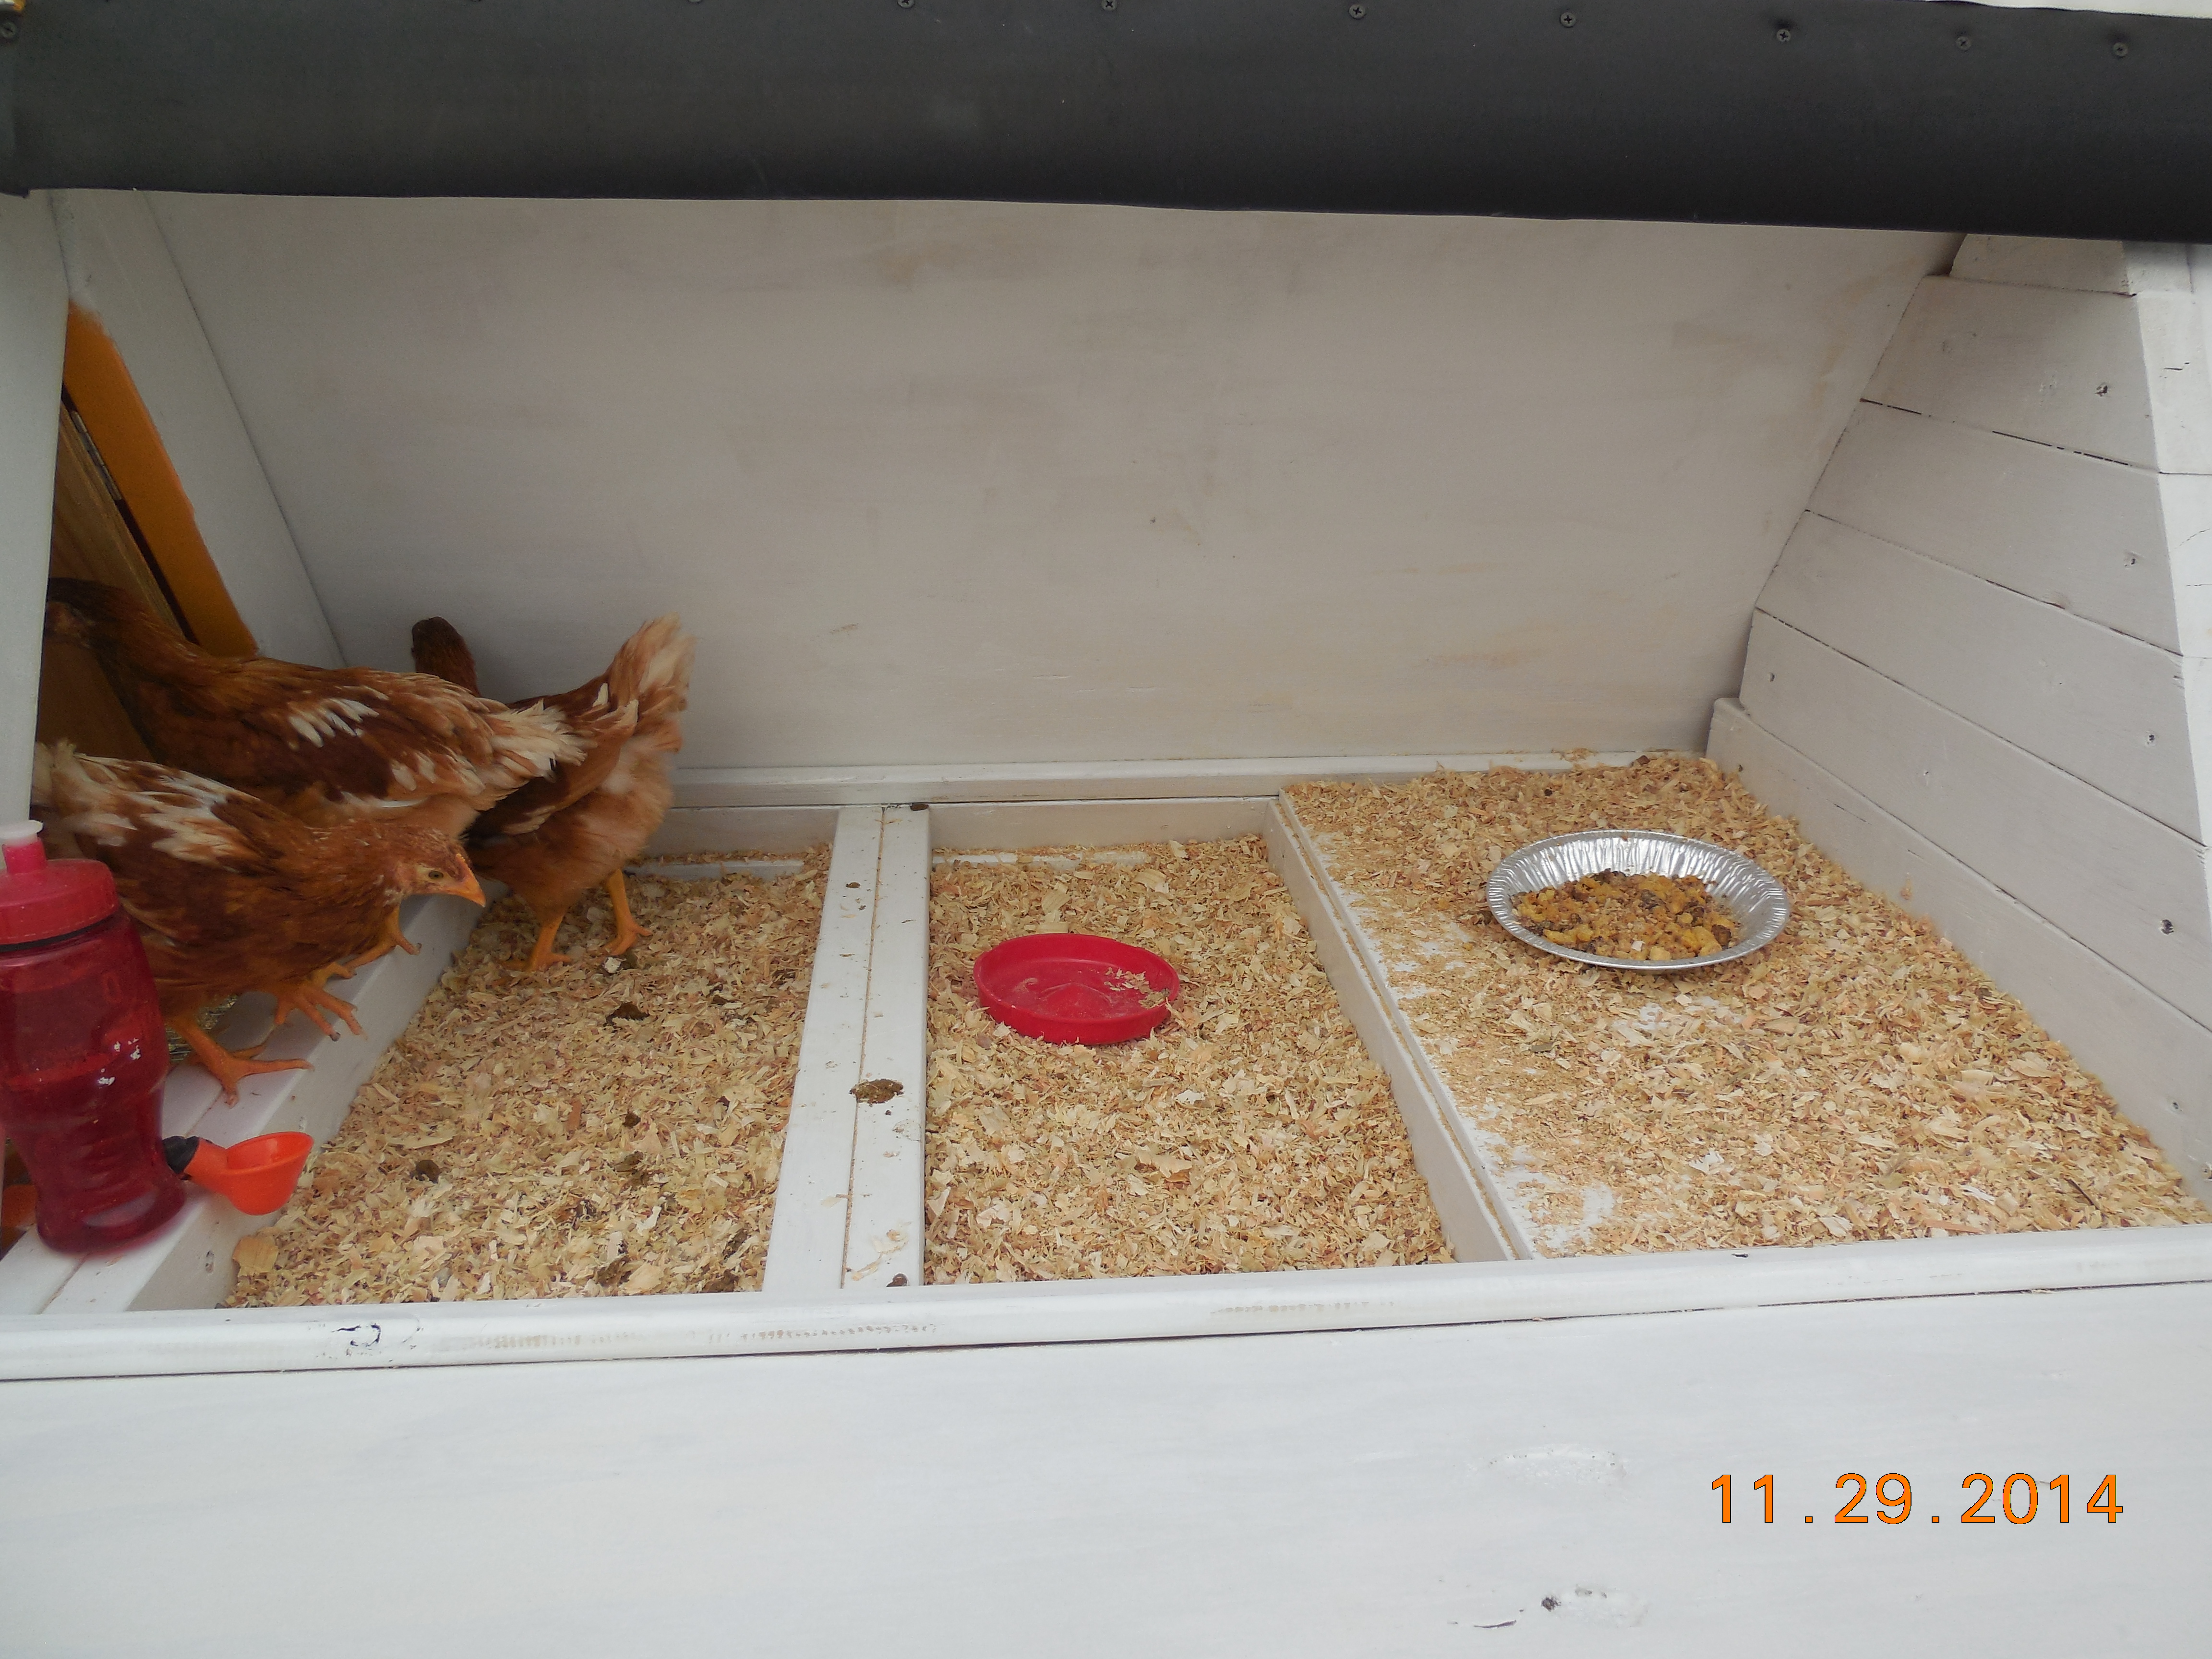
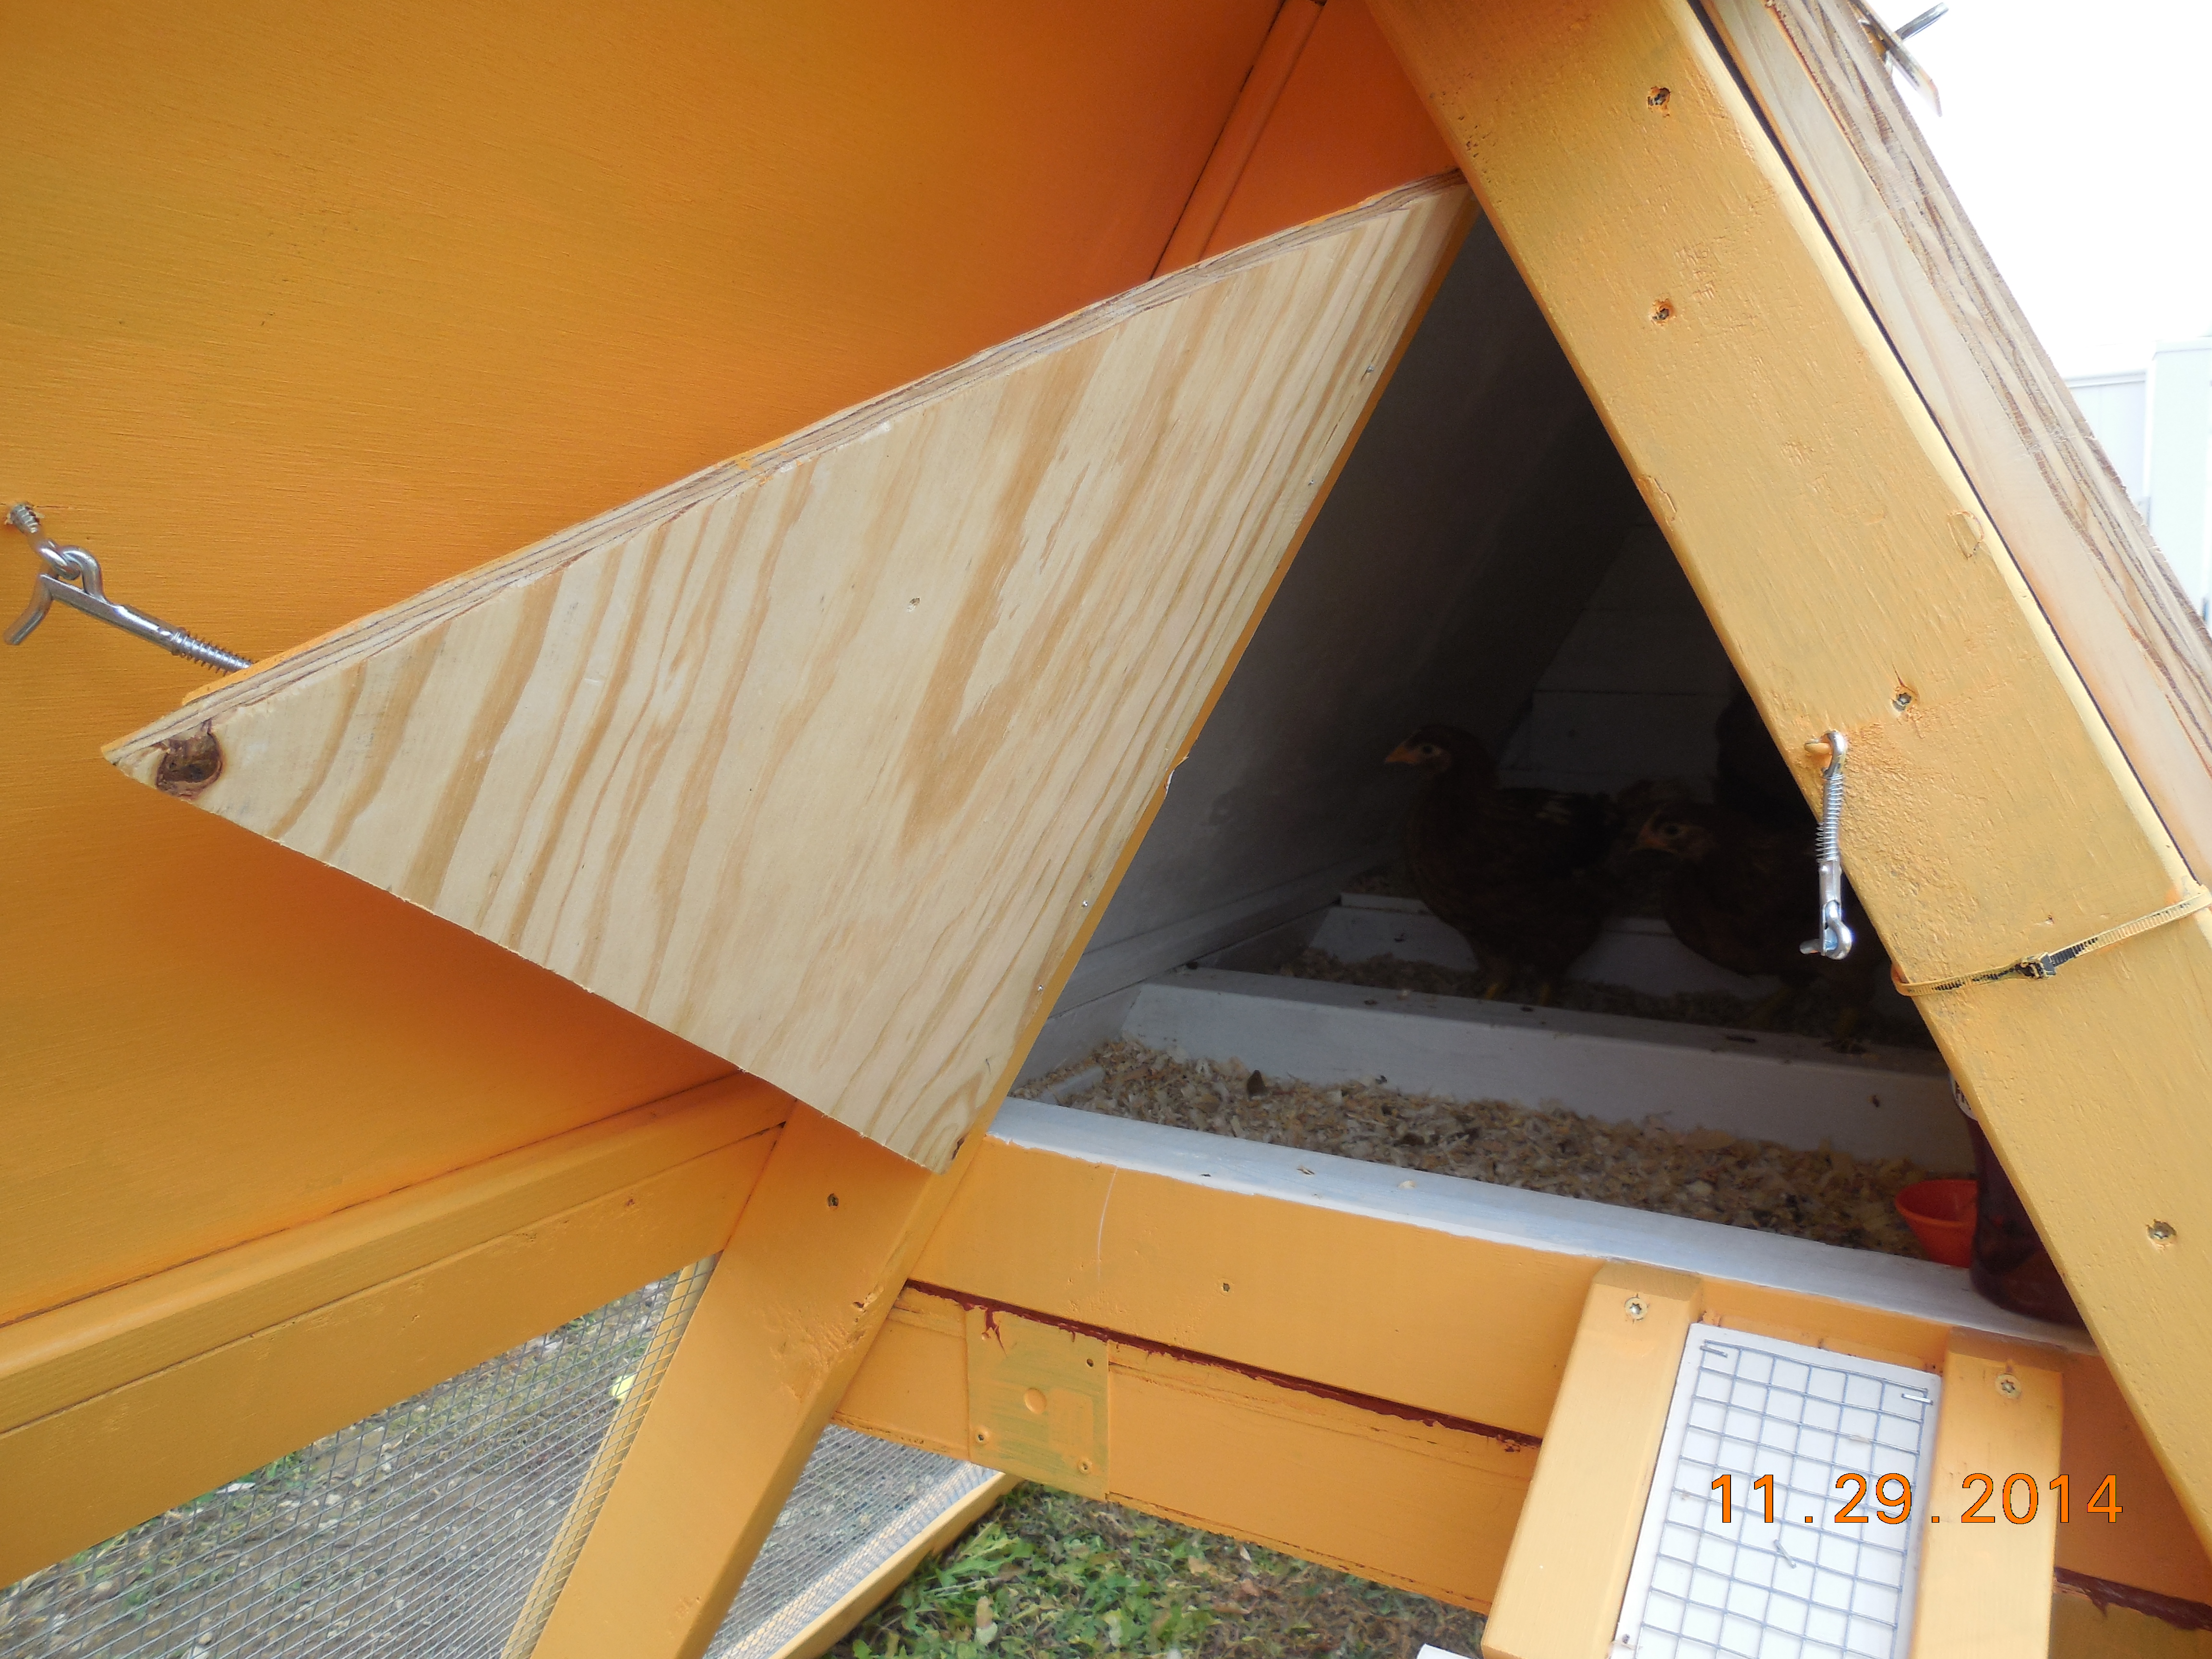
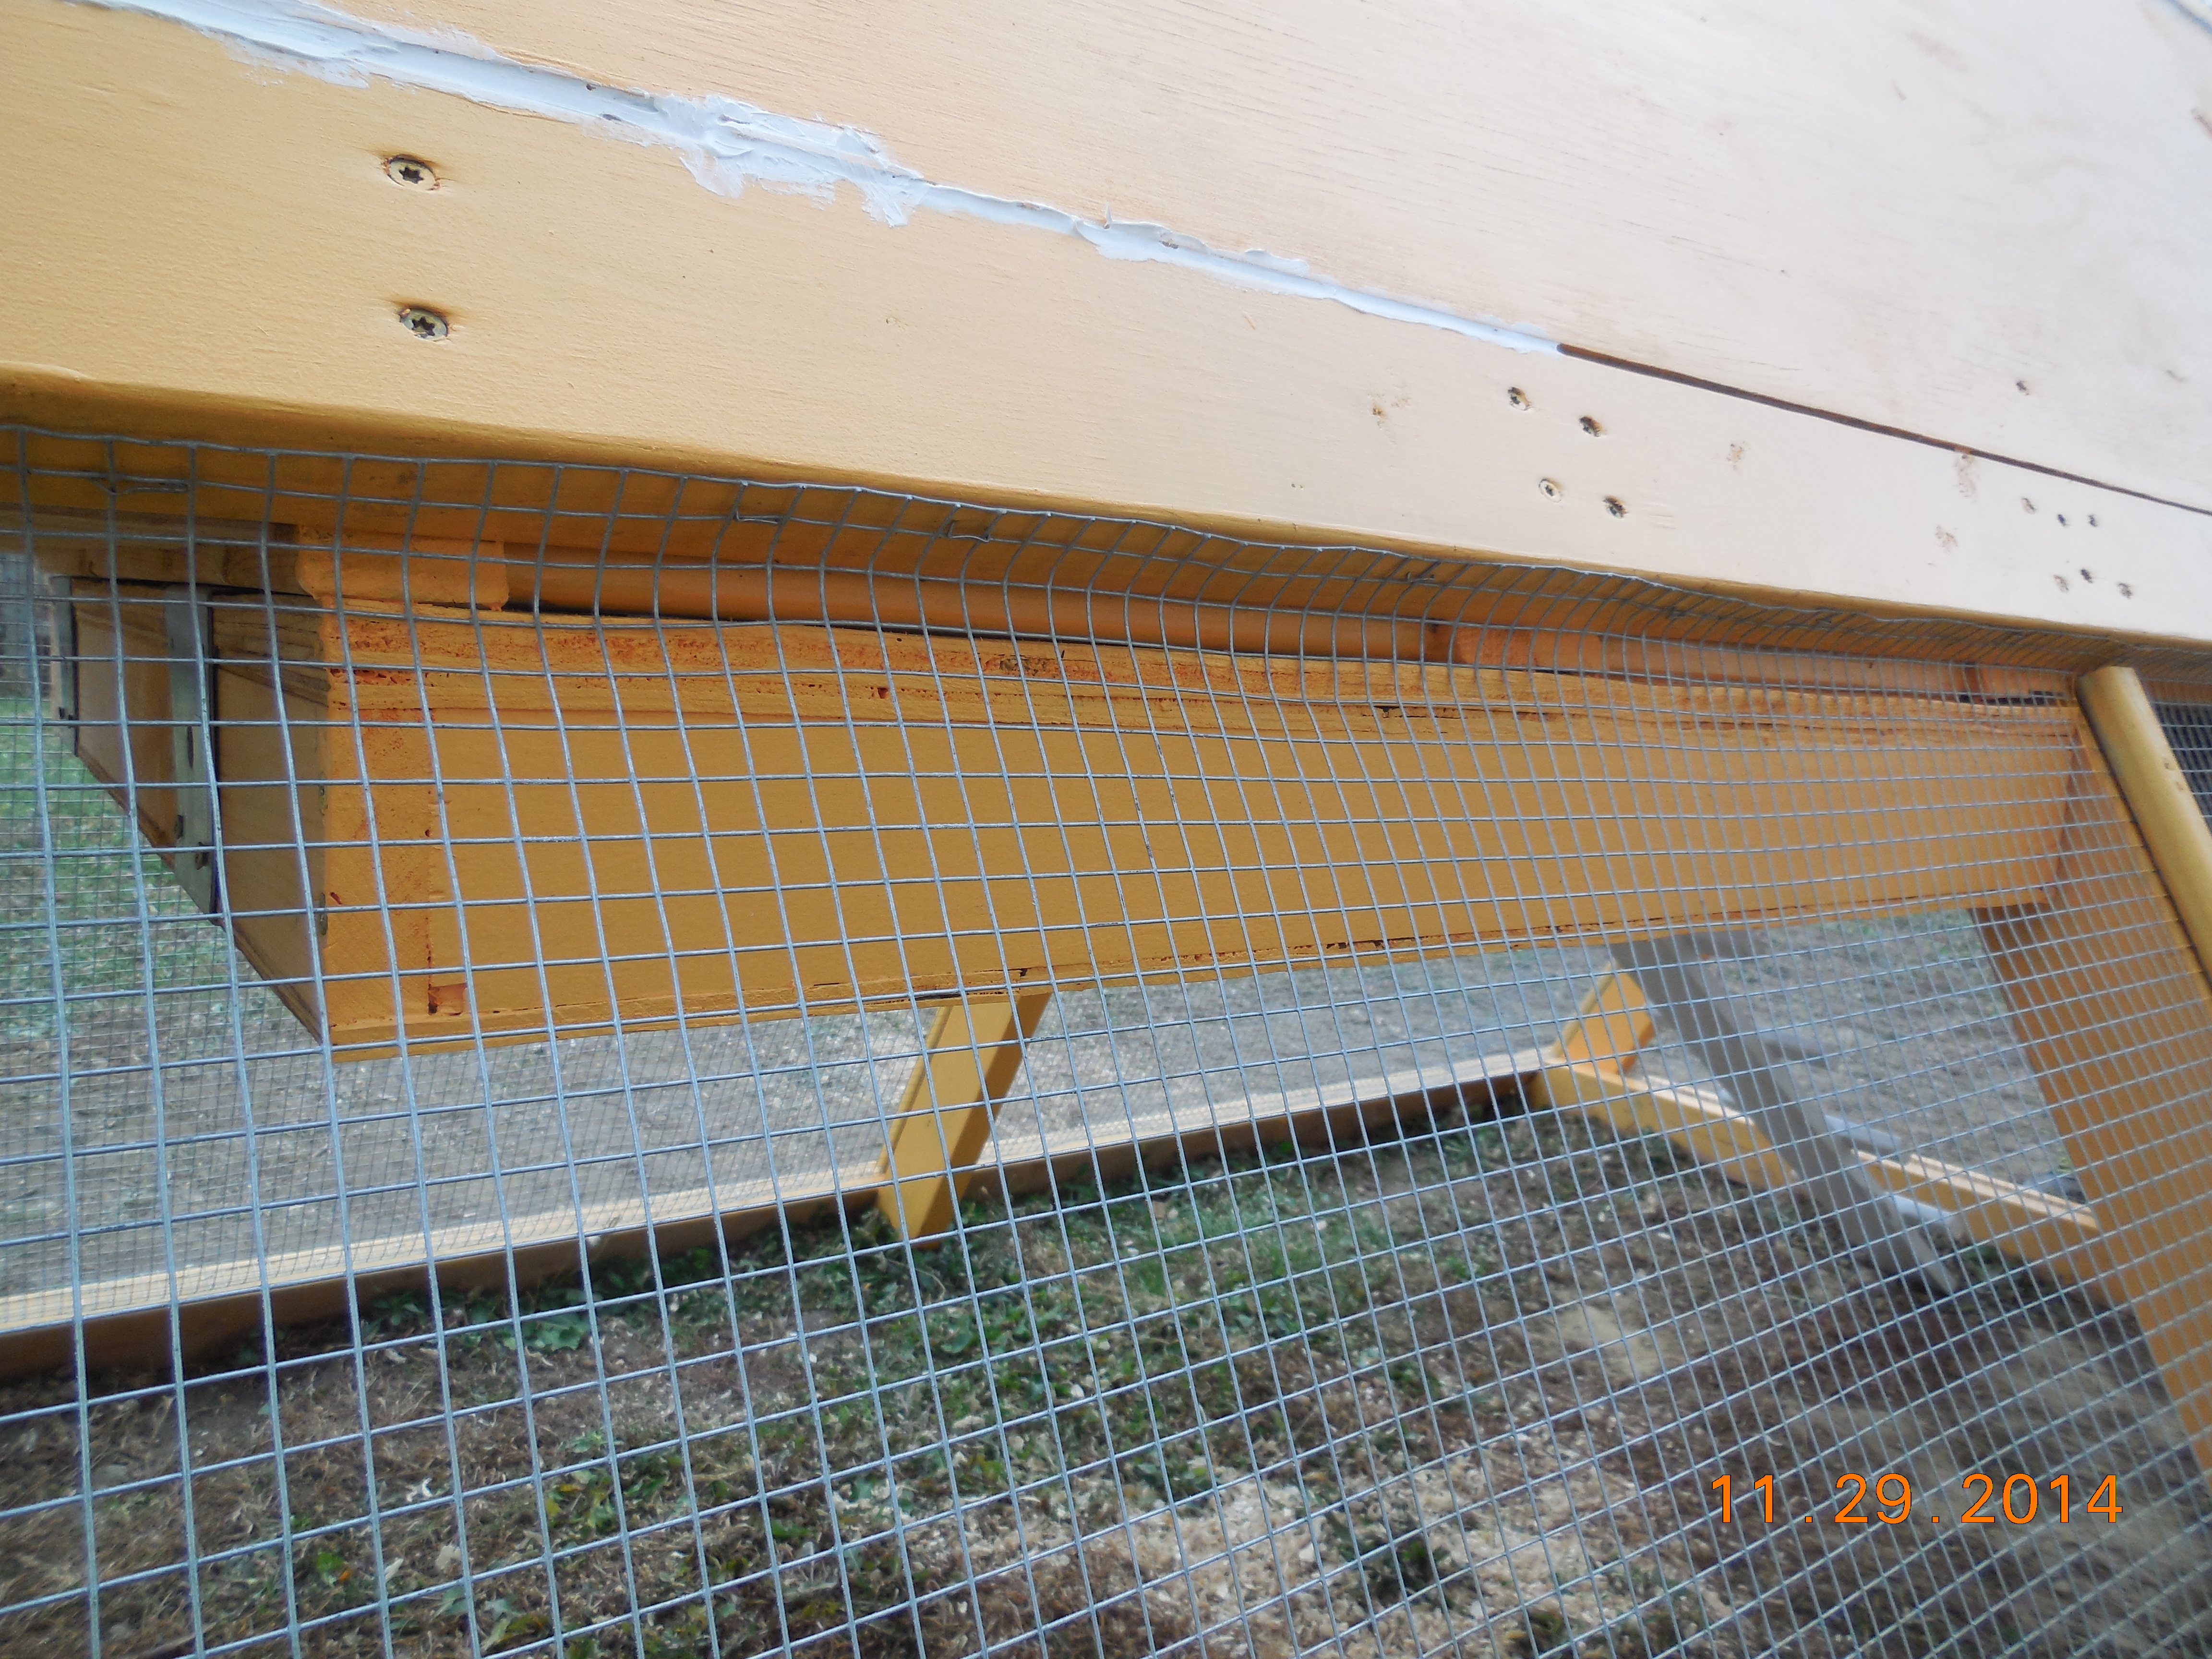
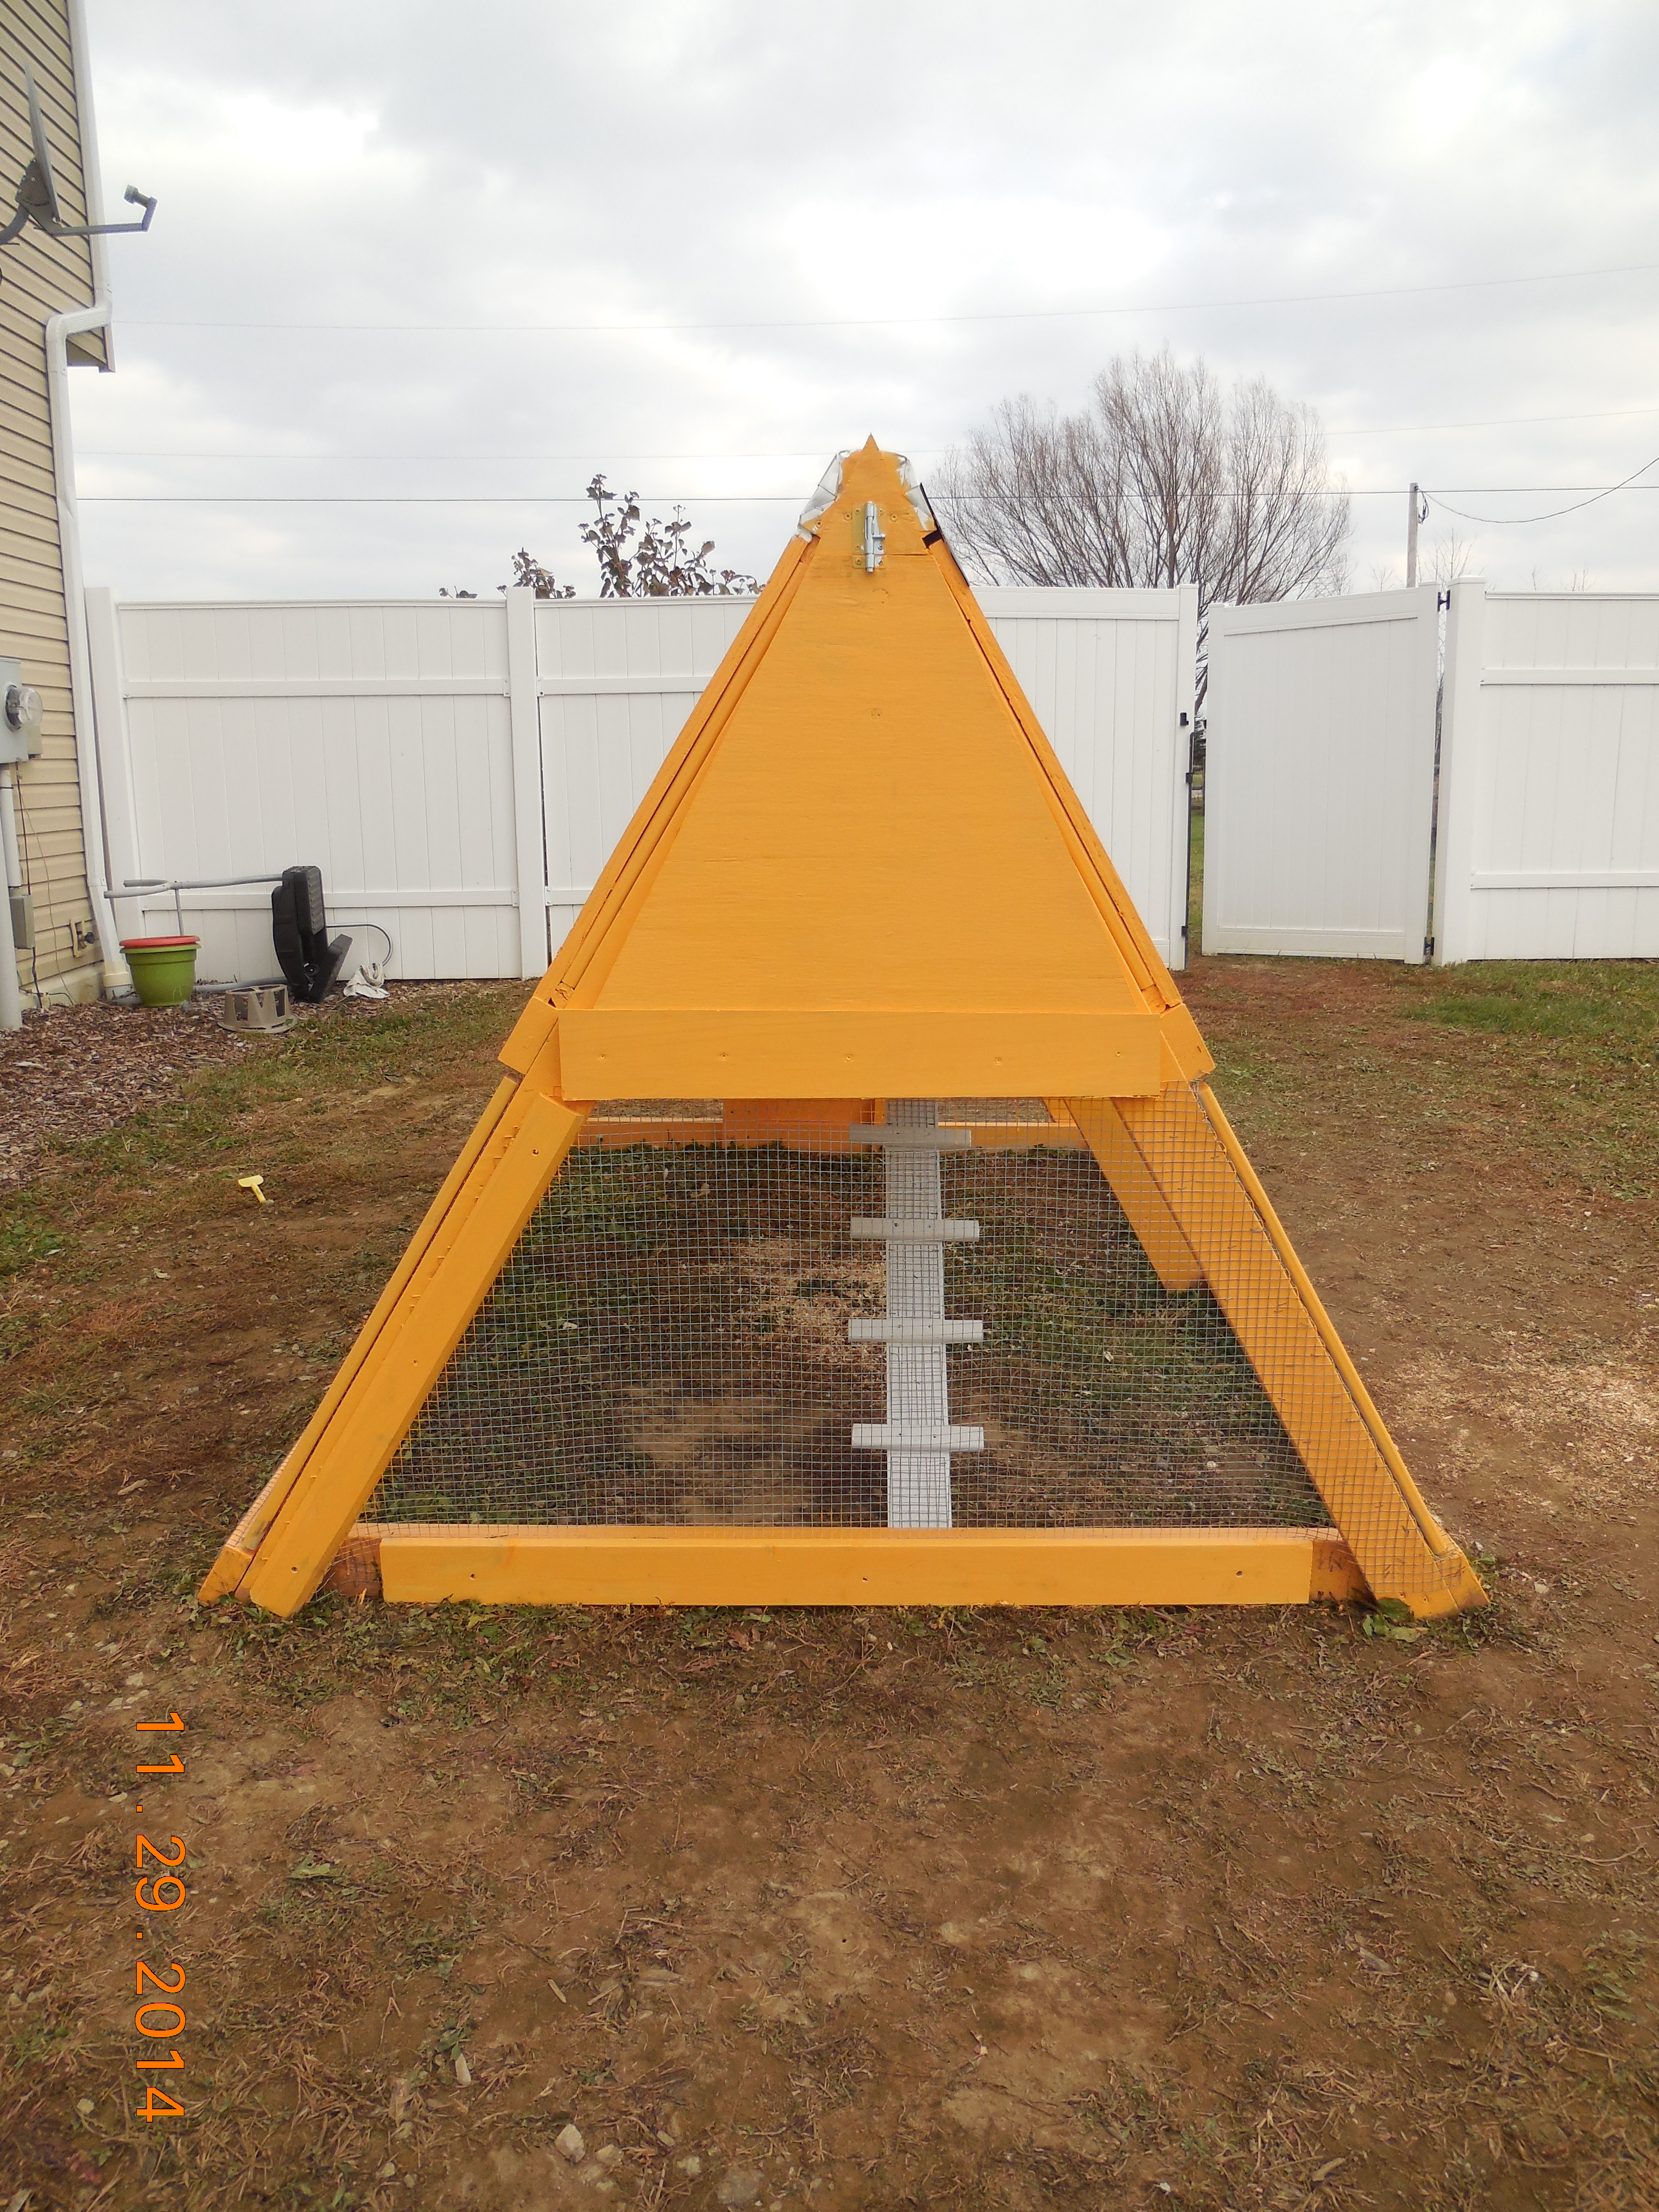
Love this coop!
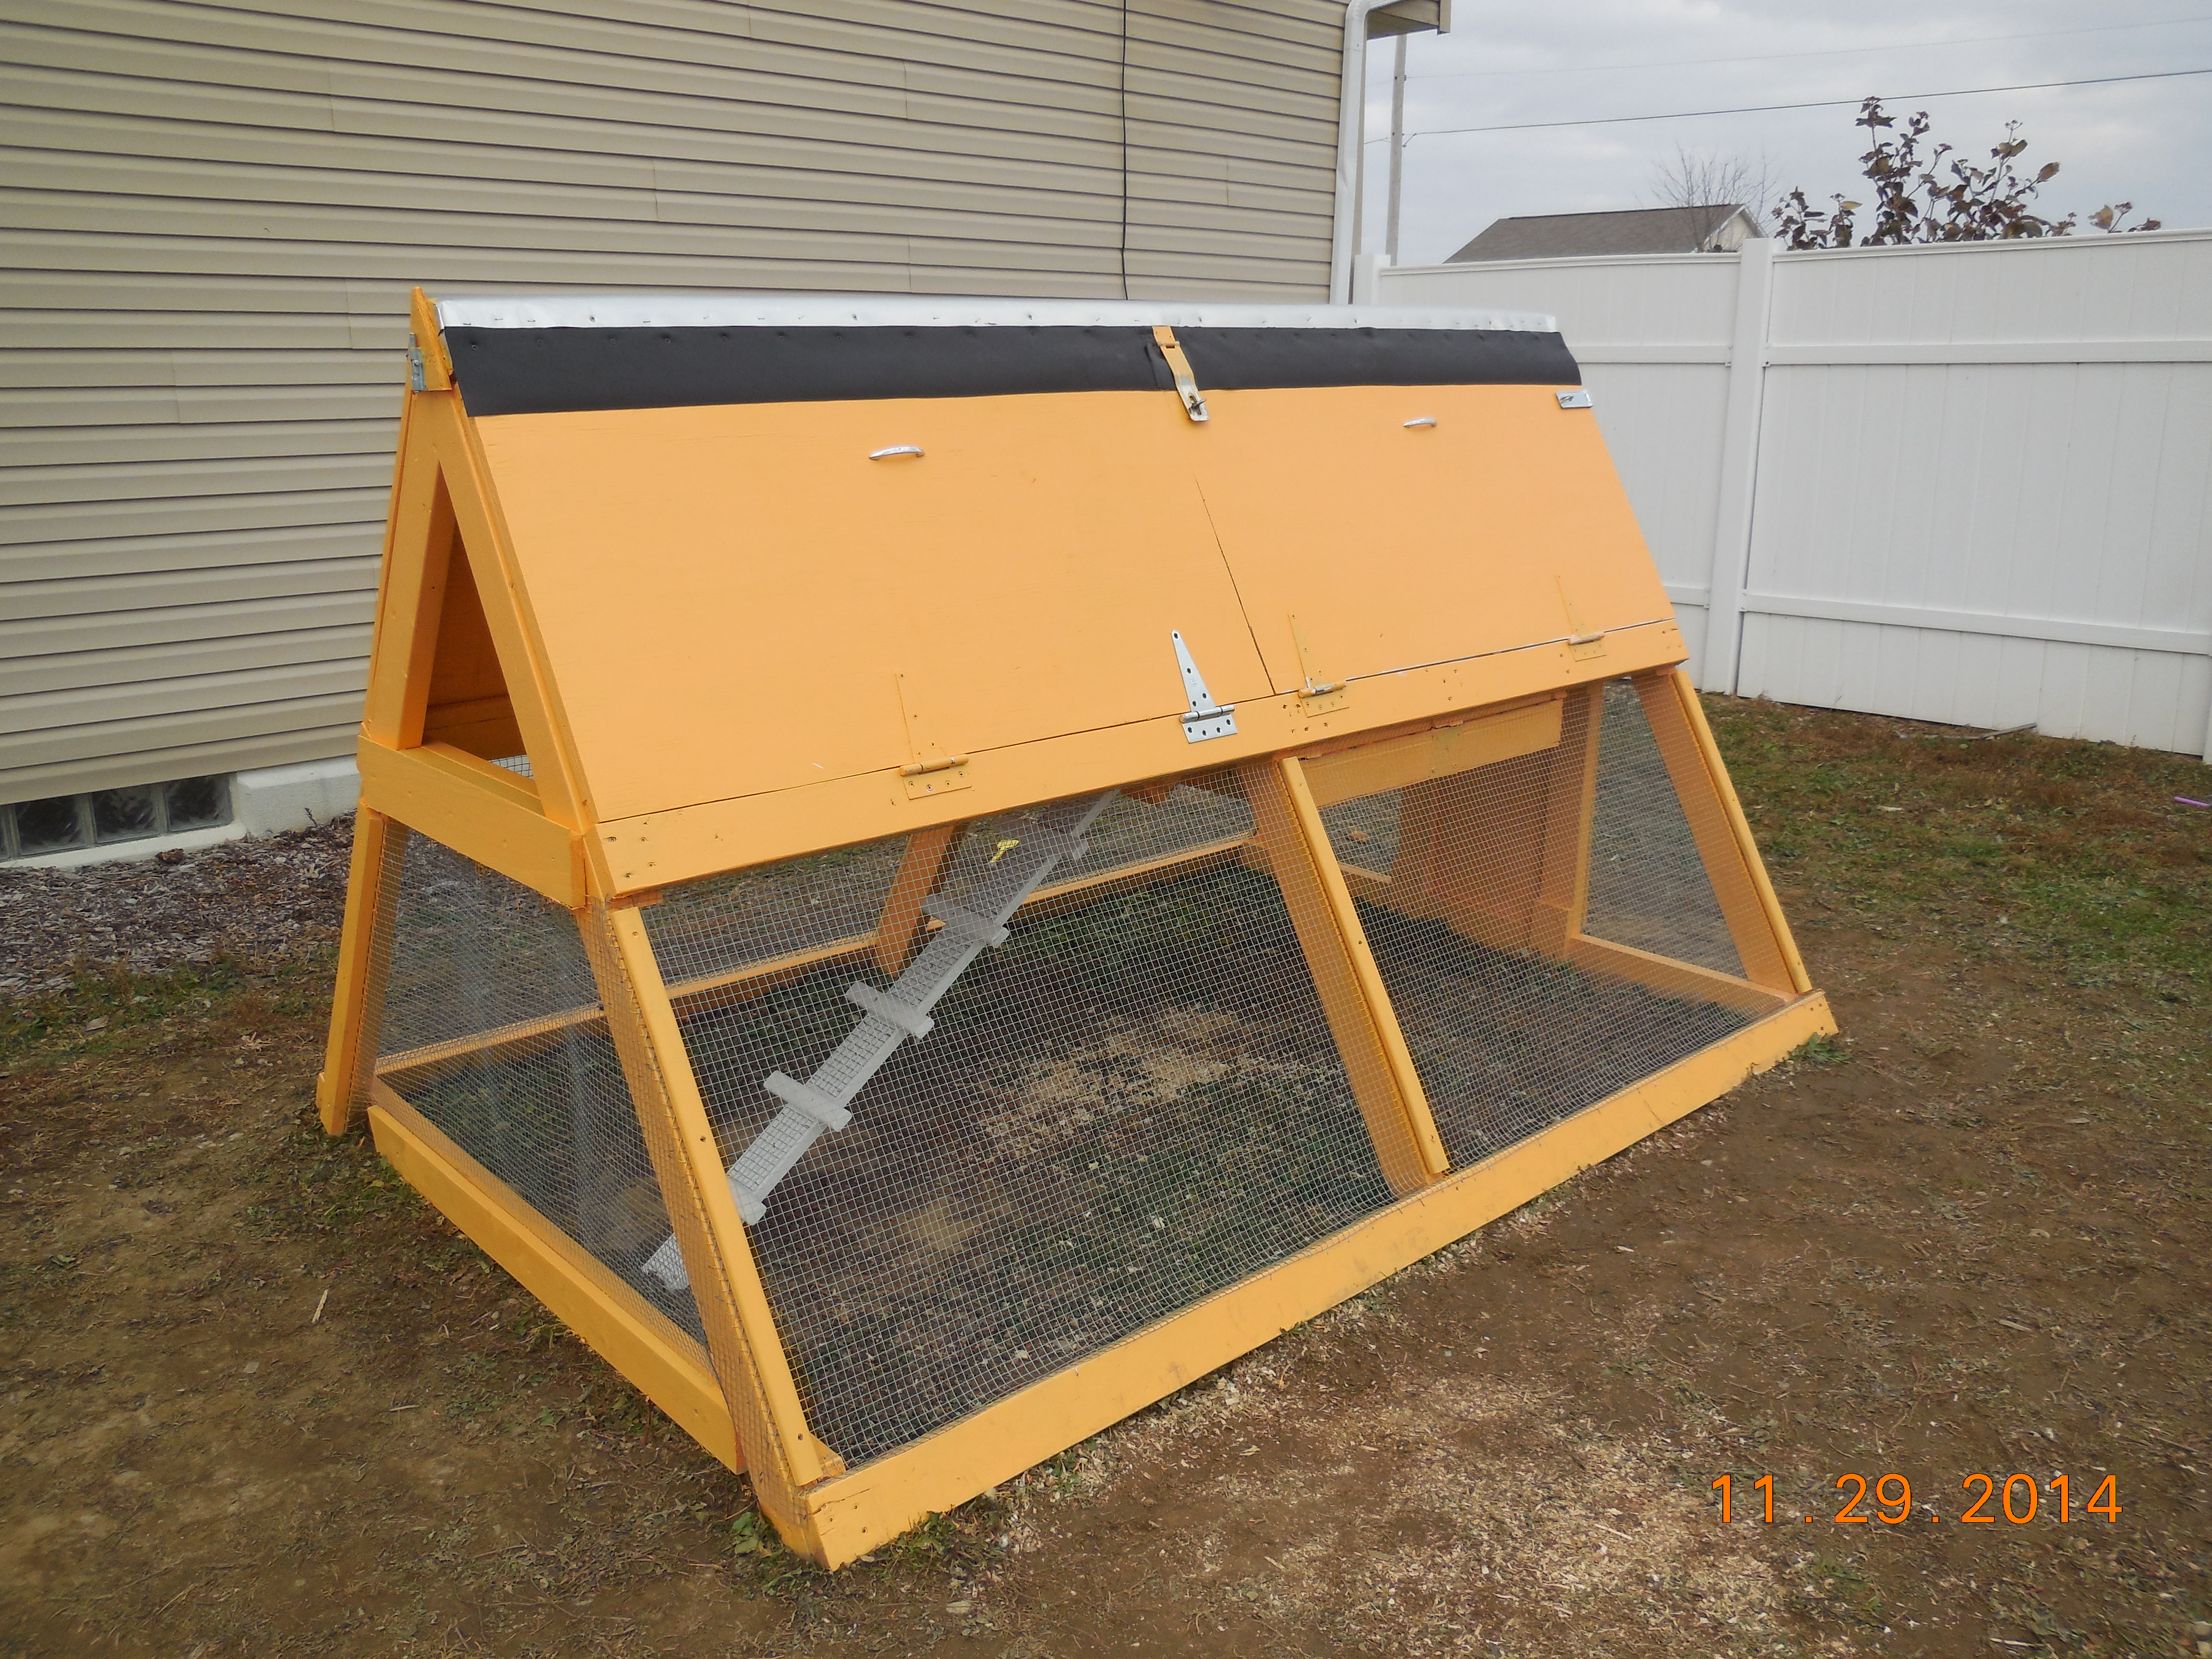
The plans are so easy to follow! They are a great jumping off point for customizing the coop for your own needs! We added a run door, ladder support, insulated floor and wall, removable window, and a loft door. The girls LOVE it!

Built from Plan(s)
Estimated Cost
After modifications, $250
Estimated Time Investment
Week Long Project (20 Hours or More)
Recommended Skill Level
Beginner