Community Brag Posts

Converted TV wall niche

Submitted by Vol4Life1 on Tue, 12/13/2016 - 05:35

We bought this house about a year ago and we finally got around to removing this pointless niche!  The center divider and bottom were removed.  The cabinet and hutch were assembled seperately.  


This is still a work of progress.  I am looking for a nice decorative molding face for the top.  If anyone has any suggestions please let me know!  We will most likely paint it white to match the fireplace mantle.

Estimated Cost
300
Estimated Time Investment
Week Long Project (20 Hours or More)
Finish Used
Paint
Recommended Skill Level
Intermediate

Double Trash Bin

Submitted by Anonymous (not verified) on Wed, 08/26/2020 - 08:32

This was based on the "Small Kitchen Island" Plans but needed to put 2 - 33 Gal Trash cans in. I used Select Square edged Pine. The depth remained the same as the plans but the width changed dramatically (52" wide). I also increased the height to match the other furniture (3' High). I added 4 - 1 X 2's to the top of the cabinet to secure the top.

Estimated Cost
$350-$400
Estimated Time Investment
Week Long Project (20 Hours or More)
Finish Used
The bottom was paint that matched the other furniture, the top is an Classic Oak Poly/Stain - 3 coats
Recommended Skill Level
Intermediate

Comments

X-End Table Without the Xs

Submitted by Jake on Sun, 11/11/2012 - 06:04

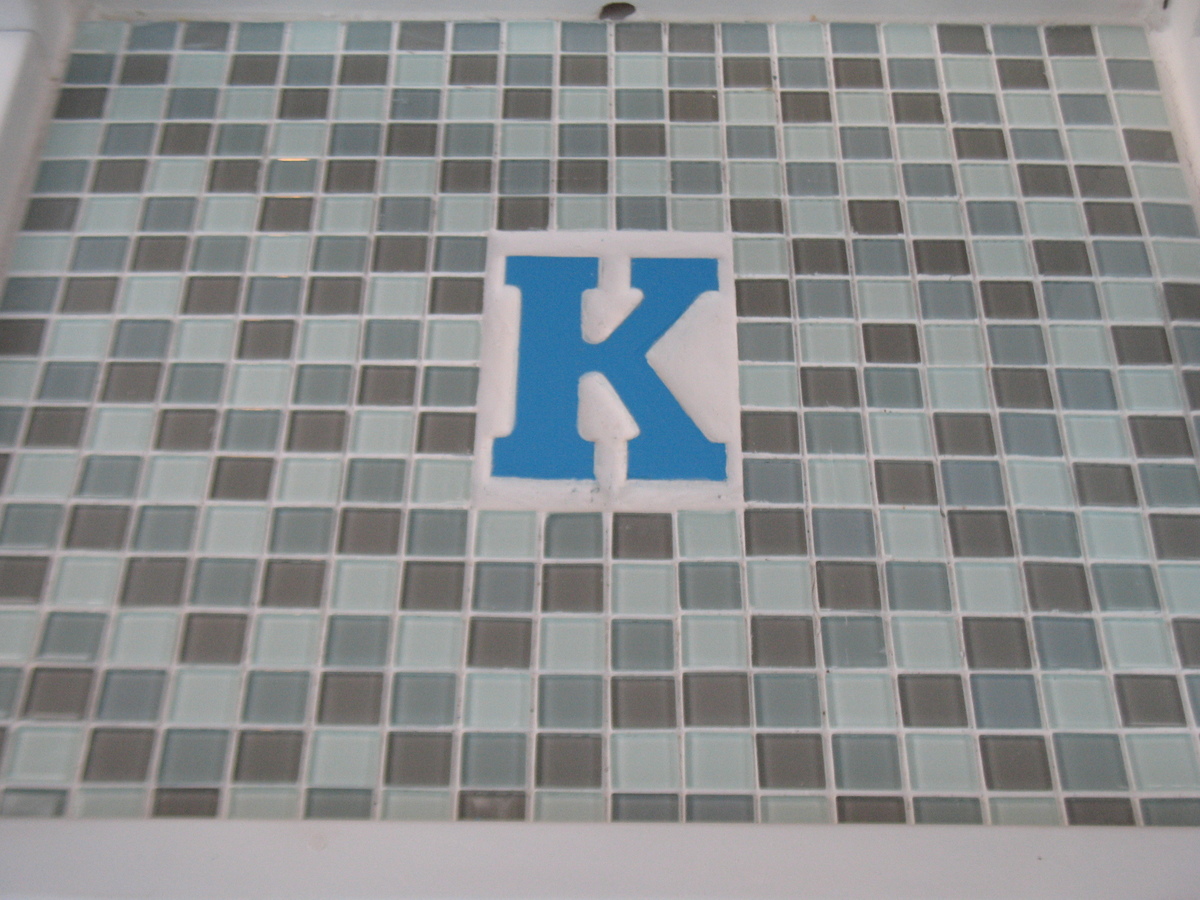
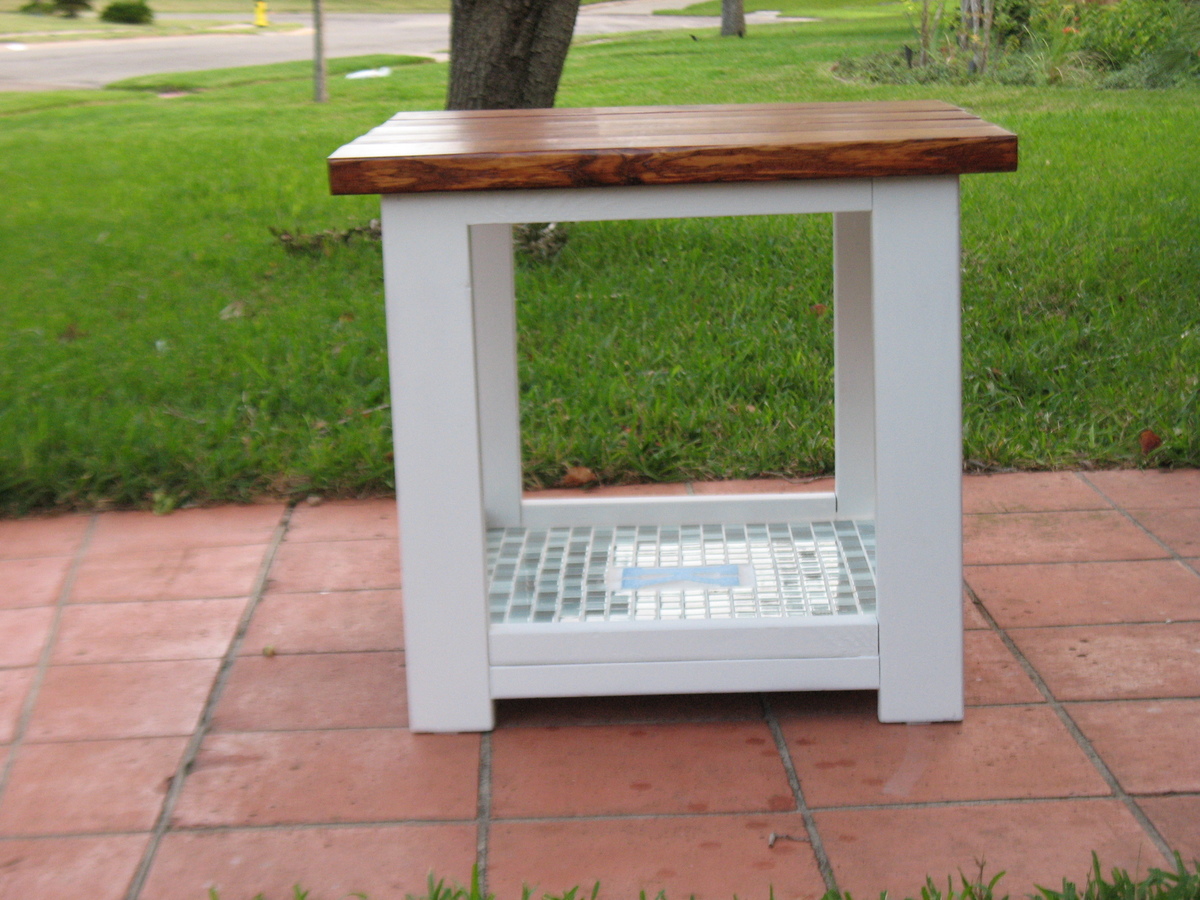
I started out building the Rustic x-End Table but got frustrated with the Xs not fitting well so I left them off. I showed the unfinished table to a friend and she wanted it, but with some changes and additions that lets her use it outside near her pool. So the pics show the final result including the K she wanted in the center of the shelf.

I lined the shelf with glass tiles and a wooden K and grouted everything in. The glass tiles have a few of the blue and green hues you find in swimming pools, I hope.

The top is not glued down just in case the top boards begin to warp or crack and can be repaired. Of course at Restoration Hardware a warp, crack or knot just raises the price.

Built from Plan(s)
Estimated Cost
About $50. The tiles were $8 total and the letter $1.50. Add grout, polyurethane, screws, glue, paint, sandpaper and other stuff and you come close to $50.
Estimated Time Investment
Weekend Project (10-20 Hours)
Finish Used
Top: Minwax Gunstock covered with three coats of Rust-oleum ultimate polyurethane. The shade may not be on cue as I first used a light oak shade and didn't like it so I just put the gunstock over it.

I did use minwax wood conditioner but I am not sold on it. The instructions are frightening (Do Not Let Dry or Face the Consequences!) and I am not really sure it does what is advertised. Everyone make up your own mind.

Rest of it: Two or three coats of Rust-oleum white satin enamel spray.
Recommended Skill Level
Intermediate

Benchmark Table

Benchmark Table, built out of pine and stained with dark walnut and a flat finish!

Estimated Cost
total cost 120.00
Estimated Time Investment
Weekend Project (10-20 Hours)
Recommended Skill Level
Intermediate

Farmhouse Table

Submitted by Anonymous (not verified) on Sat, 12/17/2016 - 08:18

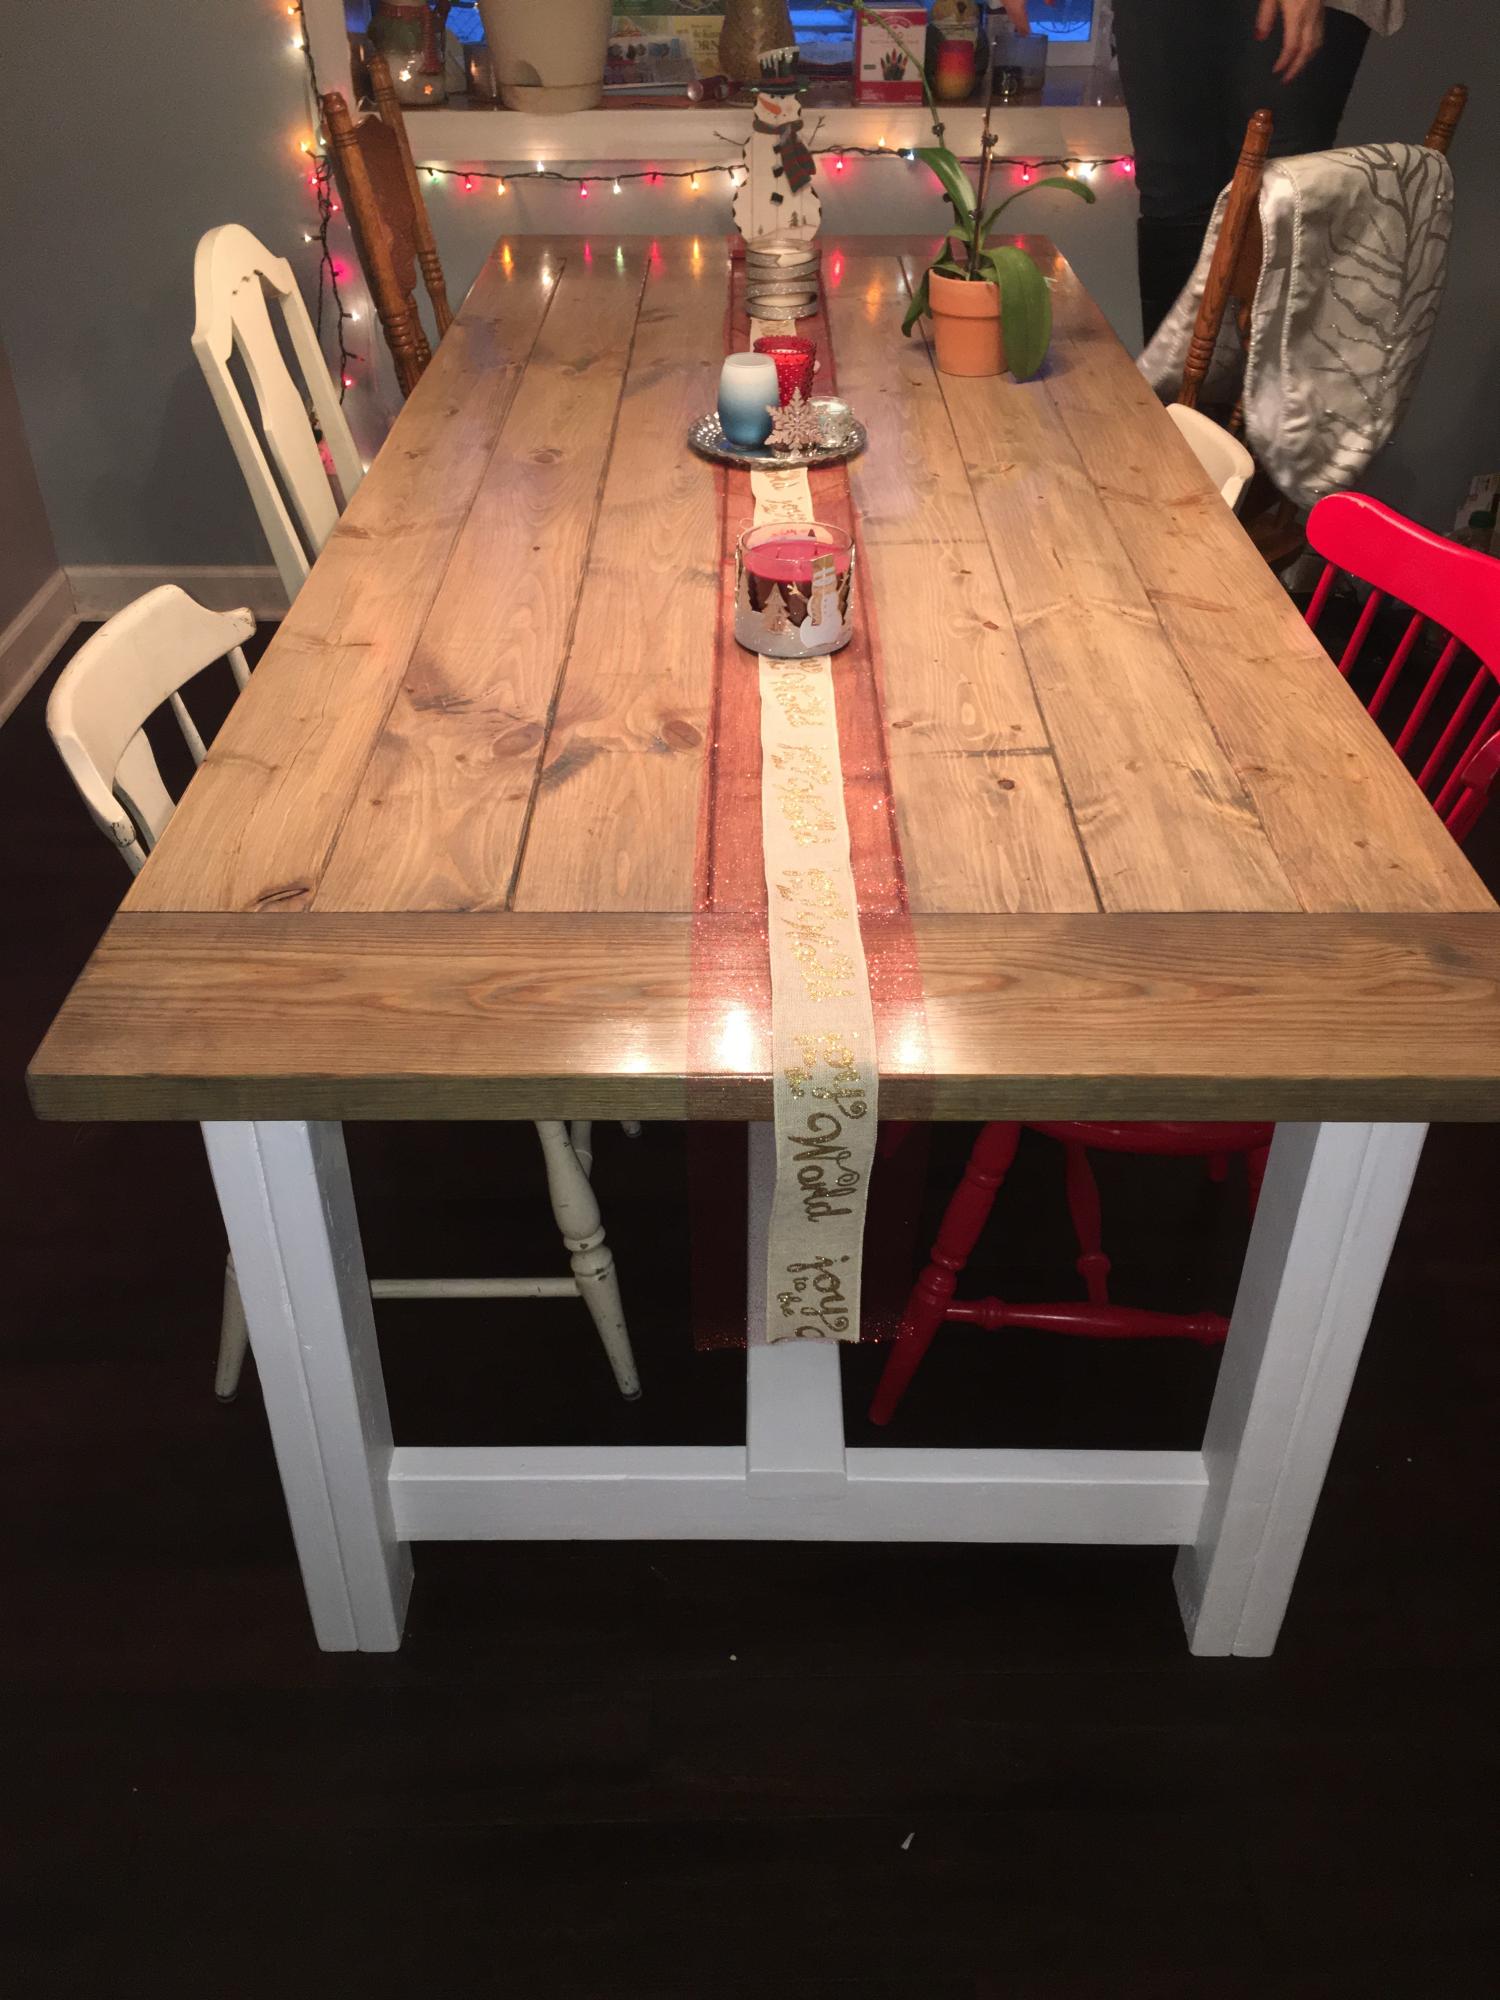
Thanks for the plans! My wife loves the table that I built for her using them. Only change I made was that I used my Kreg Jig to screw all the table top boards together. I'll be building the bench next.

Estimated Cost
$250
Estimated Time Investment
Weekend Project (10-20 Hours)
Finish Used
Table base - also at Furniture paint Ultra White 740149

Table Top- Minwax Weathered Oak 270 and Minwax fast drying poly in clear satin
Recommended Skill Level
Intermediate

double trestle play table

Submitted by Amy Paxton on Tue, 11/13/2012 - 05:09

First project we tried. Turned out great. Now I am addicted to building furniture!

Built from Plan(s)
Estimated Cost
65
Estimated Time Investment
Afternoon Project (3-6 Hours)
Finish Used
Minwax espresso finish
Recommended Skill Level
Beginner

Comments

Storage bed

Submitted by Bandit on Mon, 09/01/2014 - 05:33

This was my first build and I throughly enjoyed it! This bed is for my three old son and it meant so much to me that I was able to build his very first big boy bed. Thanks Ana for the plans and for making then so easy to follow.

Estimated Time Investment
Weekend Project (10-20 Hours)
Recommended Skill Level
Beginner

Alternate dress rack design

Submitted by Jlabudasr on Tue, 12/20/2016 - 19:50

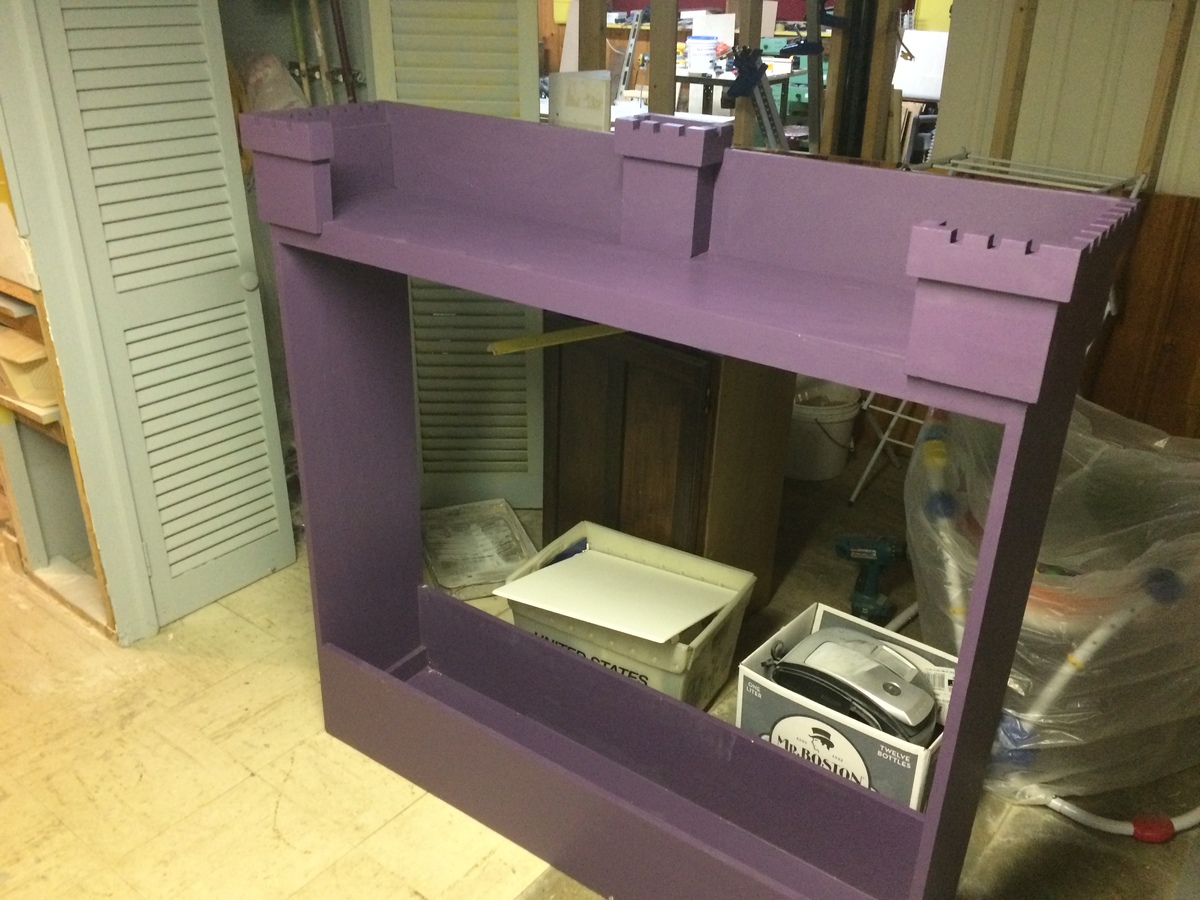
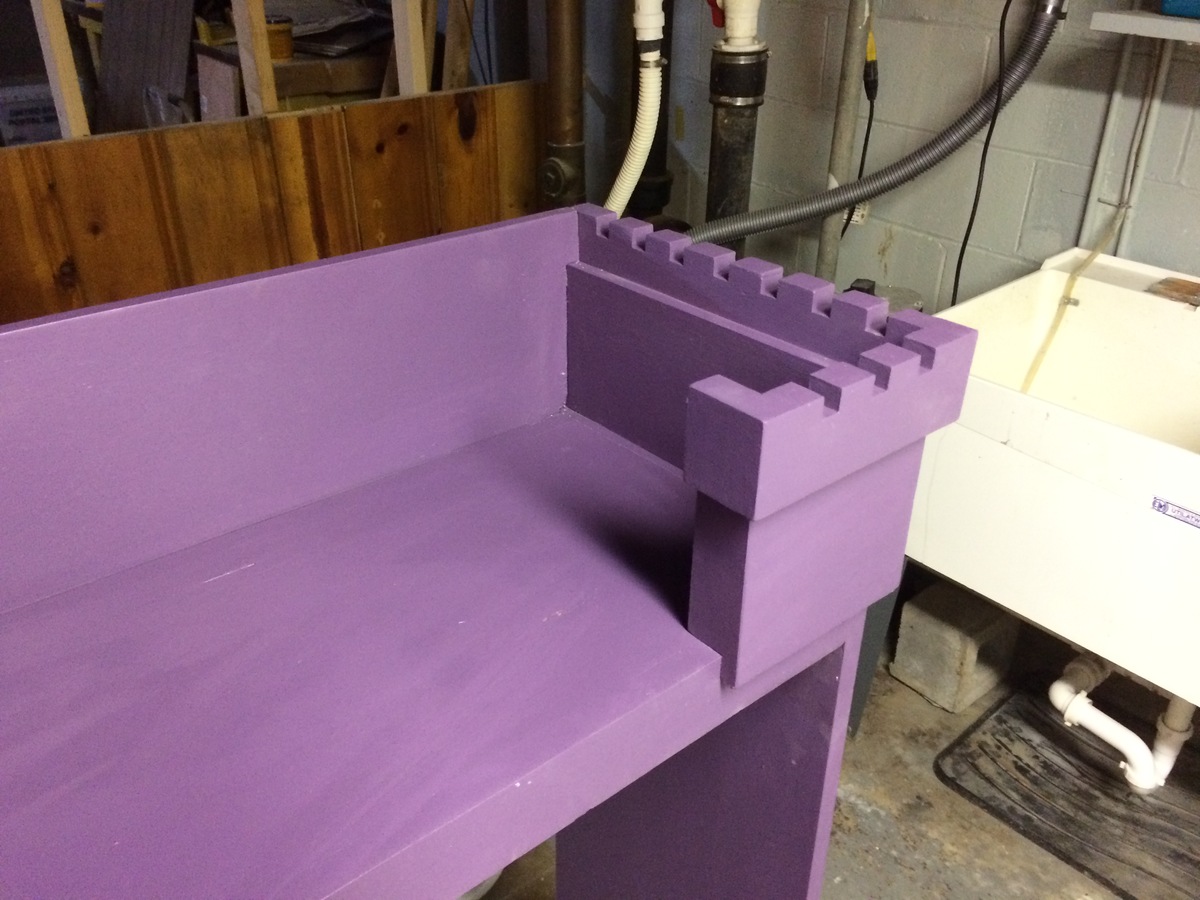
Tried top shelf side detail per the plans but did not like the way it turned out so I added the "castle wall" details as shown on the two photos. Wall details made with stacked dato blade on my table saw.

Recommended Skill Level
Intermediate

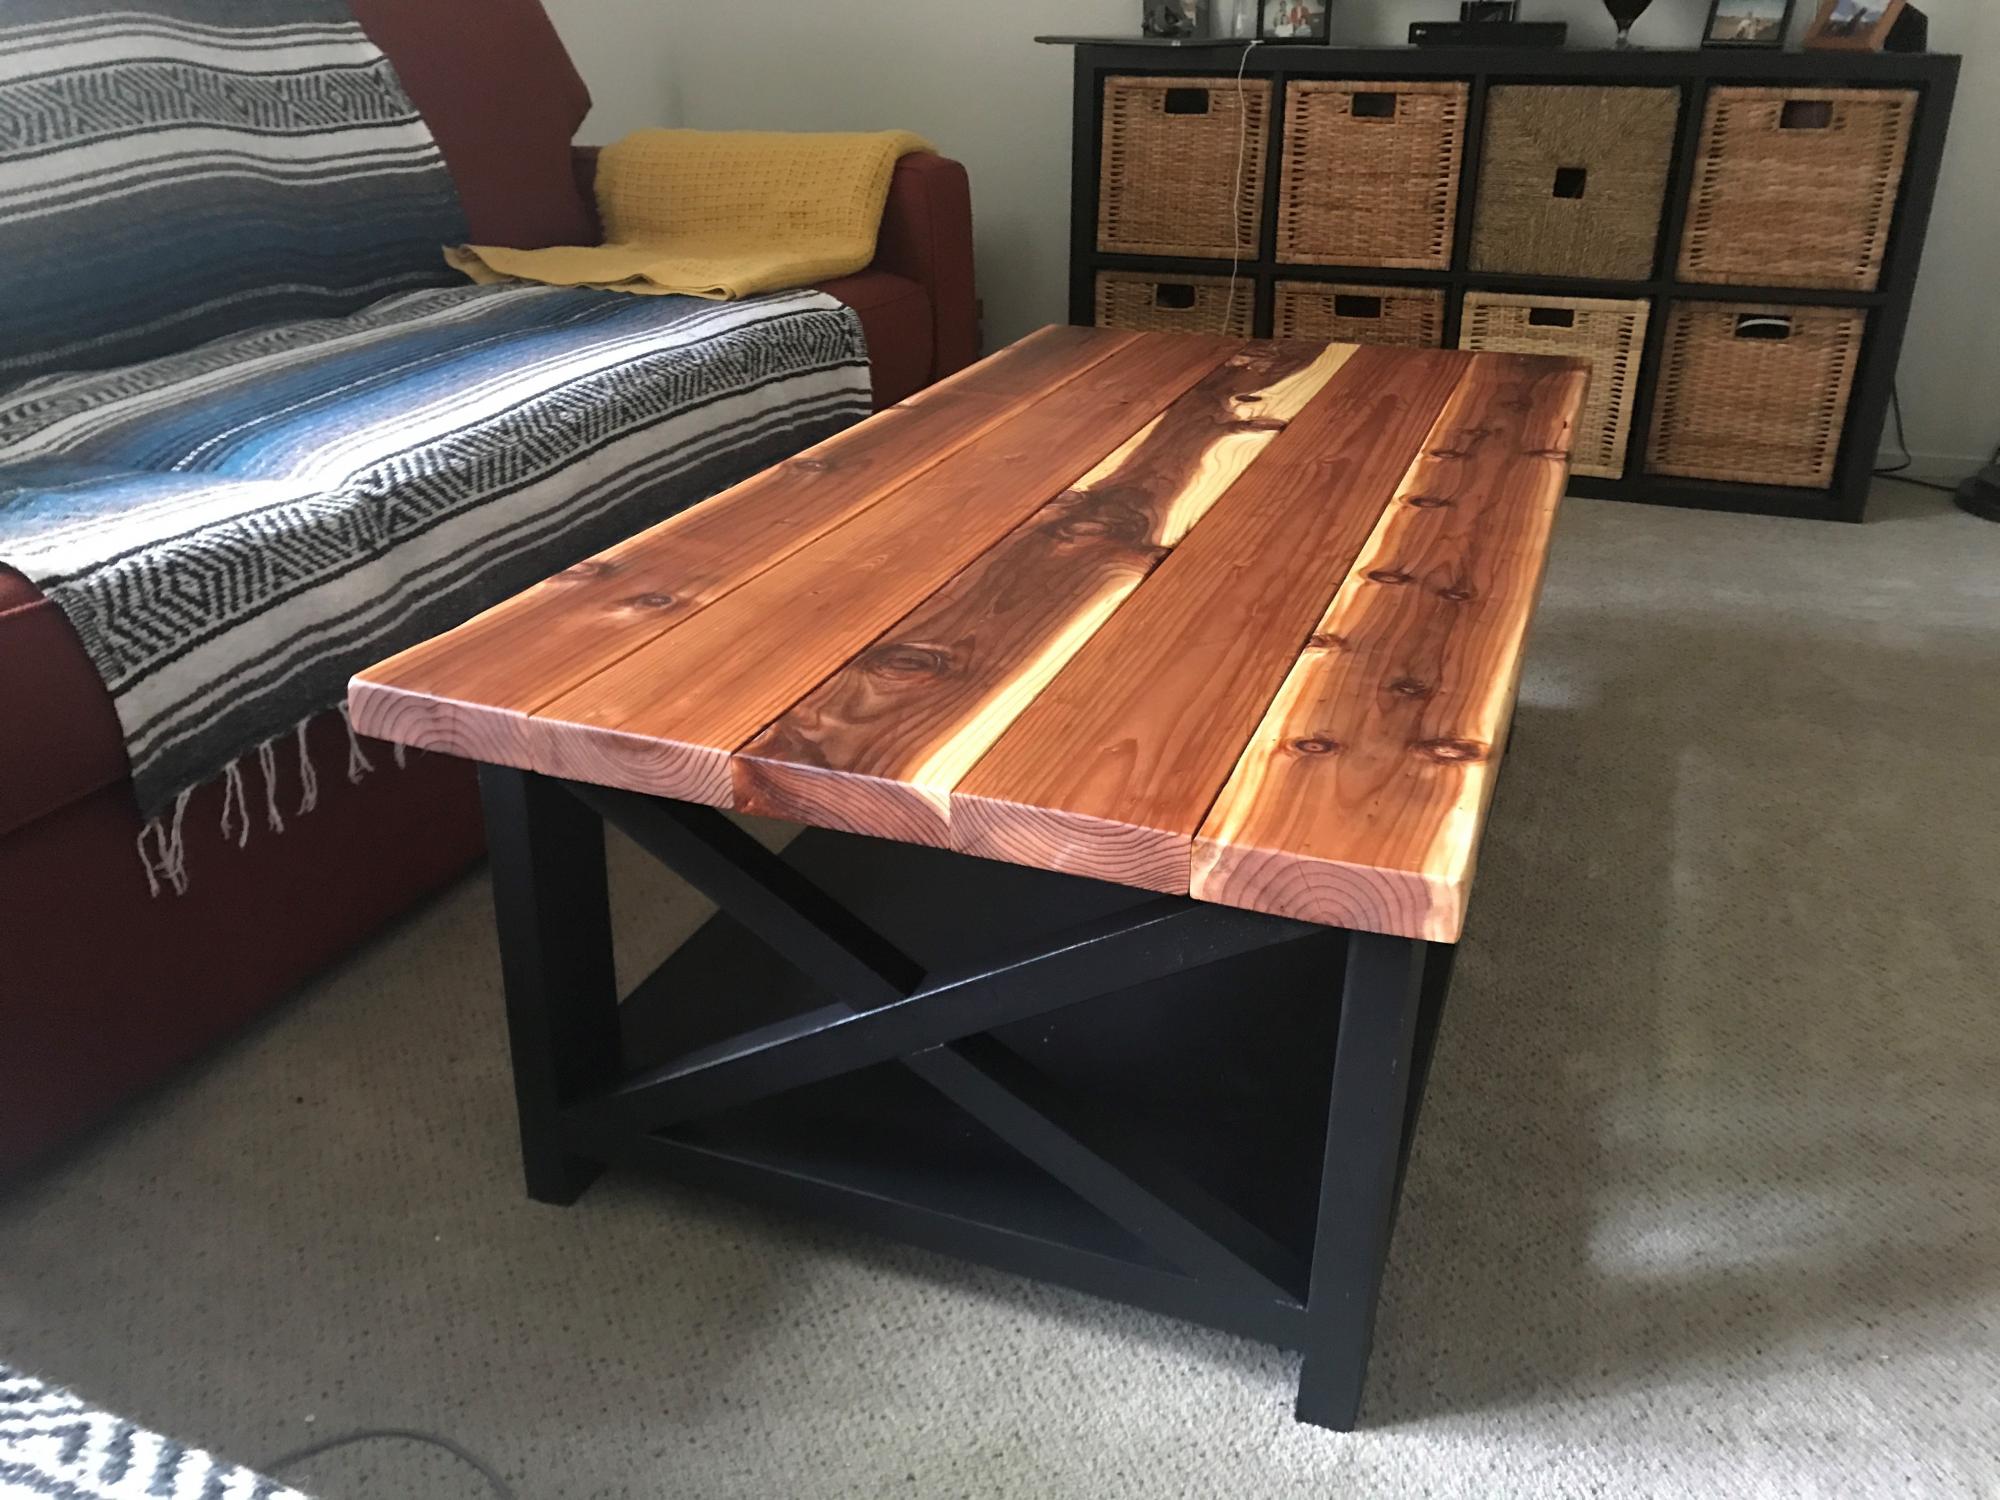
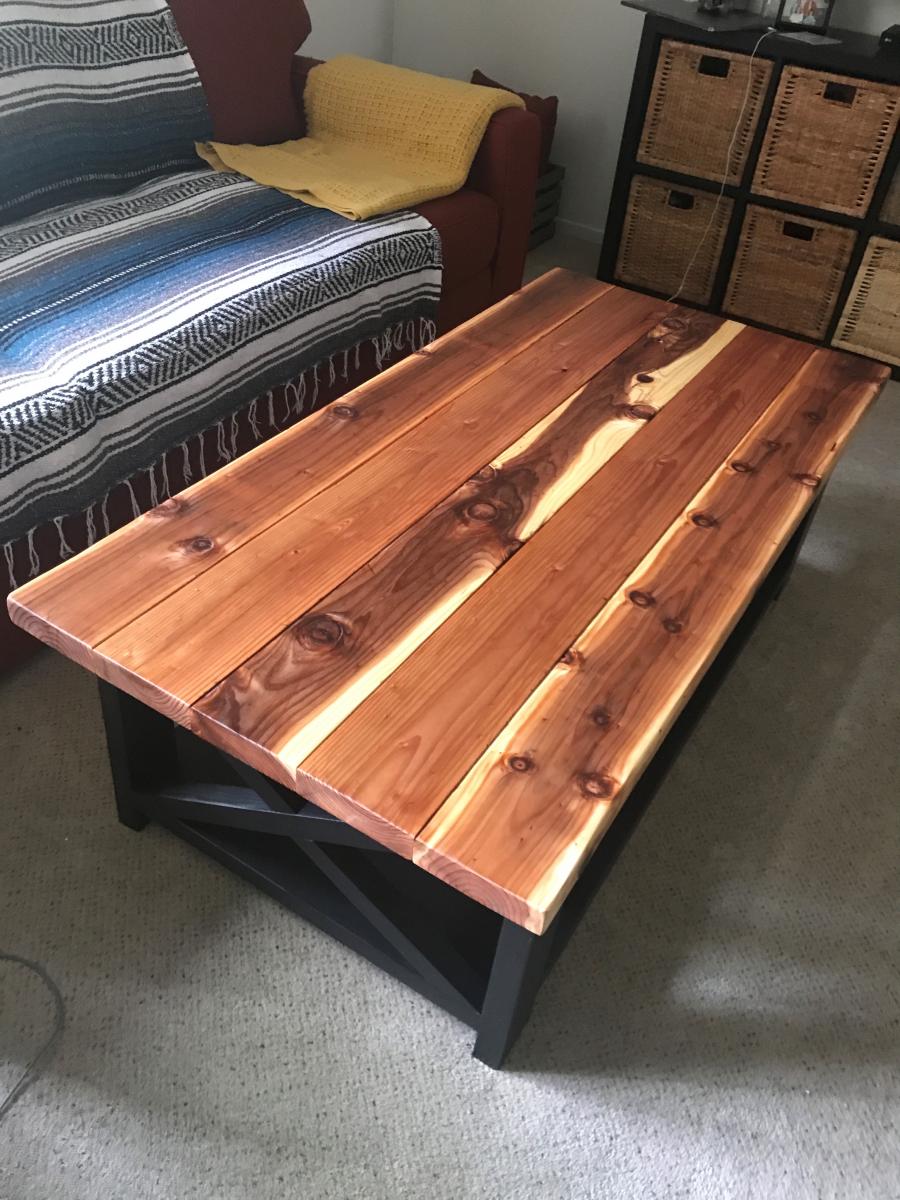
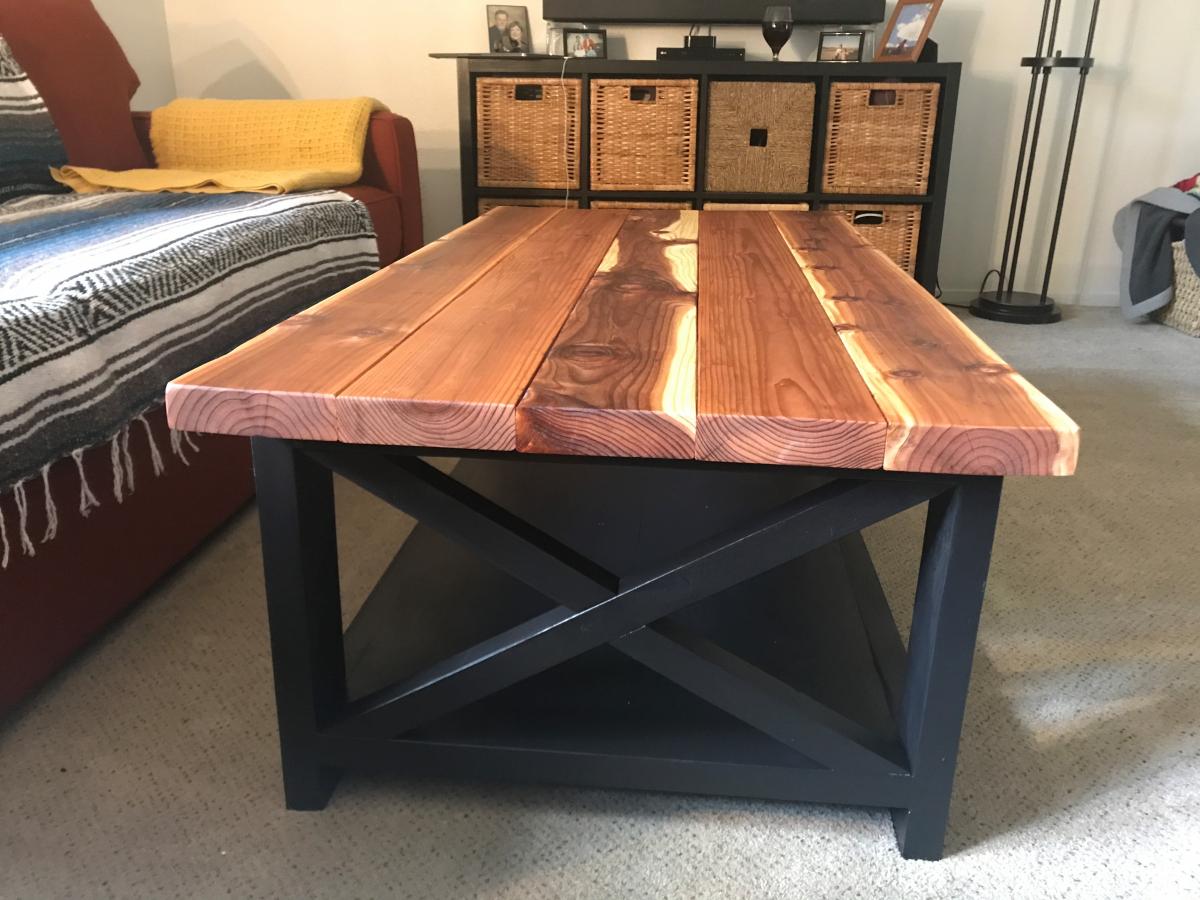
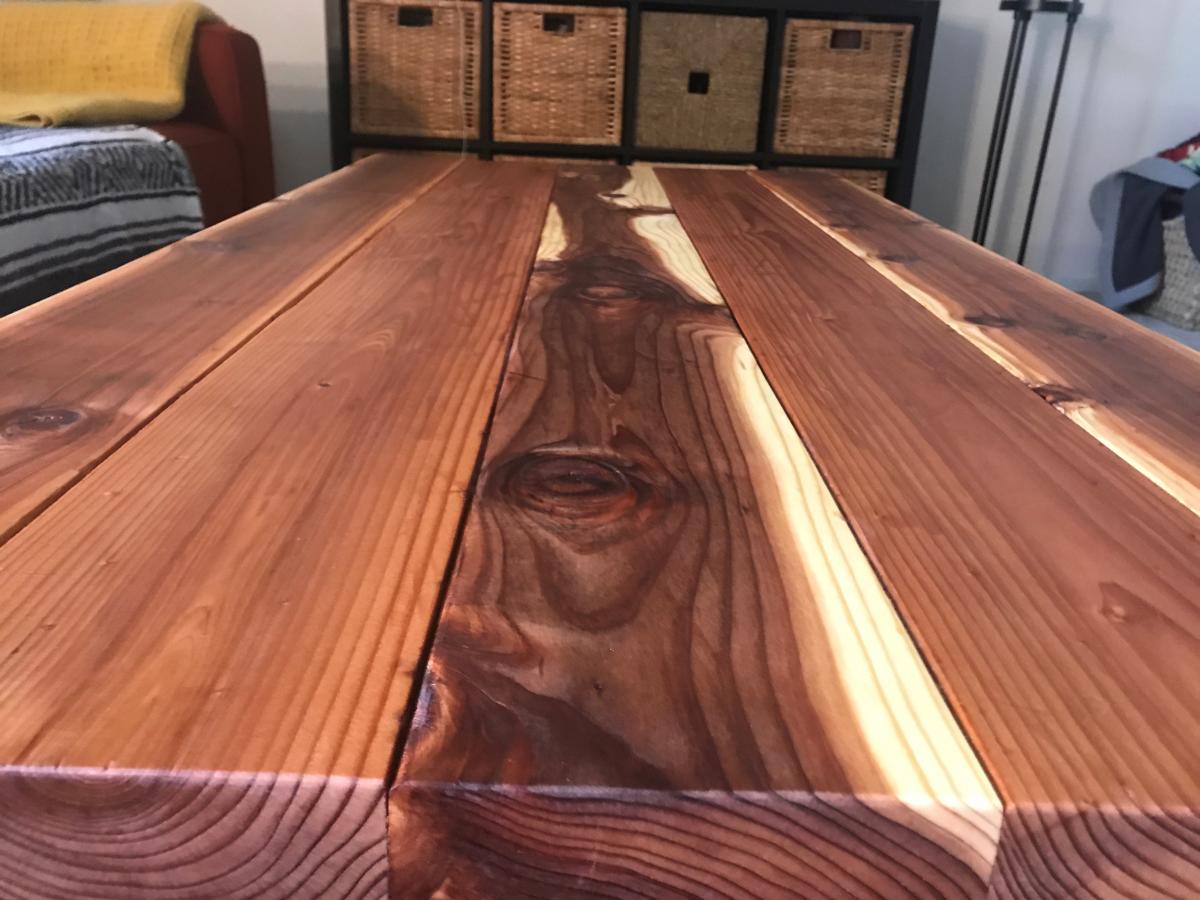
B-Hive's Rustic X Coffee Table

Submitted by B-hive on Tue, 09/01/2020 - 12:34

This is our first project using one of Ana's plans. We made one modification adding stability to the top of the structure, but otherwise stayed pretty true to what was described.

Next up is the matching end table!

For the full story of our piece, please visit our website.

Built from Plan(s)
Finish Used
Structure is painted in an eggshell black interior paint.

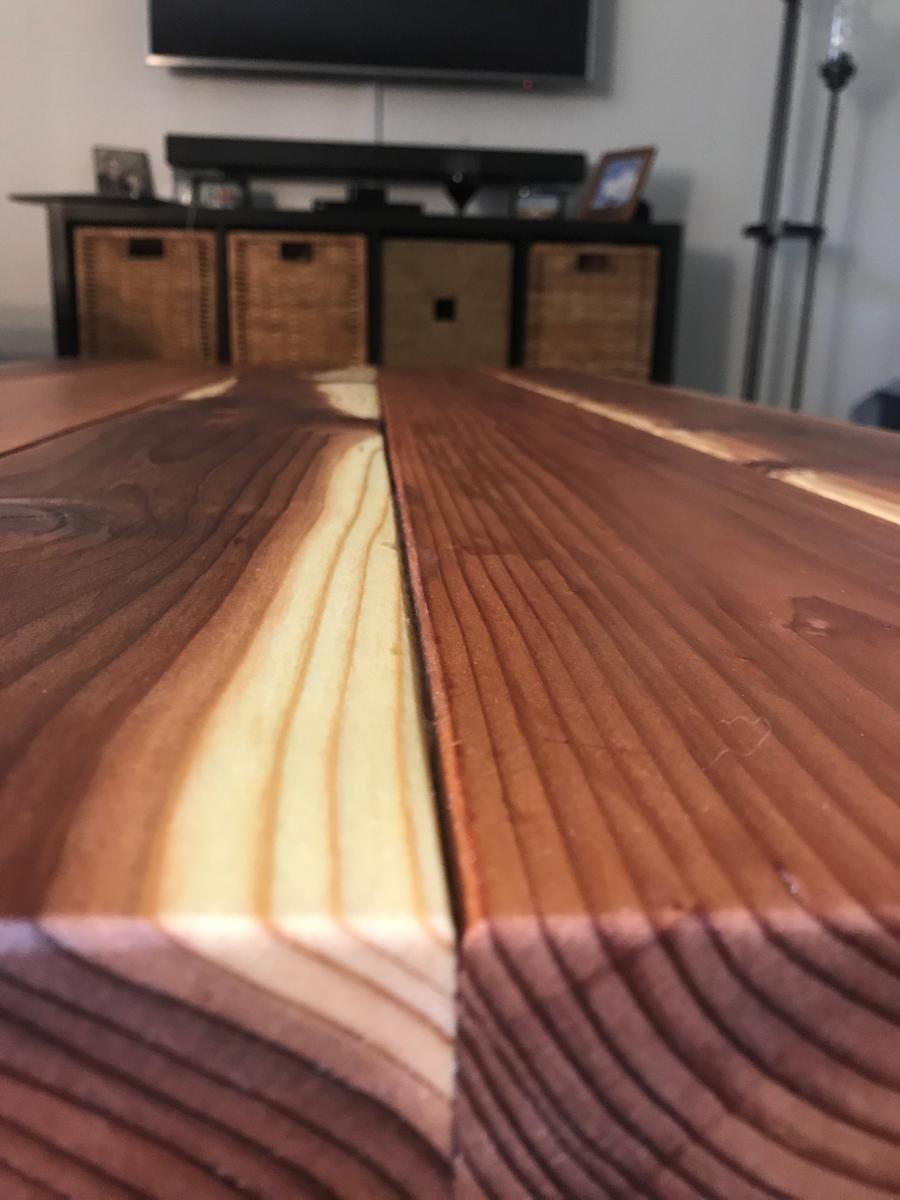
Top is in a clear Danish finishing oil and wipe-on polyurethane.
Recommended Skill Level
Intermediate

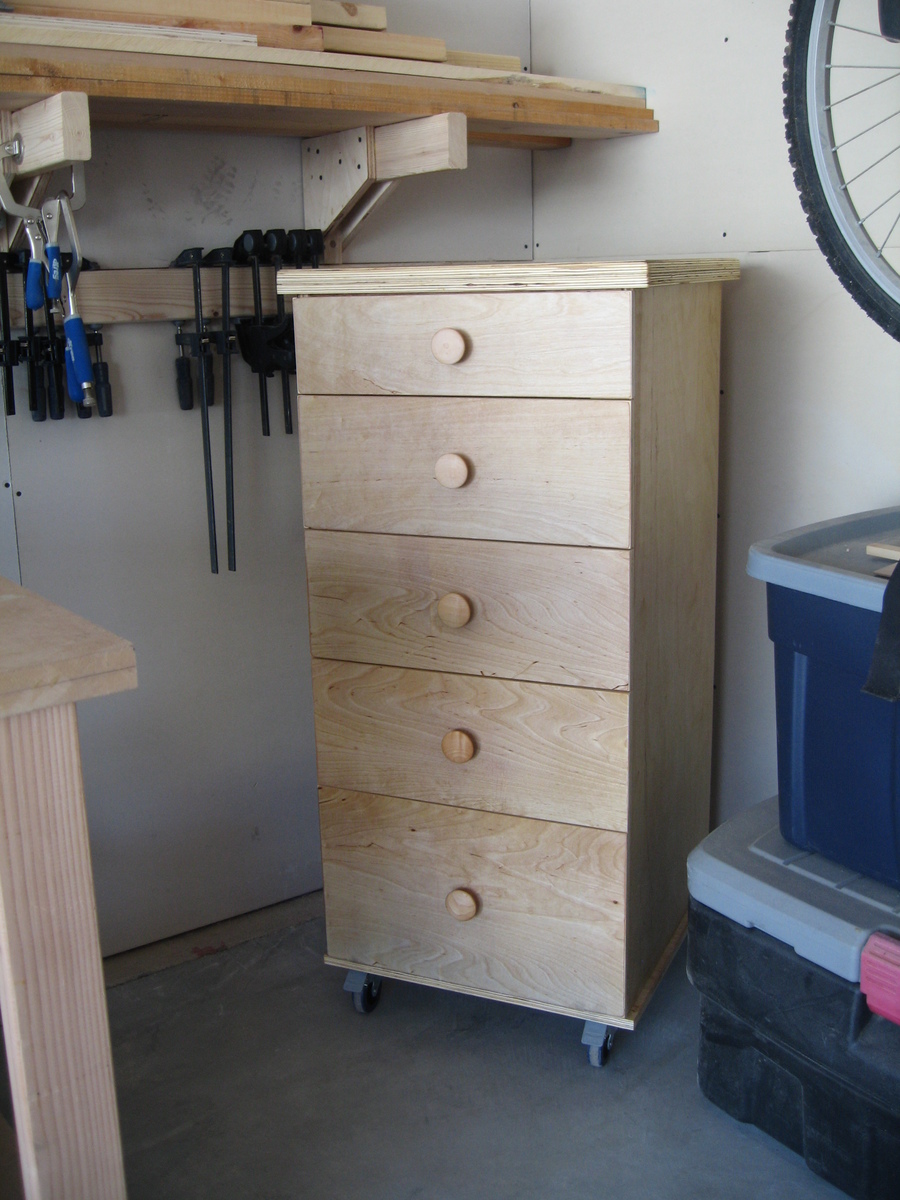
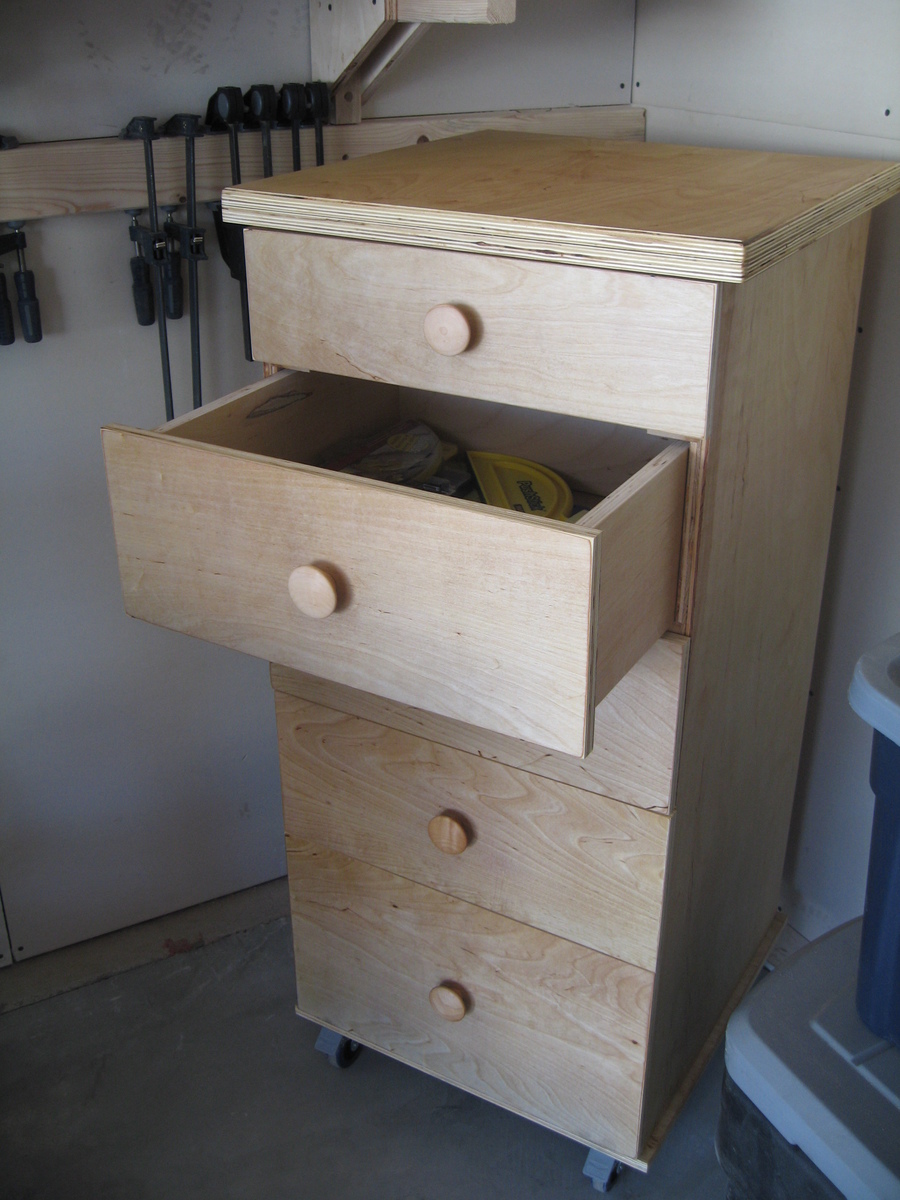
Work Shop Storage Drawers

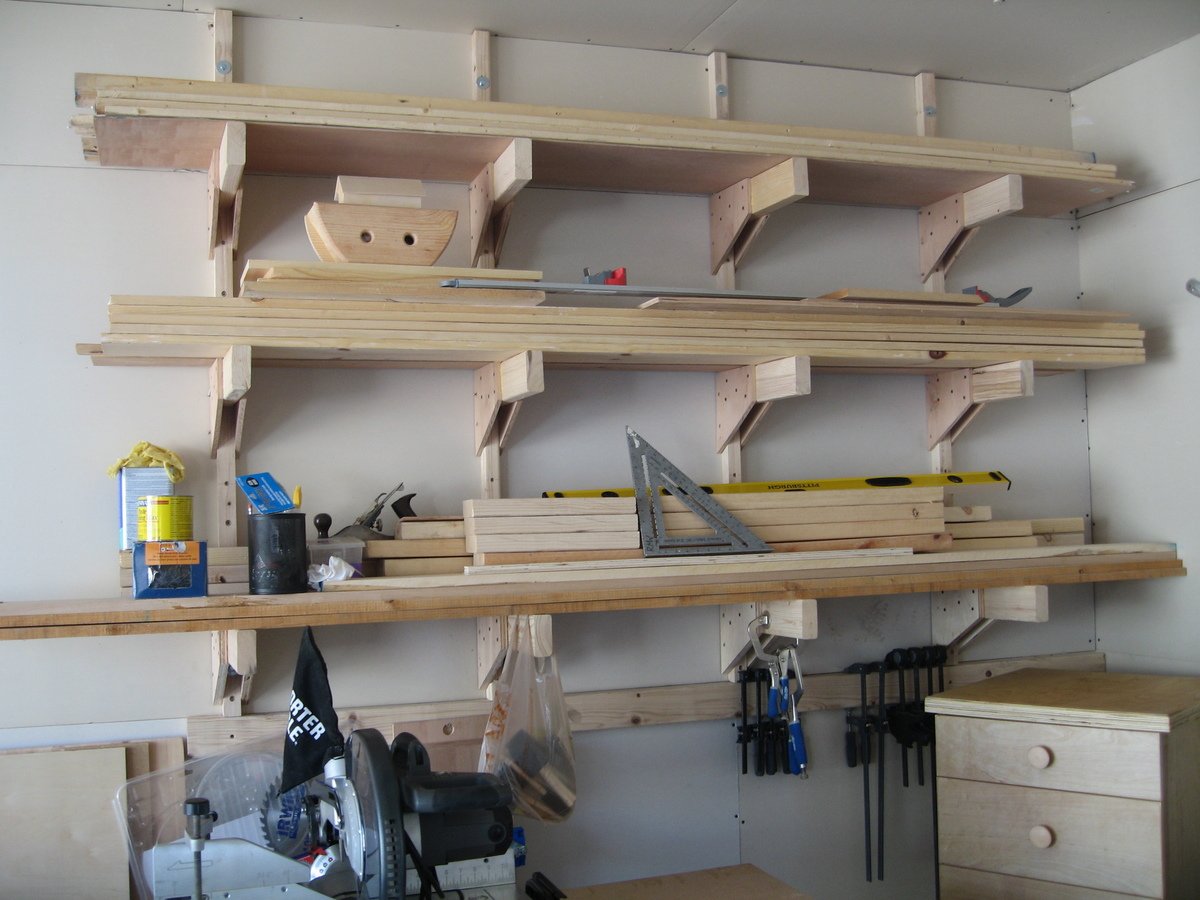
I got tired of dust settling on all my tools so I built this woodshop storage cabinet. It's main inspiration is from Steve at www.woodworkingformeremortals.com. A place for everything and everything in its place.

Estimated Time Investment
Weekend Project (10-20 Hours)
Finish Used
Boiled Linseed Oil
Recommended Skill Level
Beginner

Comments

Triple Pedestal Bench/Table/End Stools

Submitted by Dman7196 on Sat, 12/24/2016 - 10:48

Here is a Triple Pedestal table with benches and two end stools to match everything else.

Estimated Cost
Unfinished around $400 finished $500+
Estimated Time Investment
Week Long Project (20 Hours or More)
Finish Used
For the legs we used Behr stain and sealant combo, for the top we used Helmsman Spar Urethane semi gloss
Recommended Skill Level
Intermediate

Farmhouse Table

Submitted by Anonymous (not verified) on Fri, 09/04/2020 - 18:52

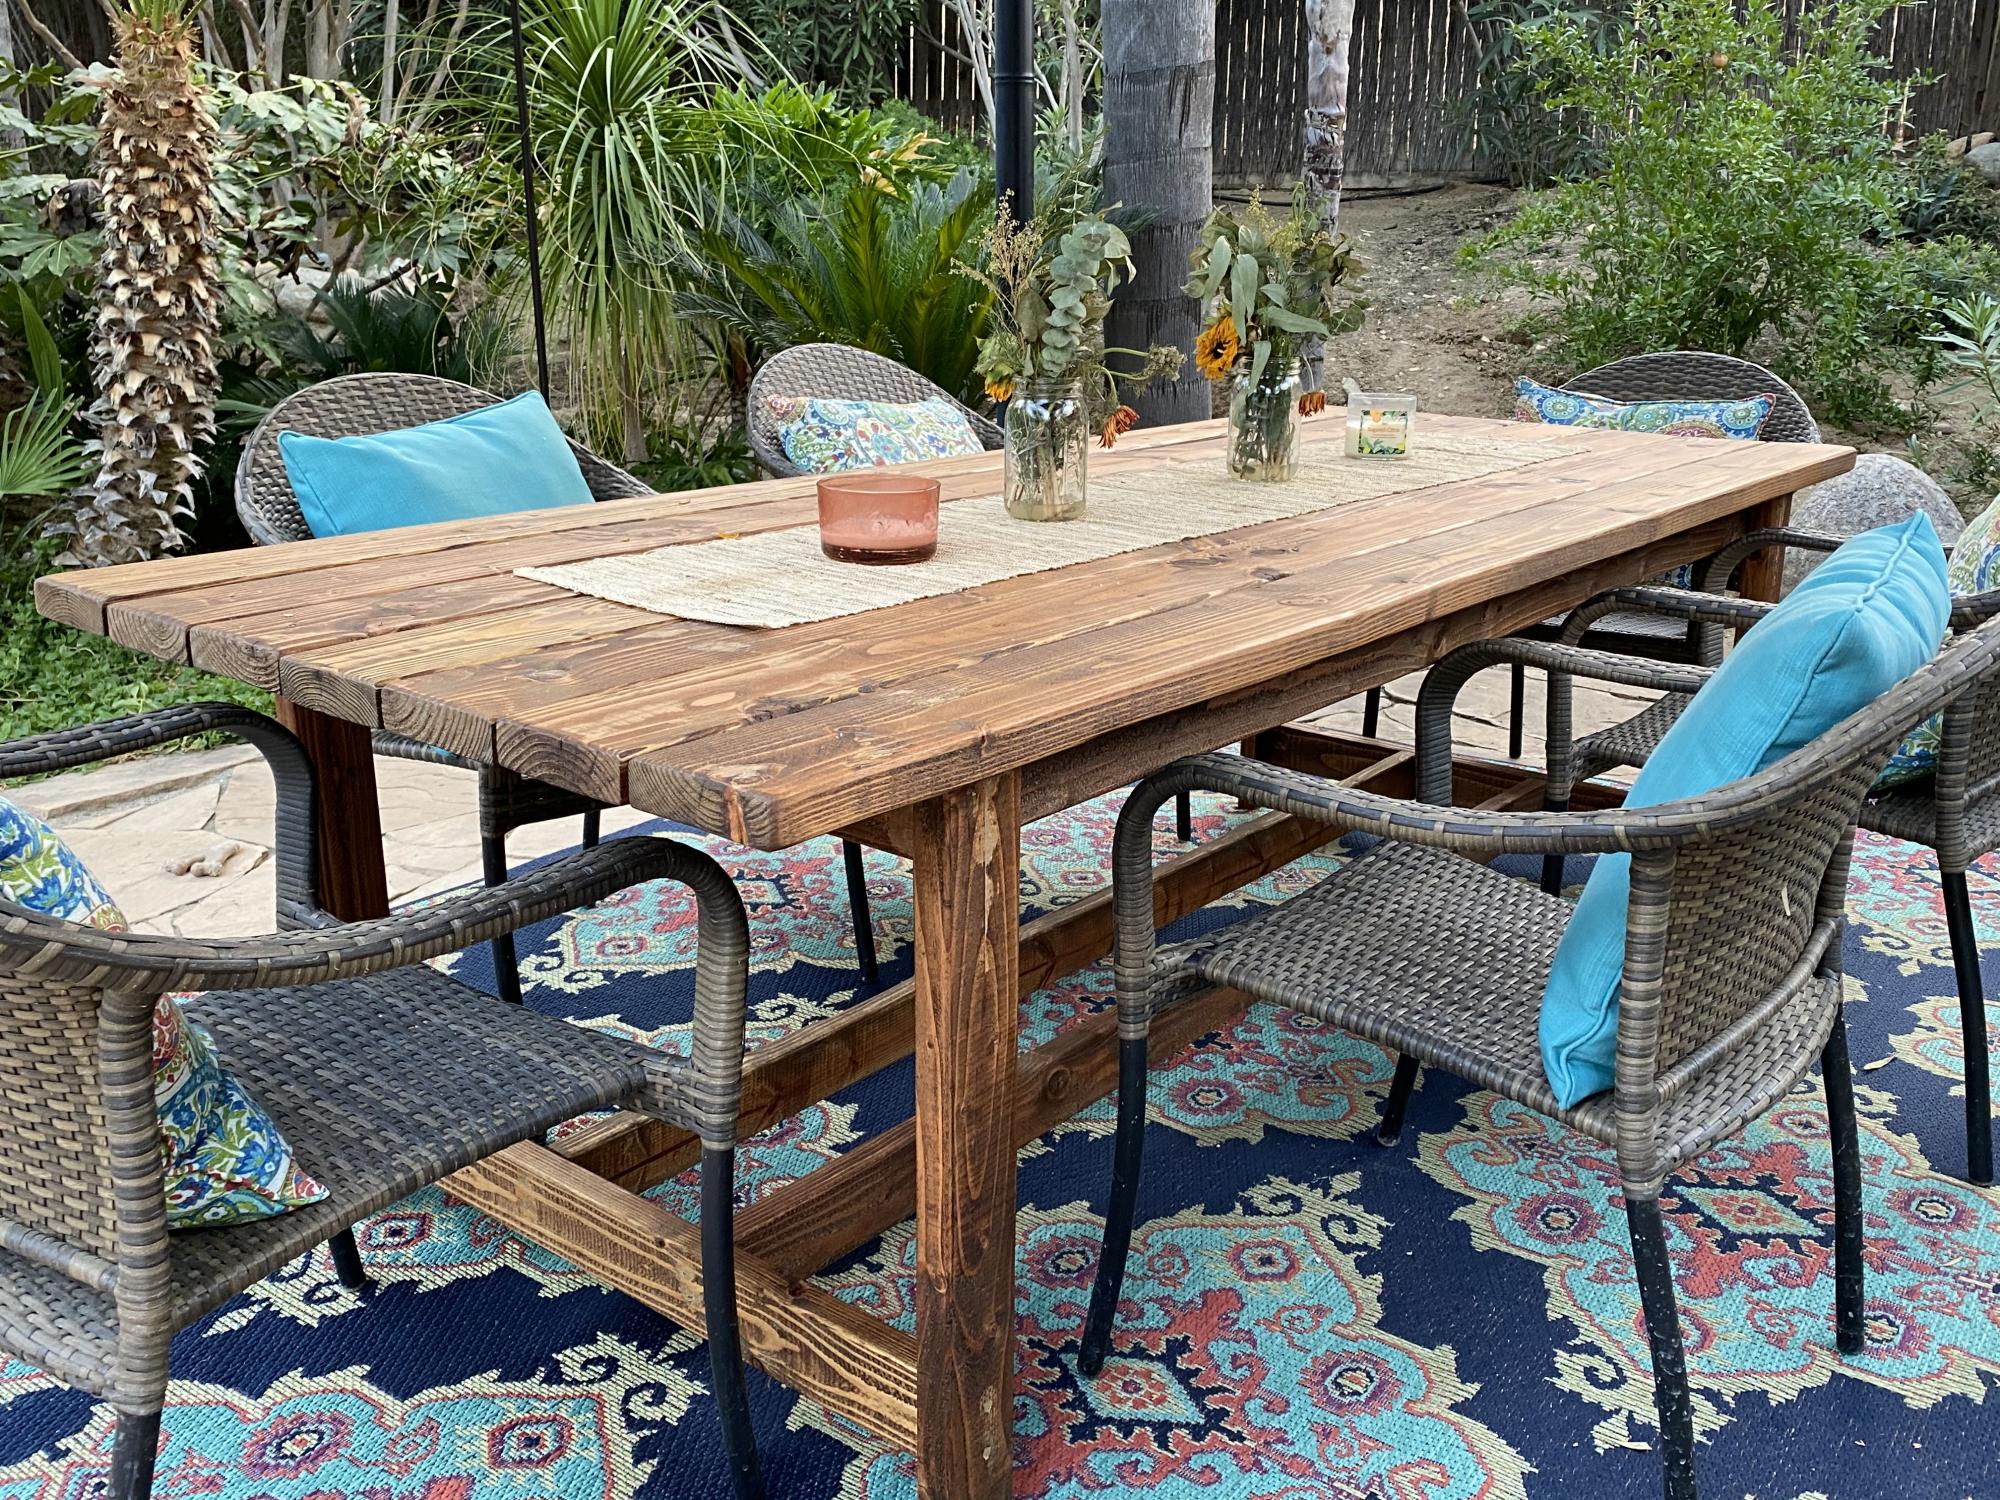
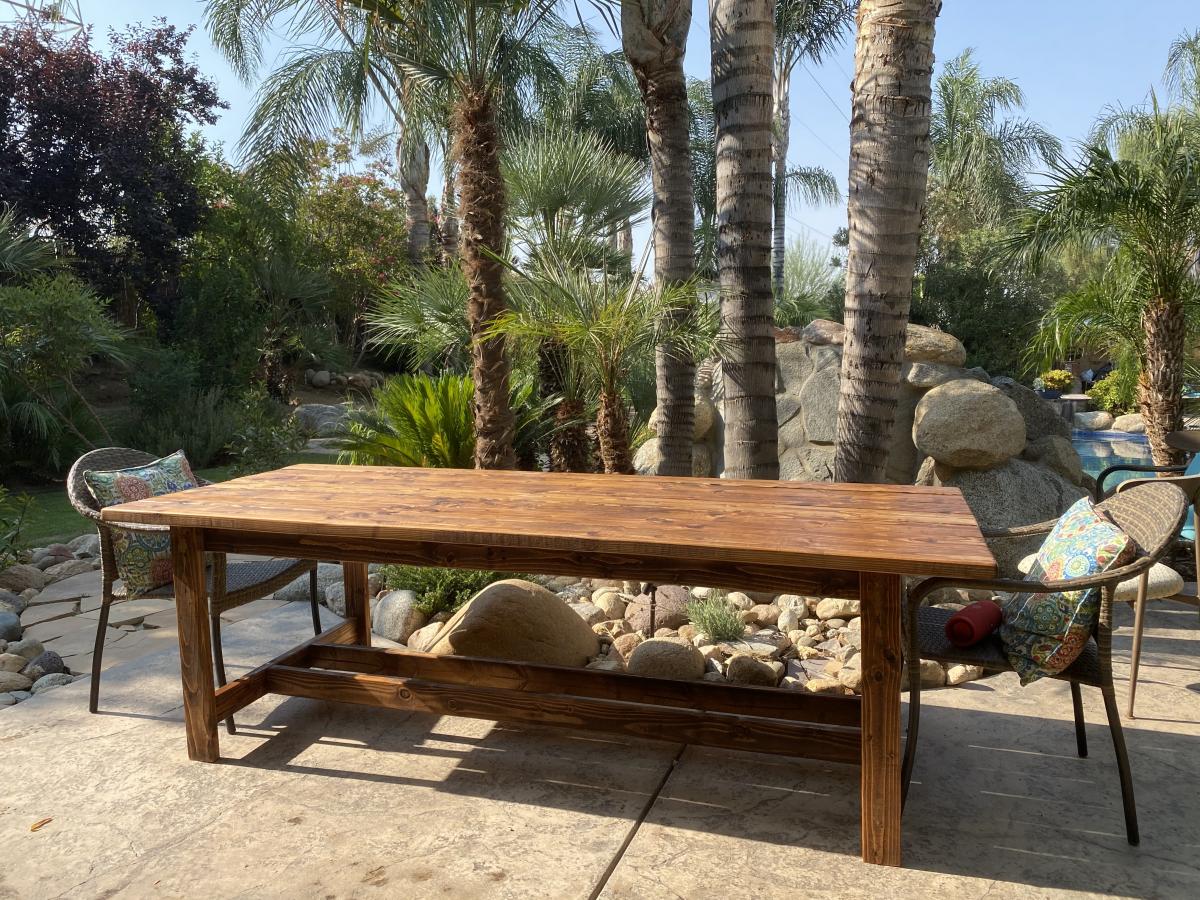
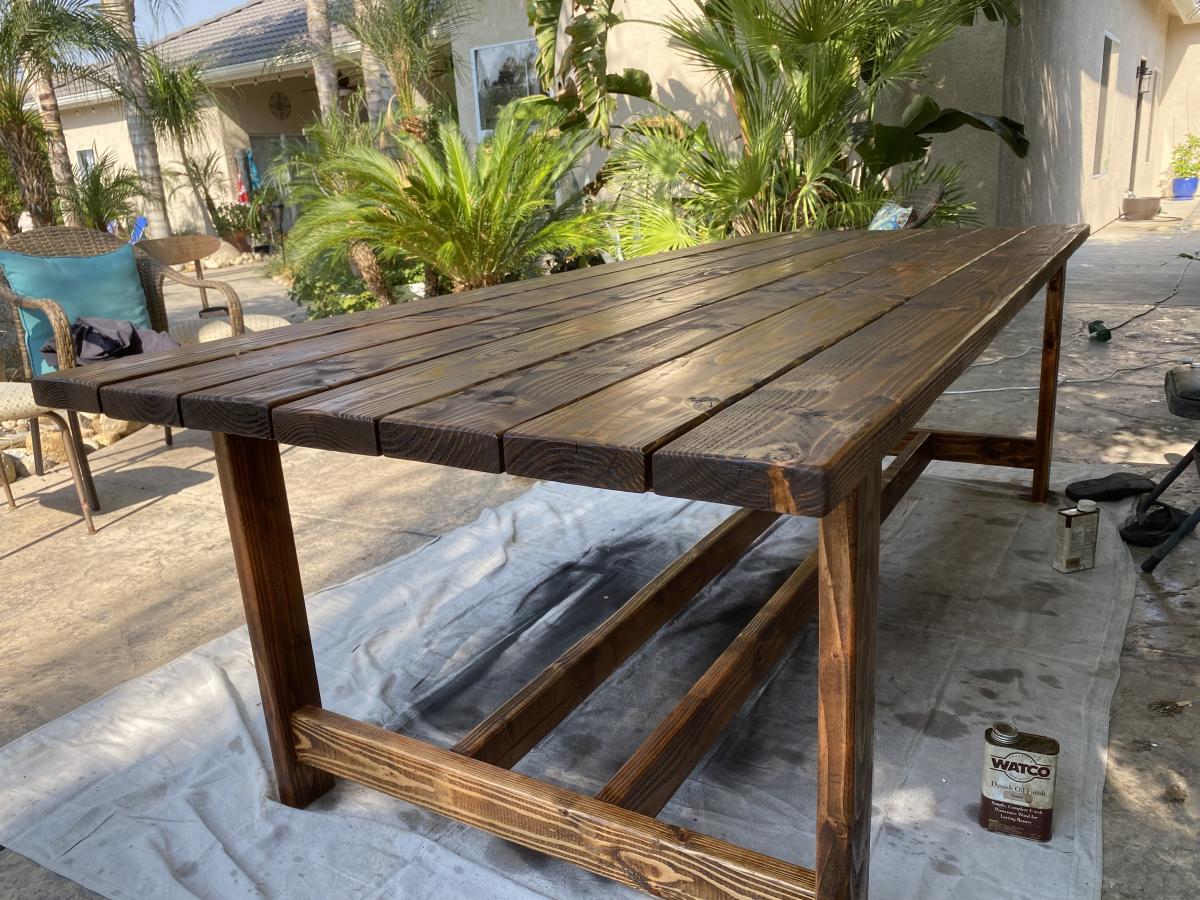
Thanks for sharing this project. I made a few adaptations knowing my friends, family, and monkey grandkids would be climbing all over the table. Everyone loved the table and we have broken it in with a great party.

Changes:
I added a second bottom stretcher that also serves as a footrest and ran them between the bottom legs rather than on top.
I added on 2x6 to the table width which required changing the leg dimensions.
I also ran an extra 2x4 middle support brace.

Results:
This table is a tank! Thanks!
I used the Danish Oil and the Thompsons to seal.

Now I am ready for another project.

Thanks Ana!

The Martin's

Estimated Cost
$75.00
Estimated Time Investment
Weekend Project (10-20 Hours)
Finish Used
Danish Oil (Natural) and Thompsons (Natural)
Recommended Skill Level
Beginner

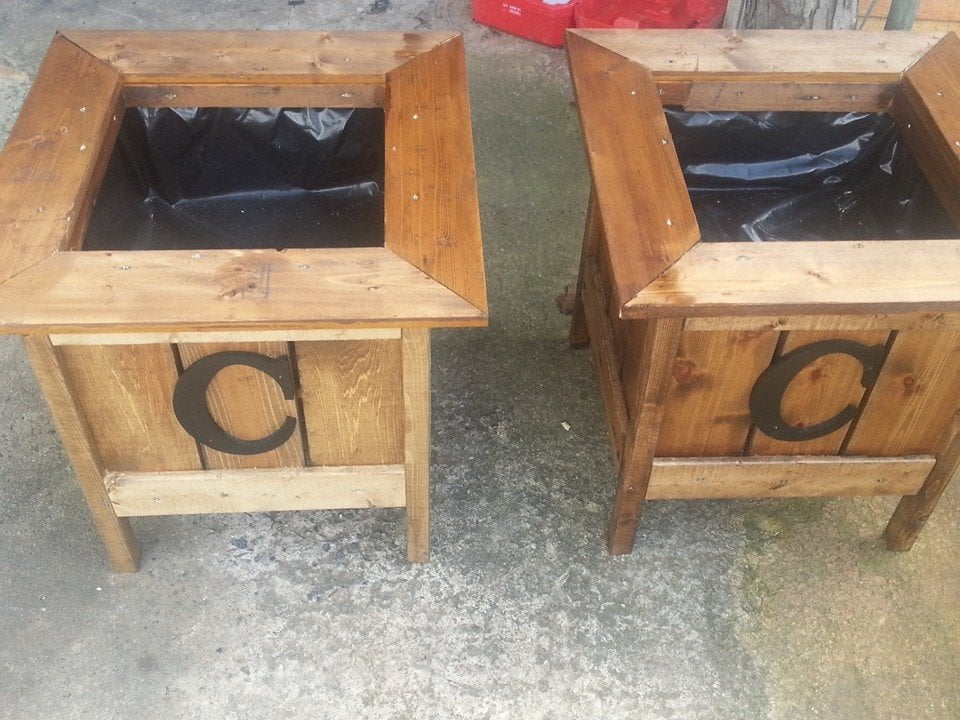
Cedar planter

Submitted by Shayed on Sun, 09/07/2014 - 11:55

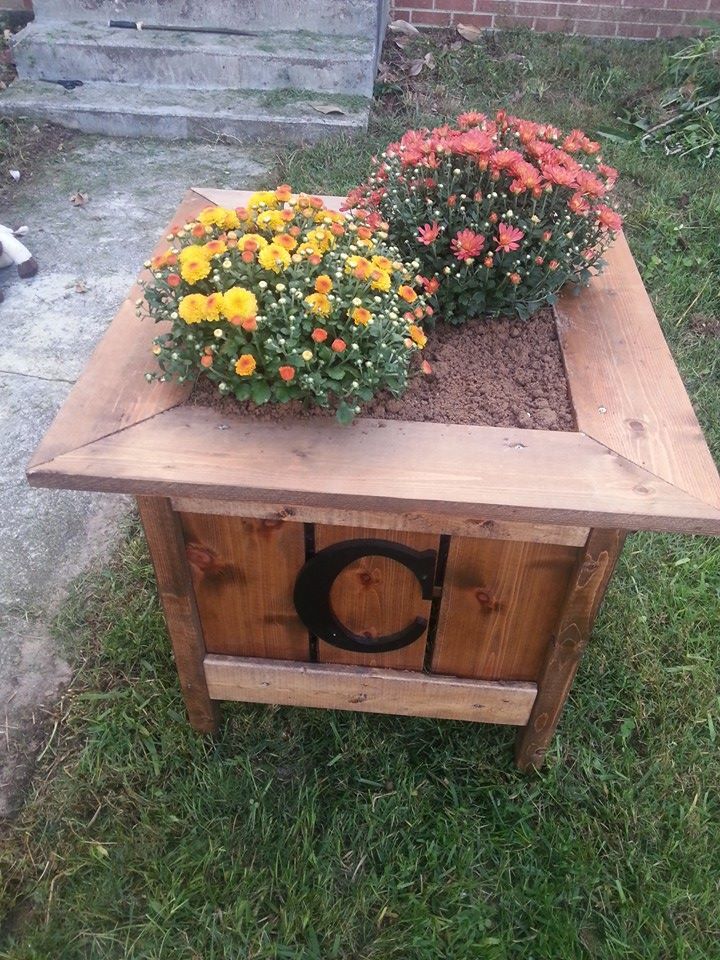
I used your "cedar planters for less than $20" plan and modified it to create two beautiful planters for my house. I framed out the top of the planter to give it a more complete look. Also, I added a "C" for our last name. -Shaye 

Built from Plan(s)
Estimated Cost
$20, I used a lot materials I had on hand.
Estimated Time Investment
Afternoon Project (3-6 Hours)
Finish Used
mahogany stain
Recommended Skill Level
Beginner

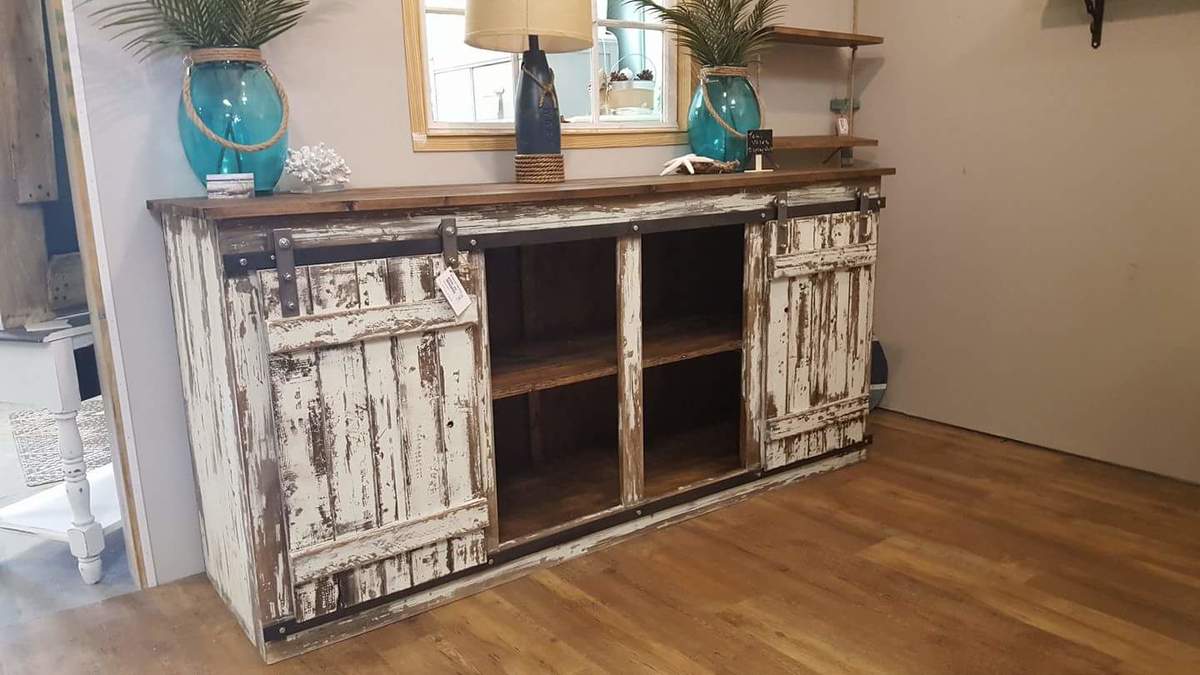
Grandy Sliding Door Console

Submitted by Anonymous (not verified) on Tue, 12/27/2016 - 02:59

Sliding door console built by Kathryn and Scott Winkler of K & S Coastal Home Furnishings. Kathryn added her own unique chippy finish to set this piece off! Visit our other builds at fb.me/kscoastal

Estimated Time Investment
Weekend Project (10-20 Hours)
Finish Used
Chippy finish
Recommended Skill Level
Intermediate

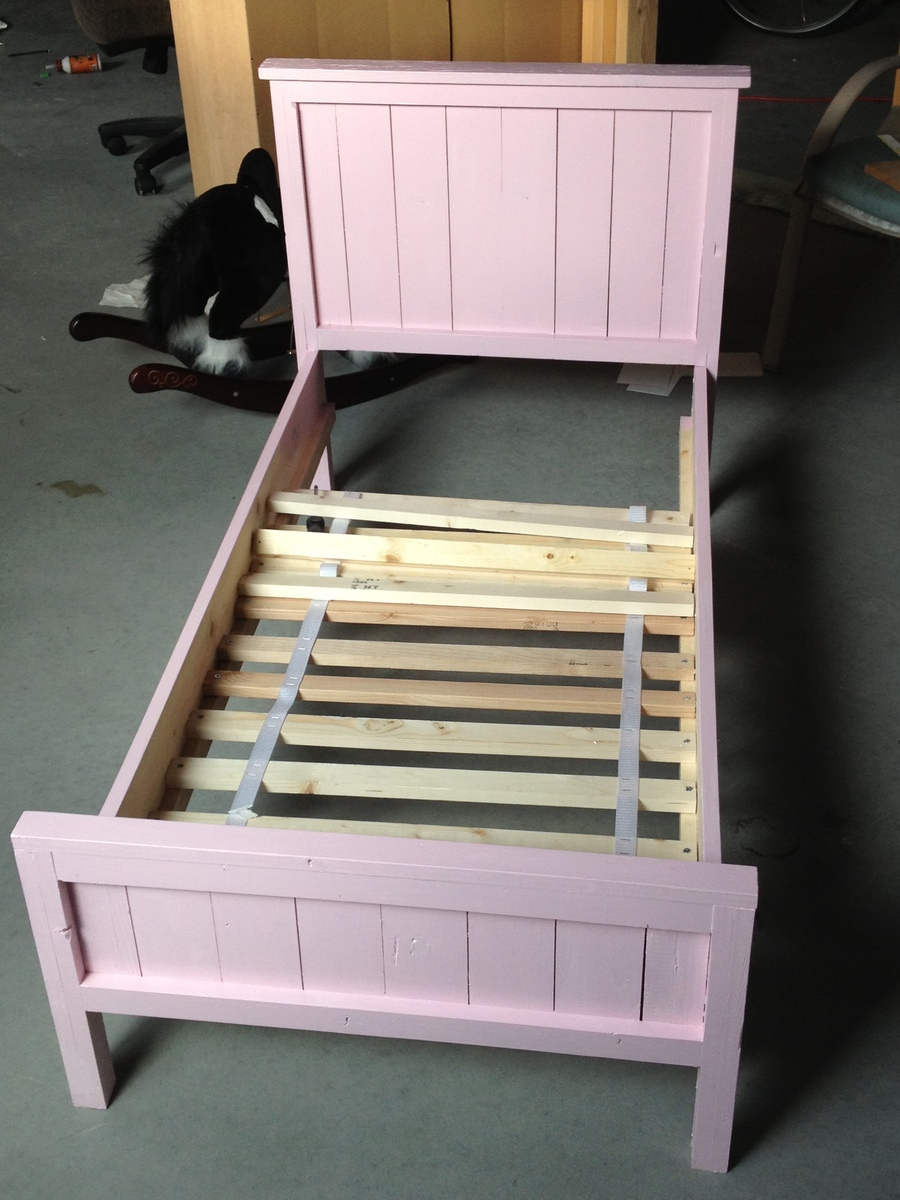
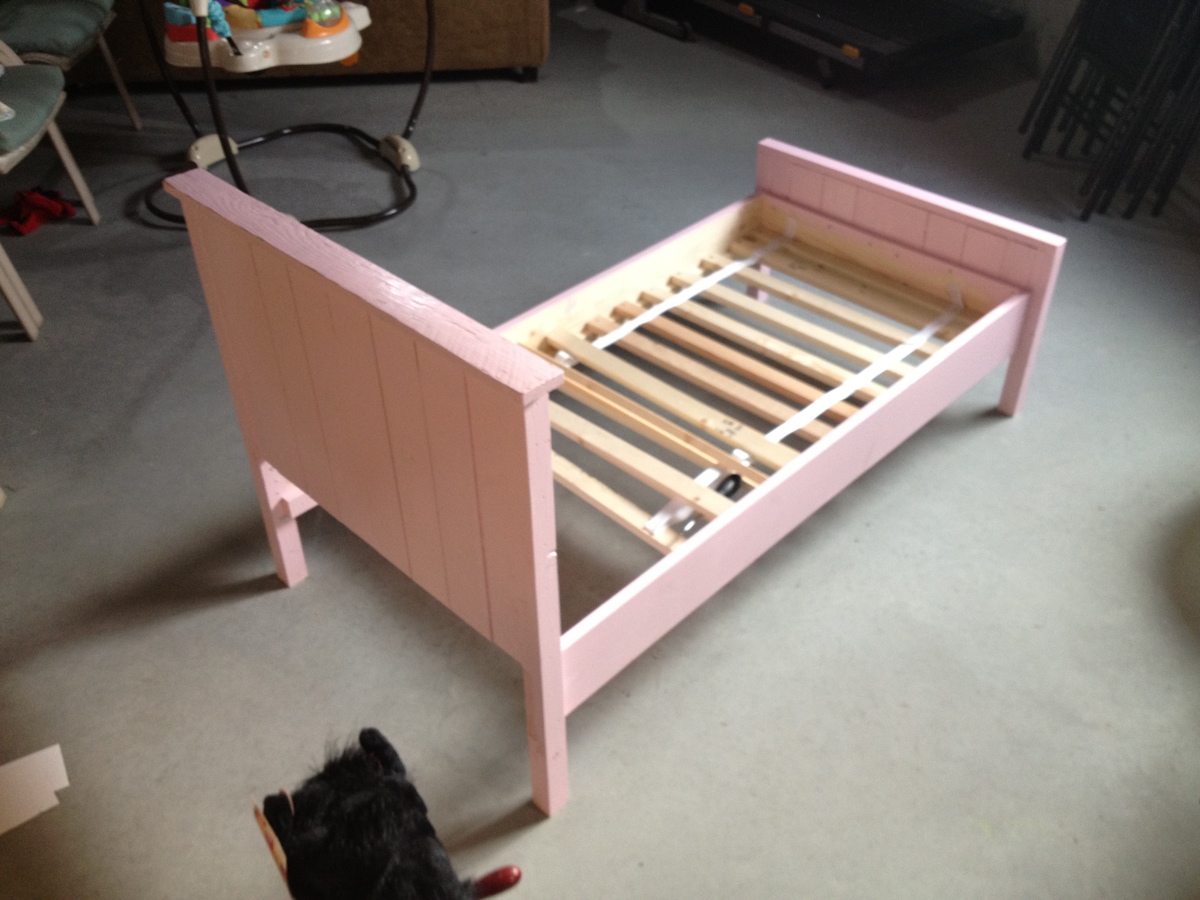
1st attempt at building a bed.

My wife and I are expecting our second child in February, and we were short the money to buy a new crib. We searched Craig's List, and couldn't find anything in our price range that was worthy of buying. I began to search the plans catalog. My wife and I decided that we could give building my daughter a toddler bed a shot. This web site is a blessing to us. We were able to get everything we needed at Home Depot.

Built from Plan(s)
Estimated Time Investment
Weekend Project (10-20 Hours)
Finish Used
Behr Premium Semi-Gloss Interior Primer/Paint in one, April Blush (Pink)
Recommended Skill Level
Beginner

Comments

Console Table

Submitted by Anonymous (not verified) on Wed, 12/28/2016 - 15:50

Rustic x console Table 

Estimated Cost
$100
Estimated Time Investment
Weekend Project (10-20 Hours)
Finish Used
Varathane weathered grey stain with varathane polyurethane in a matte sheen.
Recommended Skill Level
Intermediate

Antiqued Farmhouse Console Table

My wife wanted a table for the entry way; so, of course, I showed her plans from this site. Wasn't hard to build at all. Since I knew she wanted an antique look, I left the screws exposed for a more rustic look.

Built from Plan(s)
Estimated Cost
$150
Estimated Time Investment
Weekend Project (10-20 Hours)
Finish Used
Behr Antique White Chalk Paint
Behr Clear Decorative Wax
Behr Dark Decorative Wax
Recommended Skill Level
Beginner

Headboard for Queen size storage bed

Submitted by sgilly on Wed, 11/28/2012 - 13:44

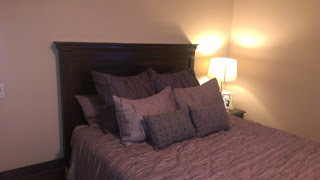
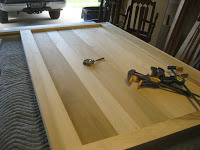
Several months ago I built the queen sized storage bed for my son and daughter-in-law. They are so happy with it. But, recently, my son's sweet wife asked me if I would make a headboard for their bed. She'd seen a picture on Pinterest of just what she wanted - and guess what? It was Ana's plan.
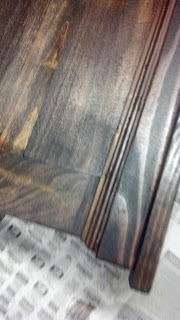
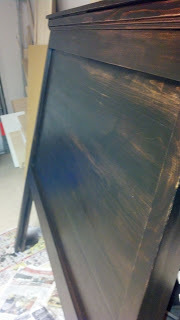
The headboard went together beautifully. I made a couple of minor changes (no side pieces on the legs, an extra top piece and a tiny trim piece added). I also made it a bit smaller in width. Each leg sits about an inch and a half behind the sides of the bed, which enabled my son to attach it by screwing through the bed into the legs.
I also made floating night stands (so they can open the drawers in the bed!). No pictures of those, but they're stained to match and my kids love how everything turned out! It's so nice when things turn out well.

Estimated Cost
About $85 in materials. I had screws, glue, stain, finish.
Estimated Time Investment
Day Project (6-9 Hours)
Finish Used
Minwax Espresso, 3 coats, sanded lightly between coats and wiped off with damp cloth. Minwax rub on polyurethane (I think it was satin). 3 coats, sanded lightly between 1st and 2nd coat.
Recommended Skill Level
Beginner

ten dollar ledges

Submitted by jenhamlin on Fri, 11/30/2012 - 21:27

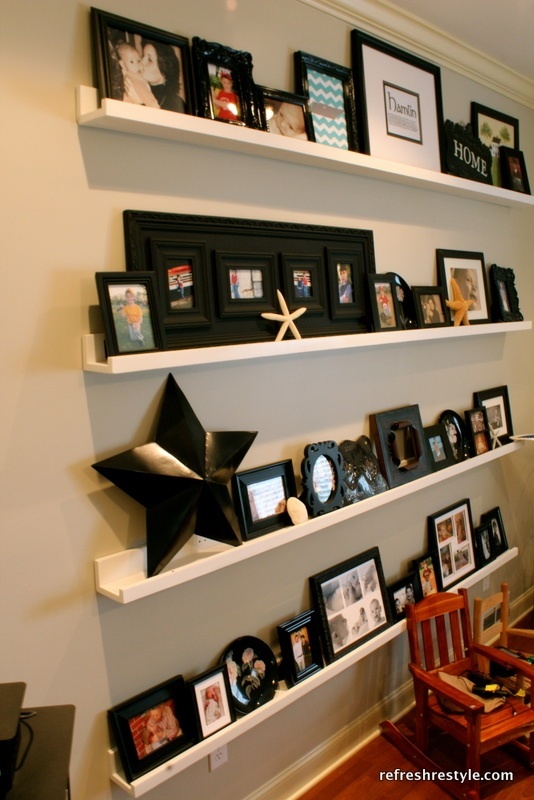
I love these ledges!!

Estimated Cost
$10
Estimated Time Investment
Day Project (6-9 Hours)
Finish Used
white paint
Recommended Skill Level
Beginner

Comments

Mofified Rectangles Day Bed

Submitted by rob10k8 on Sun, 09/14/2014 - 13:46

I was looking at getting the West Elm Rectangles Day Bed, however, the bed was a bit too tall.  The window sill of the room was 26" high and I didn't really want the bed above the sill.  I found the plans on this site and decided to modify the plans so that the top of the bed would be flush with the top of the sill.

To make the bed fit, I removed 2" from the height of the rectangles (10" cuts instead of 12") and 1/2" from each of the top and bottom joiners (1 3/4" cuts instead of 2/1/4").  Finally, the corener legs are each cut to 26" instead of 30".  The makes the be 7" off the floor instead of 8".  Overall, I'm really happy with how it turned out.


A couple of things I learned:

1.  I used clear pine for the wood.  It was very smooth to begin with, so I didn't need to sand it.  I primed all the wood prior to cutting.

2.  The pine was not all exactly the same size.  This means that I could only have one side completely flush and needed to decide if it was the inside of the outside of the bed (I choose the inside).  I sanded the outside a bit, but all the pieces still weren't completely flush, but I didn't care since it would be facing the wall.  You may be able to get better results with more expensive wood.

3.  Get a Kreg jig.  I bought the pocket unit for ~$20.  It was very useful for creating joints.  Make sure to do a test joint as I initially set the depth incorrectly and drilled too deep (luckily I DID do a test piece)

4.  I did not buy the Kreg plugs.  Instead, I just used wood filler.  For each hole, I covered with wood filler, let dry and sanded.  I then put on a second coat and sanded again using 300 grit sandpaper.  You can not tell there are any joint holes, and am very pleased with how the joints look.

5.  I did not use the Kreg Jig on the 1/3/4" top/bottom rectangle joiners, I just used 3" wood screws and screwed throught the top/bottom in from the top/bottom.  I used a Big Gator Drill Guide to drill a pilot hole that was perfectly perpendicular (as I don't have a drill press) prior to screwing the pieces together.  Filling the holes with wood filler and sanding (twice) worked well.

6.  Sanding!! I sanded a lot to get the paint to be very smooth.  It was a bit of a pain as I did it all by hand.  I think a belt sander might have made some of the sanding go a bit quicker, but the rectangles day bed has so many inside areas to sand, you're going to have to do some by hand.

7.  I used a primer on all surfaces and sanded the primer smooth prior to the final coat(s).  For painting the final coats, I used a foam brush as the paint was pretty thin and I did not want to see any brush marks.  I considered spray painting the final coat, but it was just easier to do by hand.
Built from Plan(s)
Estimated Cost
$250 (including Kreg Jig and Big Gator drill guide)
Estimated Time Investment
Week Long Project (20 Hours or More)
Finish Used
Benjamin Moore Advance Waterborne Interior/Exterior Alkyd (high gloss white)
Recommended Skill Level
Intermediate