Farmhouse Bed with storage drawers
I had a great time building this project. Thanks For the idea and plans. I added floating shelves to the room.
I had a great time building this project. Thanks For the idea and plans. I added floating shelves to the room.
Hi friends!
Jen Woodhouse here from The House of Wood.
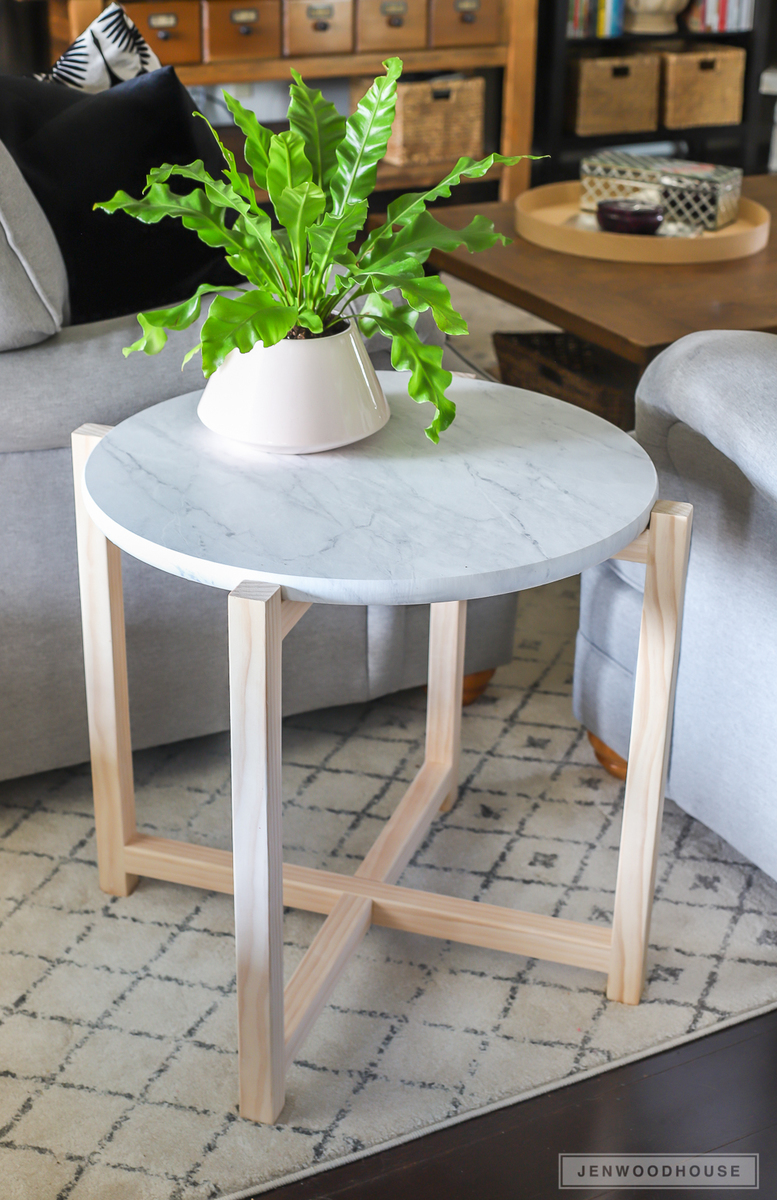
Take a good look at this round marble side table. Would you guess that isn’t real marble? It’s contact paper! Yep. It’s true. We’ve been wanting to put a table here between our sofas for months now, so I’m thrilled to have this project finally crossed off the list. This sleek side table cost about $50 to make!
I built this table in about 3 hours – the super simple yet sleek, modern design is beginner-friendly so if you’re wanting to tackle your first project, this is a great one for you.
Be sure to tag me @jenwoodhouse if you share photos of your build on social media. I'd love to see it!
You can get all the details for this build on my website jenwoodhouse.com.
Tue, 10/03/2023 - 14:40
Thank you so much for your help, I am learning a lot at least. I for one have learned a lot from this.
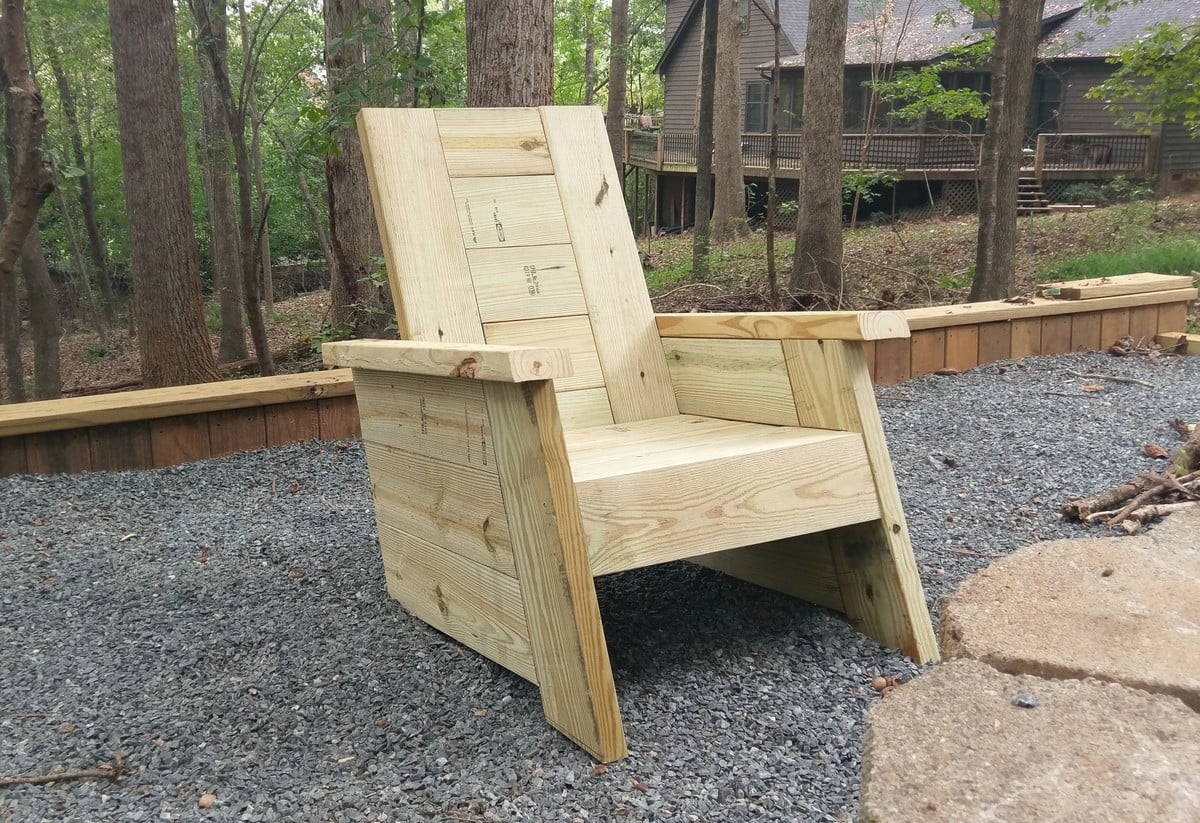
Here is one of the new chairs I'm building for our new fire pit. They are made out of four pressure treated 2x6s (and one 2x4), and have a comfortable 18" seat depth, 19" seat width, and 110 degree angle for the backrest.
More information, and a link to our plans are located on our blog, FamousArtisan.com
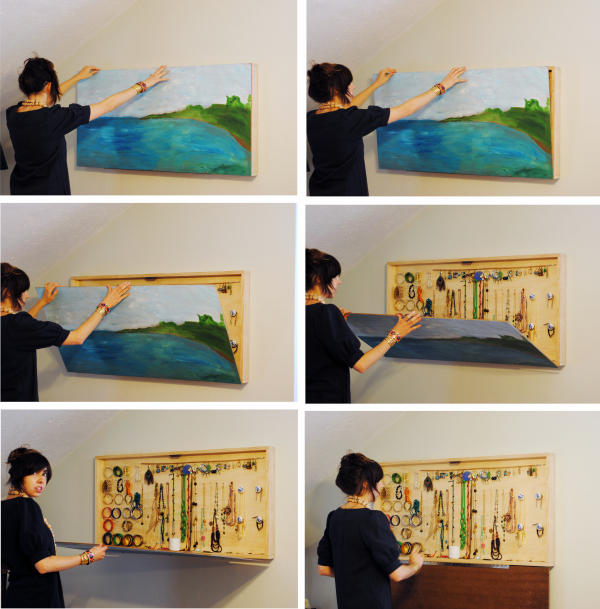
The idea for this project (and the final image that you see) came from the Whiskey Drink Studio ! Cheers to them for the original design.
So, this is a really fun project that has to solve the following problems:
Great, lets start with the:

The sizes are entirely up to you, but if you're going to be using a canvas as a cover, you should first pick the size of your artwork and then scale everything else to size.
They go as follow:
1 x A3 Canvas Painting (420mm x 100mm)
1 x Same size hardboard cover (420mm x 100mm)
2 x Wooden Boards (420mm x 100mm x 50mm)
2 x Wooden Boards (287mm x 100mm x 50mm)
1 x Bundle of nails
1 x Bundle of screws
1 x Bundle of screw hooks
1 x Magnetic catch set
3 x Standard cabinet hinges or 1 x Piano Hinge
This a very very beginner level build, so we're using the easiest techniques possible. Advanced users, who want to make the strongest box possible, can use alternative materials and methods.
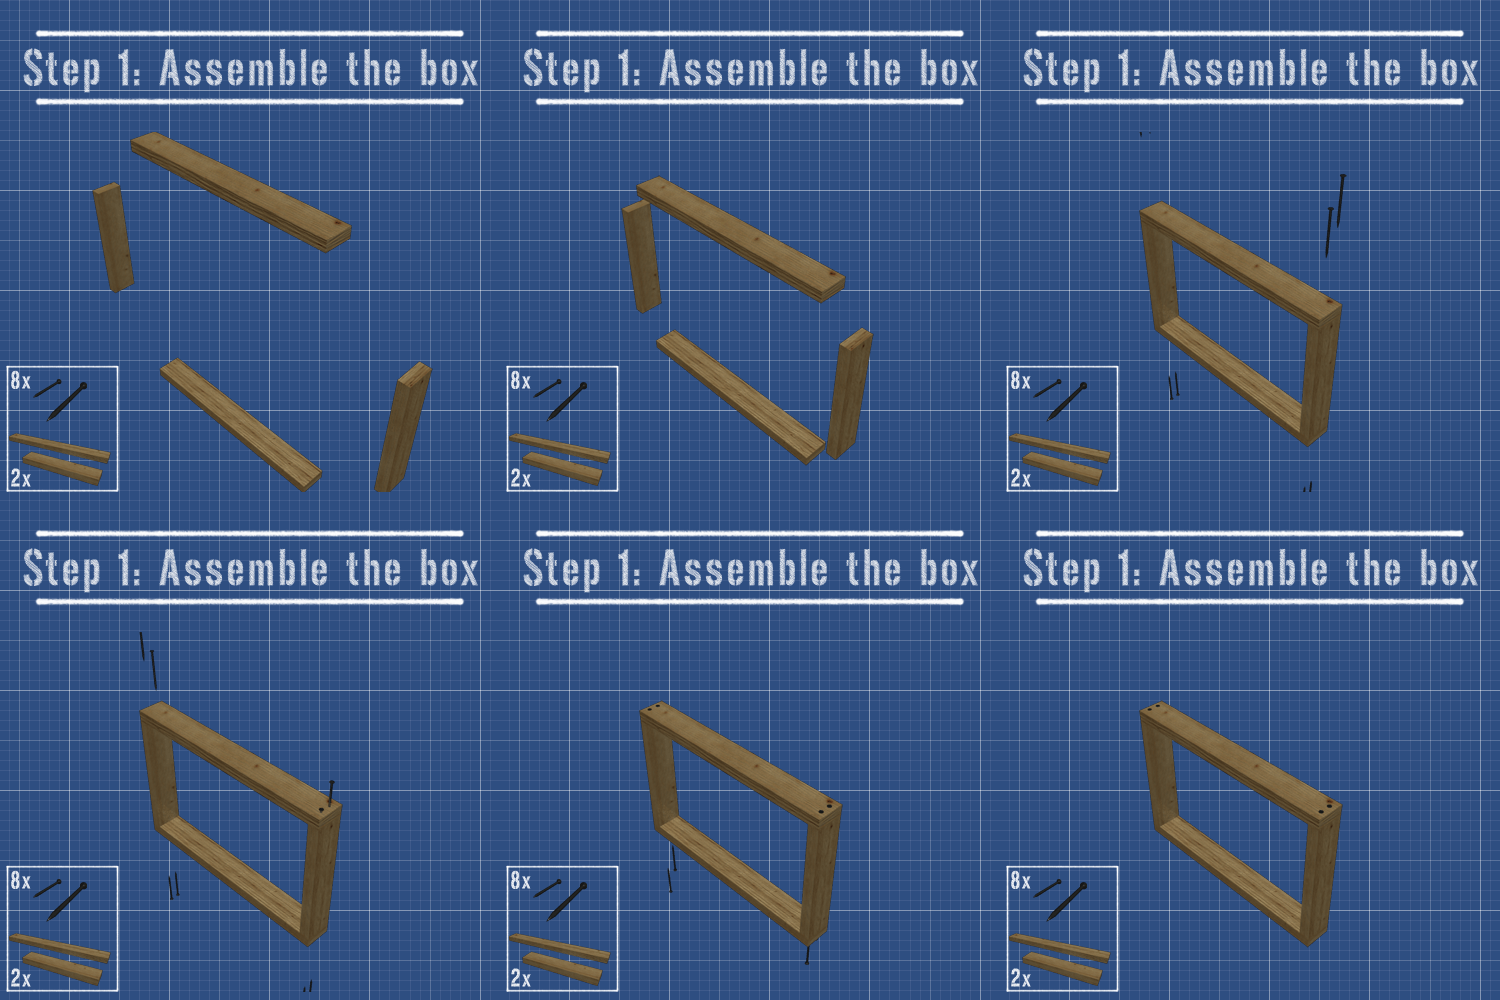
So, very straightforward, just start building the box, starting from the frame. In the GIF above you see how we put the shorter boards in between the longer ones and just nailed them together.
If you want this to be extra strong, you can use corner braces on the inside.
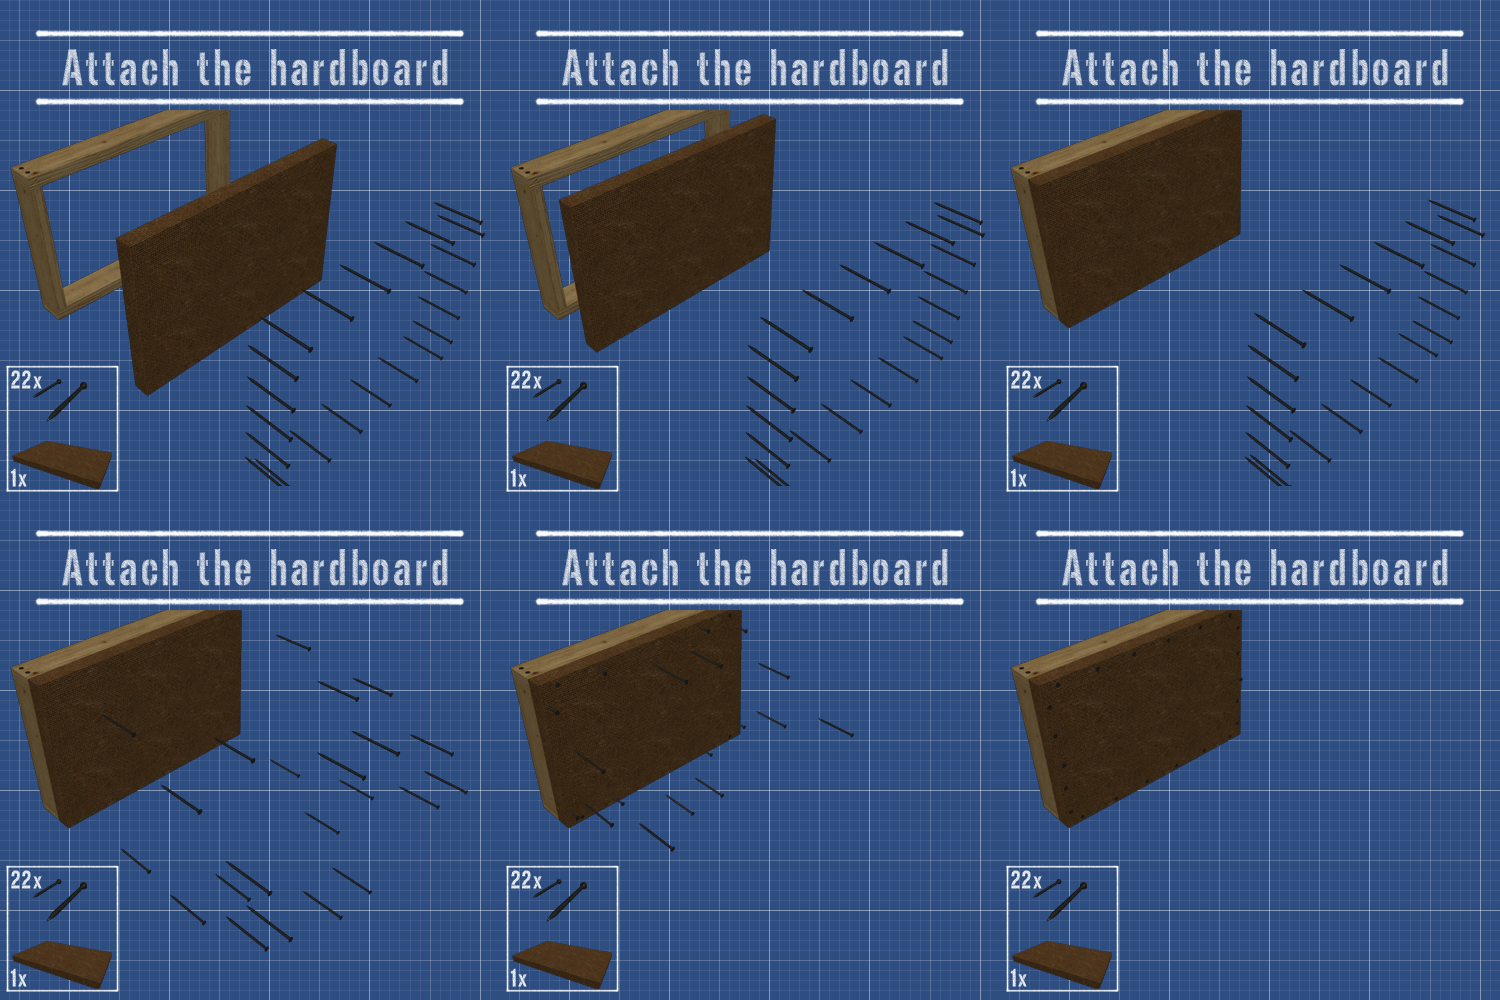
After the frame is ready, flip it on it's face and nail in the hardboard. The hardboard should be thick enough so it holds the screw hooks and your jewellery. It should also be pretty sturdy and well attached to the frame so use plenty of nails (well, don't go overboard).

Take your canvas (or whatever other cover you picked) and mark equidistant locations on the lower back side. Take your measurements and mark the same locations on the bottom of the frame. Put the two together and see if they match.
Now screw the hinges in the cover and then, into the frame.
At this point the door should open and close, lining up perfectly.

The next step is to think about the internal layout. Using a pencil plan and divide your space to represent your needs for storage. Then simply screw the hooks in.

The last part is attaching the magnet catches. They will hold the cover tighly close, with no accidental falls and issues. This can be substituted for a hydraulic arm, but we chose the simplest options.
Special thanks to Rachel at Whiskey Drink Studio for the inspiration !
Check out the full tutorial over at my blog - DIY Wall Mounted Jewellery Organiser
Thu, 10/22/2015 - 05:05
I love your animations! Really cute project you've done there! Cheers
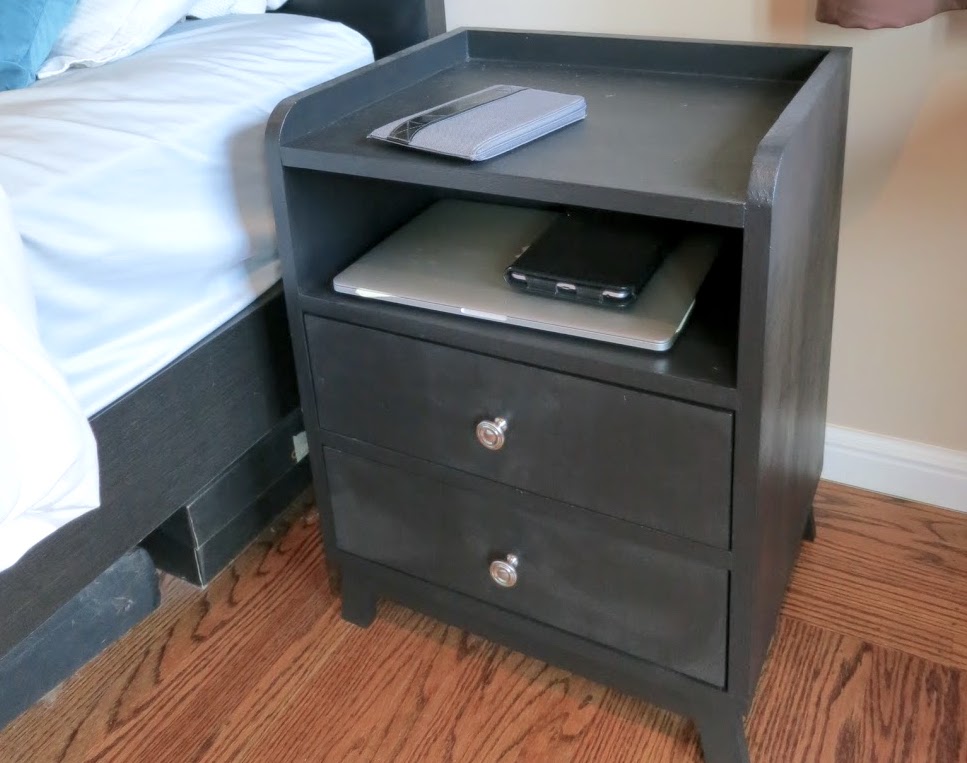
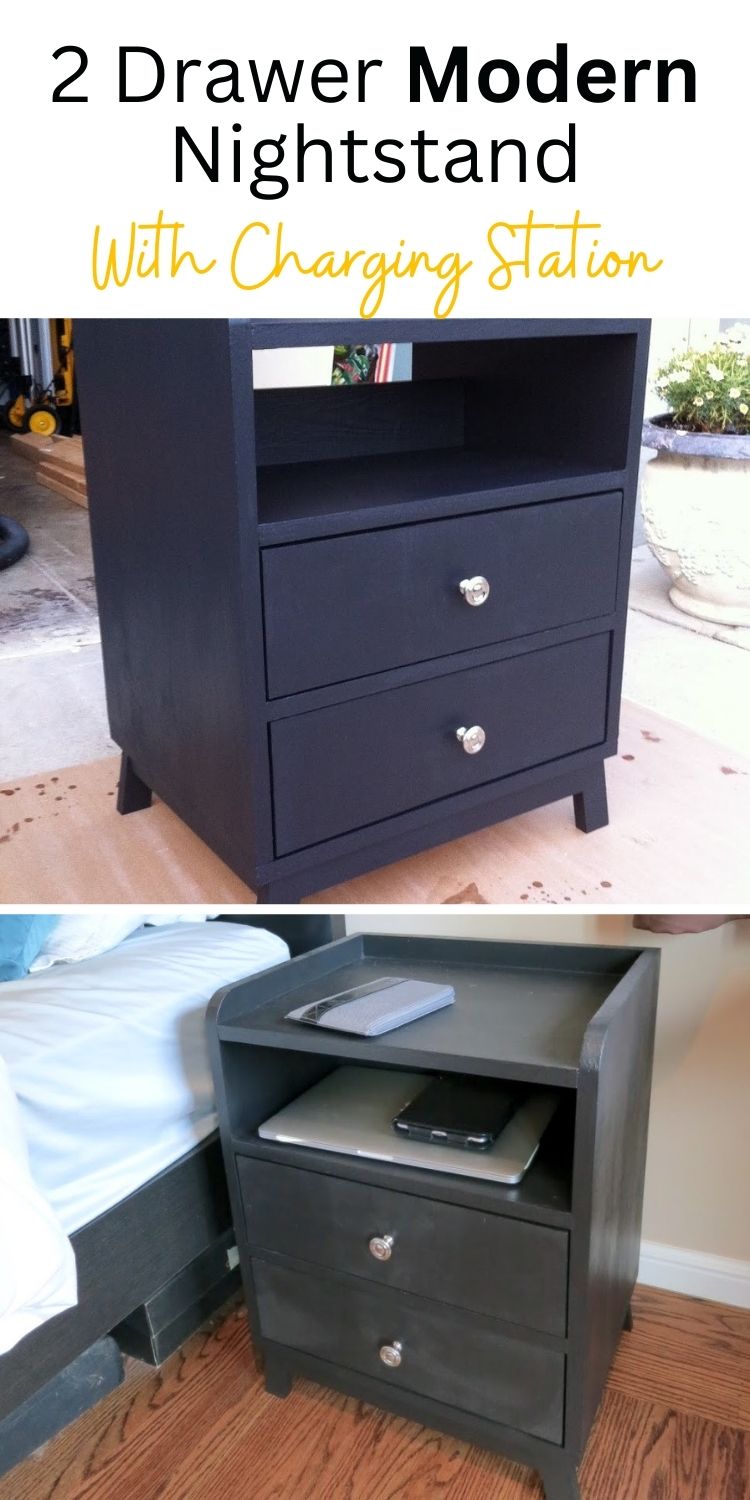
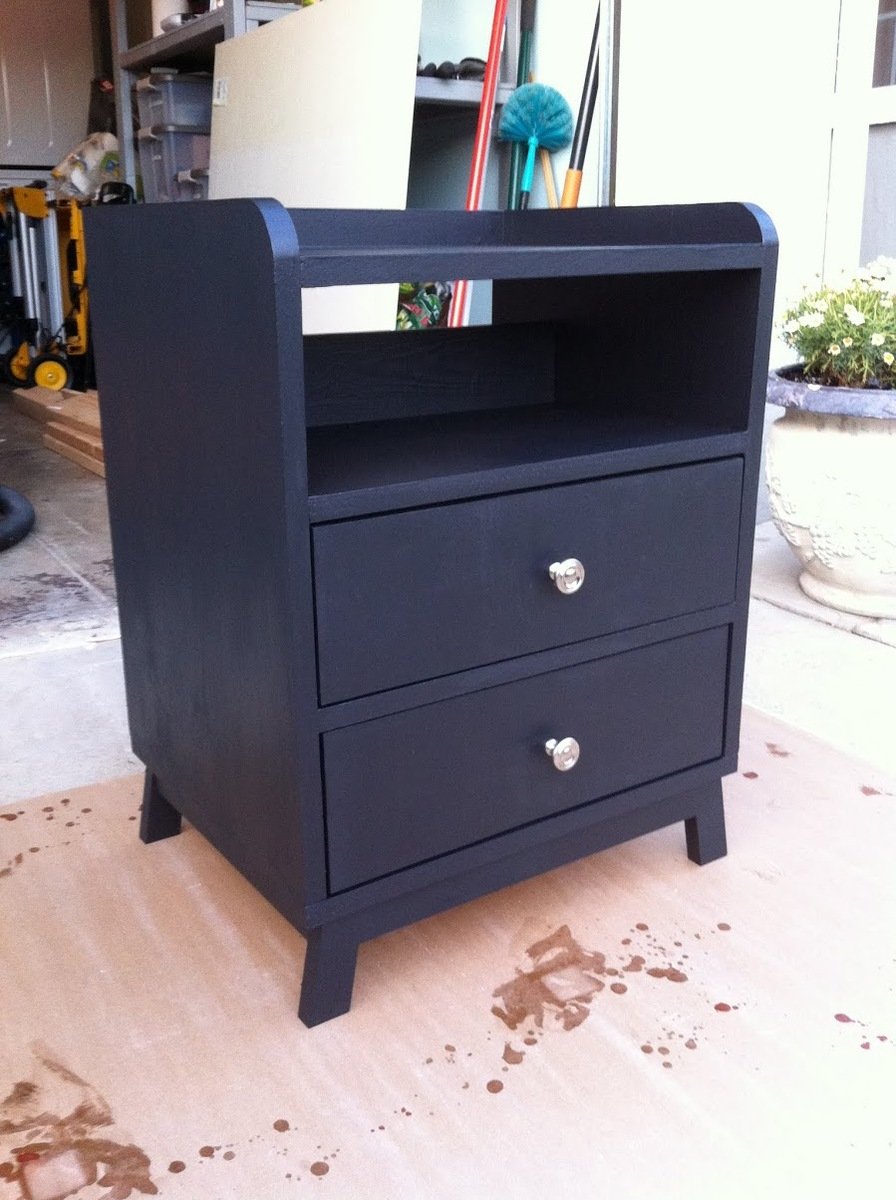
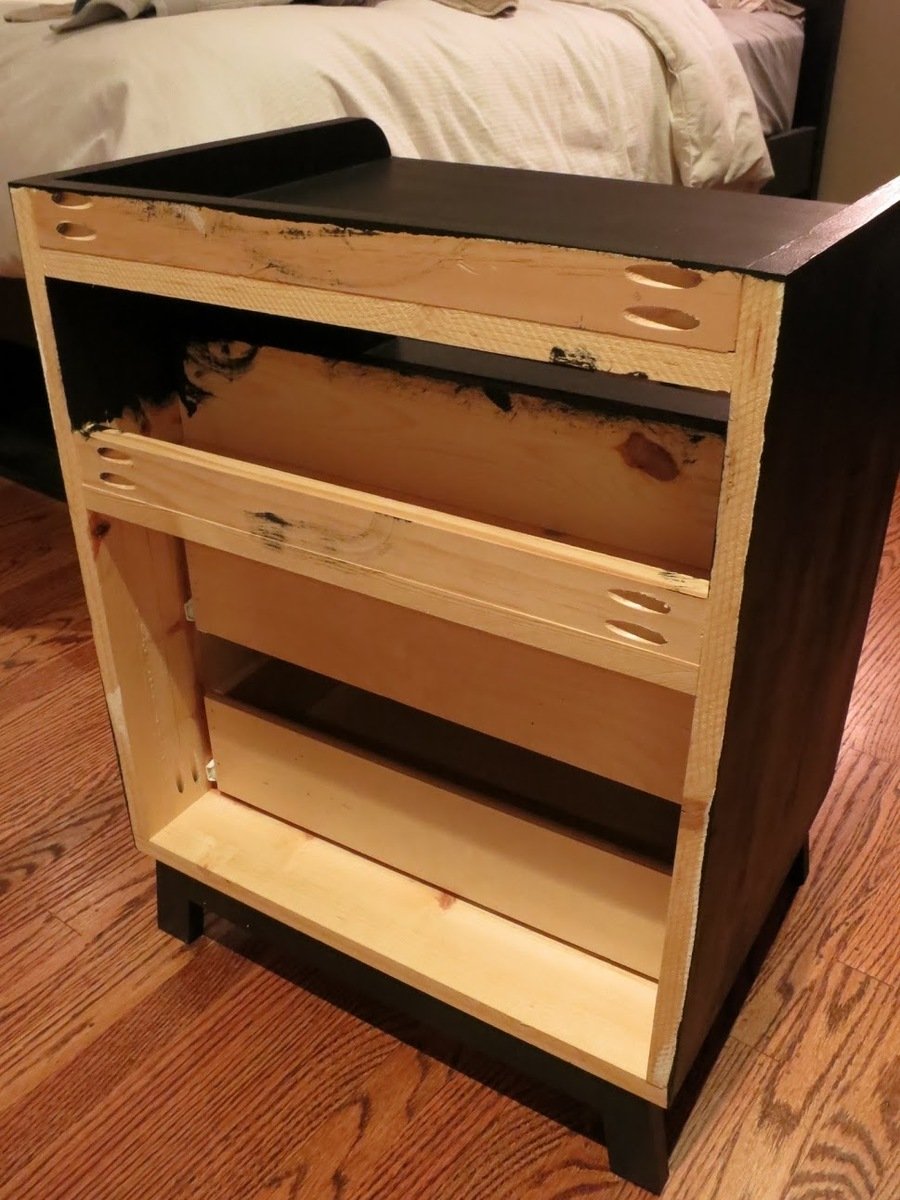
I really liked the look of the 2 Drawer Modern Nightstand but I wanted to add a twist to it. Since I can't live without my devices (laptop and phone), I decided to add an open slot to the middle shelf of the nightstand for power cables. It also has a space that I added in the back that can hold a power strip. Embarrassed that I did not paint the back of the nightstand but I was really done at that point after a long weekend's worth of work!
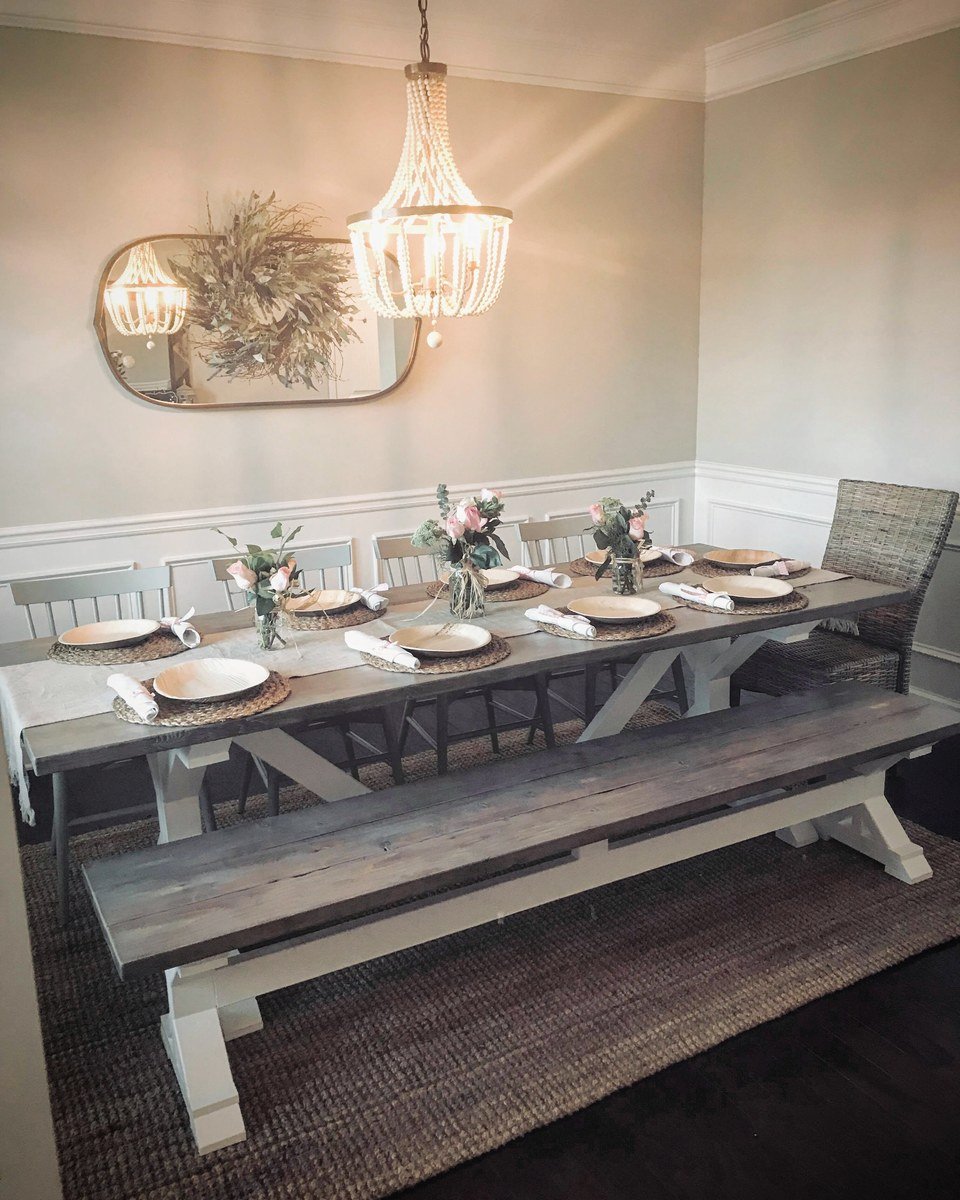
Love this table!
Sat, 01/05/2019 - 14:27
WOW! This is gorgeous! What a beautiful setting! Thank you for building and sharing!
I've been building Ana White American Girl doll furniture for my two daughters for the last three years, culminating with my biggest build of all - a modified version of Ana's dollhouse.
My wife kept telling me it would end up being huge, and she was right. The great news is that it doubles as storage when the girls aren't playing! 2 Bedrooms, kitchen, living room, bathroom, and upstairs bonus room for dance and gymnastics. 78" tall x 76" wide, mounted to the wall studs for safety. Lots of joy in our home on Christmas day. Thanks Ana!
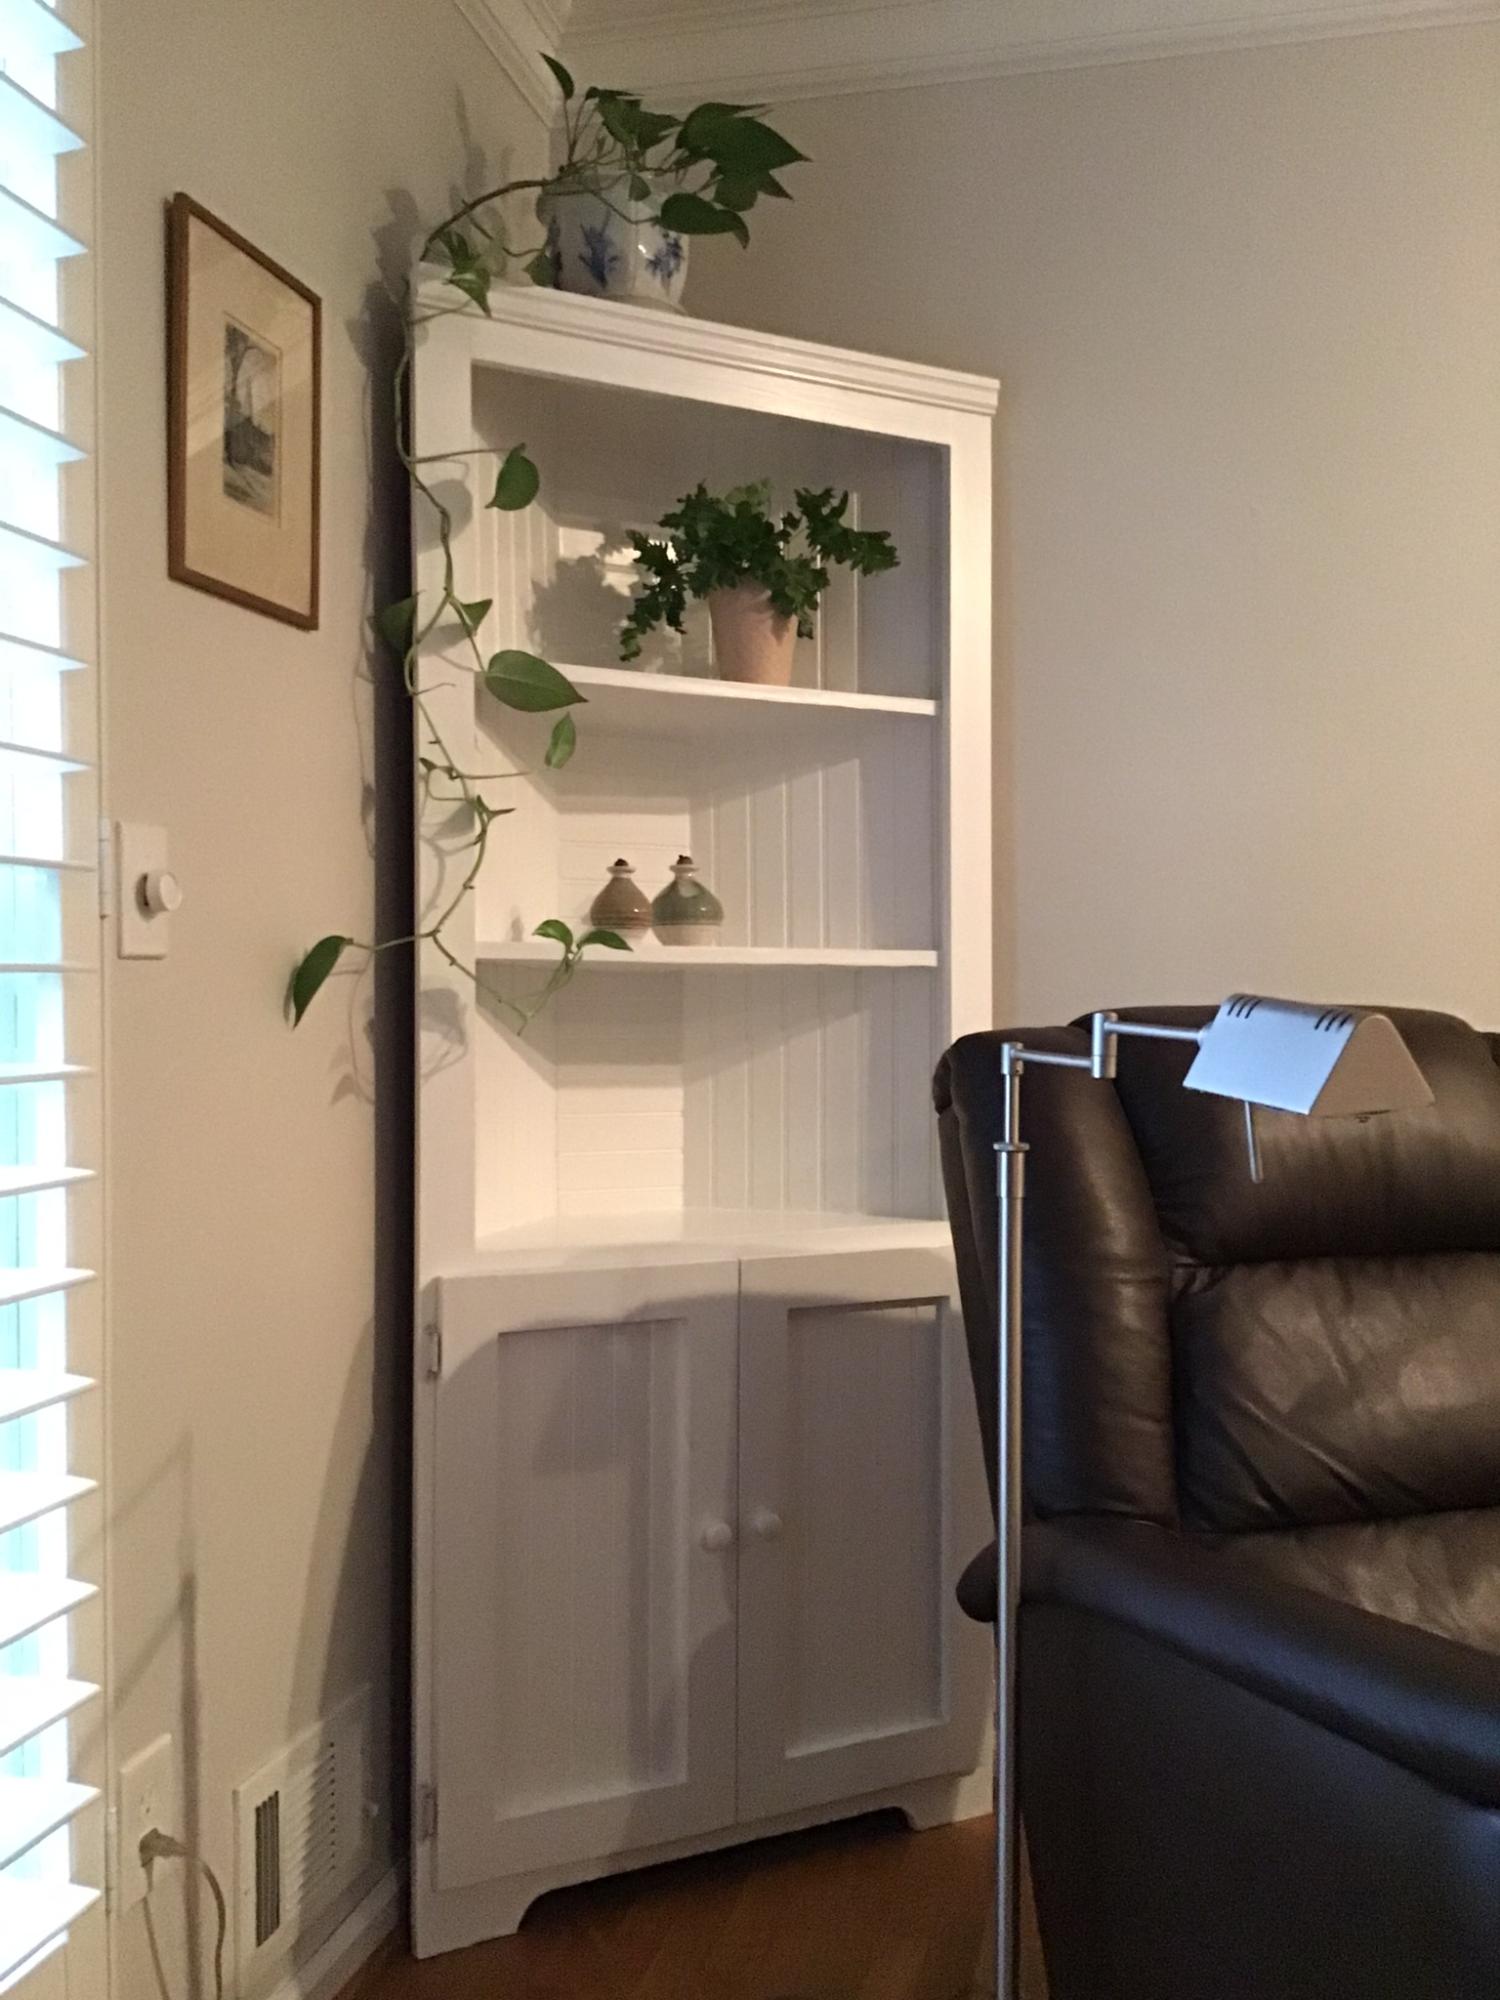
Finally I have made a project that is nice enough for our living room. Now I am so i spired to build more!
Sat, 11/26/2022 - 14:48
Beautiful job on your corner cabinet, thank you so much for sharing!
My best friend (and upstairs apartment neighbor) was looking for a "grown up" bed for her apartment. When she saw the Swedish Bed, she fell in love. We built the frame out of 1×10′s and the “guts” were reclaimed wood from my Dad’s barn (to cut down on costs). She painted it a flat black using mistint paint pints from McCoy’s that were $1 each. The pipe legs were from Lowe’s in the plumbing section, and they’re threaded for easy installation. You just thread them into a little square base that you can screw straight into the wood, and pop on a threaded endcap so it doesn't scratch your floor or rip your carpet. Her first choice of 10" proved to be much too tall after she plopped on her enormously tall pillow-top mattress. So we exchanged them for the 6" version for a much more balanced look. She loves it!
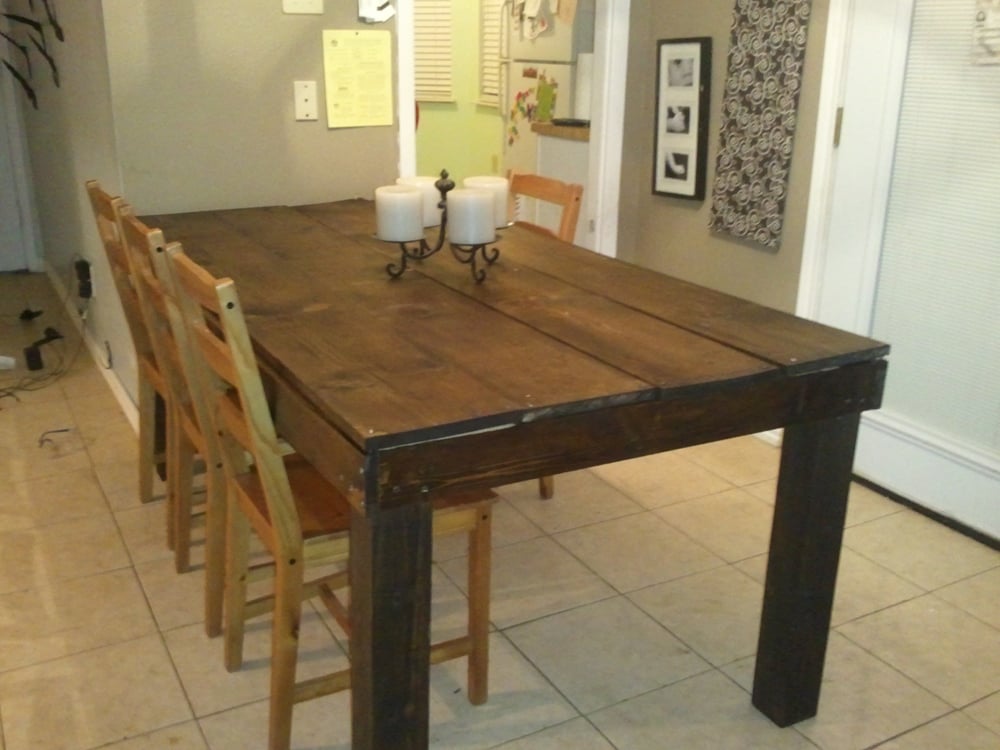
LOVED doing this! I am a total beginner so it is not truly perfect but that is what we love about it! My five year old helped me and learned how to work an electric screwdriver. We saw Pottery Barn was broadcasting a table like this and using that the screws showed as a marketing piece - so we have some screws showing and it is soooo warm and inviting. It looks 100 years old. Everyone loves it!! Thank you for the great inspiration. We made ours 6 feet long and 3 feet wide to fit our space and 4x4's for the legs.
Thu, 11/24/2011 - 20:26
Can I have the step by step plan too! Pretty please! I love this table :)
Thank you so much
-erin
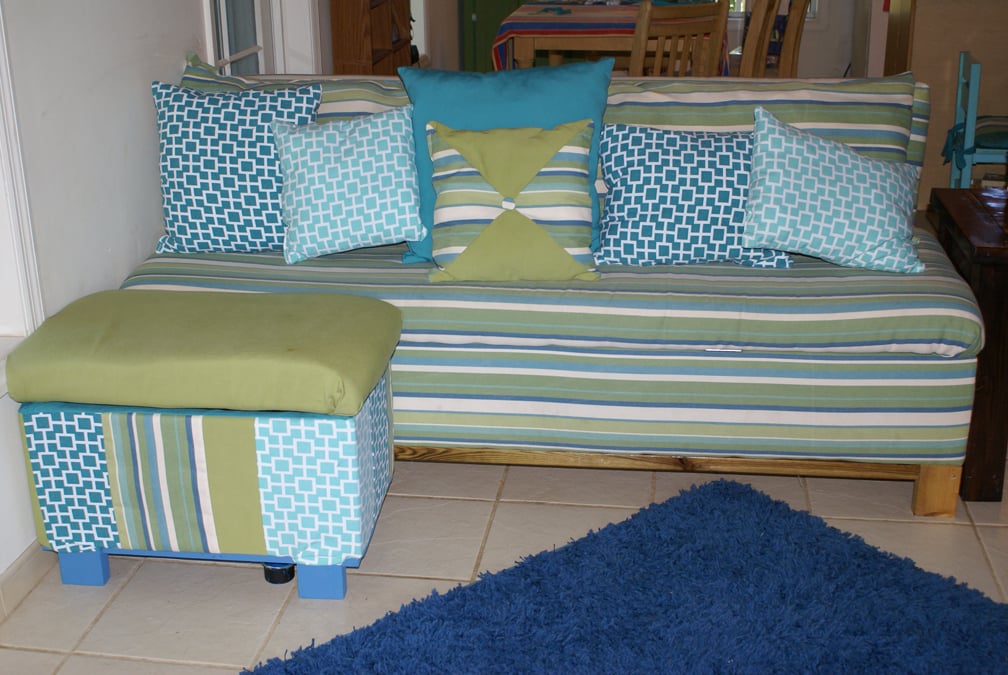
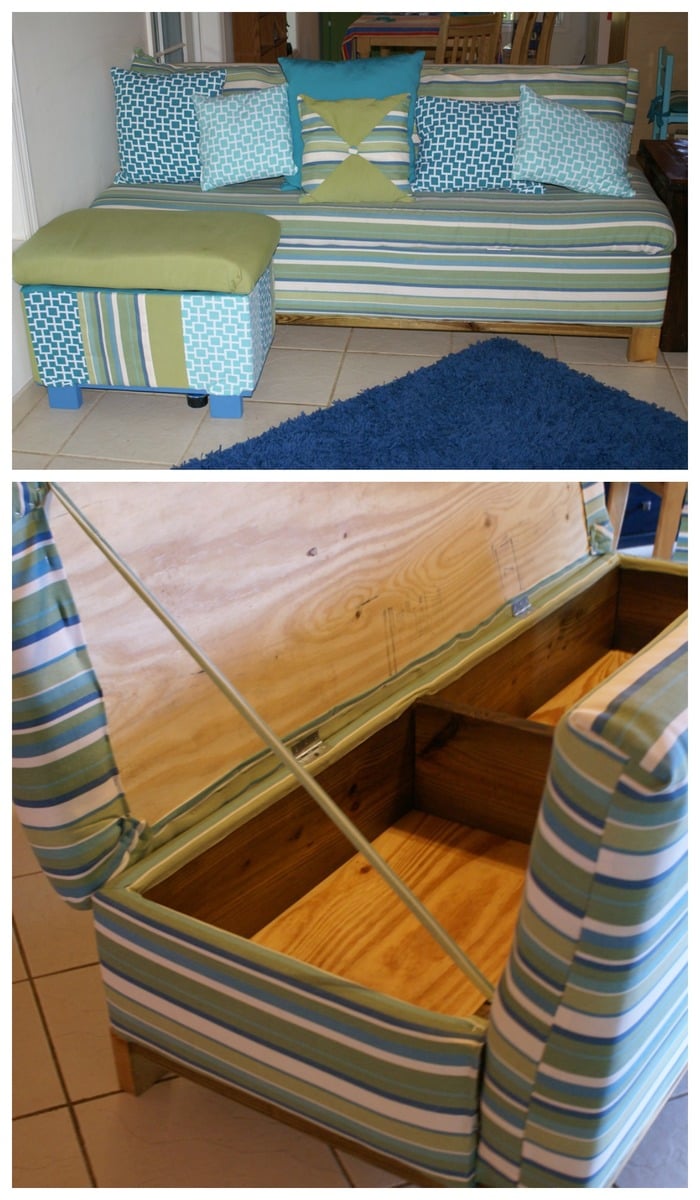
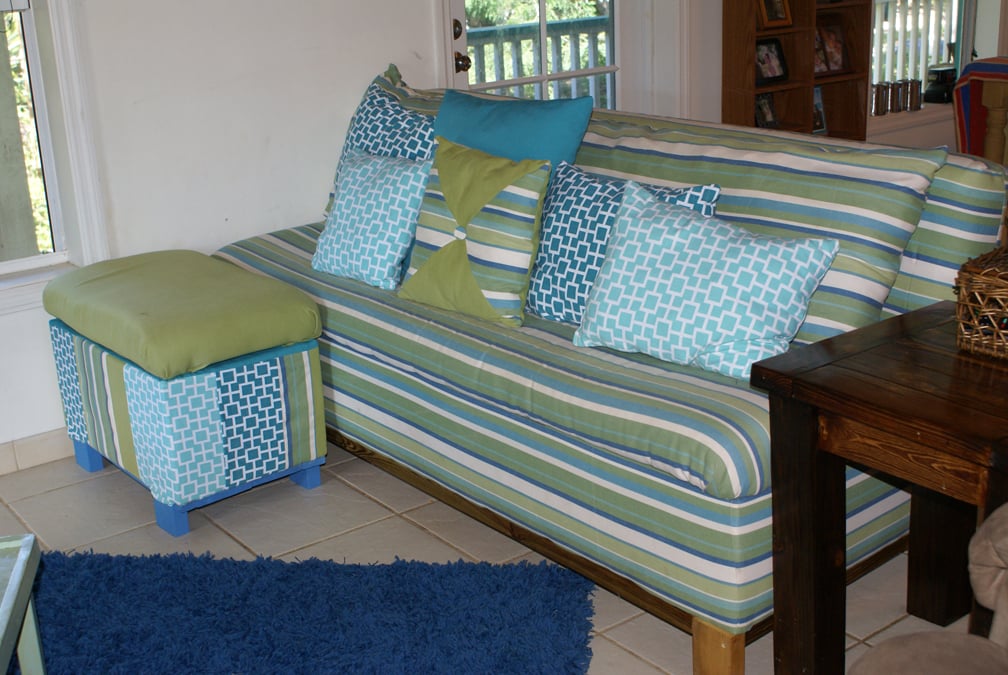
I love my new sofa! It is ten times more comfy than our old one. We live on an island and it was definitely cheaper to build my own sofa than to ship one in and pay duty on it. Thank you Ana for making this possible! Never thought I'd be building my own sofa, but we are so thankful for it. We even threw together our own little ottoman/toy box to go along with it from scraps...added bonus!
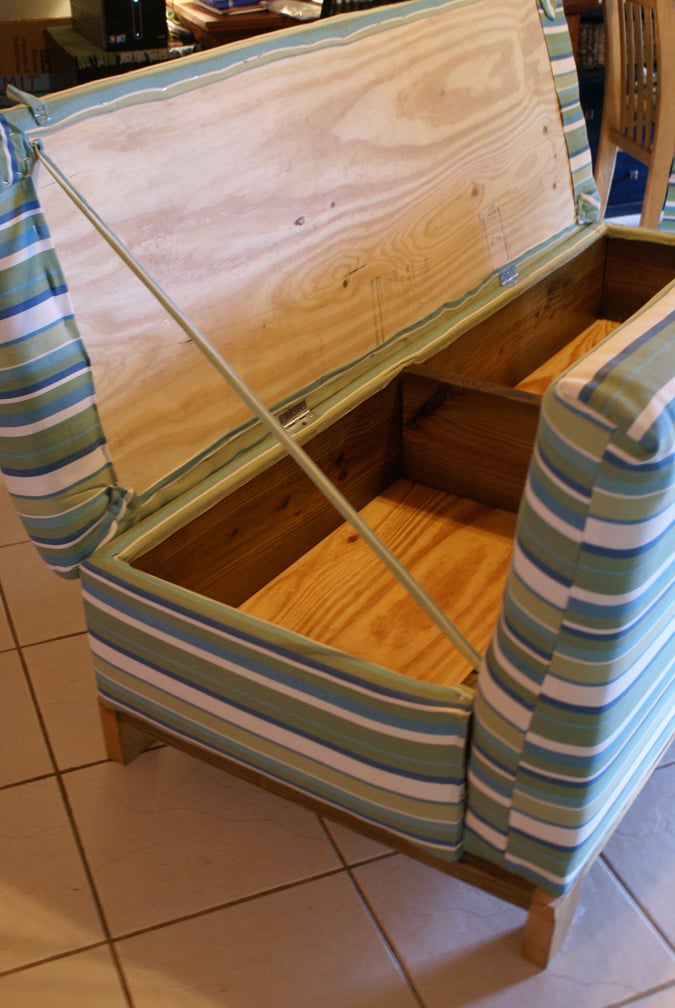
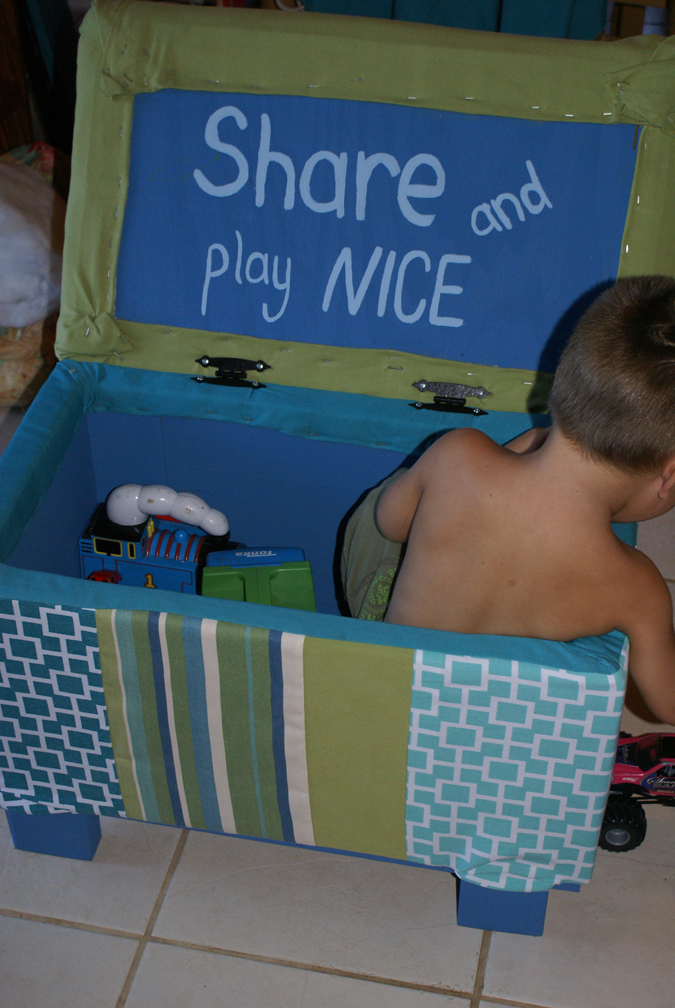
Sat, 07/21/2012 - 09:56
this is so amazing! We go through so many sofas, mainly because we buy used, and you never know if they are going to last. This one looks really sturdy, and it could be recovered if the fabric got old, or you just wanted to update. Definitely considering this before we buy another one. And the storage hidden inside makes it even more desirable!! Love the fabric you chose as well.

"I don’t consider ourselves experts at all and your plan was so easy to follow. We can’t wait to introduce our chicks when they’re old enough to transfer outside."

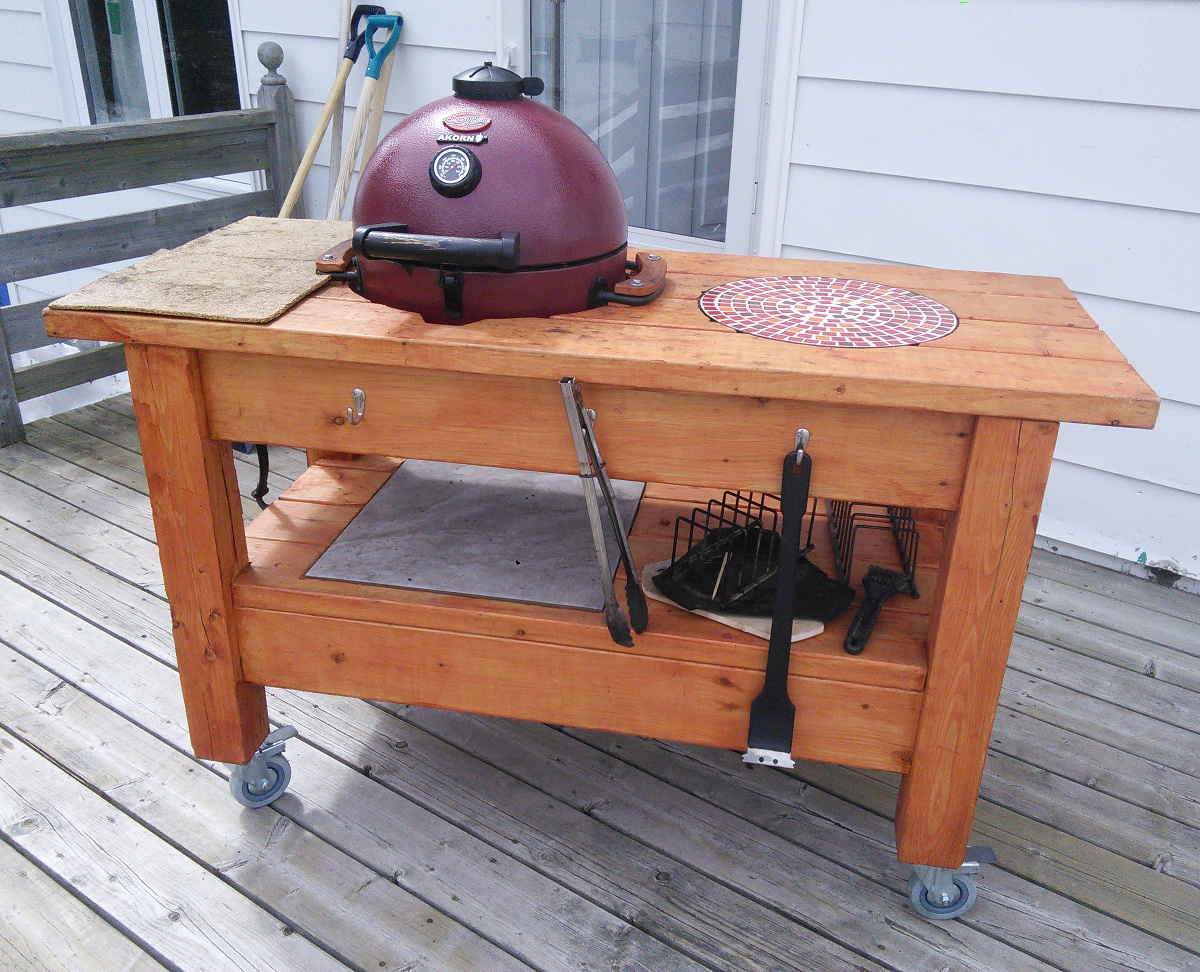
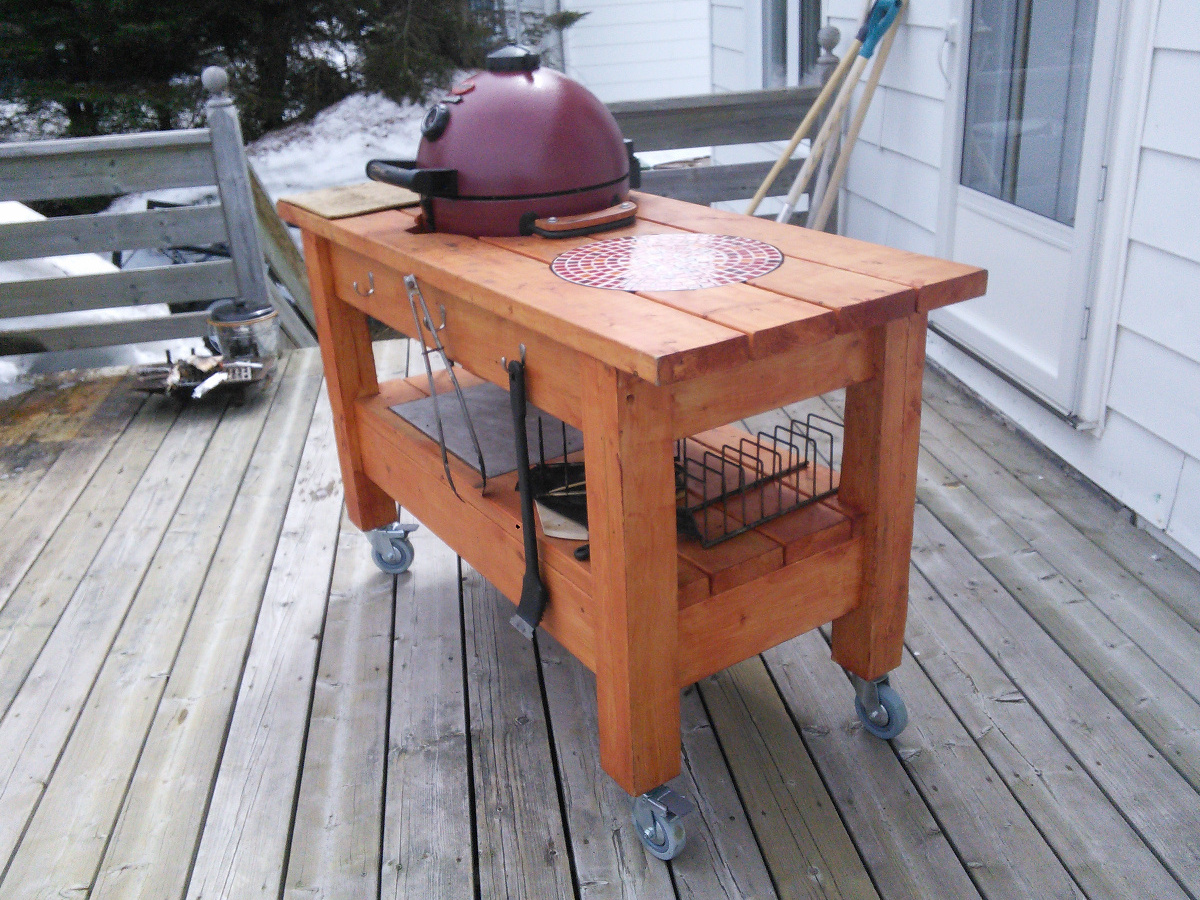
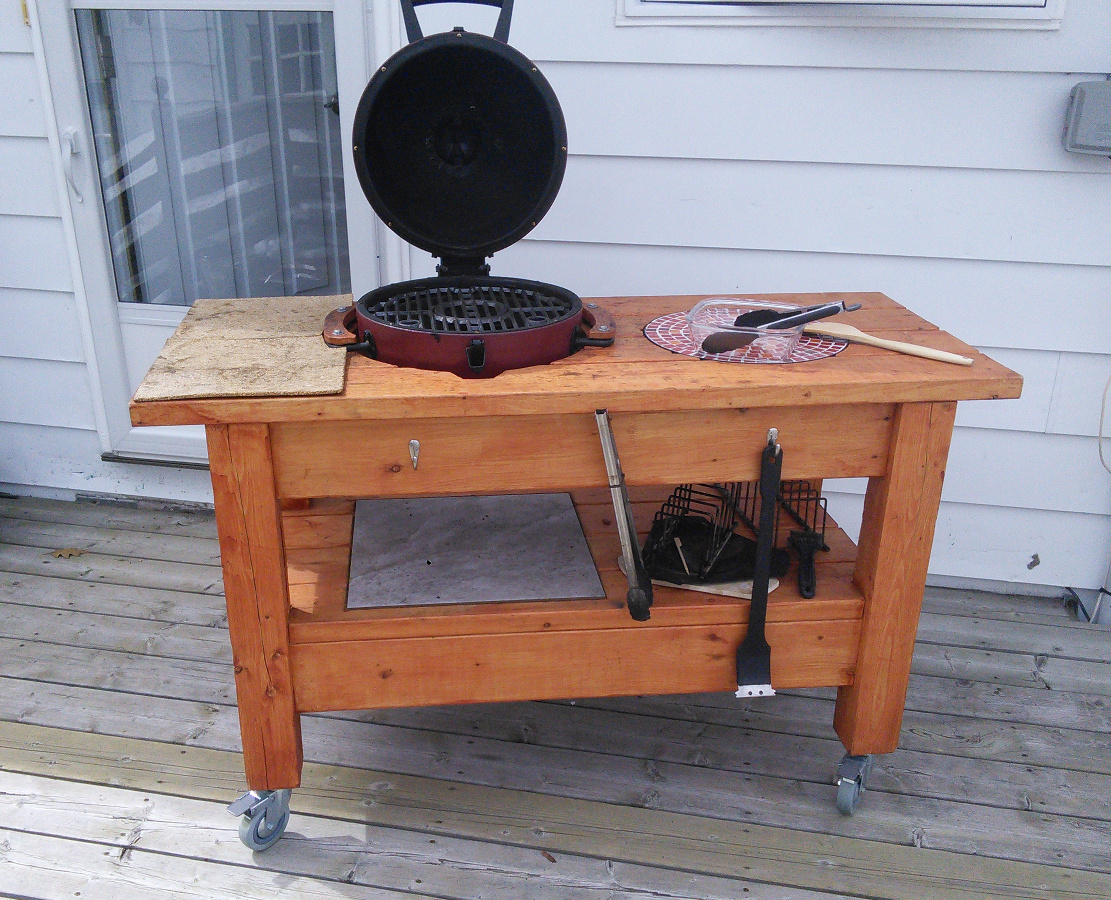
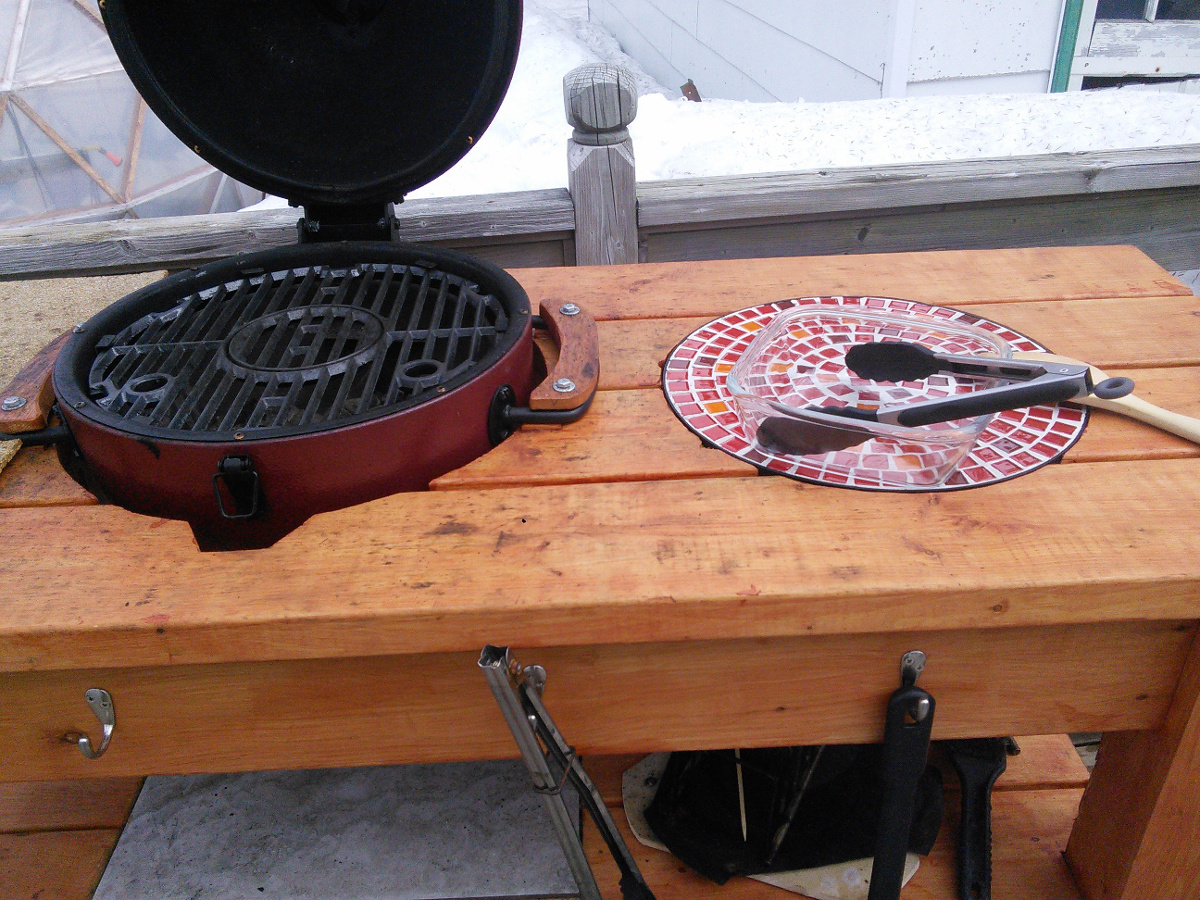
The table assembly was Inspired by farm table and workbench plans. It was built from construction grade untreated 4x4 and 2x6 and assembled using Kreg pocket screws and glue. Finish is semi-transparent wood stain. Rather heavy, the table have locking wheels to help move it. The lower shelf is used to store accessories.
The small kamado is just the right size for two people. I added a large ceramic tile under the firebox plus a small inlay next to the grill. That was the top of a small patio table. A few hooks were added as a final touch.
We built it last year; it gets a lot of use as a grill, smoker, bread and pizza oven.
We are very satisfied with the outcome. Many thanks for the plans and inspiration.
Mon, 08/02/2021 - 23:34
Your grill is very beautiful, but I prefer cooking in the kitchen, I will explain why, I recently read a lot of Kitchenotic.com here, what connects me and the kitchen most of all is the answers to my any questions, no matter how stupid they are and the answers were always correct
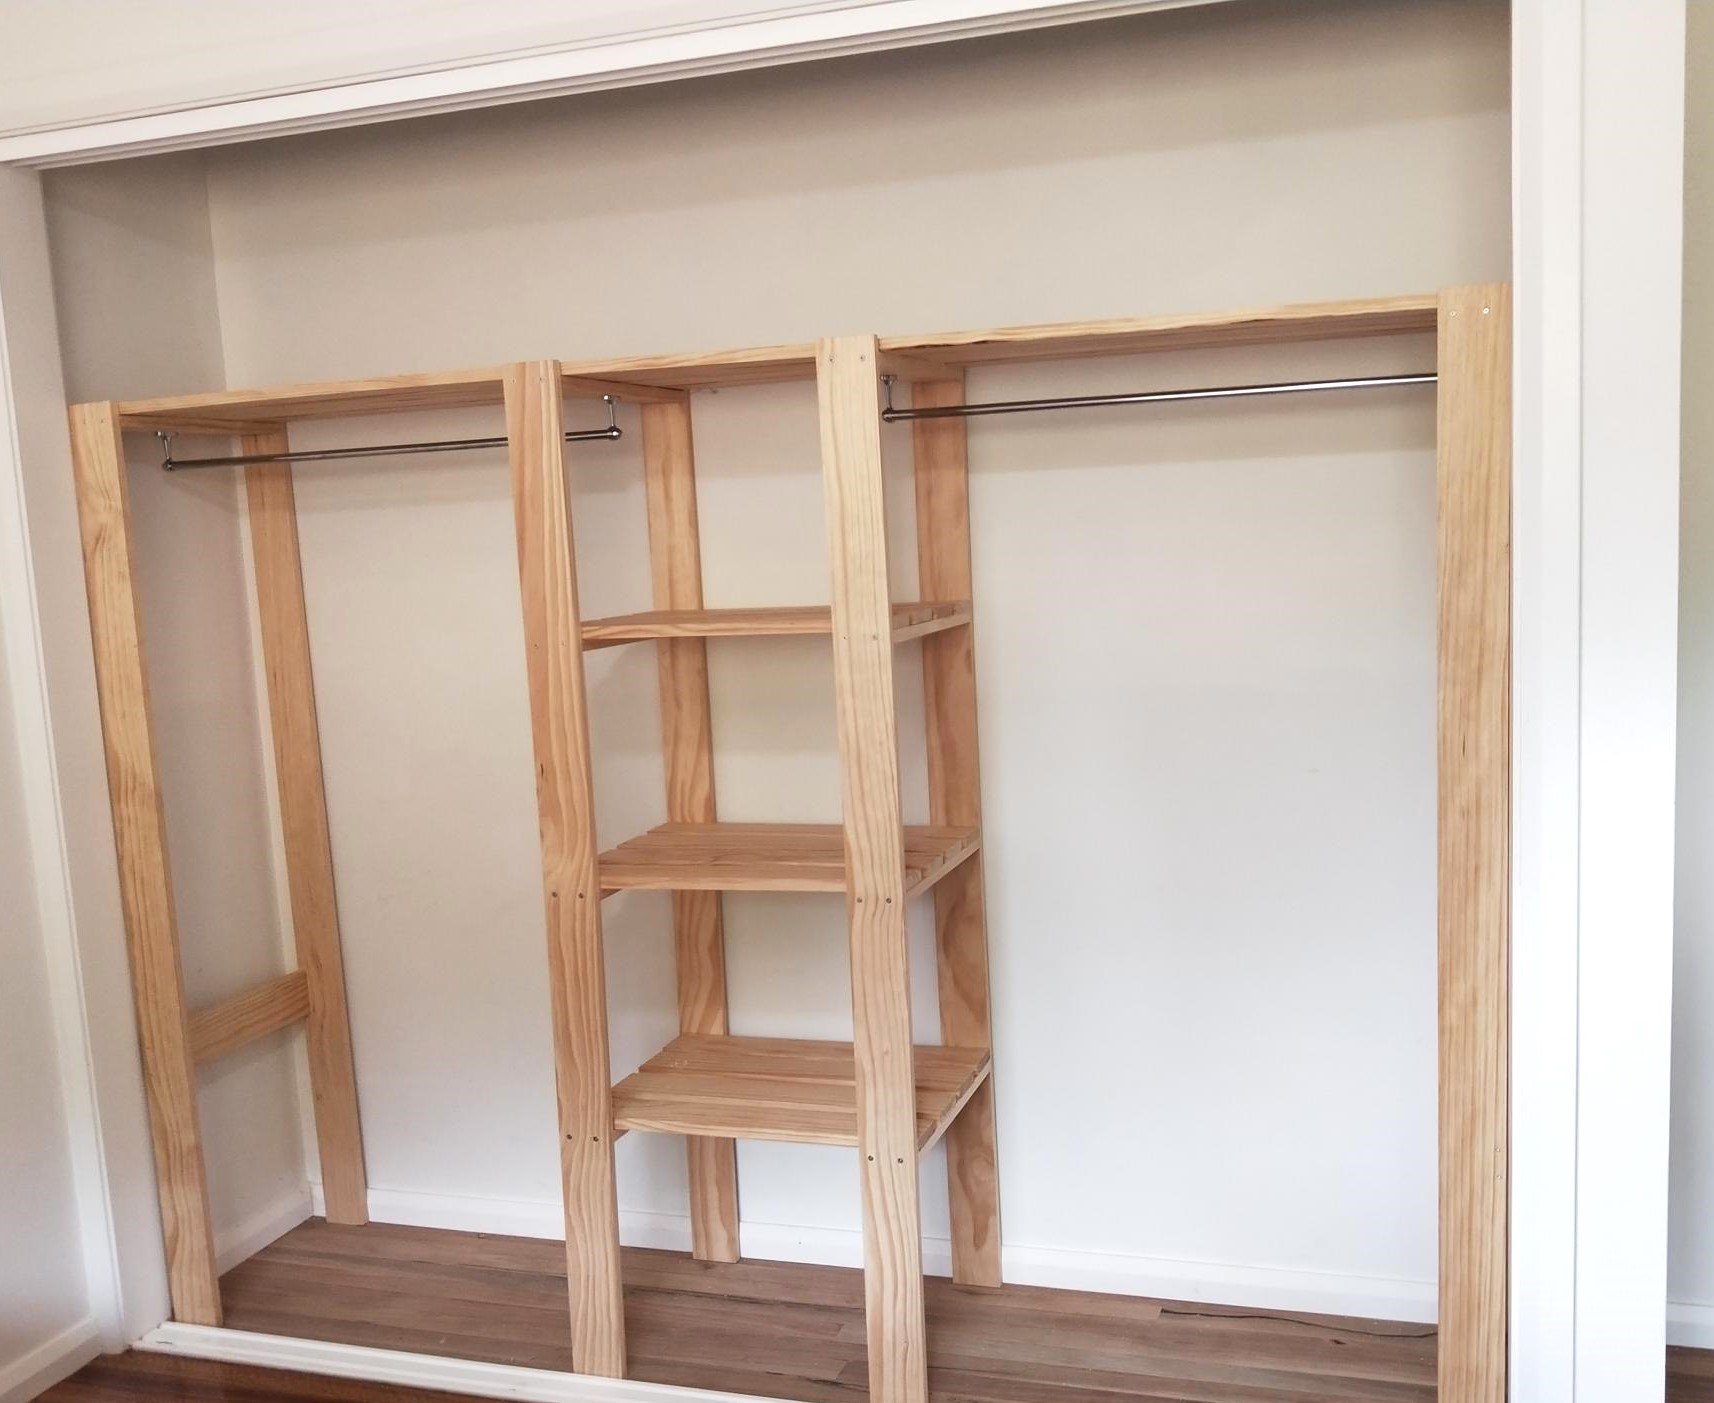
Ana's wood shelving plans are easily adaptable for whatever requirements you may have.
Apart from some of the cutting done on a table saw I was able to do this project on my own and assemble.
I'm a beginner and managed it OK. It's not perfect but my husband was over the moon to finally have hanging space and shelving in our new house.
Would look great painted or stained.
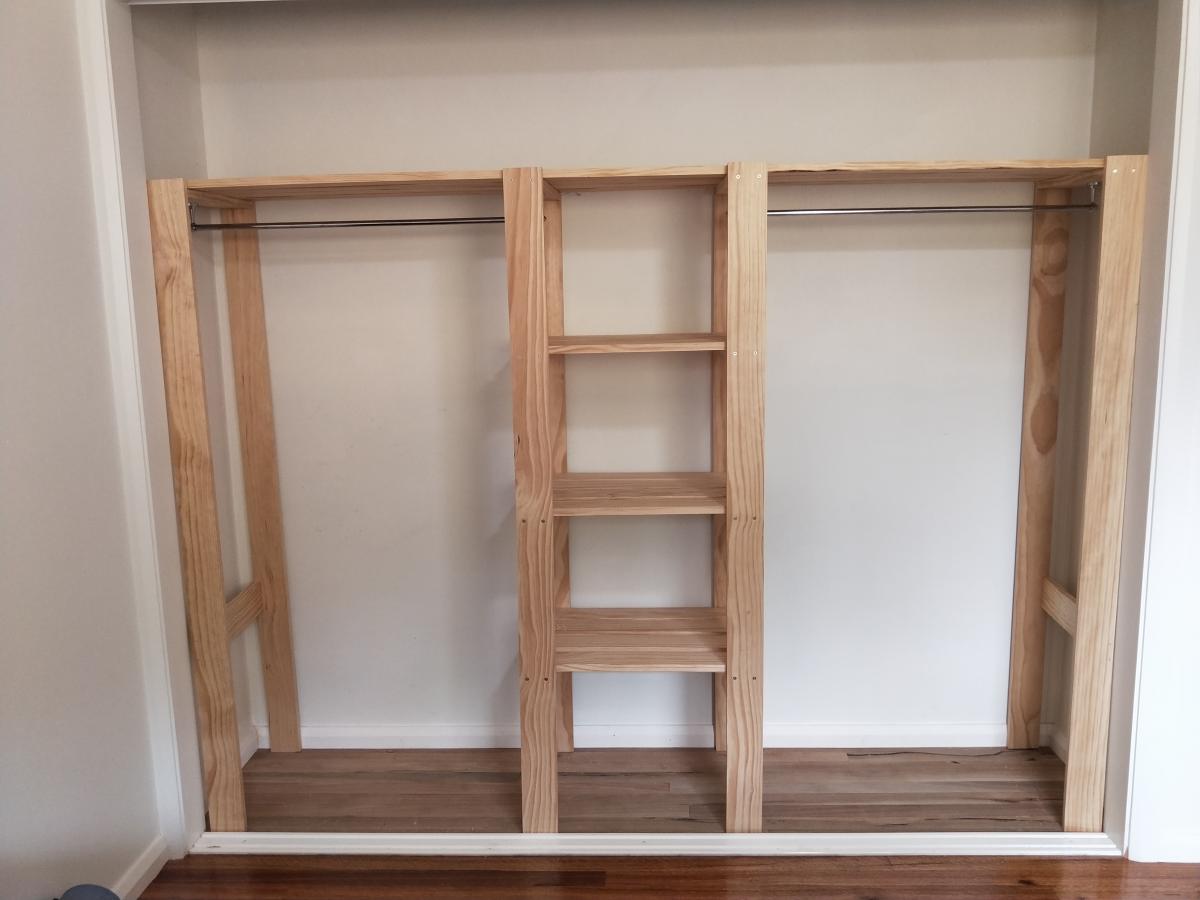
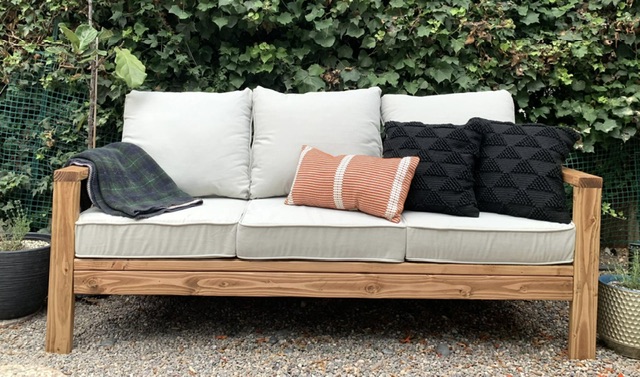
This was my first ever piece of furniture that I made and it was so much fun! I’ve got the furniture making bug now!
Melissa Pilcher
Wed, 08/02/2023 - 10:42
Thank you for sharing, so happy you went for it! Can't wait to see what you build next.

The wife has a hard time bending down so she wanted pedestals for the washer and dryer. The metal ones with a drawer were too tall. I showed her Sausha's and she really loved that design. I basically used the same construction plans idea from Sausha's project and some tips from Ryan's brag post. But, I wanted to beef it up some. I didn't like the L-bracket to attach the top and 4X4 legs. It didn't seem sturdy enough for me. I used my table saw to square the edges on the 4X4 posts and the 2X6 rails. Then I used my Kreg jig and glued and screwed everything together. I liked Ryan's trim ideas, so I used baseboard trim for the bottom and flipped it for the top trim. I made a 1/2" lip so if it were to vibrate, the washer/dryer would not fall. I put the trim on the bottom of the legs and was considering putting on the top but I put some different trim all the way around the bottom of the 2X6 rails. The wife liked that. I also added some carpet on the top to cut down on vibration and to help keep the units in place. I also put some 4X4 pieces of carpet on the bottom to keep the noise down and to help in moving it. I primed and used an gravity sprayer to paint it. Then I put 3 coats of polyacrylic to help in cleaning and to cut down on scratches from the laundry baskets.


Wed, 06/29/2016 - 14:31
I think you could probably drive a truck on top of yours. :) I was a bit concerned about the strength of the construction when I first decided to build it, but I decided that since it would be stationary once I have it in place and the only force would be straight down, it would be fine. Once I got it put together, it was actually sturdier than I thought it was going to be...from a horizontal force perspective. Virtically, that thing could hold 100 washer/dryer pairs...the plywould would give out before the 2x4s and 4x4s would even budge.
Anyway, nice work! I love the Kreg Jig...I need one of those.
Sun, 01/29/2017 - 16:23
Great looking build, thanks for the detailed photos!
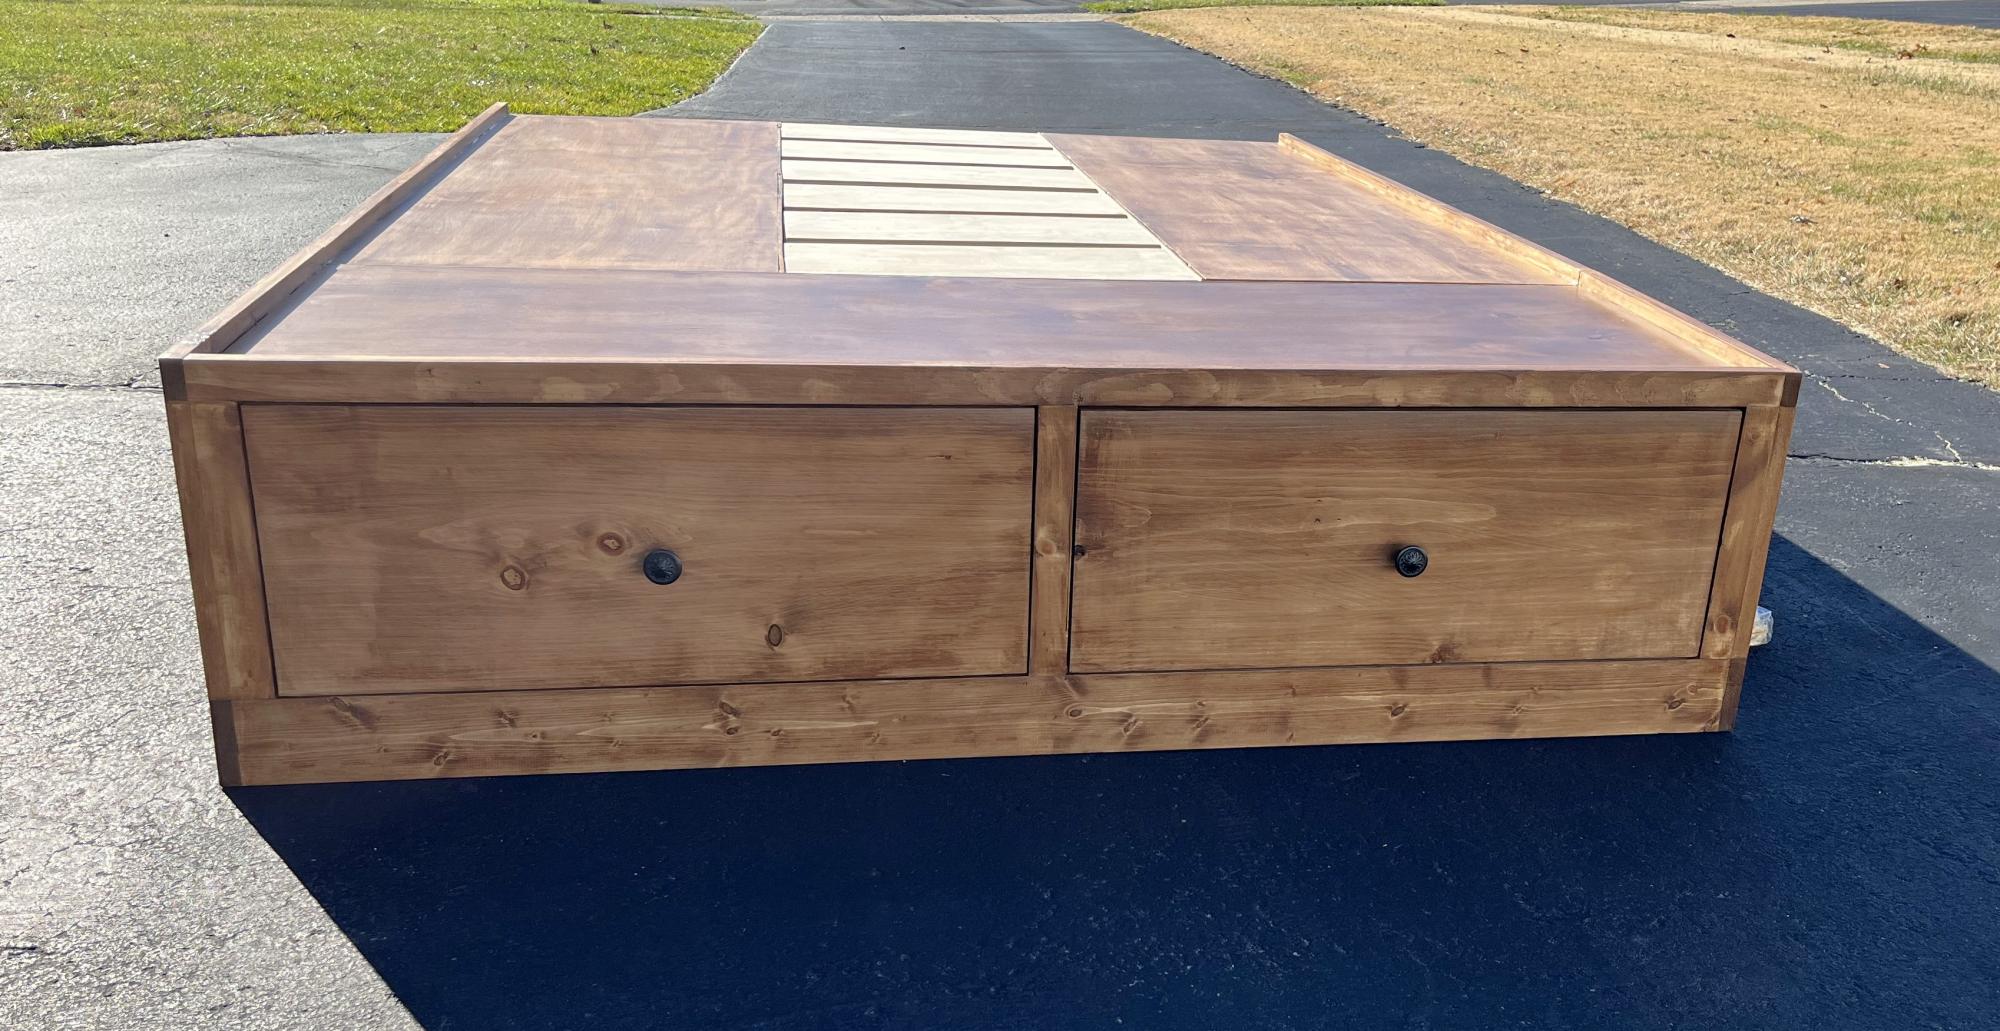
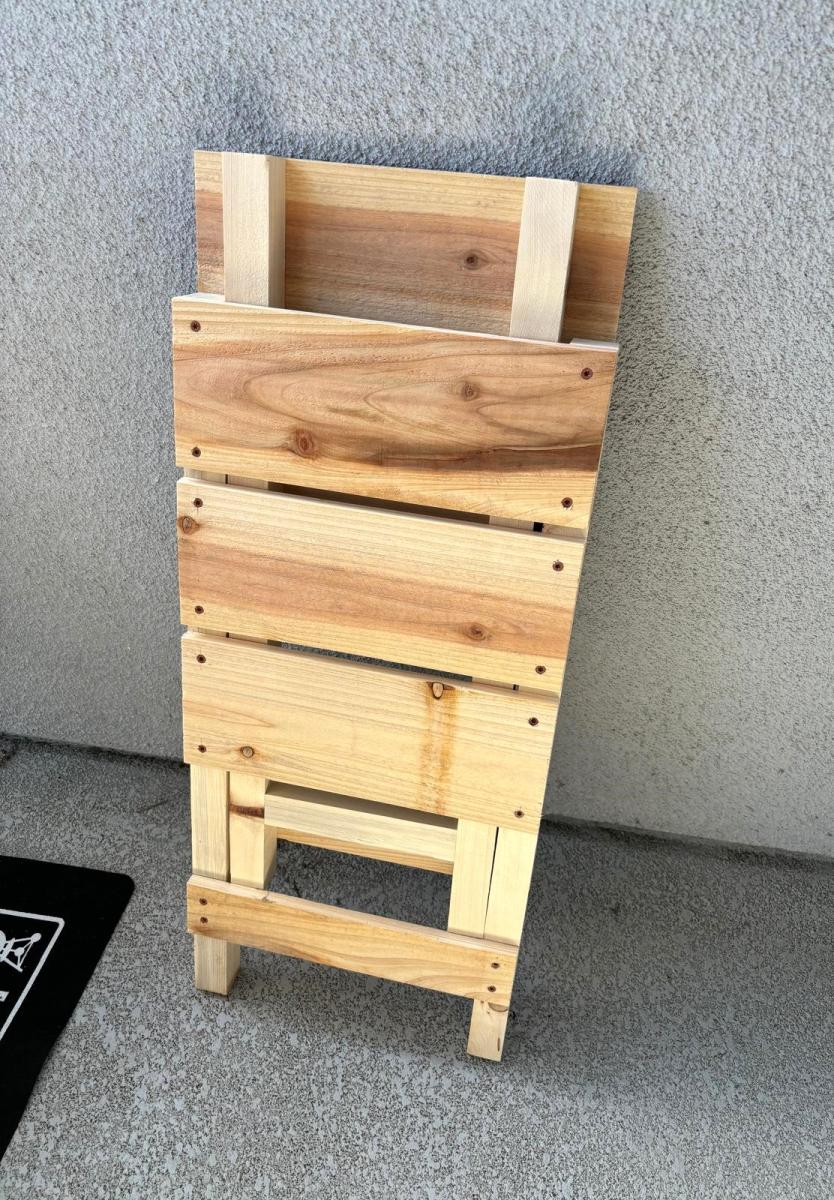
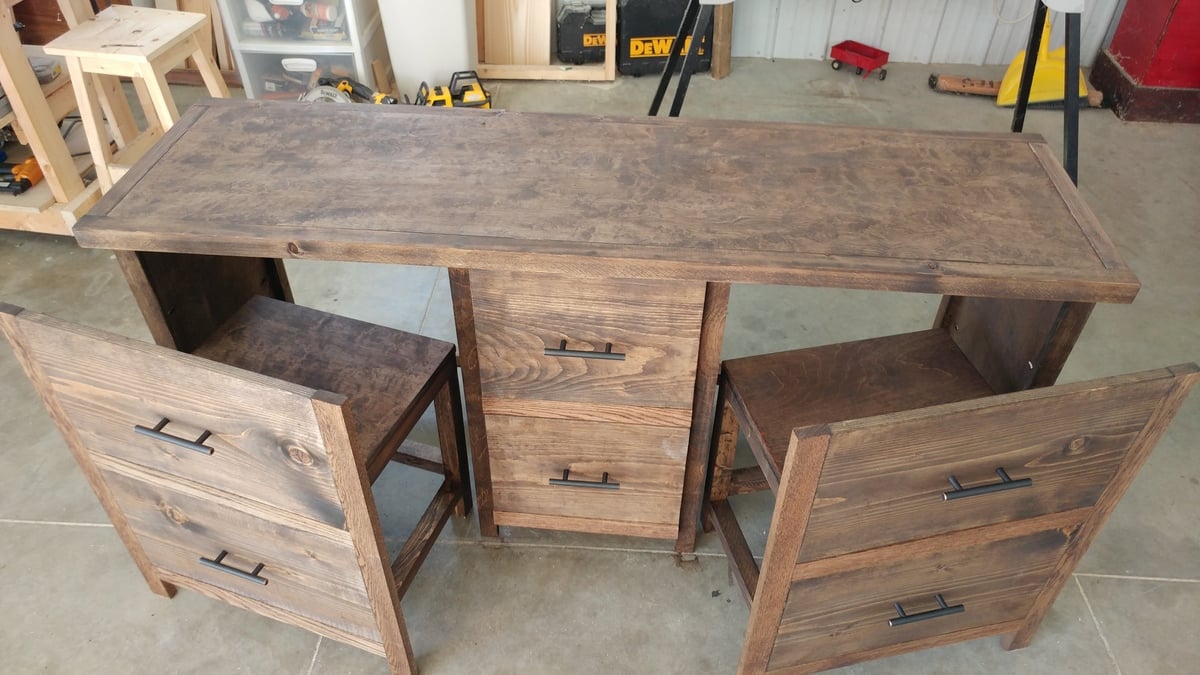
Queen bed frame with drawers.
Alex's Dad
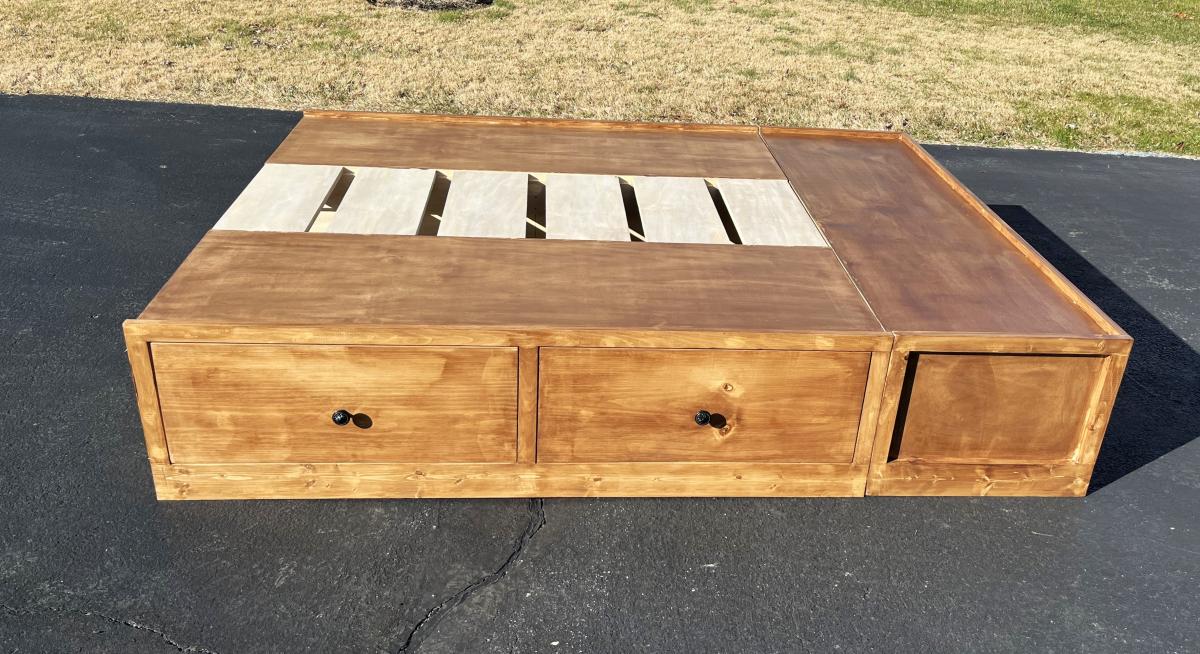
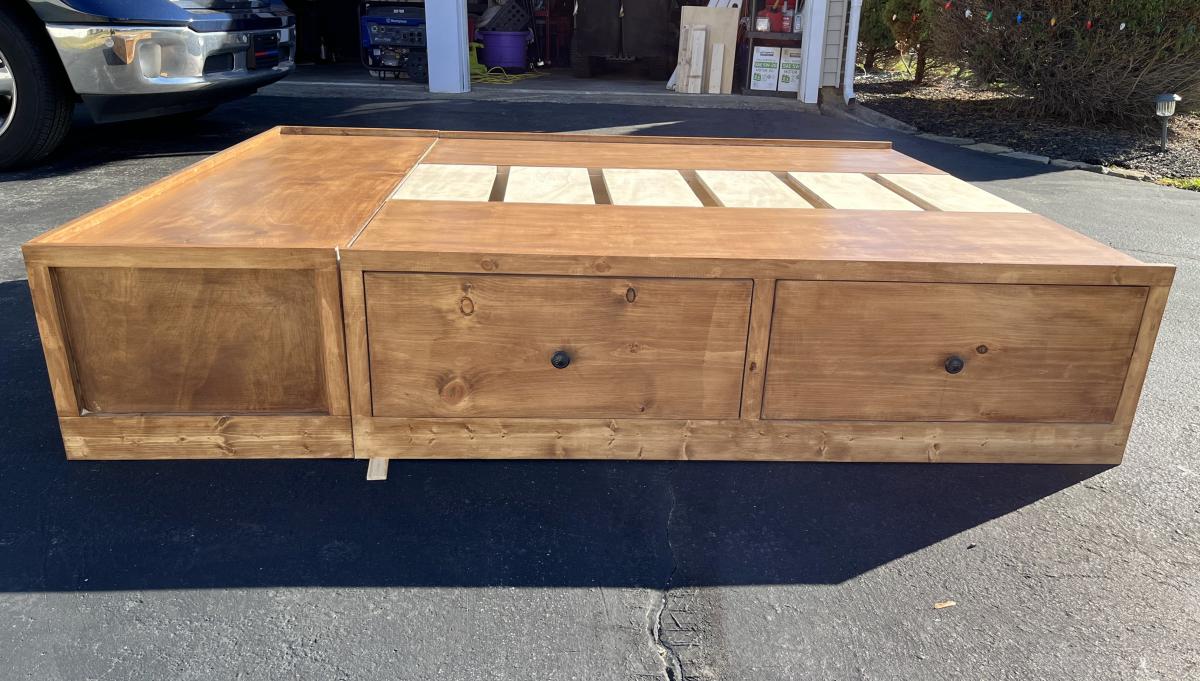
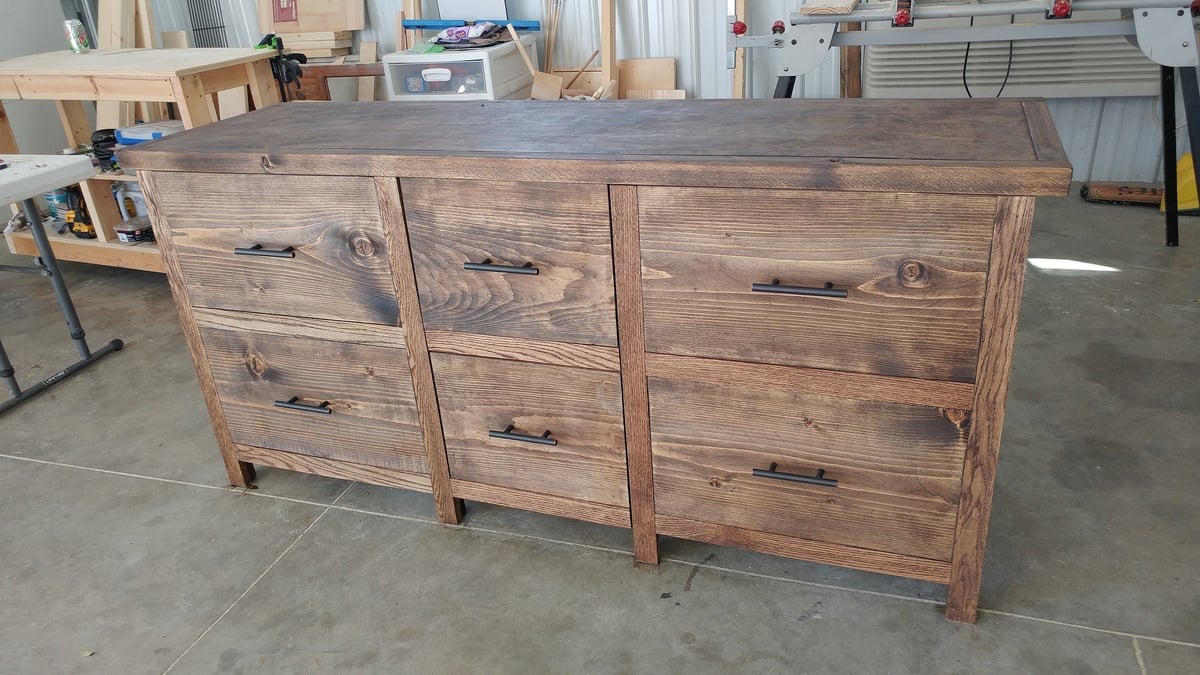
I shrunk the size and dumbed down the plans to fit my skill level.

Mon, 10/10/2016 - 09:08
I love what you did! It looks so great! I prefer this style, which is more simplistic than the other. Great work!!
Mon, 10/10/2016 - 10:28
Love how this turned out - the simpler drawers is just as (if not more) beautiful!
Tue, 10/11/2016 - 14:56
Thanks! I wish I would of set up an account before I posted so I could get notifications. I honestly didn't think anyone would notice it :)
Tue, 10/11/2016 - 14:58
I am so excited that people noticed this :) Is there any way of putting this under my account? I didnt make an account until today and I would like to get notifications. I have my project on my facebook page and can prove that I made it with other pictures. Thanks!
Mon, 01/20/2020 - 07:44
I would love to see this in a farm-house (rather than rustic) aesthetic along with drawers under the seats for extra storage. Maybe on casters with a fold up extension on the other side? So many ideas running through my head with this!
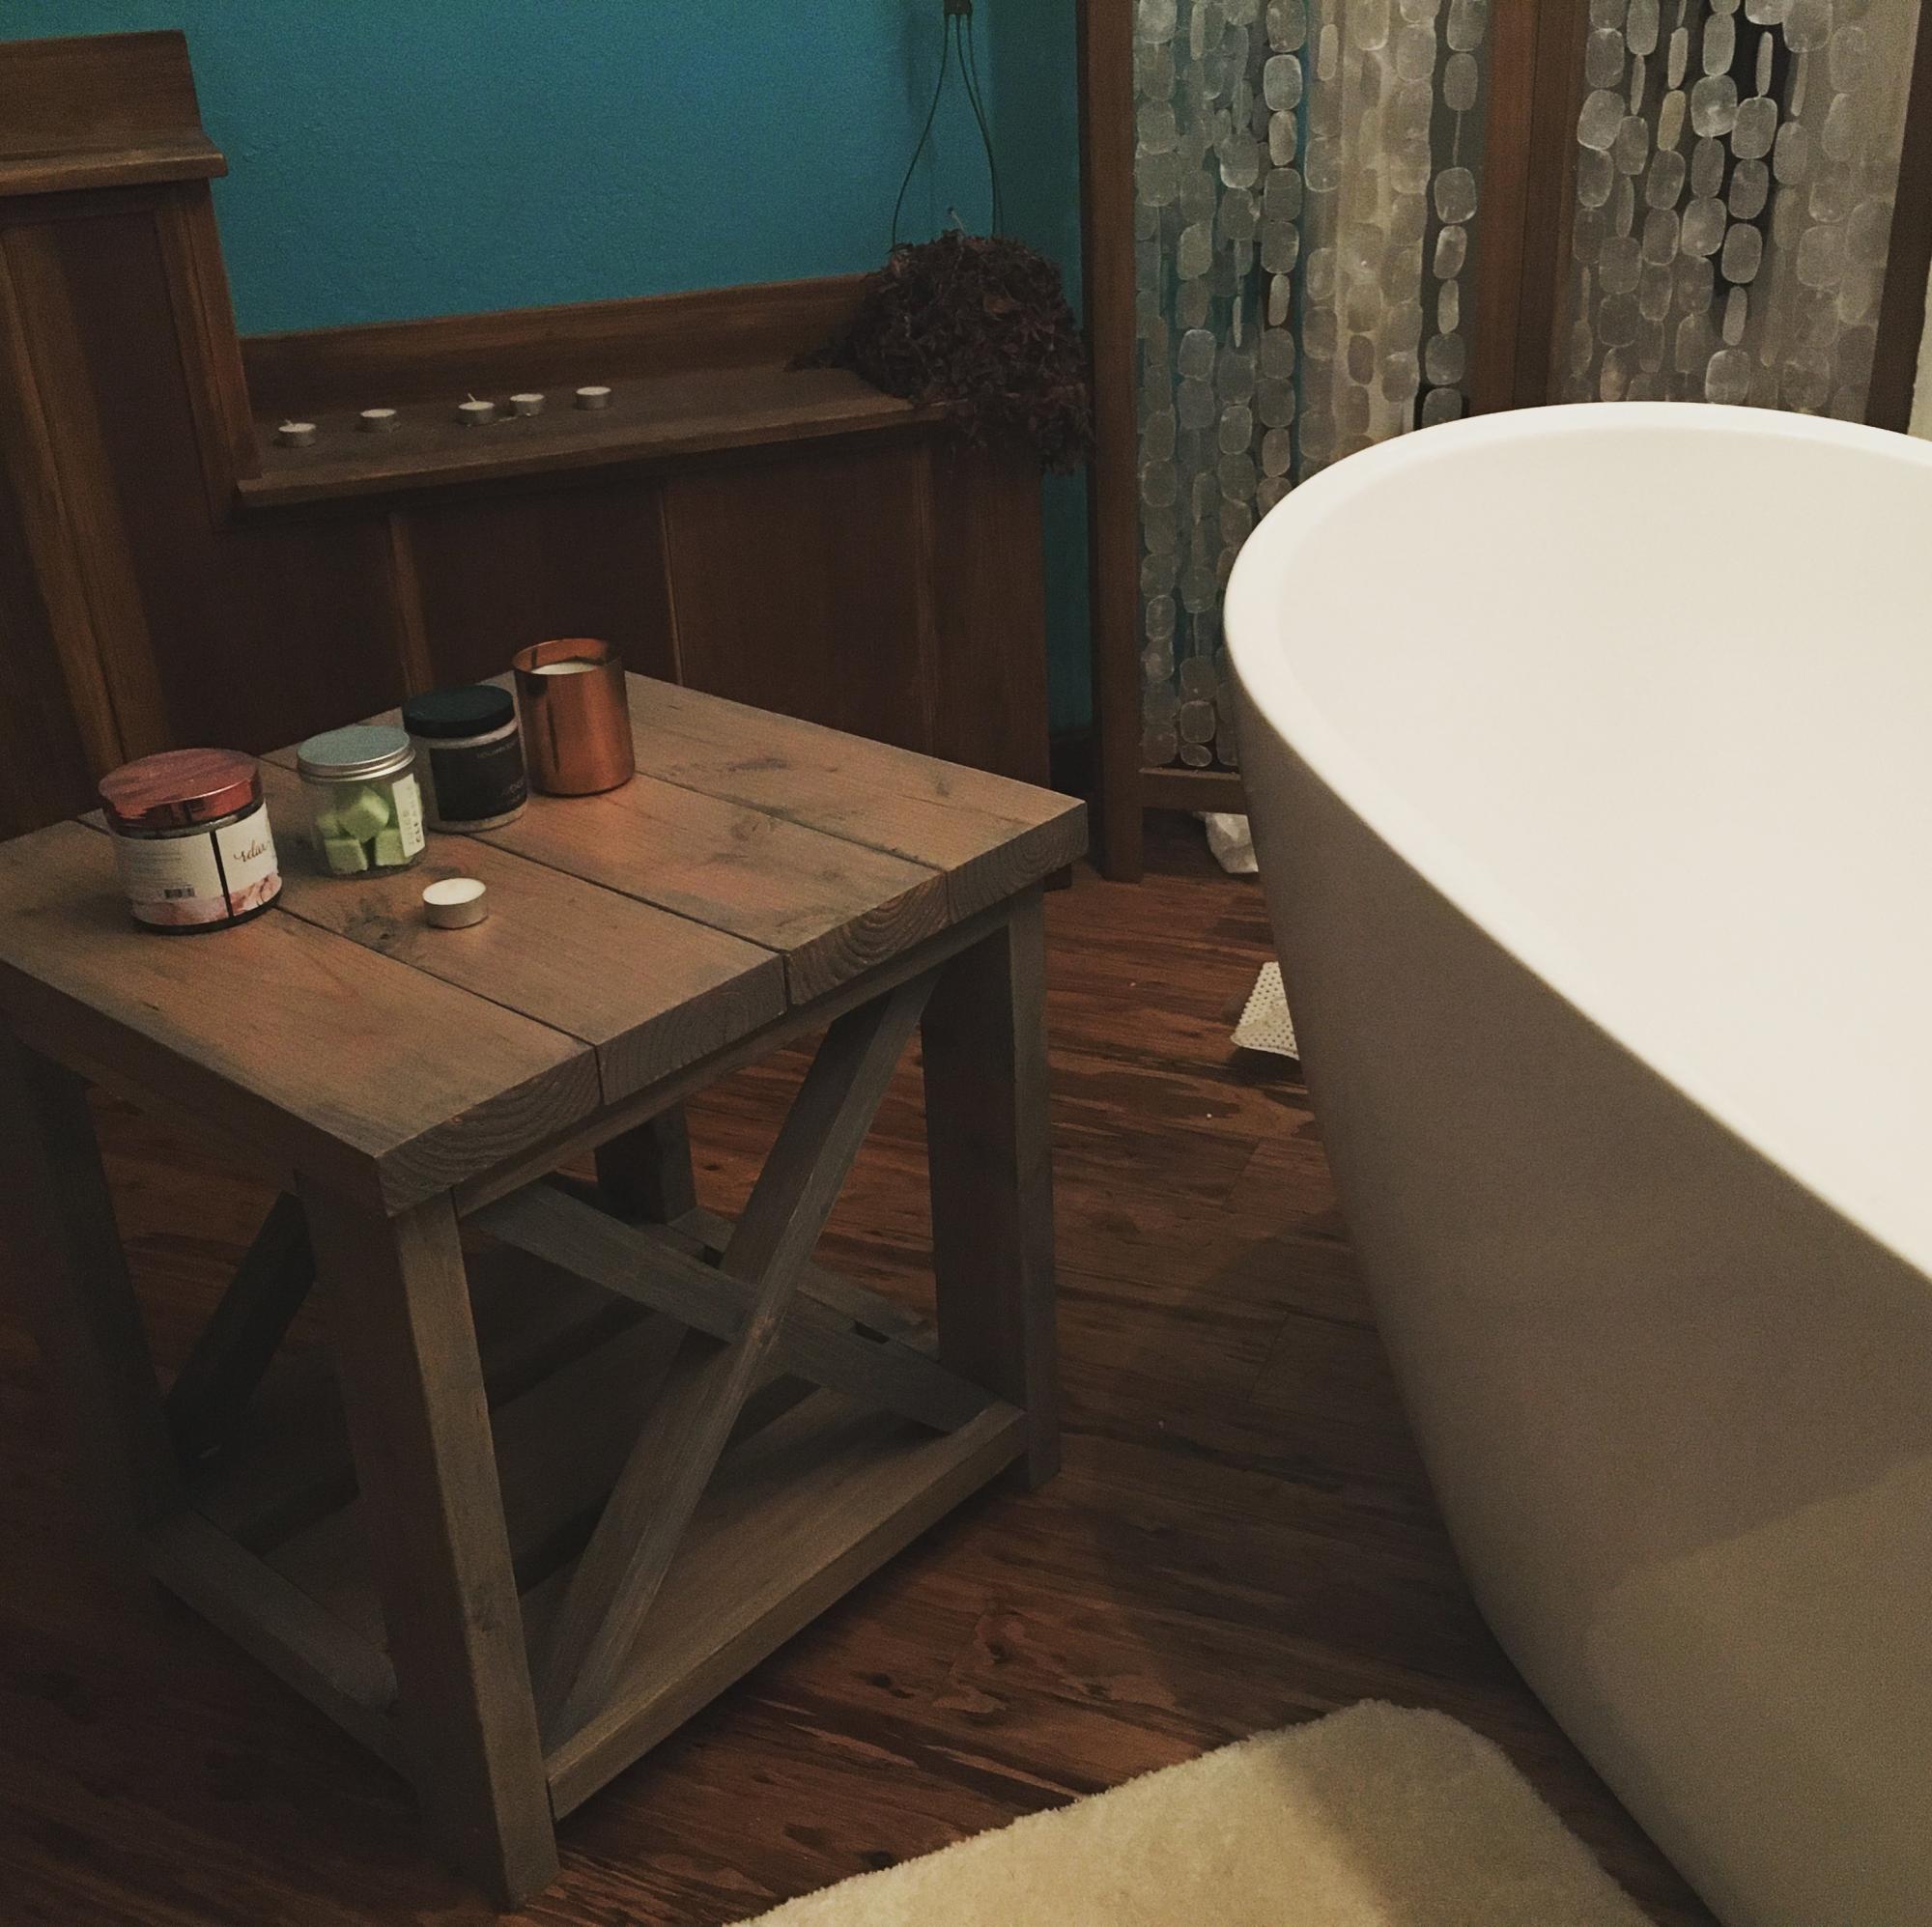
Take a deep breath in... then out. Relax as the warm water soothes your muscles. Then look at this freaking amazing end table I made! And this was only my third project ever! Great plans and easy to make.
***Only necessary change to plans was for the decorative Xs. The 2x2s must for the decorative Xs on the small version of the end table must be AT LEAST 25" not 22" as the plans call for. The 22" 2x2 did not reach diagonally (especially when making miter cuts).
I used pre-conditioner on the pine/douglas fir wood before applying the stain.
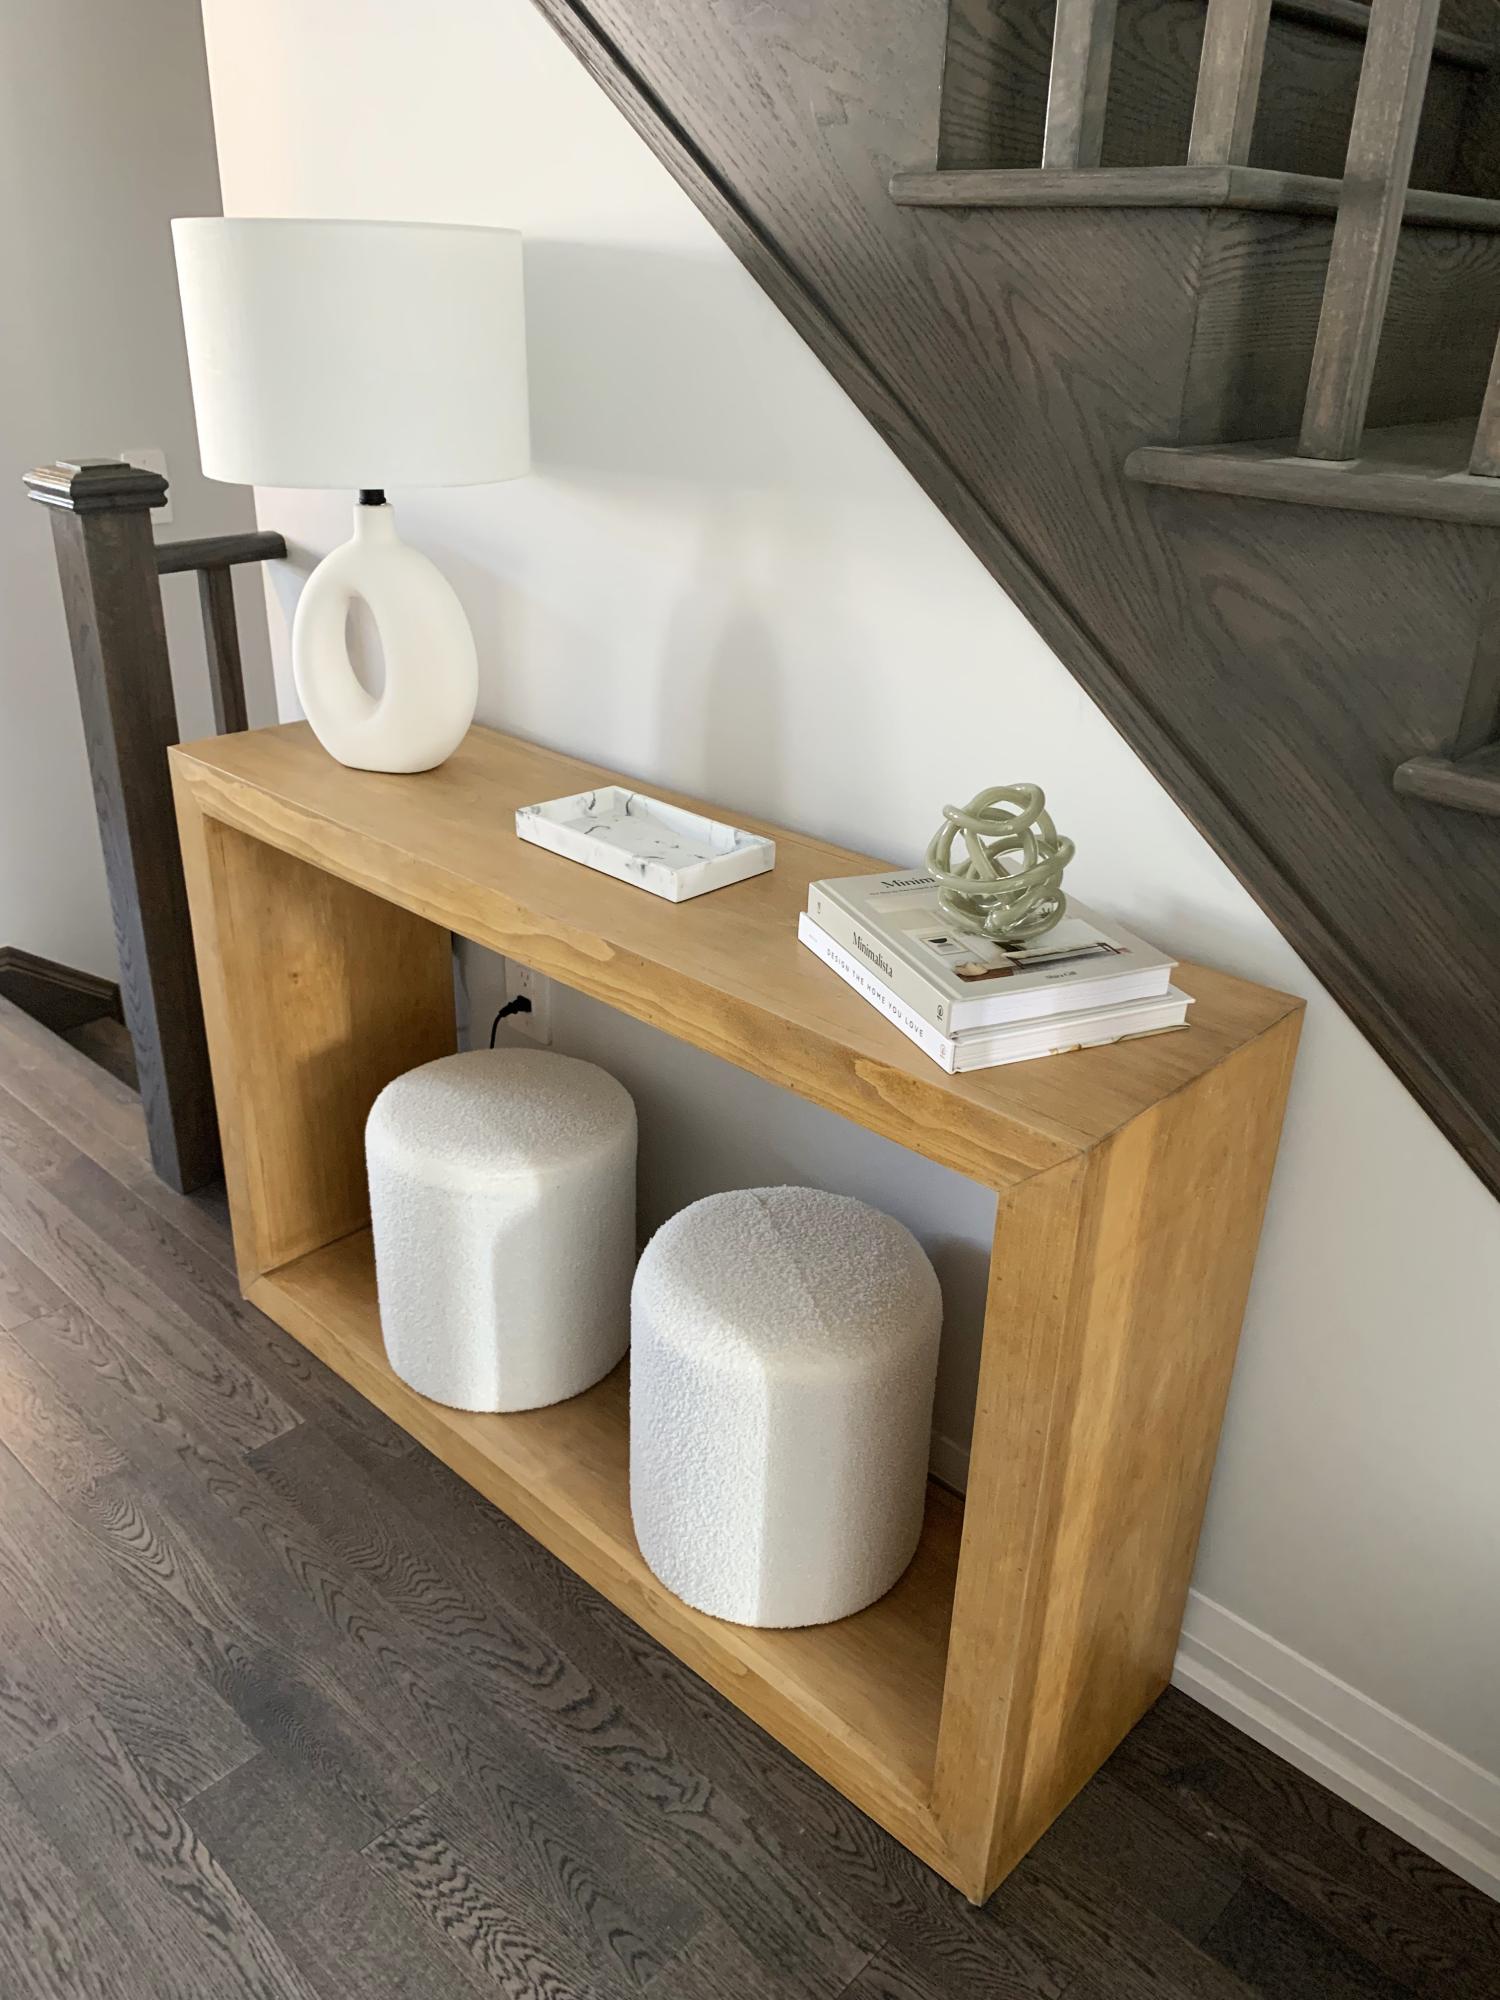
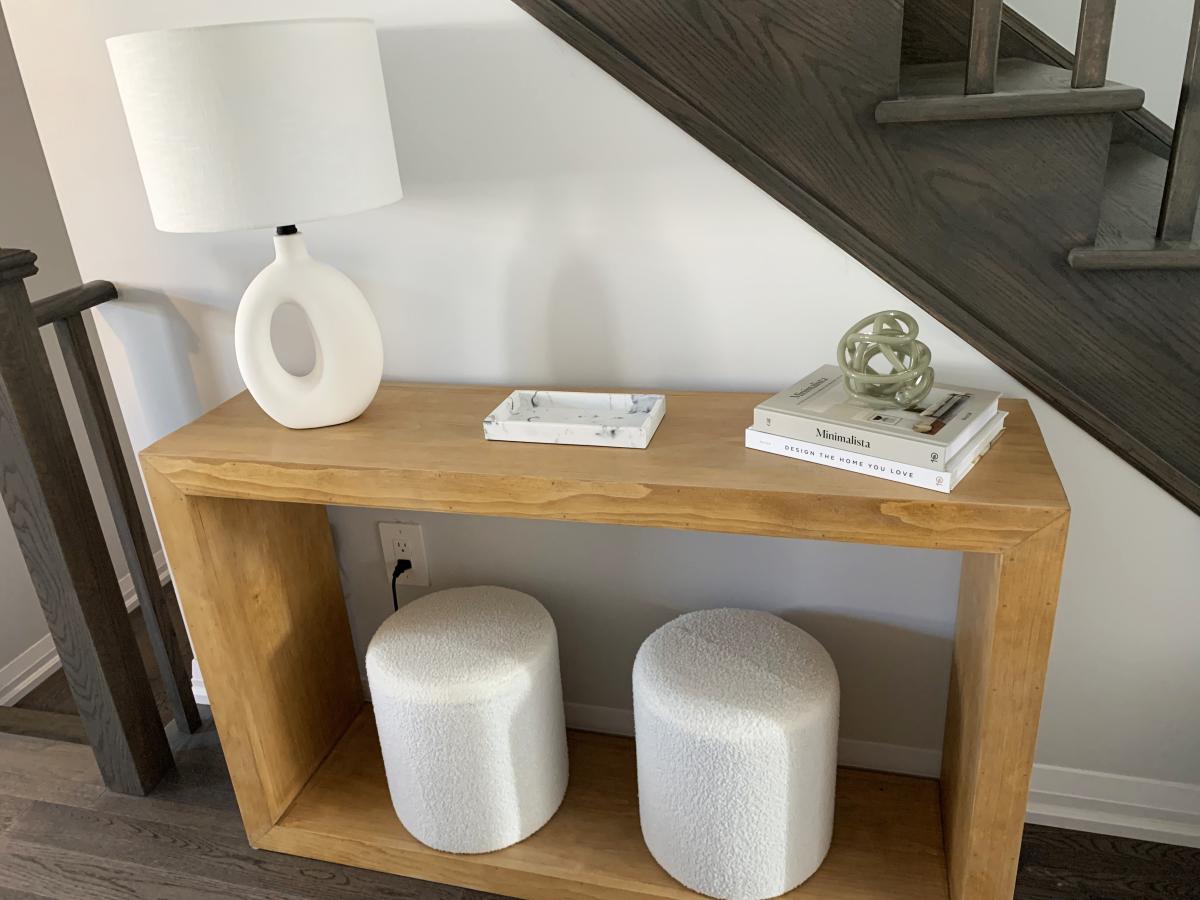
Made the console table for my daughter. Plans were very detailed, accurate and accompanied with great pics and videos. Only tough time we had was trying to get the right diluted whitewash. Onto the matching coffee table next! Thanks Ana!
Brad Brouse
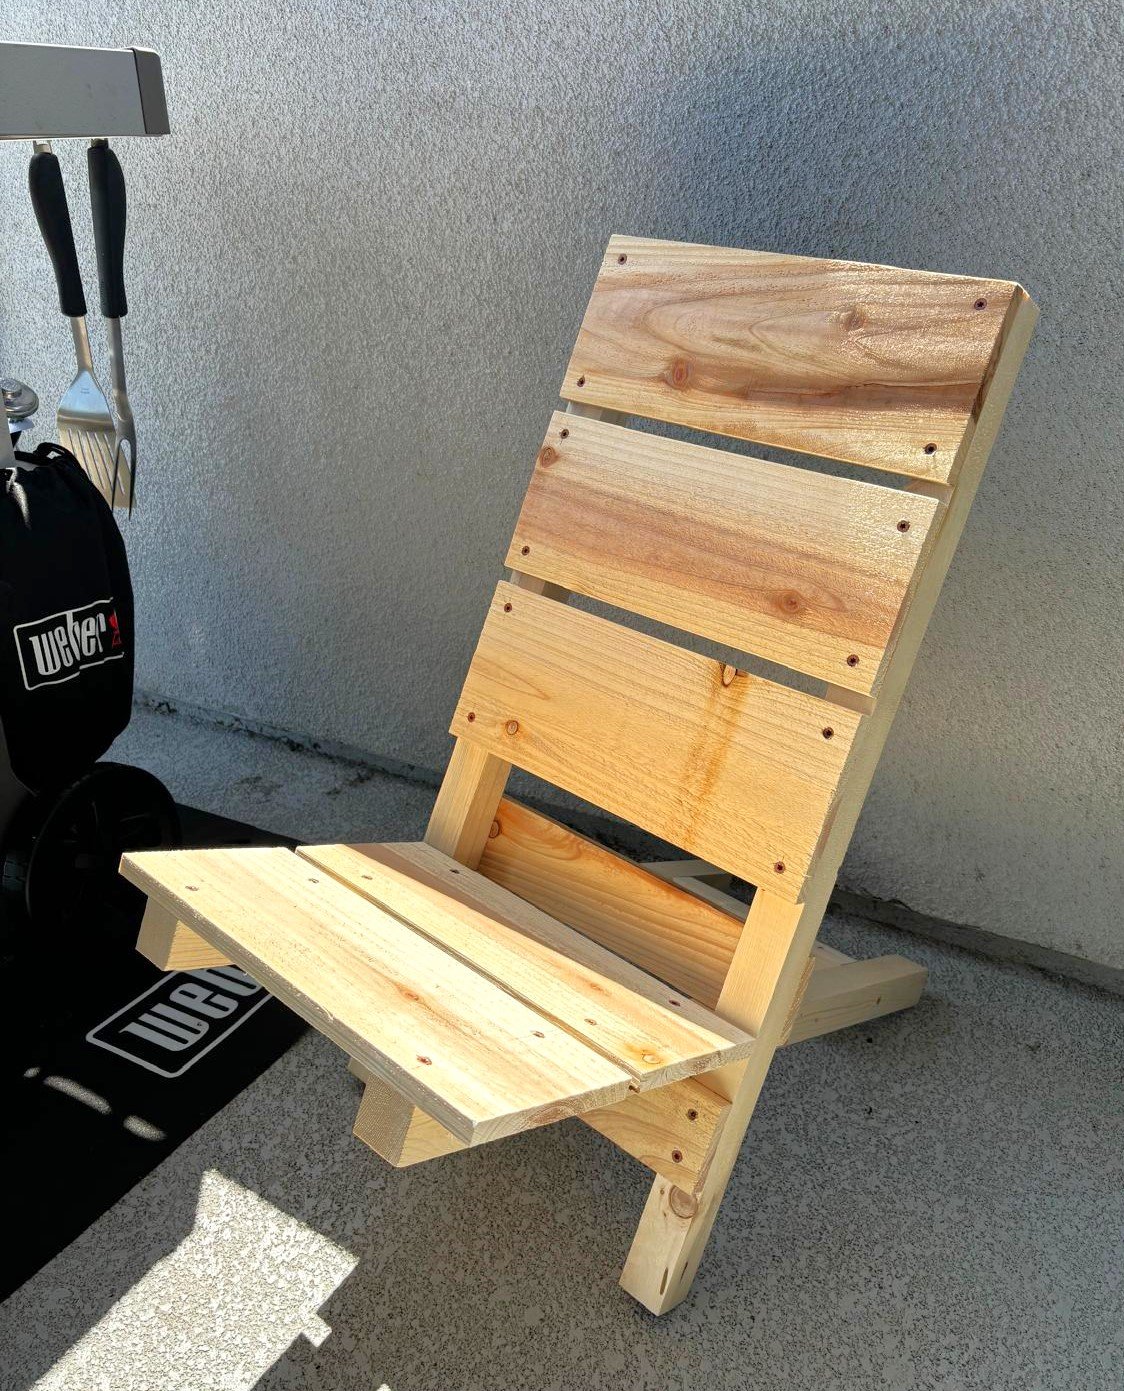
Two Piece Portable Outdoor Wood Chair
