Community Brag Posts

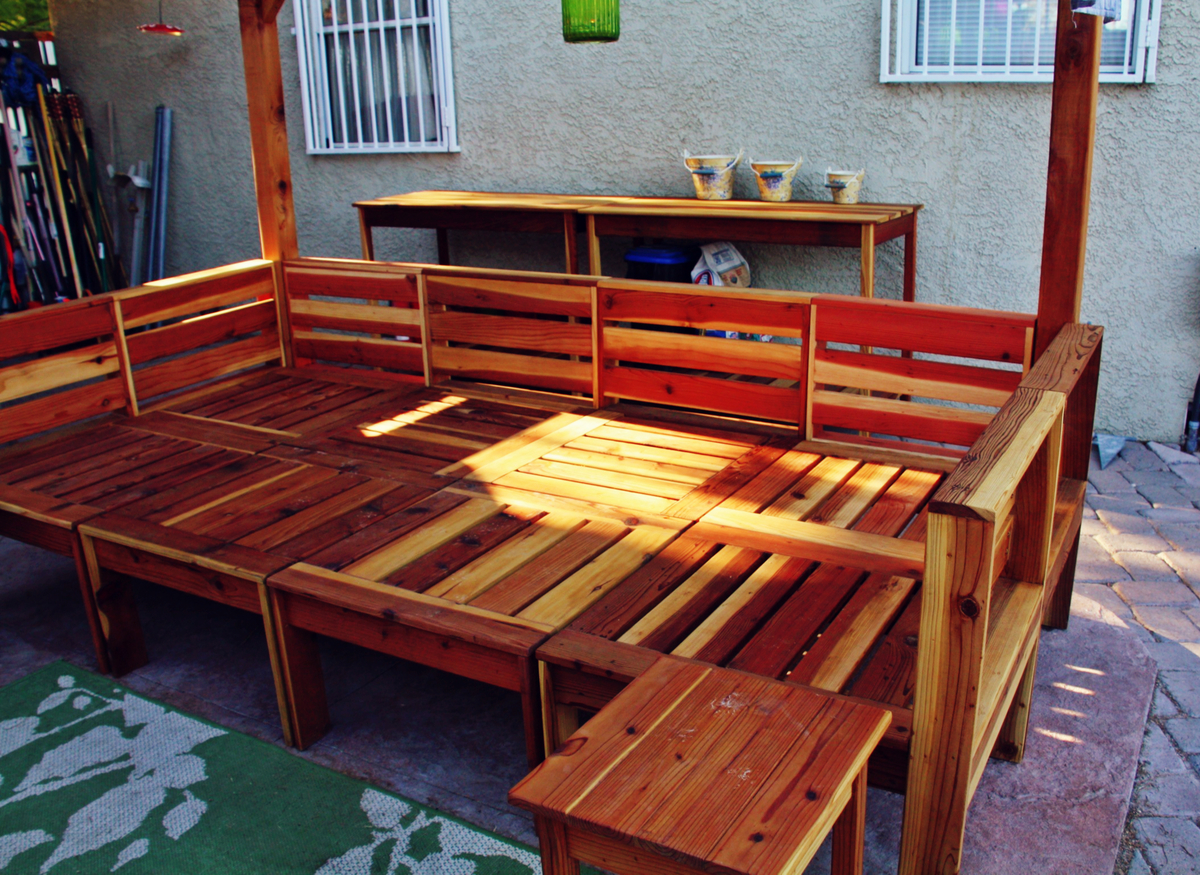
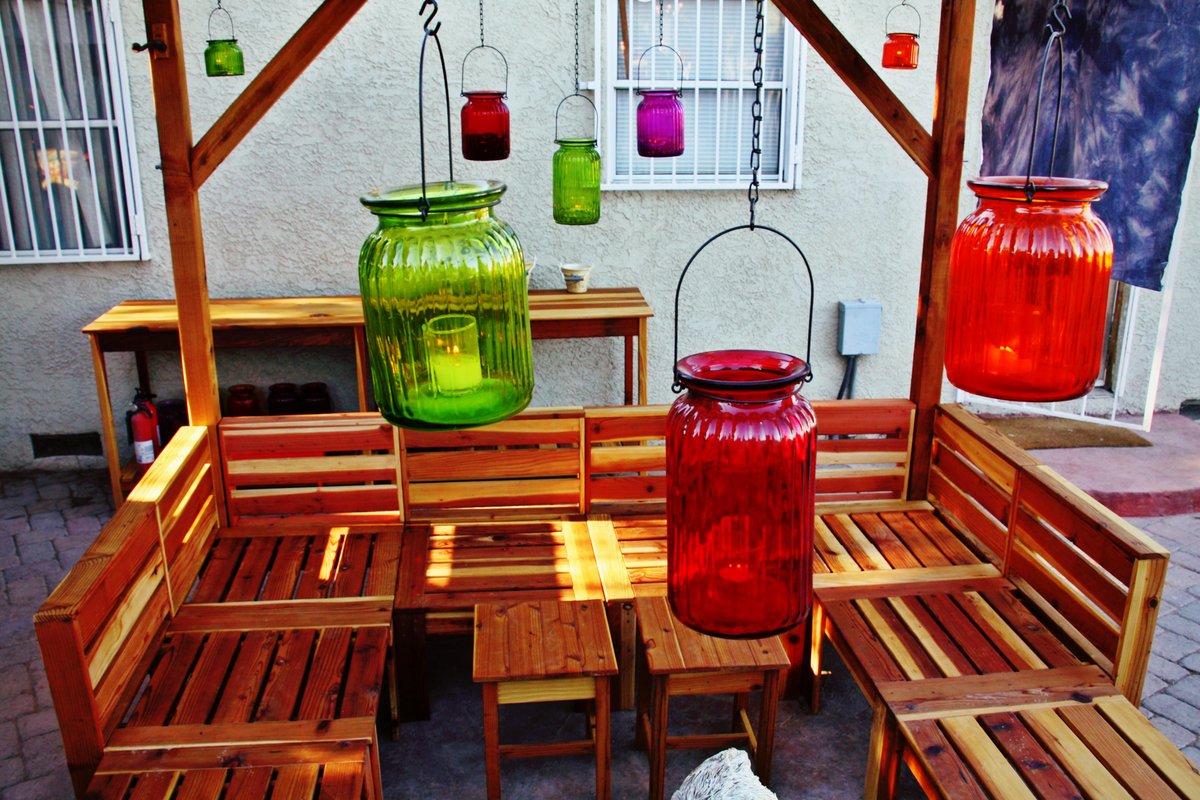
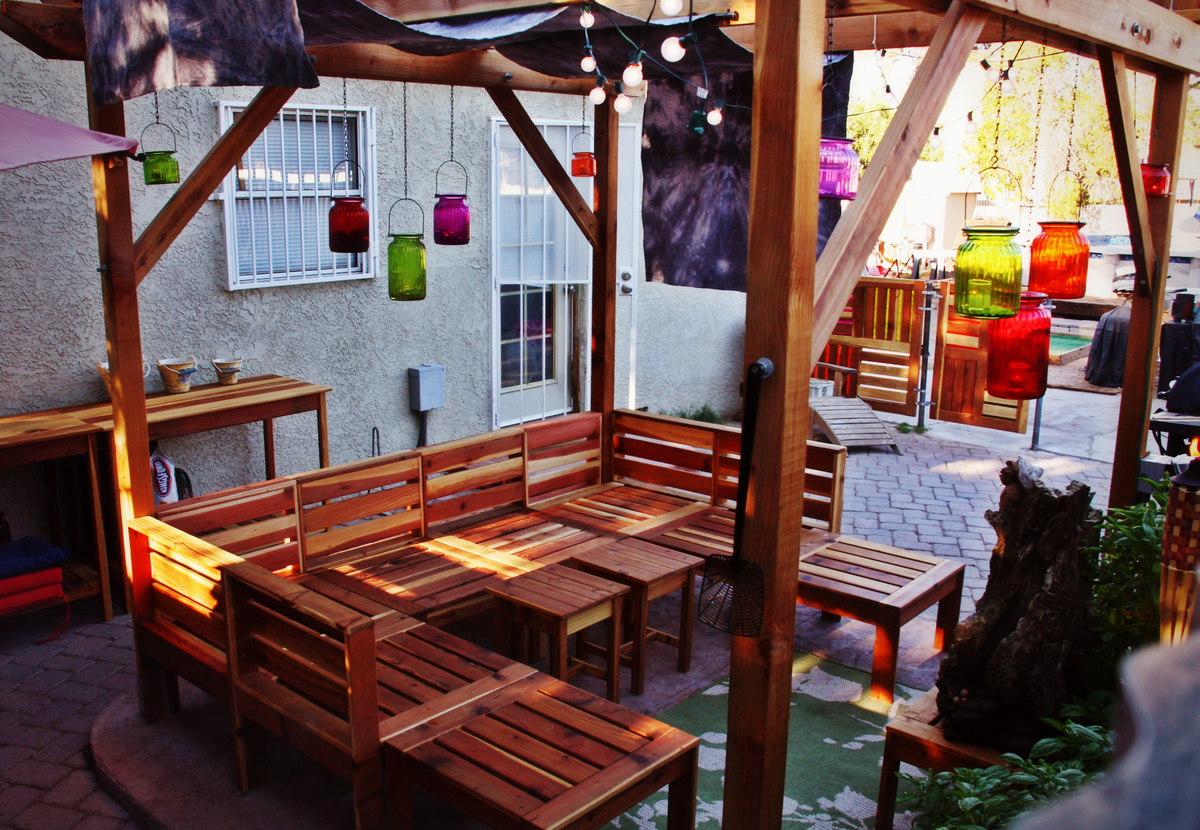
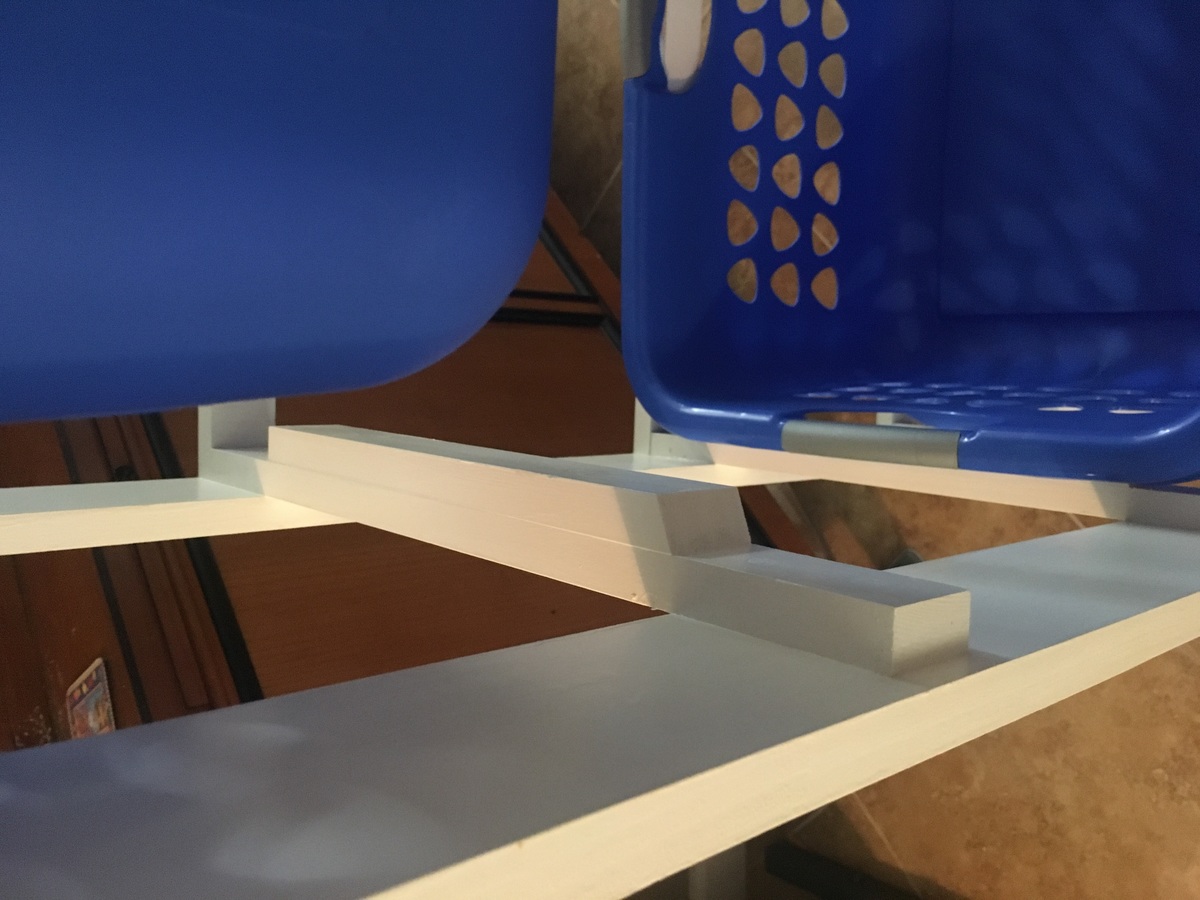
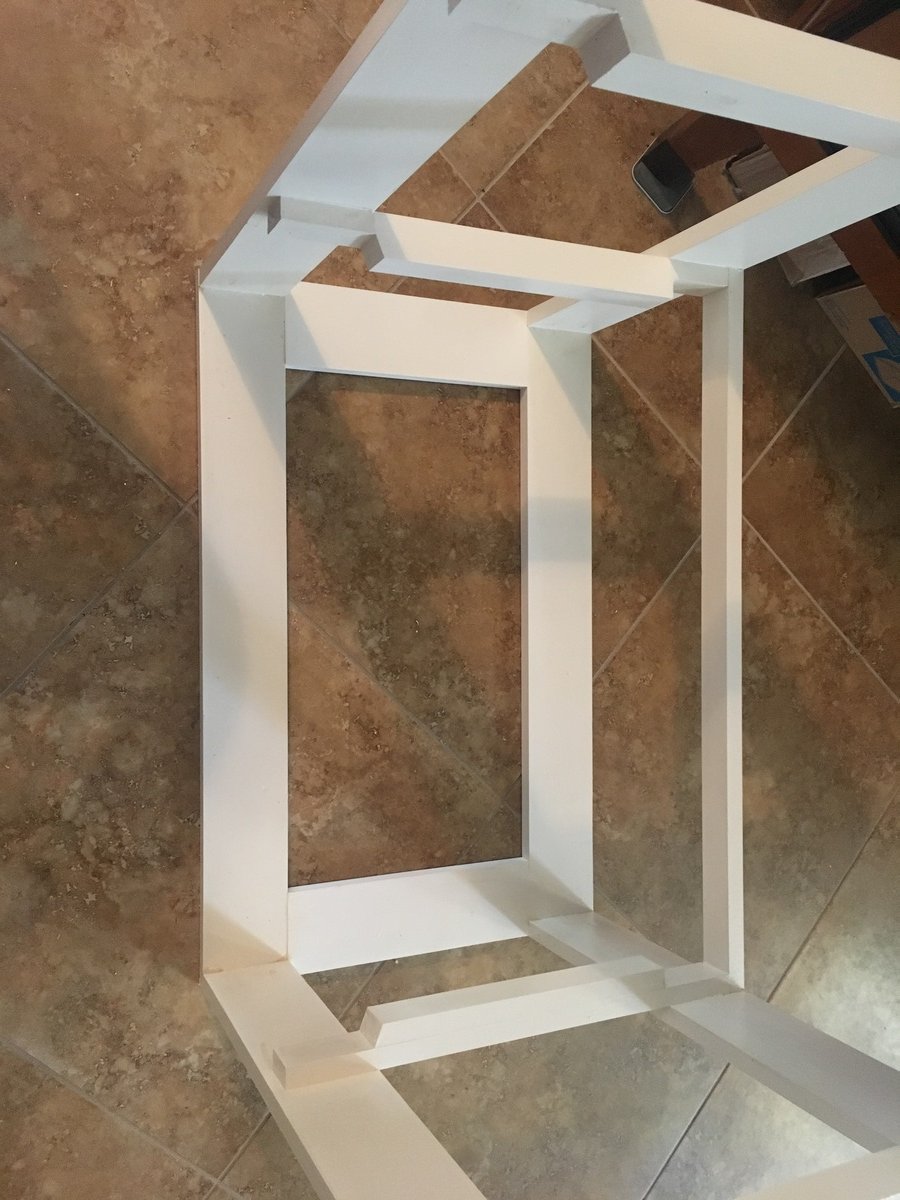
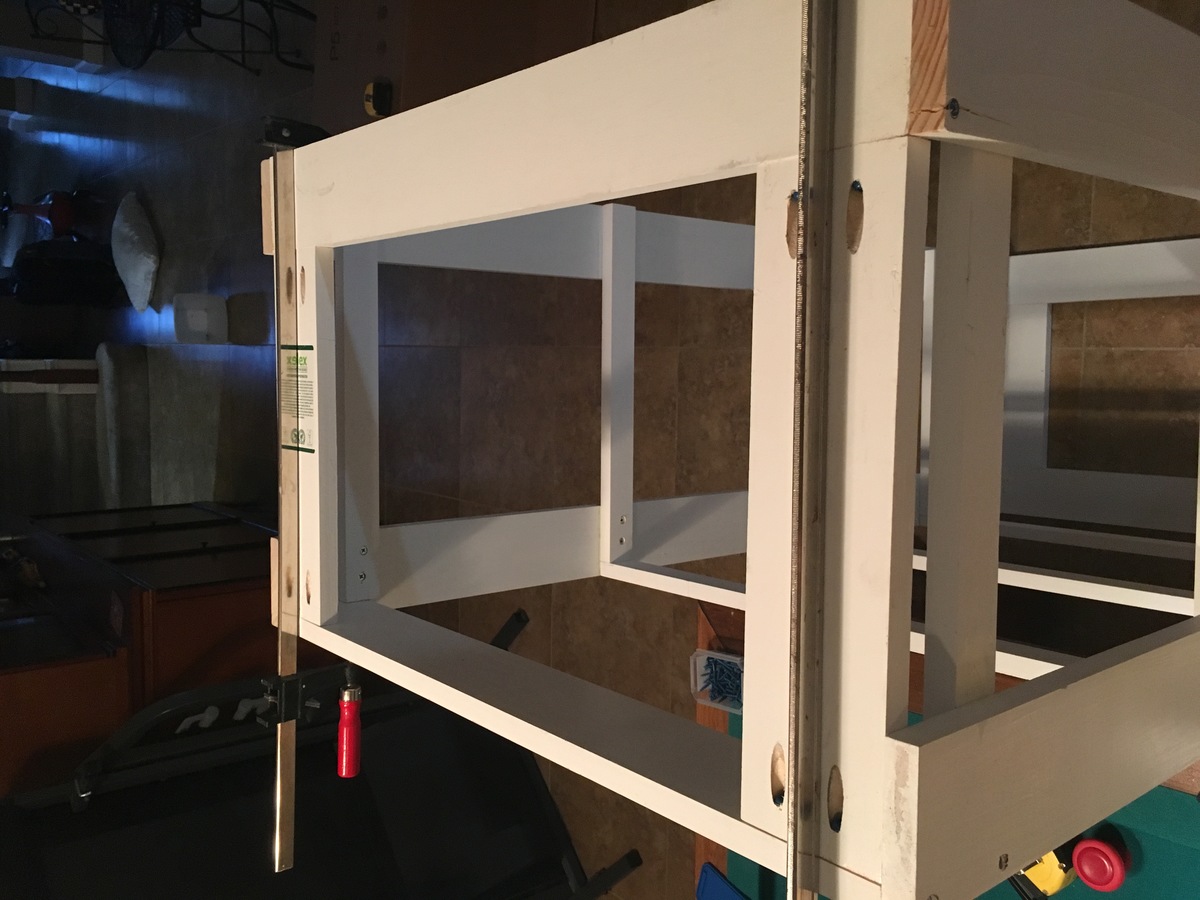
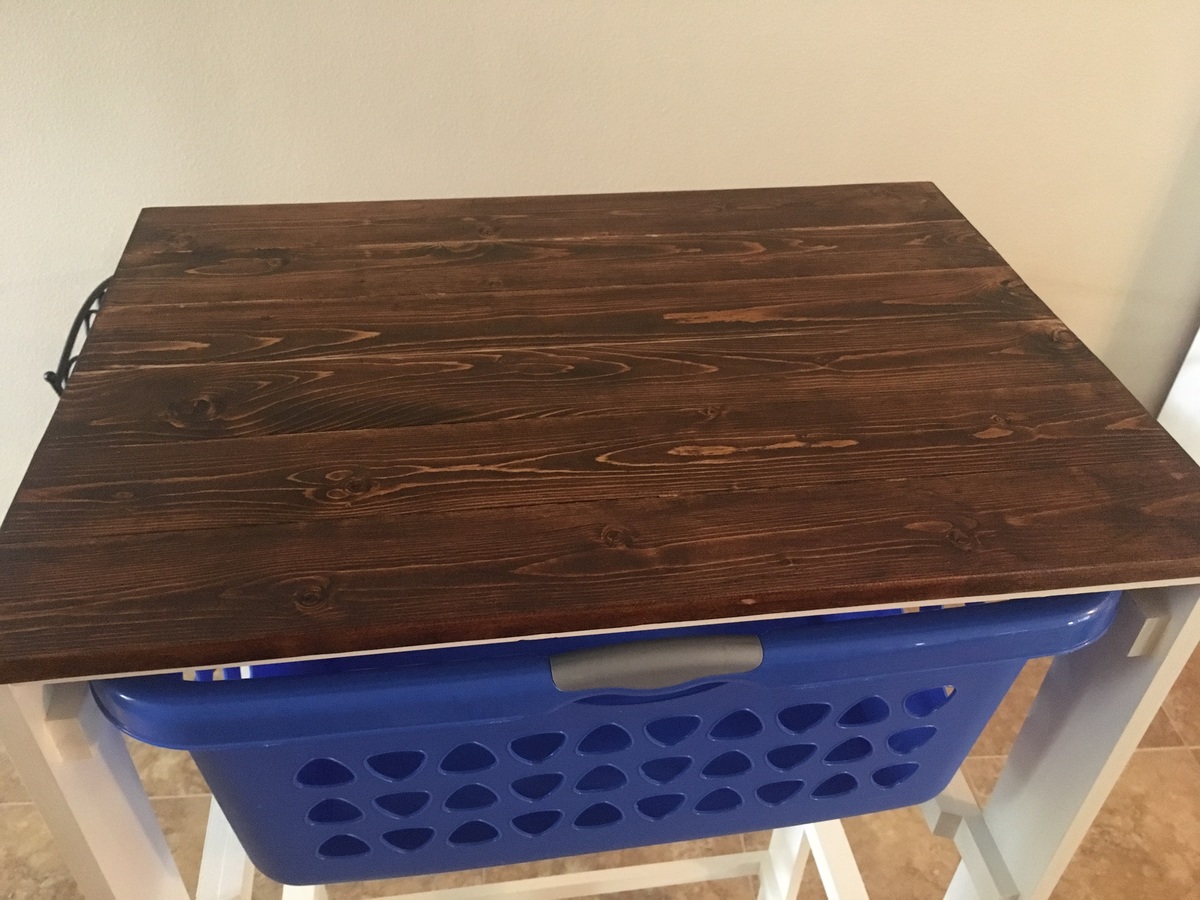
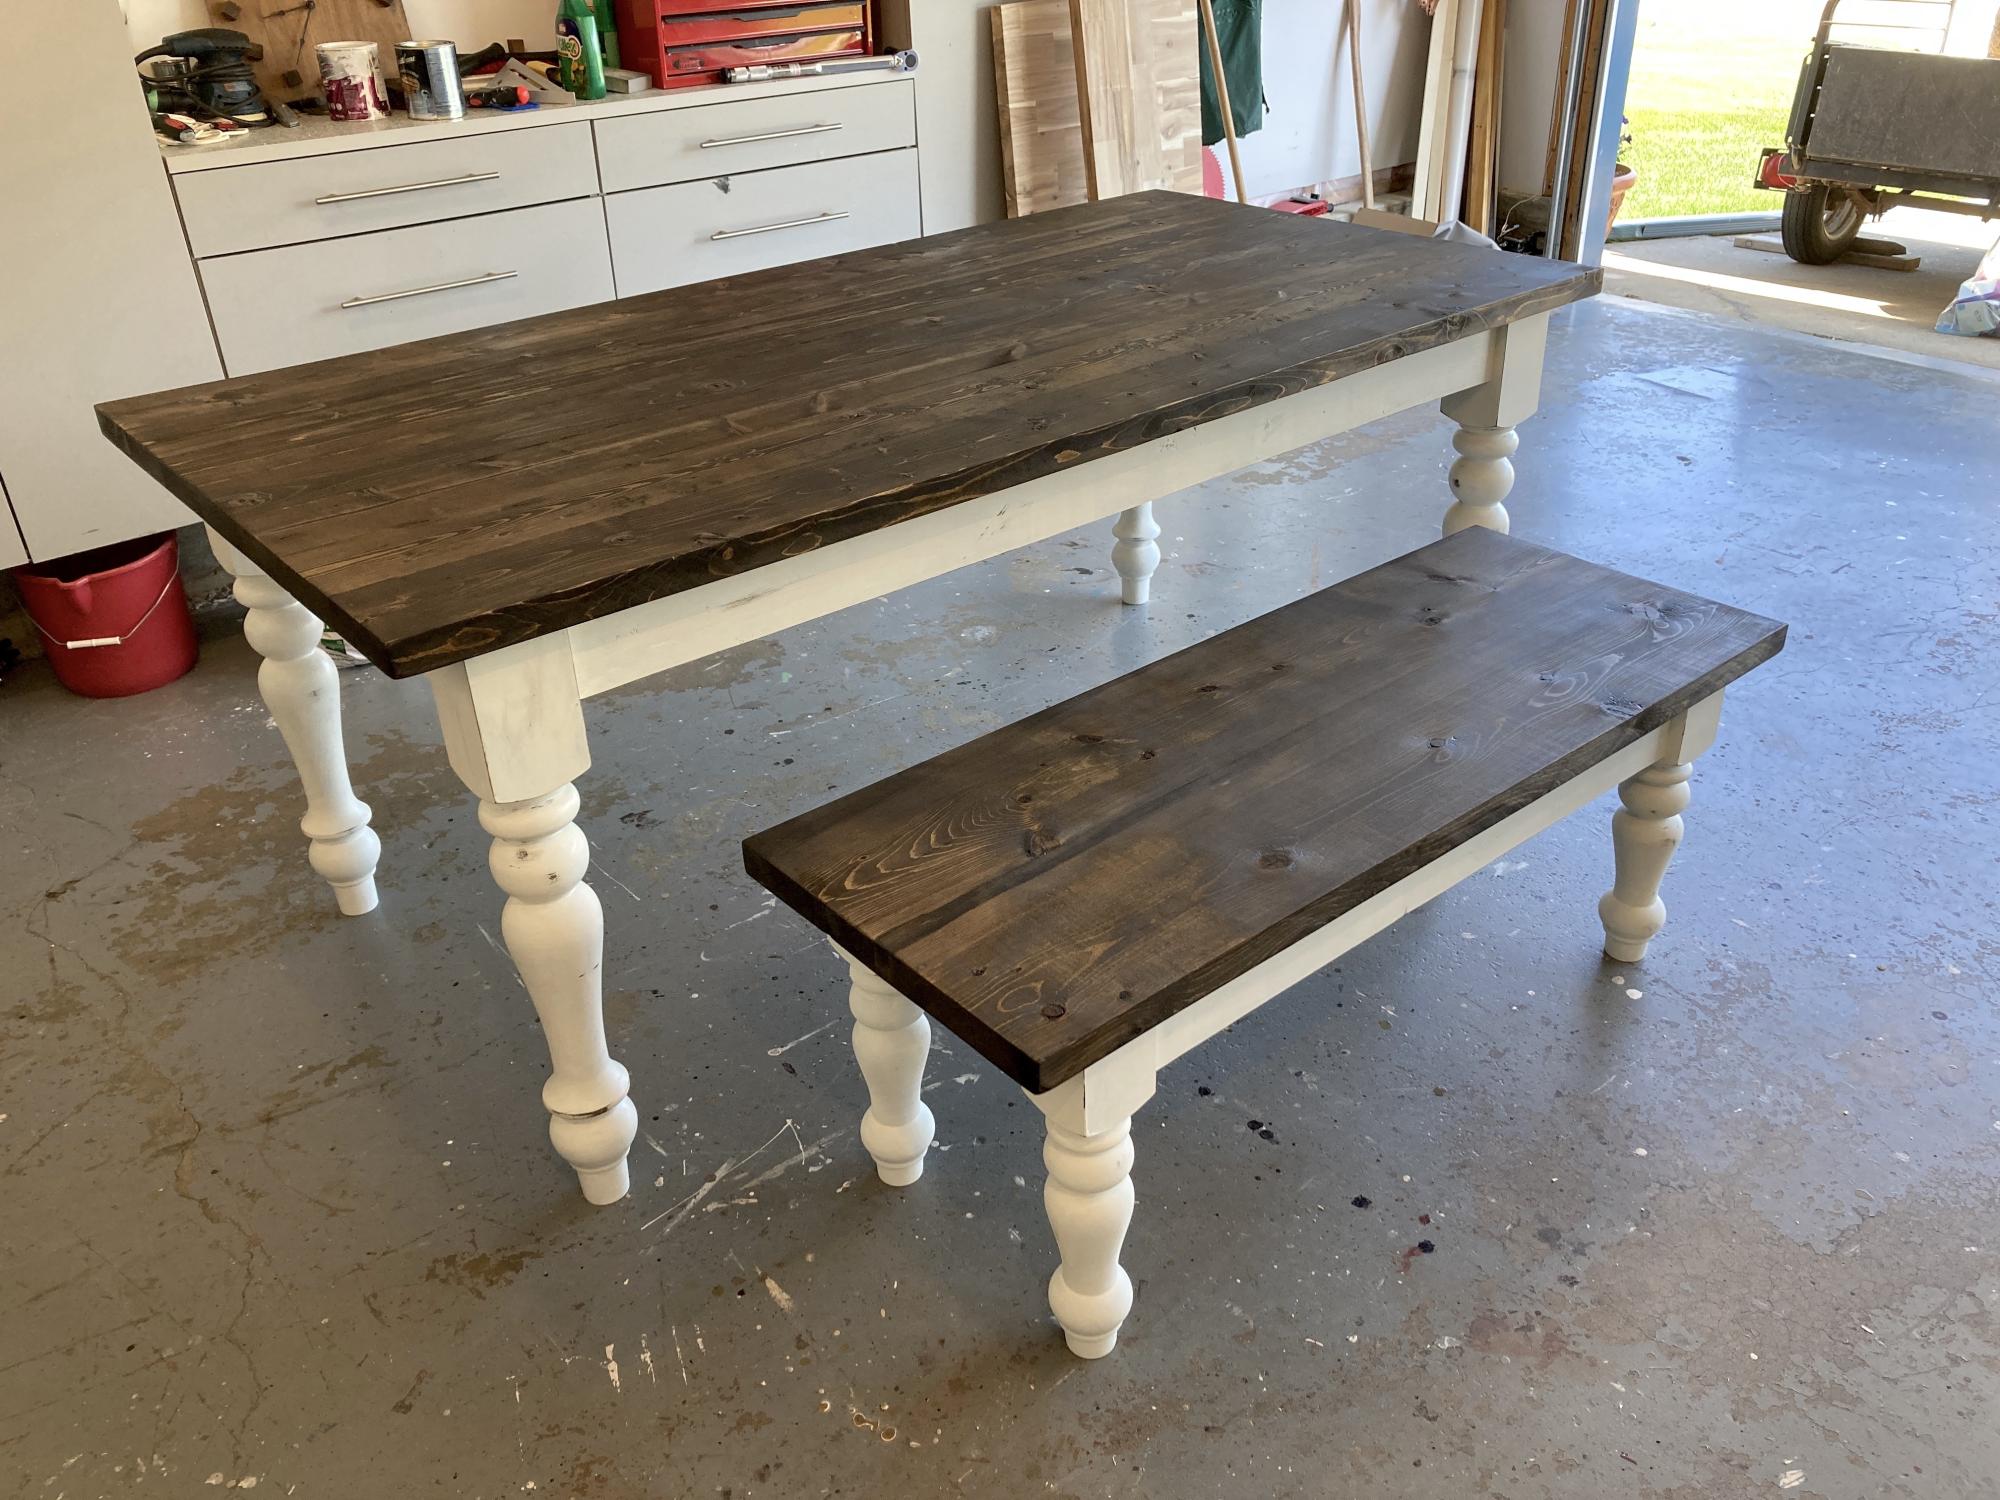
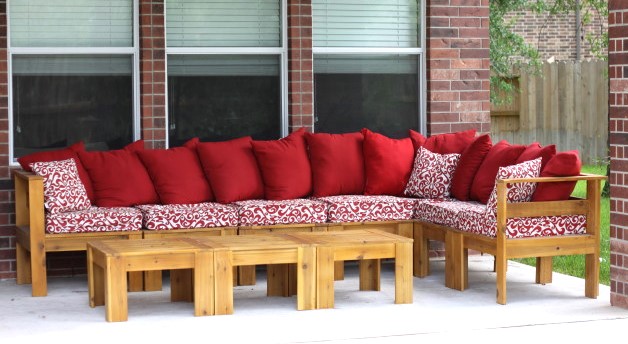
Outdoor Sectional from Redwood

Submitted by ACEarl on Wed, 08/14/2013 - 07:50

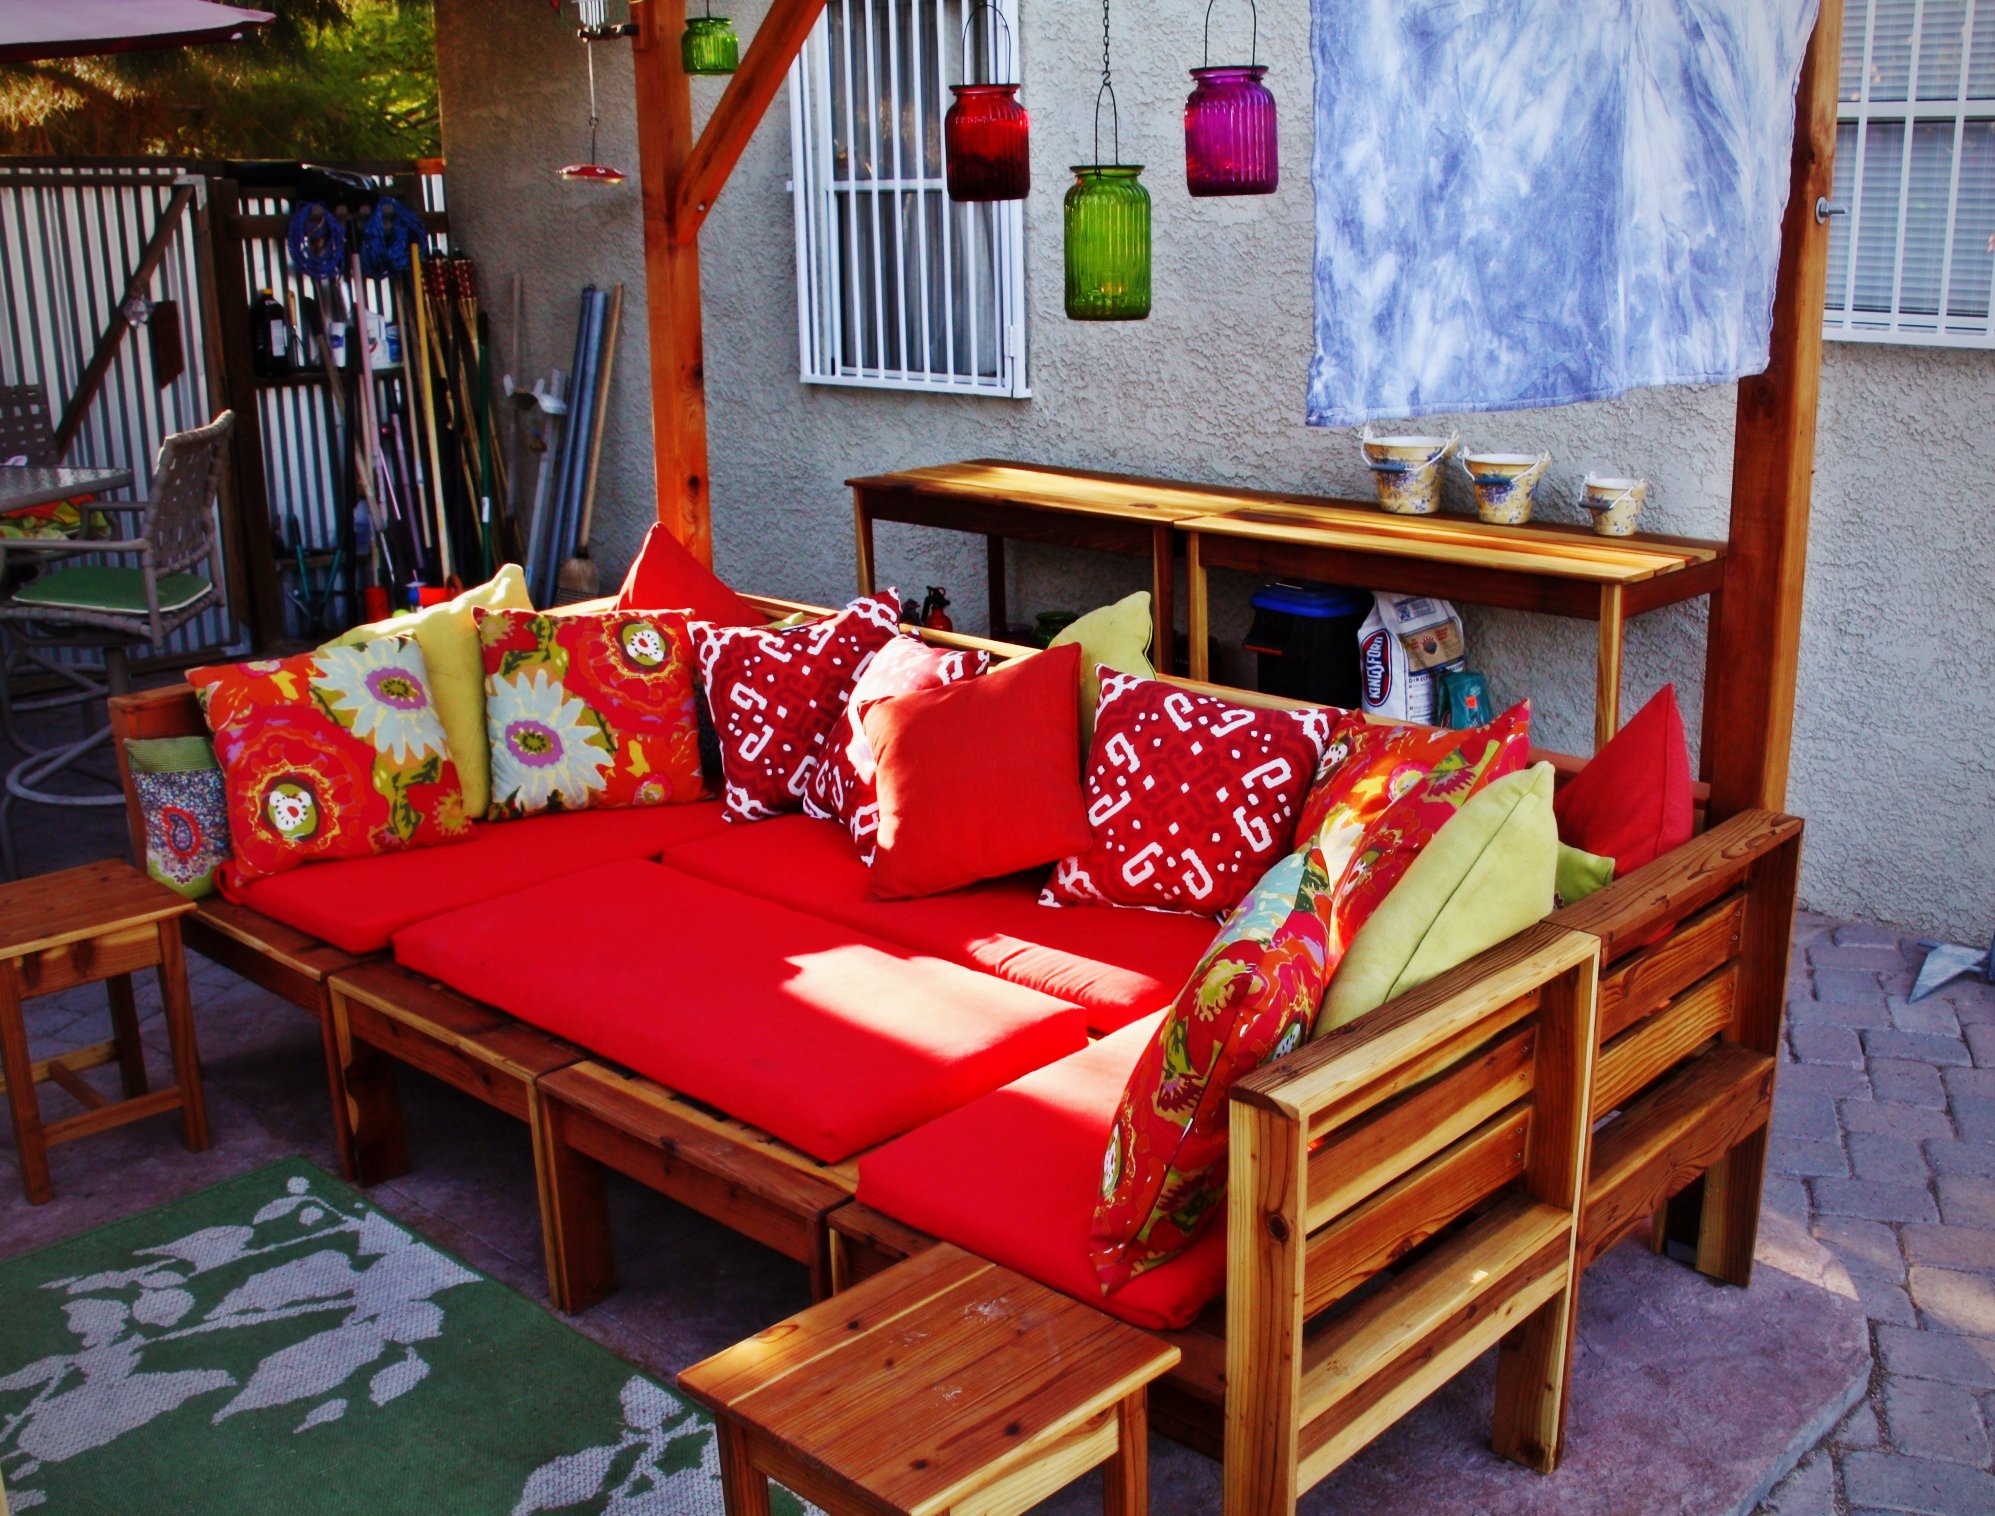
I wanted to build this sectional such that it could be used with or without cushions. I modified the backs so that pillows and cushions would not fall through. Because I wanted to use redwood rather than the cheaper pine stock, I had to rip the lumber myself out of 2x4s. This process was a little tedious and required some minor modifications because the stock was slightly thinner than production lumber. However, this saved me money because each cut list resulted in two chairs rather than one. I also built the ottomans, side tables, and potting tables using ana-white plans. Because I dimensioned the lumber myself, this project took considerably longer than the estimate on the plans. This was a fun project that I will enjoy for many years to come.

Estimated Time Investment
Week Long Project (20 Hours or More)
Finish Used
I used Thomson's Water Seal and teak oil.
Recommended Skill Level
Intermediate

Pipe Coffee Table

Submitted by 42jbmayer on Sat, 09/12/2015 - 21:57

Made this pipe coffee table by laminating 3 2x10 boards.  The size of the table is 60in by 27in.  I ripped the sides of the boards down to 9 inches each to square off the sides for a jointed glued table. The pipes were spendy but easy to get and assemble.  Used Minwax special walnut stain.

Estimated Cost
150-170
Estimated Time Investment
Weekend Project (10-20 Hours)
Finish Used
Sprayed Waterborne Lacquer Satin
Recommended Skill Level
Intermediate

Laundry dresser using 1x4 boards

Submitted by Drspear98 on Fri, 08/10/2018 - 10:11

i made a laundry dresser about three years ago, but we had a water filtration sytem installed in our laundry room and I had to build another one to fit the new dimensions. I loved this idea because it’s simple, and more open. I wanted to choose some larger, sturdier baskets, so I chose the Sterilite 2-bushel baskets. I bought them at Walmart. I am not an expert in woodworking, but I am very happy with the results. I accidentally made it a little too wide, but I added another 1x2 to the rack where the baskets hang, and now the baskets fit perfectly. I chose pre-primed pine boards because I hate sanding and I hate painting. The top are just normal 1x4 pines that I glued together and fastened from underneath. I did have to sand those. I also did add a coat of paint that matches my baseboards. All in all, I am pleastly surprised that it turned out.

Estimated Cost
Under $100
Estimated Time Investment
Weekend Project (10-20 Hours)
Finish Used
Stain, latex paint, polyurethane gloss for top
Recommended Skill Level
Beginner

Lap Desk

Submitted by canesa on Thu, 07/14/2011 - 23:29

When we finished our playroom I knew I needed to build the lap desk for their nail salon! It's the perfect size to do nails on and it holds all of their nail polish, files and cotton balls. I didn't add the trays on the side of the desk because we didn't have the space. I think I probably spent more time trying to figure out the hinges than I did building the desk!

Built from Plan(s)
Estimated Cost
I had scrap wood to build this desk so my only cost was the hinges.
Estimated Time Investment
An Hour or Two (0-2 Hours)
Finish Used
White paint for now. I definitely need to bling it up for their salon!
Recommended Skill Level
Beginner

Comments

lollypoppy

Sun, 11/06/2011 - 11:45

Nail salon desk is ingenious!! My daughter would definitely love it. Cute painting on the wall too :)

Modified 2x4 Craft Table

Submitted by JKnight on Sun, 08/18/2013 - 20:31

I needed a microwave cart/table/stand, but couldn't find one at a price I was agreeable with. So naturally I started snooping on the internet. I originally found this plan, http://ana-white.com/2013/05/plans/2x4-craft-table and then modified it to fit my microwave and able to hide my garbage can underneath. I plan on finishing it with a ruffled skirt (to actually hide the can) and stenciling+staining the wood.

Estimated Time Investment
An Hour or Two (0-2 Hours)
Recommended Skill Level
Beginner

Classic Cabinet

Submitted by kristyzed on Wed, 09/16/2015 - 11:49

I have a small wall  by my fireplace in my living room that's been difficult to fill.  I've had my eye on this jelly cabinet for months but knew it wouldn't fit in the location I had in mind.  I decided to put it by the fireplace, scrap the metal mesh doors, and go for a slightly more elegant look by using glass.  This suits the room much better and I'm really happy with the final result.

Estimated Cost
$180
Estimated Time Investment
Weekend Project (10-20 Hours)
Finish Used
I used Zinser 1-2-3 Primer followed by a Behr red that I ended up darkening with black paint to achieve the desired tone. It took 3 coats of the red to get full coverage.
Recommended Skill Level
Intermediate

Husky Farmhouse Table and Bench

Submitted by frmoody on Fri, 06/03/2022 - 09:23

I have built several of these tables but this was the first one with turned table legs. They were somewhat expensive but I think the final product looks great with them. I actually stained the bottom aprons and legs the same colour as the top and then put on two coats of an antique white followed by a little scuffing up with sandpaper. I also cut the aprons from 2 x 6's so they were actually 4" in width. I used MinWax Jacobean stain which I had never used before. I then applied three coats of Varathane Satin finish. Not the best photo from my garage but no way I was getting it inside my house for a better photograph. Thanks for the great plans Ana.

Built from Plan(s)

Comments

Farm House Table

Submitted by MzAnderson on Sat, 07/16/2011 - 14:39

With only a few changes from the original plan this farm table is my first furniture build. The legs are removable on the table and custom sized for our breakfast nook. I very much enjoyed building this all thanks to Ana!

Estimated Time Investment
Weekend Project (10-20 Hours)
Recommended Skill Level
Beginner

Comments

T-Town DIYer

Thu, 12/08/2011 - 06:34

No one has commented on this table, yet? It looks great. I'm loving the white bottom with the stained top. Im probably going to steal the idea for a project in the near future.

Guest (not verified)

Tue, 01/24/2012 - 07:34

Can you share the specifics on your mods? This is just what I want for the breakfast nook i'm going to build!

Simple Kitchen Bench

Submitted by bludevil35 on Tue, 08/20/2013 - 07:44

Another bench for another wedding gift.

We've made another already to keep in our kitchen. Looks great, thanks again for the plans.

We opted not to incorporate the storage/ flip top. Just a simple sturdy, great looking bench.

Estimated Cost
Just our time, all materials were reclaimed
Estimated Time Investment
Afternoon Project (3-6 Hours)
Finish Used
Minwax Dark Walnut
Recommended Skill Level
Beginner

Rustic X End Table

Modified to be slightly more modern by removing had the X and having a solid bottom shelf. Also, narrowed it up to be rectangular shape to save space. 

Built from Plan(s)
Estimated Time Investment
Day Project (6-9 Hours)
Recommended Skill Level
Beginner

Comments

Traditional Wood Toddler Bed w/ Straight Headboard and Footboard

Submitted by tducote on Tue, 06/14/2022 - 13:01

I completed this project back in February of 2020. I'm just realizing that I never posted about it here. The bed had held up phenomenally for the past 2+ years.

This was an excellent little project. It was just a little challenging and very fun. I changed the headboard and added a footboard to the bed by using extra 1x6 boards and elongating the feet about 6 inches to make it work. The construction part of this project (including cutting and assembly) took just one evening. I stayed up pretty late working on it, but I was able to complete it in one night. Painting took a few more days.

One note about the guardrails: the pocket screws split the vertical rails that were rounded off at the end. I glued and clamped the splits back together (note the clamps in one of the pictures), so no big deal. But I would recommend maybe not rounding them as much as I did. If I were to build it again, I'd probably just use my little disk sander to take the corners off, instead of taking off as much as I did using a jig saw.

Built from Plan(s)

Comments

Simple Modern Outdoor Sectional and Ottomans

Submitted by dwcampb on Fri, 07/22/2011 - 12:04

This was my second project and is the simple outdoor sectional. Took me about 8 hours to build all the sections and another 8 hours to stain everything. We ended up buying the cushions and pillows from Garden Ridge in Texas. Total cost for the cushions was about $500. Wood and materials was about $300. I used 1 x 4 cedar to insure it was rot and insect resistant. Then I stained it with Behr Premium Outdoor Natural #500. Looks great out on our covered patio. I will be building more as we are in the process of installing a pool of which I need lots of furniture to go around the decking!

Estimated Cost
$850 with cushions
Estimated Time Investment
Weekend Project (10-20 Hours)
Finish Used
Behr Premium Outdoor Natual #500. I sprayed all stain with a cup gun and gently spread the stain with a pad applicator. I did 2 coats on all sides.
Recommended Skill Level
Beginner

Comments

Guest (not verified)

Fri, 07/22/2011 - 13:55

This is gorgeous and it goes really nicely with your brick house too! I'd love to see more pics if you have. Great job :)

spiceylg

Mon, 07/25/2011 - 08:09

I want to build this so bad but have to be patient and wait because of the cost of the cushions - it's crazy! You did an amazing job!

Guest (not verified)

Sun, 02/26/2012 - 12:41

Cushions are expensive because you want to buy a mold/mildew resistant foam on the inside. Secondly, you want the fabric to be an outdoor fabric that has resistance to fading from the sun, but again that will resist mold/mildew and withstand rain, etc...with that said it makes them expensive.

Seasonal And Holiday

Daybed for our "big girl!"

We pulled ideas from a couple of plans for this daybed. We utilized the farm house headboard for both the back and the sides. And, the daybed dimensions and framework from the Hailey Storage Daybed.

We have cabinet doors to put on the two center cubbies, but the first set warped when painted. So, the second set are currently drying. We're planning to use magnetic spring-push closures on them to eliminate the need for cabinet knobs (we're afraid they could be used as a step by little feet!).

We did not secure the slats that lay behind the cubbies and the headboard, this way we can utilize space under the bed for additional storage--there's a ton of room under there!

This was the first project that we used a Wagner HVLP paint sprayer on. I will NEVER go back to brushed and rollers. The learning curve was minimal and the time savings phenomenal!

Estimated Cost
$300.00
Estimated Time Investment
Week Long Project (20 Hours or More)
Finish Used
2 coats of primer and 3 coats of high-gloss latex paint applied with HVLP paint sprayer.
Recommended Skill Level
Intermediate

Comments

BuiltByMangus

Mon, 10/28/2013 - 11:04

We built this bed over the weekend! Just need to finish painting. I was wondering if you had trouble with the mattress fitting, because the dimensions seem to be a very tight fit. Also, did you put a sealer on the bed or just paint?

DIY Kids Art Table

I'm so excited Ana created plans for this table!  When I first came across it on Pottery Barn Kids it was love at first sight. :D  I built it over the weekend for my little toddler.  Unfortunately, he's too short for it, but he'll grow into soon enough. :)  (I secretly wished it was an art table appropriate for my height!)

It cost me about $75 to build.  I splurged and bought select pine boards for the project.  The art table was also my submission for September's Fab Furniture Flippin' Contest.  September's sponsor is General Finishes and the theme was geometry!

Now, I just need to build matching seats! I love the little stools Ana built; maybe I'll do something sorta like that. :)  


Thank you Ana for inspiring me to build!


Built from Plan(s)
Estimated Cost
$75
Estimated Time Investment
Weekend Project (10-20 Hours)
Finish Used
General Finishes Milk Paint (Snow White), Acrylic craft paints for the geometric pattern, ECOS Paints Woodshield in Pine Needles for the cubby stain, and ECOS Paints Gloss Varnish
Recommended Skill Level
Beginner

Comments

Mike’s Cedar Shed

Submitted by Anonymous (not verified) on Sun, 10/14/2018 - 19:29

My husband Mike built Ana’s cedar shed over the course of a few weekends. He wanted it to be 3-ft deeper than the original, so he made those modifications, and it turned out great! We added some vintage/historical knobs and brackets to really make it pop! It is ready to be filled with lawn mowers and tools! 

Built from Plan(s)
Estimated Cost
$600
Estimated Time Investment
Week Long Project (20 Hours or More)
Recommended Skill Level
Intermediate

Blanket ladder

Submitted by JMG on Fri, 06/24/2022 - 21:04

I built a ton of these as Christmas gifts and they were a huge hit! I used 2x3's and made them in different heights. Thanks, Ana!

Comments

Parson Tower Desk

Submitted by a2joy on Tue, 07/26/2011 - 11:58

I've been wanting a new desk for YEARS, as I've been using my childhood desk as a computer desk for about 12 years, but I never wanted to shell out the kind of money a desk I'd want would cost. So, this Parson Tower Desk was my very first build! First time using a table saw & I kept all of my fingers (go me). I'm very proud of how it turned out. It's not perfect, but it is exactly what I was hoping for! I love using it & can't wait to move onto my next project!

Built from Plan(s)
Estimated Cost
$75
Estimated Time Investment
Weekend Project (10-20 Hours)
Finish Used
2 coats of white semi-gloss Behr paint & primer in one.
Recommended Skill Level
Beginner

Comments

emmarosemc

Thu, 07/28/2011 - 18:11

Screw the power station thingy to the bottom of the desk and fill in the pocket holes and youre perfect!
Im still in the process of building two supersized versions of the parsons desk

Pam's Bench

Submitted by CSaintD on Tue, 10/06/2015 - 10:41

#formeremortals   #anawhite  
A bench I built for my sister as a birthday present.  I used whitewood for the painted parts and some left over knotty alder for the top and cross supports.  The alder was from a kitchen rehab and I have been holding on to that wood for ages. :)  The hardest part was the cross supports - figuring out the angle was a bear!   Thanks for the plans Ana!

Built from Plan(s)
Estimated Cost
I had the top wood saved from a kitchen rehab and the white wood was left over from other projects so no cost to me. But I estimate if you had to buy everything it would be around $25.
Estimated Time Investment
Day Project (6-9 Hours)
Finish Used
The Alder was pre-finished from kitchen cabinets and I painted the whitewood with a sample I had from lowes.
Recommended Skill Level
Intermediate