Community Brag Posts

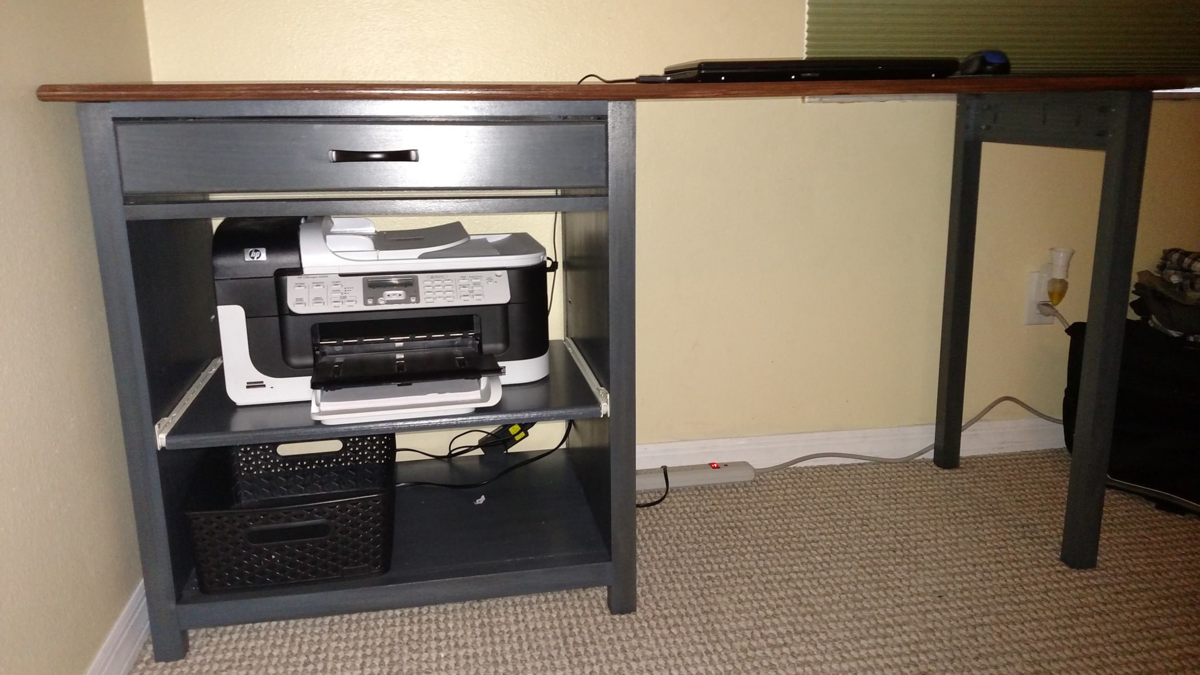
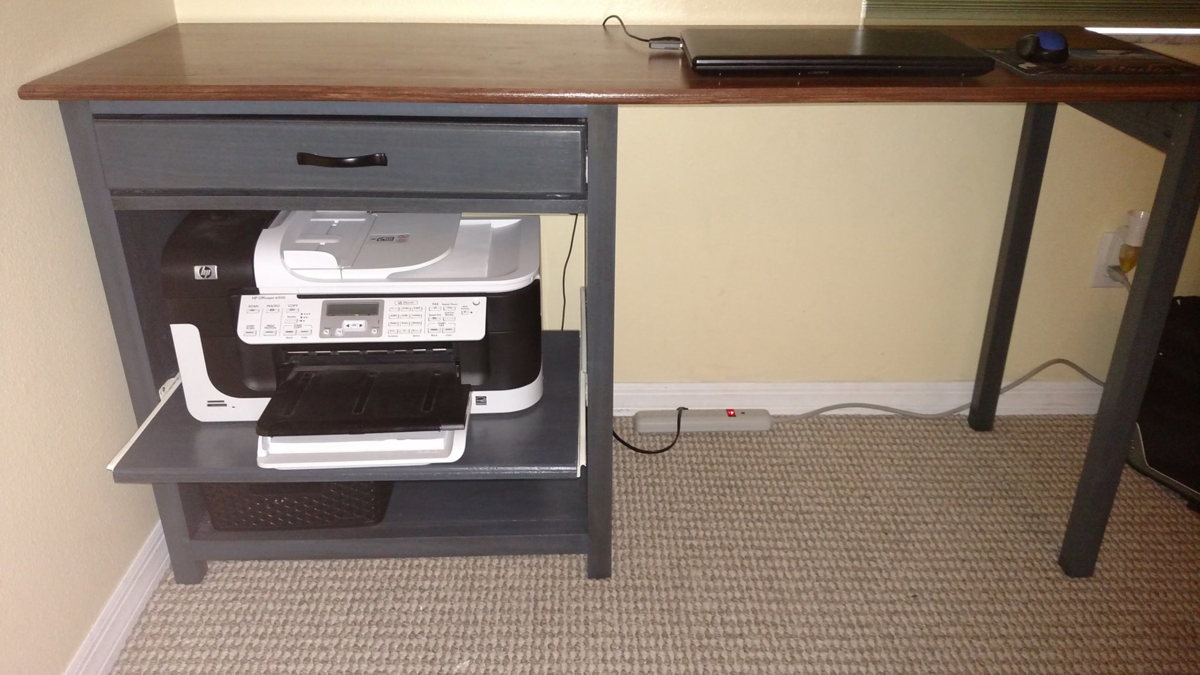
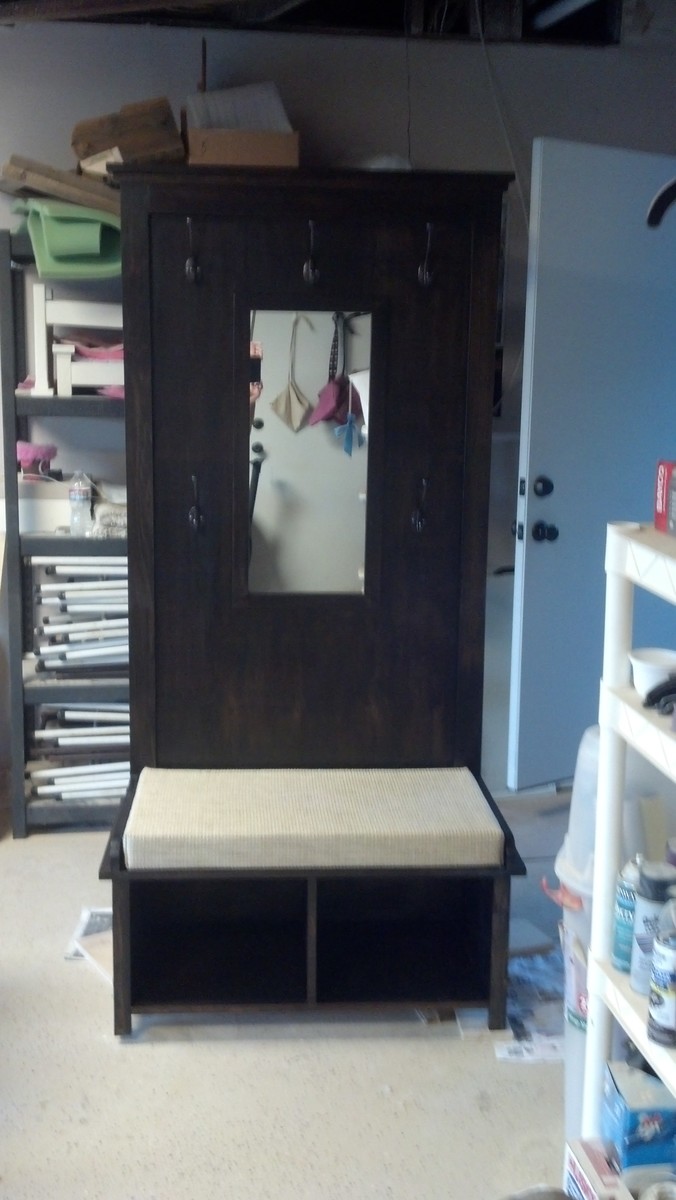
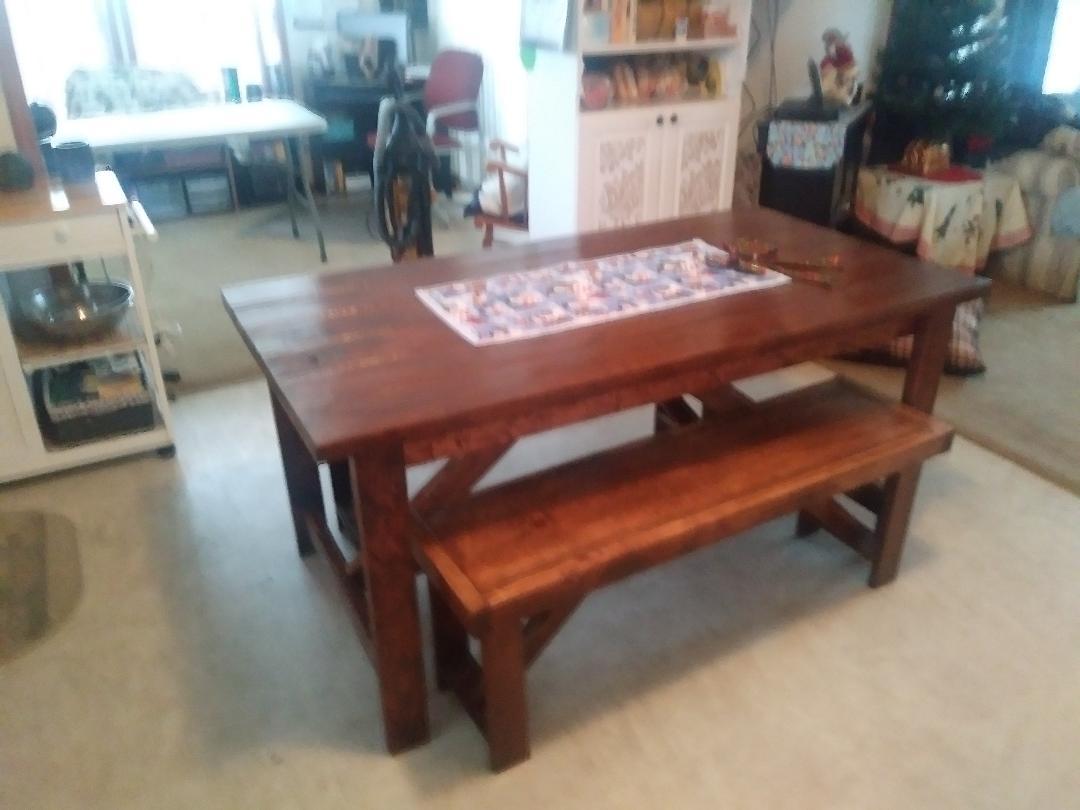
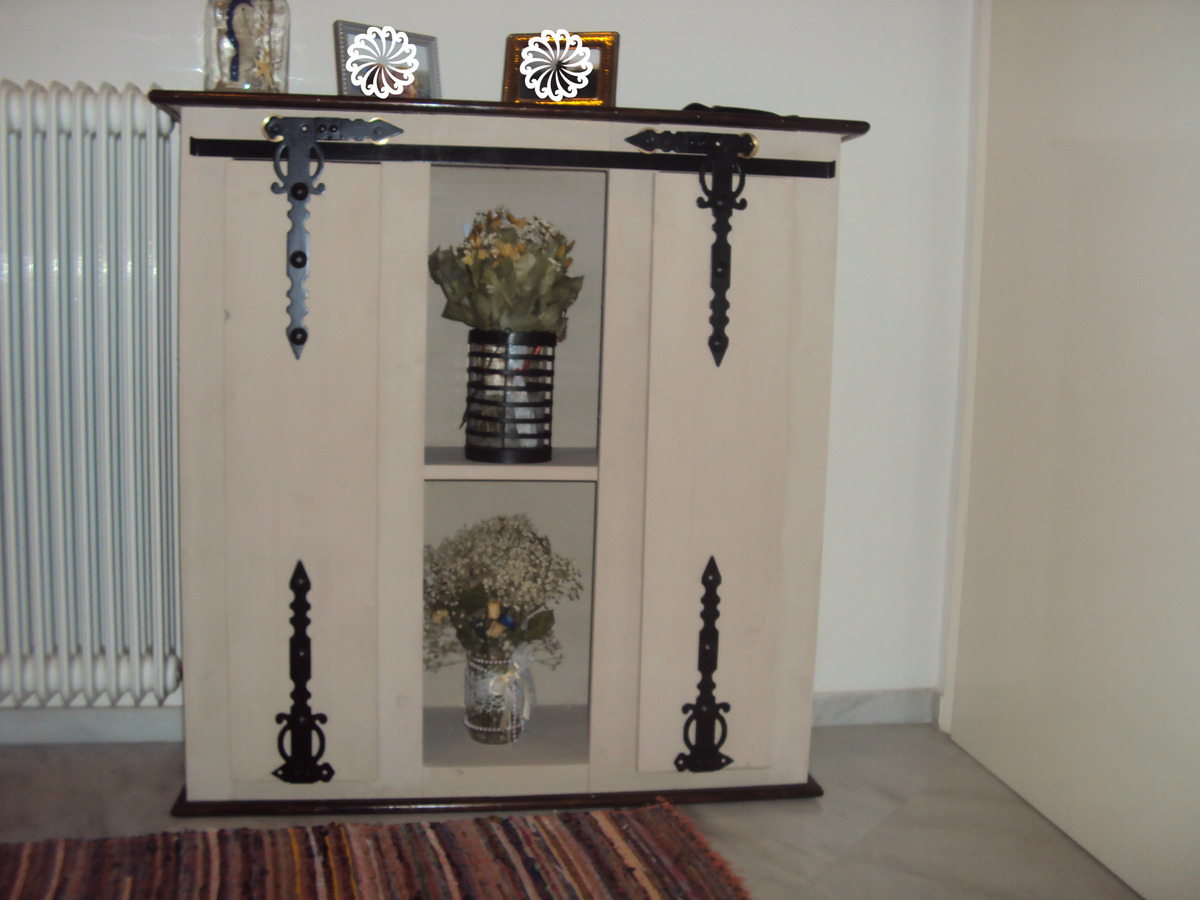
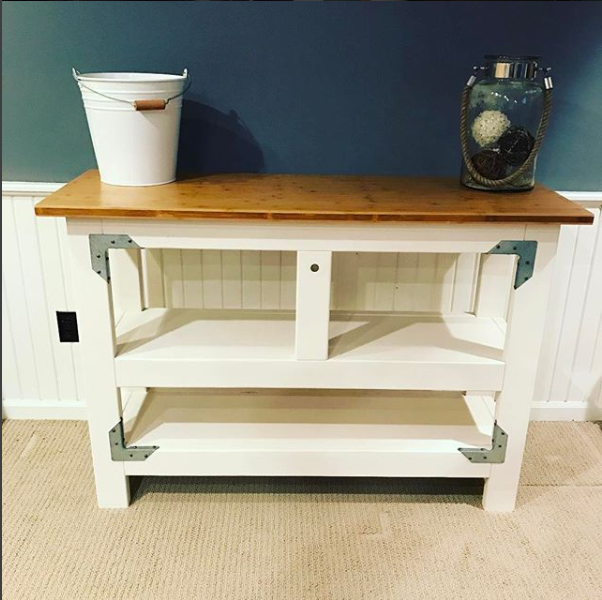
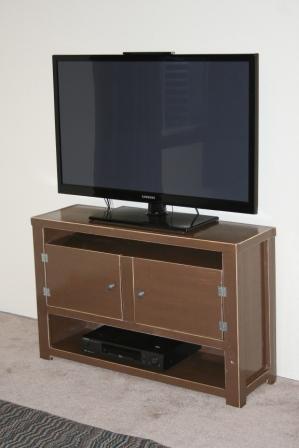
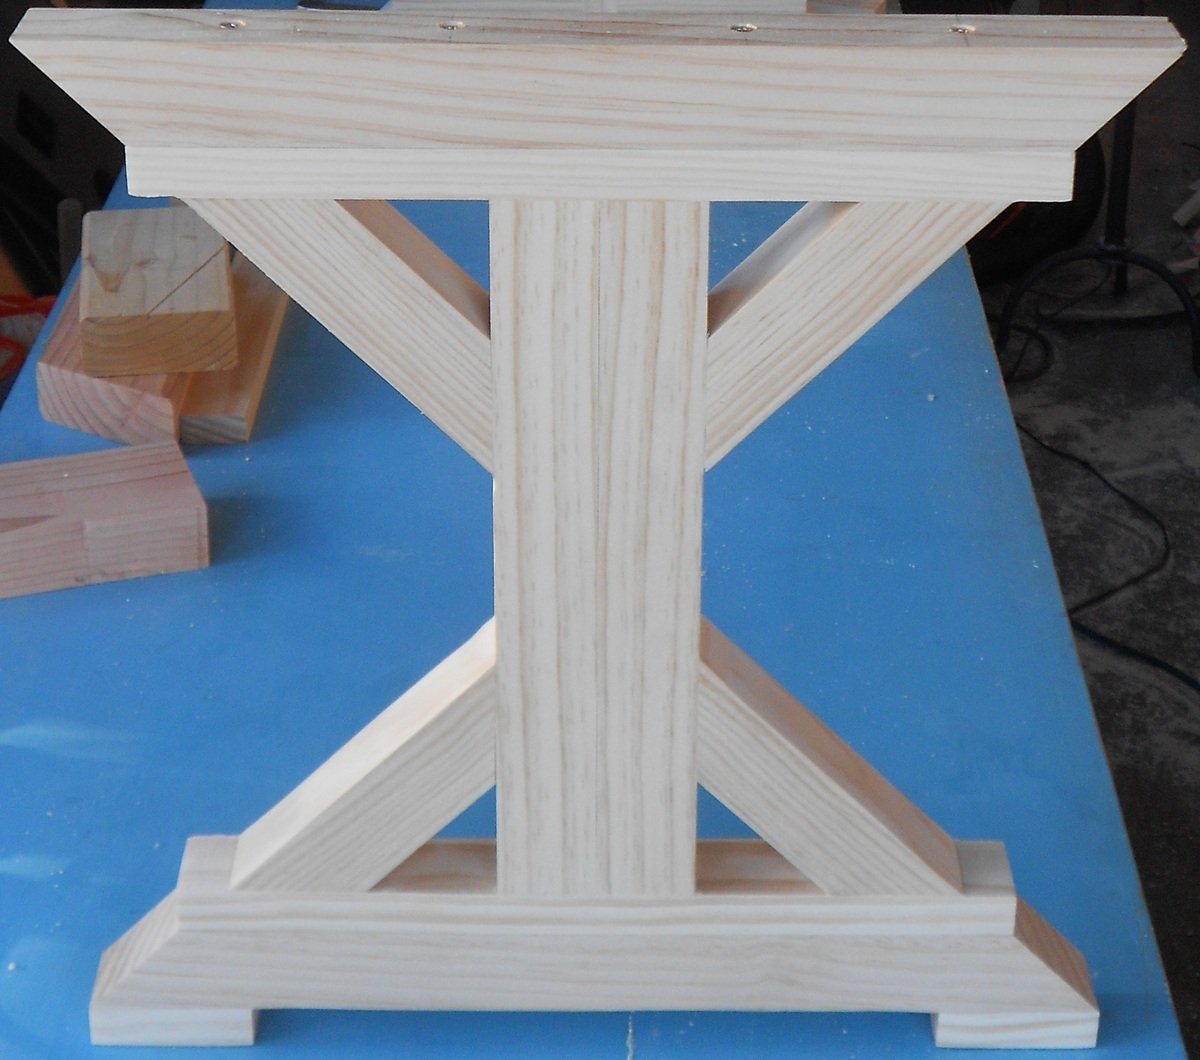
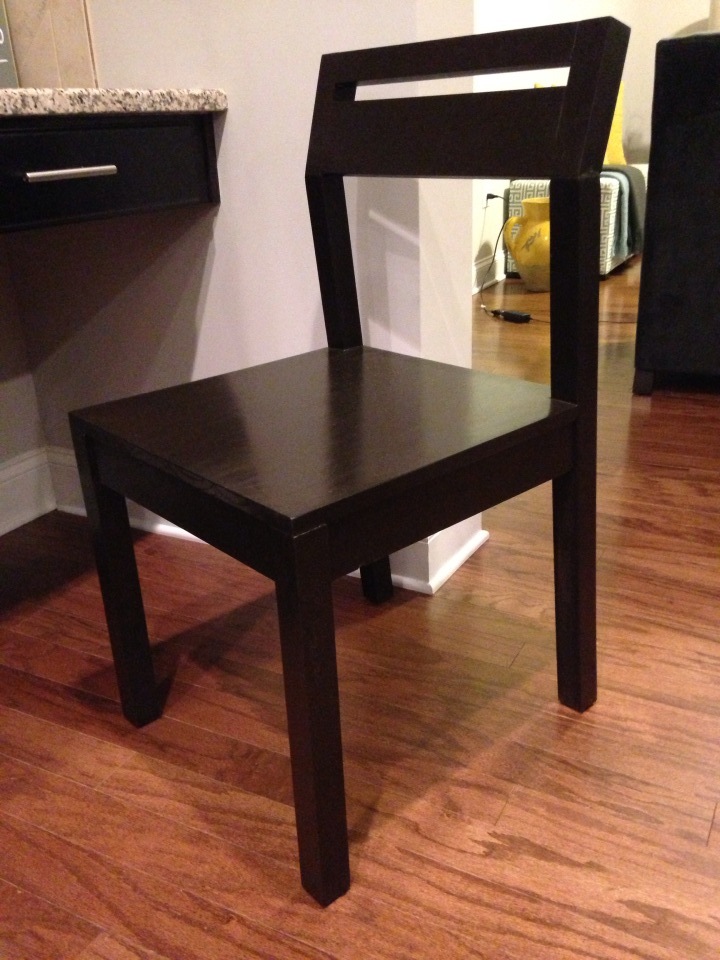
Cottage End Table based on Ana's design

Submitted by bluejazz on Sat, 08/06/2011 - 10:06

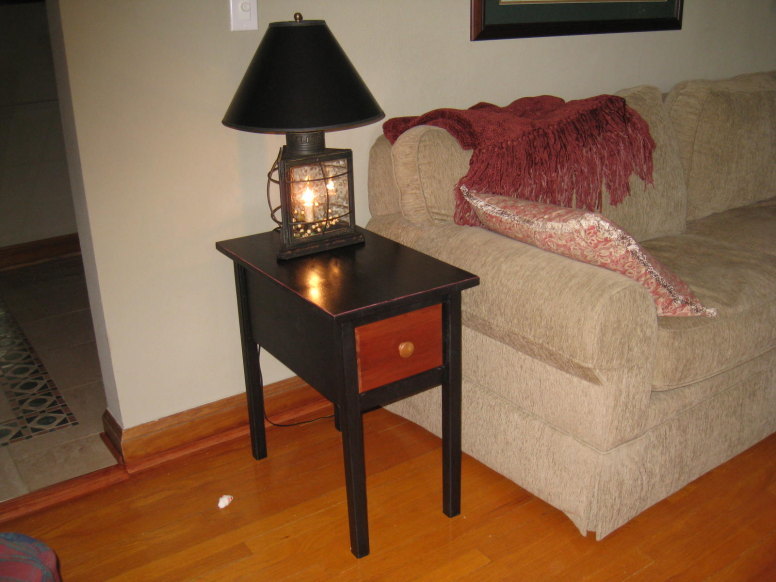
The design is good, it all goes together nicely. Mid-stream, I decided to use some Mahogany I had sitting around to make the face frame.

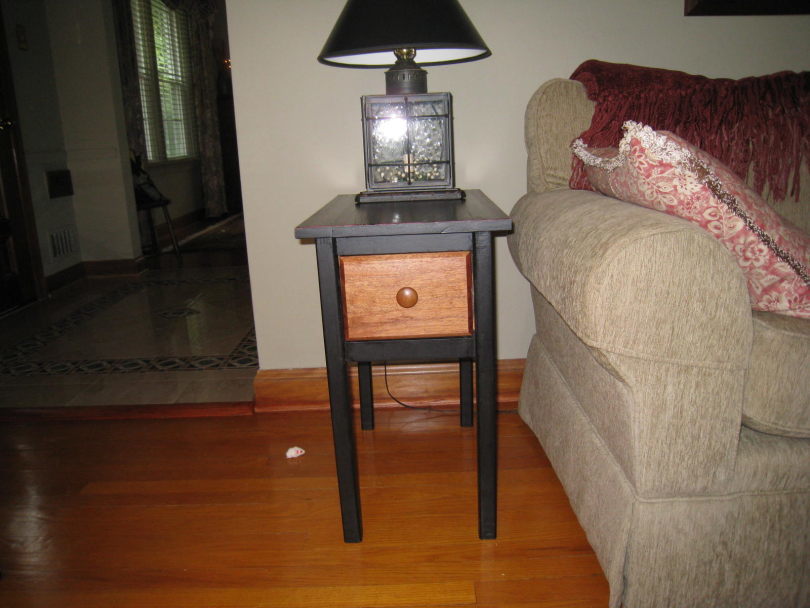
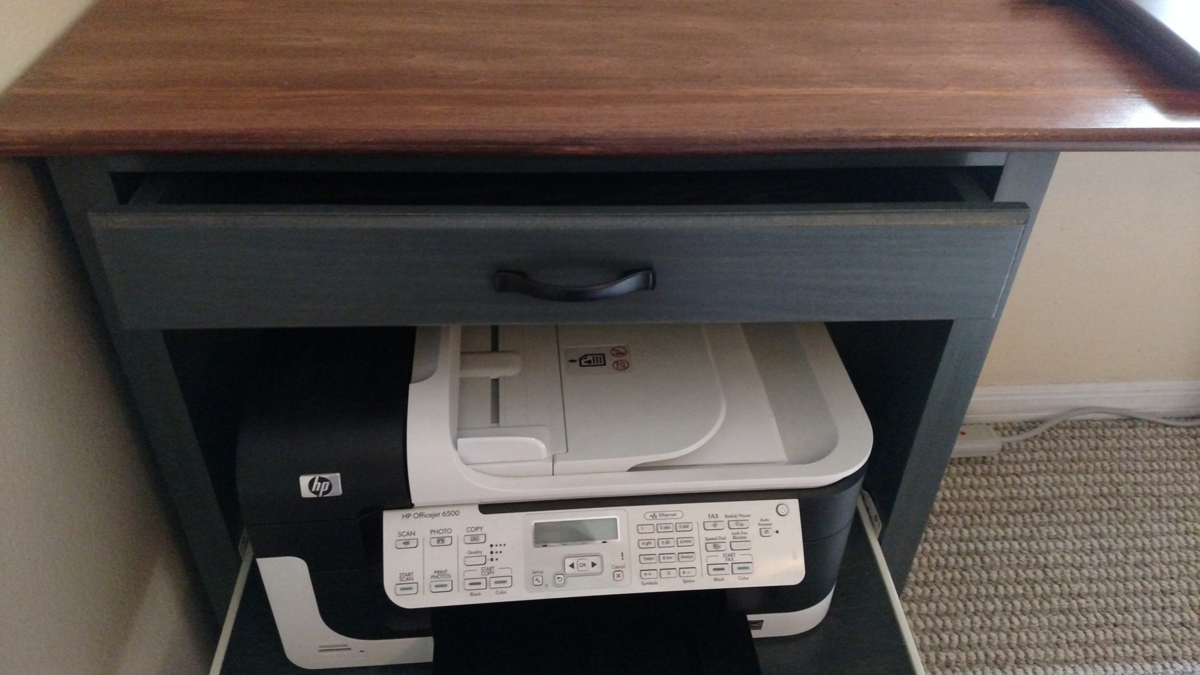
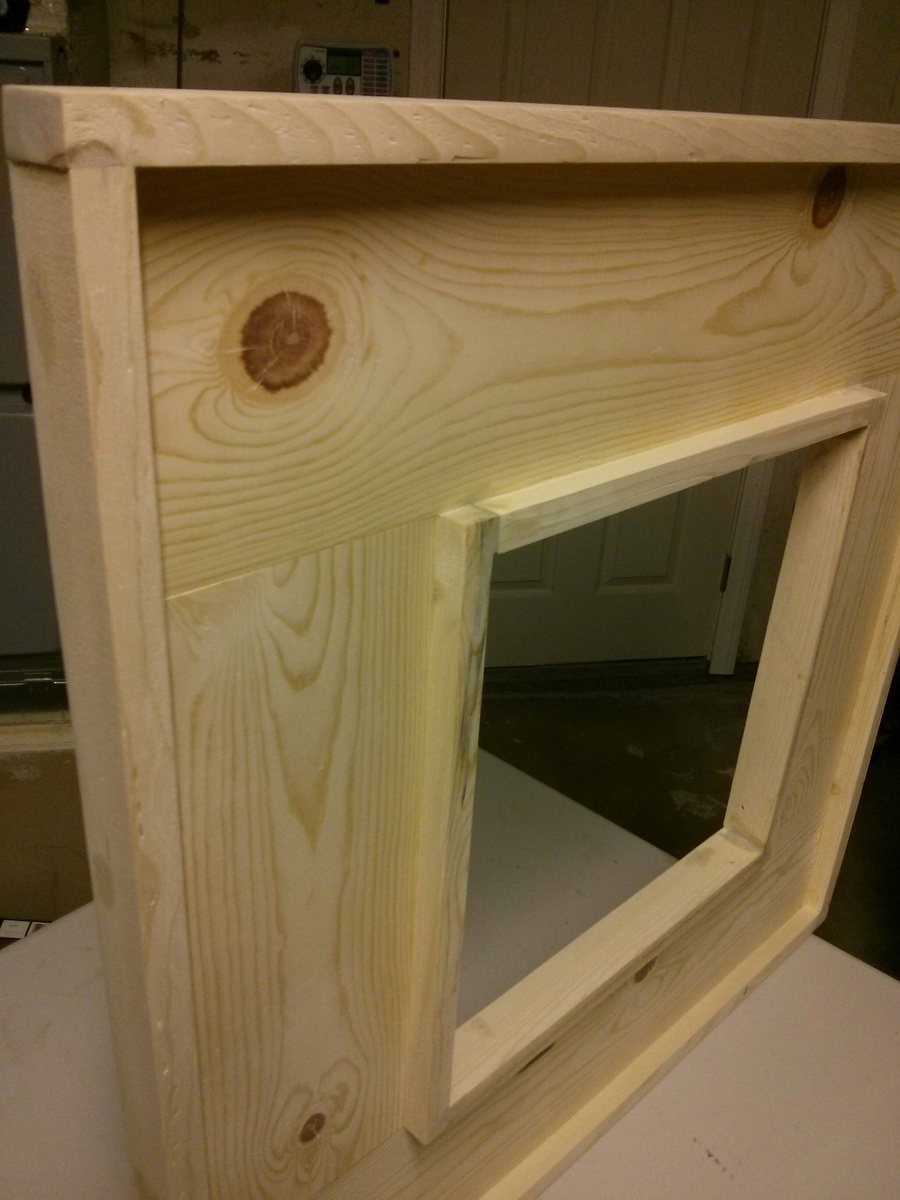
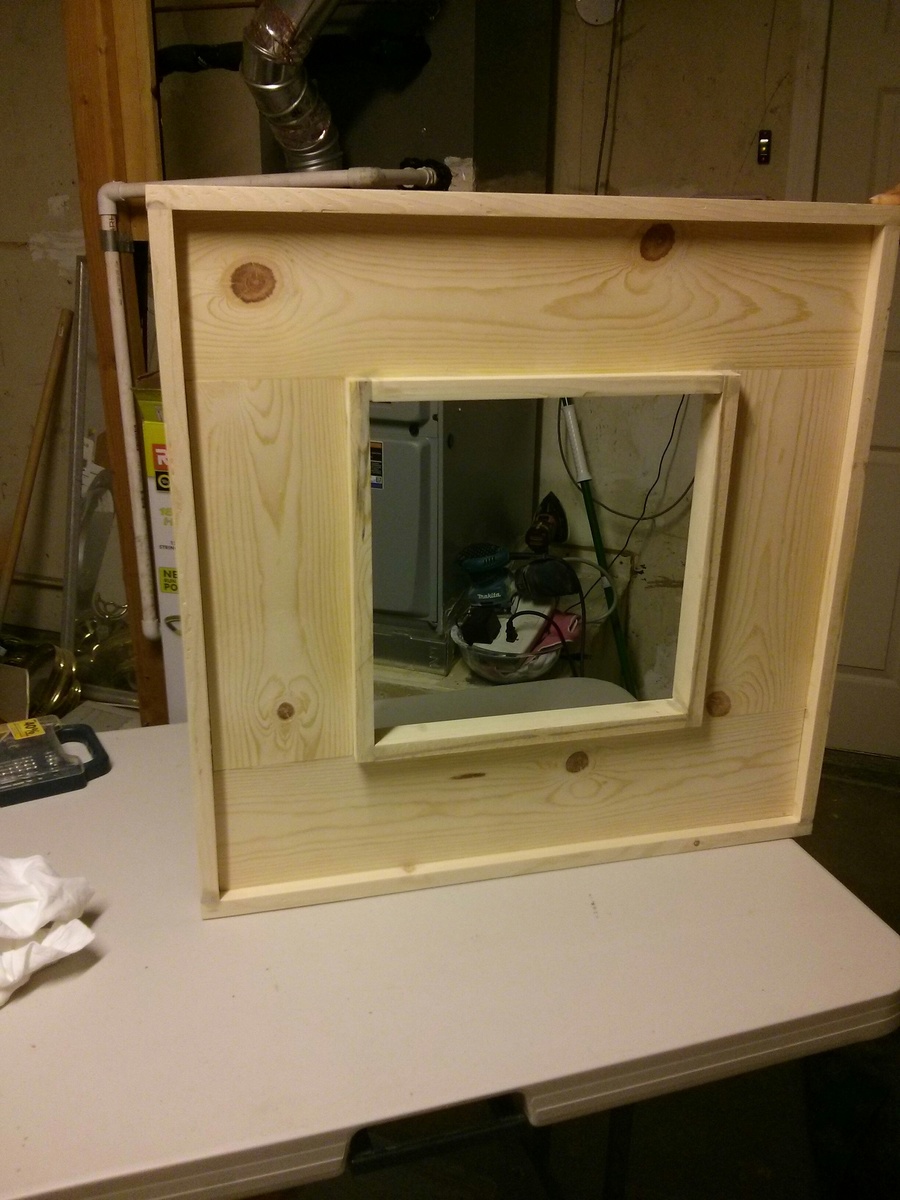
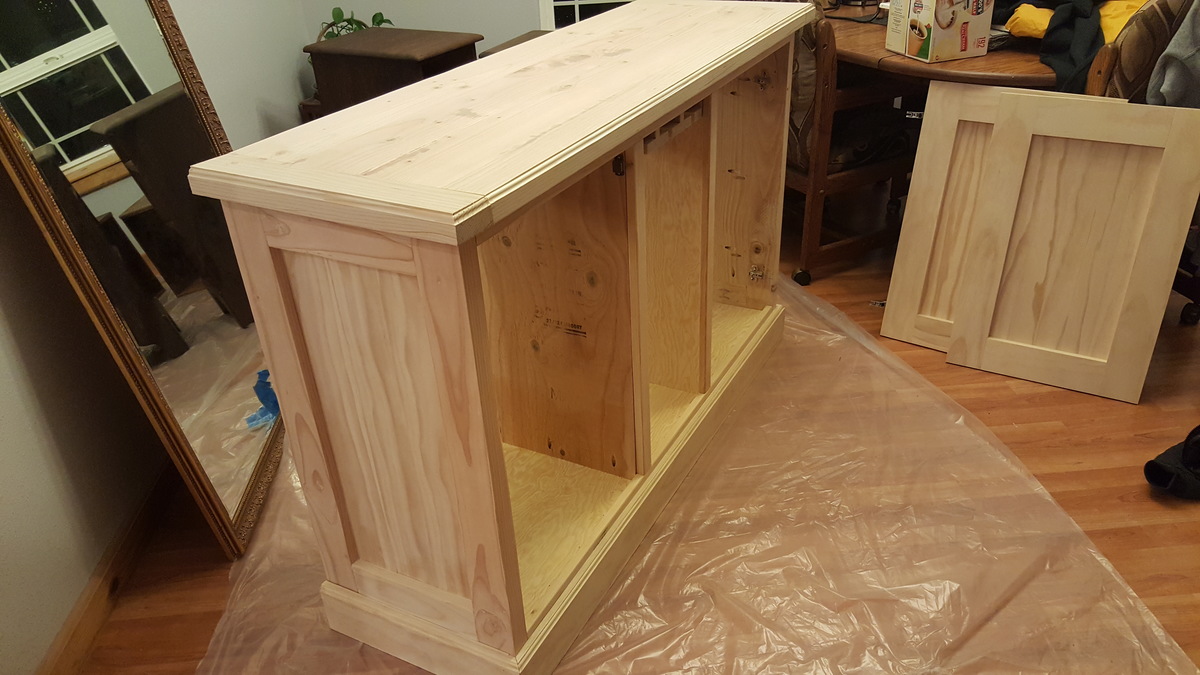
This was my first experience with drawers and predictably I had all kinds of self-inflicted problems. Most notably placing the bracket backwards and then I foolishly convinced myself I could put the top on before I put the drawer face frame on. (I could have but I would have never aligned it correctly)

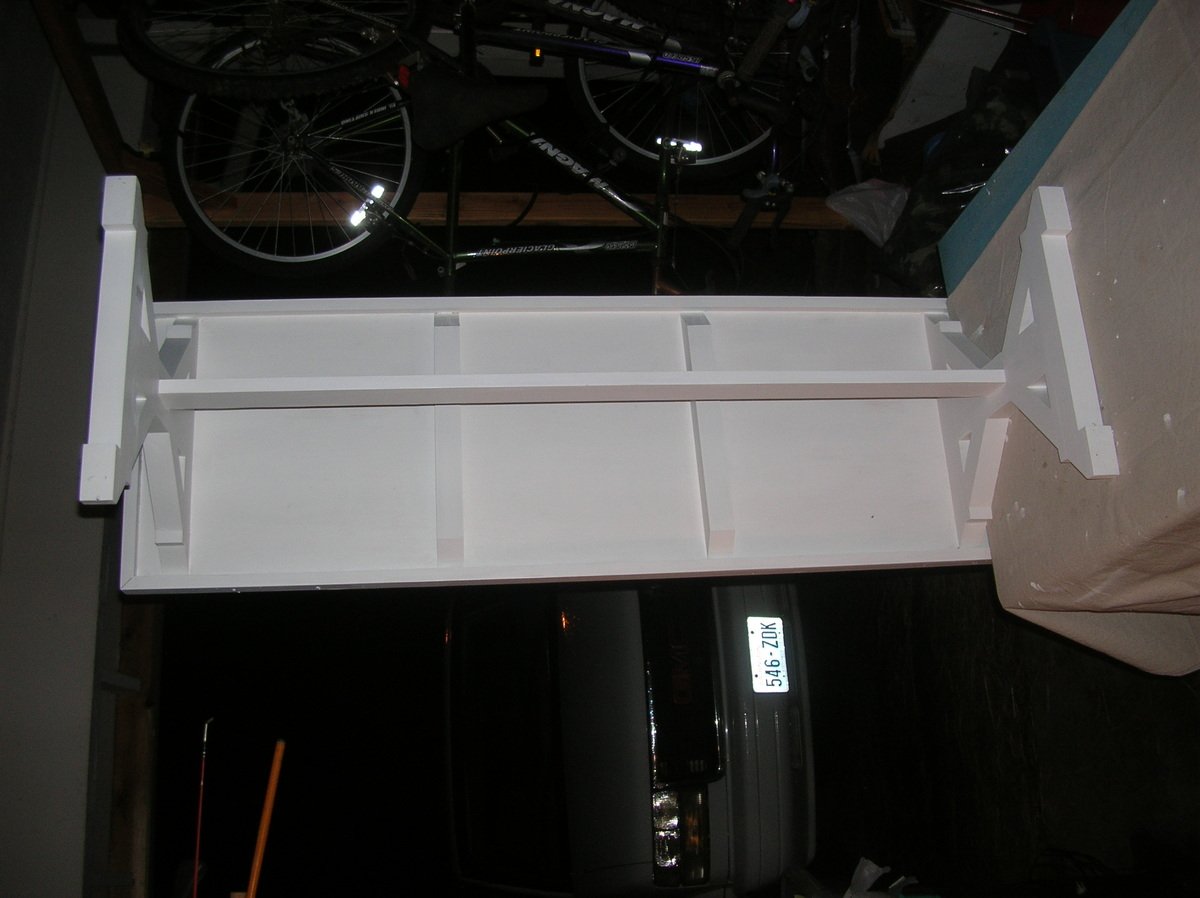
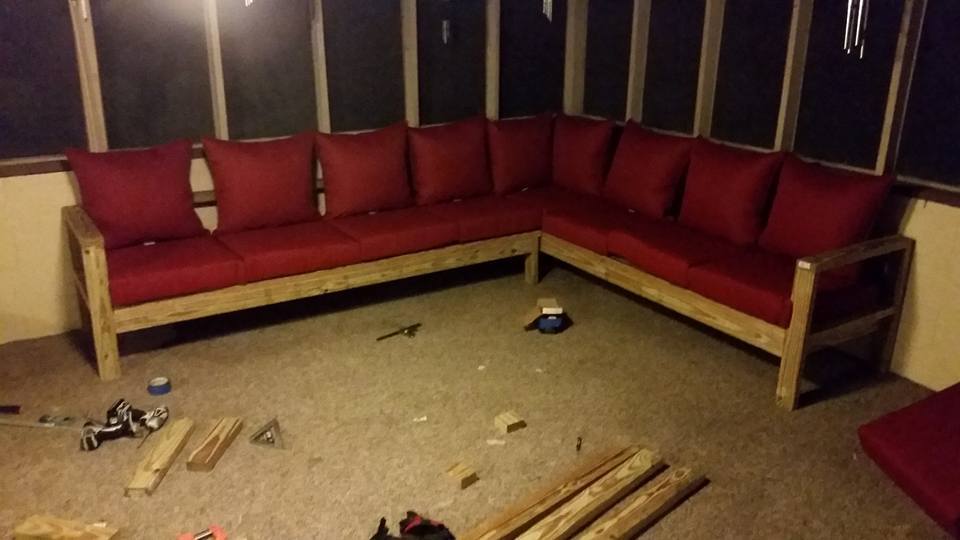
I finally came together; it fits well in the intended spot & my wife likes it.

Built from Plan(s)
Estimated Cost
60
Estimated Time Investment
Week Long Project (20 Hours or More)
Finish Used
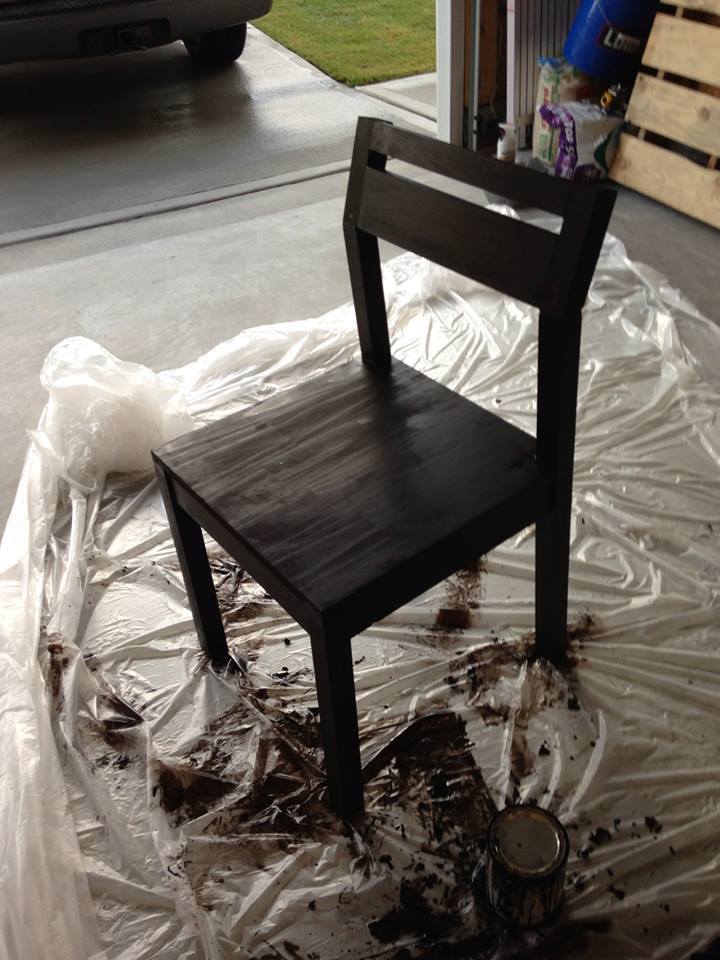
Black Enamel (primer and paint in one) Face frame was done with General Finishes Gloss Arm-R-Seal wiping varnish.
Recommended Skill Level
Intermediate

Comments

Kitchen Island

Submitted by Kstudinski on Sat, 08/31/2013 - 10:52

I have a small kitchen with no room for a table and no storage space. When I saw the plan for this kitchen island i knew it would fit perfectly in our space and a project my husband and I could work on together. It took several days in total, but we had to work around the kids, so probably could be done faster if need be. It is made out of white pine, including the top and legs. We probably spent around $150, but we looked at several similar islands going for over $600 and not even made with wood. We are so pleased with the outcome. We cannot wait to get started on the bunk beds for our son.

Thanks Ana White!

Built from Plan(s)
Estimated Cost
$150
Estimated Time Investment
Weekend Project (10-20 Hours)
Finish Used
Pine
Recommended Skill Level
Beginner

Channing Desk/1st ever project

Submitted by jodie0100 on Wed, 10/21/2015 - 13:01

My husband and I have never built anything.  We decided to build our teenage boy a desk, as I could not find anything I liked online.  The project was pretty simple for amateurs to follow.  The cutting and assembly was done in a day.  We decided to add the drawer and pull out shelf for the printer.  Really, figuring what color to stain it and the staining process was the most tedious.  We routered the drawer sides and the top of the desk for a nicer look.  So proud of our work and the fact that this will last our son for years to come.  

Built from Plan(s)
Estimated Time Investment
Day Project (6-9 Hours)
Finish Used
Water based Charcoal w/ Black Glaze for the base and water based Vermont Maple with a top coat of water based toffee stain. For both the top and bottom pieces, I brushed on the stain, let it sit for 3 mins and then applied medium pressure to wipe. Let dry for 2 hours and completed process again. For the bottom piece, after the two coats of stain, I applied the black glaze using the same method. However, after wiping off, I then used a damp cloth to wipe down one time. I used a polyacrylic protective finish.
Recommended Skill Level
Beginner

Nightstand-charging table

Submitted by csnezz on Tue, 11/13/2018 - 12:58

This was built as a nightstand/charging cabinet.  I made it a little deeper for more stability. I also replace the 4-5 drilled holes with a corded electrical/usb outlet that allows you to both plug electri cords and usb cords for electronics (about $10 online). I added a center 1 X 2 and magnet closers on the doors. I used unfinished wainscot for the center of the doors.

Estimated Cost
$50
Estimated Time Investment
Weekend Project (10-20 Hours)
Finish Used
Varathane water based pre-stain, Varathane American Walnut quick dry stain, Varathane water based polyurethane.
Recommended Skill Level
Intermediate

Comments

Simple Outdoor Lounge Chair

Submitted by meikokoda on Tue, 08/09/2011 - 06:15

I made 4 Simple Lounge chairs and 3 Ottoman/Accent tables. They are made out of 1x3 and 1x2 furring strips. I was worried about how sturdy they were going to be but, in the end they turned out PERFECT!! We absolutely LOVE our new set!

Estimated Cost
$15 each including paint
Estimated Time Investment
Weekend Project (10-20 Hours)
Finish Used
Glidden Exterior in Vibrant Day Lily
Recommended Skill Level
Beginner

Comments

Something to hang you hat on

Submitted by sgilly on Mon, 09/02/2013 - 17:45

I built this for a friend of a friend. They had seen a similar hall tree on line that ran between $300-$500. It was made of a mix of materials, including mdf and veneer. It was for newlyweds so I did the finishing (something I really hate) and I made the cushion. I had the mirror cut at a local glass shop, and had it cut a bit shorter than how it appeared in the picture they gave me - I was afraid someone would toss somthing onto the cushion and it would end up hitting the mirror.
They seemed happy with it. I hope to get a picture of it in place so that I can add it to my album titled "Look what Gramma made when she could still do things".

Estimated Time Investment
Weekend Project (10-20 Hours)
Finish Used
I used 3 coats of Minwax Dark Walnut, 2 coats of rub on polyurethane, satin finish, and then applied a coat of wax and buffed that out.
Recommended Skill Level
Intermediate

Comments

CreativeChaos

Tue, 09/03/2013 - 16:45

I was considering making the hall tree for our bathroom and wondering how you stabilized the back without those curvy side supports? I like how yours turned out!

sgilly

Tue, 09/03/2013 - 20:31

It was an easy build and would be really easy to anchor to a wall. I suggested to my clients that they just add anchors to the top piece and screw to the wall there. This is 72" tall. Most people wouldn't even see the anchors. You could also screw through the back from inside the cubbies. It wouldn't budge!

Anniversary wall art

This is my first project! My friend and i were debating what to gift our friends for their anniversary. This was perfect. Good first time beginner project. 

Estimated Cost
$25
Estimated Time Investment
Afternoon Project (3-6 Hours)
Recommended Skill Level
Starter Project

Indoor Daybed without Canopy

Submitted by hfitz1 on Thu, 08/11/2011 - 10:34

We made this for my daughter's bedroom. There was not enough room for a canopy, so we adapted it a bit.

Estimated Time Investment
Afternoon Project (3-6 Hours)
Finish Used
Spray-on primer, then paint
Recommended Skill Level
Beginner

Comments

Cedar potting bench

Submitted by Anonymous (not verified) on Fri, 09/02/2022 - 06:10

Cedar 4x4 and 2x4 frame, cedar fence wickets for the rest. Added - built around- a plastic planter box from big box store. Untreated, but good for covered outdoor area I think.

Comments

Clara Table

My wife has always been a huge fan of Ana White's website, and we've wanted to start making some of the projects now that our children are a bit older (5 yrs., 3yrs., 5 mos.). Plus, after finishing my Ph.D., I've finally found the time to begin woodworking as a hobby--and I love it!!!

This was our first project together. I did the building, and my wife completed the painting. The kids love the table, which we use as a breakfast and snack table for them.

Ana's plan was wonderfully simple and clear, and the materials were inexpensive and purchased at our local small town lumber store.

My only suggestion for others interested in building this project to be a food table is to consider using a solid piece of wood for the tabletop and perhaps the same for the chairs. We are constantly cleaning food gunk out of the seams between the joined tabletop planks. I imagine that this will require a bit more work for the chairs, but with little kids who make horrible messes with their food.

Blessings,
JB

Built from Plan(s)
Estimated Cost
$35
Estimated Time Investment
Afternoon Project (3-6 Hours)
Finish Used
semi-gloss white paint
Recommended Skill Level
Beginner

My indoor Bristol chair

Submitted by rstieber on Thu, 09/05/2013 - 23:31

I made this chair in pine based on the plan for the Bristol outdoor lounge chair. But I changed the dimensions to fit my pillow (21"x21") and I raised the seat (increased the length of the legs by 3.5"). I modified the armrests so that they don't cover up the pillow since I didn't want to lose 7" from the seat. I plan to use this indoors at our mountain cottage. It still needs to be sanded and stained, but I'm pretty pleased with the result. I may have to make a matching ottoman next.

Estimated Time Investment
Weekend Project (10-20 Hours)
Recommended Skill Level
Beginner

Comments

JoanneS

Fri, 09/06/2013 - 02:54

Great job converting the Bristol Chair for indoor use! I love the mods you made. It looks really comfortable too. Where did you find your cushions? What finish did you choose to go with that beautiful red?

rstieber

Fri, 09/06/2013 - 07:13

Thanks! I found the cushions on Amazon. The bottom one is the Greendale square floor pillow. I haven't picked a stain yet, but maybe something oaky with some gold tones. All the furniture in the room is fairly light so I don't want to go too dark.

Bamboo top buffet

This was a fun project that ended up being a multi-use table! This was originally built as a small island for the kitchen but as the family grew it became a changing table! The top was purchased online at home depot, the base is made of douglas fir 2x4's and the corners accents are Simpson Strong-Tie ZMAX Galvanized 16-Gauge 2X Rigid Tie Connector available at HD for about $2 each. Thanks for looking! See more at my website analogwoodworks.com!


Estimated Cost
$150
Estimated Time Investment
Weekend Project (10-20 Hours)
Finish Used
Glidden Toasted marshmallow in eggshell
Recommended Skill Level
Beginner

From Scrap 2 Useful

Submitted by calcowoods on Tue, 09/06/2022 - 10:09

Diy project with scrap wood laying around the garage. Using a hole saw, cut 1 1/2 inch cookies from several pieces of wood. Glued them into 3 separate towers. Using 1" fostner bit cut recess for tea light candle. A quick sanding and coat of polyurethane. Also, included an example of using plywood cuts into a rectancular shaped candle holder.

They look pretty good for a quick fun project.

Built from Plan(s)

Comments

My media console

Submitted by cbrowan on Sun, 08/14/2011 - 18:48

After the success of my first project, I had to go for #2. I loved not having to predrill and countersink anything on this...just pound away with my hammer. Since I had a bit more confidence about building, I was also able to move a lot faster on this project. I modified the plans by not adding a drawer and keeping the bottom a shelf, as well as adding smaller doors and maintaining an open shelf above them.

Built from Plan(s)
Estimated Cost
$70 for wood, nails, and hinges/knobs
Estimated Time Investment
Afternoon Project (3-6 Hours)
Finish Used
1 coat of leftover Valspar chocolate brown paint, sanded down the corners and covered with 1 coat of Minwax polyurethane semigloss.
Recommended Skill Level
Beginner

Wedding Guest Book Bench

Submitted by NoëlD on Sat, 09/07/2013 - 20:23

I made this bench for the daughter of a friend to be used as the guest book for her wedding after seeing this brag post - http://ana-white.com/2013/07/wedding-guest-book-bench-modified-fancy-x-….

I made similar modifications, including the use of a project panel for the top. I made a couple of other changes. I added two reinforcements under the top. And instead of using a 2 x 4 for the legs, I glued up two 2 x 2s.

I also matched the font of the wedding invitation for the bride and groom's names and wedding date.

While the total time spent building was somewhere between three and six hours, it was built over a couple of weeks.

Built from Plan(s)
Estimated Time Investment
Afternoon Project (3-6 Hours)
Finish Used
Three coats of white satin latex.
Recommended Skill Level
Intermediate

Comments

NoëlD

Sat, 09/07/2013 - 20:44

The bride and groom loved it.

This was my second major build from plans I found on Ana's site. The other build is a pair of nightstands which are still awaiting stain. They were put aside so I could concentrate on the bench.

Plank Sideboard / Wine Cabinet

Submitted by denthy68 on Tue, 01/01/2019 - 06:40

Modified Anna White planked sideboard plan.  Made the unit smaller and changed the center cabinet to a wine rack.  This is my very first piece of furniture. It's not perfect, but I love how it turned out.  Routed the edge of the top to add detail and used a tablesaw to square edges of 2x4's for a sharper look.  Fits nicely under my husband's antique mirror.

Built from Plan(s)
Estimated Cost
$140
Finish Used
Sherwin Williams satin latex. The first finish I tried was a flat black, but it looked lifeless so I added two coats of satin and am very happy with the finish for look and durability.
Recommended Skill Level
Starter Project

Modified Farmhouse Table

Submitted by kfitz85 on Thu, 08/18/2011 - 19:18

Modified farmhouse table - A little over 5 feet. Really a fun project

Estimated Cost
60 Dollars
Estimated Time Investment
Week Long Project (20 Hours or More)
Finish Used
Mission Oak
Recommended Skill Level
Intermediate

Comments

Brittney89 (not verified)

Fri, 08/19/2011 - 11:11

What were the modified dimensions you used for this farm house table? It looks amazing!

Brittney89 (not verified)

Fri, 08/19/2011 - 11:11

What were the modified dimensions you used for this farm house table? It looks amazing!

Modern Angle Chair

This was a fairly easy project that I believe had great results. The finish time includes a few nights of polyurethane and sanding to finish.

The fairly costly price is from wanting to make this chair like a real finished project. The bulk of the chair is made from poplar and the seat is made from a pine project board.

Built from Plan(s)
Estimated Cost
$75
Estimated Time Investment
Day Project (6-9 Hours)
Finish Used
Rust Oleum Kona stain and satin polyurethane
Recommended Skill Level
Beginner

Outdoor Sectional

Submitted by mdj1281 on Mon, 11/16/2015 - 06:27

Our new home has a 21'x17' screened in porch that needed somthing, anything to occupy it! We looked for sectionals from online retailors and could not believe how much money they were demanding for them. Being new homeowners we could not afford/justify spending that amount. I found Ana-white.com while looking for shoe bench plans and found these 2 plans for the sectional. It was time to justify all of my tool purchases! lol


I took the 2 plans for the sofa and armless sectional and increased the size on the armless sectional by 1 seat to fill the area better. Future plans also include a bar, serving area and coffee table in the space. I bought (30) acq 2x4x8's and, not including scrap pieces, had 3 reamaining full pieces after completing the project. Total for the wood materials was $130 and I also had to buy a Kreig Jig ($37) and 2-1/2" ext deck screws so all in all about $180 for the materials


For the cushons I searched local retailors and found since we were going into the winter season a lot of local stores were selling off their patio supplies at big discounts. I found a local Home Depot selling Hampton Bay deep cushions for 75% off (normally $49.98 on sale for $13.xx). I needed 8 seats and since one was a corner I ordered 9 sets (9 backs, 8 seats).


Project took me less than 5 hours pick up the wood, set up on-site shop, make all the cuts and assemble. That 5 hour timeline also included a break for dinner. The sofa sections are heavy when put together, if you plan on moving them more than once or twice a year I'd suggest putting some caster wheels on the base with locks to keep it from rolling away when being used.

Estimated Cost
$130 in wood materials, $117 in cushions (on sale) + incidentals (glue, screws)
Estimated Time Investment
Afternoon Project (3-6 Hours)
Finish Used
None
Recommended Skill Level
Starter Project

Comments

kbdesigns

Tue, 11/17/2015 - 17:58

Looks like some nice pieces of furniture you have here! I actually built the same sofa from that same plan as our outdoor furniture, along with some chairs built with the same style to match. Mine is a few months old and I'd like you give just a tiny bit of advice (if you'll accept it lol) so yours doesn't end up like mine... On the back, top horizontal support (the ones that traverse the entire length of the sofa) I would put 1-2 vertical support posts spaced evenly. After just a month of having mine I started to notice a slight sag in the board :( No doubt after 6 months to a few years it would become pretty bad. Its just a matter of cutting a couple scraps and screwing them in, so its a pretty simple fix! I hope it helps, and keep up the tool collection and builds!


-Jeremy

mdj1281

Wed, 11/18/2015 - 04:09

Funny you should mention that, I was thinking it while showing it off to the in-laws a few nights ago. I'm a big guy and leaned back on it and naturally it had movement. I was torn between a 2x4 on end running under the rear piece or horizontal supports... I didn't want there to be any undesirable spots to sit in if my guests leaned back. So, since you did this addition does it effect the seating area?


Good call though and something I'm going to do!


Thanks!