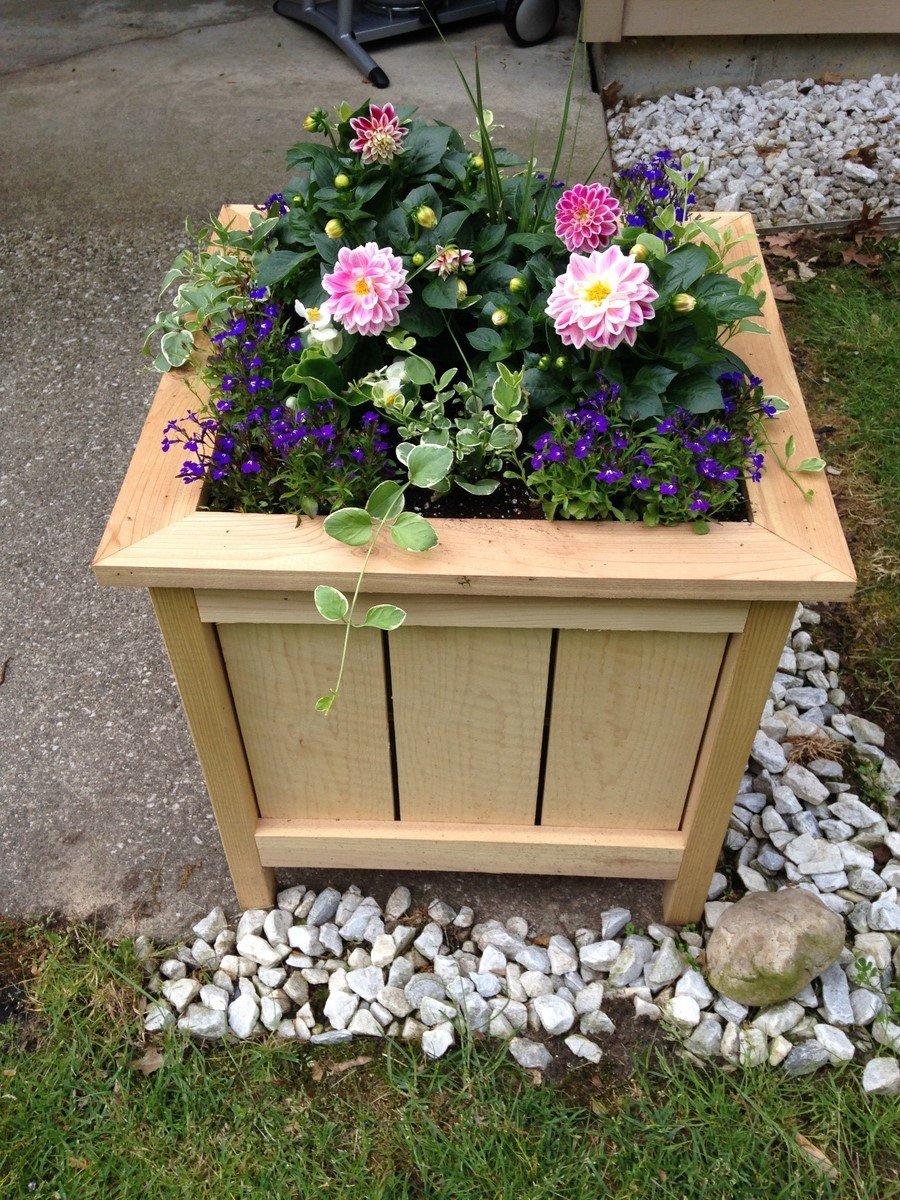
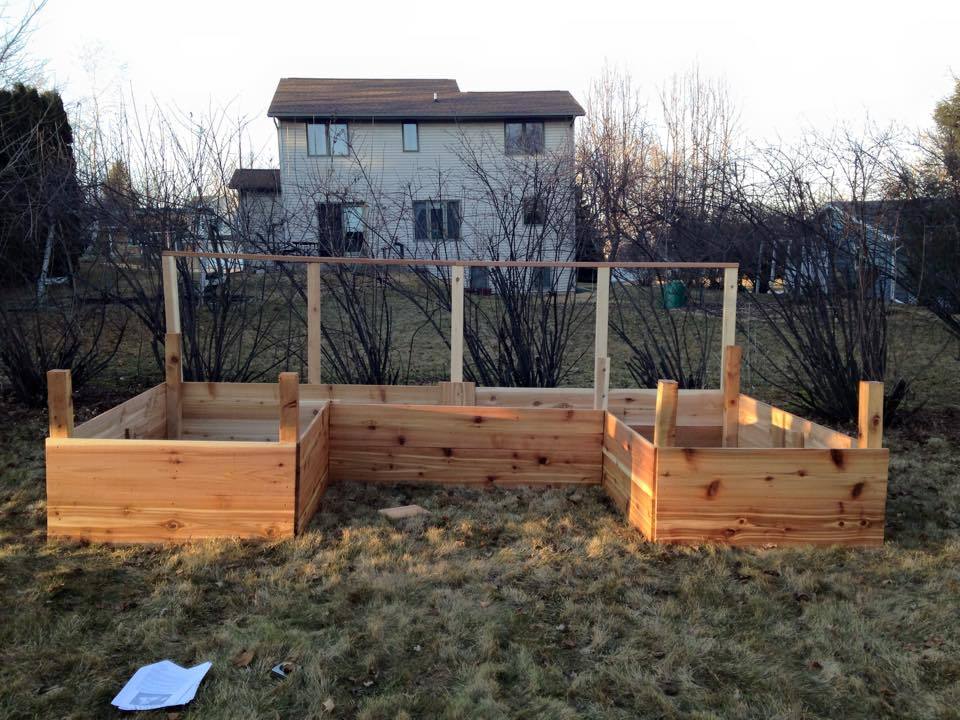
Patio Planters
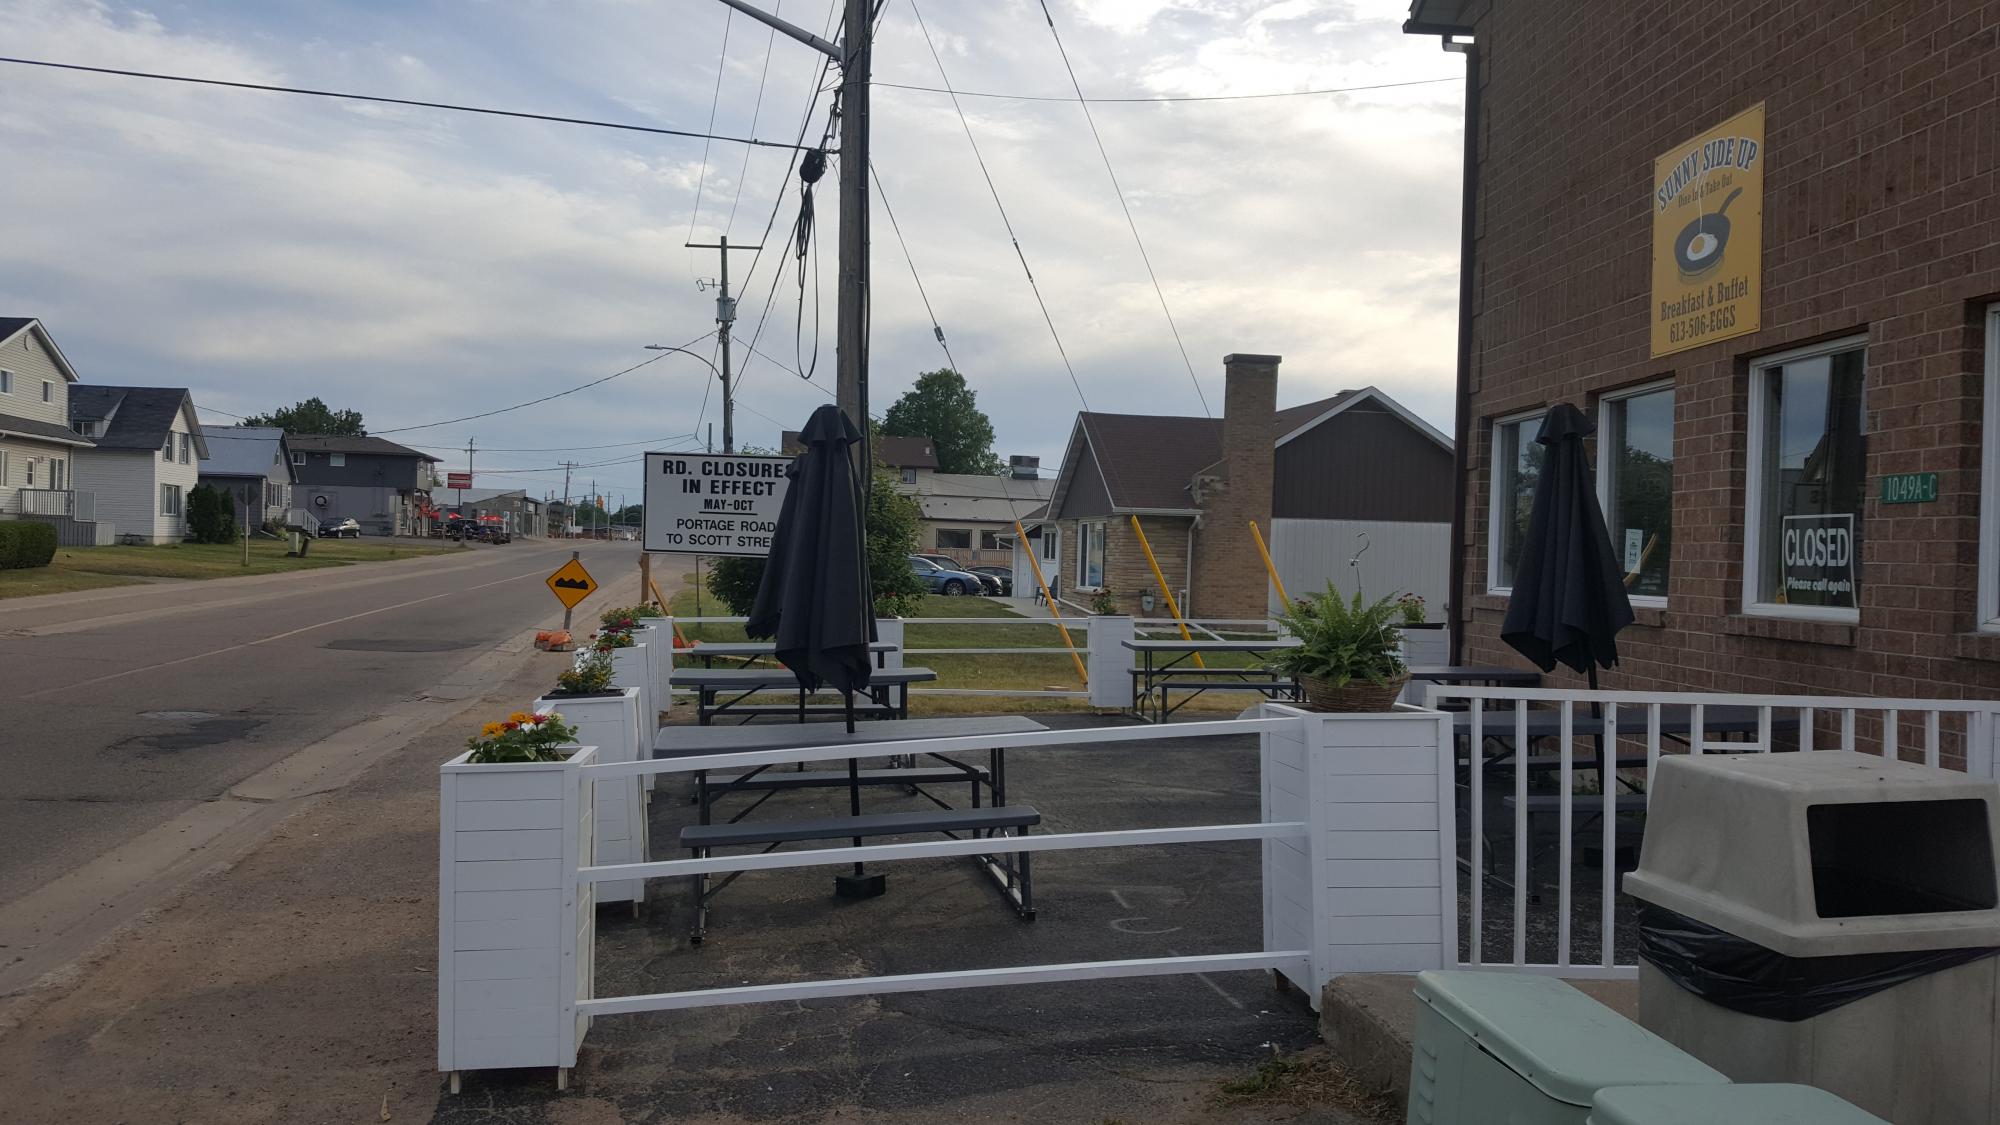
A friend of mine asked me to build her a patio enclosure for her restaurant, but she wasn't sure what she wanted. I suggested modified planter boxes as they were easy to make and the supplies could be purchased locally. After the planters were painted, my friend was thrilled with the final look and she is constantly being complimented on how pretty they are. Thanks for the free plans Ana!
Cheers,
Teresa.
Built from Plan(s)
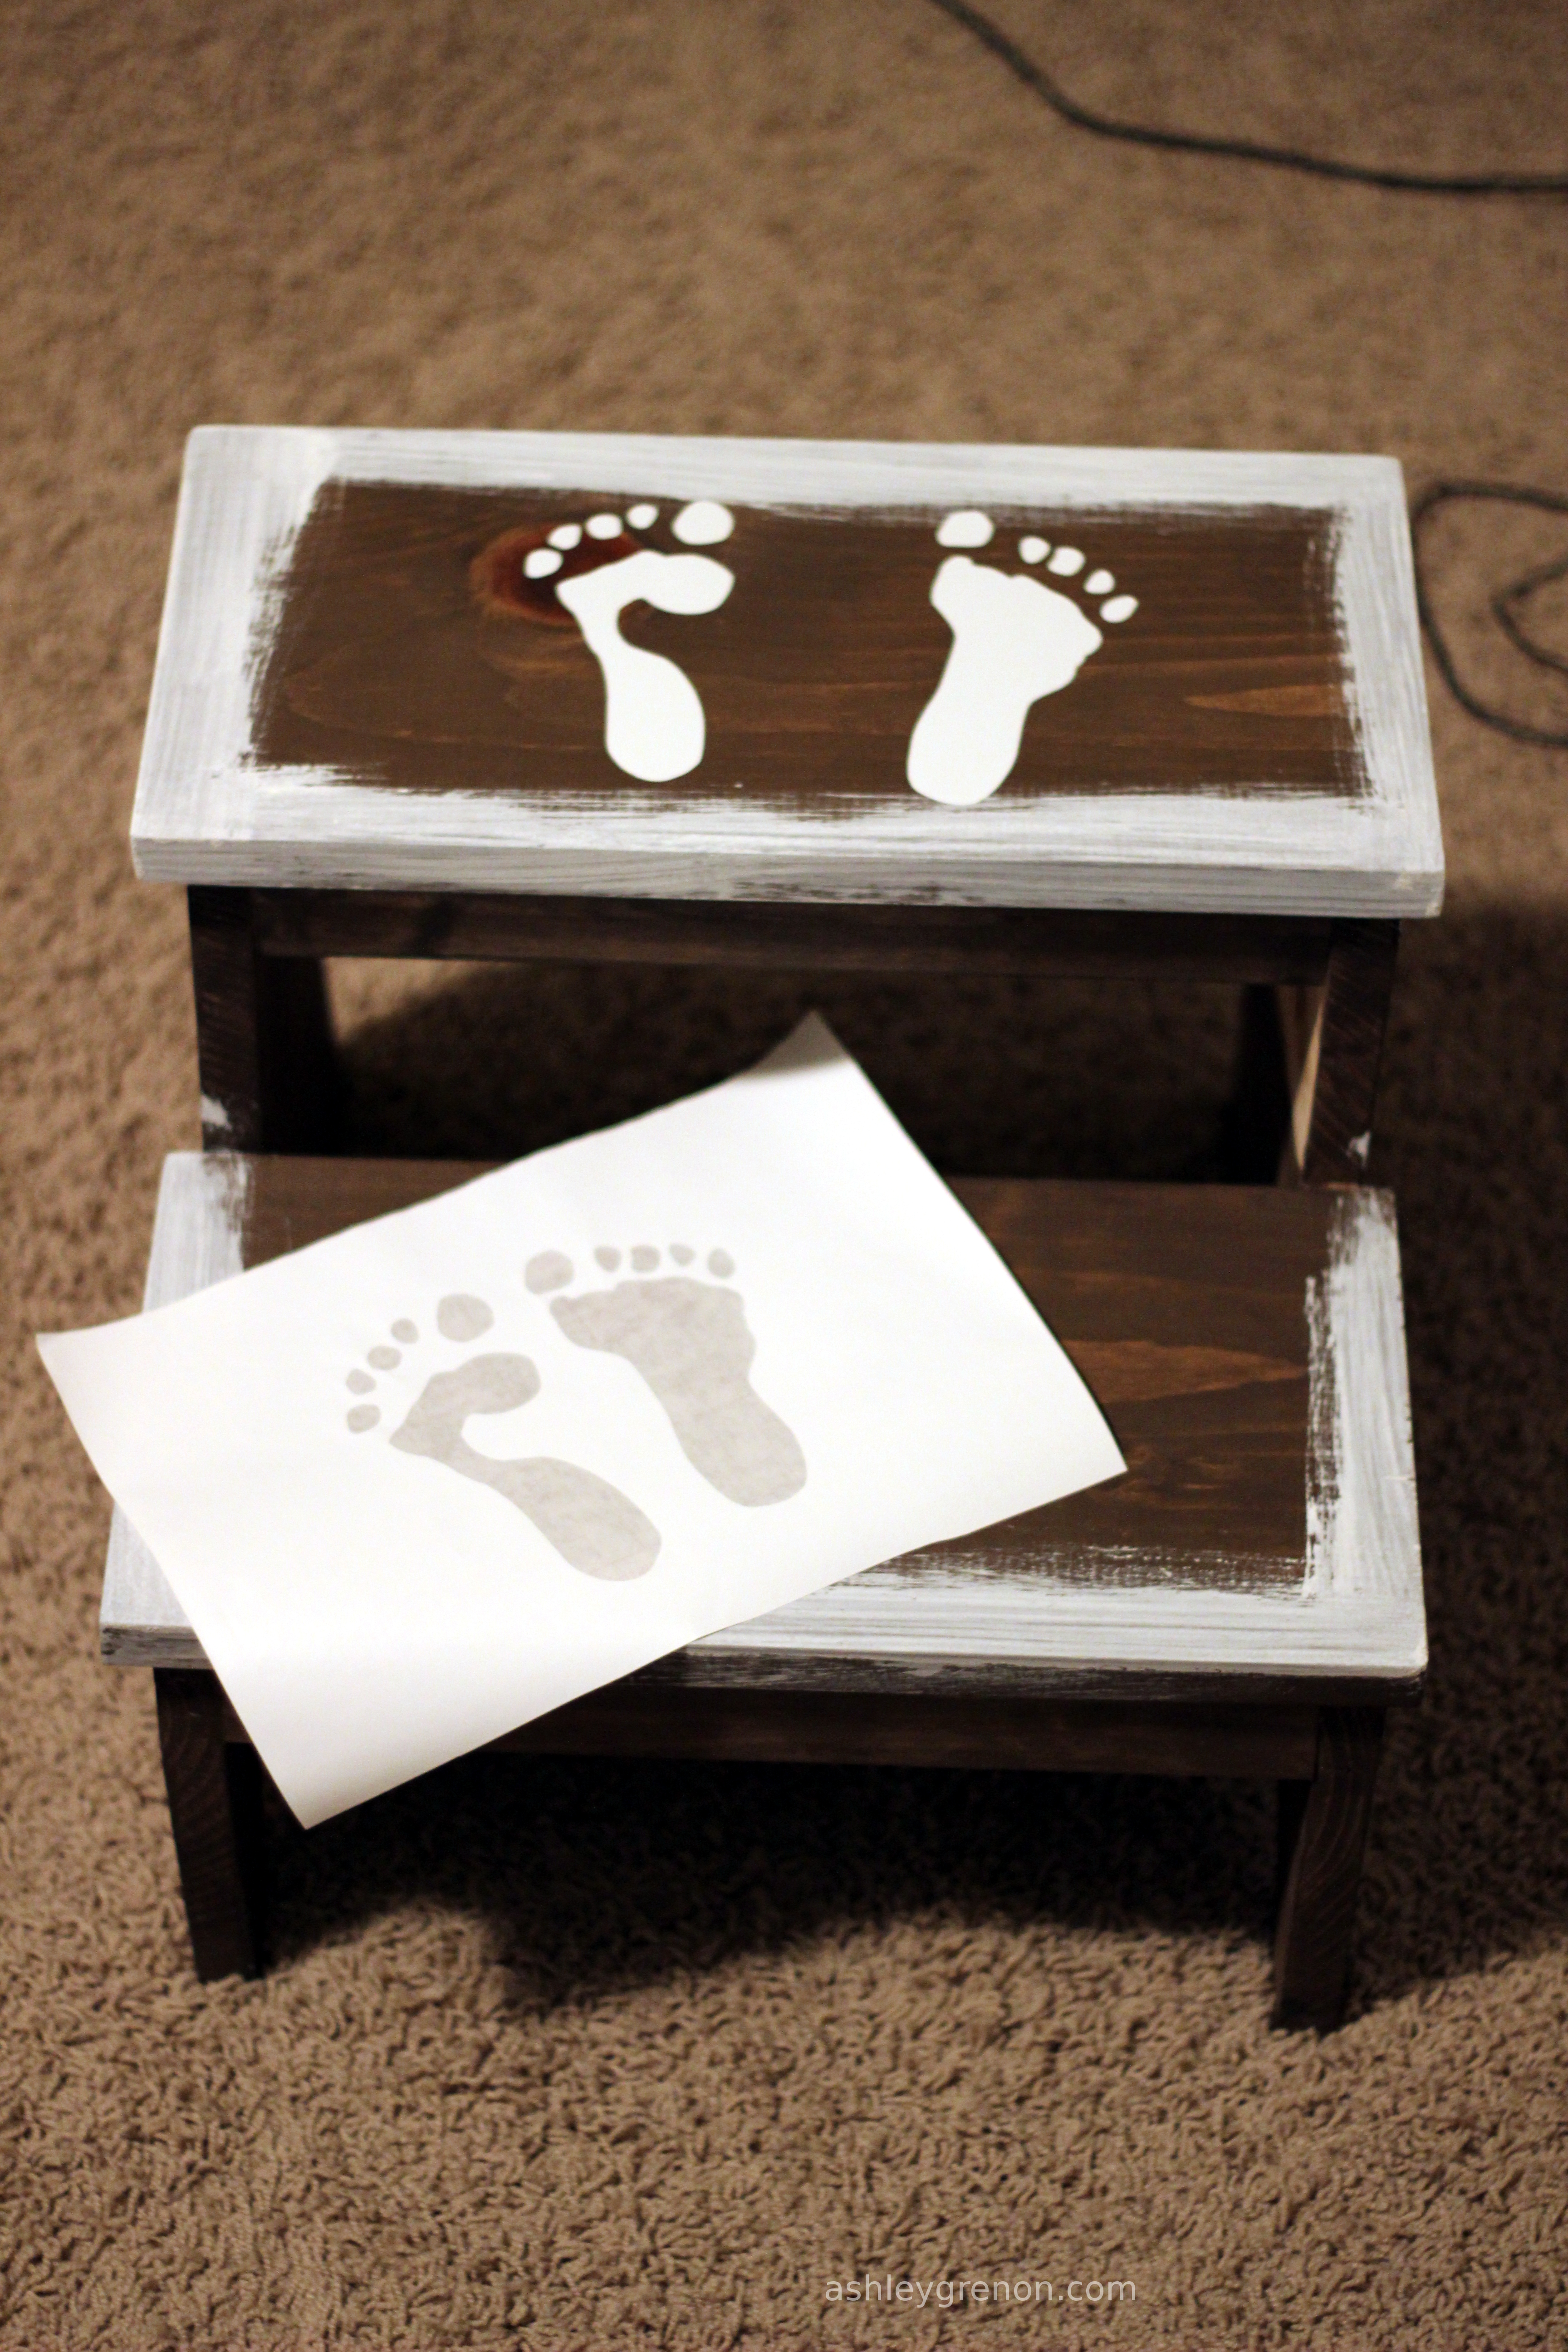
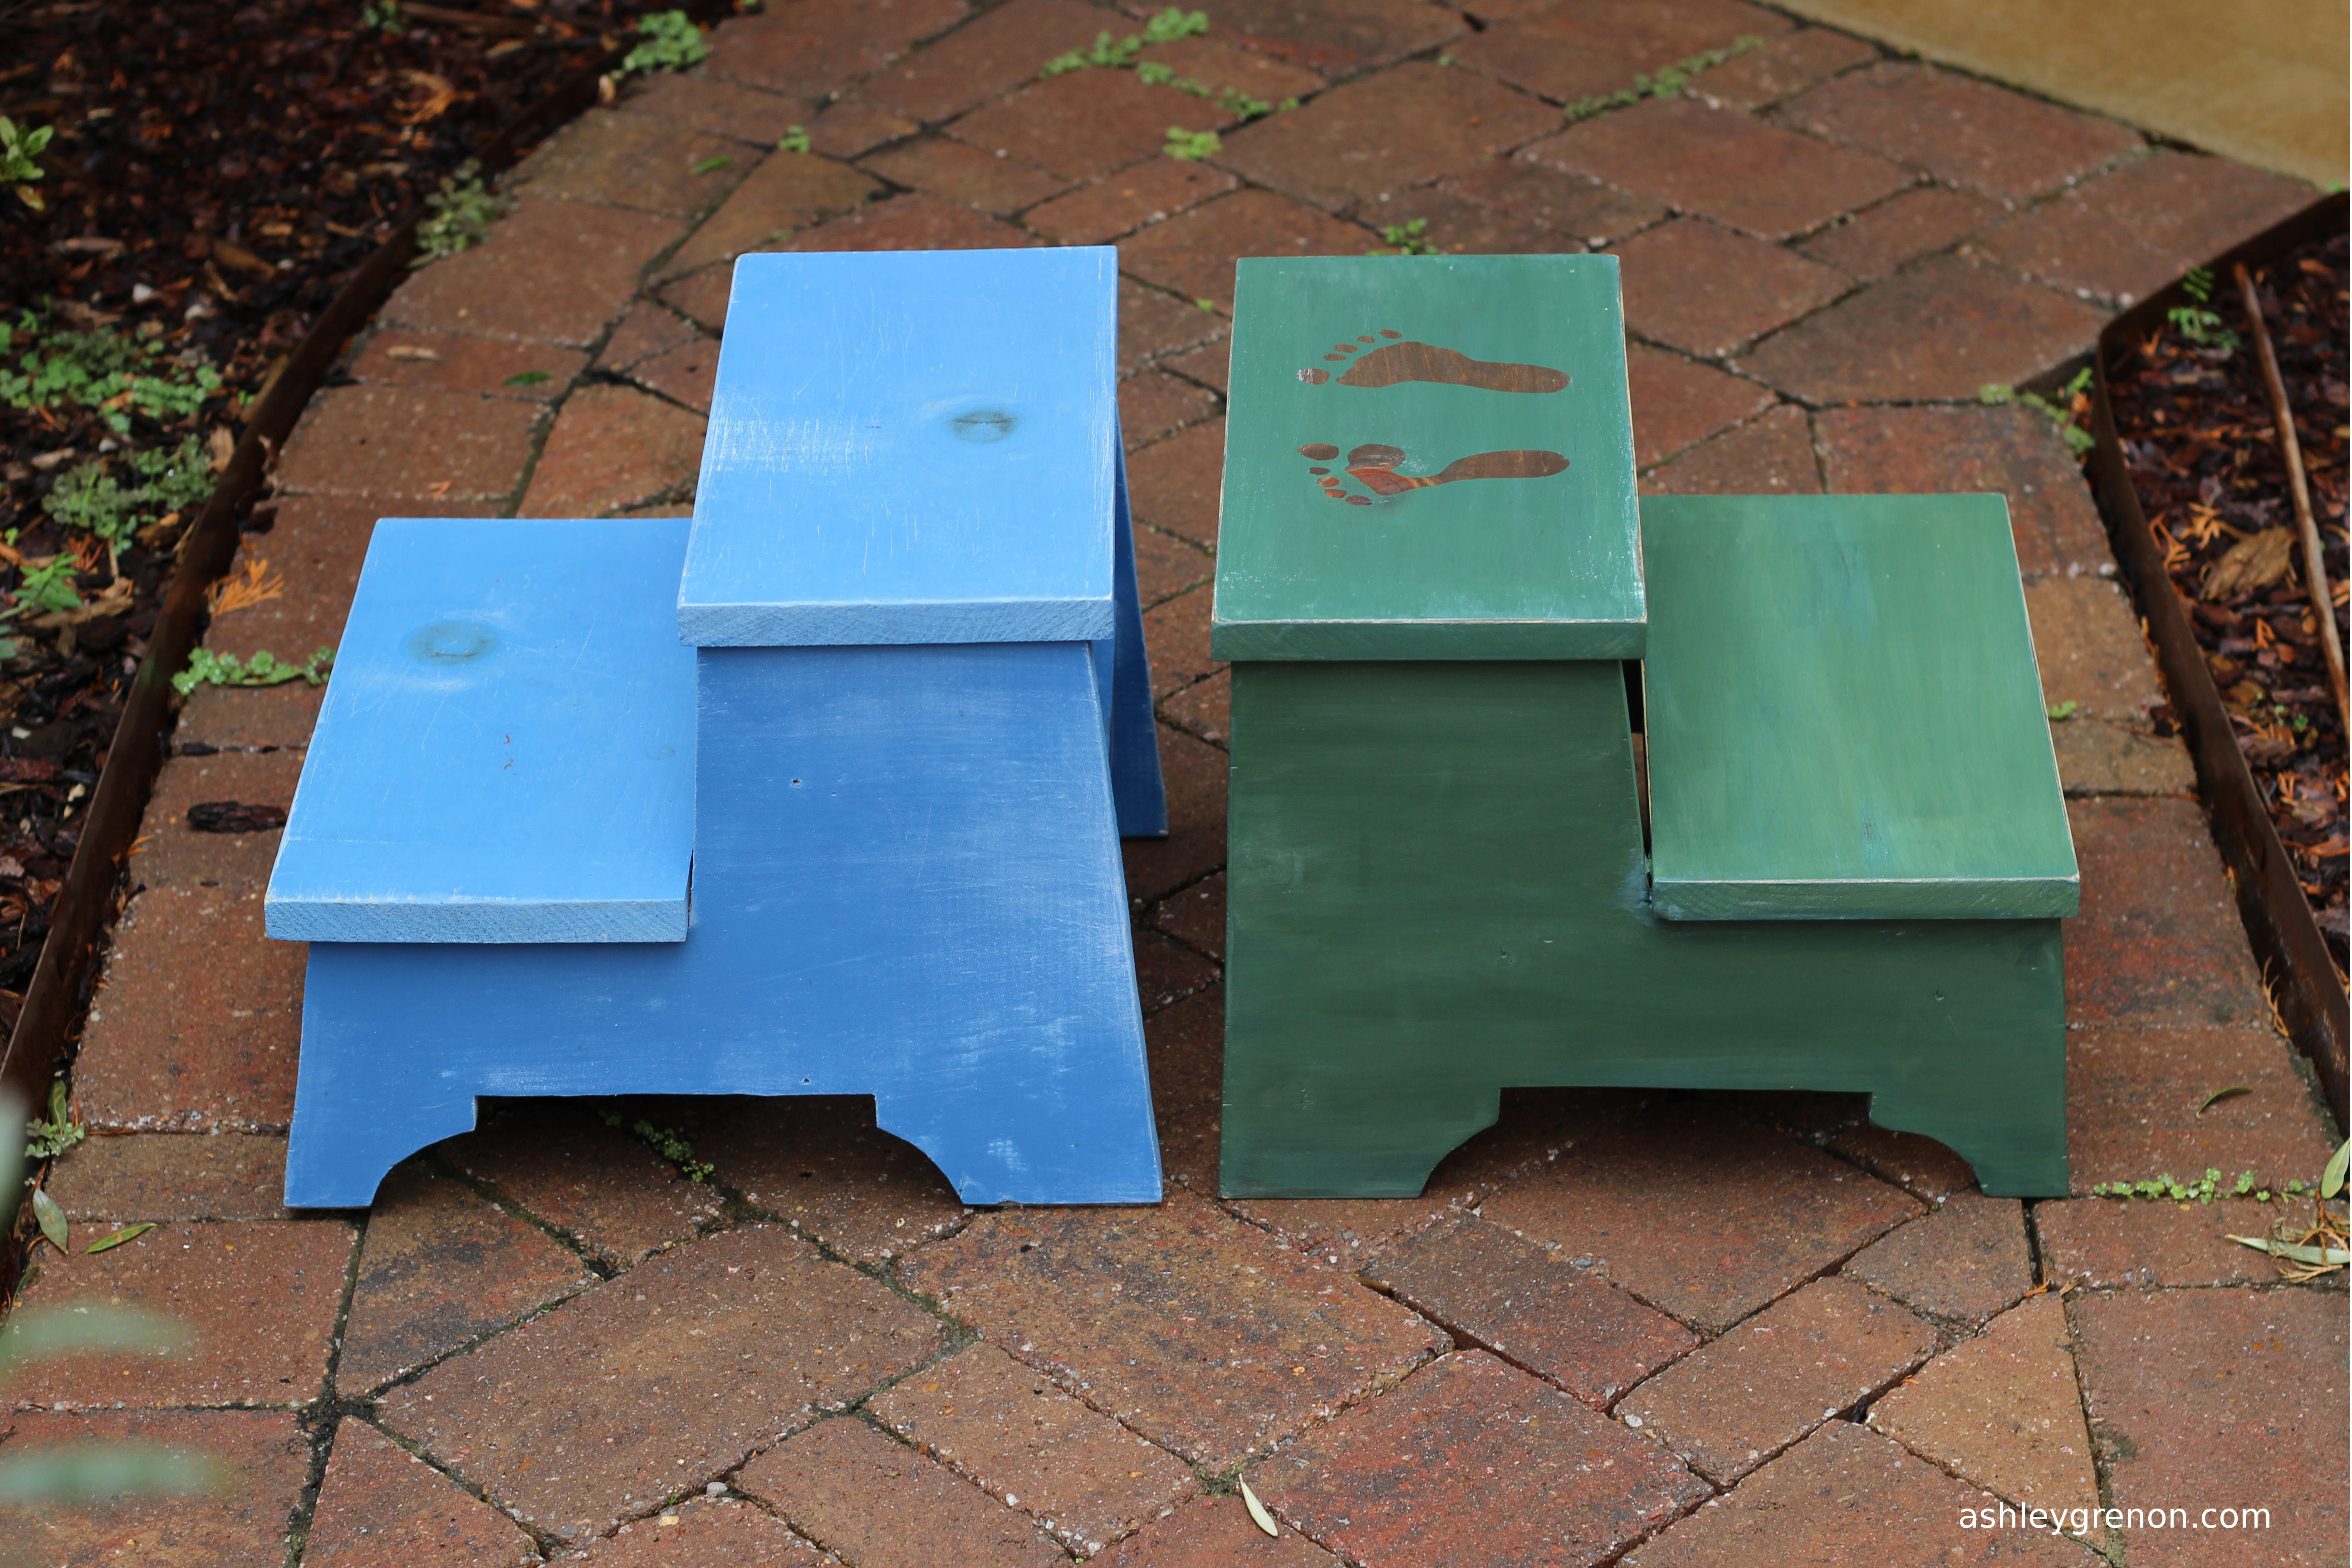
Finish Used
Outdoor water based latex paint.
Recommended Skill Level
Beginner


Comments
Ana White Admin
Mon, 06/14/2021 - 20:28
What a great idea!
Love this application, fantastic job! Thank you for sharing:)