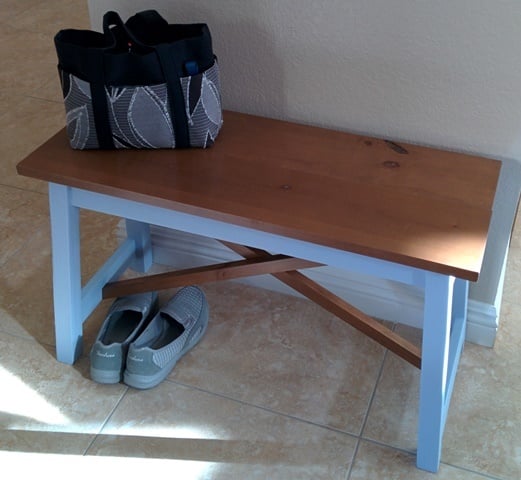
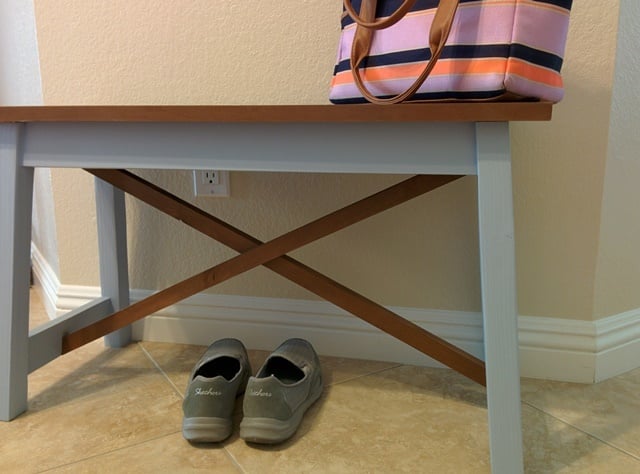
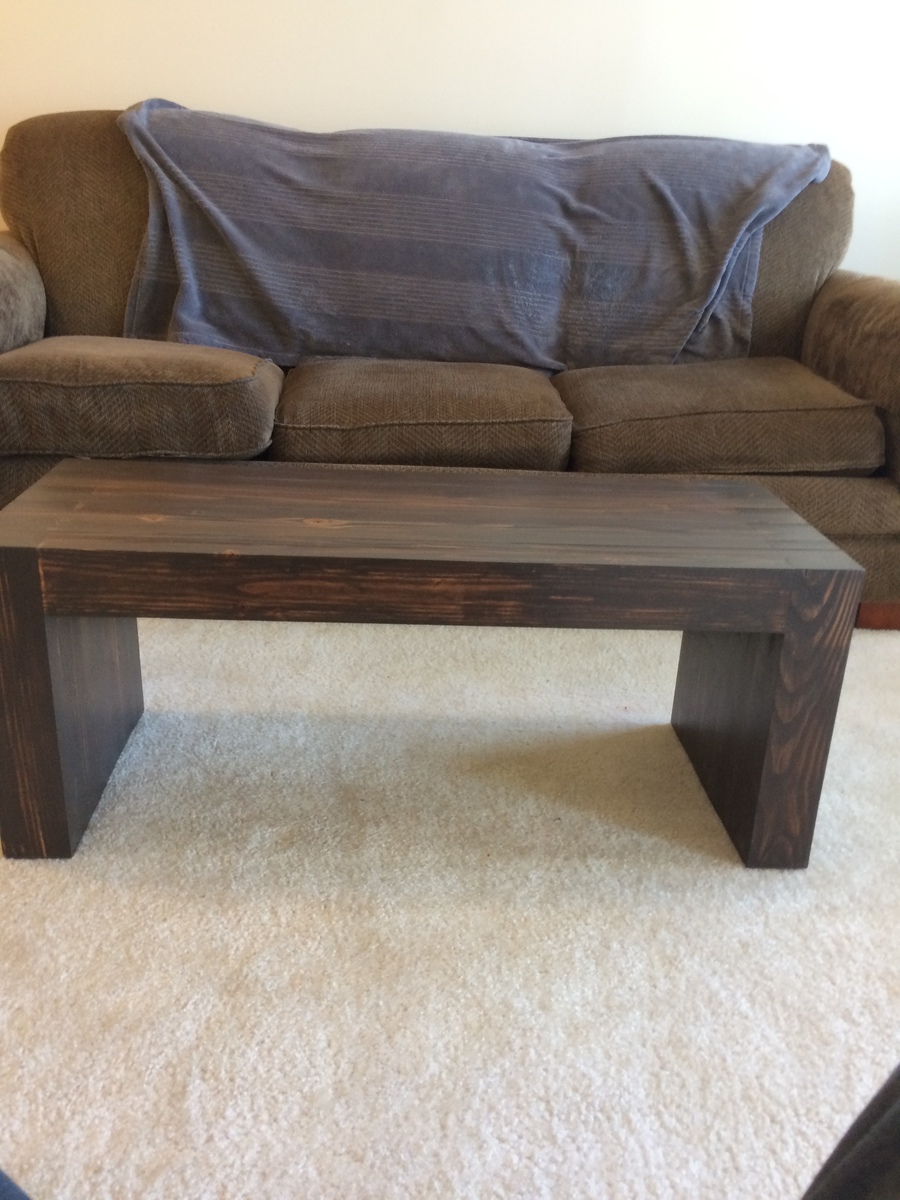
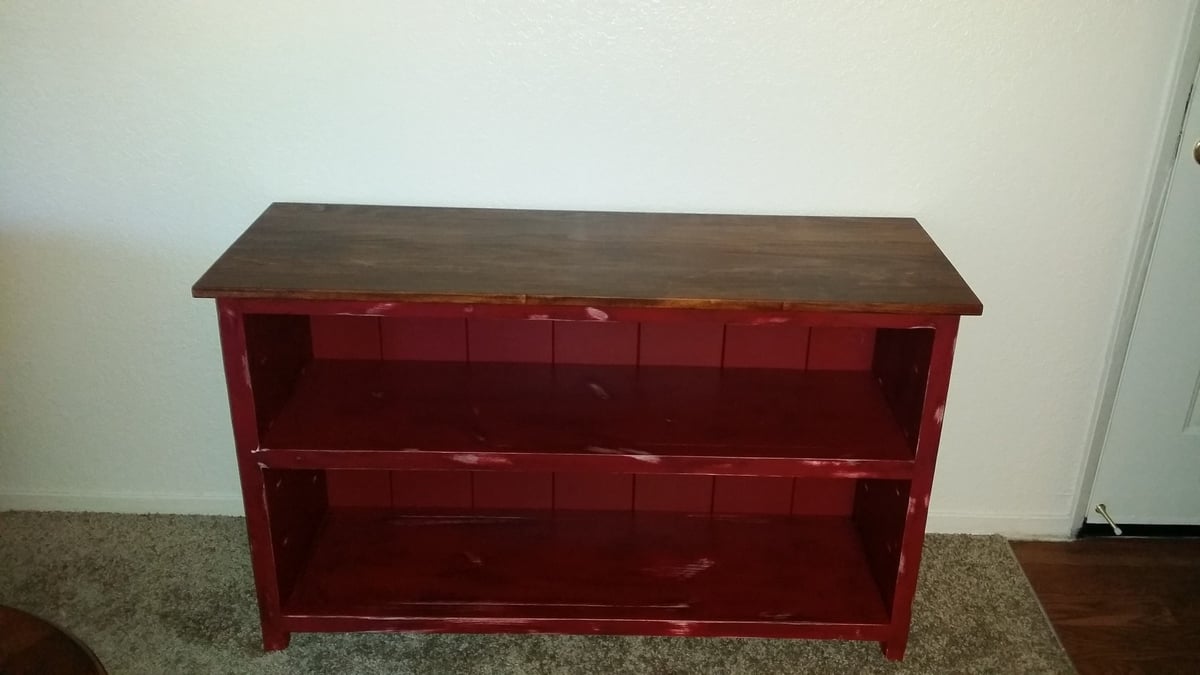
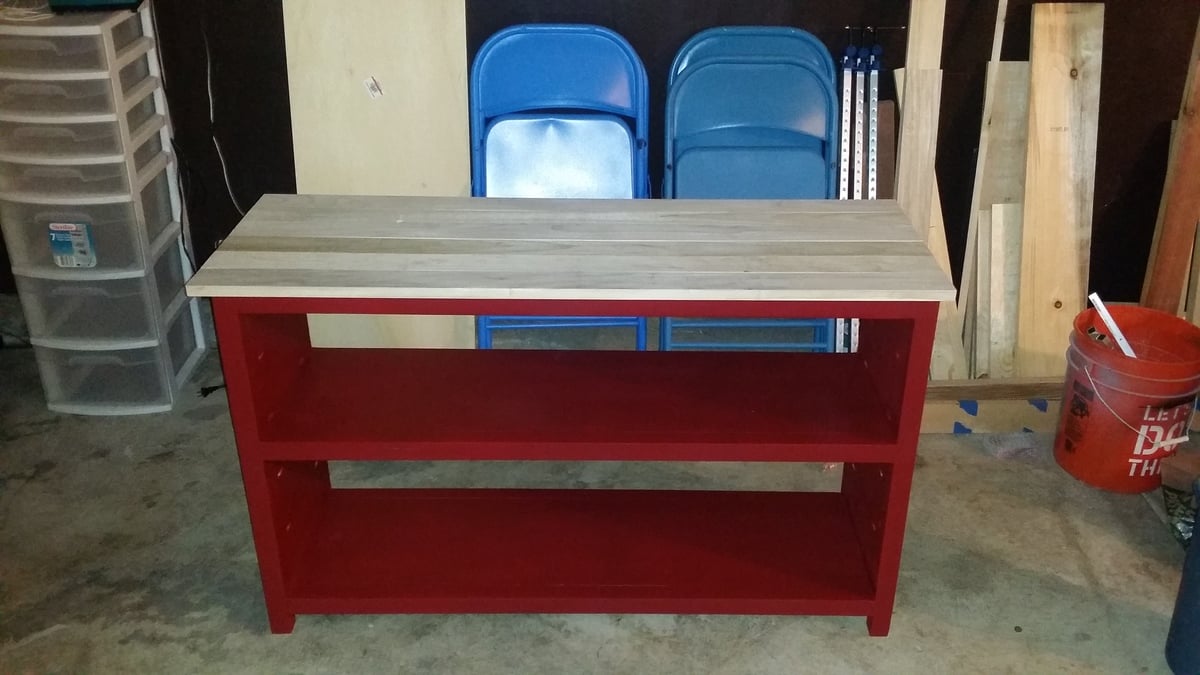
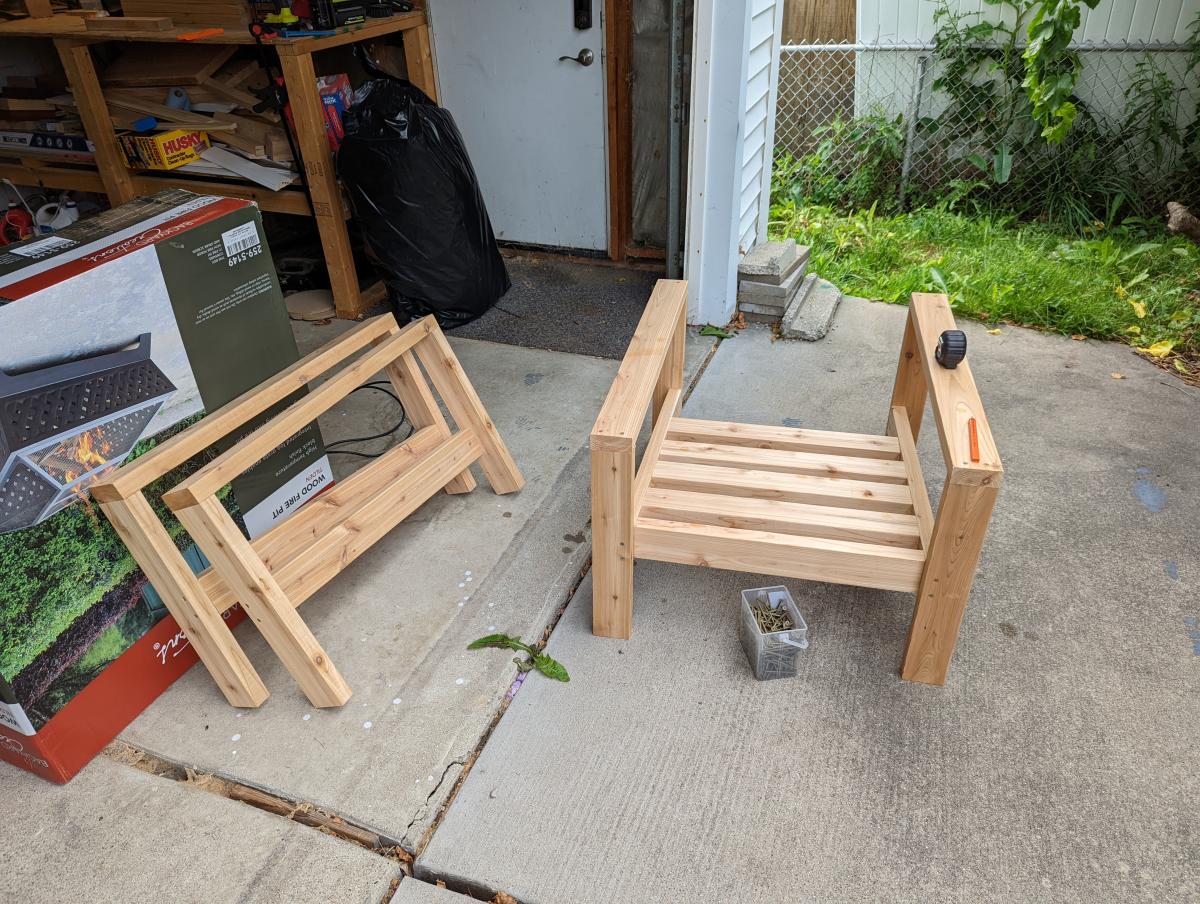
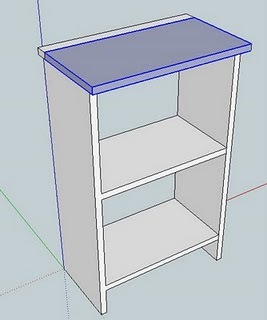
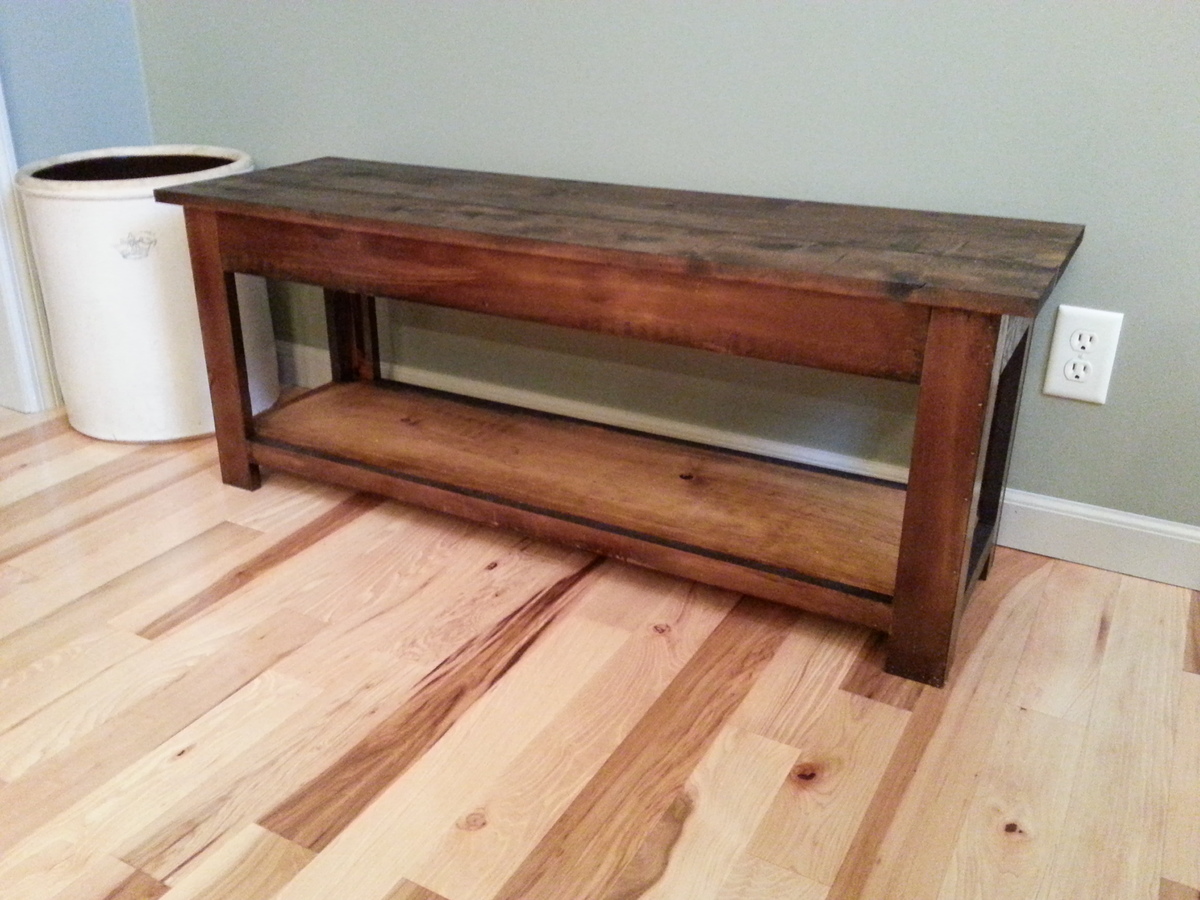
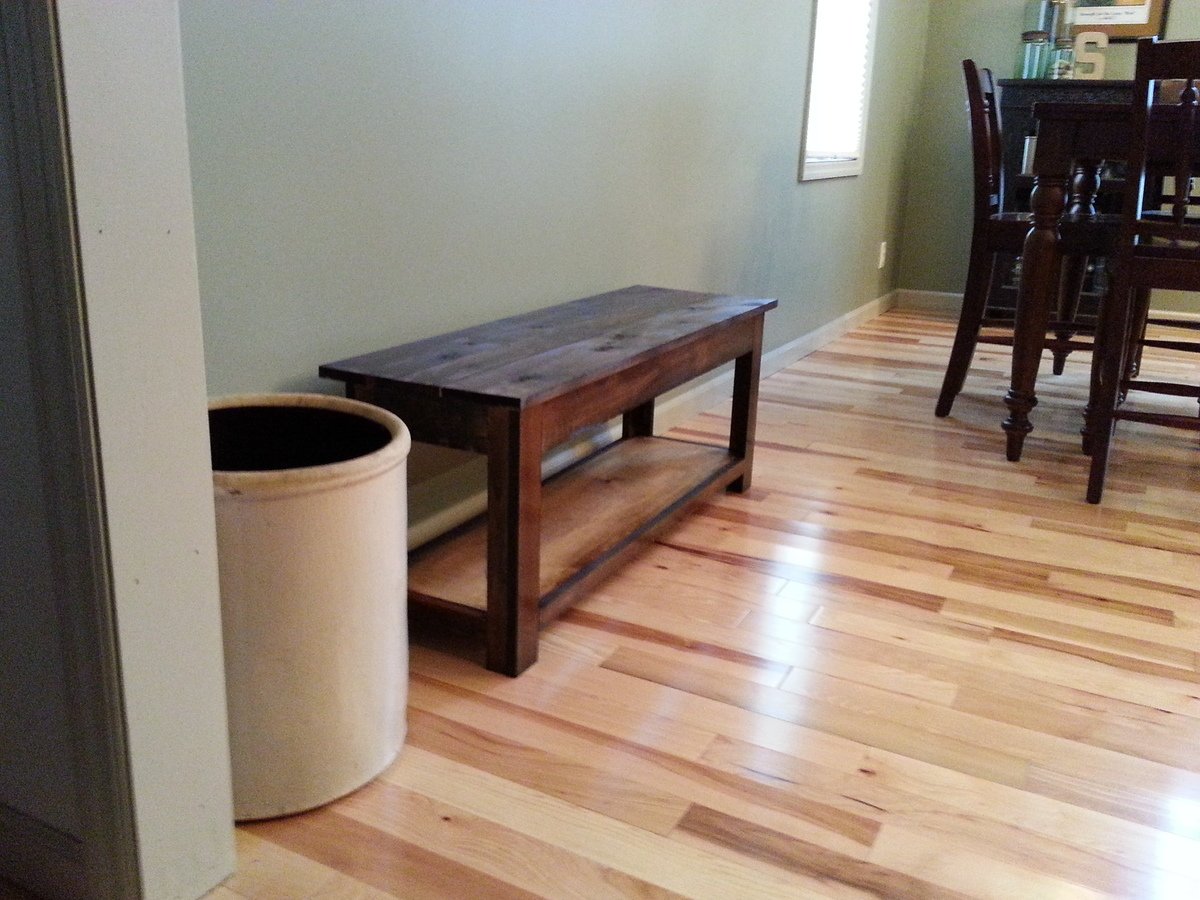
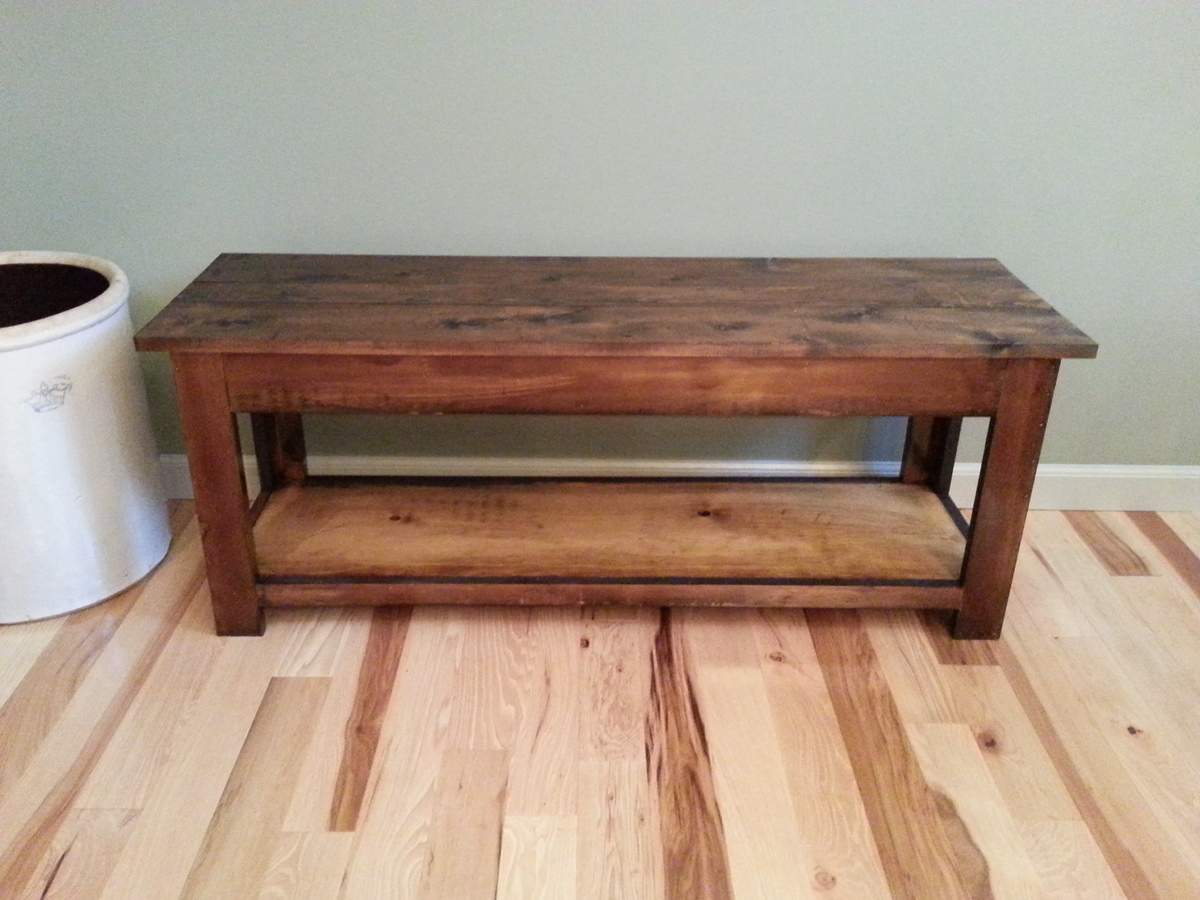
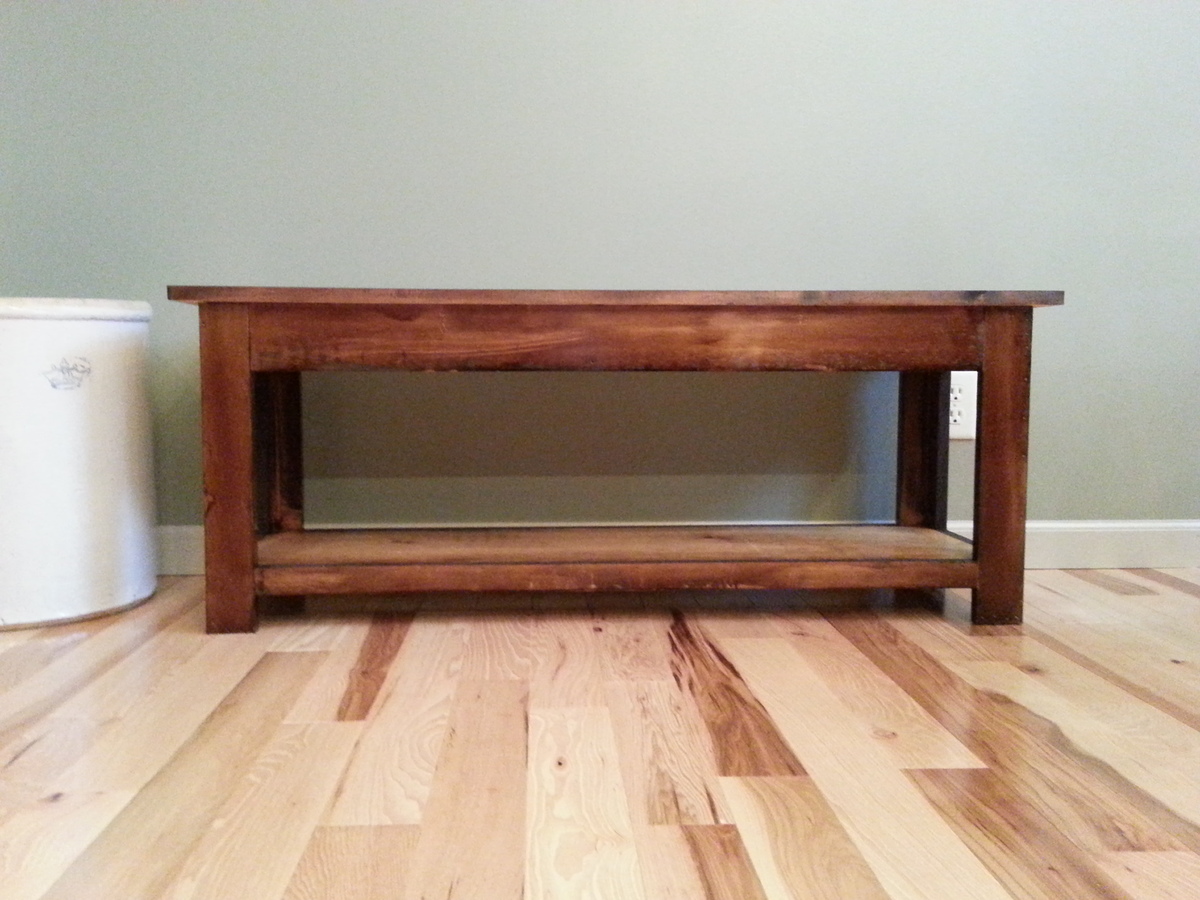
Simple Kitchen Bench
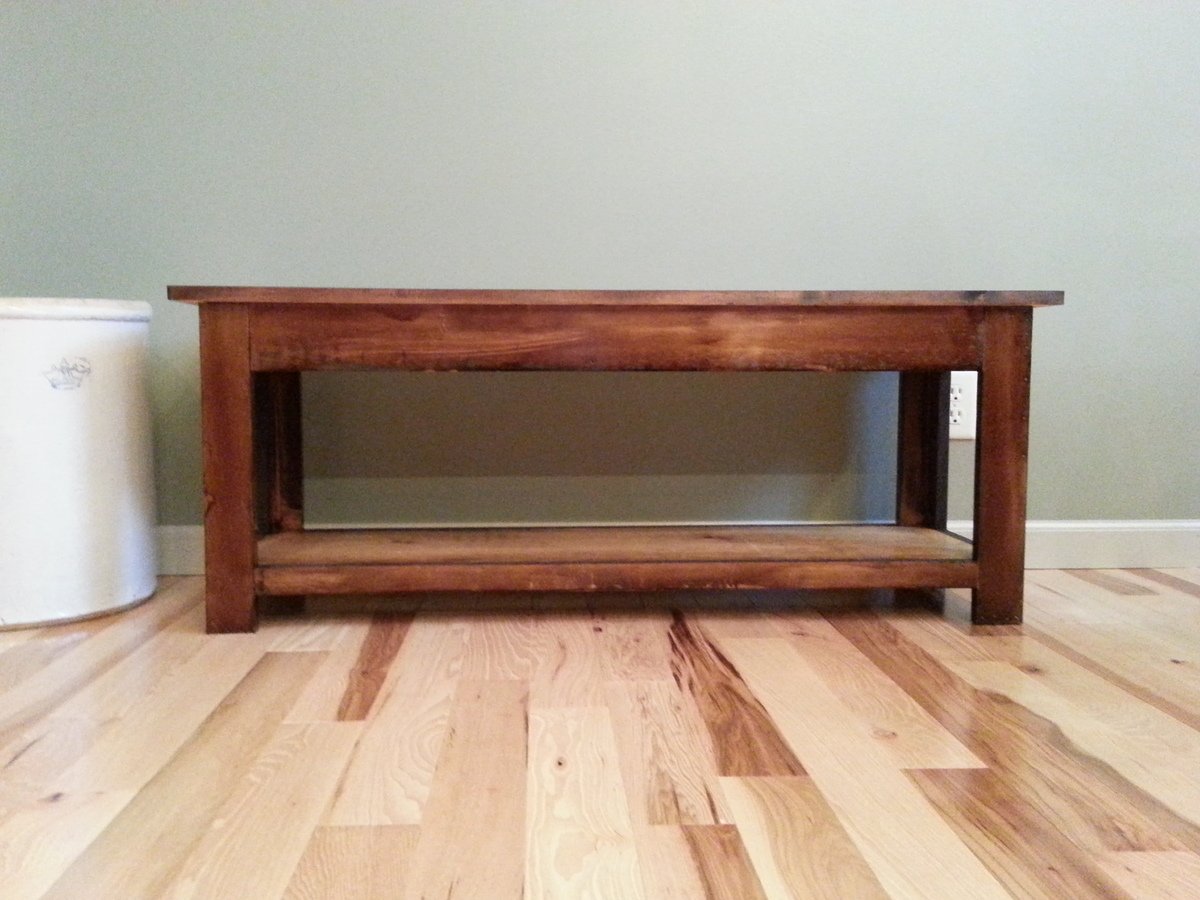
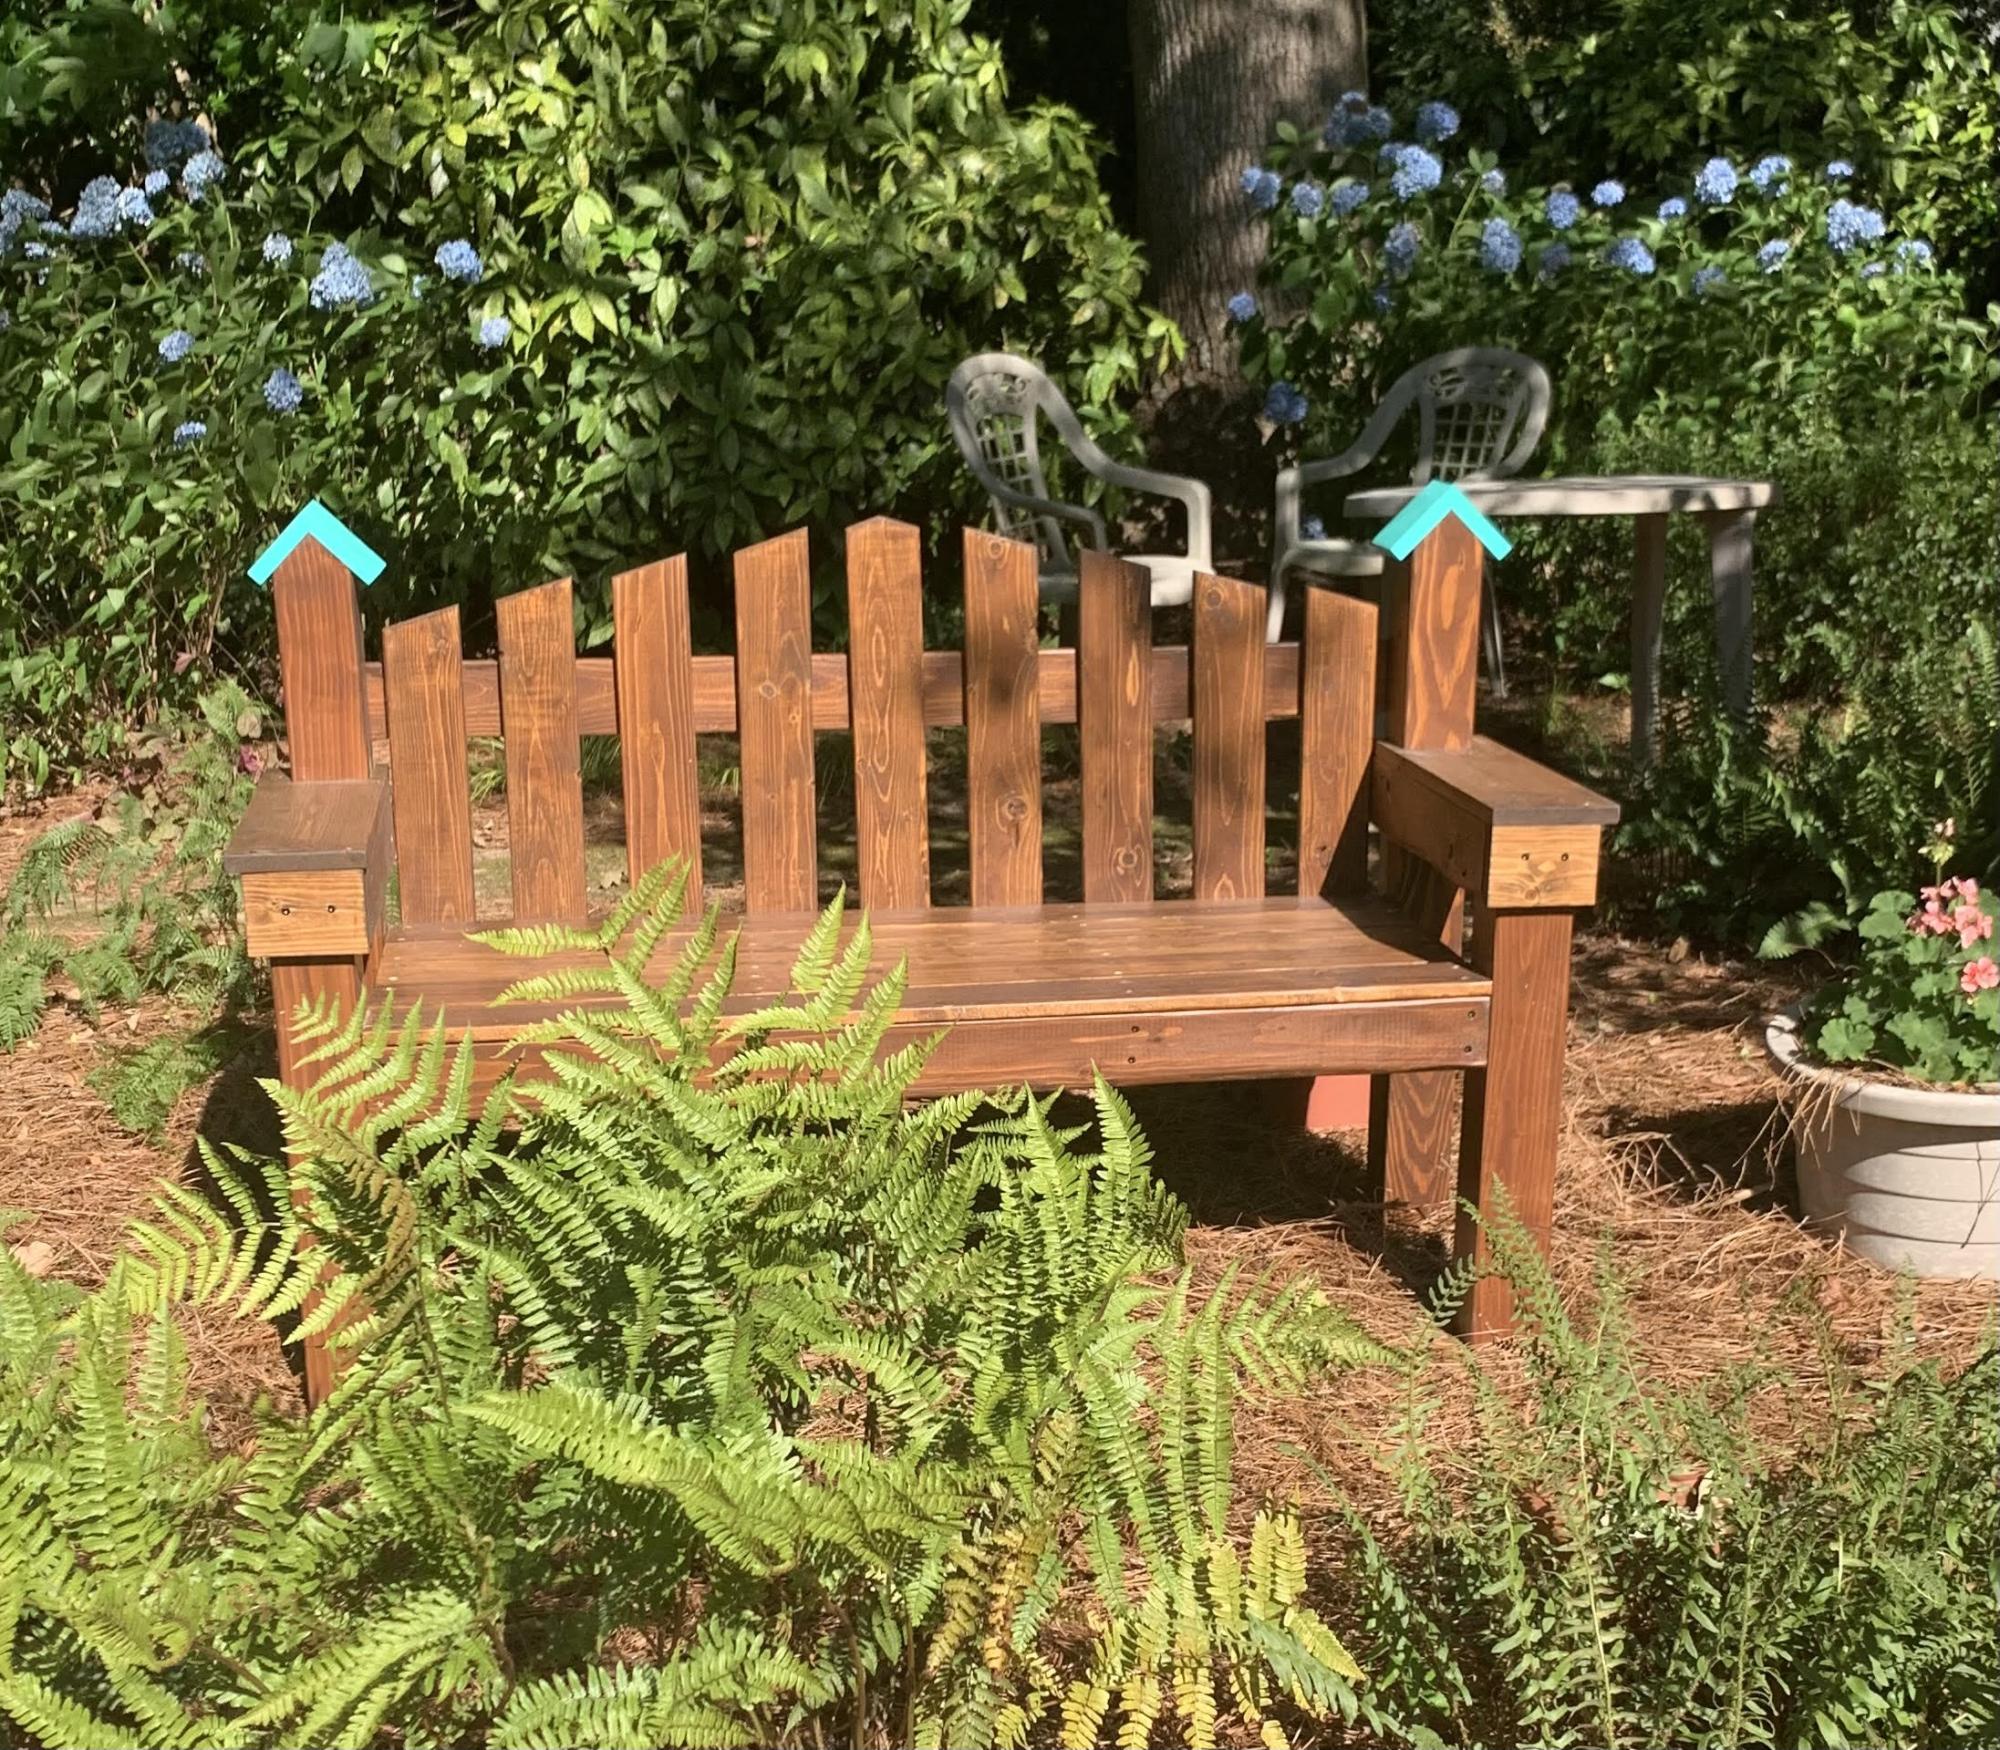
Another bench for another wedding gift.
We've made another already to keep in our kitchen. Looks great, thanks again for the plans.
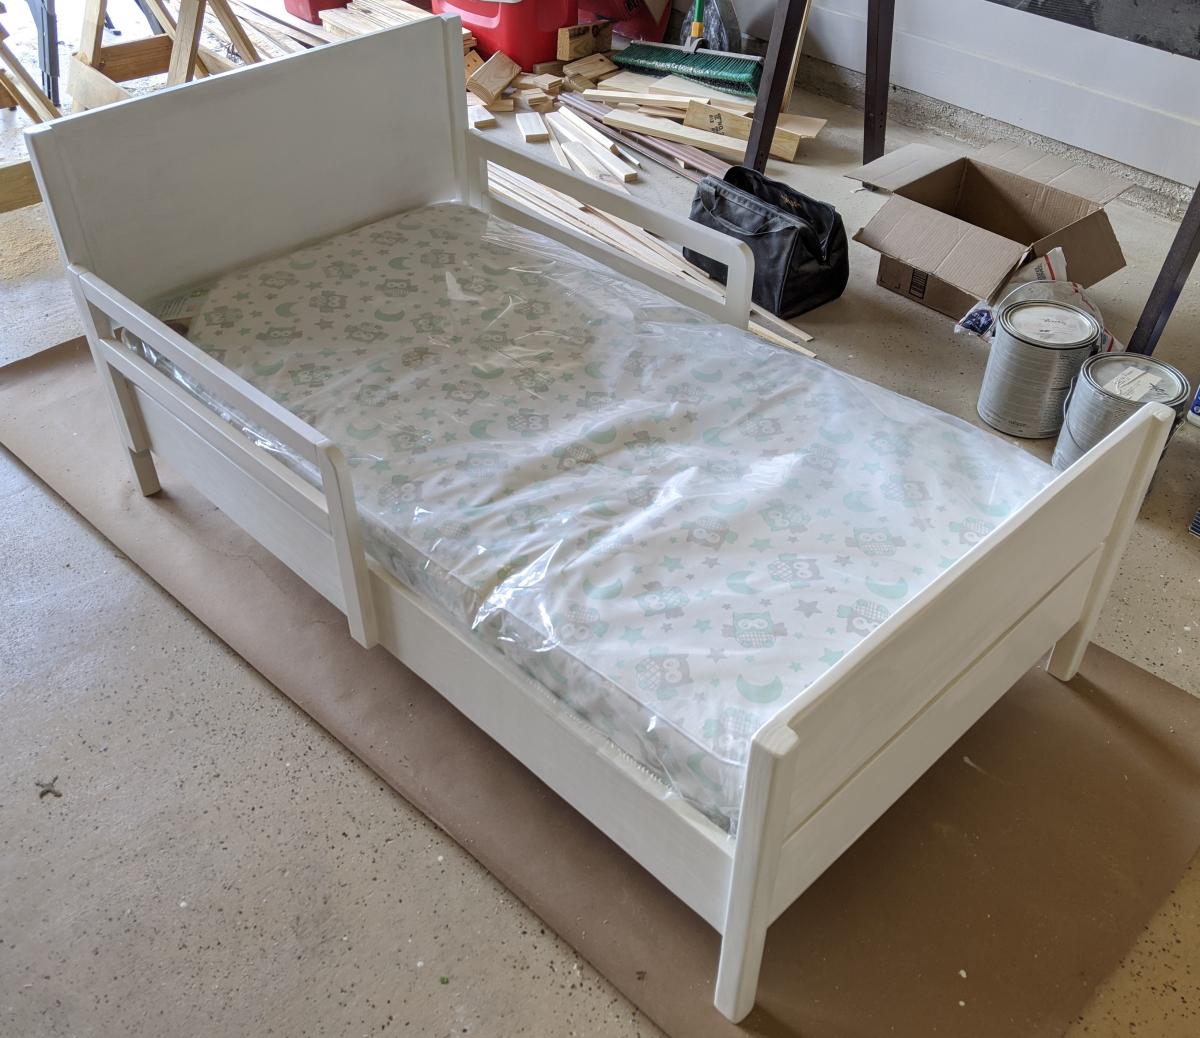
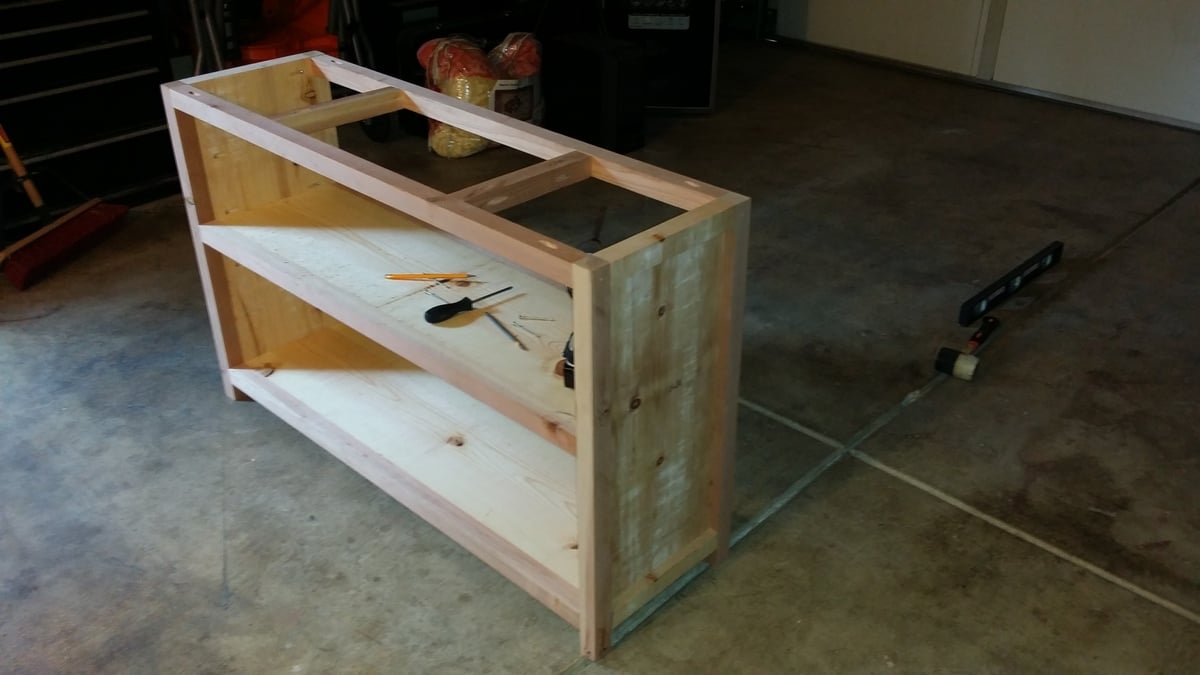
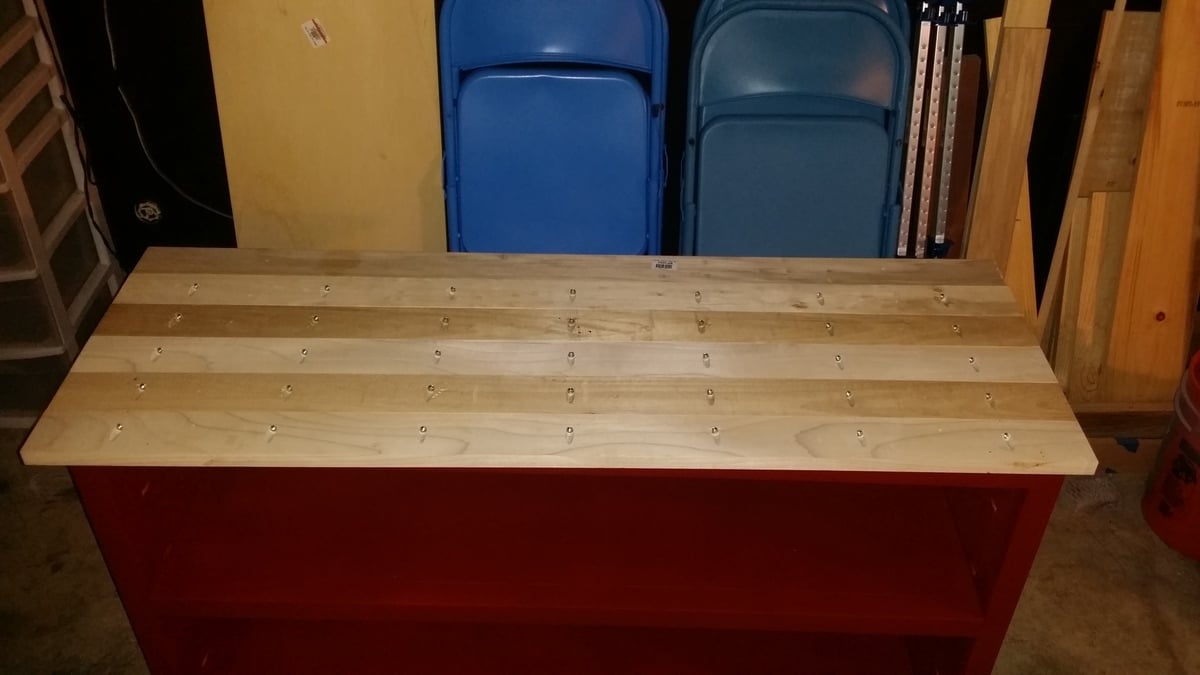
We opted not to incorporate the storage/ flip top. Just a simple sturdy, great looking bench.
Built from Plan(s)
Estimated Cost
Just our time, all materials were reclaimed
Estimated Time Investment
Afternoon Project (3-6 Hours)
Finish Used
Minwax Dark Walnut
Recommended Skill Level
Beginner