Community Brag Posts

Family Table

From our blog, 1885 Prospect Hill Renovation:

Annie and I have four kids.  One of the most amazing things about Annie is that three of them are not biologically hers, but she is an intensely loving and caring parent to them.  I brought them with me into our relationship and she never saw them as "baggage", but as more outlets for her seemingly unending displays of love and affection.  We bought this house, in part, because it was big enough for our family. One of the best features was this "bonus" room between the dining room and the kitchen.

Now most houses of this period have a front entryway, a front parlor, a second parlor, a side room and a kitchen.  For some reason, the builders of our home stuck an extra room that we lovingly call our "family room".  This is where the kids play.  Where they do their homework.  Where we have our family game nights.  Where we sing happy birthdays.  It is the heart of our home and we needed a table worthy of accommodating these things.

Now, Annie doesn’t like to spend money on things.  Ever.  So it was up to me to build this table.  So I leaned on my favorite website, the queen of all DIY projects, Ana White. She has plans for many great projects, and she makes them easily accessible and affordable.  My favorite was for her Farmhouse Table.  It was big and it was doable.

I used stock wood from my favorite lumber place in Western New York, Lenco Lumber.  Using my new compound miter saw, my grandfather's old dado blades on my table saw, and about 1,000 screws, I built this guy.  It is so sturdy the kids can all dance on it and it won't budge.  It is now a permanent fixture in our home and when we die, it stays behind.  

We painted the legs white and stained the top a dark red oak.  Because we wanted it to be durable and stand up to anything the kids could throw at it or spill on it, we gave it a thick epoxy bar coat.  This was a challenge.  We had to mix the two parts and spread evenly across the table, letting the epoxy drip over the edges to cover the sides.  Then came the blow torch.  Heating the wet epoxy forces the bubbles to the surface and allows them to burst, leaving a smooth and even finish.

We built a bench to match, also thanks to Ana White's design.

Finally, we found some chairs on Craigslist from a family that was moving.  They look pretty old and needed some reinforcement, but we think they look great!  Oh, and we also painted the walls to a brighter, more playful color.  Now it is truly a Family Room that we love!
Estimated Cost
$200 including stain and epoxy
Estimated Time Investment
Week Long Project (20 Hours or More)
Finish Used
Dark Red Oak Stain, epoxy bar finish, white paint (for legs)
Recommended Skill Level
Intermediate

Comments

Linda7

Tue, 09/30/2014 - 21:52

Annie and Jeff your table is just lovely. I thoroughly enjoyed reading your post, so I jumped over to your blog. You have done amazing things with your home. The history of the home is so interesting, and I'm sure your family will be the custodians it deserves throughout your tenure there.

Built In Cabinet and Bookshelf

Submitted by kristen on Wed, 12/26/2012 - 21:54

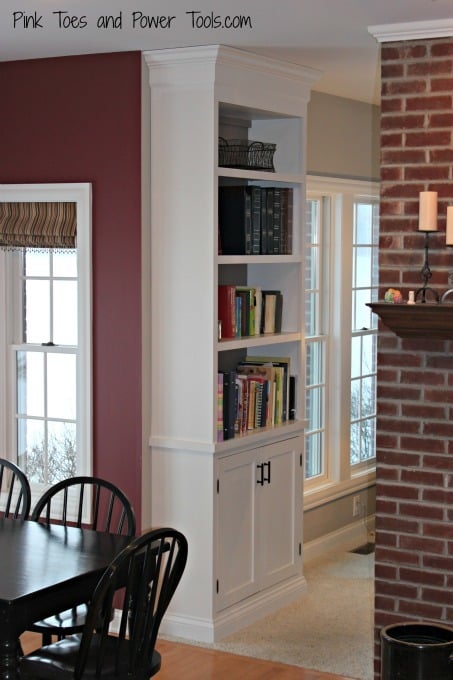
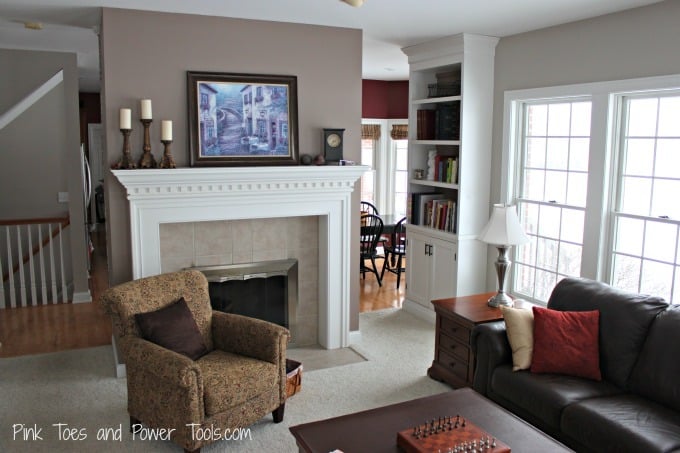
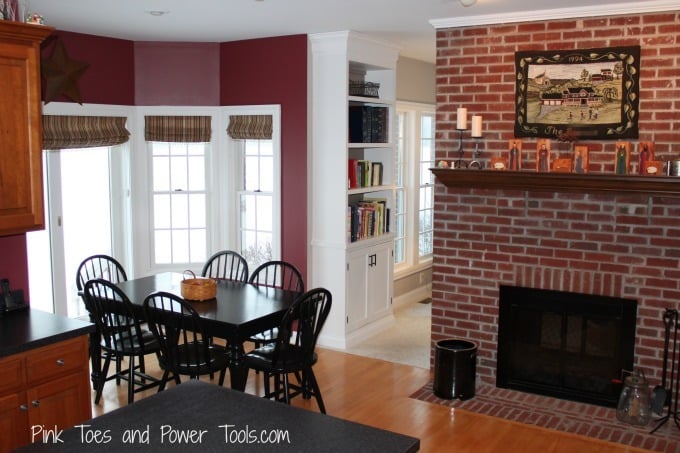
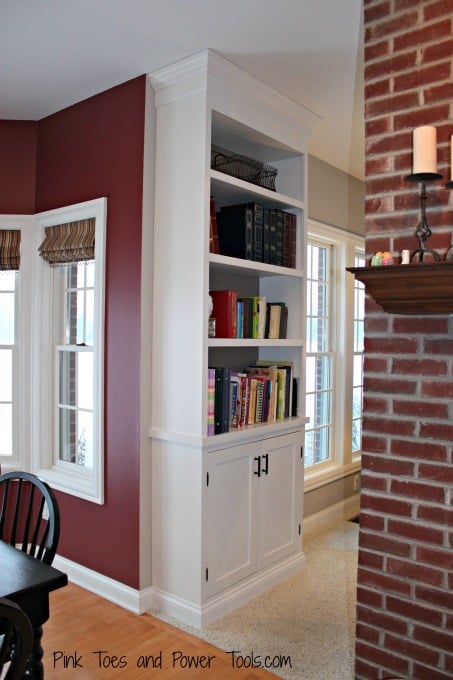
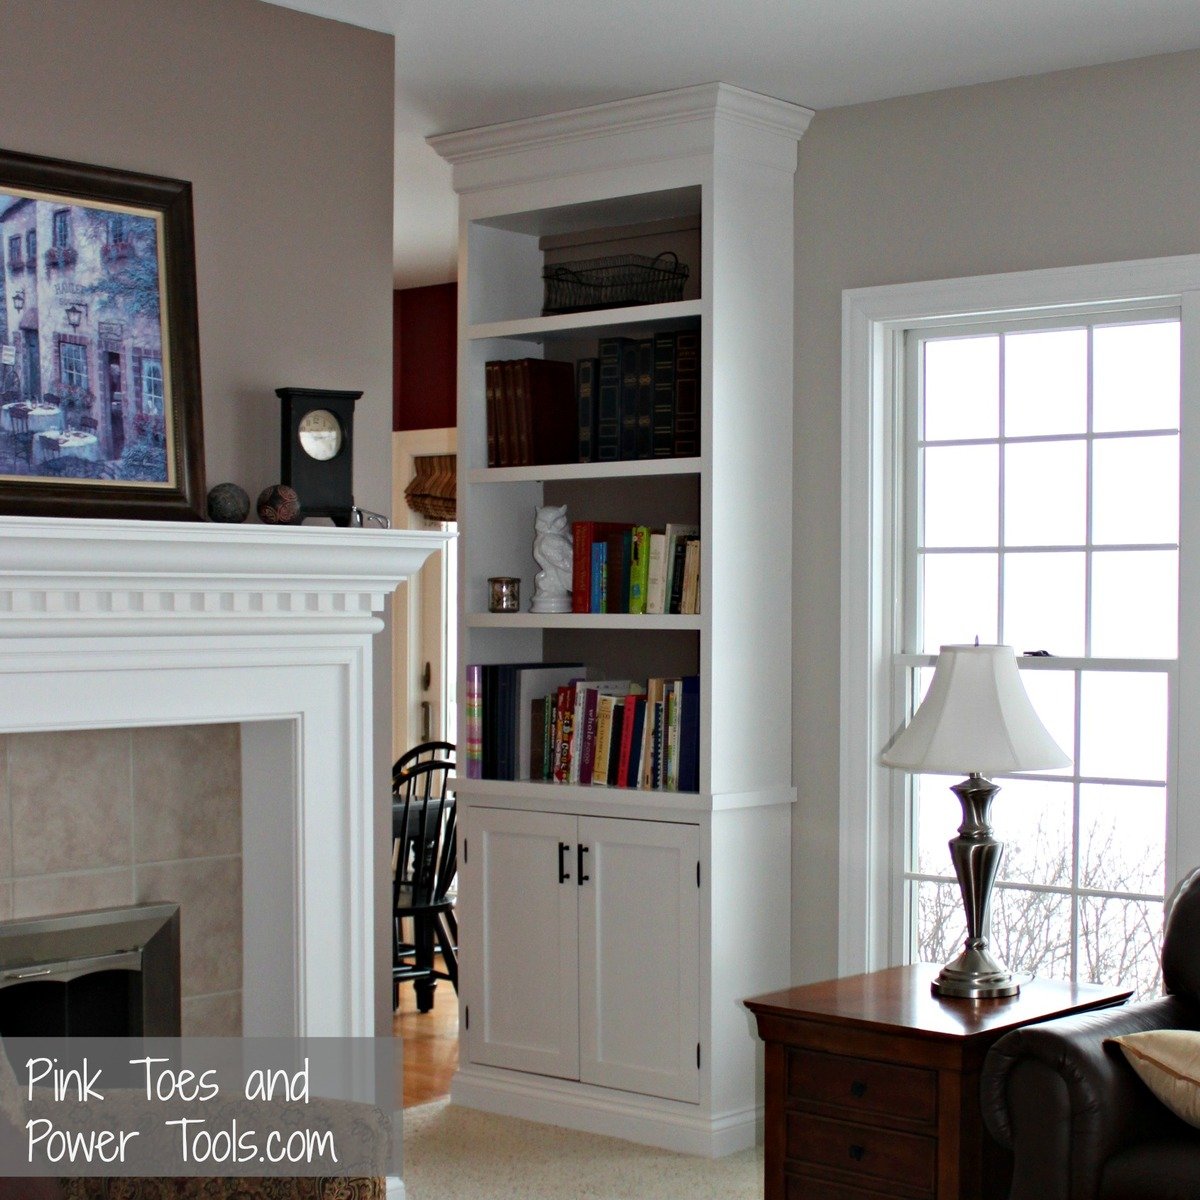
I didn't really follow any of Ana's plans for this build, but it is a result of using her plans up to this point in my woodworking journey that enabled me to complete this one! I don't own a table saw, so this was constructed using a circular saw, miter saw, Kreg jig, and a nail gun. It was the first time I've had to cut and attach crown molding, and I also learned how to cope baseboard trim using a Dremel. Another first was using a router to rabbet out the back so the plywood back wasn't visible from the sides. I learn something new every build :)
I'm thrilled with the change in the room with this new project. We had two narrower bookcases side-by-side in there before, and they were about the height of the windows with a stain color that didn't match any of the other wood pieces in the rooms. This cabinet looks like it belongs in the room.

Estimated Cost
around $200
Estimated Time Investment
Week Long Project (20 Hours or More)
Finish Used
Primer, off-white paint in satin, Polycrylic topcoat in satin. 320 grit sanding in between all paint and topcoat coats.
Recommended Skill Level
Intermediate

Comments

moosmani

Thu, 12/27/2012 - 07:54

Very well done. It fits right in and looks absolutely beautiful. I am working and practicing to reach your skill level so I can do amazing things too!
Cindy from Indiana (not verified)

Thu, 12/27/2012 - 09:14

Love this! Really great job!

Farmhouse kitchen Island

Submitted by Scrapwood on Mon, 10/20/2014 - 11:26

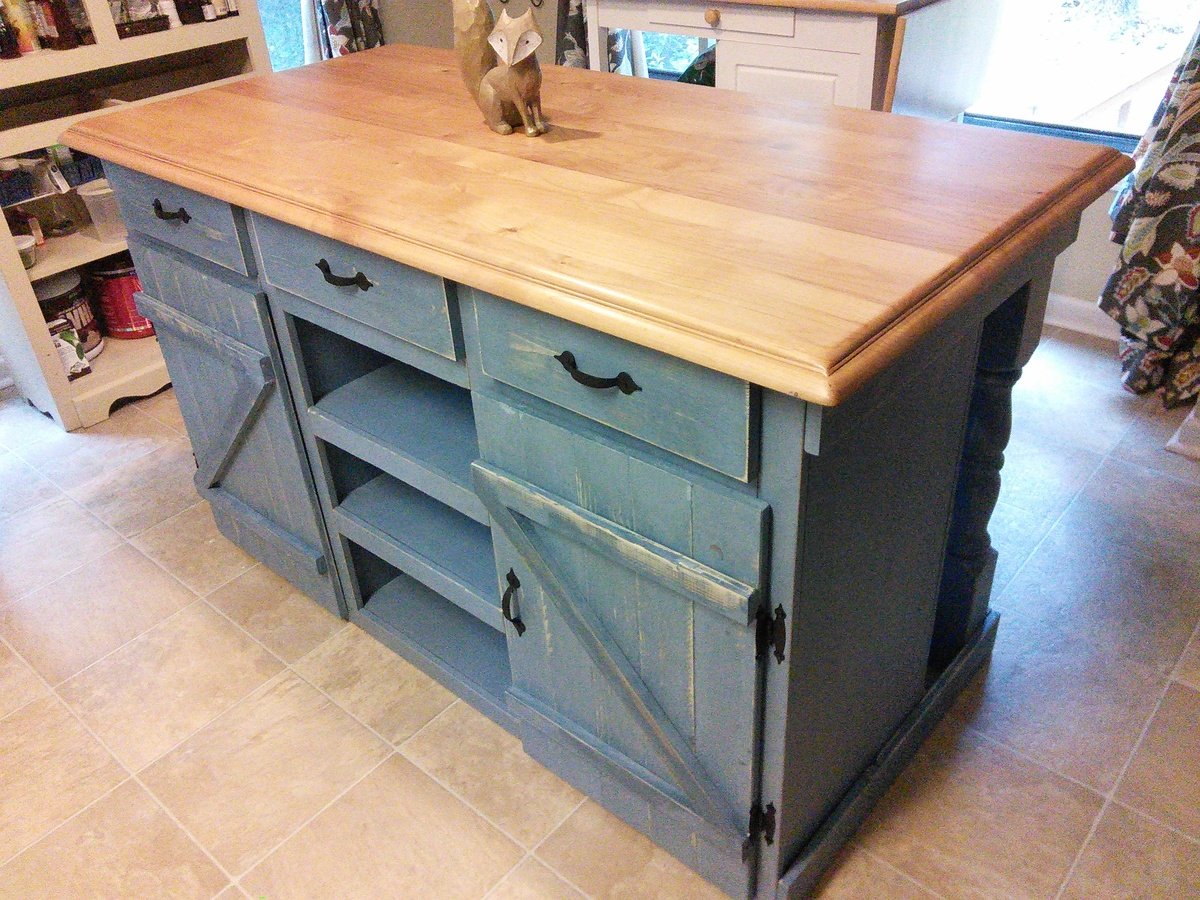
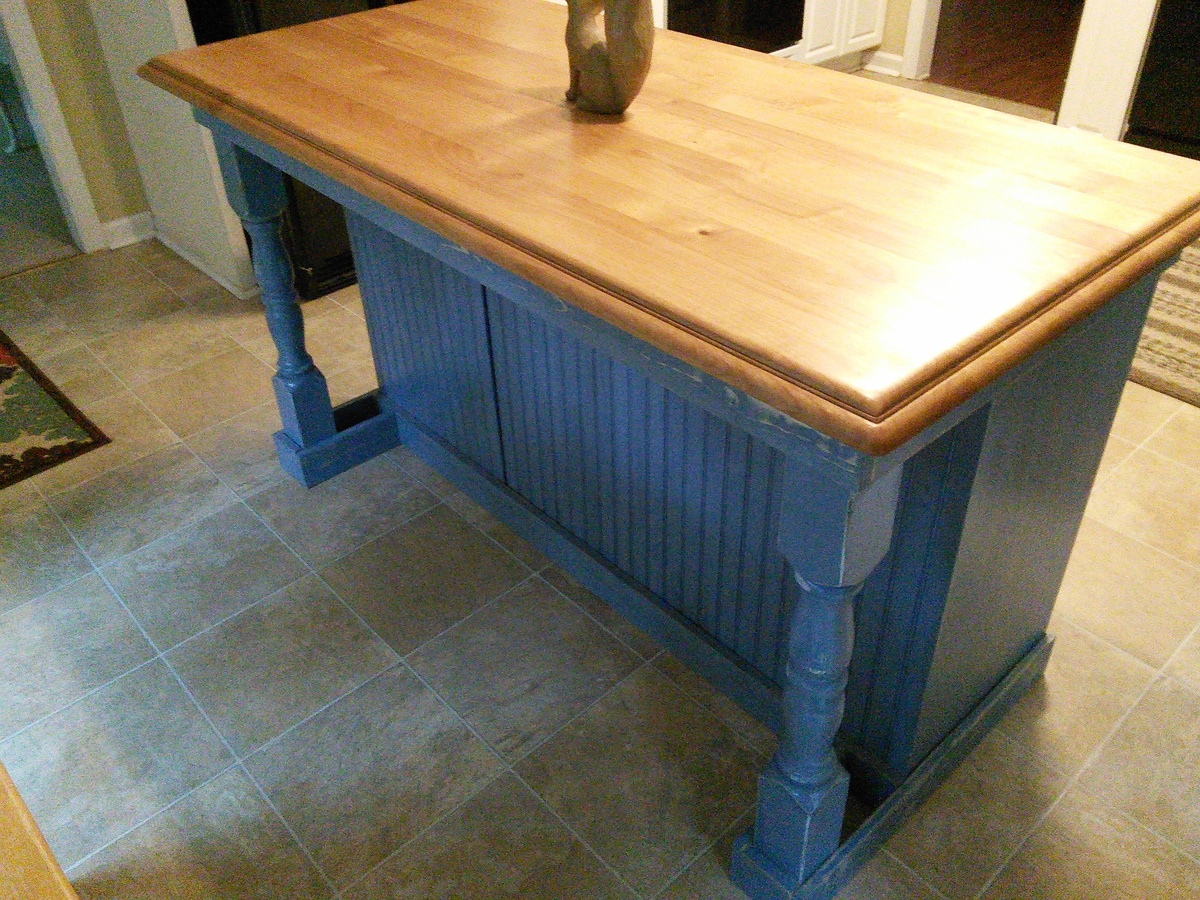
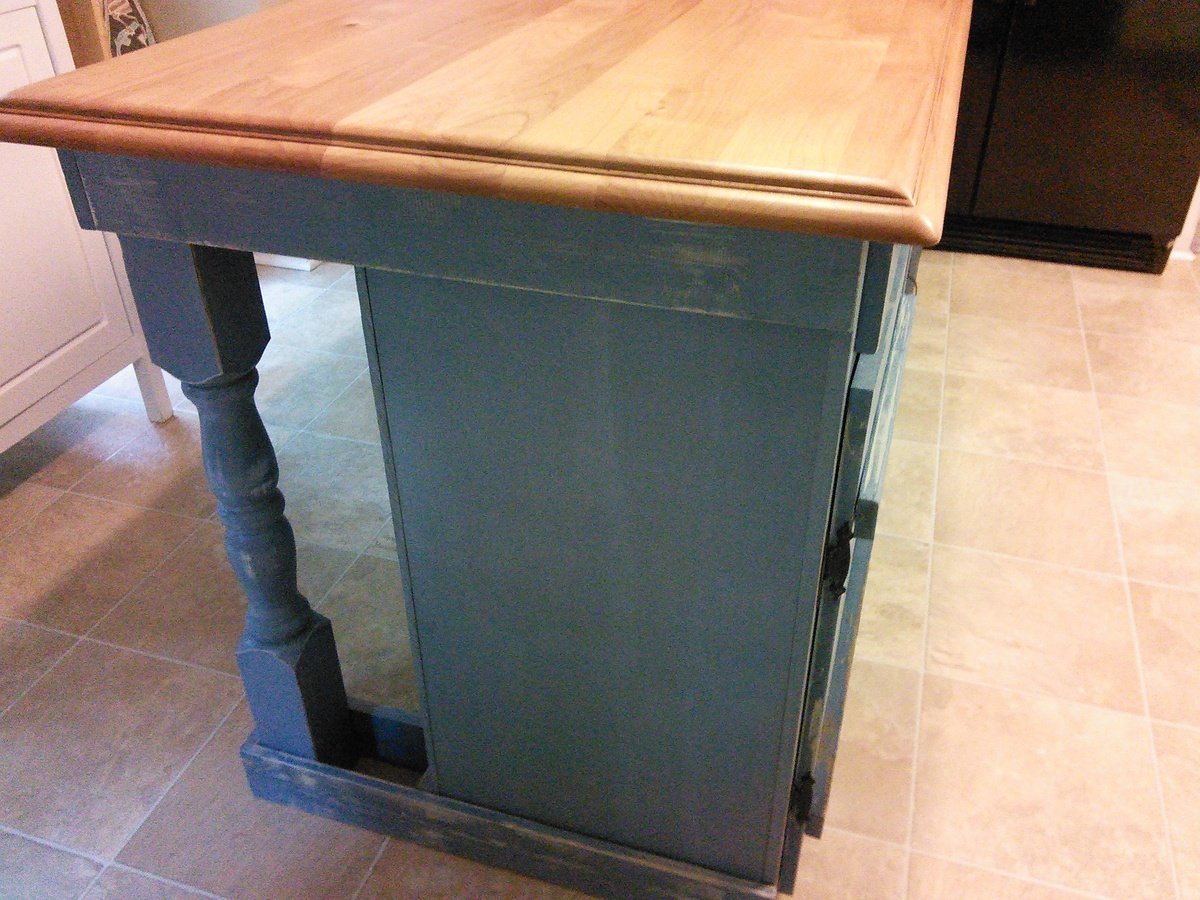
I used the Ana White "Country Kitchen Island" plans to build.  The only changes I made was the table top, bead board instead of pine planks, three drawers, and mostly 3/4" plywood.  For the island top, i used the top of a maple desk and applied butcher block oil.  To make things easier I used plywood to keep everything square and used bead board (very easy to install) instead of having to join boards together.  After putting the shelves together I just used pine boards to cover the edges of the plywood.  I also installed three drawers for convenient storage.  

Estimated Time Investment
Week Long Project (20 Hours or More)
Recommended Skill Level
Intermediate

Comments

hbharshman

Wed, 10/26/2016 - 13:48

Do you have more details on how you did the drawers? demensions, etc? Did you just extend the divider vertical bards that are inside all the way up? Or did you build cut 3 holes out of the front facing horizontal board? If you did that were you able to add tracks? 

Potting Bench - RYOBI Nation Projects

Submitted by olivier on Sun, 10/25/2020 - 04:47

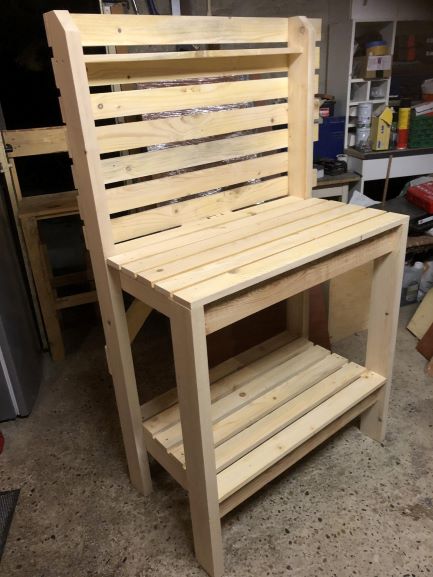
bonjour j'ai réaliser ce projet avec du bois de charpente (récupération) , projet très facile à réaliser avec peut de matériel, le plus compliquer à été de transposer les dimensions de pouces en cm. est-il possible de recevoir des plans en cm ????

Estimated Cost
0
Estimated Time Investment
Day Project (6-9 Hours)
Finish Used
aucune
Recommended Skill Level
Beginner

Garage Shelves

Submitted by coolove on Sun, 11/02/2014 - 23:16

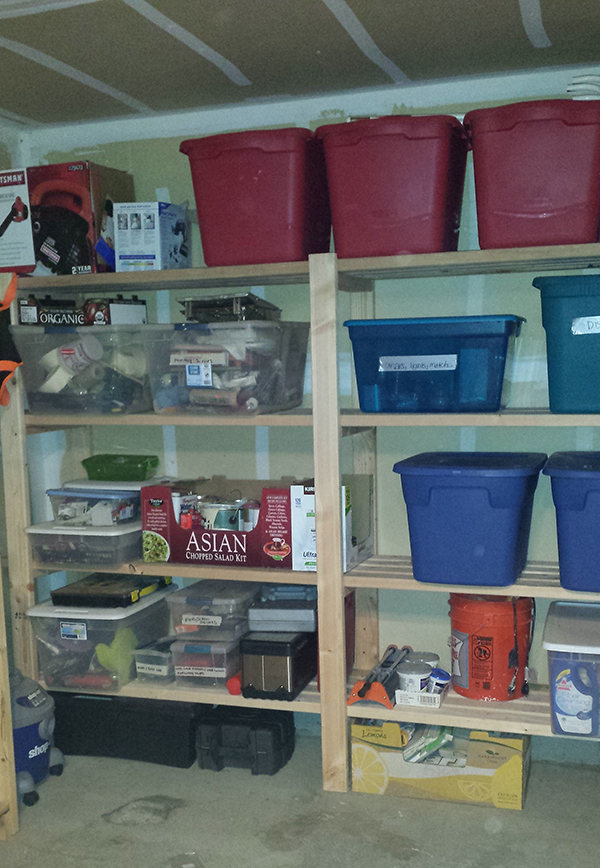
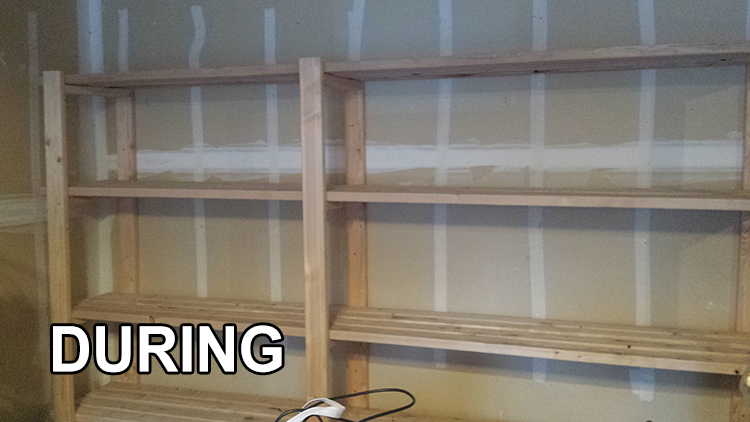
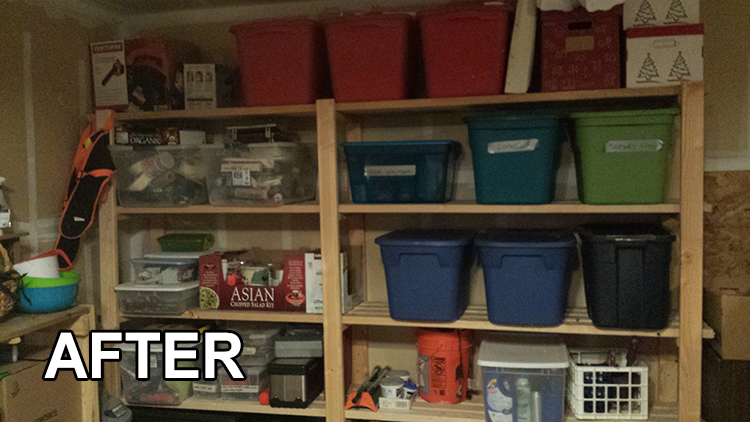
This project was a bit of a challenge. My garage has uneven flooring and a concrete lip around the edge of wall so I had to make the back legs 10 inches shorter than the front. Overall, it turned out well and everything is completely leveled much to my amazement. I'm thinking of making more shelves on the other end of the garage to free up more space.

Estimated Cost
$90 including extra nails.
Estimated Time Investment
Afternoon Project (3-6 Hours)
Finish Used
None.
Recommended Skill Level
Beginner

In love with my new miter saw stand and work benches

Submitted by seahawklvr on Fri, 11/27/2020 - 05:58

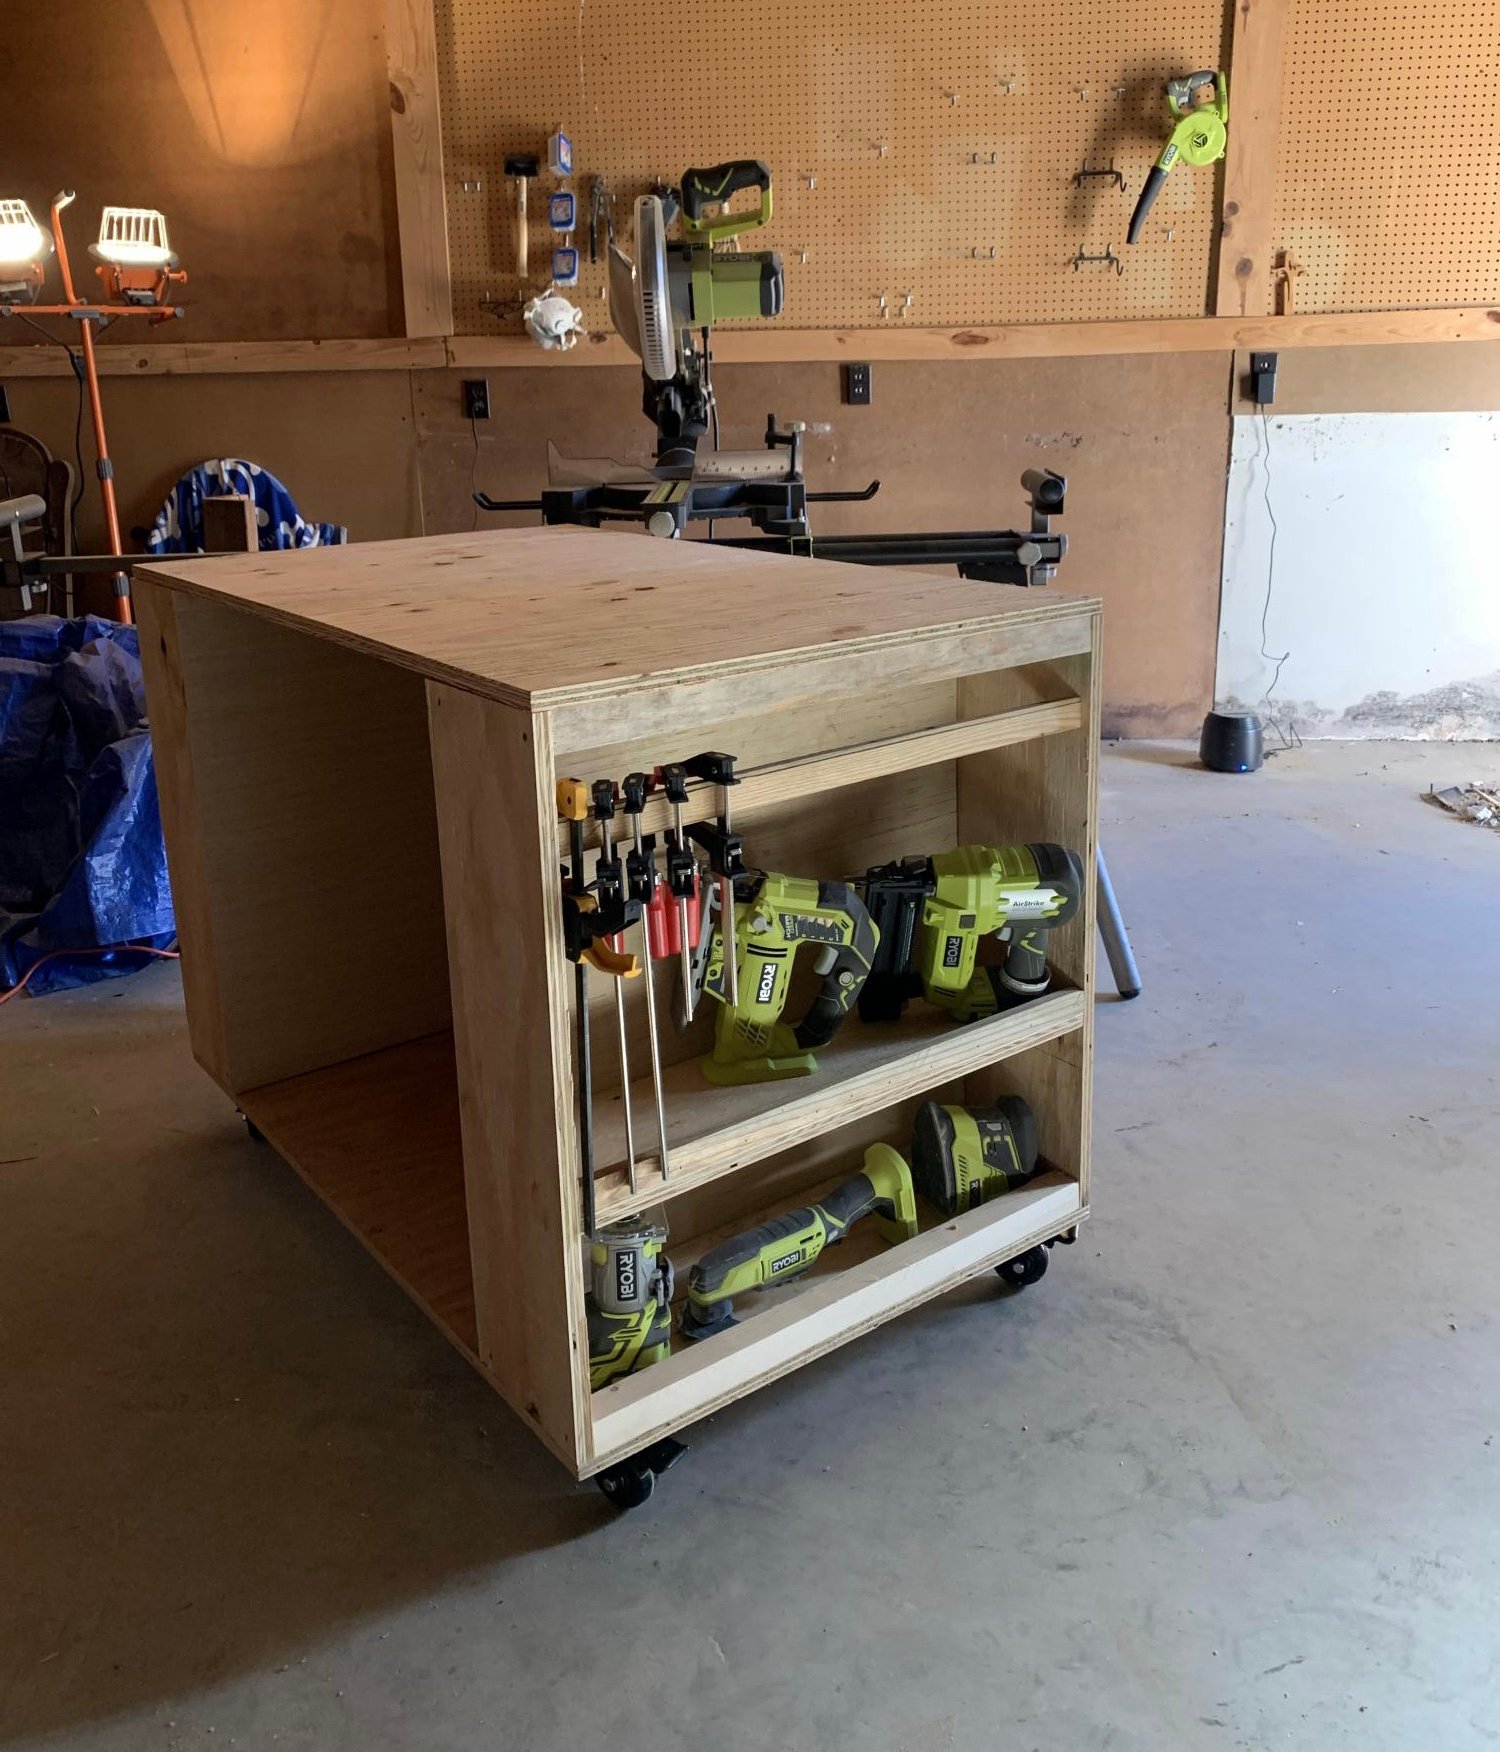
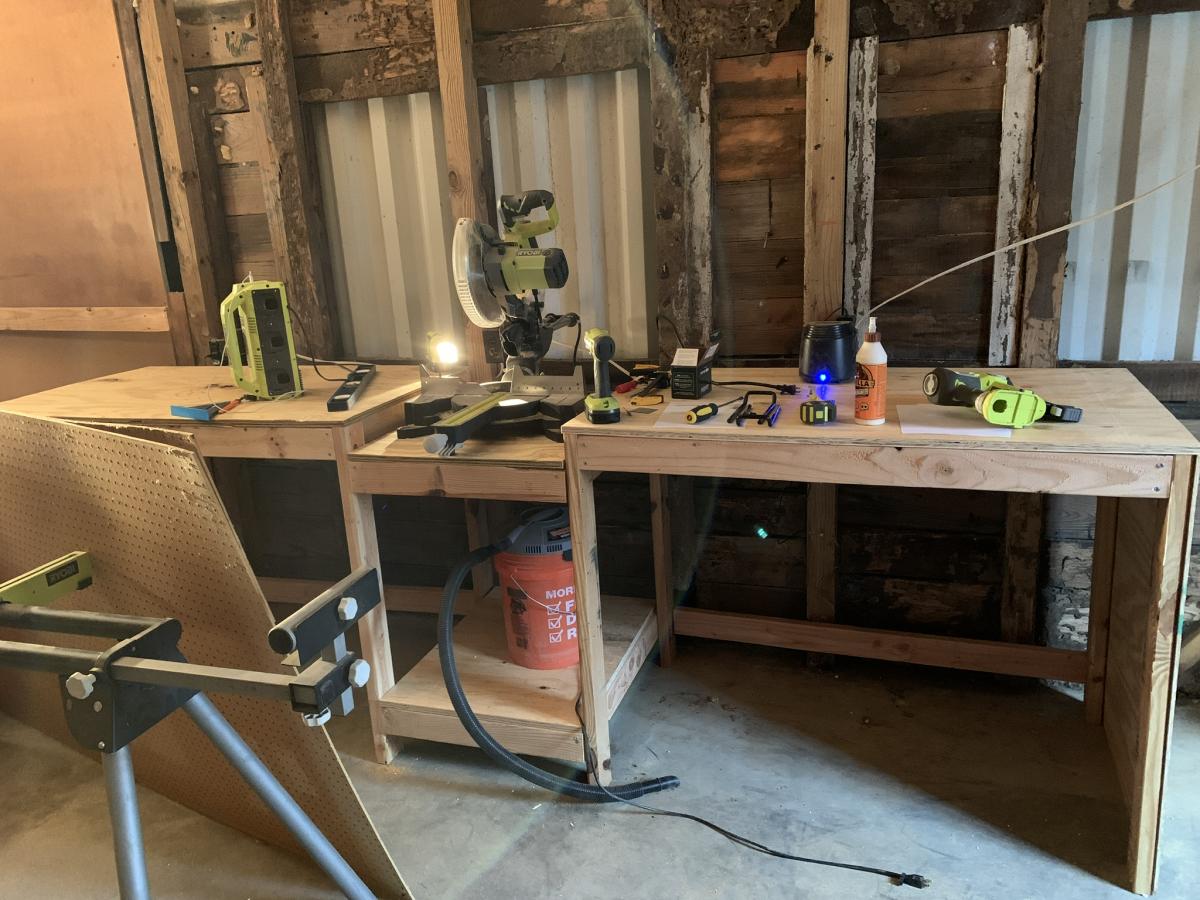
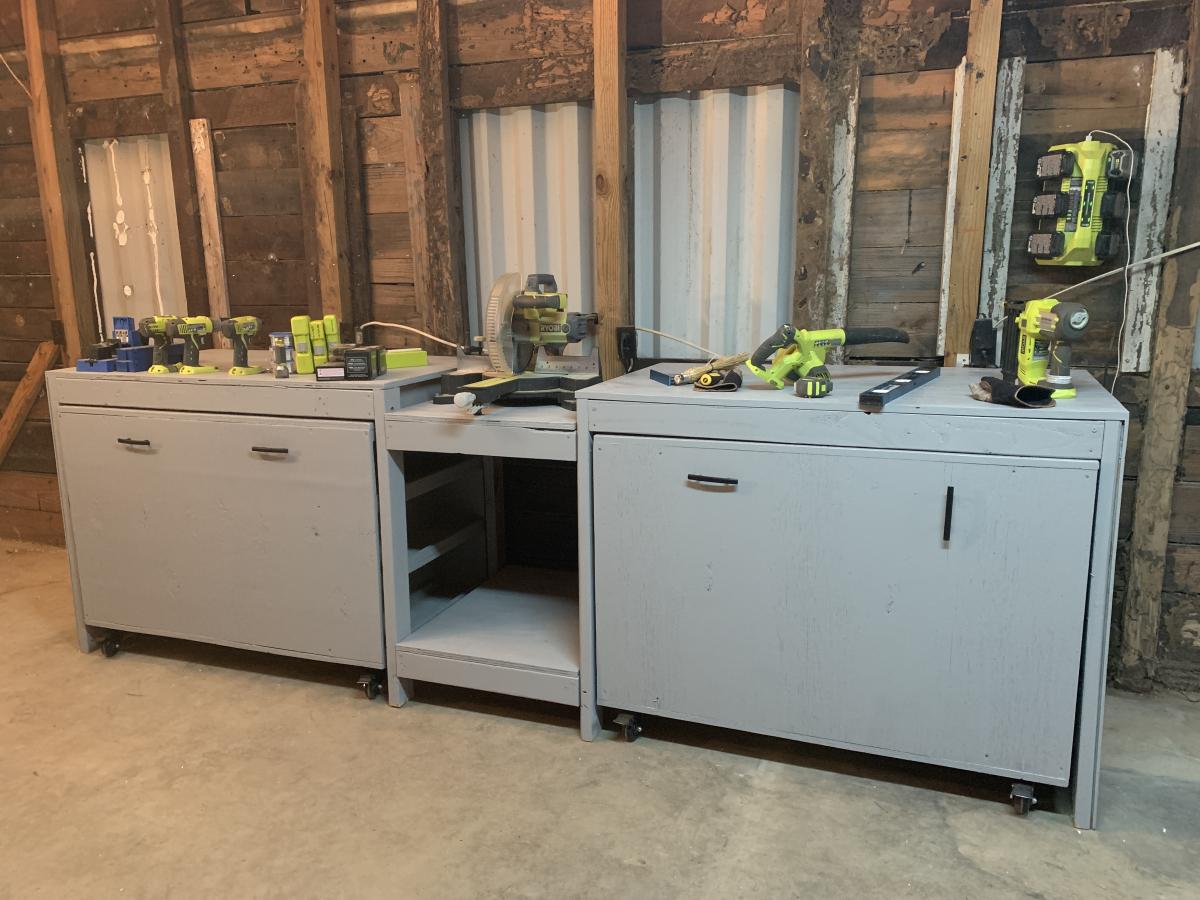
We purchased a fixer up house that requires a complete gut but the property came with a detached shop! I quickly realized I needed to get the shop cleaned up and organized so it would be easier and more efficient to work on projects for the house. I am a beginner as far as I am concerned and even though this was rated as an intermediate level build, as long as you take your time, it’s definitely doable for a beginner. The plans called for staples but since I just had a Brad nailer, I just used that and it worked fine. I did have one fail, and that was that I had a 1x2 to hang my clamps on but I placed it too far near the outside of the mobile work bench and when I went to store the work bench under the miter stand, the clamps prevented it from sliding in so I had to reposition it. Other than that, it was perfect and as soon as I save up for my Ryobi table saw then I will position it on one of the work benches. Because of the raise in the cost of lumber dut to COVID, the cost was probably twice as much as it should’ve been but I still feel I couldn’t have purchased a huge miter saw station and two mobile work stations for less than I spent on building this. Besides, I can be proud that I built this myself!

Estimated Cost
$325
Estimated Time Investment
Weekend Project (10-20 Hours)
Finish Used
Behr Marquee #MQ6-22 Gateway gray in satin enamel
I found it more cost effective to purchase a 6 pack of handles vs purchasing 4 individual handles. Now I have two spares for a project down the road.
The Caster Wheels were Moogiitools 3” locking from Amazon and were @$50 for 8 wheels. Very smooth and heavy duty
Recommended Skill Level
Beginner

Comments

Craftsman playhouse!

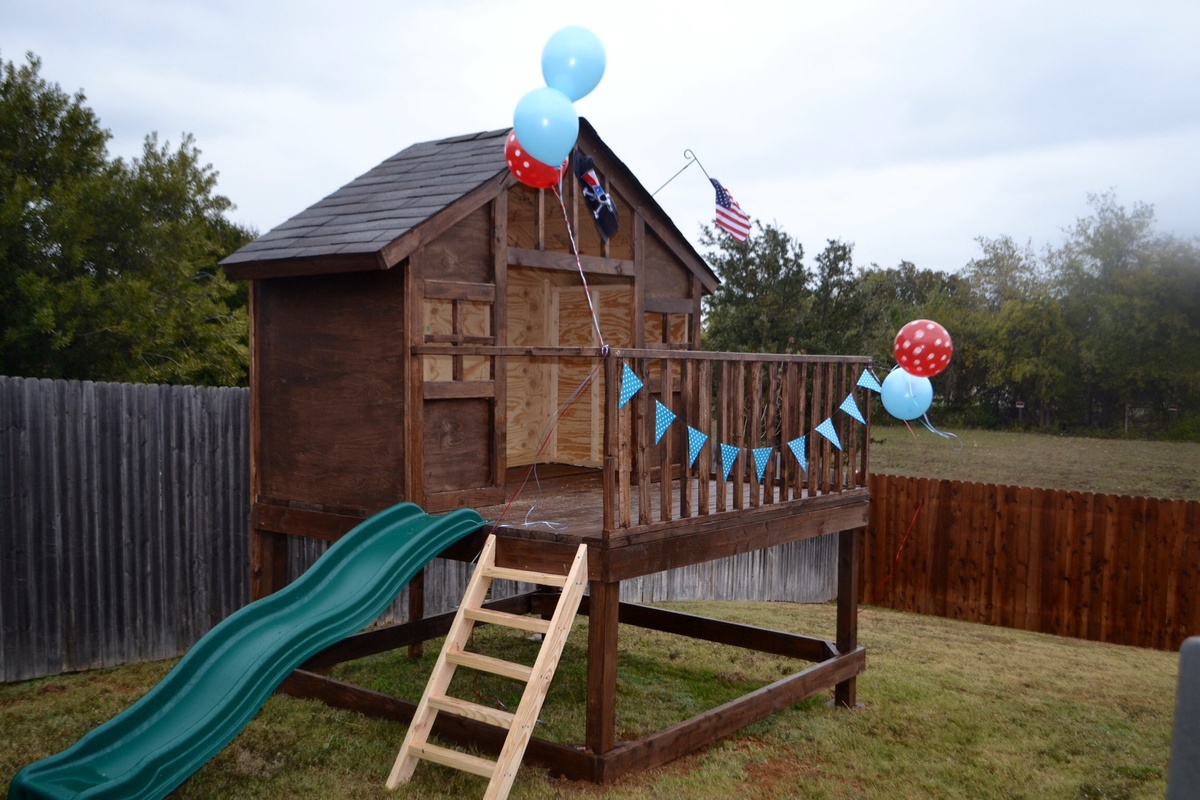
Love how this turned out!! Thank you thank you Ana!! Plans were great, I think we got it done for just about $250! 

Thanks again!

Built from Plan(s)
Estimated Cost
$250
Estimated Time Investment
Weekend Project (10-20 Hours)
Recommended Skill Level
Intermediate

Comments

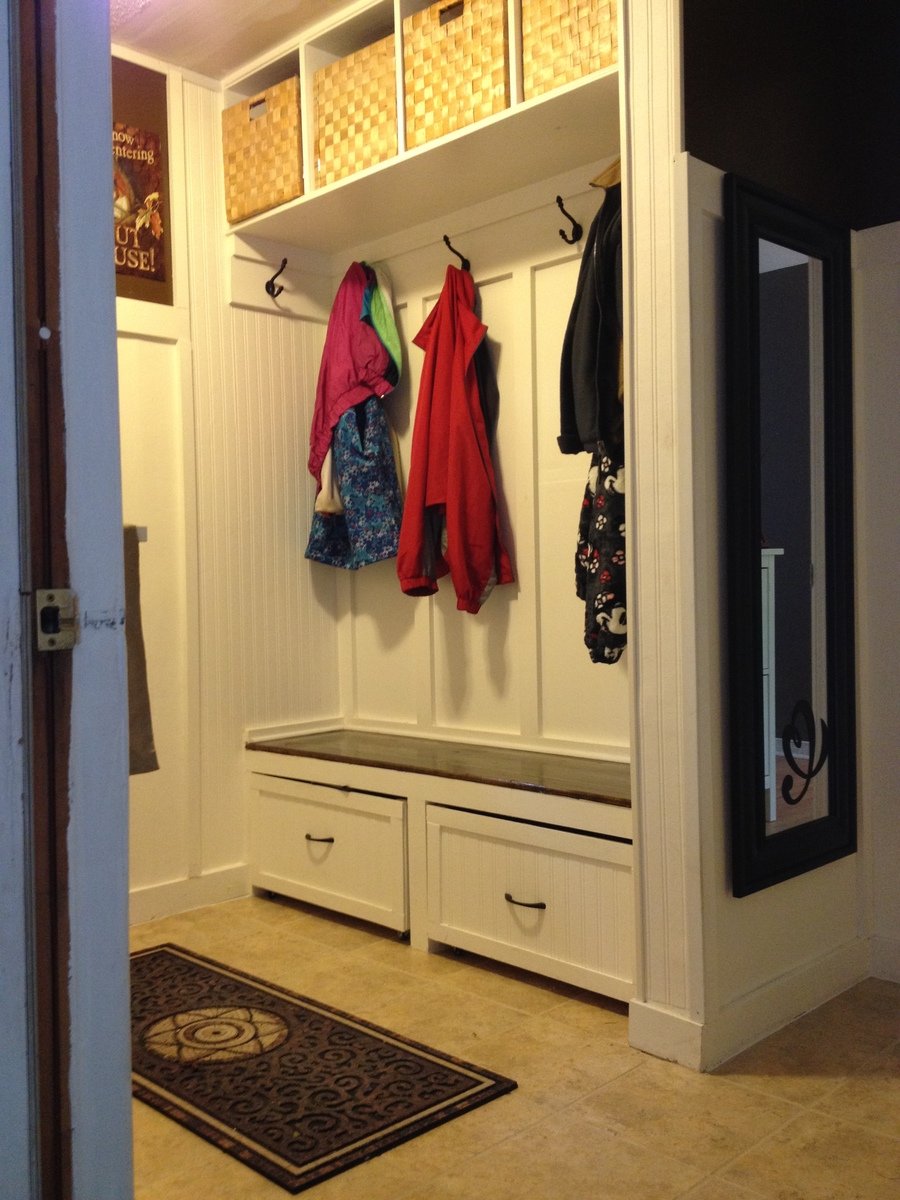
A twist on Modular Family Entryway Mudroom System - Pullout Rolling Bench Cart

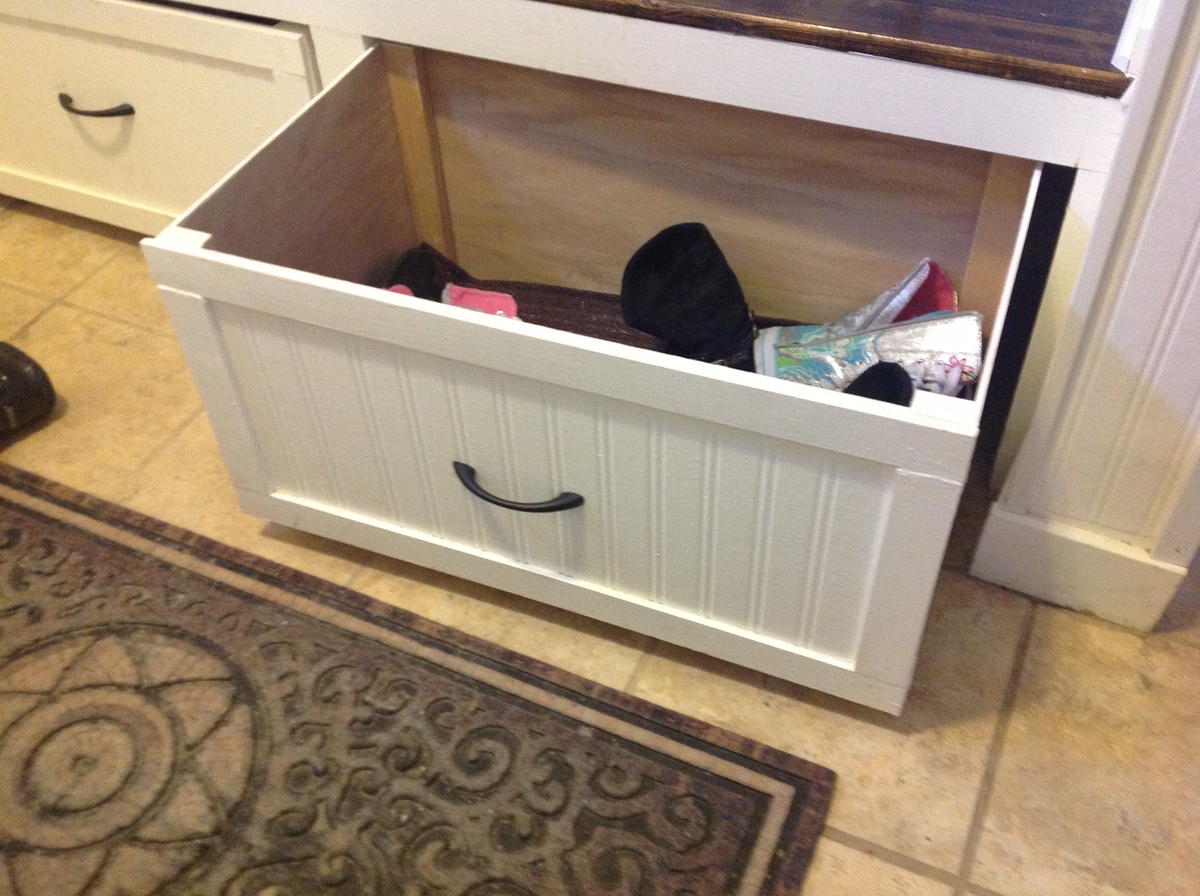
This is a twist on the Modular Family Entryway Mudroom System - Pullout Rolling Bench Cart . There have been many posts on the net for a mudroom locker set such as the one I have. In our case we had a mudroom with a closet, not much room to move when sliding the doors open, and as well we have kids that need a place to sit in order to put boots/shoes etc on. I took advantage of my husband's work assignment out of the country to rip back the closet,to 20 inches deep and open it up and added a bench for seating, baskets above for out of season/rarely used stuff, and used rolling cubbies below, but in my case I wanted storage bins instead. My thinking was so that I could make it look clean pretty quickly by just chucking every thing in to the bin... These are tall enough for our boots. In the bottom of the bins I put a piece of outdoor carpeting, then a plastic grid, and over that another layer of outdoor carpeting so if the footwear is wet it will drain and dry-no biggie to vacume or sweep out. Best deal: I can simply roll them out of the way when I want to sweep underneath! I measured cubby space to basket size above, and made the bins below after doing the bench and middle supports, to ensure a good fit. The bench top is an old piece of pine board I sanded, stained and used 4 coats of marine varnish so it would take lots of wear and tear.

Estimated Time Investment
Week Long Project (20 Hours or More)
Finish Used
minwax walnut stain, and marine varnish benchtop
behr marshmallow paint
Recommended Skill Level
Intermediate

Comments

Mobile Kitchen Pantry

Submitted by webjr on Wed, 01/07/2015 - 19:56

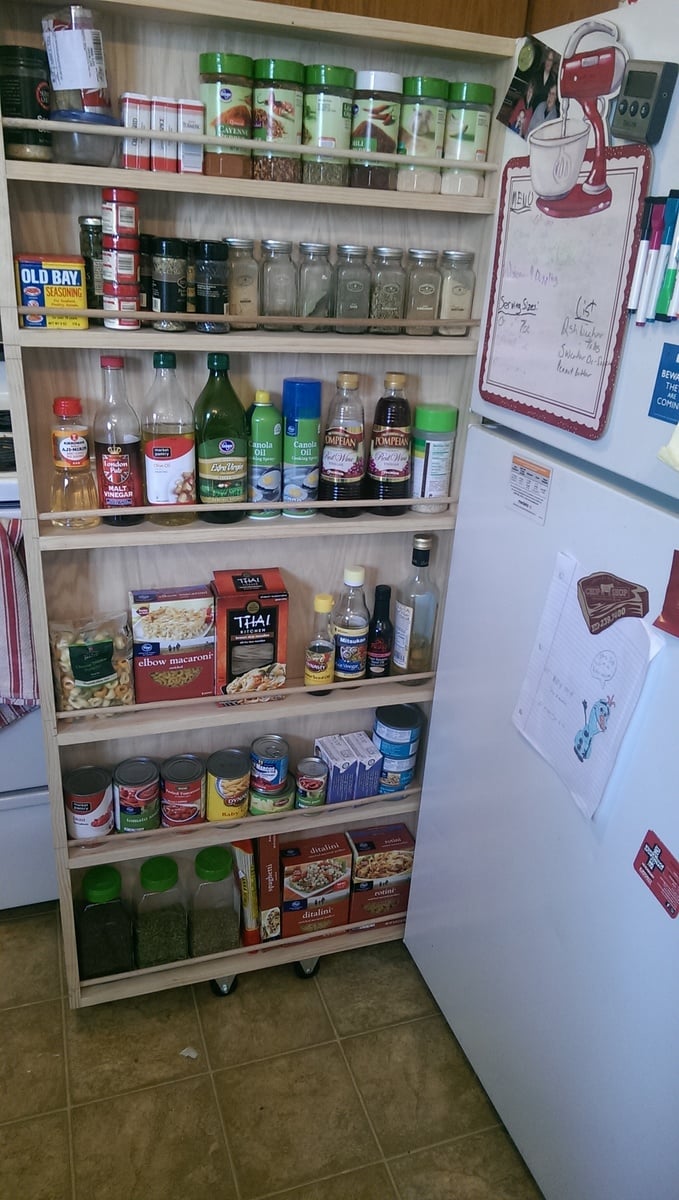
I made a version of the "DIY Rolling Pantry - Classy Clutter" project, but I sized my shelves differently than in the original photo. This is an easy starter project for just about anybody. It is full of counter-sunk butt joints and can be constructed in a single afternoon or evening.

We couldn't apply any finish because it is too damn cold.

The frame is 59"x26" to match the size of my fridge (minus the door). Add in the casters on the bottom and it matches my fridge perfectly.

Materials Used:
- 4, 1x4" select Pine boards
- 1, 4'x8' sheet of Red Oak plywood
- A bunch of 1 1/2" wood screws
- A bunch of nails

Estimated Cost
$50
Estimated Time Investment
Afternoon Project (3-6 Hours)
Finish Used
None at the time. It is too cold to finish in my garage shop right now.
Recommended Skill Level
Starter Project

Comments

webjr

Thu, 01/08/2015 - 13:33

To be perfectly honest, other than some stuff in shop class in middle school and the quick work table in my garage, I hadn't done any woodworking in my life. I have the tools, but I never just sat down and did it. It was a learning experience. I can't wait for my next project.

Lydia Daybed

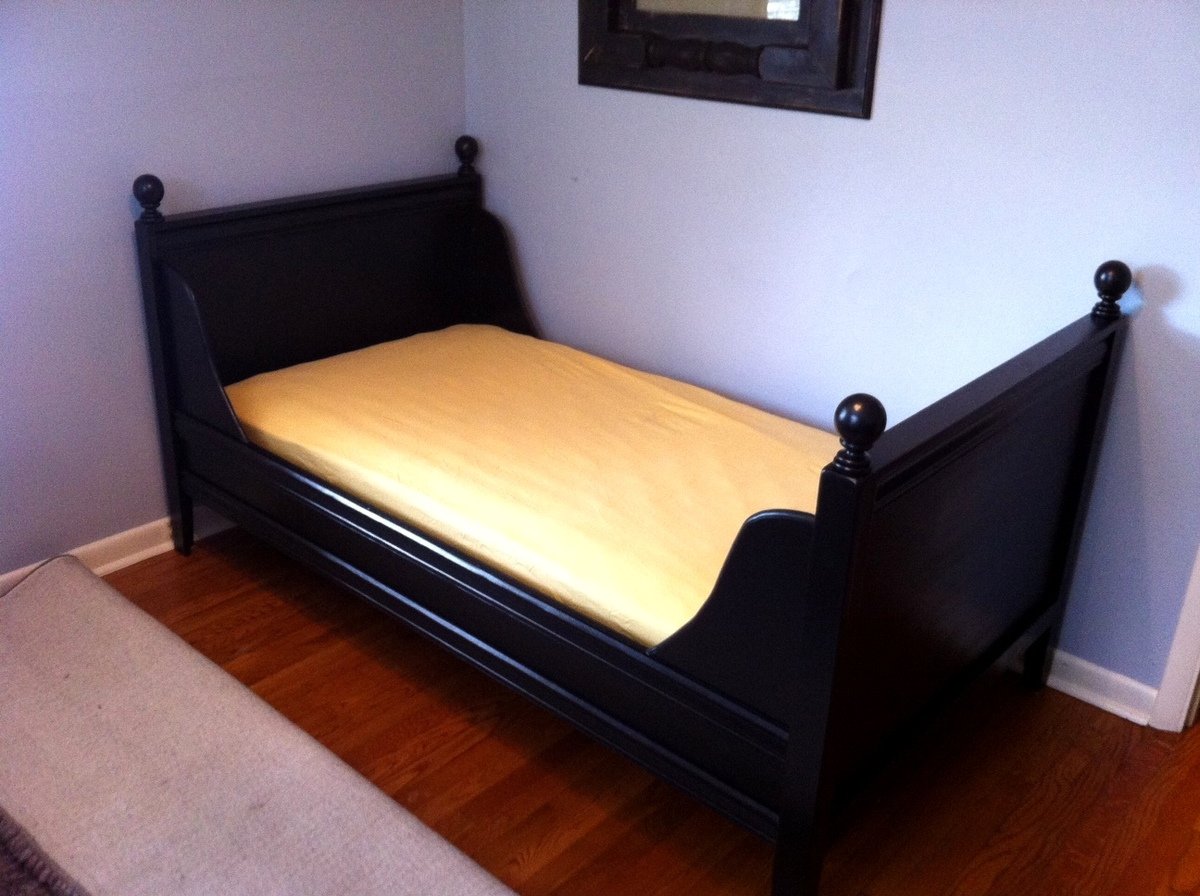
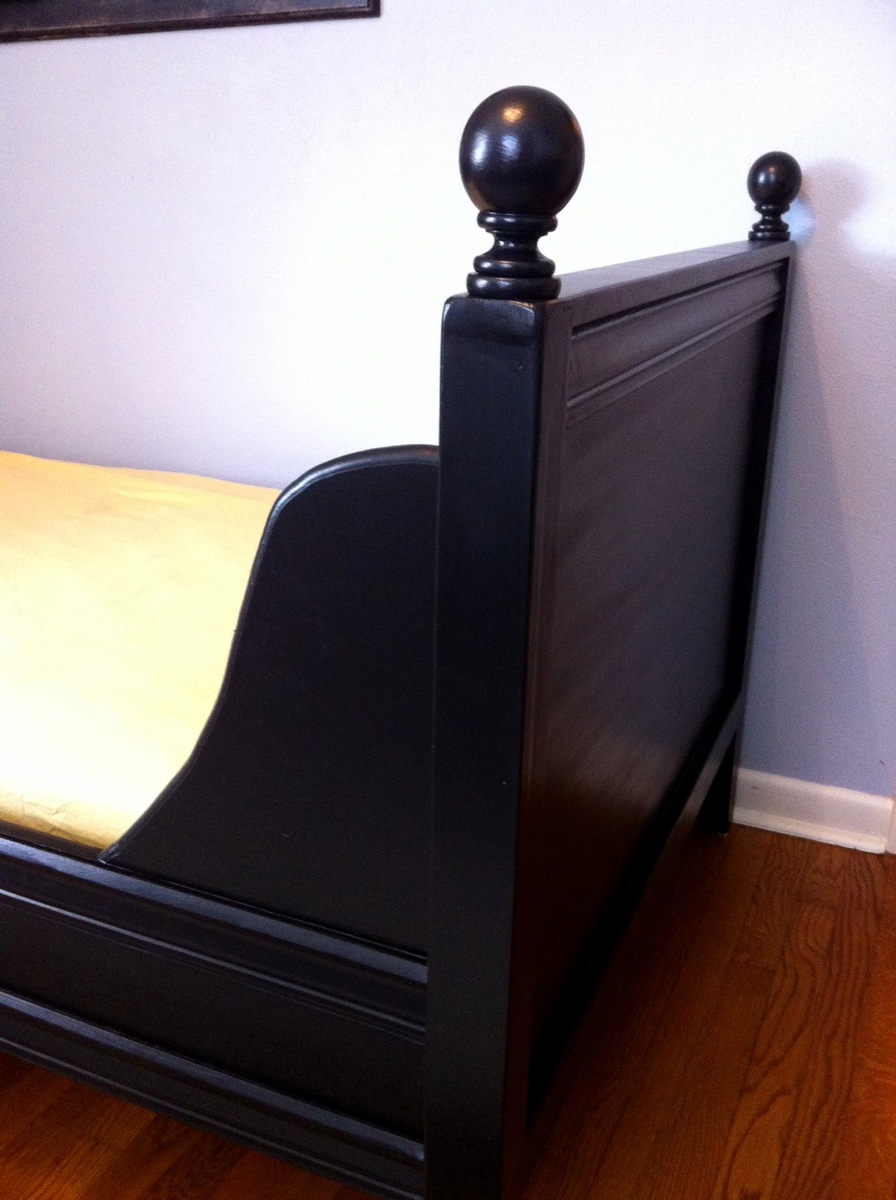
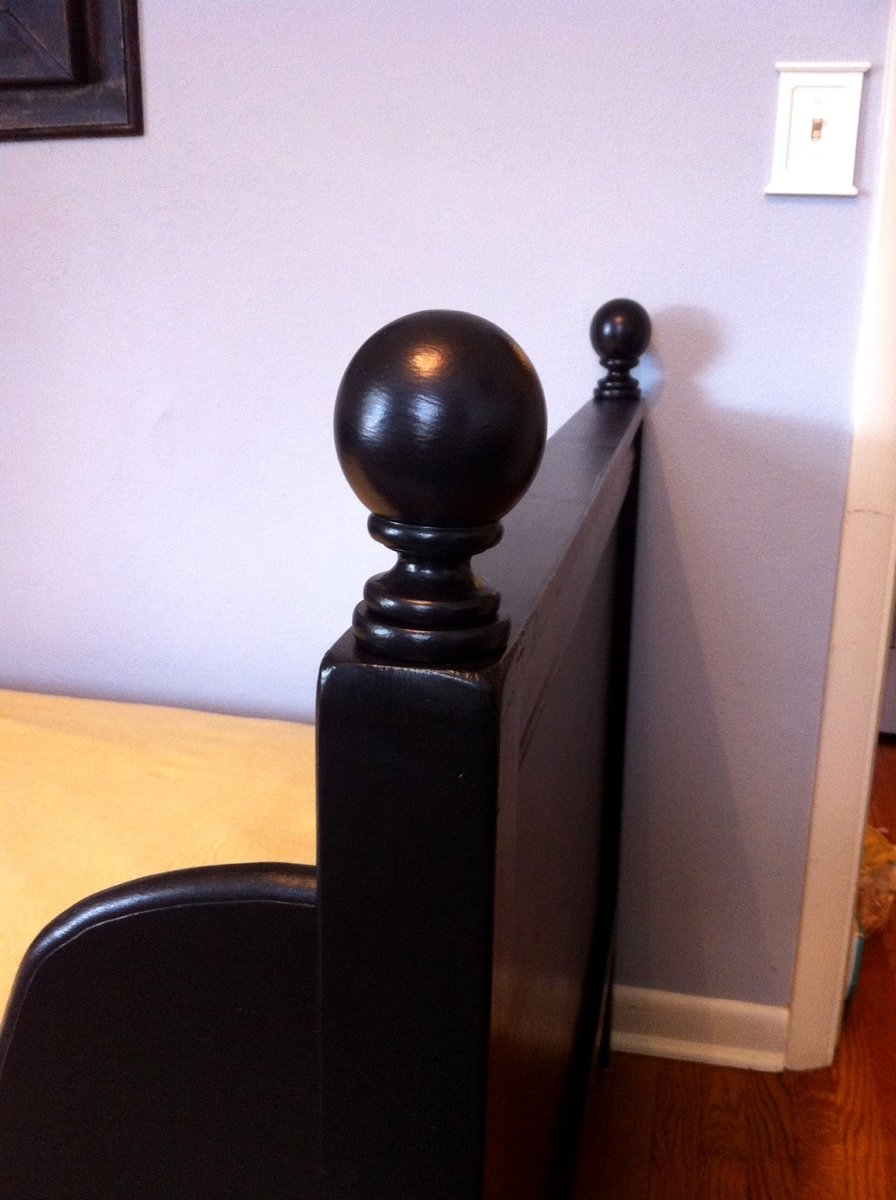
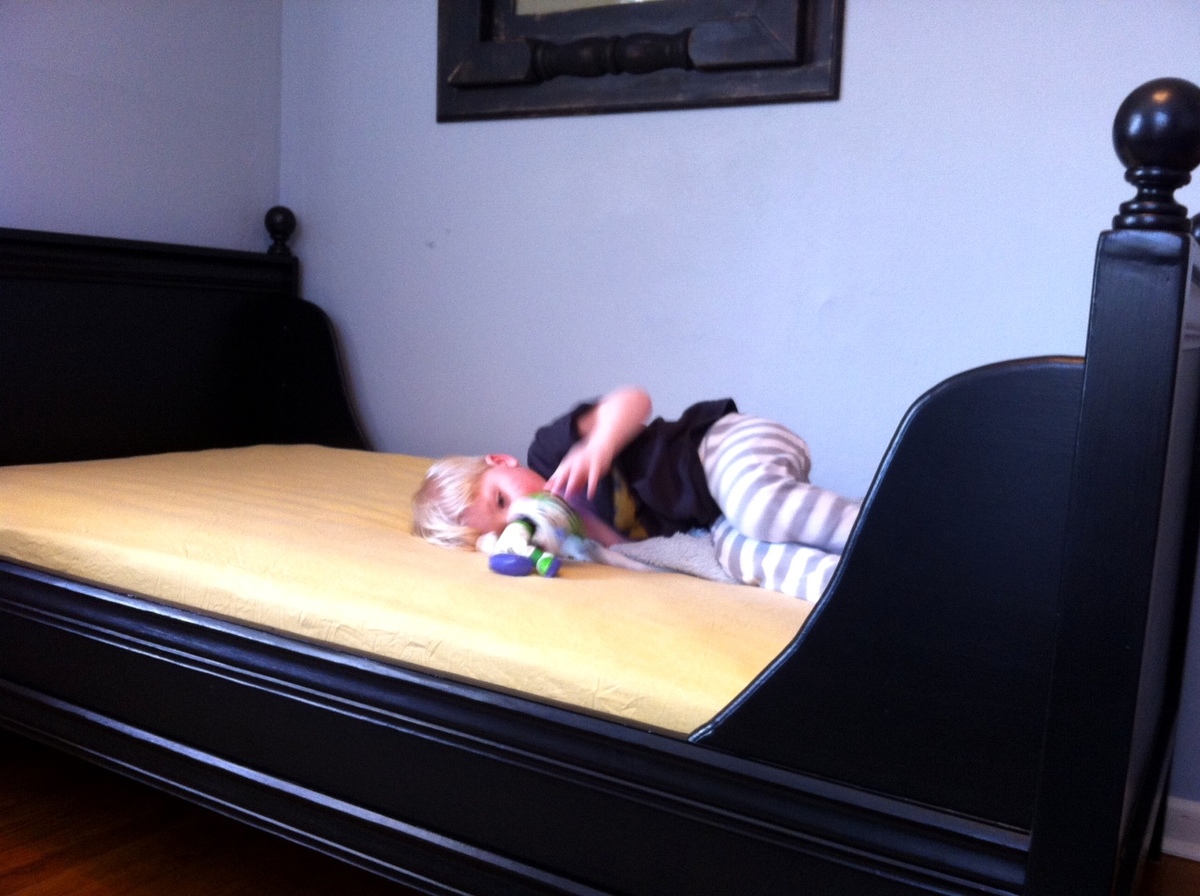
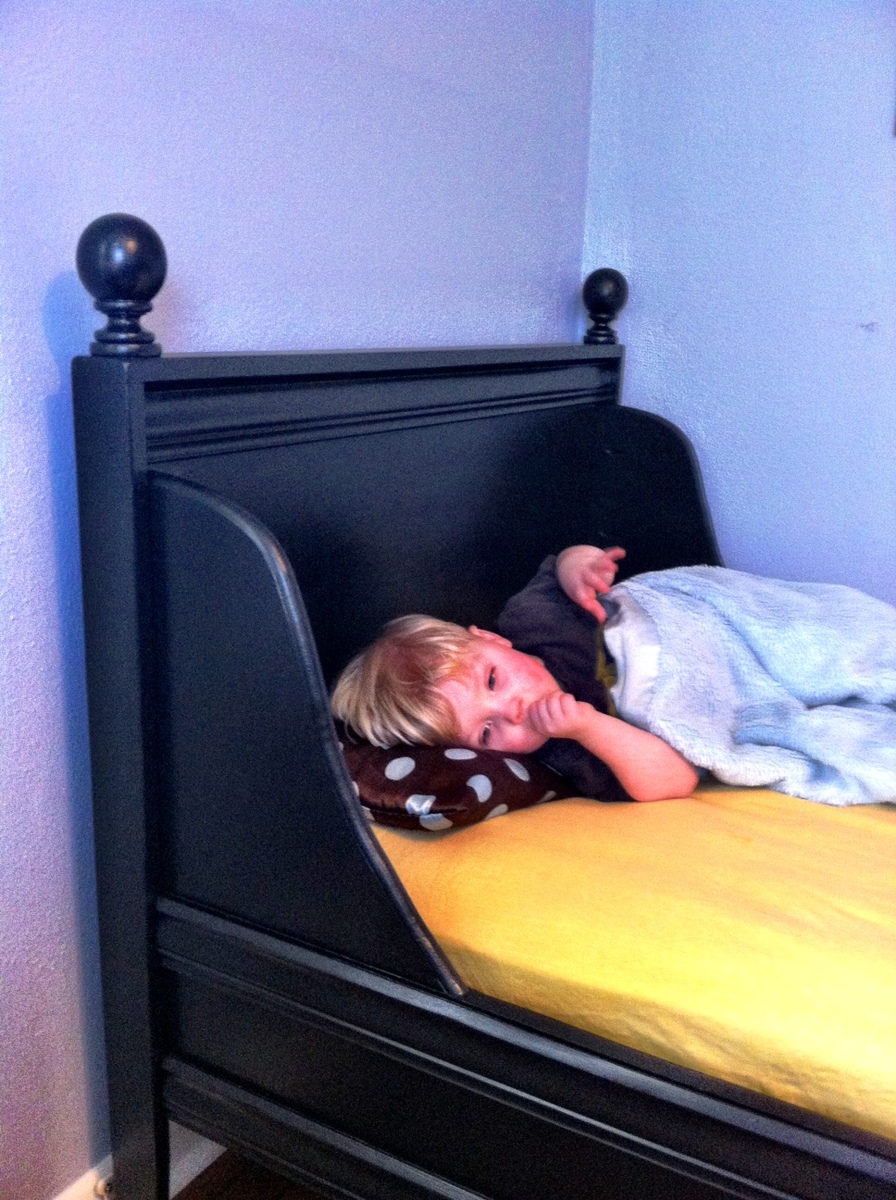
I built the Lydia Daybed for my nephew's new big boy bed. Was a little worried about doing the fancy decorative corner pieces, but just adapted the design a little so it was not such an intricate cut. Everything turned out great and there are a few more pictures on the blog, www.atouchofarkansas.com. Thanks! JM

Built from Plan(s)
Estimated Cost
160.00
Estimated Time Investment
Weekend Project (10-20 Hours)
Finish Used
Painted it black
Recommended Skill Level
Intermediate

Comments

Farmhouse headboard

I built this headboard a while back but just never got around to posting it.  I distressed the wood, painted it mint green and applied a chocolate glaze. 


Estimated Cost
$100.00
Estimated Time Investment
Day Project (6-9 Hours)
Finish Used
Mint green and chocolate glaze
Recommended Skill Level
Starter Project

Comments

Benchwright Coffee Table

This is a replica of the Pottery Barn benchwright coffee table.  I altered Ana's plans slightly by changing the design of the legs to be 2.25" by 2". I added full extension drawer slides.  The finish is a combination of transtint shellac base coat, gel stain, transtint dye, and poly. 


Built from Plan(s)
Estimated Cost
$250.00
Estimated Time Investment
Week Long Project (20 Hours or More)
Recommended Skill Level
Intermediate

Comments

coloradonp

Sun, 01/31/2016 - 18:56

Hi! The finish is absolutely gorgeous. I was wondering if you could give a little bit more detail on which products you used for the finish. I've only used oil based stains and I'm not quite sure what the transtint dye is. Thanks!

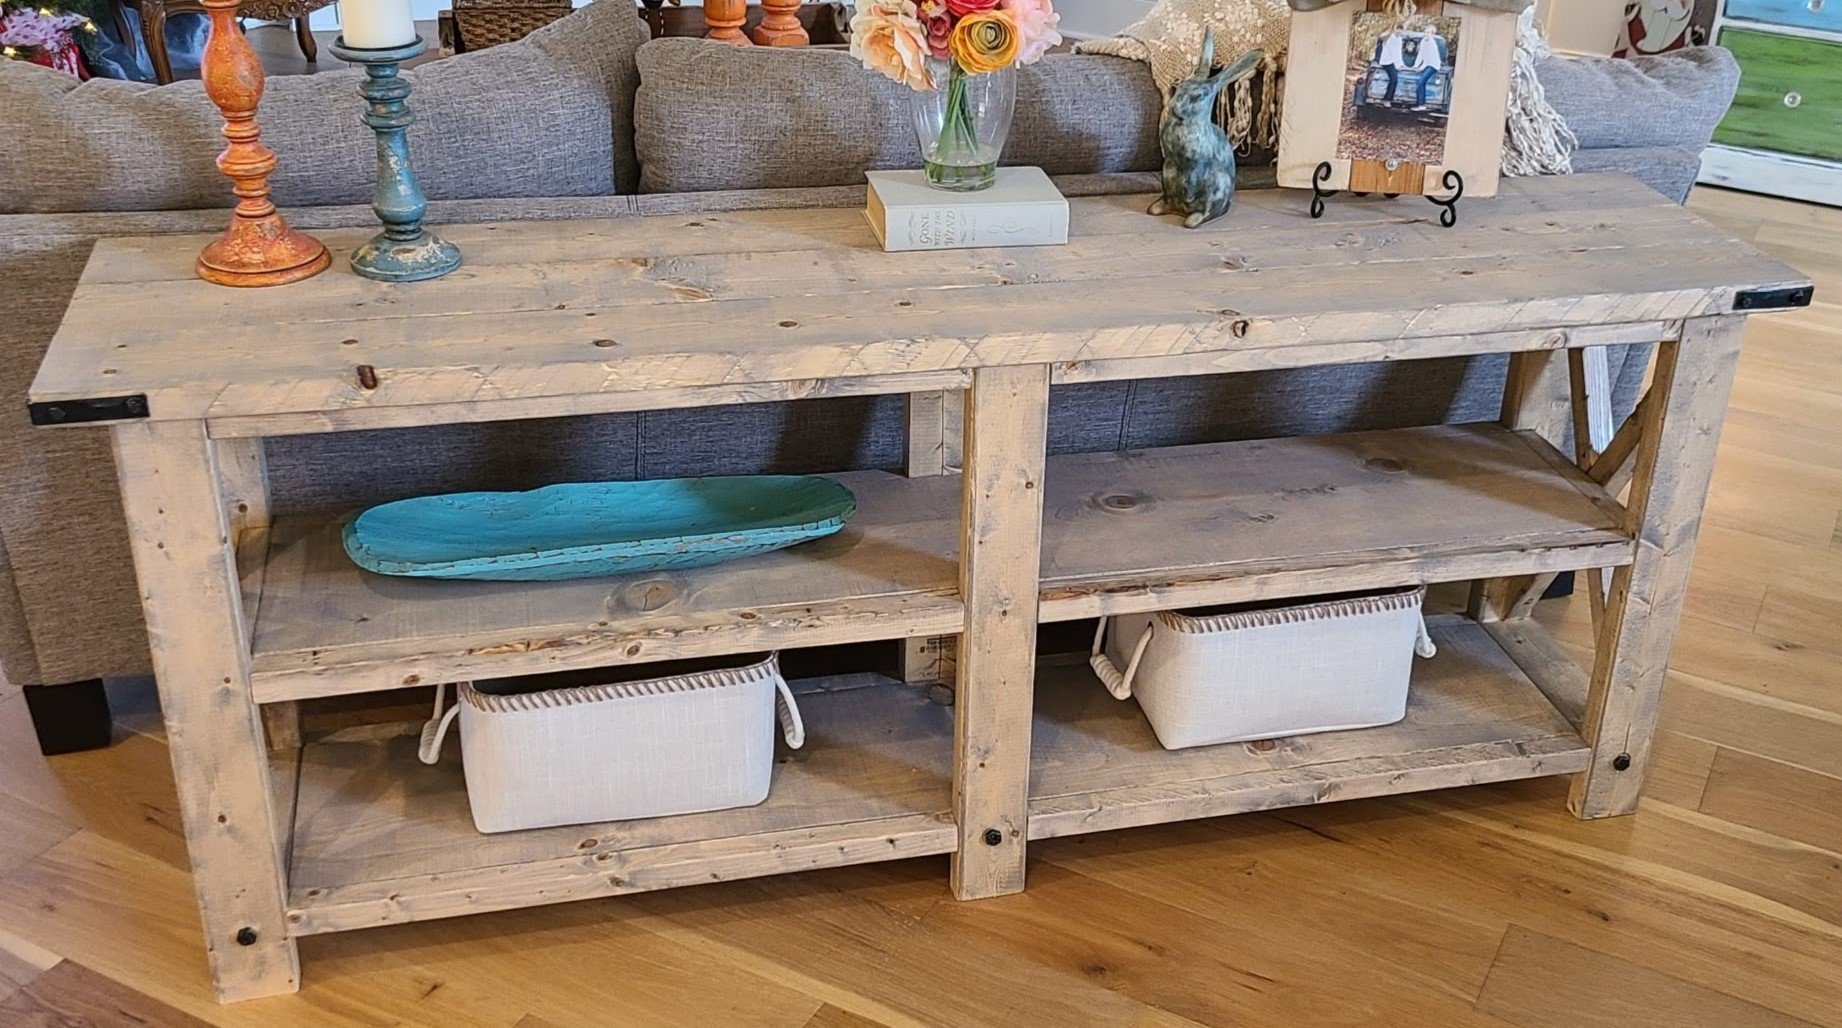
Rustic X Console Table

My take on the Rustic X Console.

Built from Plan(s)
Estimated Cost
150
Estimated Time Investment
Weekend Project (10-20 Hours)
Finish Used
Minwax Wood Finish Oil-Based Slate Semi-Transparent
Recommended Skill Level
Intermediate

Comments

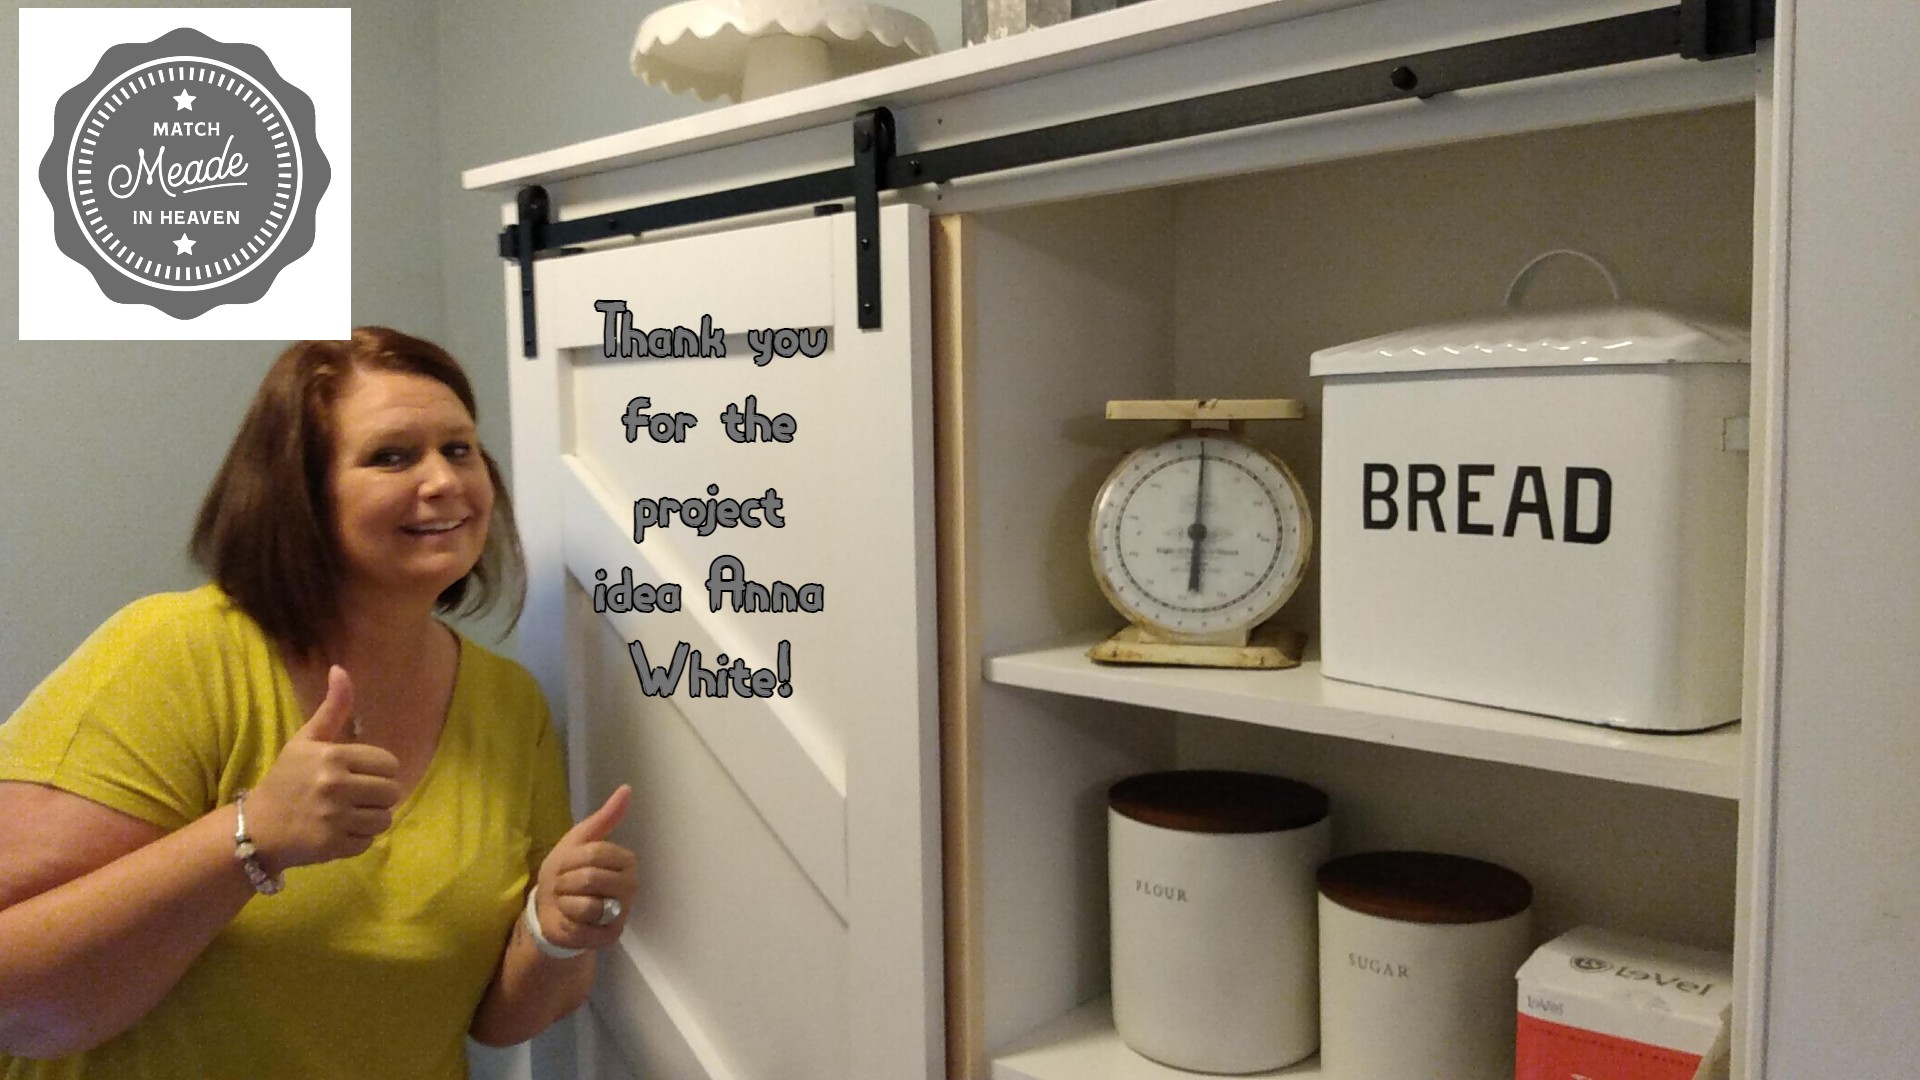
DIY Barn Door Pantry

We have been a subscriber of Ann White's YouTube channel for quite some time. With our kitchen remodel we needed an idea for our pantry. All I can say is thank you Ann White!

Built from Plan(s)

Comments

Full Size Storage Bed

With a new baby on the way, my husband, Steve and I had to move our 2yr old son out of the nursery and into his big boy bedroom. After casually looking at storage beds and falling over in shock at the prices, I came across Ana’s plans for the storage bed. Knowing that Steve is extremely handy but had not attempted to build furniture before, I started talking him into building this bed. He was sold the moment I told him that we would save close to $2400 by building it ourselves. This was a longer than anticipated project mainly due to Steve’s full time work schedule, my inablility to handle stain fumes, allowing a toddler to “help” build his bed and working around said toddler’s nap schedule. We modified Ana’s plans by adding some trim to the cubby hutch, omitting the doors on the small hutch and sizing everything to a full size bed. We also omitted the shelves on the storage headboard since we weren’t going to use them with the side towers. I am absolutely in LOVE with the final result and have a long list of other projects that we will be building in the near future.

Built from Plan(s)
Estimated Cost
$600
Estimated Time Investment
Week Long Project (20 Hours or More)
Finish Used
Paint or Stain Color/Type: Minwax Polyshades in Pecan Gloss

Finishing Technique: Steve primed the wood first with Minwax Pre-Stain Wood Conditioner then, added two coats of Minwax Polyshades in Pecan Gloss.

Recommended Skill Level
Intermediate

Tapered plant box

Submitted by Anonymous (not verified) on Mon, 10/04/2021 - 18:20

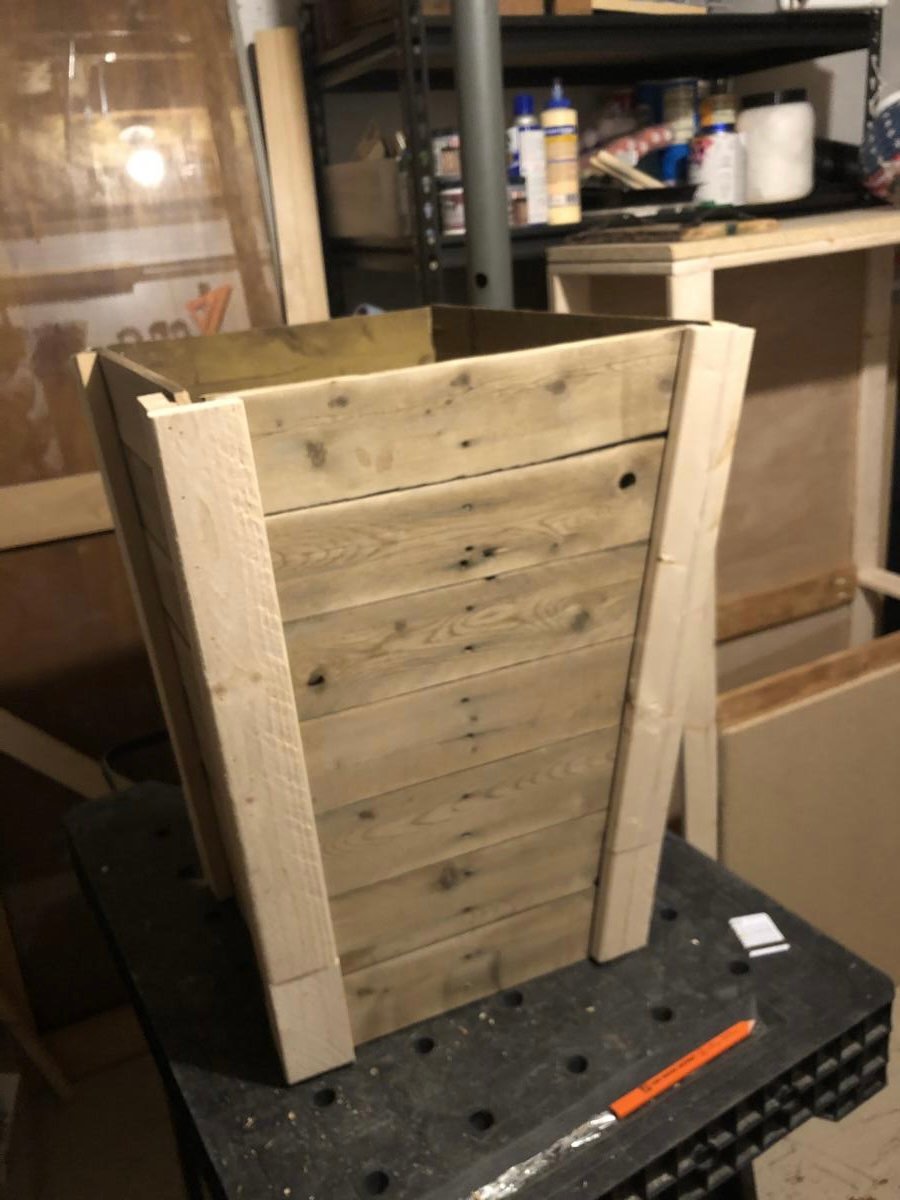
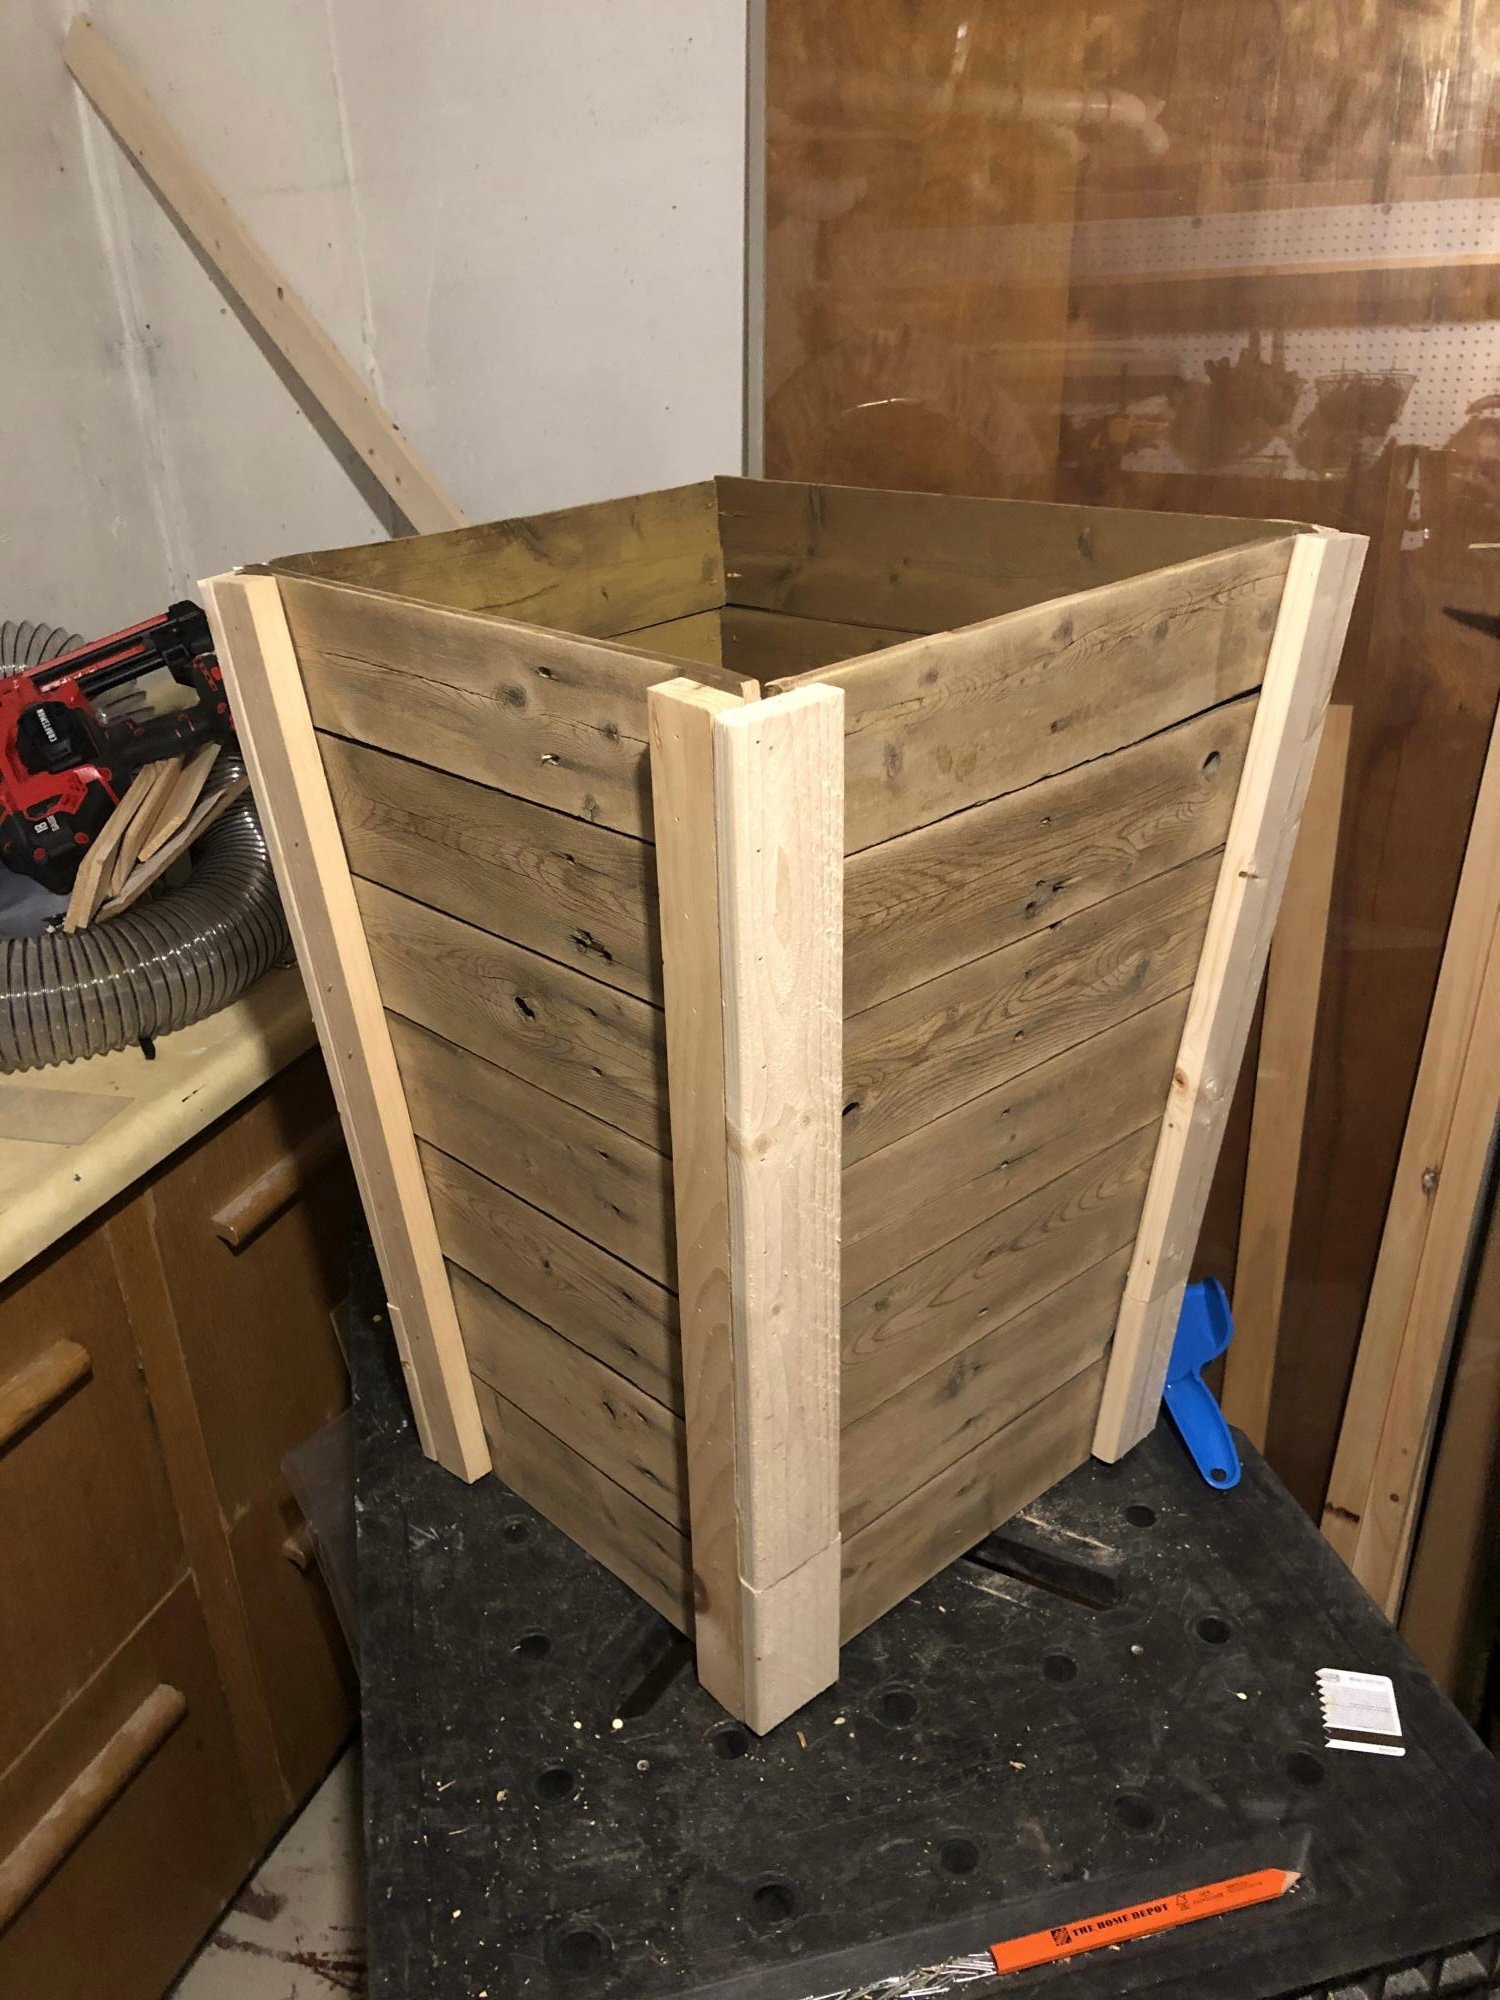
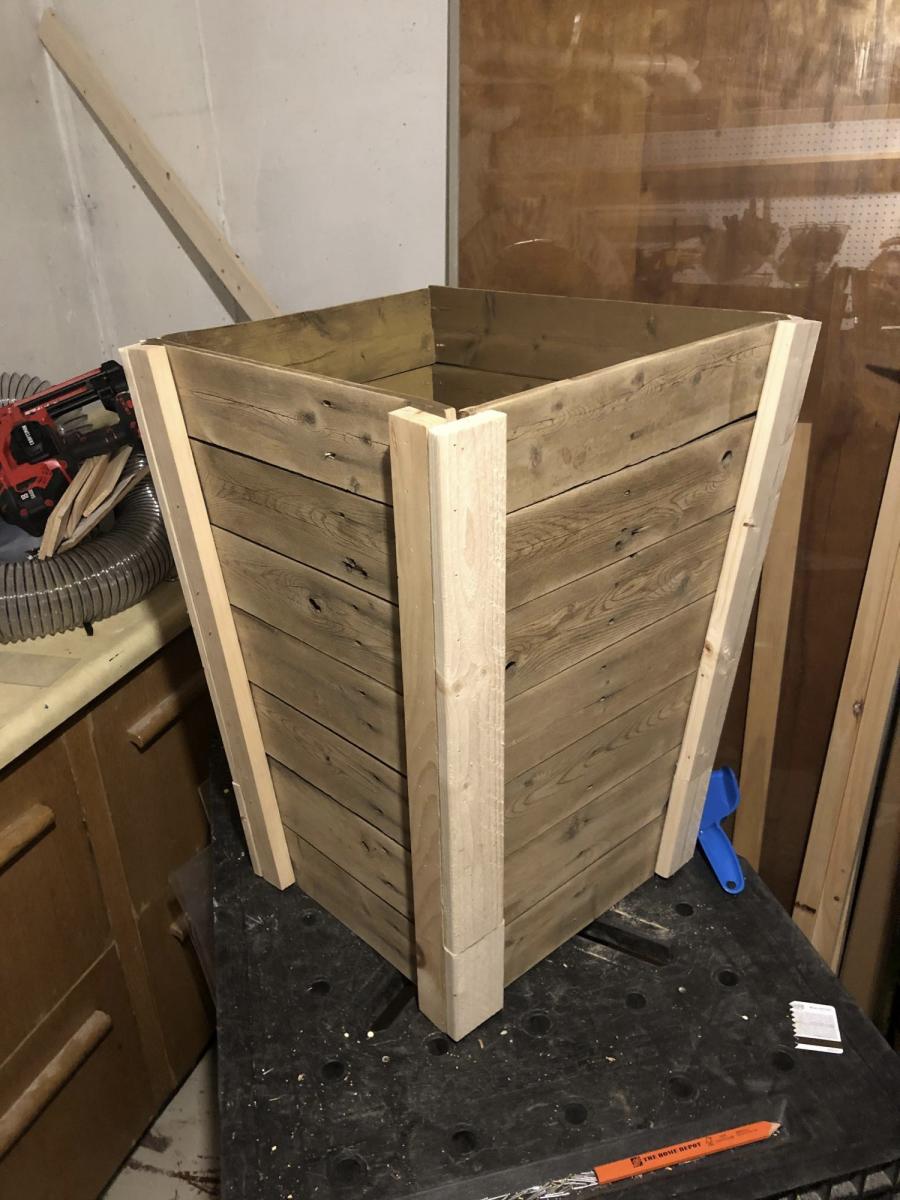
I was looking for an inexpensive way to dress up my deck and when I saw your tapered plant boxes I knew that was the gem I needed. I used pickets from a fence we took down and some 1 inch wood strips. I am planning on making more to line the new fence.

Built from Plan(s)

Comments

The Best addition to our home!

Submitted by alifrancis on Thu, 03/17/2011 - 15:05

This by far has been my favorite build.  Our front room is in the process of being revamped, and this is just the beginning.  With our garage now dedicated to building, our cars have been kicked to the street.  This means we actually use the front door now, so I took full advantage of making a piece of furniture that would allow for all the various items that get dumped on the floor when we walk in.  

I love that everyone has a cubby and shelf for the shoes.  My kids actually hang their backpacks up now when we get home from school and my husband can find his keys, wallet and sunglasses now! 

This was one of the bigger projects I have tackled, but well worth it.  I don't think my husband would have ever allowed me to buy this at PB for over $1000

Estimated Cost
$150
Estimated Time Investment
Weekend Project (10-20 Hours)
Finish Used
Primed the whole project with Kilz oderless primer and sanded it to get a nice finished. Painted it using the Martha Stewart Francesca Paint in eggshell finish from HD. I started with a brush but was unhappy with the look and did the rest of the project with a foam roller. After two coats of black, I finished it off with two coats of Minwax Polycrylic in the Satin finish. NOTE: I put three coats on the bench top and the shoe shelves just for more durability.
Recommended Skill Level
Beginner

A cottage bench with shoe rack

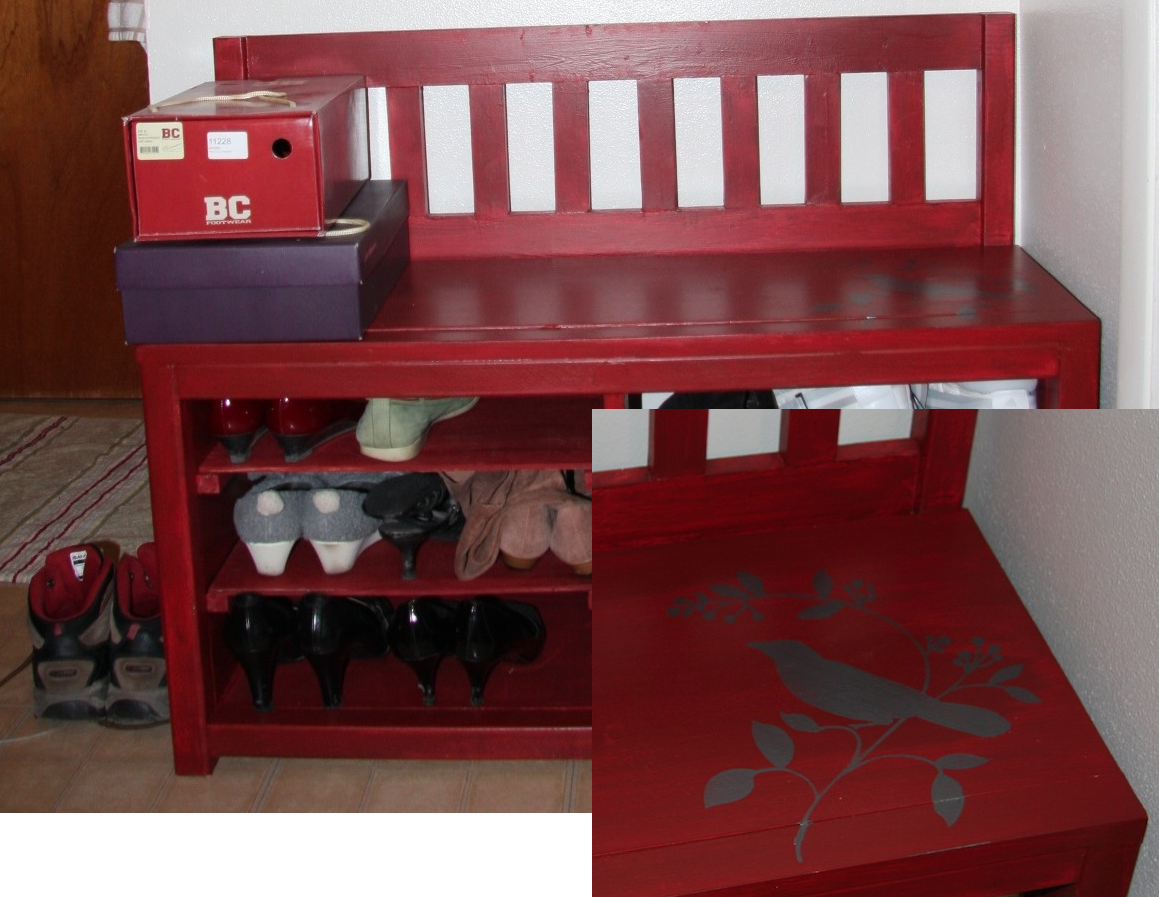
Only slightly modified cottage bench - I made the storage area bigger and added shelves to put my shoes. Only my second project so it's not perfect (especially the paint job) but I loooove it! Sure, the shoe rack I had was perfectly functional and bigger, but this is waaay prettier.

Found a perfect red oops paint at Lowes and I even added a little birdie stencil. I have a few more pieces I'm working on and hope to finish soon. Thank you Ana for the plans!
Estimated Time Investment
Weekend Project (10-20 Hours)
Finish Used
Primer and two coats of paint, lightly sanded in between. I skipped the top coat because I want the red color to naturally fade with use.
Recommended Skill Level
Starter Project

Outdoor Sectional

I scaled back the length of the sofa by a few inches and I made the sectional only one seat to fit my space on the deck. This was my first woodworking project that I did by myself. I got the cushions for more than 1/2 off at Ikea so the whole project cost about $150 ($80 for the cushions). It took me about a week to complete but the total time was less than 10 hours to build and stain. I'm pretty happy with how it turned out.

Estimated Cost
$150
Estimated Time Investment
Weekend Project (10-20 Hours)
Finish Used
Pittsburgh Paints Stain & Sealant in One for Decks, Fences, & Siding in Walnut. I brushed on the exterior stain just like a paint. I did the top part of the sofa first, then flipped it over and stained the bottom. Read instructions on the label.
Recommended Skill Level
Beginner

Comments

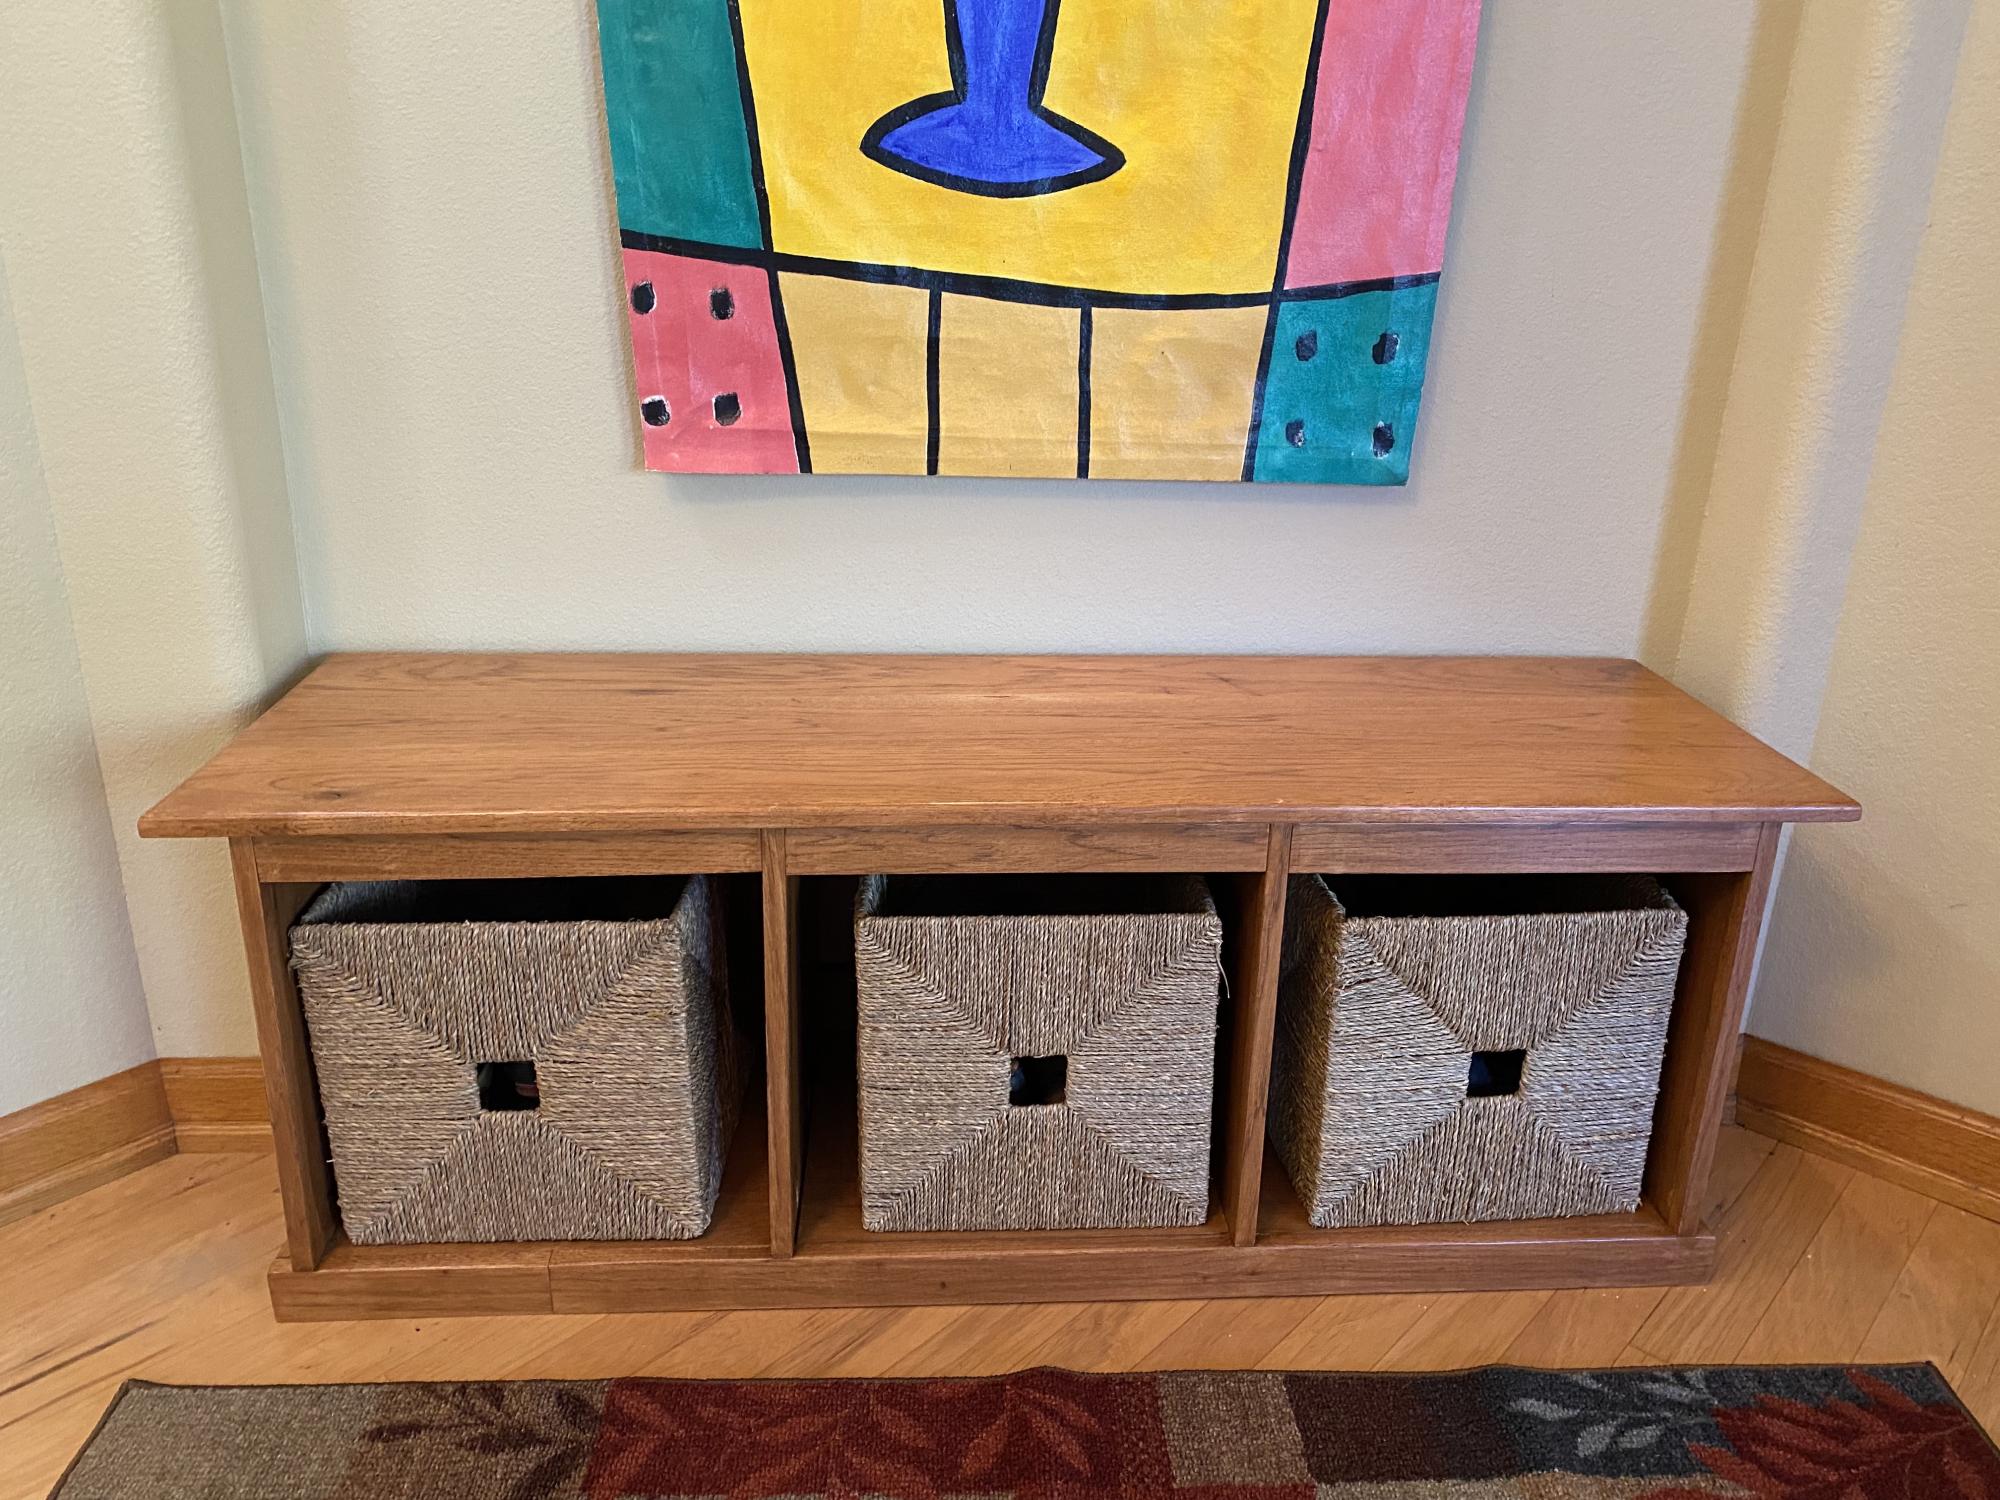
My entry way bench in Hickory

Submitted by Anonymous (not verified) on Tue, 12/28/2021 - 12:19

The bench plans were super helpful!!

Built from Plan(s)

Comments

Not the Full Miter table design

Submitted by Hjmoore420 on Wed, 01/05/2022 - 12:50

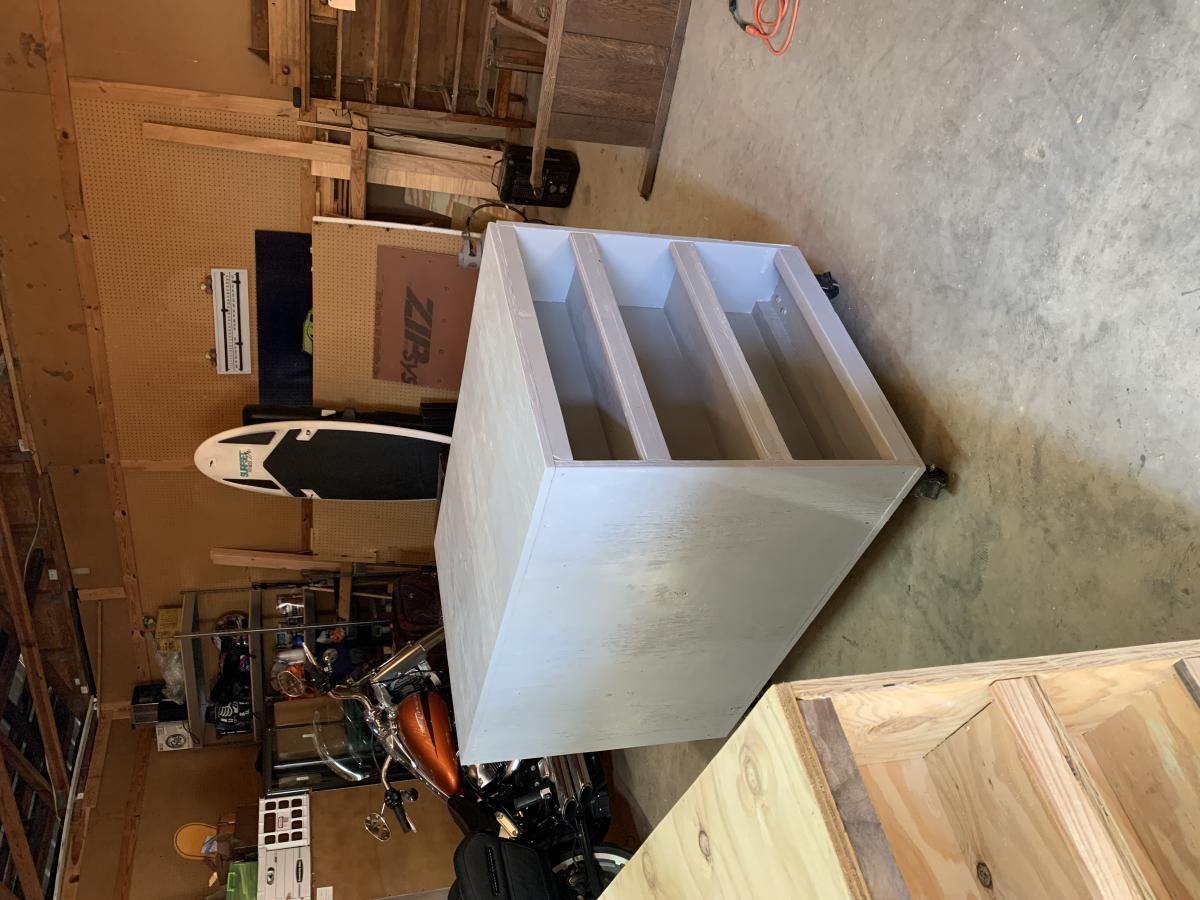
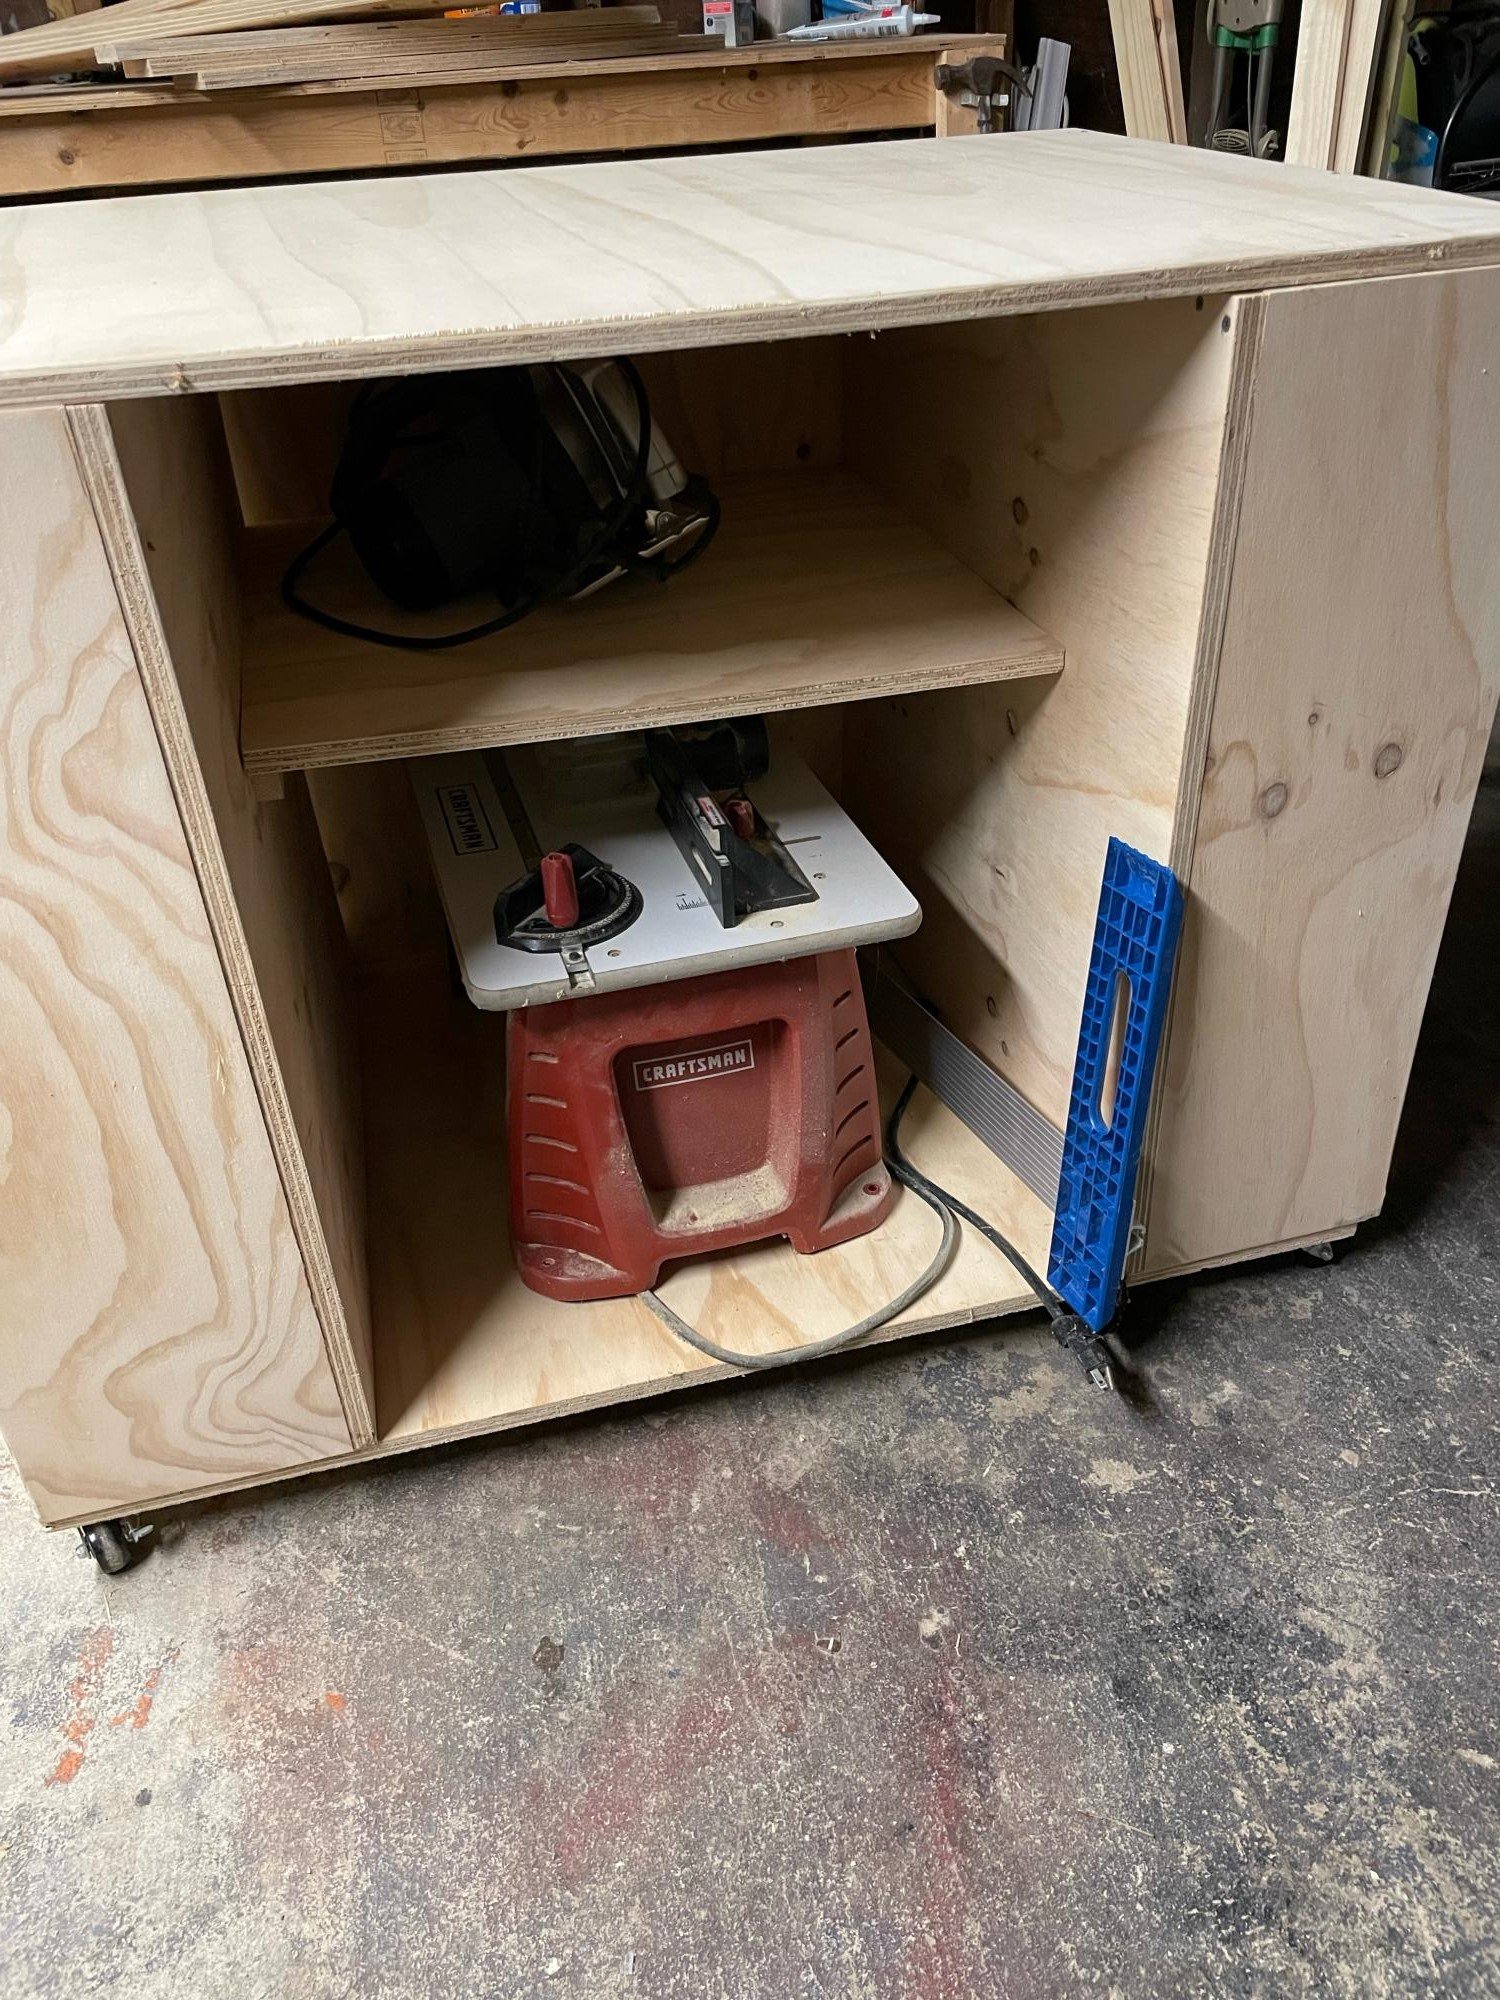
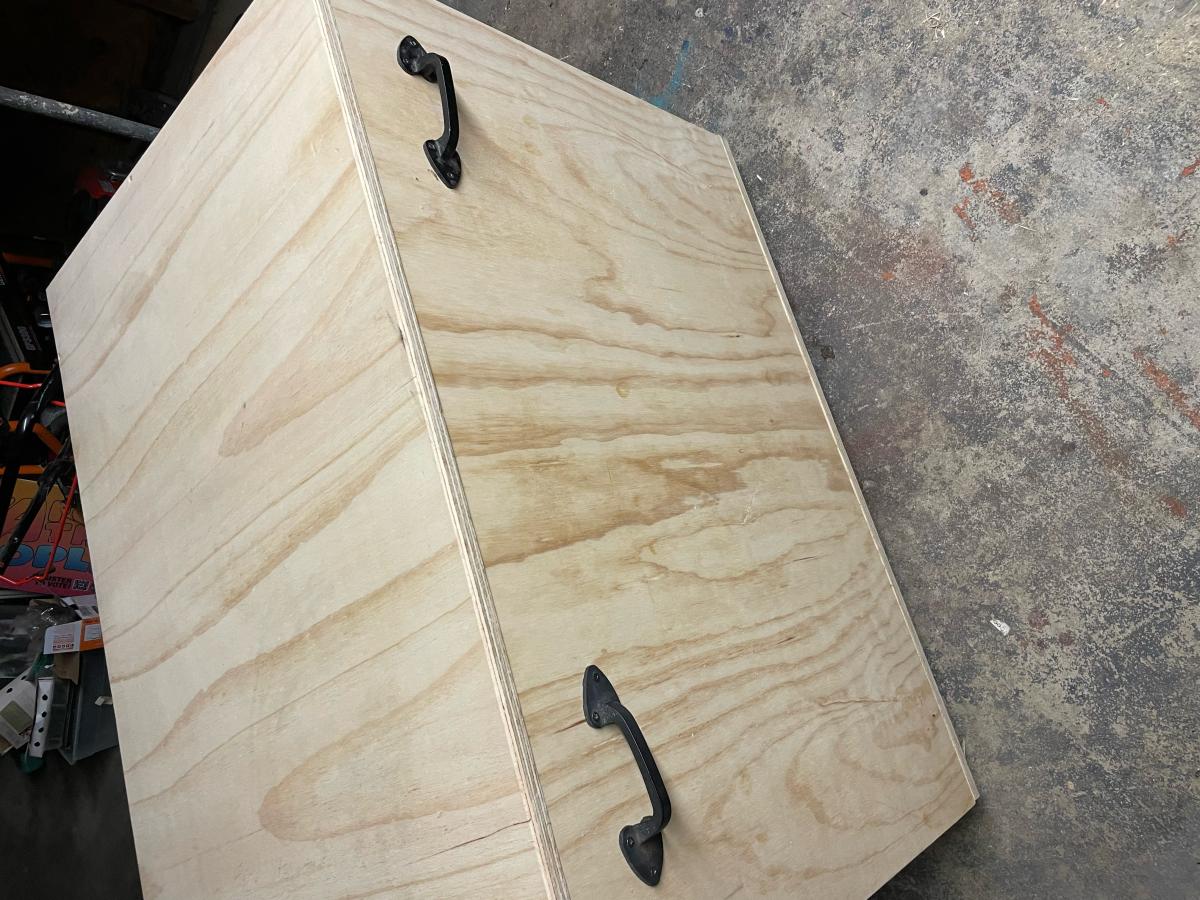
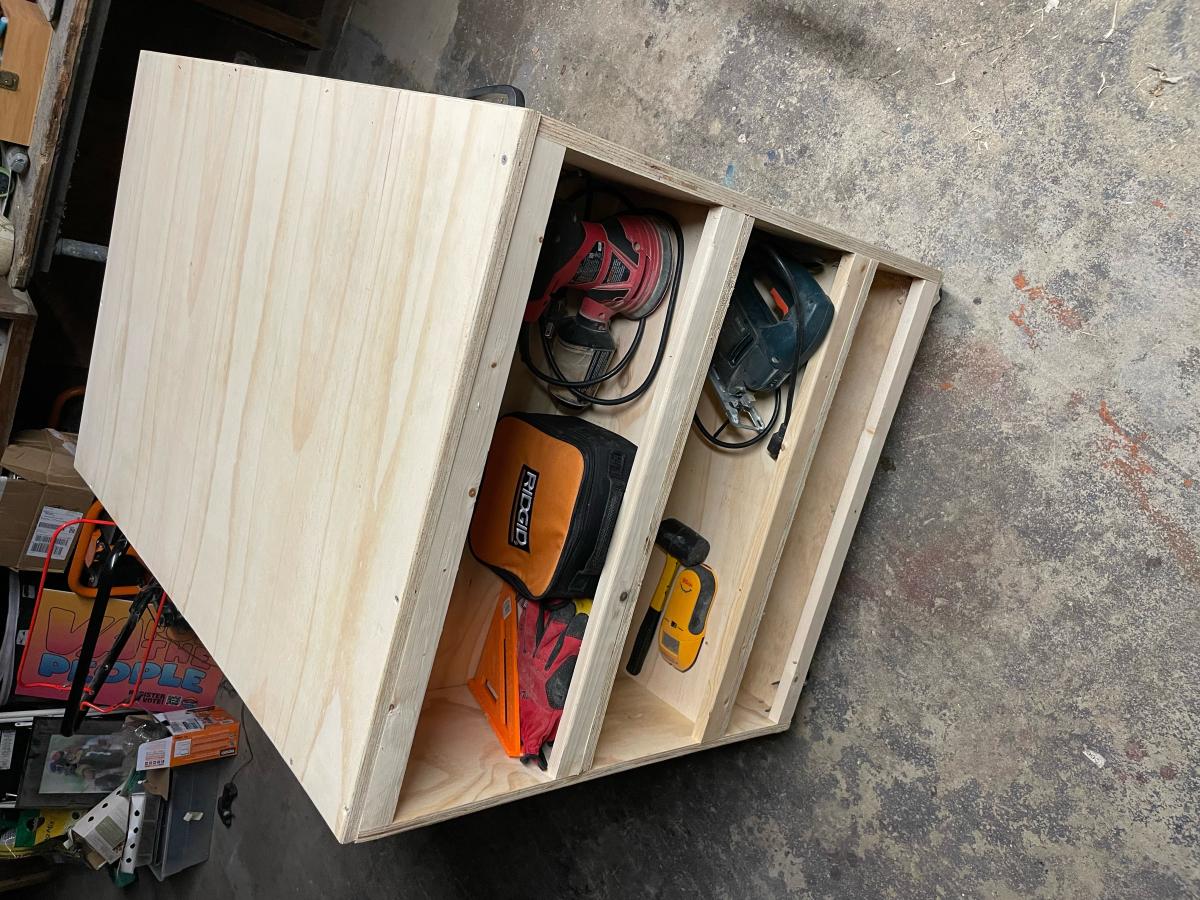
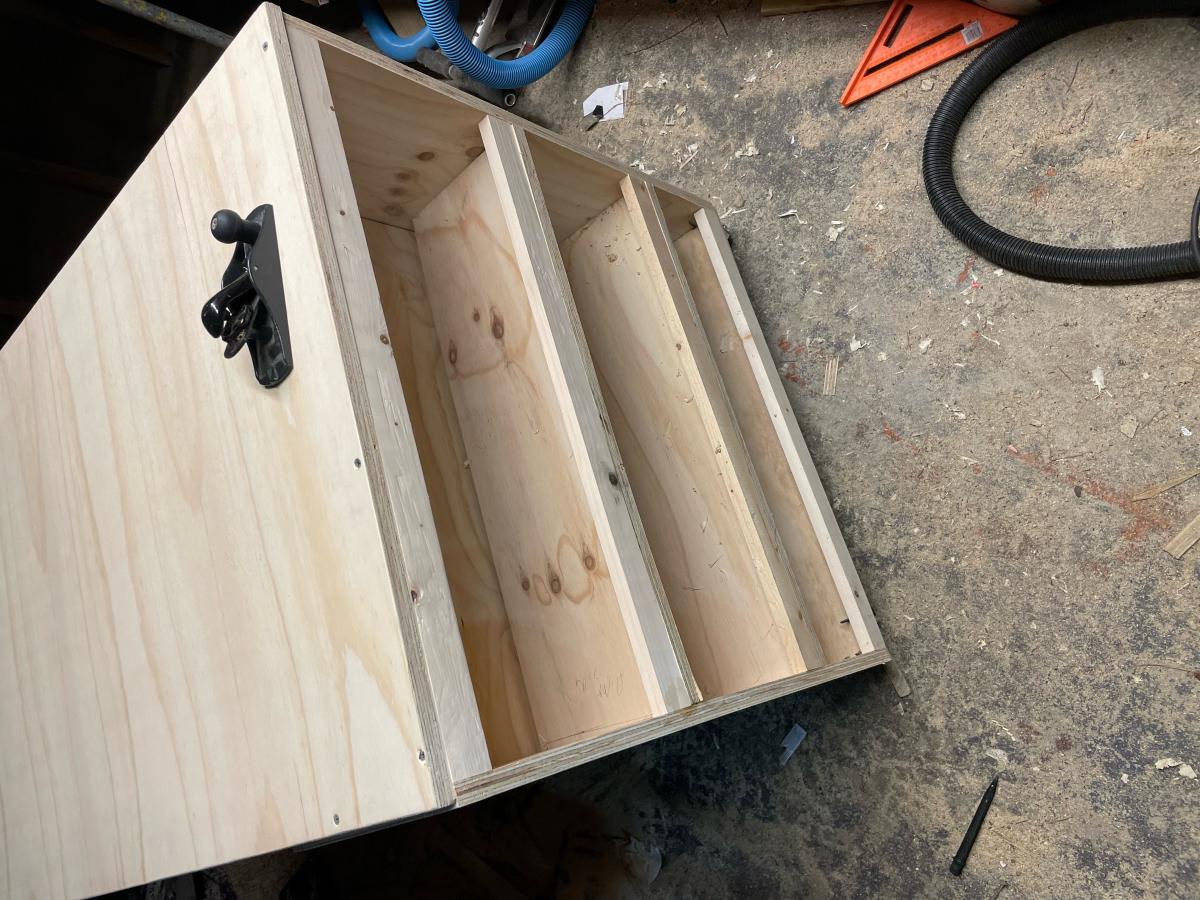
while this is a great design I only needed the extra storage and work space so I just made one of the storage roll away from this plan. I had to alter slightly making them a bit smaller as the space I was making this to occupy had a width of 44 inches but it is an amazing amount of space provided. I will put a clear coat on but sanded, edged and its wokring great. the clearance all around is about .5 inch t fits in beautifully and decluttered my overly cluttered workspace. thanks so much for your Ideas Ana, they are always amazing.

Comments