Small Cedar Shed
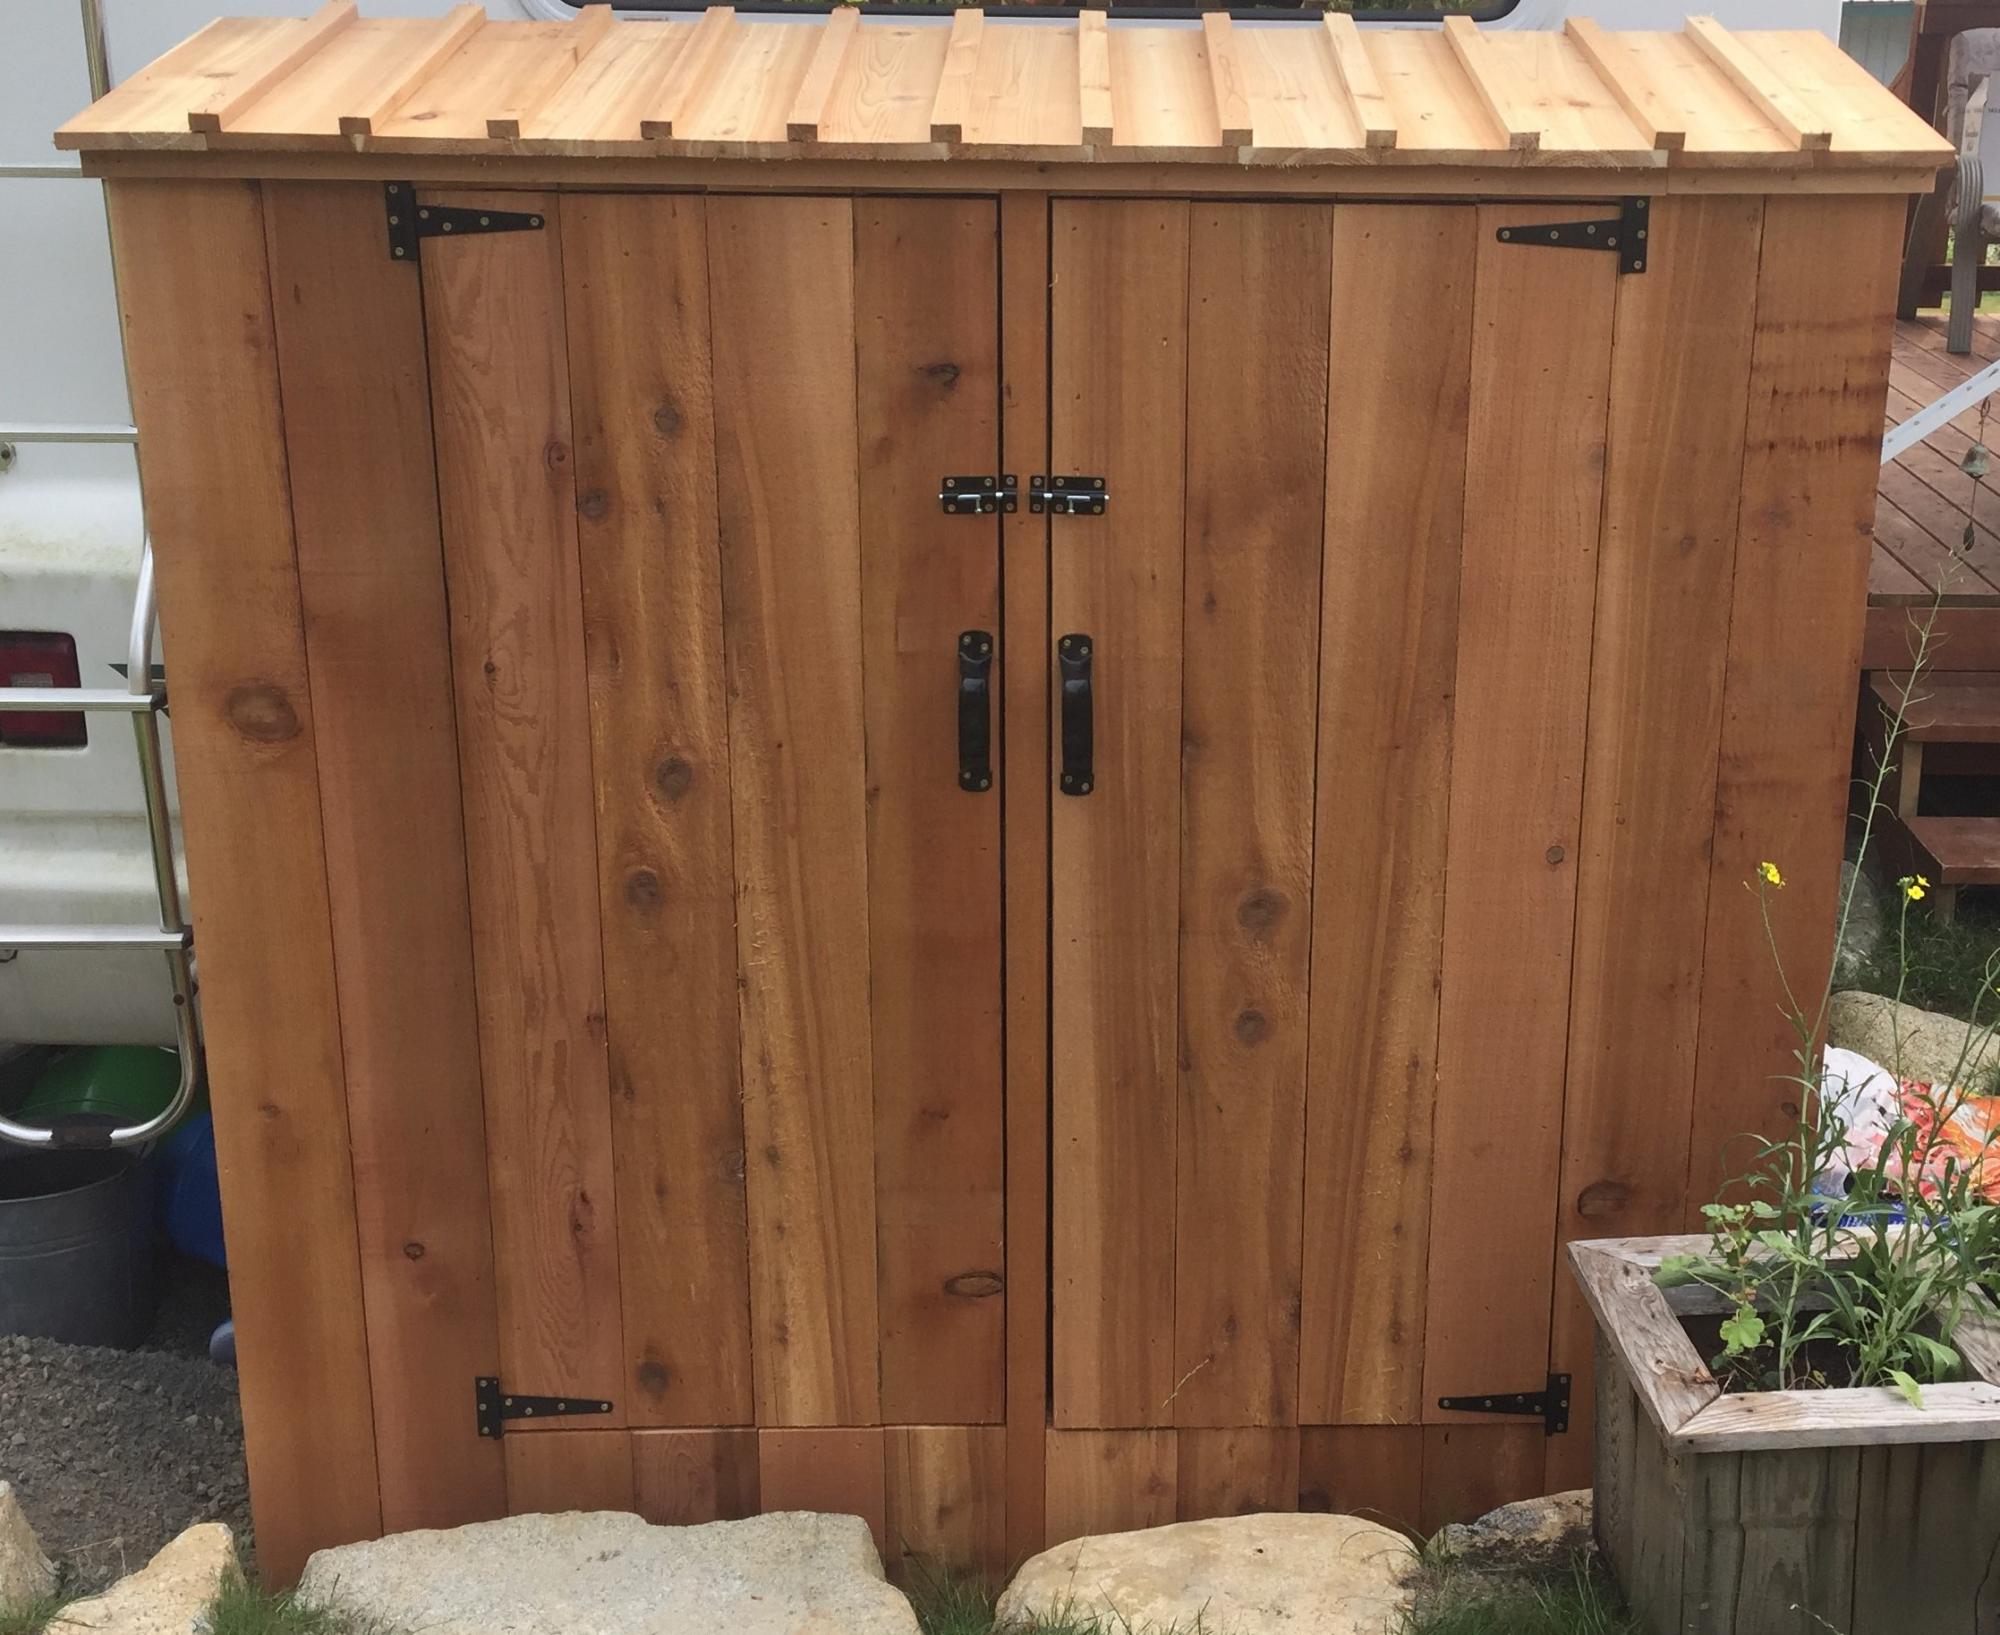
Here is our version of the small cedar shed. Had to raise the door up a bit to clear the rocks. All built from cedar fence boards and a few 2x4's
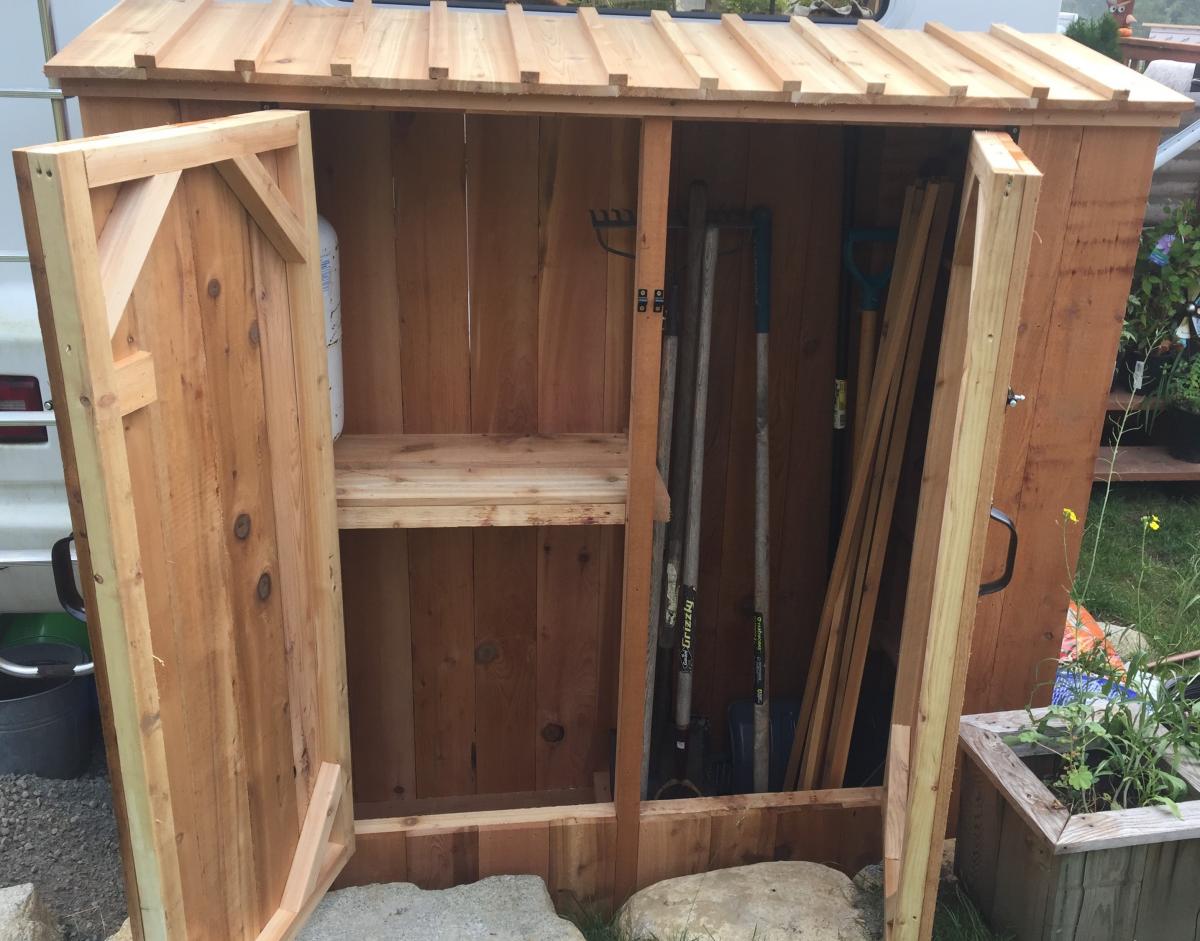

Here is our version of the small cedar shed. Had to raise the door up a bit to clear the rocks. All built from cedar fence boards and a few 2x4's

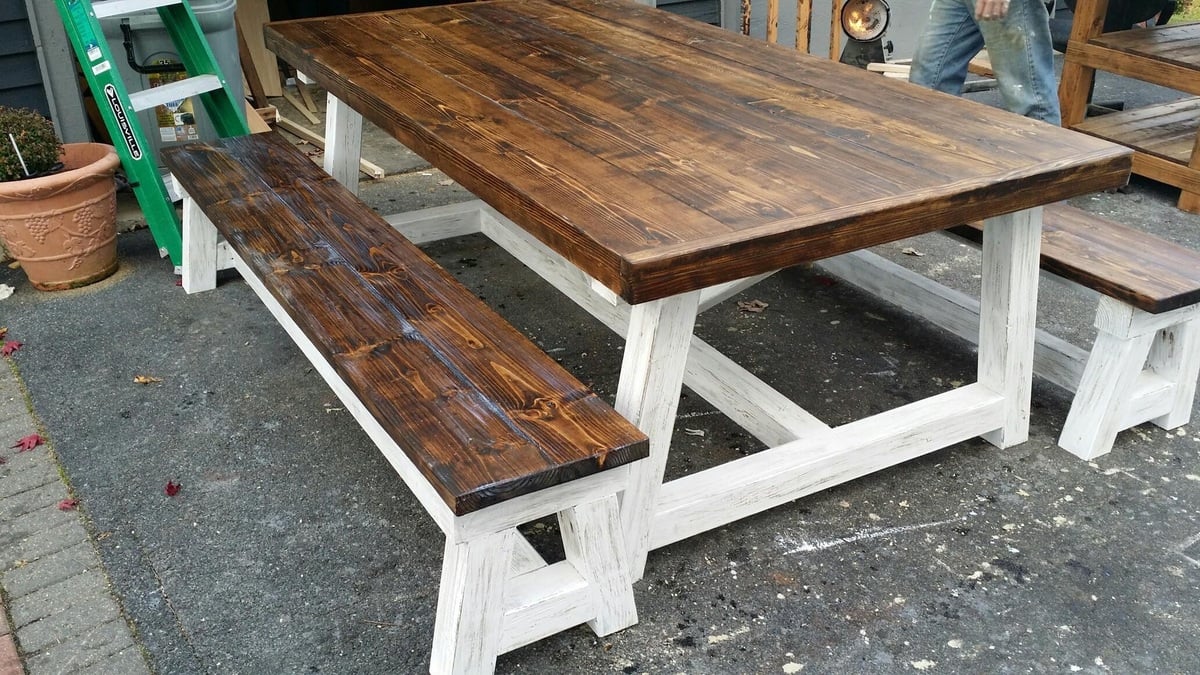
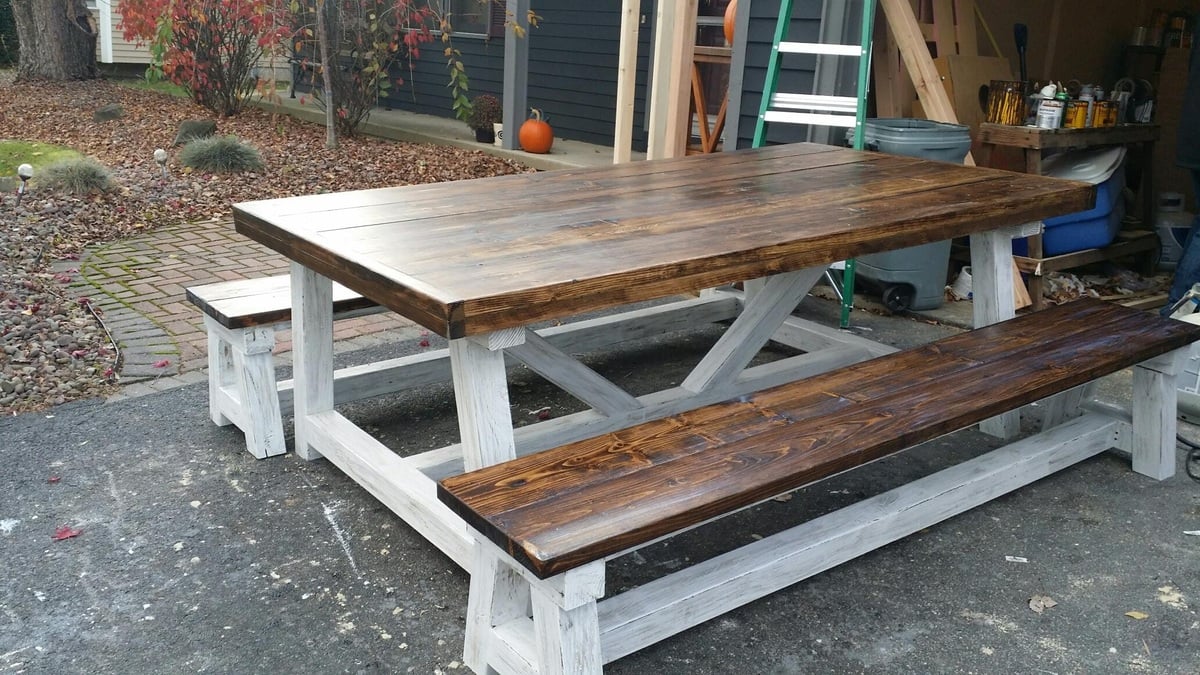
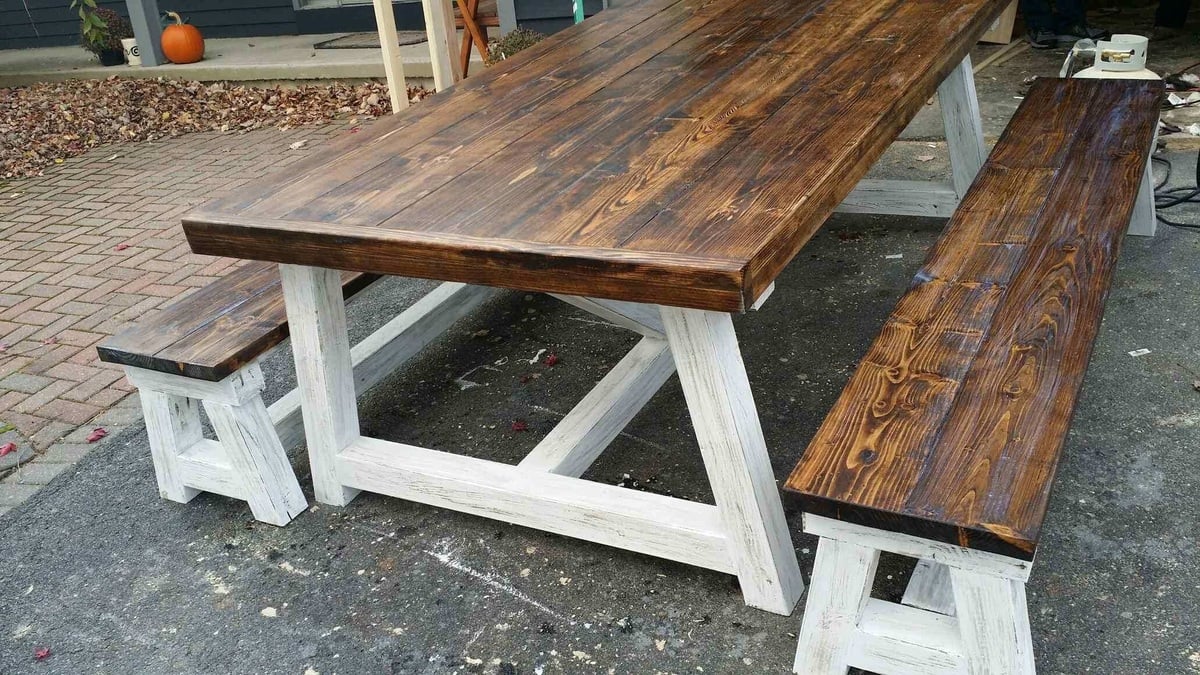
4c4 truss with dark walnut top 4" thick, base stained dark walnut with white wash and shabby etching.
Tue, 11/18/2014 - 04:55
I know right, i think looks even more amazing when seen in person. I did 2 chairs to match as well. which i will load up now. :0)
Sun, 05/10/2015 - 16:23
Did you frame in the while thing with 2x4 to get it looking so thick?
Tue, 01/10/2017 - 06:22
How did you get it so thick? Is this doubling up the 2X4's to make it double the thickness?

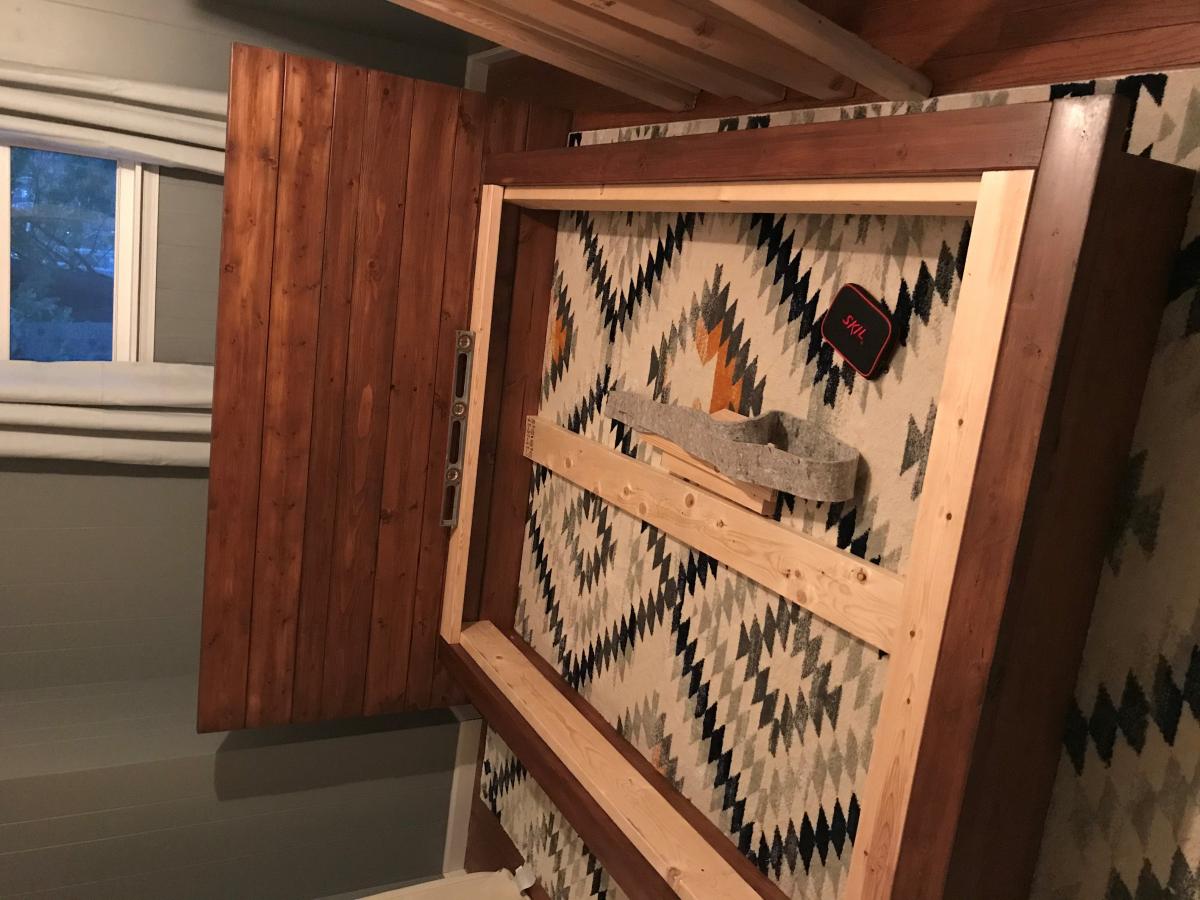
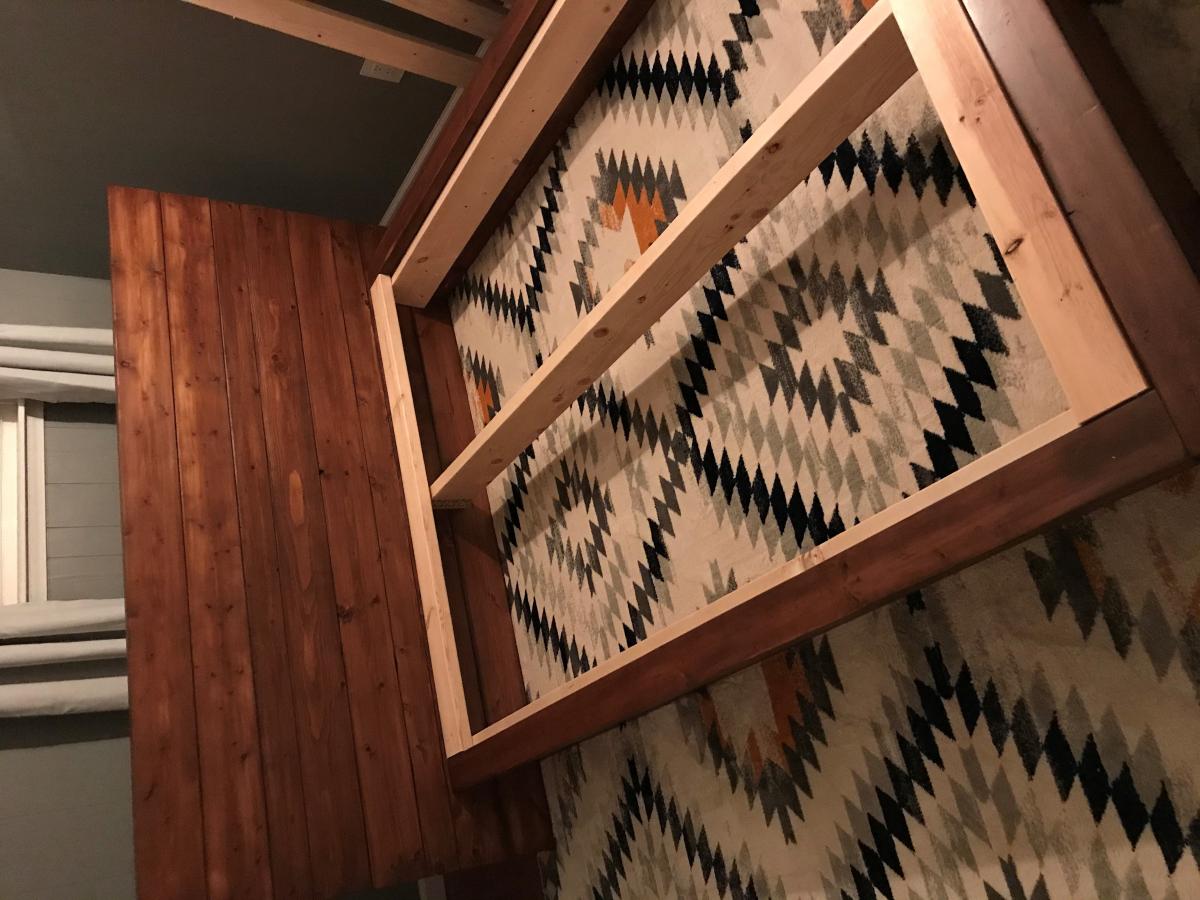
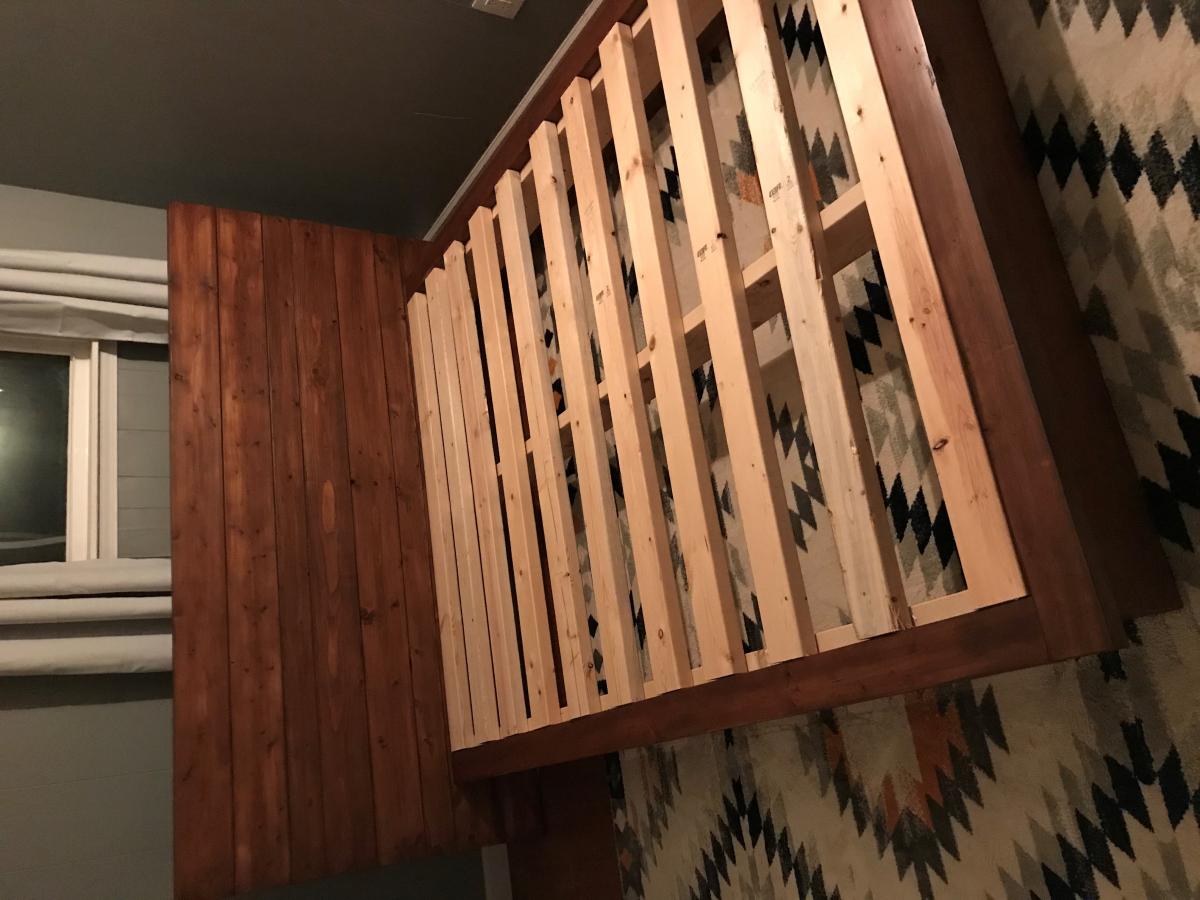
I built a modified version of the rustic modern 2x6 platform bed. I used 2x10s (instead of 2x6s) for the sides and feet to raise it up a little. I also added another 2x6 to the headboard to make it taller. If I had it to do over again, I'd probably use 1x for the headboard as it's incredibly heavy. The entire bed is immoveable without being deconstructed so it's going to be a challenge when I move. Overall, I'm really pleased with the result.
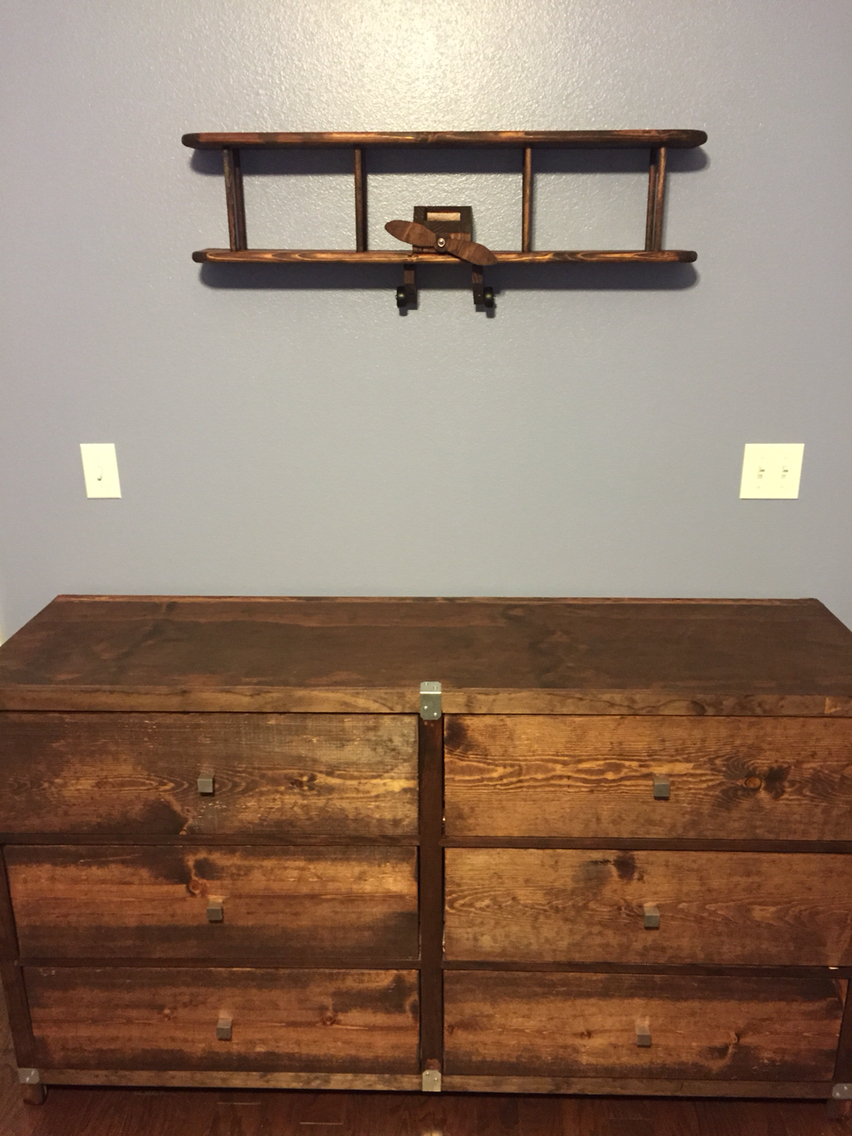
This project is built from a/b sanded plywood, pine select trim, and pine 2x2 furing stirps. I was a little scared to do the drawers as i have not had great luck with them in the past. But after watching some videos and reading the tutriol for the slides i tackled it and it came out great. I didnt want the wheels so i made the side 2" taller and it worked out great.

We built three 12-foot shelves to span the entire width of a wall in our play room. Each shelf cost approximately $30, mainly because we had to purchase a higher grade wood to get 12-foot pieces that were reasonably straight. I haven't filled the screw holes with wood filler yet.
Because these are child-height and we have a little climber on our hands, we screwed the shelves into every stud along the wall, and used more screws throughout than we would have for simple display shelves.
This was my first project and I did most of the work myself, with my husband's assistance when extra hands were necessary. It turned out so well I plan on tackling a few more Ana White projects! :)

This was my first piece of furniture to make all on my own and the Corner Cupboard plans were soooo helpful! I needed more space for plants and had already built shelves in every window of my house, so I decided it was time to make a larger space to house my plants and add supplemental lighting so I could put it anywhere I wanted. This corner was dark and I don't love lamp light, so I thought a pop of color + plants + daylight grow lights would be perfect for the space! I've been taking on more carpentry projects and also wanted something that was a bit more challenging. This plan was perfect! I'm more of a napkin planner myself, so it was nice having the structure provided in Ana's plans and the cut list was super helpful. I had to make some modifications to fit things into my car, but it all came together nicely! This being a plant hutch with grow lights was the plan all along, but I gotta tell ya, when it came to having to drill 3/4" holes in the back of my newly built beautiful hutch, it took me a minute to work up the courage! I really love how it all came together - thanks for sharing your plans, Ana!
Tue, 02/23/2021 - 10:04
Wonderful job, love the finish and multi functionality of the piece!
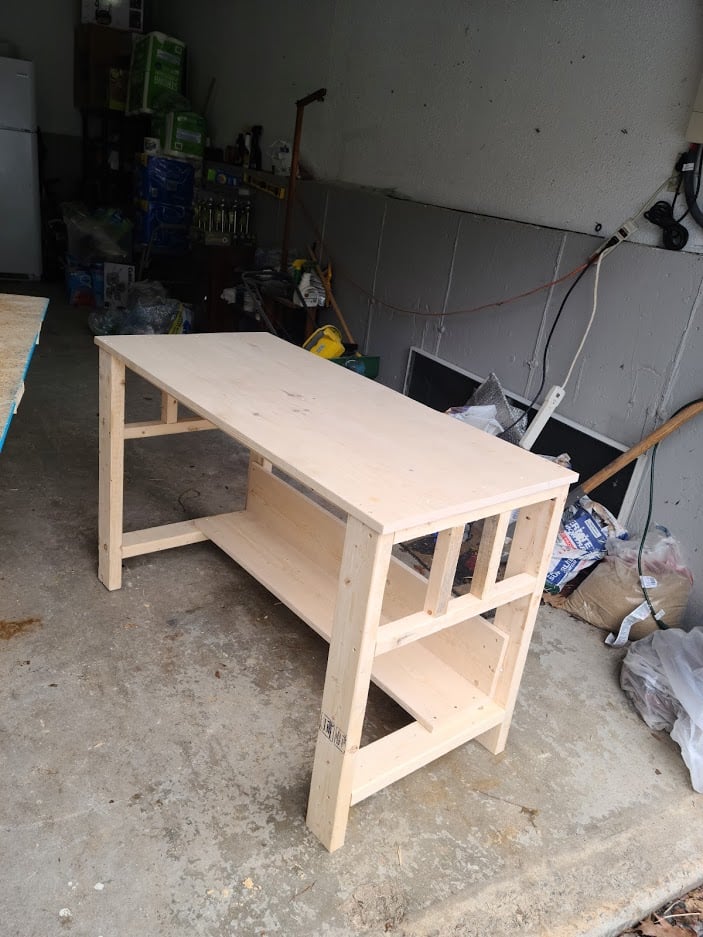
This was a great experience. Thank you Ana White for all your hard work and great woodworking plans. This did take me a lot to build considering this was my first project ever but I am very happy and encouraged by this experience. Being a beginner I was not sure about the X support on the side so instead i customized it to my level of experience.
Hope you all enjoy it.
Mon, 03/01/2021 - 10:32
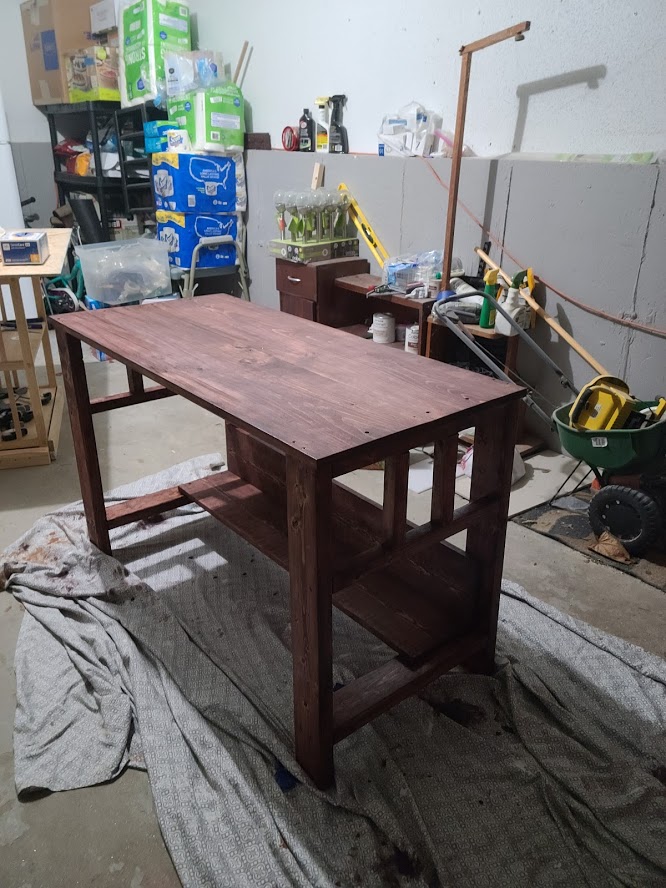
I love your mods, great job and welcome to the woodworking community!
My first project of this size. I think it turned out great! Did a gray weathered stain and drybrushed bright white over the base. Sanded the top 60, 120, 220, 320, and just for fun I finished it with 1000 grit. Stained dark walnut, finished with three coats of poly, sanding 320 in between coats. Love this table!!!!
Although I didn't build this from a plan I wanted to be sure and share it as it is because of my experience building from Ana's plans that I felt comfortable giving this a shot.
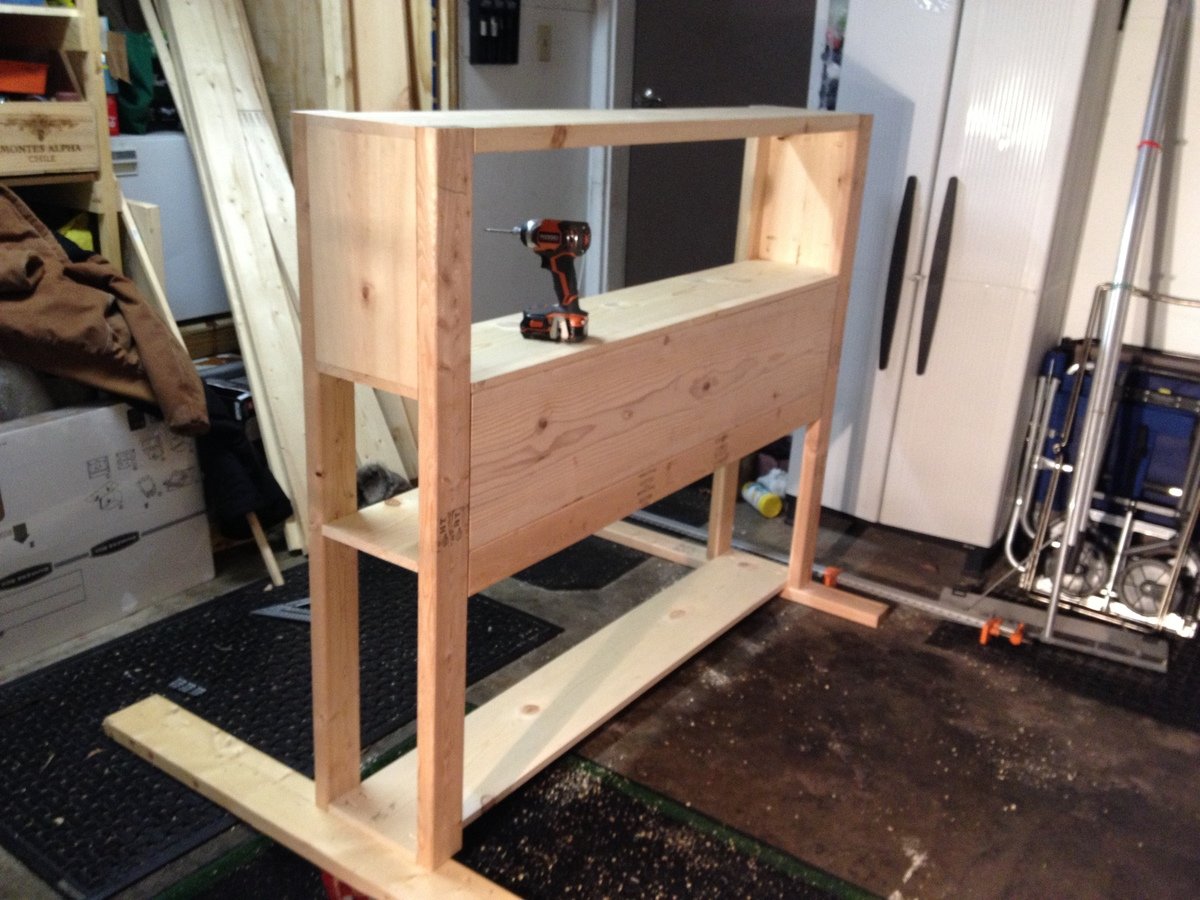
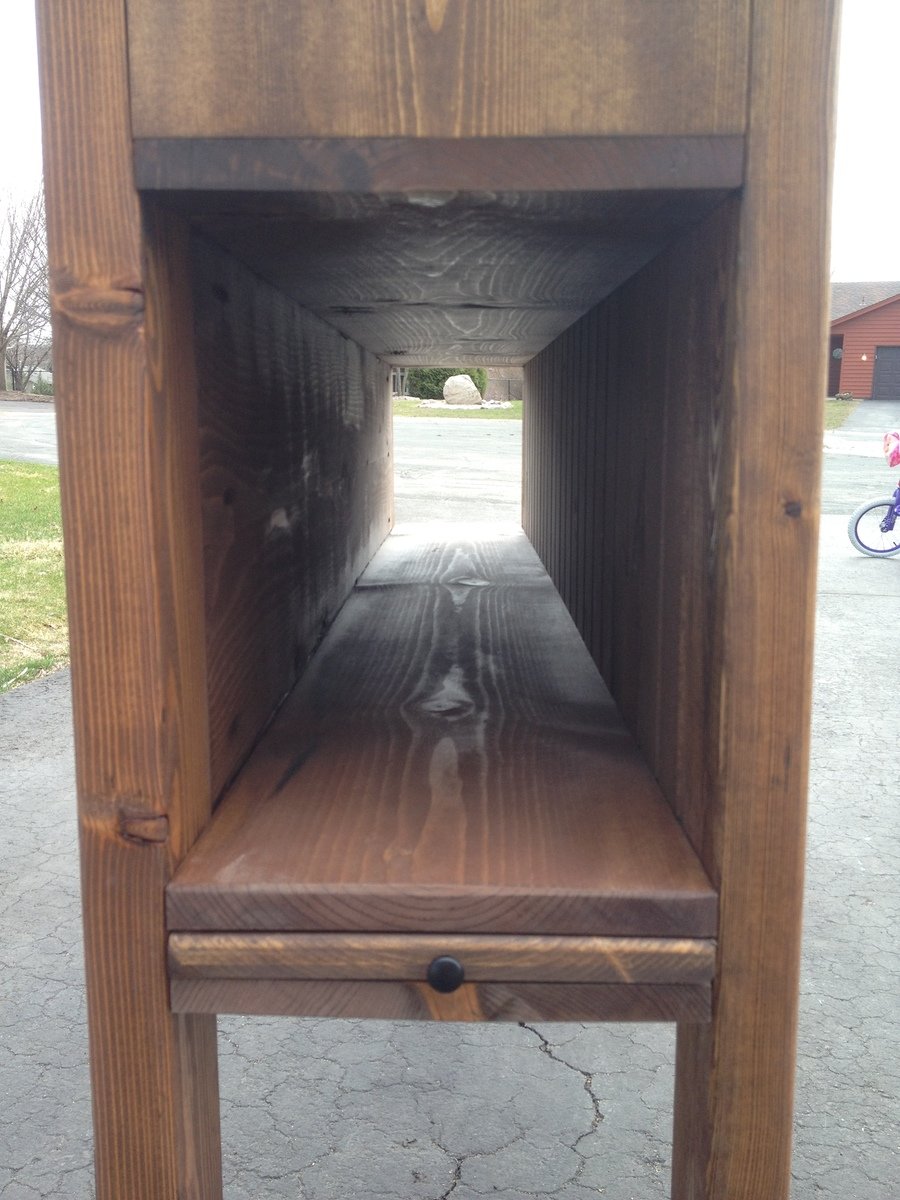
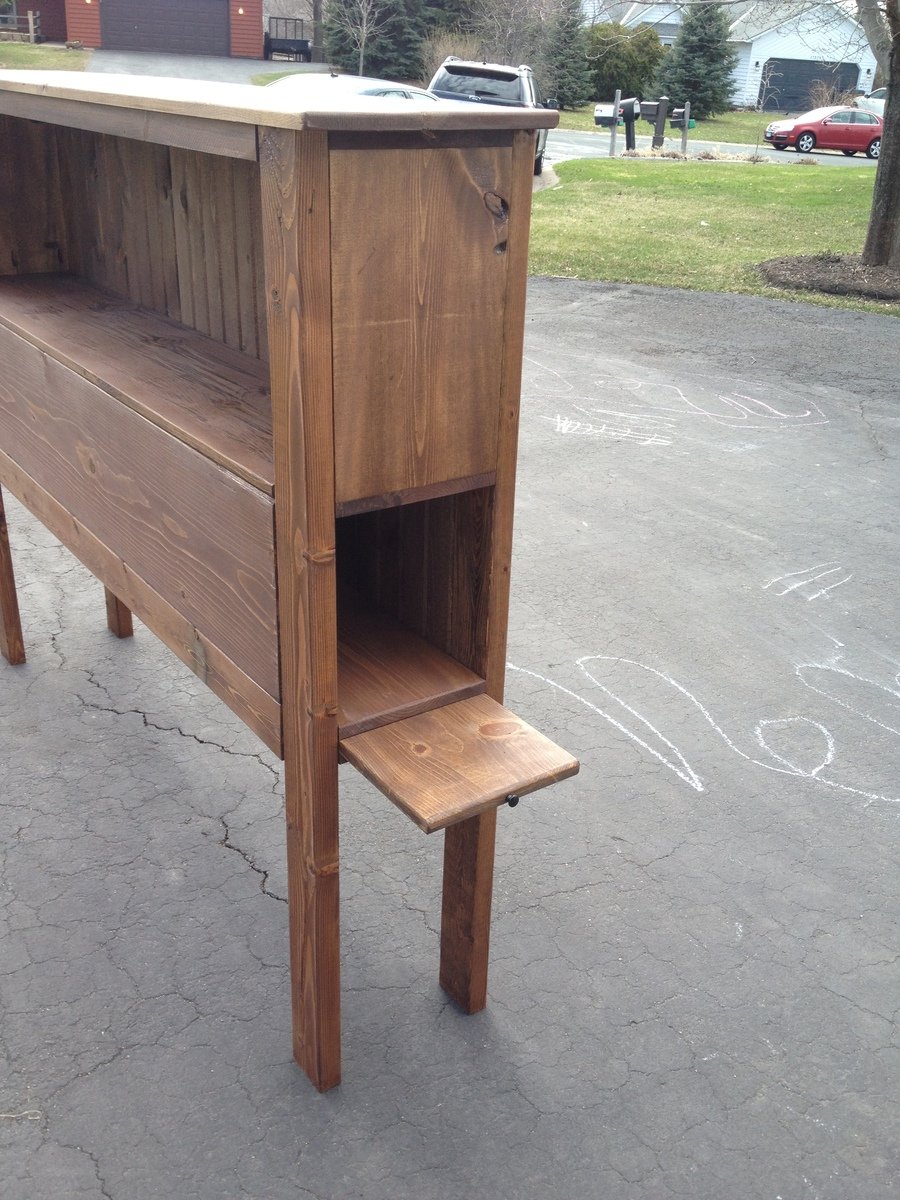
My in-laws were just updated their lake cabin and wanted a storage headboard as space is a premium and it will be the only furniture in the guest rooms. It is unique as it has shelves on either side which can pull out to function as a small night stand, perfect for cell phones, books etc. The back of the piece is tongue and groove knotty pine which for the more rustic look they wanted.
I will probably do things a little different when I build the next headboard but overall I am satisfied with the end result. I chose not to do a lower storage area, mainly to keep the cost down. It could be done very easily but this piece is already very heavy and that there is plenty of storage.
Sun, 01/17/2021 - 15:15
Is it possible to get the plans for this headboard. My teenage son really wants a head board with storage.
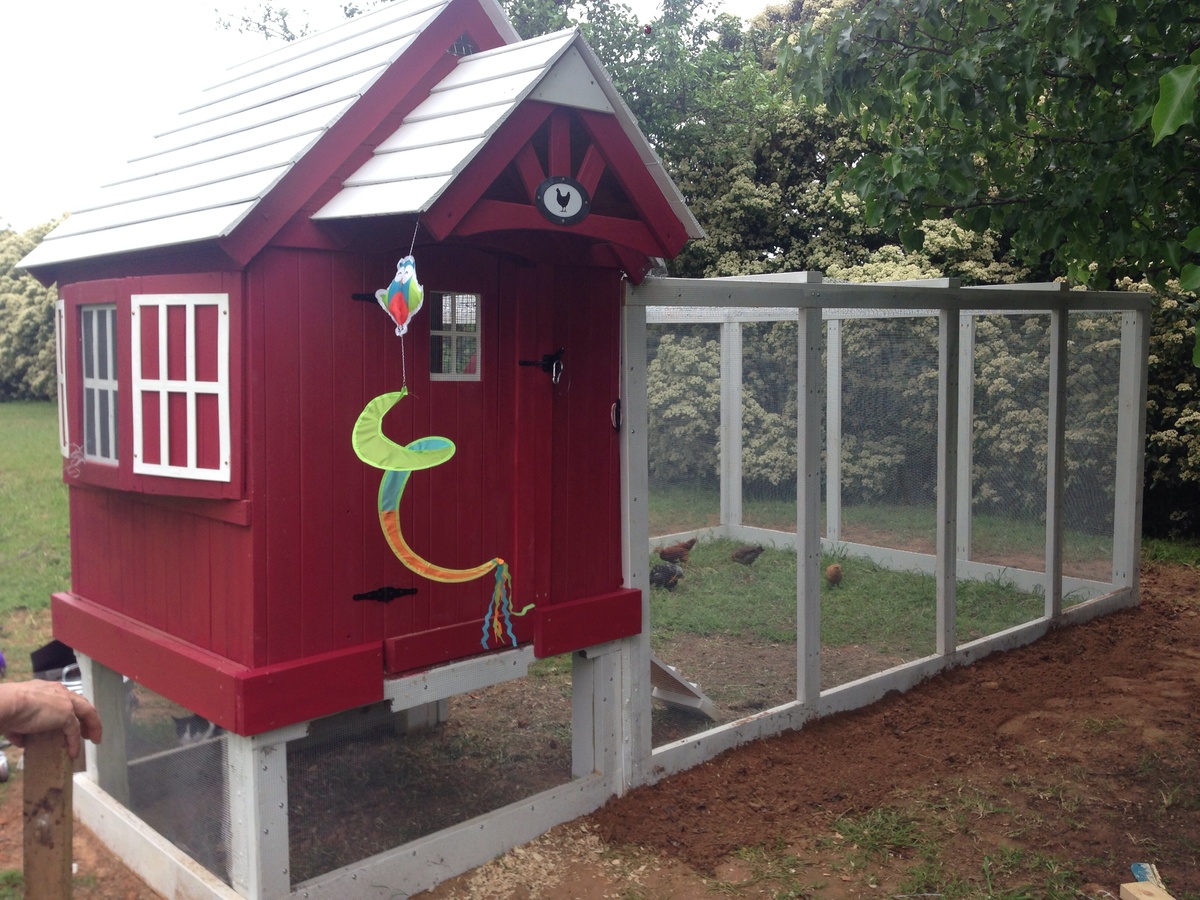
We built this coop from an existing playhouse and used Ana's plans to build the run! So easy and turned out perfectly!
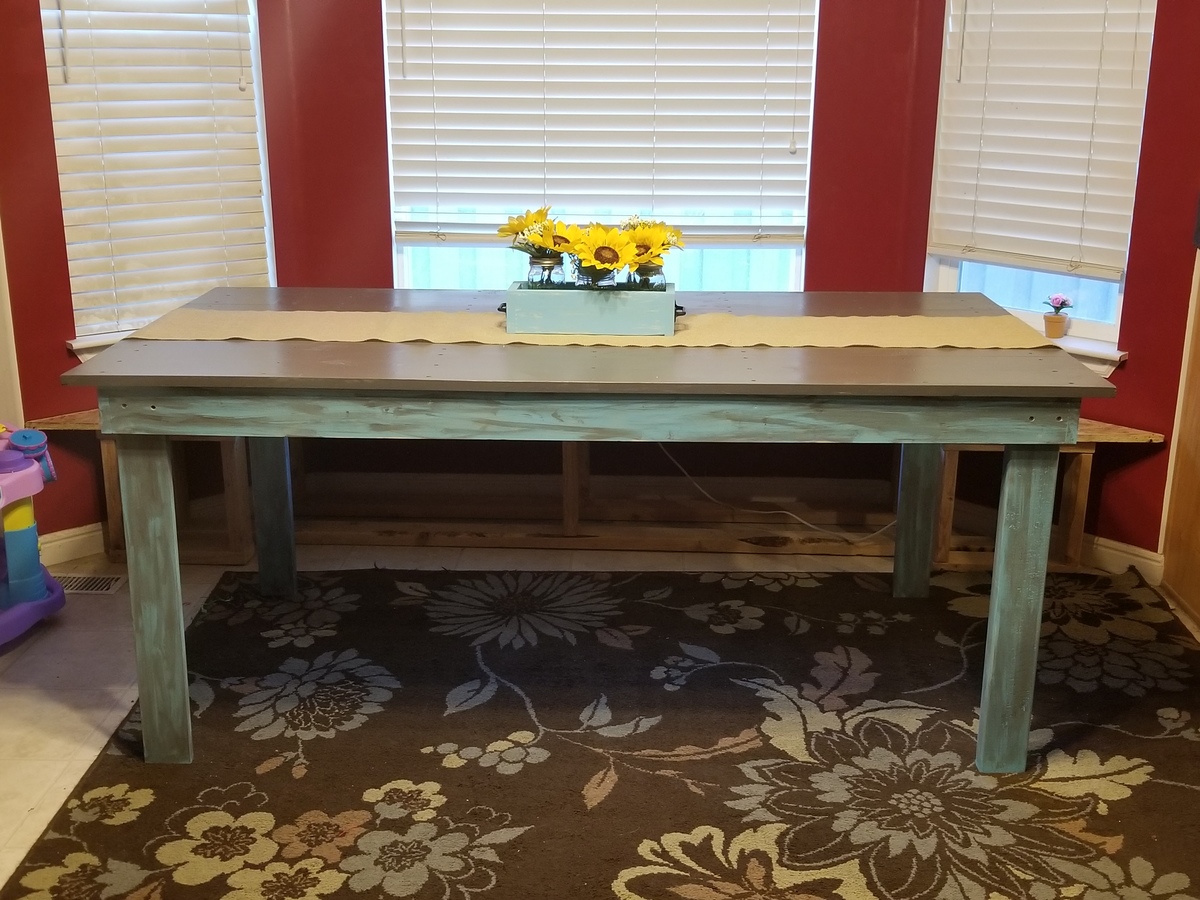
We built our table from the rustic table plans and I am in love. I am a beginner and I was so scared but it turned out amazing!! Thank you for giving me the courage and confidence to start building my own furniture!
I really really wanted a farmhouse table...but...we had a space that needed a square table AND I needed to fit 8-12 people (or more!) so we modified Ana's farmhouse table plans to not only be square, but really big as well. This table is 6 ft on each side. Since the table itself was so big, we reversed the breadboard ends and used a 2x4 on 2 ends just to even out the size a bit since is not rectangular...and the area is quite small but needed a big table. I didnt want it to be completely out of proportion. We did not use a stretcher because of the square factor, but each leg is a 4x4 post and reinforced underneath. It's HEAVY. It won't be moved anytime soon! I'm loving it:)

Wed, 01/13/2021 - 07:59
Can I ask how you reinforced the legs? Thanks for your response.
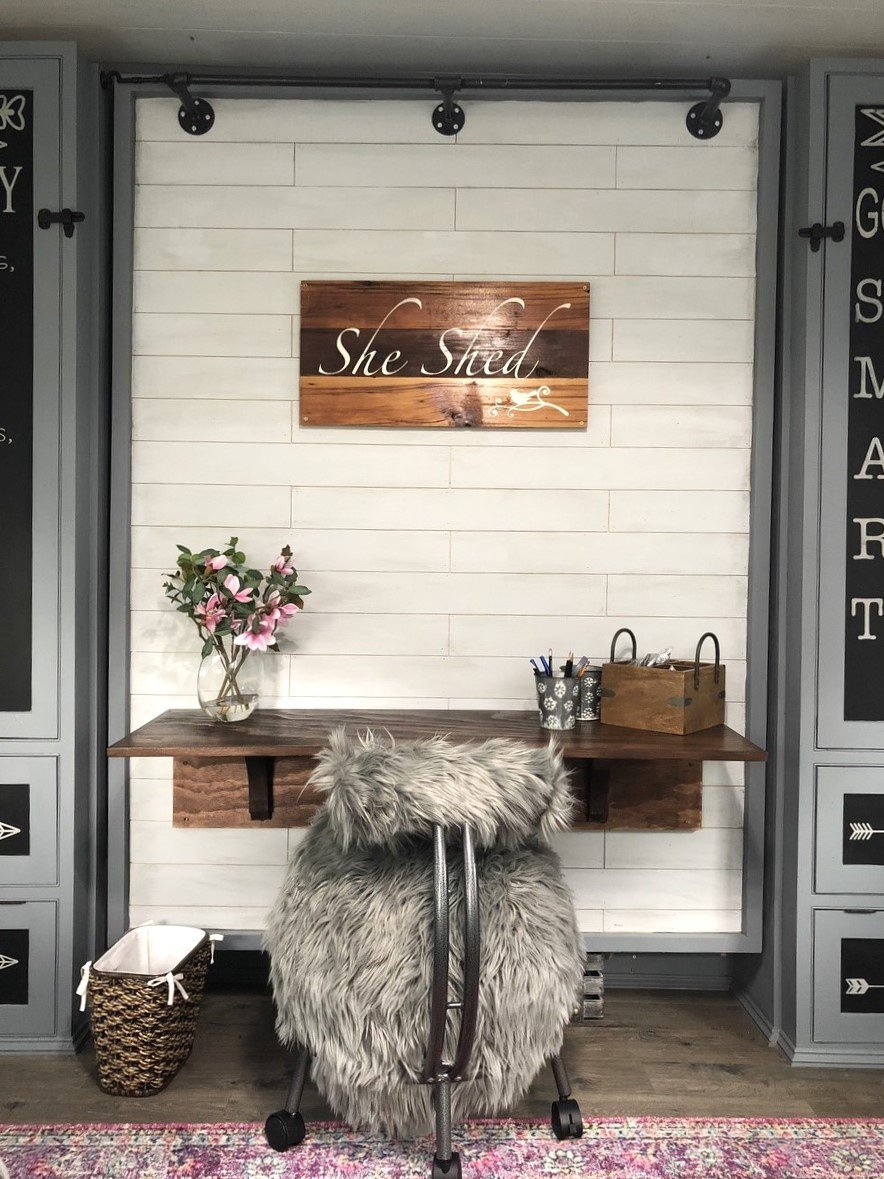
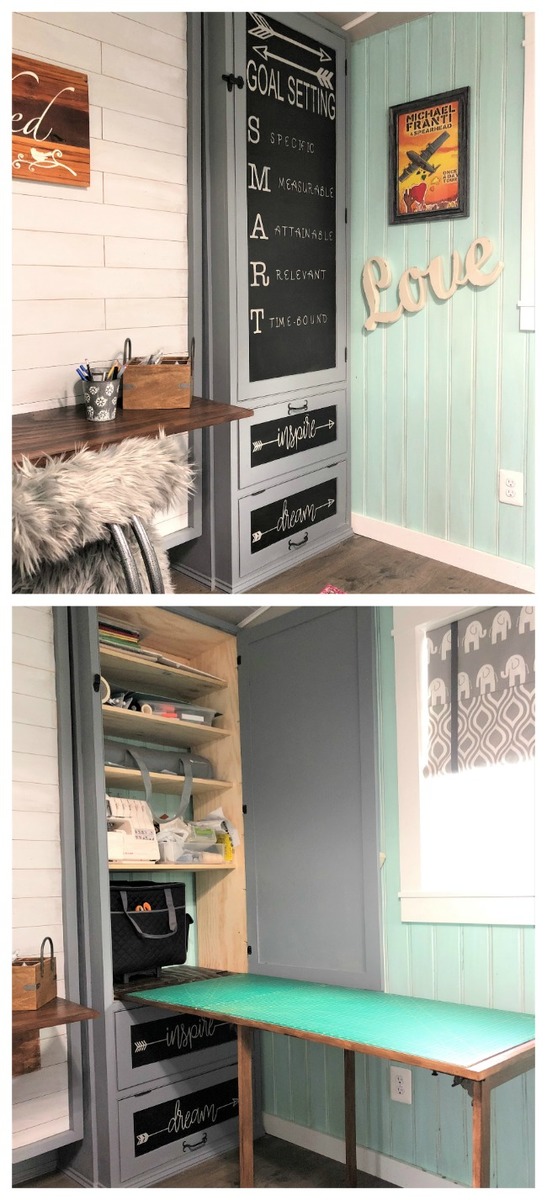
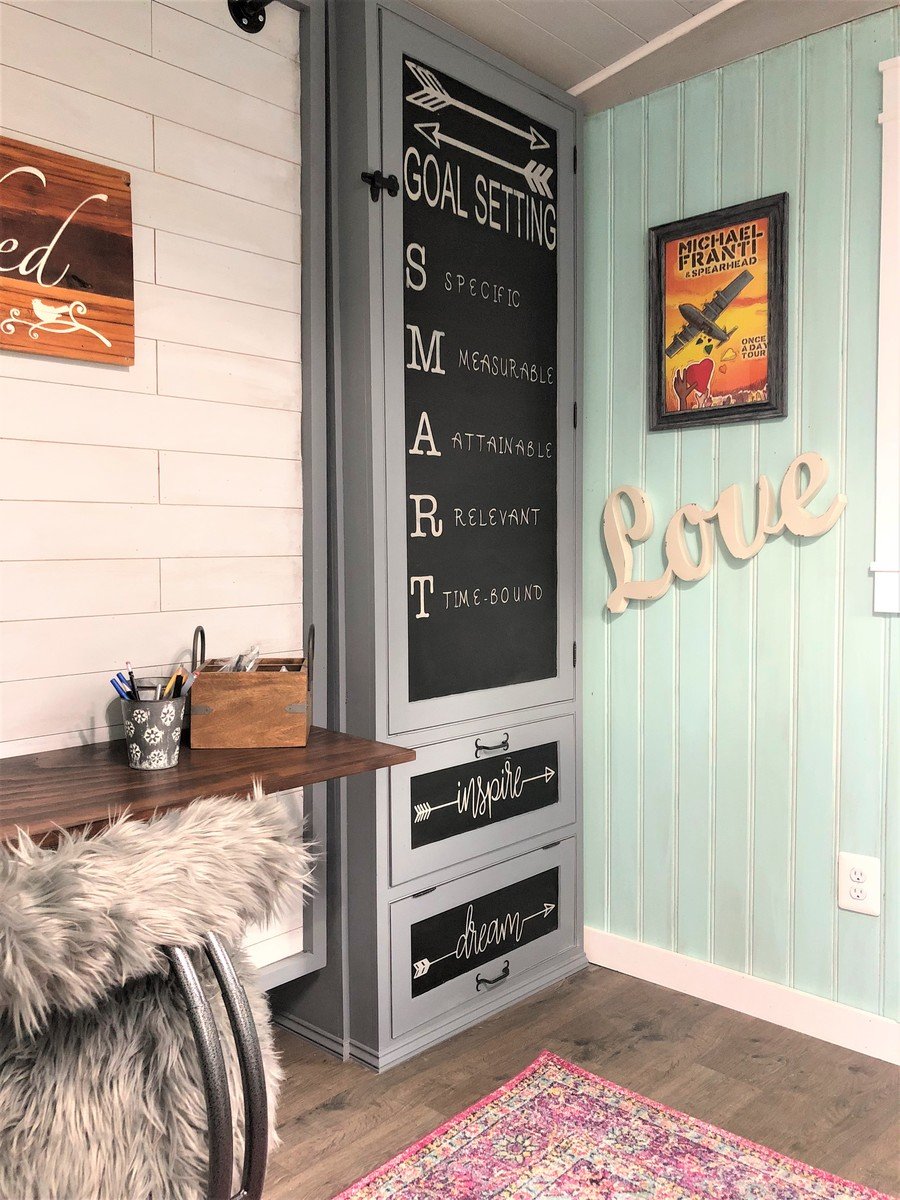
I needed an office and also a guest room so i built a she shed and all the furniture.
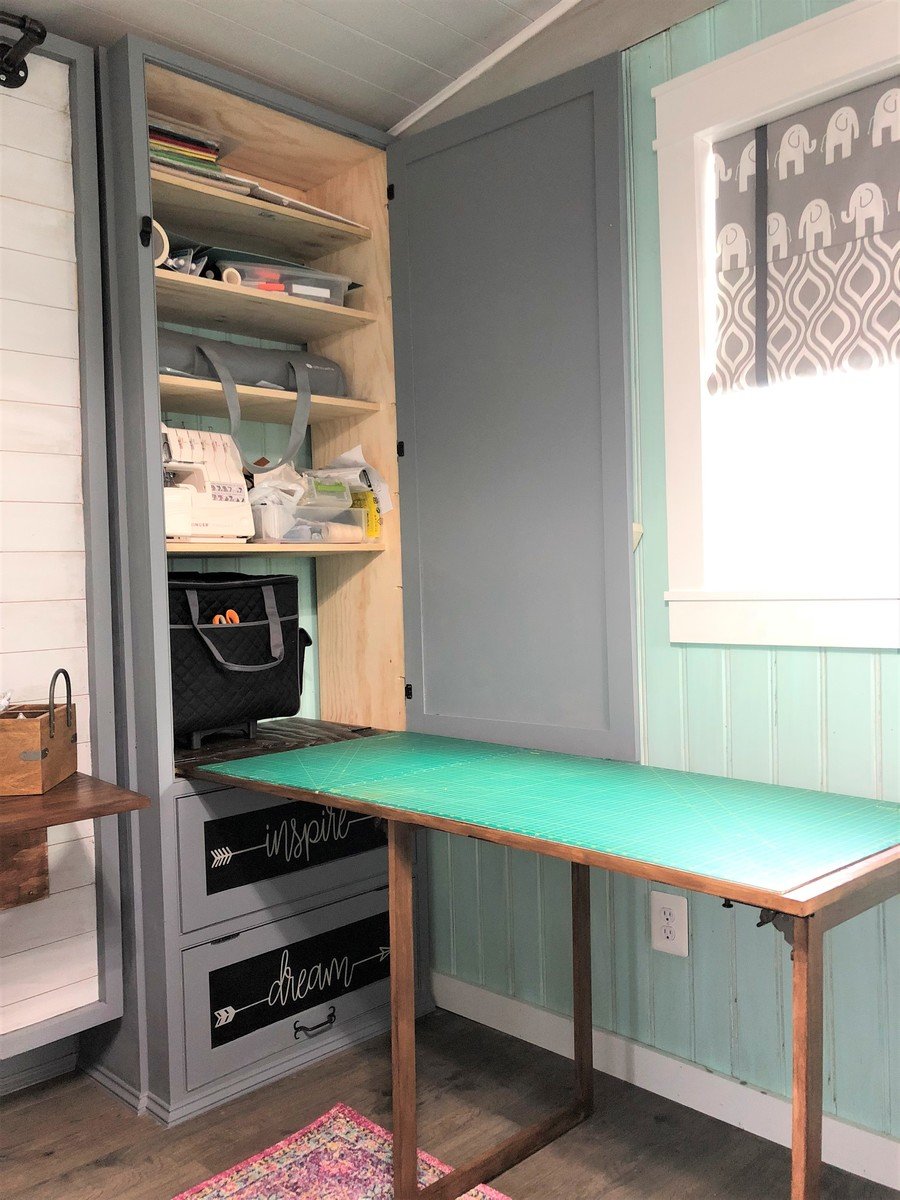
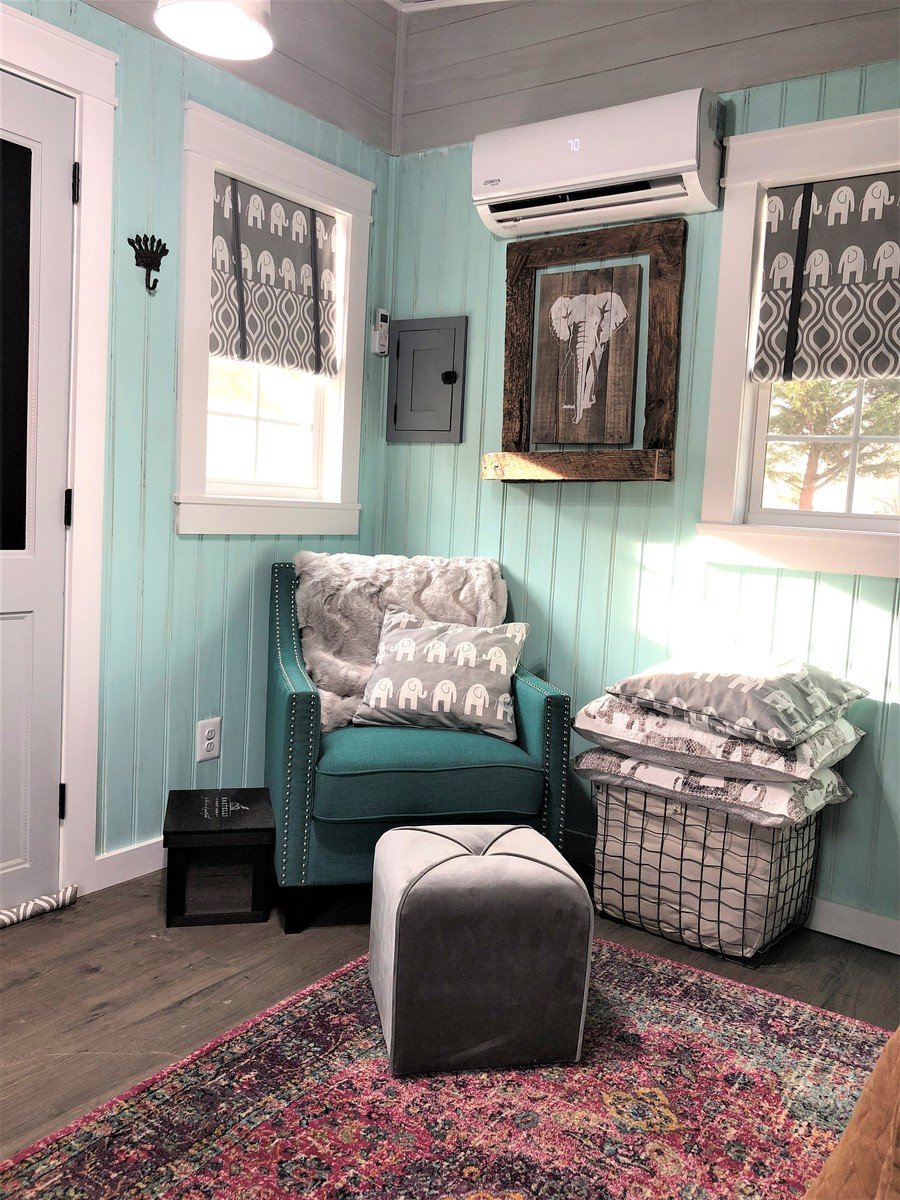
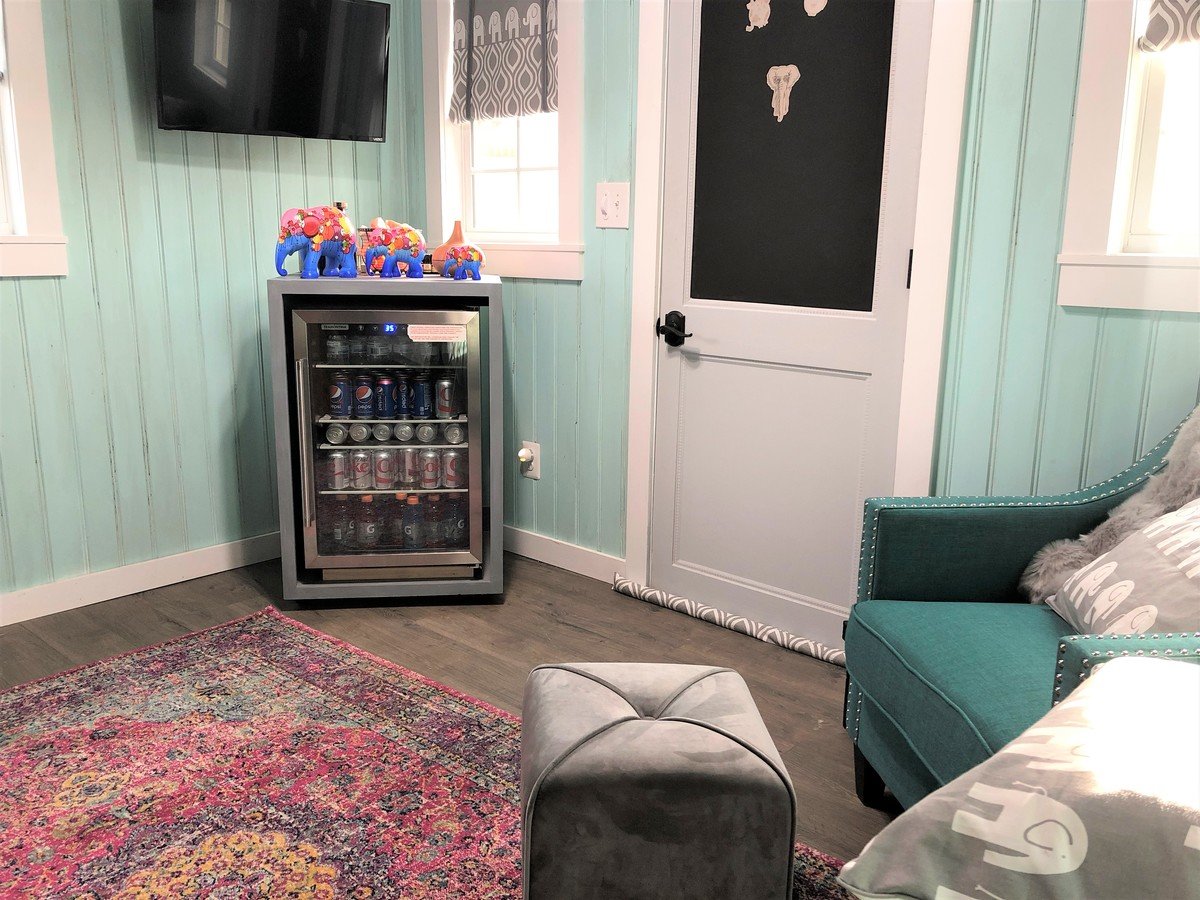
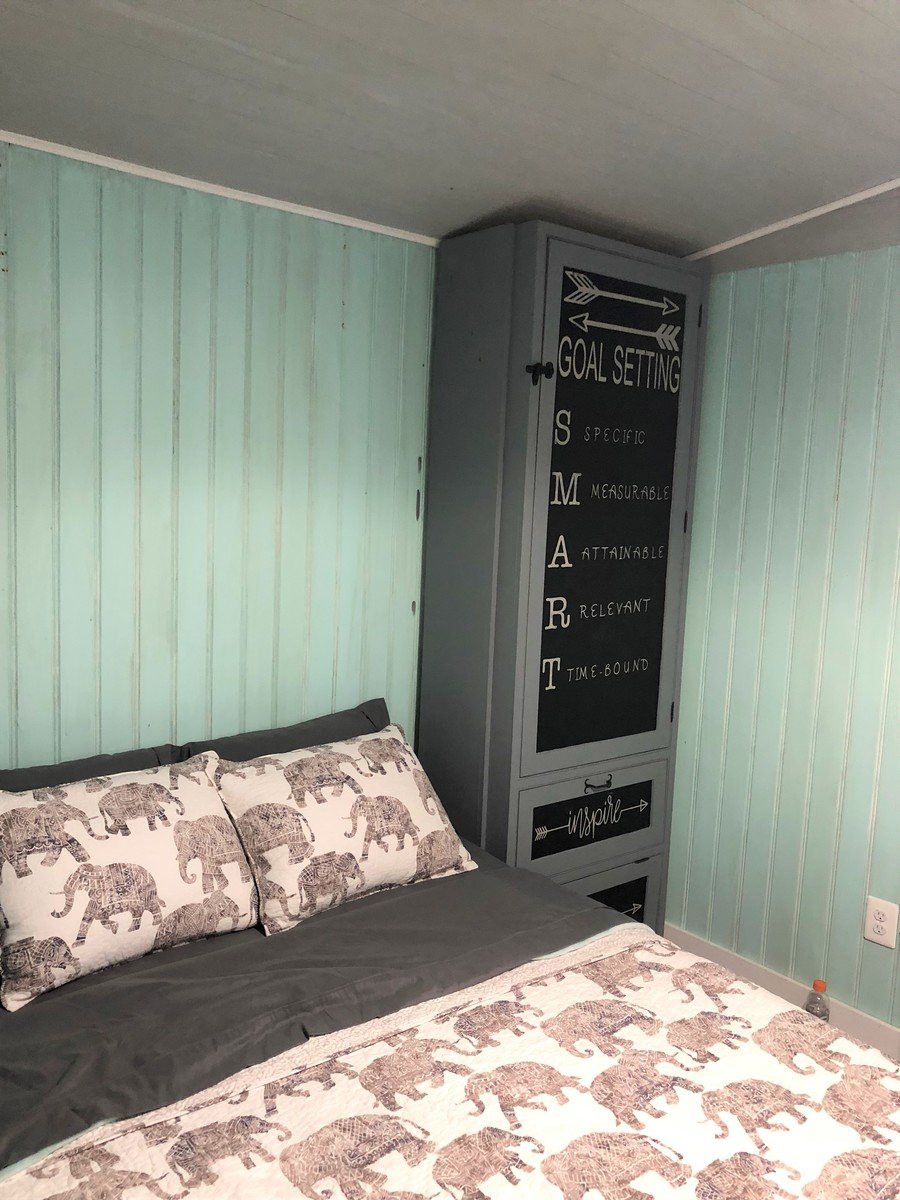
Thu, 01/25/2018 - 06:27
I love your murphy bed idea and would love to have plans for it. I too am looking for a guest bedroom and craft area and I know this would work in my space.
Mon, 02/05/2018 - 16:20
I didnt really have a plan when I was building my Murphy bed, I can do a sketchup plan for you if you would like. I used boat chair swivels instead of hinges and there is a YouTube video on how to do this.
Chris
Thu, 06/24/2021 - 23:11
Hi Chris! I would love to have a copy of the sketch up of this. I have a small she shed/guest cottage I would live to duplicate this in. Thanks in advance.
Mon, 11/08/2021 - 14:18
Hi Chris!
I know I'm coming late to this party but I just found your shed and I adore it. You did an amazing job and I cannot express how impressed I am! I would also like a sketchup plan of both the murphy bed and the adjoining side cabinets. Great job!
Thu, 06/06/2019 - 10:59
I absolutely love everything about this she shed!! I would be interested in a sketch up of the murphy bed as well as the cabinets next to it. I would at least like to know what the dimensions of it all is. You did an amazing job! It's so beautiful!
Tue, 06/25/2019 - 15:14
Me too!! I built a horizontal Murphy bed so I have that part done but I would like to see the plans for the cabinets on either side with the pull out desk!
so very cute!
Thu, 05/14/2020 - 05:53
I would love the plans for all of this please! This is exactly what I have been looking for! Thank you!
Sun, 09/20/2020 - 00:13
Hi Chris
Can you advise how I can receive a copy of the sketchup? I love the entire setup from the bed to the additional shelving.
Thu, 06/20/2024 - 08:24
Hi Chris,
I would also like to receive the plans you did for this project! Thank you!
Thu, 06/20/2024 - 08:24
Hi Chris,
I would also like to receive the plans you did for this project! Thank you!
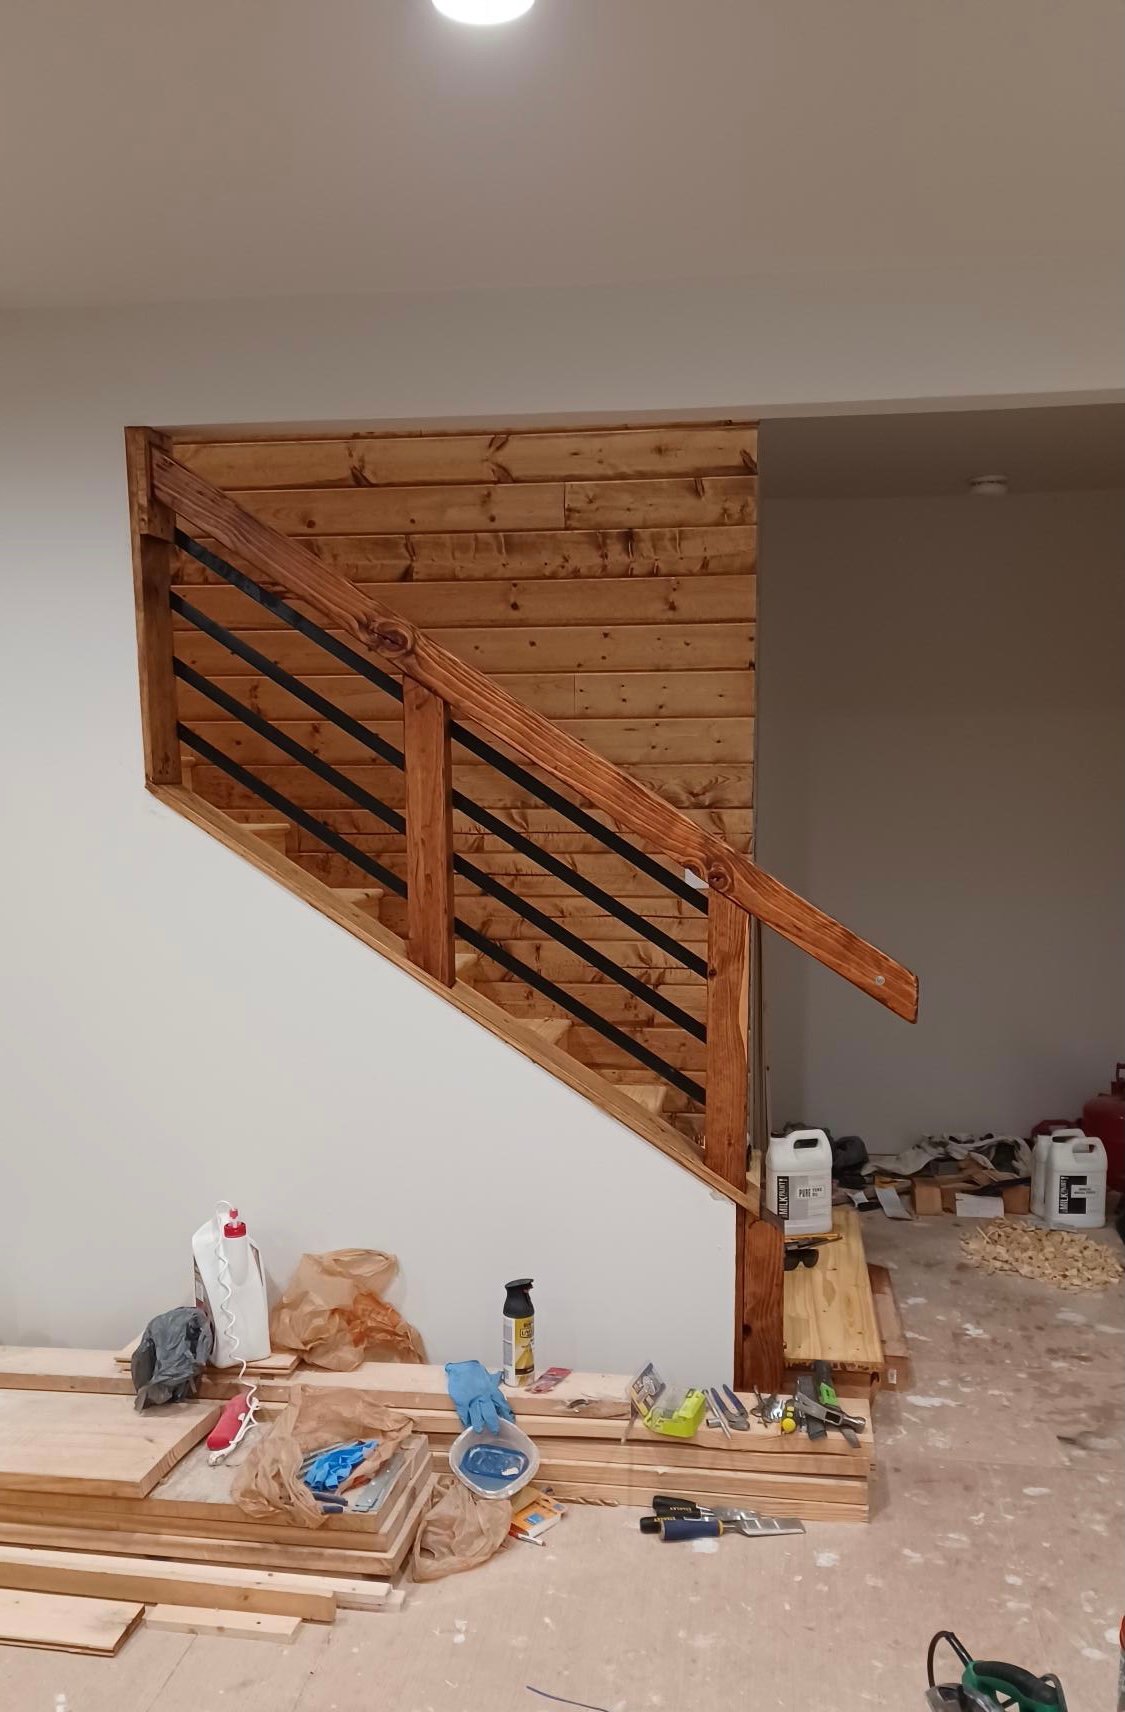
6 years into a complete rebuild of a neglected old farm house built in just 1948. Your website was found after looking for 'Modern Farmhouse' stair rails. The look plays off the original brick chimney stack & the Woodstove it serves. It has turned out to be quite the focal point, which was never it's purpose. Thanks for the inspiration!
Herb Garden Planter Project - Such a simple project that costs less than $5.00
I added L brackets to the corners for a different look. I spray painted the brackets with a copper finish. I did not need to use wood filler because I covered the nails with the L Brackets.
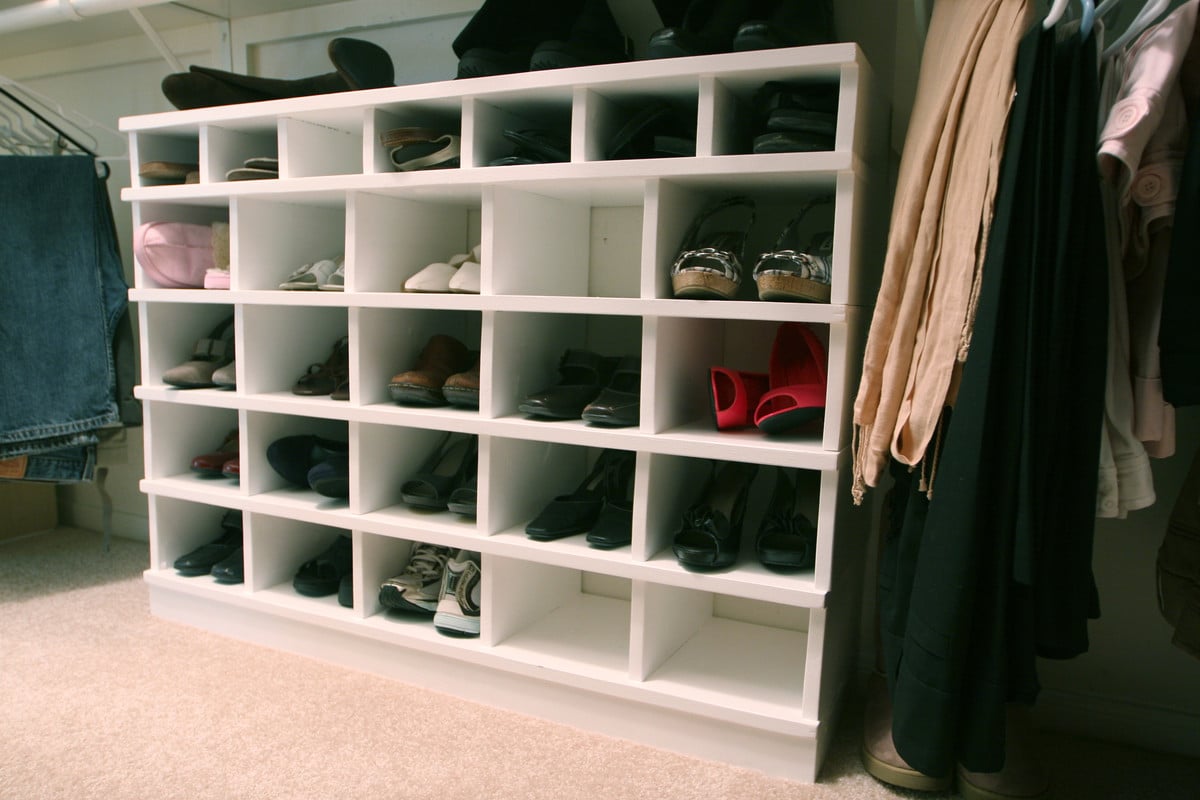
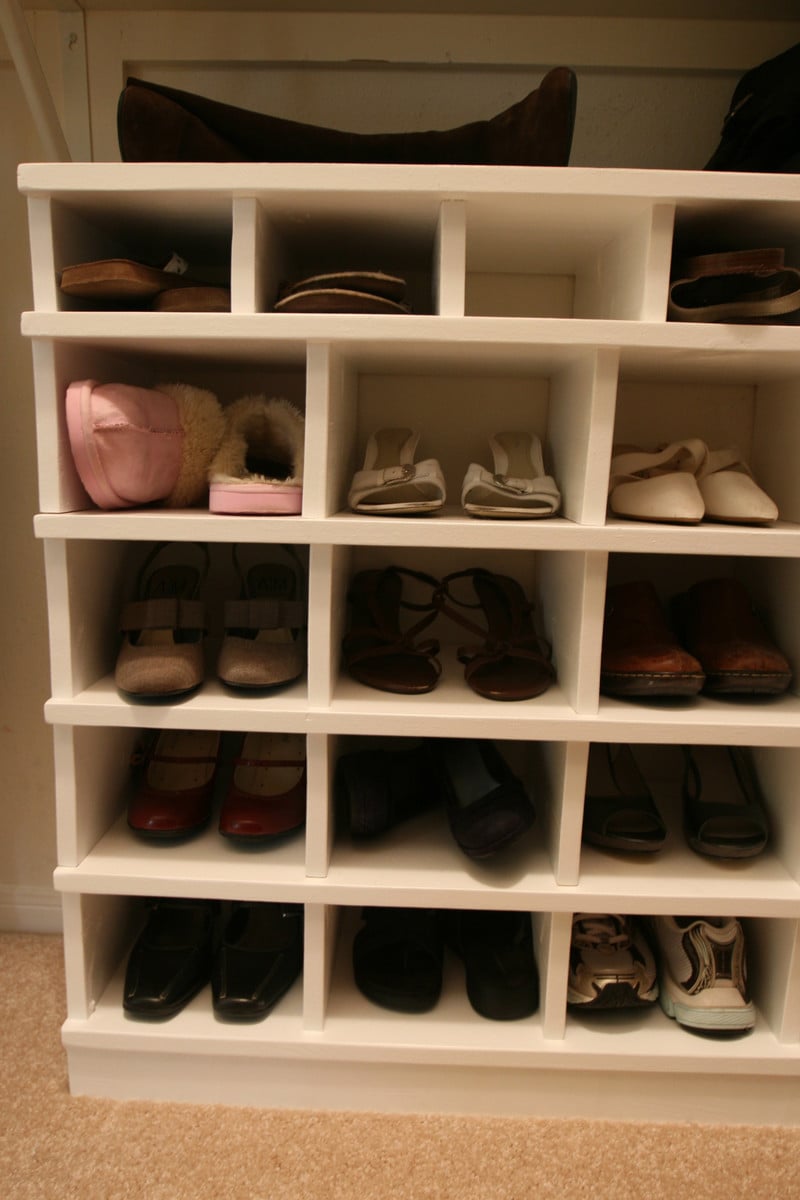
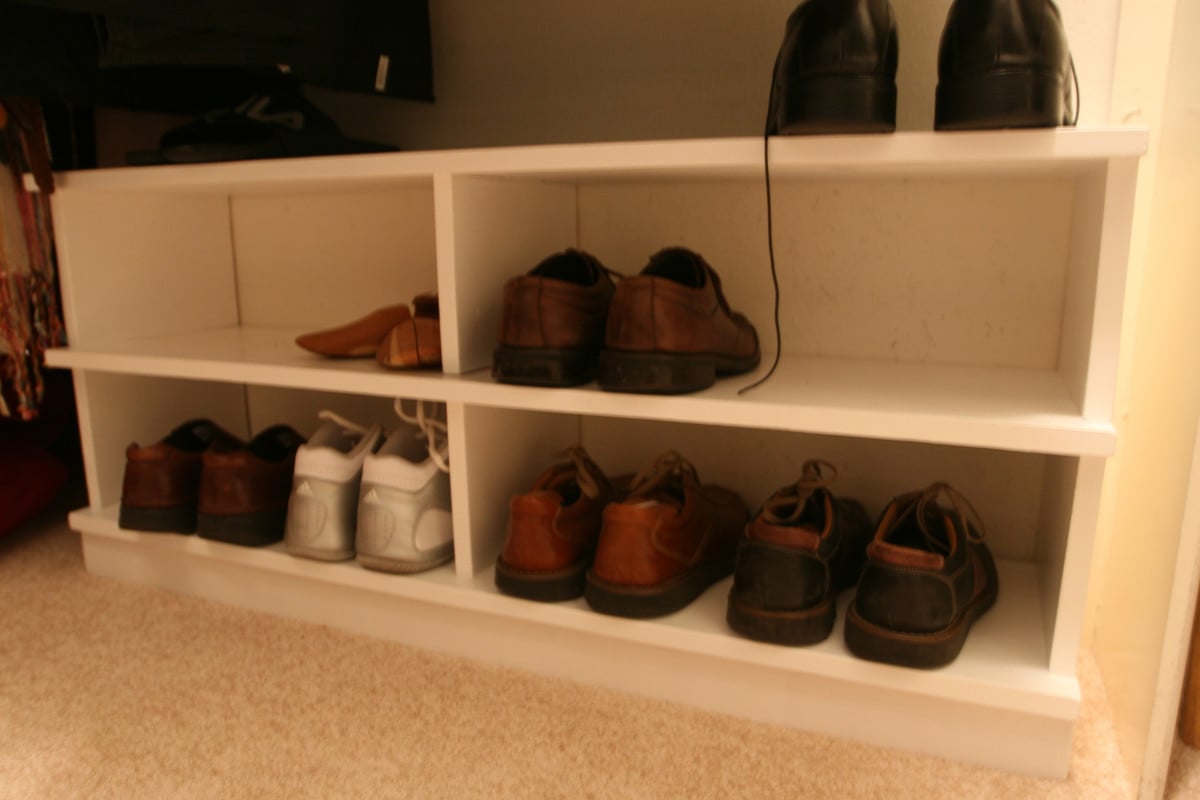
I took the 25 cubbies plan and changed the dimensions to fit shoes. I made a simpler version for my husband too. This project went together quickly and was so fun to build.
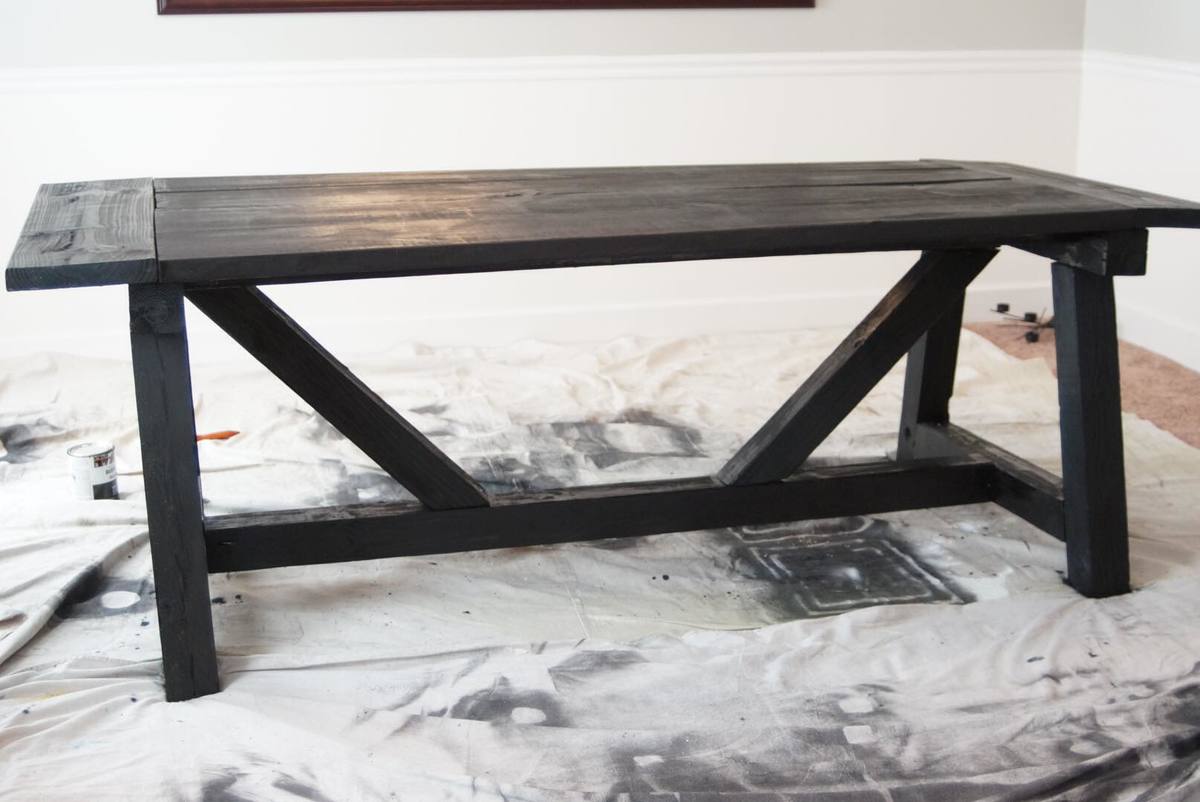
I had trouble with the angled cuts not fitting perfectly. I have a circular saw, not a table saw or miter saw, so I had to measure with a protractor and mark, then try to follow my lines exactly. Tedious, but I like the table. It is mad heavy though!
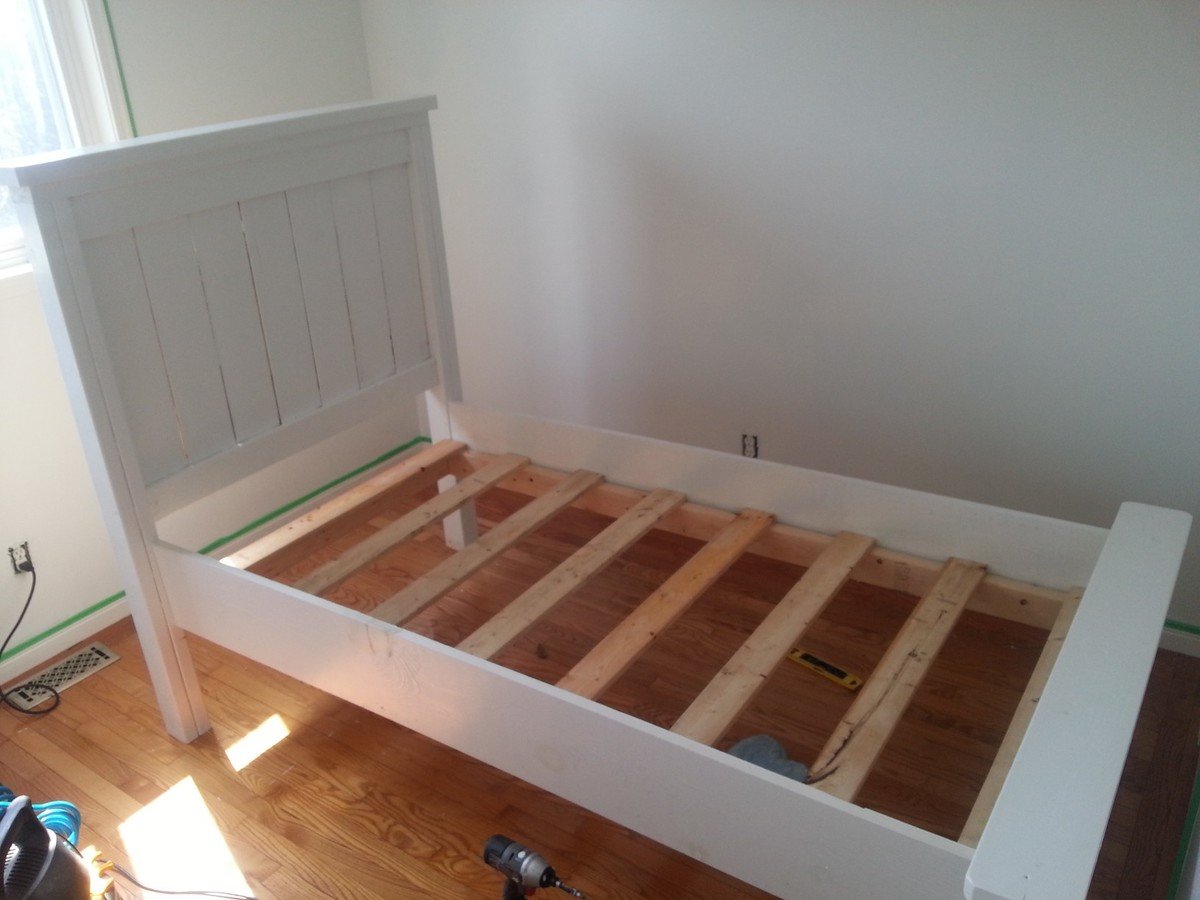
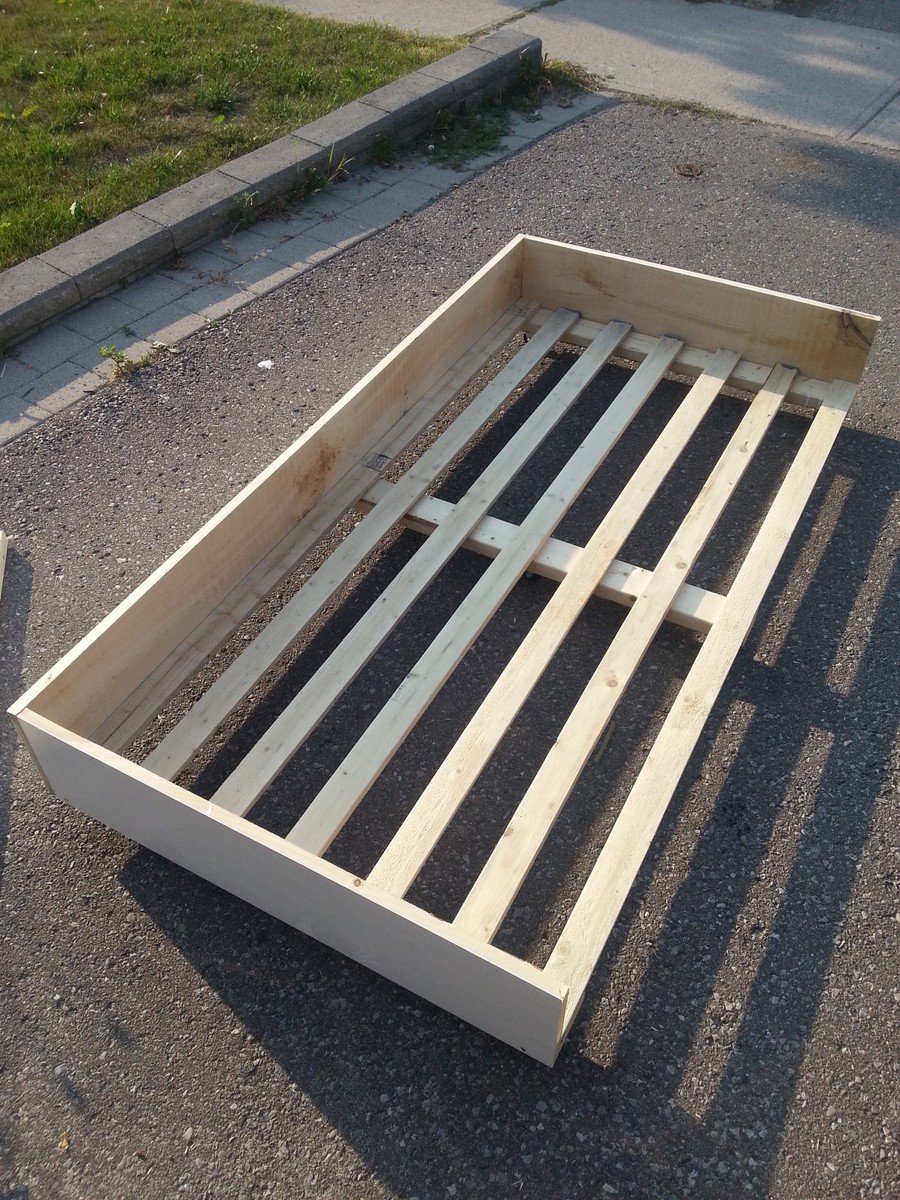
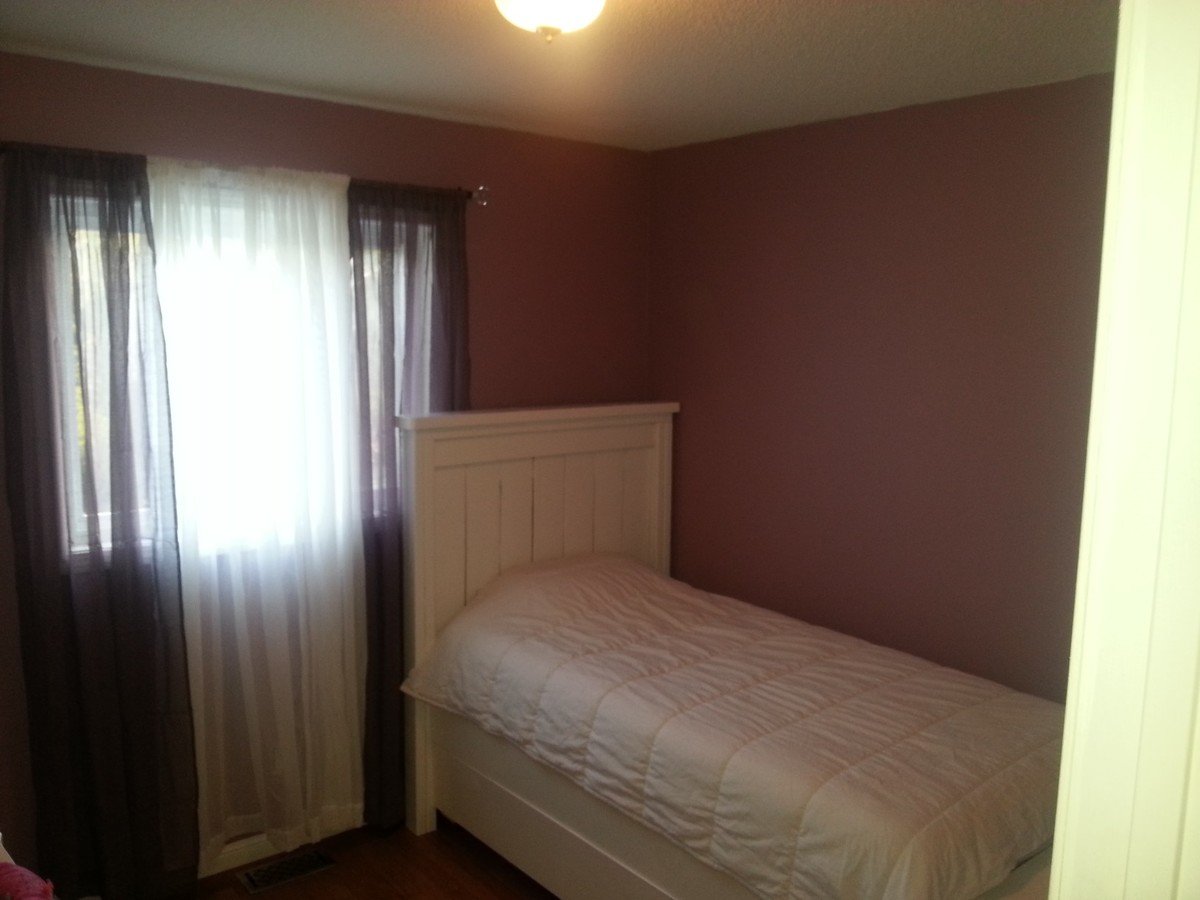
Took the farmhouse plan and added a Trundle. Was initially going to build two farmhouse beds for my two girls, but thought adding the Trundle would free up some much needed floor space. The girls love it!
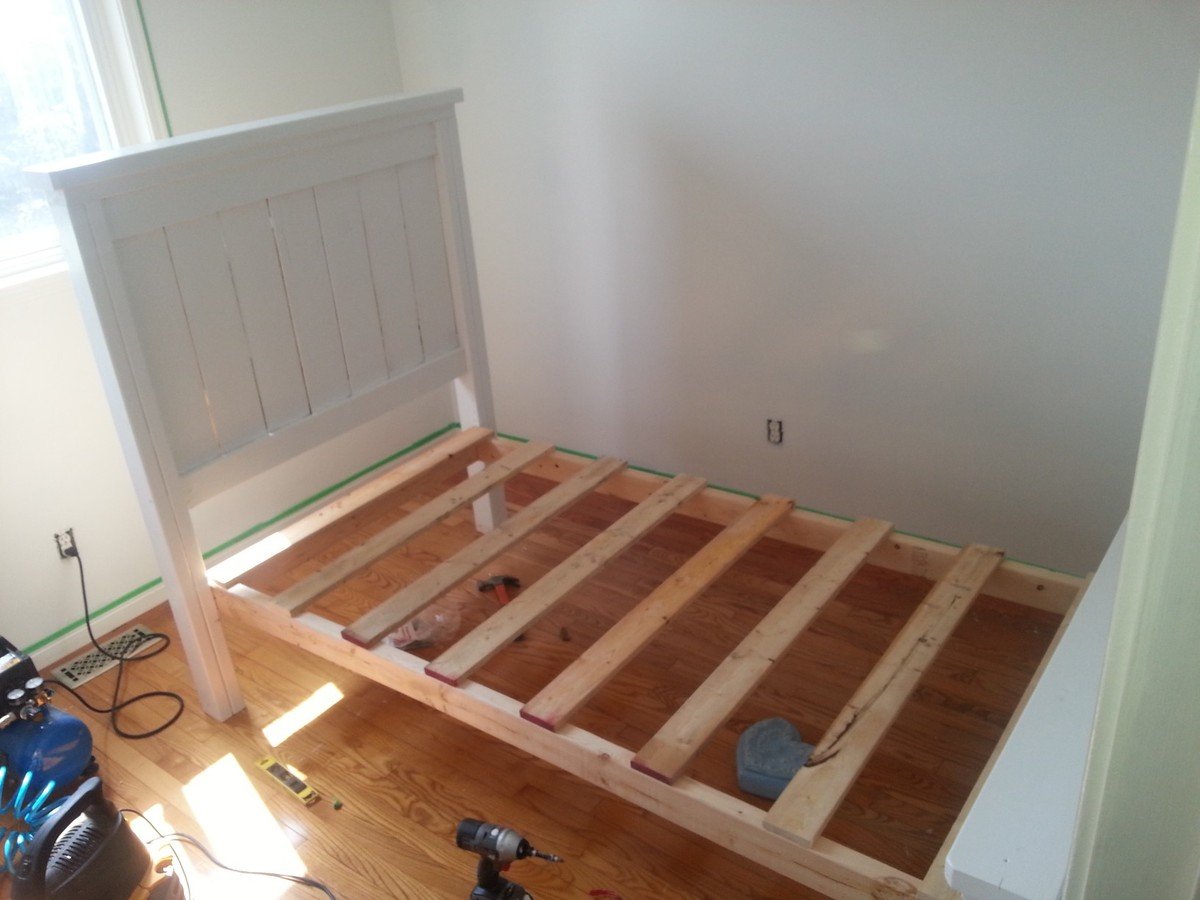
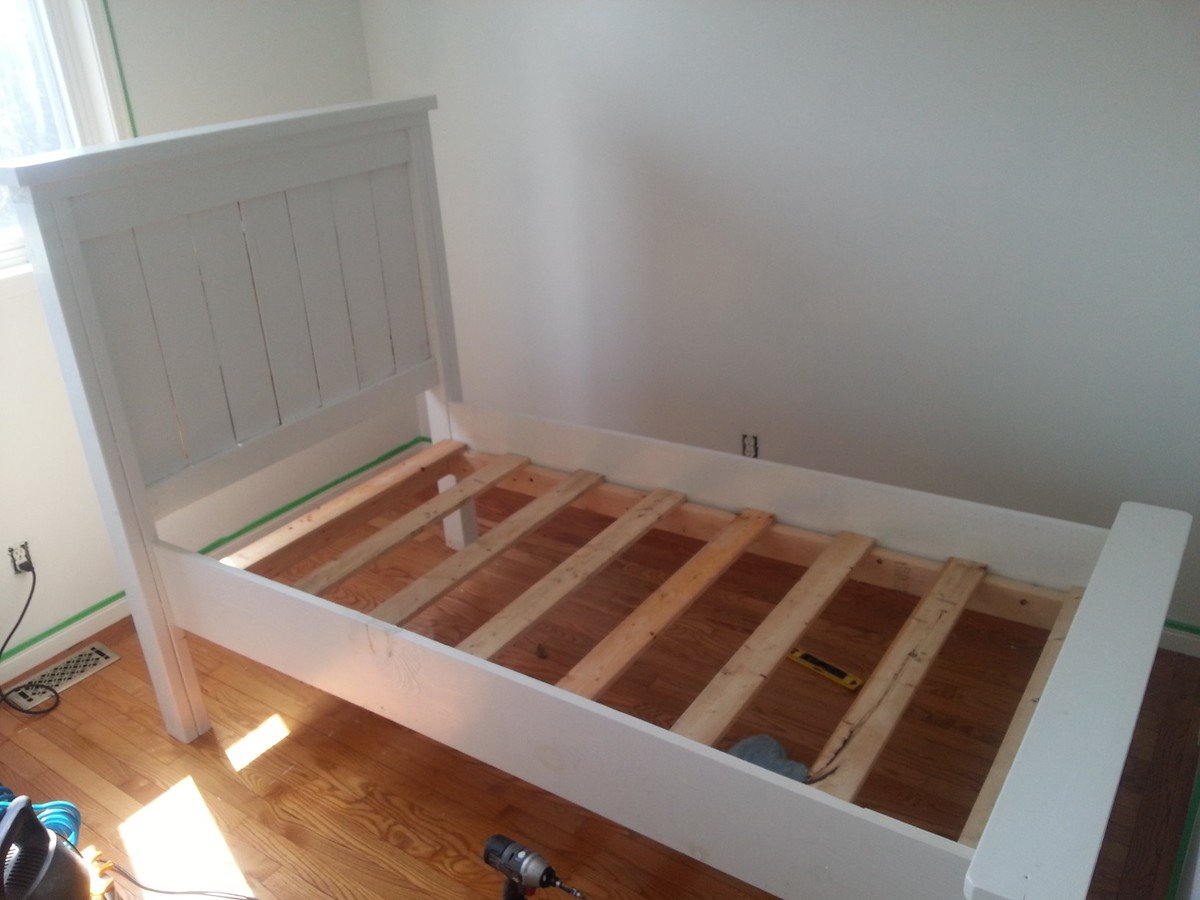

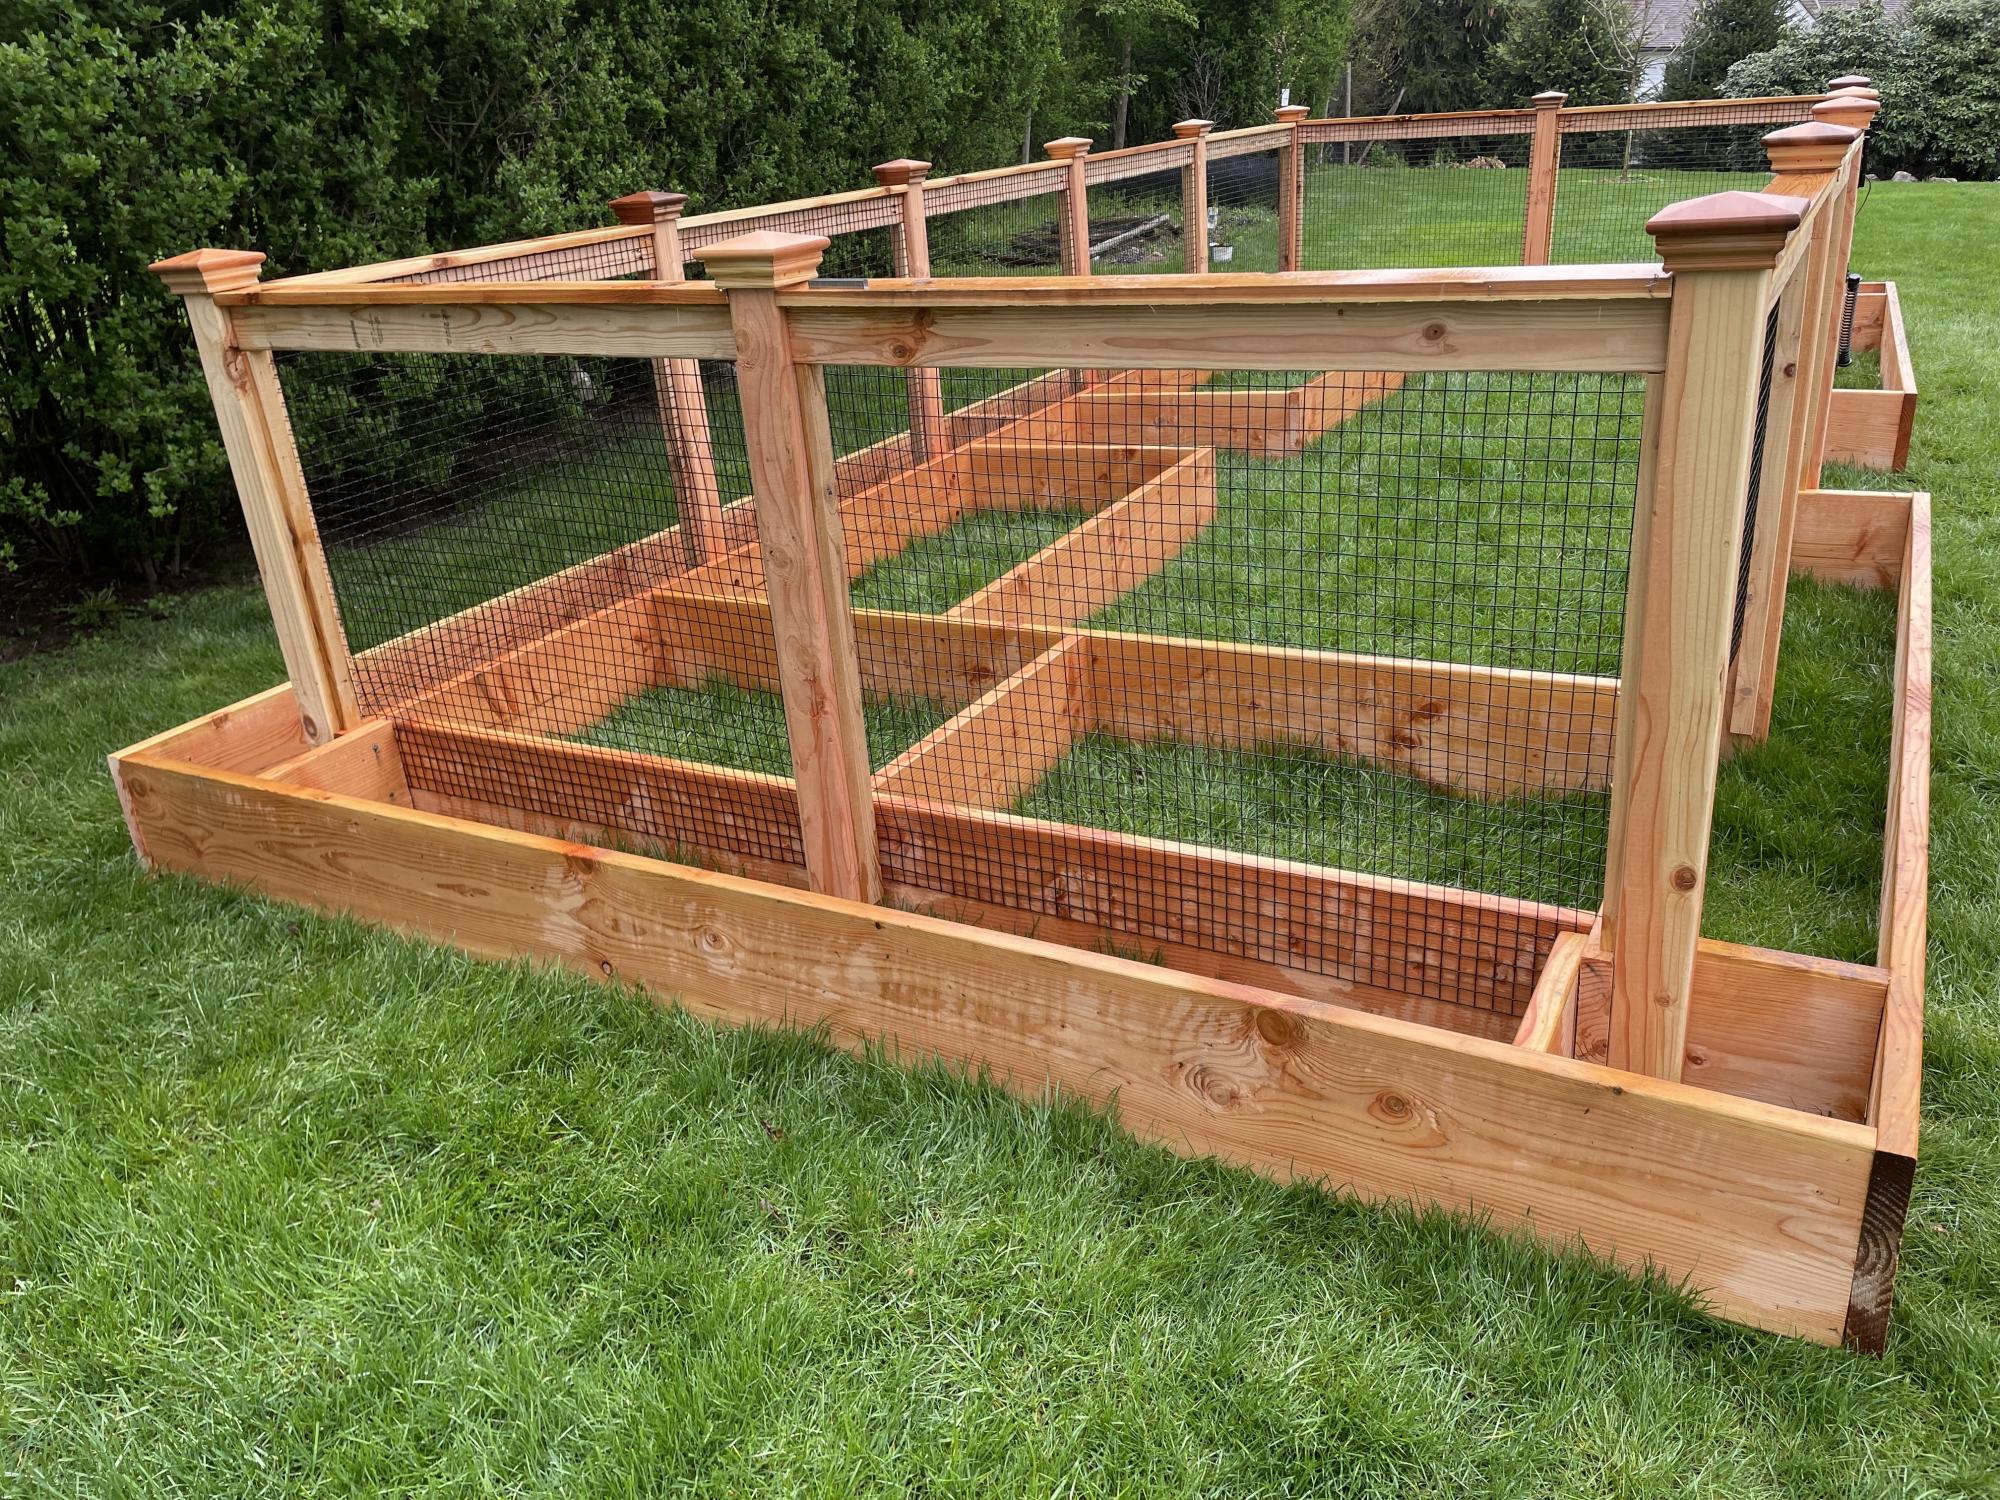
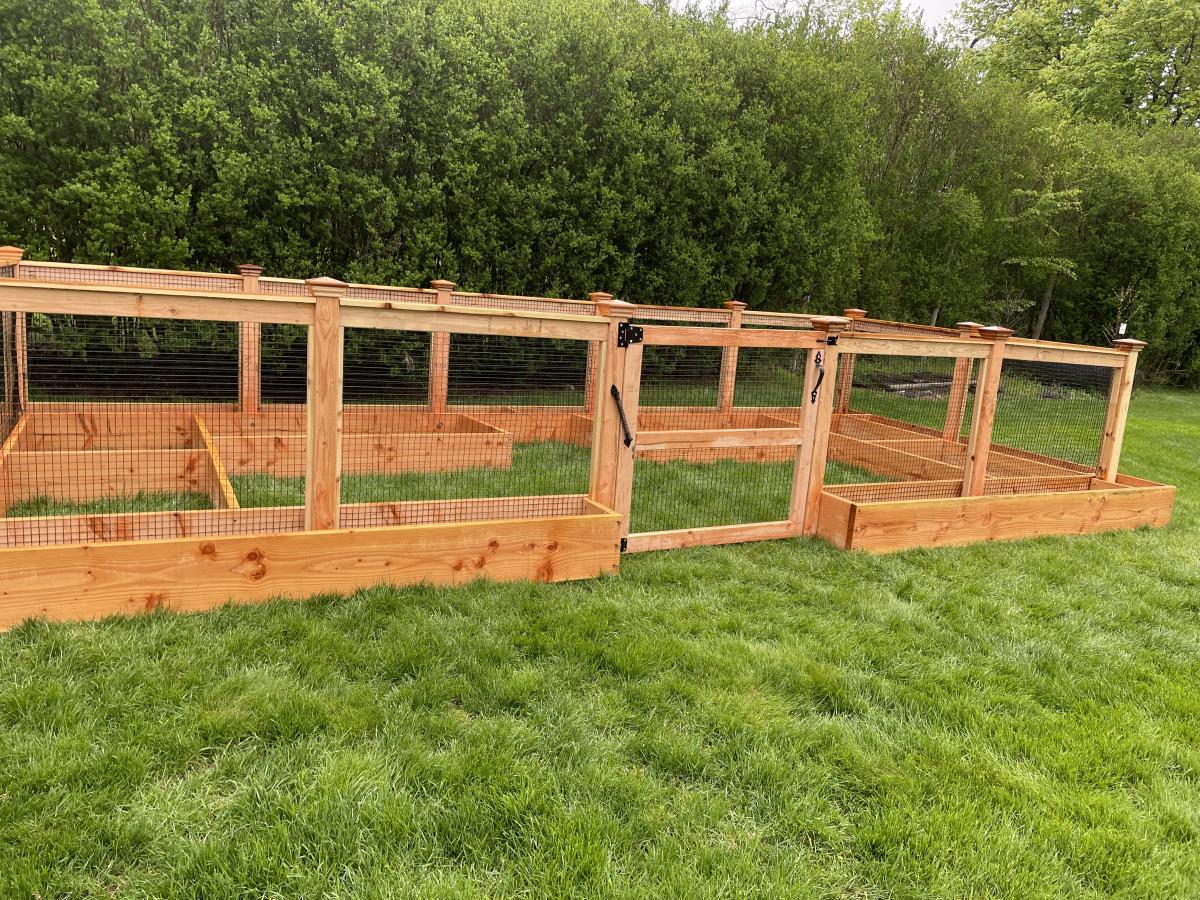
A vegetable garden with an outside ring to plant marigolds to keep deer away.
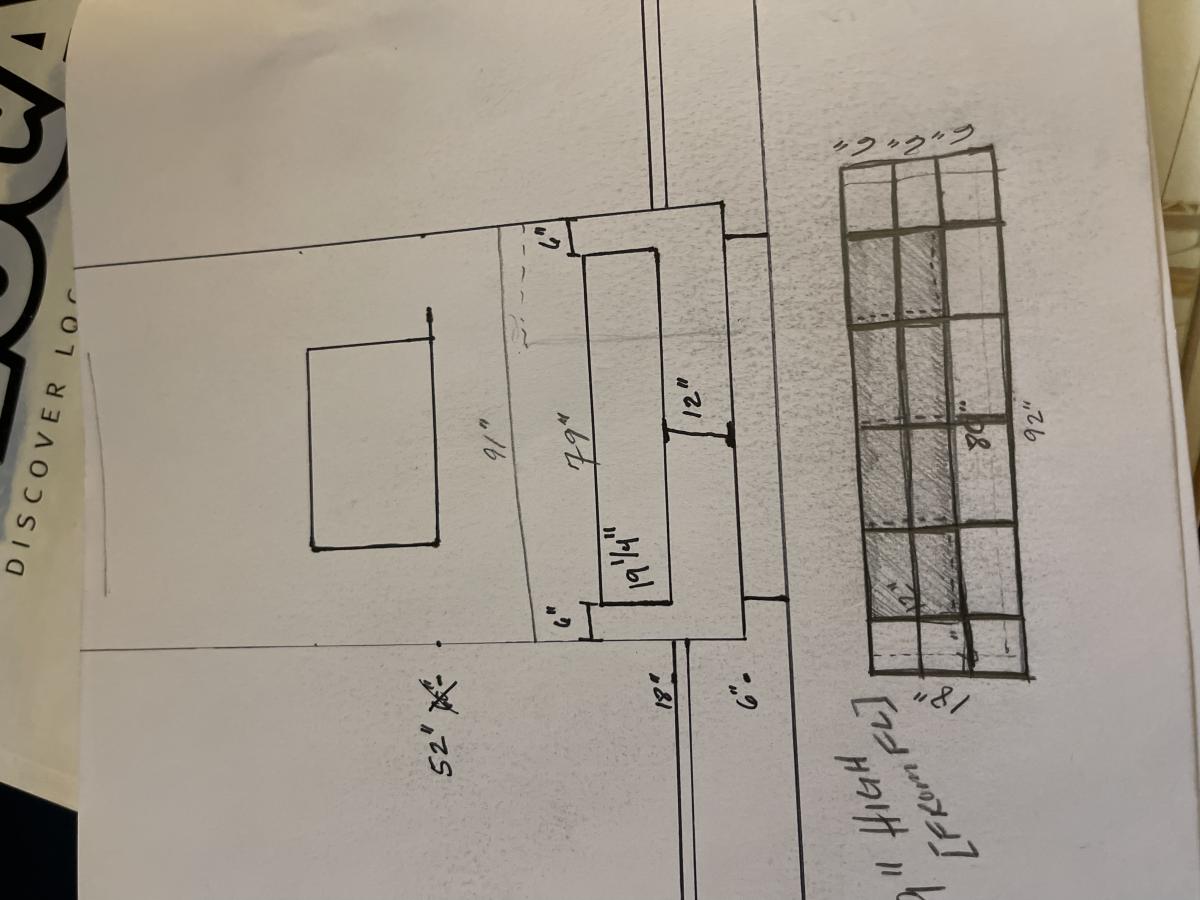

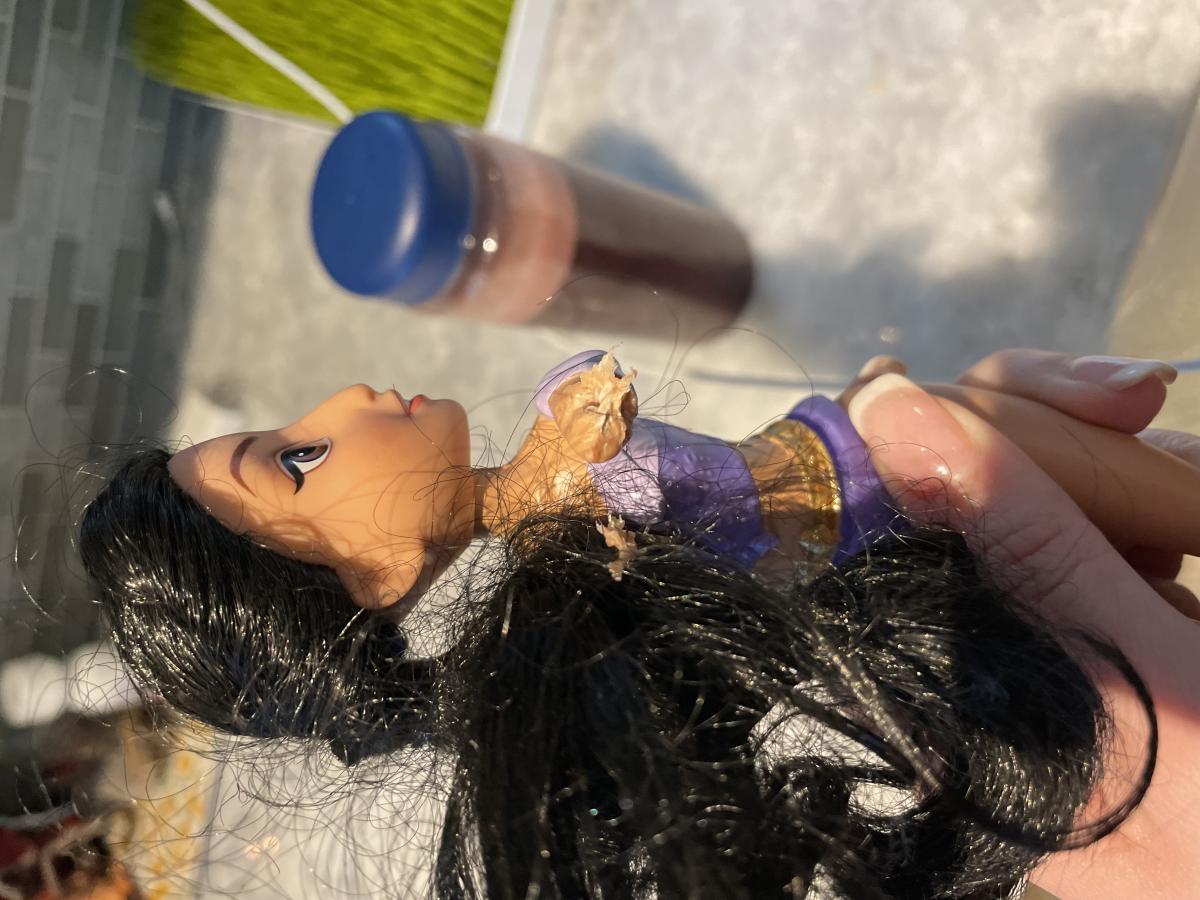

It's an awful eye sore builder's always seem to put in the most obvious places even when there's an attached garage, or a basement, or even a large closet somewhere.
Solution: Build a frame out of 2x2's around the panel. Build a smaller frame out of trim (or whatever you like as a picture frame). Attach the smaller frame to the frame on the wall with self closing hinges (ok, maybe paint everything first, lol) and insert a photo or painting of your choice.
Unfortunately you can't do anything about placement, hello 1 inch from my countertop and cabinets (also preventing me from building more upper cabinets on that wall)
But, it's better than staring at that ugly gray box :)


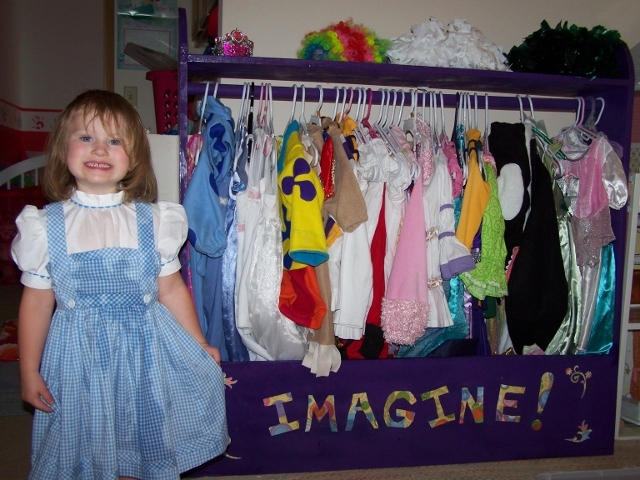
I made this for my girls' huge collection of dress-up clothes. I had to modify the plans a little to fit more costumes, and also to try to fit the longer length. I was hoping the longer dresses would hang without filling the bottom quite so much, but to make it tall enough for that the little one wouldn't have been able to reach the hanger bar.
I ended up with 4 foot boards all around - 6 pieces of 1x12 cut to 4 feet long, including the shelf at the top.
The eight year old cut the letters out of scrapbook paper and we glued them on with elmers glue then varnished over it.
All in all it looks great and holds 4 big plastic totes worth of dress-up (11 Halloweens/4 little girls/5 flower girl dresses and miscellaneous other outfits).
Now I'm just hoping they'll learn to use hangers and it will stay neat and tidy!
Construction was very easy and went well - took us longer to shop than it did to build!
Painting on the other hand took a long time, mostly just to wait between coats. I used spray paint and some polyurethane to gloss it up.
Comments
Ana White Admin
Fri, 11/06/2020 - 08:18
NICE!
Love that you used all cedar fence boards, do you have an estimated cost for this project? Thanks for sharing!