One Piece Play Kitchen
![](/sites/default/files/IMG_0016.jpg)
Thank you so much for the plans Anna. My two year old absolutely loved this Christmas present. I used drains for the stove tops and added a wire rack to the stove and tiled the backsplash.
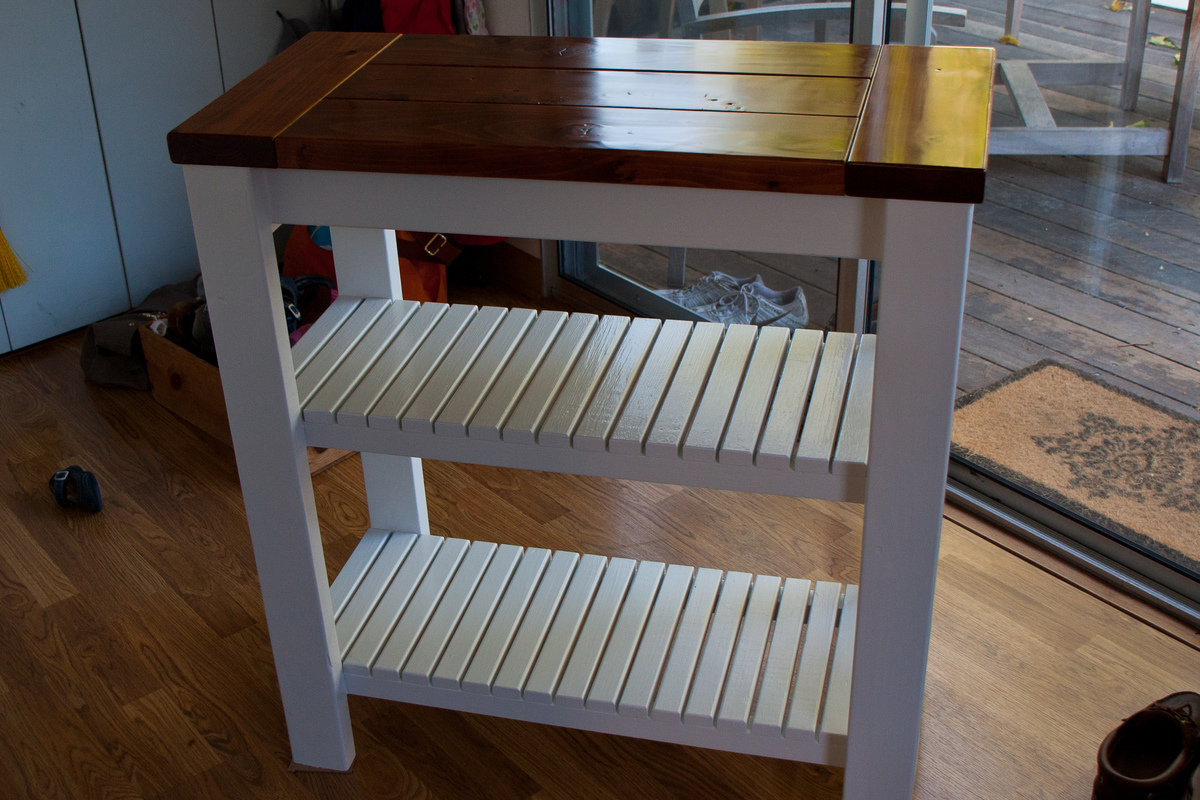
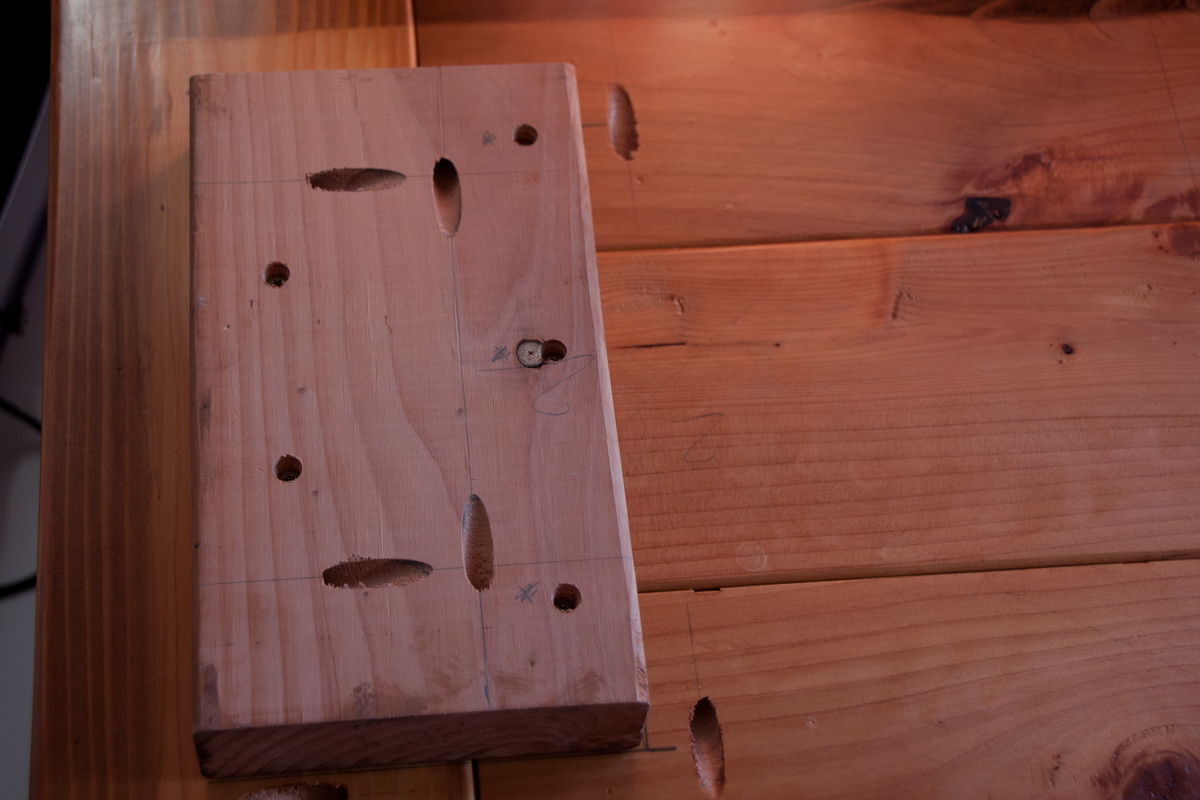
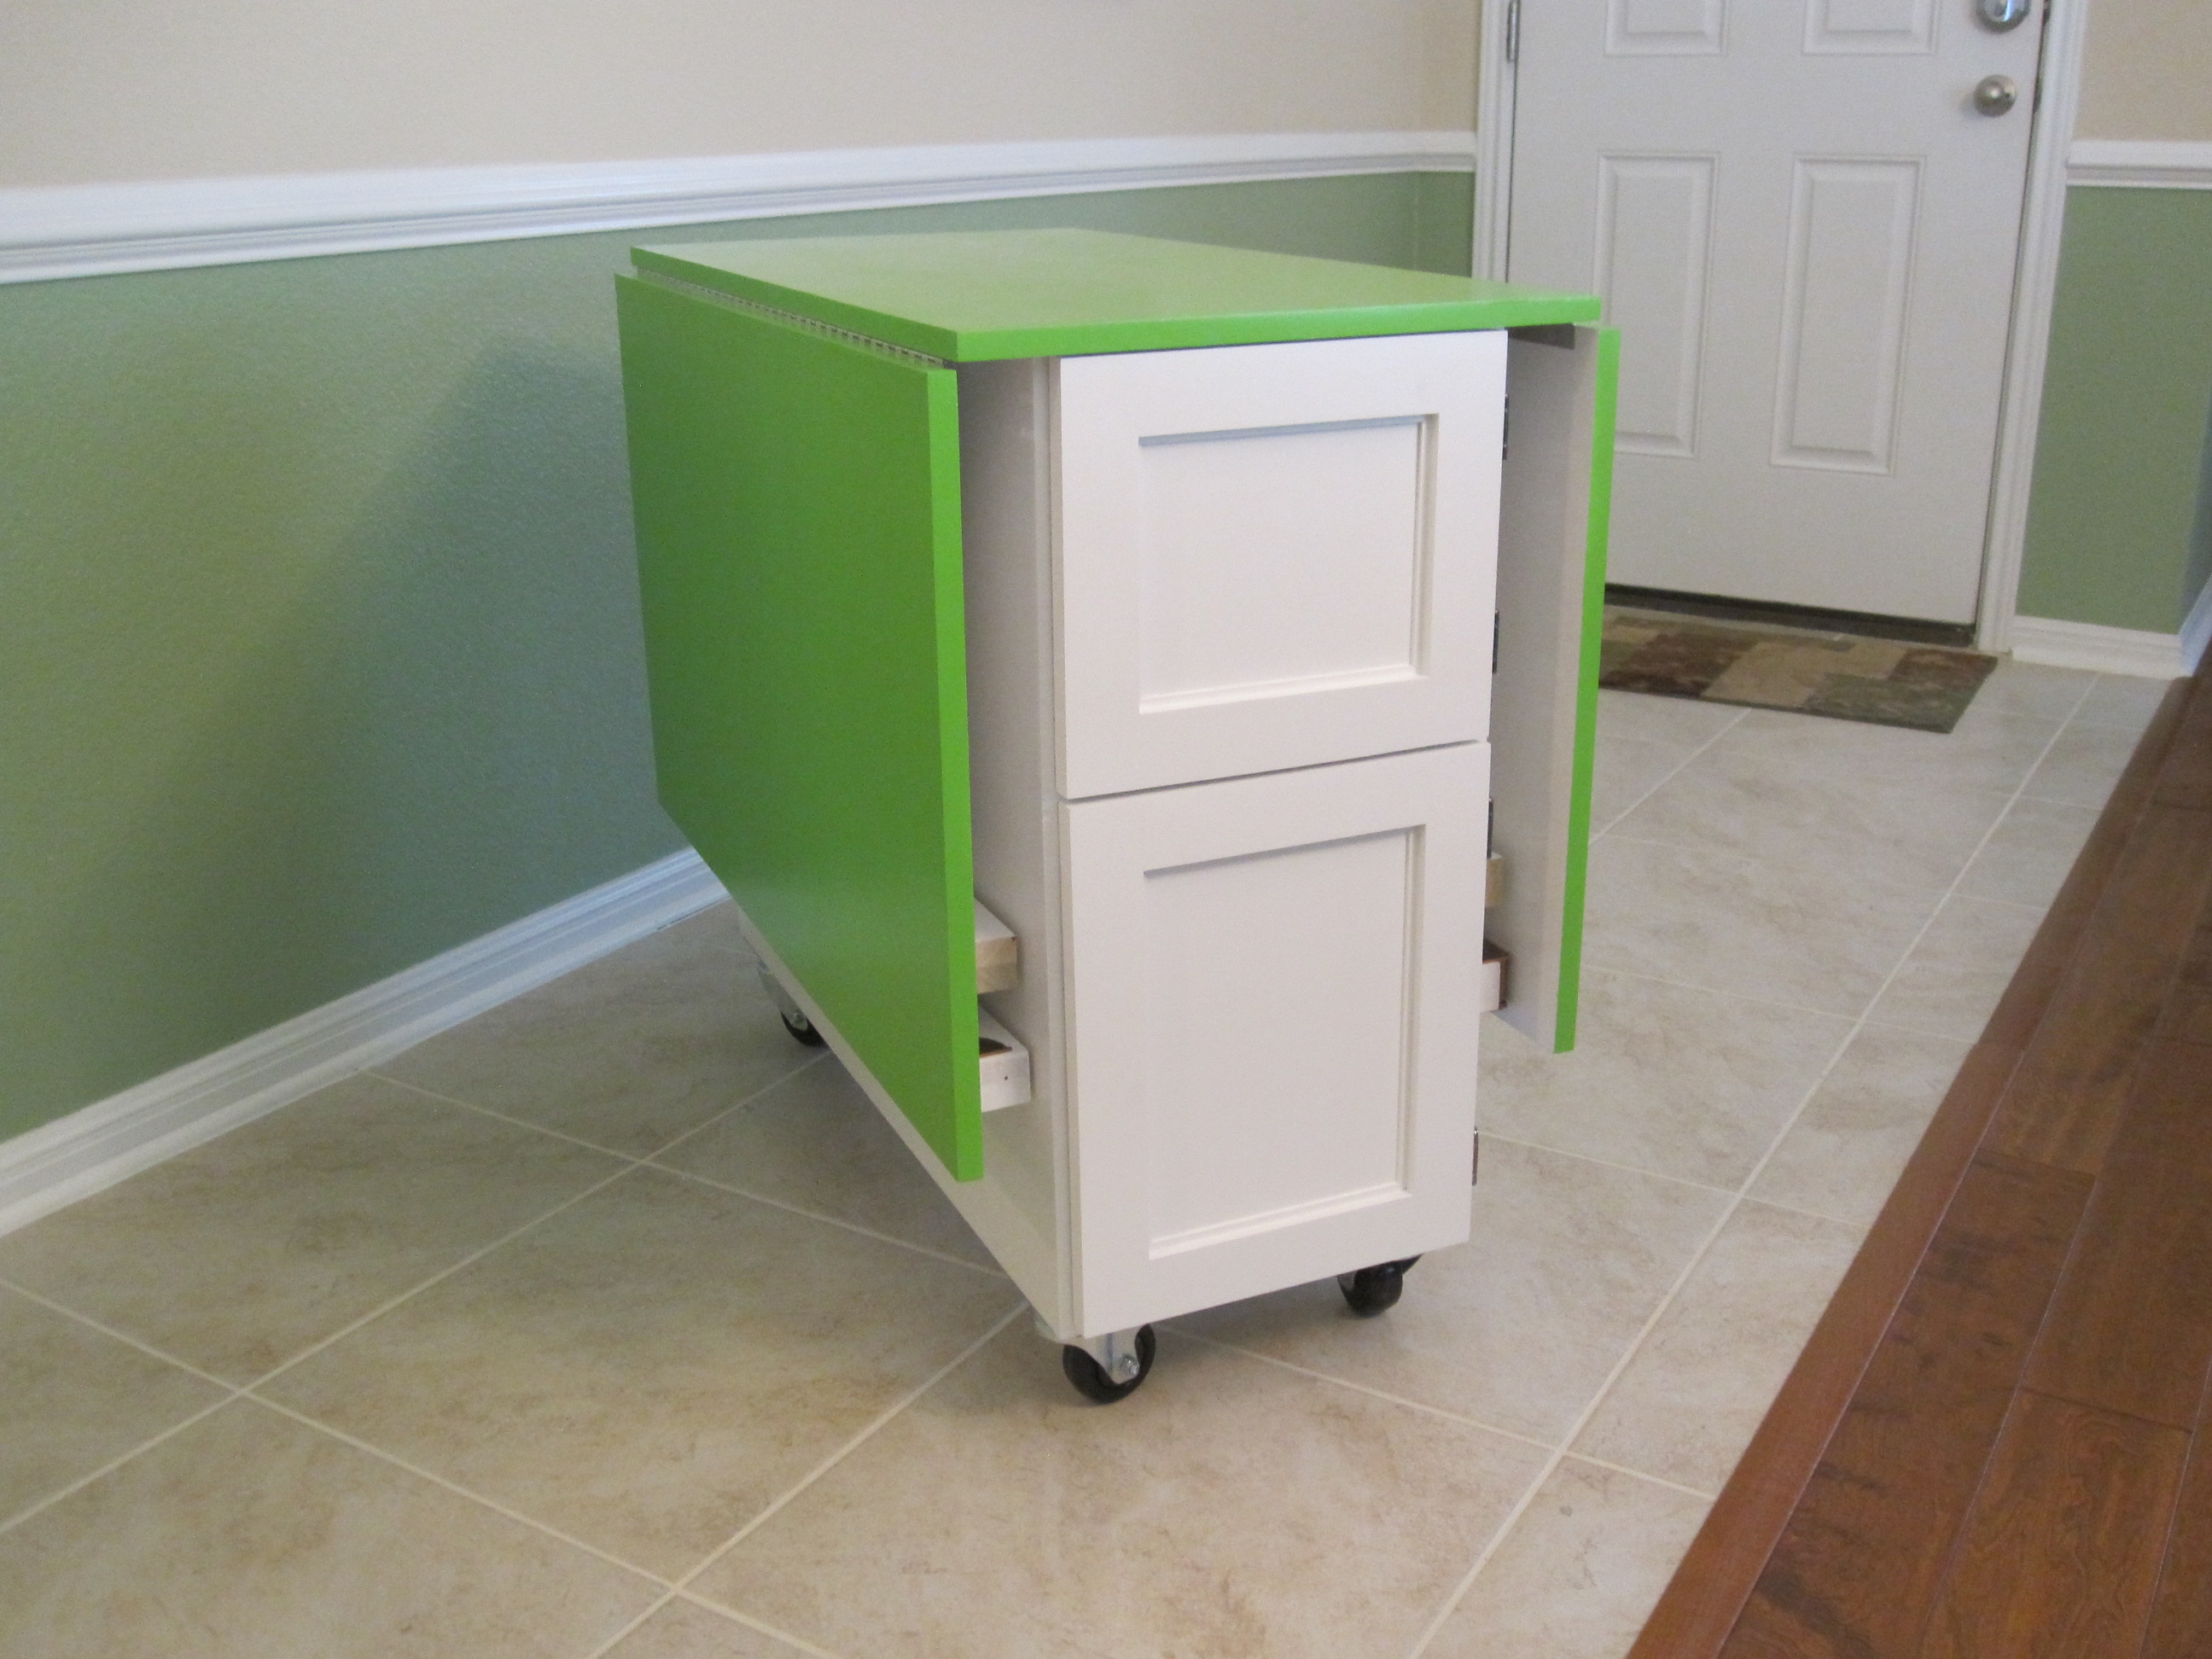
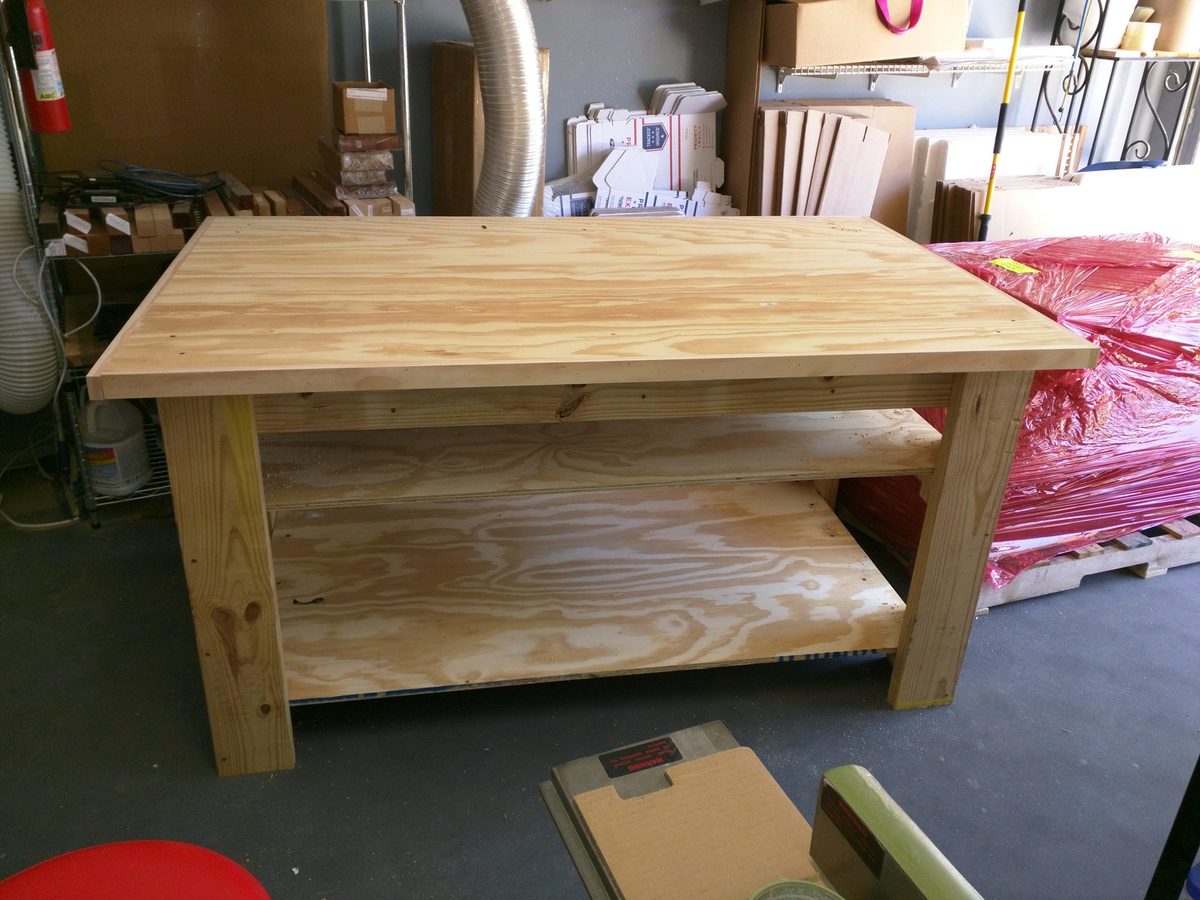
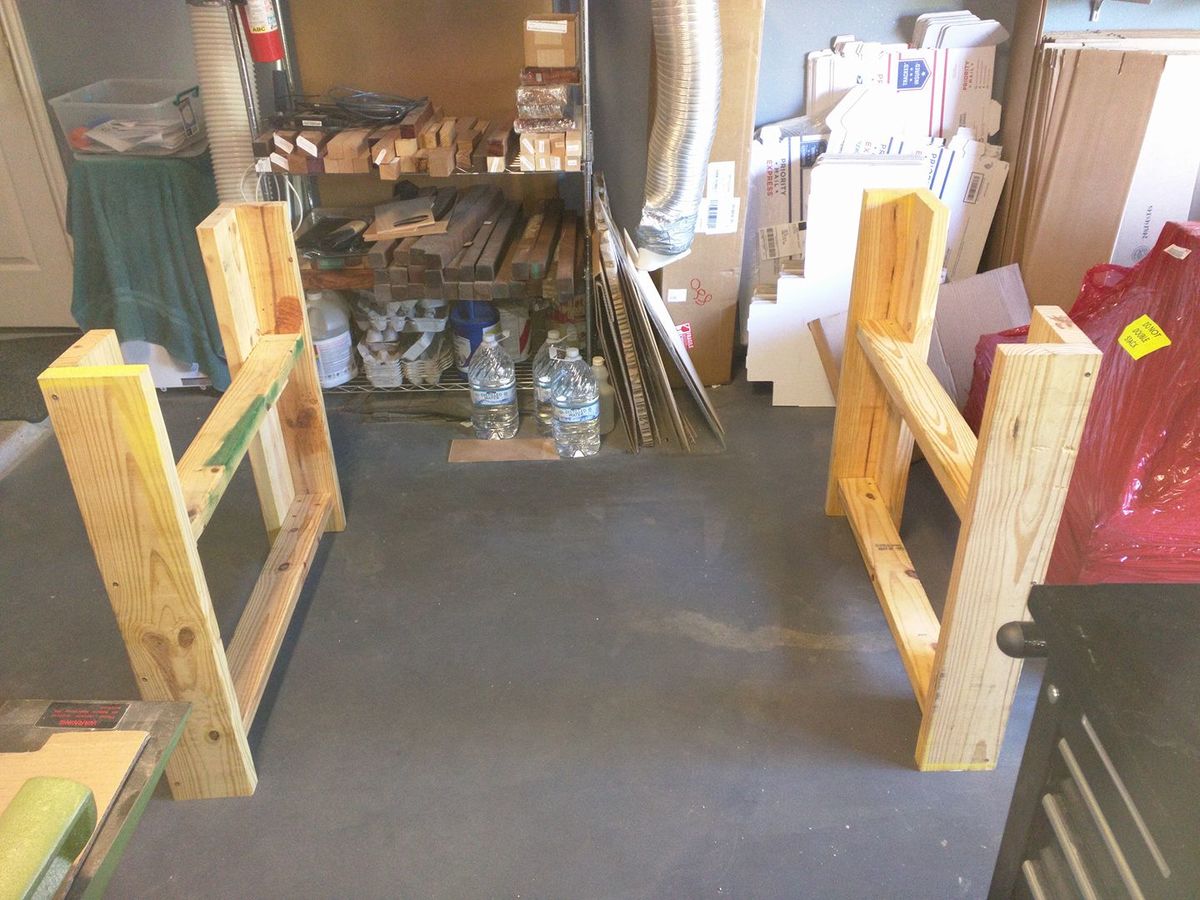
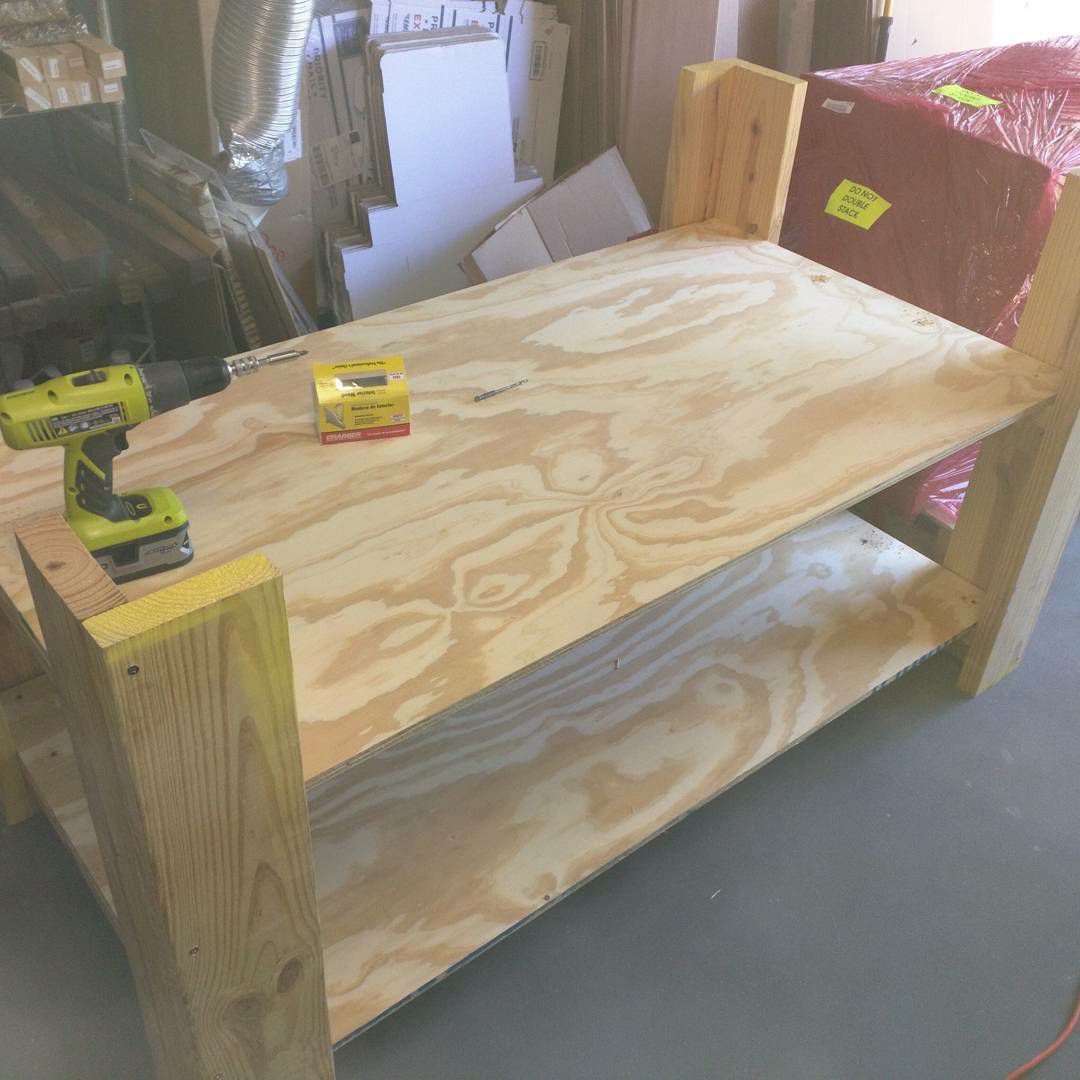
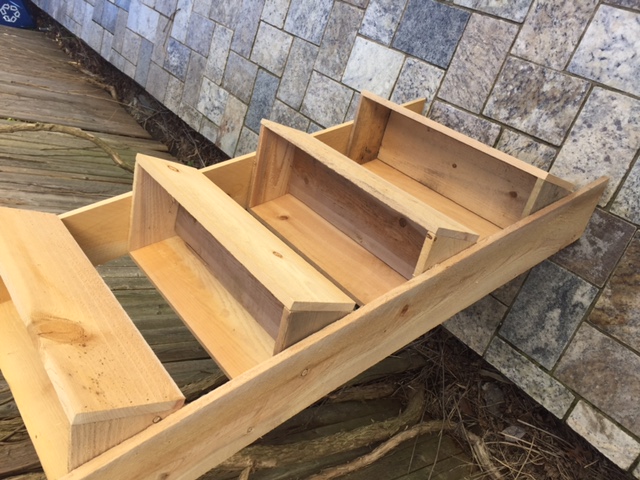
This was a great project. We needed a more functional small desk next to our kitchen door so I built one based on Ana's Kitchen Island plan. I wanted a table top which shows the beauty of knotty wood and I'm happy with the redwood (2x6) I've chosen. The body is cheap whitewood (2x4 and remaining pieces of the 2x6 redwood for the short sides) and the racks are furring strips (pine) 1x2. I modified all the dimensions to fit the available space. I also decided to use 2x4 (instead of 2x6) for the long sides to not lose too much height for the actual rack space. The "rails" of the racks are 2x2.
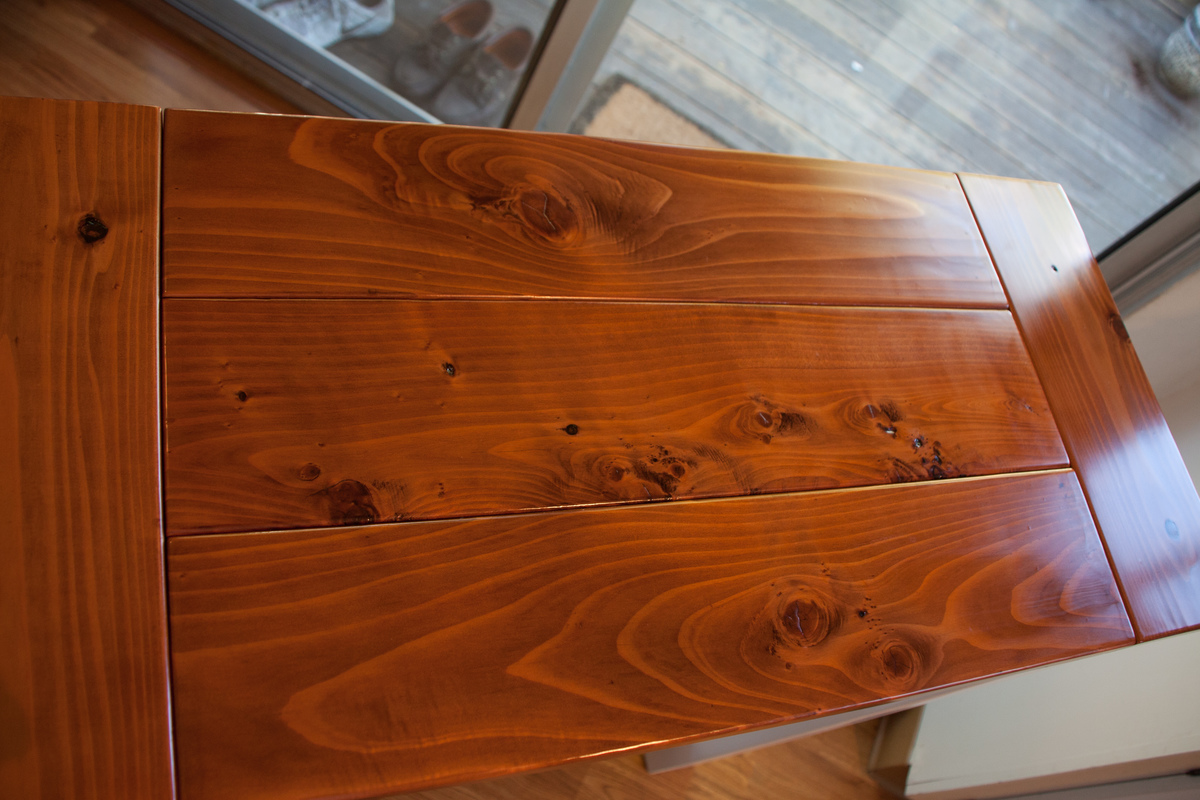
The tabletop was heavily sanded (100 to 400), stained with Minwax Honey (~5 minutes), and is enjoying about 5 layers of satin polyurethane (sanded in between). I wanted the redwood to shine and just add some depth with the staining. A couple of fruit flies were driving me crazy and took a couple of baths in the fresh poly. :)
The body has a double coating (sanded in between) of white latex paint. The thickness of the paint was pretty annoying and I realized after I was done I should have considered a thinner.
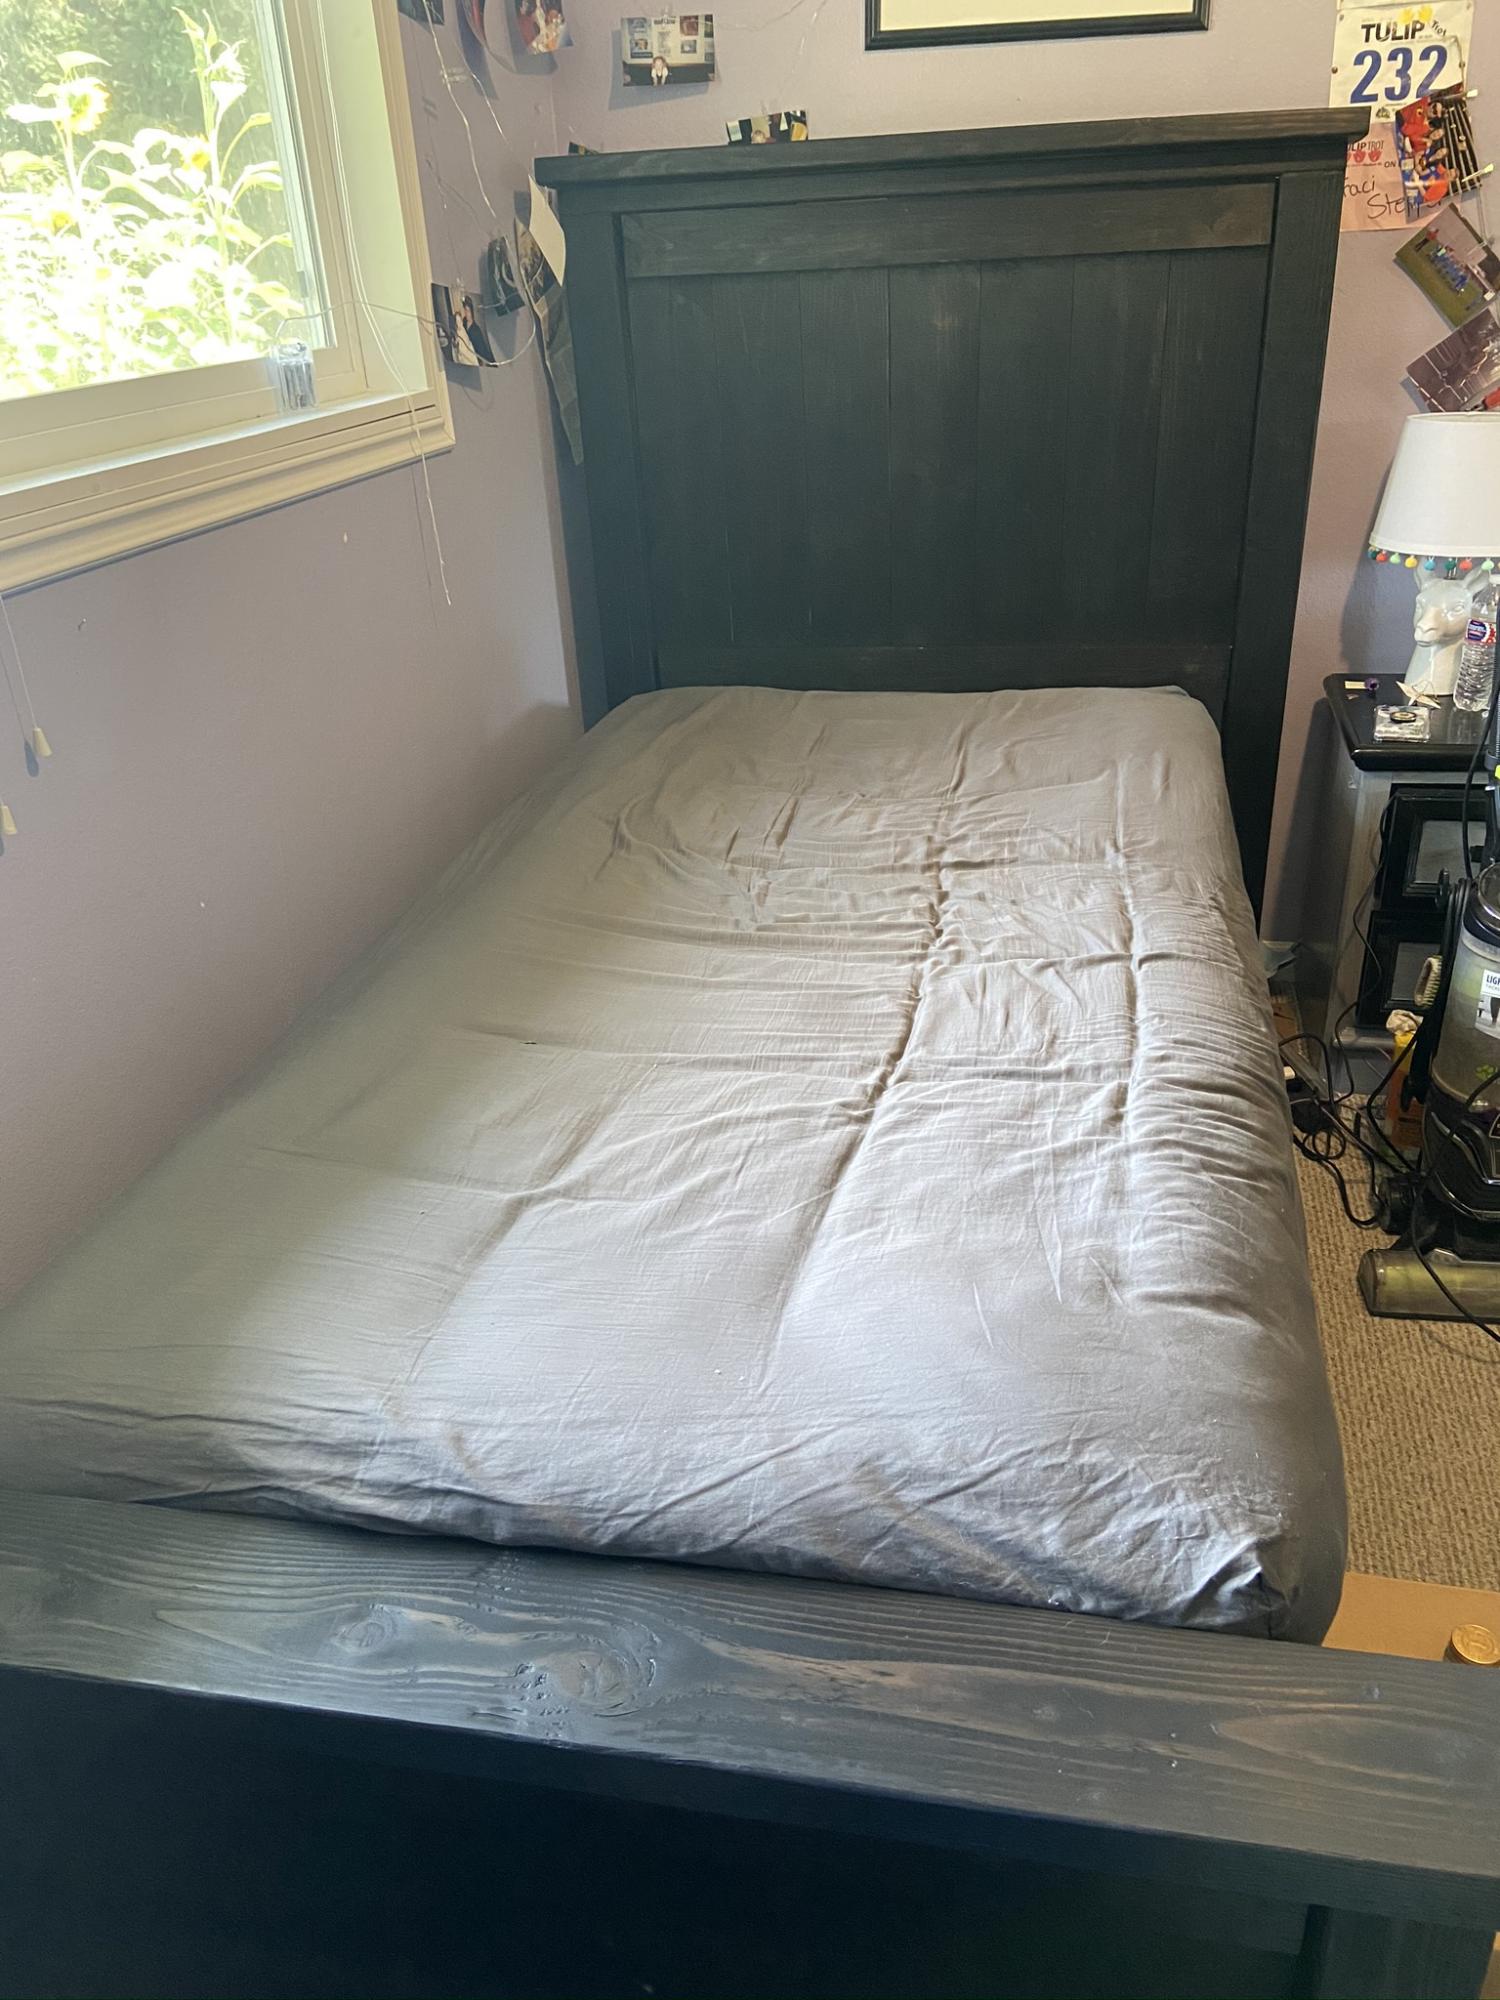
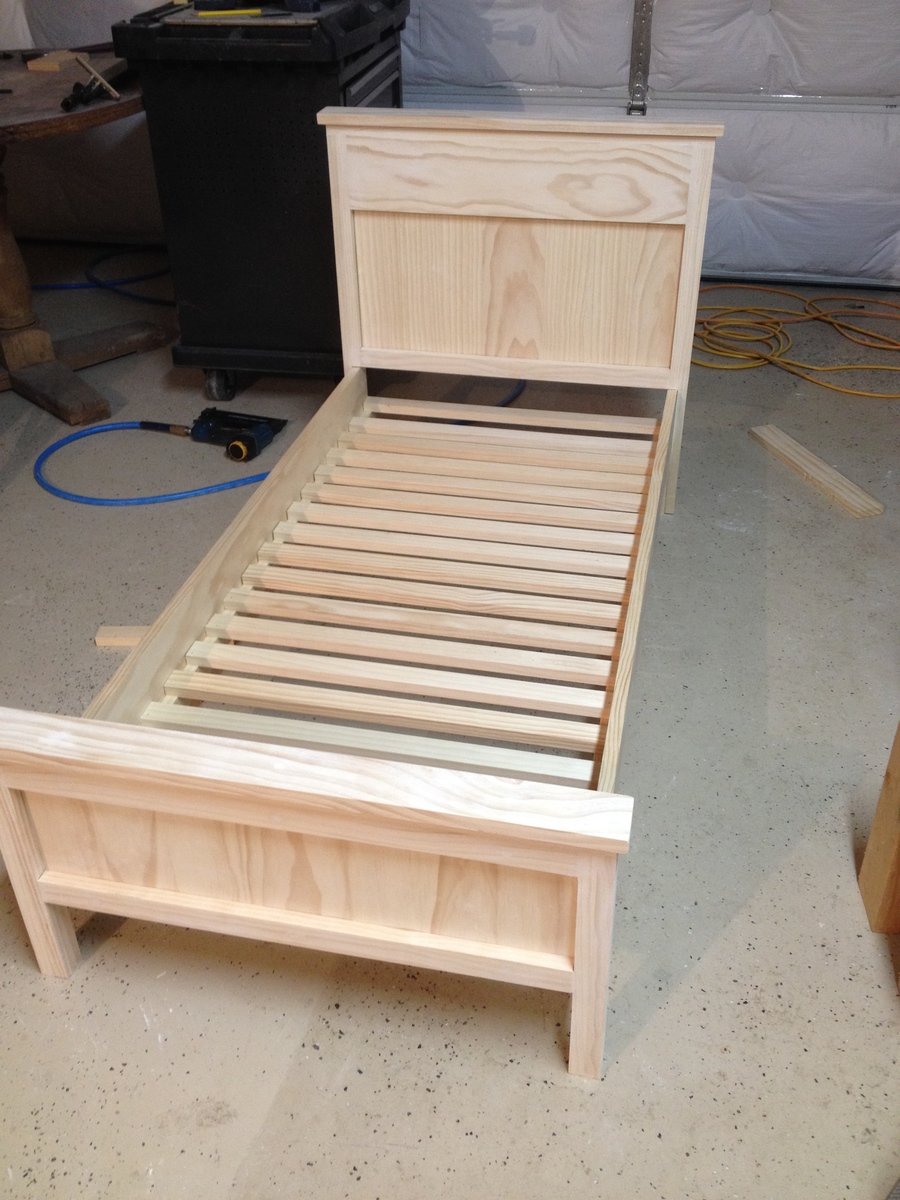
This is my first actual furniture piece (after building a headboard) and I very much enjoyed building it. Ana's plans are a pleasure to follow / get inspired by and I'm happy to have found a new hobby.
Let me know what you think!
Thu, 02/21/2013 - 22:25
The wood finish on the top is absolutely gorgeous!!!!!!!!! You did a fantastic job!
In reply to The wood finish on the top is by Pam the Goatherd
Fri, 02/22/2013 - 20:57
Thanks Pam, this is very kind of you.
Just a quick box I put together for my son's toys. Cut the front part out to prevent finger bangs, added a routered edge to the front lid and hand cut and painted the charaters for the front. Nothing too complex.
Built the sewing table for my wife Penney. It has a work surface that is 36" x 60" and is 32" high.
Used 3/4" Baltic Birch and used premium pine to add edge banding. Used 1/4" plywood for a back to the sewing table to add strength and I think helps the look of the table. My Kreg Jig was used everywhere possible when assembling the case. Used full length piano hinges with #6 x 5/8" screws to attach the leaves to the table. Made the doors using premium pine with a plywood panel. For the legs, I used folding, locking leg brackets from Lee Valley to attach the 1-1/2" square poplar legs. The casters are 3" double-locking from Woodcraft.
Went a little over budget, but it turned out very nice and she loves it.
Thank you for the easy to follow plans.
I used the Extra Wide Console Bookcase plans as inspiration for my built in bookcase. I made the top width 75" with the base width at 72" to fit snuggly in the little nook in my foyer. I didn't put a back on it since I attached it to the wall. I did anchor it with several screws to both columns. Also, instead of using the small additional piece on the top, I used an 1x8 and a 1x6 to make the top. I used my Kreg jig to attach the two board together along with some wood glue.
Very tickled with the results. Once the paint is good and dry, my photos, key bowl, and coin jar along with lots of books will be put on it.
With much needed seating in the mudroom, an unused space (nook) was used to build a mudroom bench and shelf. No plans were used. I basically looked on-line and mentally drew up an idea of how I wanted the final product to look.
There were some setbacks such as not like the knock down textured walls (after partially painting the bench). I ended up covering the textured walls with hardboard and repainted.
A bench cushion was made for added comfort and style.
Complete tutorial for the bench is here and the bench cushion tutorial is here.
Thank you.
Julie
Thu, 05/16/2013 - 13:48
Thank you so much for the idea and plan. I used it to turn an extra laundry room that we have off of our garage into a much needed mudroom. The most challenging project I have ever done before is hanging blinds. But with your help and some from the Home Depot employees, I did it! Our family is more than happy with it. Thanks!!!
built these for my two daughters and their Newberry dolls. I built the parts and then they help assemble them to the final product. Great set of plans. Thanks so much for sharing them!
Fri, 01/02/2015 - 11:12
I love these! The beds came out wonderful and look super cute. :)
Similar to the Bankers Bookcase but I changed a few of the dimensions and style. I also dadoed the shelves.
I really loved this plan when I saw it and am so happy that I built it! It has helped solve our shoe problem and fits really nicely in a small space.
I decoupaged some maps from an atlas onto 1/4" mdf scrap pcs that I had and screwed them onto the front through the backside of each section.
You can definitely see some imperfections with the close up pictures, but I still like the way it turned out. It was one of my first builds.
Tue, 02/26/2013 - 08:10
Pretty! The maps really give it a finished look.
Wed, 07/24/2013 - 22:29
Foot traffic, and maps? Nice pun, and great job too.
We saw the Farmhouse Toddler Bed on pintrest and fell in love with it! Our sons room is rustic so it was perfect. We printed out the plans and my husband said they were perfect and very easy to follow.
I needed a cabinet to contain and conceal our homeschool supplies, especially since this it is located in our main floor living room. This Barn Door Cabinet plan- modified to fit our space did the trick. I absolutely love it.
I took the original Printers Triple Console Cabinet plans and adjusted it to fit an executive desk size of 30" height x 60" wide x 24" depth. Purebond birch plywood was used as the sides, top, drawer faces, and doors. Select pine was used for all other parts.
The hutch was made off of the Brookstone Desk Hutch plan adjusted to 48" height, 12" depth, and 60" length. I used select pine boards and trim. Minwax dark walnut stain and gloss polyurethane was used in the final product.
I used two benches on each side attached the two with 2x4s and built a drawer on wheels for the middle
I started with the sturdy workbench plans ( http://www.ana-white.com/2011/03/sturdy-work-bench ) but enlarged it to 38x64x33 to accommodate my new CNC machine. The plans give you enough enformation so that making a size change it very easy. I used scrap wood I had and Plywood so the project only cost $85.00 to build. I didn't have many 2x4's so I used the 2x6's I had instead. Very sturdy table that took about 4 hours to build.
Thanks,
Janet Fox
We had a small walk-in kitchen pantry with wire shelving. The shelves were packed.....and so was the floor! We lost things in the clutter and I built base cabinets that were 40" tall x 22" deep and installed full extension pull-out drawers. Bottom drawers are tall enough for canisters, tall boxes, etc. The top drawers contain all of our cooking spices so that we can see each and every item. The full extension drawers makes things easy to access and organized. Next step is removing the 2 remaining wire shelves. Pleased with the transformation with the base cabinet!
Related: How to Install Full Extension Drawer Slides
Sat, 02/27/2021 - 09:53
So much more organized, I can't wait to see the finale! Thank you for sharing:)
There was brick above my fireplace. I decided that I needed to lighten it up, but didn't want to necessarily paint the brick. Instead, I decided to panel above the fireplace using a board and batten style. I am so happy with the results! It is lighter and brighter in the room and goes with the style in the rest of the room (walls have board and batten as well).
We built this bar from two separate sets of plans. One was from Shanty 2 Chic and their outdoor bar. Because I don't like the flat top design and prefer to have two separate levels for bars (one for mixing drinks and one for drinking them), we used a tutorial from Pinterest as well. I essentially looked at pictures and evolved our own take on it. We decided to use 1X12 and 1X4 that I have stocked up. We also had an alder bar rail left over from our own bar that we attached. It fits well through doors and fit perfectly in our minivan for transporting.
We gave this to my husband's cousin and his wife because they were hosting their first New Years Eve party. We are waiting for their instruction as far as shelving on the inside (they are still discussing for how many glasses and whether or not they want a refridgerator/kegorator installed) and the finish.
Instead of the 2X6, we used an additional cedar board to complete the sides and the ends of the planters. This was more cost effective and still provides enough support to hold the planters. This is a great alternative to the more expensive items we found online. We will be building multiple to put in an unused space in our yard. Great project!!