Community Brag Posts


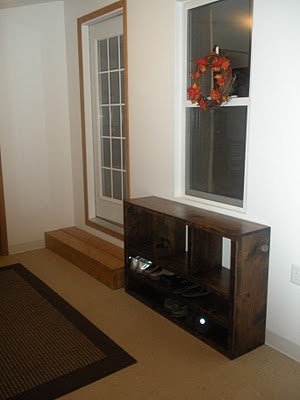
Shoe Bench

This is my first project from Ana's plans and we love it! I did alter the bottom shelf to be 2 long shoe shelves instead of cubbies and I made it 3 wide instead of 4. I've had friends comment on it and say that they want me to make them one. I need to make about 3 more benches for our entry and laundry room and love that I can do it myself with Ana's help!
Built from Plan(s)
Estimated Cost
$30-$40
Estimated Time Investment
Afternoon Project (3-6 Hours)
Finish Used
Stain and Polyurethane
Recommended Skill Level
Beginner
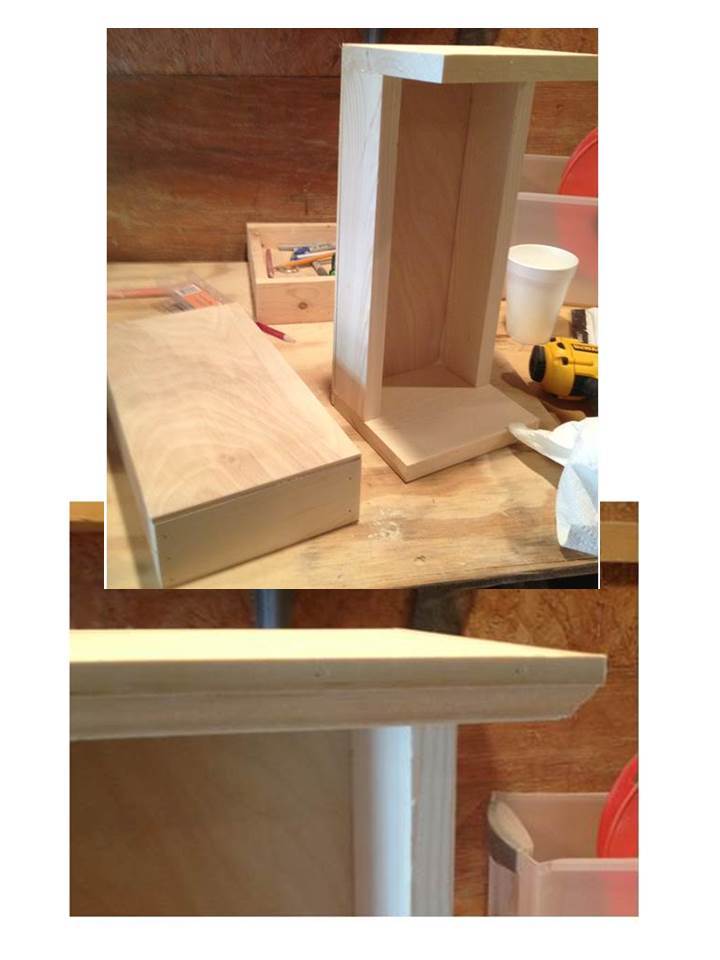
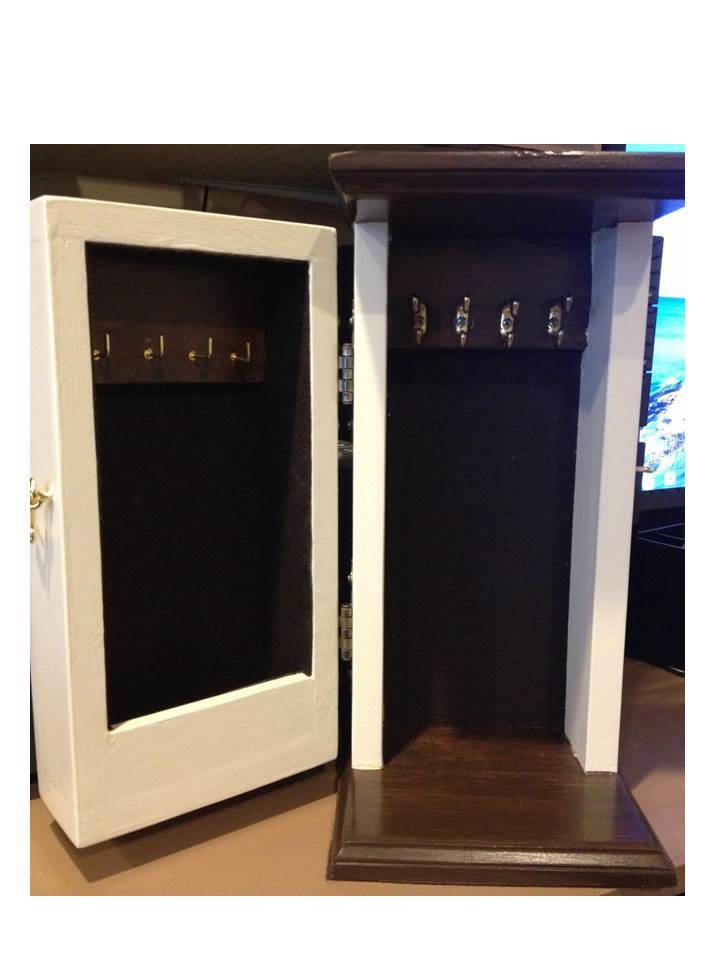
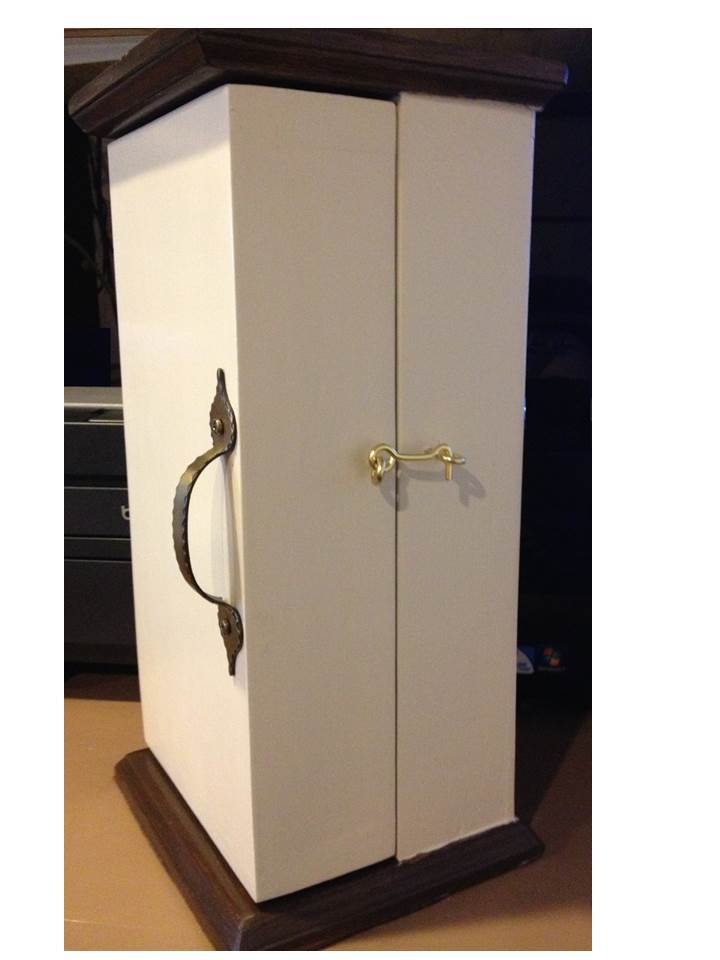
Necklace Armoire
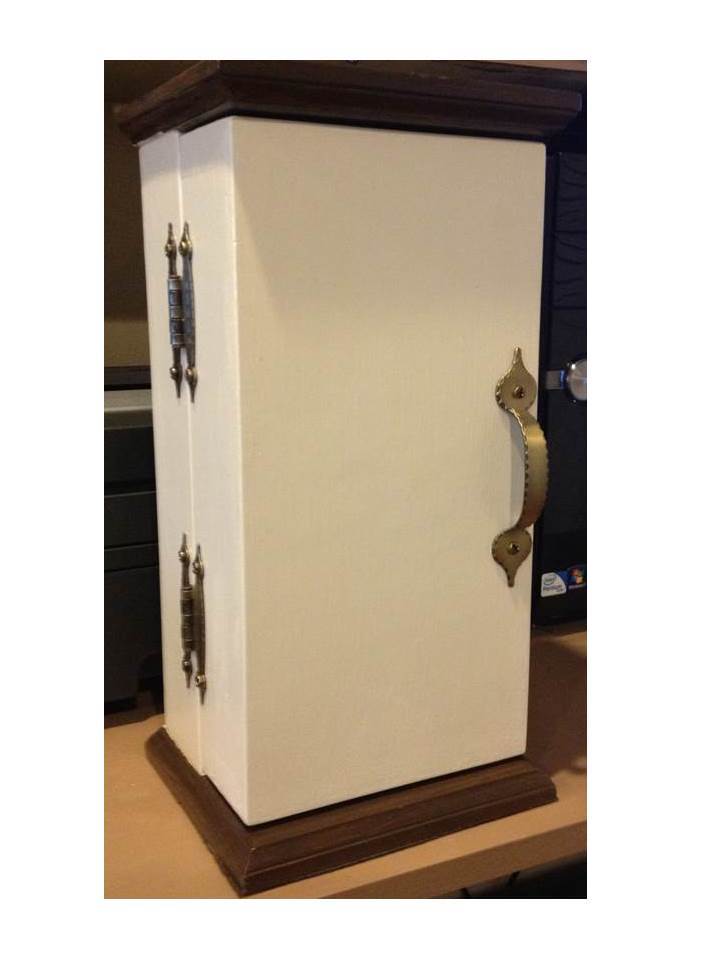
Necklace Armoire - a mother's day gift for Mom. I made this to go with the Fancy Jewelry box that I did for her for Christmas. Based on the Wall Jewelry Cabinet plan. This piece is made to stand like a narrow tower, and it opens up like a book. There are hooks inside, on both sides. I placed the hinges on the left, because Mom is left-handed. Dimensions are 6 1/2" wide, 14 1/2" tall, and 6 1/2" deep. Top & bottom are 1x6, box and door sides are 1x3, and door front and back are 1/4" birch plywood. The inside is lined with felt. The wood, stain and paint were already on hand, I just needed the felt and hardware. The build was very easy. The finishing took longest because it has both stain and paint, with added felt and hardware. On the right side I used some hooks re-purposed from an old jewelry box, and on the left side are 3/4" brass shoulder hooks from Lowes. Hooks are attached to some 3/8" craft board, which was stained and glued in place. I got to use my newest tool (23 gage headless pin nailer) for attaching the trim (very neat - it really was just a pin-size hole to fill). The front closes with a brass hook and eye. I sure hope she likes it! :) Happy Mother's Day!


Built from Plan(s)
Estimated Cost
$16
Estimated Time Investment
Day Project (6-9 Hours)
Finish Used
The top and bottom are stained with Minwax Express Color in Walnut. The box paint color is cream, mixed with some of the Walnut stain, to make it match the color of her existing pieces. Top coated with 2 coats of Minwax clear Polycrylic in satin. Antique brass surface cabinet hinges and handle are from Lowes.
Recommended Skill Level
Beginner
Comments


Wed, 07/10/2013 - 02:27
Thank you!
Thanks so much for the nice comment! Just finished another project, for Mom's birthday this Friday. :)
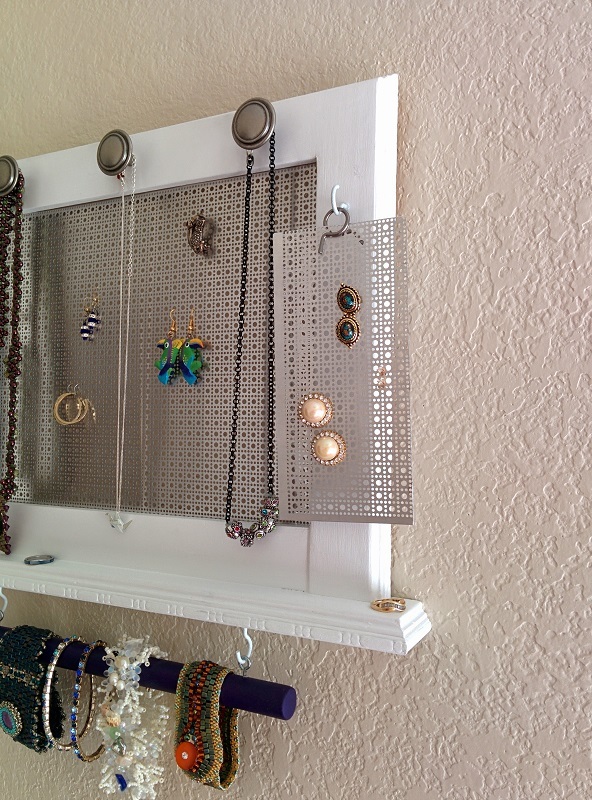
Jewelry Organizer
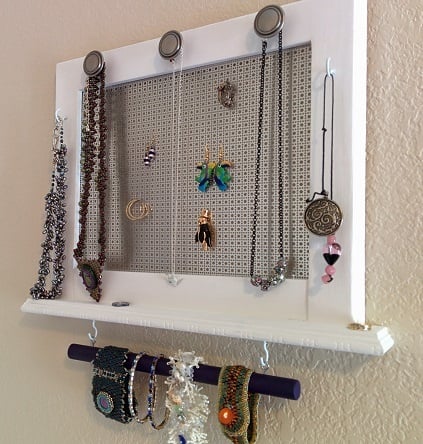
I really didn't have a plan for this, but looked around on this site and on the internet and found something like what I wanted to do, so just made a simple frame out of scrap 1x2s. I made a groove in the center of each 1x2 with my table saw before assembling. I found this pretty punctured metal at Lowes and cut it to size, slid it into the grooves then attached the bottom of the frame and the little shelf. I added a 3/4" bead and sausage trim piece around the whole thing to finish it off nicely. The bracelet holder is a dowel rod that I painted purple and attached with eye hooks and cup hooks to the bottom of the little shelf. Since it was hard to put earing studs in the center (with the backs on), I also cut another piece of the metal, filed down the edges and attached a llittle ring clip, that can hang from one of the cup hooks if needed. I'm happy with how this came out and I hope my Daughter-in-Law will enjoy this birthday gift.
Built from Plan(s)
Estimated Cost
The metal was the most expensive part at $26 for a 2' x 4' sheet. You could do this with hardware cloth for a lot cheaper, but I wanted the look of the metal. The trim was $5 and cuphooks $3. The other pieces I had in my scrap pile and hardware drawer.
Estimated Time Investment
Day Project (6-9 Hours)
Finish Used
White gloss paint and purple craft paint. Spray lacquer on the dowel rod.
Recommended Skill Level
Beginner
Comments
Wed, 04/01/2015 - 15:58
Love this! I can't wait to make my own
How cute & clever! What if you just cut a sort of flap in the metal backing? Then it could fold up for closed back earrings. Awesome design. Thank you for sharing.

In reply to Love this! I can't wait to make my own by mommyof2cuties
Wed, 04/01/2015 - 18:23
Stud Earring holder
Yes, I was trying to imagine some way to do what you suggested, but just couldn't make it work. I didn't want to make a door - which would be the ideal solution. Also, fiddling around with the frame may make it unstable on the wall, so I just thought this would be easier. She can lift the whole thing off and add and remove studs at a comfortable height without worrying about removing necklaces, etc.
In reply to Stud Earring holder by CSaintD
Wed, 04/01/2015 - 18:24
jewelry organizer
And forgot to say thank you!
Fancy X table and Bench
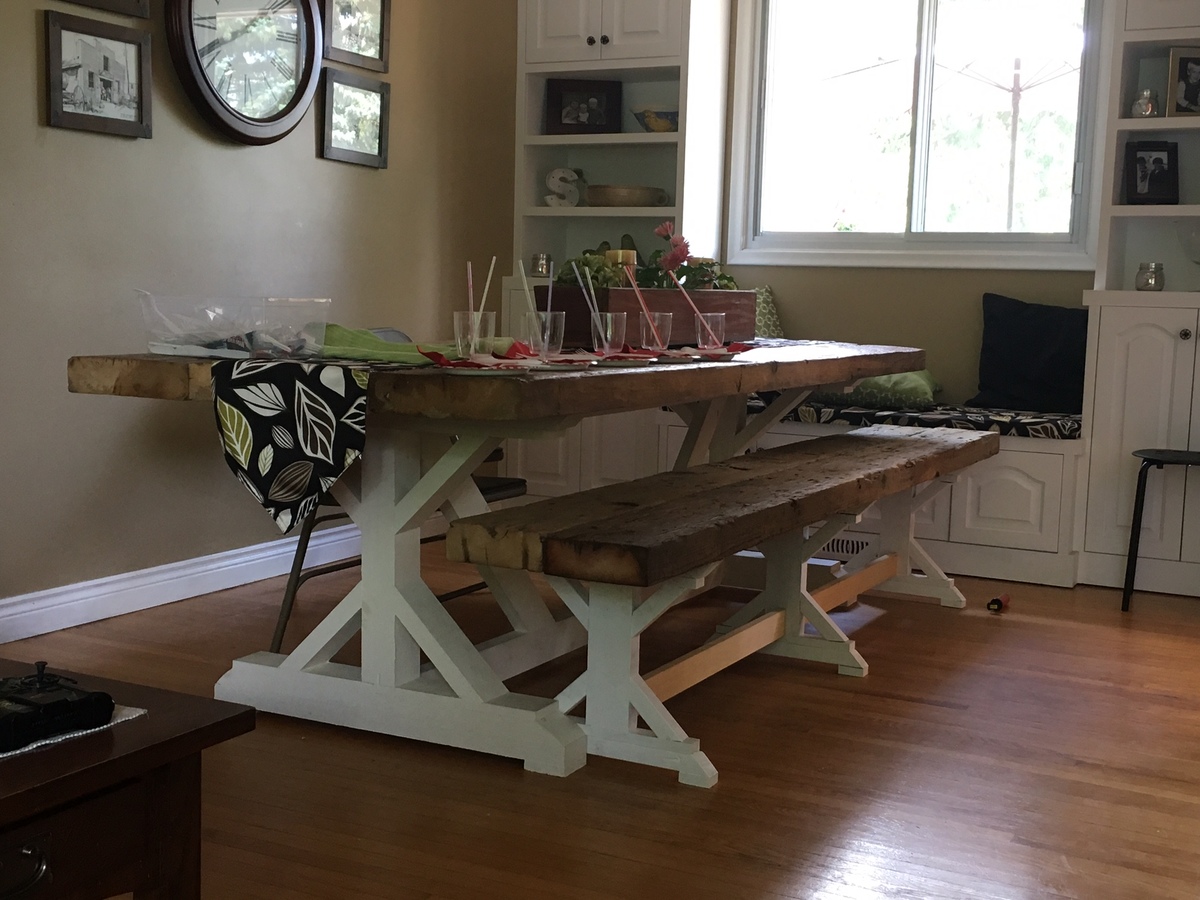
This table and bench was a first build for me and my husband. We had so much fun working on it together that we can't wait to figure out what our next project will be. Would probably not take as much time the next time we did something. Fairly inexpensive but we splurged on the thick reclaimed wood for the tops to add the character we wanted.
Built from Plan(s)
Estimated Time Investment
Weekend Project (10-20 Hours)
Recommended Skill Level
Beginner
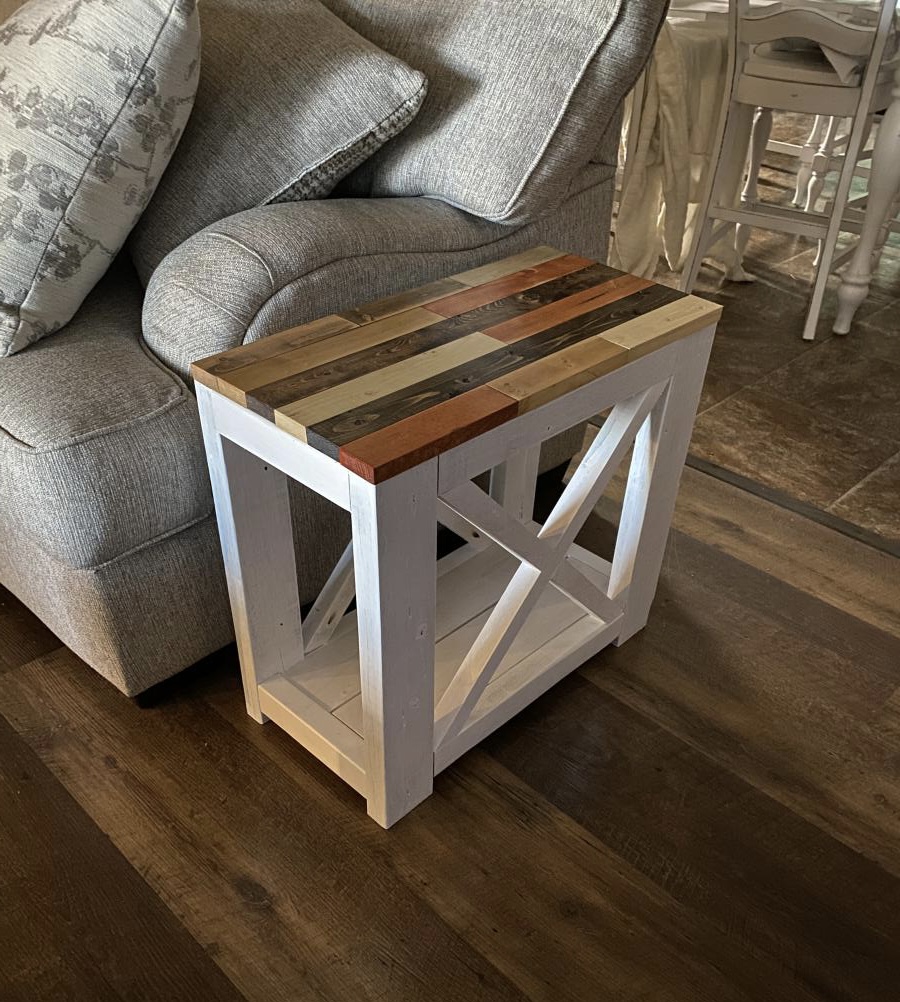
Farmhouse tables

Farmhouse coffee table, sofa table and end tables, plans from farmhouse but added a twist to the tops, 2” strips each stained a different color.
Comments
Tue, 10/05/2021 - 10:27
WOW, love the set!
The color choice and variety of top boards really make this pop! Thank you for sharing!
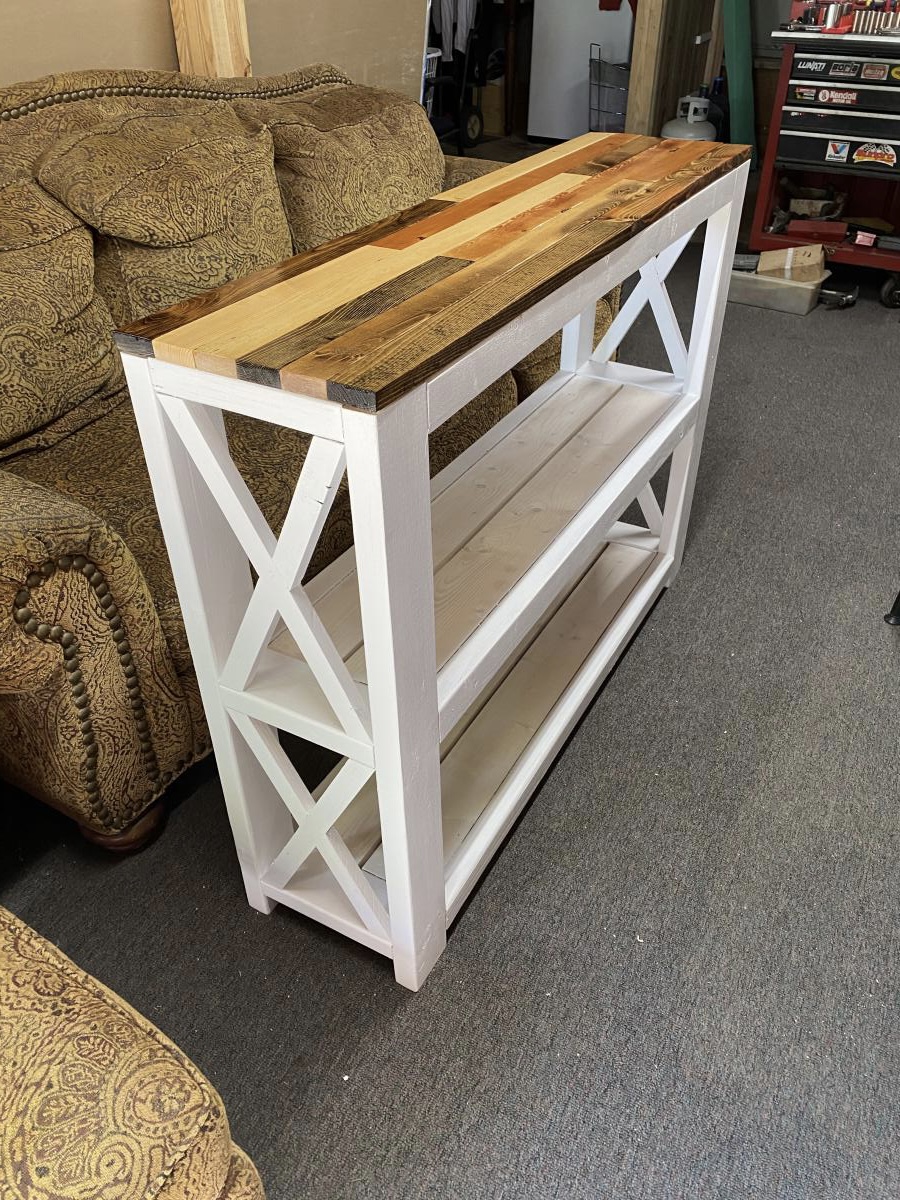
Tryde Console Table

This was the first project I did totally on my own. The day before I had made the Tryde Side Table with a little help from the man. I needed tool instructions.
Estimated Time Investment
Weekend Project (10-20 Hours)
Finish Used
Minwax Jacobean stain and sealed with Minwax polyurethane.
Recommended Skill Level
Beginner
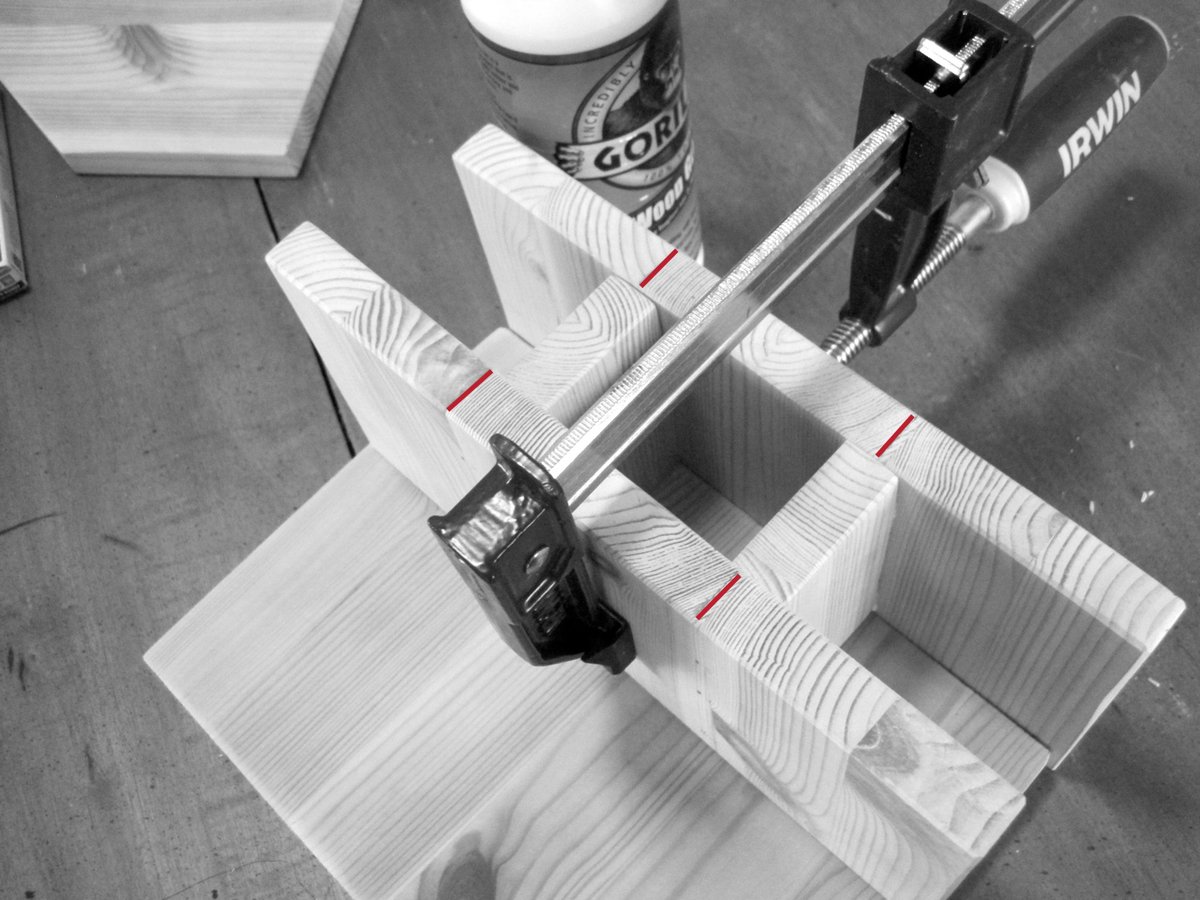
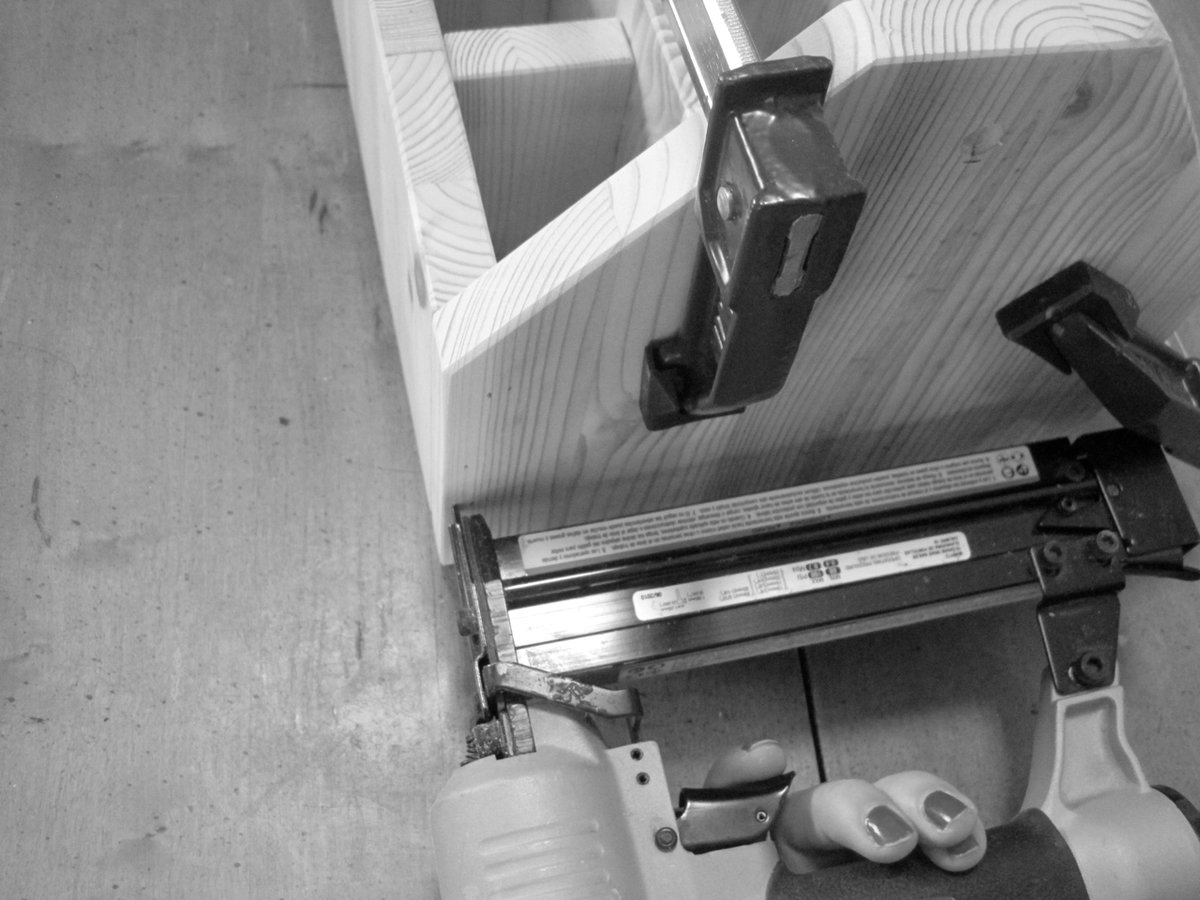
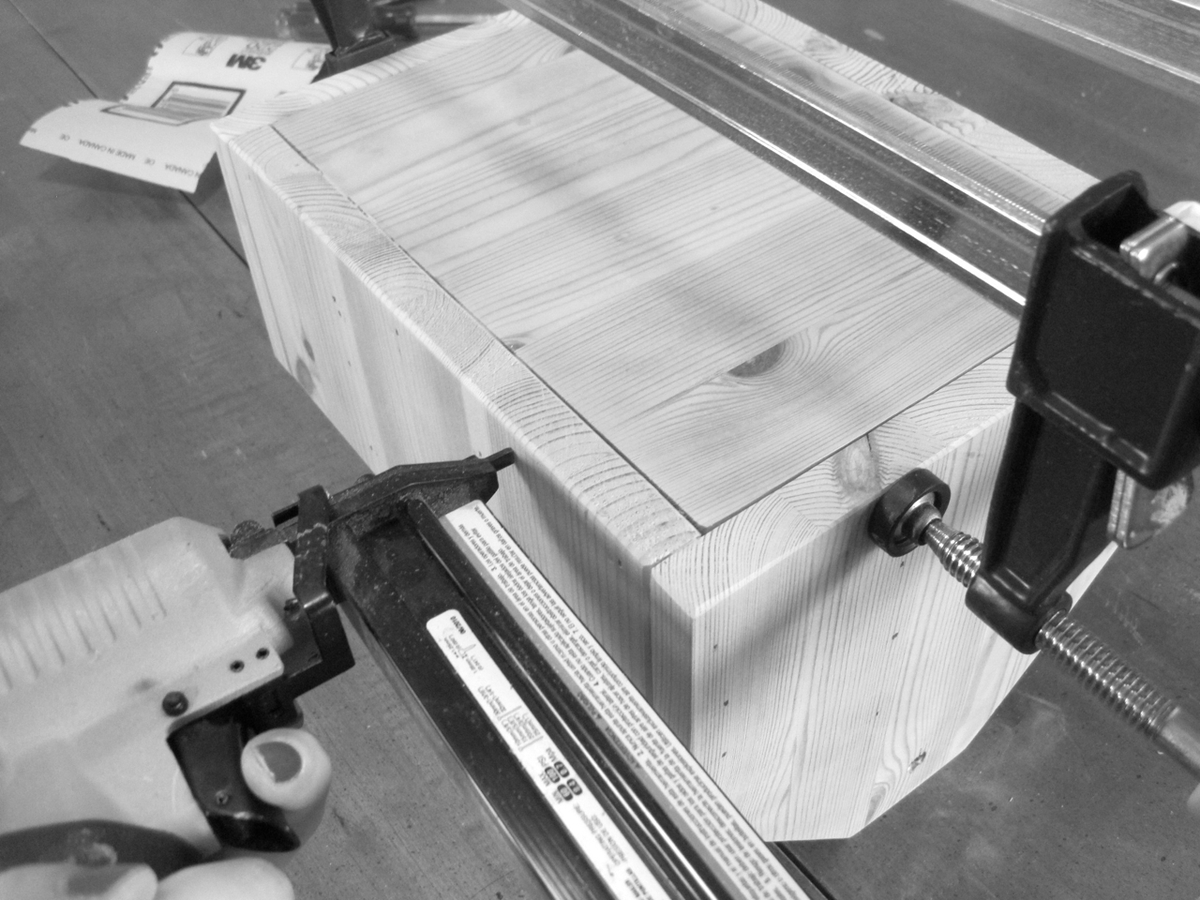
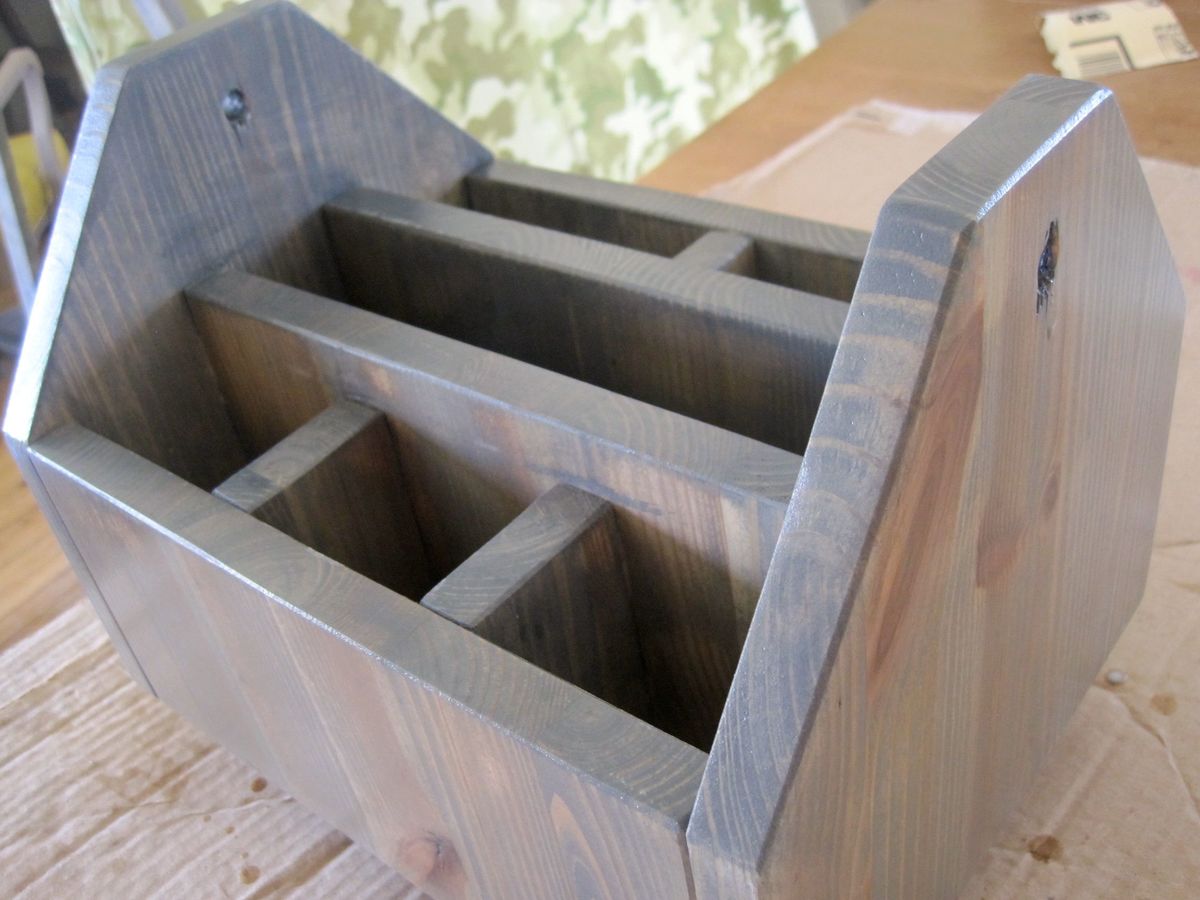
Wood Organizer with Rope Handles
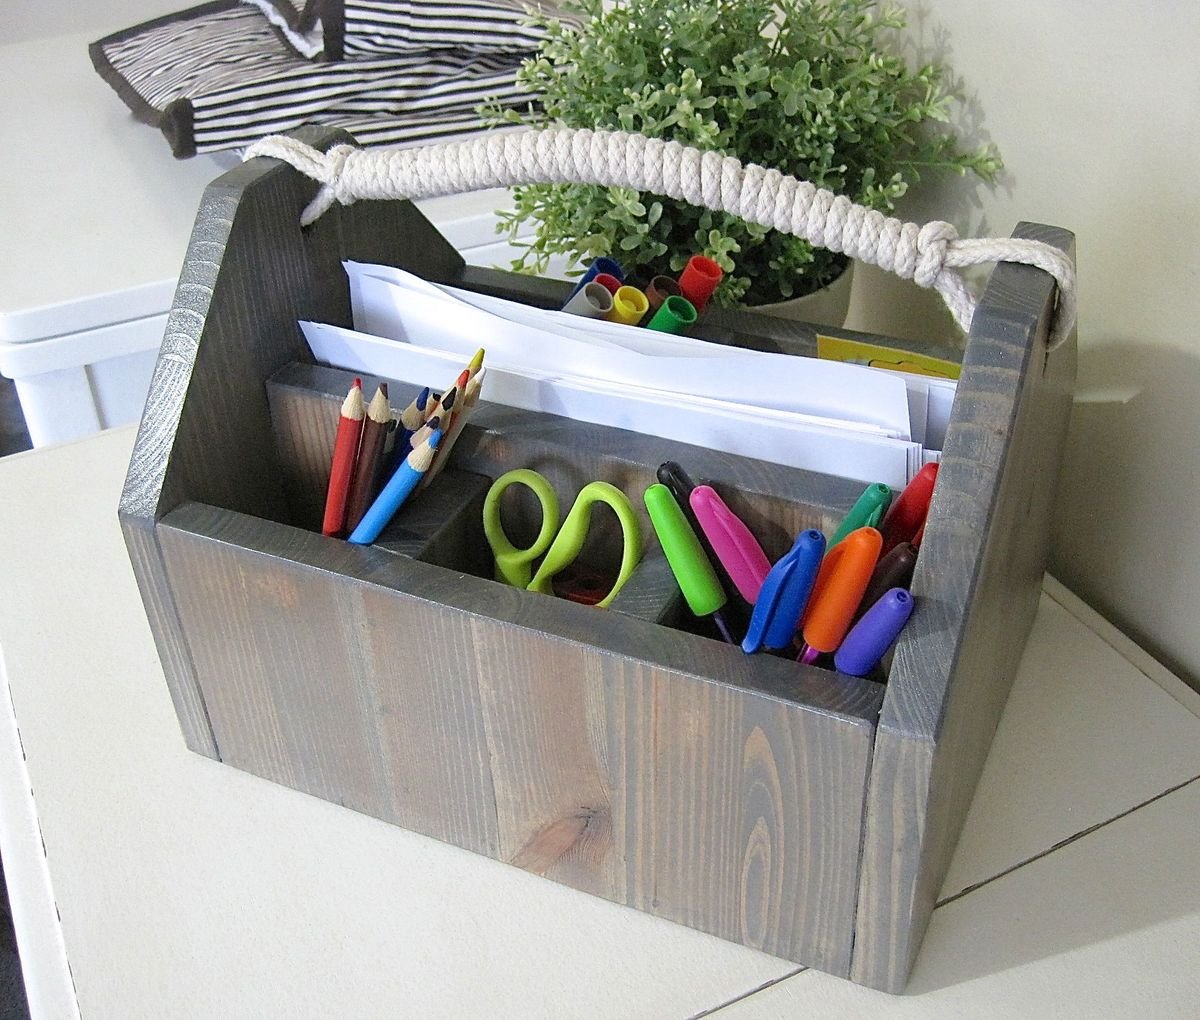
I wanted to make something that would hold all my kids art supplies. I wanted it to be easy for them to find what they wanted and have a handle so they could carry it. The project is easy enough for a beginner. You need a table saw, drill, glue and nail gun (or hammer and nails). I have more details on my blog.
Estimated Time Investment
Afternoon Project (3-6 Hours)
Finish Used
I sanded really well, stained with Minwax Gray Stain and used a Semi-Gloss Polyurethane.
Recommended Skill Level
Beginner
Comments

Toy Box
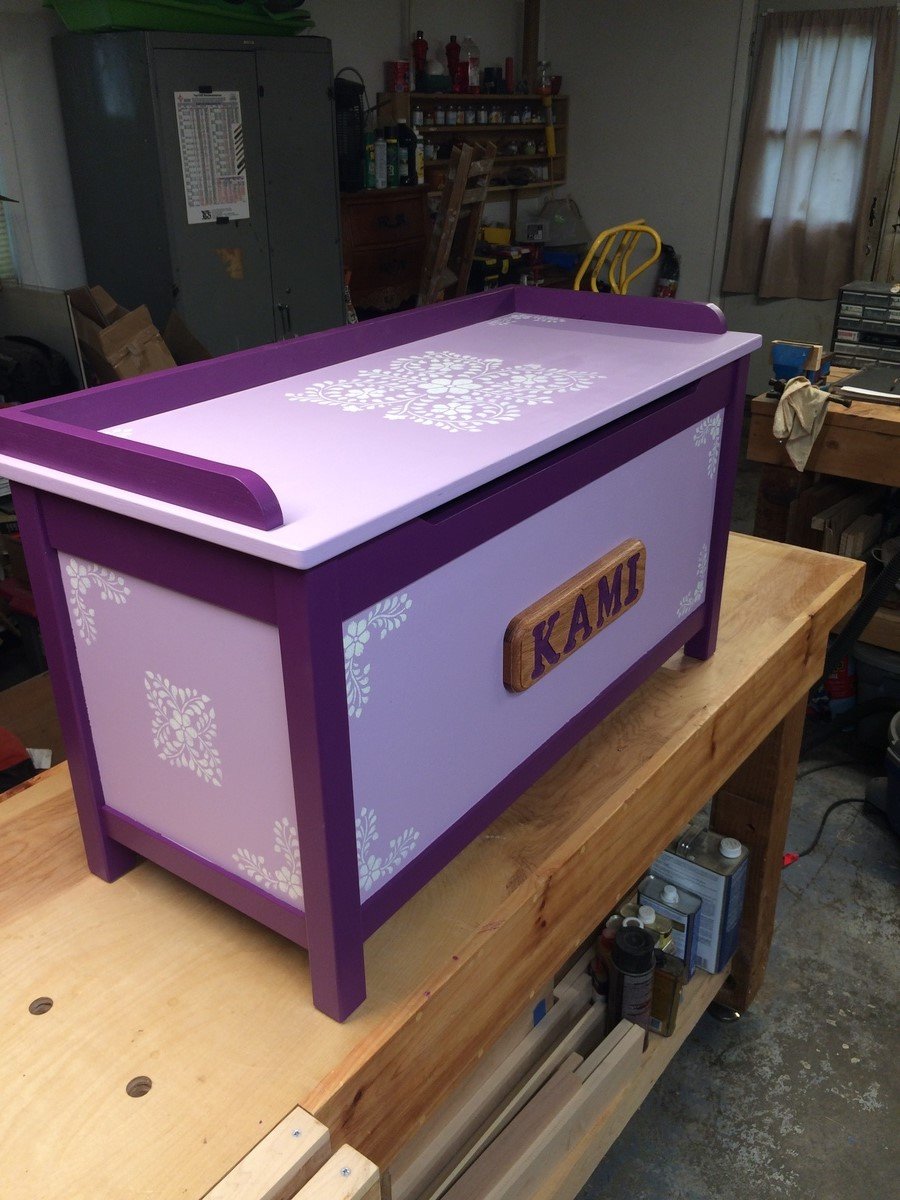
I really enjoyed building this toy box! I used rockler torsion hinges on this and loved how smooth they moved and the install. Thank you for the inspirational plans!!
Built from Plan(s)
Estimated Time Investment
Weekend Project (10-20 Hours)
Finish Used
Interior Paint
Recommended Skill Level
Beginner
Blanket Rack
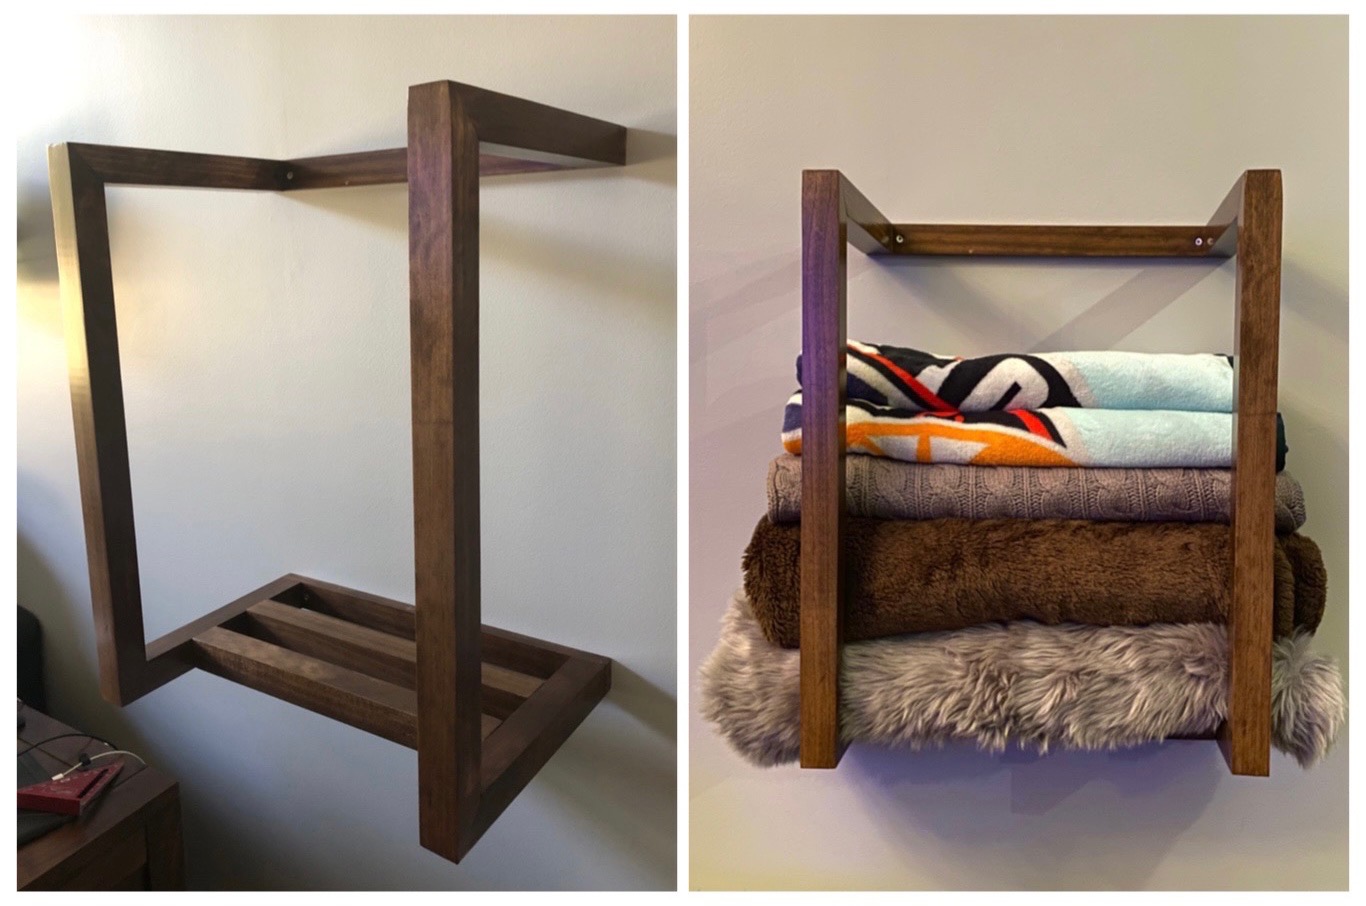
A modern twist on storing throw blankets. It was made out pine, stained, and three coats of polyurethane.
Comments
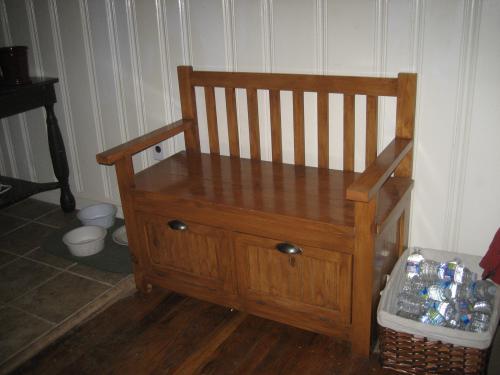
Dog food storage bench
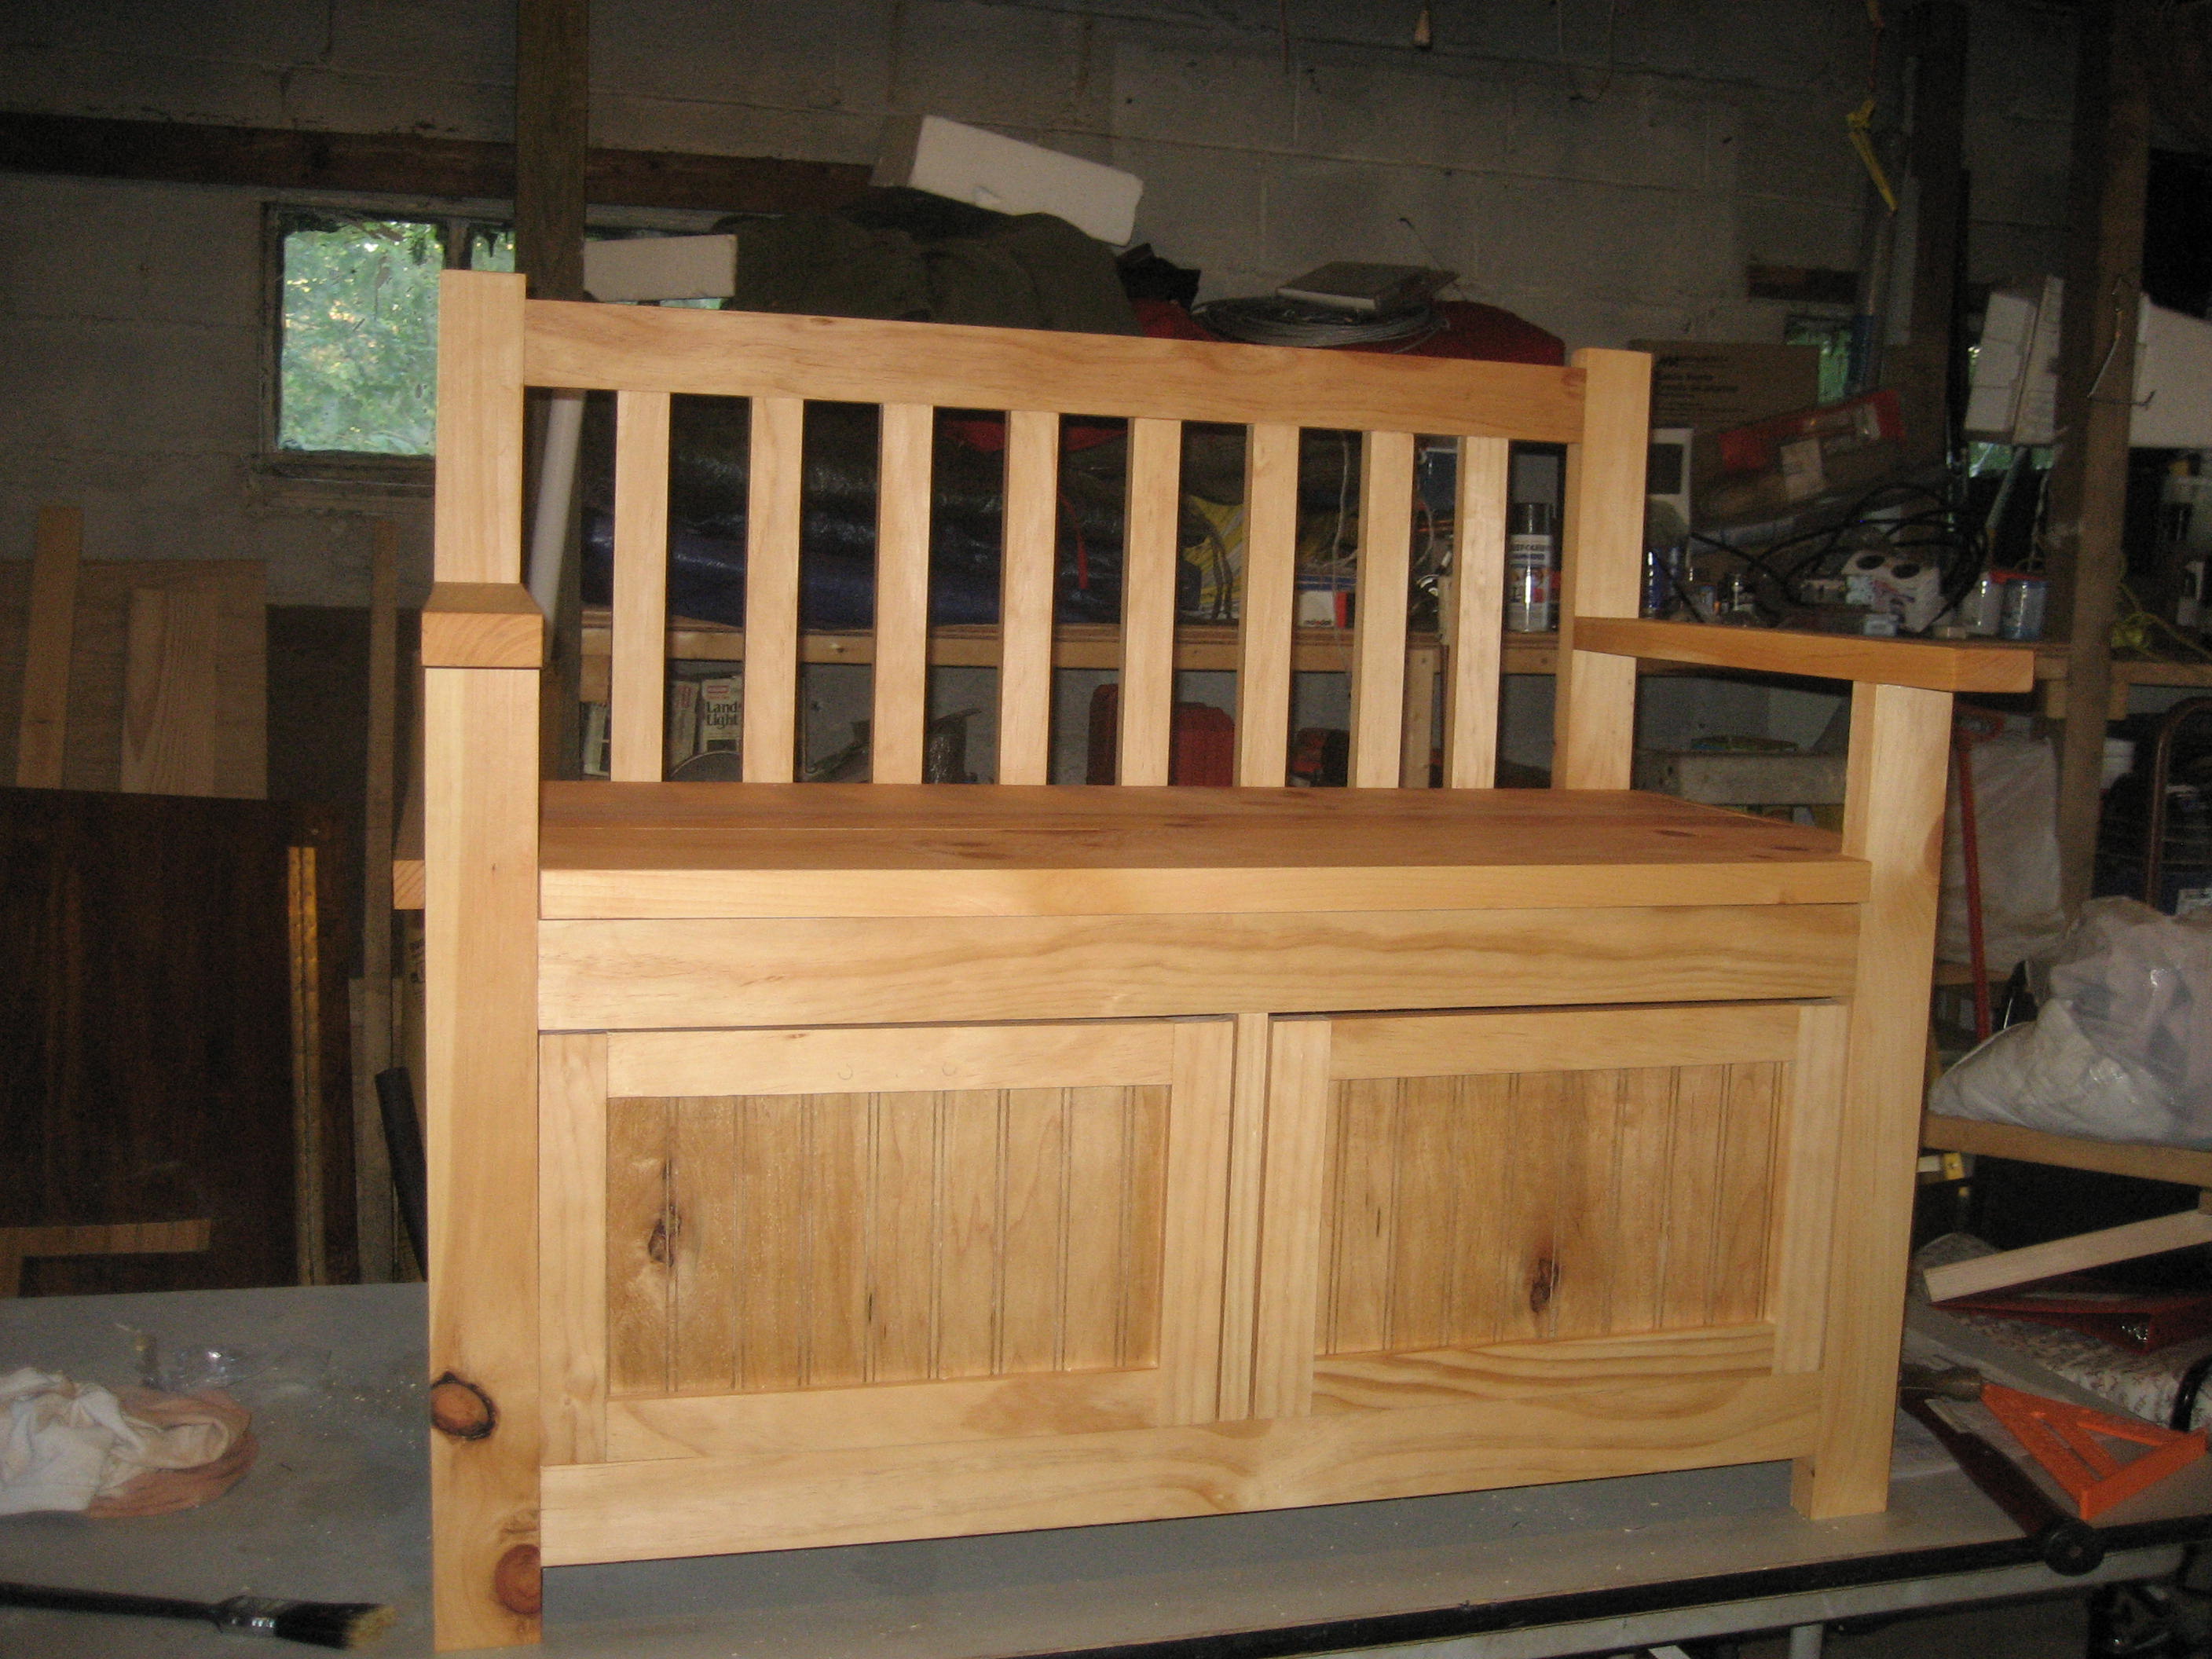
This project came from a plan I recieved when I bought my kreg jig, not sure of it origins, it was awhile ago. I needed a place to hide dog food, biscuits are on the left and food on the right!
Built from Plan(s)
Estimated Cost
75.00
Estimated Time Investment
Weekend Project (10-20 Hours)
Finish Used
I used the minwax goldon oak with a poly clear satin.
Recommended Skill Level
Intermediate
Patio Table w/Built in Beer/Wine Cooler

After seeing the patio table with beer/wine cooler, I wanted to build this for my brother and wife who recently bought a house. I asked them if they were interested and of course they said yes. I modified the original plans by adding a 2x4 on each side of the cooler to make the table wider. I also made the legs out of 4x4 vs the 2x4s that were originally called for. I used redwood and then stained it and used a varnish for the final coating. I probably wouldn't use the varnish again for an outdoor table, because it looks like it should be an indoor table vs outdoor. Overall, I'm pleased with the results and the best part about it, I get to enjoy it every time I go over for a BBQ.


Estimated Cost
$225-250
Estimated Time Investment
Week Long Project (20 Hours or More)
Finish Used
Olympic Redwood Naturaltone Toner Exterior Stain
Cabot Spar Varnish Semi-Gloss
Cabot Spar Varnish Semi-Gloss
Recommended Skill Level
Beginner
Comments
Wed, 07/03/2013 - 13:04
Measurements
Awesome table, do you happen to have the measurements you used. I'd like to make the same table but I need the lumber yard to make the cuts.
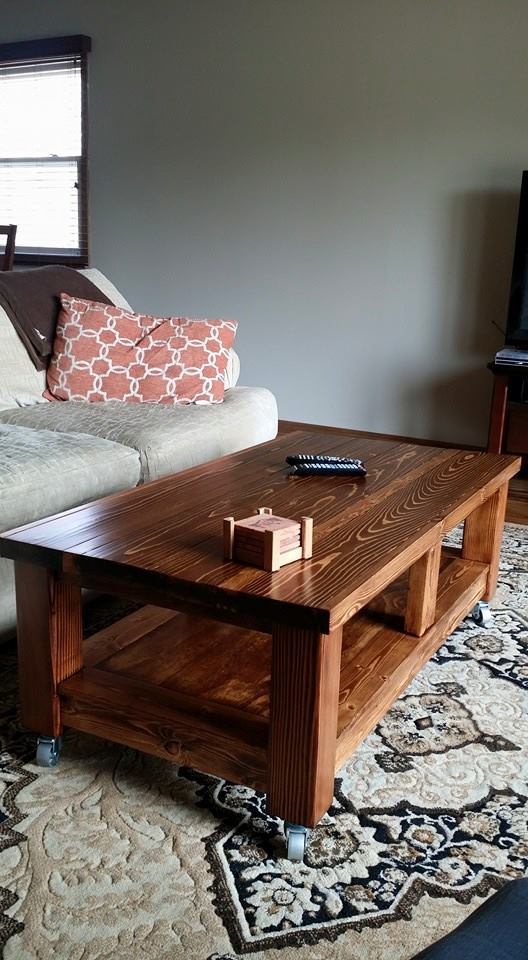
Taylors Coffee Table
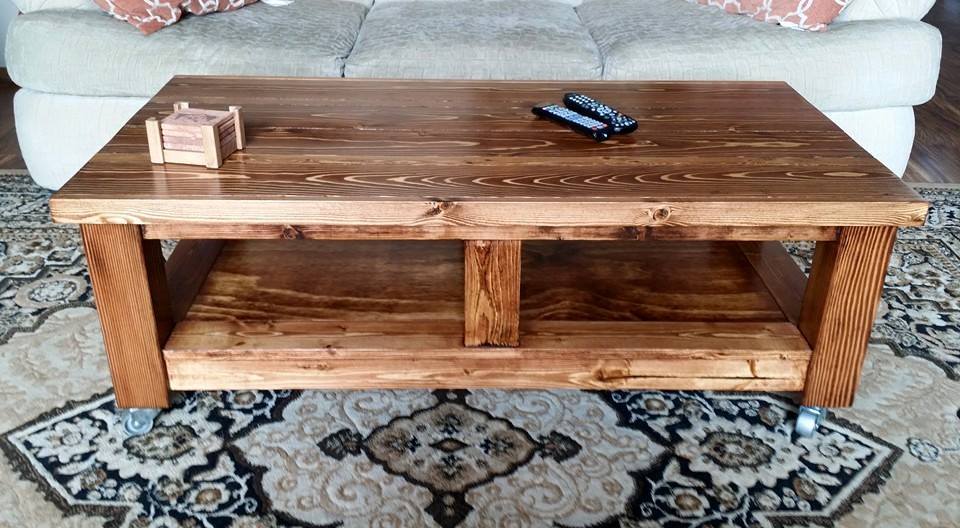
I built this coffee table from the Taylor's Coffee Table plans (http://ana-white.com/2014/02/plans/taylors-coffee-table) with a few "artistic"/necessary liberties. For the top, I used a slightly different pattern than shown on the plans. Starting from one side to the other, my plan includes a 1"x2", a 2"x6", a 2"x2", two side-by-side 2"x6", a 2"x2", a 2"x6", and finally a 1"x2". I liked the extra overhang that the 1"x2" included on the outside edges of the table.
I do not own a jigsaw, so instead of making the entire bottom shelf out of plywood, I made a "border" with 1"x4" boards with the adjoining corners cut at 45 degrees so that each side of the border matched up nicely. This allowed me to use a standard rectangular piece of plywood for the shelf "inlay."
As a first attempt at any sort of table, this turned out much better than I could have hoped!
Built from Plan(s)
Estimated Cost
$150
Estimated Time Investment
Week Long Project (20 Hours or More)
Finish Used
I used Minwax pre-stain/wood conditioner followed by a single coat of Minwax Honey Oil Based Stain and three coats of Minwax Satin Fast Drying Polyurethane. I used 000 & 0000 steel wool between coats of polyurethane. Dust removal was completed with a vacuum followed by tack cloth.
Recommended Skill Level
Beginner
Comments


Reclaimed Wood Headboard, Queen sized

My boyfriend and I wanted a calm relaxing beach feel at our Florida vacation home, however with kids in college and two getting married, we were on a tight budget. We found these plans on Ana White's website. He made the headboard and bench and I distressed it to make it look weathered. We used Minwax Dark Walnut as a base, let it dry over night, and lightly wiped it down in the morning. We then used Rustoleum "Chalked" in White Linen and applied it with a large stencil brush we found at Michaels craftstore. We applied it almost haphazardly, purposely making it look rough. The chalk paint dries quickly. We then brushed on some clear Americana creme wax. We are very happy with the end result, it was our first project build, and we nailed it. Thanks. Ana!!!


Built from Plan(s)
Estimated Cost
It cost about 100 dollars to build both the bench and headboard. We also spent about 40 dollars on the medium to finish the headboard.
Estimated Time Investment
Afternoon Project (3-6 Hours)
Finish Used
Minwax: Dark Walnut
Rustoleum Chalked: White Linen
Americana Clear Creme Wax
(All the above purchased at Home Depot)
Rustoleum Chalked: White Linen
Americana Clear Creme Wax
(All the above purchased at Home Depot)
Recommended Skill Level
Beginner
Benjamin's Bookrack
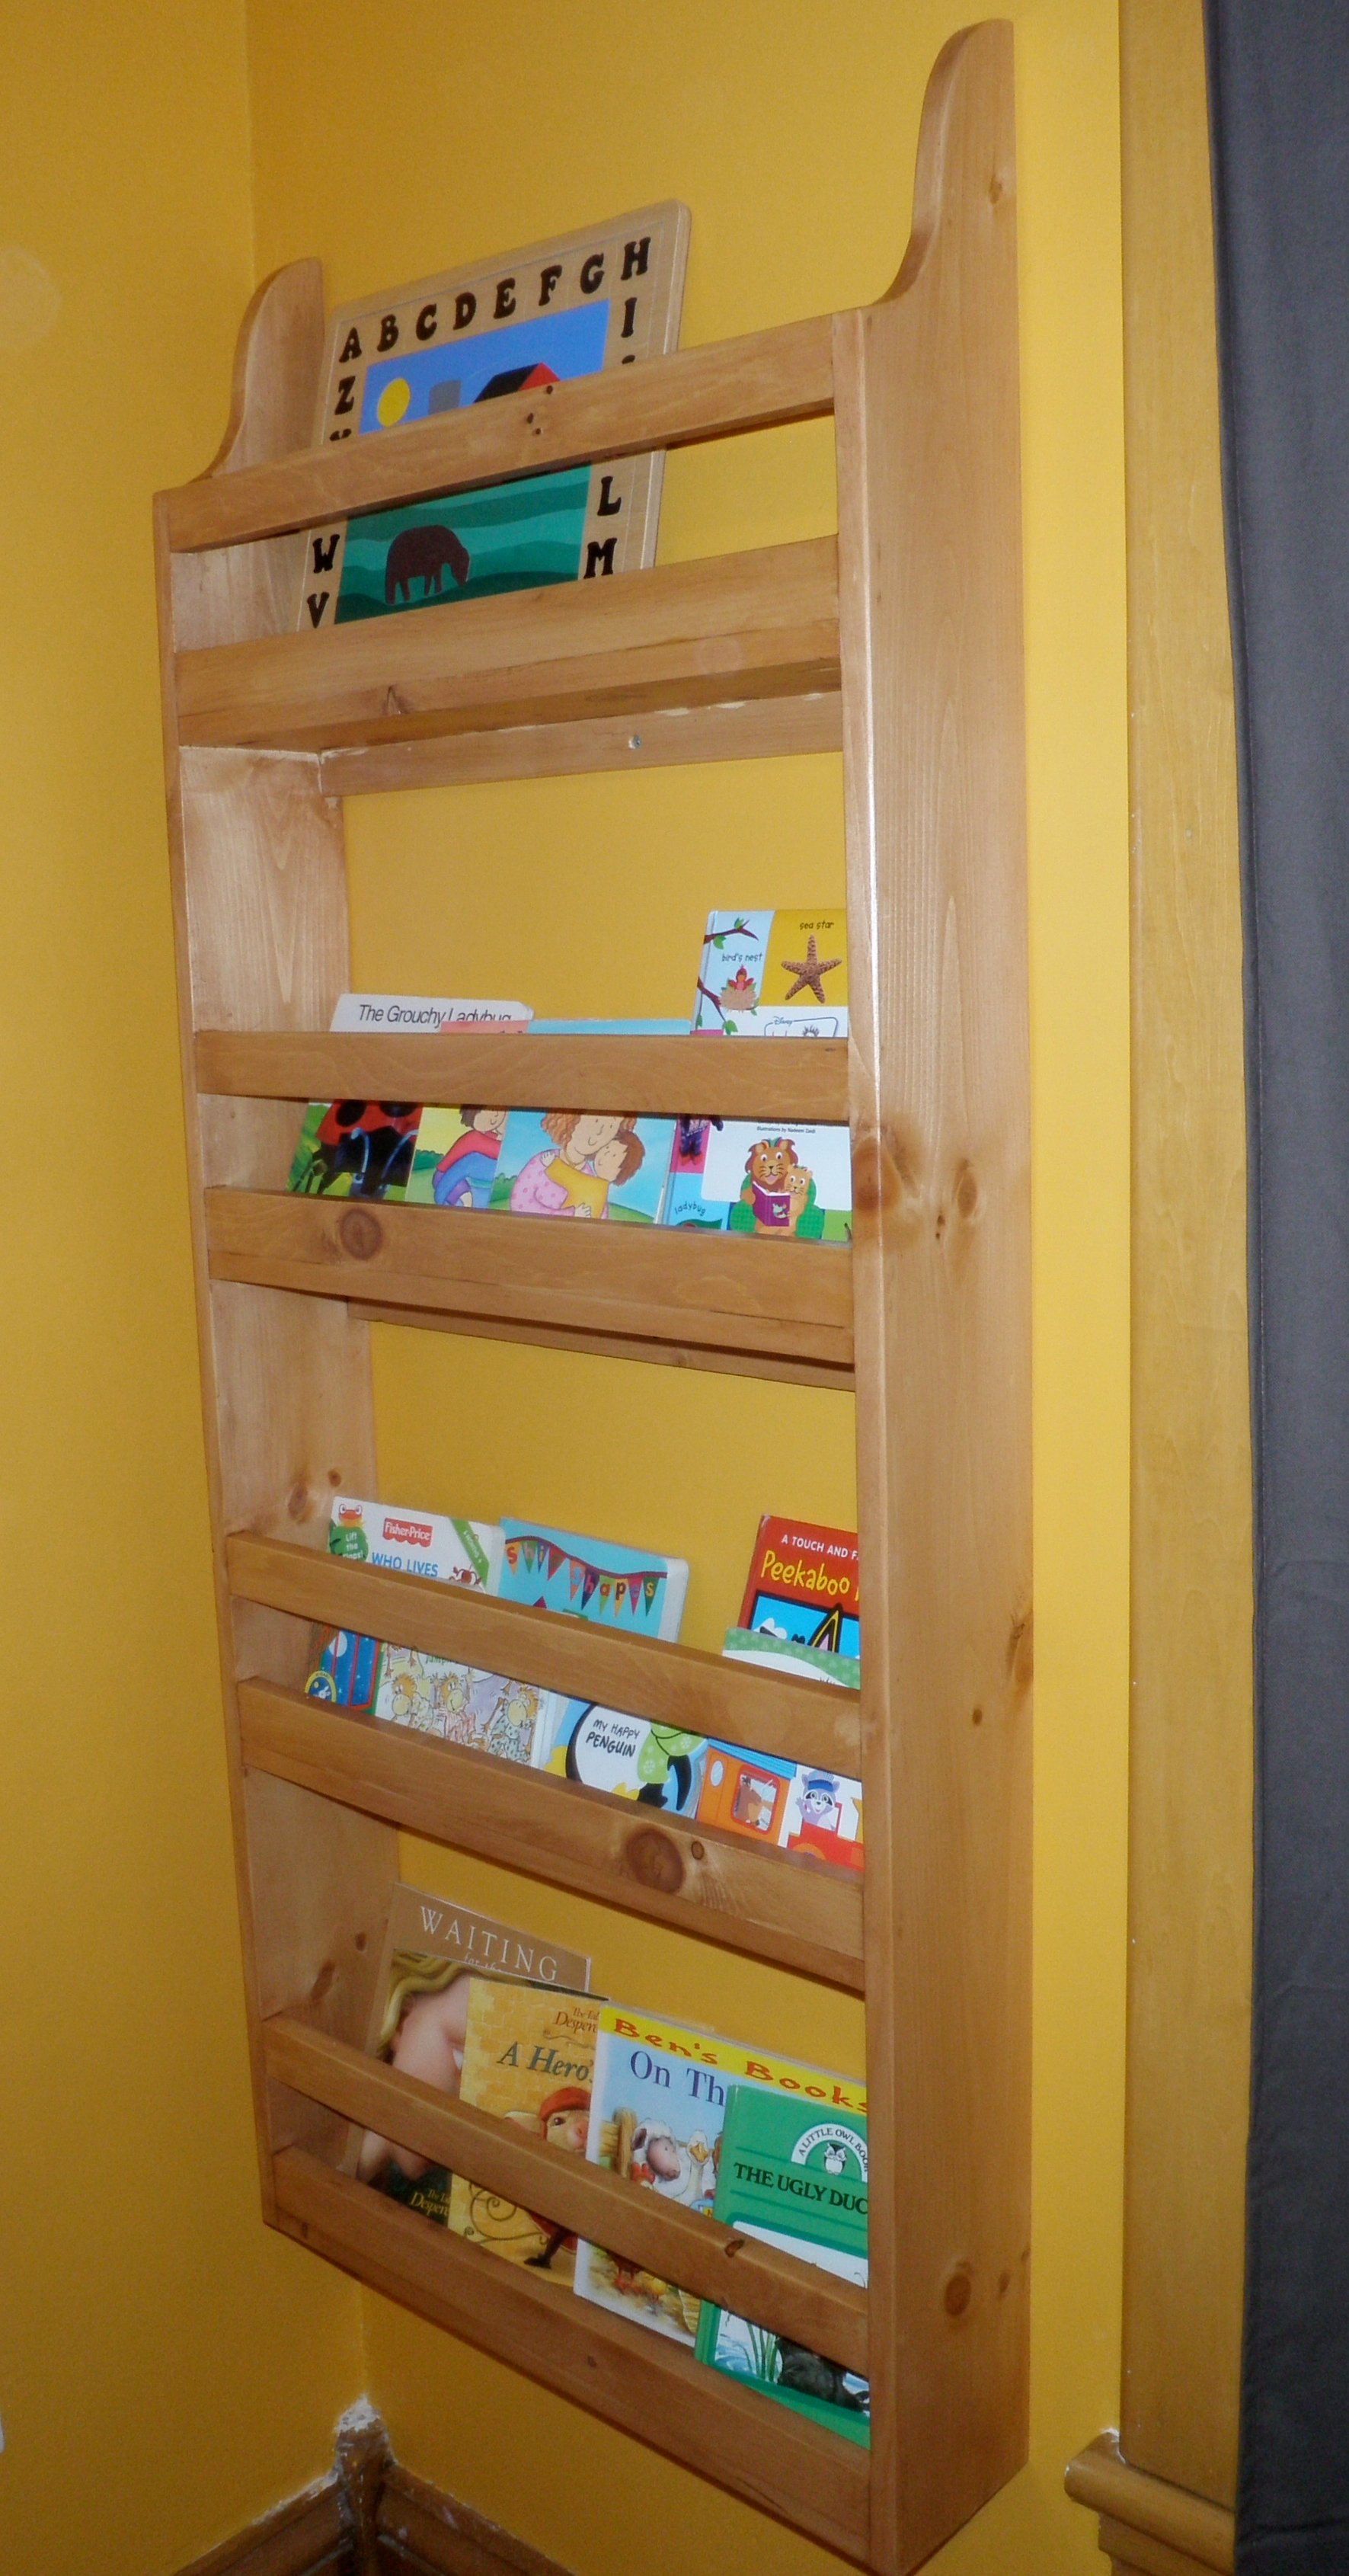
Bookrack for my sons bedroom. First project with the kreg jig! But I used some regular screws and the air nailer here and there too... I love how it turned out, and how easy it is for him to find the book he wants, and put them away too!
Built from Plan(s)
Estimated Cost
~20$
Estimated Time Investment
Afternoon Project (3-6 Hours)
Finish Used
Miniwax Ipswich Pine Stain and a clear topcoat
Recommended Skill Level
Beginner
Storage/Toy Box Bench
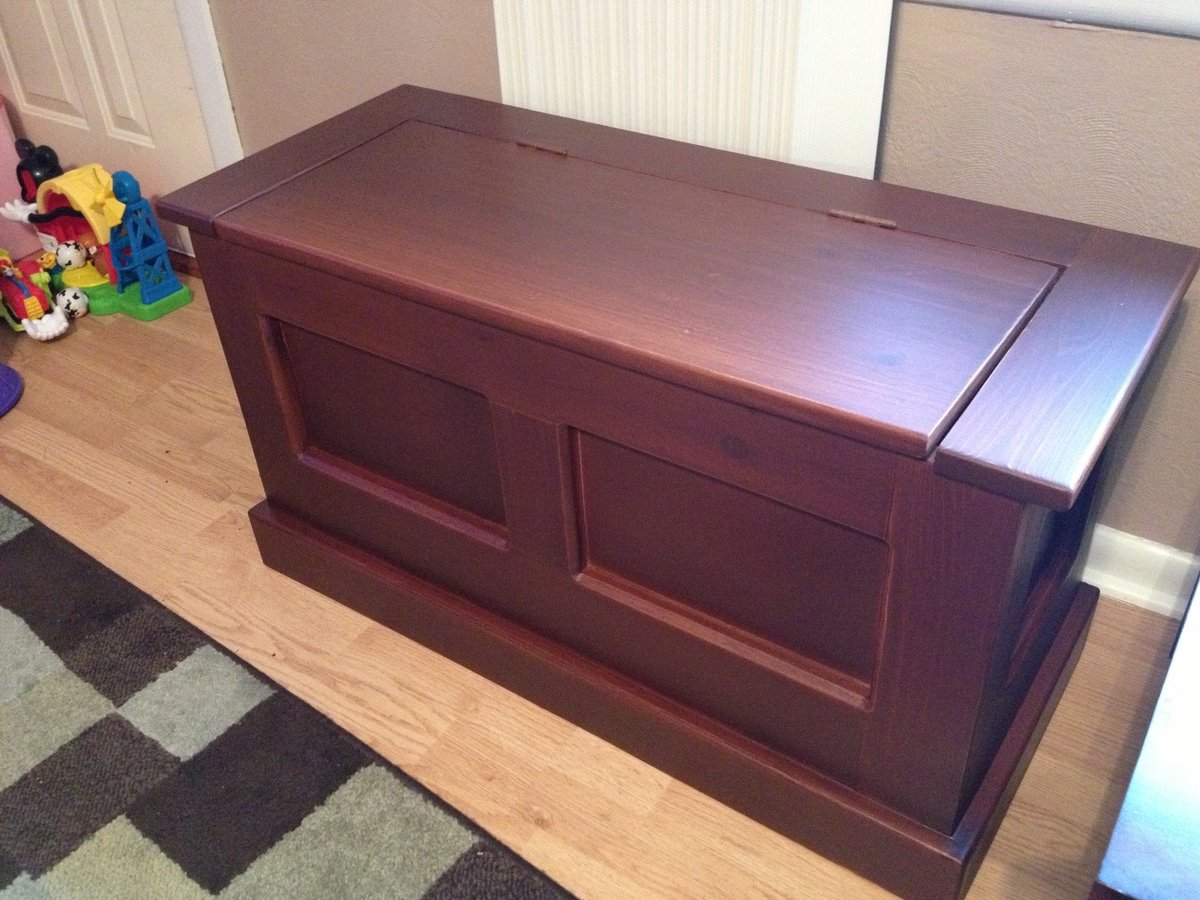
This is a storage bench (toy box) that I threw together based on one of the projects listed on this site. I also added custom shelves on the interior to house all of the puzzles my daughter likes to play with. It is made of cedar and the interior is birch plywood. The shelves are the same combination. It is very sturdy and fits a lot more toys than I expected. This is the first project I've built that I stained...I originally tried applying with a brush but that was VERY challenging so I tried a sprayer and that worked very well, though I think I went a little heavy on it. I wasn't much of a fan of the Minwax 2-in-1 stain/finish...but hey, its a toy box that you can sit on so it's going to get beat up anyway, so there'll be another opportunity to re-finish it later. My build time was very drawn out because I only work on projects during nap time, so the time to complete is what I would estimate if you have a couple of days to solely devote to the build. What a great plan though, for an inexpensive, easy to build storage bench. Thank you!
Built from Plan(s)
Estimated Cost
Approx $100
Estimated Time Investment
Weekend Project (10-20 Hours)
Finish Used
Minwax 2-in-1 Antique Walnut applied with a sprayer. Sanded a few times with increasing grain counts ending with 400 grain count. Sanded in between coats of finish.
Recommended Skill Level
Beginner
Comments

Reading Fort
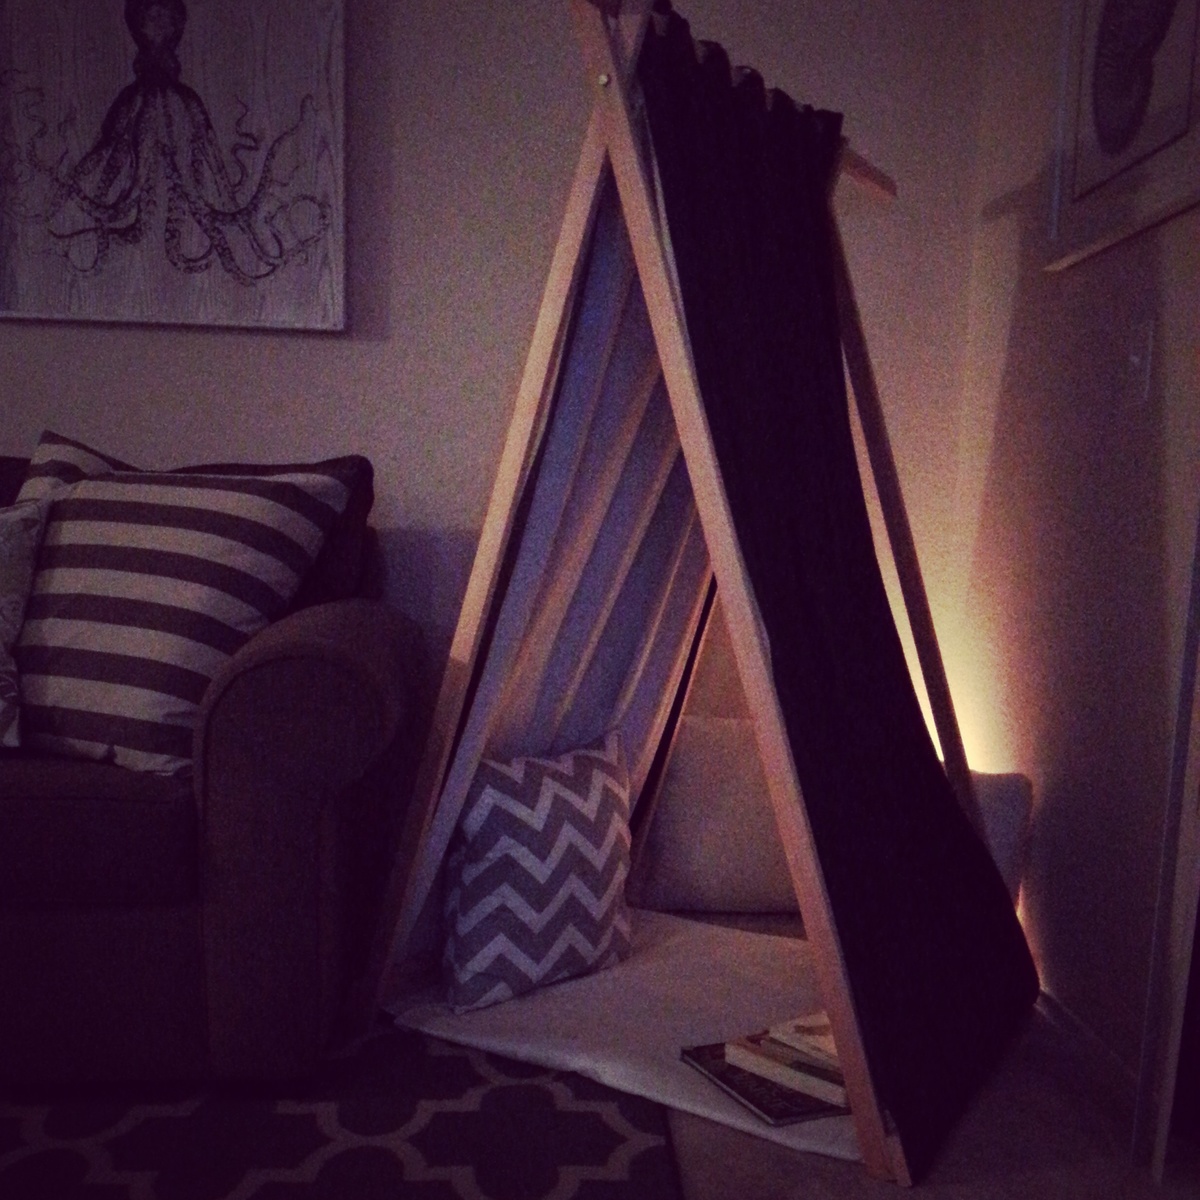
Super easy. Done in less than one hour. Used Target's Black-Out curtains.
Built from Plan(s)
Estimated Cost
$20
Estimated Time Investment
An Hour or Two (0-2 Hours)
Recommended Skill Level
Starter Project
Comments
Modern outdoor chairs

Amazingly easy to build!❤️❤️❤️ My new chairs. The table is made from the Ana White planter. We just used left over 2x6's and 2x4's to create a removable top. It makes a great table with Kentucky of storage.
Estimated Time Investment
Day Project (6-9 Hours)
Finish Used
Behr deck plus Padre Brown
Recommended Skill Level
Beginner
Baby changing table
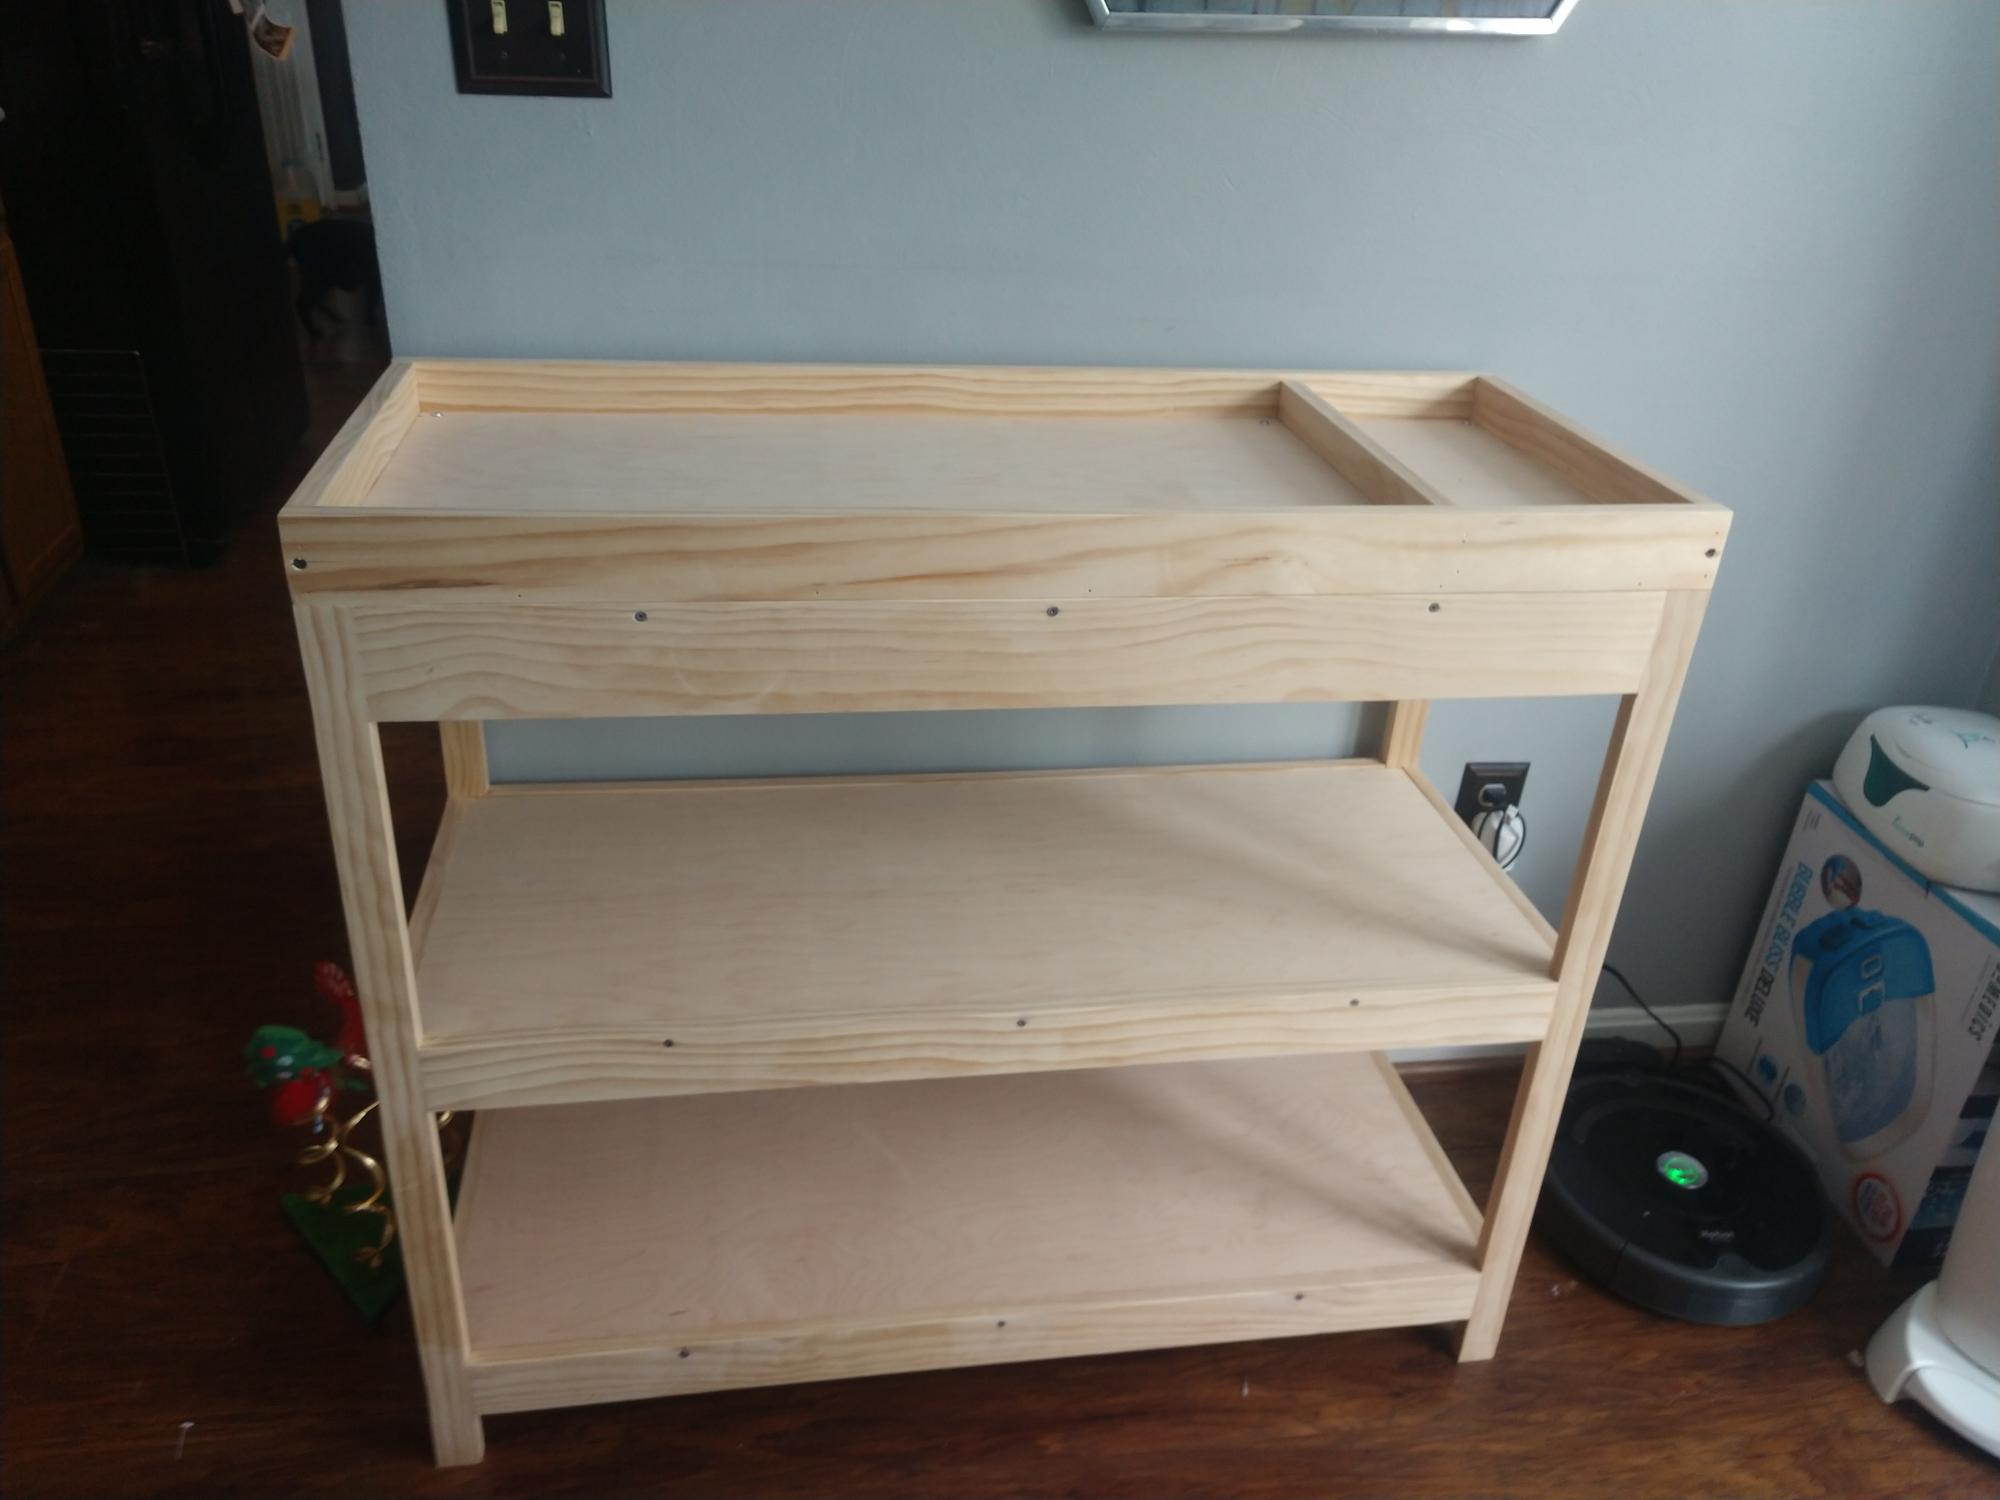
Built this changing table for my granddaughter. I used select pine. My daughter has not decided if she wants to stain it or paint it yet. I pocket hole screwed the joints. It is very solid.
Built from Plan(s)
Comments
Cedar Raised Garden Planter
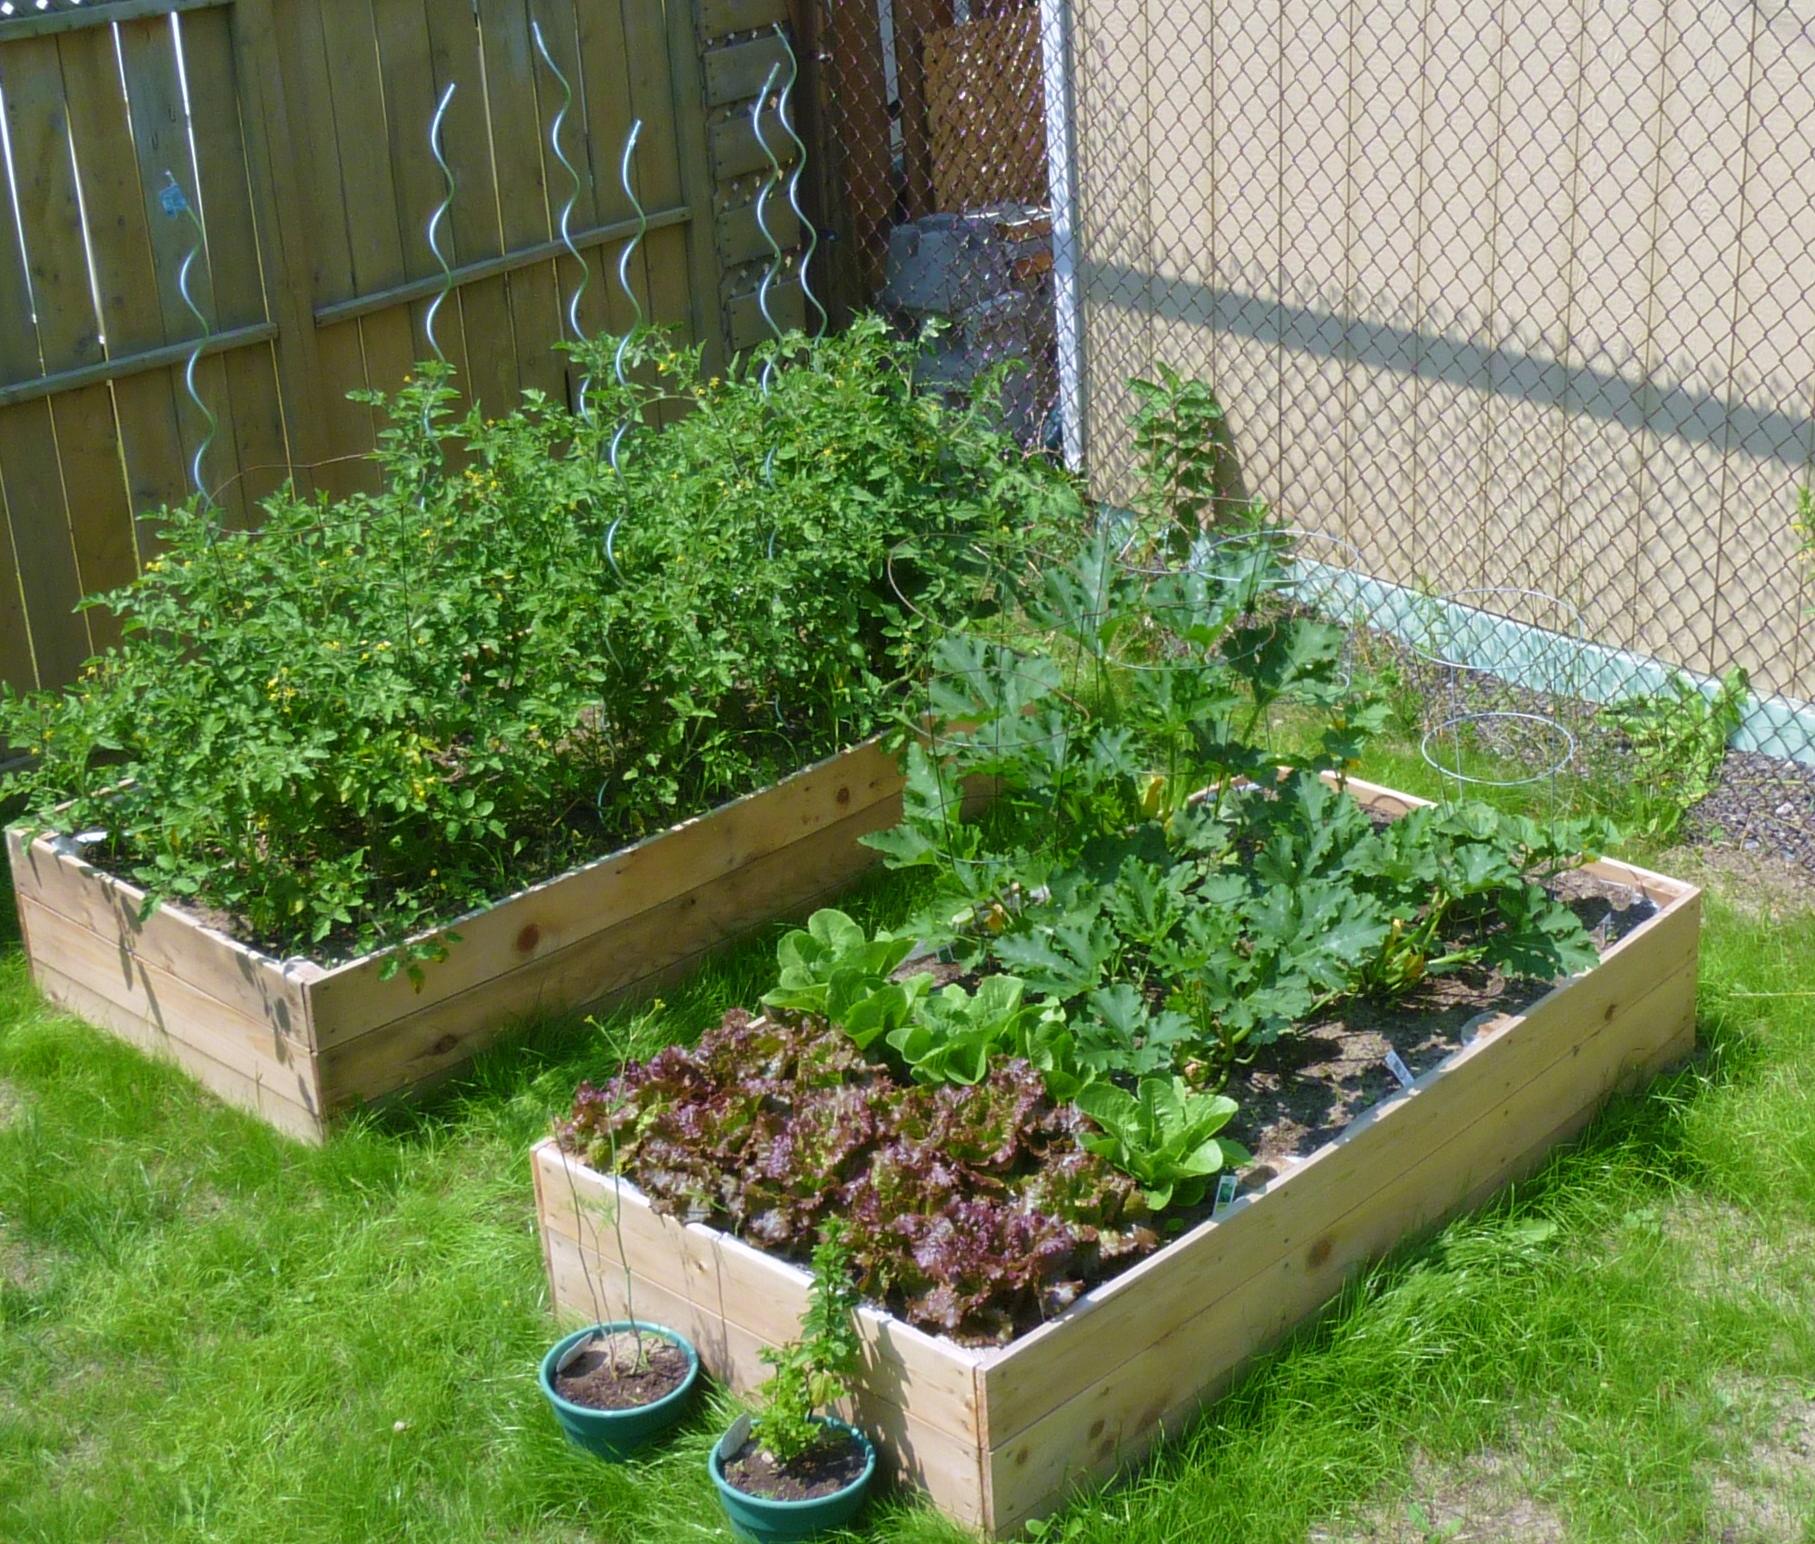
This was my first building project ever! It was so easy to do...the only problem was that we didn't have enough room for all the veggies we wanted to plant in our garden because we only built two! The plan is to build at least two more this summer!
Built from Plan(s)
Estimated Time Investment
An Hour or Two (0-2 Hours)
Recommended Skill Level
Starter Project
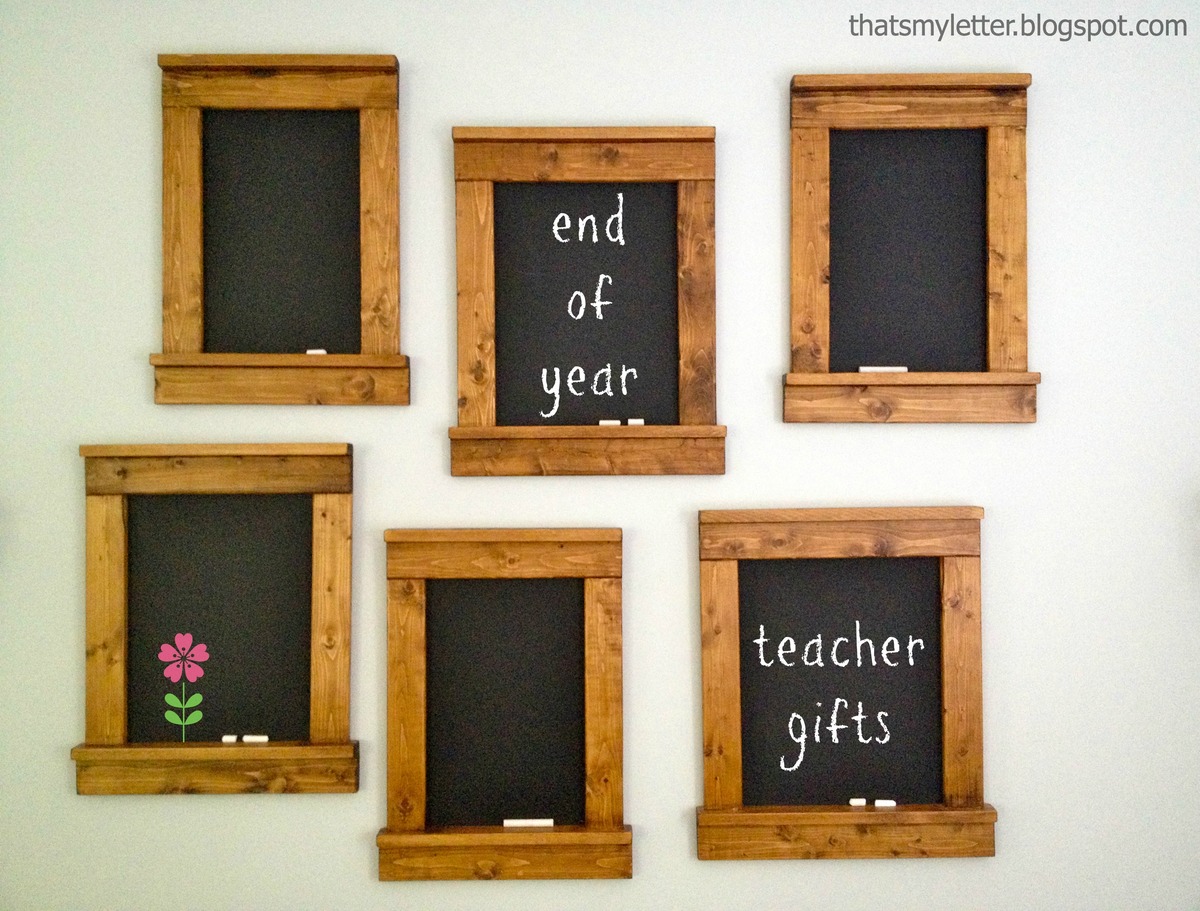
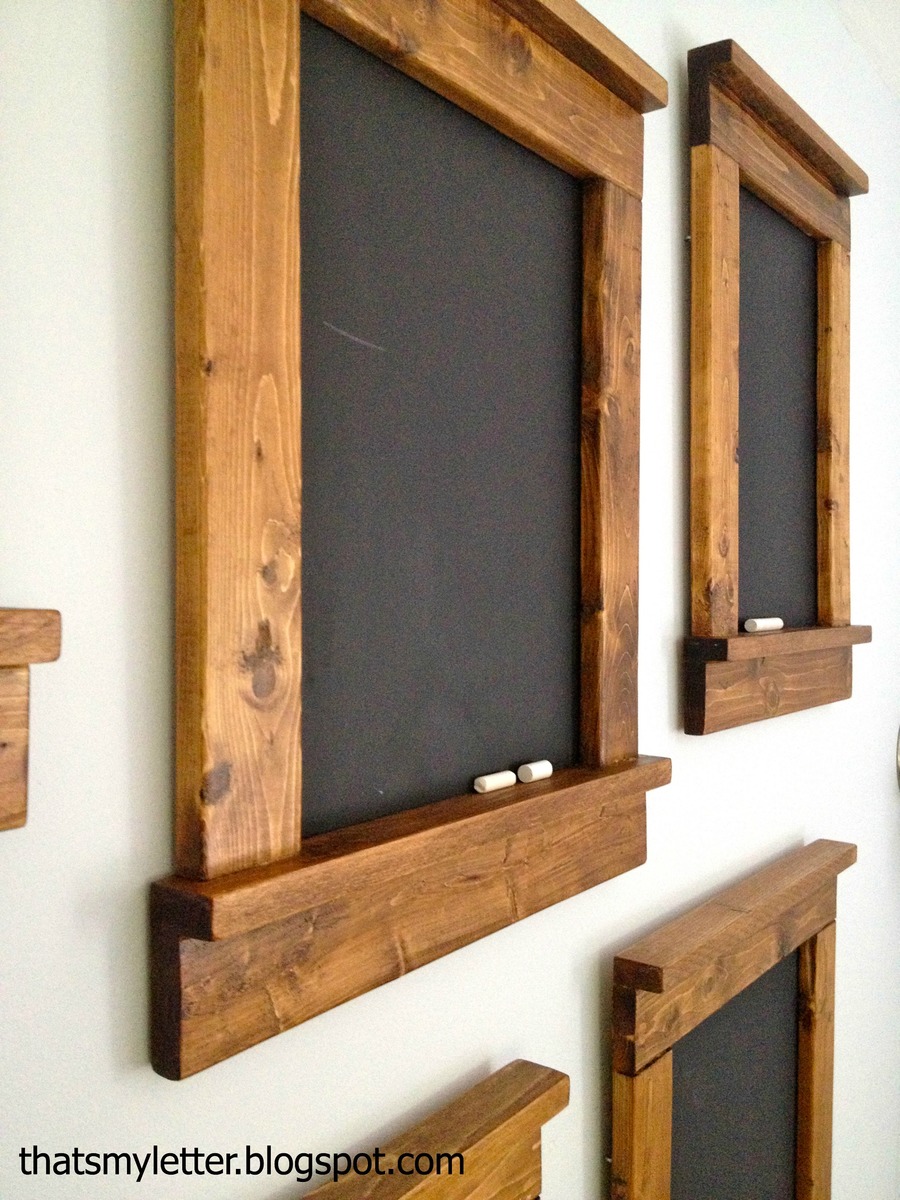
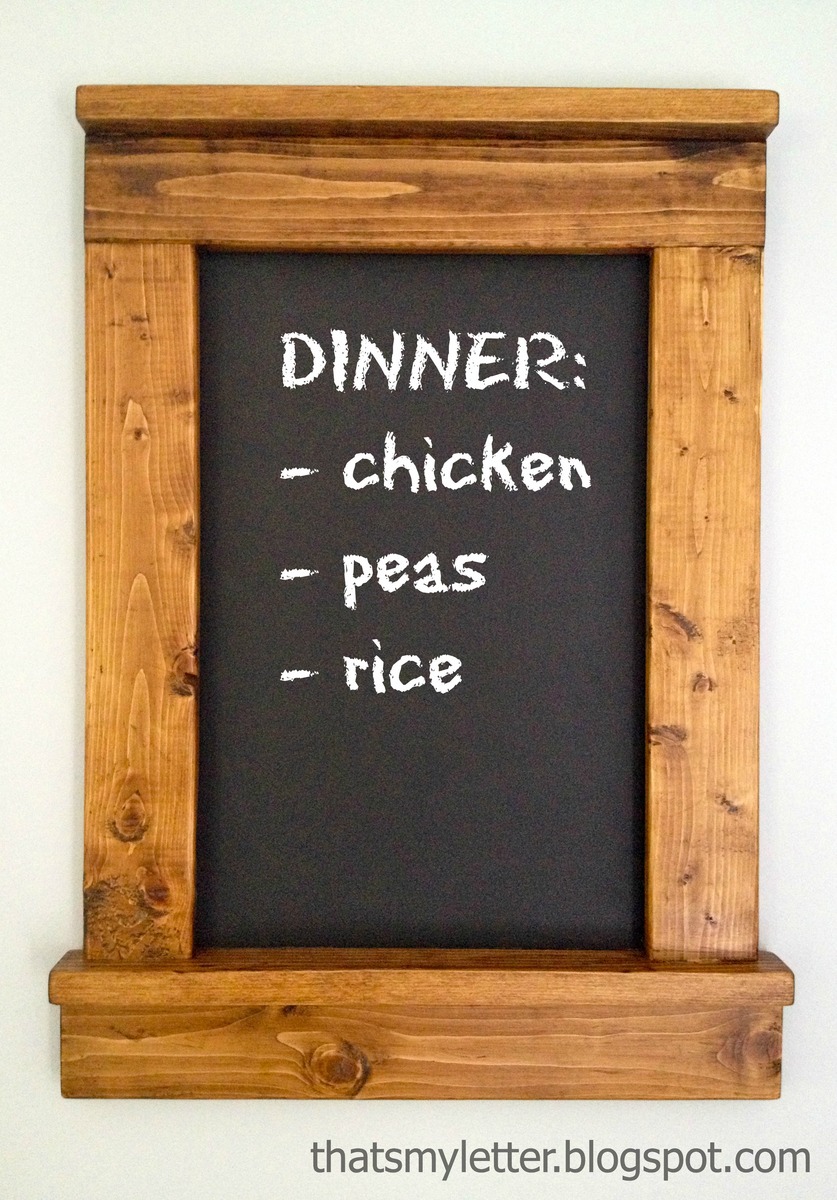
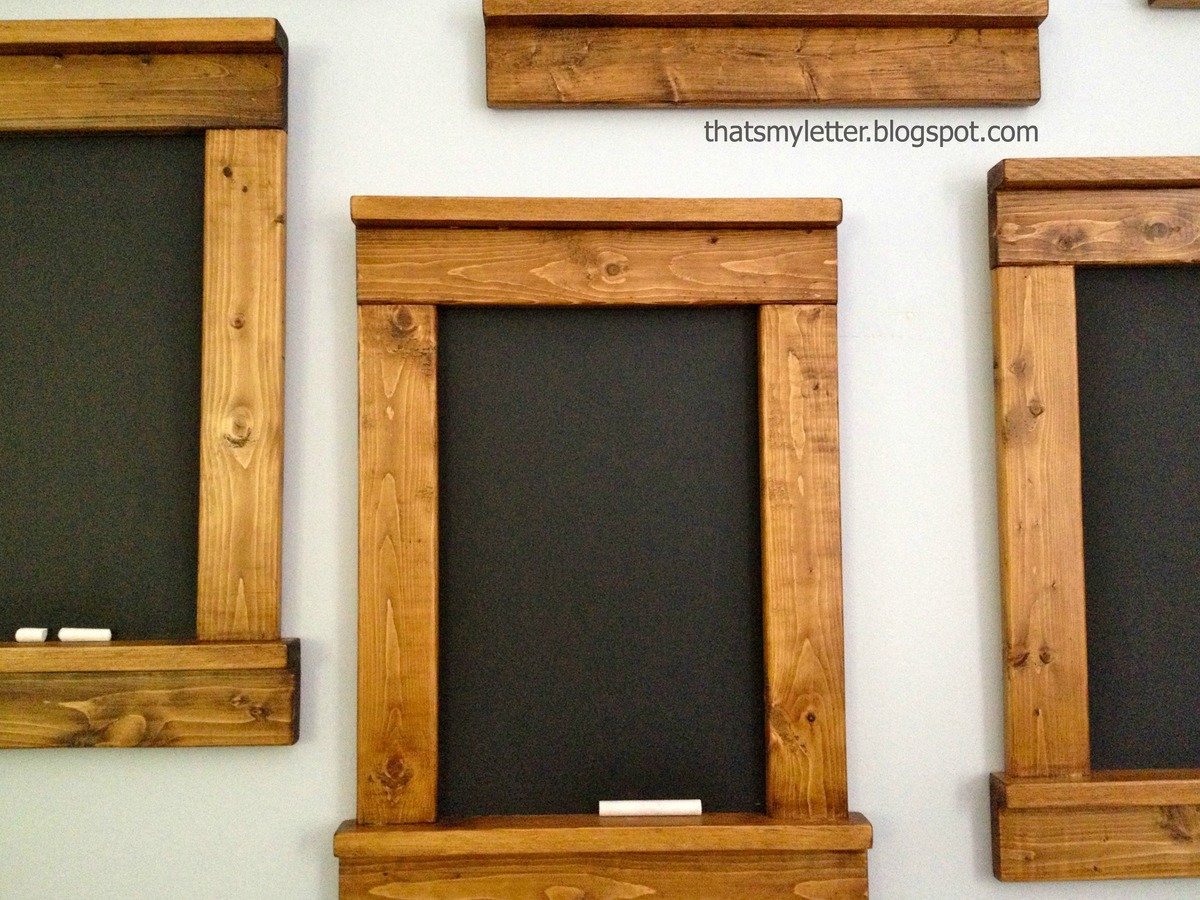
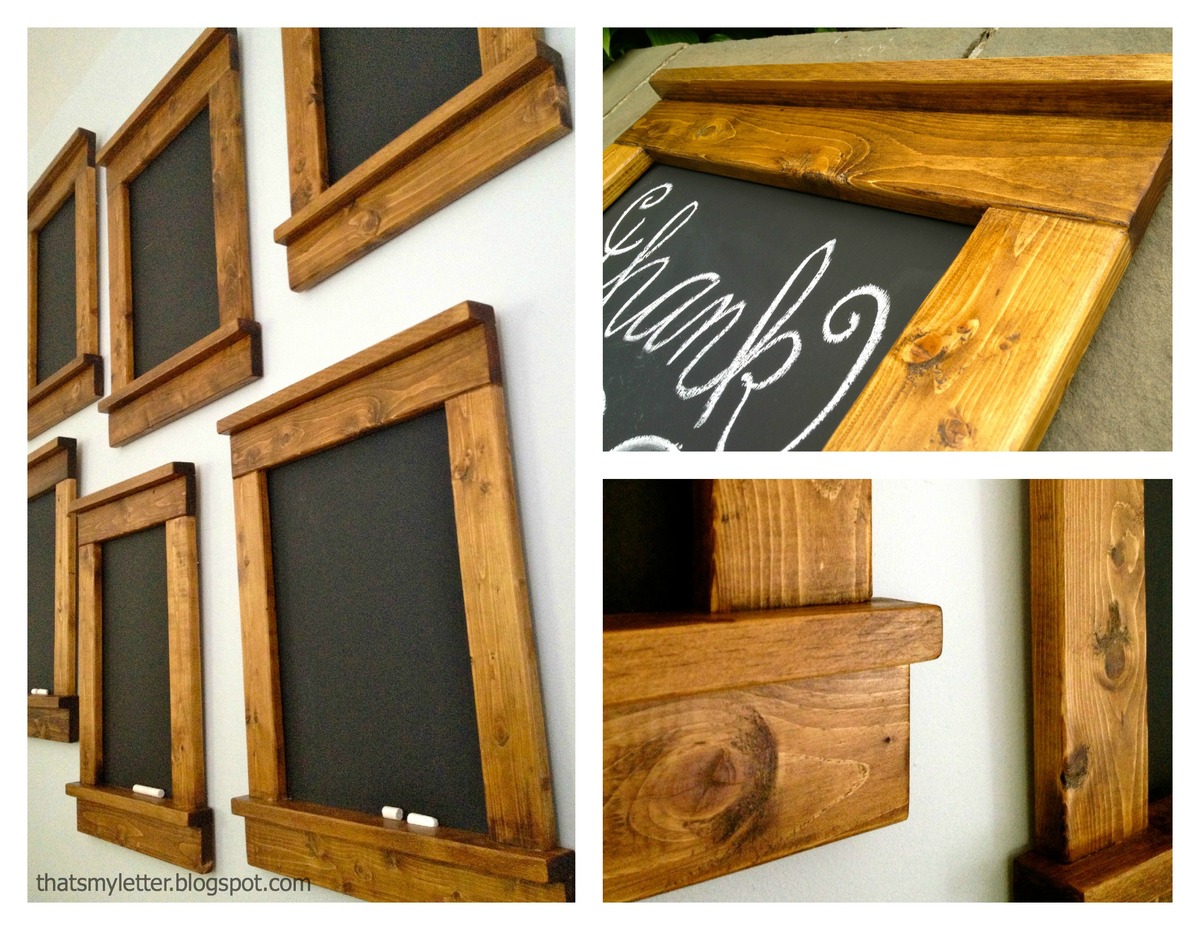
teacher chalkboards

An easy end of the year teacher gift - framed chalkboards. I made these using furring strips and 1/4" plywood for about $5 each.
Built from Plan(s)
Estimated Cost
$5
Estimated Time Investment
An Hour or Two (0-2 Hours)
Finish Used
1. Minwax provincial stain
2. two coats Minwax oil based poly semi-gloss
3. two coats black chalkboard paint
2. two coats Minwax oil based poly semi-gloss
3. two coats black chalkboard paint
Recommended Skill Level
Starter Project
Comments
Ana White Admin
Tue, 10/05/2021 - 11:08
So Smart!
Love the added storage! Thank you for sharing:)