2x4 Sectional
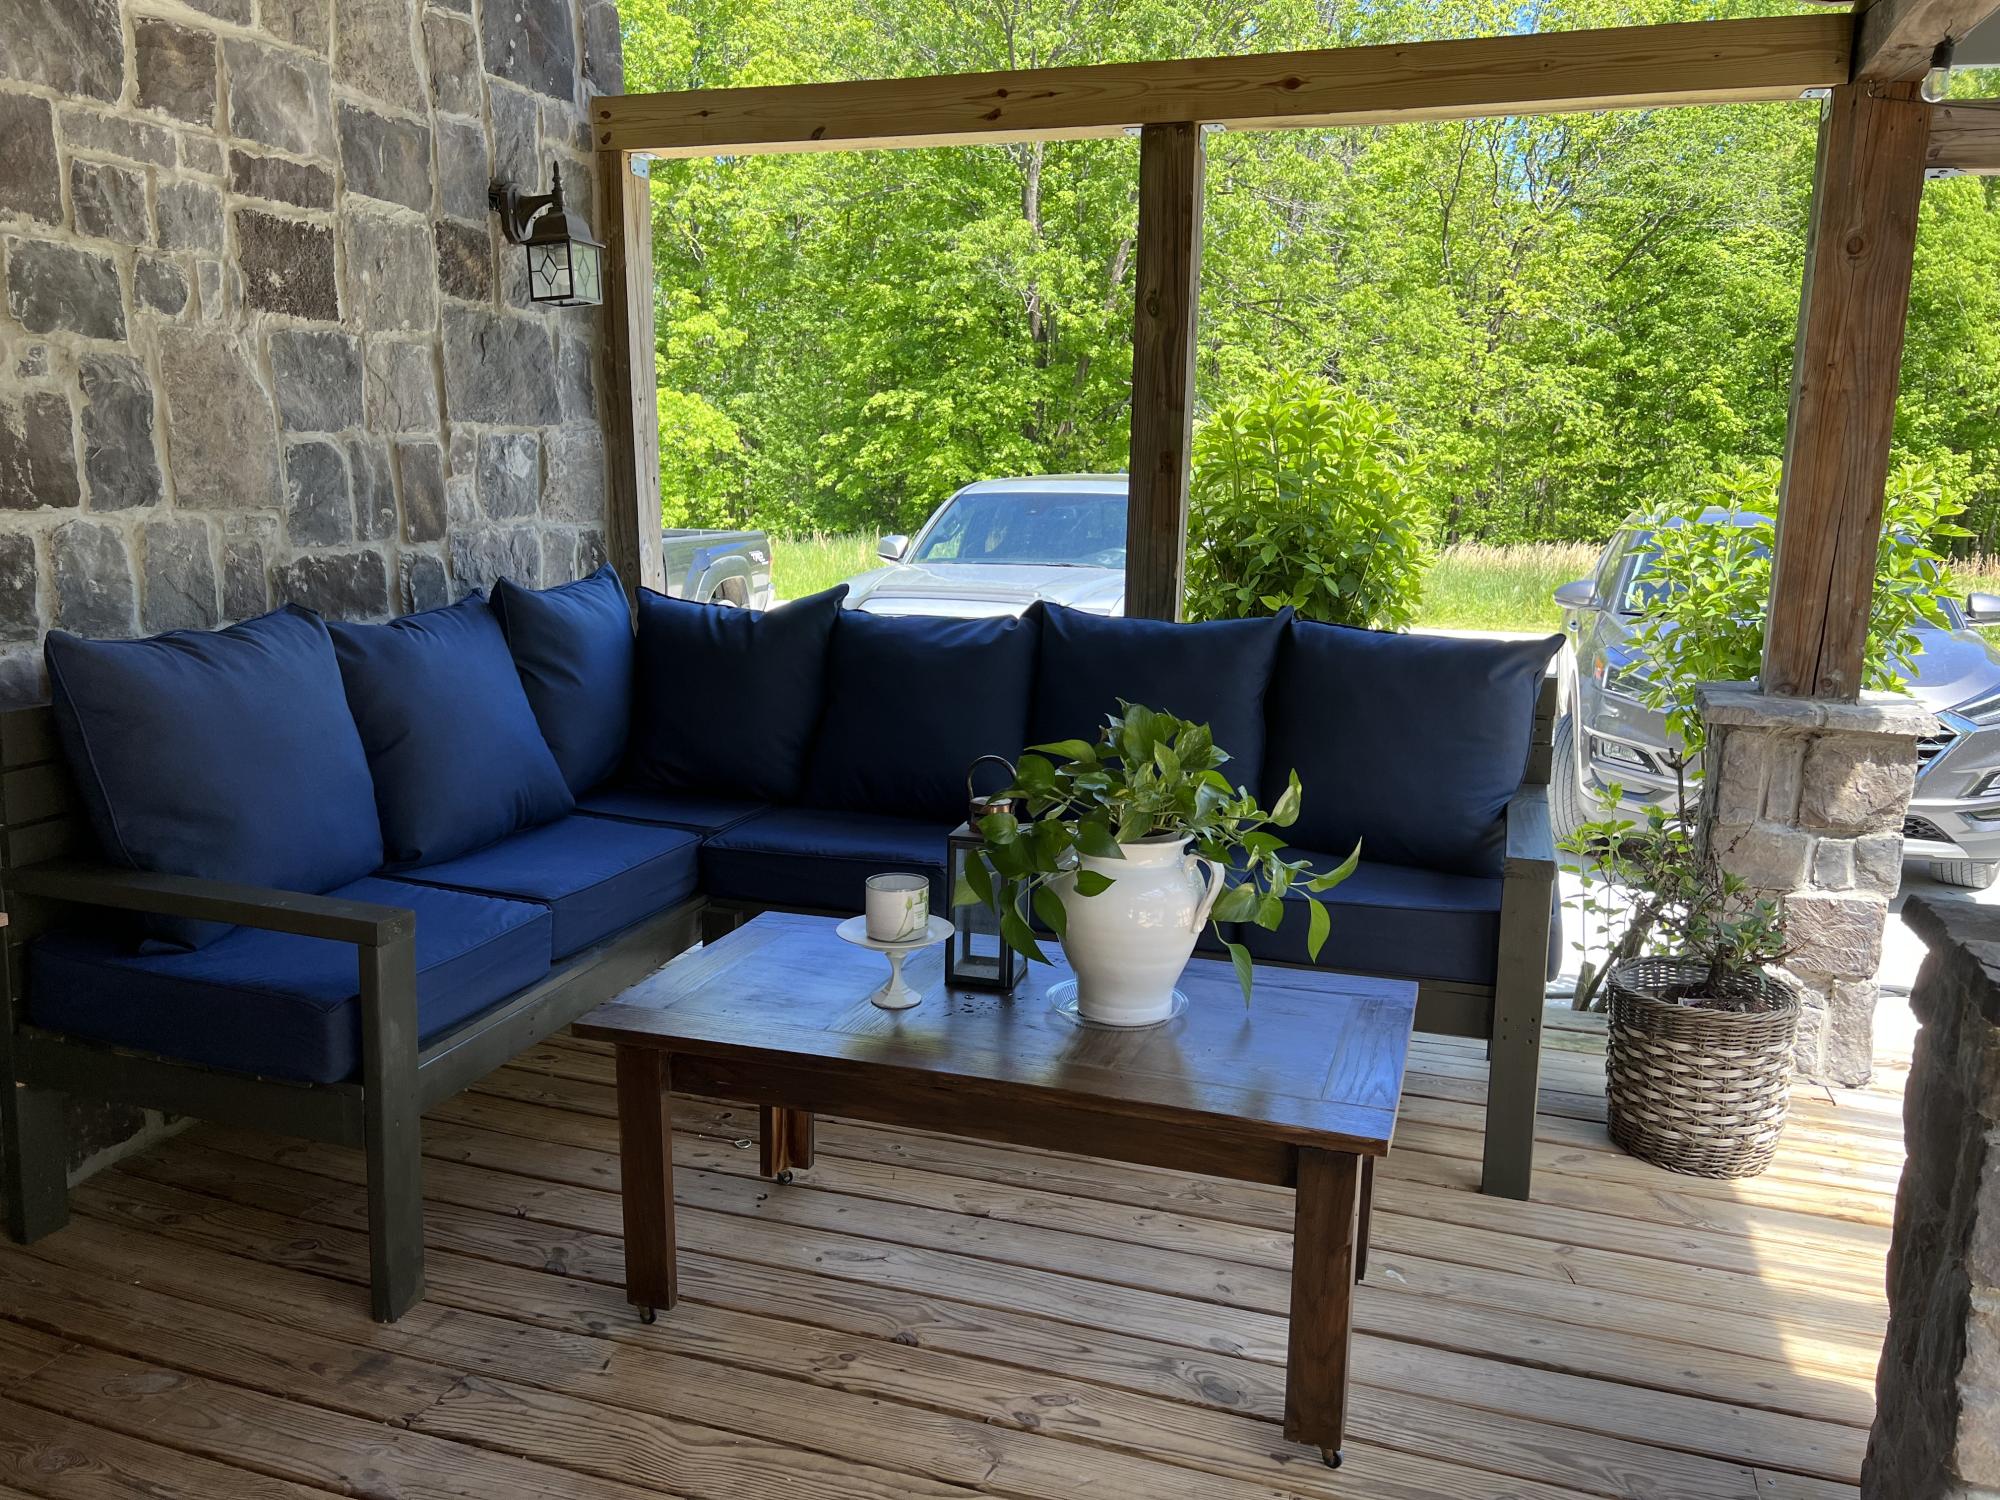
My husband whipped this up in one day using Ana’s plan. This is my new favorite spot to relax.
Built from Plan(s)
My husband whipped this up in one day using Ana’s plan. This is my new favorite spot to relax.
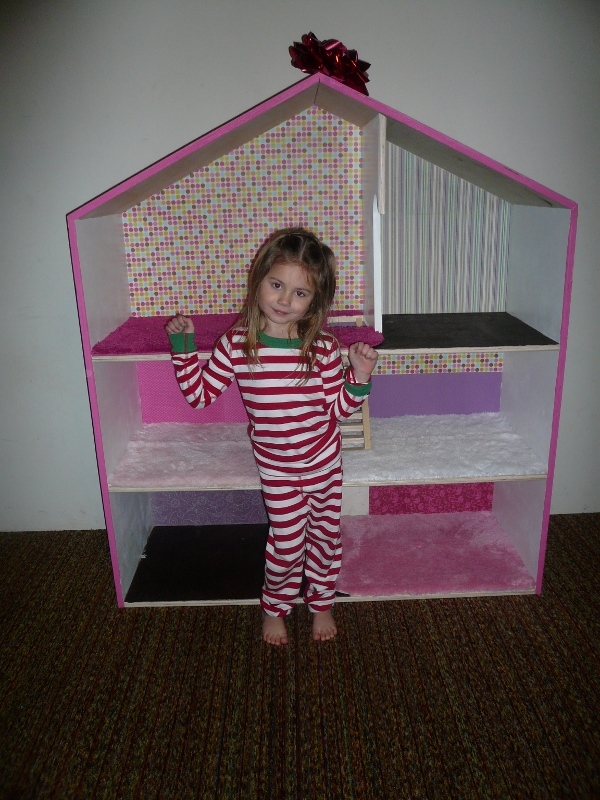
My husband and I modified the lovely Miss Ana White's dollhouse bookshelf plans to create this awesome Barbie Dollhouse for our 2 and 4 year old daughters to Christmas. They love it, and I love that it will last for years! Thank you Ana, for your amazing talents and your giving heart...your sharing your talents means the world to me and my family!!

Tue, 01/03/2012 - 20:50
I want one of those for my Barbie dolls, and I'm 52 years old!!! It's probably a good thing I don't have the room for this or I would make one just for me.

I needed a desk for in the finished basement. It's not the nicest of spaces but I am trying to class it up a bit while saving money. This desk was pretty easy to build and is one SOLID piece of furniture. This is something that will last a lifetime (or two, or three). Couldn't be happier with how this turned out. I followed the plans to the letter. The shopping list on the plans was one 2x4 short but other than that it was spot on. Love your site Ana! Thanks for all you share!


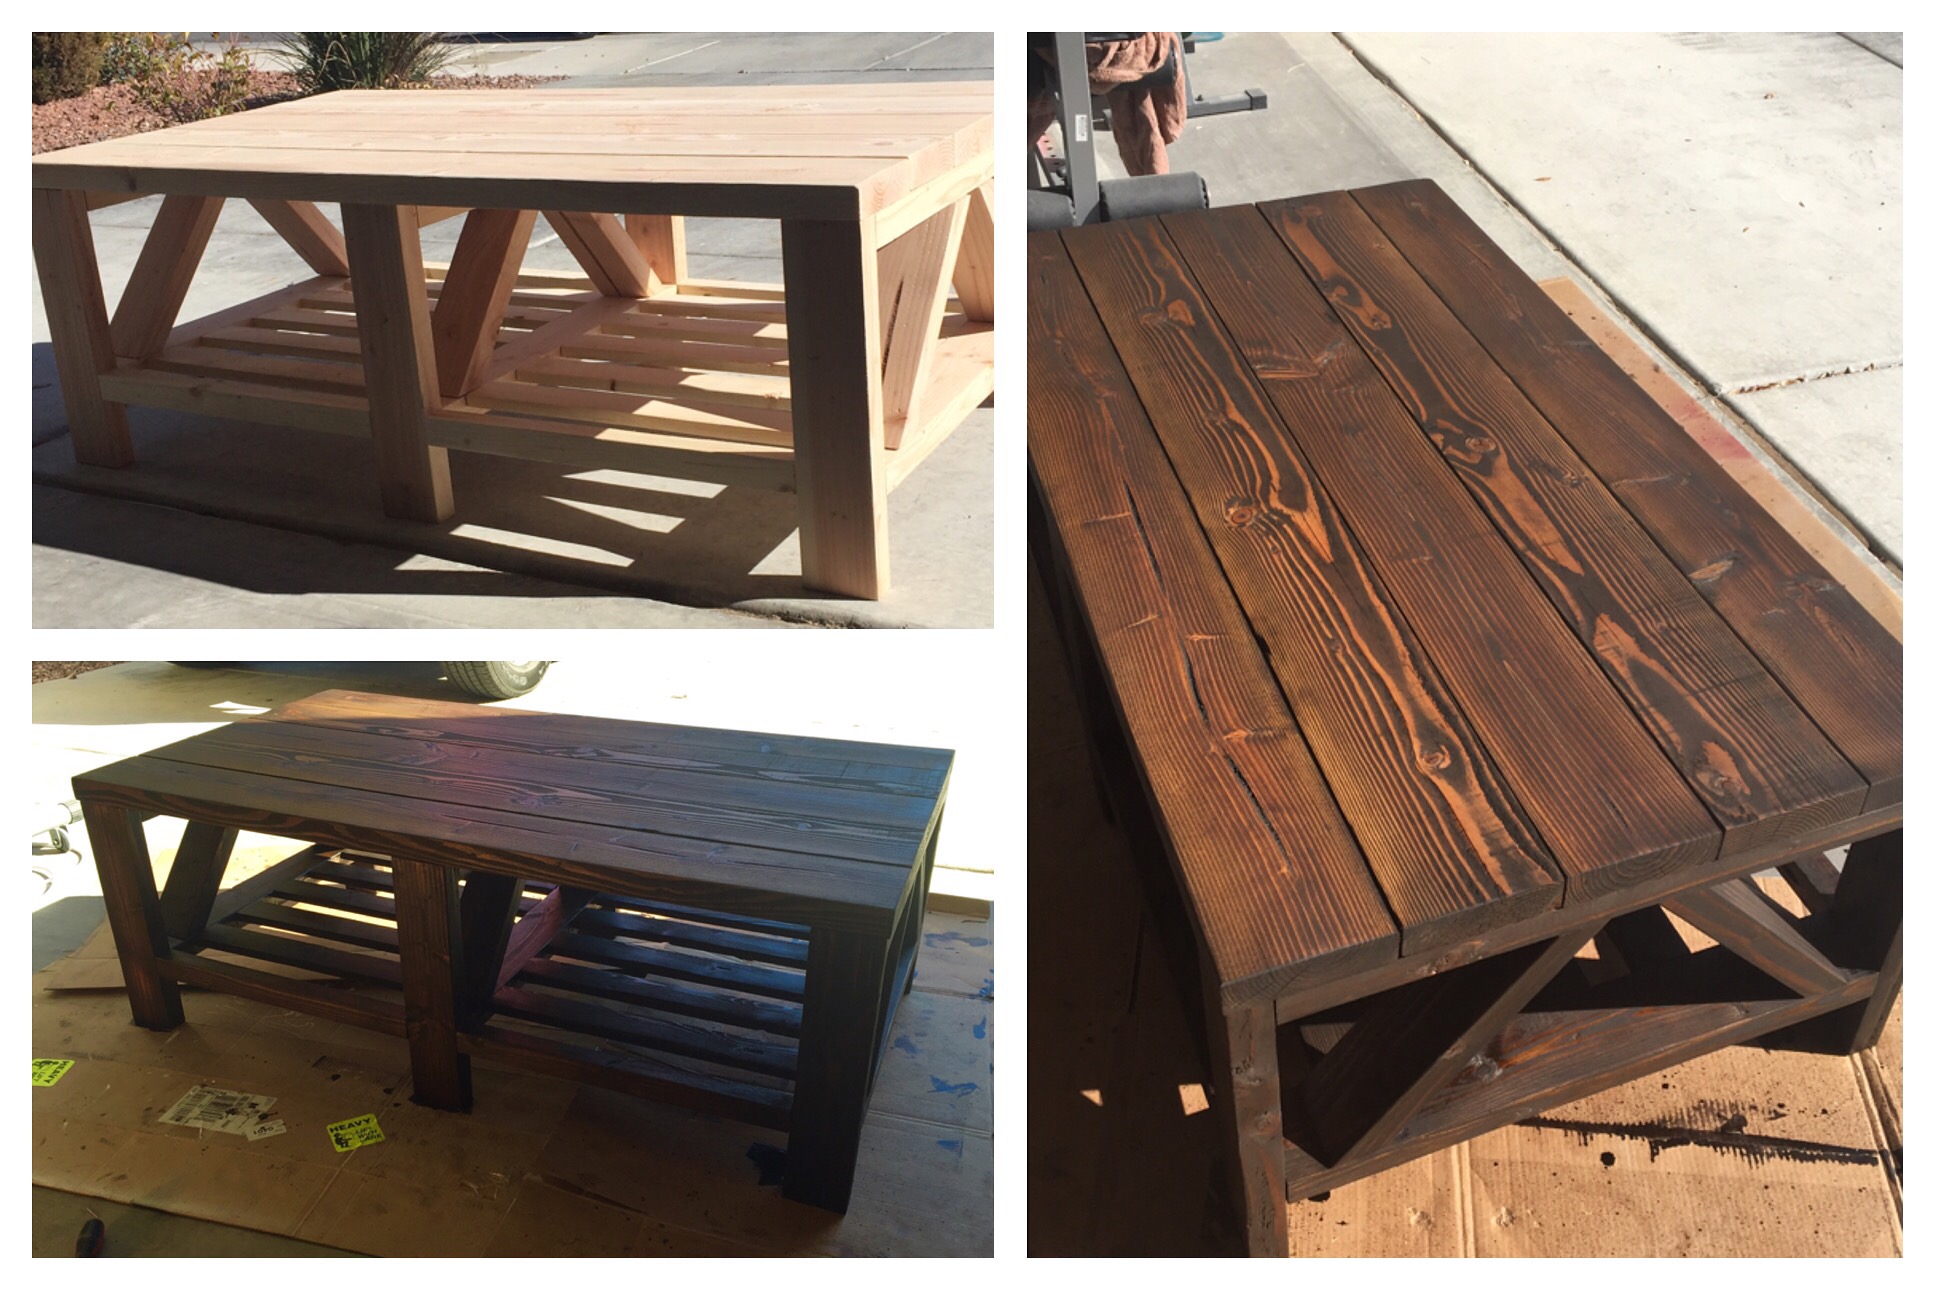
This coffee table was a weekend project that turned out quite well.
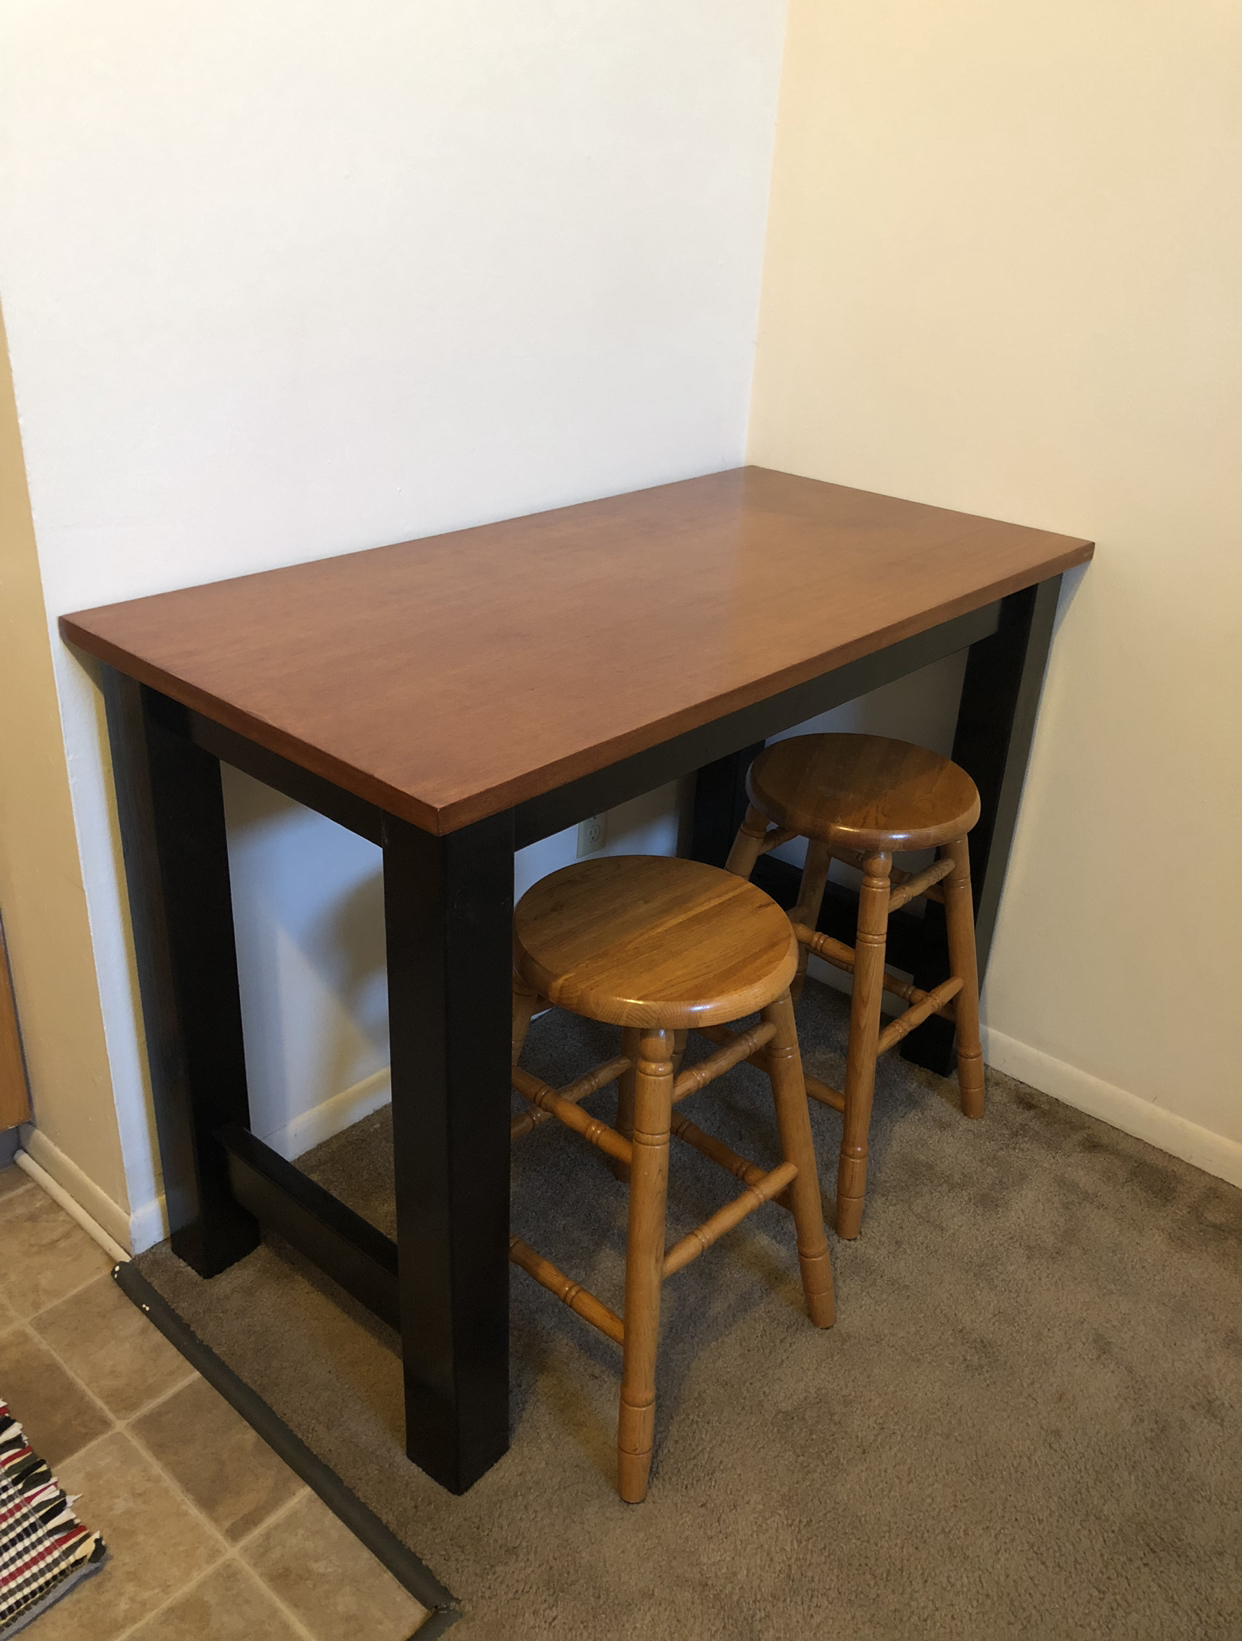
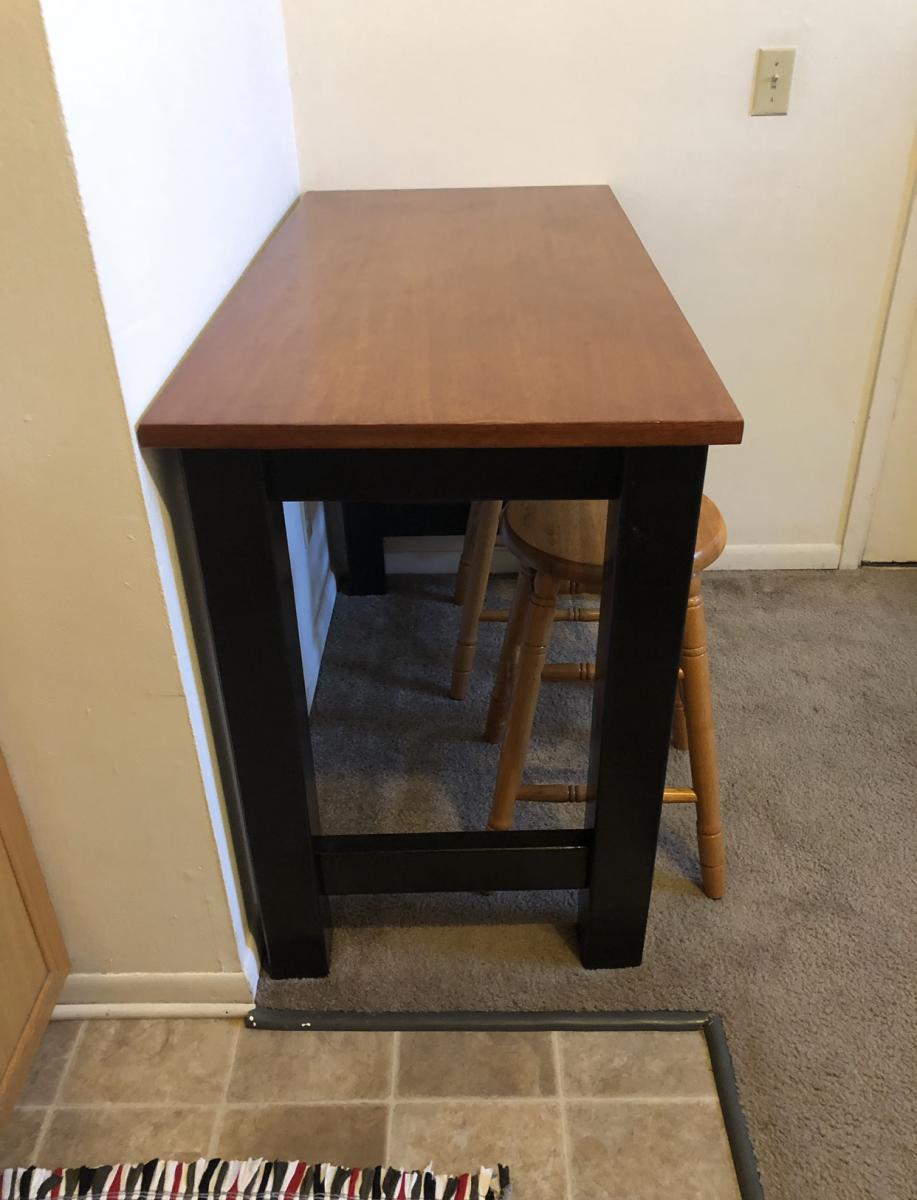
Our son was moving into his first college apartment. The dining area is small and he thought a breakfast bar would be perfect in this spot. We built the base using Ana’s Counter Height Farmhouse Table for Four plans. We modified the plans to to fit the table top - which was originally the top of a desk. We purchased the desk at our local Habitat Restore. We planed to use the base of the desk for another project- so using the top for this breakfast bar was perfect! The breakfast bar was a perfect fit!
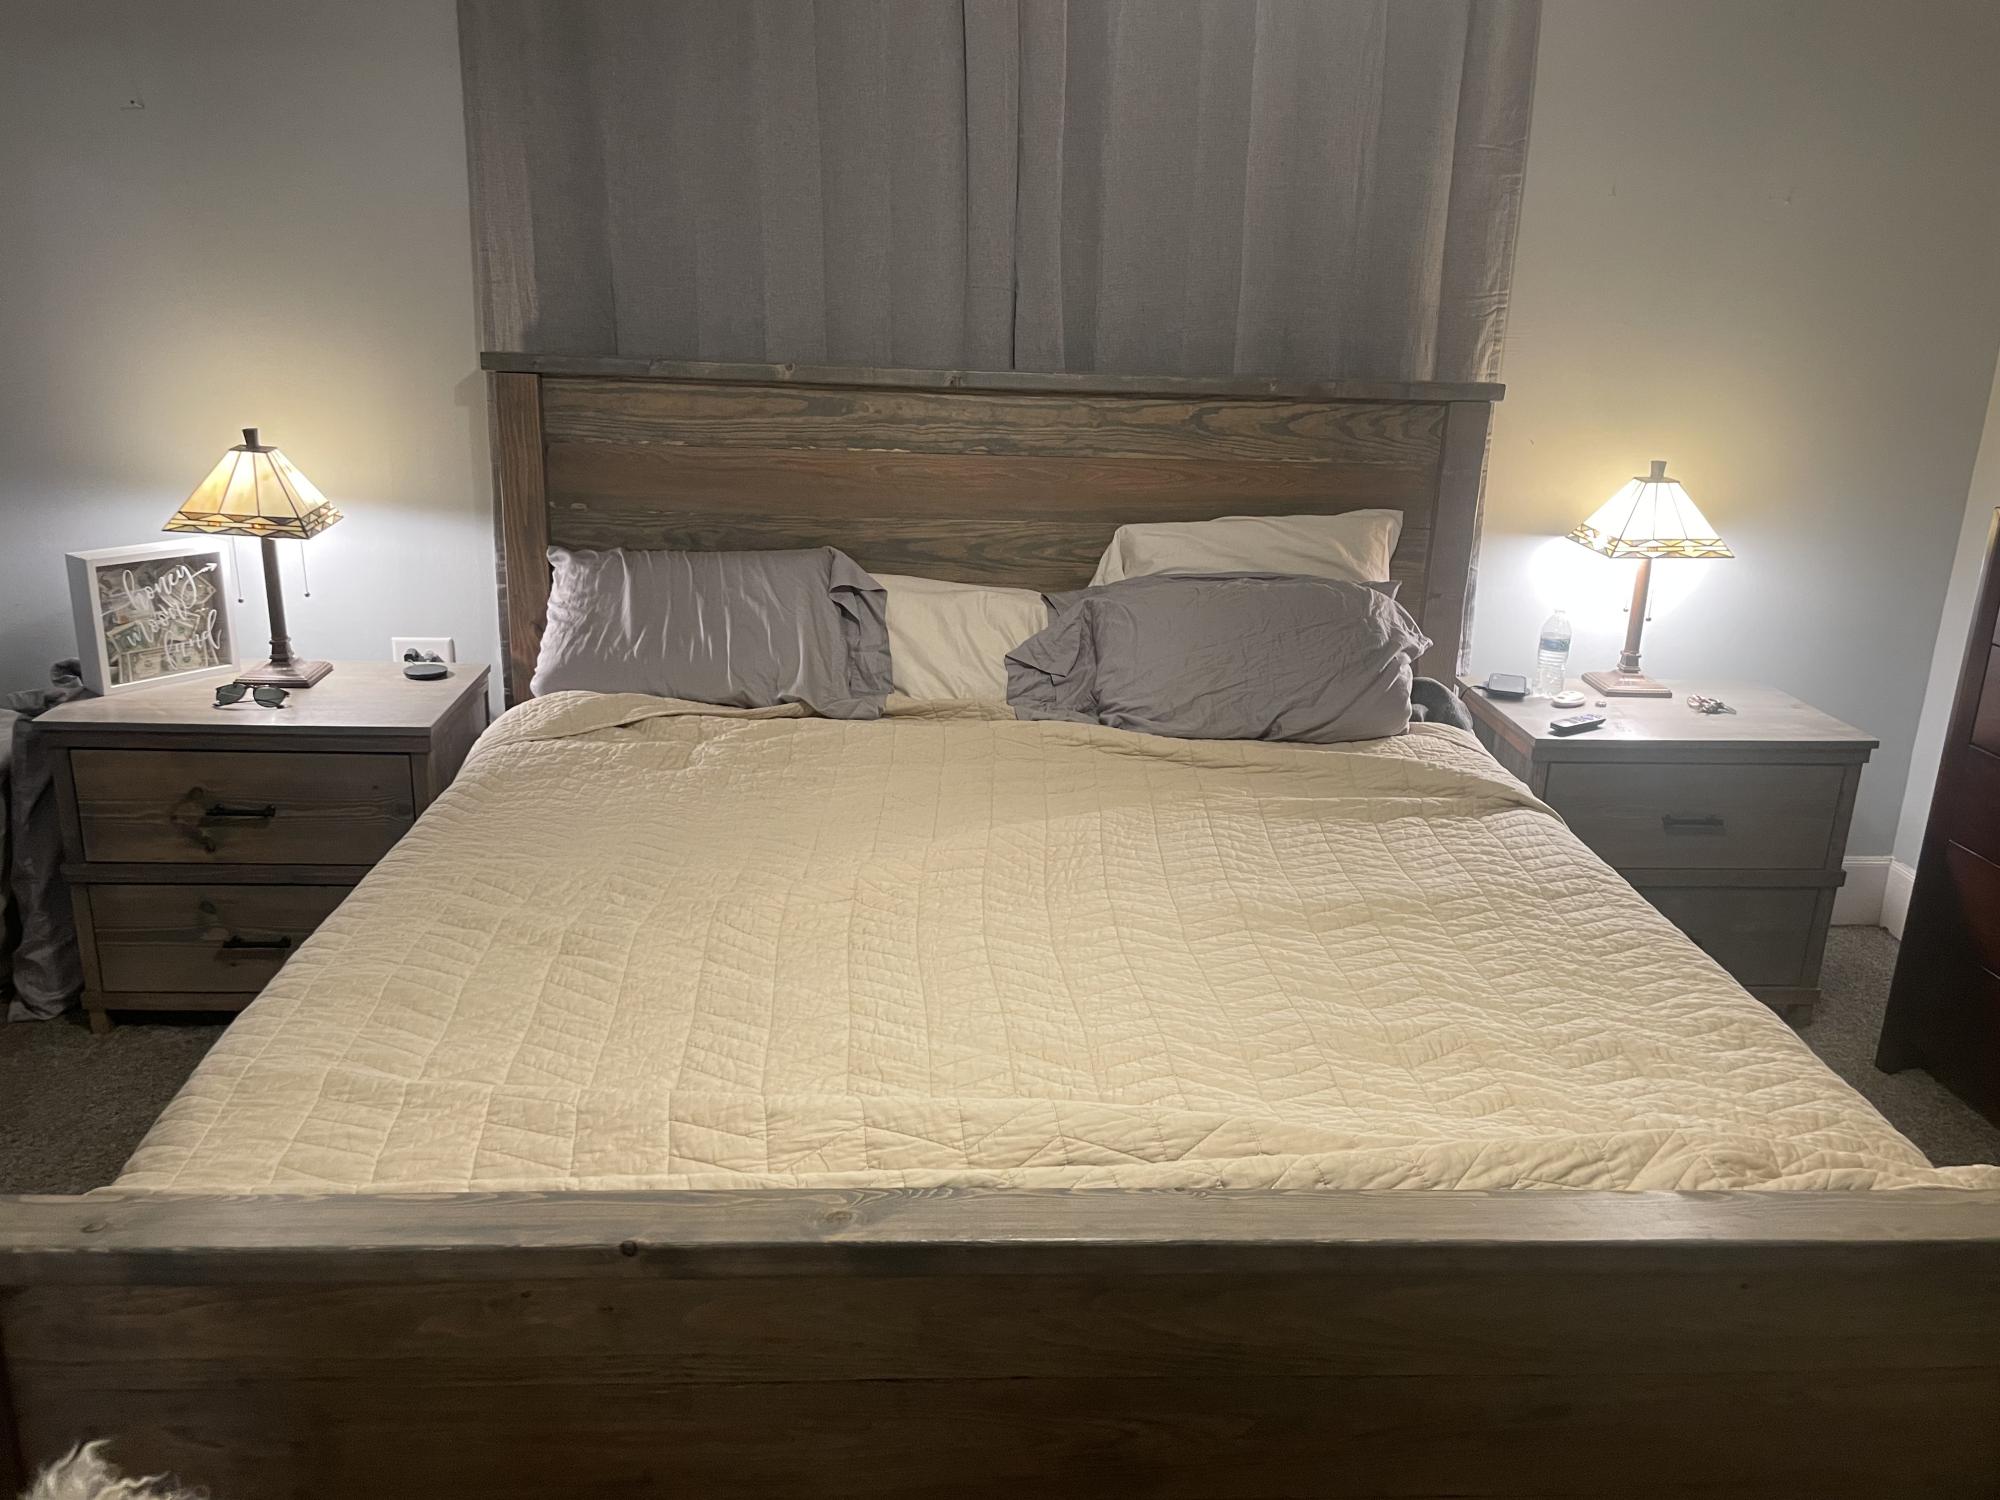
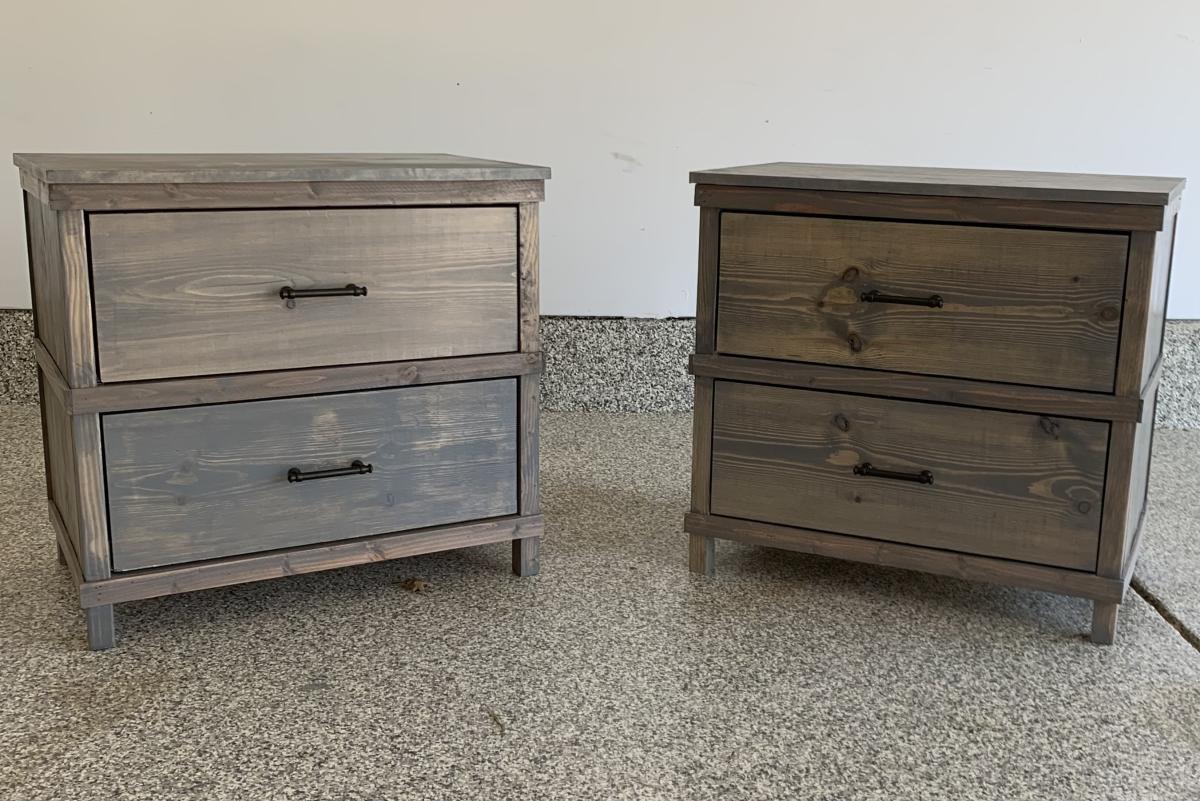
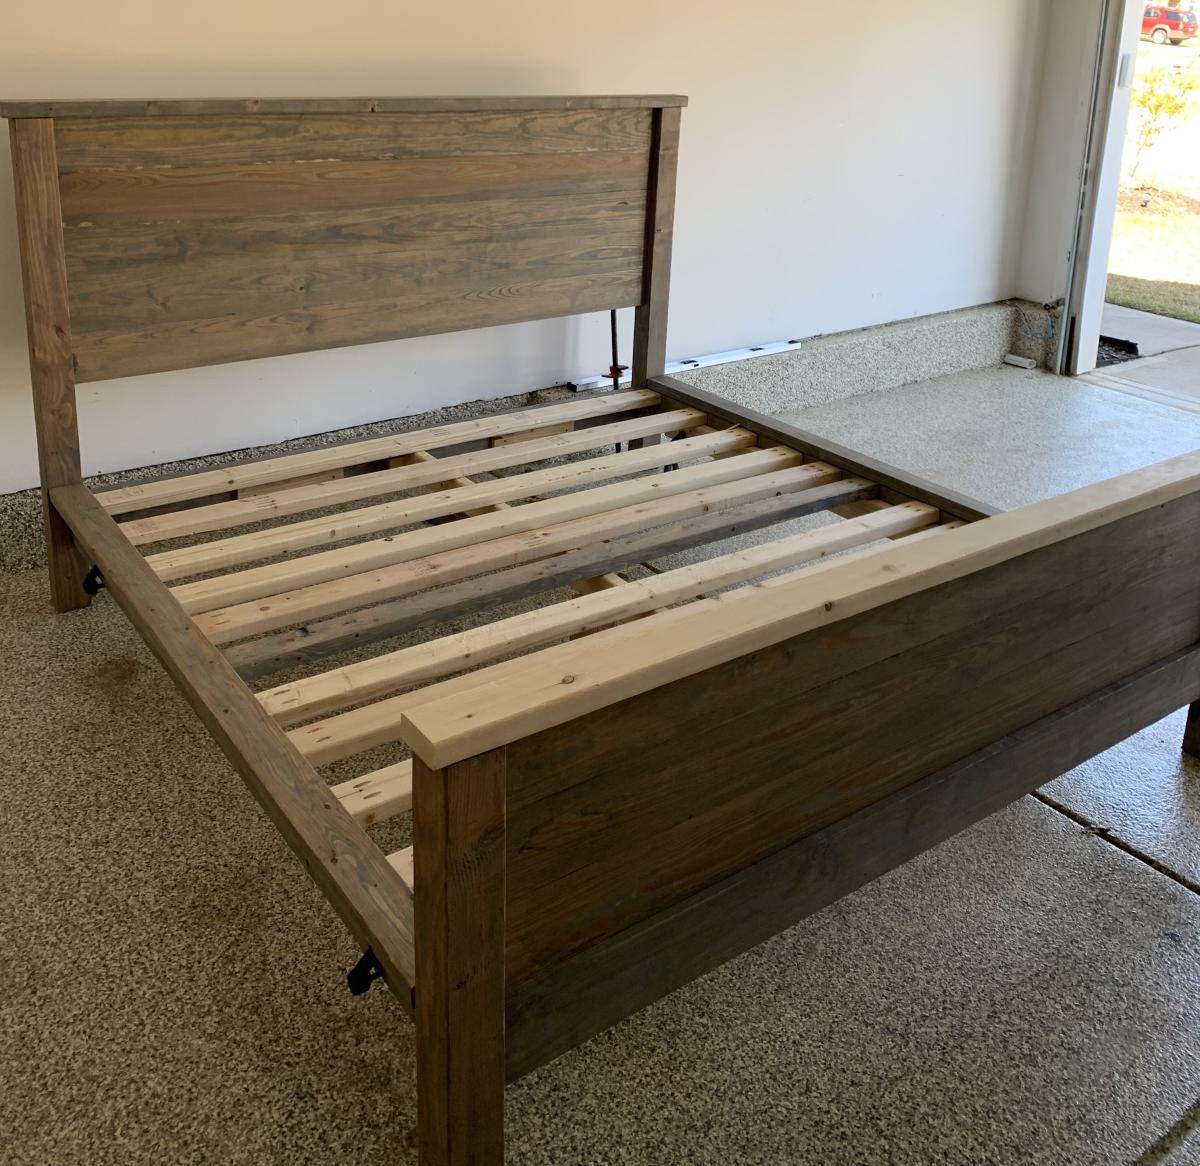
Fun and rewarding projects to finish. Took me way too long to finish, but 2 sever TBIs will do that to a person. Made a few modifications to the original King and nightstand plans but worked out fine. Thanks for these plans Ana!
Sat, 05/06/2023 - 21:13
WOW, this is so beautiful, love your finish choice! Thank you for sharing.
Built this counter height pub table from MAPLE PLANKS. Did the base using 3" * 3" * 36" MAPLE turning blanks (for making baseball bats) and all 3/4" maple 1 * 4's for the stretchers and the top was edge glued 1 * 8 and 1 * 10 planks ( with 1 * 3's glued and screwed underneath). Ran 1 * 3's 360 degrees around the edge .. giving a solid 1.5" surface to attach the 1.75" * 1.75" maple trim pieces. Top is HEAVY ... finished with a light cherry stain and General Finishes waterborne polyurethane. Table turned out better than I had expected. Built over 2 weekends. Used a drill press to do all of the counter sink holes the same depth. Bought the press for $125 at Lowes .. nice tool to have on hand. Makes precision drilling .. especially in hard wood .. a snap.
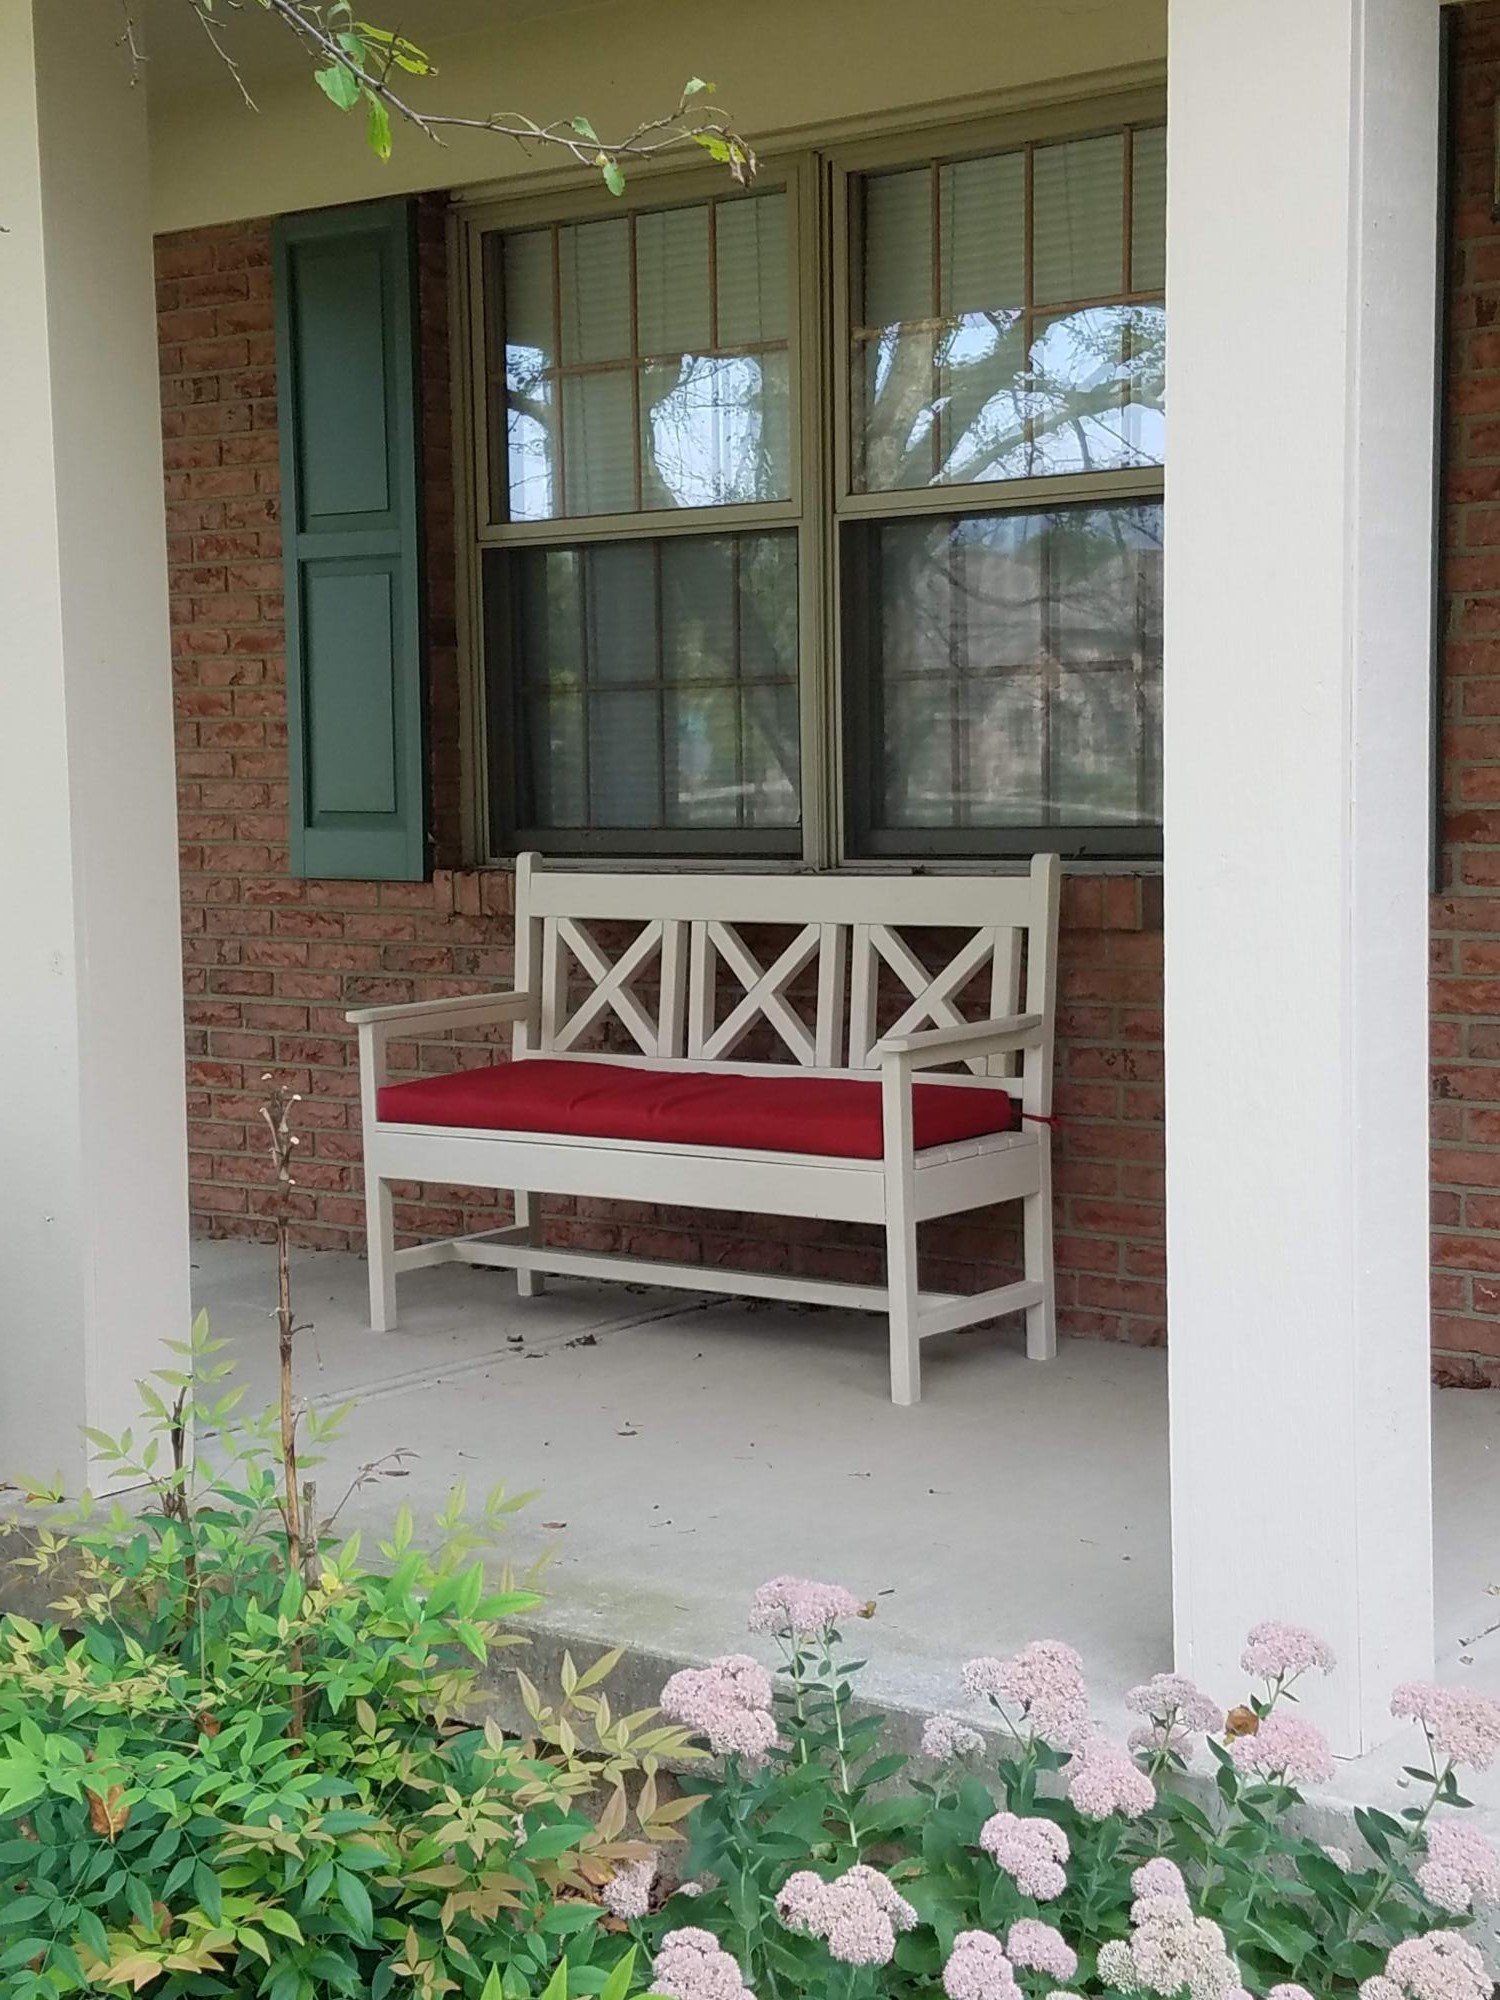
A version of the woven back bench, resize to fit a standard cushion, painted to match the house trim.
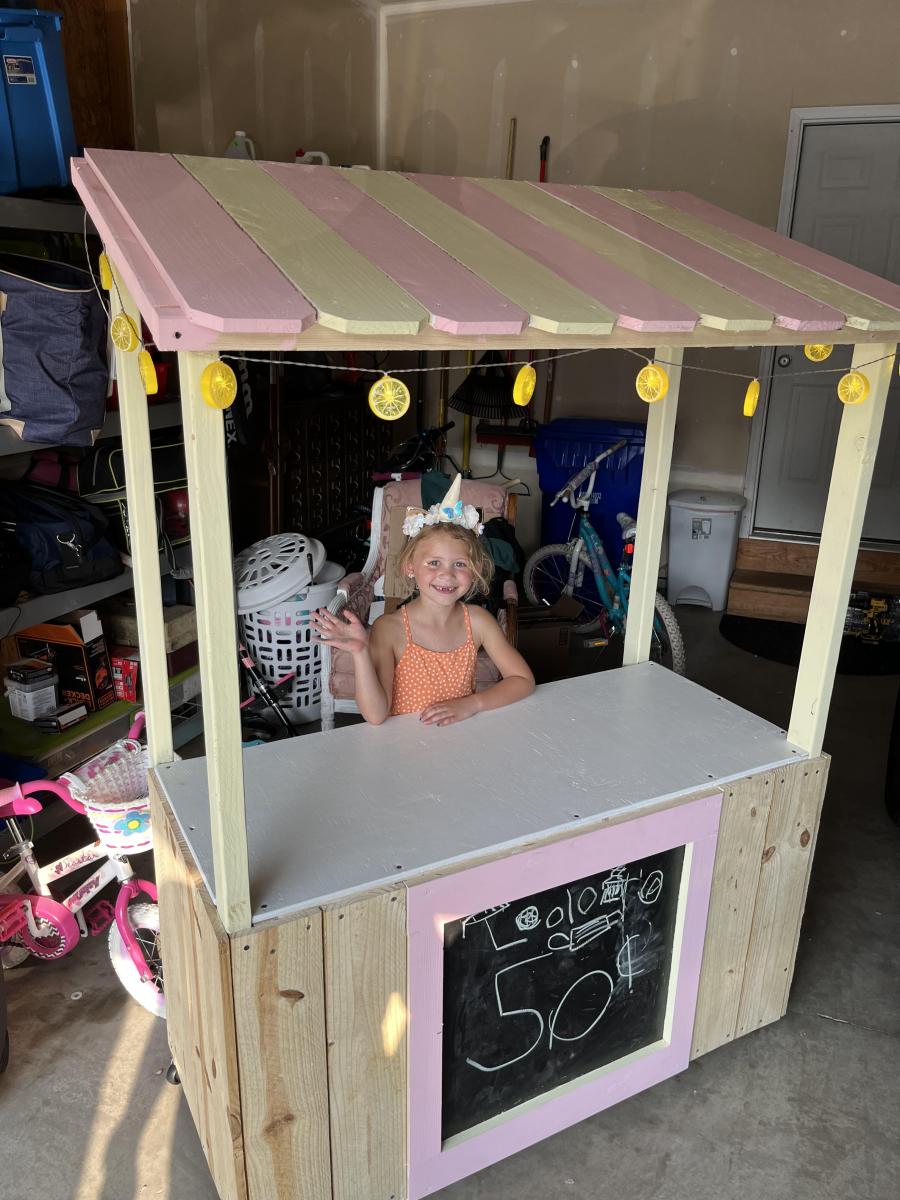
DIY lemonade stand with awning
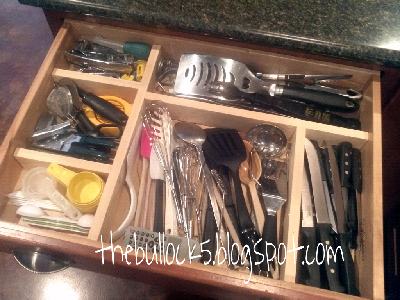
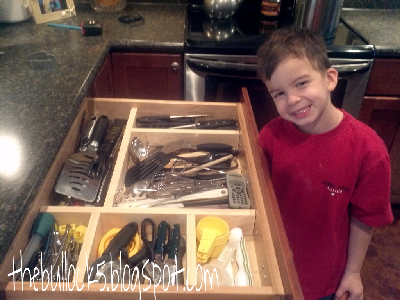
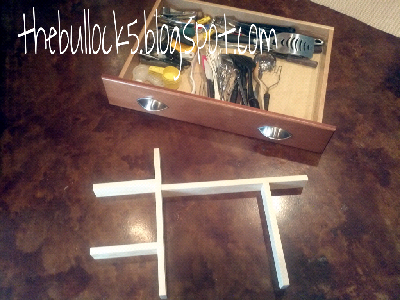
I am so thrilled that I did this for my large kitchen drawer! I was able to get all of my cuts from 1 piece of 1x3... It was $2-3 at my local blue store. I did purchase the mini kreg jig to use for this and absolutely love it! I have also used it for another project and am totally hooked to it!
I didn't screw to my drawer it self but they fit snug like a tray...
my 4 year old helped and we had it done in under an hour!
More on my blog link
Now which drawer is next!!!

Mon, 01/09/2012 - 18:20
I was just eye-balling some of my drawers last weekend for this very thing. Yours looks great and it might just be what I needed to get into gear at my house :)
Tue, 01/24/2012 - 06:33
Thanks and good luck, the hardest part was just figuring how I really wanted it lol
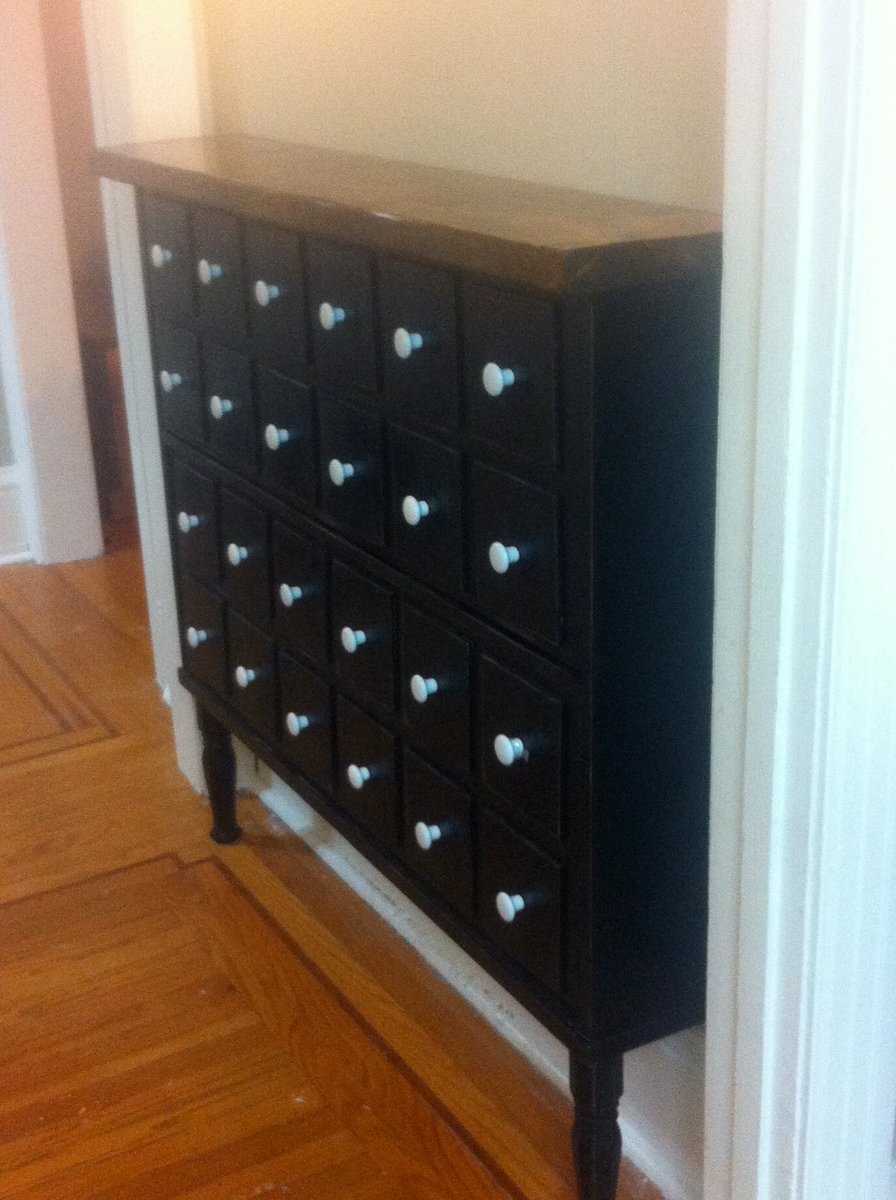
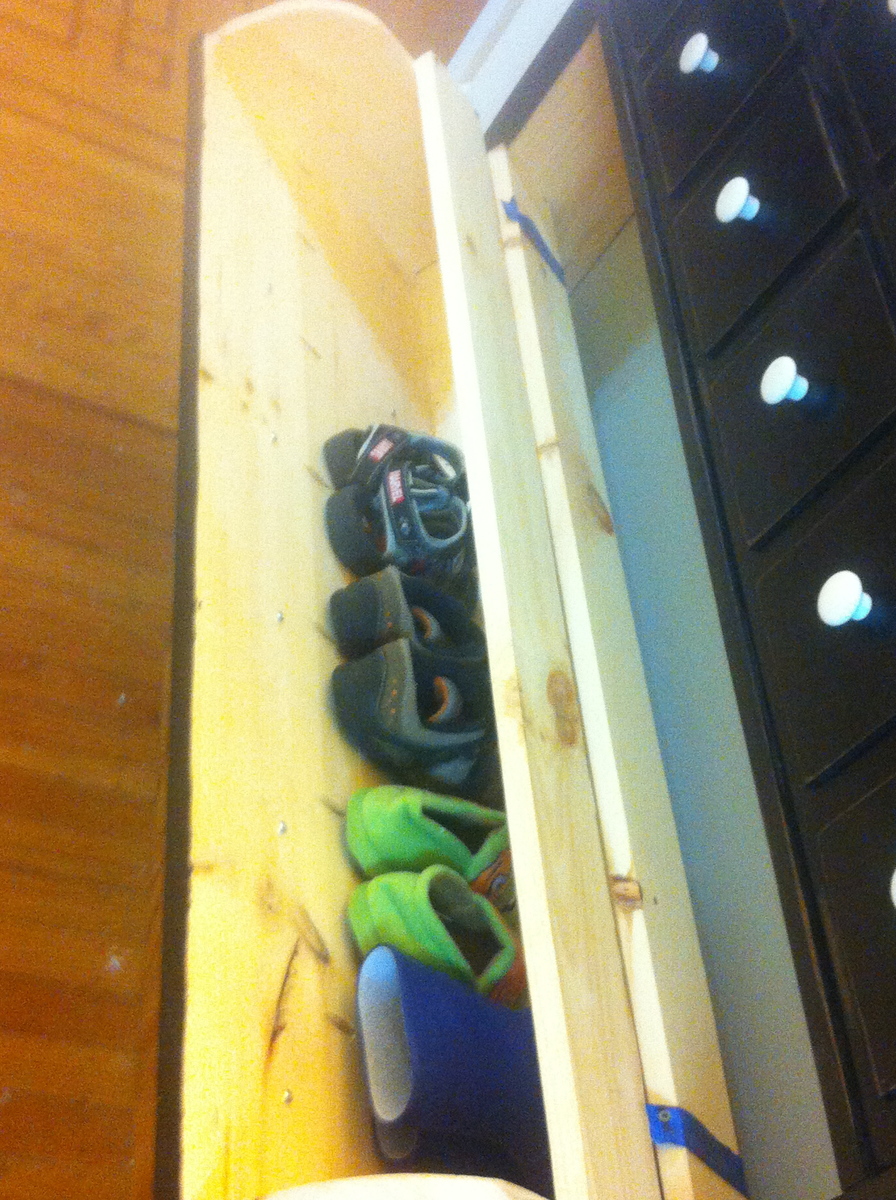
I made this to fit in the entryway of our 99 year old home. It's the perfect size for it and it helped alleviate the clutter of shoes that bombarded our entryway. I saw another member on here made this cabinet in the apothercary style by using 1/4" plywood on top of the 1x8s and I loved how it turned out so I had to copy it. I then painted it black with a stained top and distressed edges. water based poly on top.
If you are going to build this I strongly suggest chain bolted to the studs (don't ask me how I know ;)
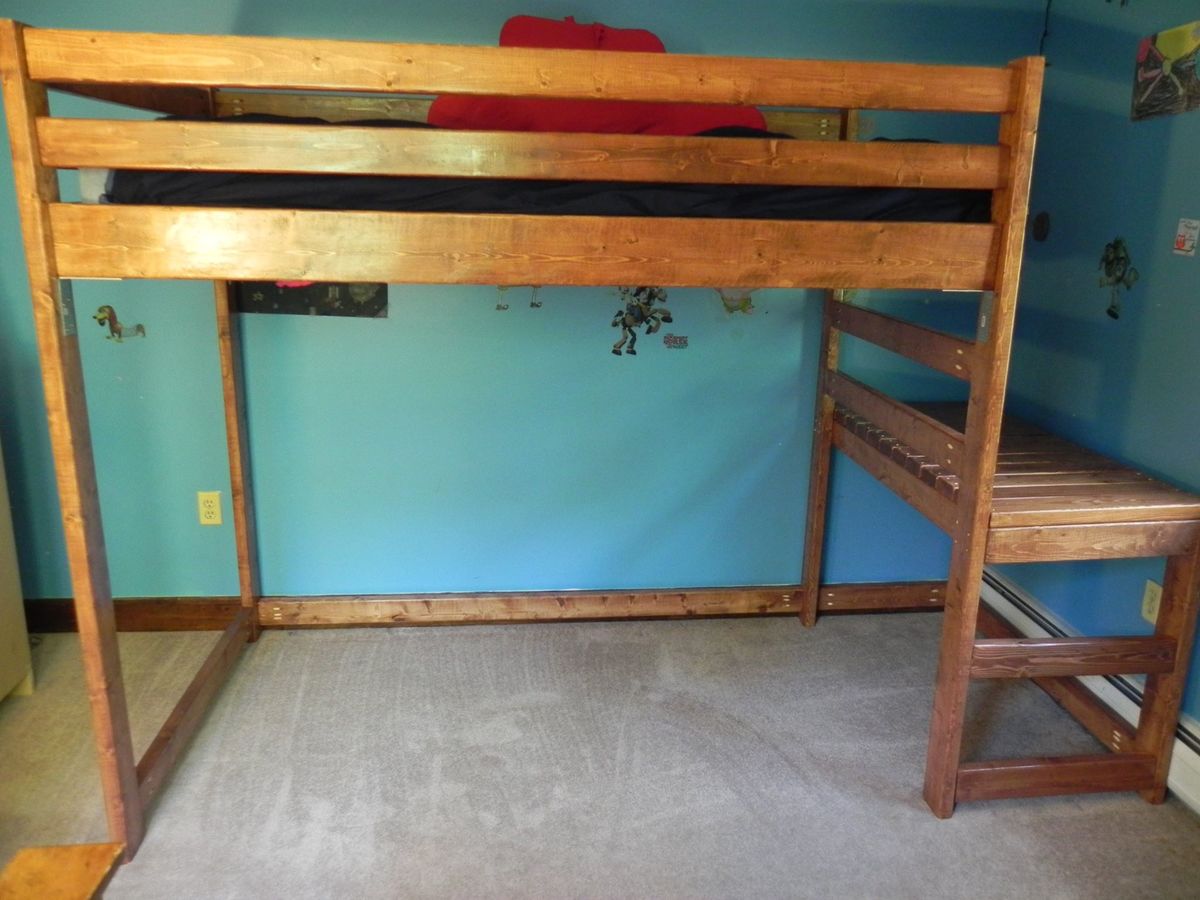
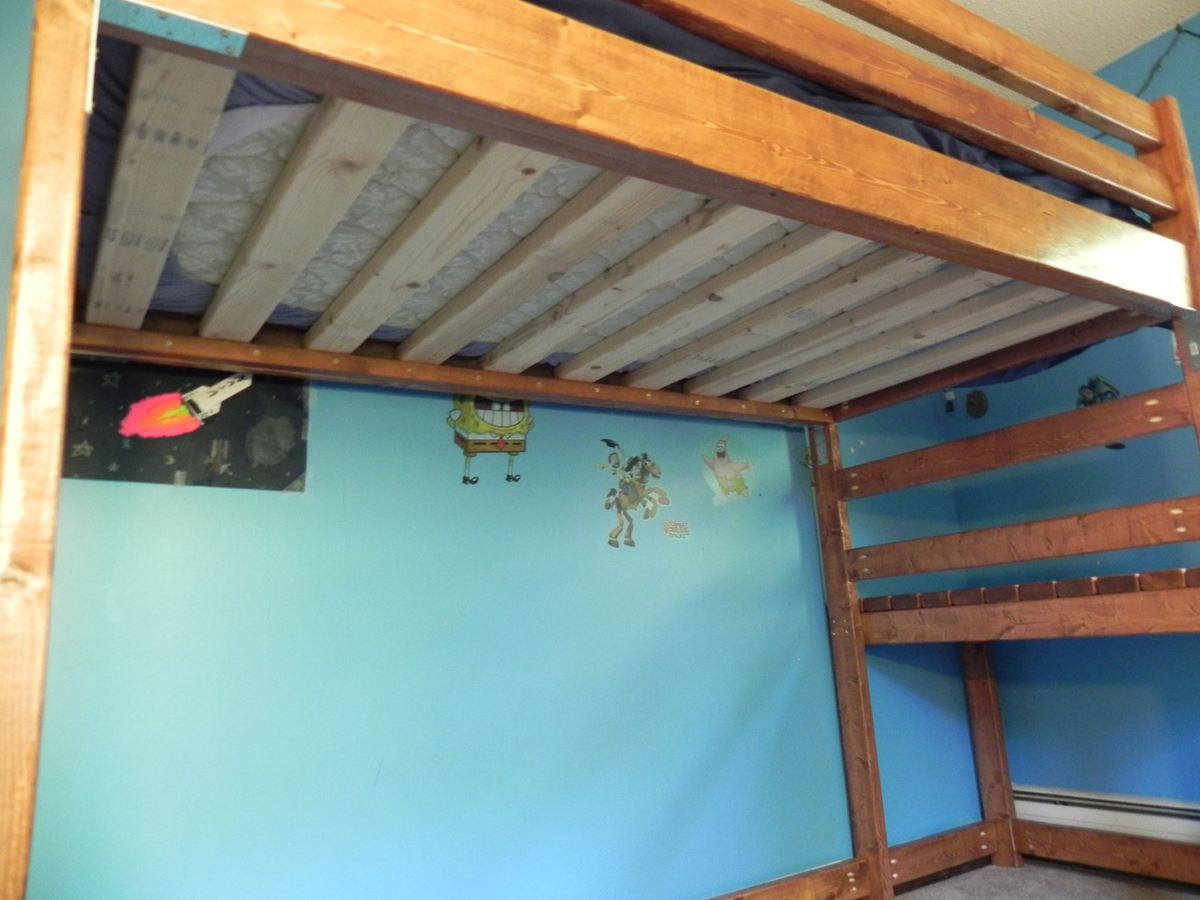
I built this bed for my 10 year old son. I only made a few changes from the original plan. I increased the height so my son could easily fit underneath the bed. I did make the stairs, but we decided not to use them to save on floor space. I also added metal L brackets under the side 2x6's for support. It was a fun project and fairly straight forward. I finished each piece individually and then assembled it in his room. The sanding, staining, and varnishing was very time consuming, but worth it in the end. He absolutely loves it and so do his siblings and friends!
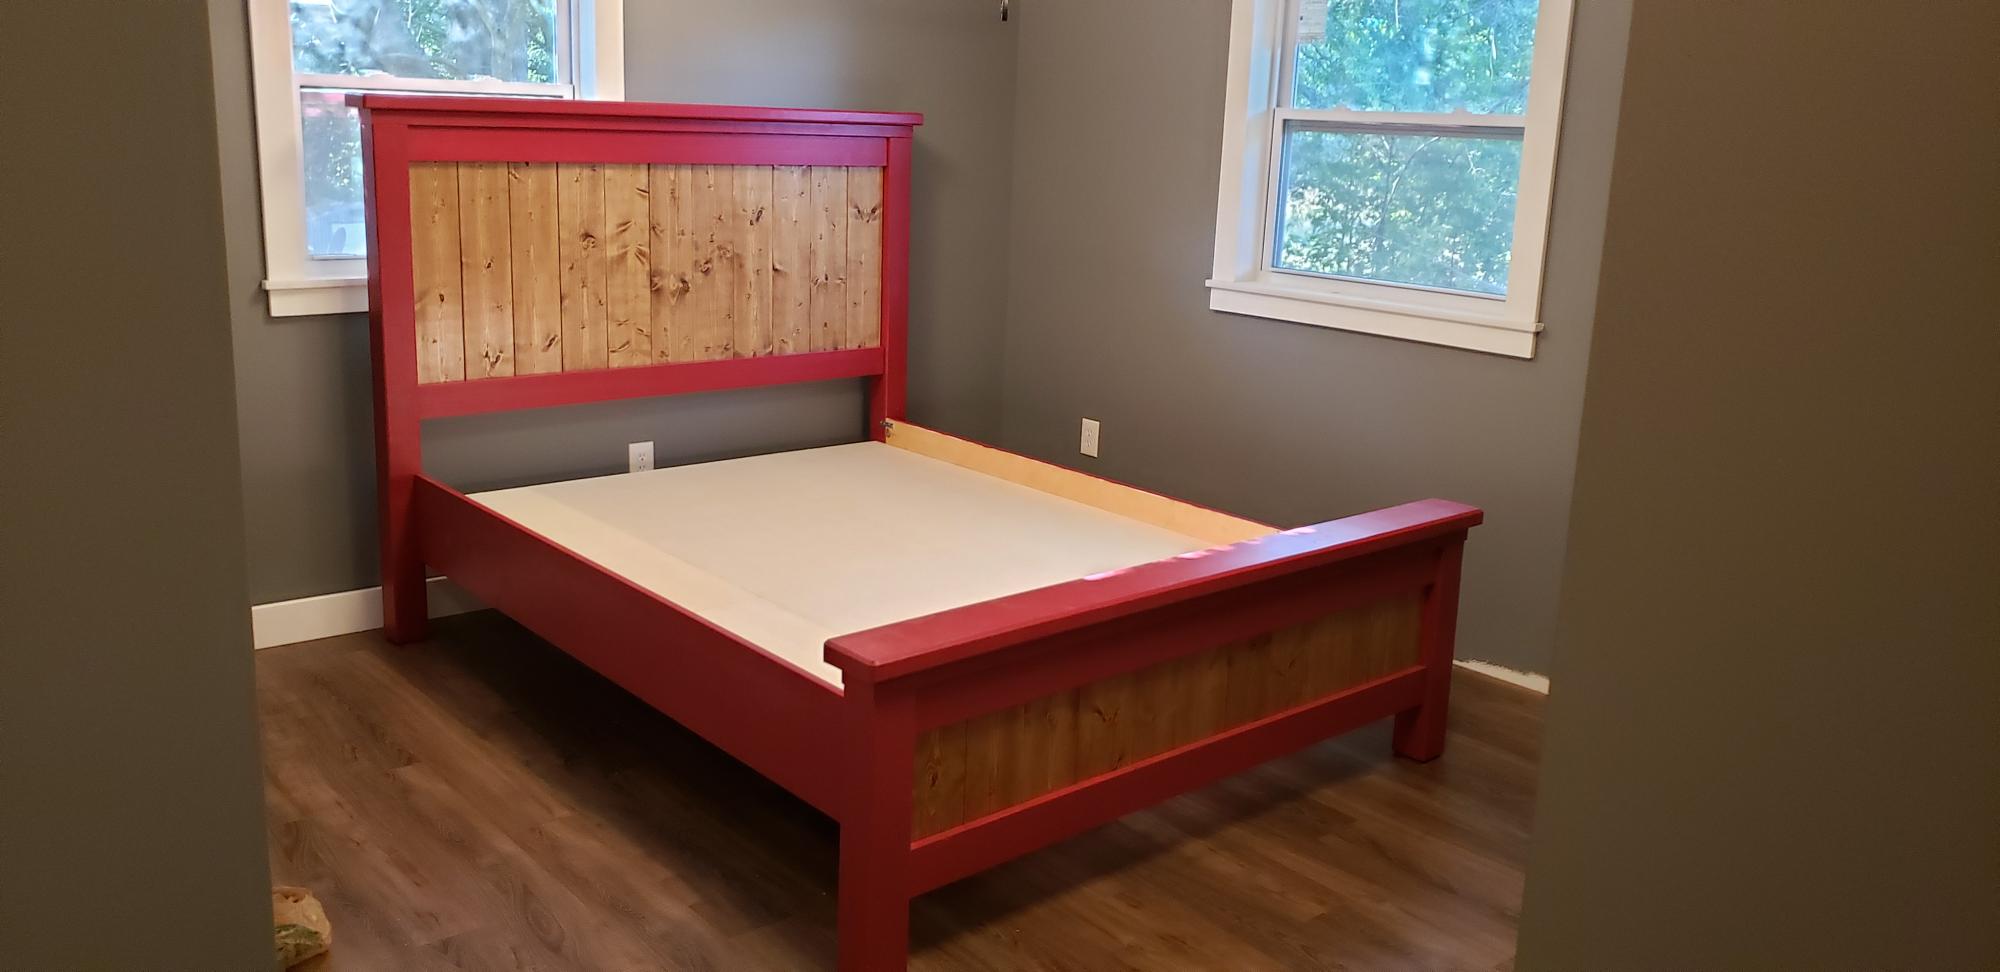
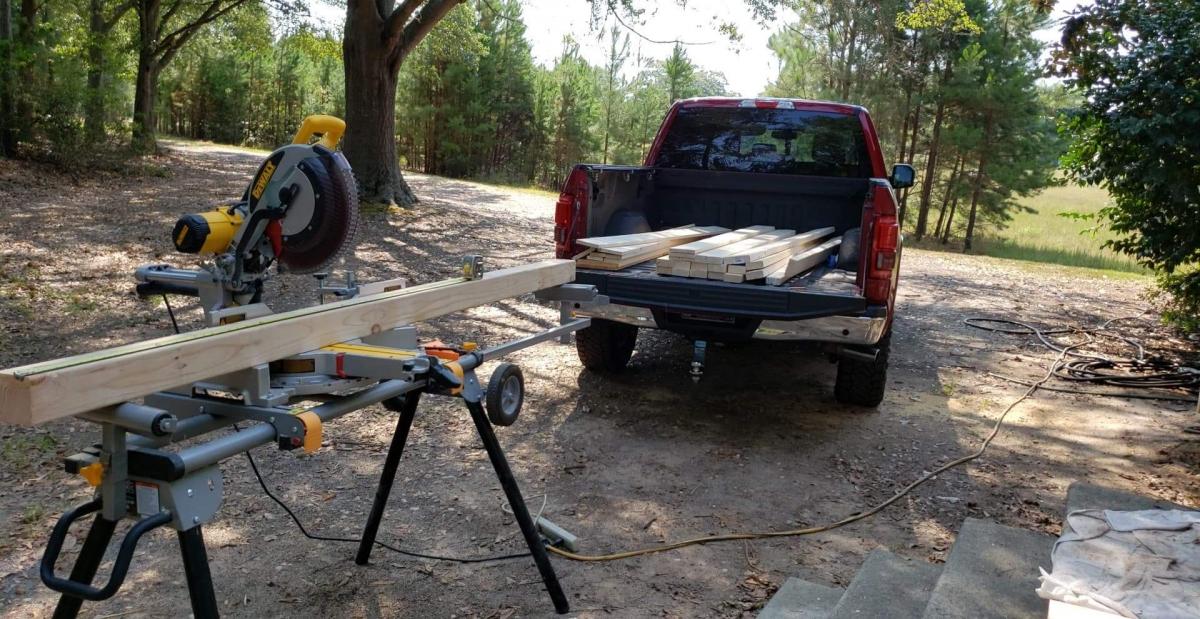
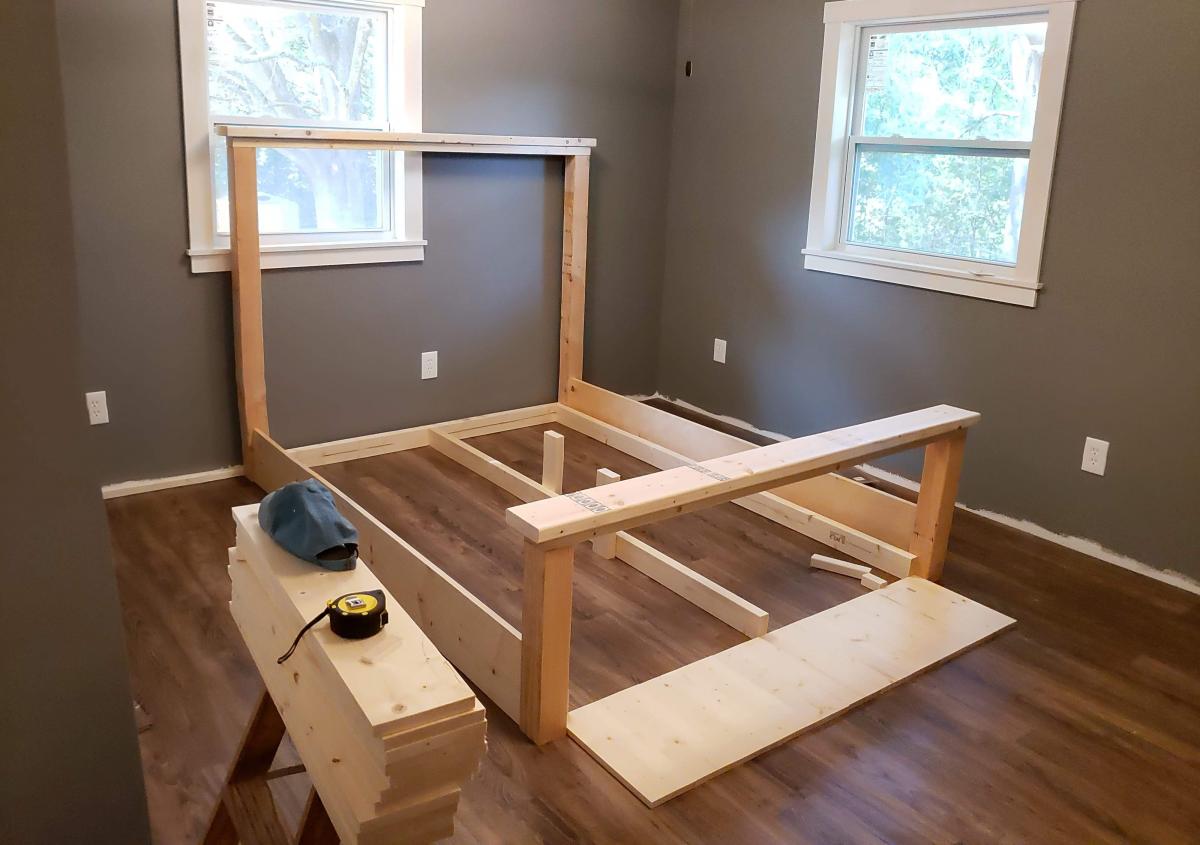
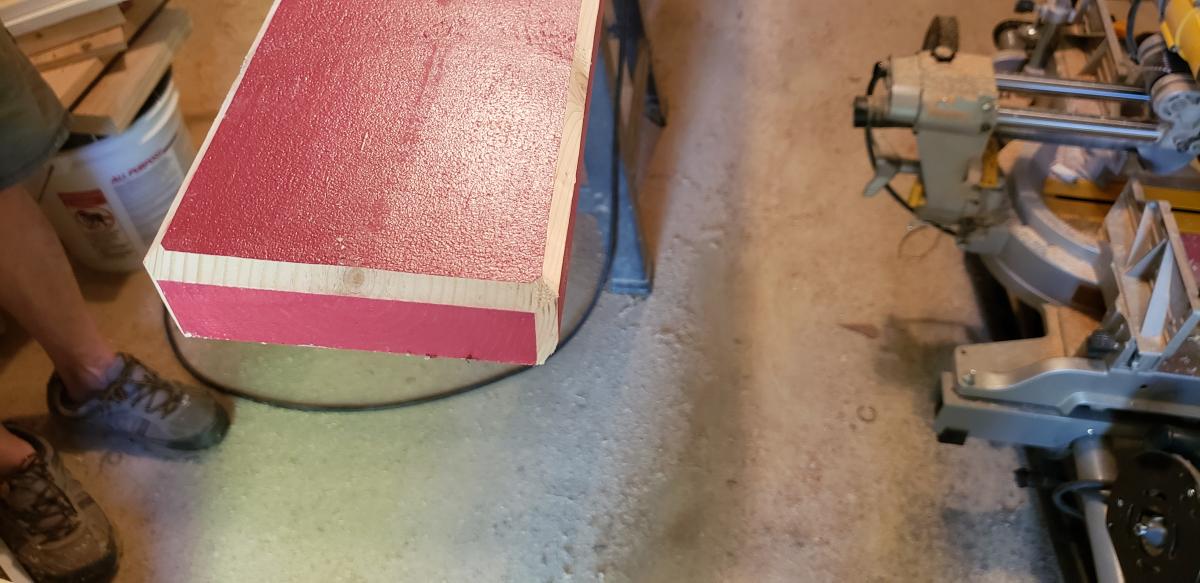
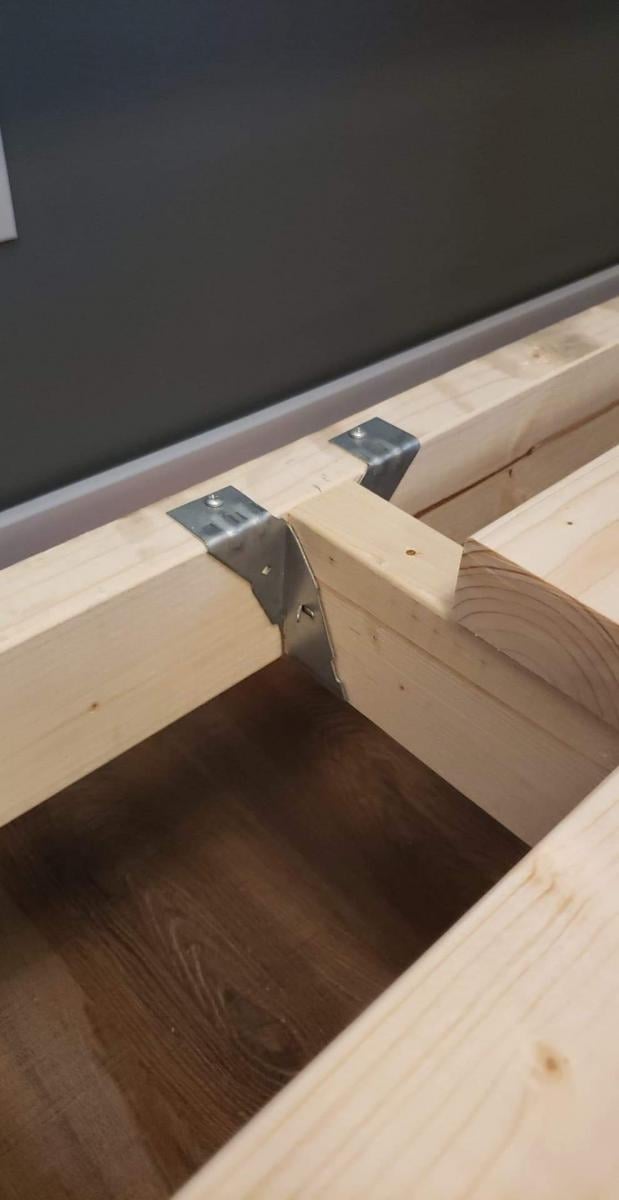
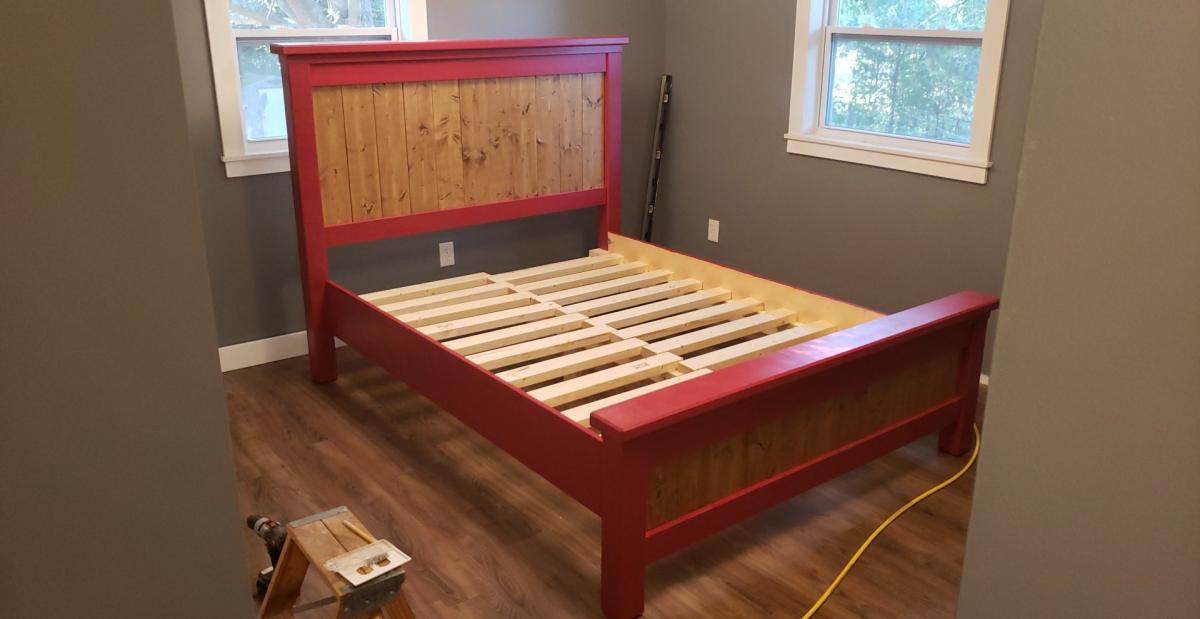
Built this bed for my wife and I in our starter home. It has been a pretty easy project with good instructions. Id change up my order of operations to prevent the wood from cupping as bad as it did in places as well as be more strict with my wood selection but im very happy with it over all. I braced it up a little more than instructions called for since this was my first bed build.

My father in law was a very good woodworker. He had a great shop with all the power tools anyone could want. He passed away 2 years ago and one day I went in his shop and remember thinking this woodworking could be sort of fun.
I searched the internet and came across the Ana White instructional site. Your site and instructional videos have helped me so much. The photos attached are my first attempt at furniture making. I used and modified one of your plans for this piece of furniture. It was SO helpful. Thank you for making these videos and plans available for those that are leaning this craft.
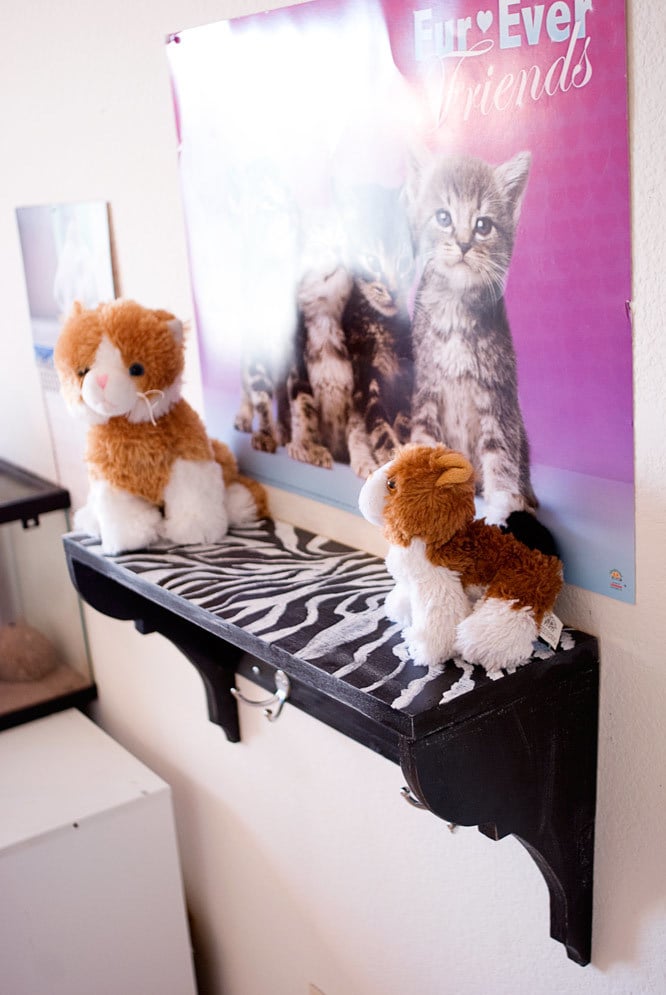
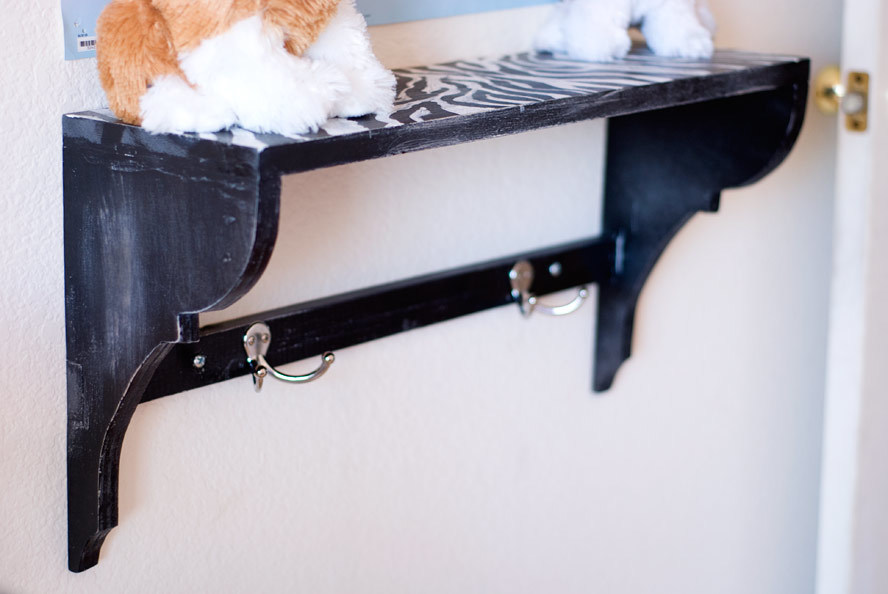
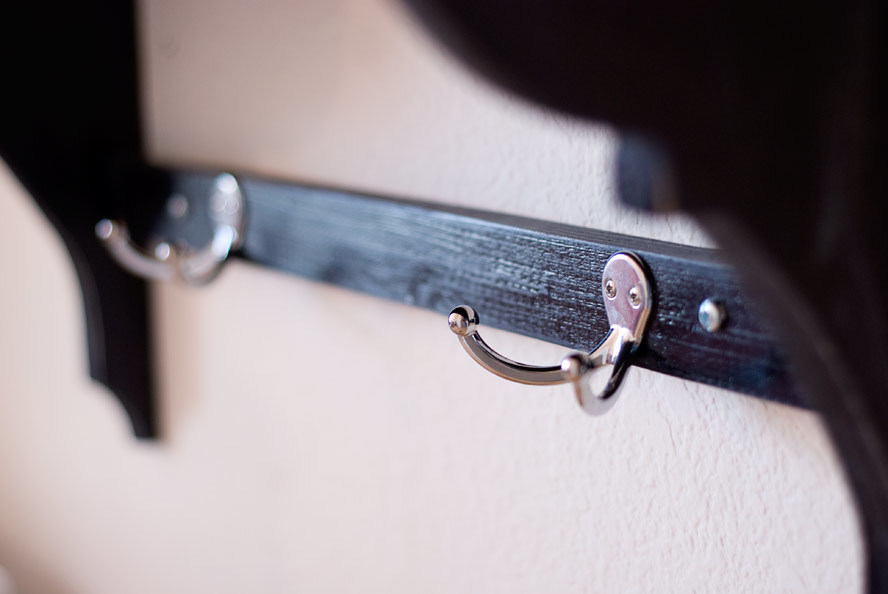
When I saw Ana post this shelf to Facebook, I stopped what I was doing and got to building it. I think it was about 3 hours after she'd posted it that I had this thing built and ready for the first coat of paint (and I cooked dinner during that time). It's perfect for the big kid's jackets/backpack/shoes when she comes home from school (I hung it at kid's console table height so she can hang her stuff and access the top). So far it's worked perfectly, and she just LOVES it.

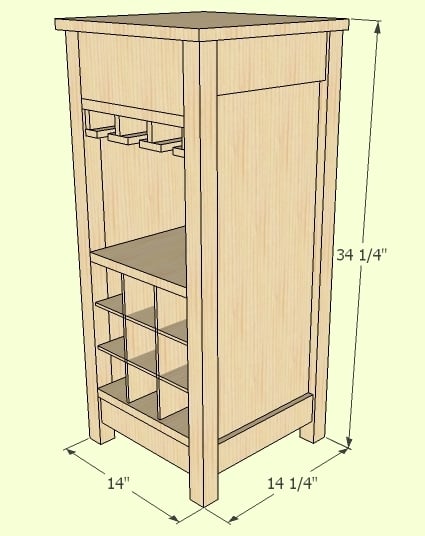
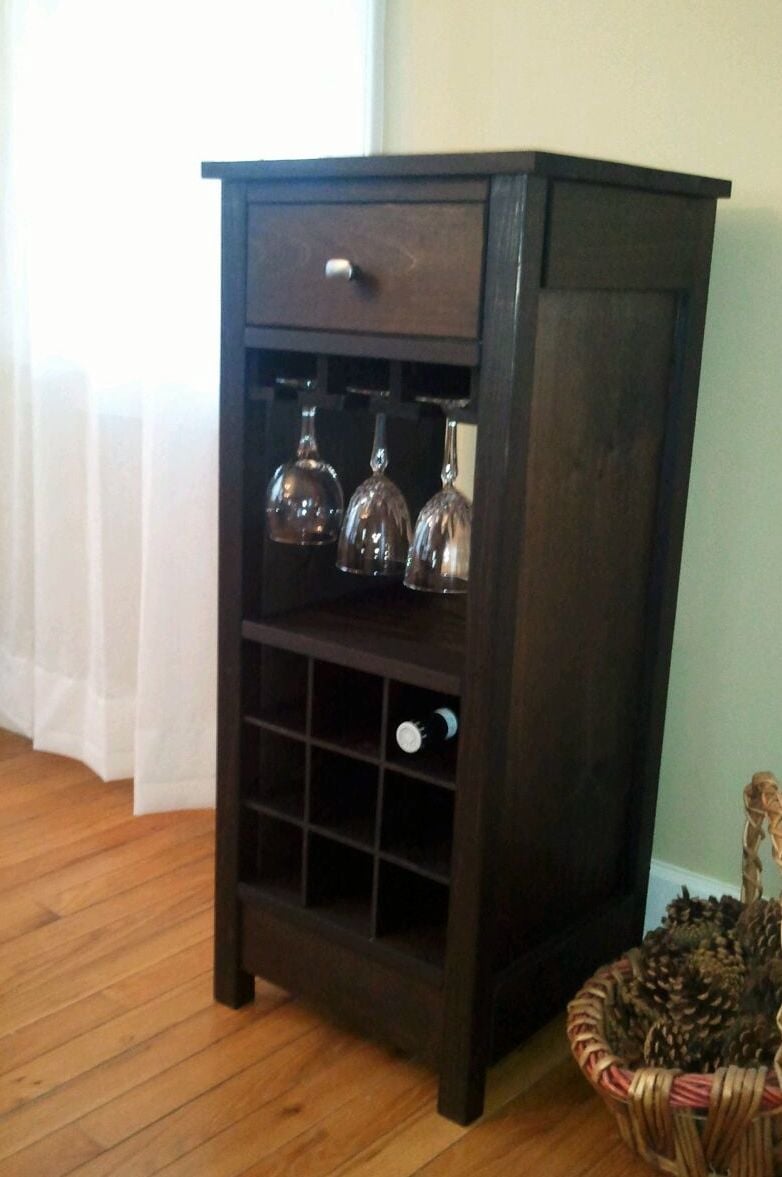
I liked the look of the Mod Bar, but the original design was too big for my dining room. I did a little redesign, made it smaller and included the stemware in the piece. I also wanted a "lighter" look, so I decided not to use trim around the bottom. Now it's perfect for my dining room!

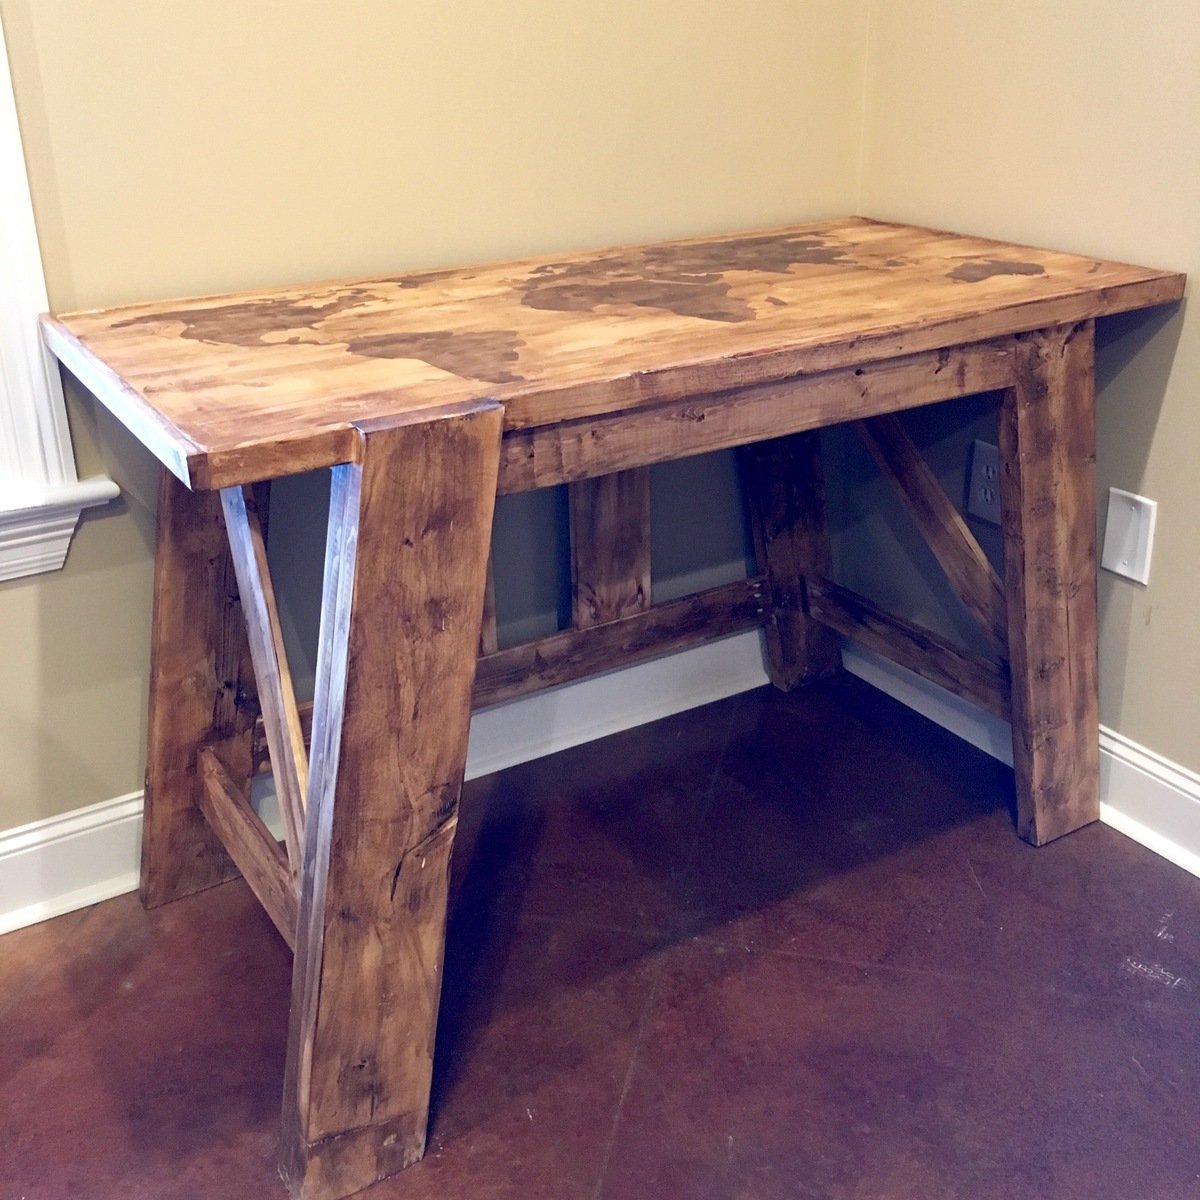
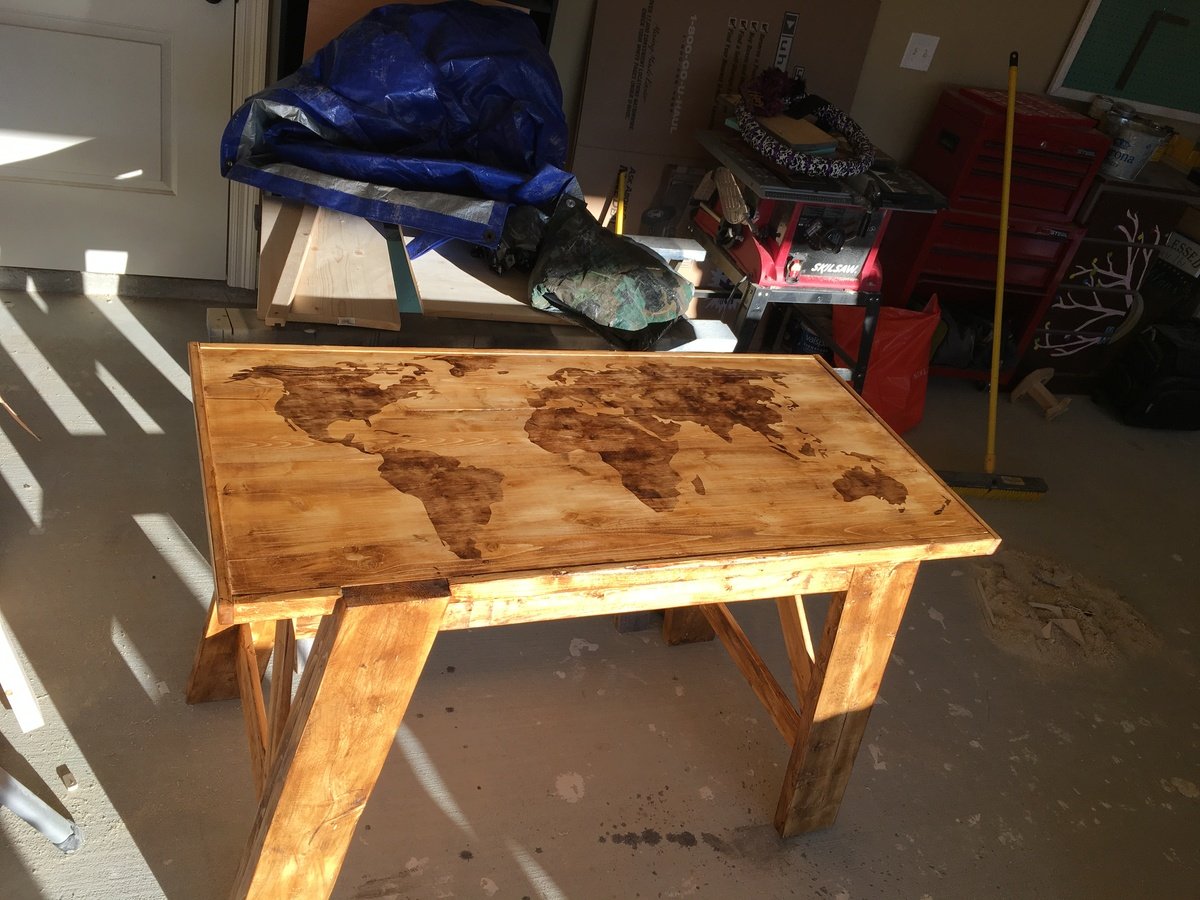
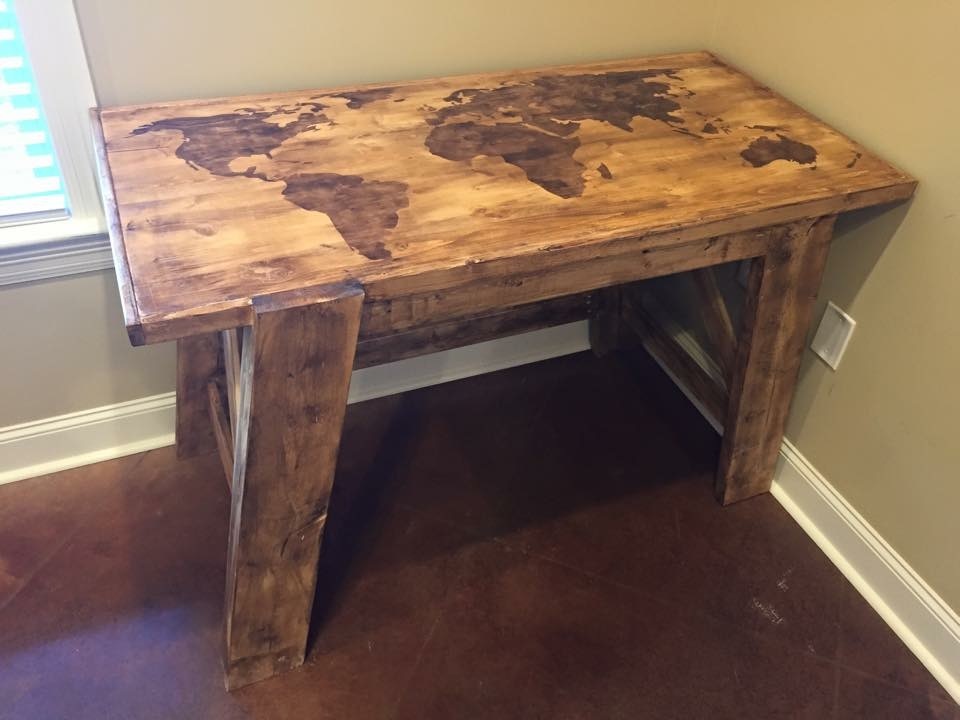
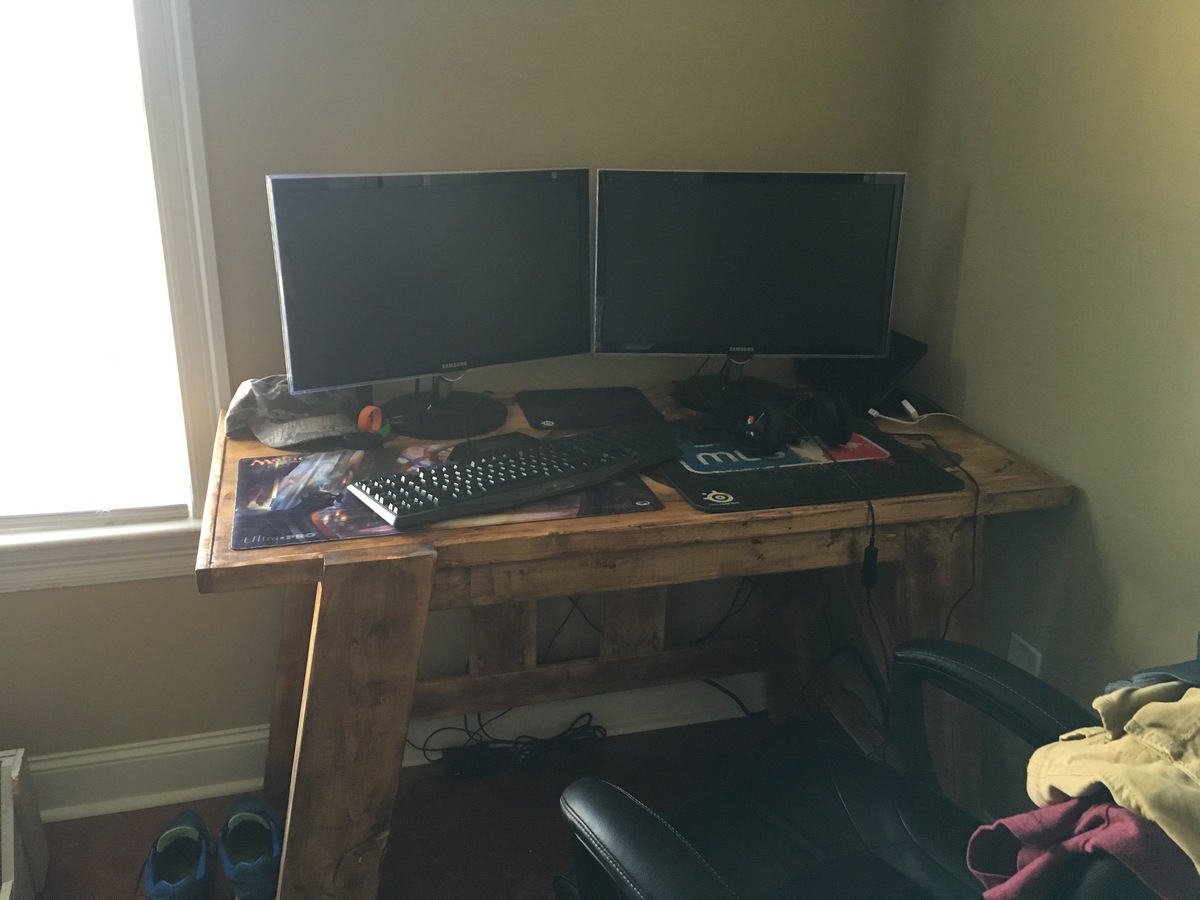
My husband had been using a sawed off dresser as a computer desk for almost year and was in desperate need of something nicer. I wanted to surprise him so while he was at drill one weekend I decided to build him this desk. I took the height up to 34 and decreased the length to 51 so it would fit in our space and his desk chair could fit under it. He was very surprised and LOVED it!


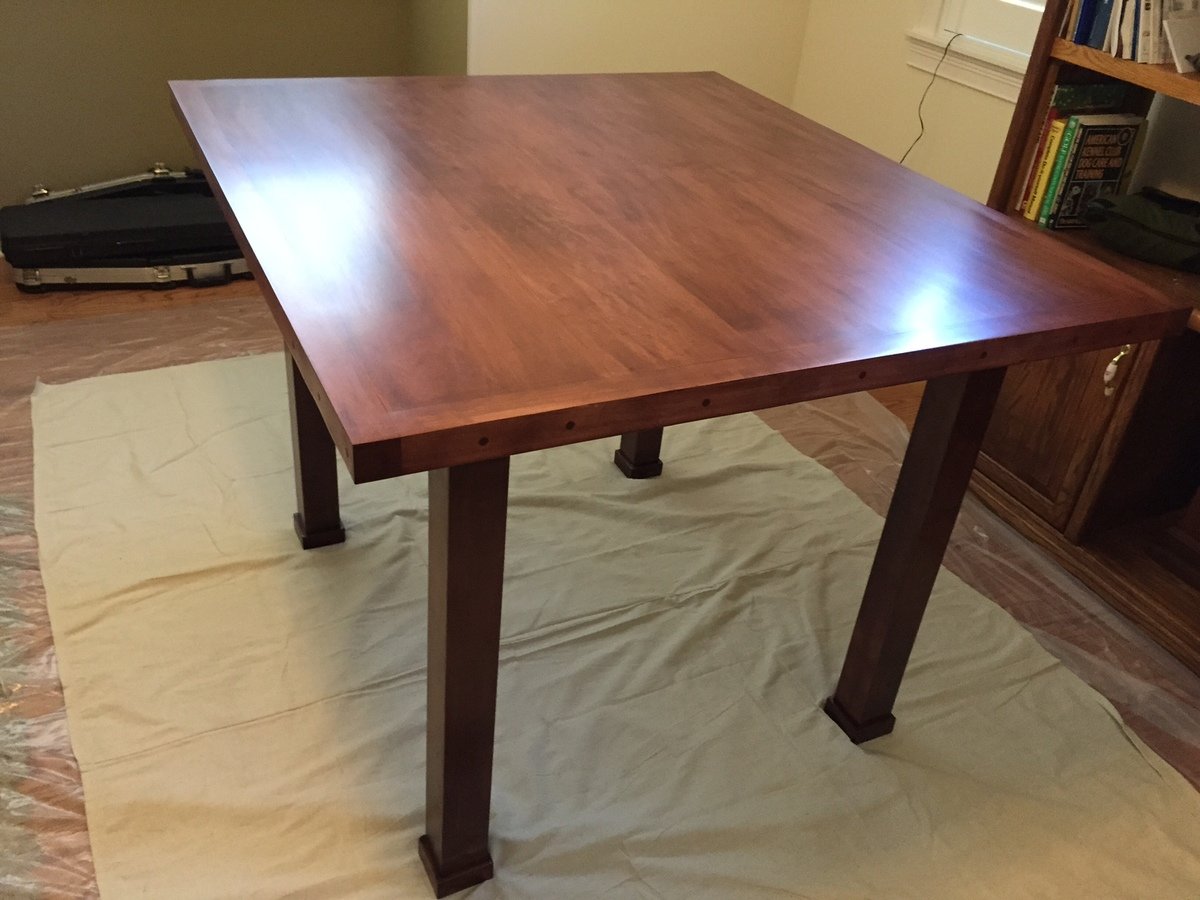
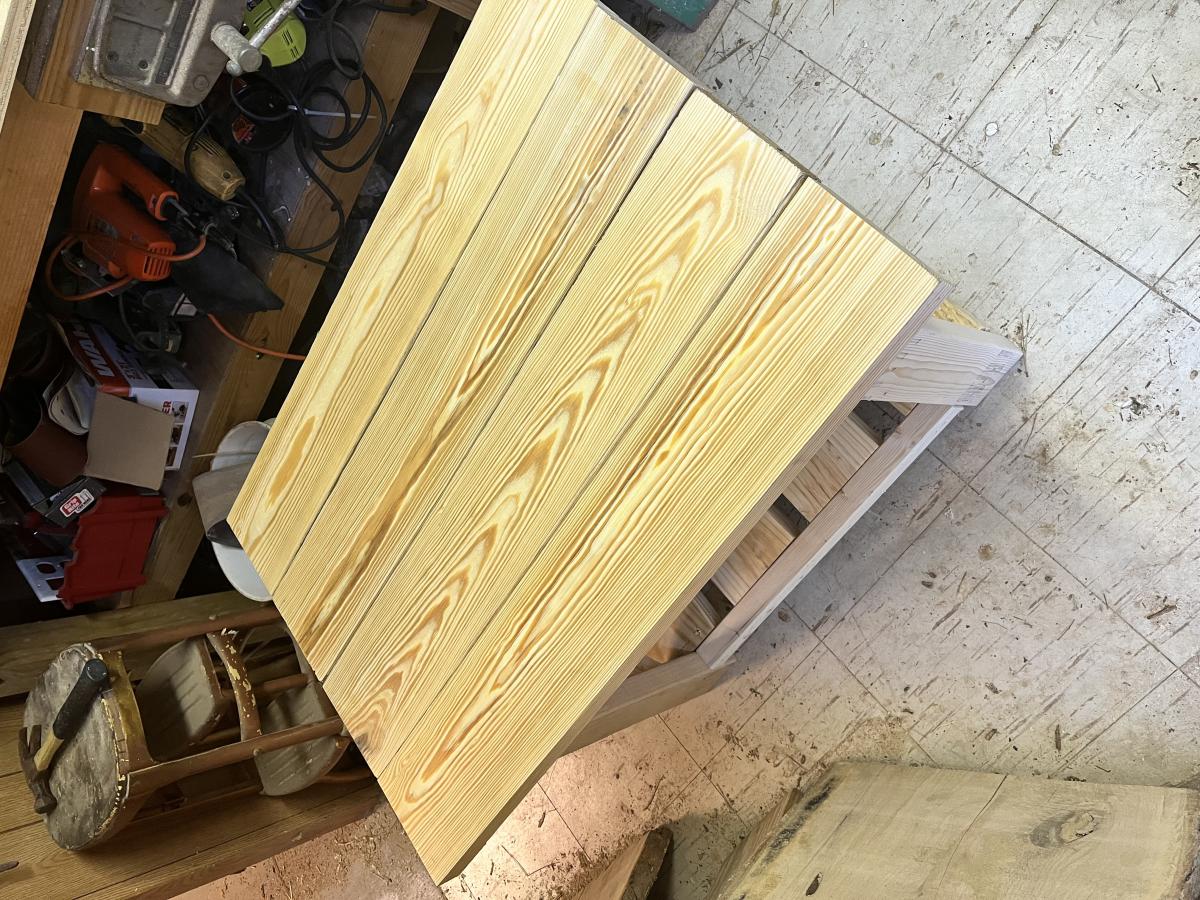
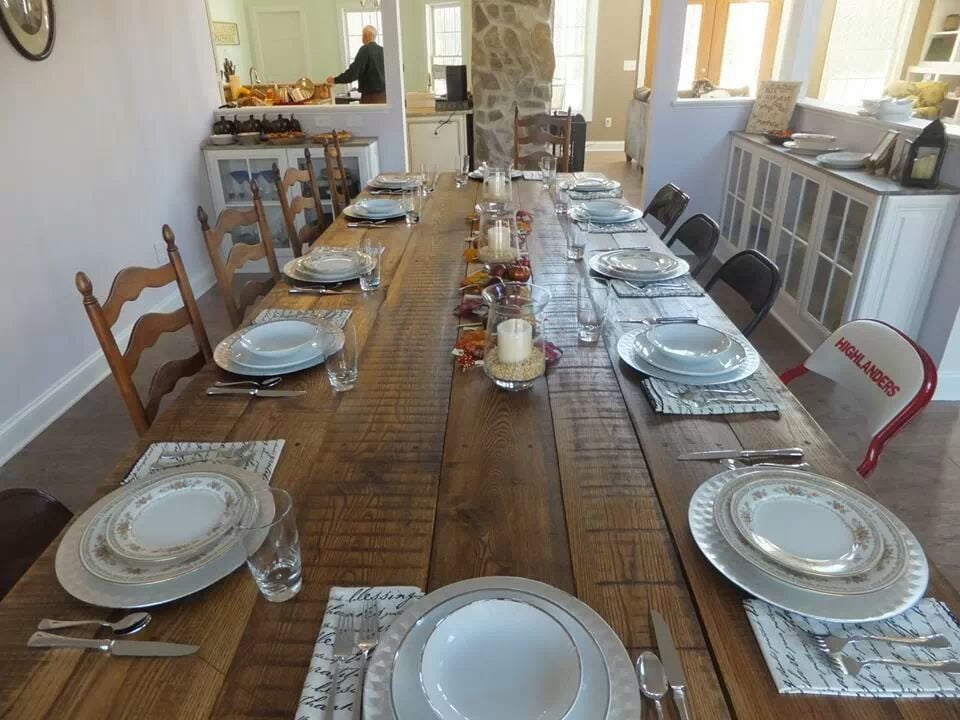
Husband and I always wanted a 12 foot table when we moved into our new home. Together, with my father-in-law, we came up with the plan, went to a lumber yard, and put together our beautiful table for all our kiddos and extended family to eat around for years and years


Wed, 10/02/2019 - 09:47
This table top is beautiful! Thanks so much for sharing photos!

My husband and I built two of these endtables over the last two weekends. This was our first real furniture project, and we had a lot of fun working together. Thankyou so much for you plans Ana, it couldn't have been easier!
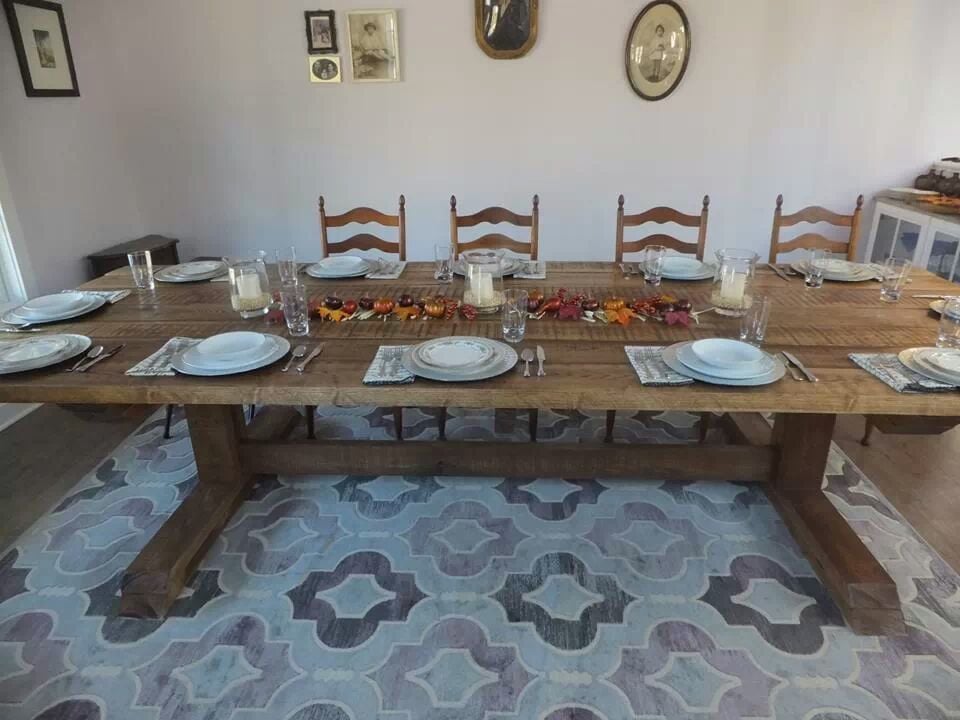
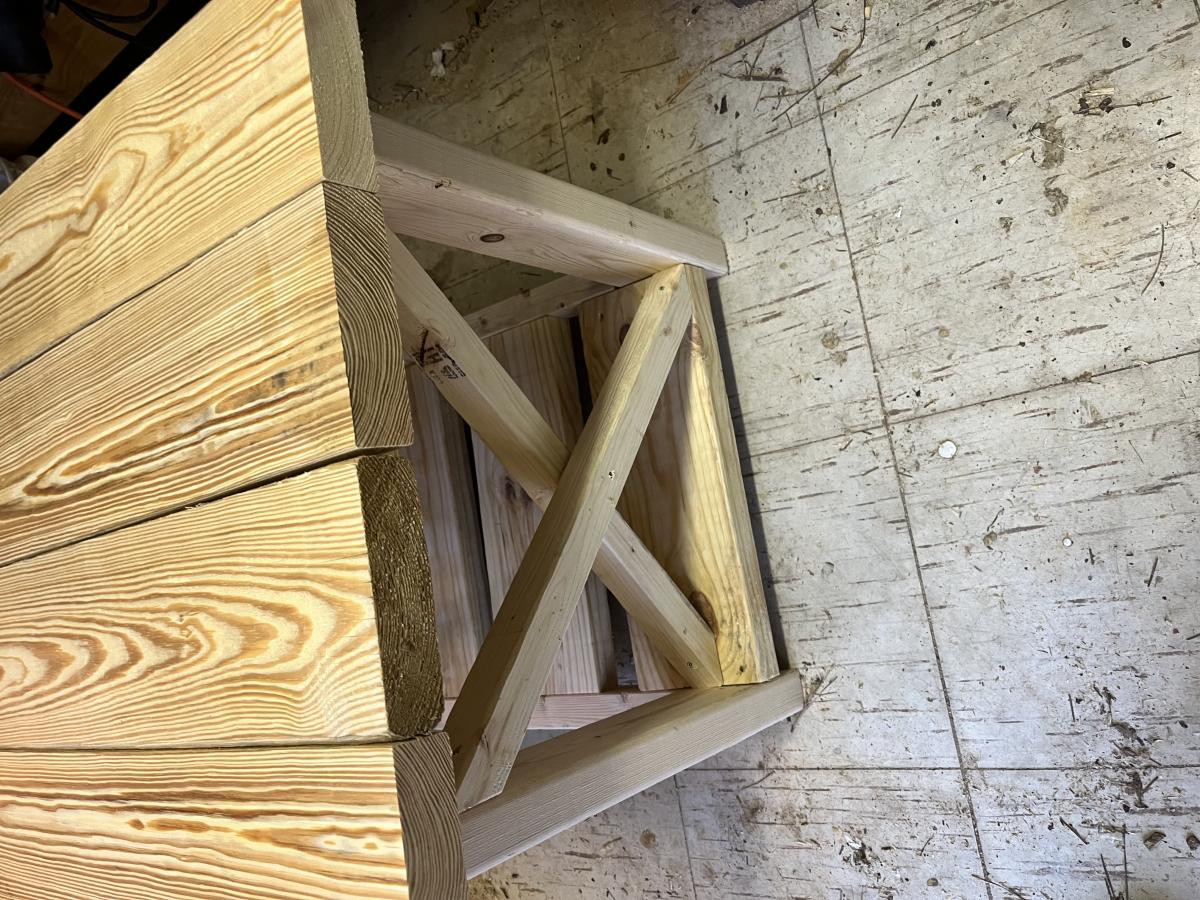
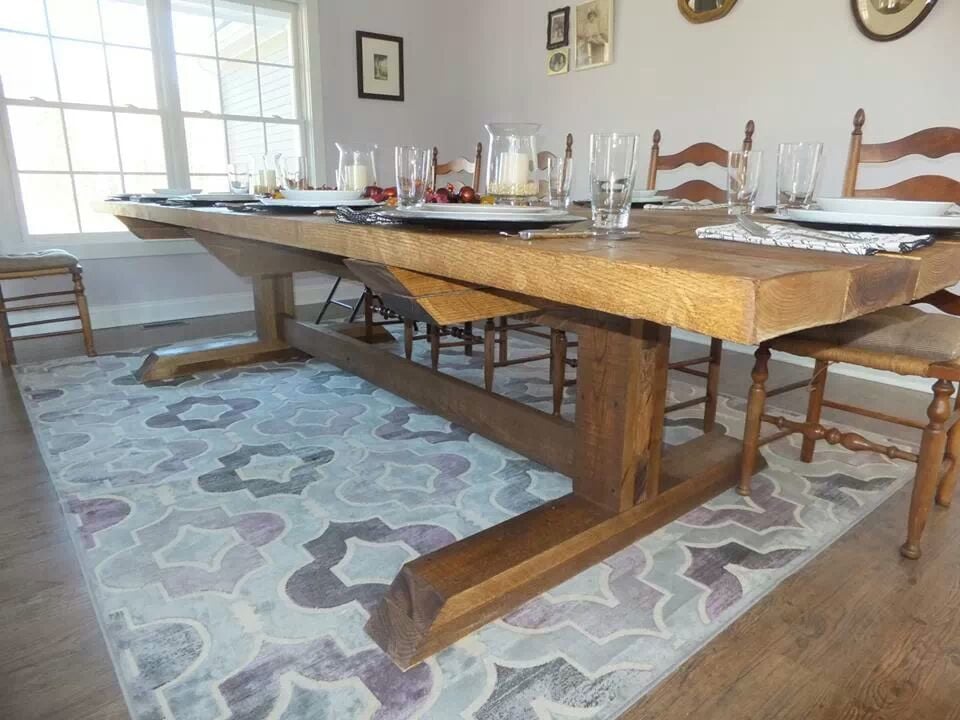
I used Ash wood from my local woodworking shop. The wood varied in width but is a true 2" thick. The table is 12' long and 4.5' wide. I didn't see the need in having the X on the leg ends as the ash was plenty strong enough to hold the top planks. Plus, I really like the look without it. I did add a cantilever beam in the center to stop sag. I didn't feel like I needed diagonal bracing in the center to support the cantilever beam (Note: Original design has center diagonal supports in wrong direction which do nothing for structural integrity of table). The table top planks were strong enough to span an 8' distance. The table top over hangs each end by 2' on center. I left the wood as rough cut as possible. I did rough it up a little more. I sanded with a #36 grit only to sand off writing, dirt, and burrs. I stained with MinWax Early American and sealed with Satin Poly by MinWax. Feel free to ask any questions. This is my 2nd wood project and I am hooked.
Wed, 02/19/2014 - 14:37
Can I ask how you attached the top supporting plank under the table top and also how you attached the bottom cantilever into the upright supports?
Fri, 04/04/2014 - 08:39
I screwed the top cantilever planks on each end into the post. I notched and screwed the center cantilever support. I actually didn't need the center cantilever support because the wood could span the distance but I did it just to be safe.

Wed, 10/22/2014 - 10:39
I love the roughed up top. How did you get the lines in the table top? It looks fabulous!
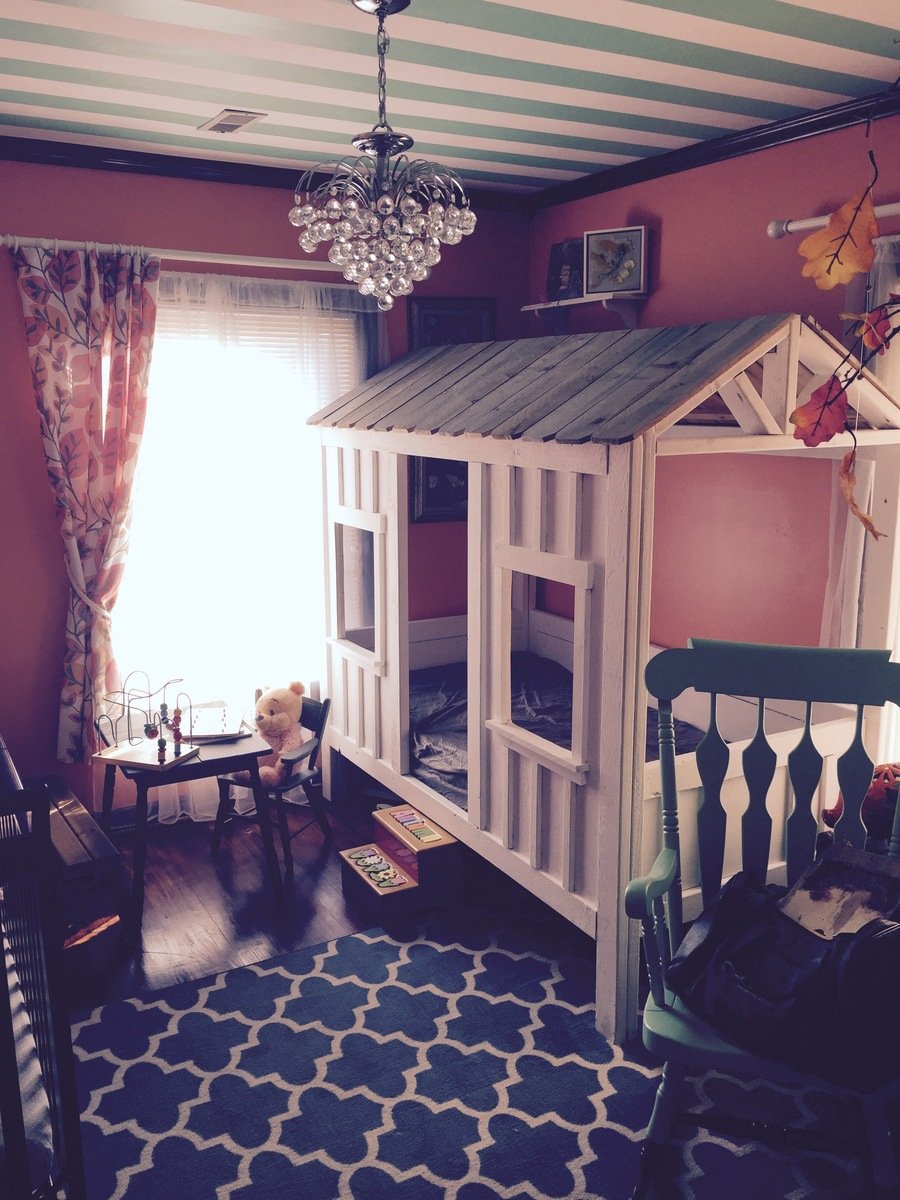
I saw this on Pinterest and immediately had to make it for my 2 year old daughter Autumn. It took only 1 weekend to do from start to finish. The instructions were very easy to follow. I did substitute 1 item though. I swapped out the 1x6 boards for the roof paneling and used cedar privacy fence pickets instead. The pickets were sitting outside at my local Home Depot and already had the great grey age to them. I simply cut them into 3 equal lengths and dog eared the ends to match.
Comments
Ana White Admin
Wed, 05/03/2023 - 15:37
Awesome project for 1 day!
This is fabulous, thank you so much for sharing!