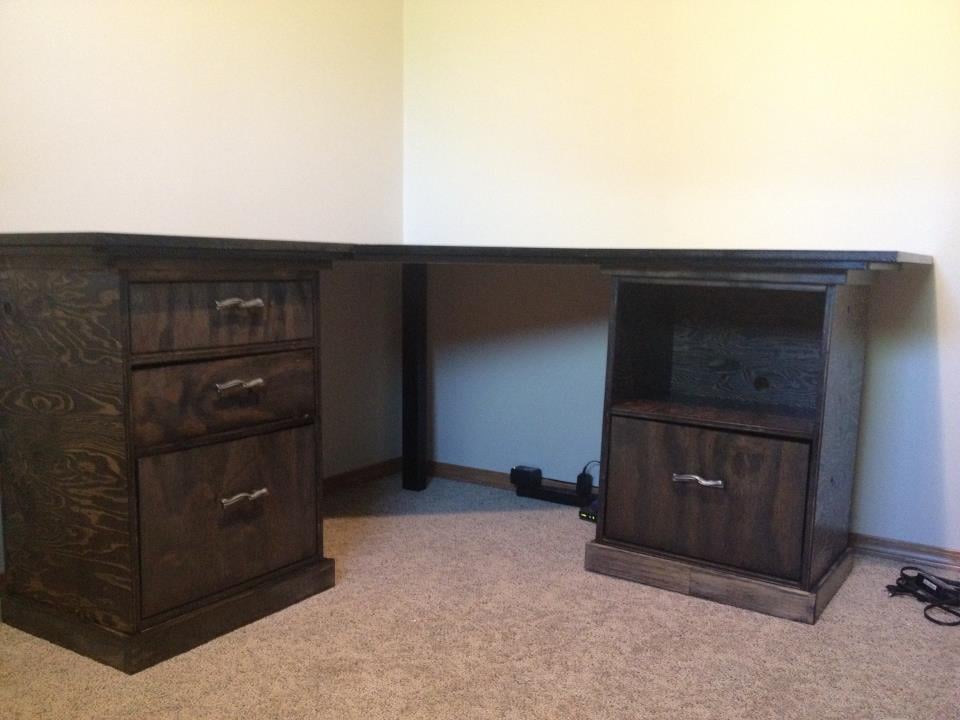
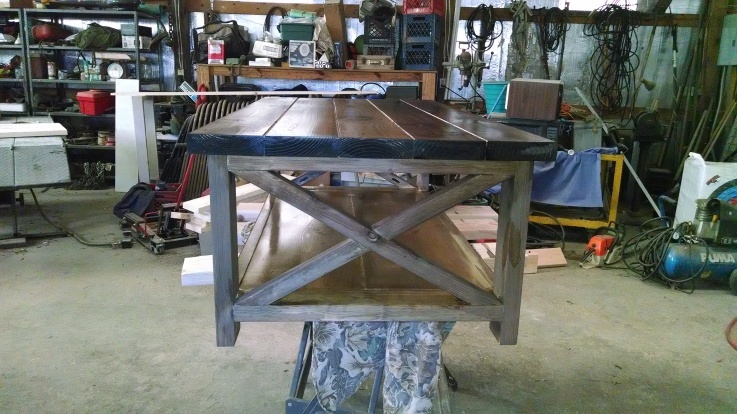
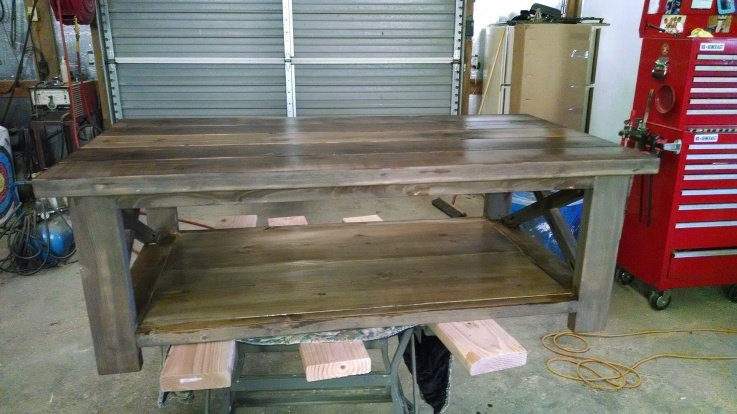
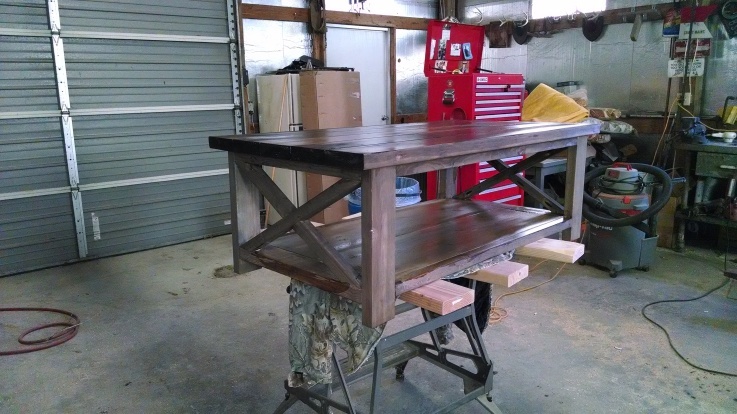
Mat's Desk
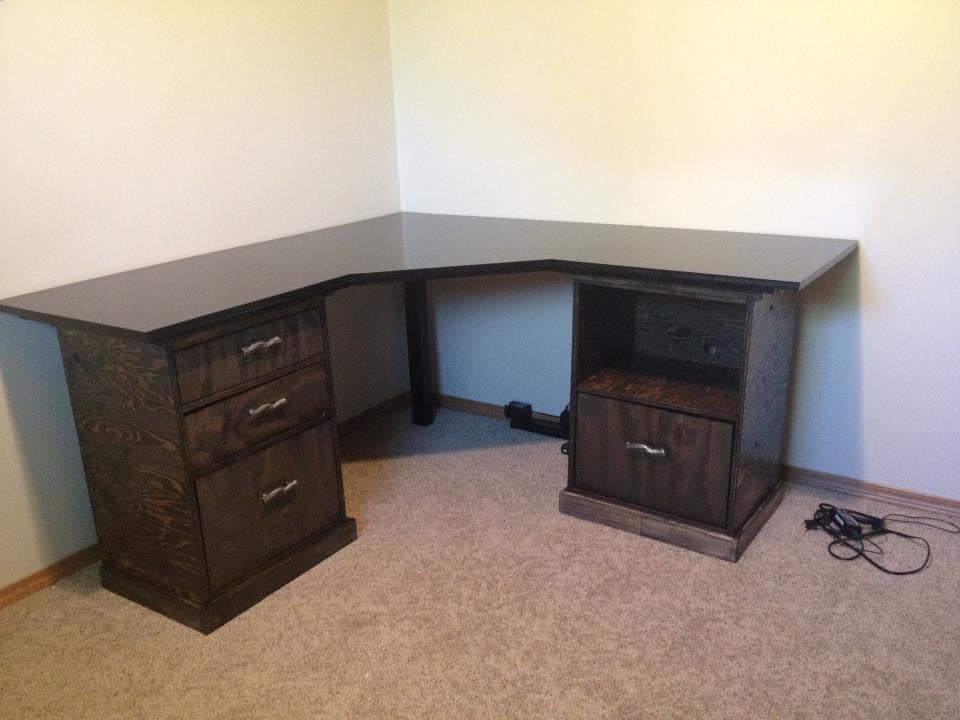
We needed a desk for the office. I didn't want particle board - or to pay a fortune! Thanks, Ana!
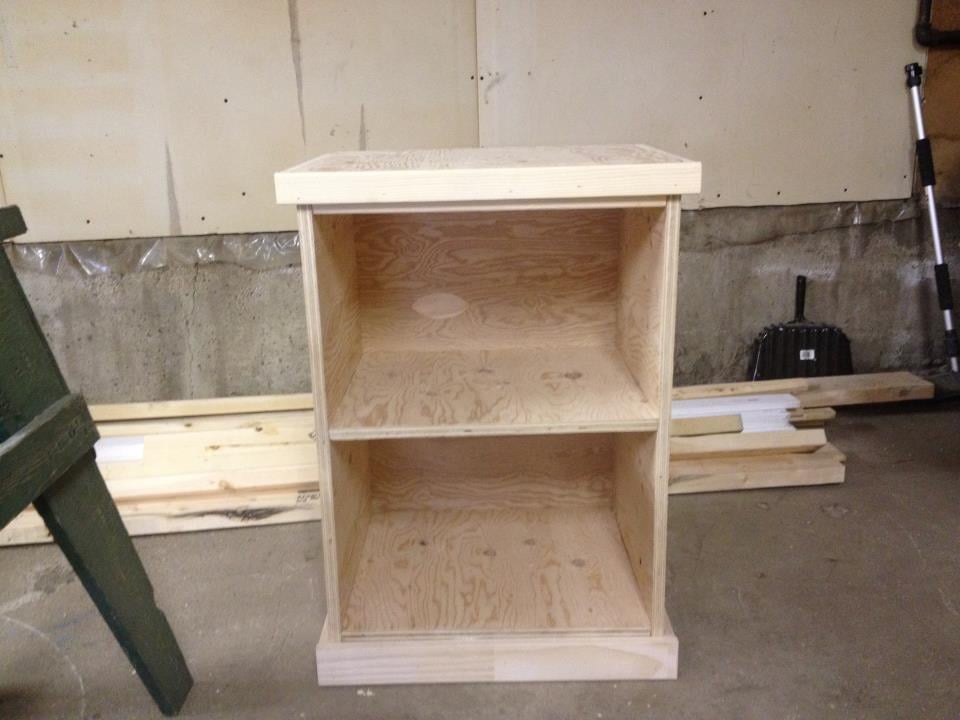
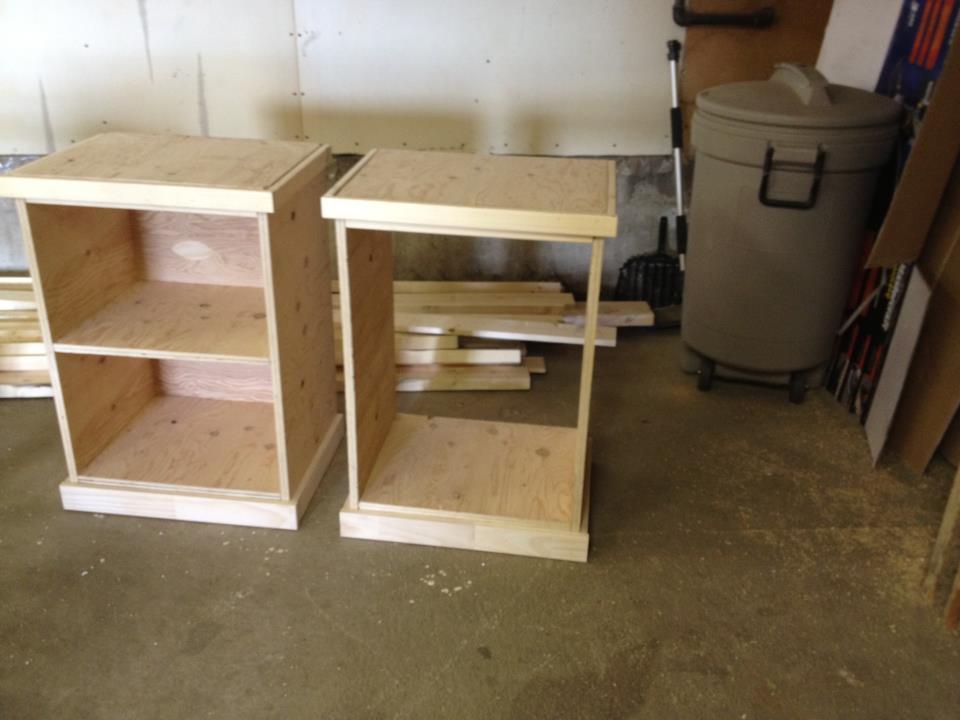

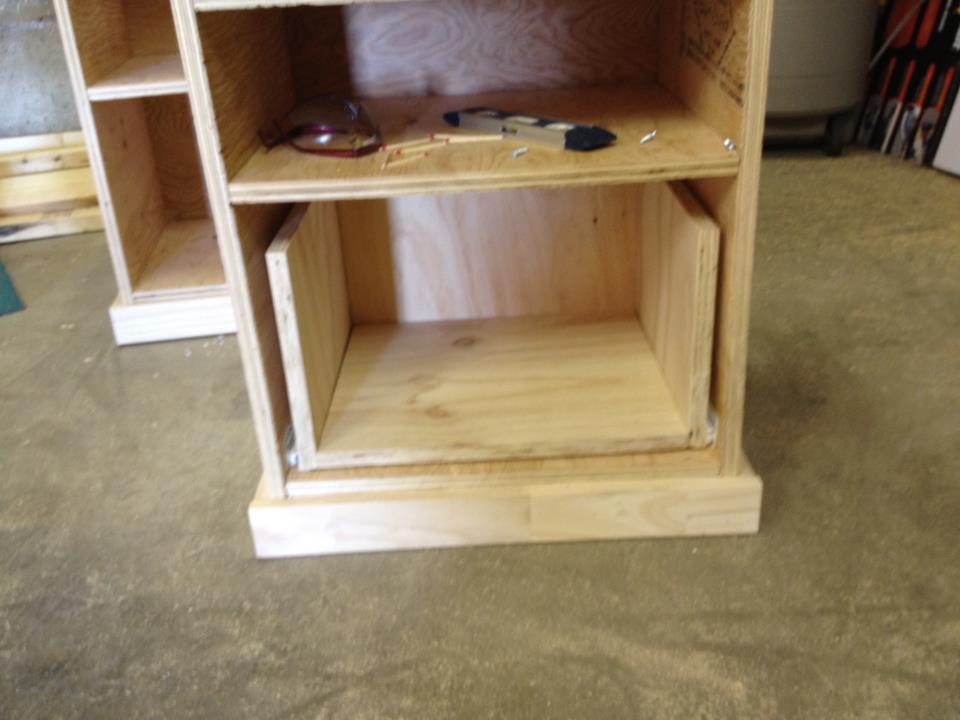
Built from Plan(s)
Estimated Cost
$150-200
Estimated Time Investment
Week Long Project (20 Hours or More)
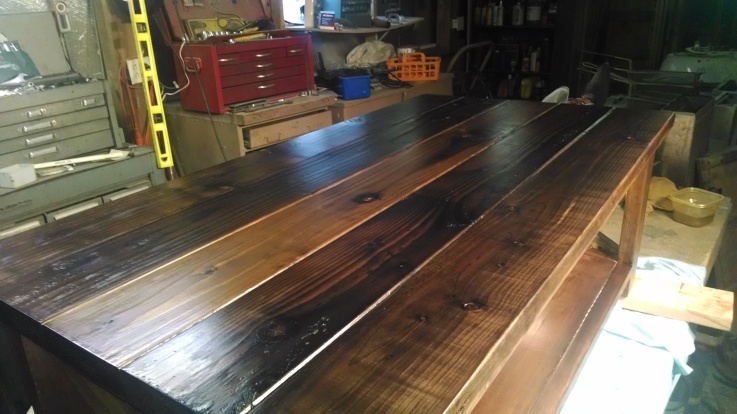
Finish Used
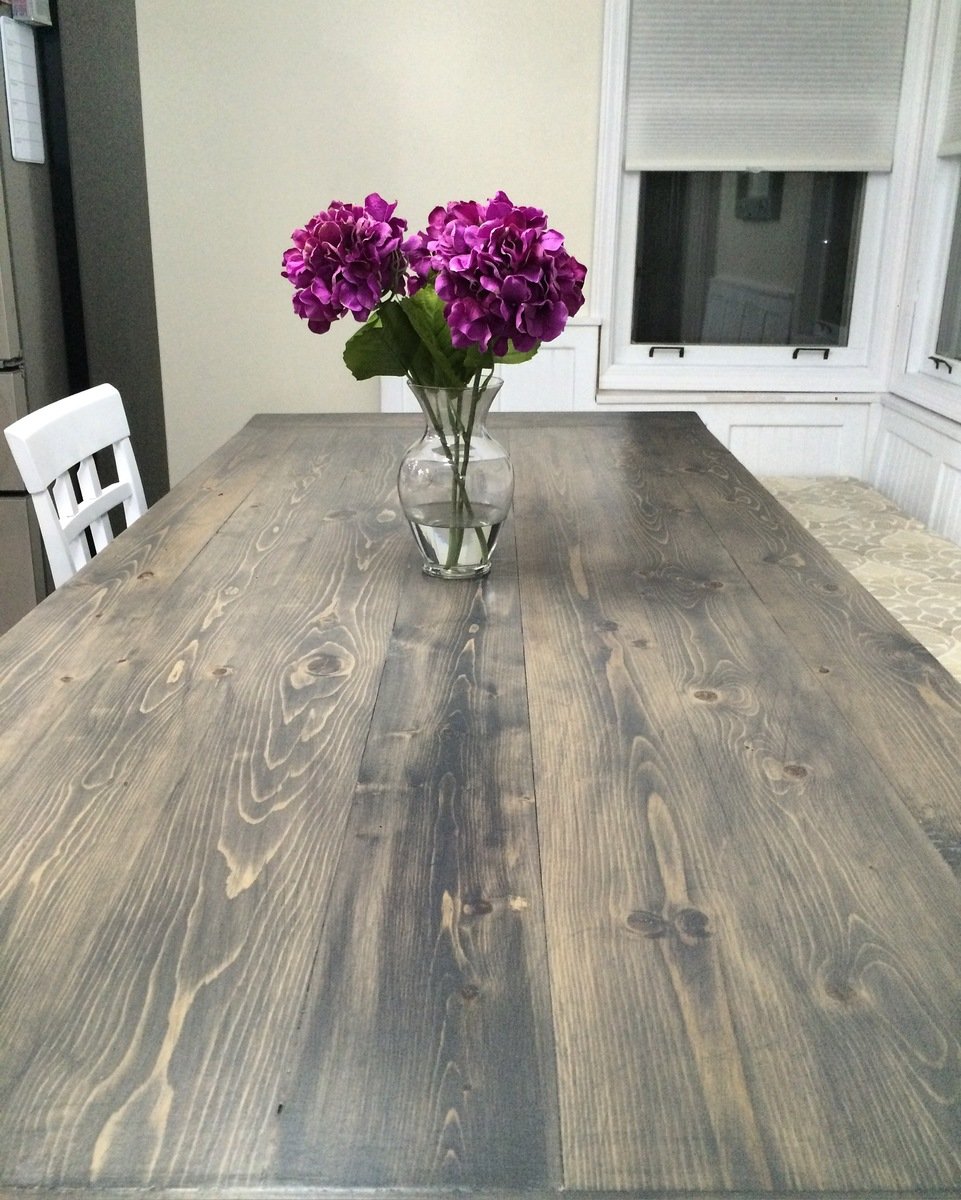
I used Miniwax Ebony Stain for the base and drawers and some Rustoleum Spray Paint in Black for the top. Finished with a few coats of Varathane Diamond Clear. I would use brush on paint instead of spray if I did this again - the spray paint used 3 CANS and was a huge part of the cost!
Recommended Skill Level
Intermediate


Comments
rickfred32
Mon, 02/15/2016 - 10:38
Question?
Hey there! The desk looks great! I'm curious do you have a upclose of the top of the desk? Is the top stained as well?