Corner Headboard Storage for Twin Beds
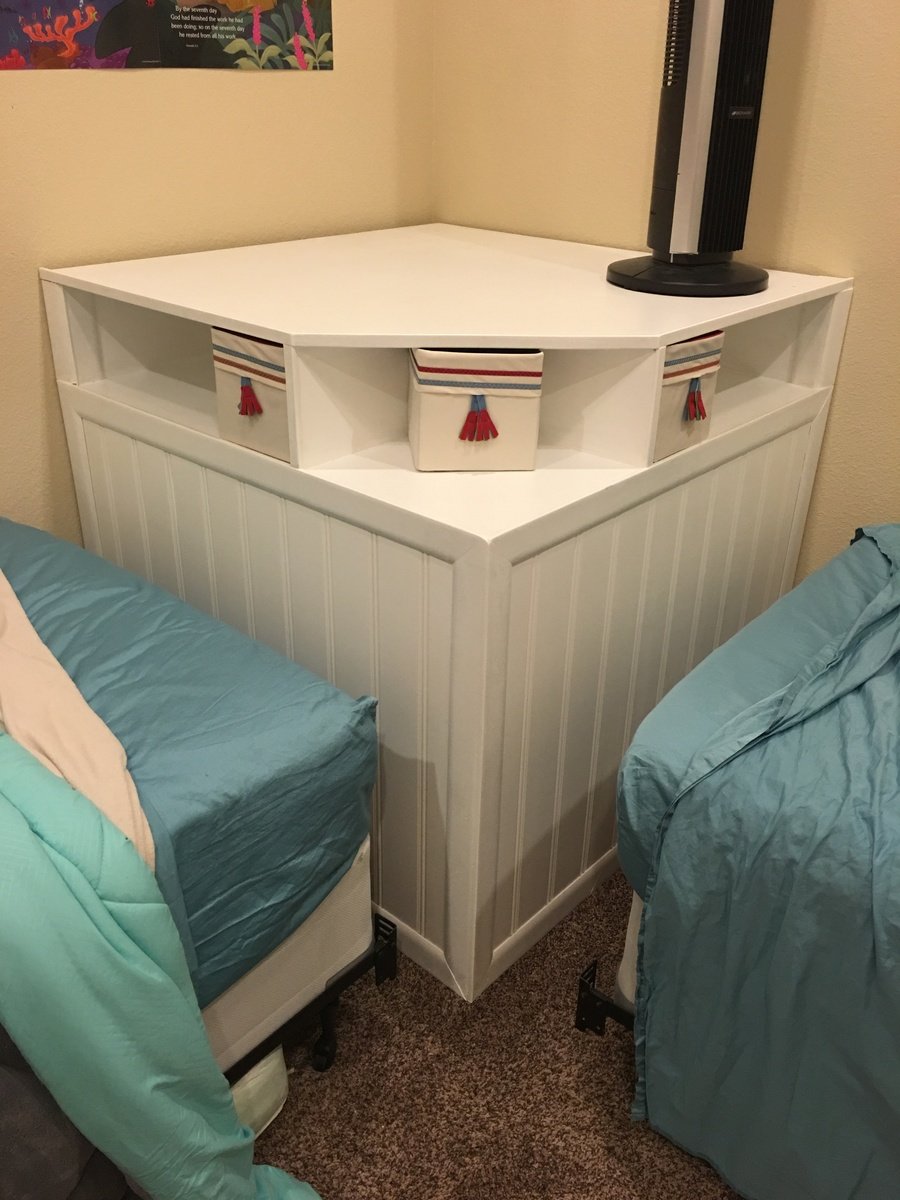
Corner unit for kids bedroom. Added fabric boxes from ikea. The fit perfectly

Corner unit for kids bedroom. Added fabric boxes from ikea. The fit perfectly
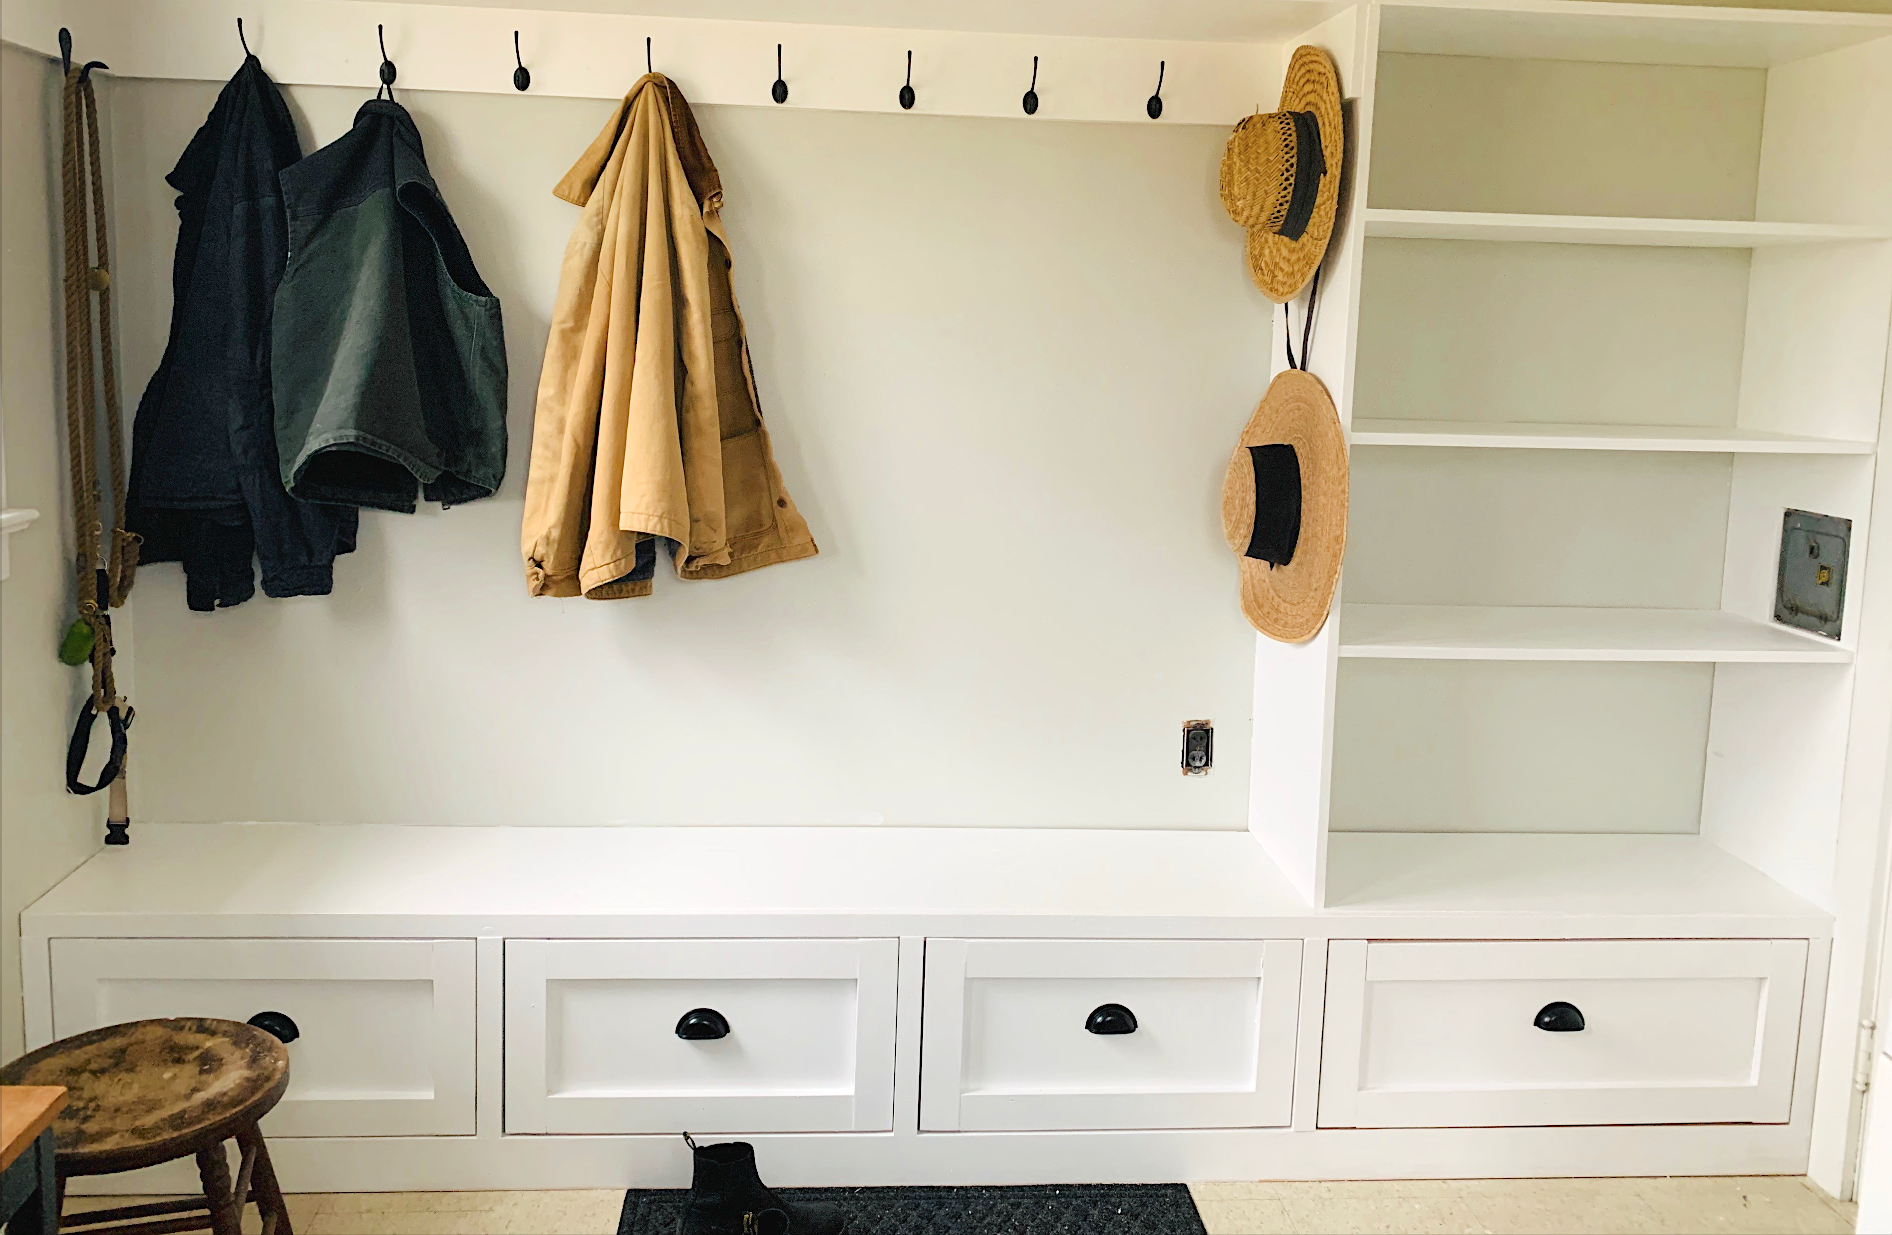
We built upon the mudroom bench plans. The length dimensions had to be modified to fit our room, but for the most part we stuck to the directions. We switched to metric for this project and it was the best decision. Make sure you have a Kreg Jig.
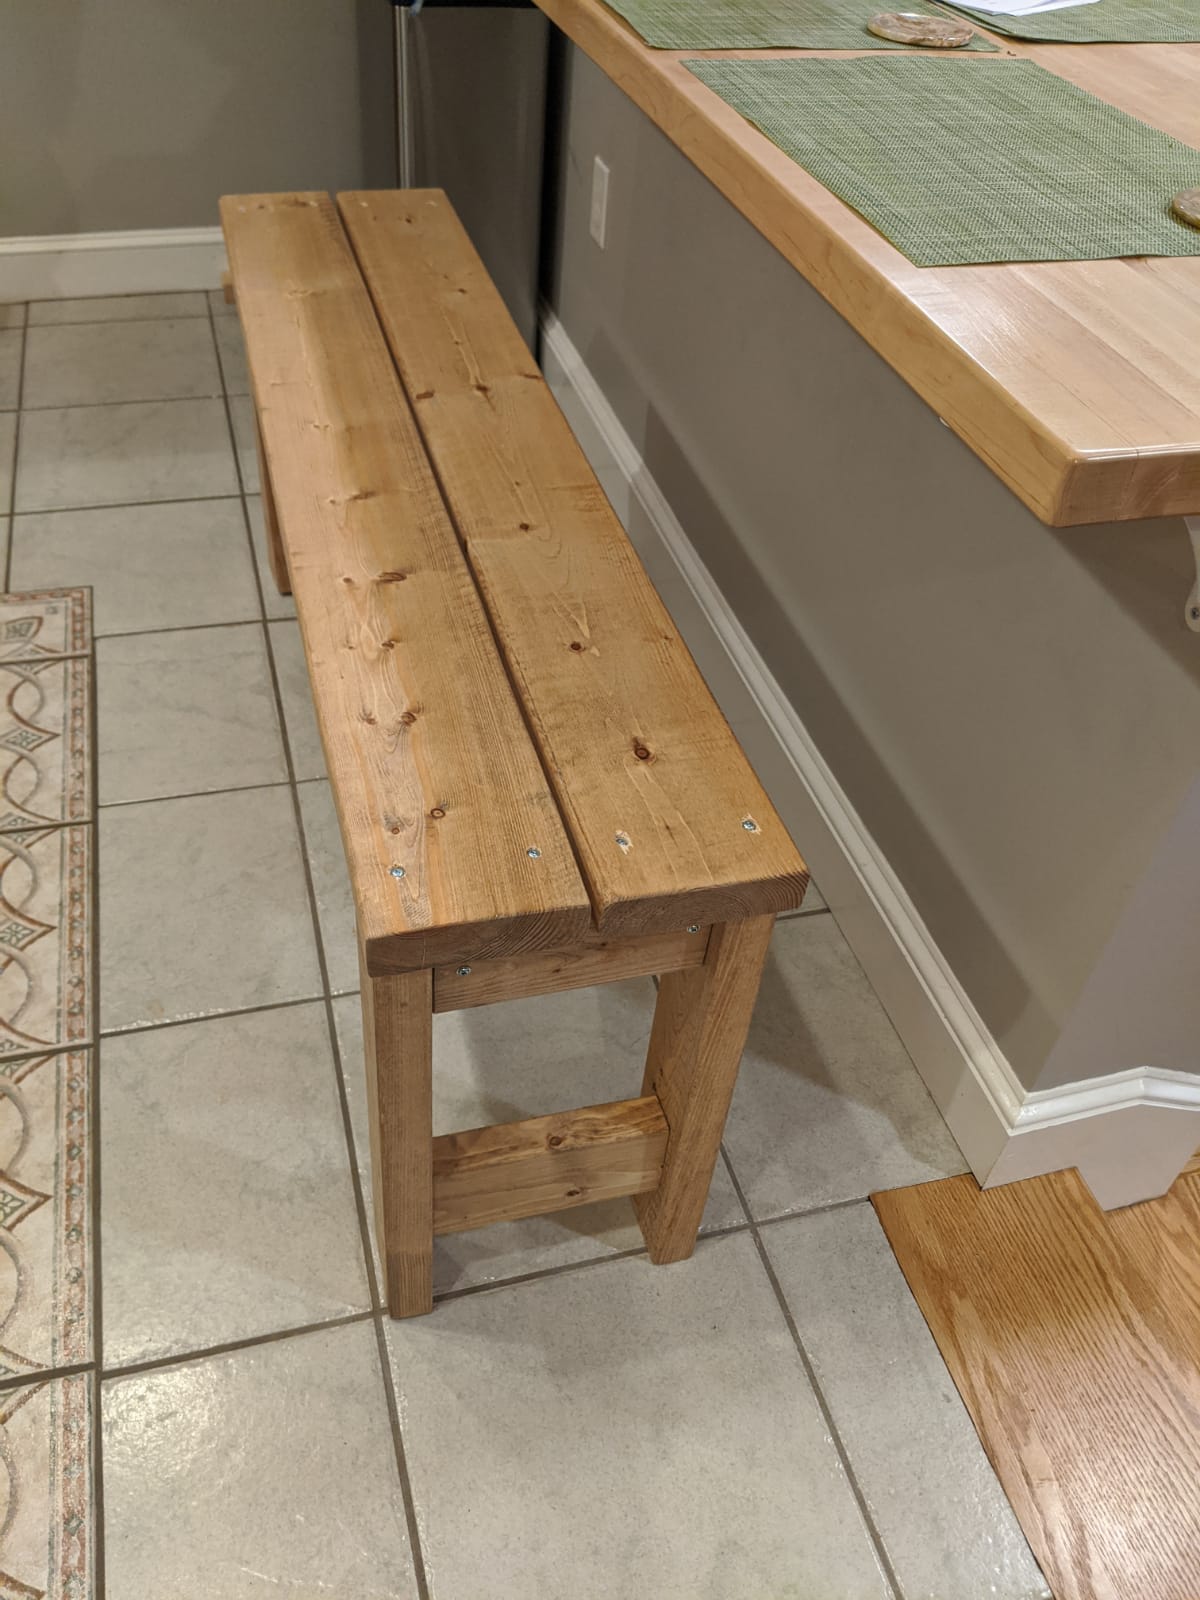
We finally finished our first project - definitely made mistakes, but learnt a lot. I feel ready for tackling the next one
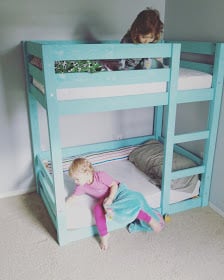
Modified the classic bunk bed plans to fit crib size matresses for our 1.5 & 2 year old girls, loved how my toddler bunk beds turned out!
Mon, 08/01/2016 - 17:27
Hi,
Could you email me the change in measurements you used for the crib mattress?
It would help me out so much. I want to build a similar one for my boys.
Thank you.
Danielle S.
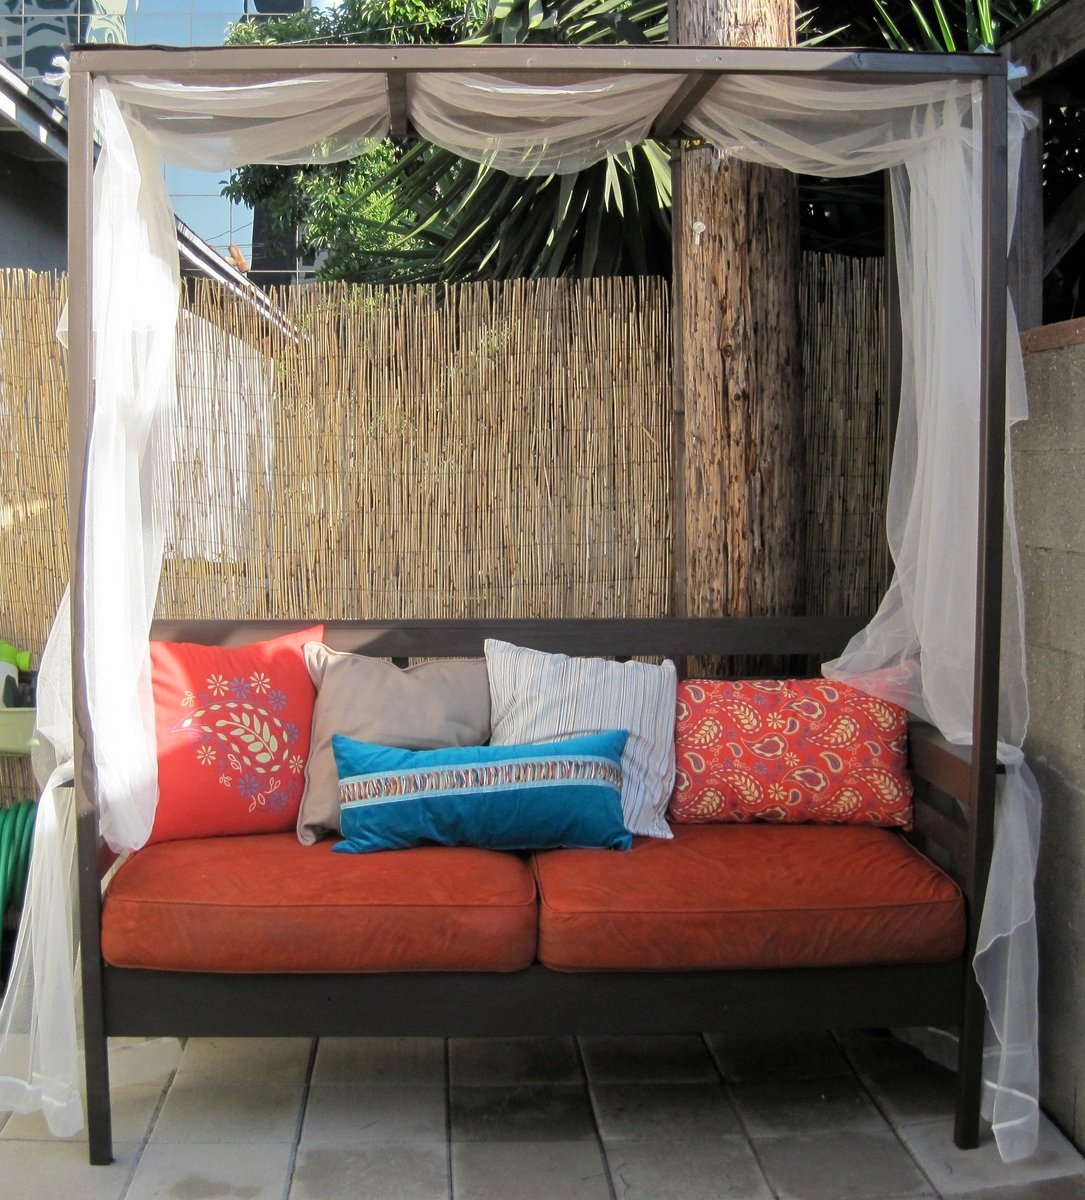
Thank you anawhite.com for this project! It was exactly what I was looking to build for my outdoor space. The outdoor daybeds with this look are WAY too expensive for us to buy and these plans were just what I needed!
My husband and I built (and painted) this project over one weekend. Not included in that time are 2+ hours shopping for materials on the friday night before and extra hours over the next few days to buy pillows, tie on the drapery, and finish the cushions.
We actually changed the plans to make more of a smaller 'daycouch' rather than a 'daybed' because we had some old cushions from a loveseat we just got rid of that I wanted to repurpose. It worked out great for our small space. If you do change the proportions keep in mind that a 1X3, 1X4, etc., are not exactly 3", 4", etc.
This project is totally doable, so go for it! The only things I would recommend are that you have some skills with power tools, know a little about carpentry (the directions are pretty spartan), and paint the pieces beforehand (if you have the patience; it really does cut down time on painting all those slats).
*Important note: the materials list is missing 2 2"X4"X8" (for the 2 cleats) that you need to complete the project.
Fri, 07/13/2012 - 23:26
Thank you! We are pretty happy with the way it turned out. If you do the project please post a pic!
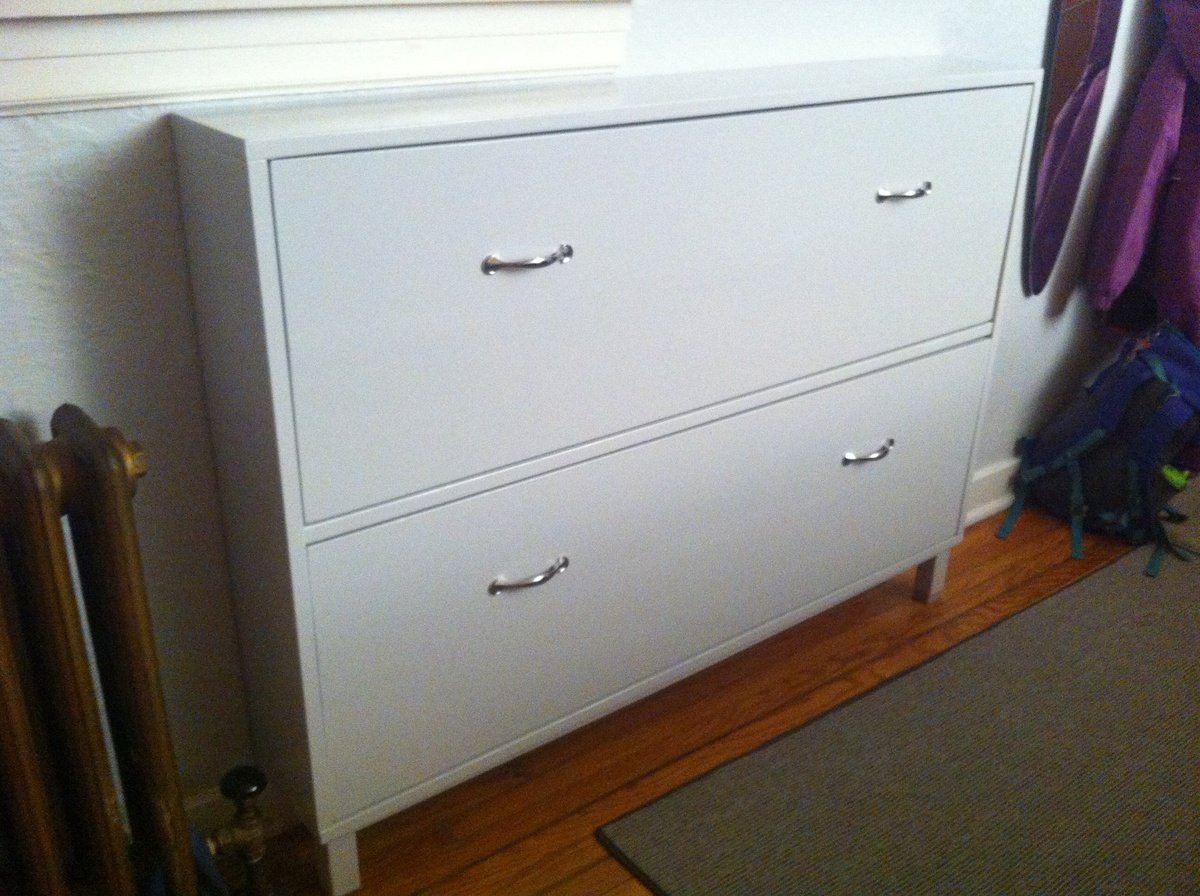
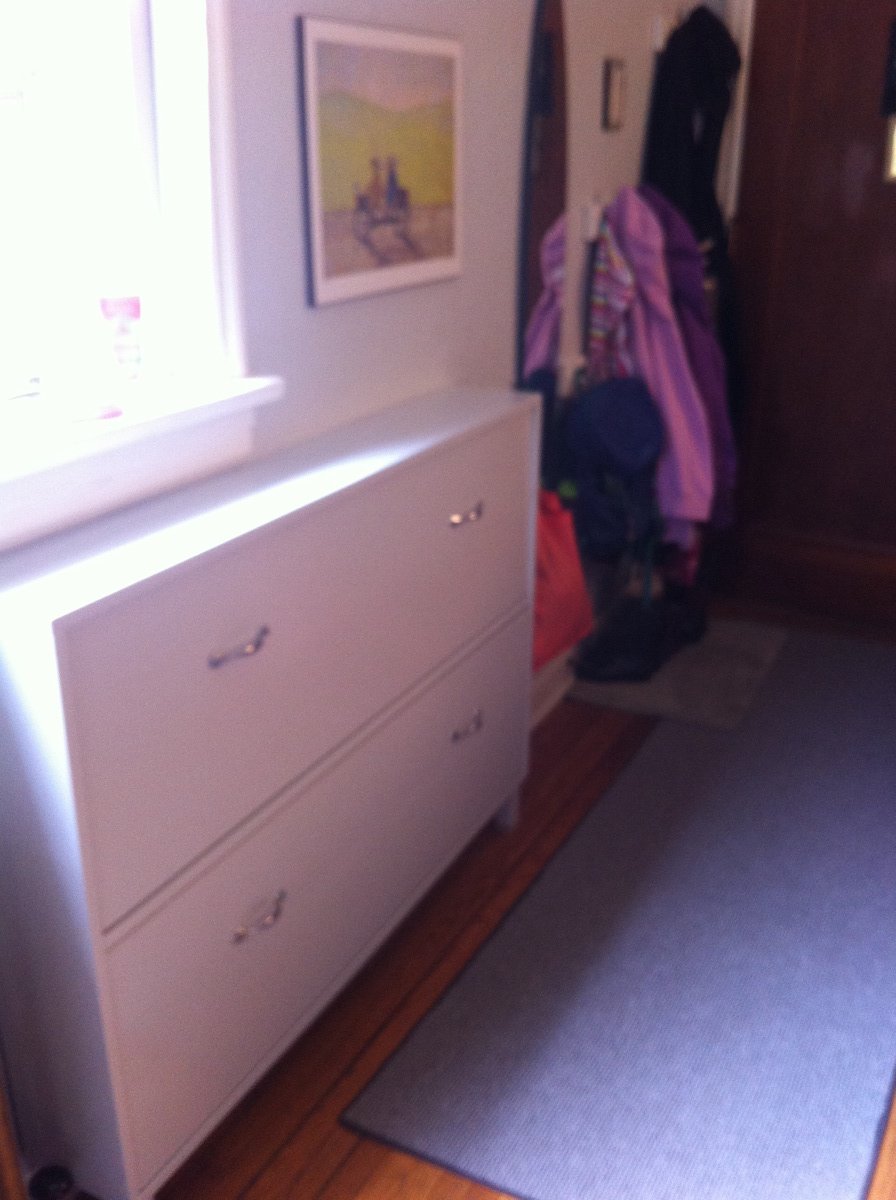
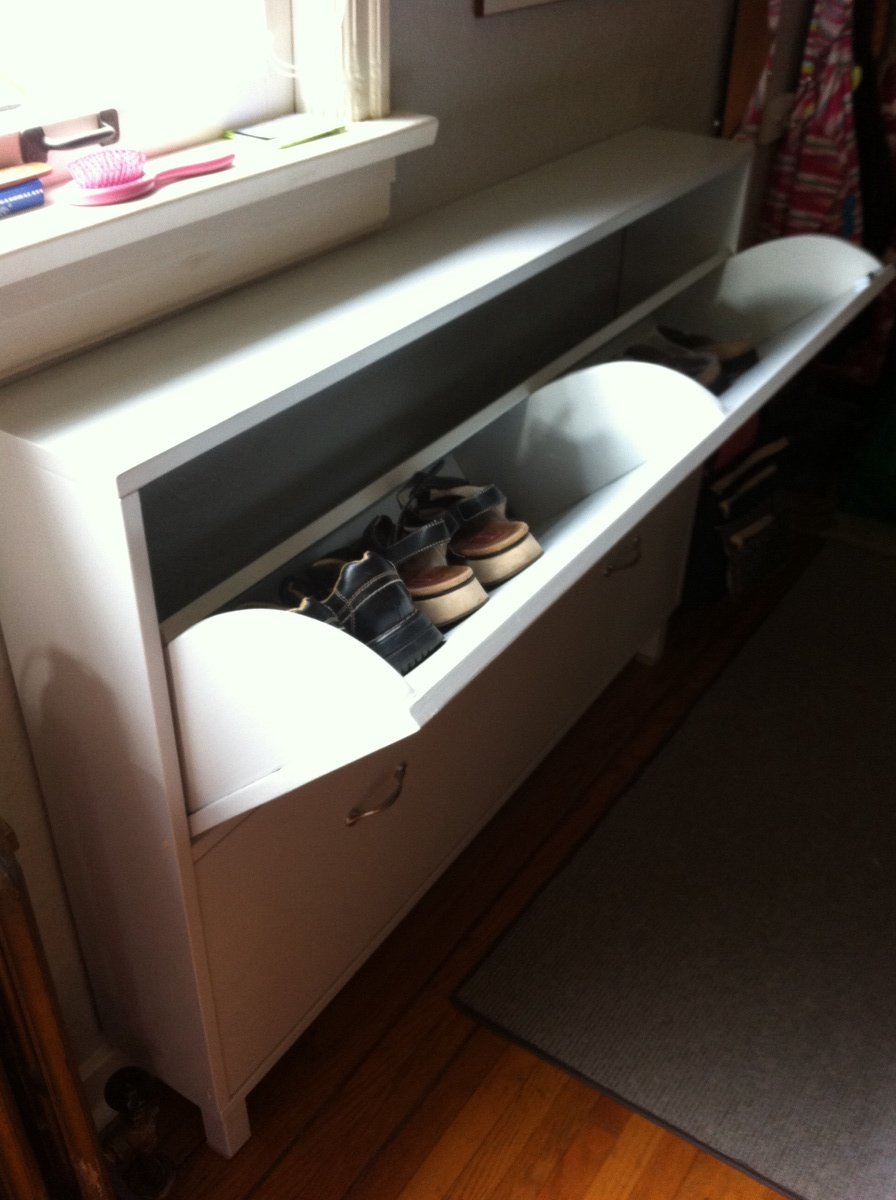
Had a horribly messy front entrance so really needed this shoe cabinet. It's dimensions suited my space better than an Ikea one, and accommodated more shoes. This being my first project, I am glad I started with this instead of a loft bed, since I made alot of mistakes (& corrections) along the way. Although some of the problems occurred because of pieces that ended up being convex. I chose to fill in the gap between the two boards on the front of each bin. It worked out really well.
Really love the Kreg Jig! So worth the investment.
Could not figure out how to properly use magnet catches. Did apply one to one side of the top drawer but it doesn't work too well--pulls the bin too far in.
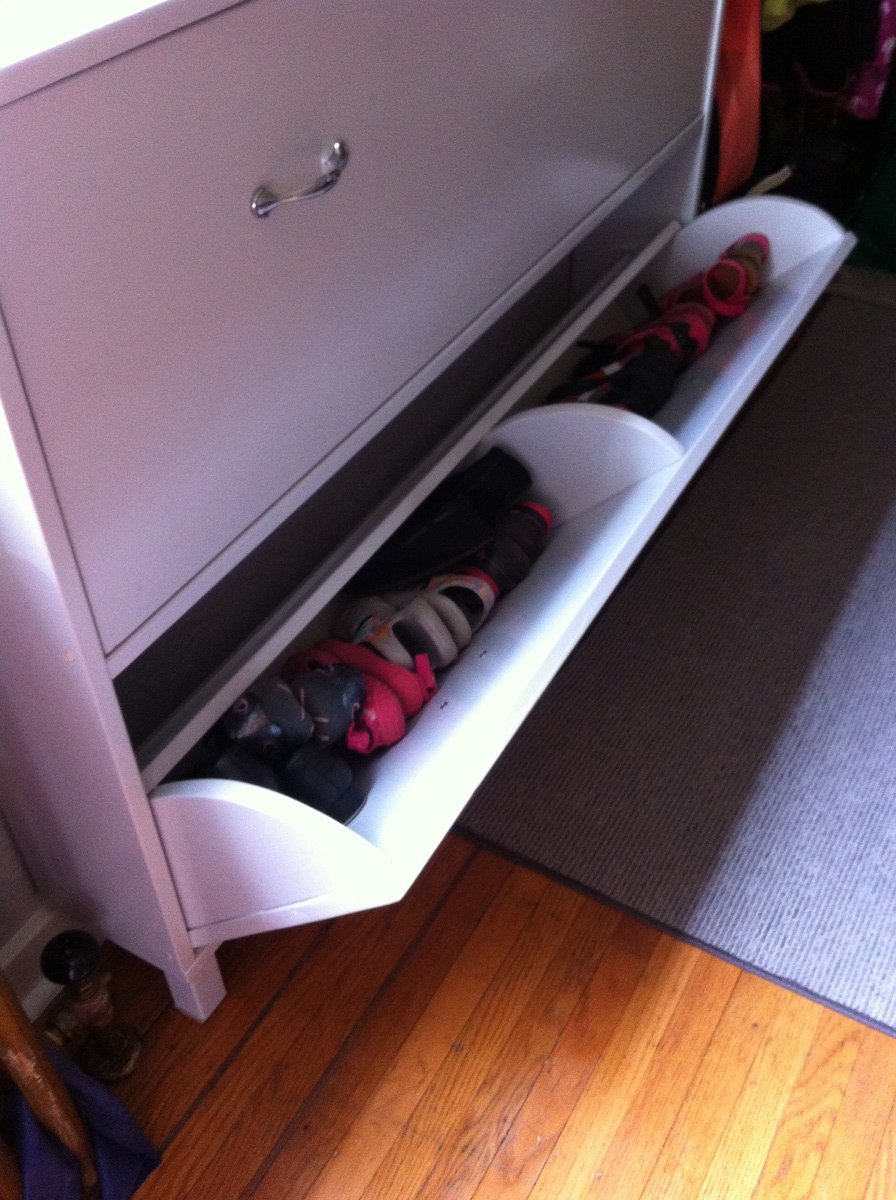
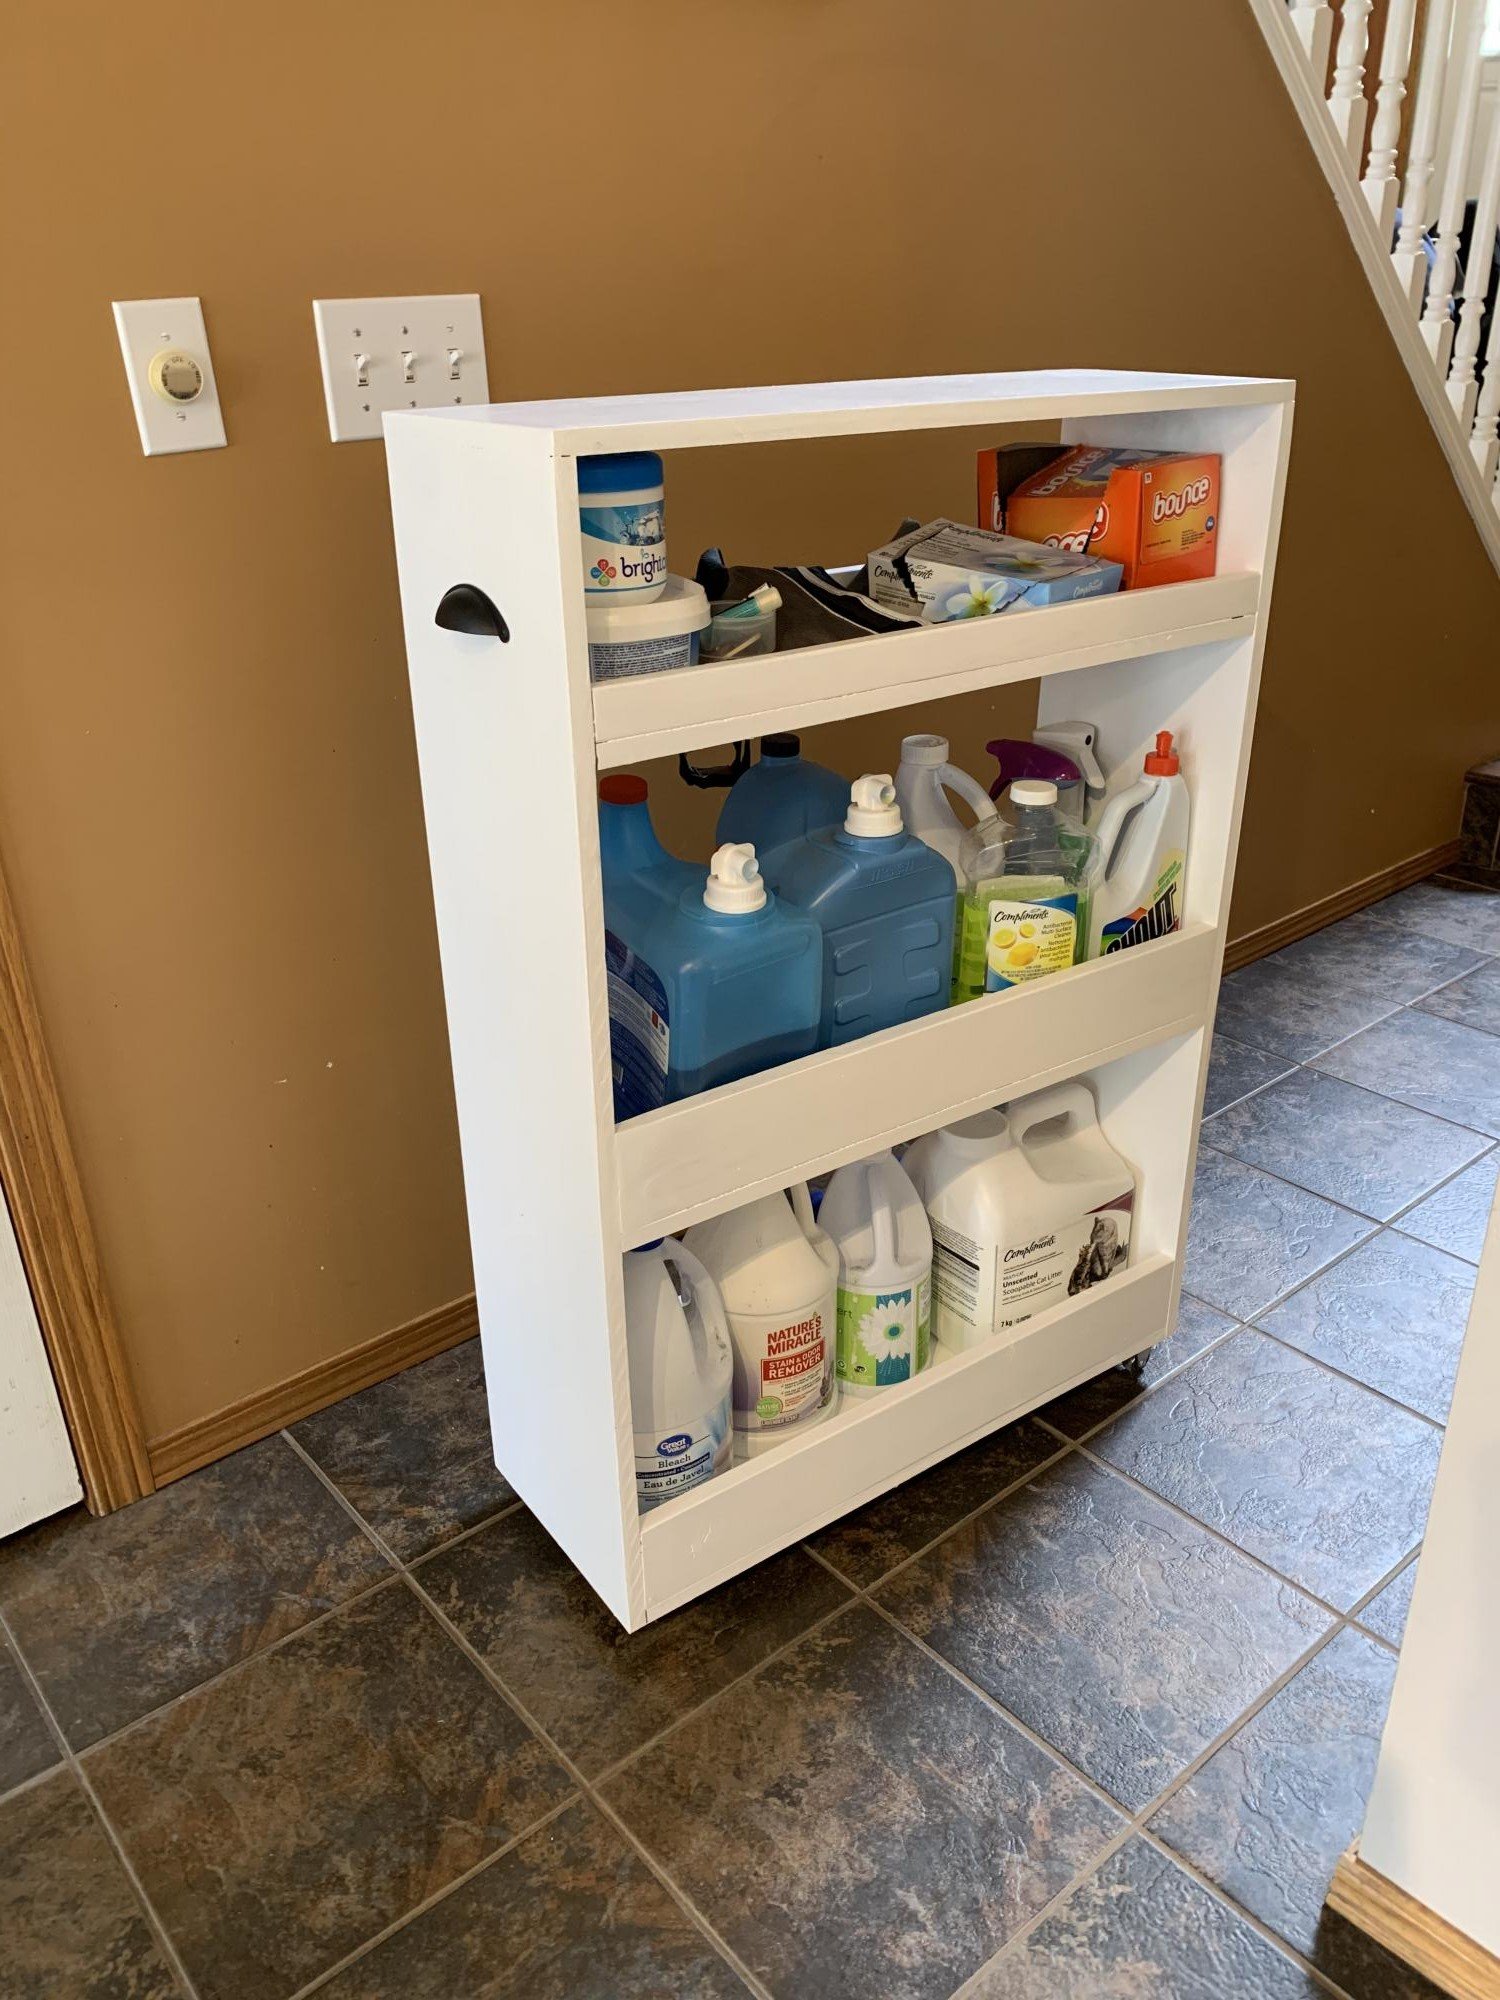
My husband and I have been inspired by your website and are getting started with wood working projects. We did this cart on the weekend. We used MDF board for the front, back and shelf bottoms because we had it laying around after replacing our garage shelving. I’m pleased with how it turned out given that we are just beginners. I do think we’ll have to invest in a table saw. Not a fan of working with MDF board. We used the example found on Infarrantlycreative.net but changed it up slightly. (Sorry about the first photo, I can’t seem to delete it)
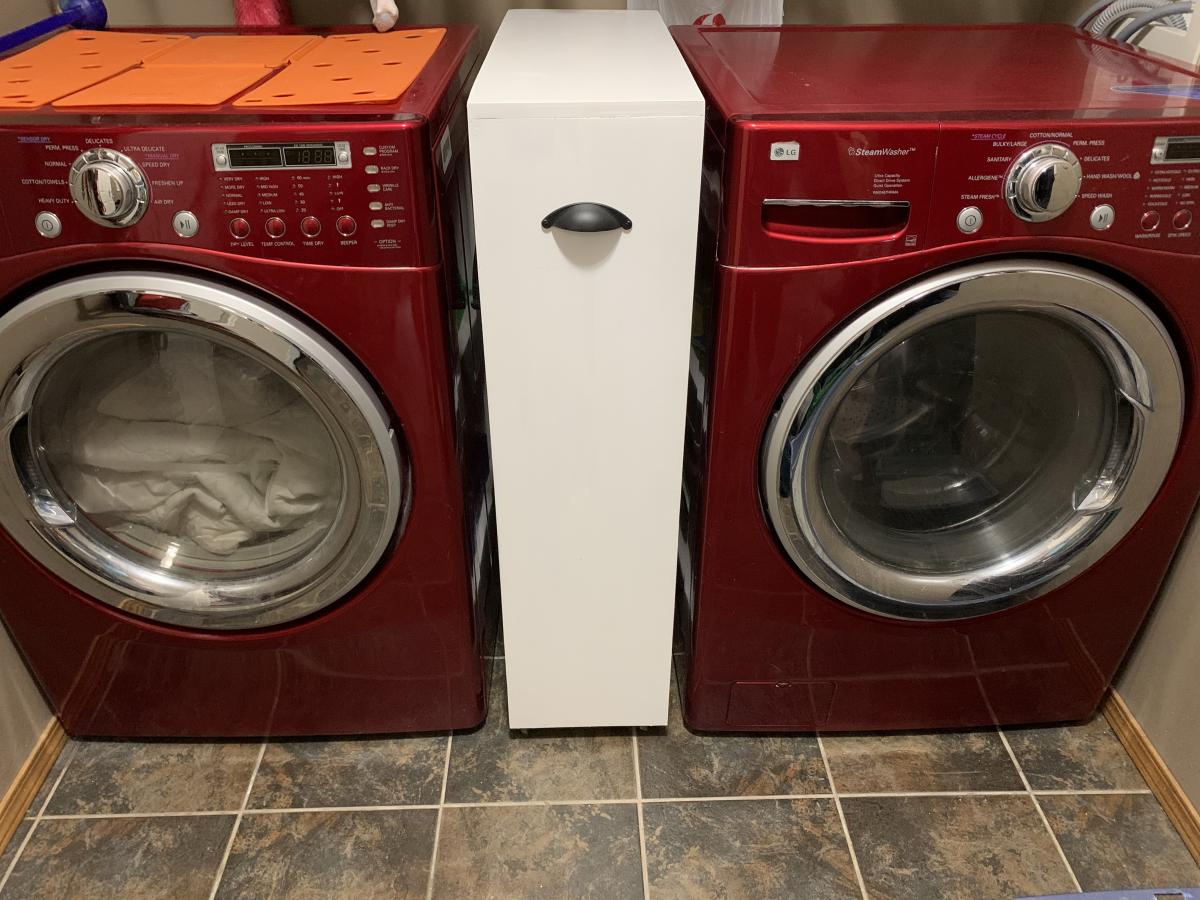
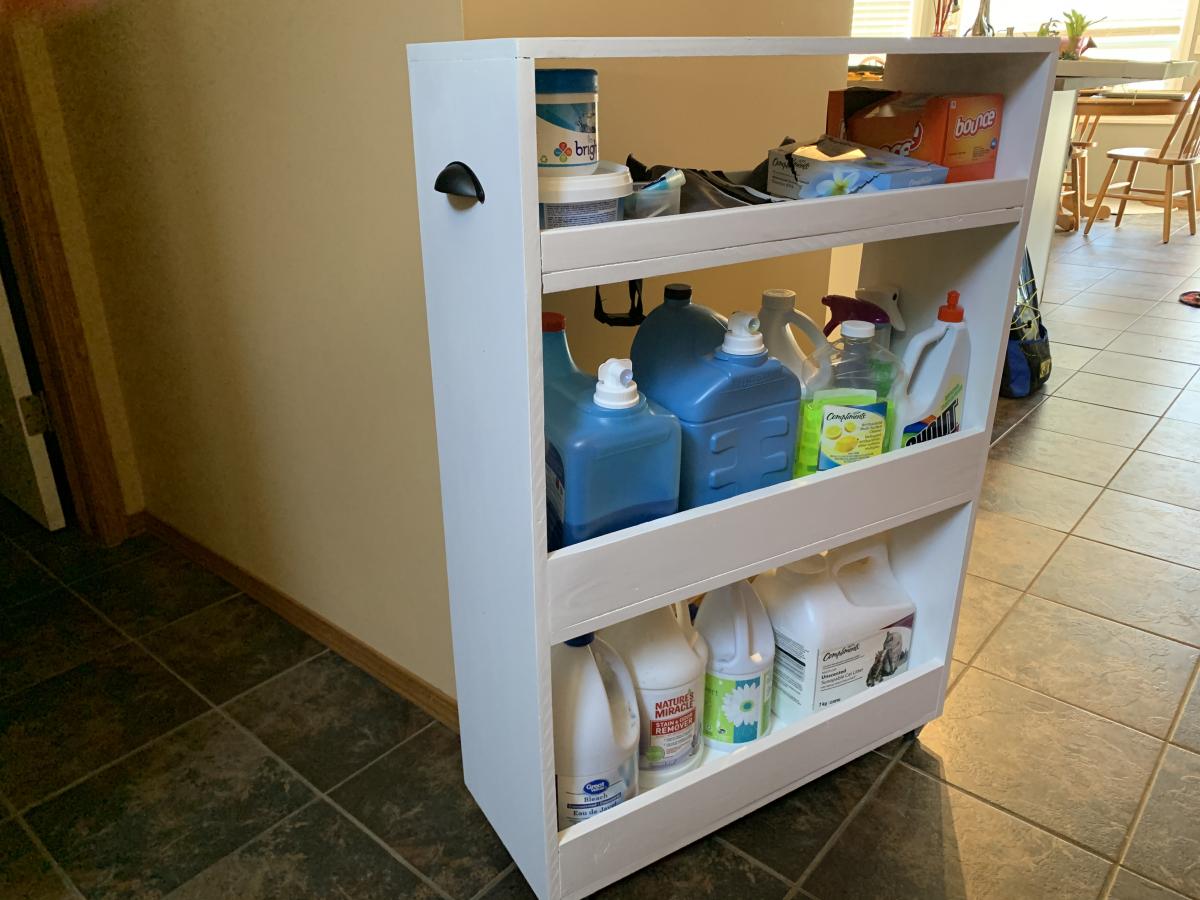
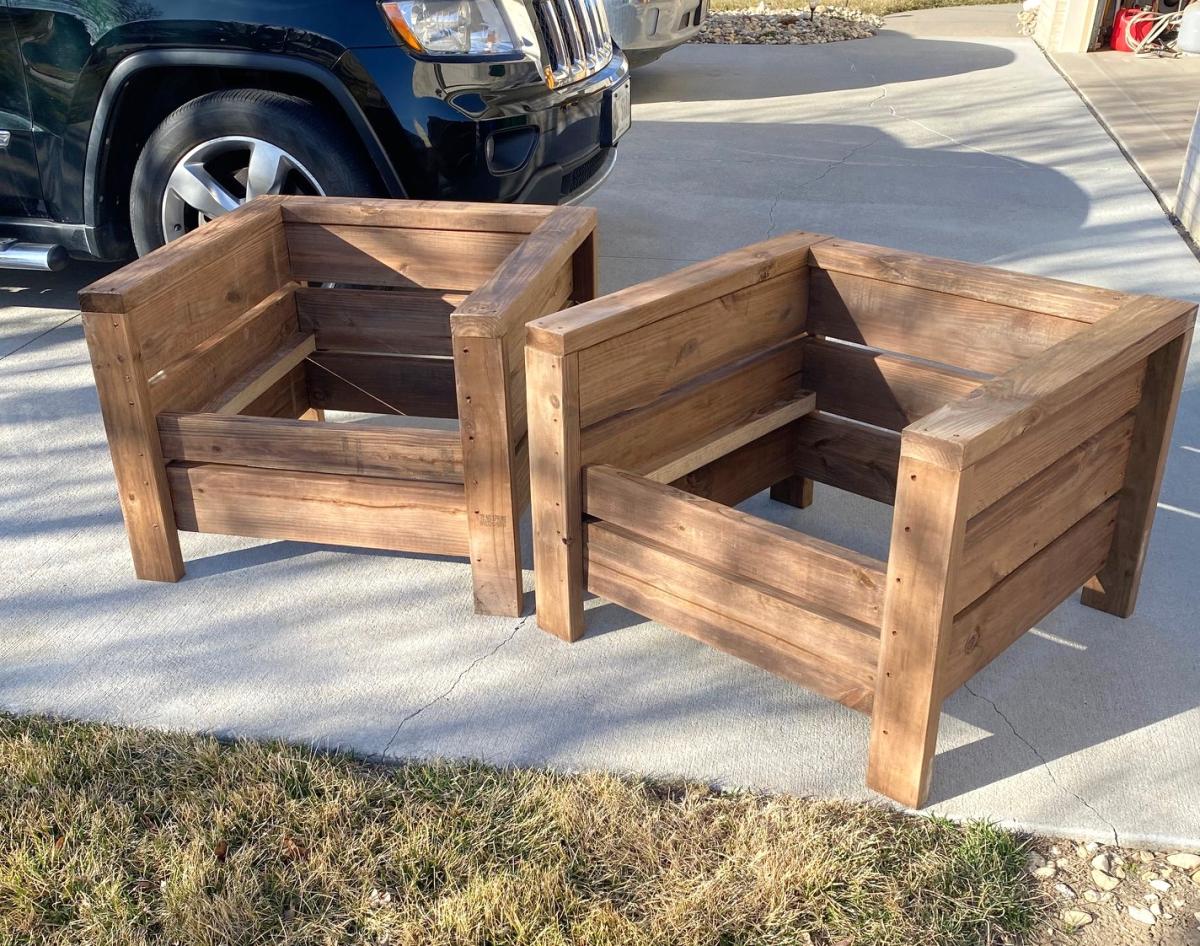
Seen these plans a couple years ago and finally have gotten around to making a set. This was a fun and really easy to follow set of instructions and I think they turned out really nice.
Jeff, with LaBrie Family Woodworking LLC
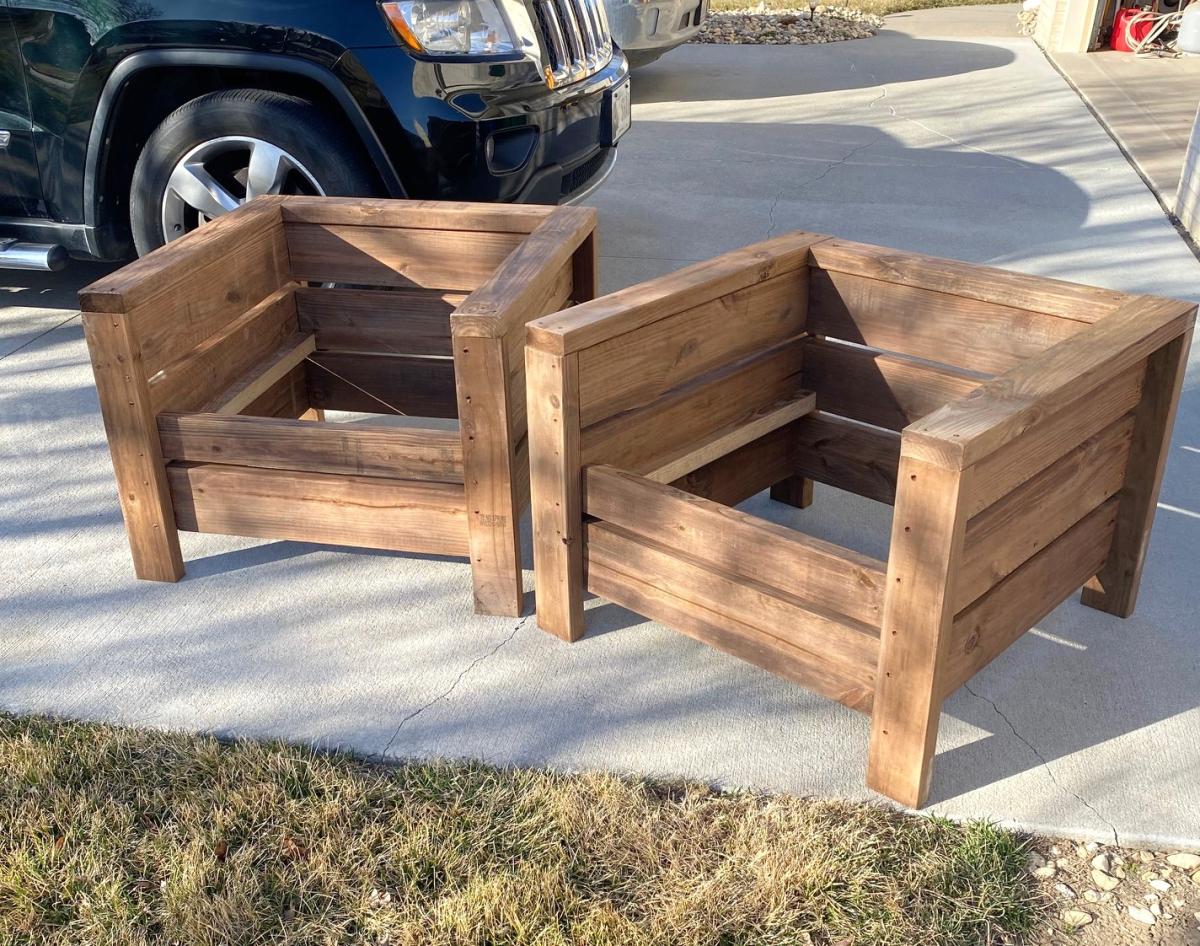
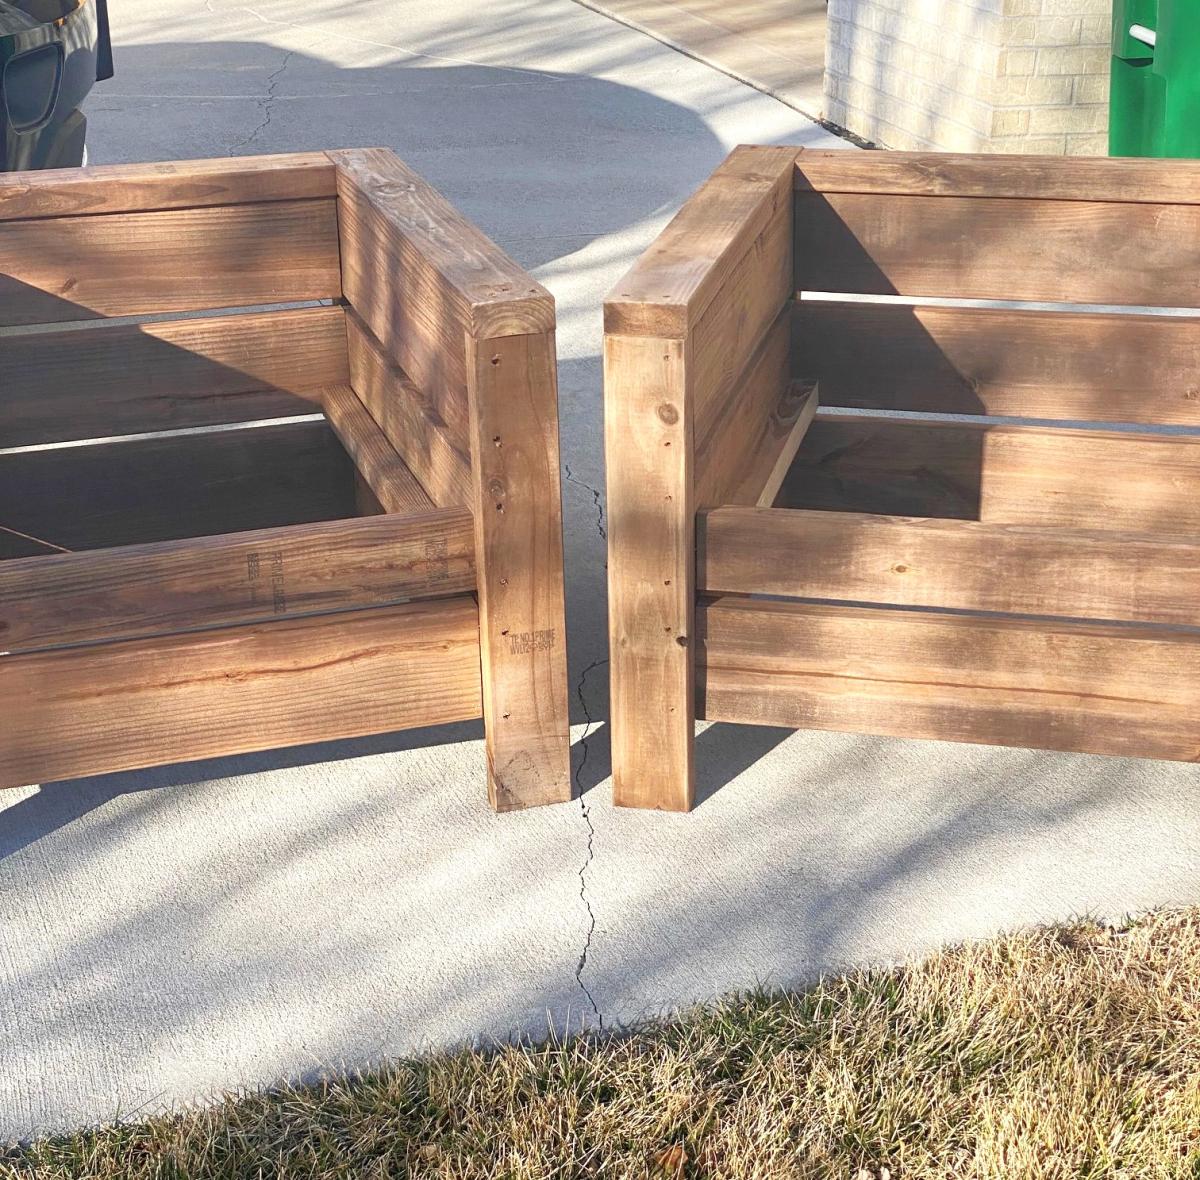

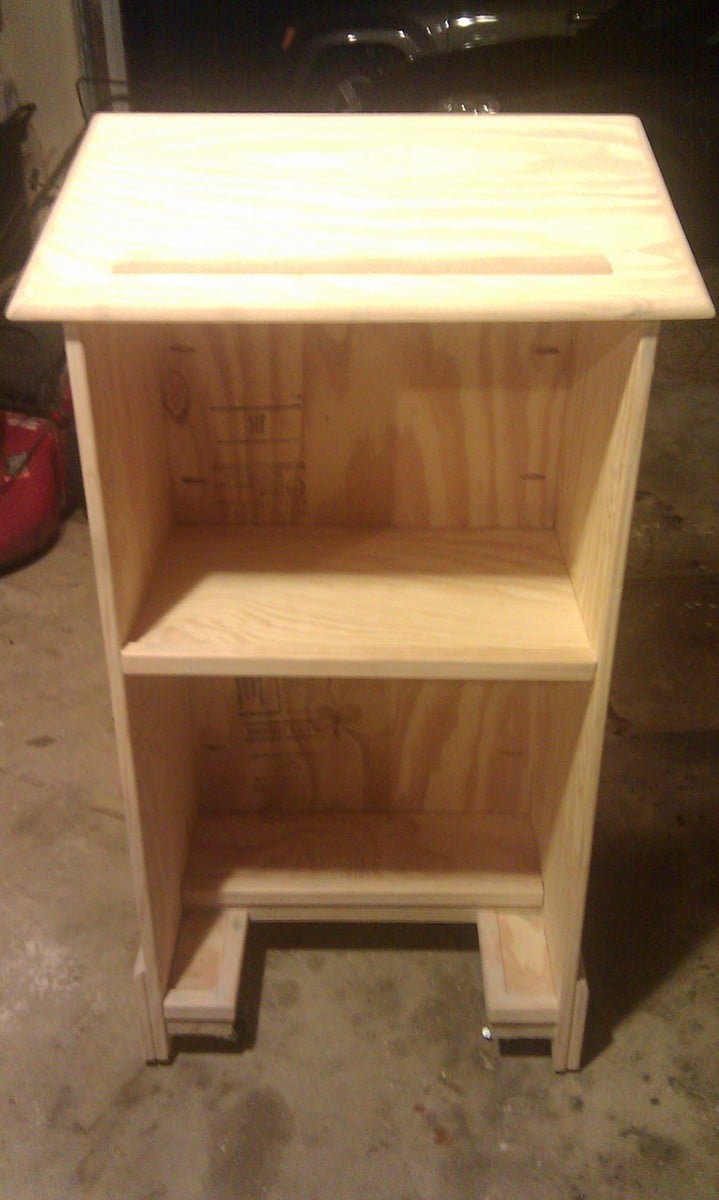
This is my first try at building furniture. I've built larger things in the past like decks and a fort for my nephews, but never furniture. Even though I used the plans to build the main box, I did change up the bottom and added some new stuff. I added wheels to the bottom my wife could easily move it around her classroom. I didn't want to put a square base on it because I thought it might hit her ankles when she was standing close to it. So I sort-of notched it out to give an opening for her feet and I used some scraps to create a short shelf at the bottom. I also added more trim that the plans call for. I cut strips of the pine plywood for the base molding and topped it with quarter round. I used corner trim for the front corners, the self inside and the bottom notched shelf. I also used screen trim for the back of it. I think it came out nice and I've very pleased with it. I used 2 coats of Minwax PolyShades American Chestnut on it.
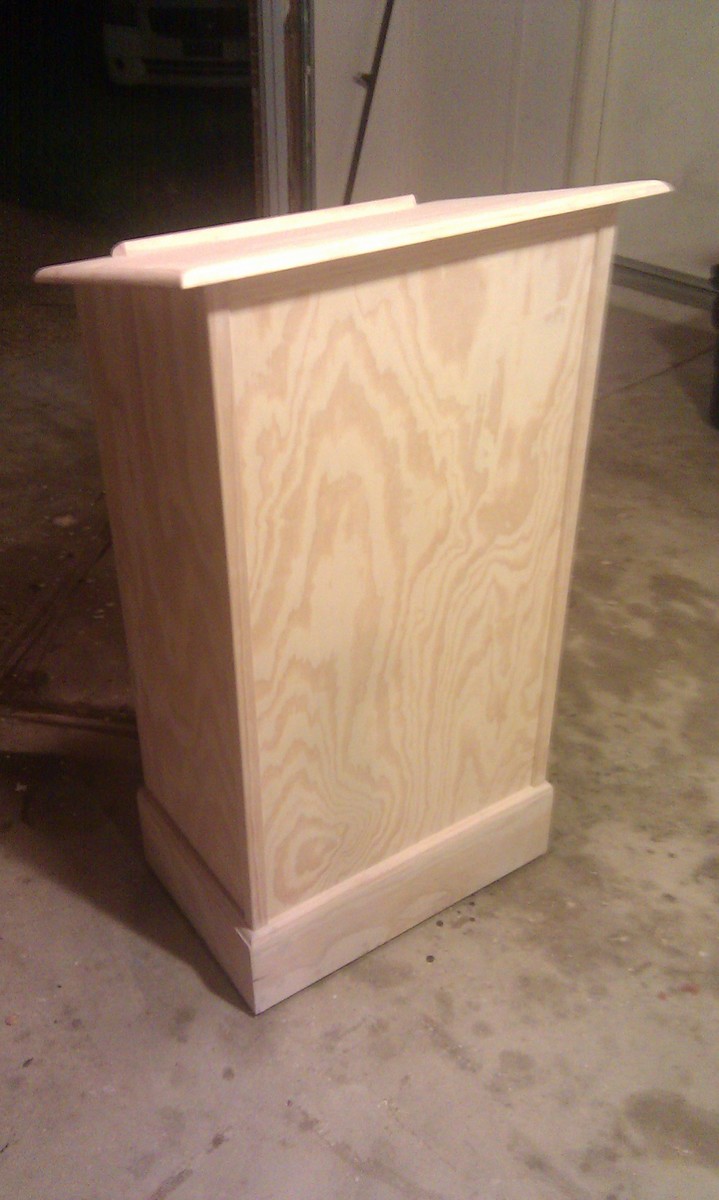


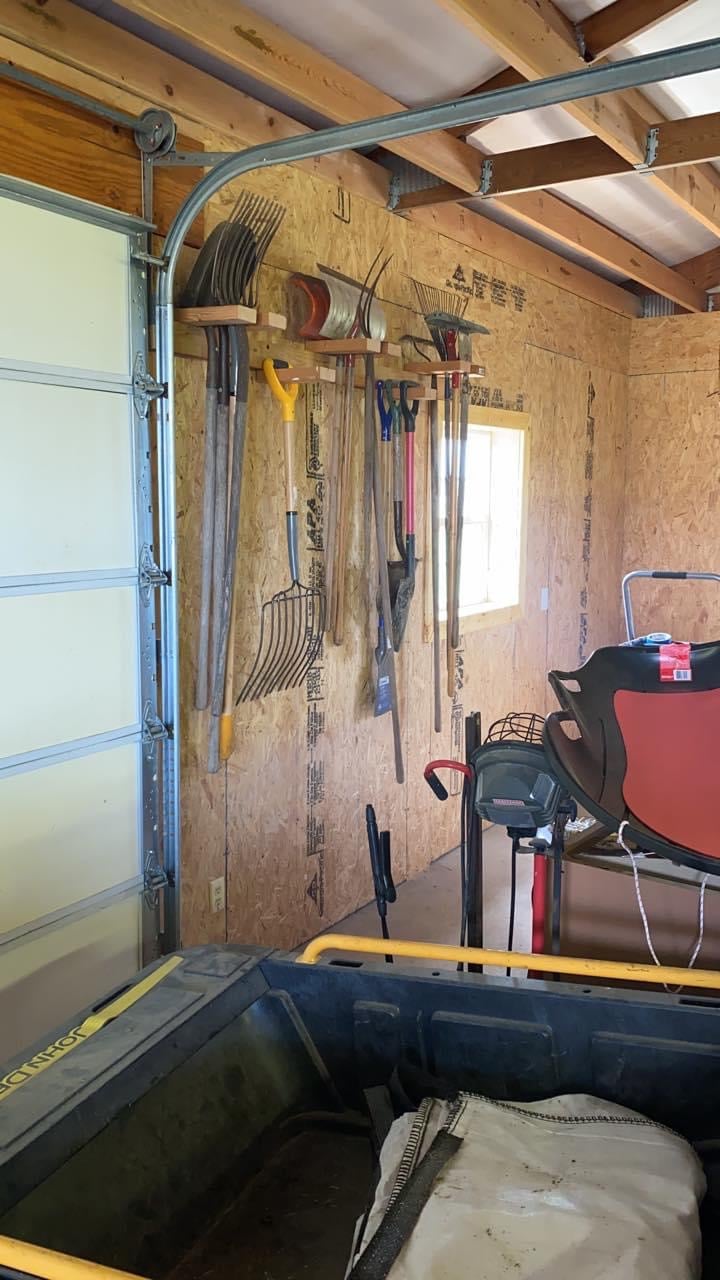
Had all my tools leaning up in the corner of my shed until I saw your post. Thanks
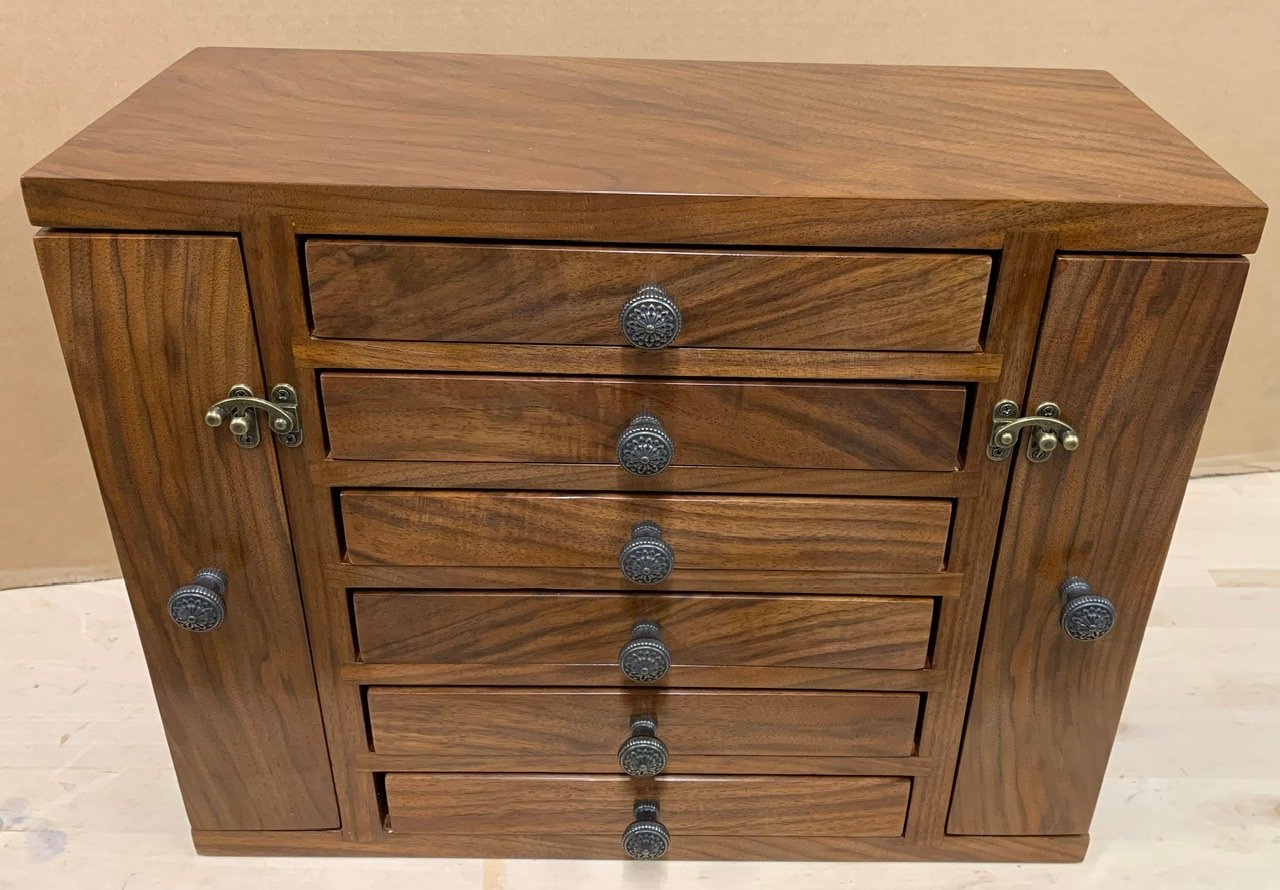
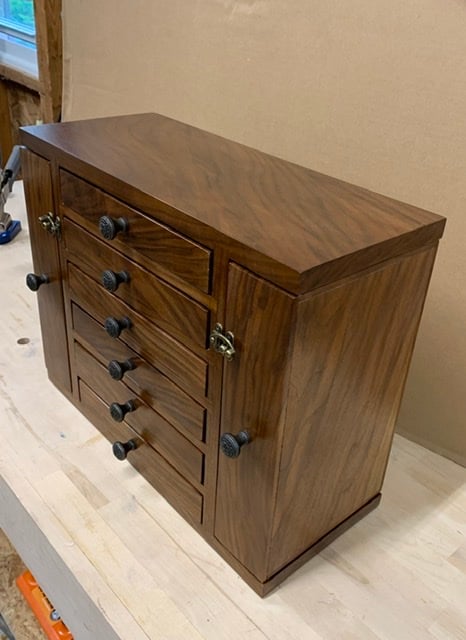
Great plans and a fun build. I made some modifications. My drawers are 1.5” high and 10” long. It allowed for 6 drawers. Overall height is 13.75” and length is 17.5”.
I used rabbits and dados rather than butt joints. There is flocking in the drawers.
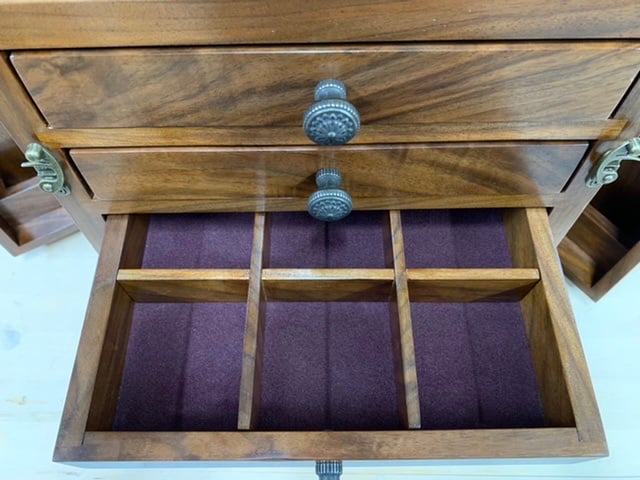
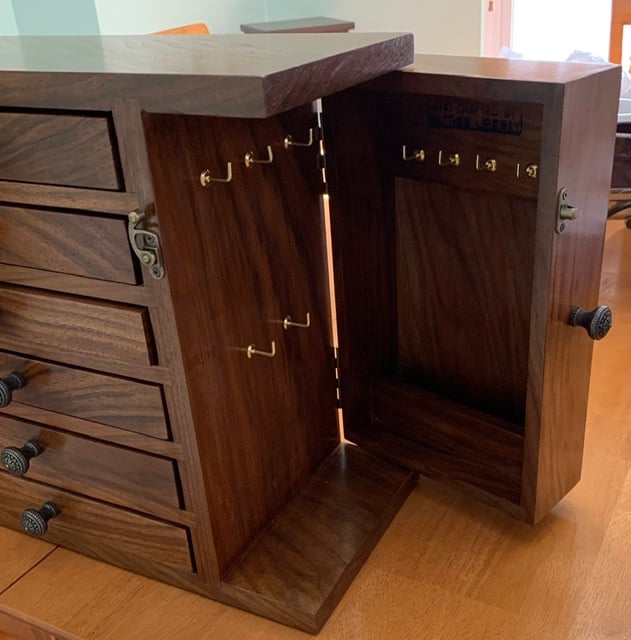
I made this using the $10 Cedar Tiered Flower Planter plans. Painted Red White and Blue with stars.
It's a little twist on Ana's Coat organizer. Turned out really useful and did not cost me anything since I ussed scrap wood. I wish I would build have built one for coats as well.
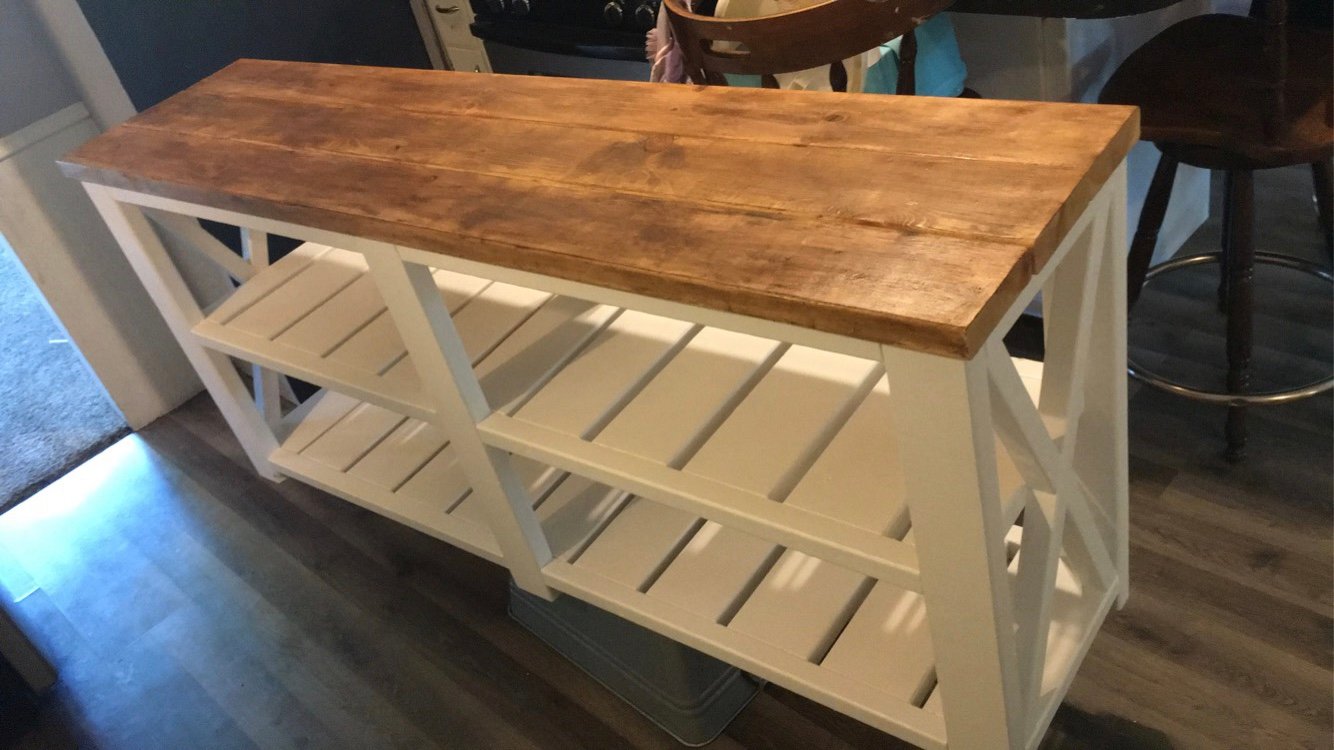
Had fun with this one
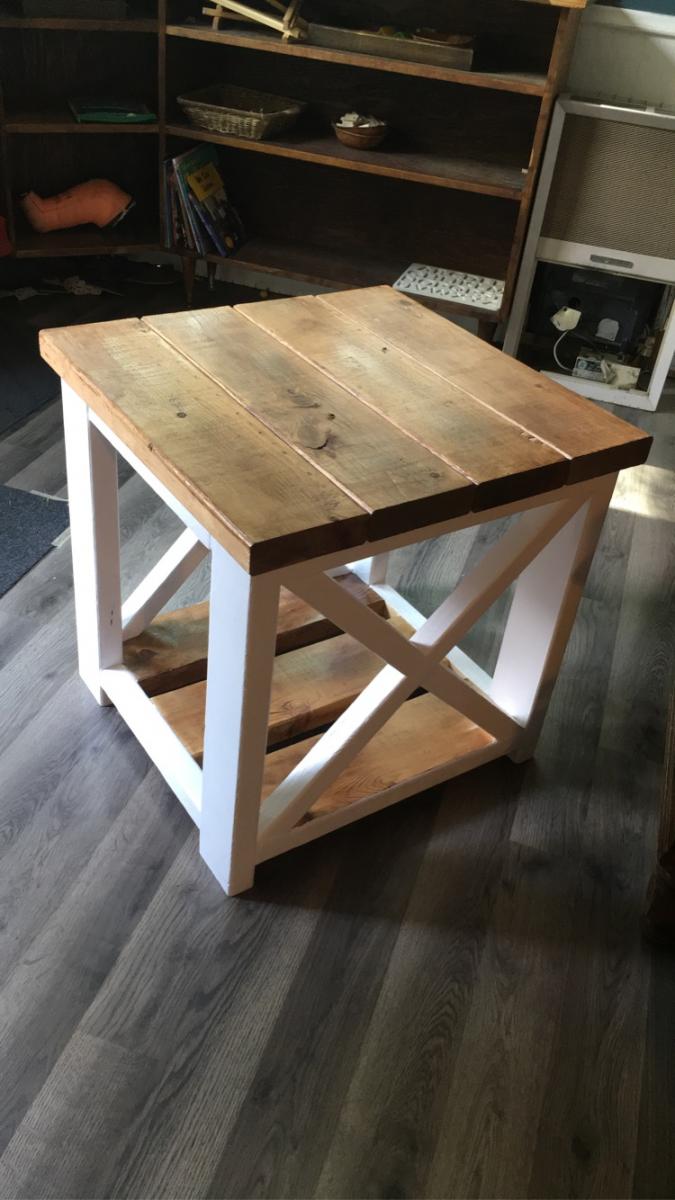
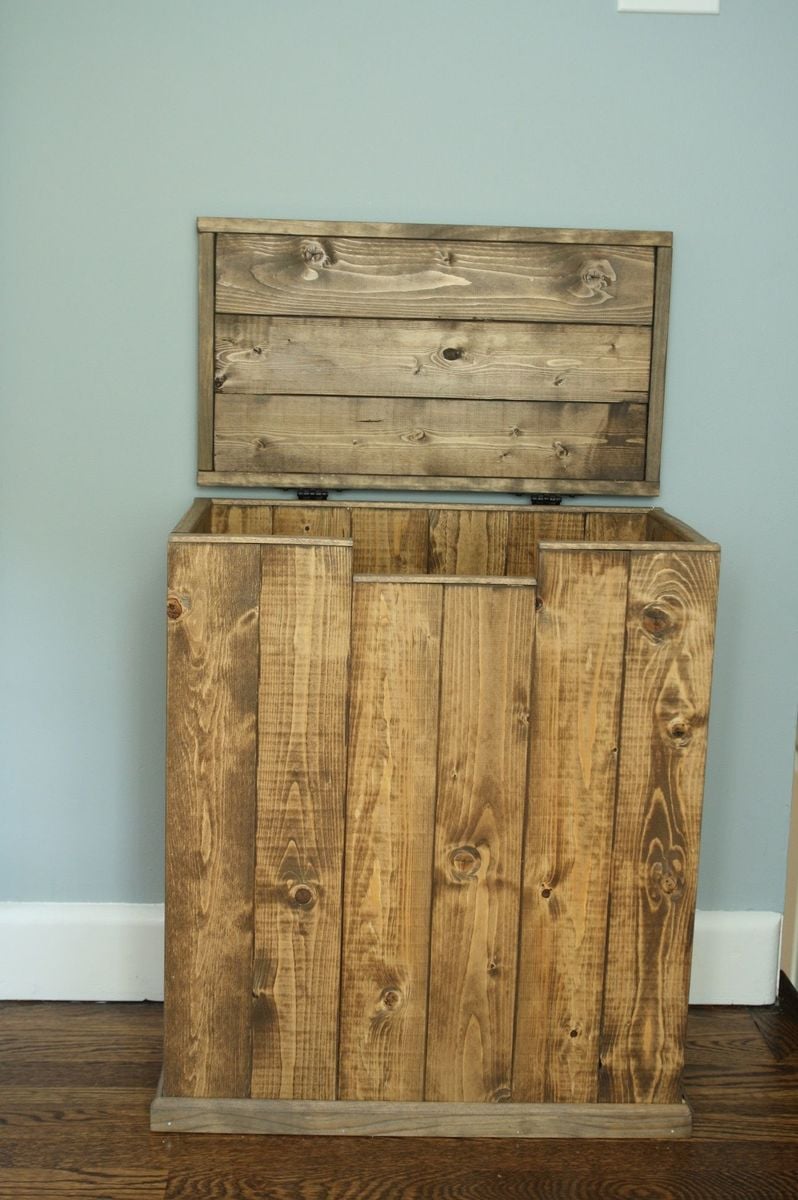
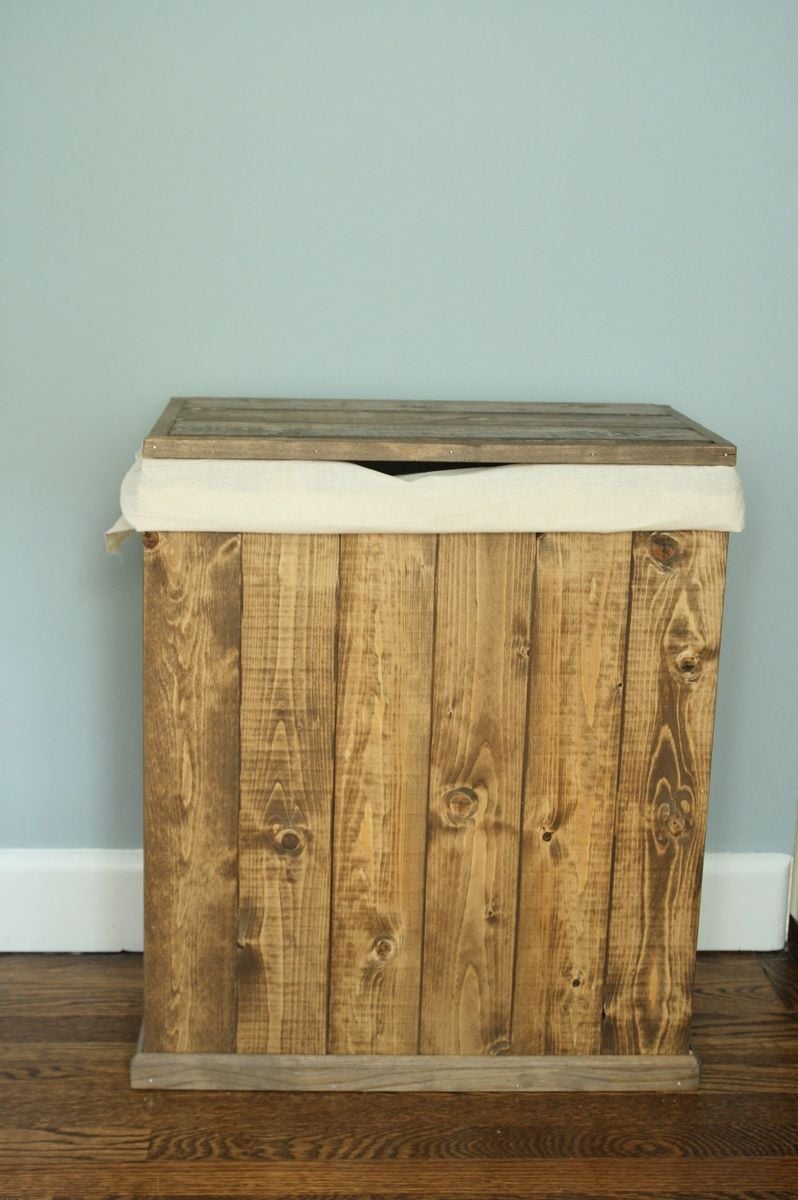
My family is expanding, which means more laundry! (I am 39 weeks pregnant now) So I decided to build a big enough hamper for us (two adults, one toddler who constantly dirties his clothes). For finish, I tried to mix two stains "weathered oak" and "dark walnut" and I think it came out really nice! I must admit I love my new hamper!
Tue, 07/16/2013 - 12:54
I would love to replicate!! It is beautiful :)
Wed, 04/01/2015 - 05:00
I liked this design of hamper you made. After looking at your photo and doing some figuring I started working on my own yesterday. So far I like it, although I think mine maybe taller. Again I really like your idea here.
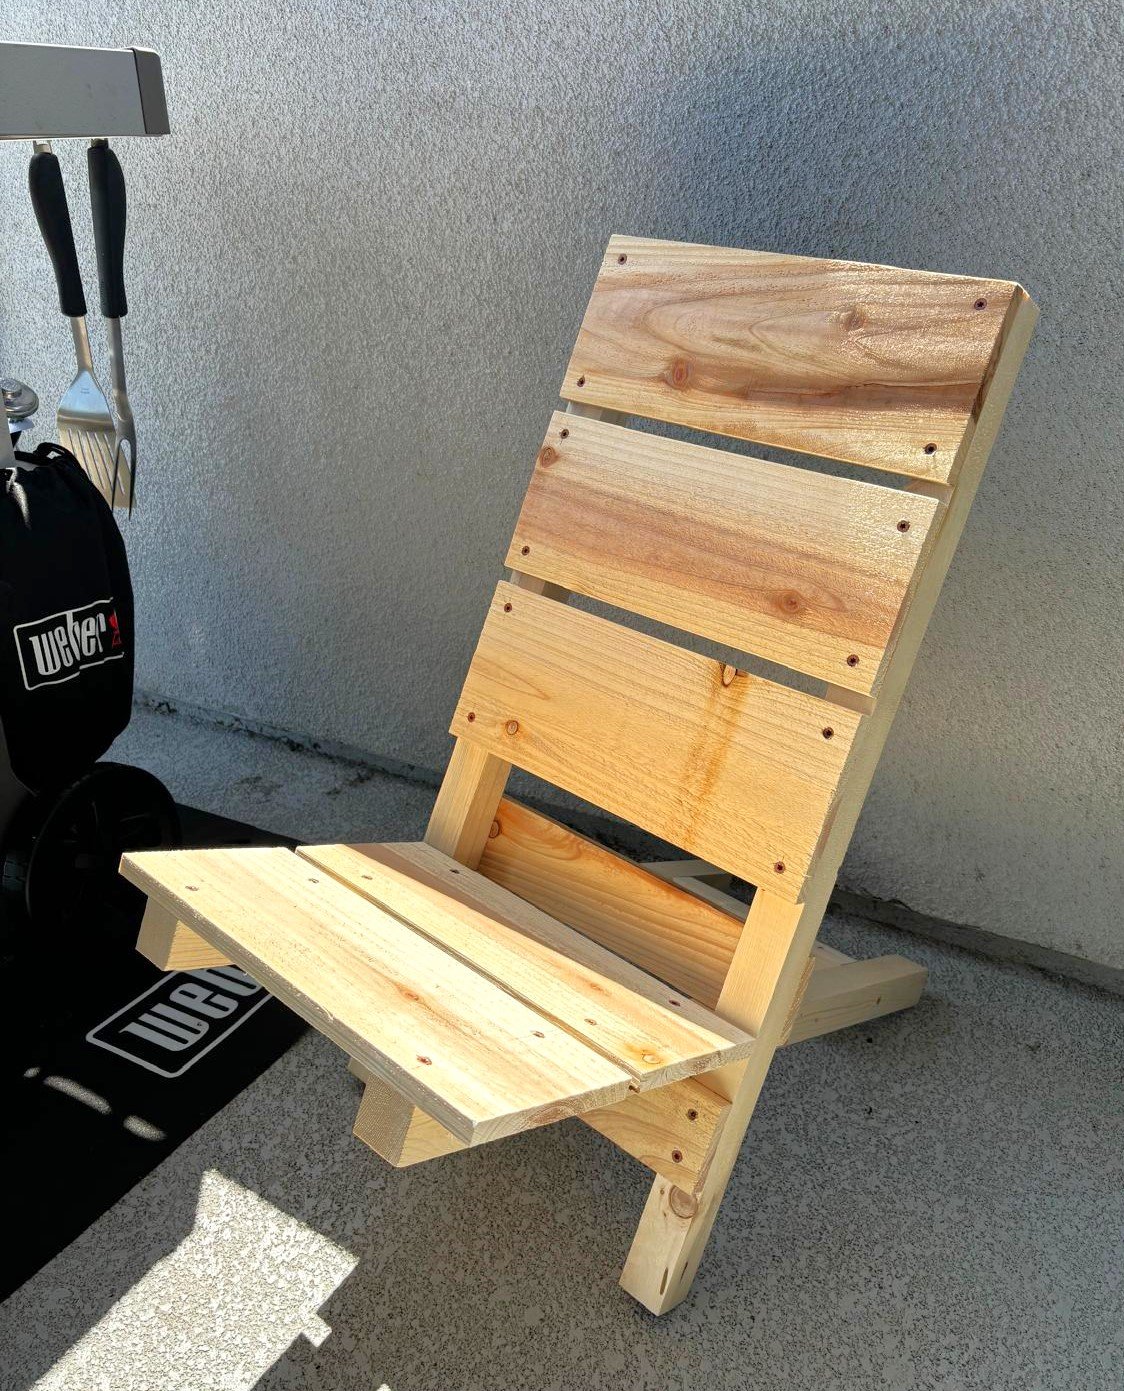
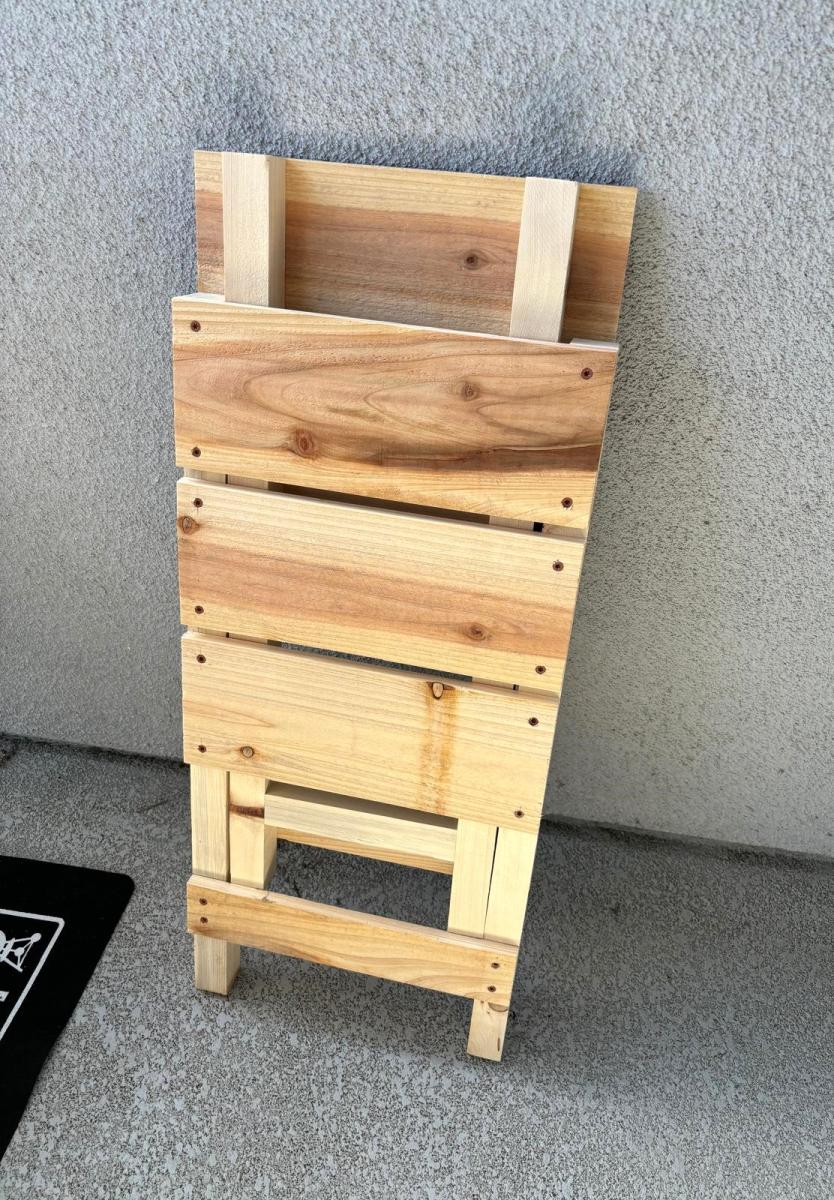
Two Piece Portable Outdoor Wood Chair
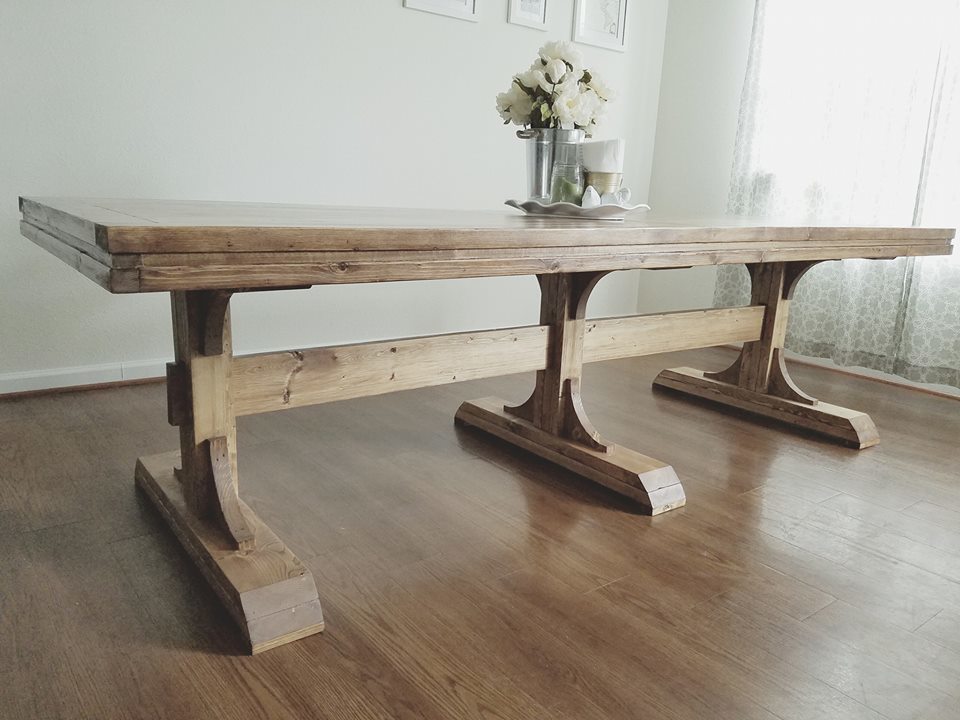
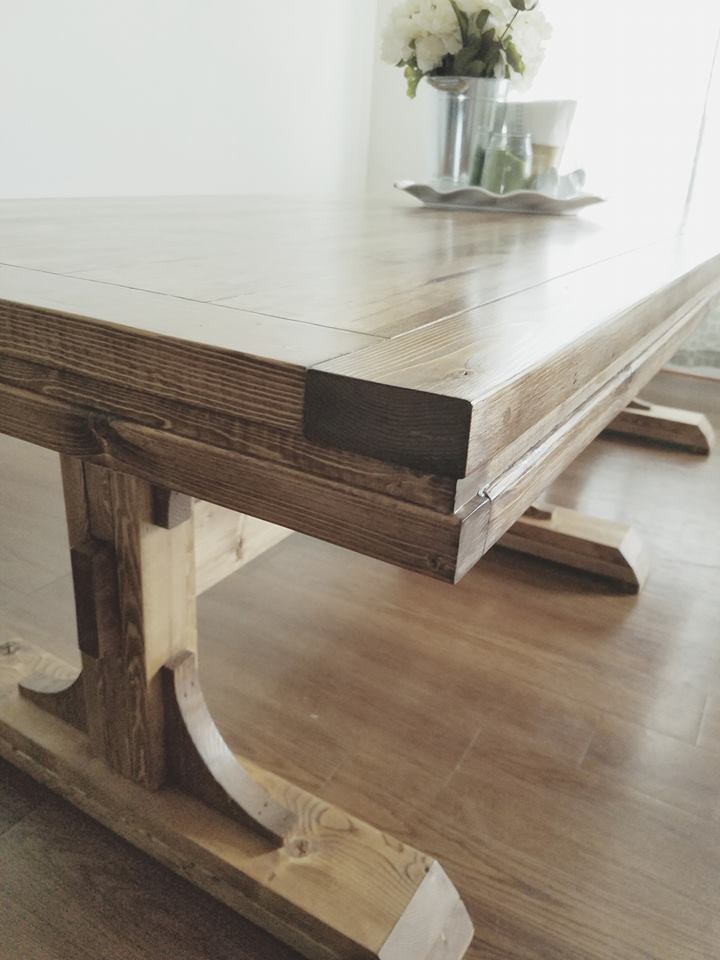
We have been eyeing this table for years now...finally the military has brought us to the east coast where we have room to do some wood work hobbying! This table is sturdy and beautiful. Love that we can break it down into so many pieces for our moves. Thank you Ana White!!
Wed, 05/08/2019 - 14:49
Can you please link the original design plans for this table? I really like it!
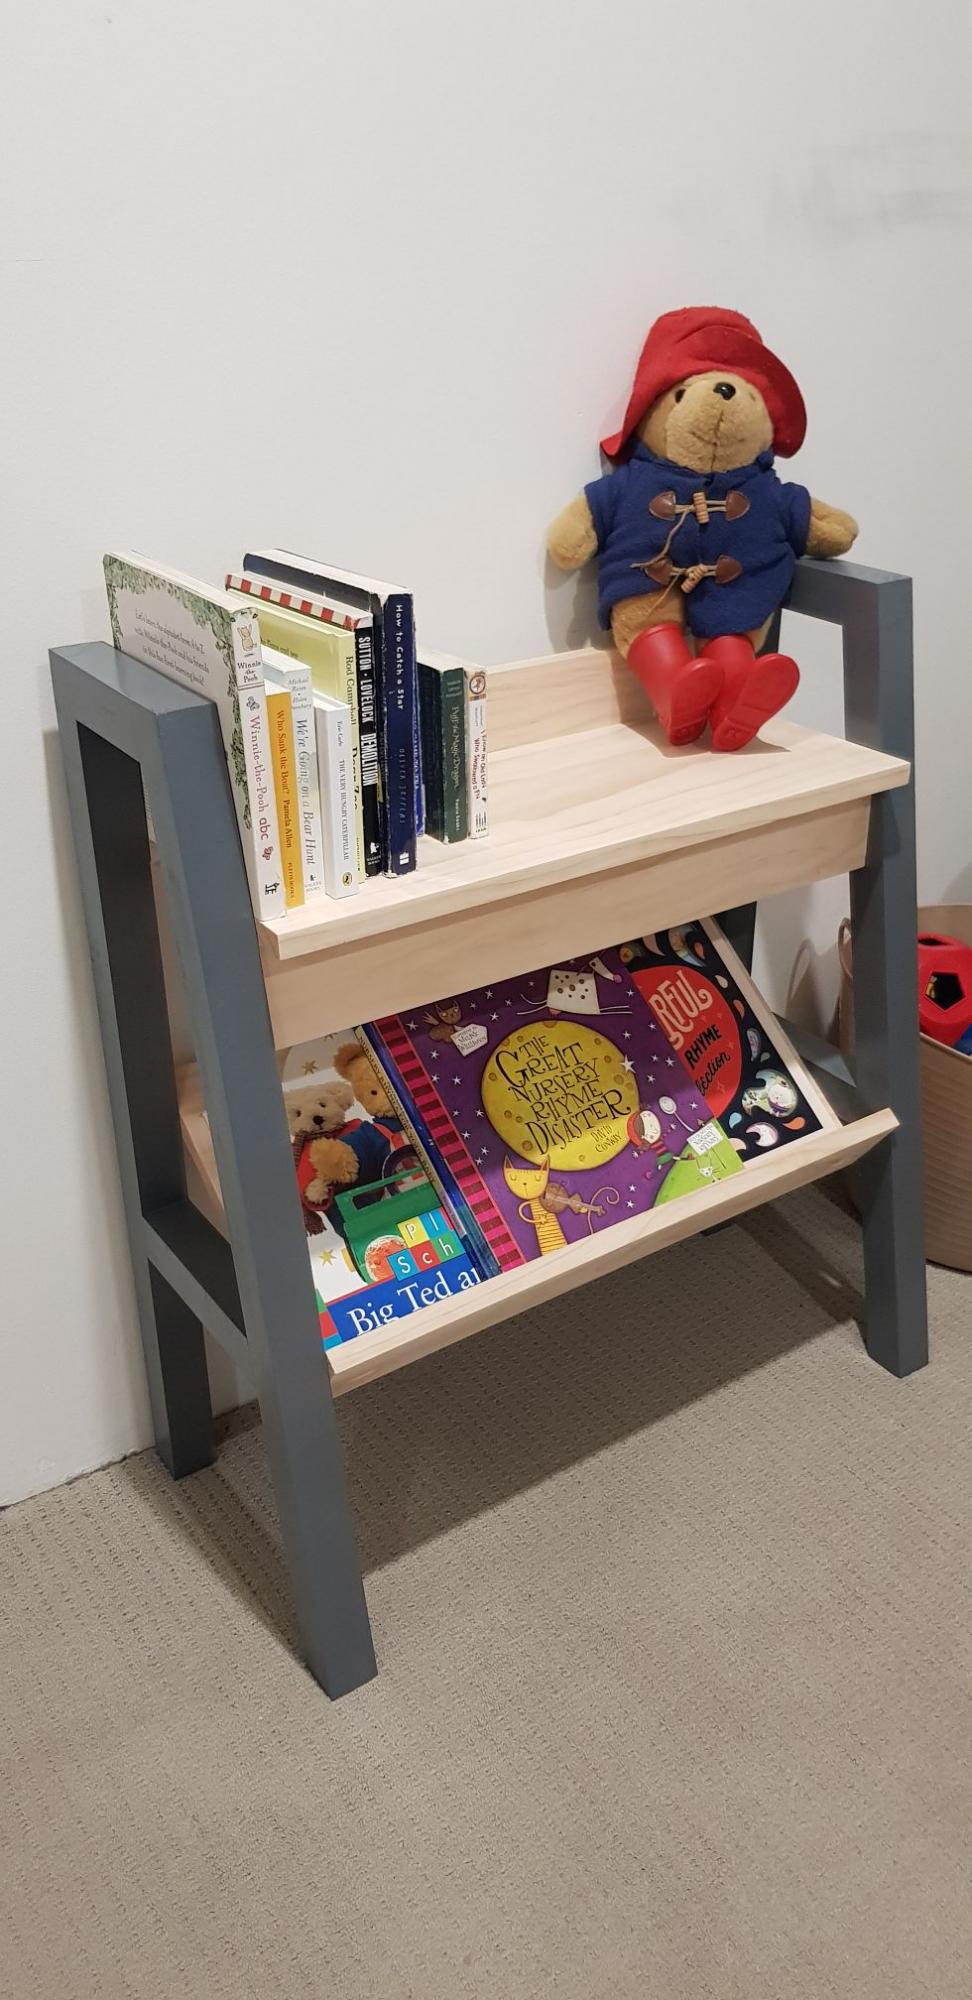
Had to half the length due to room size, but was happy with the results!
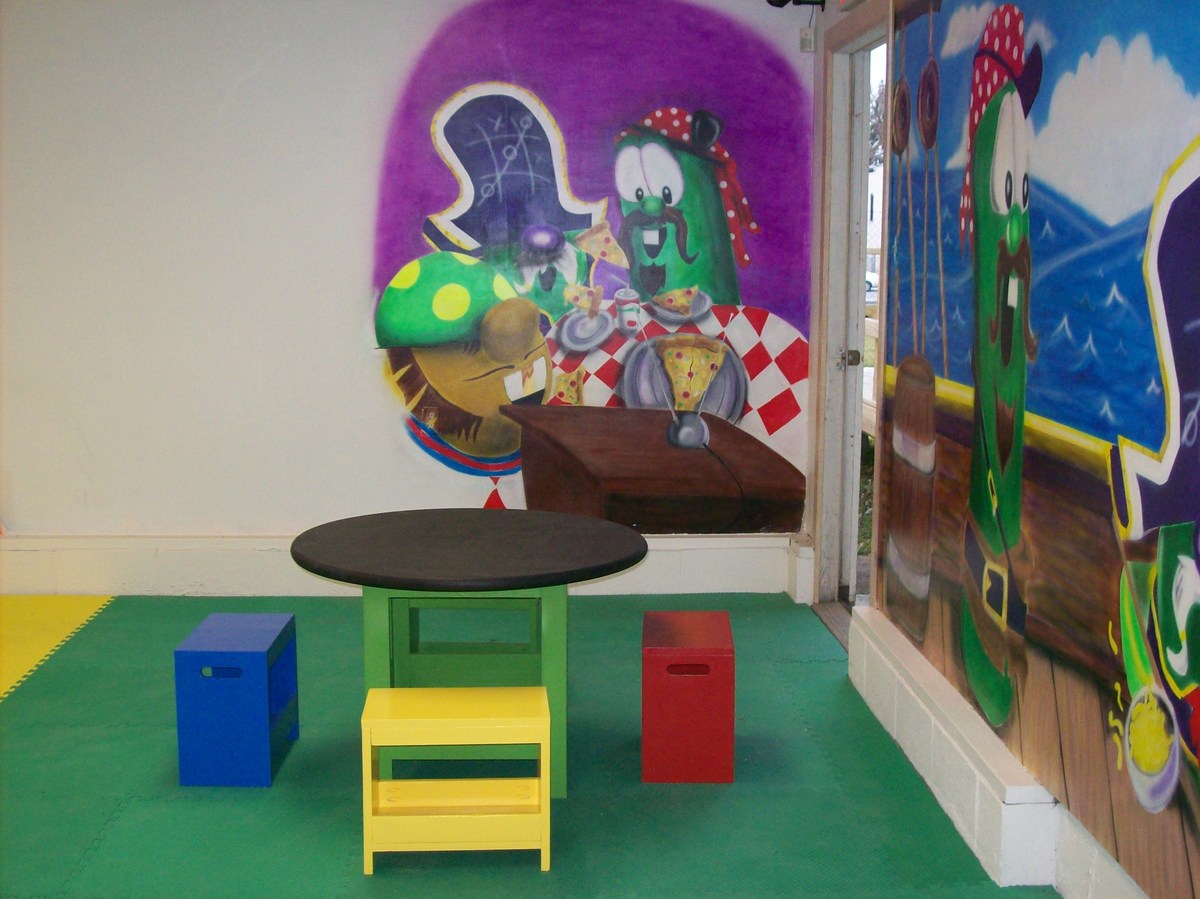
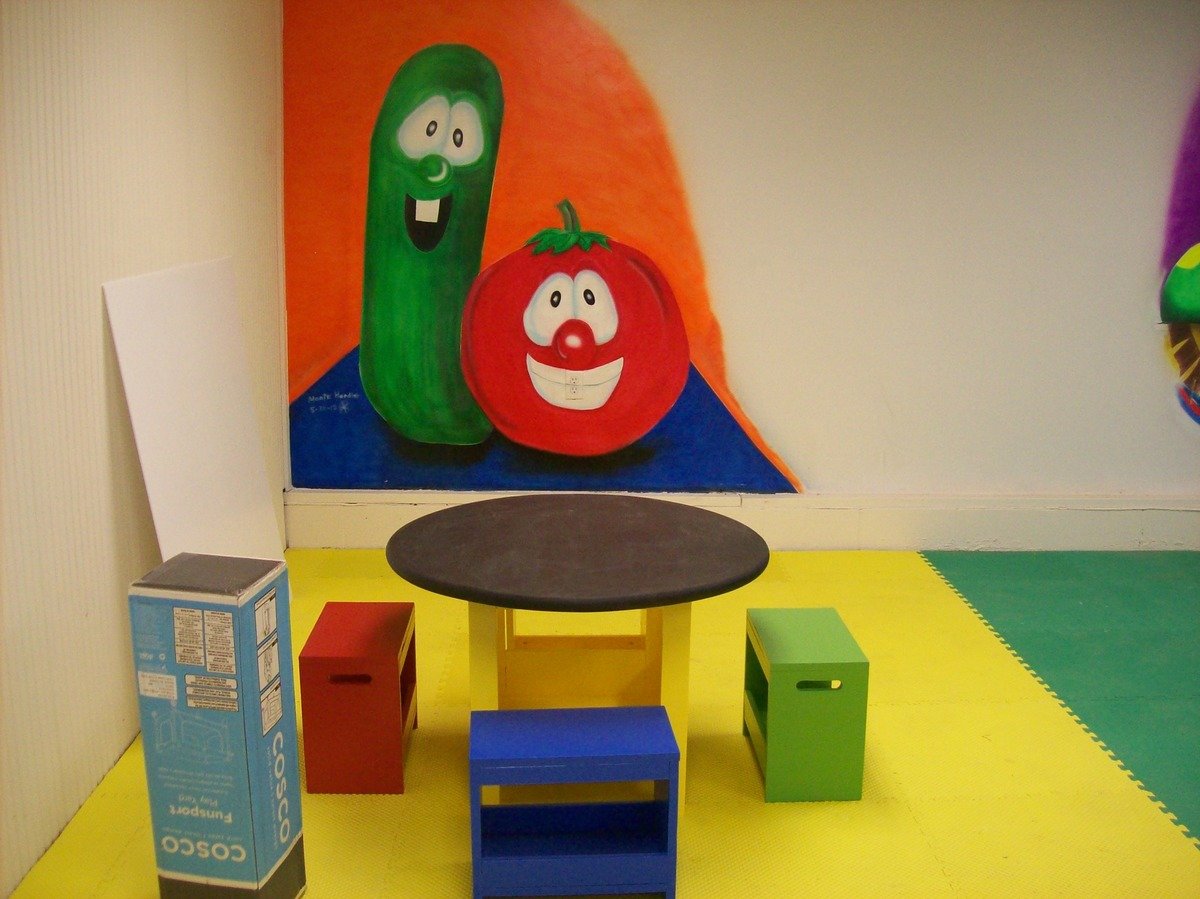
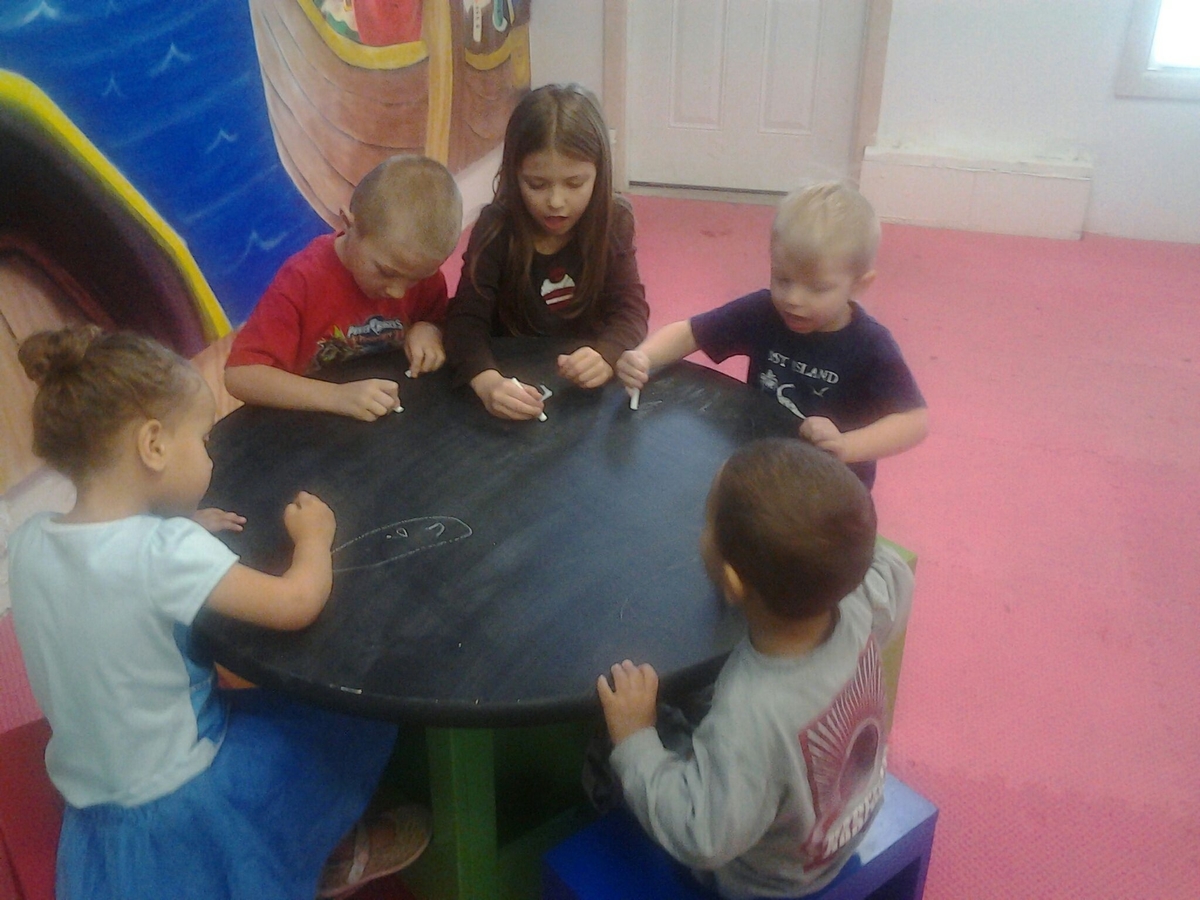
We built three of these for a women and children's shelter. We had friends help us with various aspects of the project. The colors are definitely more vibrant in person. Table tops are painted with chalkboard paint. Because we built three, it took three weeks with some down time here and there. Haven't sat down and figured cost but I know other bragposts have included them if you are curious.

Wed, 10/24/2012 - 20:49
This is beauitful I love the colors! The children are going to love them too! Keep doing God's work!
Mon, 02/25/2013 - 20:57
It is amazing that you built these for a women and children's shelter. You are truly using your talents for good. :) Thank you for the inspiration.
In reply to What a Blessing! by yurra-bazain
Wed, 02/27/2013 - 17:47
Thank you for the sweet comment. God gives us gifts that I feel we should bless others with. Heading over to check out your blog! :)
Fri, 06/28/2013 - 22:27
Hi! I absolutely love the colors you used (and the chalkboard paint is pretty awesome as well). I did have a question. I saw your question about the type of material to keep costs down. The 1 in material in my town is way more expensive than 3/4 in quality Purebond plywood. Do you think the plywood would hold up? This would be much more cost effective and leave some change to do a couple of extra small projects. Thank you in advance for your help!
Tue, 07/23/2013 - 05:12
MrsPowers, I am just now seeing your comment, my apologies! I don't see why the plywood wouldn't hold up, but unfortunately, I am not the one to ask. I am still quite the novice! I had asked about material for the top because I originally didn't want to buy the pre-made round tops. However, time got away from us, so we ended up just biting the bullet and buying them after all. If you are on Facebook, you will probably get a question answered quicker there. Ana's wall name on Facebook is Knockoff Wood. Best wishes on your future projects and sorry I couldn't be of more help!
The table top is modified from Ana's farmhouse table, the base is modified from the storage table and the chairs are modified from the extra tall bar stool. This project took me the weekend to complete, because of those darn chairs!!!
In reply to Gorgeous by patrickhosey
Sun, 11/04/2012 - 06:52
For the ladder I used straight 2x2s and 2x3's. I like the look of the straight back. I didn't want pocket holes on either side, so I used 3" screws through the legs into the 2x3s. I used a scrap 2x3 as a spacer.