Community Brag Posts

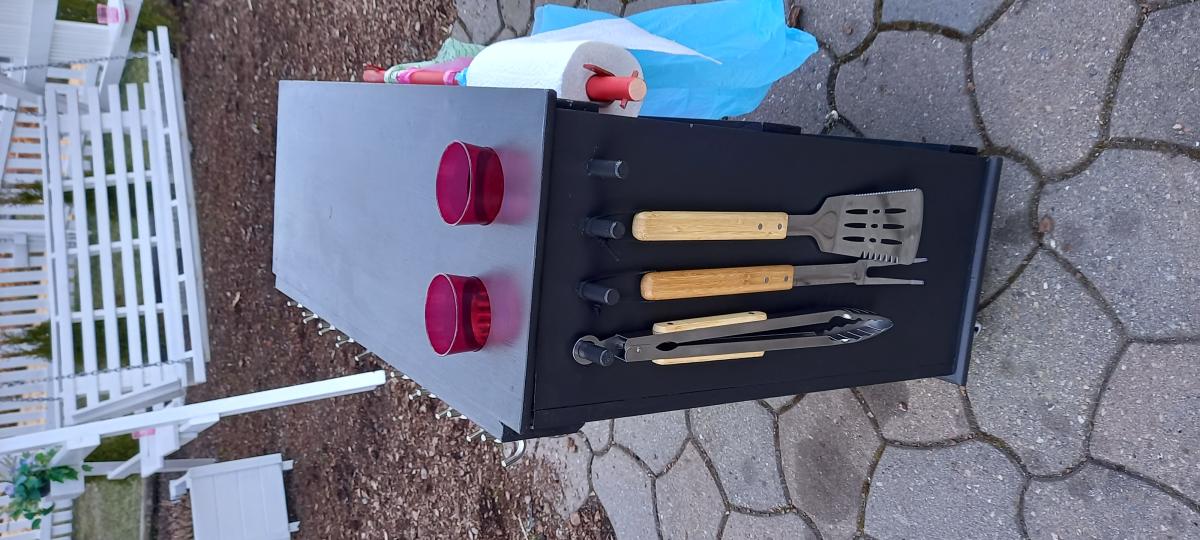
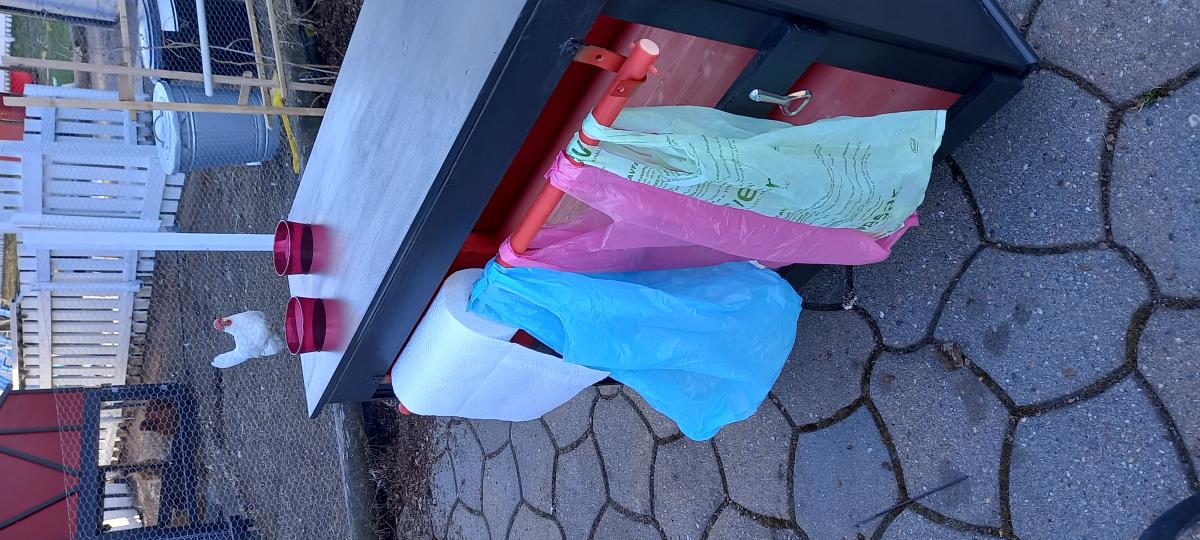
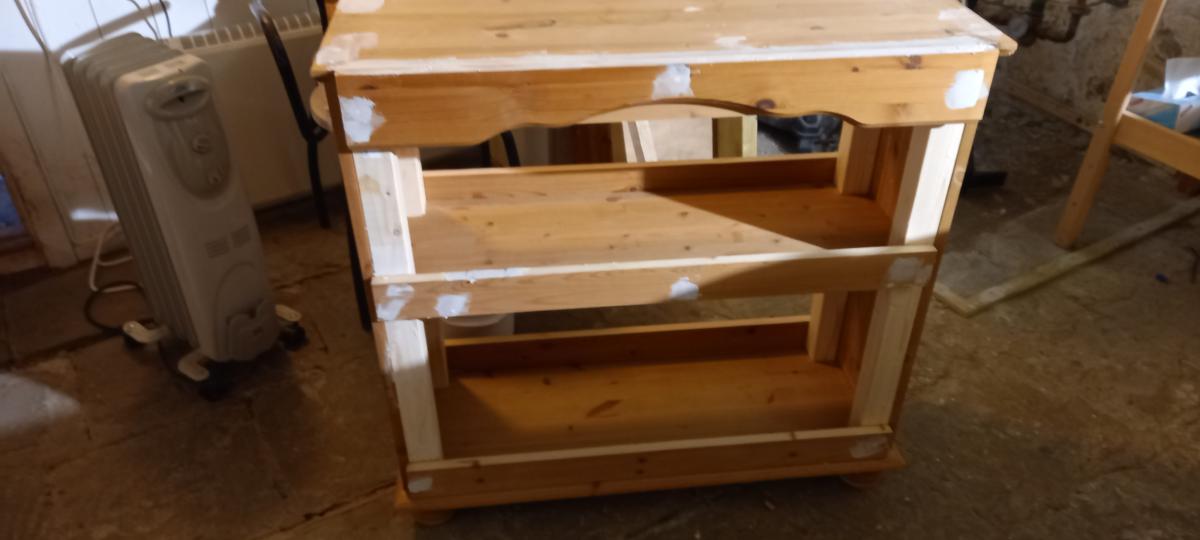
Outdoor BBQ-help table
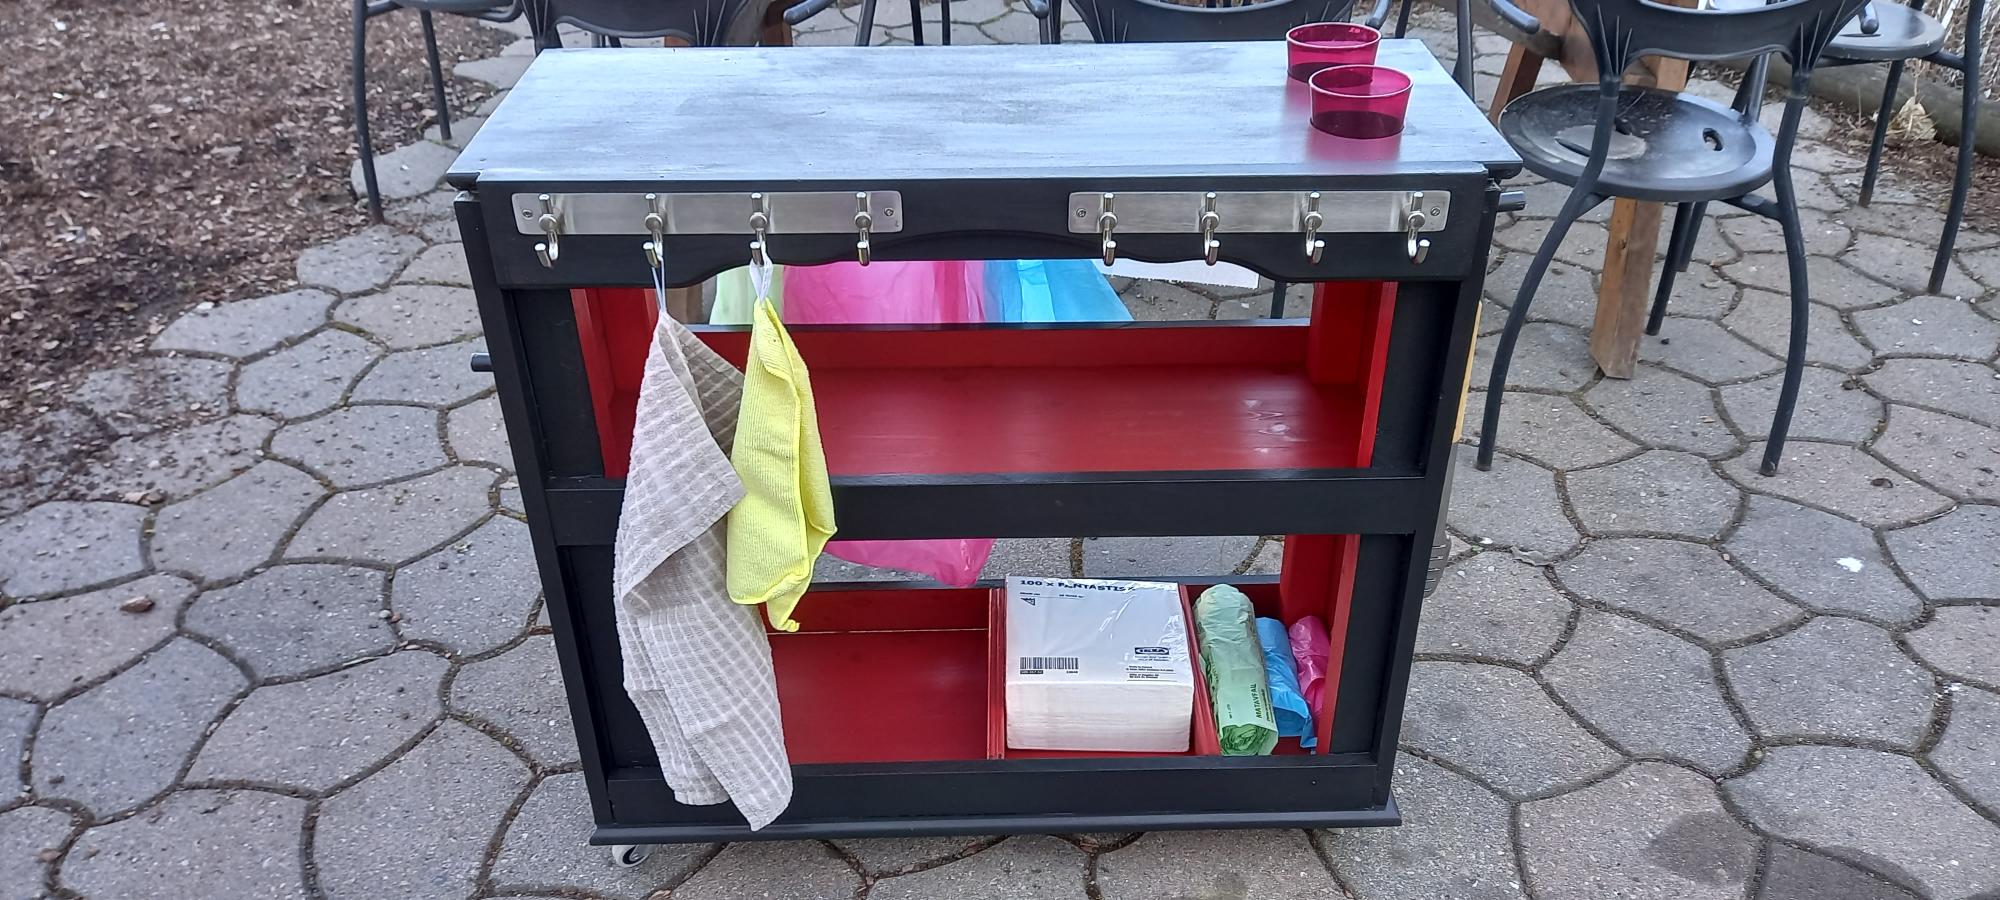
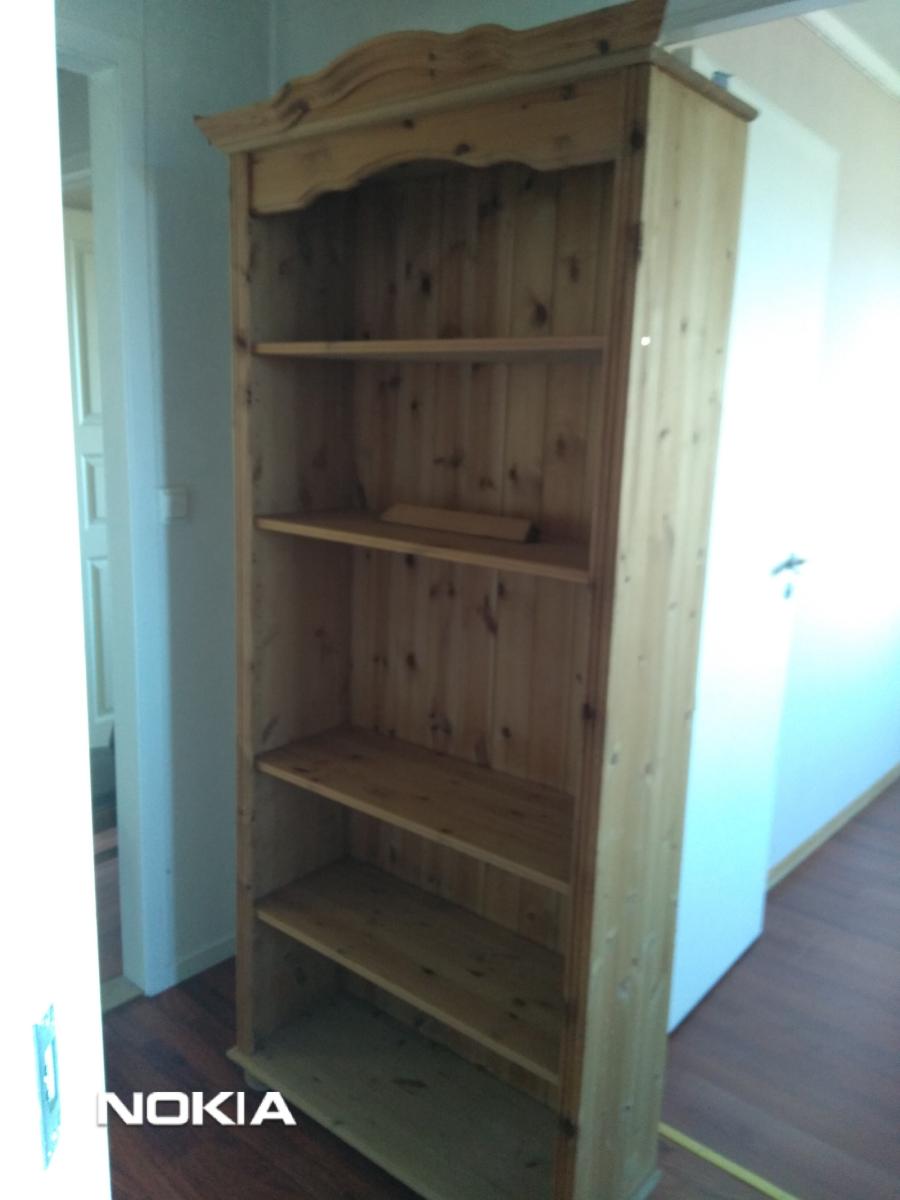
I love you and your site and have learned tons from it. Last week I picked up this old bookcase on a website for free. I then worked on it to turn it into a BBQ-help table. I'm very happy with it and hope the weather in Norway will soon be hot enough to get out in the garden and BBQ!
Love and best wishes,
Pauline
Comments
Thu, 04/21/2022 - 15:10
WOW, awesome repurpose project!
This looks great, we are so ready for summer too! Thank you for sharing.
Tryde-n-true
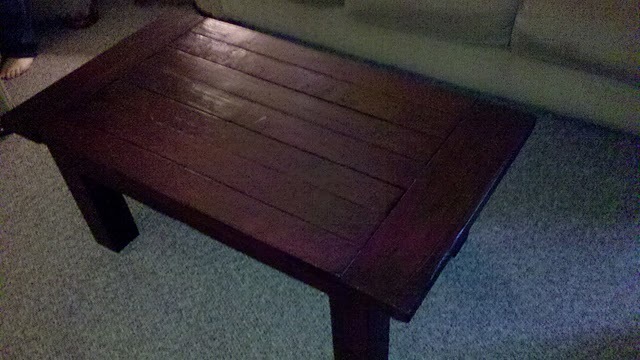
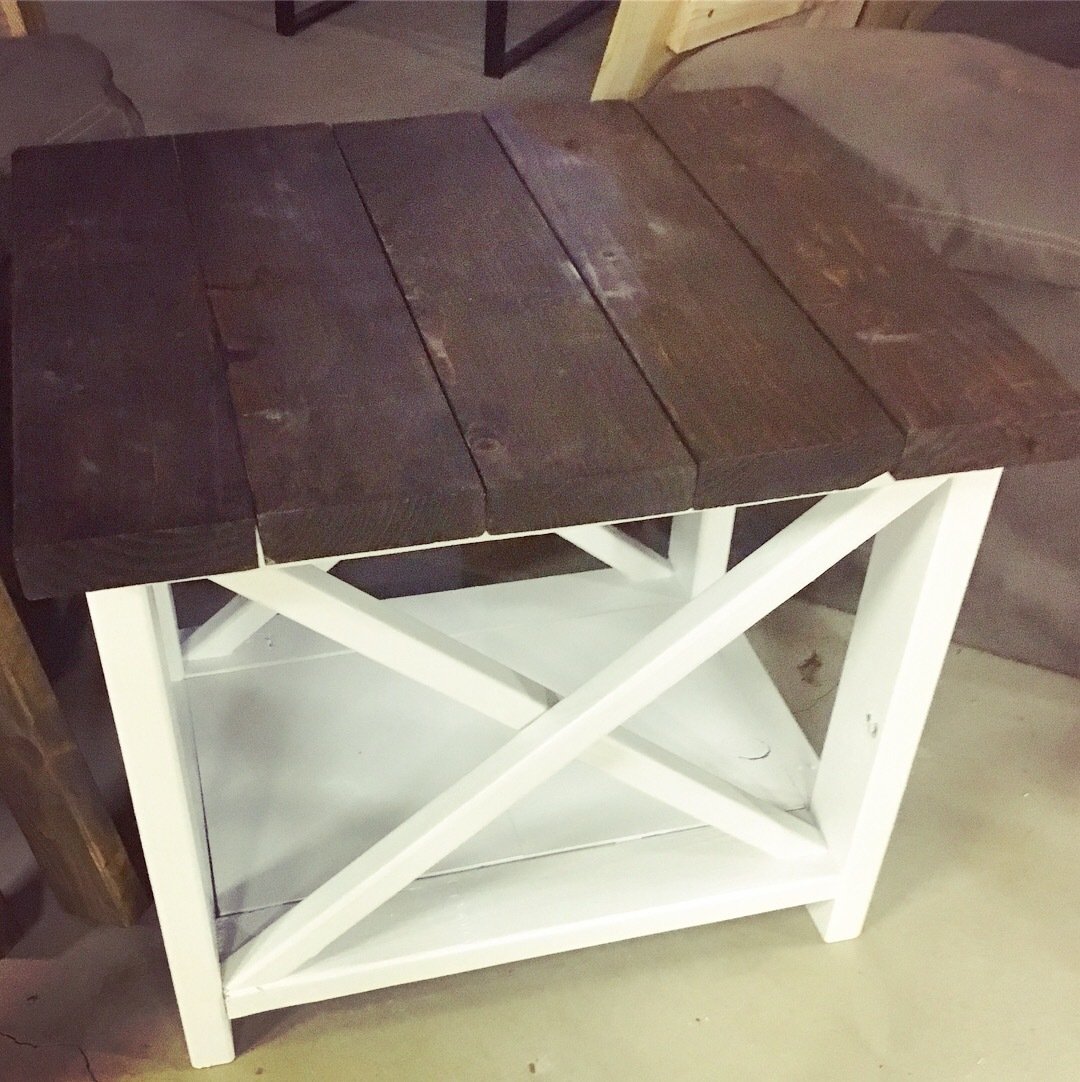
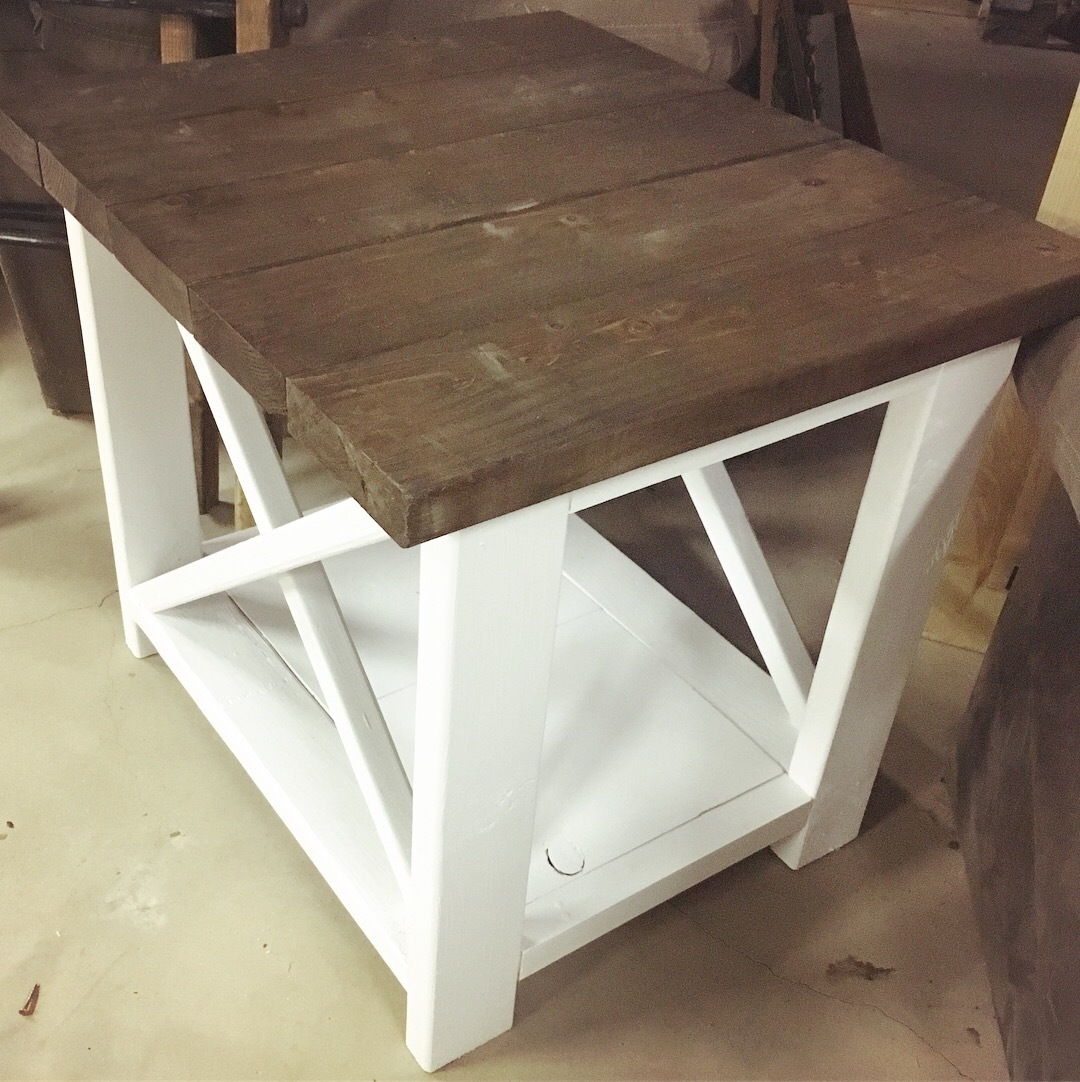
The online plans for this table were far too long for our room, so I took the plans to Sketchup and shortened them to fit our space.
Having done so, I had to adjust the board-shopping list and I goofed up and ended up with a slightly shorter 2x4 for the table top!
So, I cut that board in half, and added a squared-off 2x4 piece and set it in the center of the table with the grain going in the same direction as the breadboards (fixed in with pocket-hole screws). It turned out very nice and the center square gives a little extra interest to the center of the table. (can't really see the center in the picture, sorry).
We LOVE our 'experimental' finish technique! The table looks amazing and very expensive.
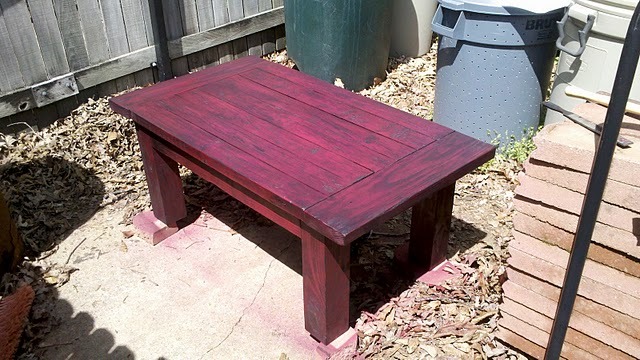
The outdoor photo of the table was taken as I waited for the ebony-wiped stain to dry -- before the semi-gloss polyurethane. The Polyurethane darked the whole piece up just enough to make it take on a deep rich look.
I often get the remark "YOU made THIS?" !
Built from Plan(s)
Estimated Cost
$40
Estimated Time Investment
Day Project (6-9 Hours)
Finish Used
1. Sprayed Red Krylon
2. Distressed
3. Wipe-stained ebony
4. Polyurethane
2. Distressed
3. Wipe-stained ebony
4. Polyurethane
Recommended Skill Level
Intermediate
Comments
Wed, 05/02/2012 - 15:32
How was your experience with
How was your experience with using spruce? Did it split any? it looks beautiful!
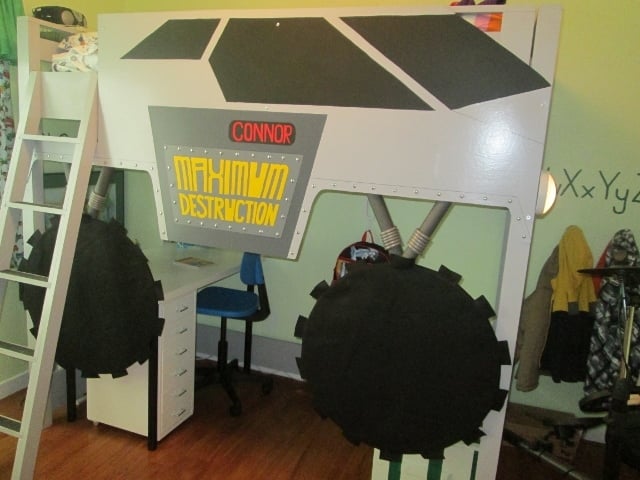
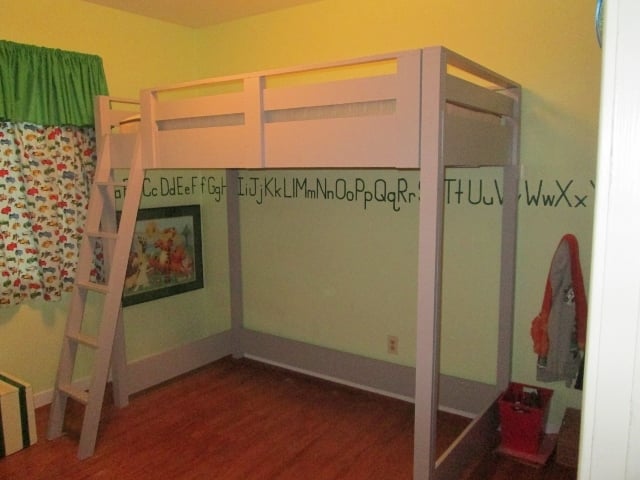
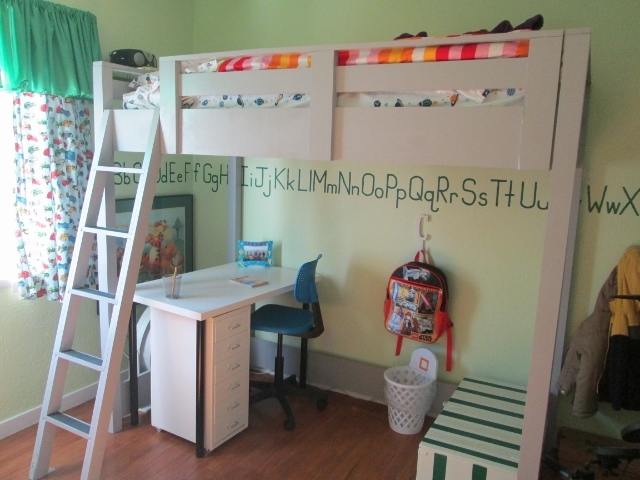
Monster Truck Loft Bed
Reference plans:
http://ana-white.com/2010/05/furniture-plans-loft-bed.html
http://ana-white.com/2011/04/fire-truck-bed
The plans for the loft bed were accurate and easy to follow. Used pine, primer and paint. My kid was inspired by the INCREDIBLE Fire Truck Loft Bed (http://ana-white.com/2011/04/fire-truck-bed). Thankfully the Monster Truck can be taken off with a few screws once he outgrows Monster Trucks (giving it 2 to 22 years).
I did go back and anchor the bed to the wall in 4 places (he likes to bounce). In addition, anchored the ladder to the floor. Added 2 additional 2X2 under the bed for a total of 3 spines to support the planks and a thin piece of particle board (used for backing in book cases) to help distribute the weight over the planks. Blame it on over-protective parenting. Also added a shelf between the bed and wall to hold his music stash.
Estimated Cost
300
Estimated Time Investment
Week Long Project (20 Hours or More)
Finish Used
Primer and 2 coats of paint. I have learned to paint before assembly to make sure all surfaces are fully covered.
Recommended Skill Level
Intermediate
Starting with a used drop leaf cherry cocktail table
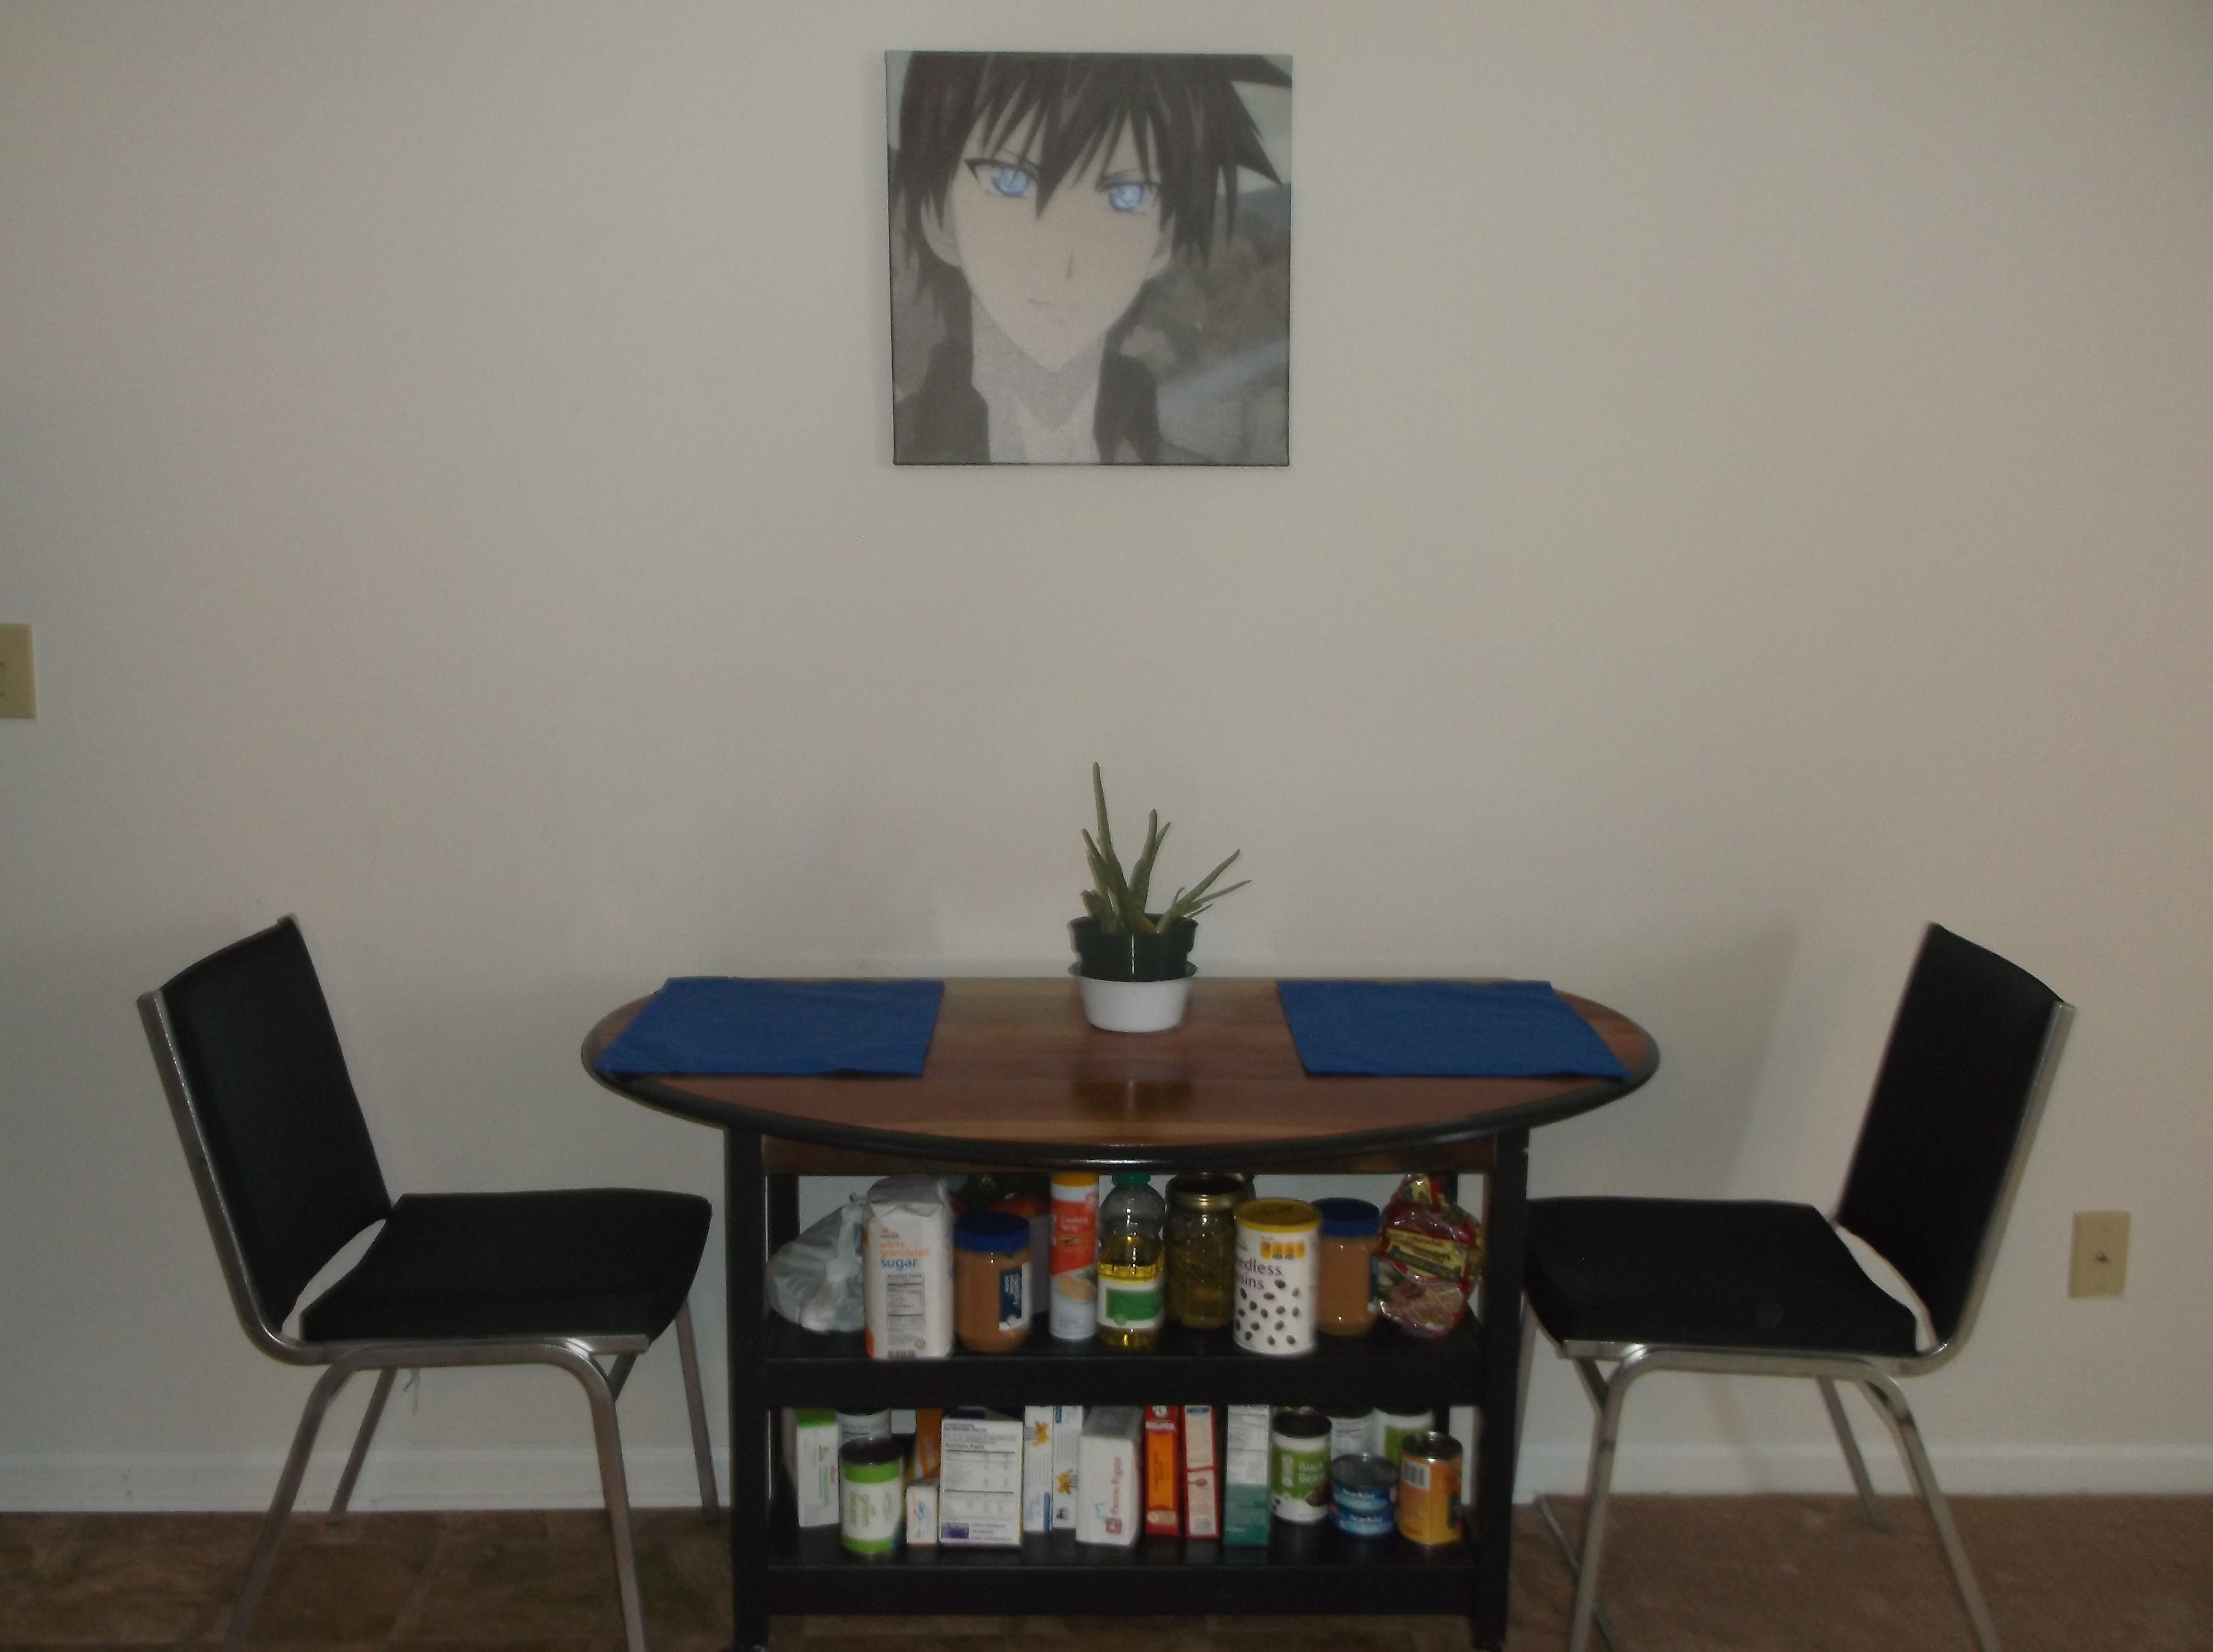
This plan inspired me to buy a used drop leaf cherry cocktail table and make the storage bottom with wheels. The oval deisgn of the cocktail table helped it fit in my daughter's small apartment kitchen, which is a pass through to the bedroom. She also really needed the additional storage space. Thanks so much!
Built from Plan(s)
Estimated Cost
$60. $40 for the cocktail table. We also had some scraps we used.
Estimated Time Investment
Day Project (6-9 Hours)
Finish Used
Black paint for bottom, polyurethane on the cherry top.
Recommended Skill Level
Intermediate
Makeup table
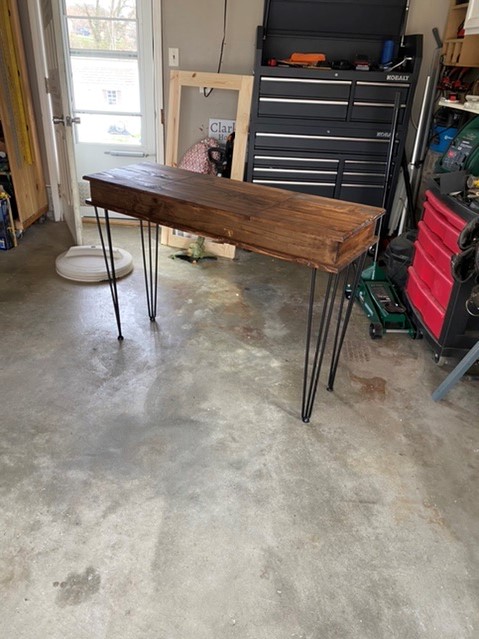
Made this table for my sons girlfriend for her makeup and to use as a table for her laptop.


Comments
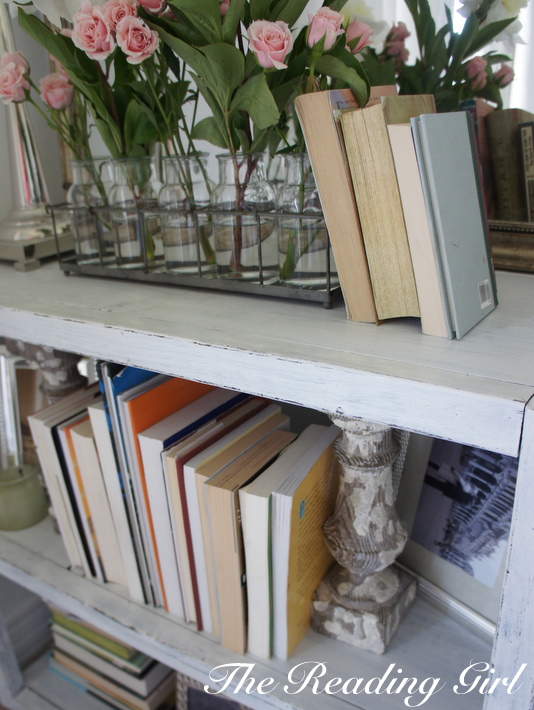
Modern Parson's Bookshelf Turned French Antique

Much to our dismay our tiny town is not host to any sweet antique shops. So when I began designing our new guest room, I knew that I was going to have to BUILD two bedside tables. Thanks to Anna, that is much more of a possibility for us than I ever might have imagined.
So, I decided on one bookcase and one vanity. For the bookcase I adapted the Parson's style bookshelf plans. But instead of going the modern route, I stained it ebony and painted over with a white satin paint--and of course distressed. Simple, affordable, and quite cute. You can see many more photos at www.thereadinggirl.com.
Built from Plan(s)
Estimated Cost
$20
Estimated Time Investment
An Hour or Two (0-2 Hours)
Finish Used
Ebony Stain, White Satin Paint, distressing.
Recommended Skill Level
Beginner
Comments
Tue, 06/14/2011 - 04:31
awesome look
I am about to start one of these, Reading Girl, and was a bit concerned that it could be too modern for our shabby chic style but no you've done it and it looks great.
Thanks for the inspiration all the way from Botswana.
In reply to awesome look by theothermrsbell
Tue, 06/14/2011 - 08:04
Best of Luck
Well thank you so much for your kindness, all the way from Texas-USA! I wish you all the best of luck with your creation--I am sure it will turn out great!
In reply to Question by Kate (not verified)
Mon, 07/11/2011 - 13:55
Antique Store
Thanks, Kate! I bought this set at an antique store! I hope you can find one, or at least something similar! GOOD LUCK :o)


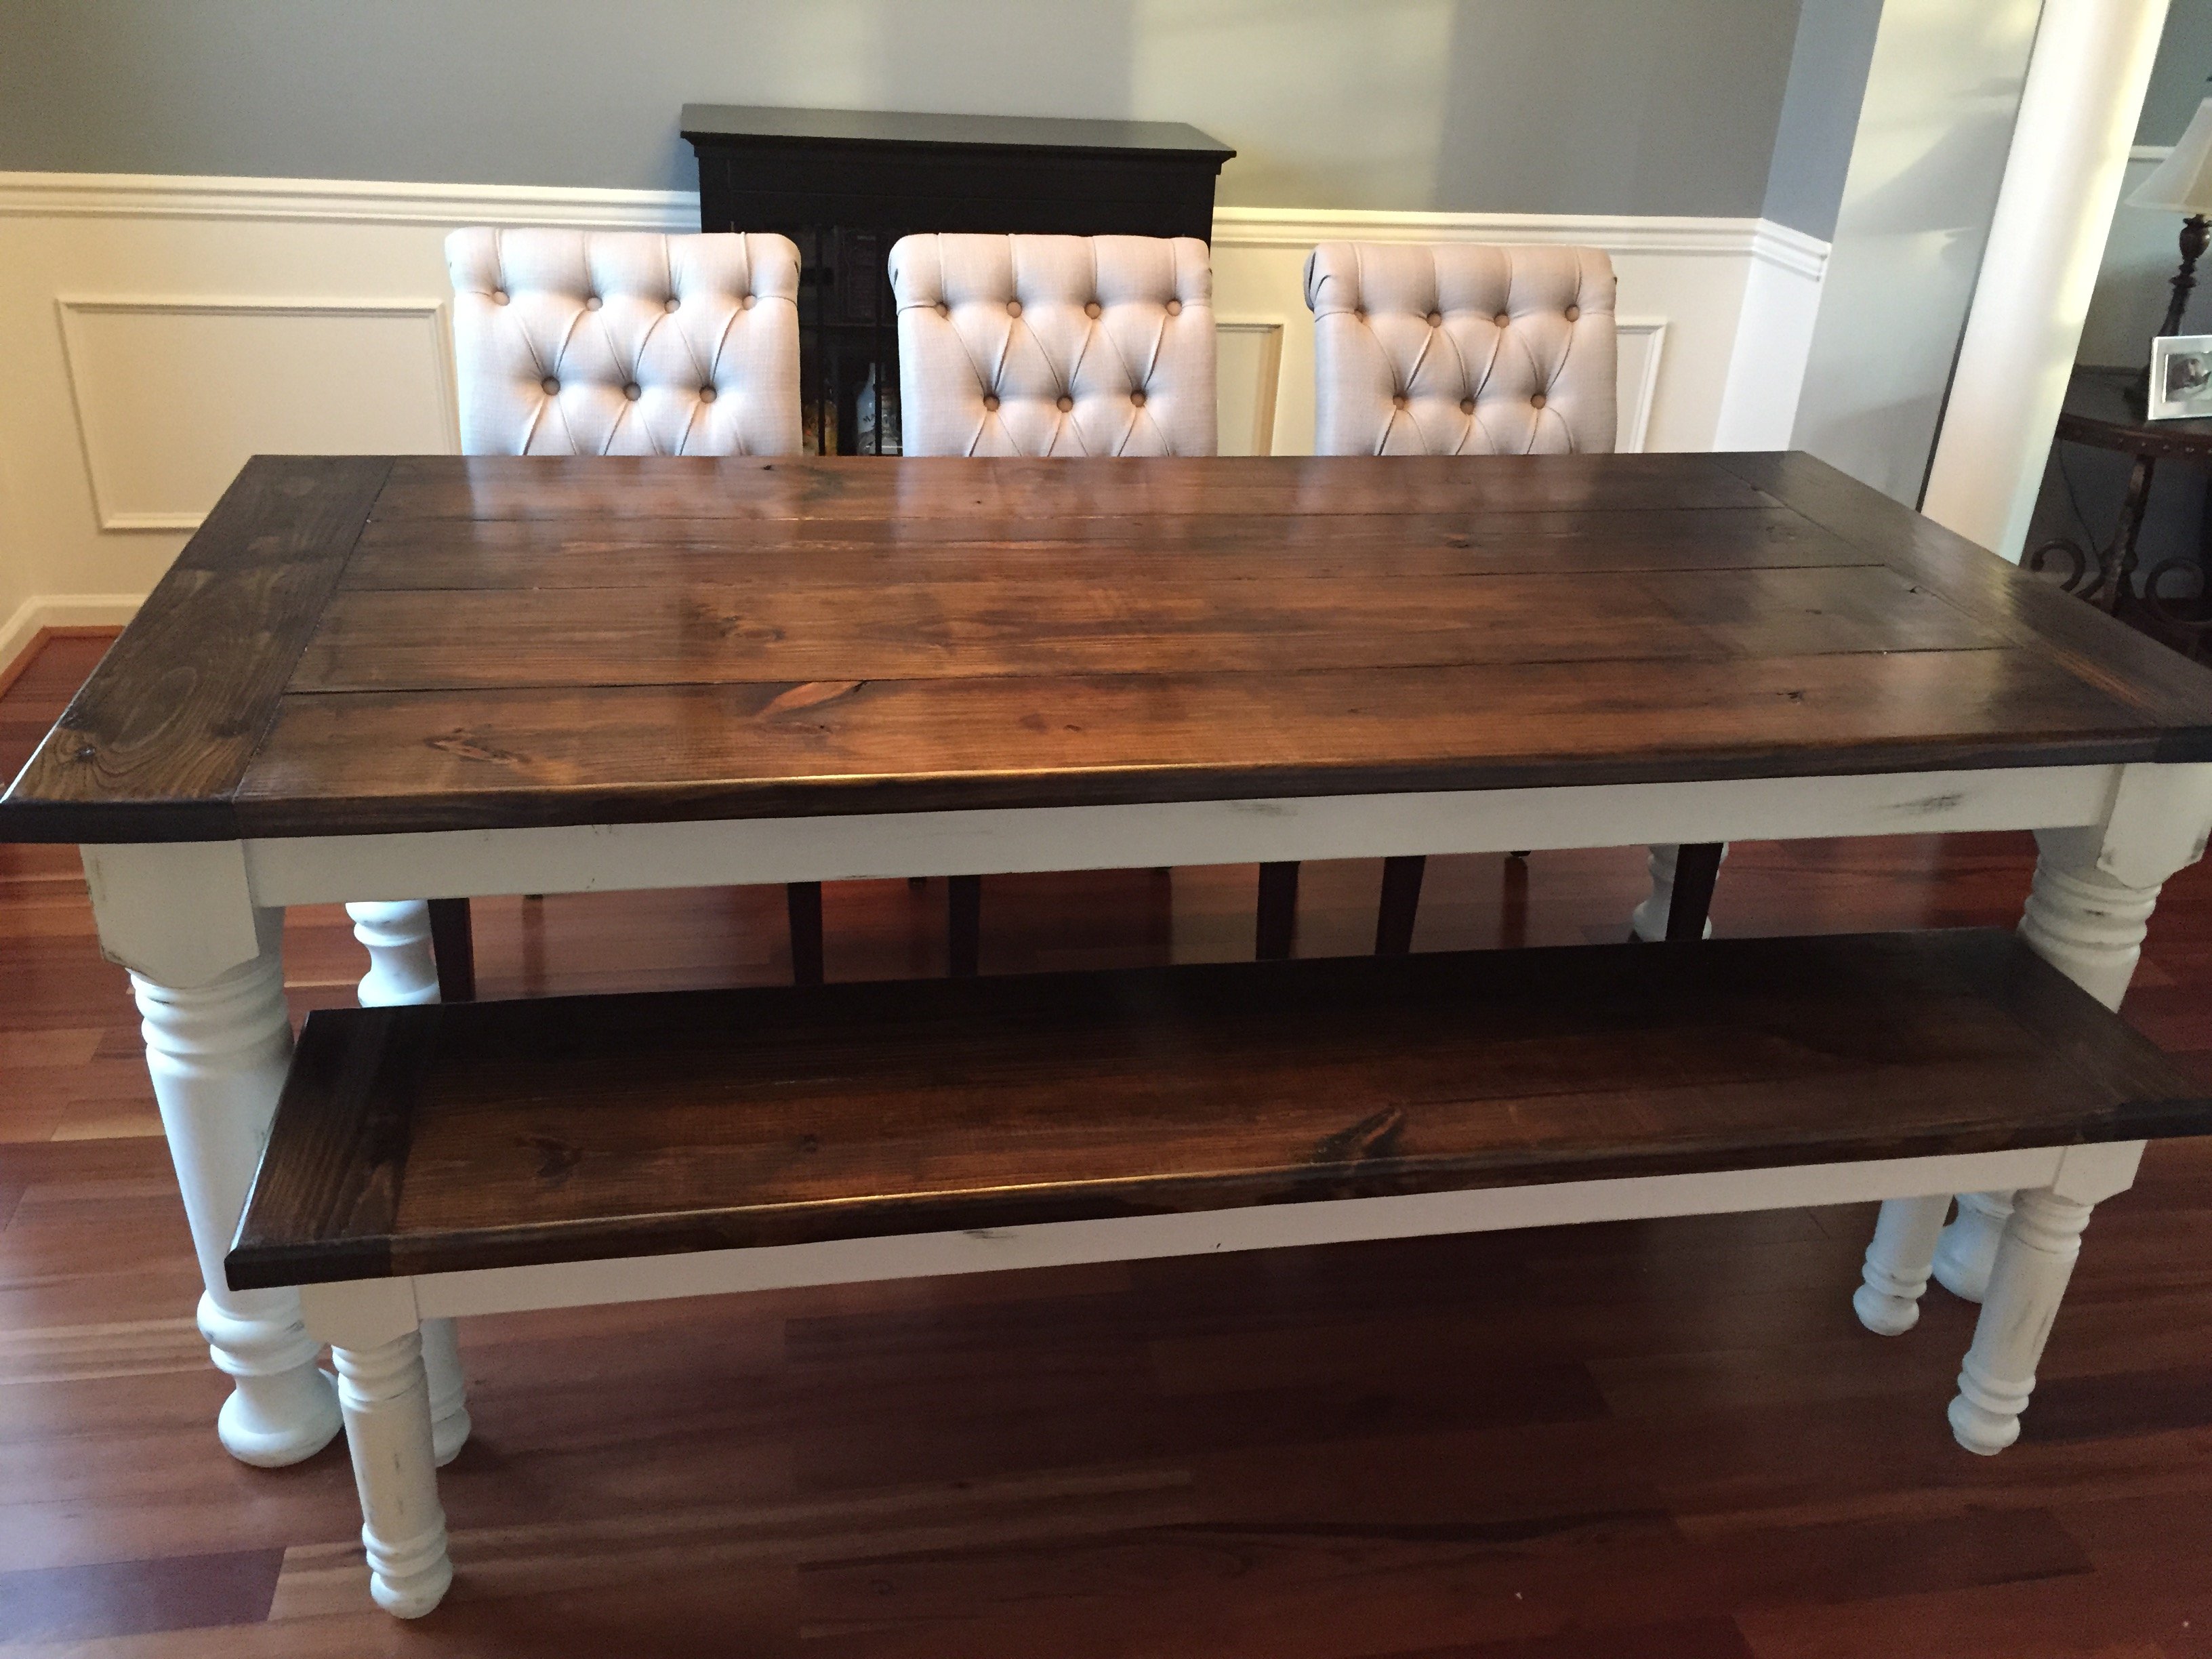
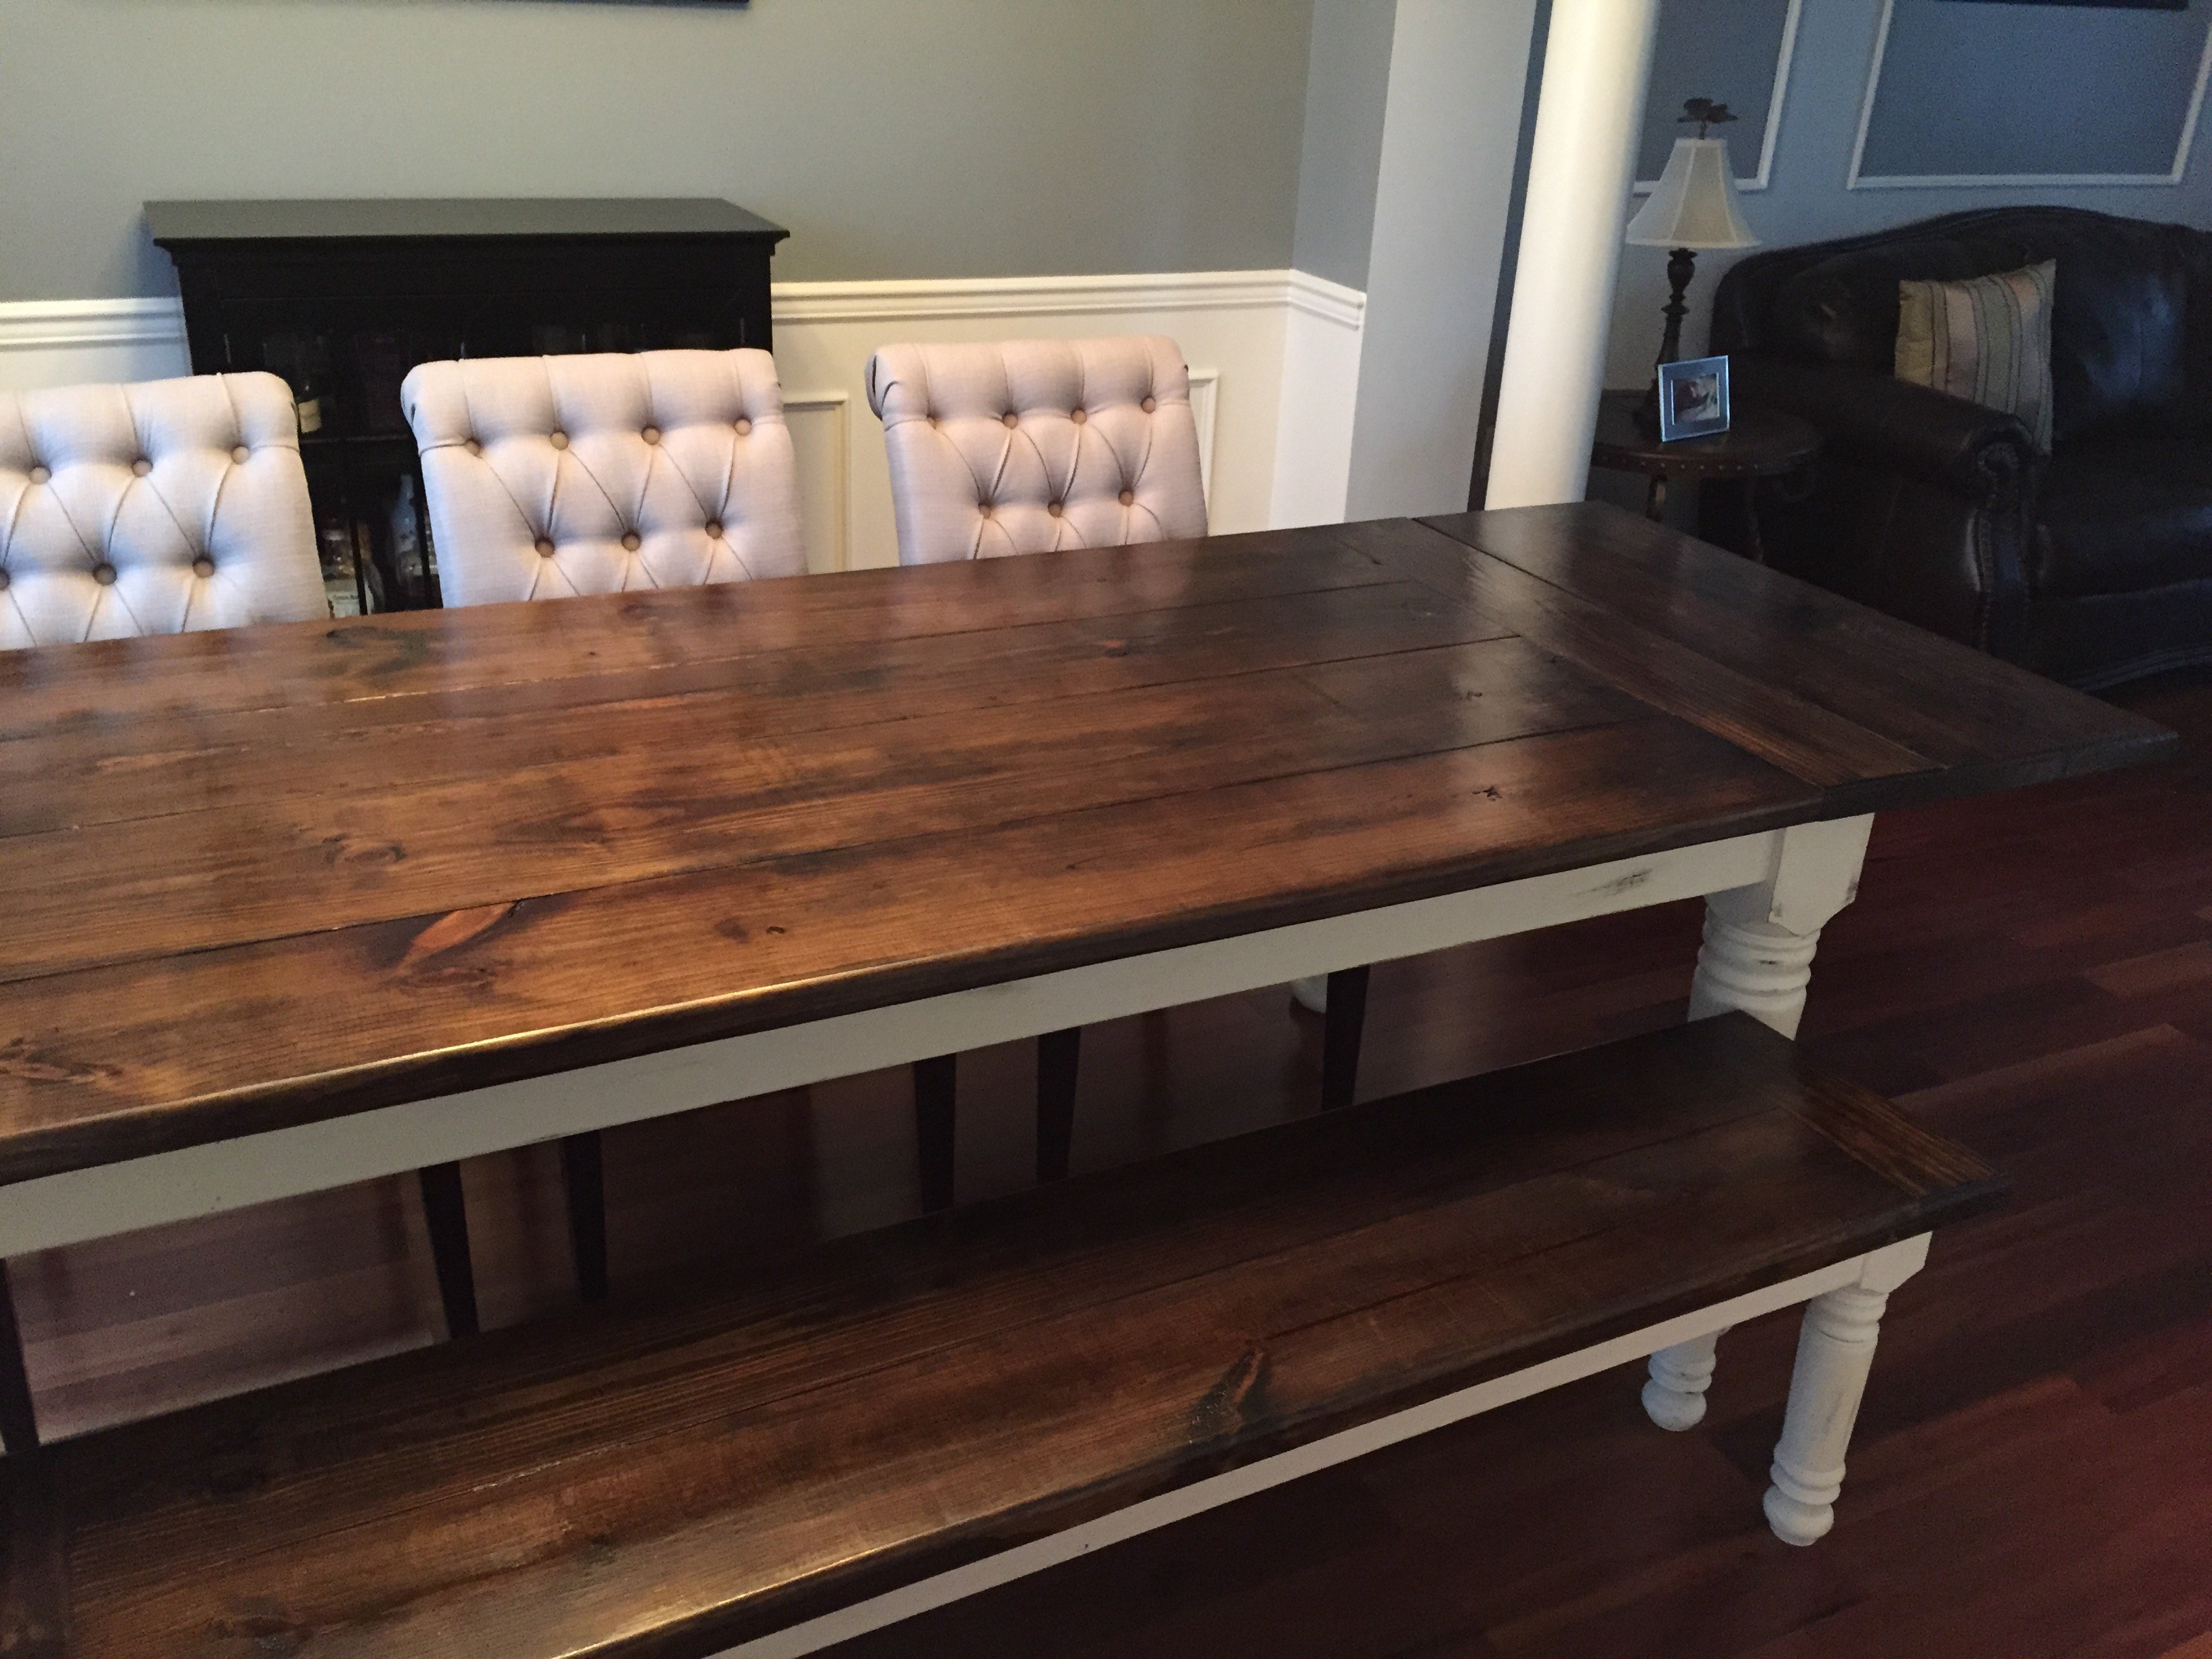
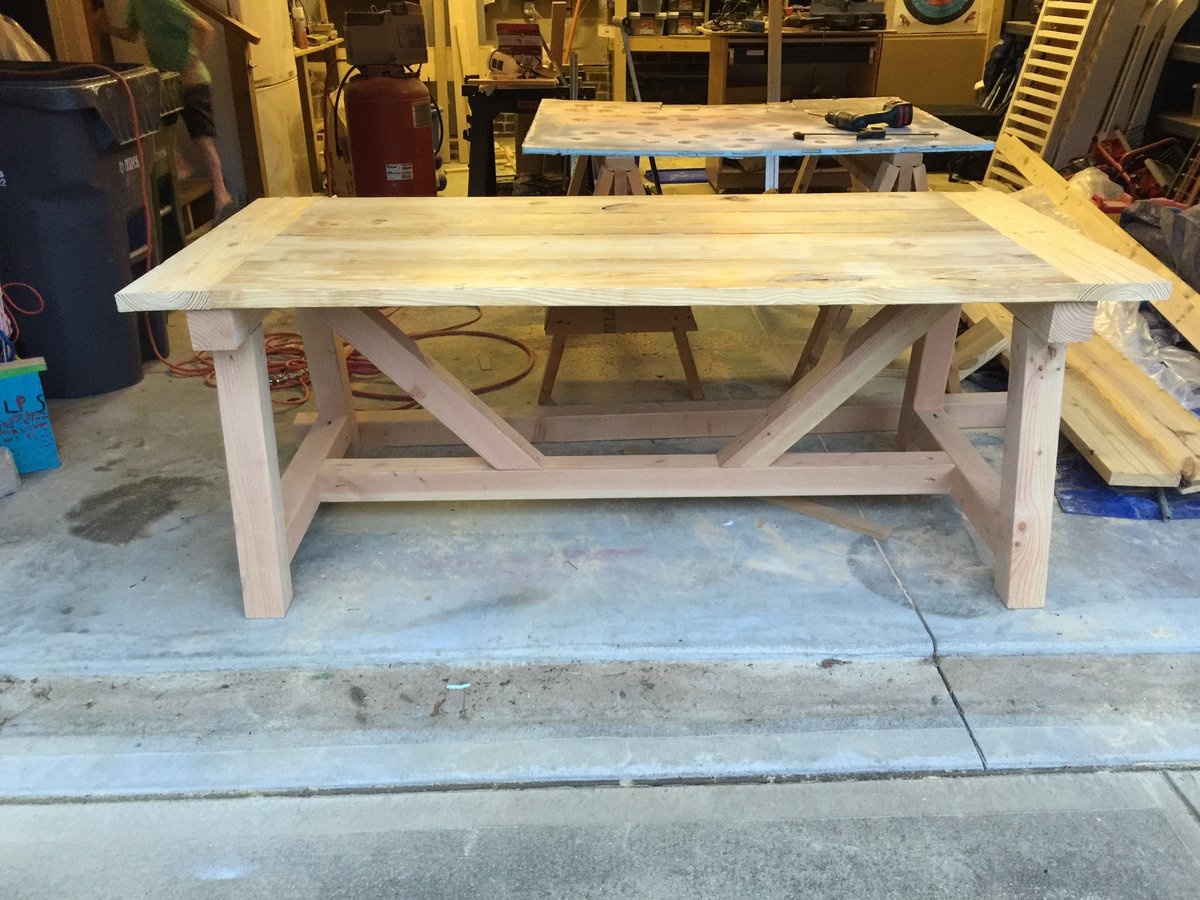
Farmhouse table + bench + extensions
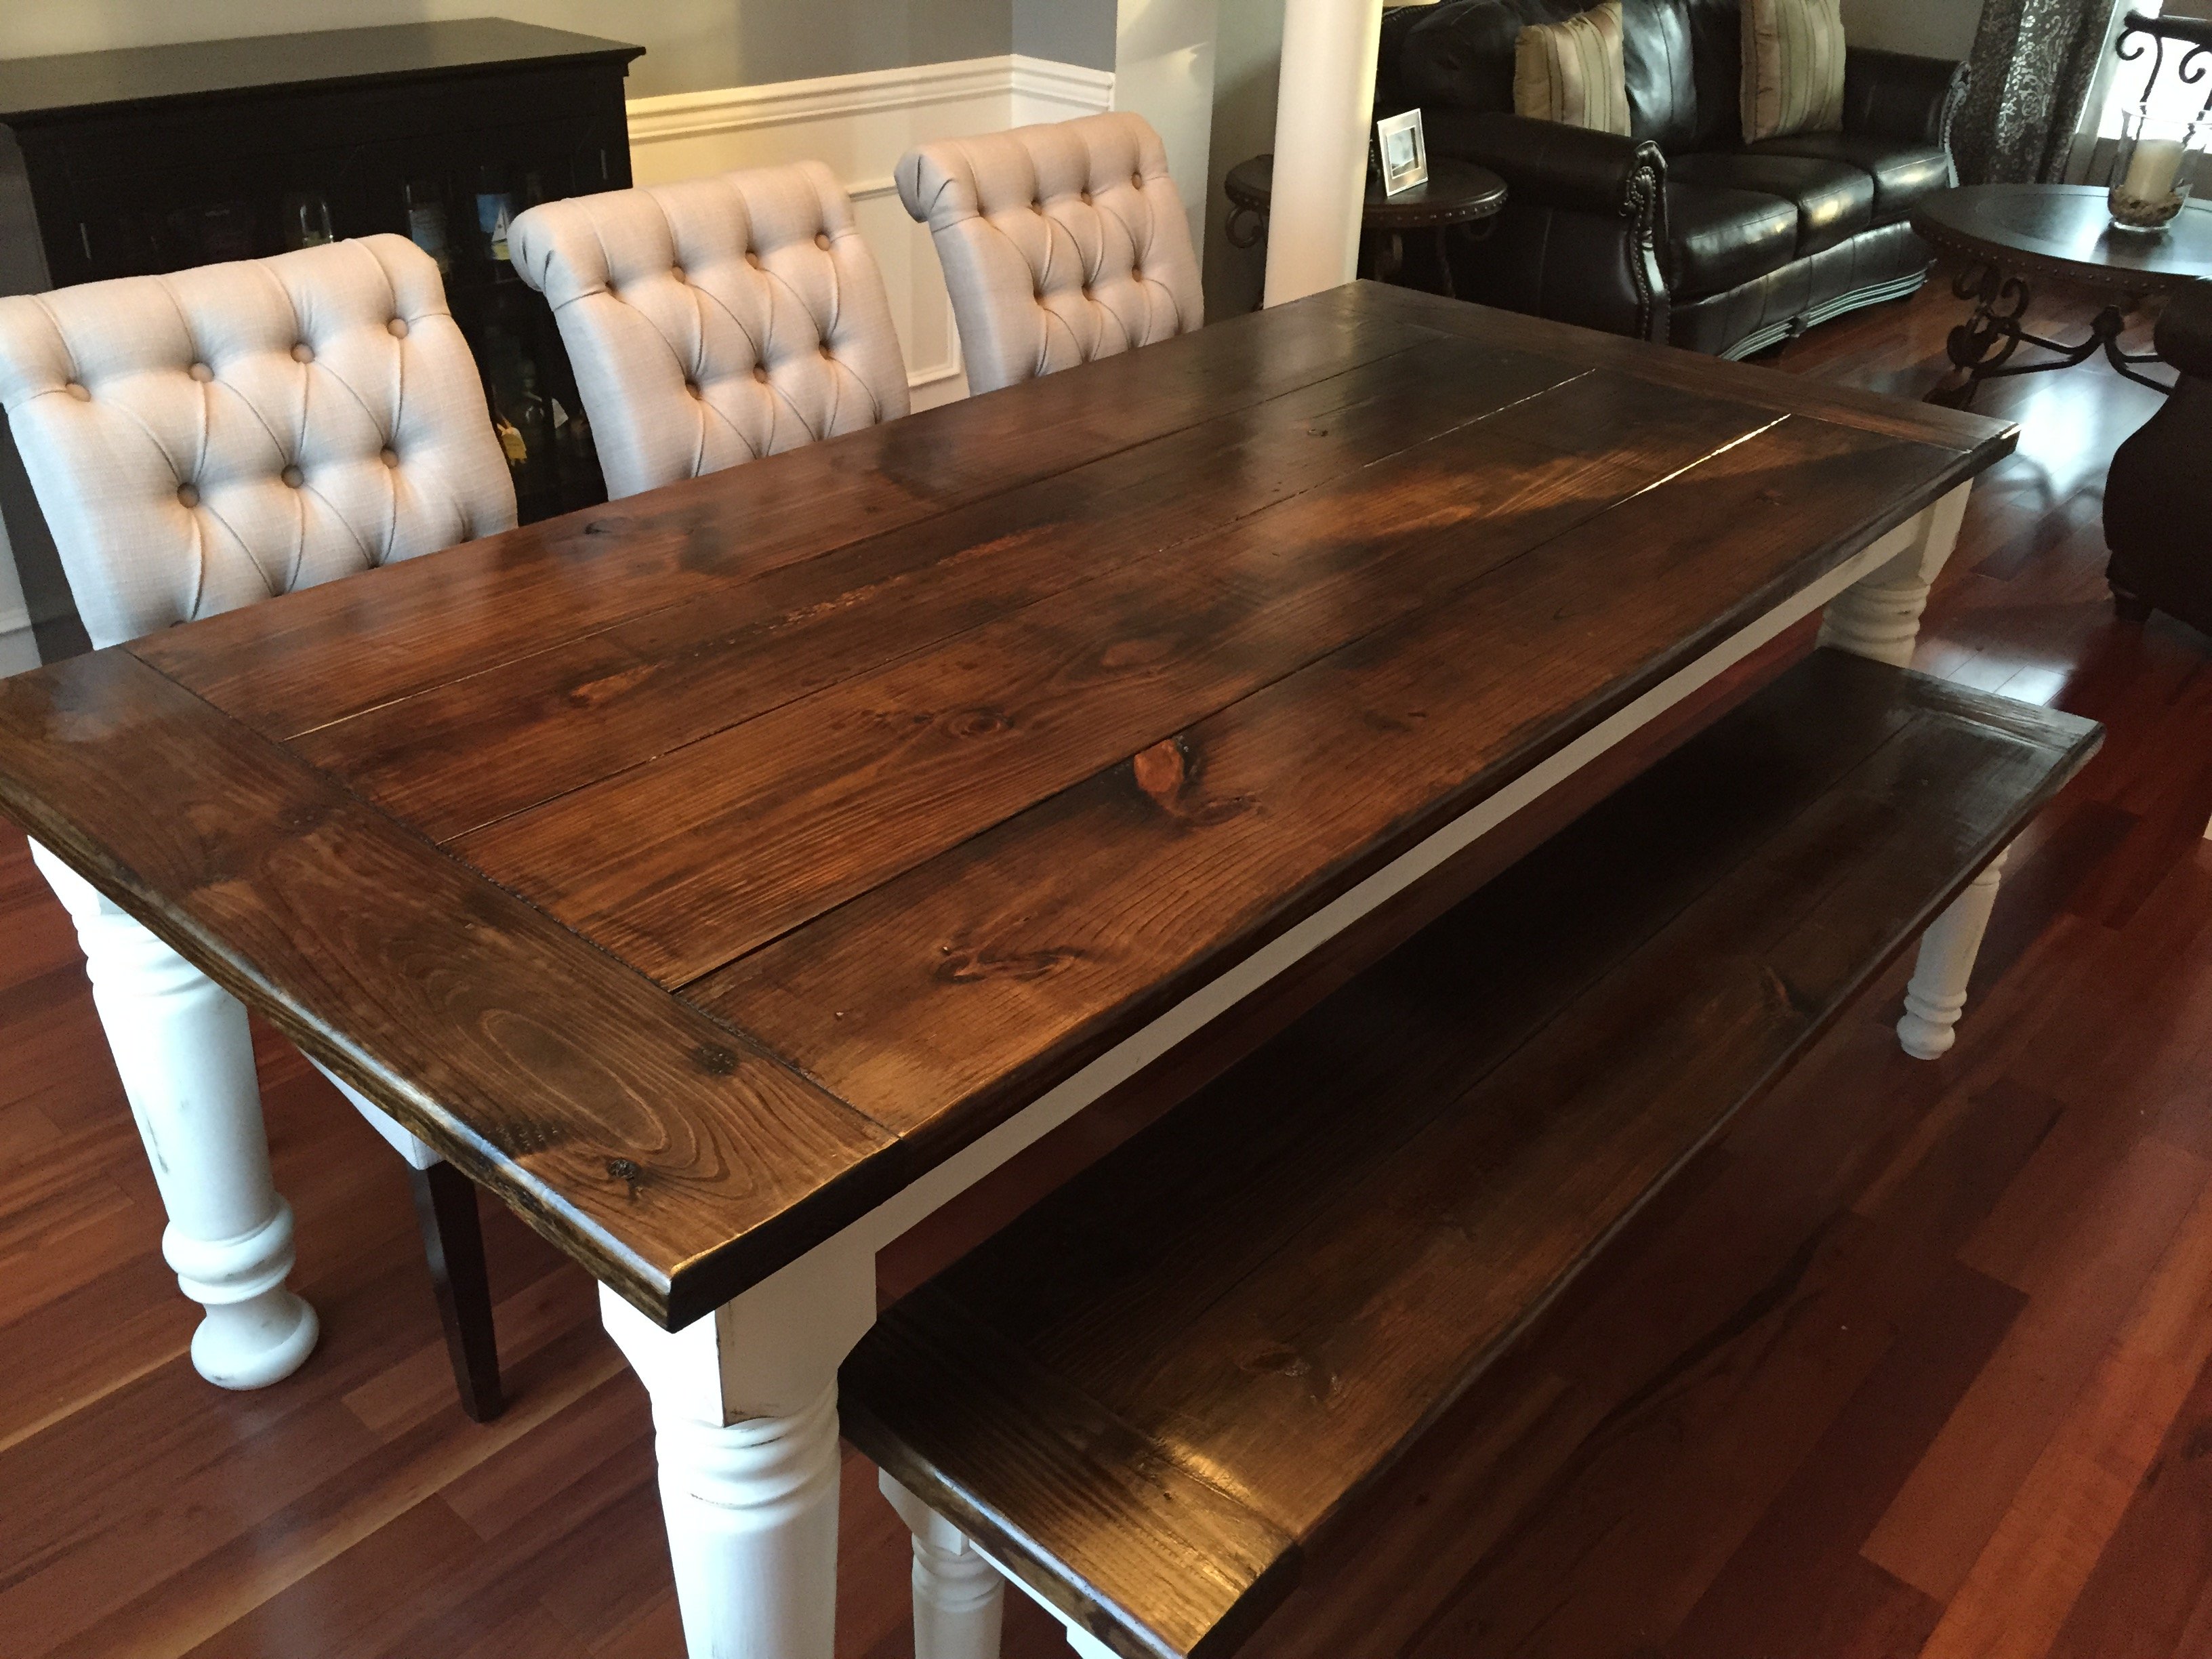
My wife saw the farmhouse table and wanted me to build it so bad, that she sold our current dining table the next day! Looks like we had to do it! Just love this table and the plans were so easy to follow. We modified the legs and a few other things, but all in all we are so happy with the results. This is only my third build, so im learning as I go, but we couldnt be mroe happy with the results!
Built from Plan(s)
Estimated Cost
$450
Estimated Time Investment
Weekend Project (10-20 Hours)
Finish Used
Table and bench tops -Minwax wood finish in dark walnut, sealed with Minwax Helmsman Spar Urethane, Table and Bench bases- Minwax wood finish dark walnut, painted over with latex antique white paint and distressed by sanding, finished with Polycrylic satin finish.
Recommended Skill Level
Beginner
Comments
Thu, 08/13/2015 - 10:09
Absolutely Gorgeous!
Thank you for sharing your amazing build! Love the finish!

In reply to Absolutely Gorgeous! by Ana White Admin
Thu, 08/13/2015 - 10:17
Thanks! My wife picked it, i
Thanks! My wife picked it, i just applied it..haha
Thu, 12/01/2016 - 17:13
LOVE the table! Where did you
LOVE the table! Where did you purchase the legs?
In reply to LOVE the table! Where did you by kimd17
Sun, 12/25/2016 - 12:38
Thanks! Bought them online
Thanks! Bought them online from osbournewood.com. I'm in the process of building another for my mother in law because she loved it so much!
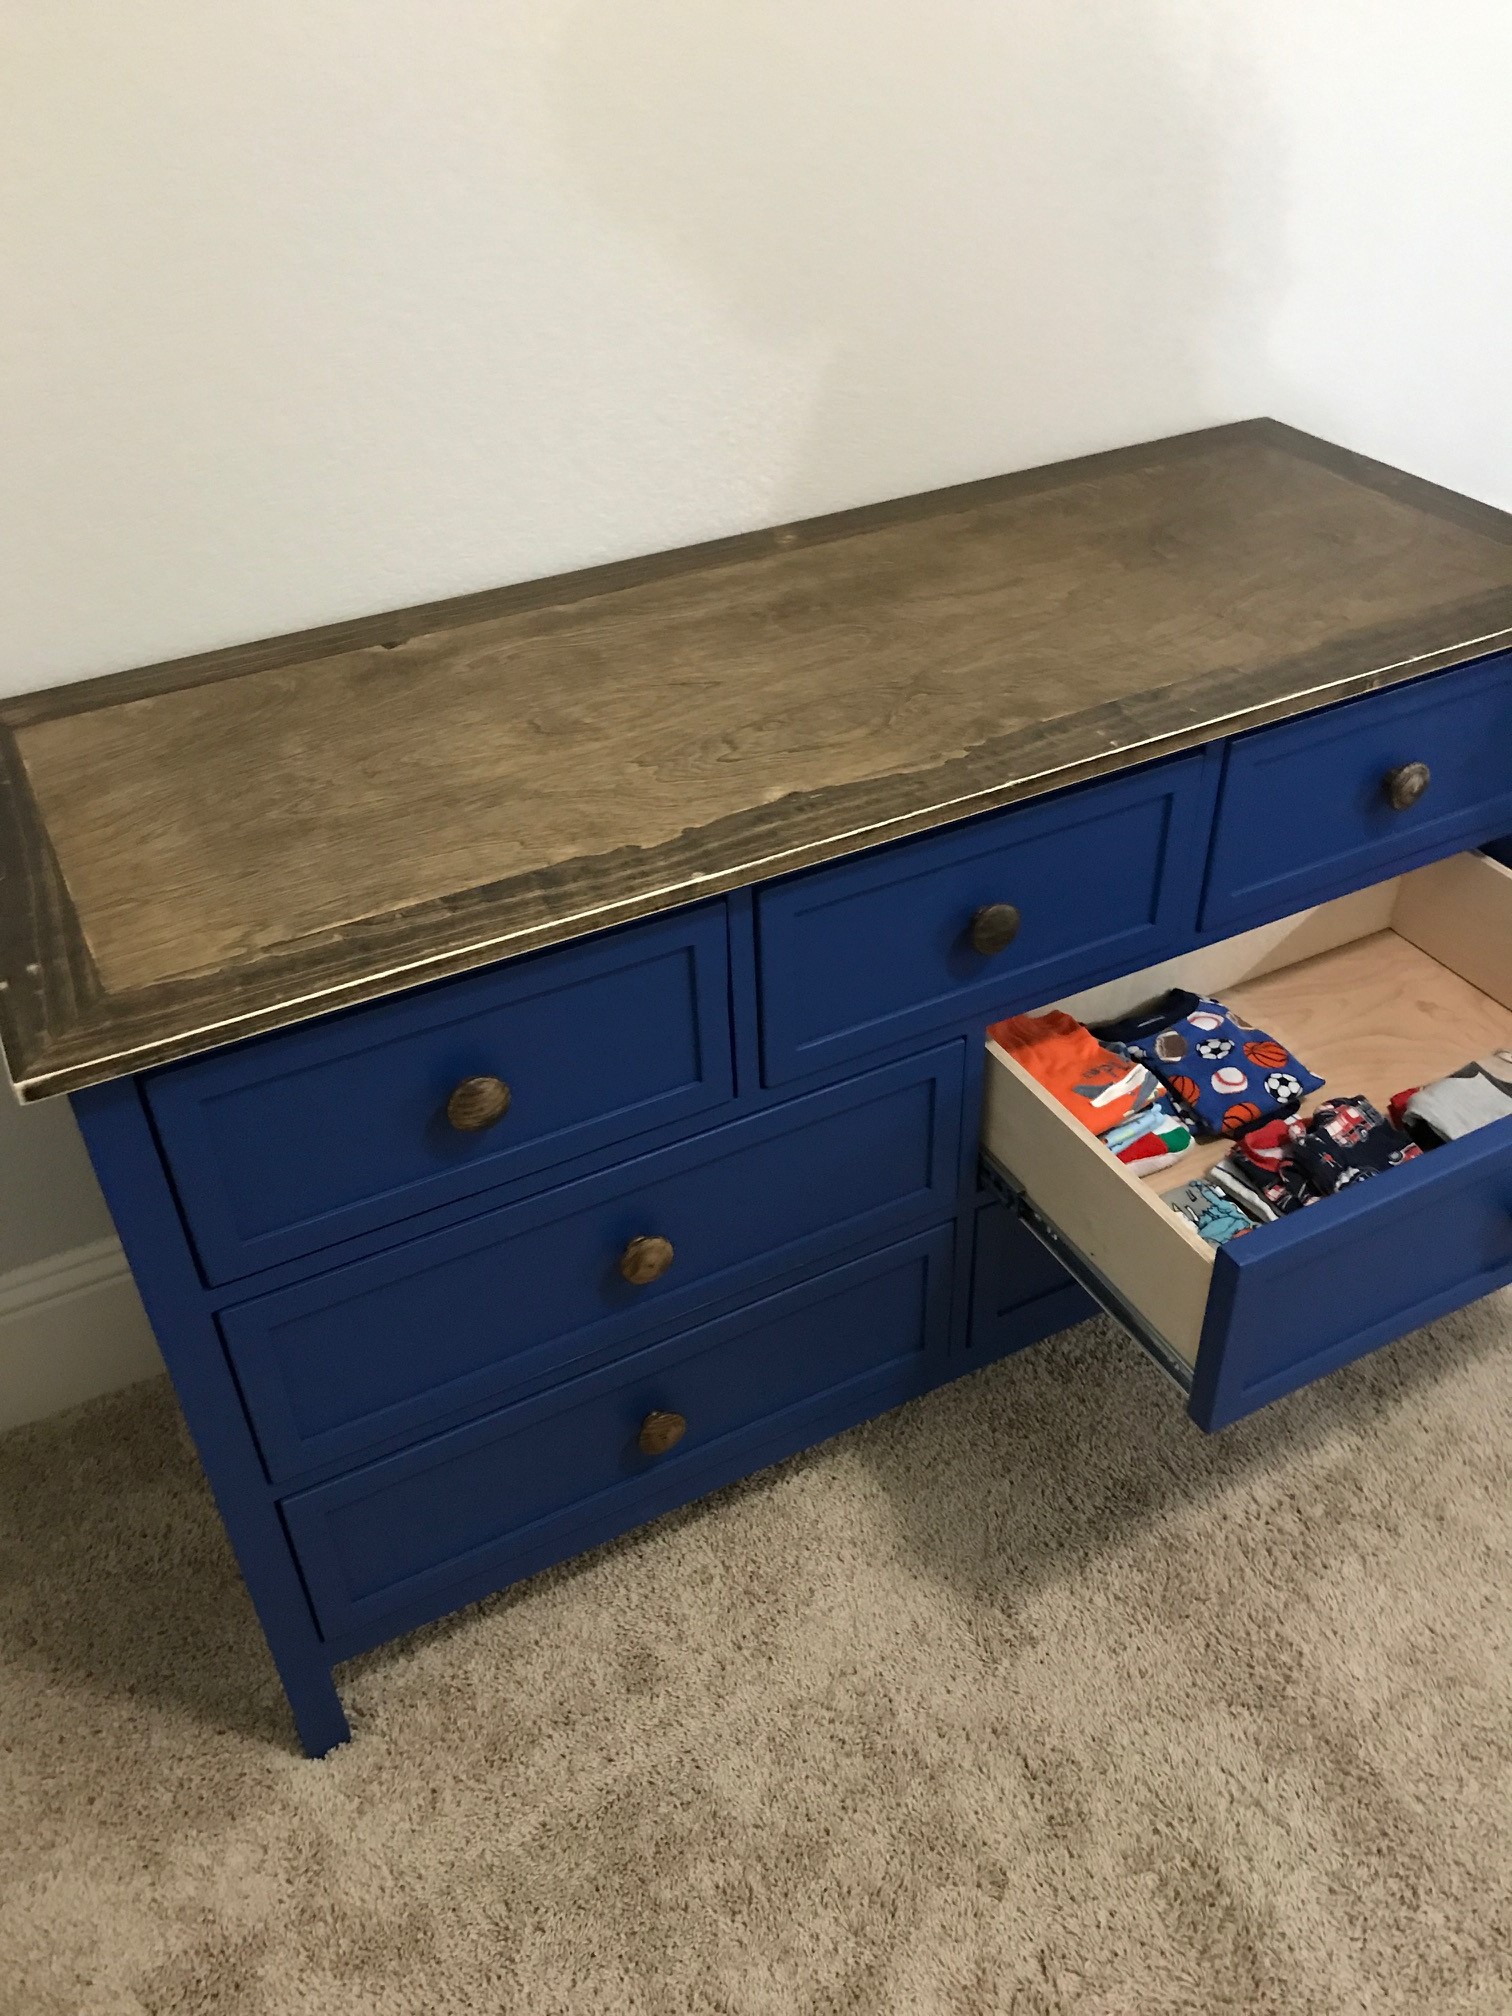
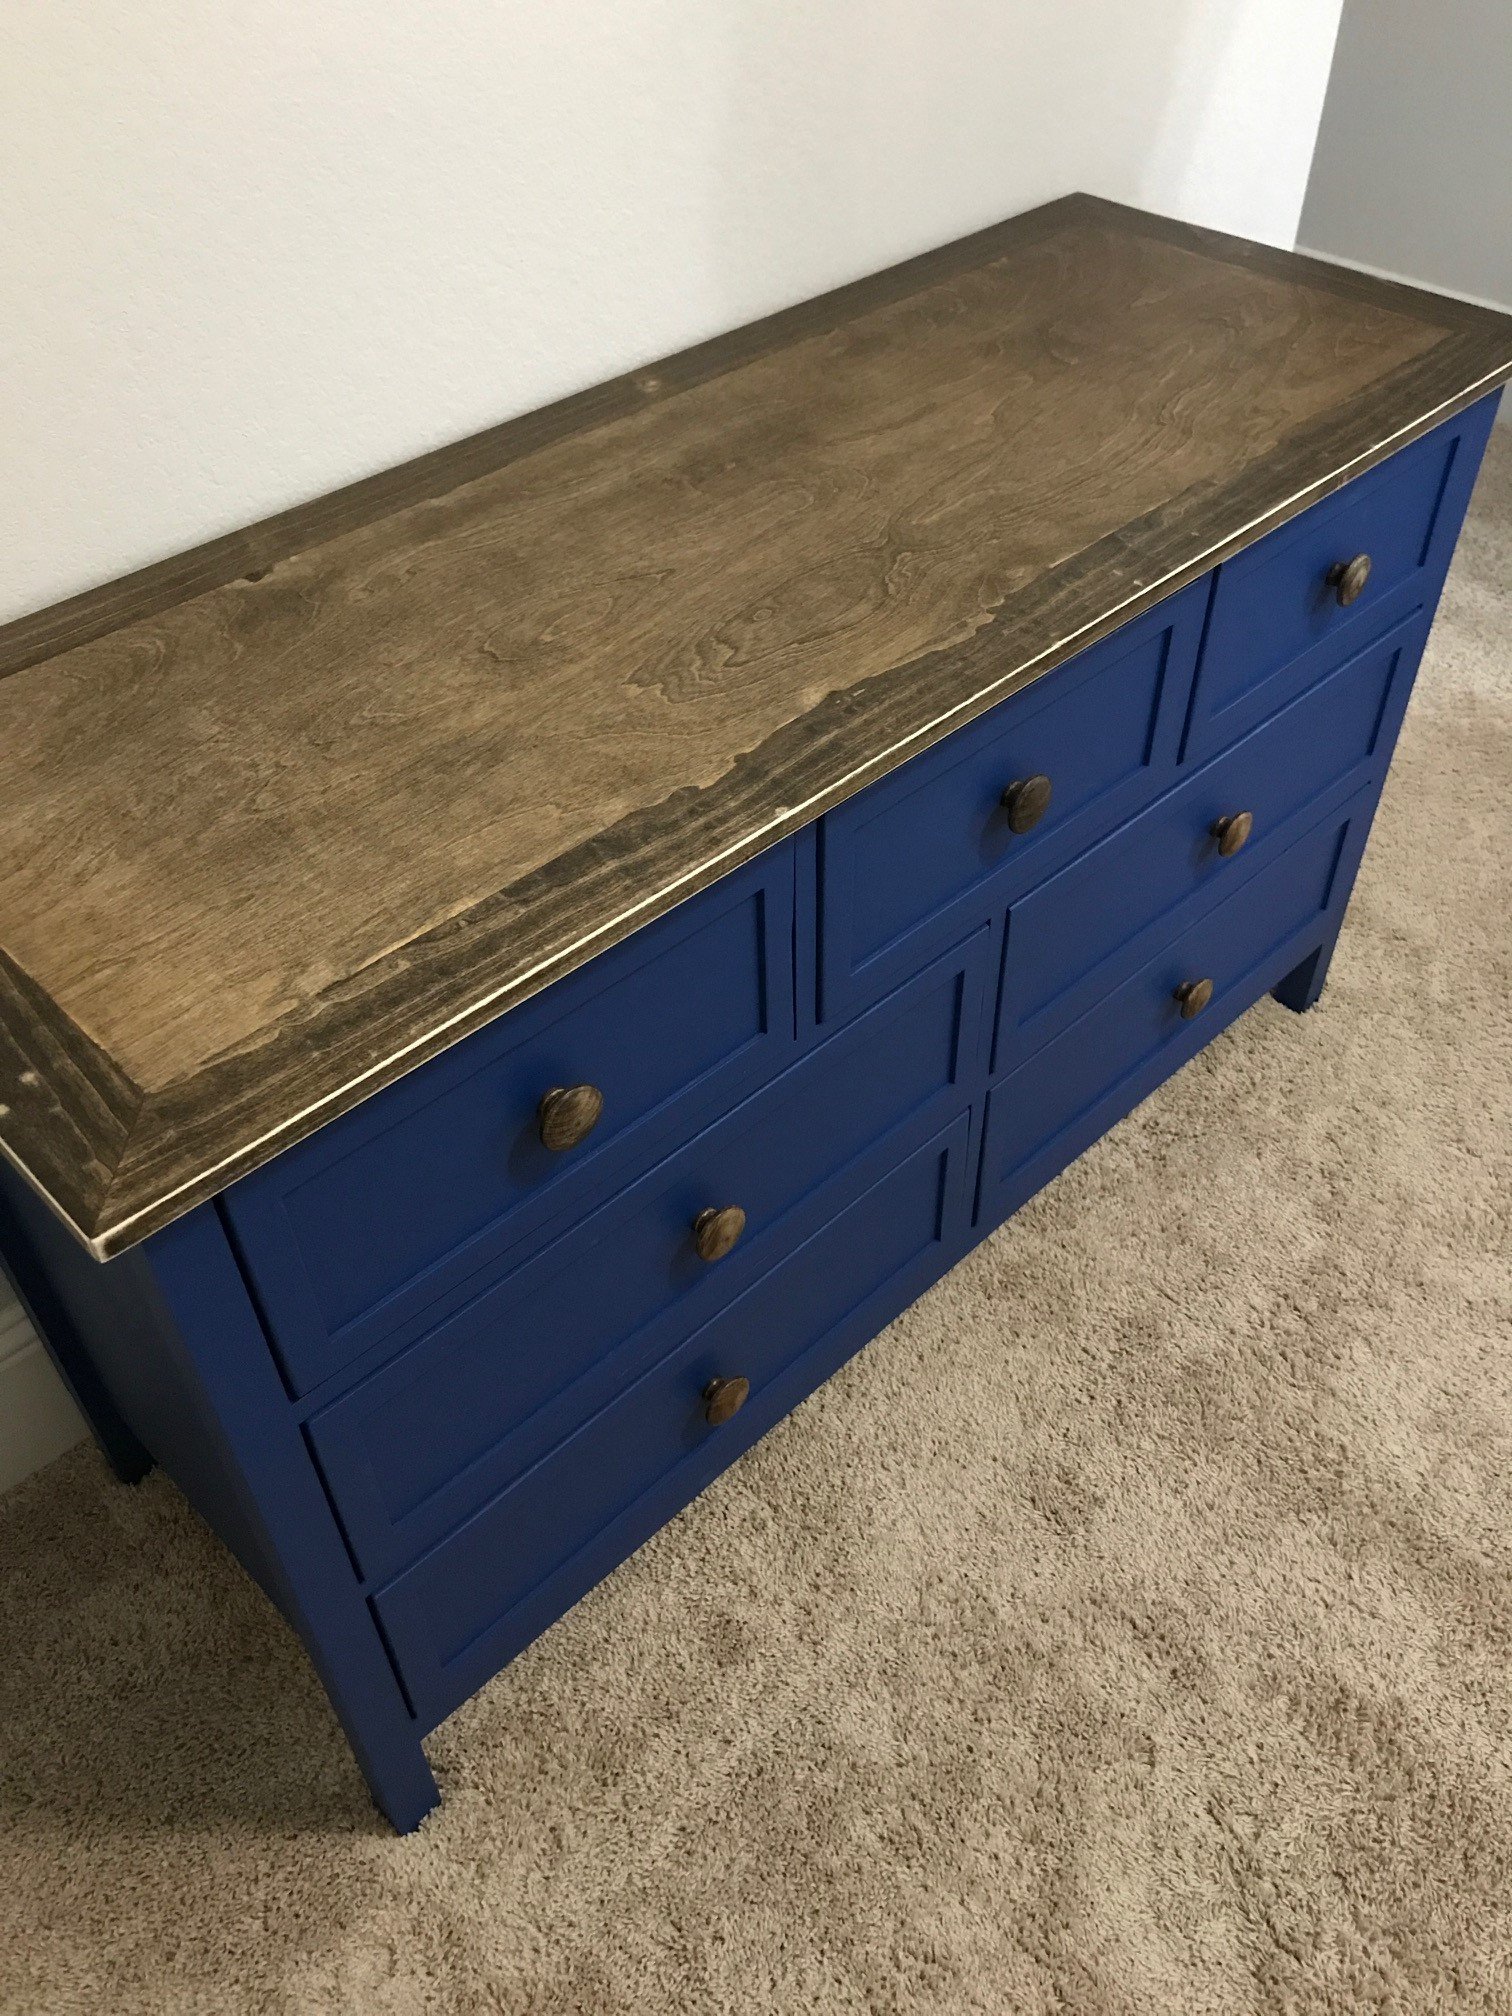
Kendal Extra Wide Dresser
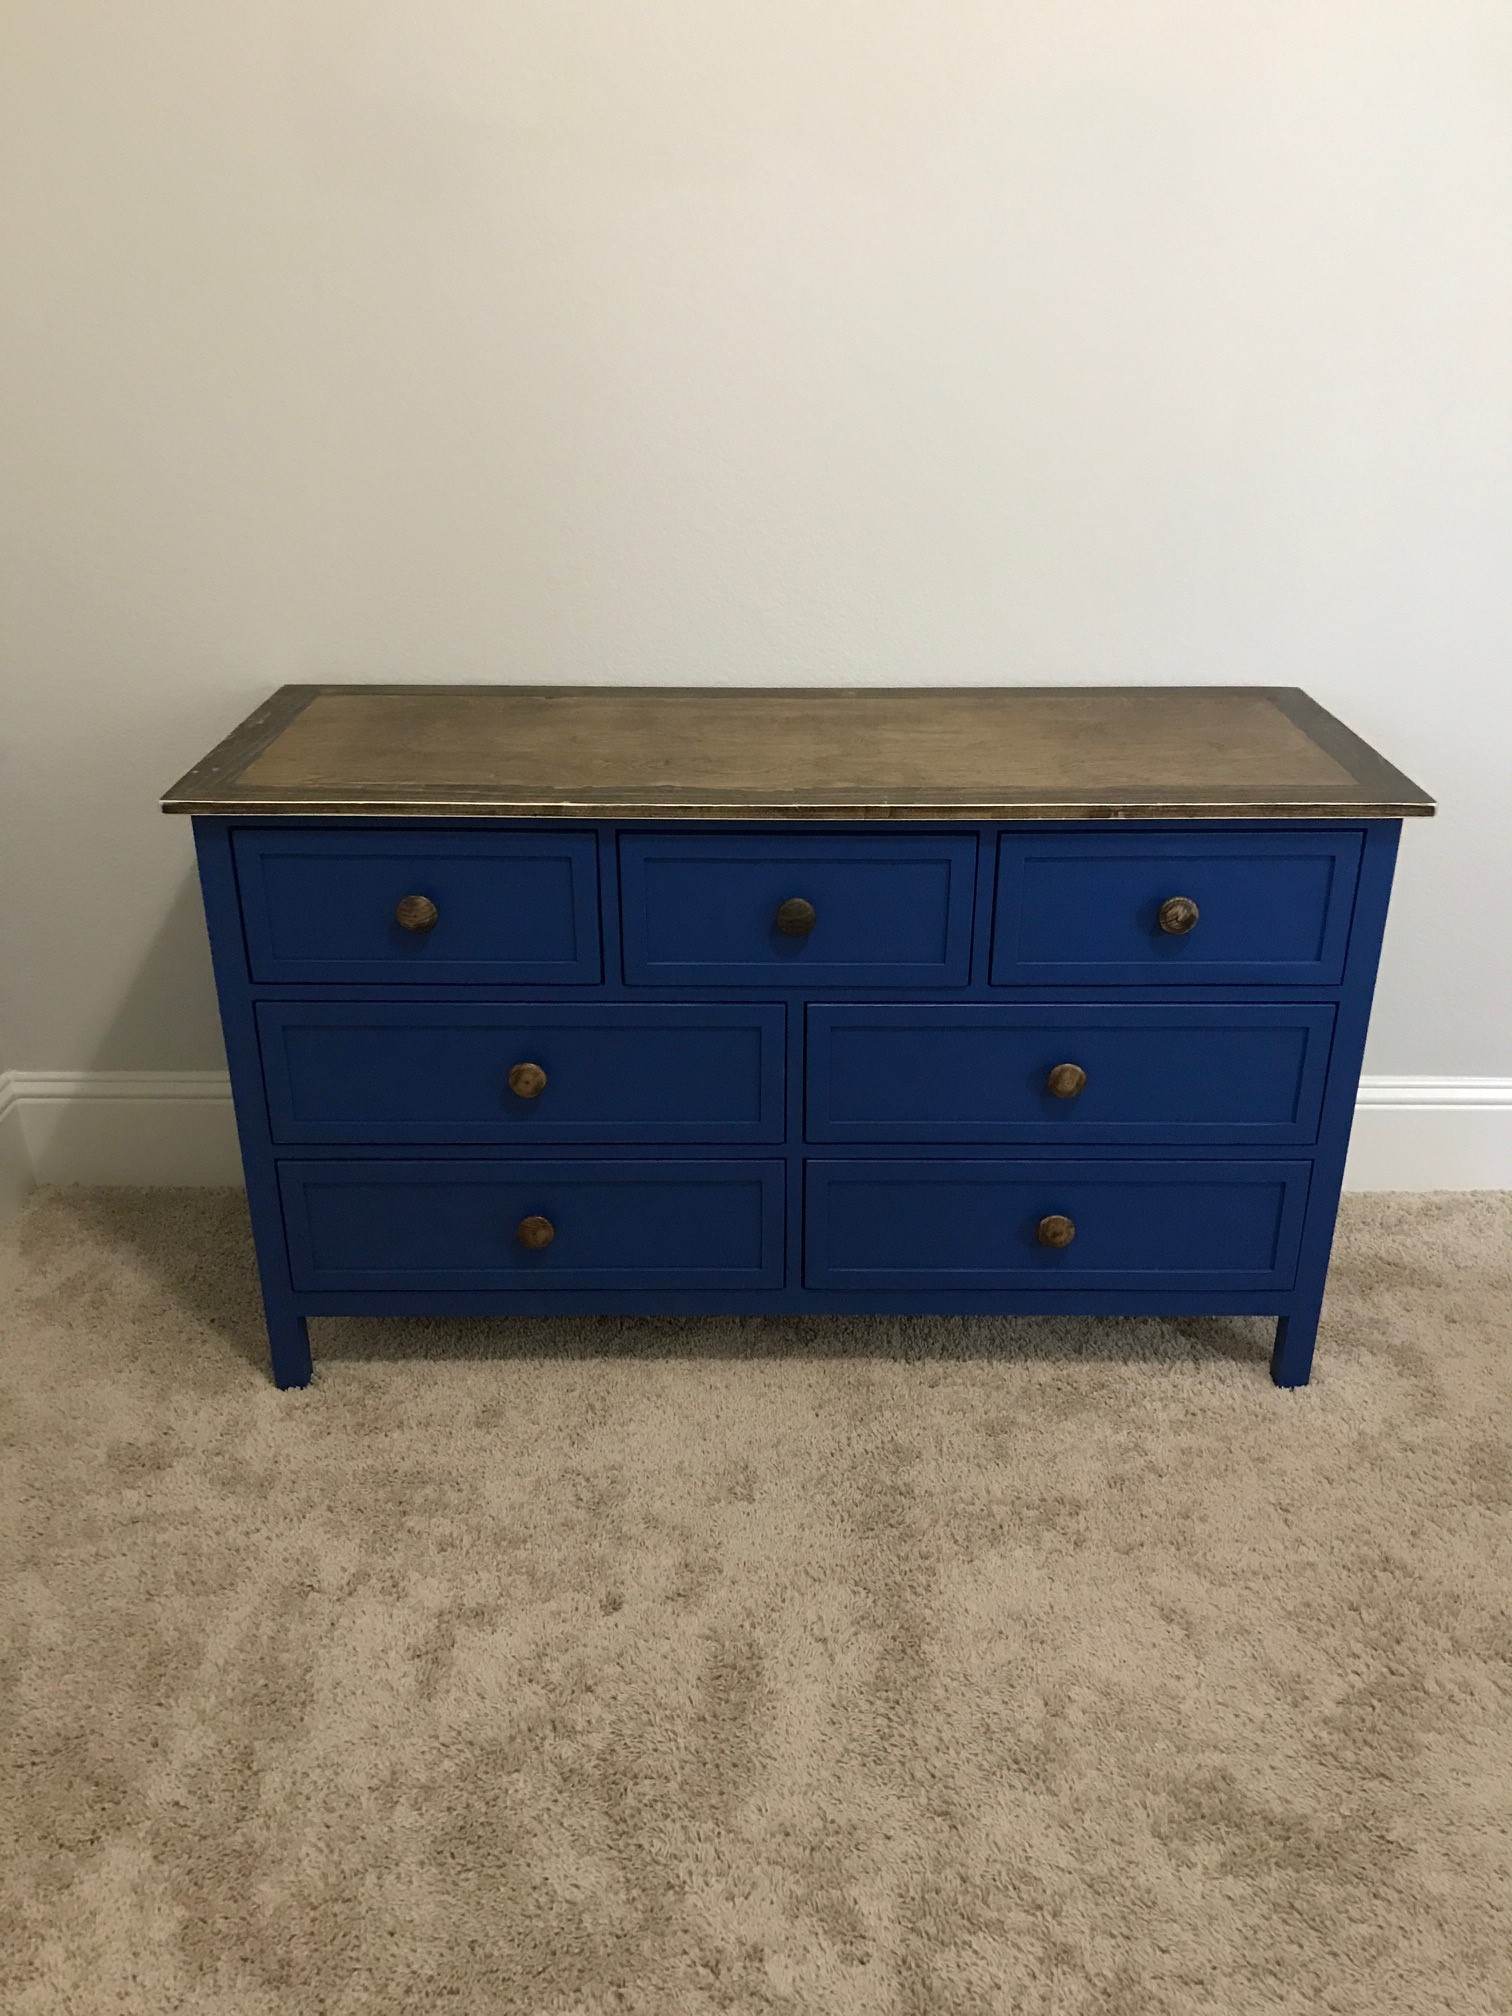
Overall I am very pleased with this project and I deviated from the plan with the drawer fronts and the slides as well.
Built from Plan(s)
Estimated Time Investment
Weekend Project (10-20 Hours)
Finish Used
used walnut stain with general finishes flat poly.
Recommended Skill Level
Intermediate
Farmhouse Bed

Bult this for my wife from Ana White plans
Comments
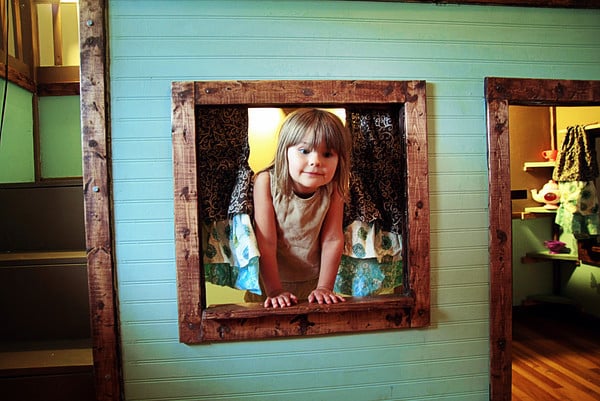
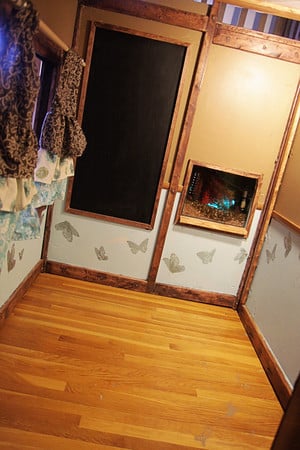
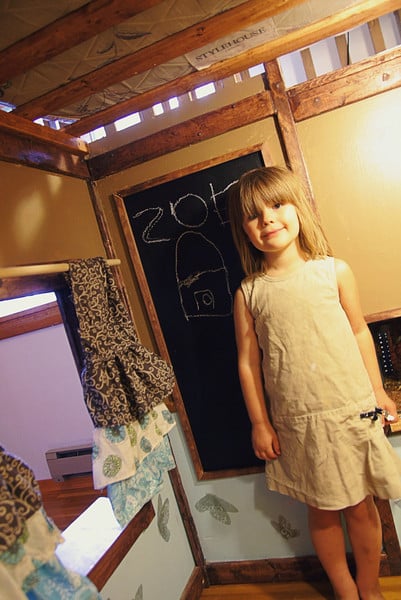
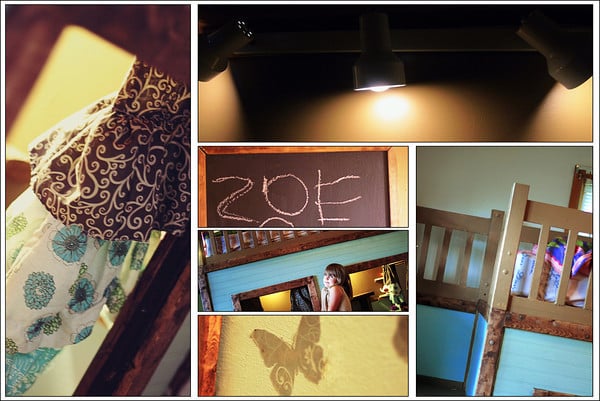
Zoe's awesome bed
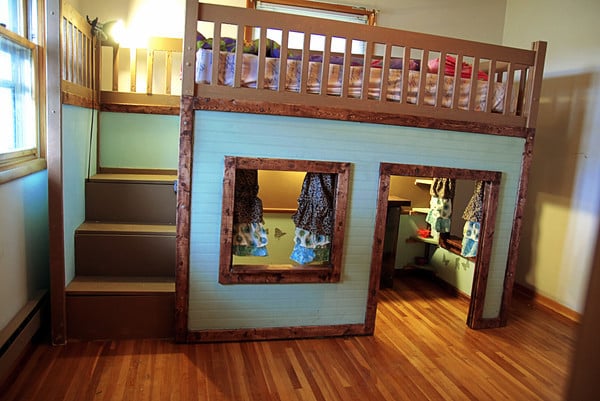
I'm a beginner, I had only made the play kitchen, Mom's lego table and a workbench before I took on this project. I had so much fun making this. I made tons of mistakes, but it's all repairable. My daughter loves it.
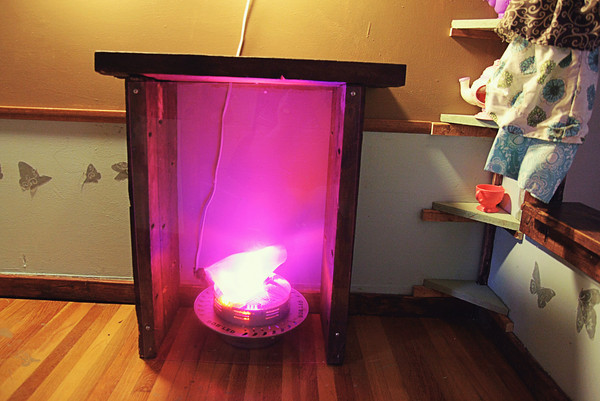
I have a build in chalkboard and fishtank in there. And check out the remote control fireplace.
Thank you SO much for the plans, Ana. You've made some awesome childhood memories for my kids.
(More photos and info on my blog post)
Built from Plan(s)
Estimated Cost
$350
Estimated Time Investment
Week Long Project (20 Hours or More)
Finish Used
"natural" stain from the oops bucket, a few paints
Recommended Skill Level
Beginner
Comments


Wed, 11/23/2011 - 09:19
Great job!
From someone that has done a loft bed, I can appreciate the time and effort that went into it. Keep up the good work!
JM
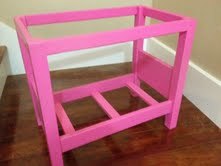
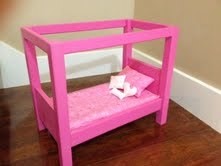
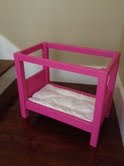
Canopy Doll Bed
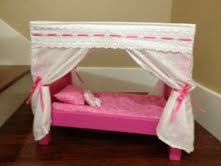
I made the canopy doll bed for my very first project. I had only ever put together particle board furniture kits before this. The building went pretty smoothly, but it would have been nice to have more clamps or an extra pair of hands. I built the bed and sanded it in one afternoon. I painted it the next day, and sewed the bedding the day after that. It was really fun to build and my 6 year old daughter loves it! I can't wait to start my next project.
Built from Plan(s)
Estimated Cost
$5 for lumber
Estimated Time Investment
Afternoon Project (3-6 Hours)
Finish Used
white primer spray paint, acrylic paint in rose pink, clear matte spray paint finish.
Recommended Skill Level
Beginner
Comments
In reply to Pet bed by Haleycopter
Fri, 10/11/2013 - 13:36
I am sure it could work as a
I am sure it could work as a pet bed with a couple adjustments. You would need to have a solid piece of wood for the bottom and you might need to adjust the size depending on the size of your pet. The bed is very sturdy. My kids tend to give their toys a lot of abuse and it has held up great.
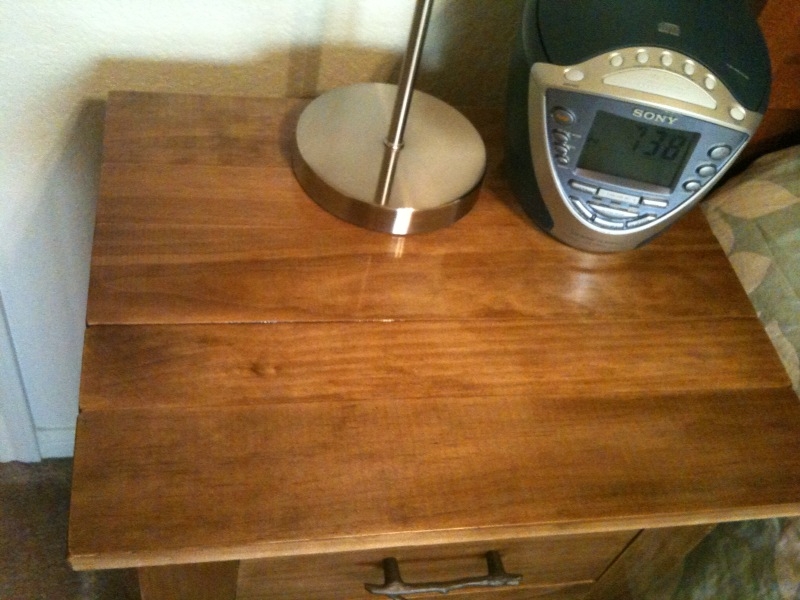
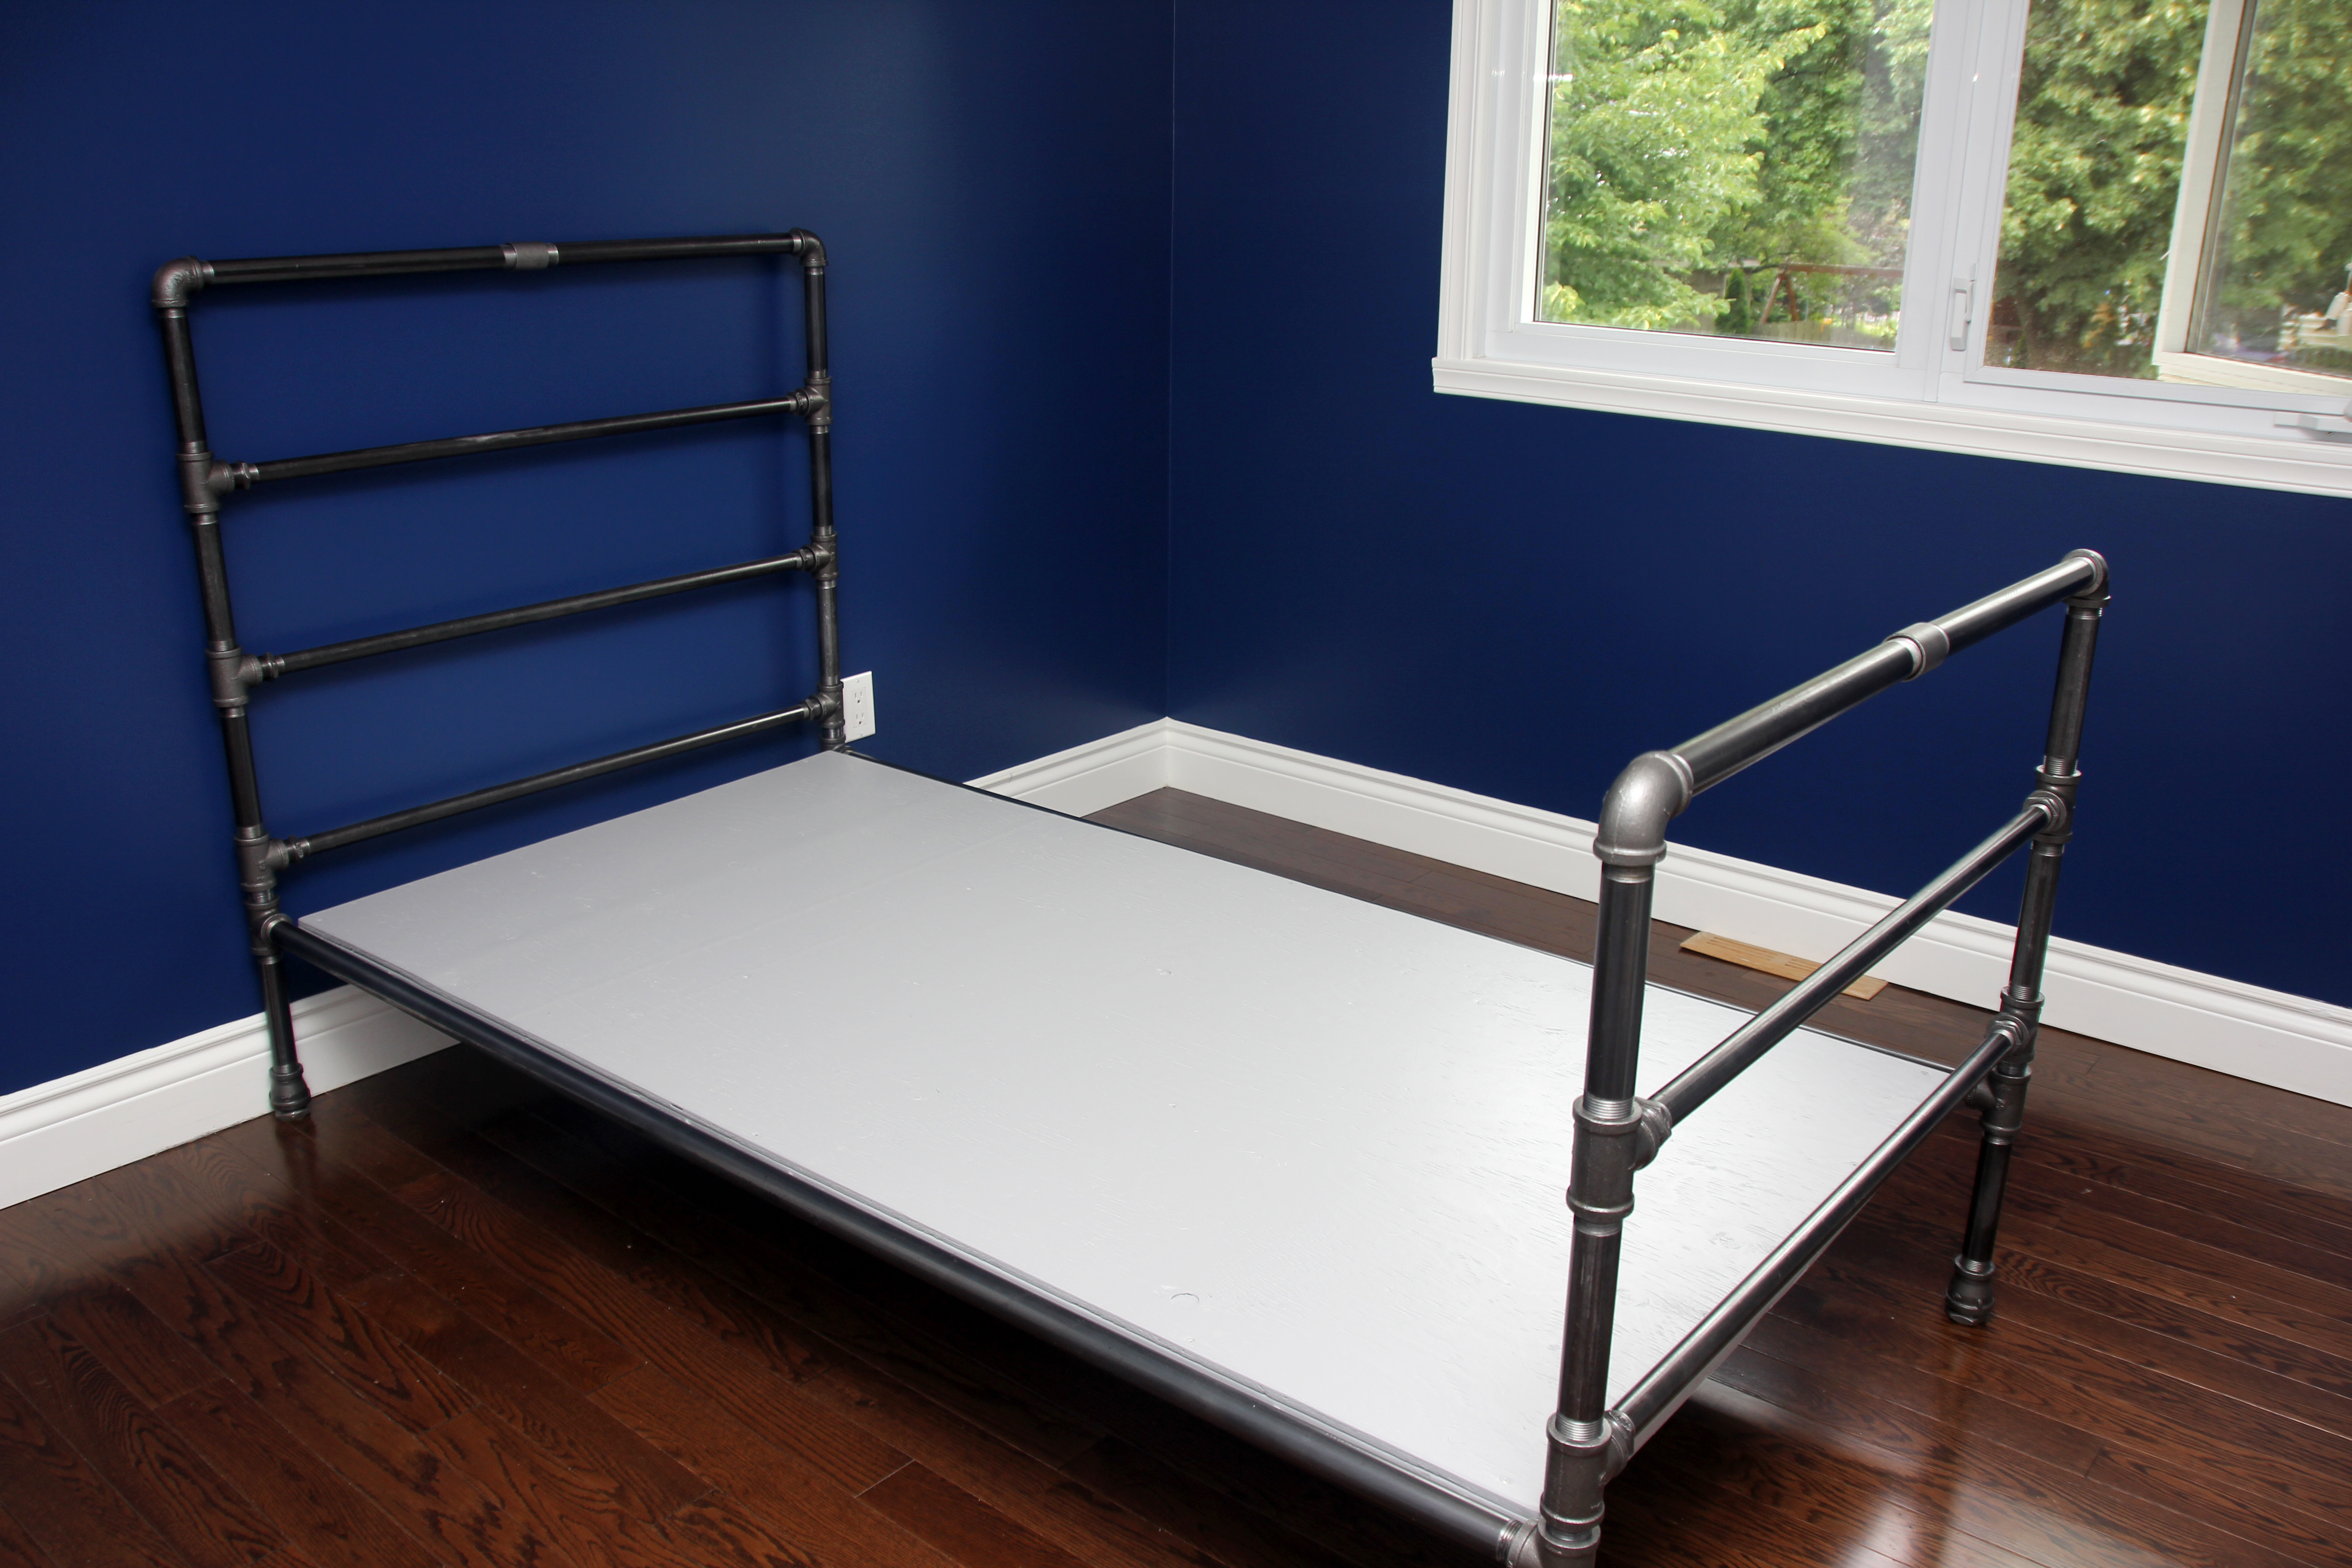
Pipe and Wood Slat Bed
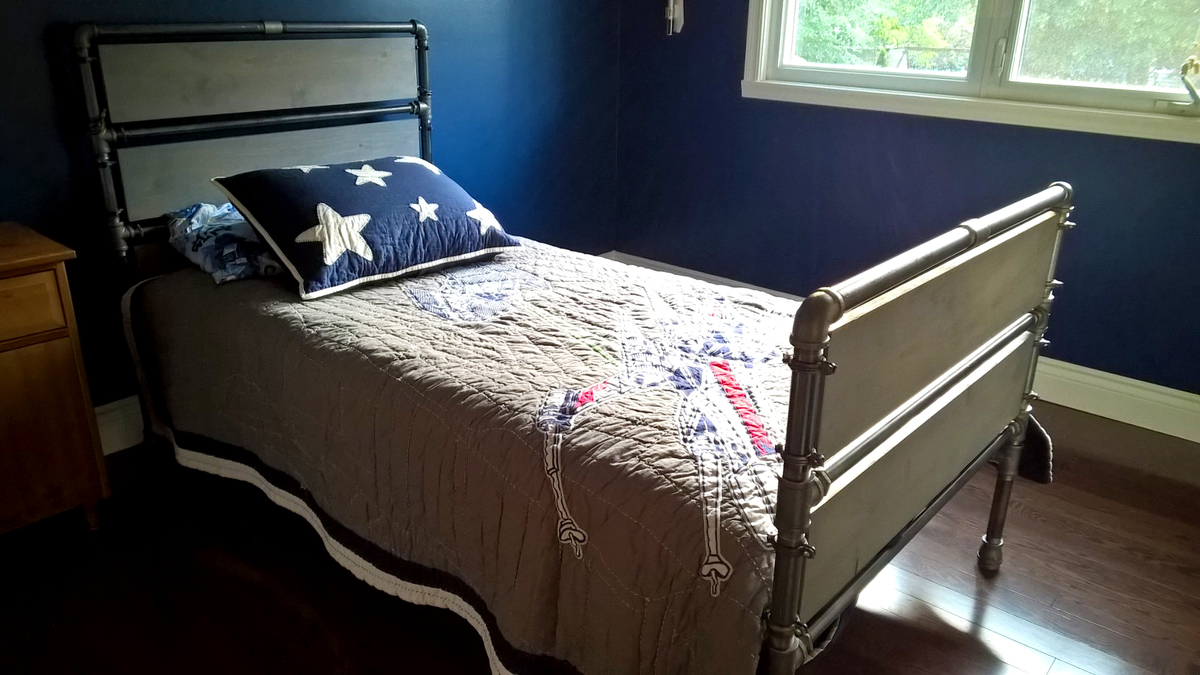
This is a bed that we did for my son's room, Star Wars theme.

Estimated Time Investment
Weekend Project (10-20 Hours)
Recommended Skill Level
Beginner
Comments
Truss table
Patio table
Built from Plan(s)
Finish Used
Outdoor patio table
Recommended Skill Level
Intermediate
Tilt out Cabinet with Drawer

Great little cabinet with drawer and tilt out garbage.
by Angelo


Built from Plan(s)
My son's sling chair
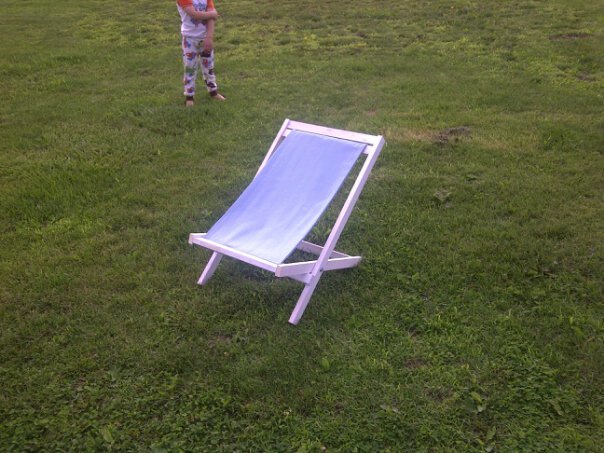
So, my three-year-old son was super jealous that I spent some time and made my friend a sling chair for her birthday. He kept saying, "Mommy, I want you to make ME a chair!" So I did! Oh my word, was this EVER easy!!!! I super duper LOVE this chair! I bought some canvas fabric at Walmart for $2.50 a yard (clearance) and the wood (furring strips) cost me about $8. So less than $10 a chair. I couldn't be more thrilled! And he's in love with his chair, too! He wouldn't even let me take it out of the garage before trying it out....see picture of my adorable toddler in his jammies below. (-: This chair took me about 45 minutes to cut and assemble. I spray painted it white and only did one coat to give it a white washed look.

Estimated Cost
$10
Estimated Time Investment
An Hour or Two (0-2 Hours)
Finish Used
Krylon Outdoor Spray Paint - White
Recommended Skill Level
Starter Project
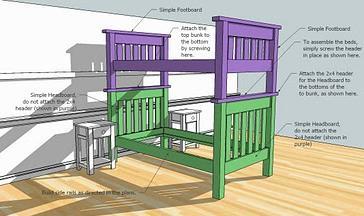
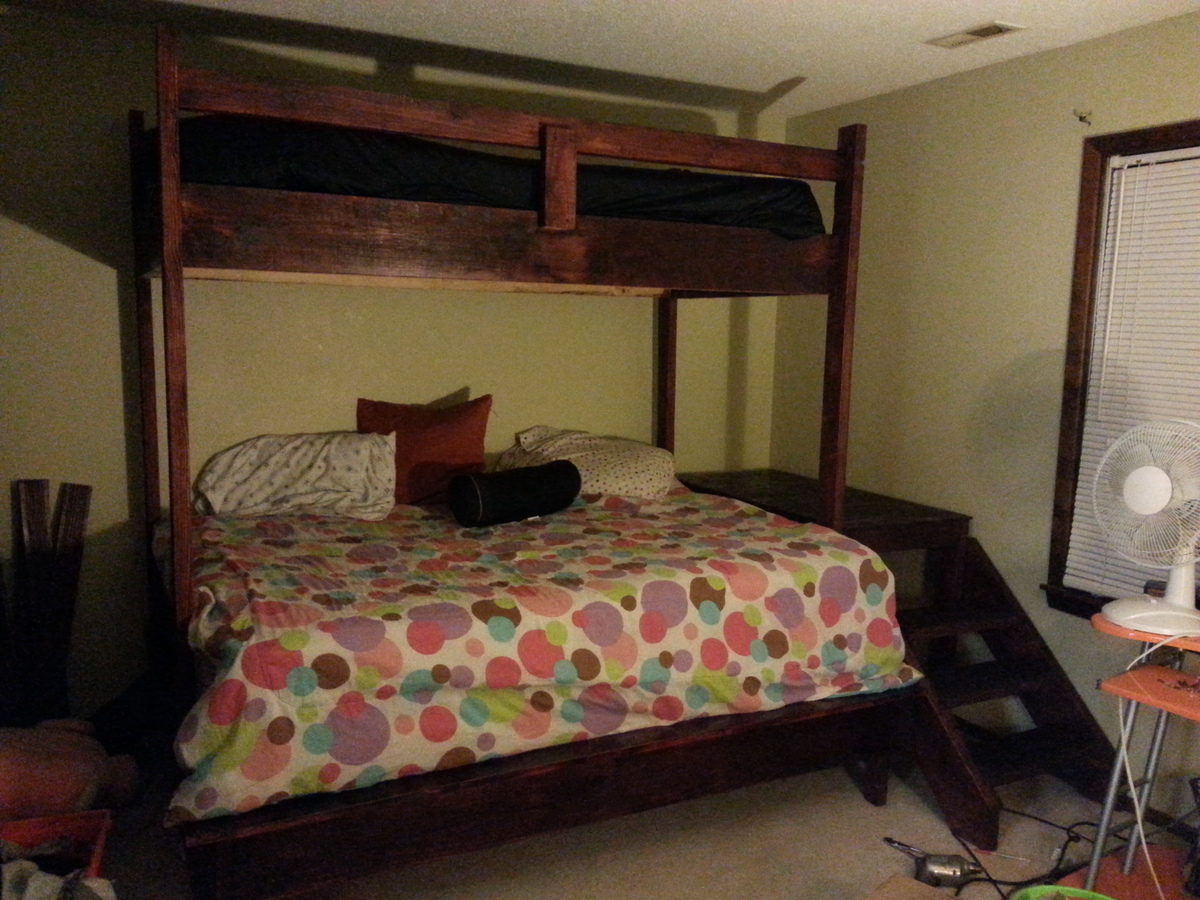
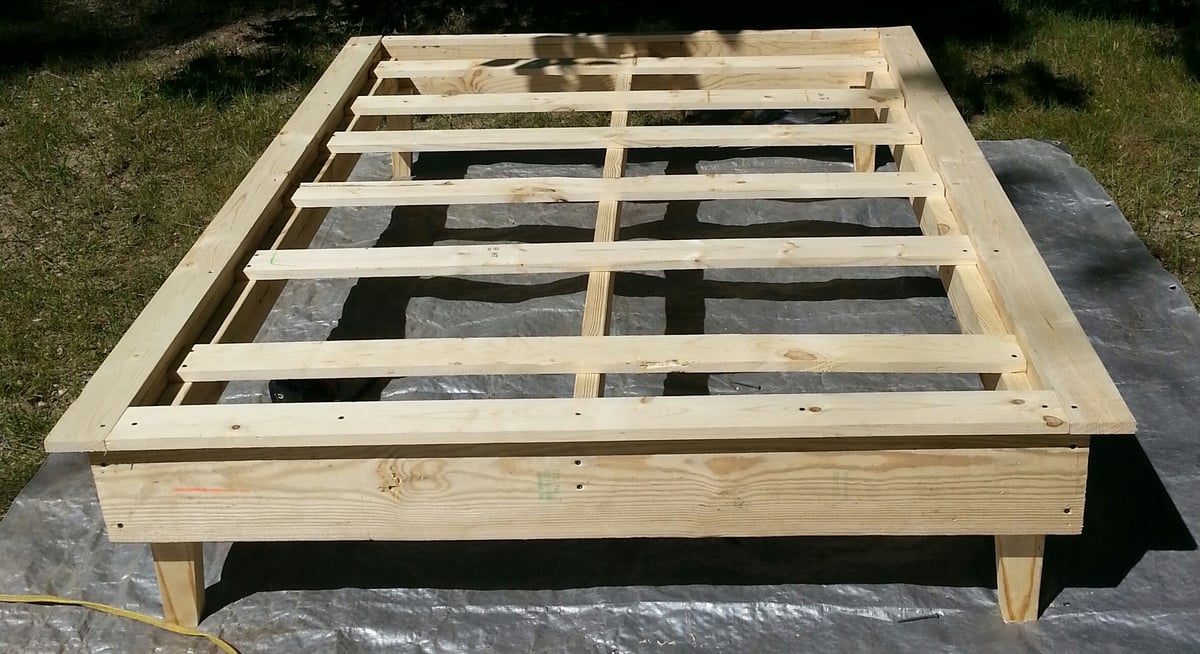
platform bed and jr loft bed with stairs combined
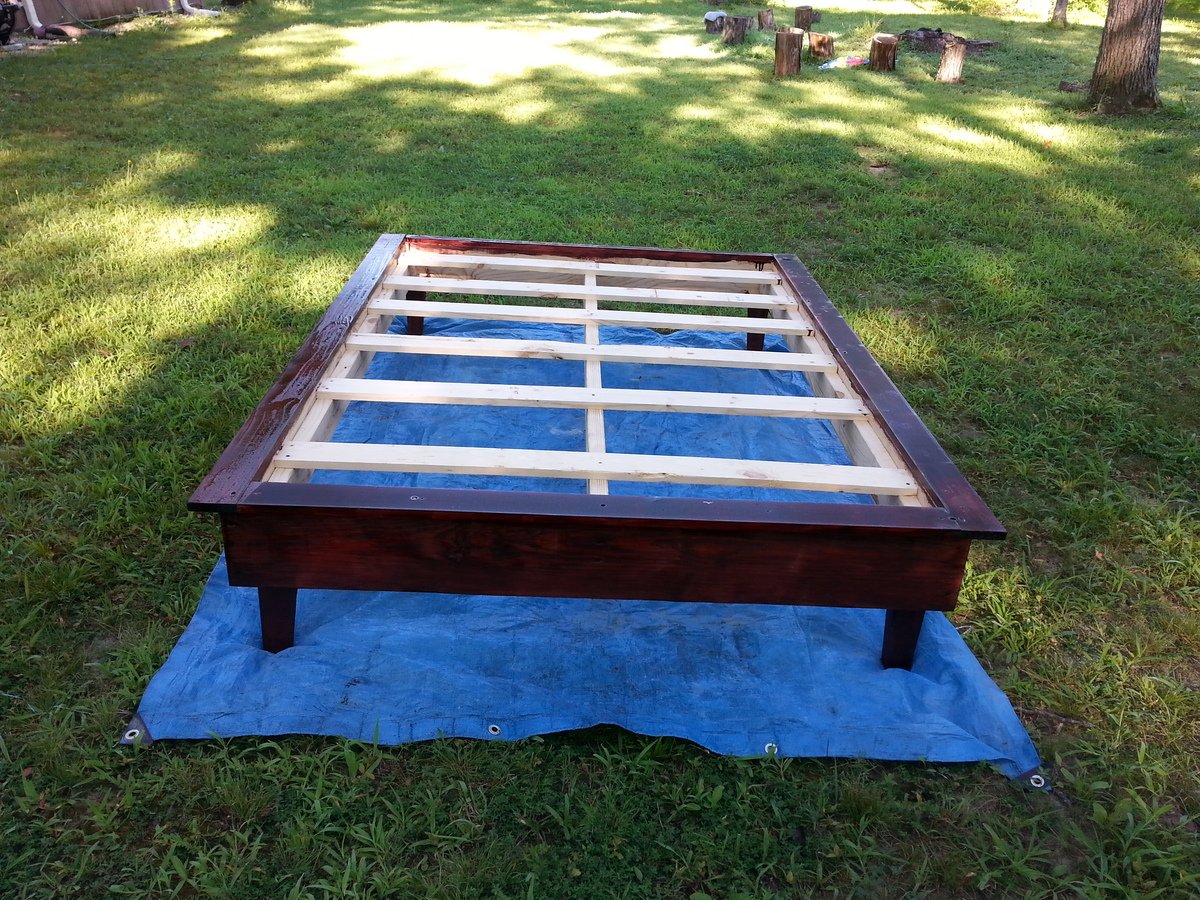
Well we just bought a new house and the bedroom was a bit smaller and lower ceilings for two beds. One daughter had a queen and my other daughter was begging for a new loft bed. Well I searched for plans on many different bunk beds and I came to the conclusion that creating one from two different plans would save the most space. So I made the platform bed and the loft bed separately and added dowels to attach them . The girls were ecstatic. It turned out beautifully!

Built from Plan(s)
Estimated Cost
200
Estimated Time Investment
Weekend Project (10-20 Hours)
Finish Used
Dark mahogany with the one step polyurethane. Two coats makes it beautiful brushed with the grain.
Recommended Skill Level
Intermediate
Comments
Fri, 08/02/2013 - 18:21
beds
This is my first bed turned out great had alot of challenges though my cordless drill died couldn't find my charger for it so I had to use a corded drill. Then I got a cordless with two fully charged batteries and the batteries drained quickly. One battery died on the first screw...man I was mad had to go back to my antique drill. So this took me a few hours longer than needed ... I think I put in maybe 15 hours into this.
Spice Rack
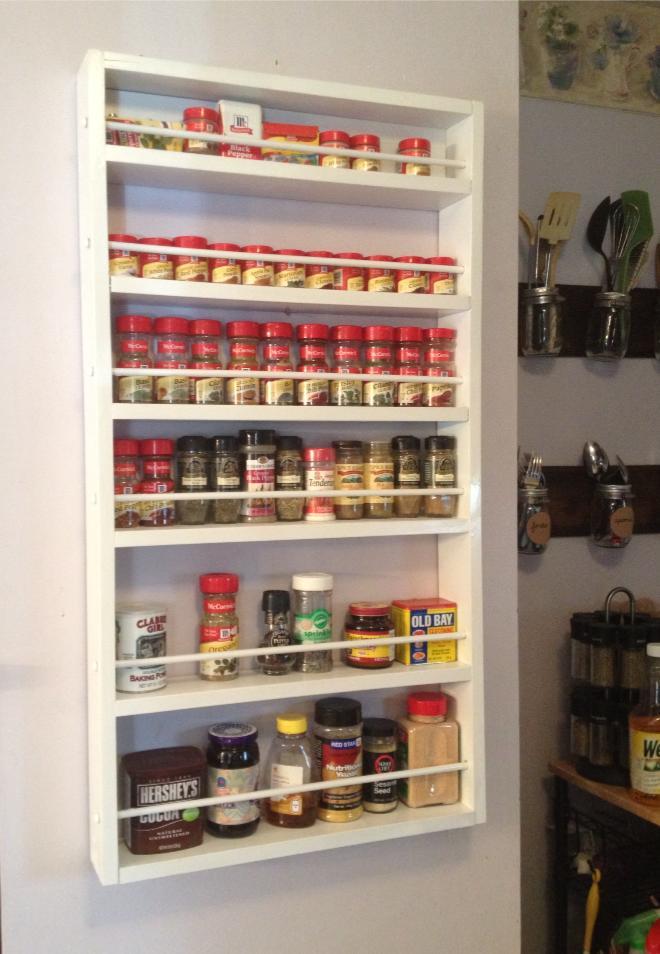
I absolutely love this project. I do not have a pantry with a door so I just placed this spice rack on my wall and it really looks great! We have a ton of spices so I might need to make another!
Built from Plan(s)
Estimated Time Investment
Day Project (6-9 Hours)
Finish Used
White Spraypaint
Recommended Skill Level
Beginner
Comments
Sat, 09/21/2013 - 10:33
are the dowels necessary?
hi - I'm thinking of building this to hang on a wall like you have. Do you think the dowels are necessary? Seems like it would give a little more shelf room without the dowels - but do you feel like the spices would fall out without them?
thanks!
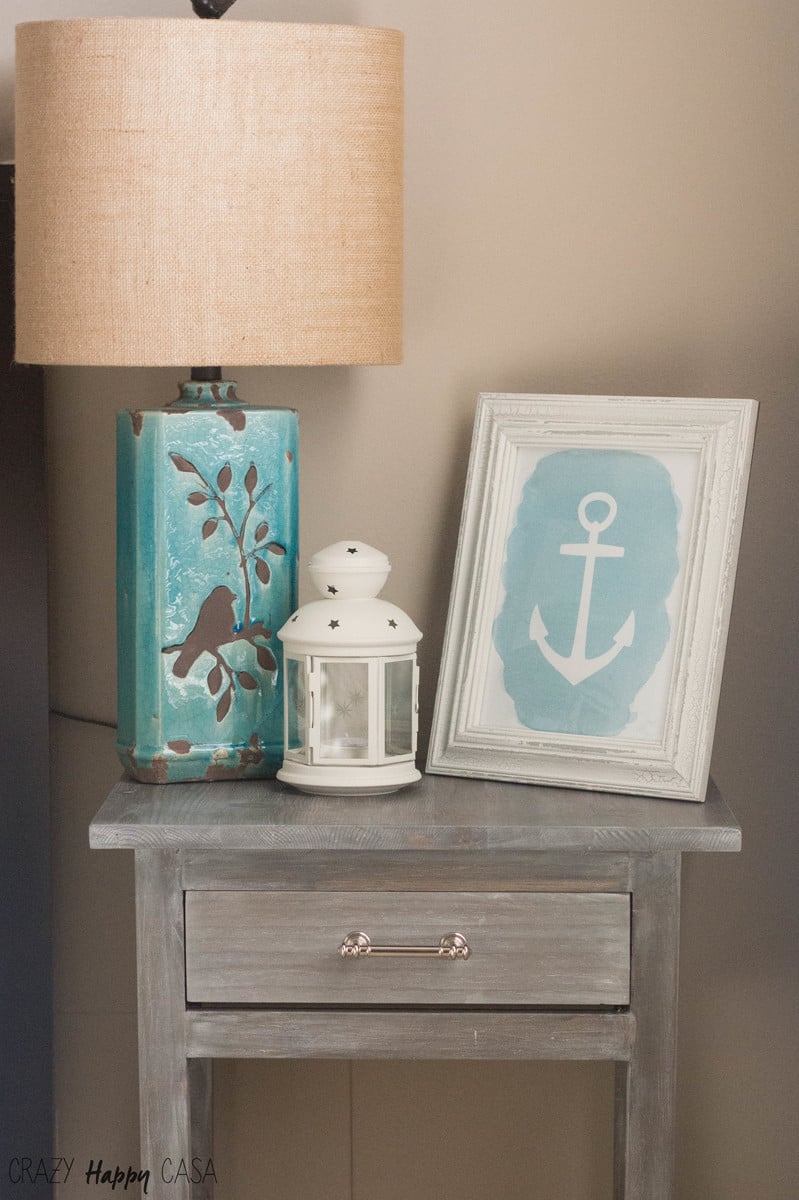
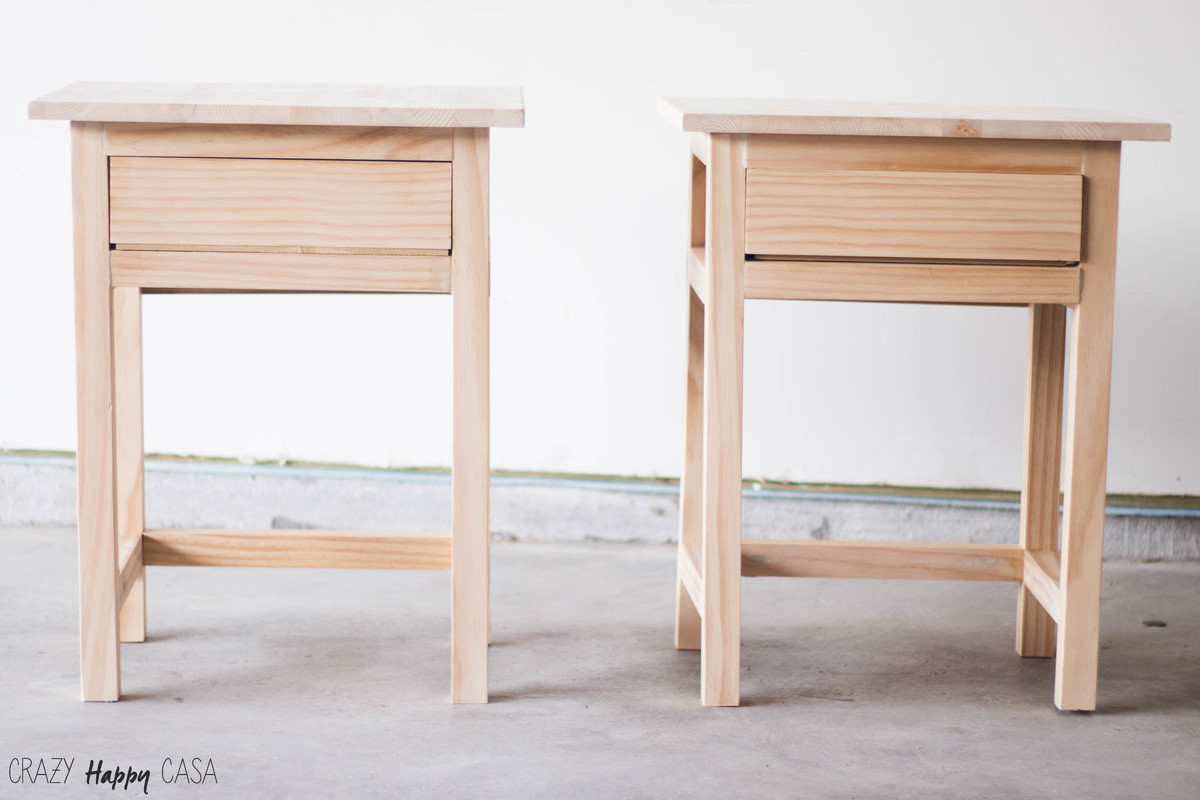
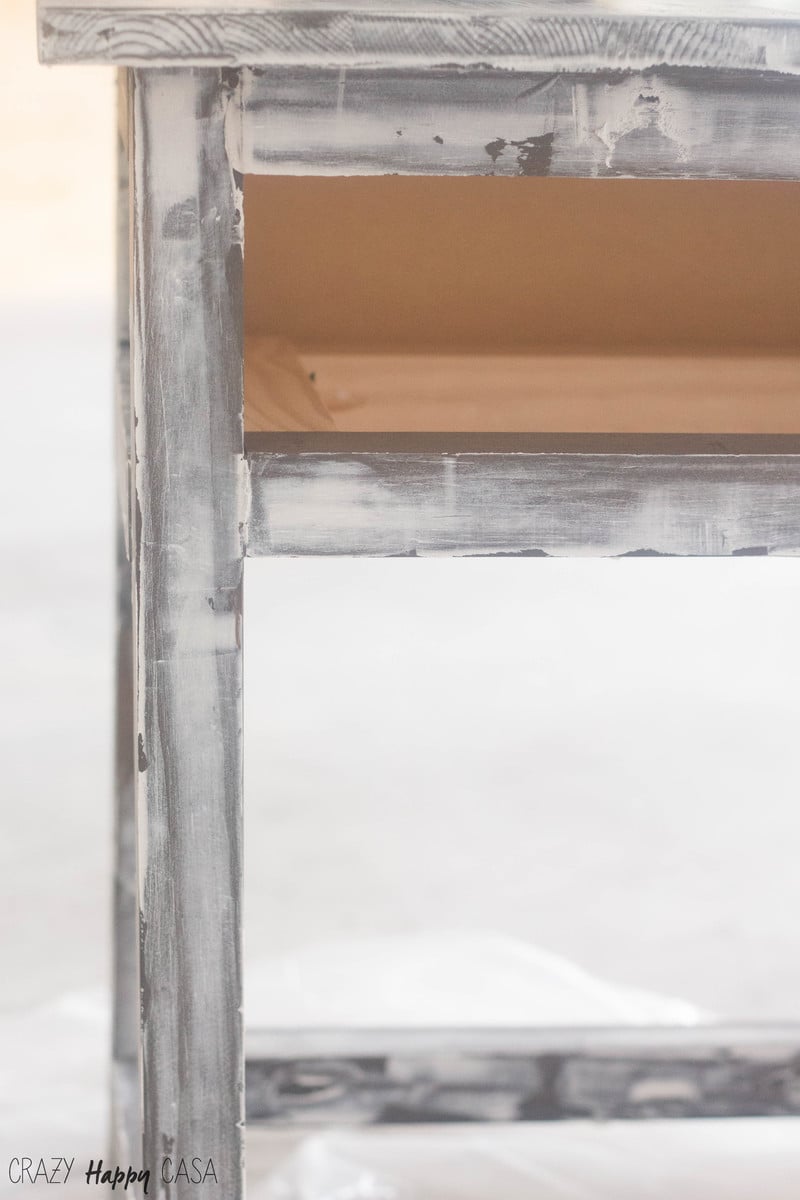
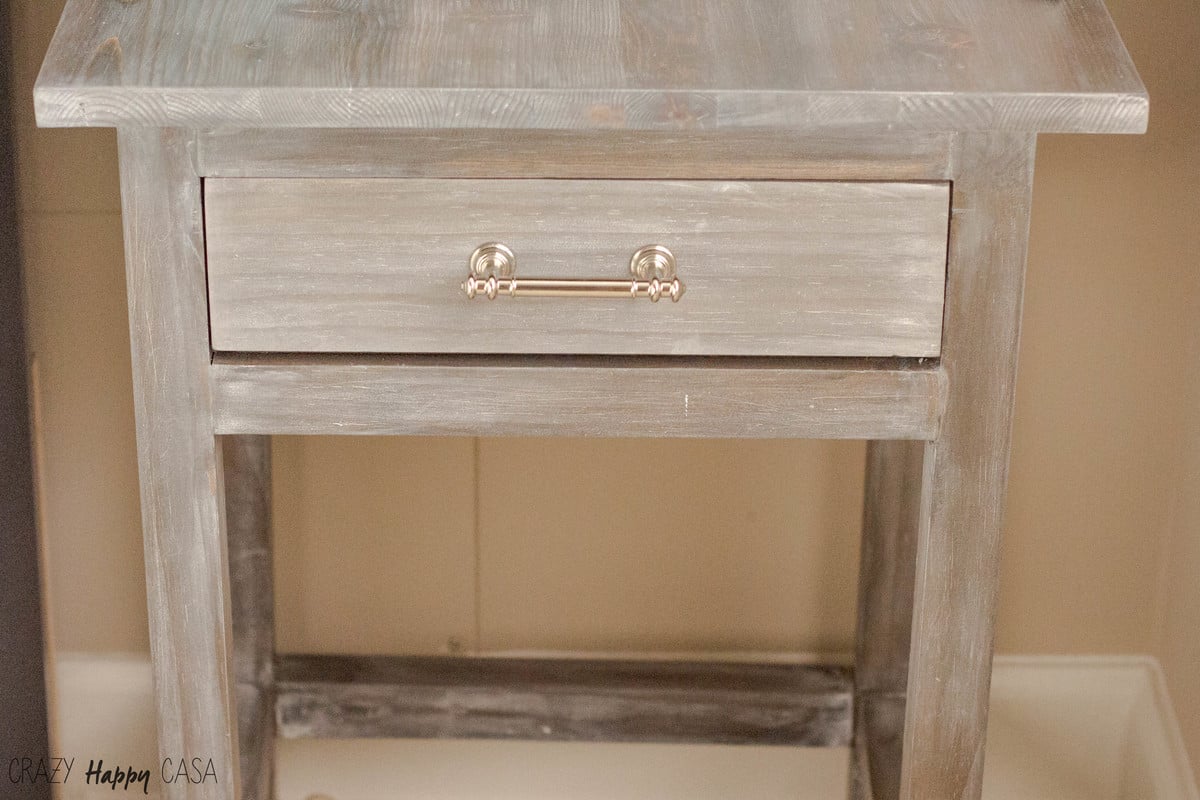
Weathered Nightstands

For several years now we’ve put the guest bedroom at the bottom of our home decorating priorities, but a couple of weeks ago we decided to give the room some love and built these nightstands.
You can see all the details in my blog.
Built from Plan(s)
Finish Used
Minwax Stain (Classic Gray and Jacobean), Liming Wax, Polycrylic
Recommended Skill Level
Intermediate
Comments
Tue, 08/25/2015 - 13:24
So pretty!
I really love the finish. Thanks for the detailed post on your website.