Community Brag Posts
Breakfast nook table and banquette
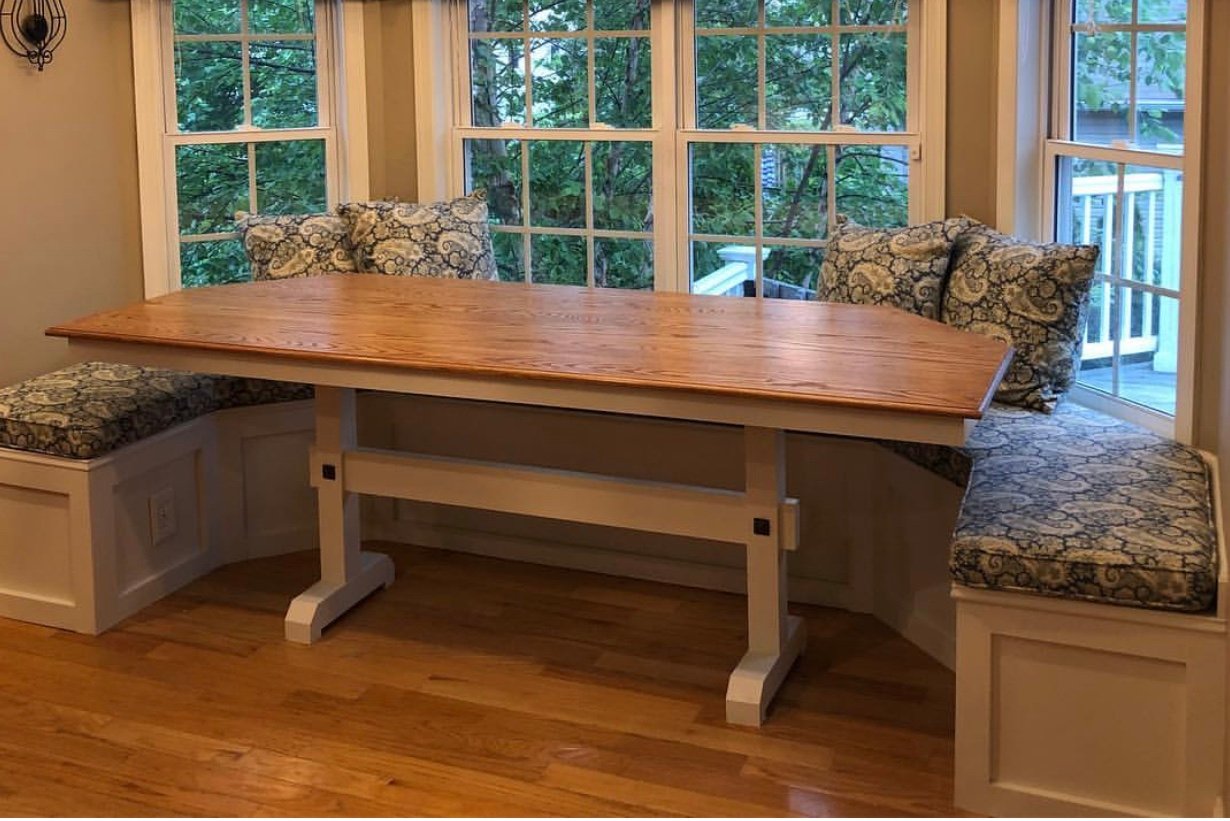
When we moved into our house, there was an empty breakfast nook. I built in the banquette seating, and then built the table out of oak. This was inspired by the Triple Pedestal Table (http://ana-white.com/woodworking-projects/triple-pedestal-farmhouse-tab…)
DIY Potting Bench
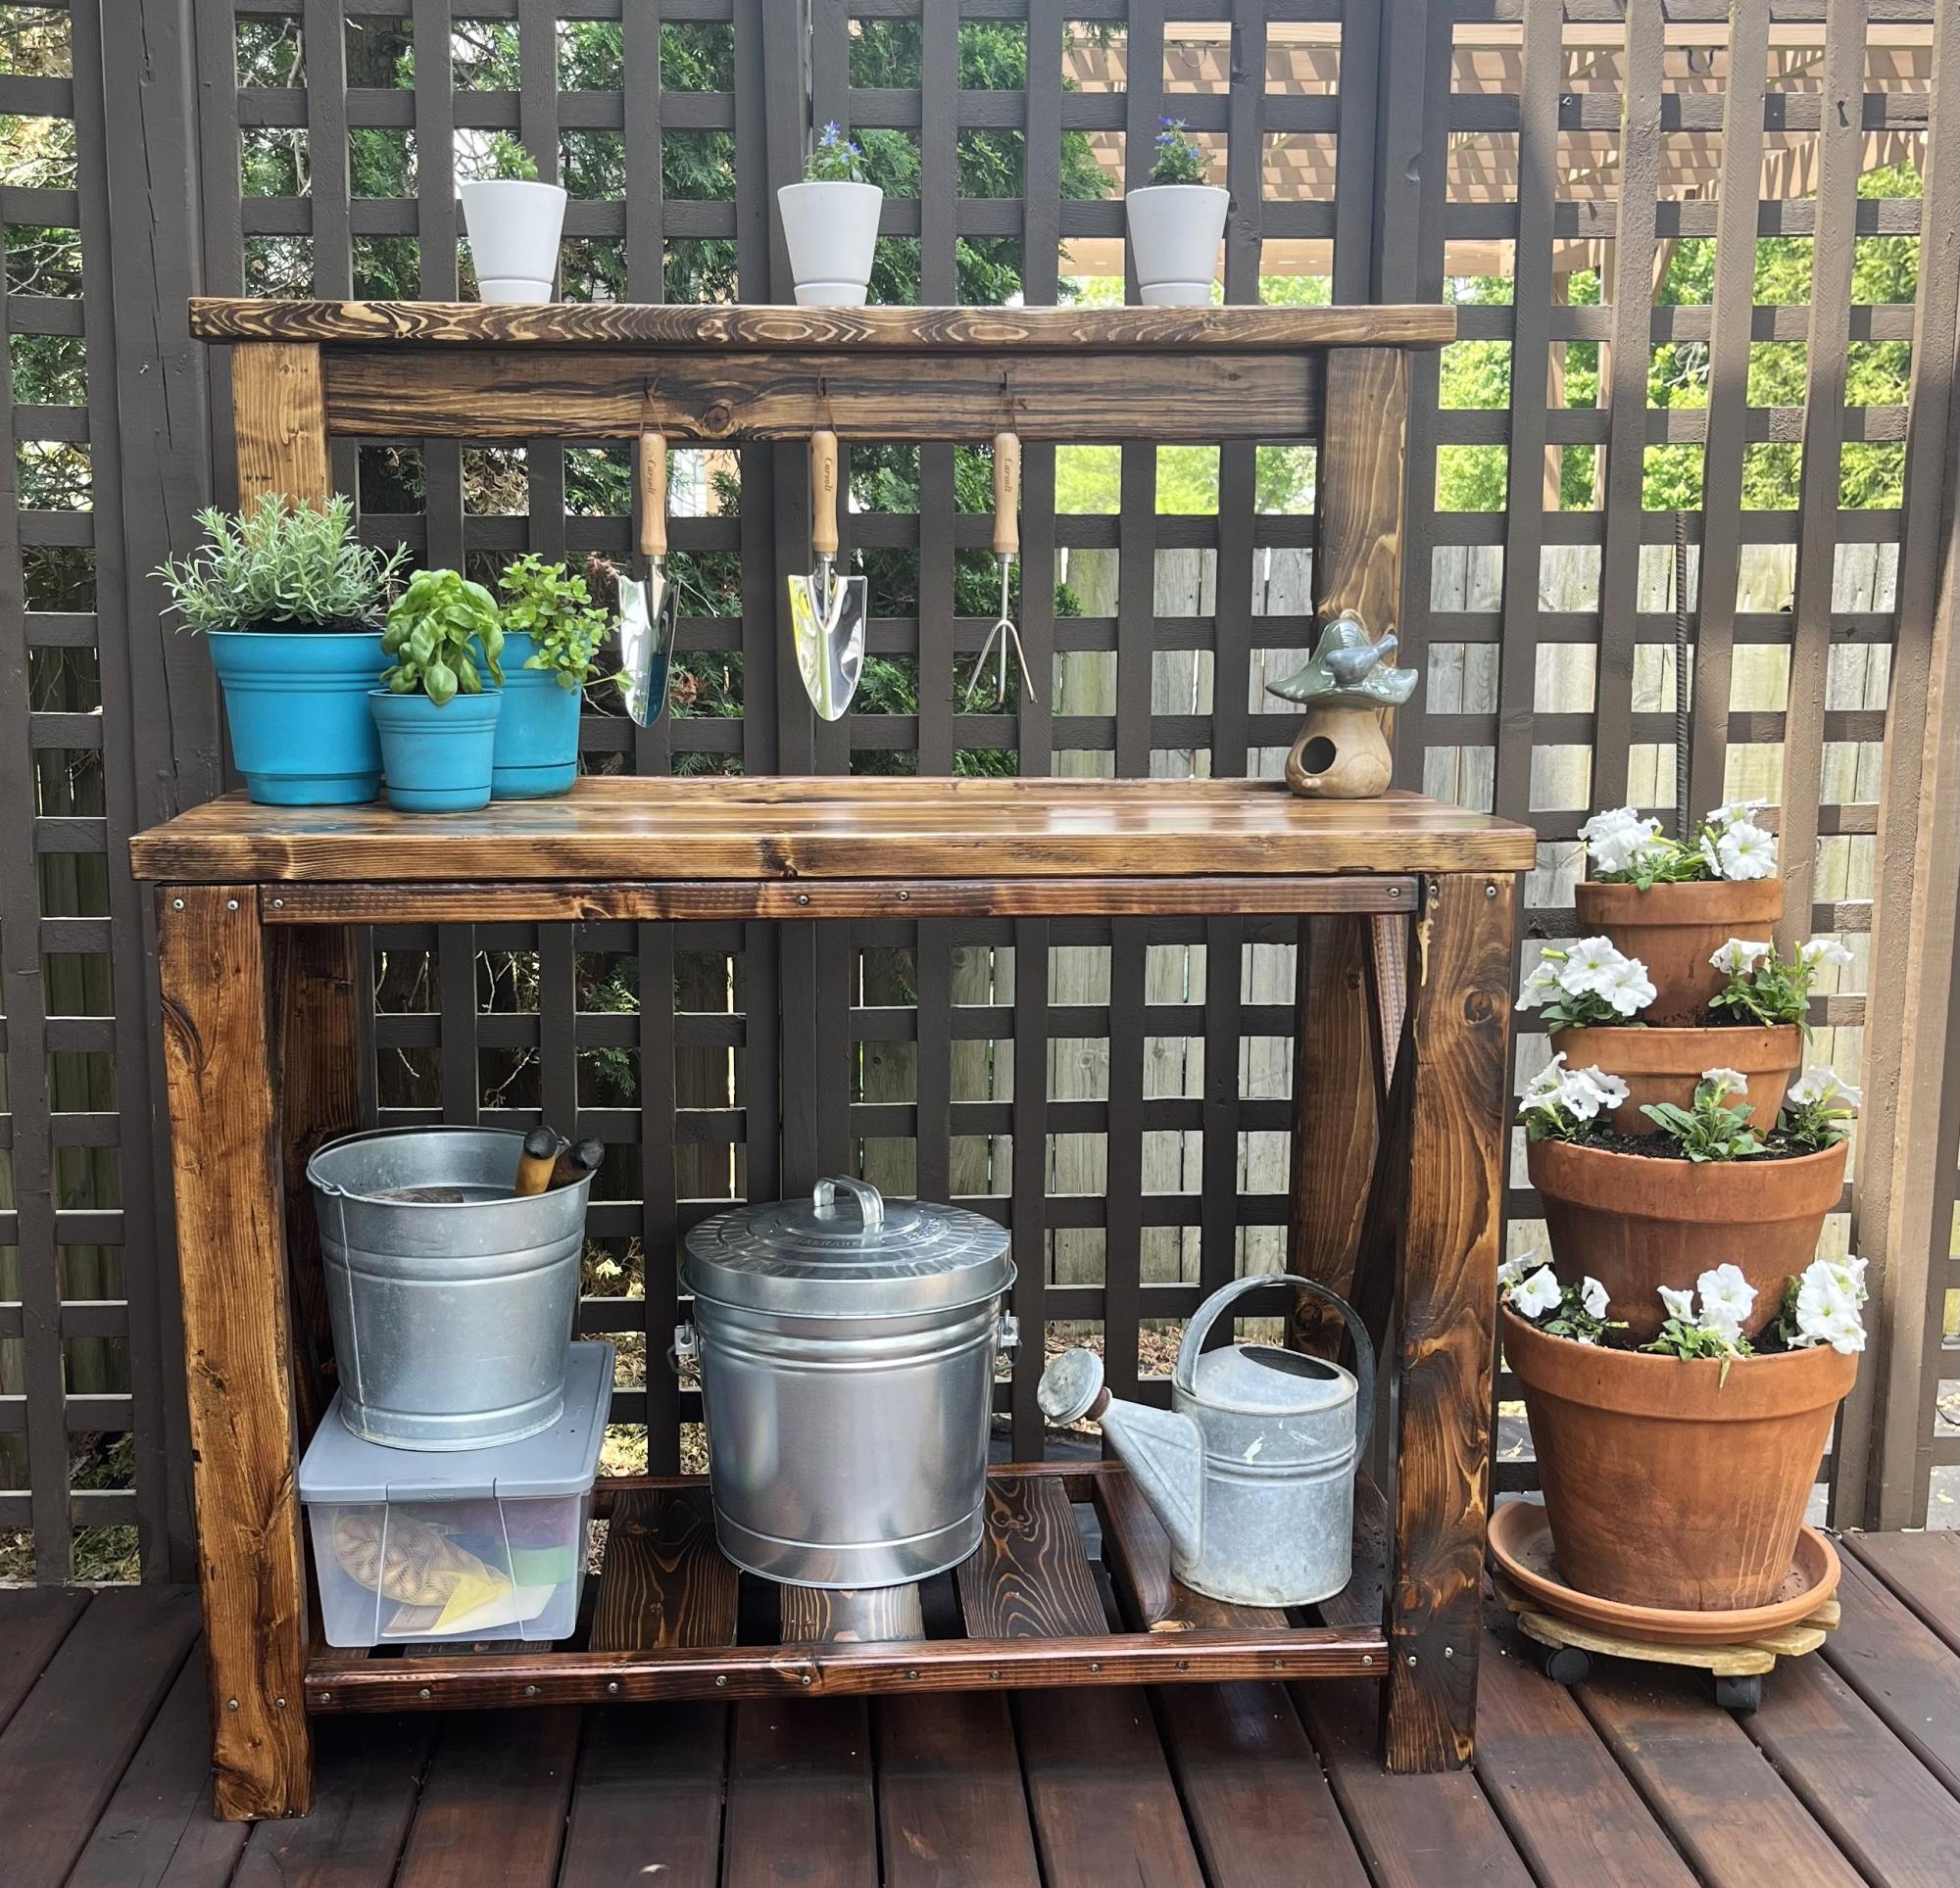
Such an easy build with a little woodworking experience. I am in love with this project and am so excited to have done it myself!
Amy
Pottery Barn Benchmark Media Stand
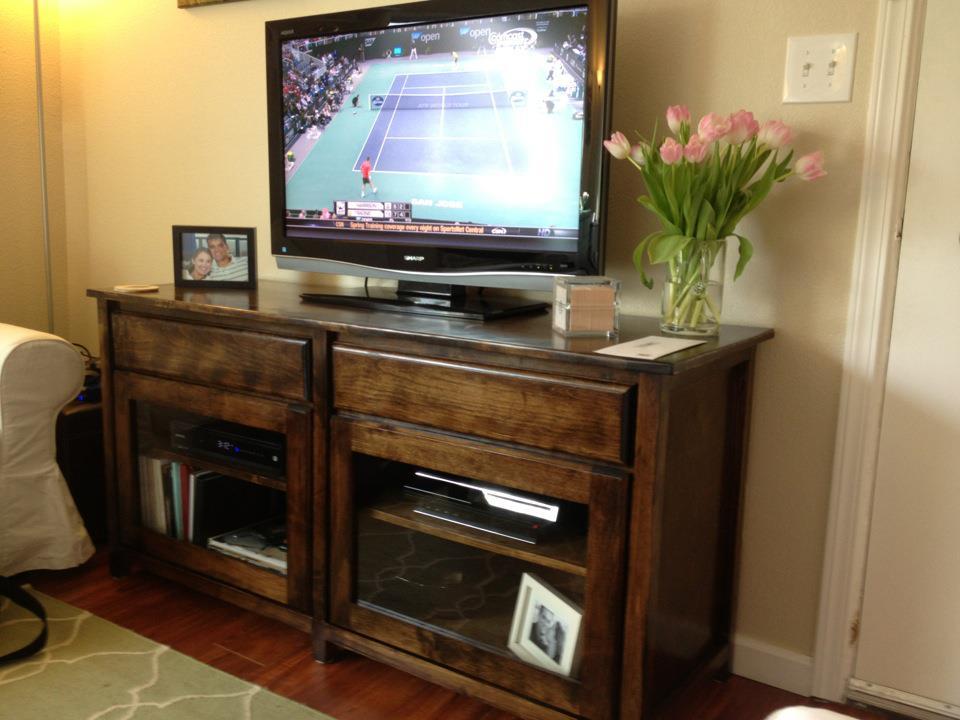
My dad and I built the Benchmark Media console!We made a few minor adjustments but pretty much stayed to the plan.
Rustic bench
Fun little bench to make for our front porch. We liked it so much we built 2 more smaller ones one for each of the kids to go with mommy and daddy's bench. Bought all the material at the home store and decided to use stain since it was going to stay outside. Used the same method with all my other projects sanded using 180 than 220 grit, wood filled all the cracks and the Kreg Jig made this simple.
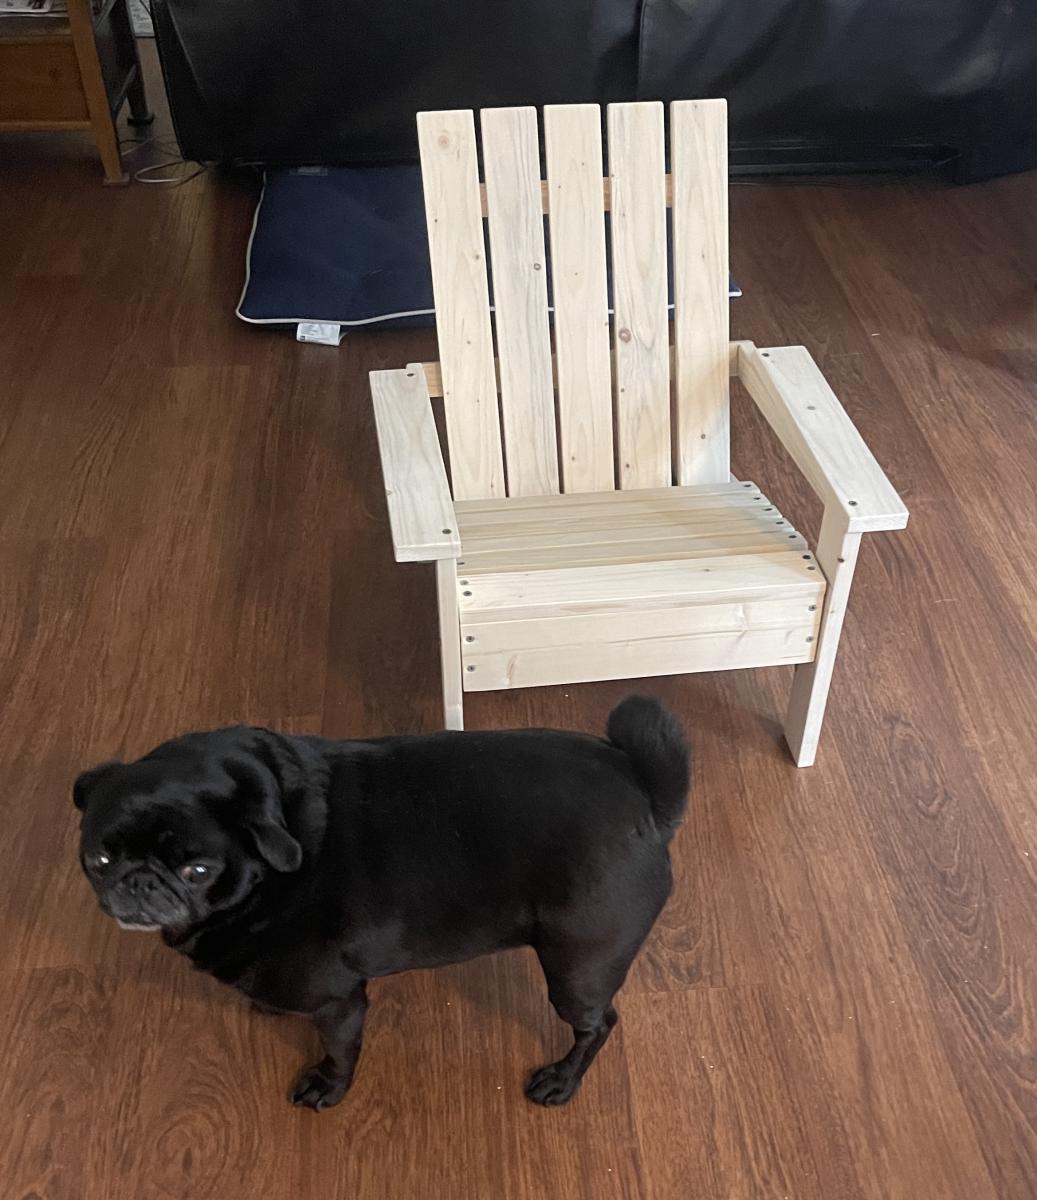
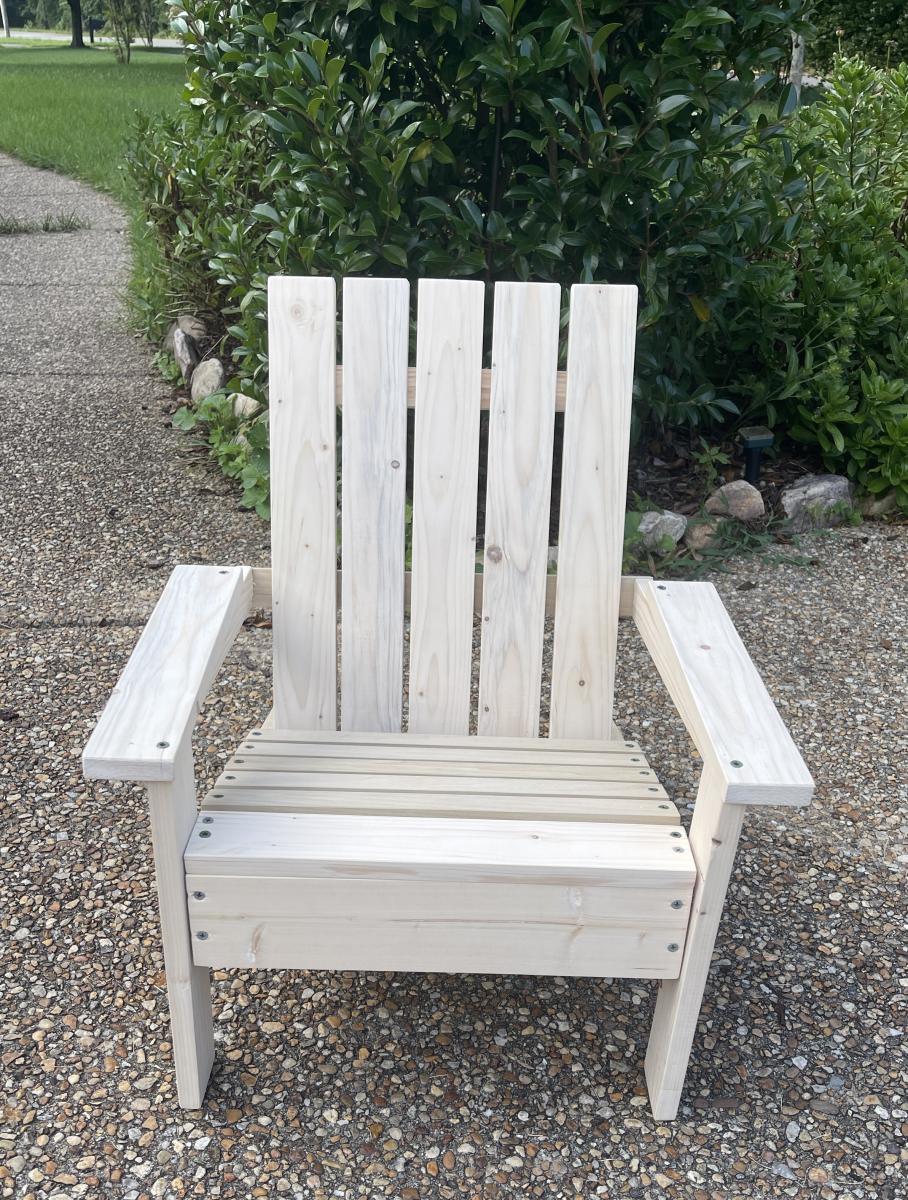
Adirondack Chair for Granddaughter
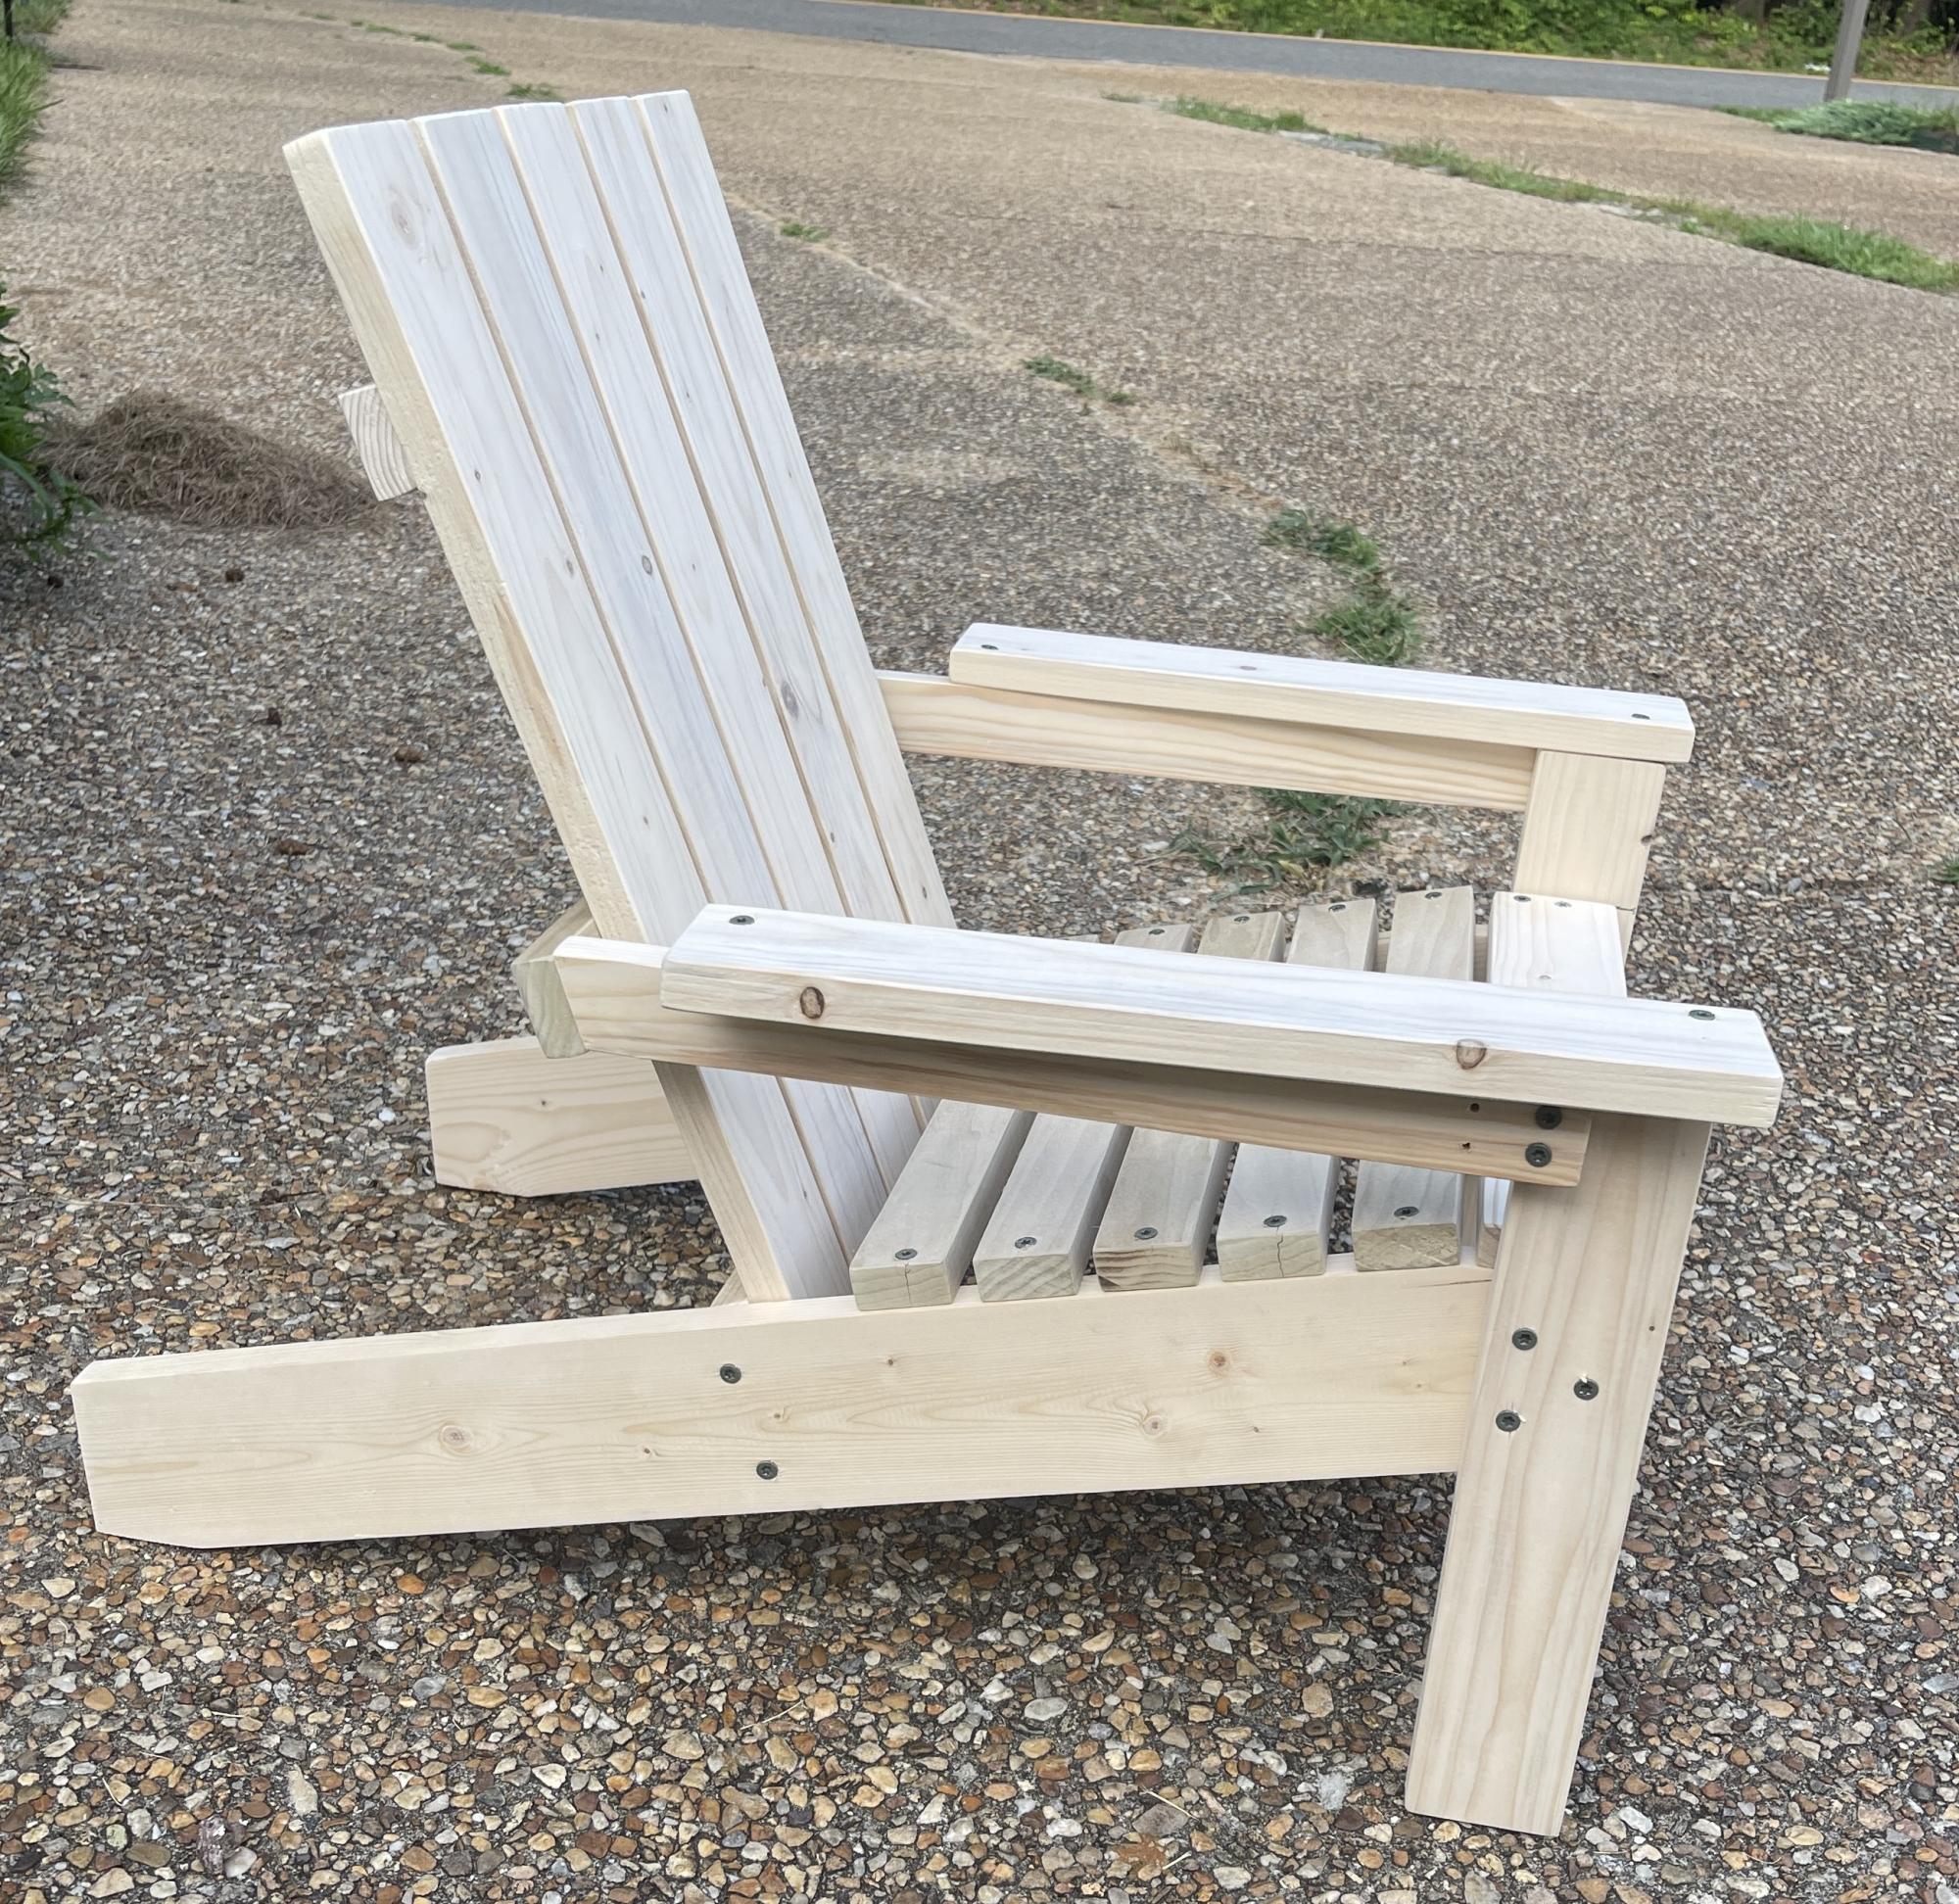
I loved making this chair for my granddaughter! My pug is for size reference! Thank you Ana White!
Chris Dowling
Farmhouse Console Table
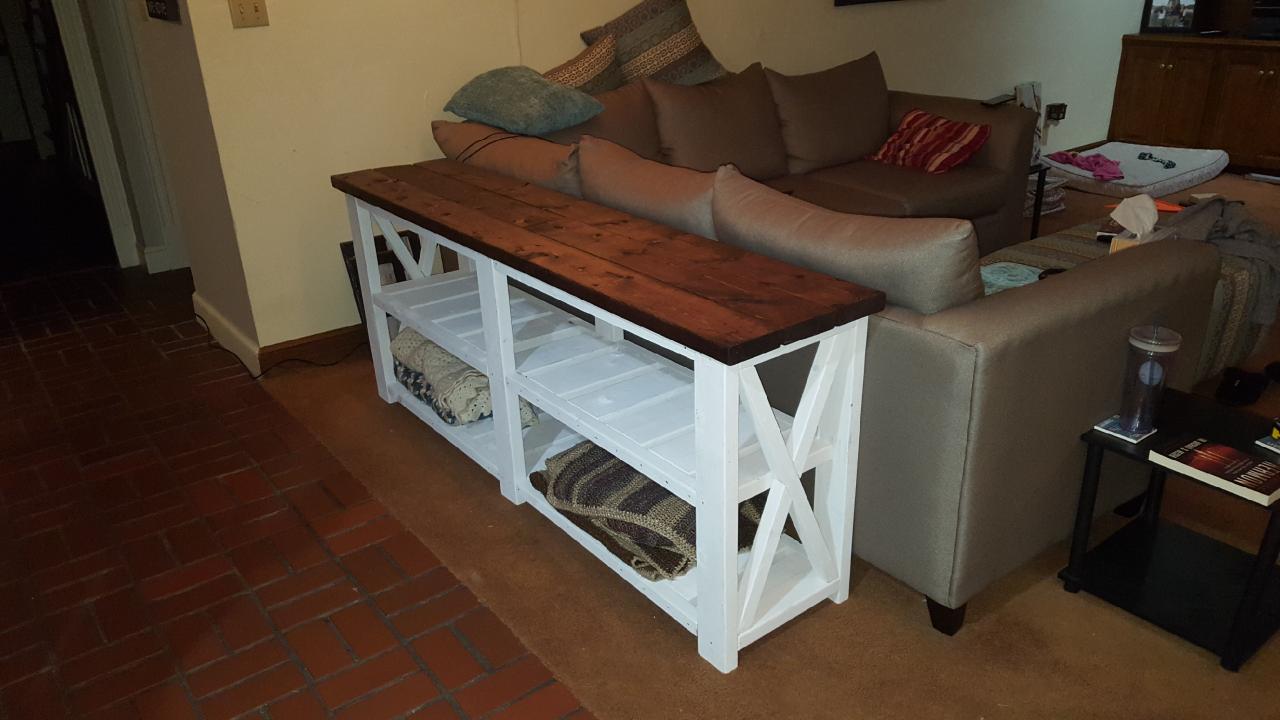
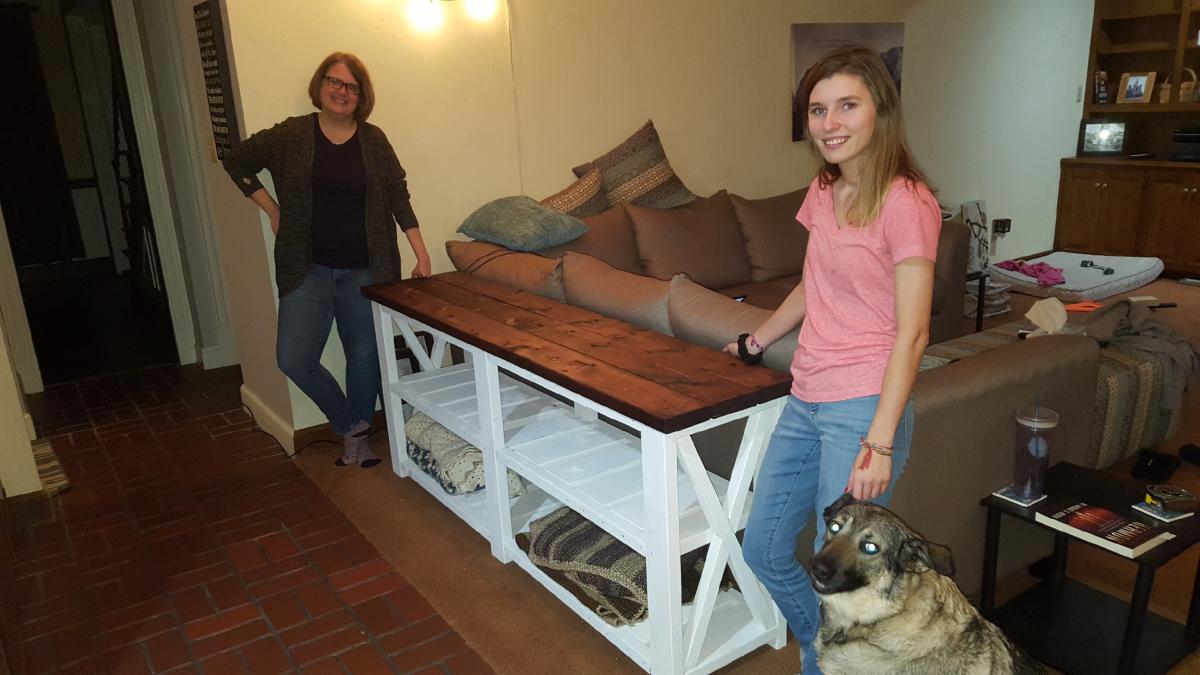
This was my first furniture build, and my 20 year old daughter did it with me! We made some rookie mistakes, but we love it! Super excited to make some matching end tables and or coffee table!
Comments
Fri, 04/17/2020 - 11:16
Great first project, love…
Great first project, love that your daughter is working with you!!!
Wood star
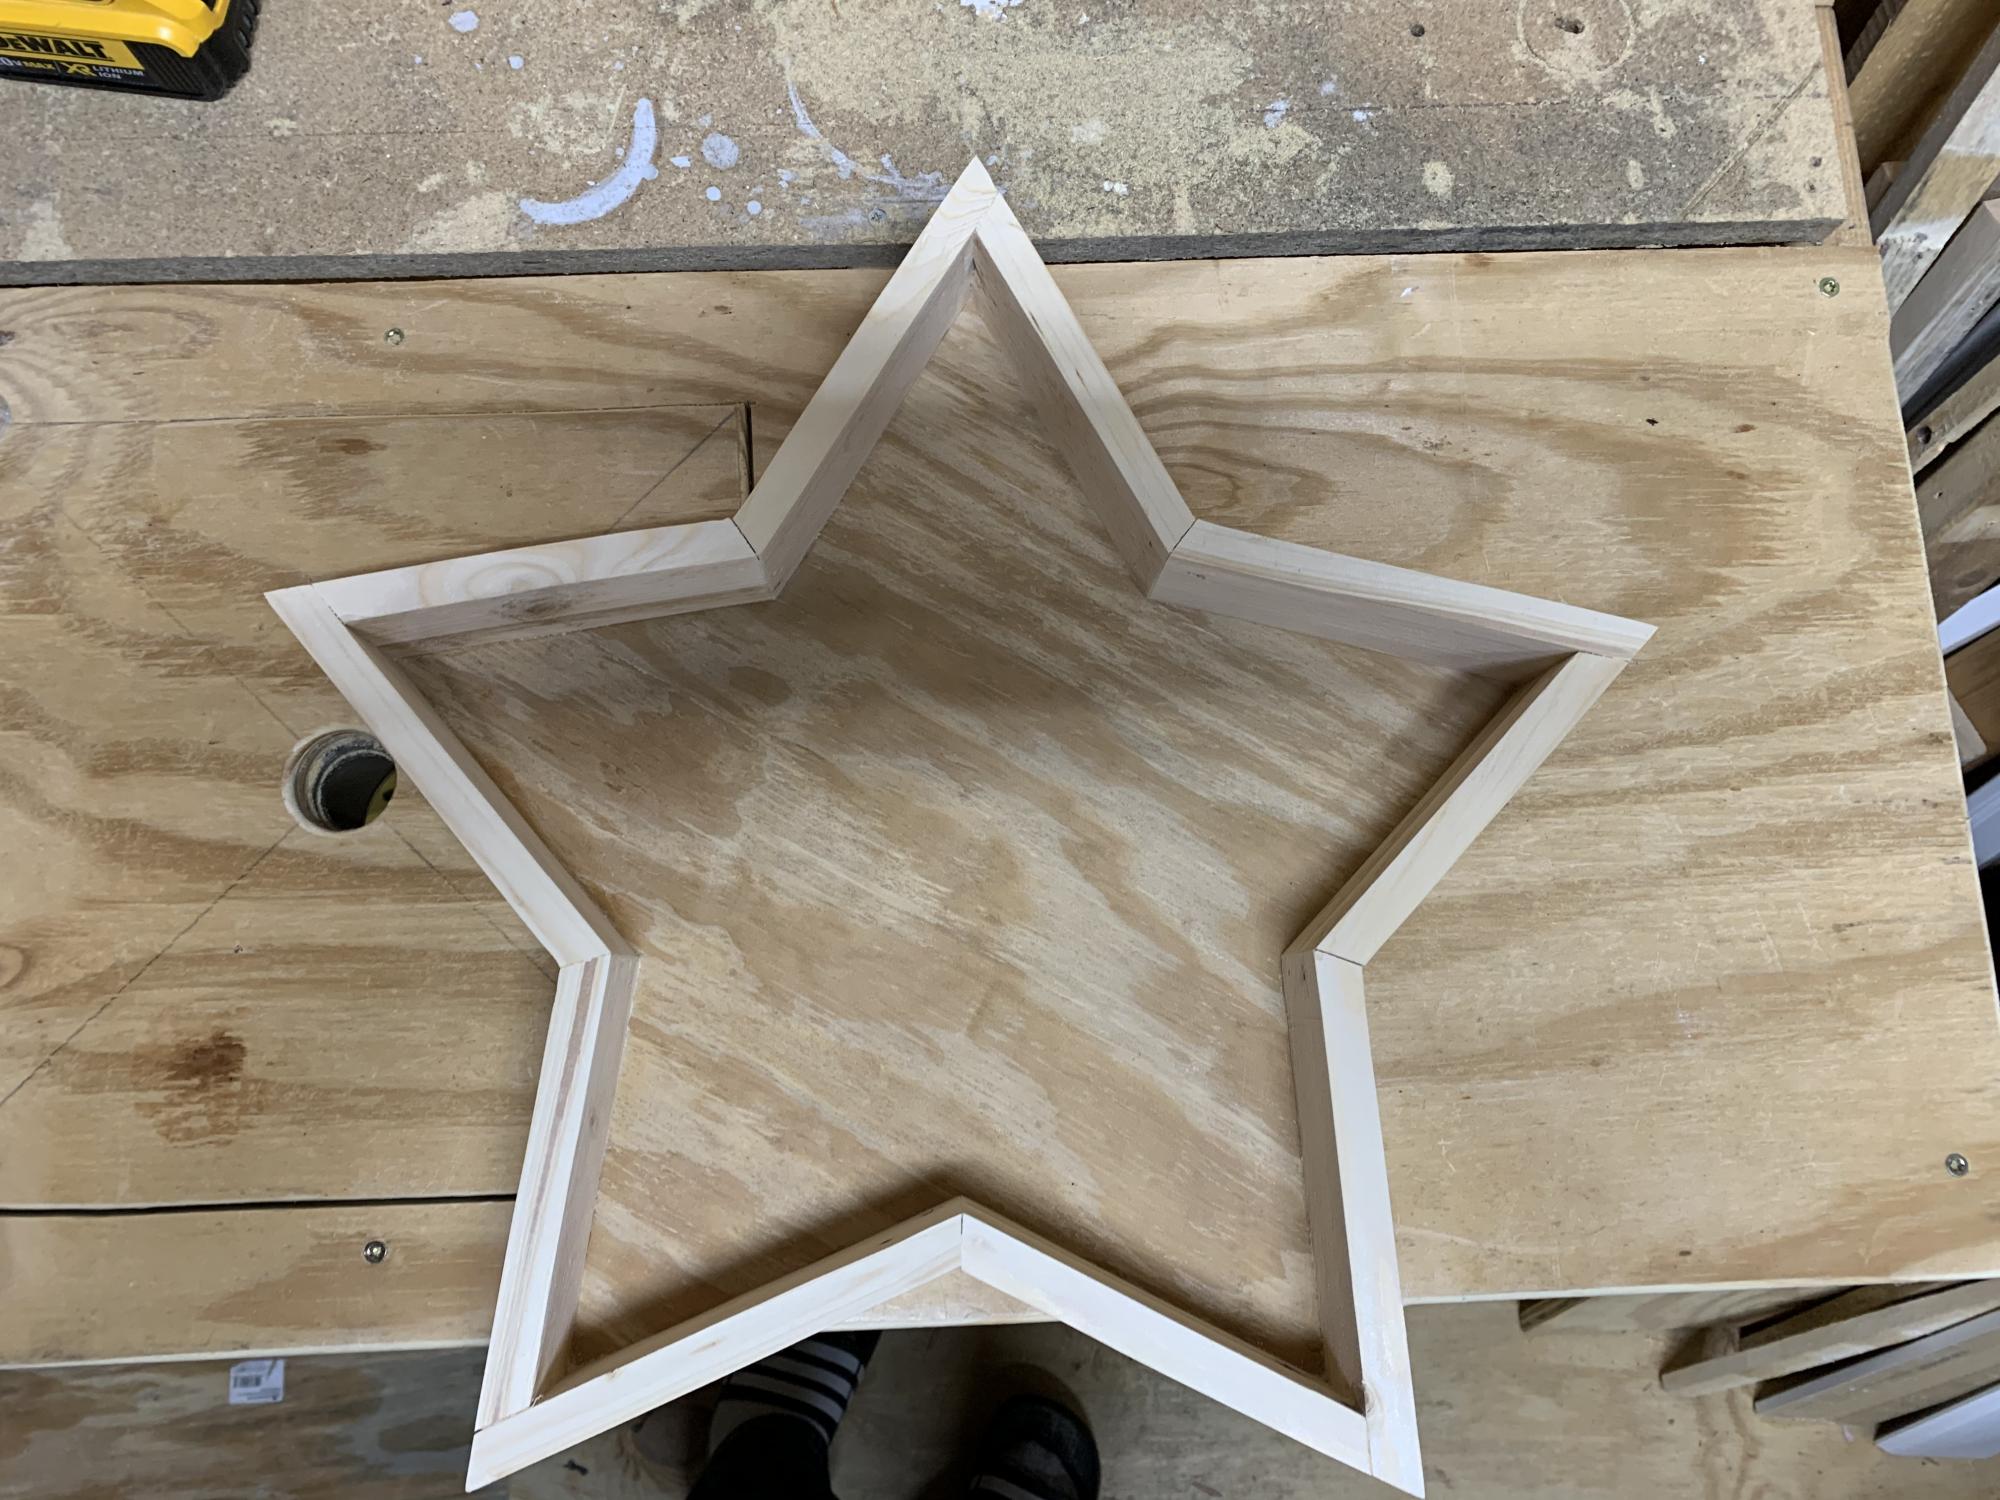
First project in my back porch turned into a makeshift wood shop
Kitchen Island
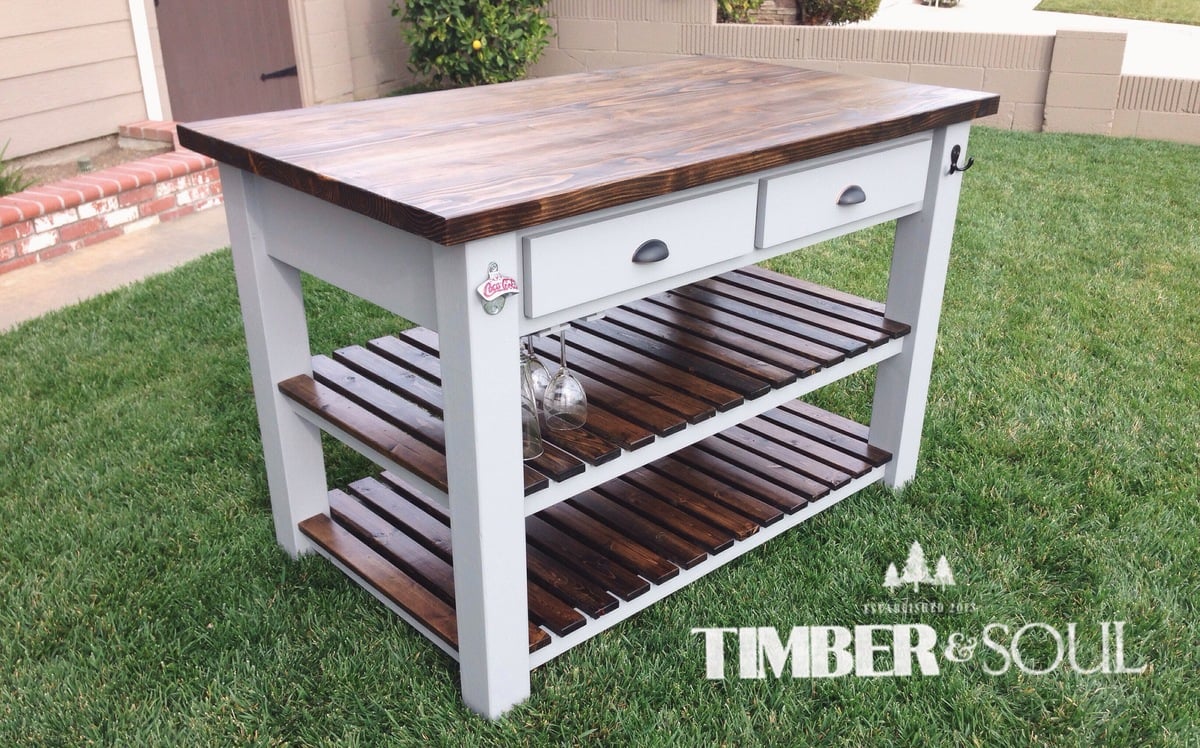
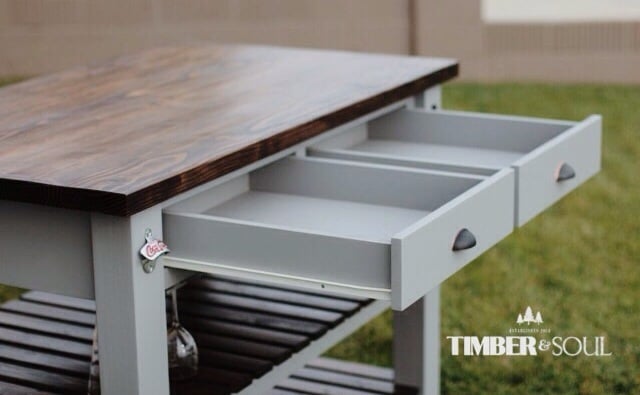
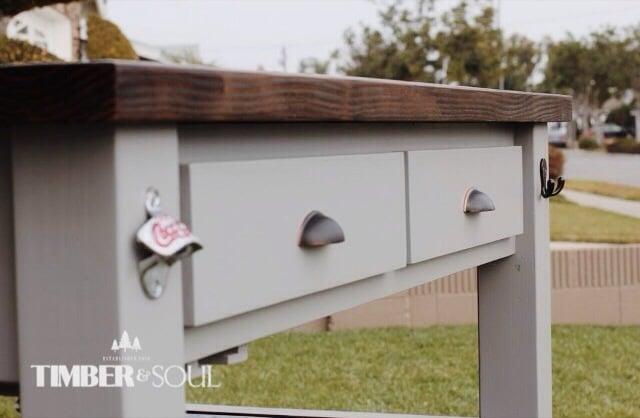
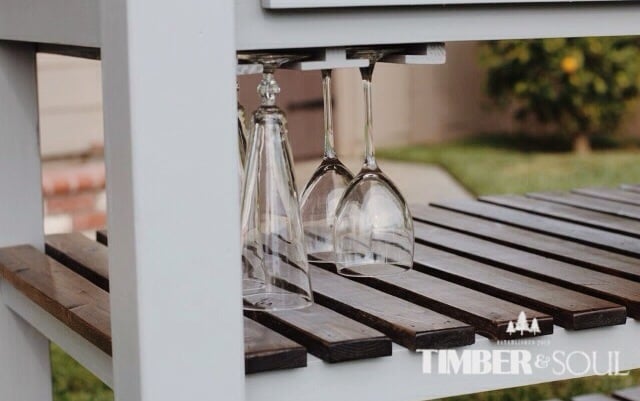
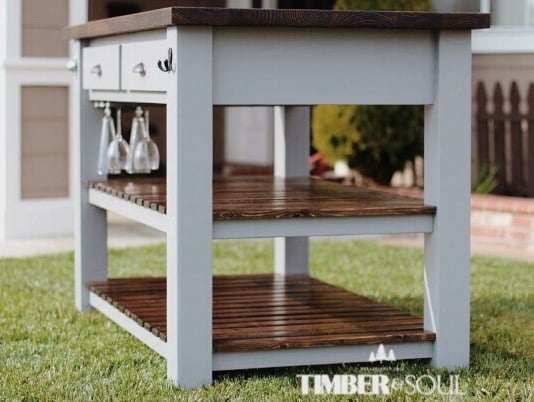
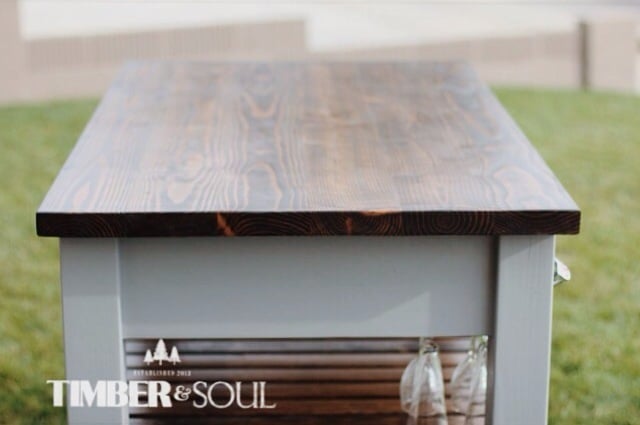
Kitchen Island built from ana white's plans. I attached a wine rack to the underside and changed the design of the shelves to support more weight.
Comments
Wed, 01/15/2014 - 09:34
Awesome!!!
Really like the contrast between the stain and the paint. Great job on your new kitchen island.
Tue, 09/02/2014 - 12:19
Pocket Screws?
Did you use pocket screws for the shelf supports? Also, what were your dimensions for the shelf supports and shelf tops? They look like about 2 1/2" wide for the tops and 3" for the supports. Thanks in advance.
6'x6' Box
I found these plans online and was just waiting for the kids' grandpa to come out and build it. Could be built in one afternoon (depending on how many trips to your local Home Depot, and availability of the correct tools)
Modifications from original plan:
6x6 instead of 4x4
Brackets to hold patio umbrella for shade
Added seat gussets for additional support
Added "wooden flange" around bottom of box to run lawnmower on
One additional center back support on each bench
One centered handle (instead of a handle on each end)
Stapled landscape weed barrier fabric onto the bottom
Sanded all exposed edges
Materials:
4@2x10x8'
12@1x6x6'
2@2x6x12'
8 hinges
2 handles
3 1/2" decking screws (for attaching 2"x boards)
1 5/8" decking screws (for attaching 1"x boards)
2+ 1 1/4" 2-hole straps for metal conduit (for attaching patio umbrella*)
*Our patio umbrella pole was 1 1/2" diameter, but 1 1/2" straps had too much play, so we used 1 1/4" straps and misc flat washers to adjust the snugness to the pole
Cut lengths:
2@2x10 cut to 72" (long sides of the box)
2@2x10 cut to 69" (short sides of the box)
Cut one each of the following out of a 12 footer:
2@2x6 cut to 75" (long side "flange")
2@2x6 cut to 64" (short side "flange")
No cuts were made to the 12 1x6's
Used one leftover 2' from the 2x8x10's ripped in half cut to 11.5" for arm rests
Used two leftover 2' sections from the 2x8x10's ripped in half cut to 21" for back supports
Used the last 2' cutoff to make two seat gussets (cut about 9 1/2" off and then ripped it at 45 degrees)
Used the remaining piece (ripped in half length-ways) to attach to the center of the backrest for additional support and as the attachment point for our handles
We decided to do one handle in the center of the backrest so one reasonably strong adult could open the lid
The bottom "flange" was assembled with the box upside down. Basically a 2x6 screwed to the bottom edge of the box allowing 1 1/2" overhang all the way around
After making cuts, but before assembly, we recommend using a quarter-sheet pad sander (or similar) with 60 grit paper to break all of the edges and round over any ends or corners that will be in contact with sandbox users
Followed other general assembly instructions
Corner Headboard Storage for Twin Beds
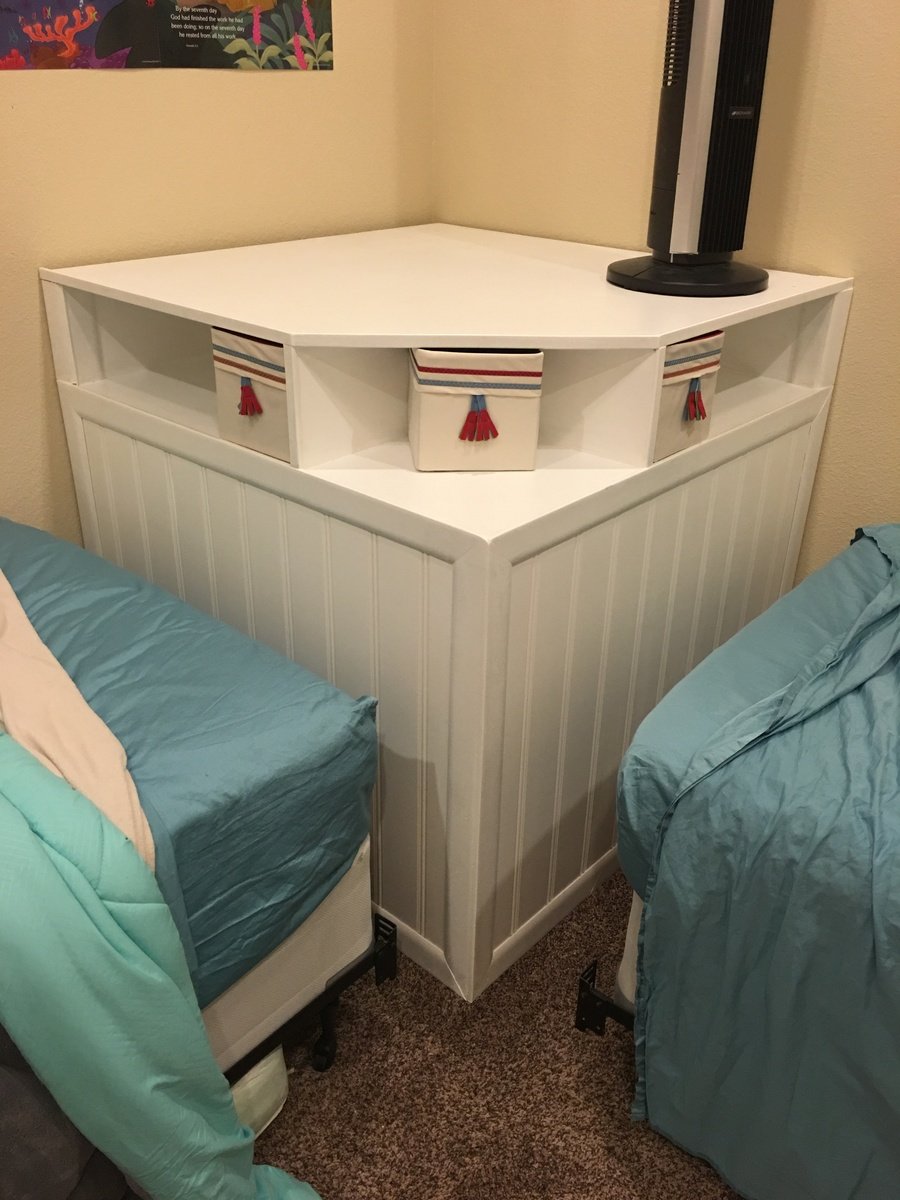
Corner unit for kids bedroom. Added fabric boxes from ikea. The fit perfectly
Mudroom bench
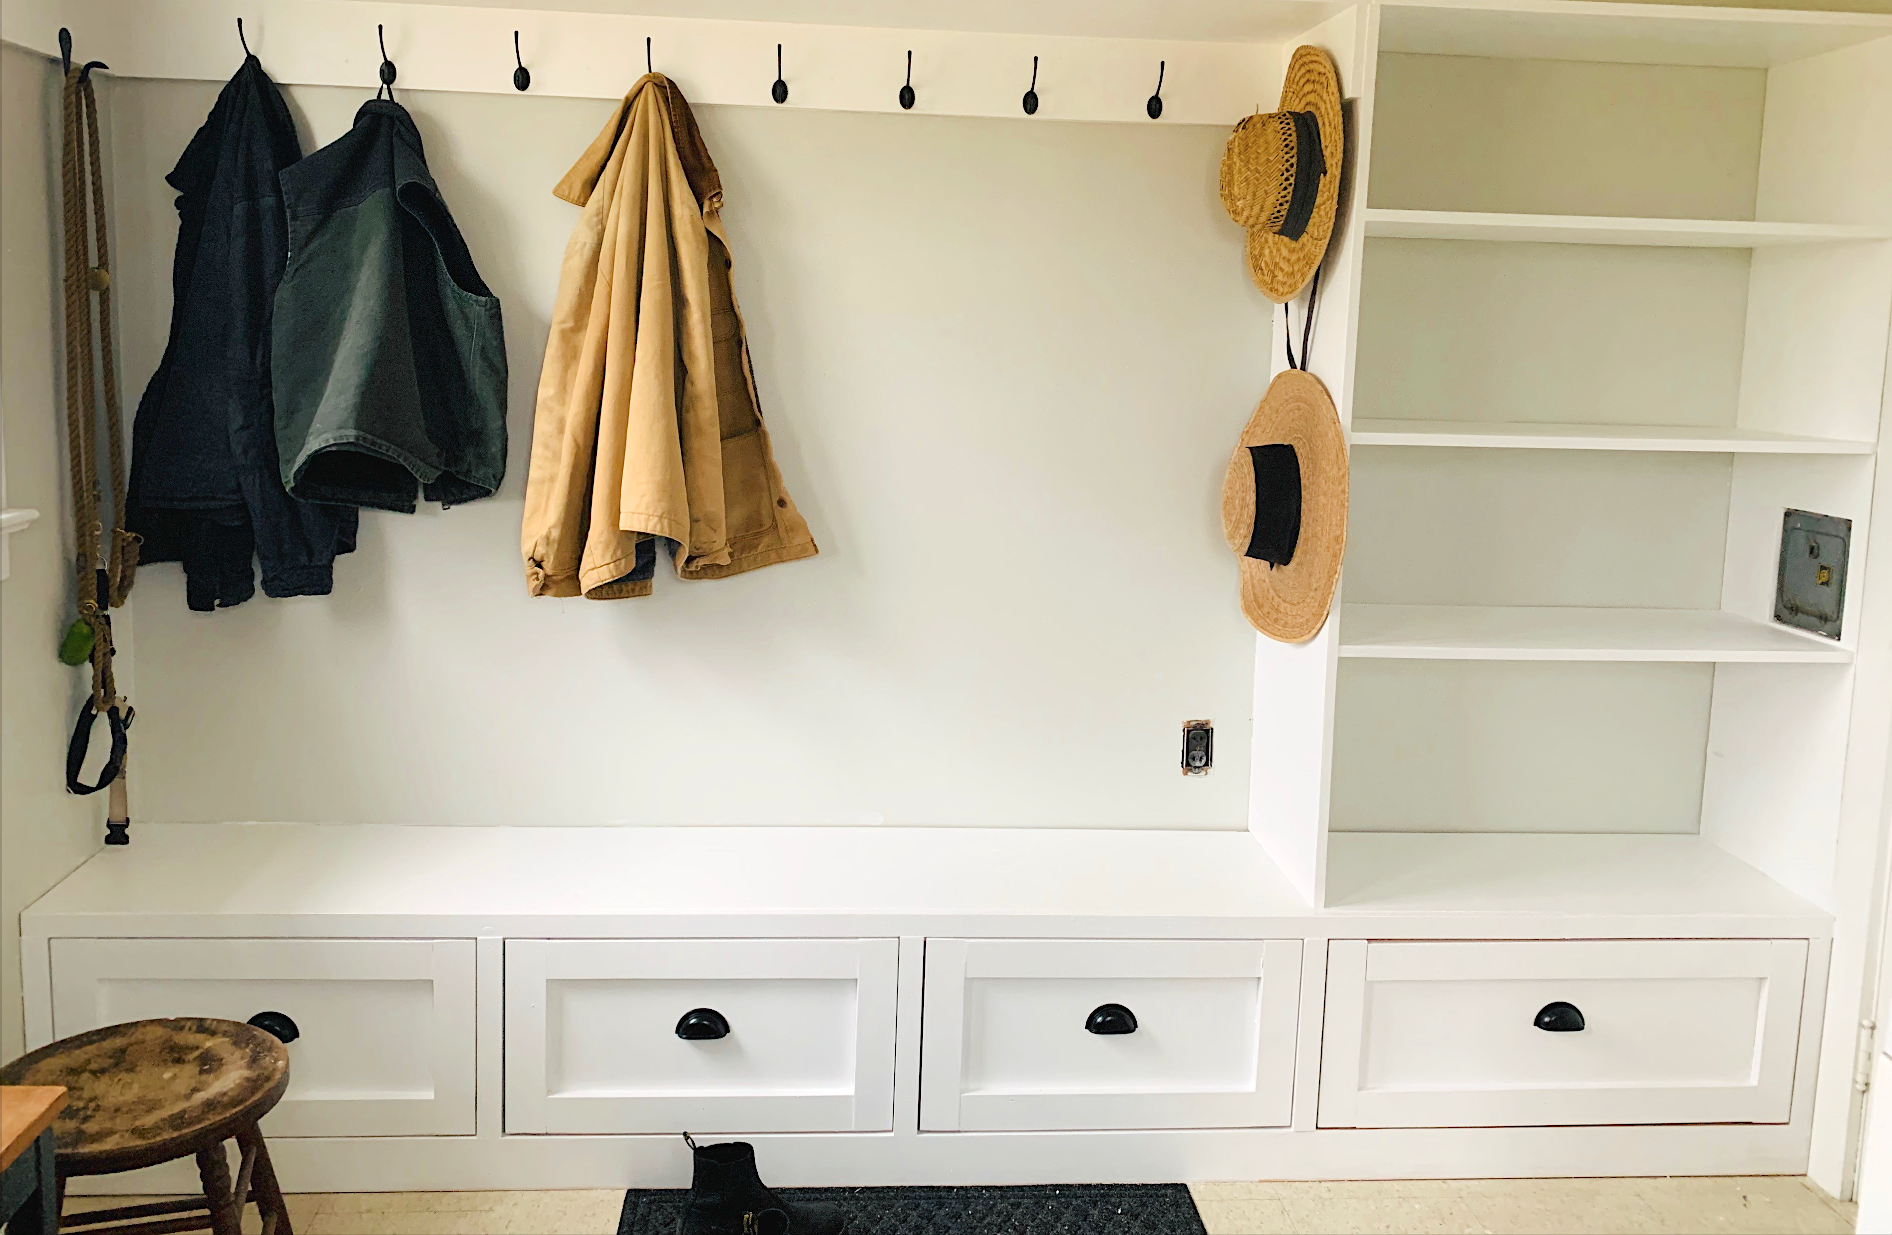
We built upon the mudroom bench plans. The length dimensions had to be modified to fit our room, but for the most part we stuck to the directions. We switched to metric for this project and it was the best decision. Make sure you have a Kreg Jig.
First project!
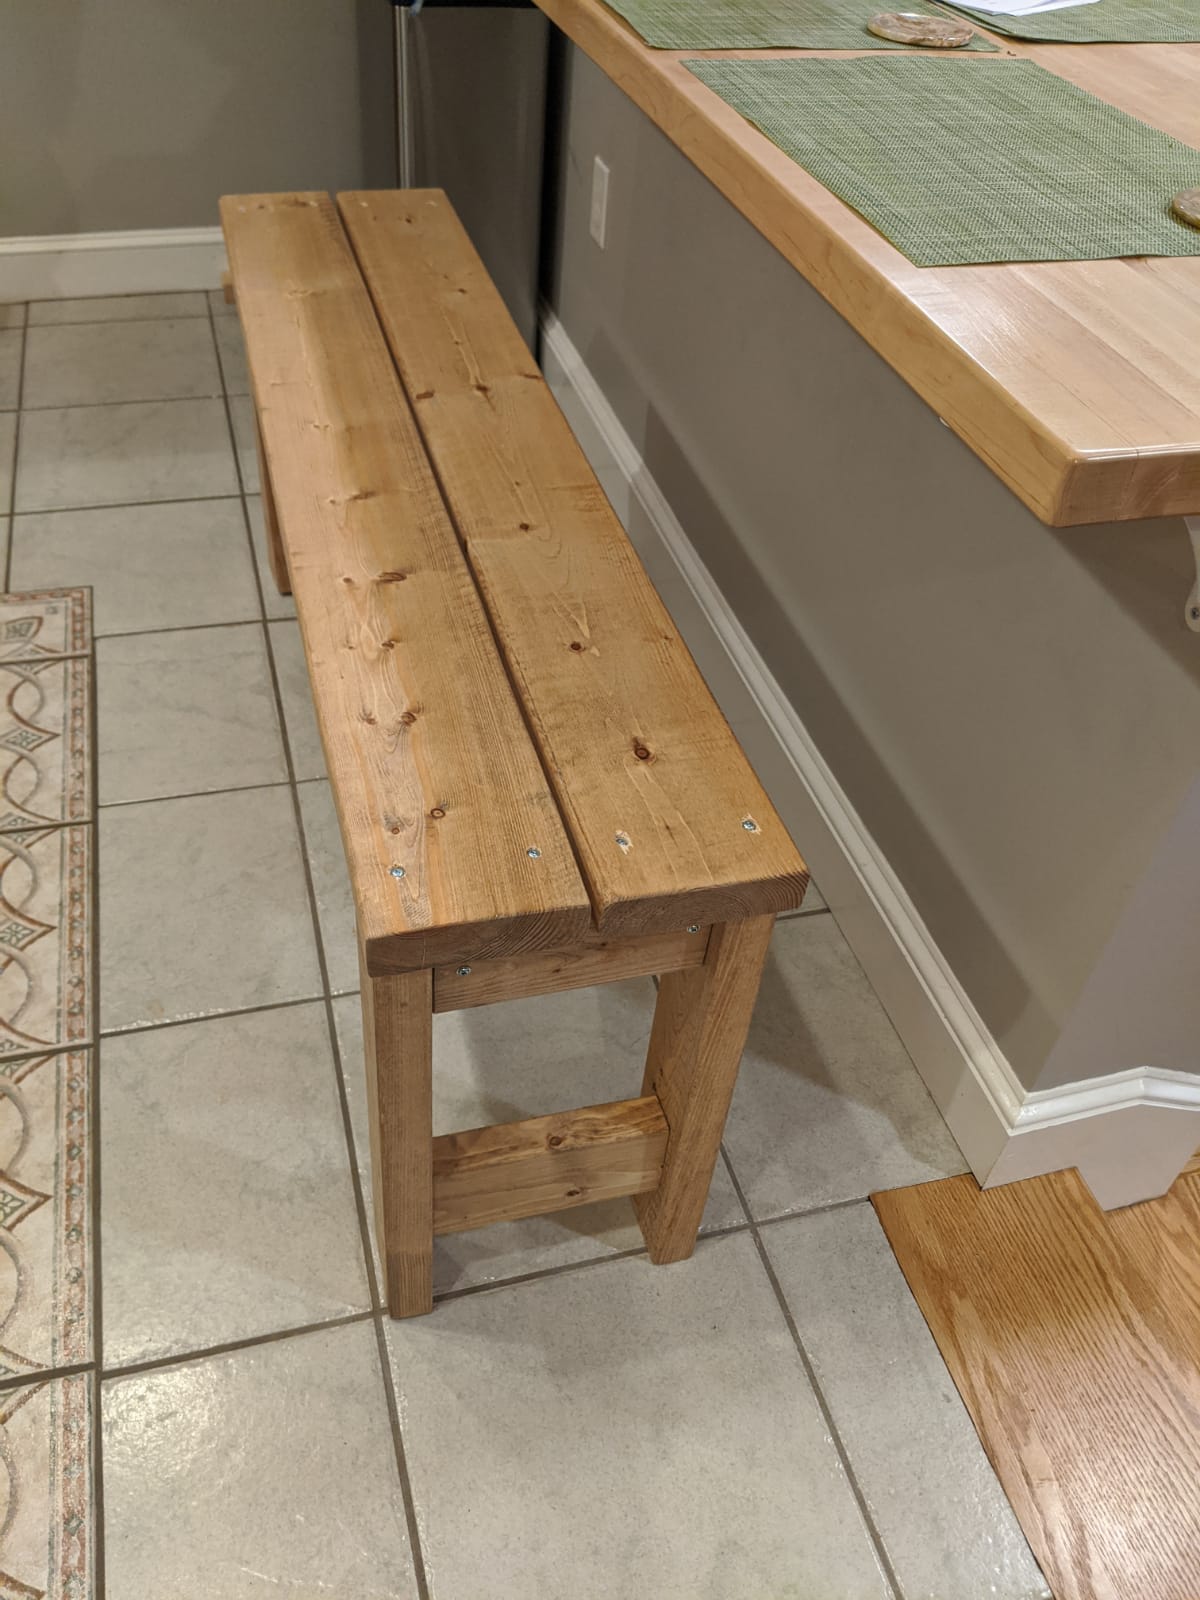
We finally finished our first project - definitely made mistakes, but learnt a lot. I feel ready for tackling the next one
Toddler Bunk Beds
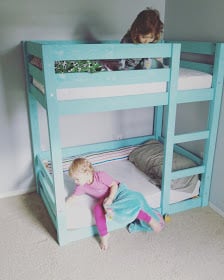
Modified the classic bunk bed plans to fit crib size matresses for our 1.5 & 2 year old girls, loved how my toddler bunk beds turned out!
Comments
Mon, 08/01/2016 - 17:27
measurements
Hi,
Could you email me the change in measurements you used for the crib mattress?
It would help me out so much. I want to build a similar one for my boys.
Thank you.
Danielle S.
Outdoor Daybed with Canopy
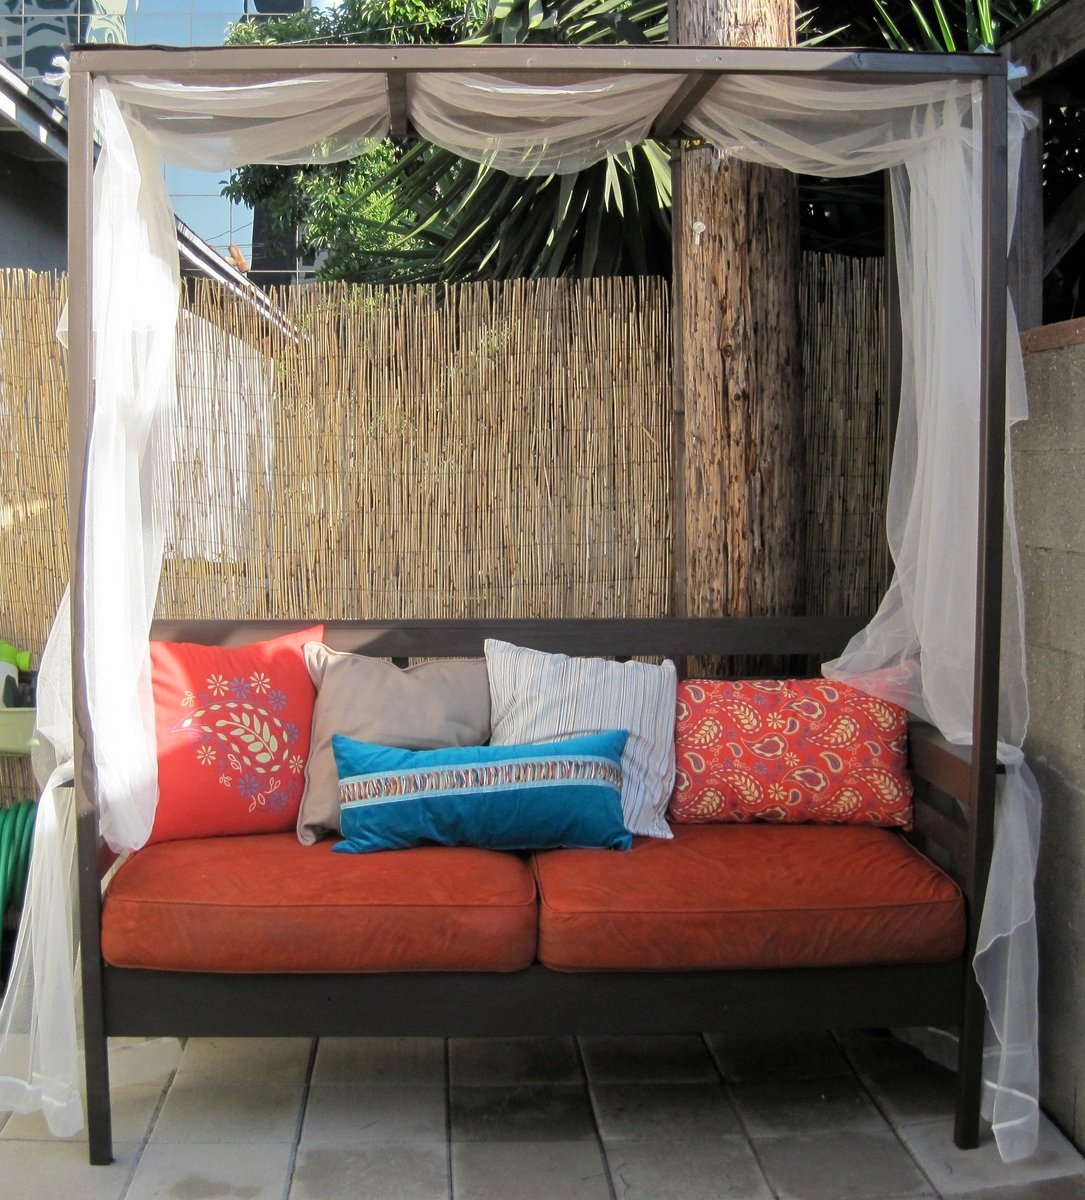
Thank you anawhite.com for this project! It was exactly what I was looking to build for my outdoor space. The outdoor daybeds with this look are WAY too expensive for us to buy and these plans were just what I needed!
My husband and I built (and painted) this project over one weekend. Not included in that time are 2+ hours shopping for materials on the friday night before and extra hours over the next few days to buy pillows, tie on the drapery, and finish the cushions.
We actually changed the plans to make more of a smaller 'daycouch' rather than a 'daybed' because we had some old cushions from a loveseat we just got rid of that I wanted to repurpose. It worked out great for our small space. If you do change the proportions keep in mind that a 1X3, 1X4, etc., are not exactly 3", 4", etc.
This project is totally doable, so go for it! The only things I would recommend are that you have some skills with power tools, know a little about carpentry (the directions are pretty spartan), and paint the pieces beforehand (if you have the patience; it really does cut down time on painting all those slats).
*Important note: the materials list is missing 2 2"X4"X8" (for the 2 cleats) that you need to complete the project.
Comments
Fri, 07/13/2012 - 23:26
Thank you!
Thank you! We are pretty happy with the way it turned out. If you do the project please post a pic!
First build--shoe cabinet!!
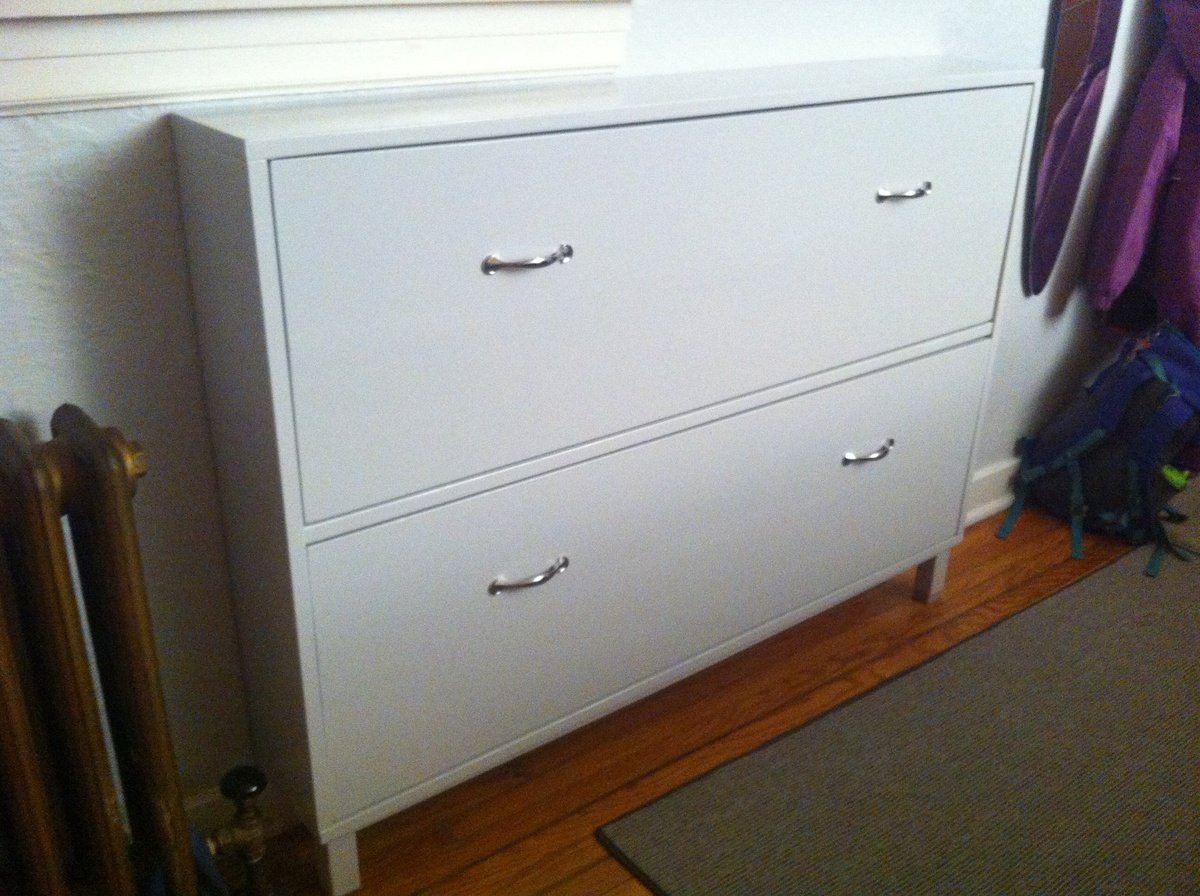
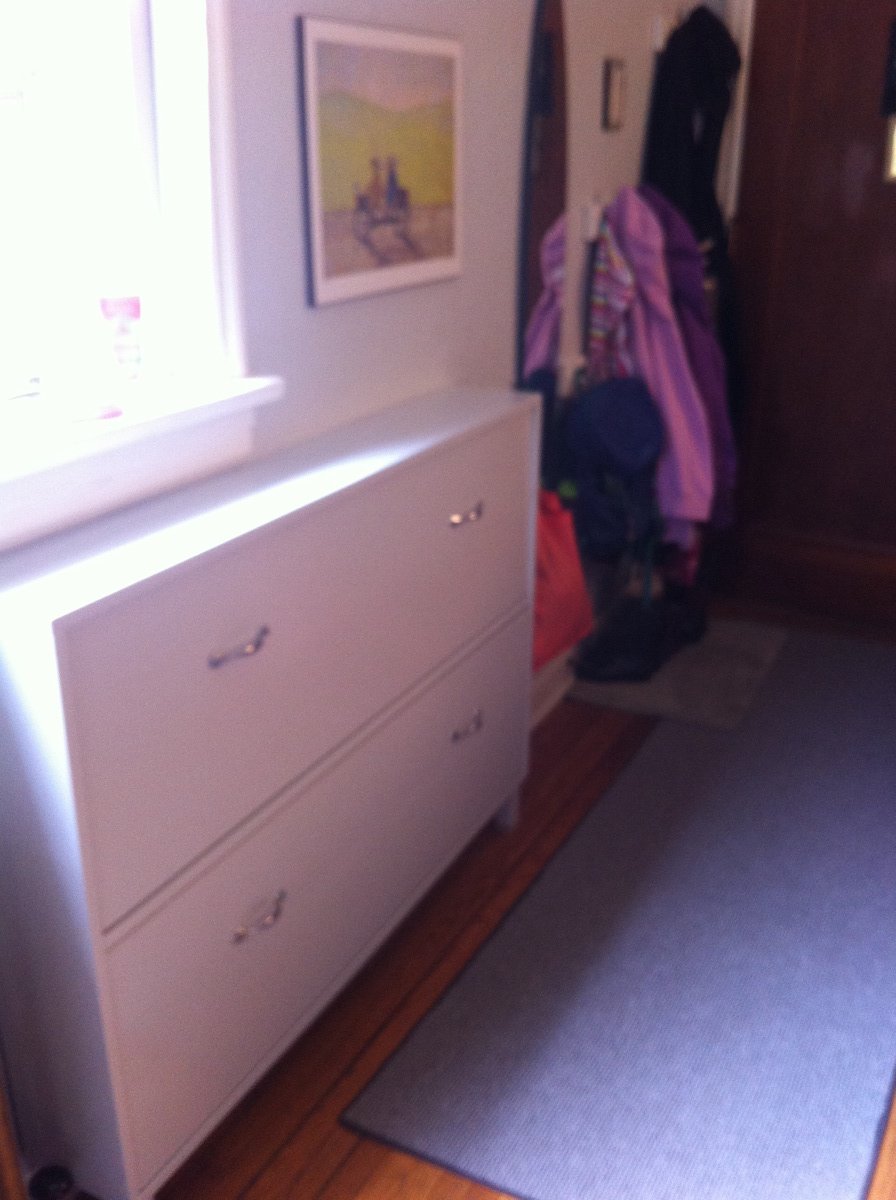
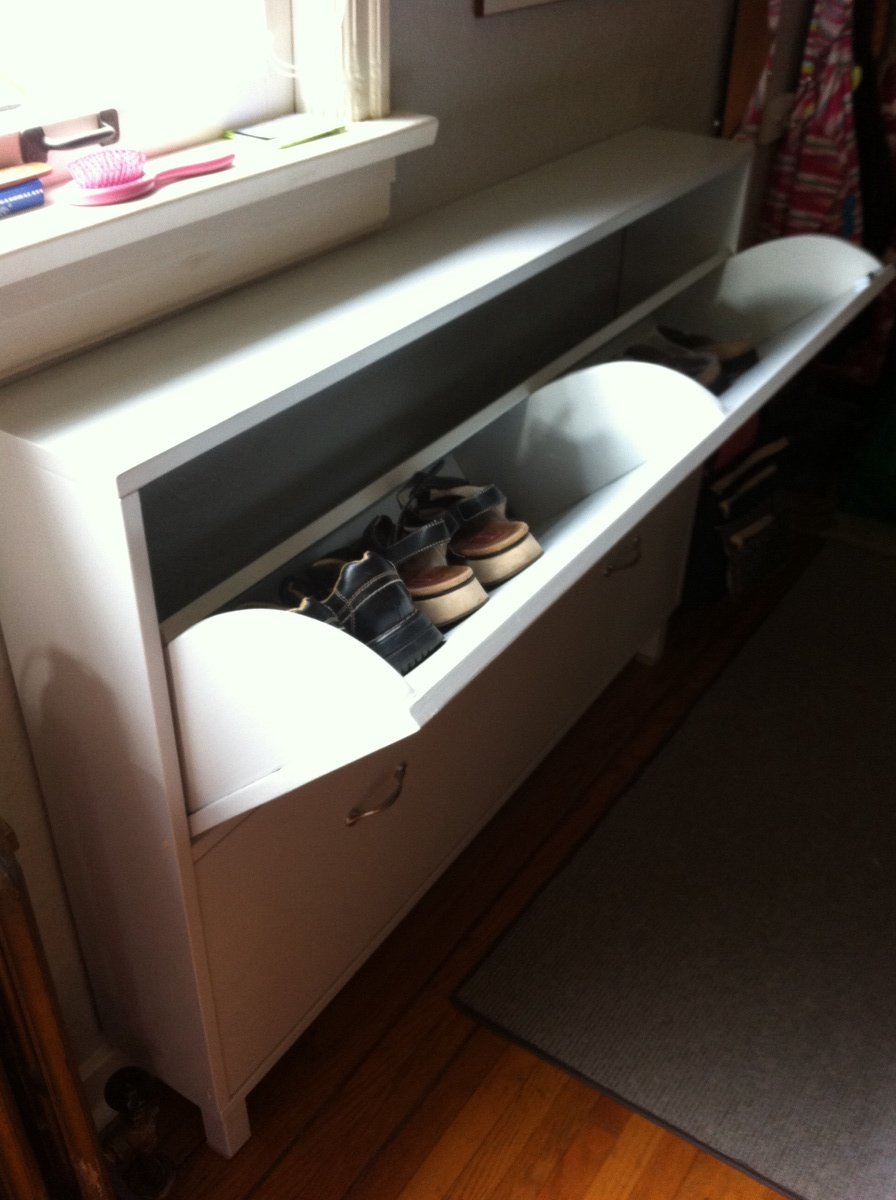
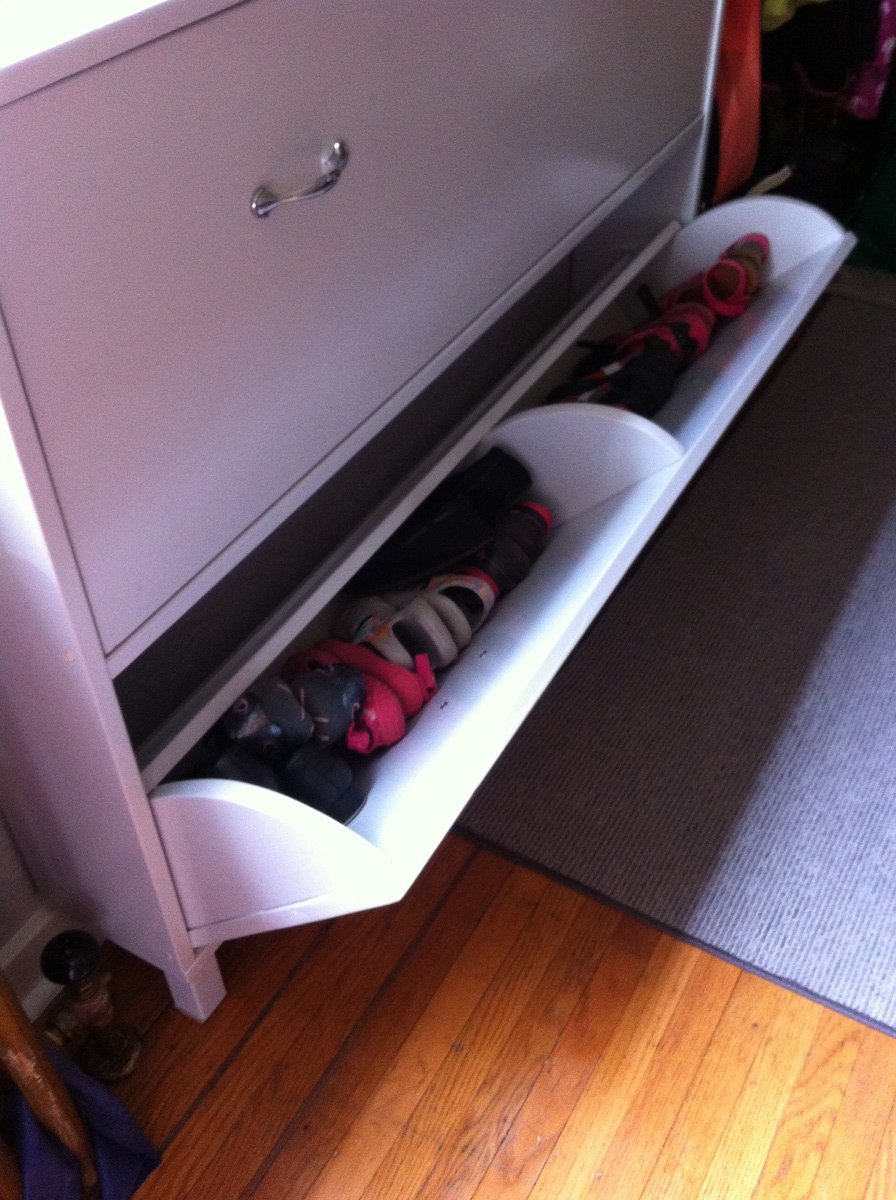
Had a horribly messy front entrance so really needed this shoe cabinet. It's dimensions suited my space better than an Ikea one, and accommodated more shoes. This being my first project, I am glad I started with this instead of a loft bed, since I made alot of mistakes (& corrections) along the way. Although some of the problems occurred because of pieces that ended up being convex. I chose to fill in the gap between the two boards on the front of each bin. It worked out really well.
Really love the Kreg Jig! So worth the investment.
Could not figure out how to properly use magnet catches. Did apply one to one side of the top drawer but it doesn't work too well--pulls the bin too far in.
Rolling laundry cart
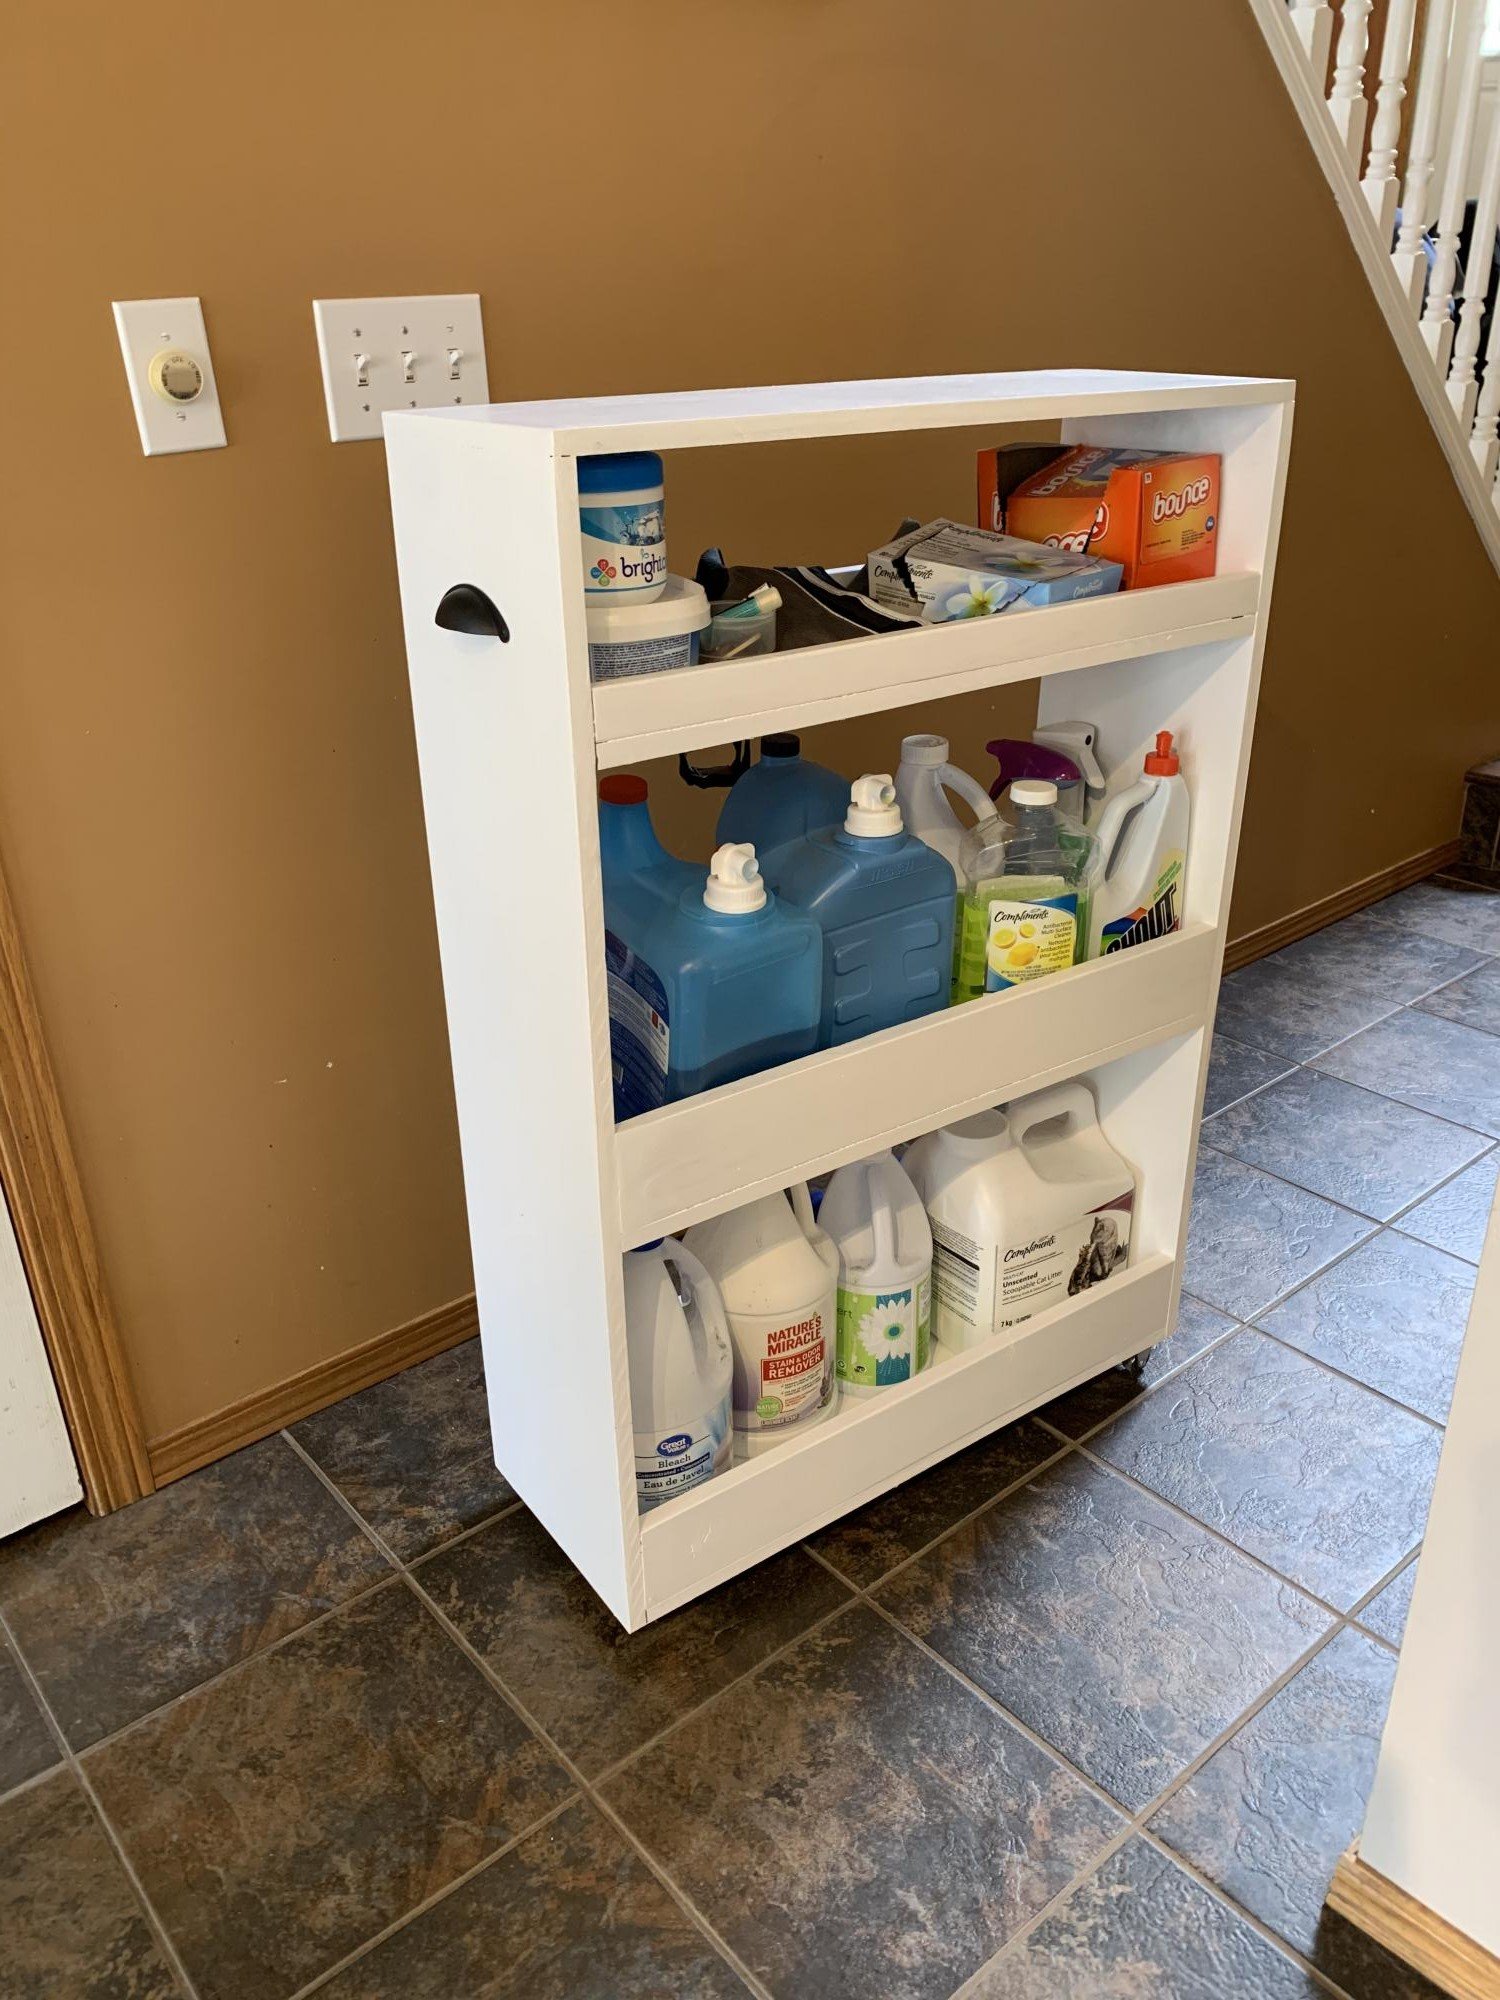
My husband and I have been inspired by your website and are getting started with wood working projects. We did this cart on the weekend. We used MDF board for the front, back and shelf bottoms because we had it laying around after replacing our garage shelving. I’m pleased with how it turned out given that we are just beginners. I do think we’ll have to invest in a table saw. Not a fan of working with MDF board. We used the example found on Infarrantlycreative.net but changed it up slightly. (Sorry about the first photo, I can’t seem to delete it)
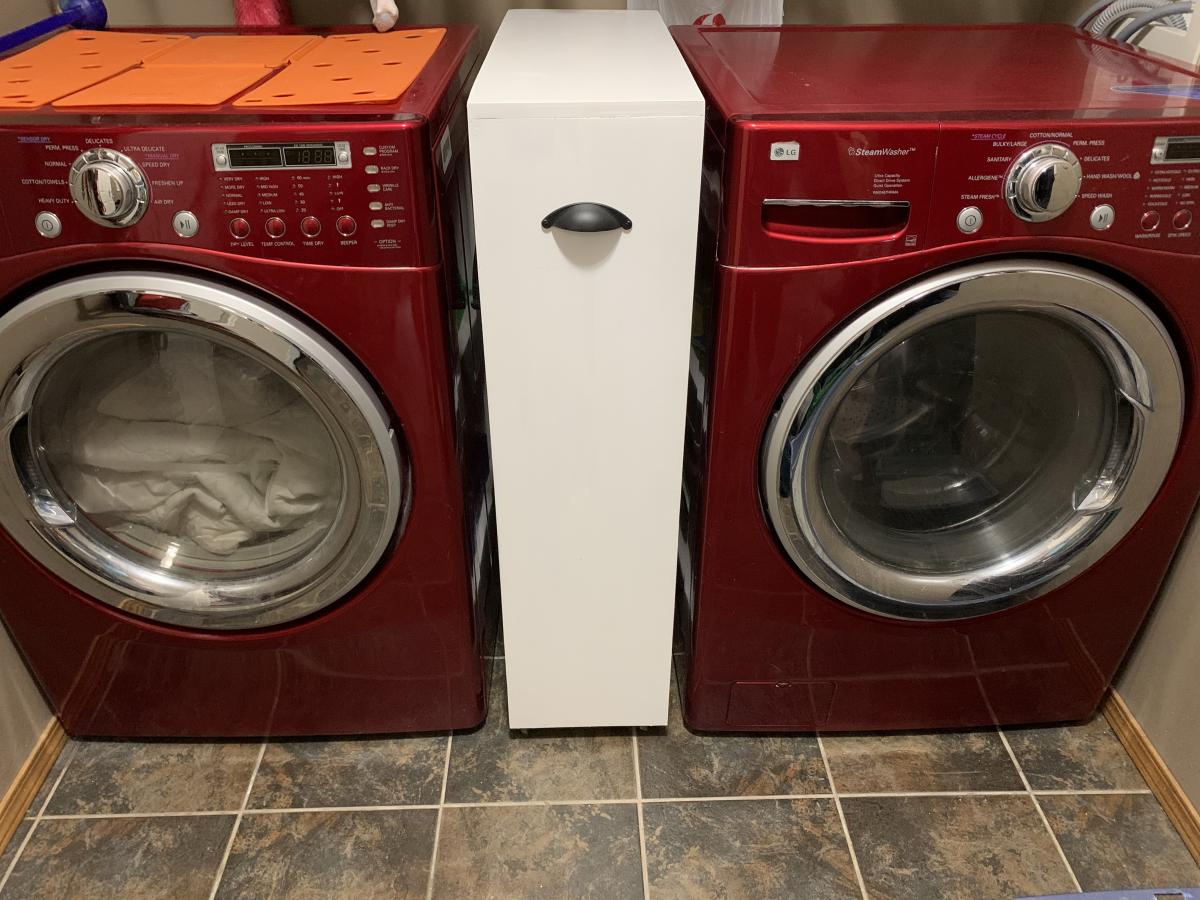
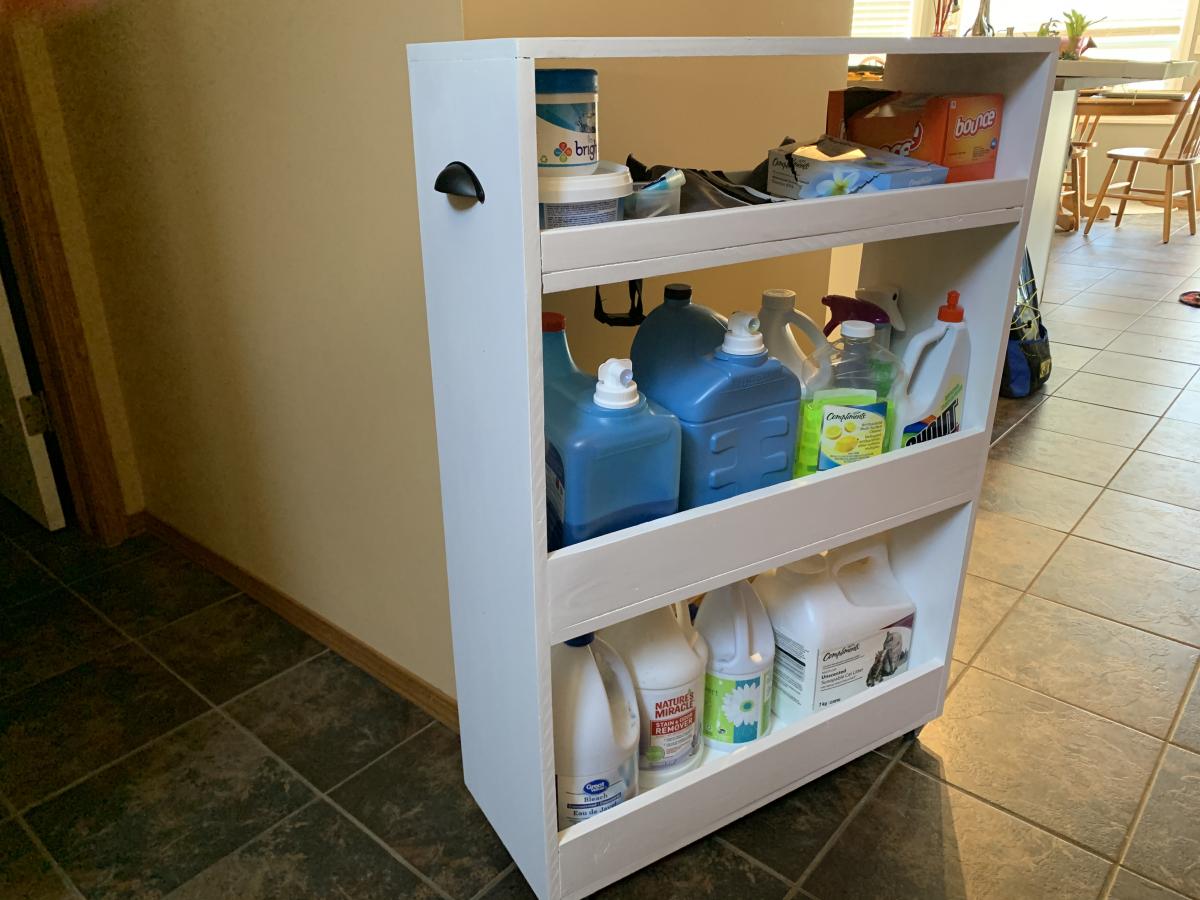
Approximately $35 CAD because we had the MDF, paint and nails
Comments
Rustic Outdoor Chairs
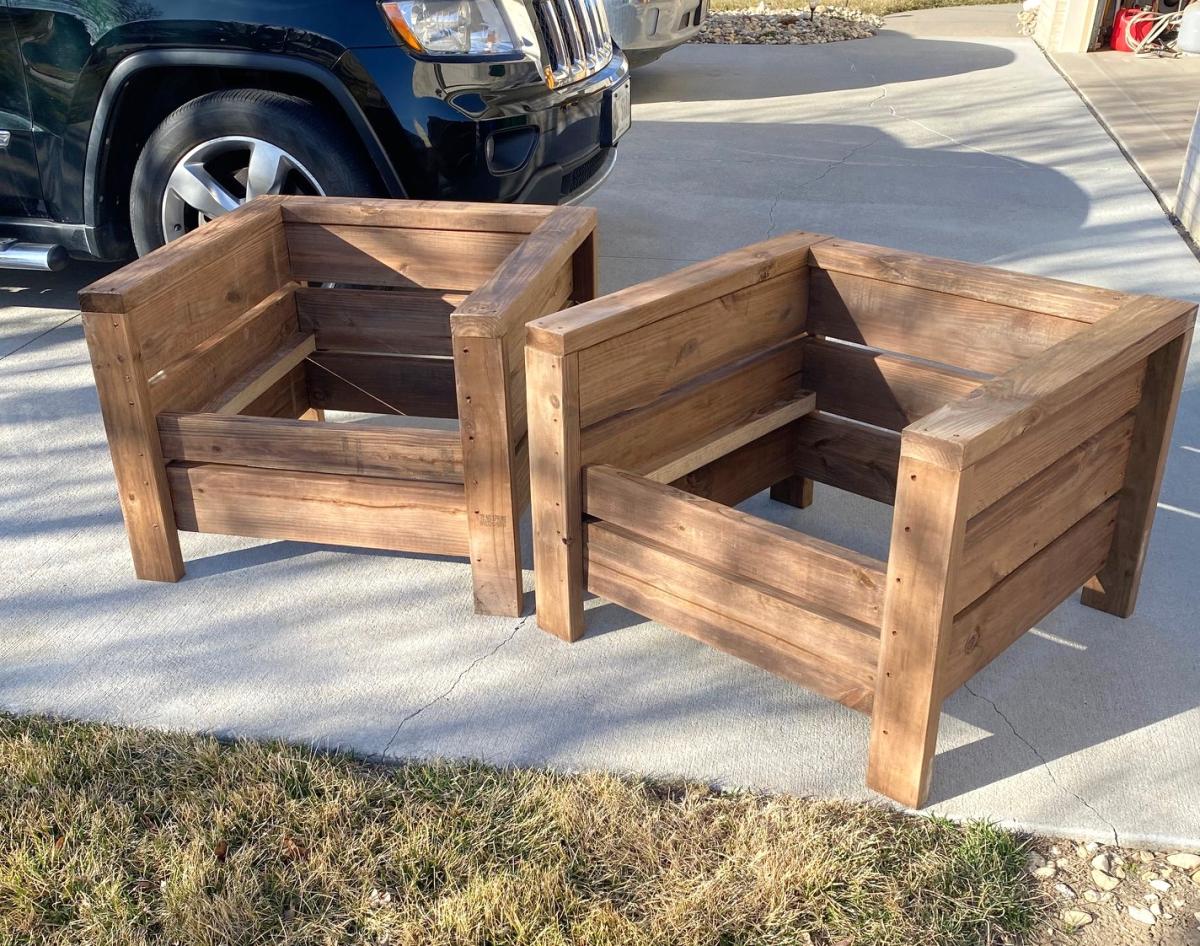
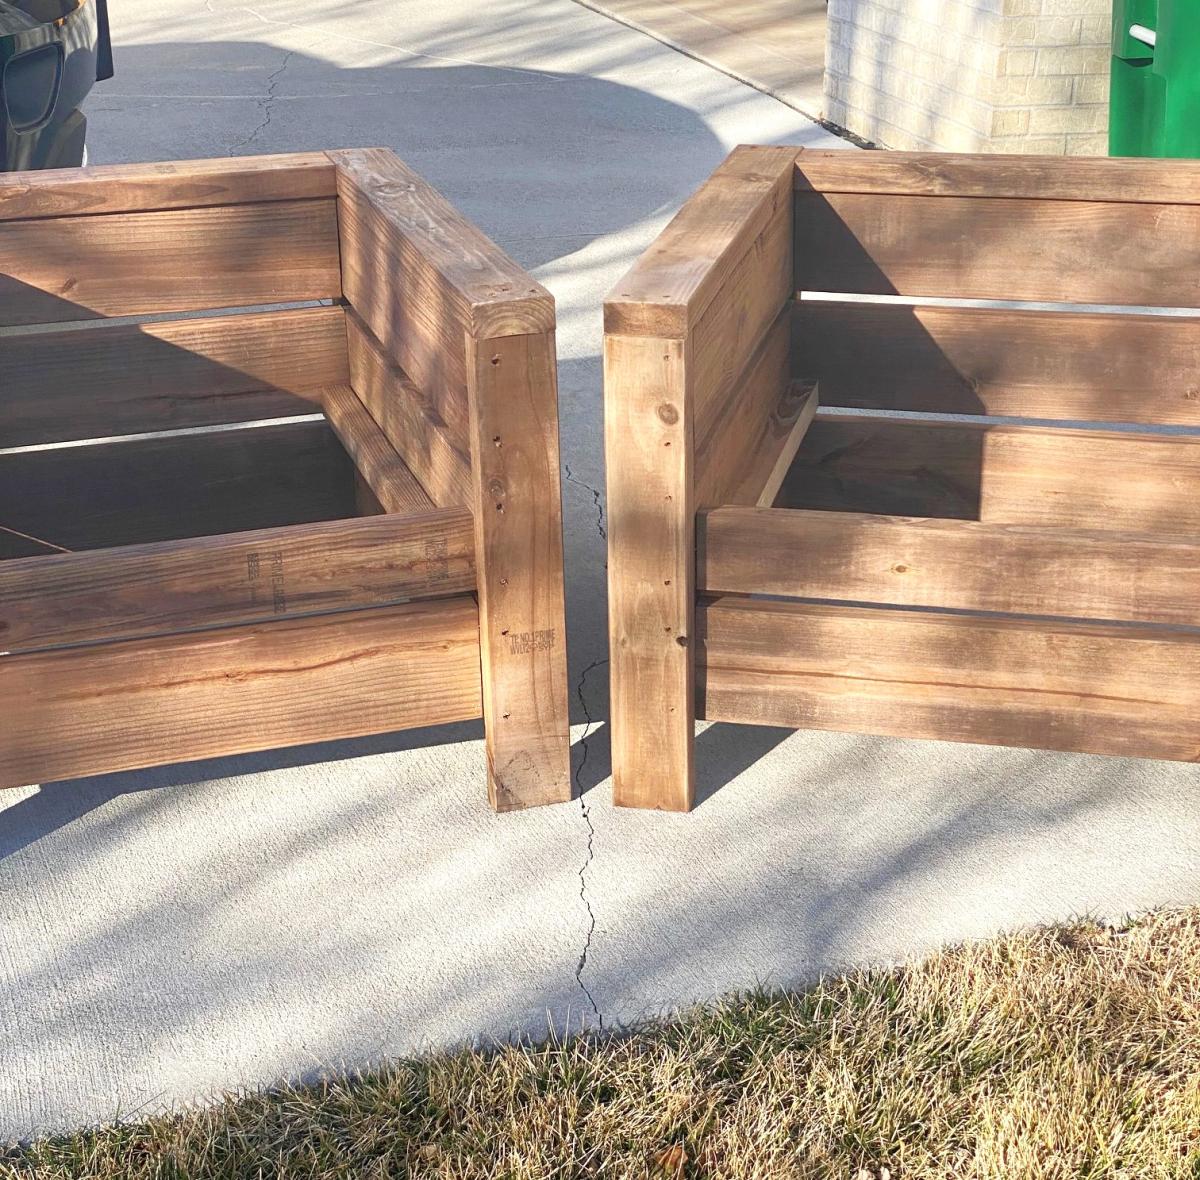
Seen these plans a couple years ago and finally have gotten around to making a set. This was a fun and really easy to follow set of instructions and I think they turned out really nice.
Jeff, with LaBrie Family Woodworking LLC
New Garden Tool Hanger
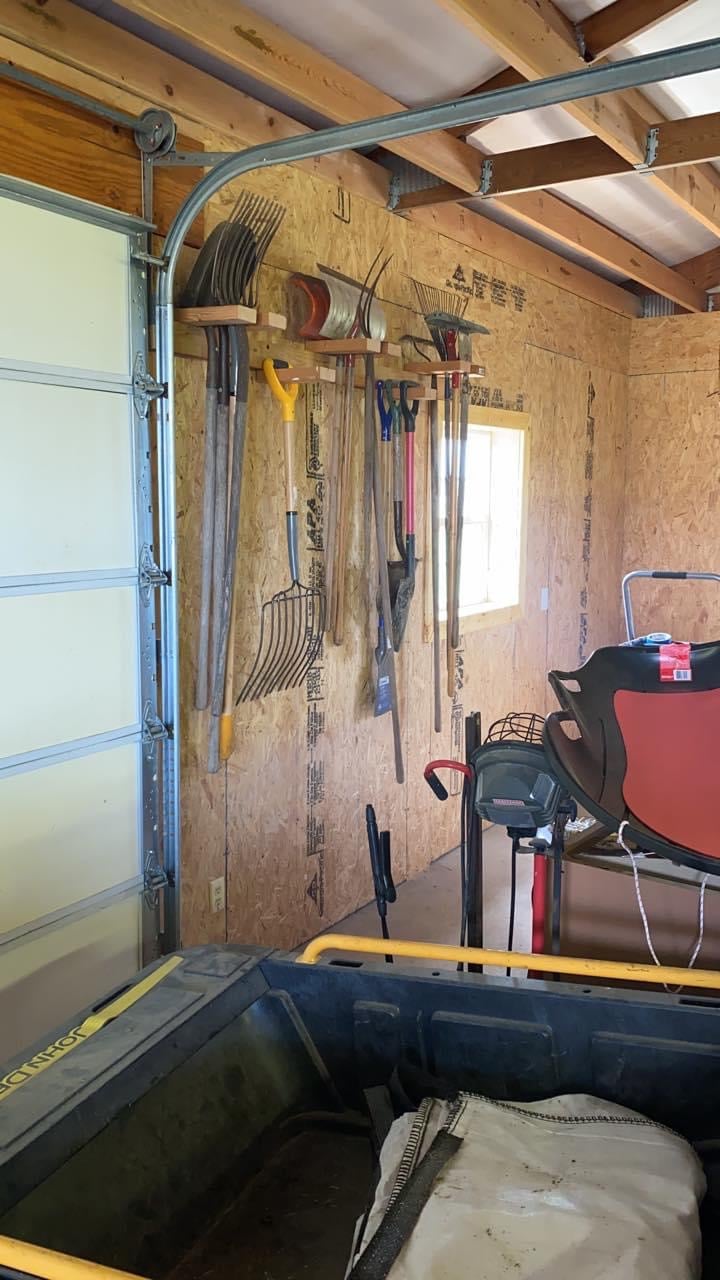
Had all my tools leaning up in the corner of my shed until I saw your post. Thanks
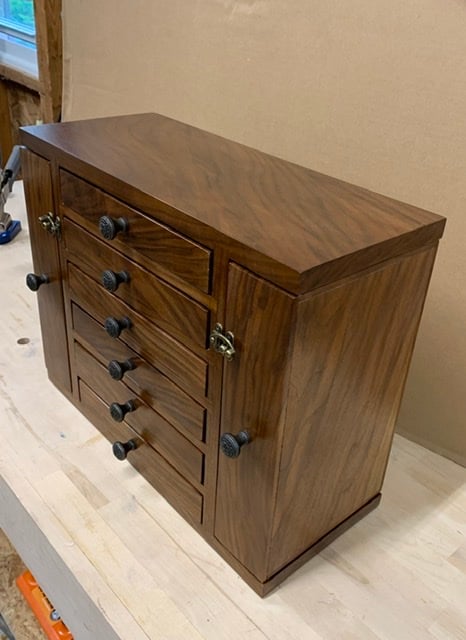
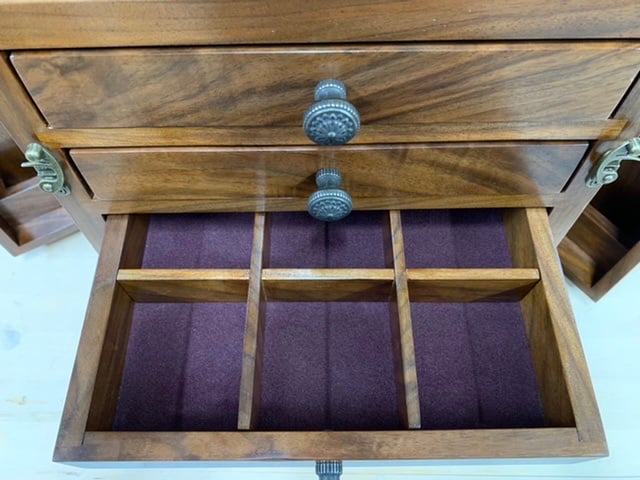
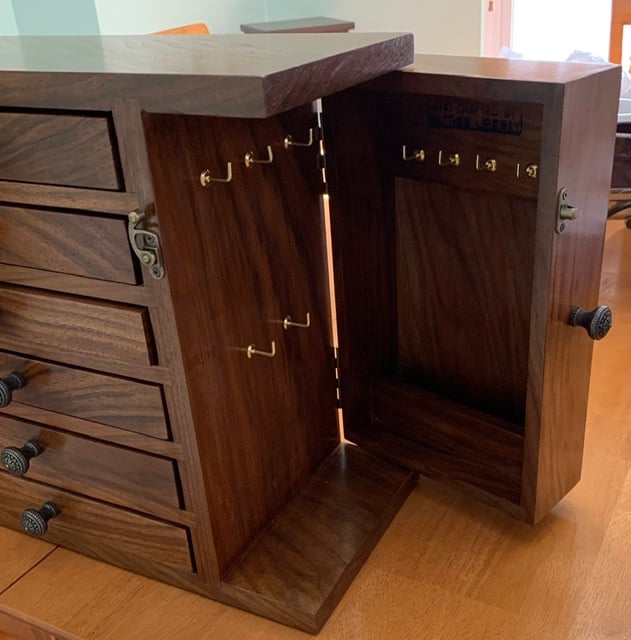
Fancy Jewelry Box
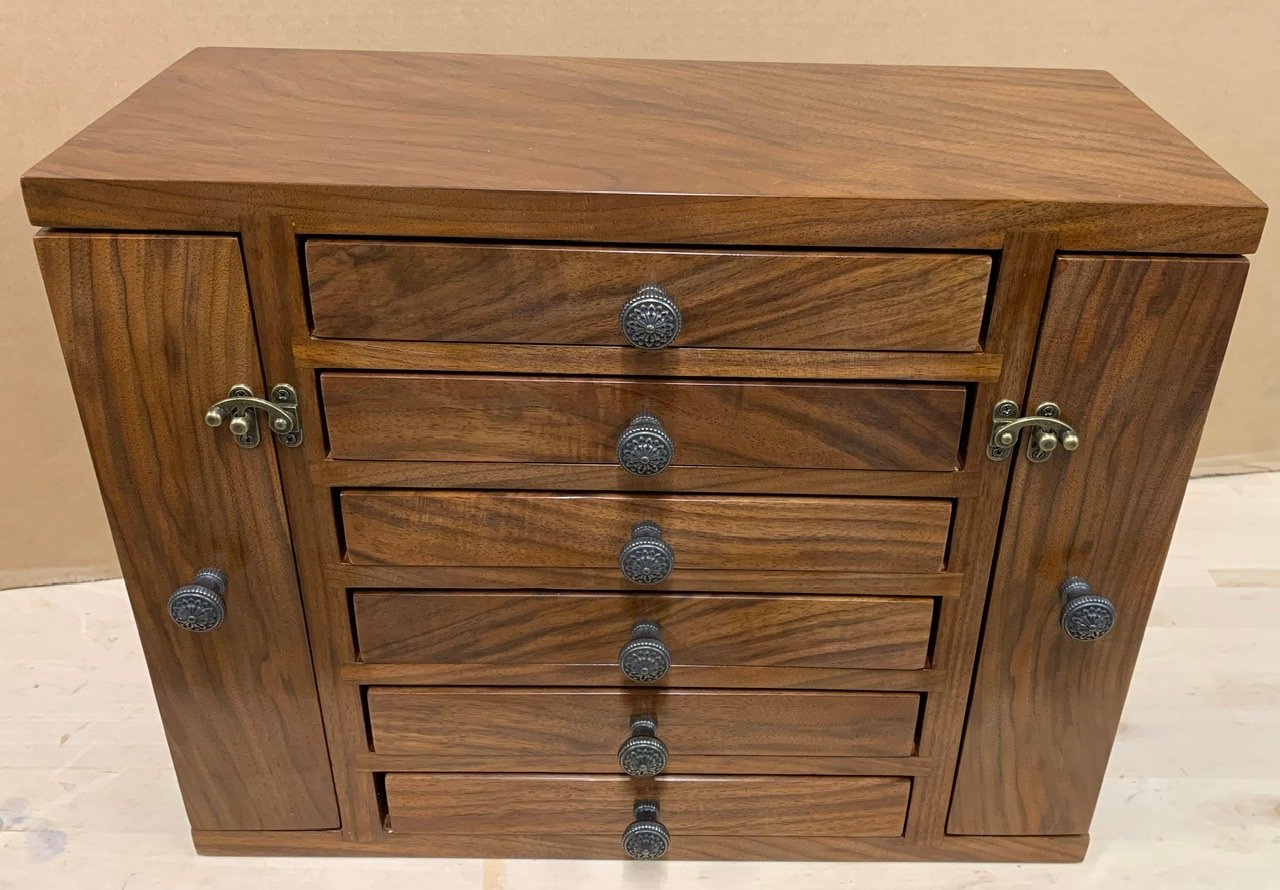
Great plans and a fun build. I made some modifications. My drawers are 1.5” high and 10” long. It allowed for 6 drawers. Overall height is 13.75” and length is 17.5”.
I used rabbits and dados rather than butt joints. There is flocking in the drawers.
