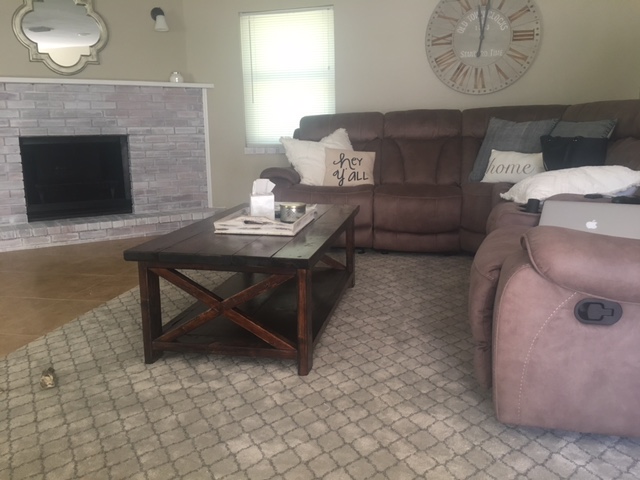
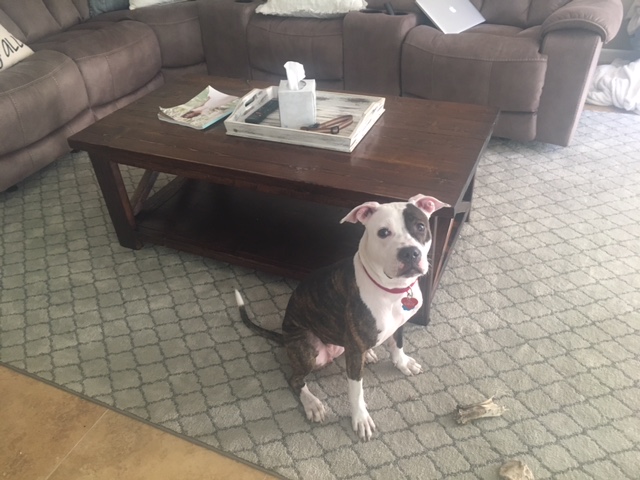
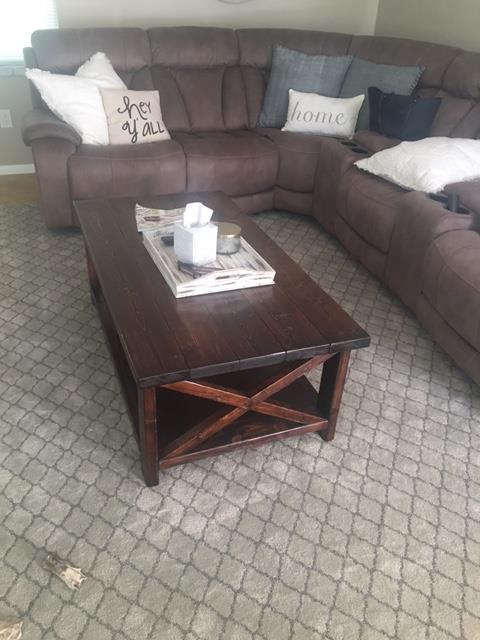
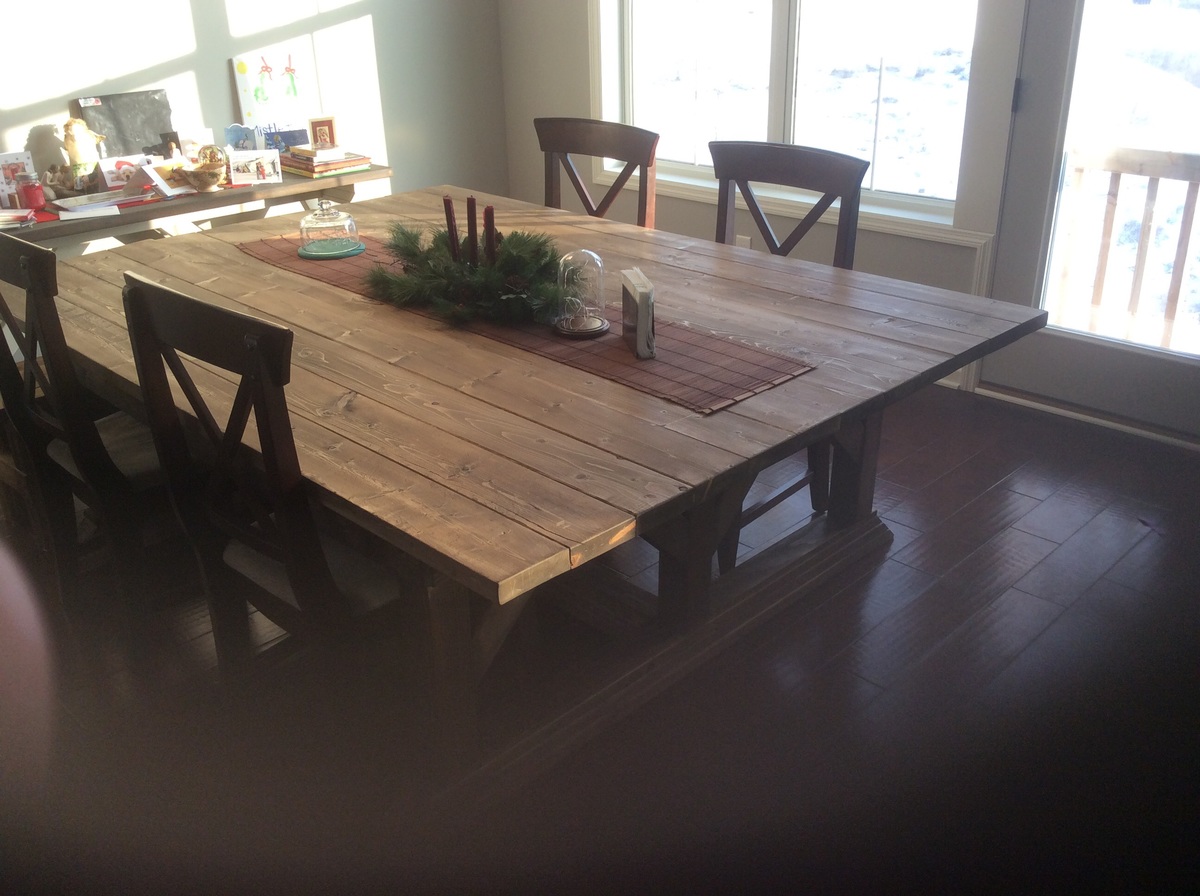
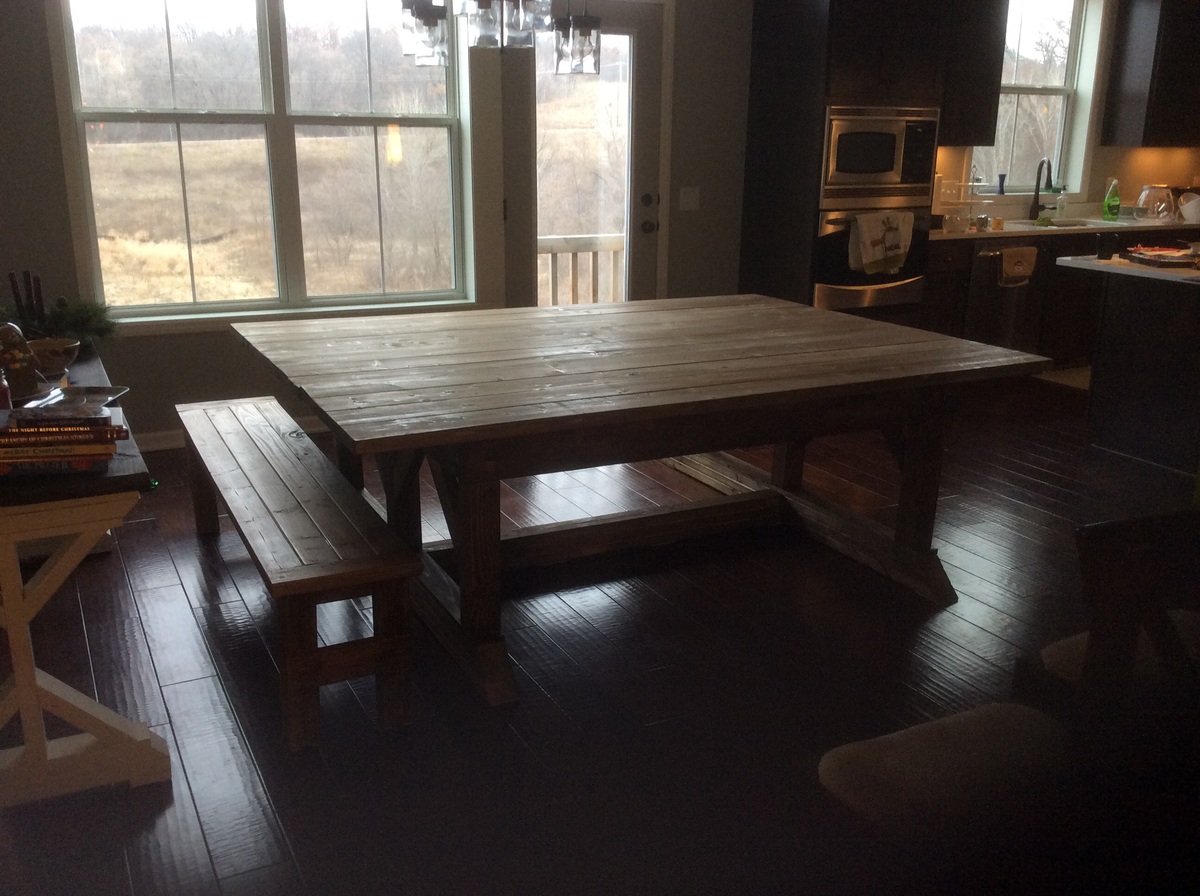
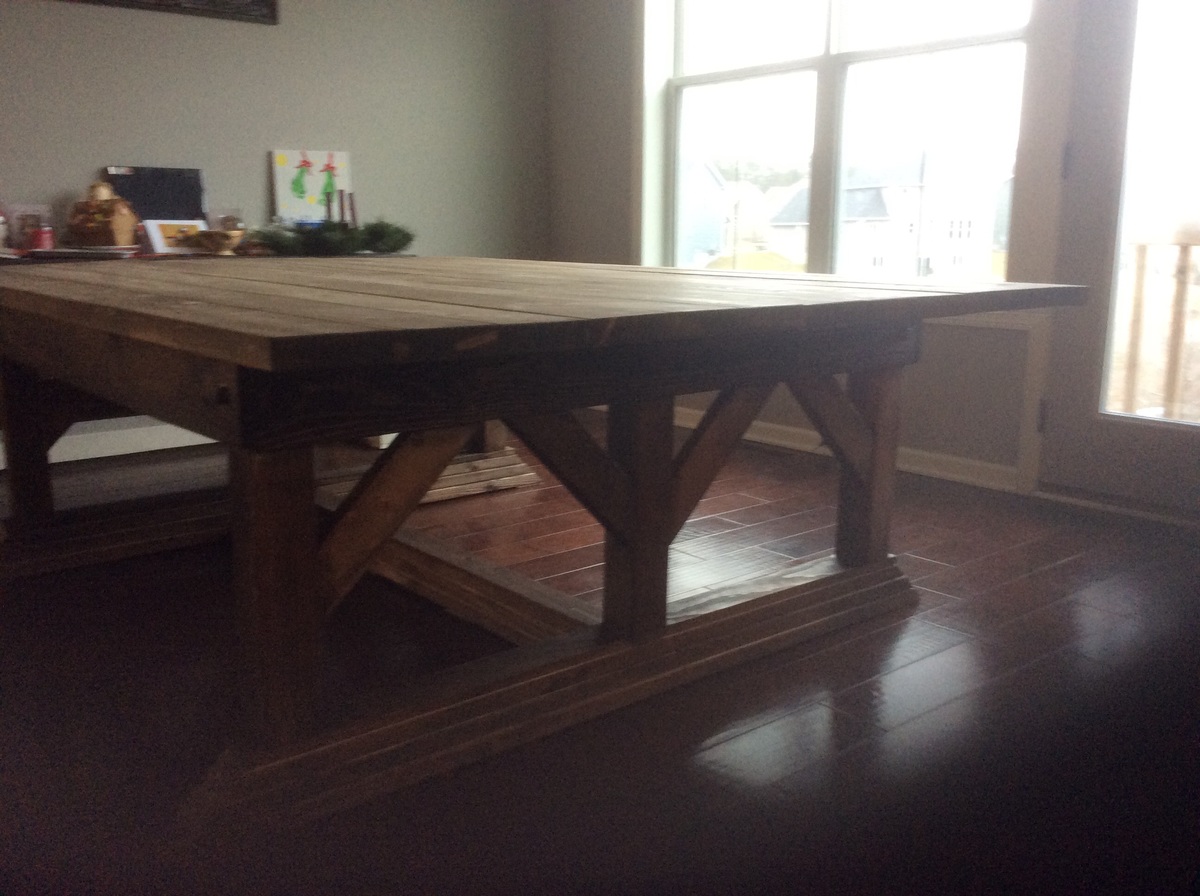
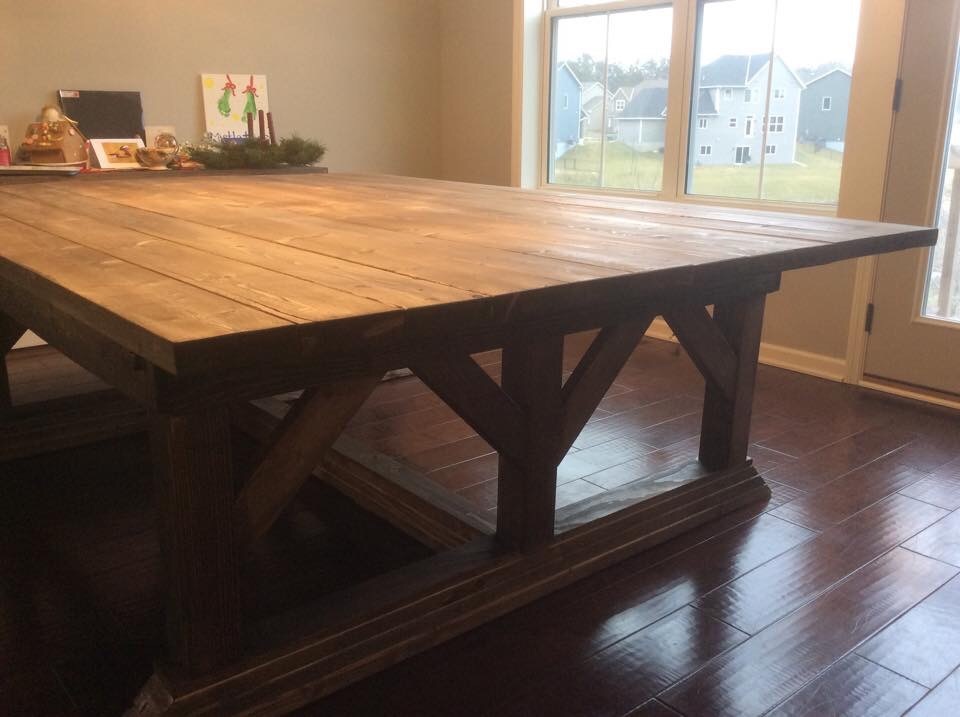
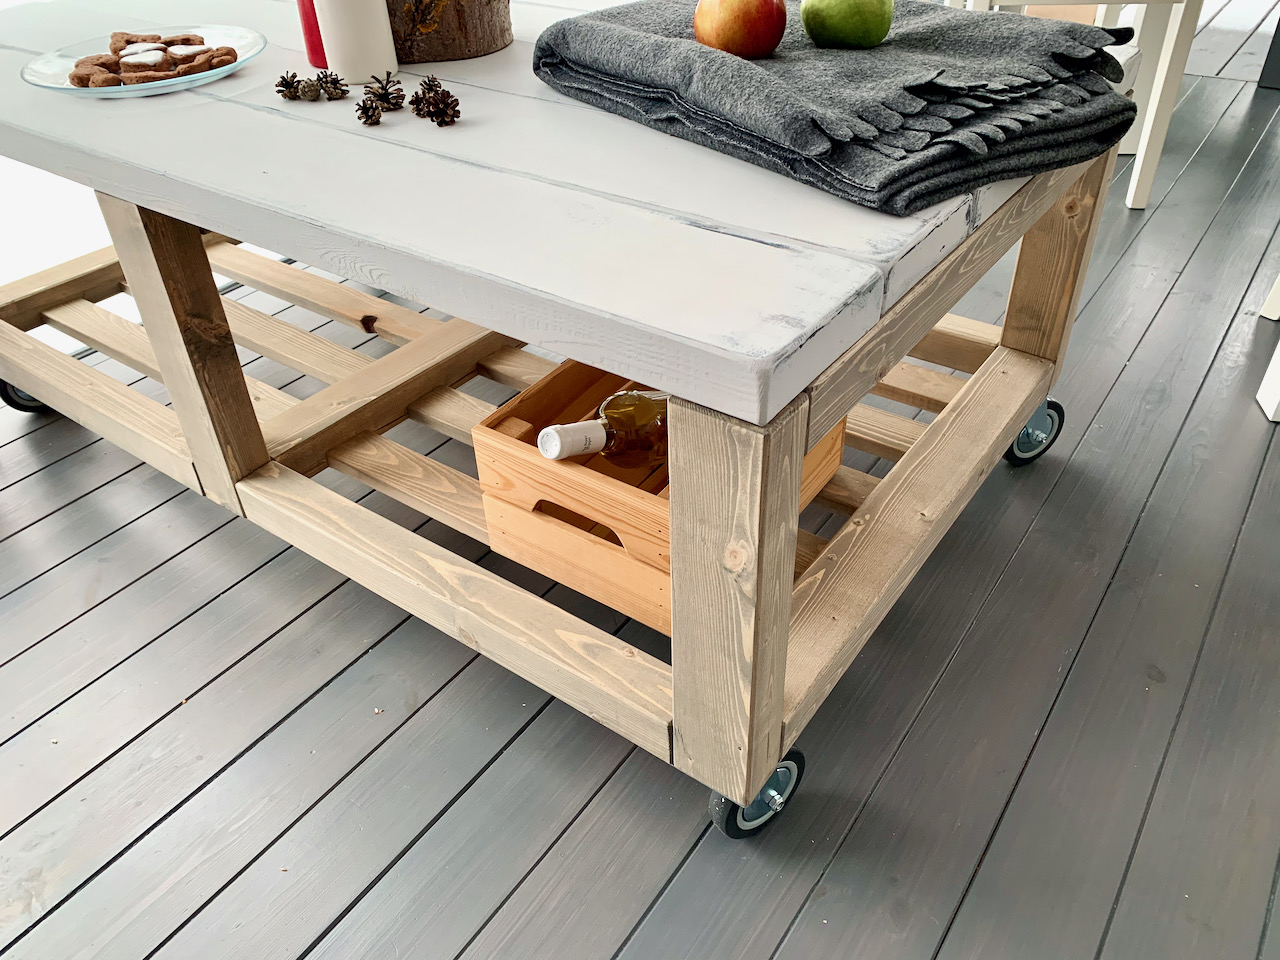
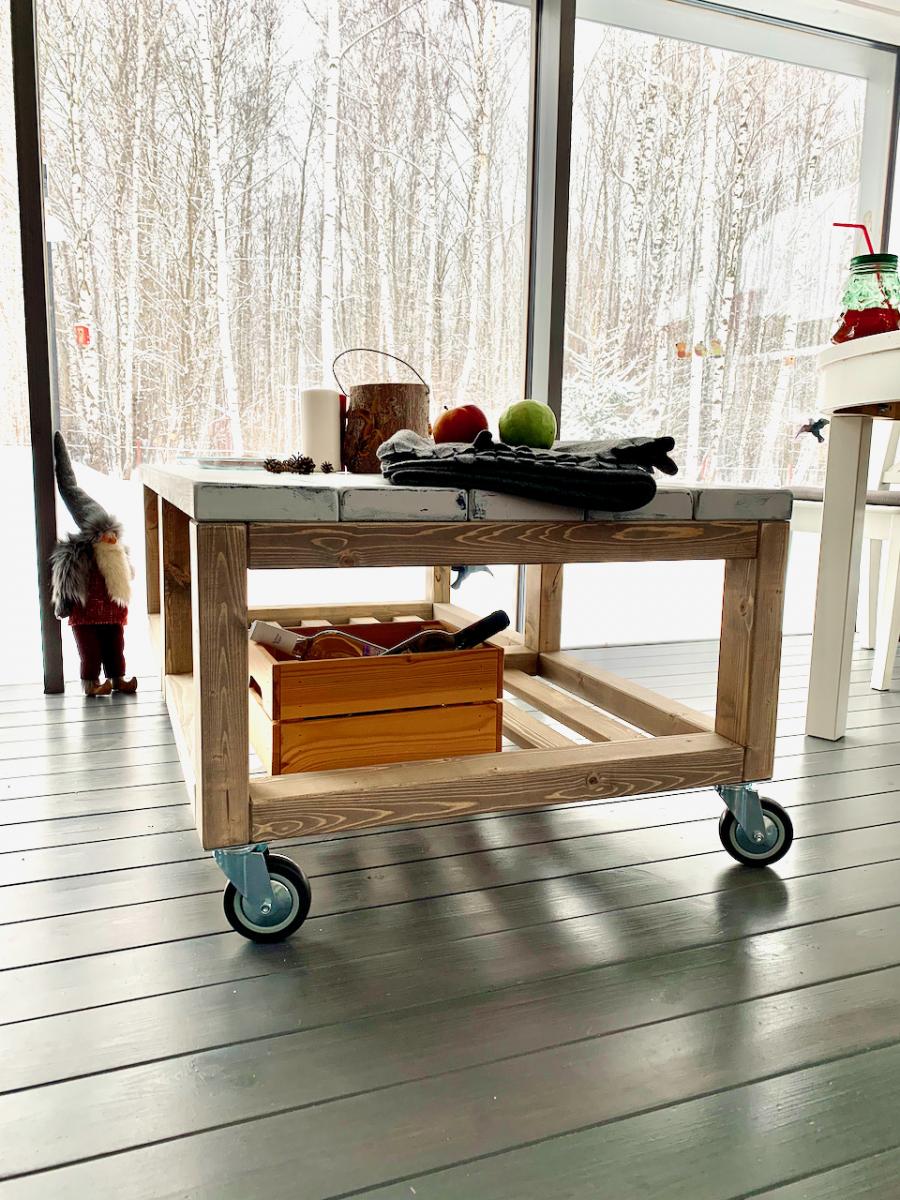
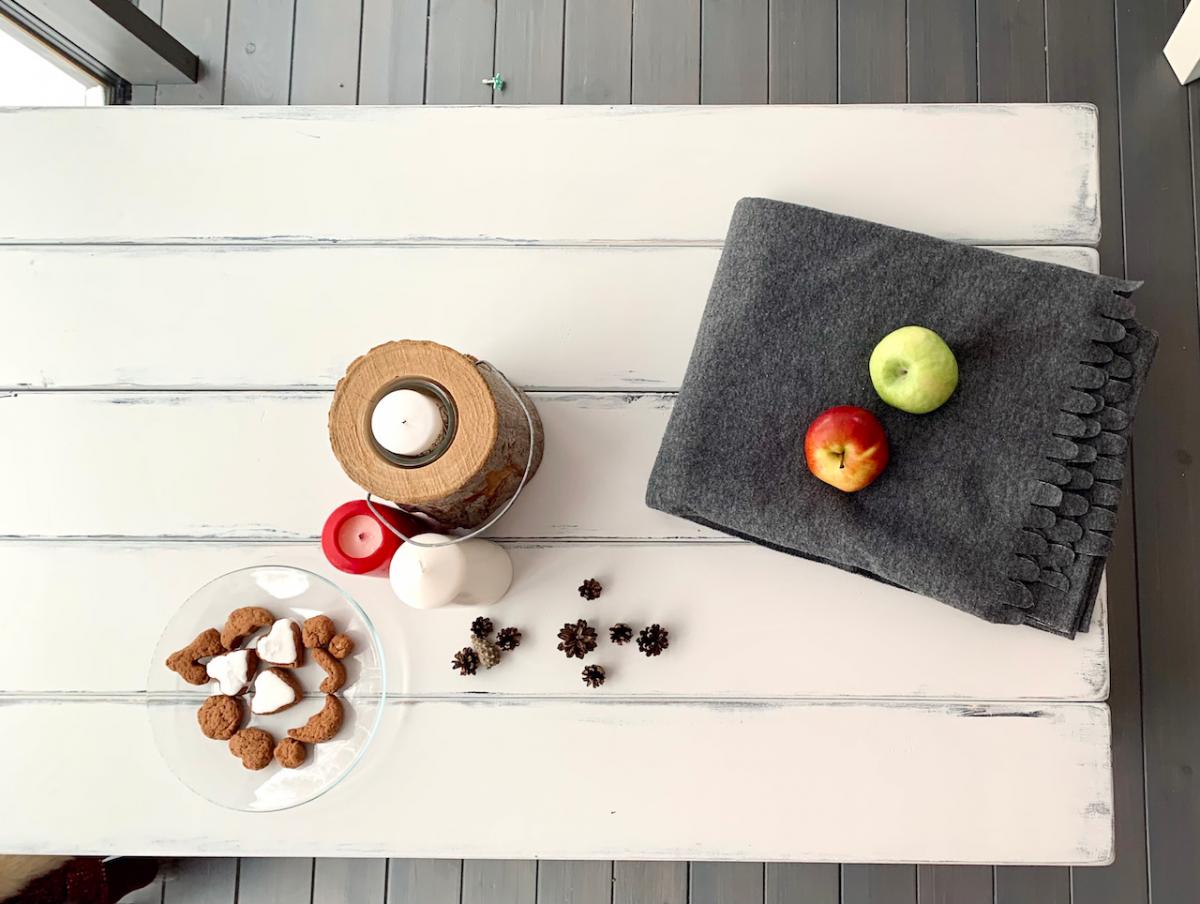
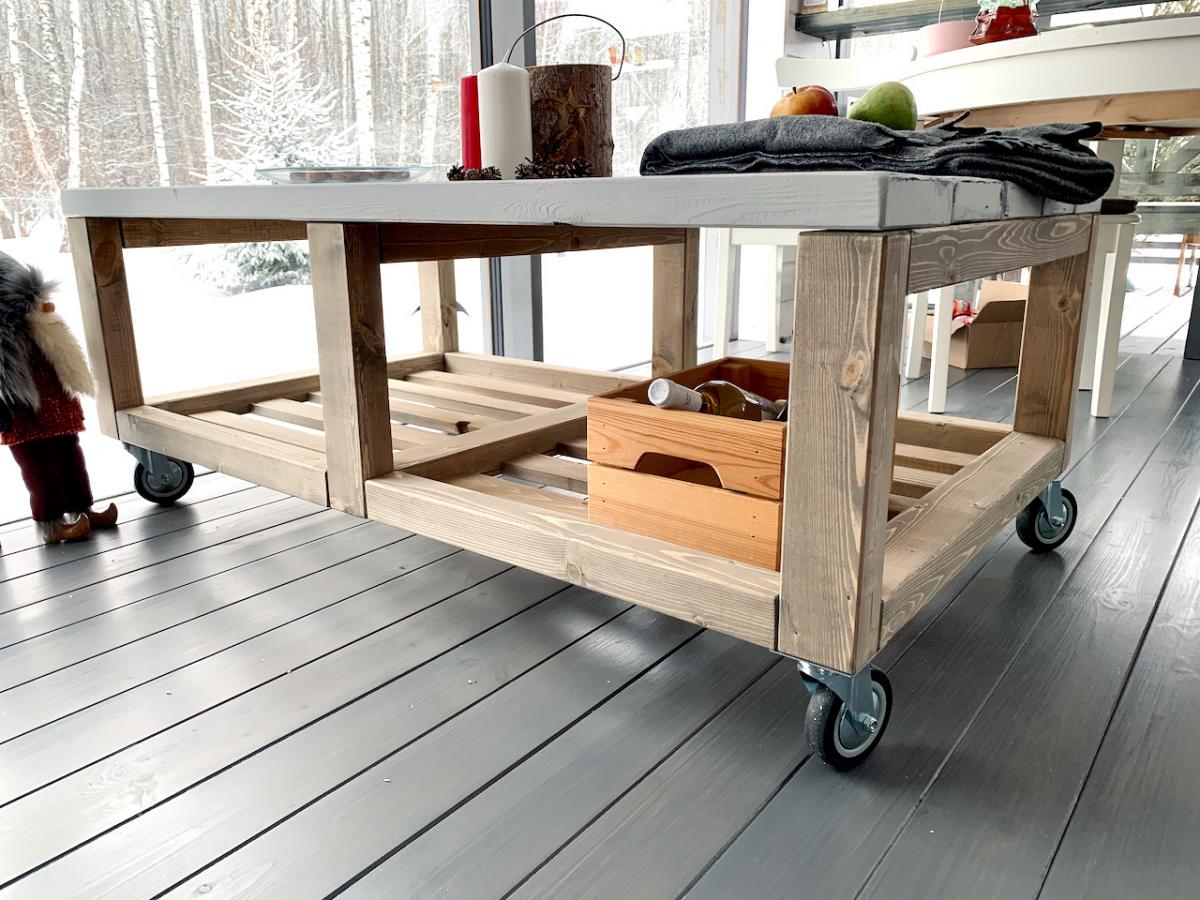
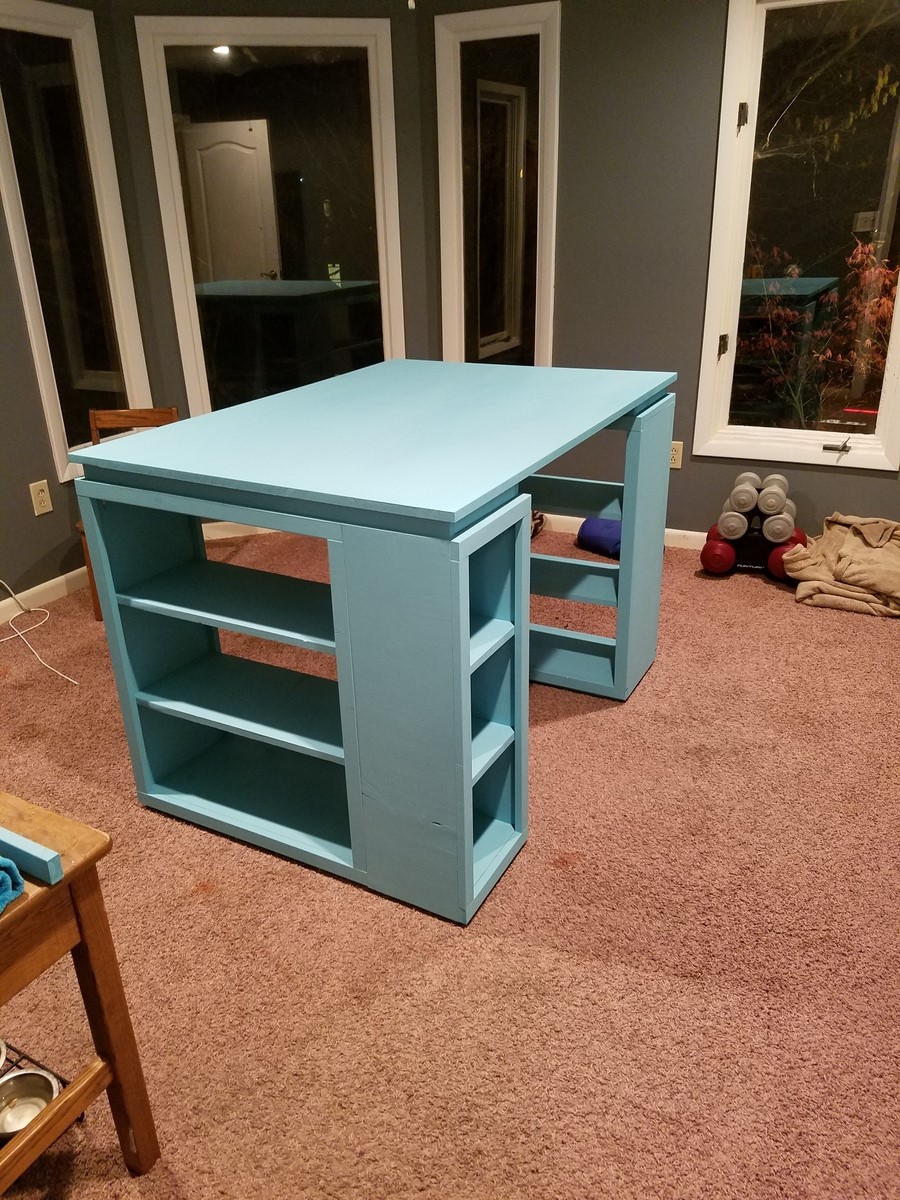
Coffee table
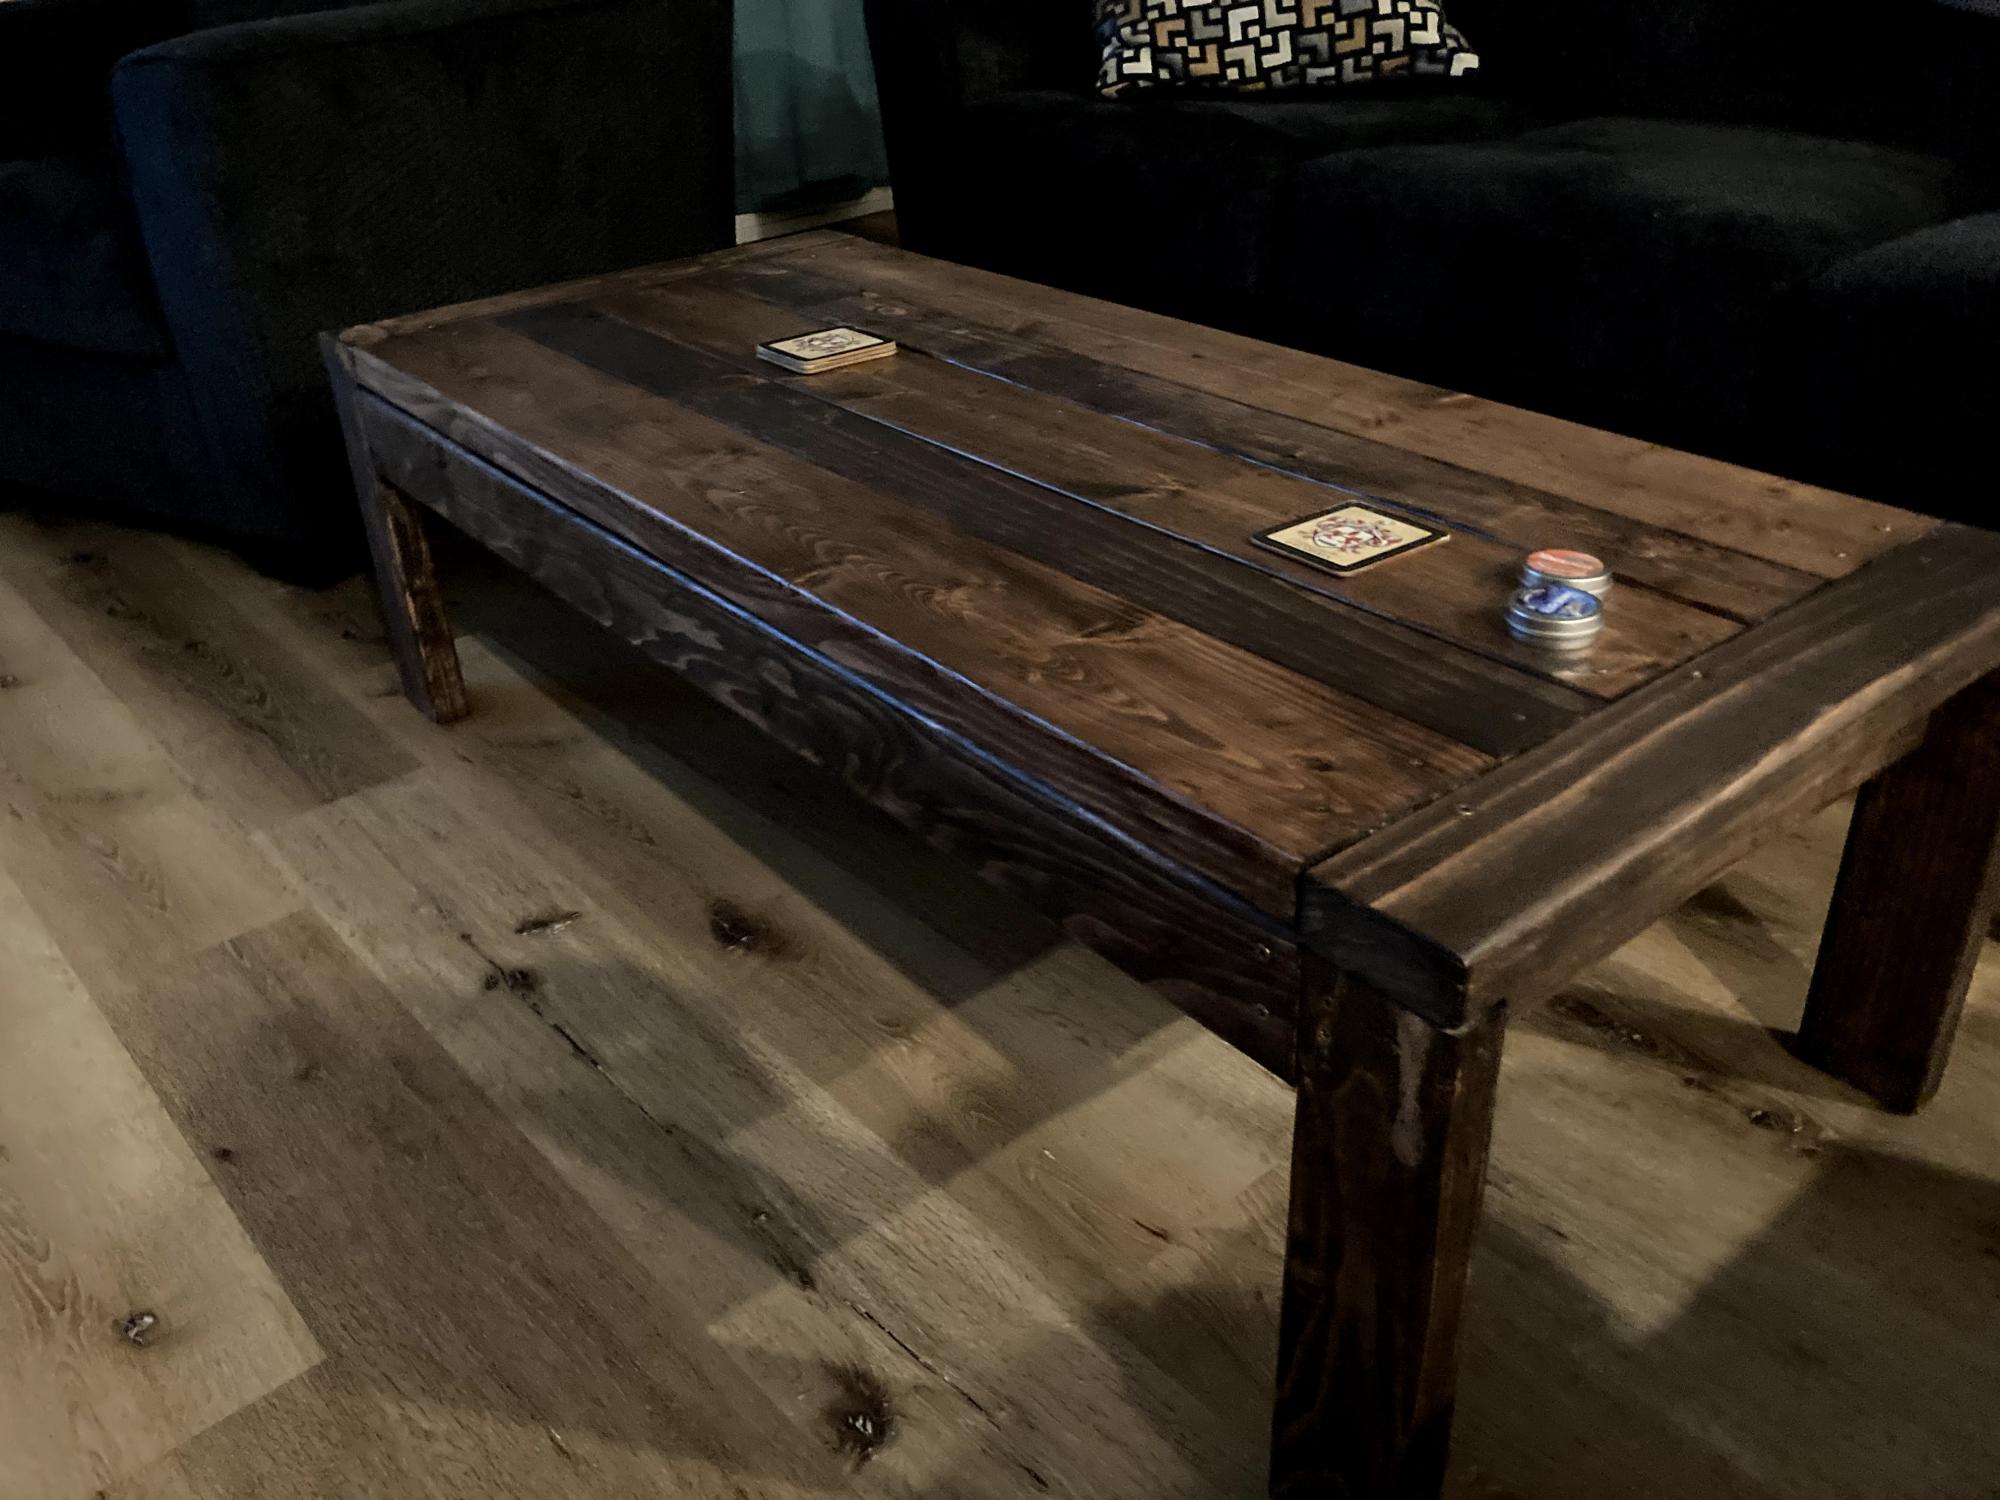
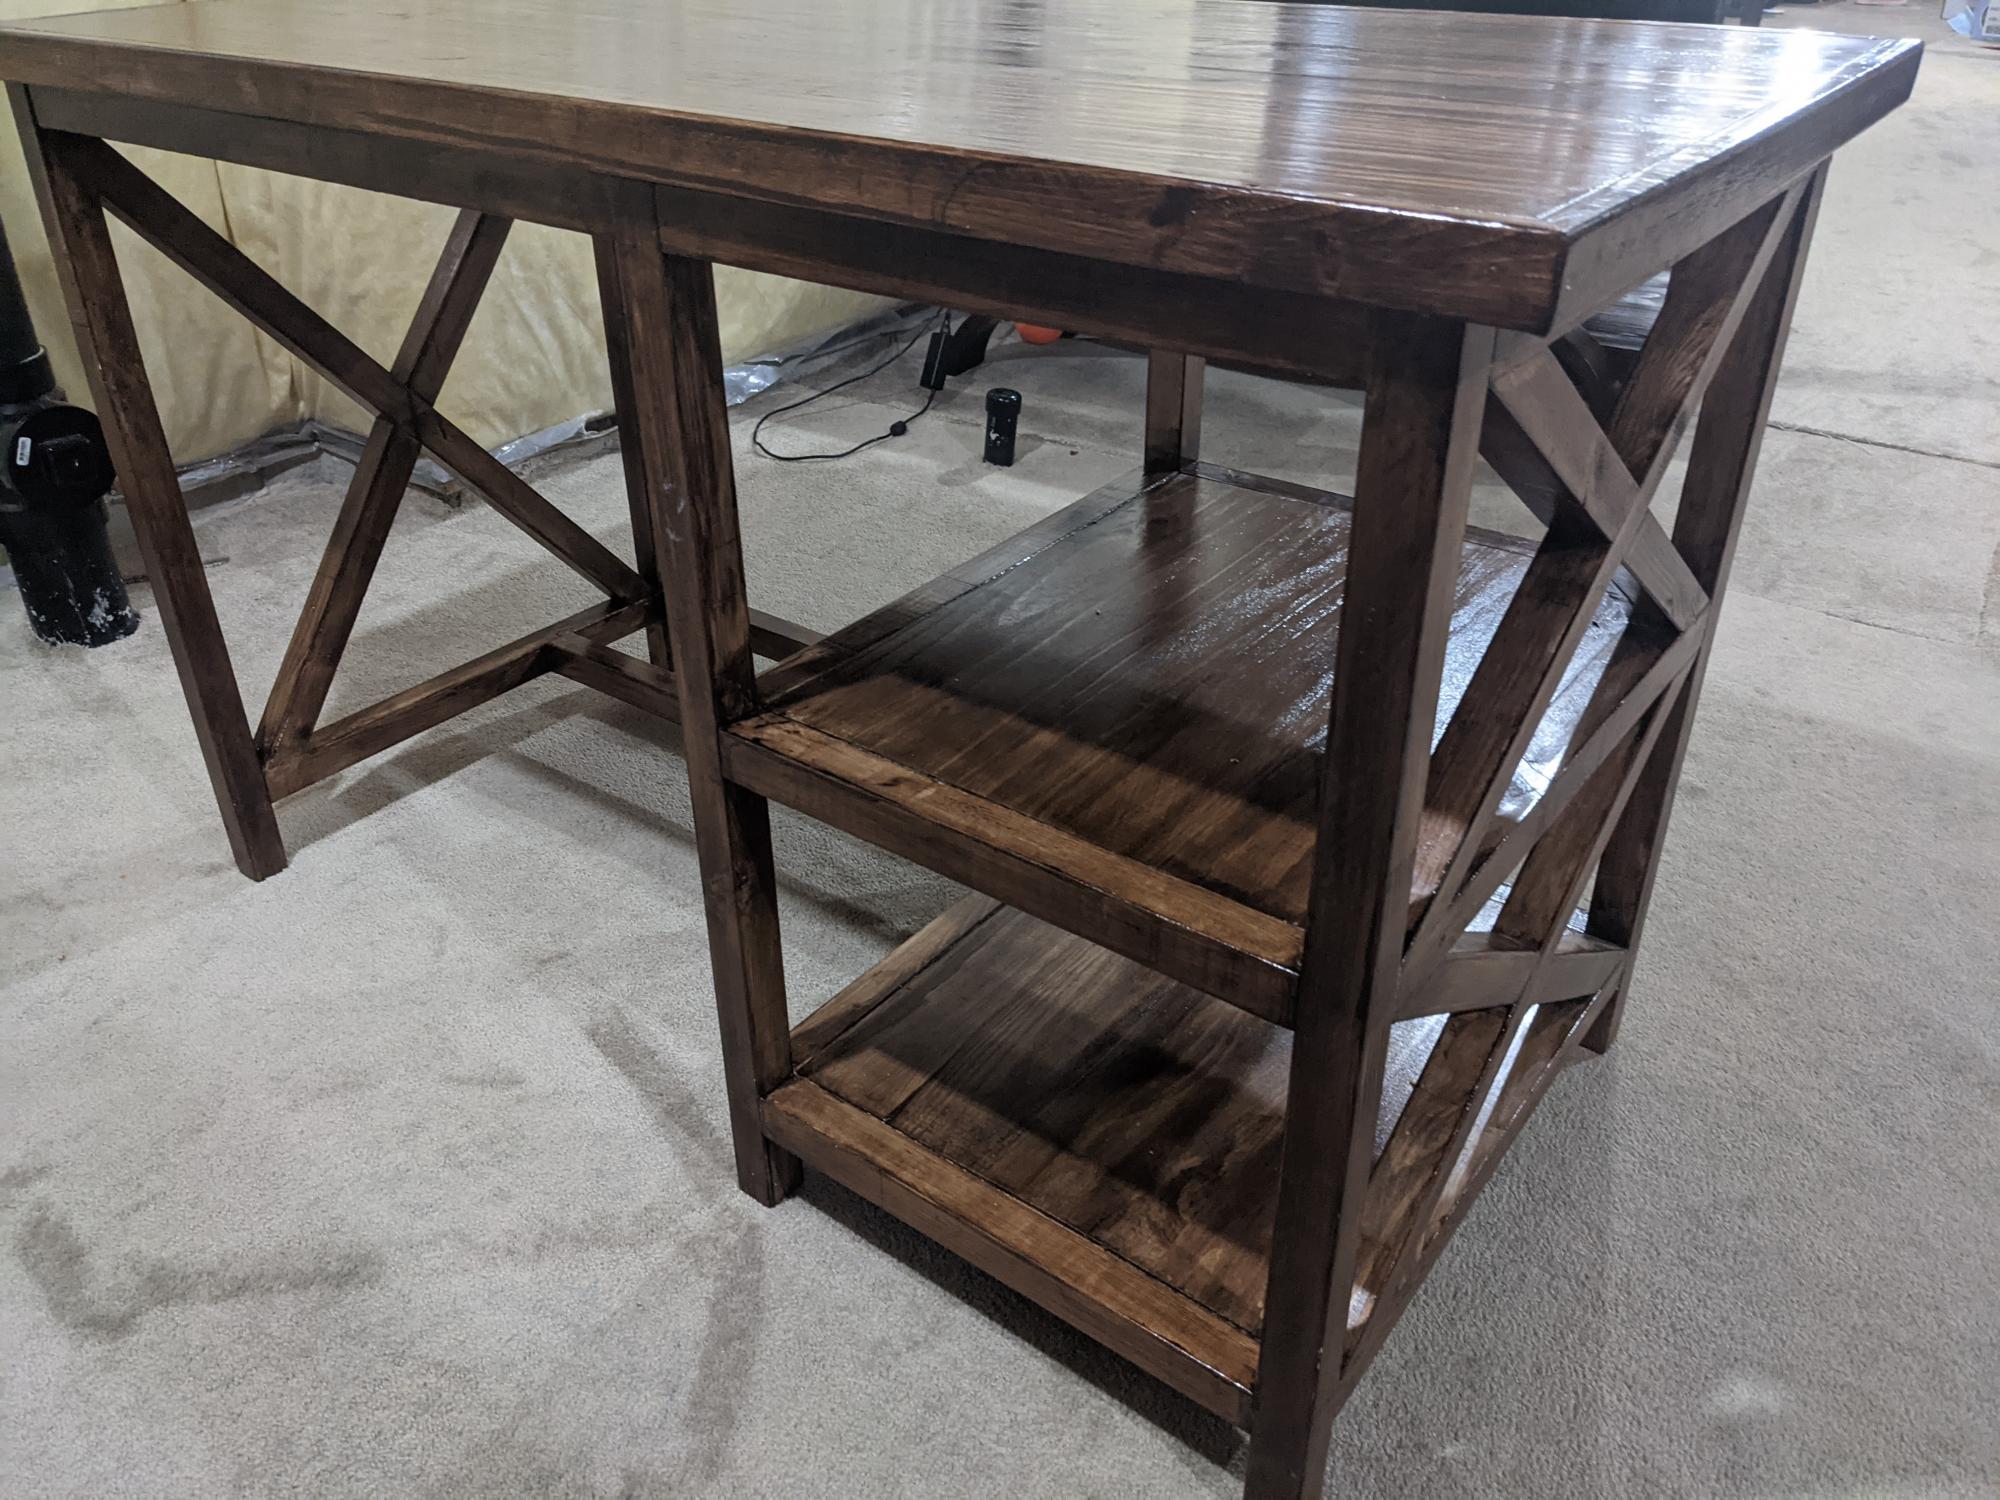
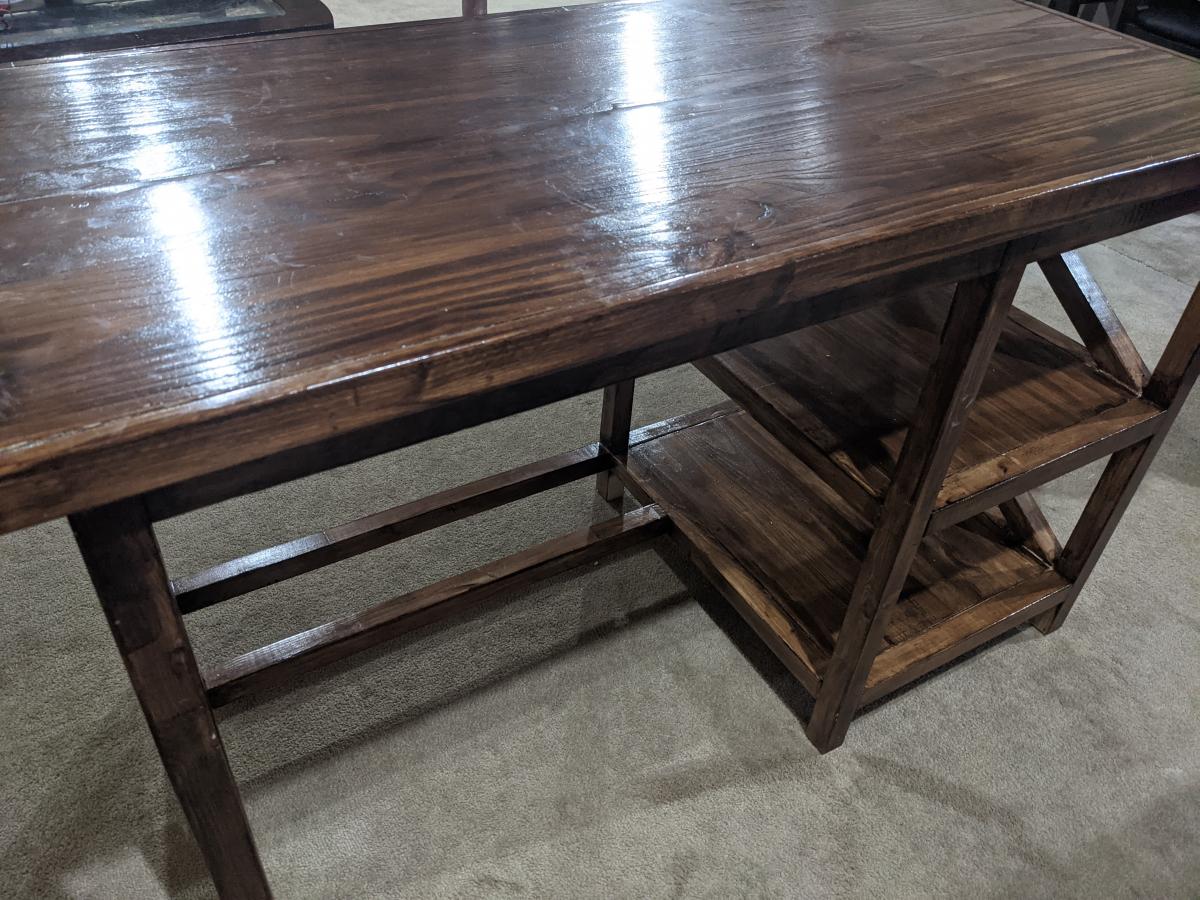
Used coffee table plan from Ana...turned out great. Used the stain/poly combo again, but this time opted to wipe it off. Turned out lighter than I wanted. But still looks great. Chose to do a different pattern for the top.
This is the Farmhouse King Bed. I modified this from the plans on this website to accomidate a King mattress in the normal dimensions. I used 2 X 4's 12in on center and then used masonite set on top and screwed on each end. I used joist hangers and the 2 X 4's just sit in the hanger no screws needed. I used 2 X 10's for the rails and got bed brackets from woodcraft.com. Used Minwax wood conditioner, Minwax English Chestnut Oil based stain, and 3 total coats of Poly satin.
Largest Build I have done up to date. It took a bit longer but it was so worth it. Wanted something different than all the entertainment centers I saw so I created a herringbone back. I love how it turned out.
-@theorthhome/instagram
We have been stalking ana-white.com for awhile and making a few projects here and there. we made the $10 ledges to fit over our entertainment center. When we found the plan for the cedar planters we thought they would be a great little storage area for all of the little junk around the house. We made 6 of these planters out of 3 cedar planks and modified them to fit on the $10 ledges (which are actually made with a 1x6 to allow for more things to be able to fit) so they wound up more rectangular than square.
Sorry for the crappy I-phone pics!
Built from your corner cupboard plans. Added a few of my touch and ready for staining. Thank you Ana.
Restoration hardware Callum bunk plan. Stylish and sturdy bunk for our daughter.
Hello,
I have a PDF with material, cut list, and assembly steps for anyone interested. I also used Type 2 wood glue and all screws with this build, substituting for nails in the original plan!
Please email me at [email protected] with any questions!
Thanks
Matt
My husband and I completed this project using Ana's amazing plans. It took us about 3 hours total to make. It was a great project. We altered the plans just a tad, but followed hers for the most part. This will be going in the foyer as an entry way bench!
Thanks for the great plans Ana.
We have an open floor plan and a large dining room area, I wanted a table that would do the space justice and provide a place where my boys could do art projects and play games, etc. This table works perfect in the space!
Super table i like it so much. Cant wait for summer to use it outside.
I'm not 100% happy with this but it is only my 2nd project. I actually built 2 because the 1st one was really bad (still learning how to cut wood). I'm using the 1st one for all my scrap wood in the garage. The 2nd one (pictured) is going to go in my sons room along with the Kentwood nightstands and simple bed with a modified headboard.
Fri, 02/22/2013 - 08:49
I can't tell you how many pieces of furniture I've built... You know how many have come out perfect?
Zero.
And you know what?
I'm still happy with all of them! If we wanted "perfect," we'd buy the laminated particle board from the big companies...
That looks great. :-)
Fri, 02/22/2013 - 09:10
I do love it and can't believe I made it. I would have never thought I could even come close to something like this before I started.
Thank you!
Thu, 05/14/2015 - 13:17
I just stumbled upon your brag post. We're much harder on ourselves then we need to be. Agreed, if I built it I know all the imperfections but in the big picture.. you did great work and should be proud! :) I spent 9 months of a class building a desk out of hardwood, spent about $1,000 on just materials (not to mention another $900 for the classes) and really took my time in making sure everything fit perfect. You know what? It's ALMOST perfect but there are still things that aren't... even though I was careful as heck, ha! I've learned that woodworking takes many many many years to perfect and learn all the tricks. It's so rewarding to build something out of a pile of wood! :)
Made this farmhouse desk from the plans. It came out very well.
I recently painted my kitchen cabinets with a Rust-Oleum Cabinet Transformations kit, and I wanted to add some matching shelves for items I could store above the stove and coffee maker.
Other than struggling with the hinges a bit and sealing off the seams where the beadboard meets the center support beam in the back this was a successful and straightforward build
I just tried to copy a really neat looking table I saw on the Village Lane Furniture website. You can see the original at this link http://villagelanefurniture.com/blog/tables-and-stands/
I had no dimensions so everything was a guess. I was going to copy the leg style but instead chose to use little balls for feet.
A different style of table and fun to build. I wanted to add all of the pics of the building process but ran out of photo spots. You just need to add the pieces to separate the top and base from the center cube, stain or paint, and put the three pieces together.
Tue, 02/26/2013 - 08:07
Cool!
I love how we can take what we've learned from Ana about basic furniture building and use it to create some really unique stuff. I find myself analyzing the structure of furniture that I like, everywhere I go!
In reply to Cool! I love how we can take by Pam the Goatherd
Tue, 02/26/2013 - 08:24
Pam you are so right. This is the second piece that I have just looked at in a catalog or web site and decided to build. Over time and after much advice and many mistakes you develop a sense of size, proportion, imagination,and building sequence that can produce great and interesting results.
I see something and immediately know if I can build it even with my little messy shop with some crude tools. The hardest questions come from the wife like: What is That? Where are you going to put it?
I just answer...."I don't know."
I built the Triple Pedestal Farm Table for my daughter-in-law. She loves it. My daughter-in-law has put it on her Facebook she said she has more "likes" on it than any of her other posts. I built it using constuction grade common lumber but planned it for a smoother surface. I used a General Finishes gray gel stain and rub on polyurethane satin finish. Thank you so much for sharing your clear and easy to follow plans. I think I'm going to build one this summer for my niece .
Thanks,
Dr. Lane Casey
Southlake, Texas
My son requested a desk for Christmas, this was an easy to make plan for a simple desk for a child.
This was our first project using Ana's plans. I wanted a new table for our kitchen area. I didn't have a lot of room so we modified the small pub table to 3.5x3.5. We also used wood planks for the top instead. We also left a 2 inch lip instead of having it flush. Love it!
Original Plans: http://ana-white.com/2011/03/pubcounter-height-table-seats-6