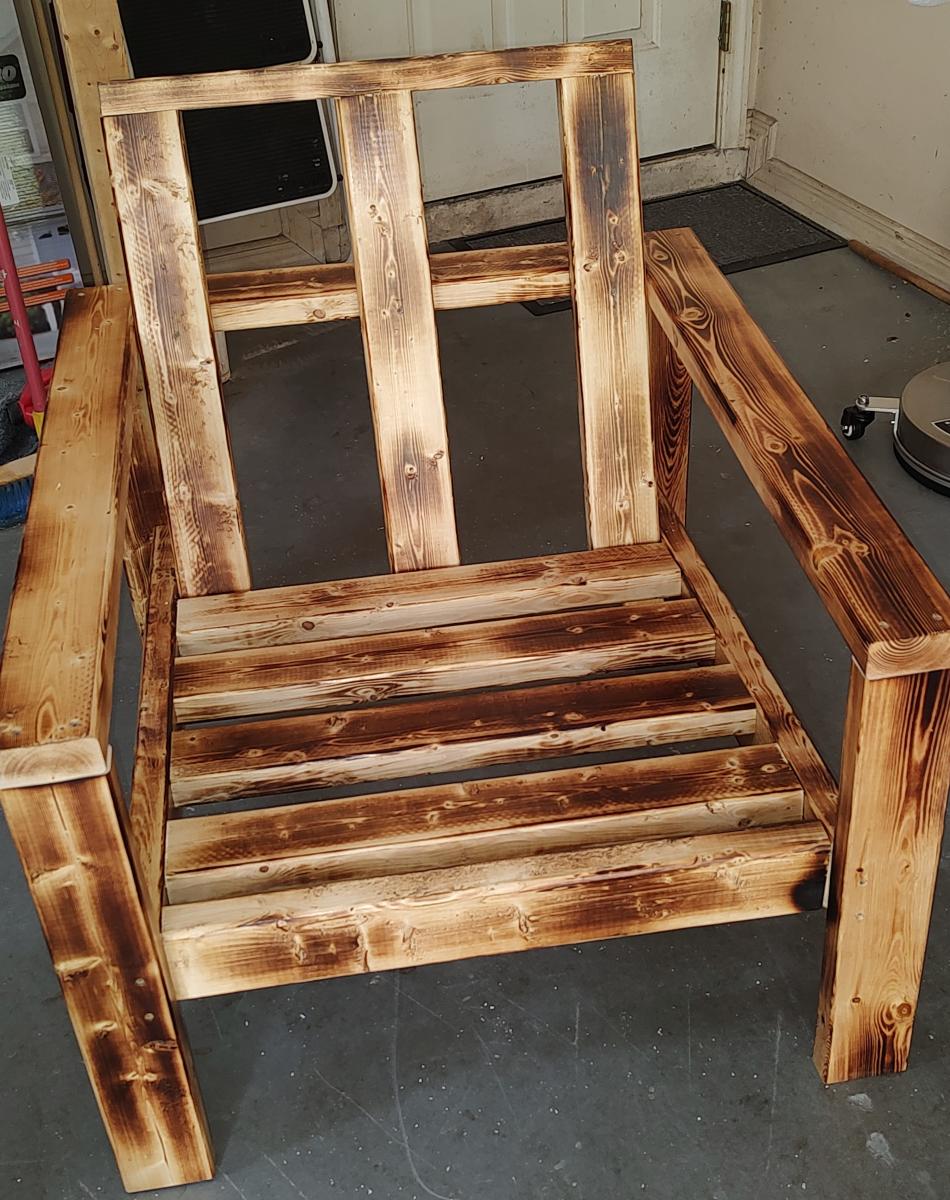
Simple Outdoor Chair
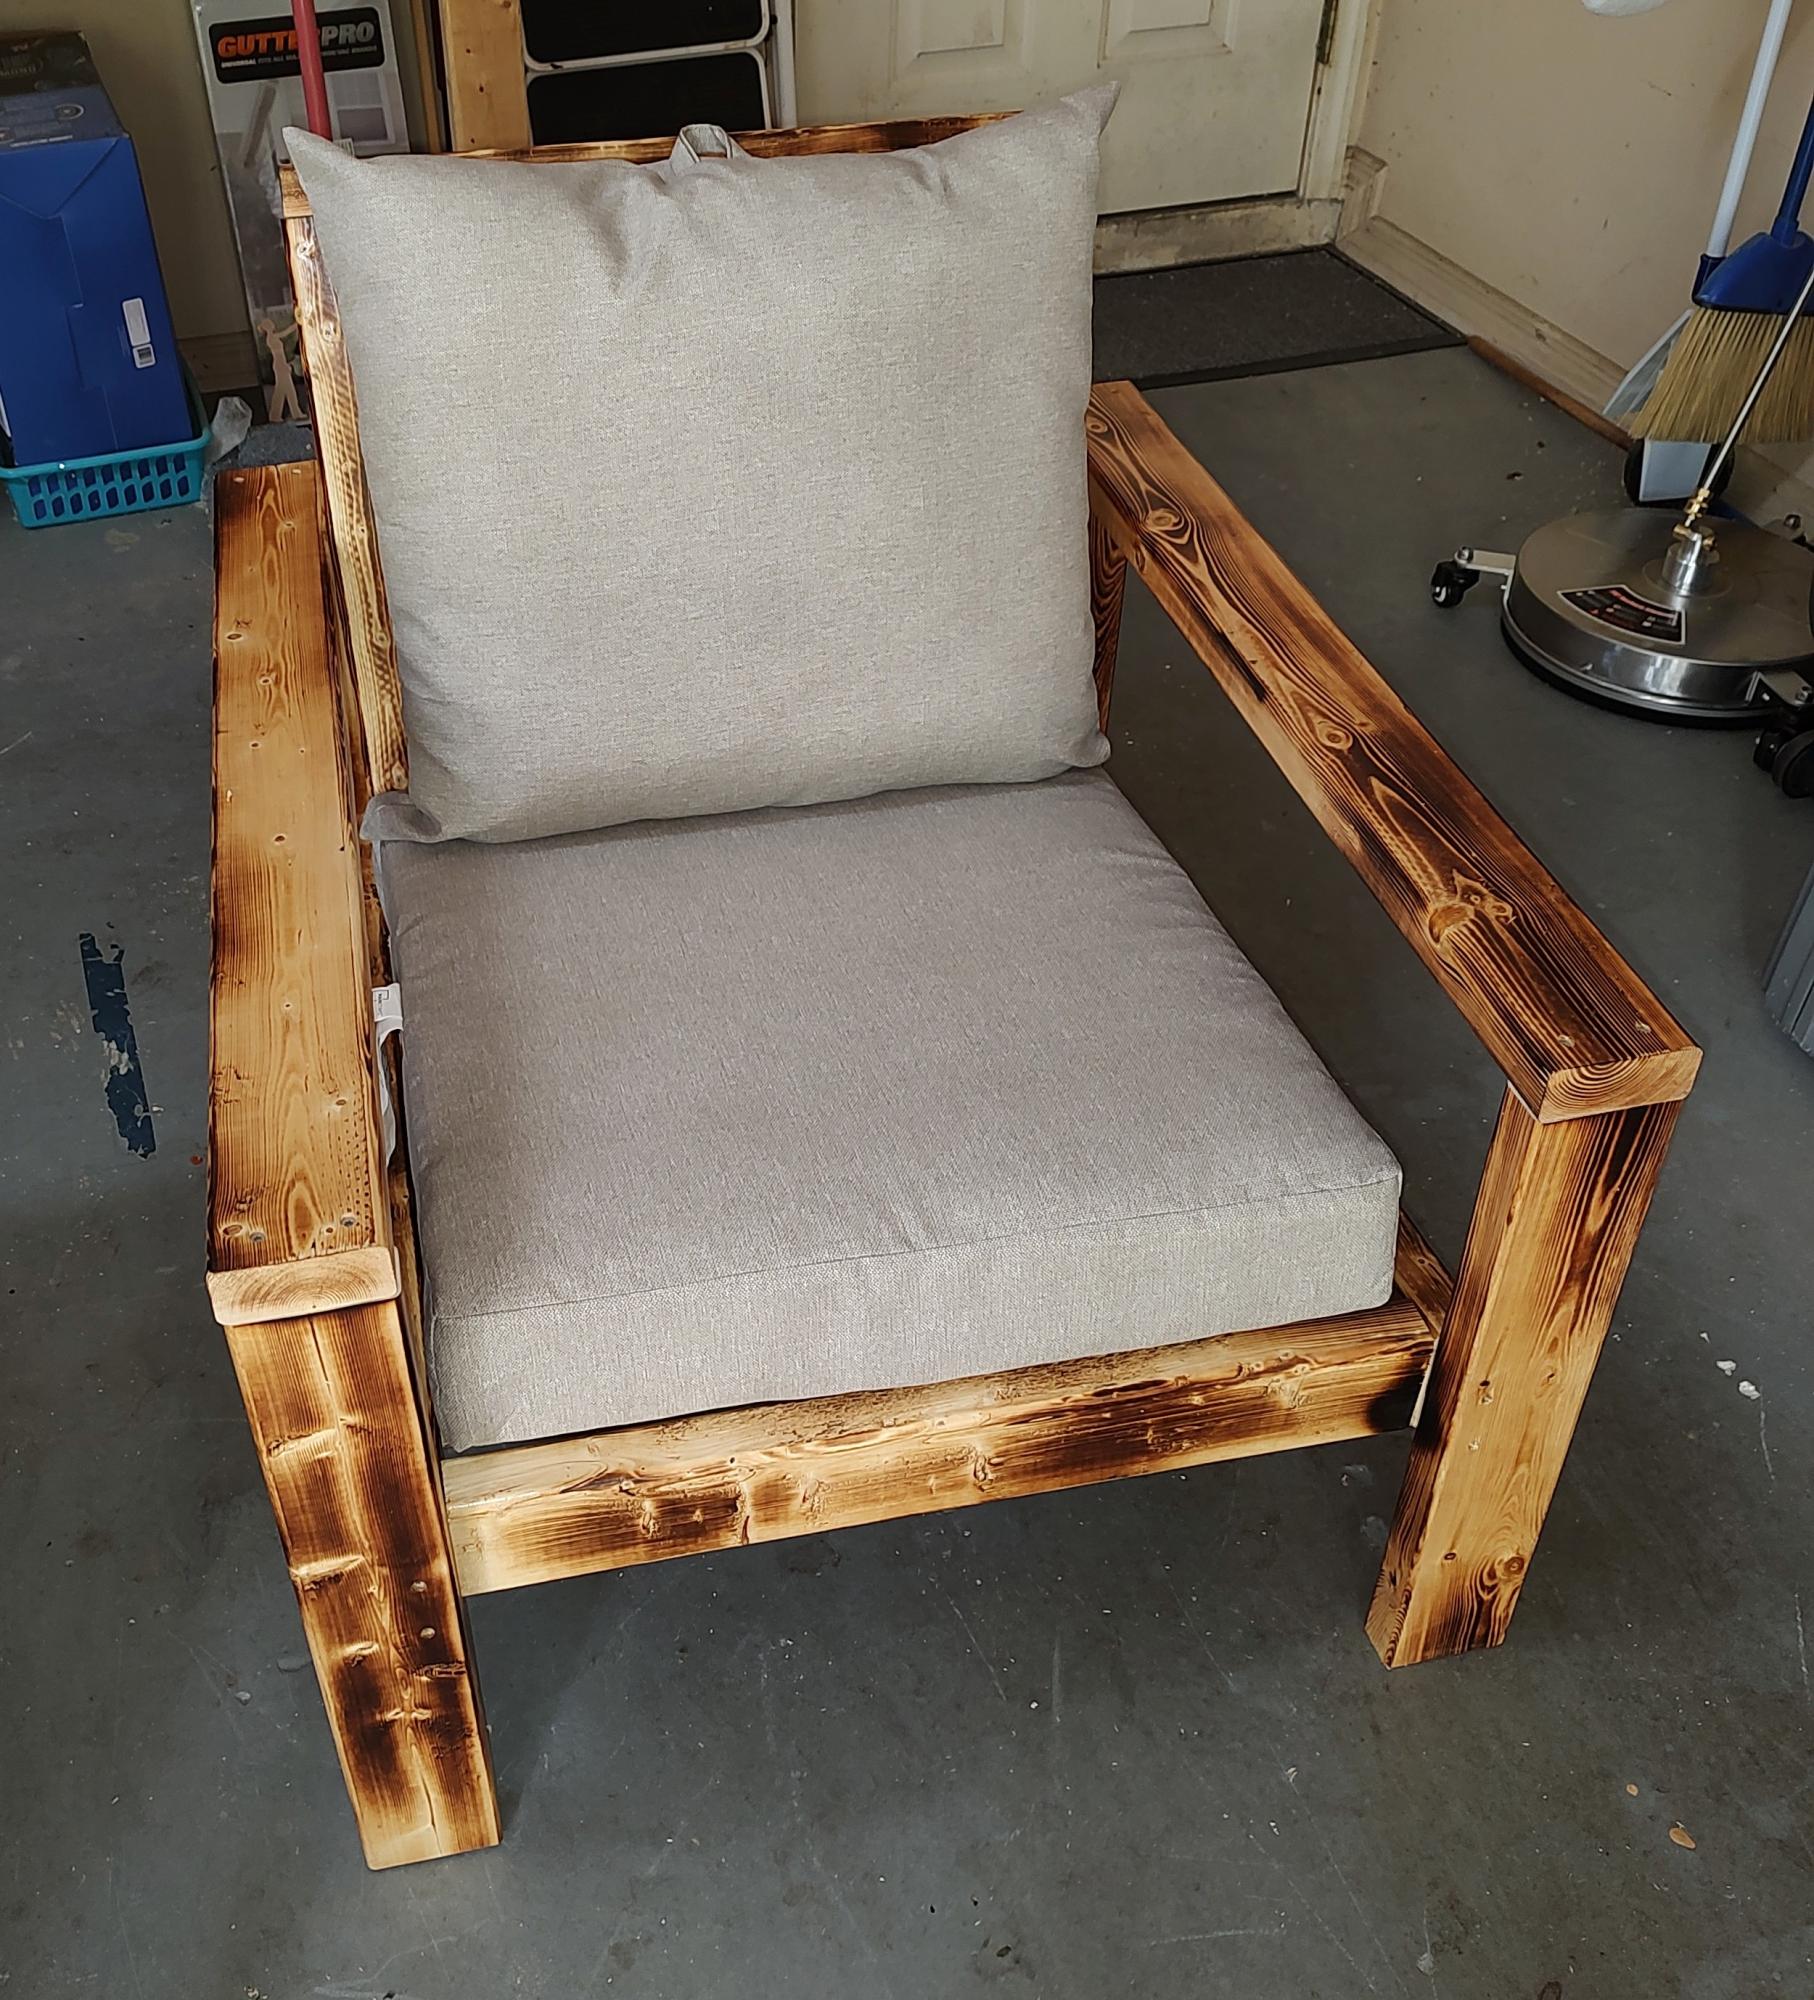
Was very easy to put together even with pocket screws.
Retired firefighter Joe
Built from Plan(s)
Was very easy to put together even with pocket screws.
Retired firefighter Joe
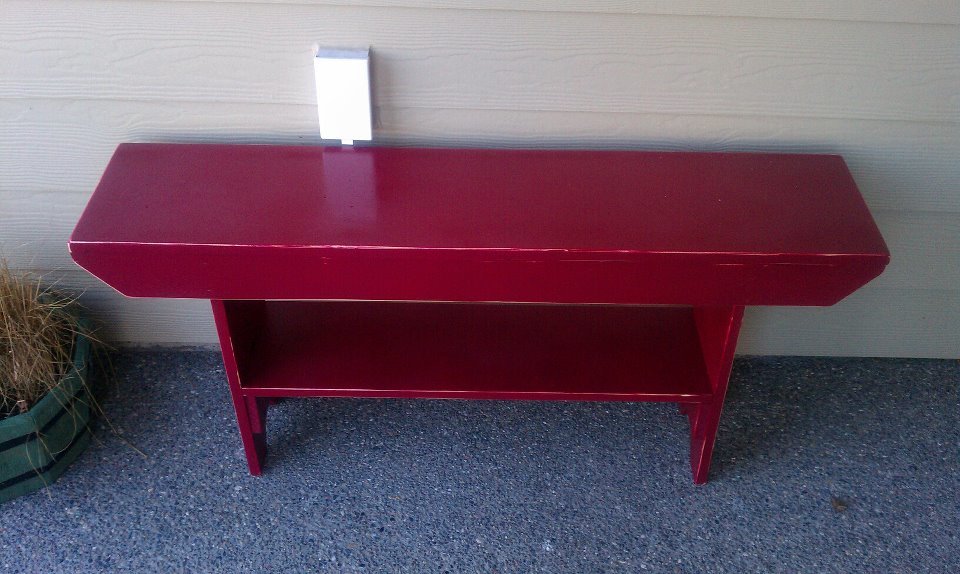
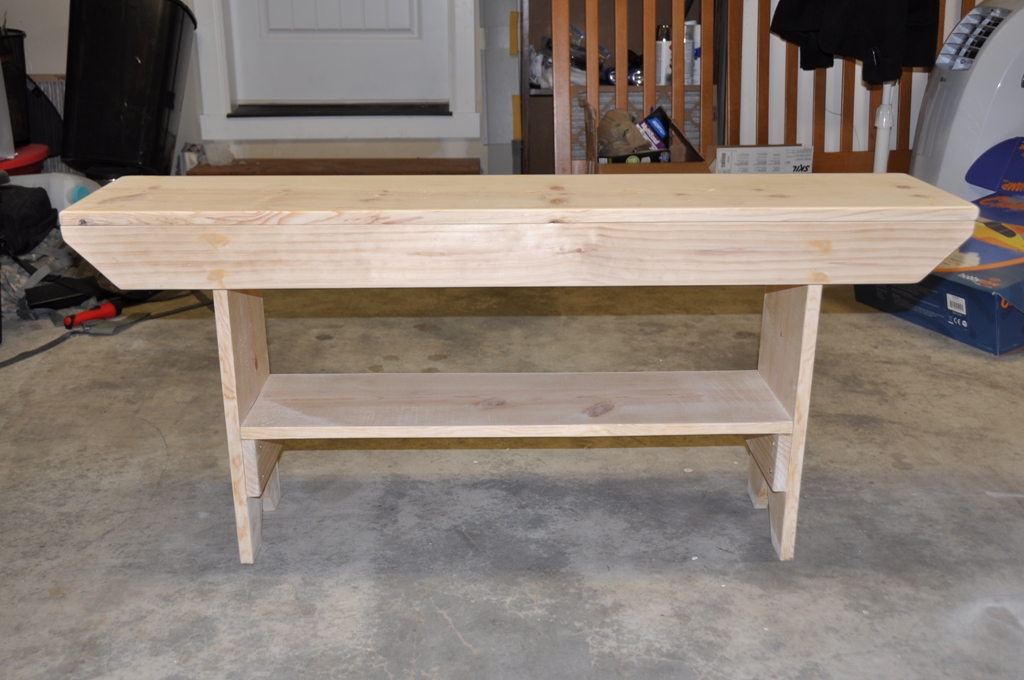
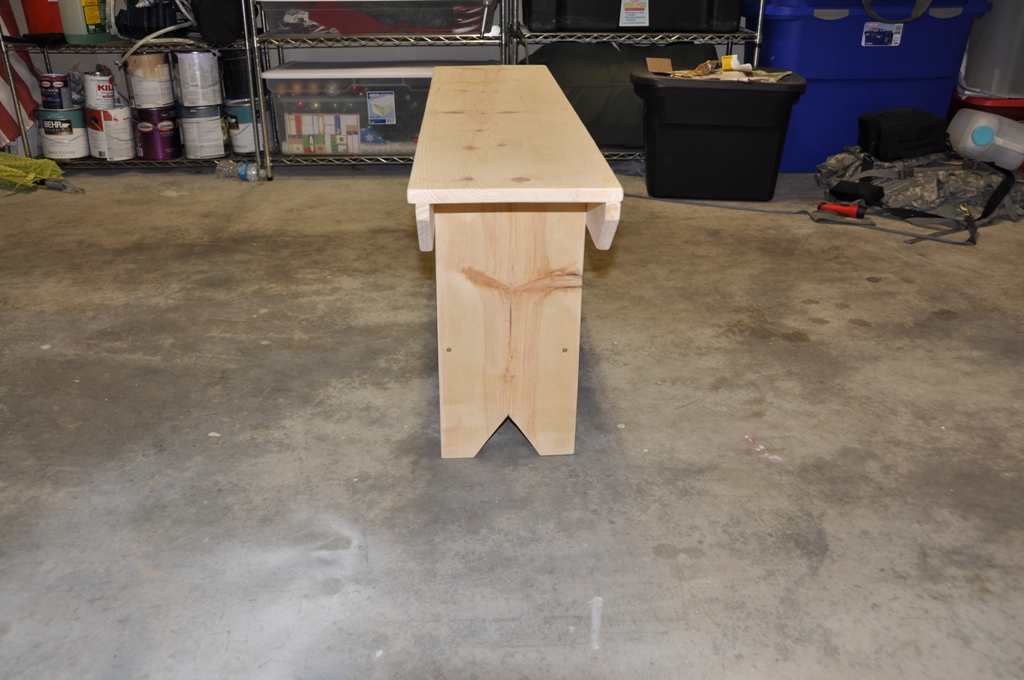
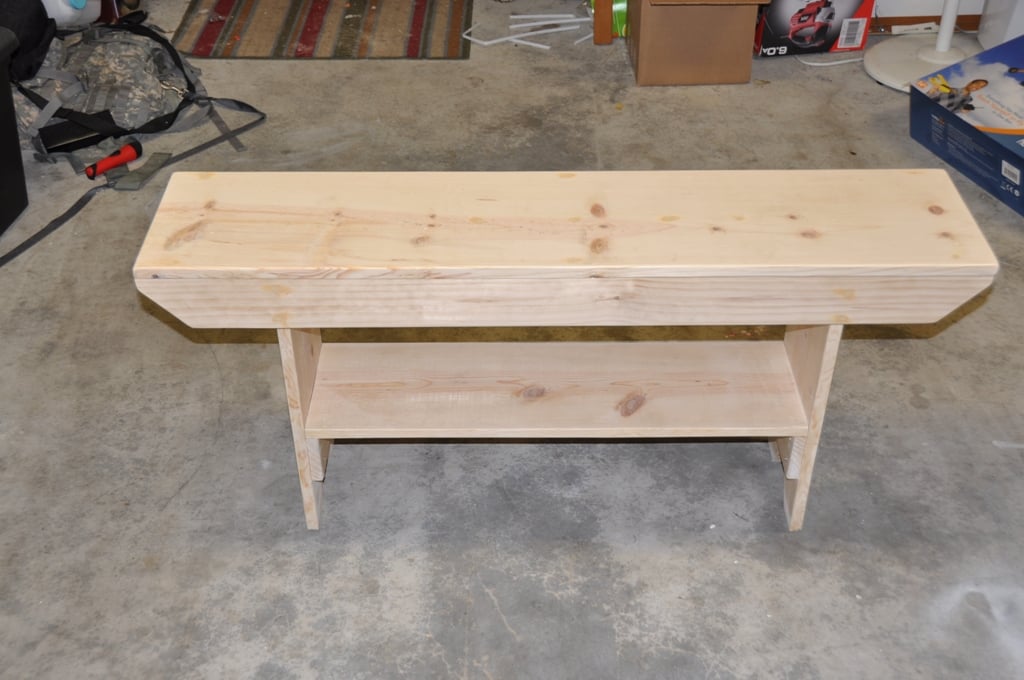
The wife and I kept going to these primitive shops and seeing these benches selling for $65-$85. I saw these and knew I could build it for way less. This is my rendition of the 5 board bench, only difference is I took the top support beam and make it into a shoe shelf.

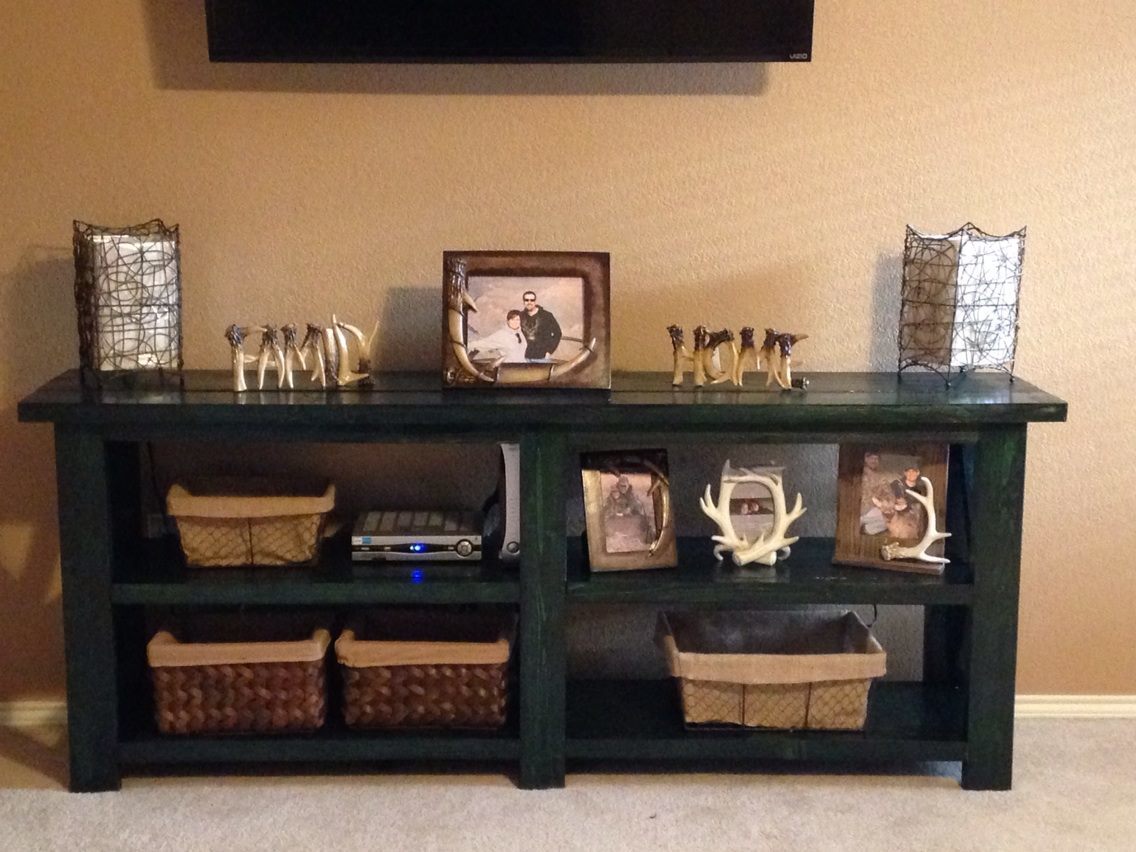
My husband and I spent Christmas day building this piece and I spent the next day staining. This was our first build together and I am in love with it. The piece looks great under the TV in our bedroom. Just the perfect accent piece I needed to finish off our recently redecorated bedroom. Next we will be tackling furniture for our spare bedroom that currently only has a bed and a mirror....

customer wanted a set of adirondack chairs for their husband. Who is a big Detroit Tiger fan. Followed the plans as is except for the back. It is supported by 2 1x3 running up the lines of the D. It is very sturdy. Once comment about dimensions, our lumber is not exact. 1x8 is 3/4x7.25 for instance. I had to compensate for that.. Thanks for the plans
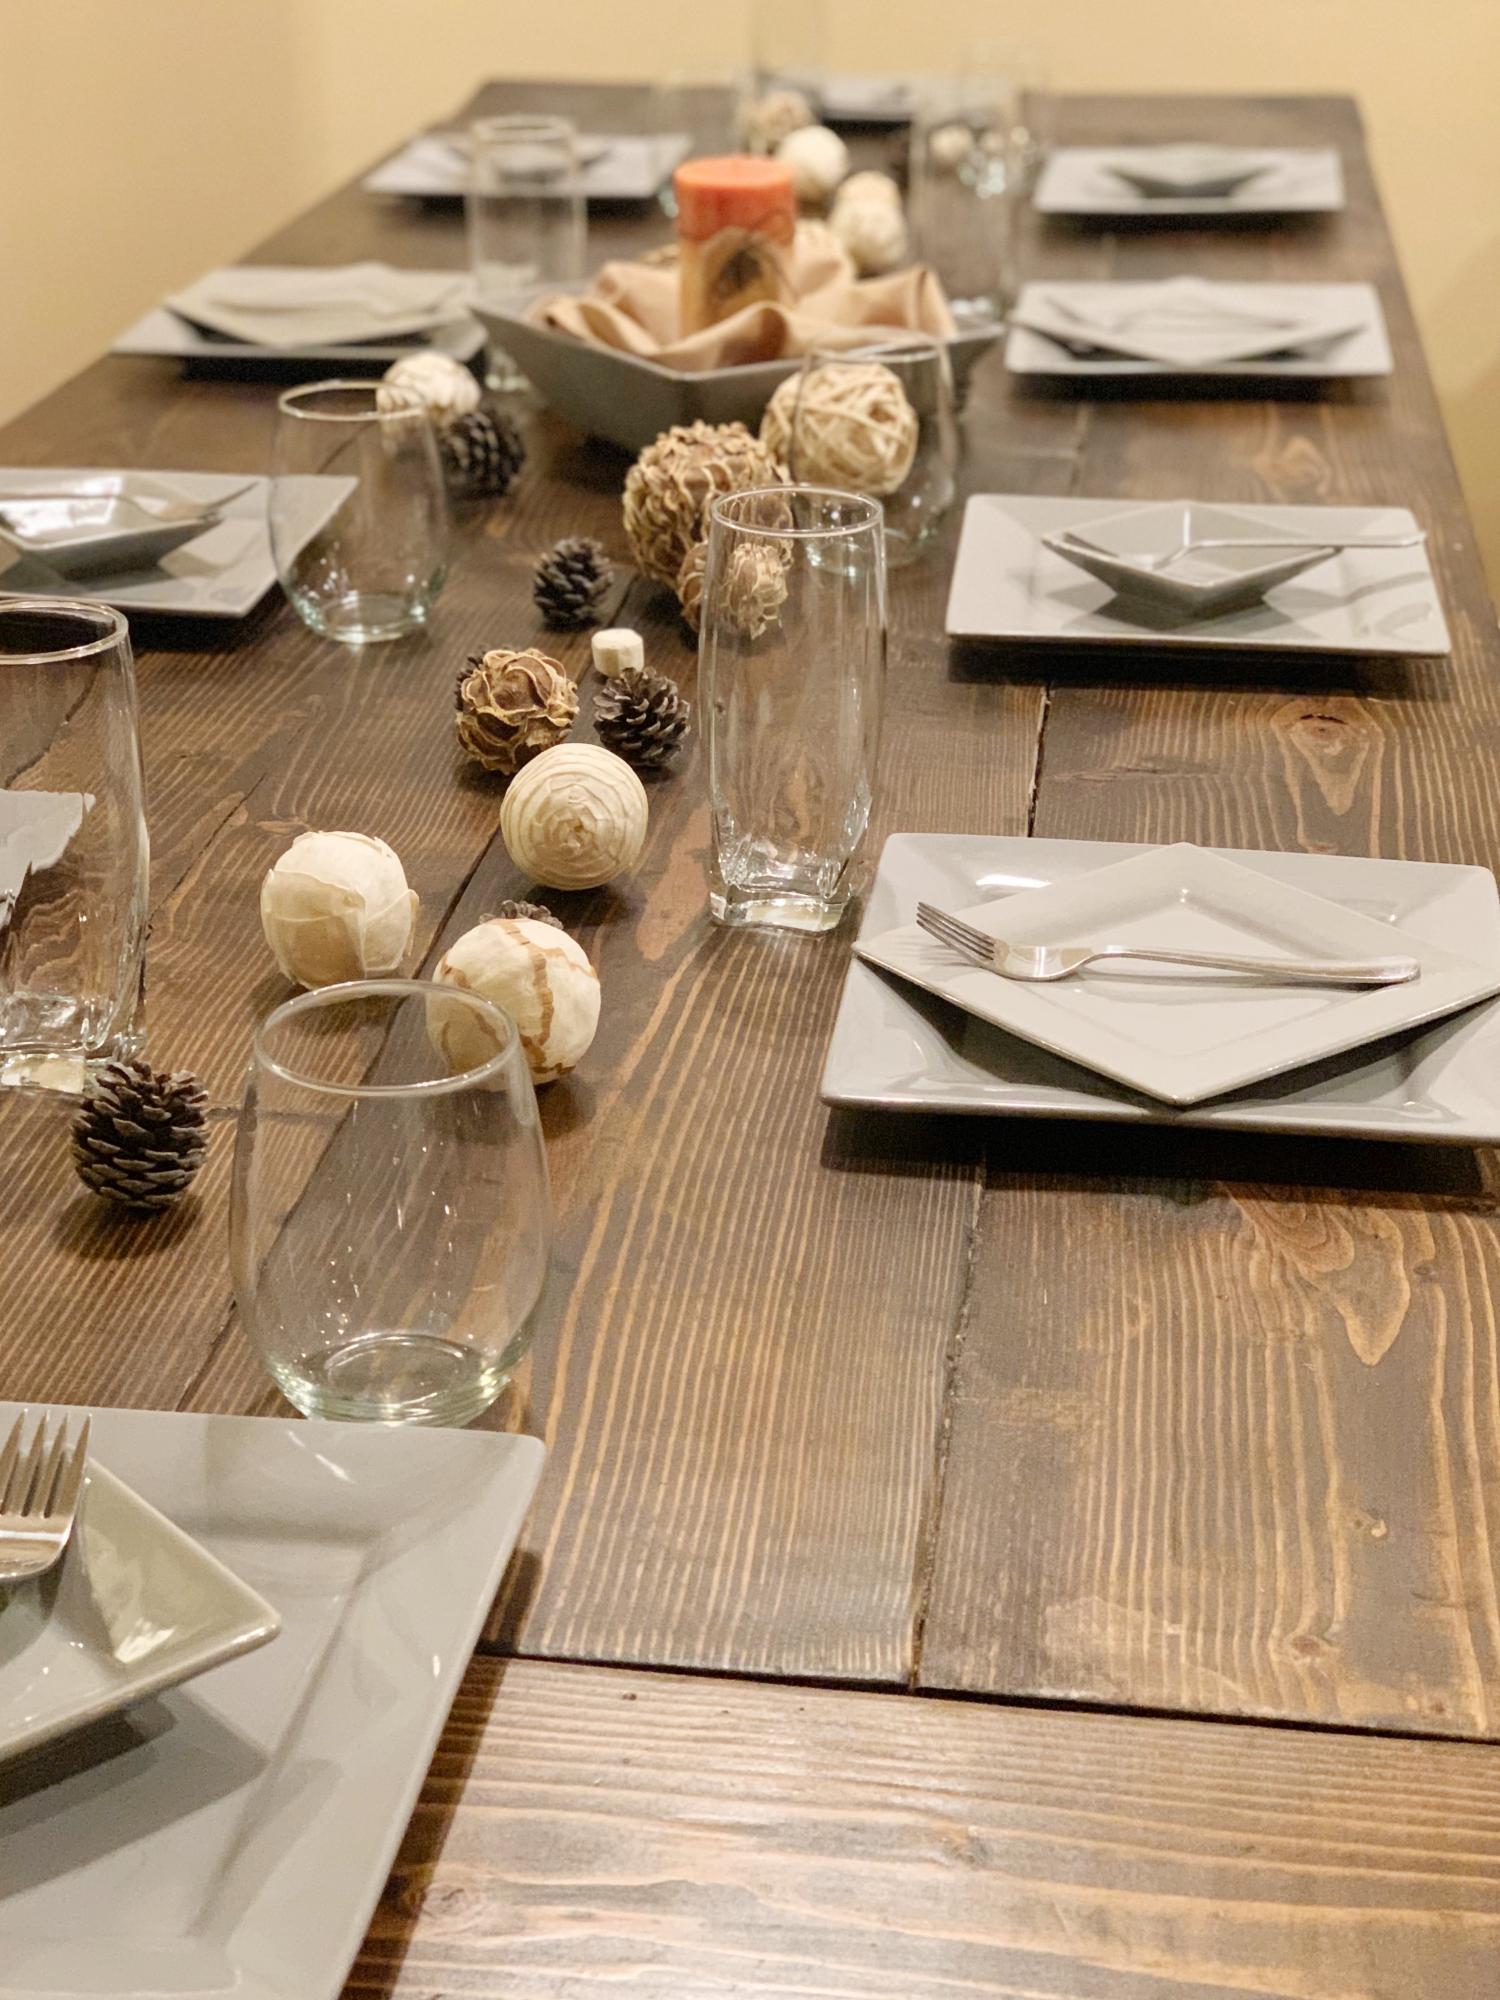
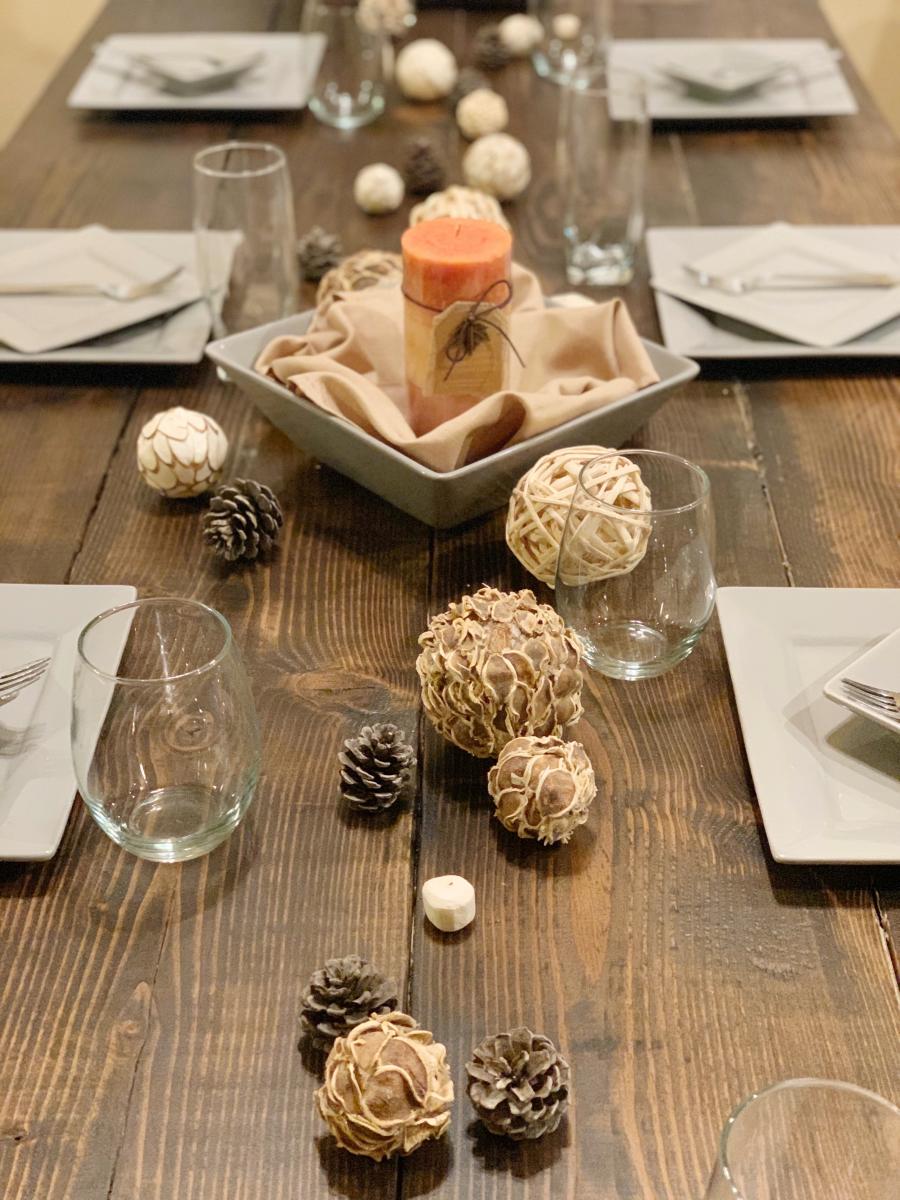
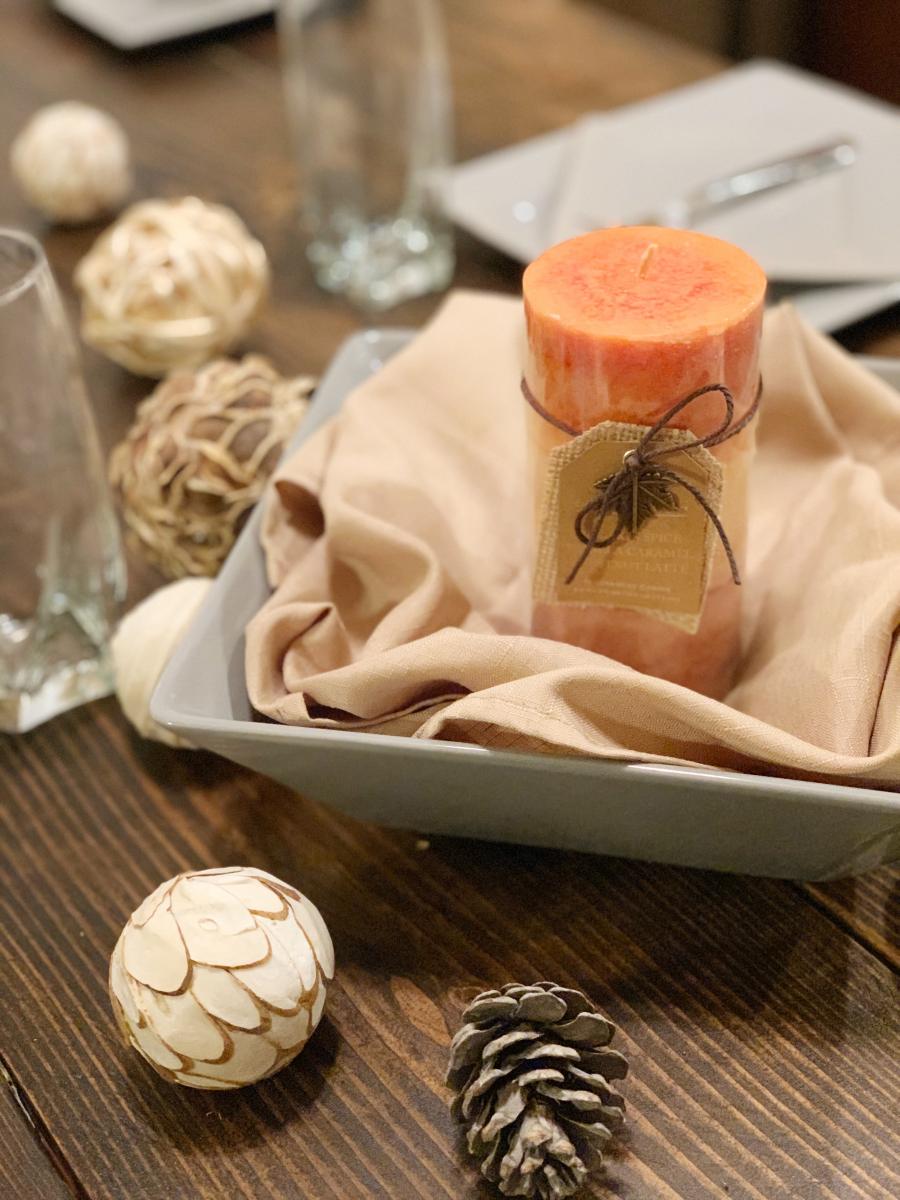
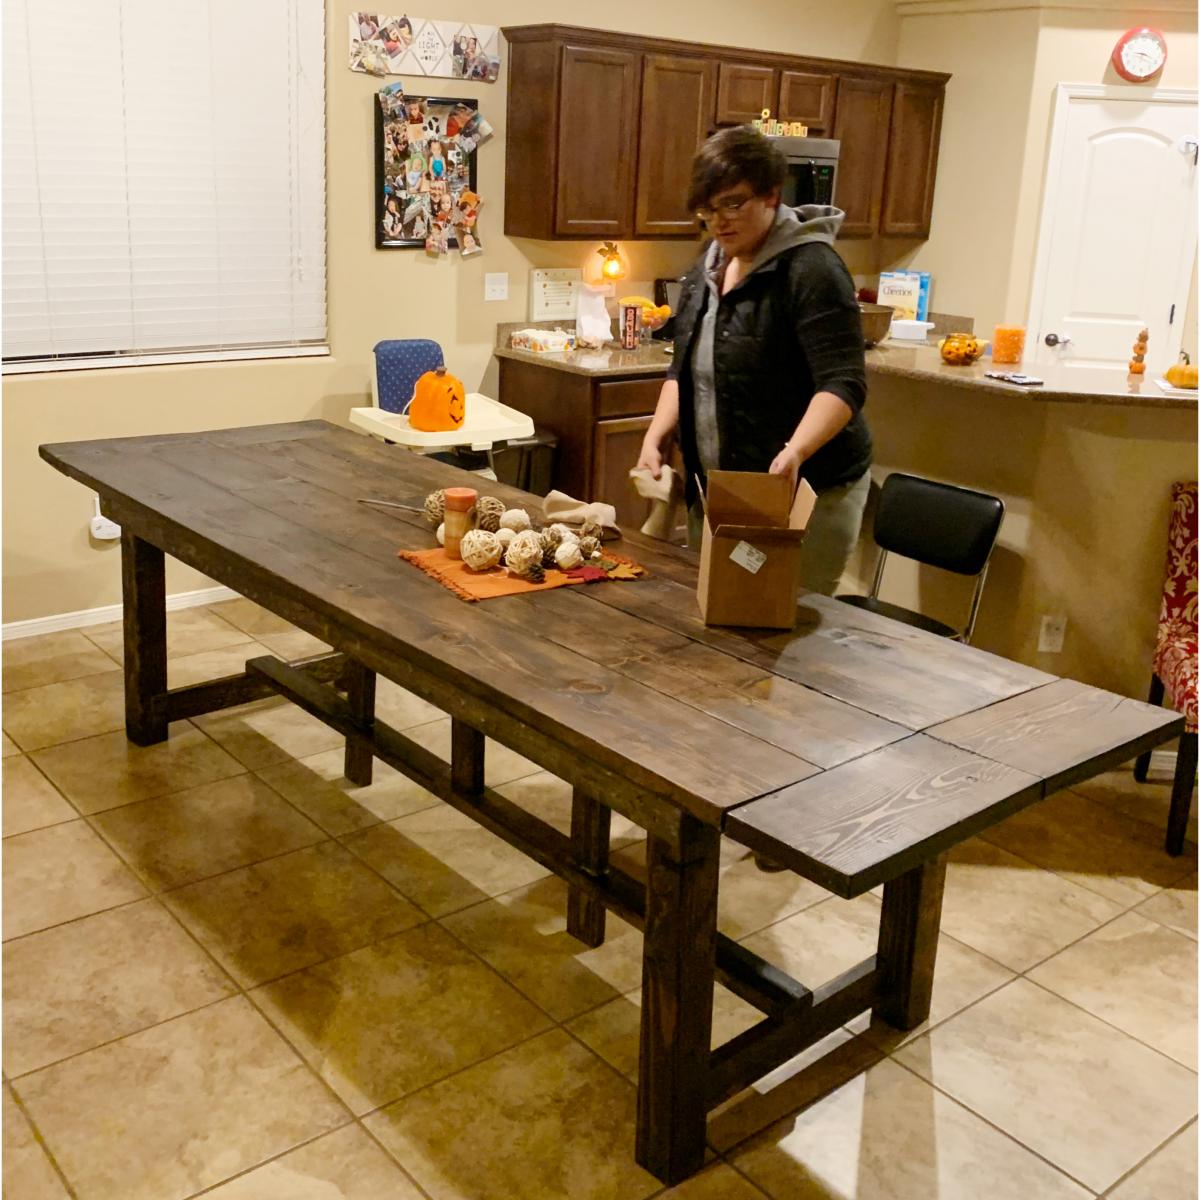
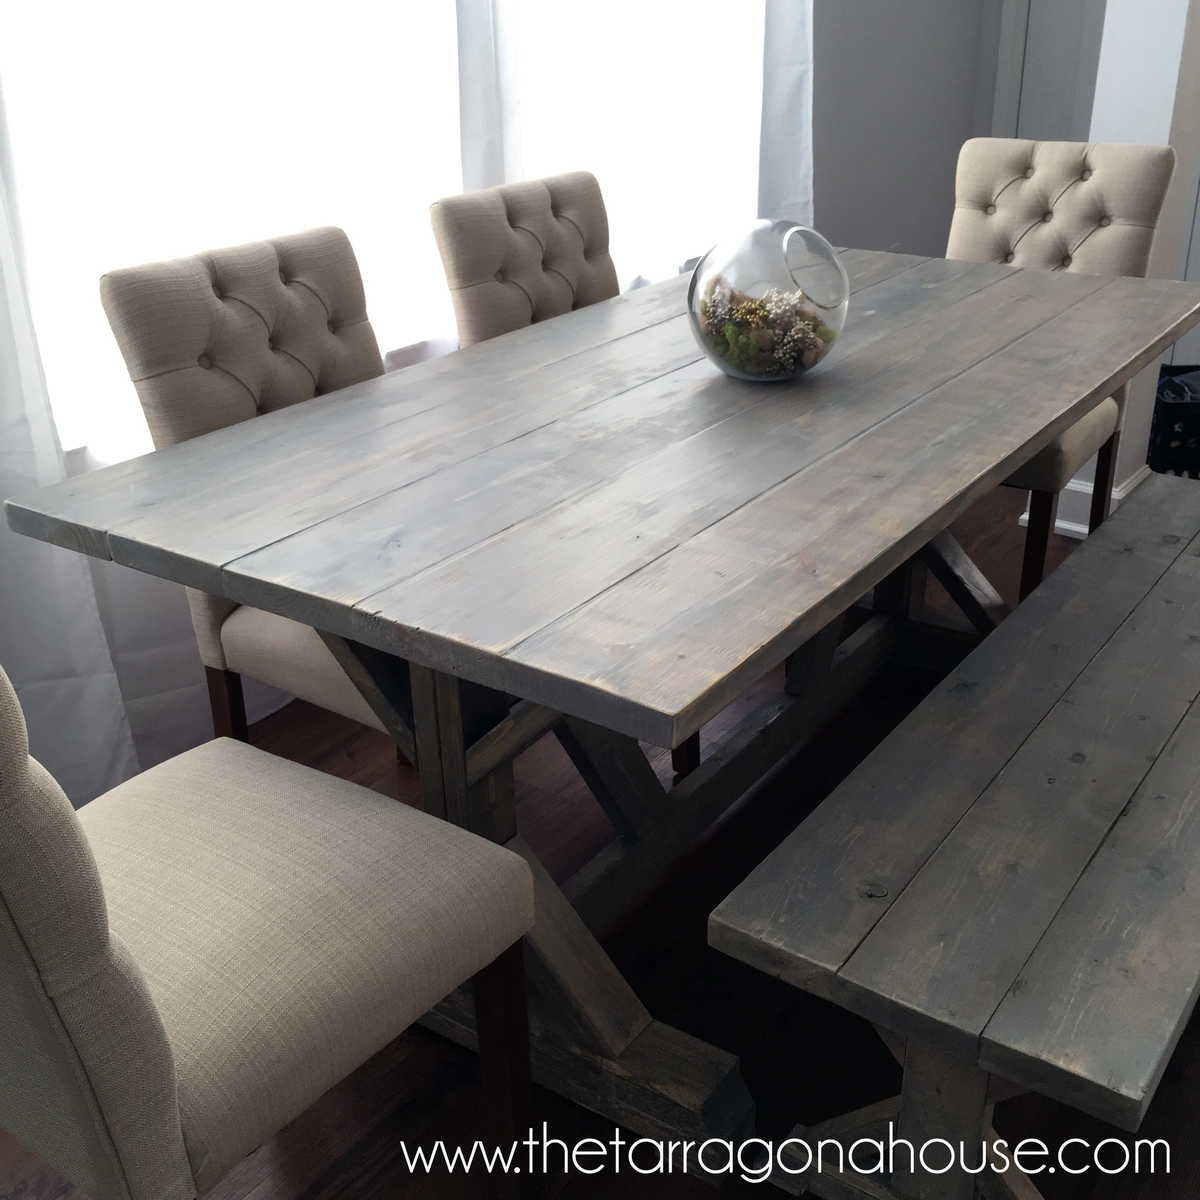
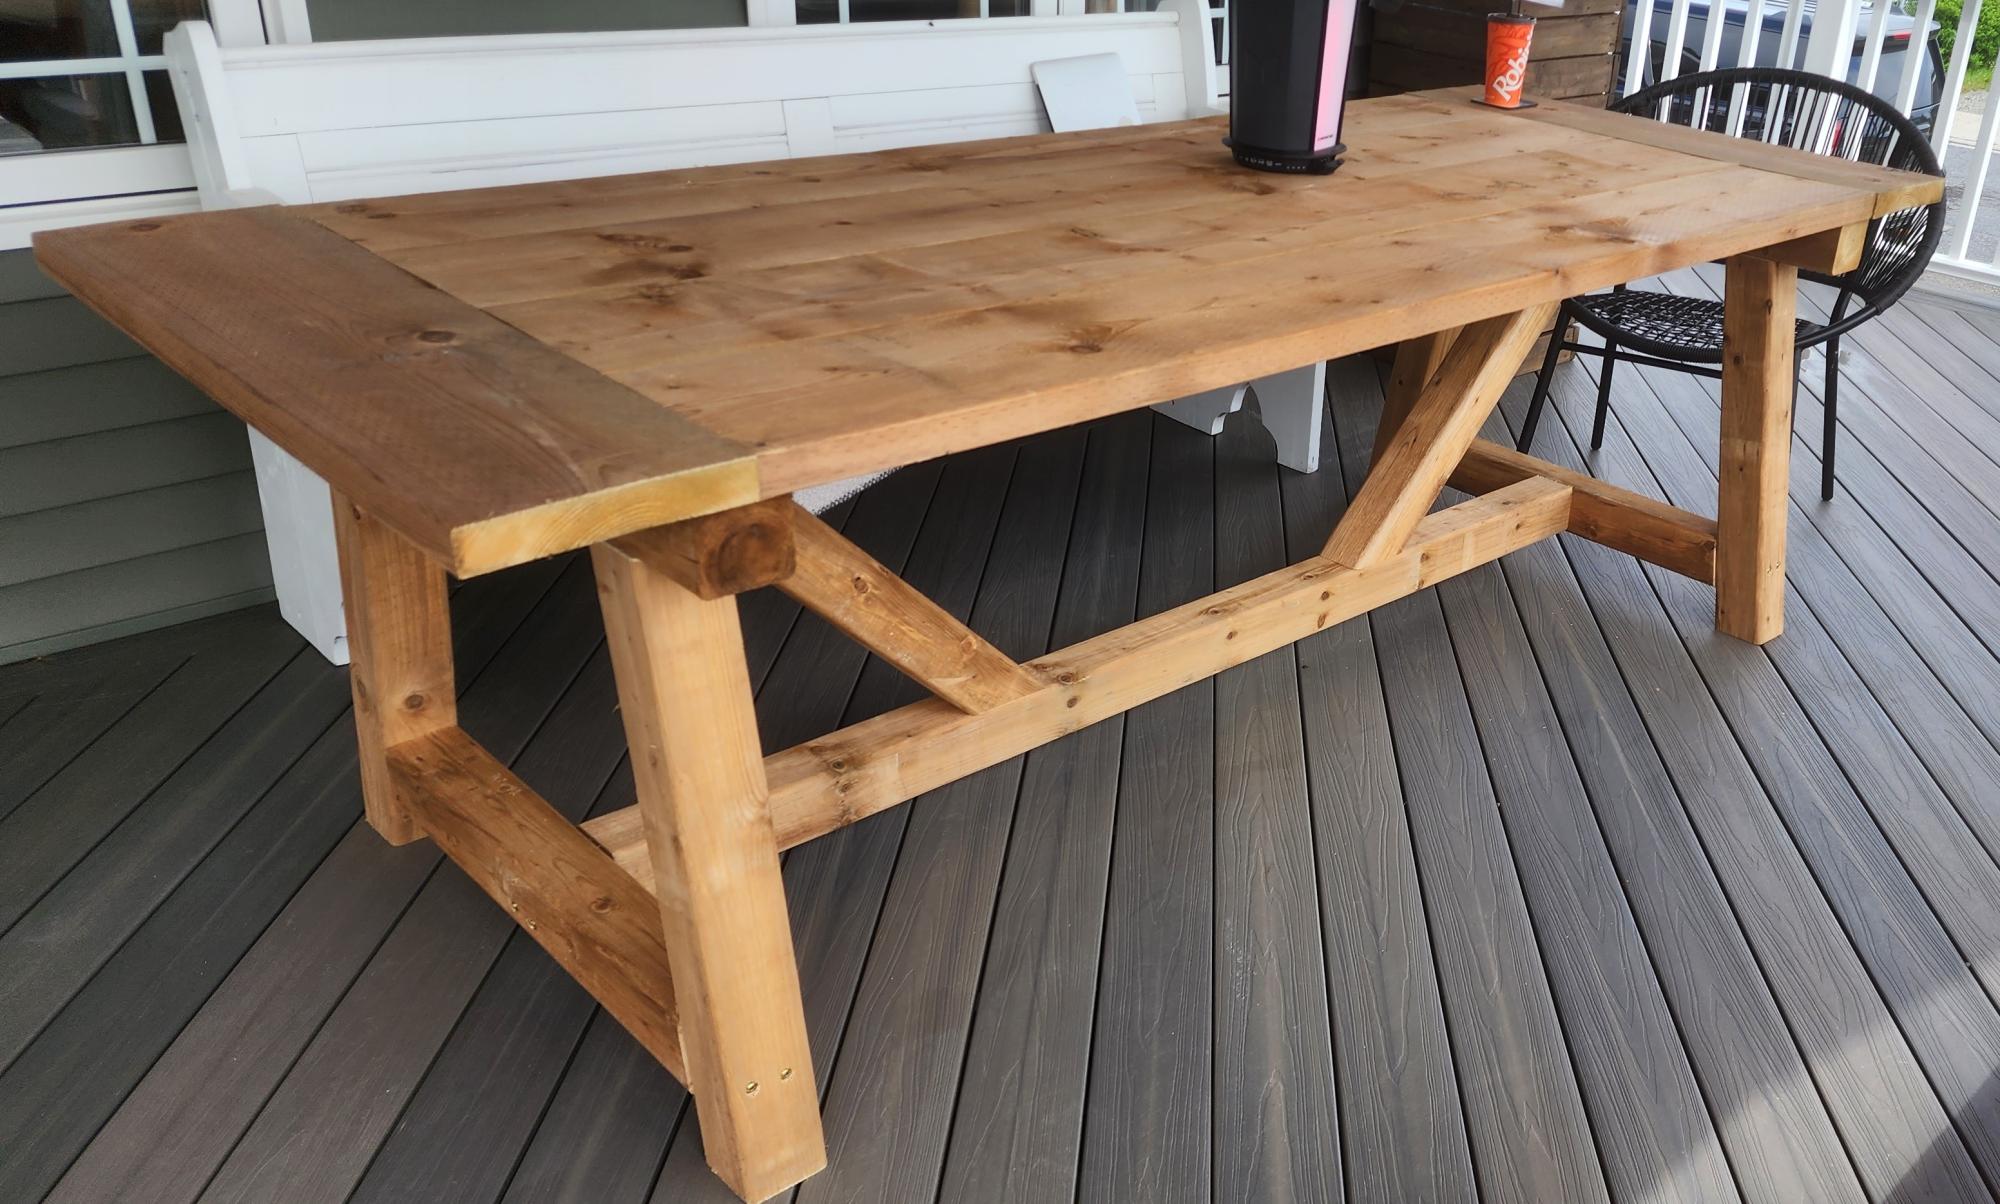
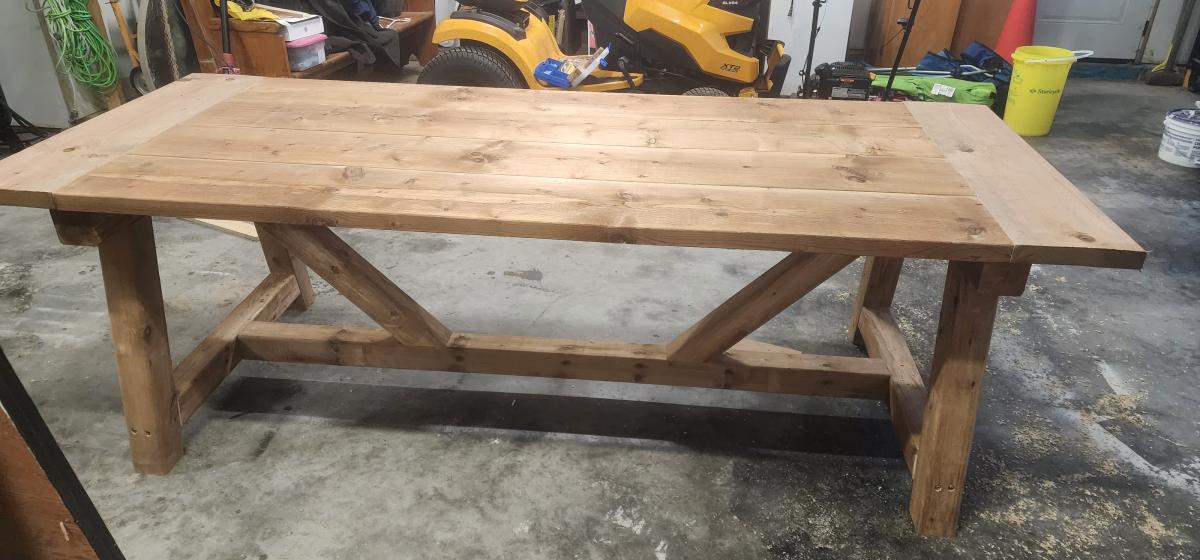
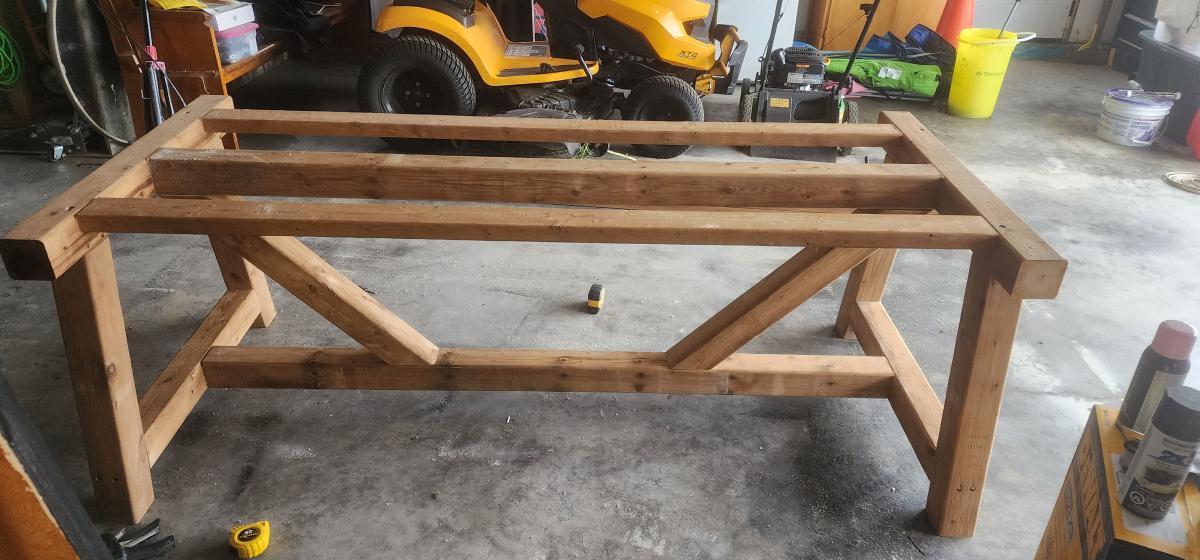
This my first-ever custom, DIY farmhouse dining table that I built for my amazing in-laws! They just moved into a beautiful new home with a large, open dining area, and they've been looking for a large table that our growing family can gather around. This table seats up to 12 people at one time, and it 2.5' tall, 3.4' wide, and 10' long (with the extensions out.)
I've repurposed many tables and/or wood projects before, but this is my first table made completely from scratch. It took me approximately 2 weeks to fully complete, and cost less than $300, (including "investment tools" such as large wood clamps, electric sander, etc.)
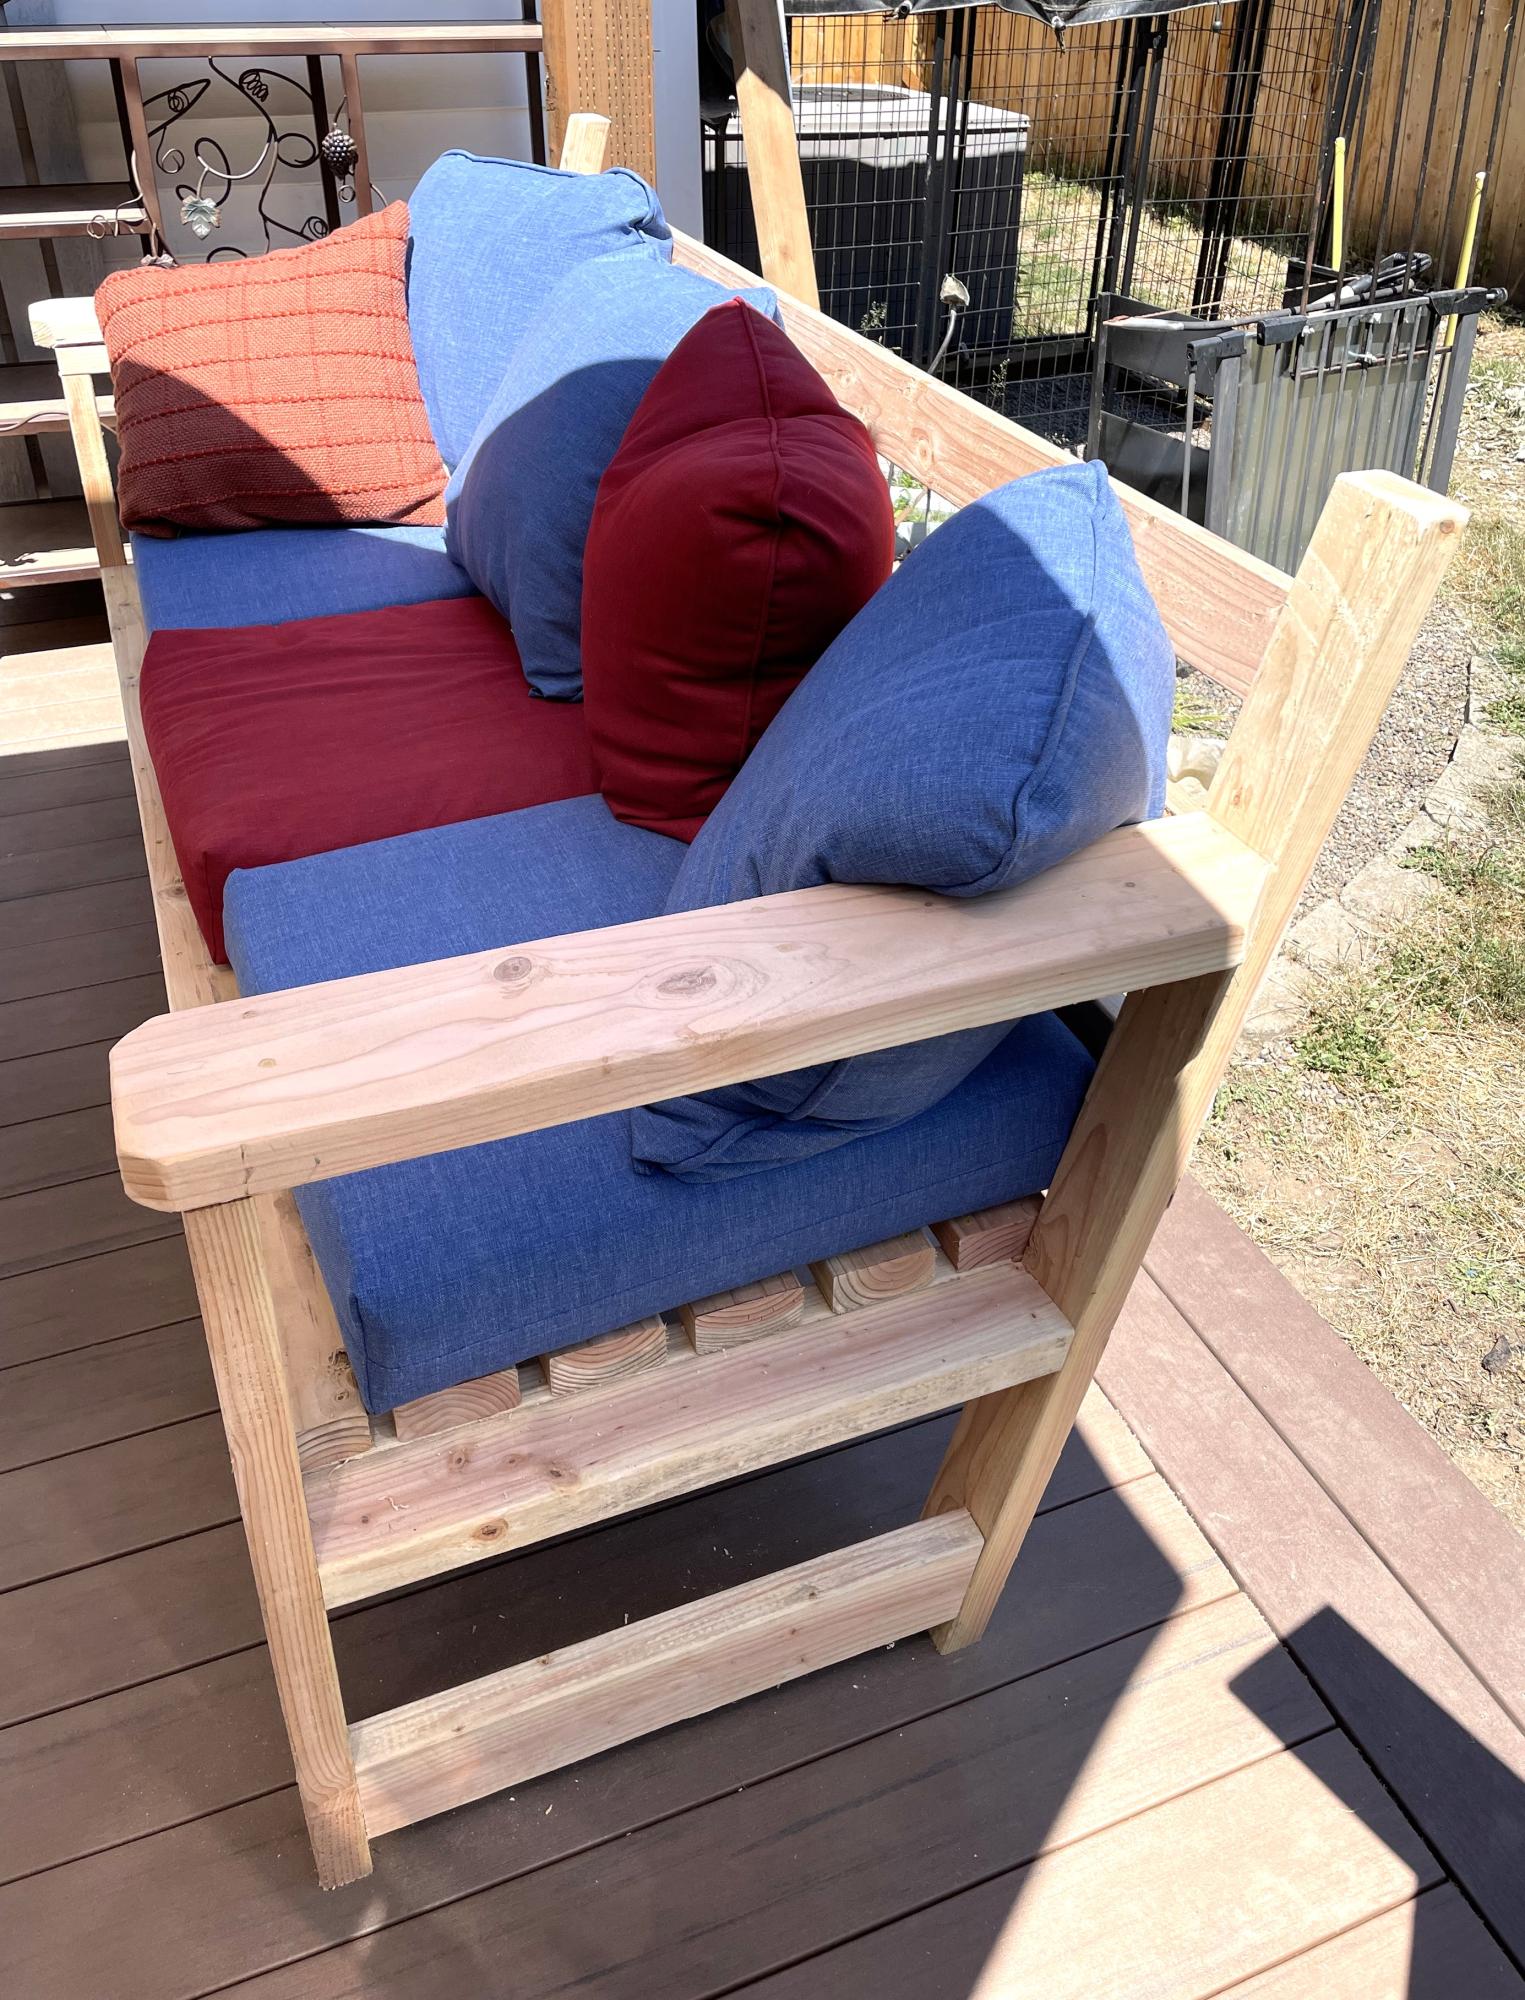
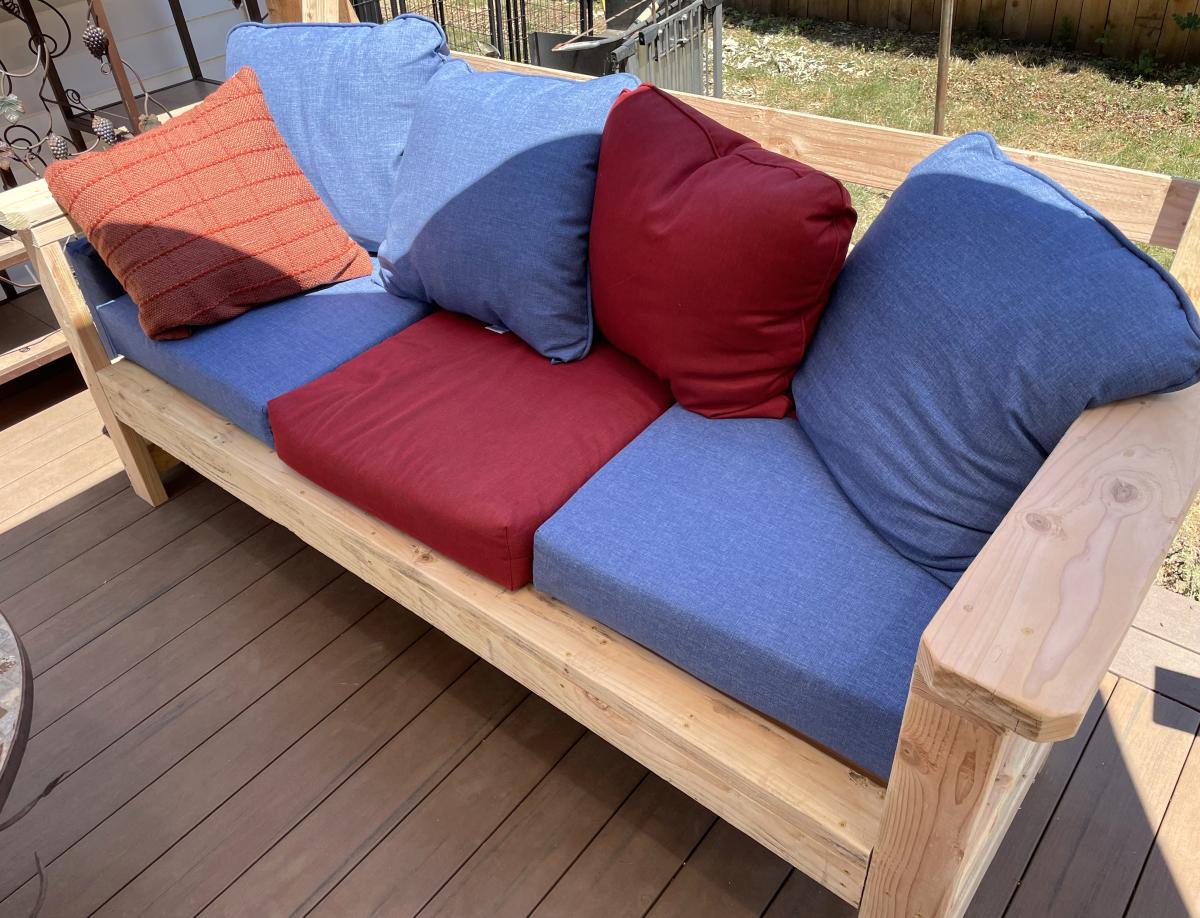
Used you basic 2x4 bench / couch plan but added a sloped backrest and more 2x4s across for more support.
Jerry
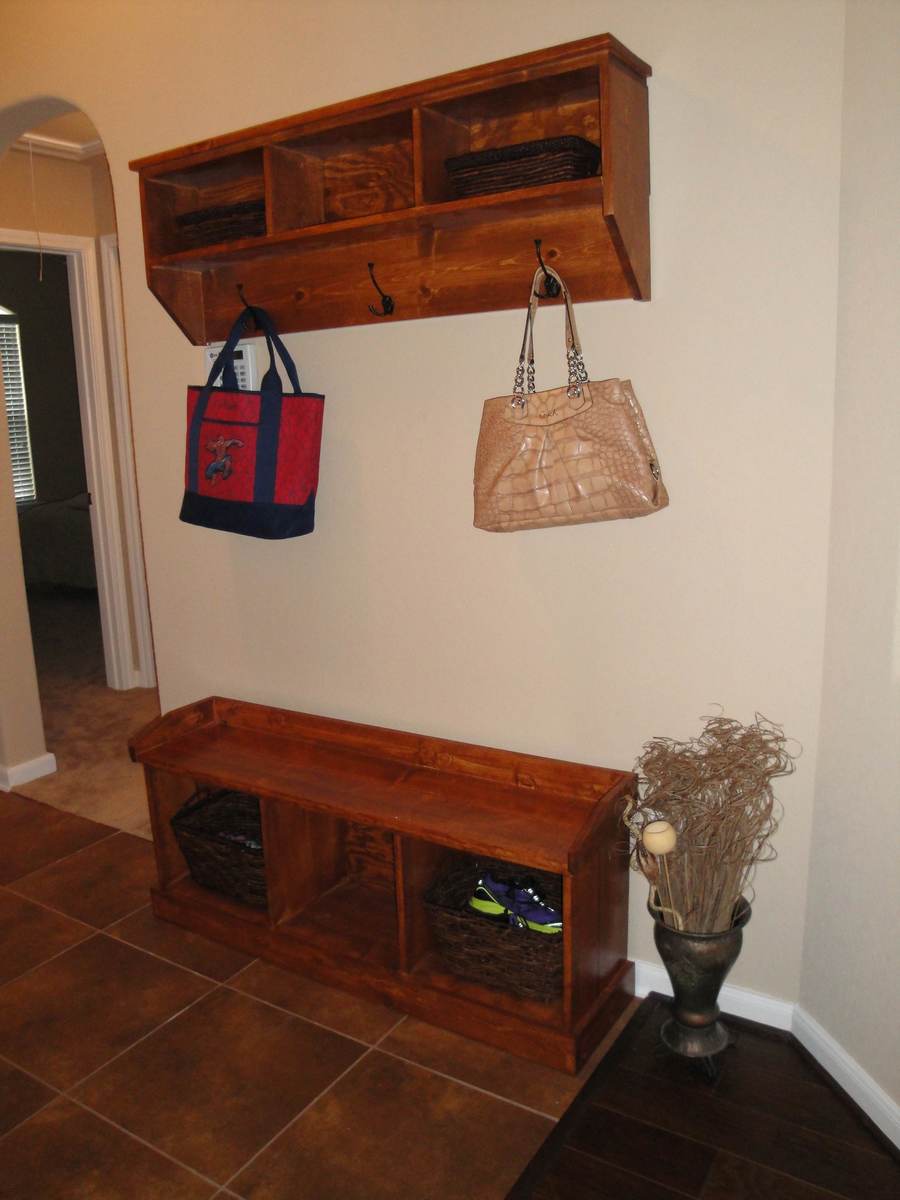
This was our first project! It was a lot of fun and a big learning experience for my husband and I. It has been used DAILY for our shoes, bags, etc.
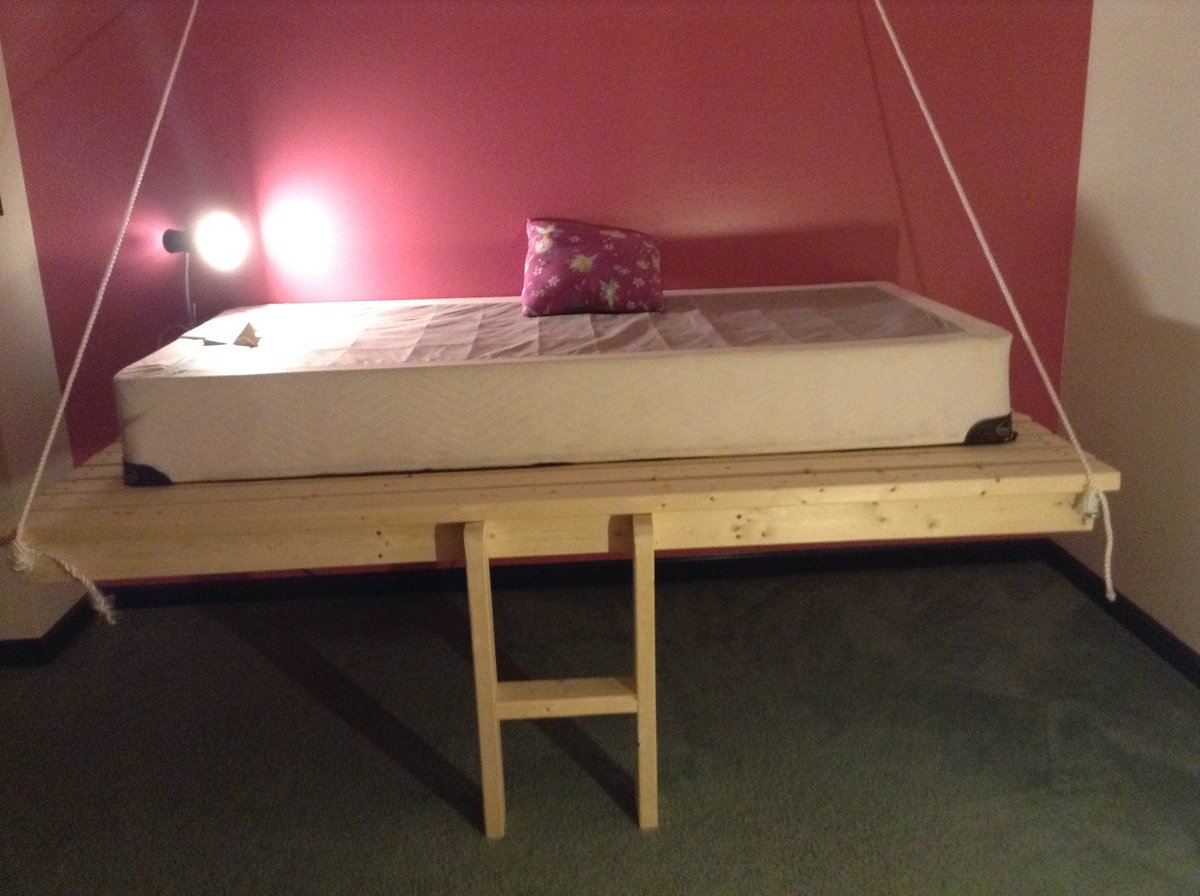
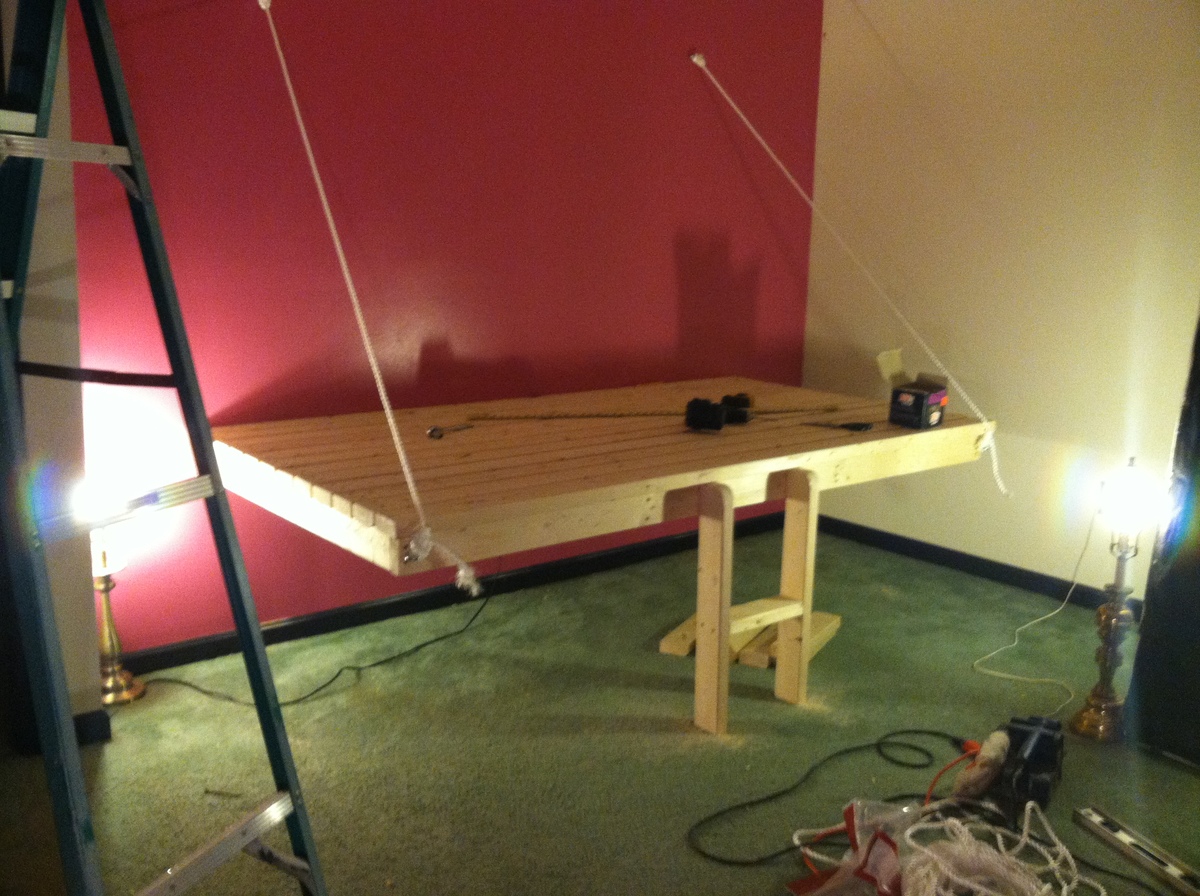
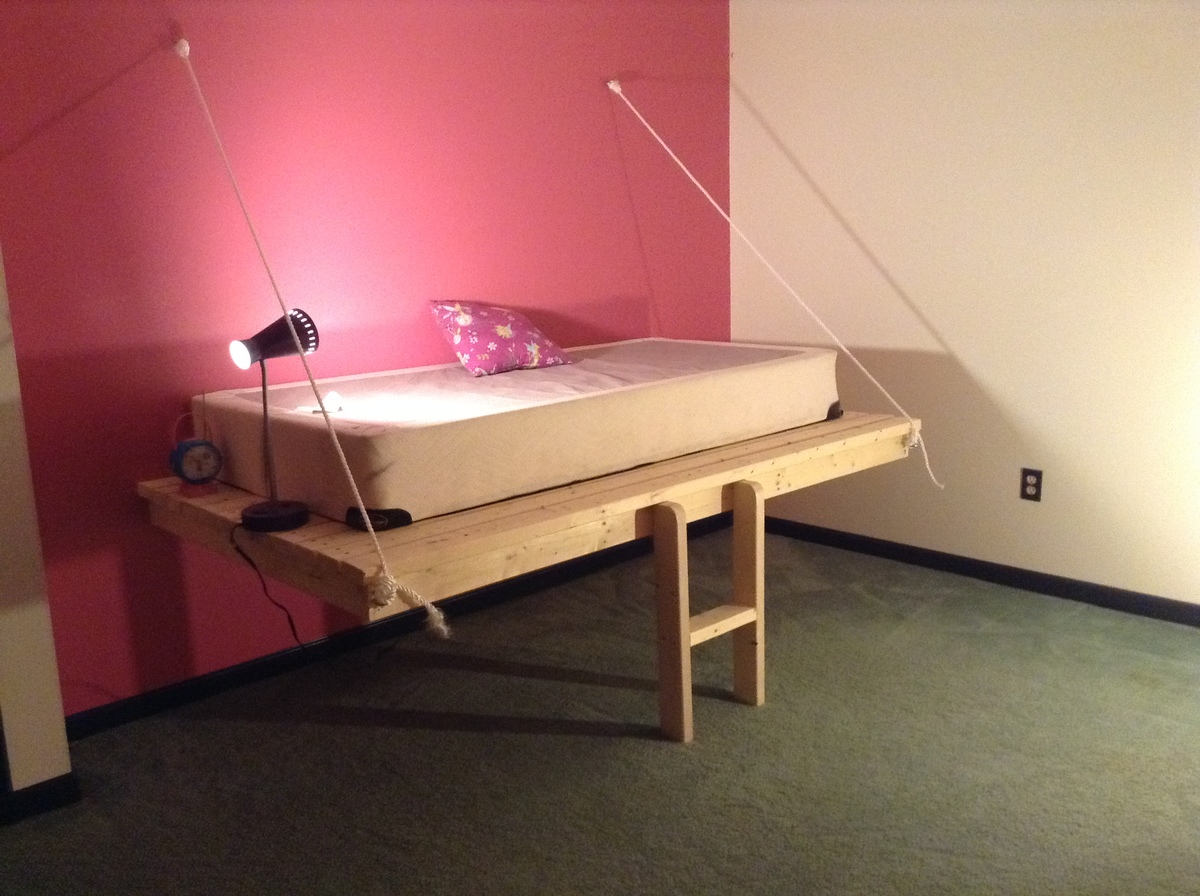
Inspired by the hanging day bed- everything was built as directed- then 5in X 3/8in lag bols used to secure to wall, as well as eye bolts and rope. Extra support added with ladder
Thu, 03/20/2014 - 10:48
I am wondering if you put both a box spring and mattress on this? Is there any way to see what it looked like all finished and set up? We are thinking of doing this is our daughters room so that we can put up two, but she may not go for it if it has no box spring. :)
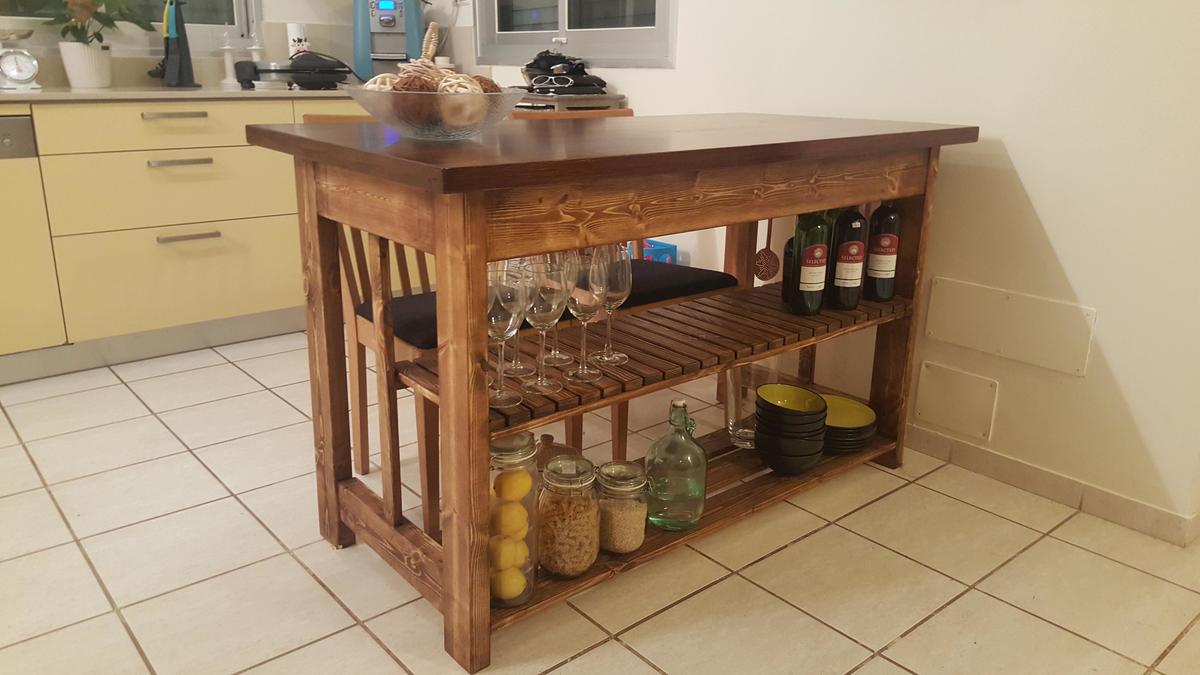
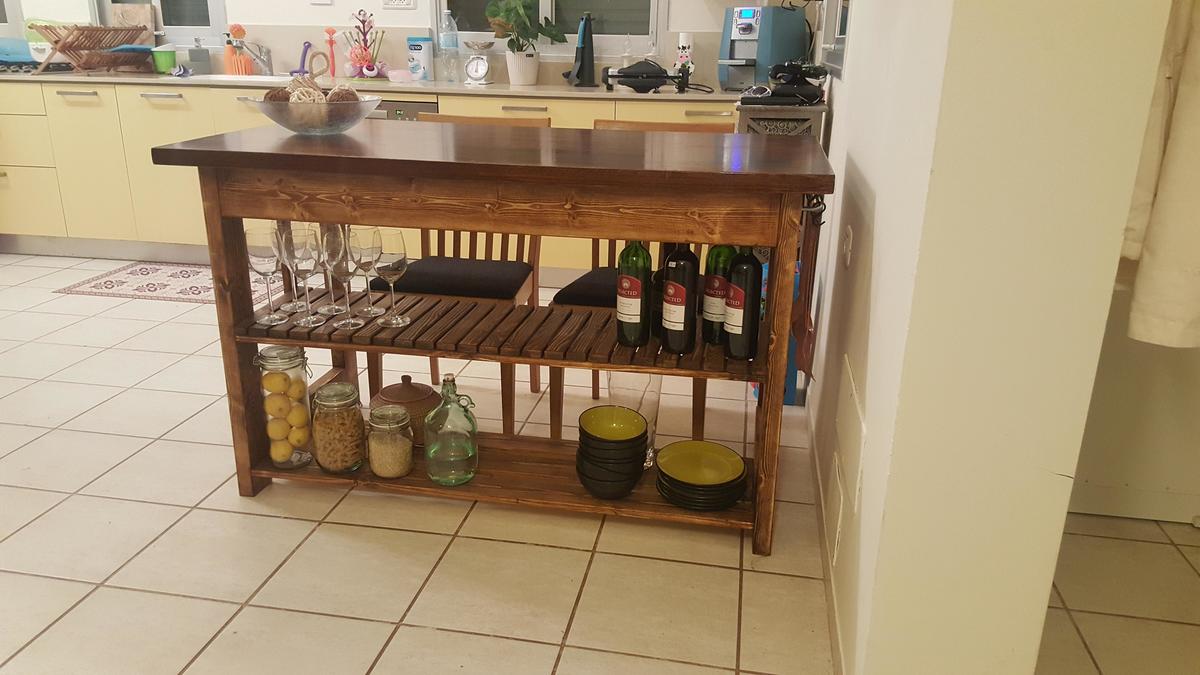
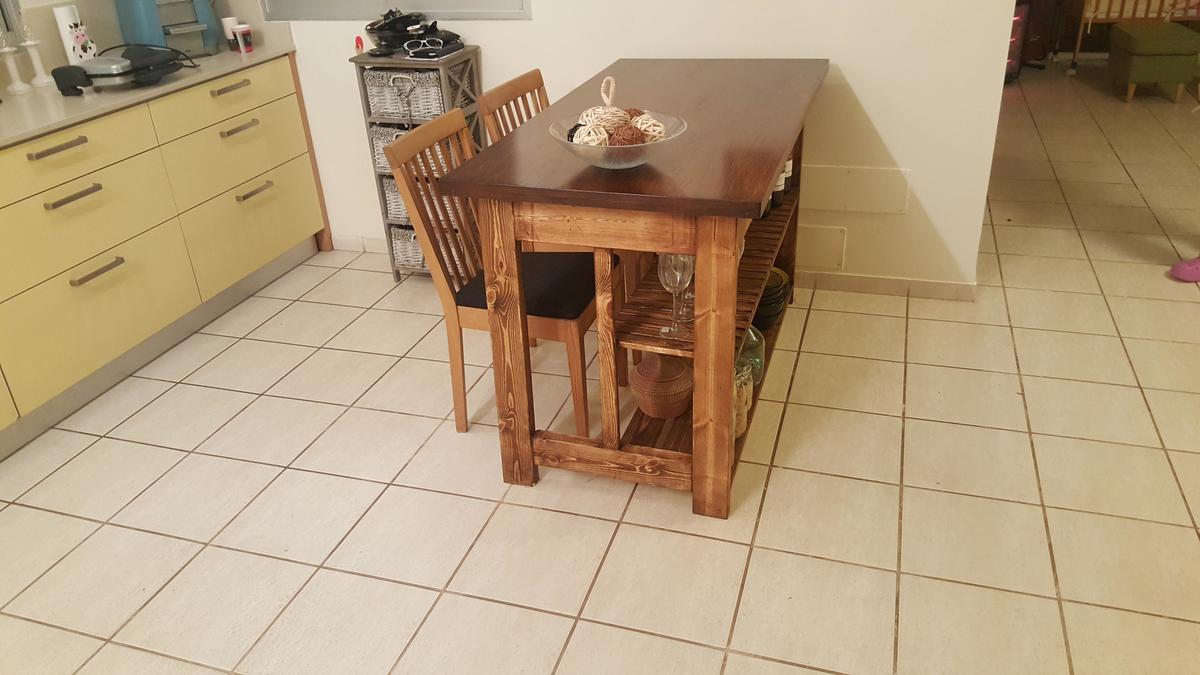
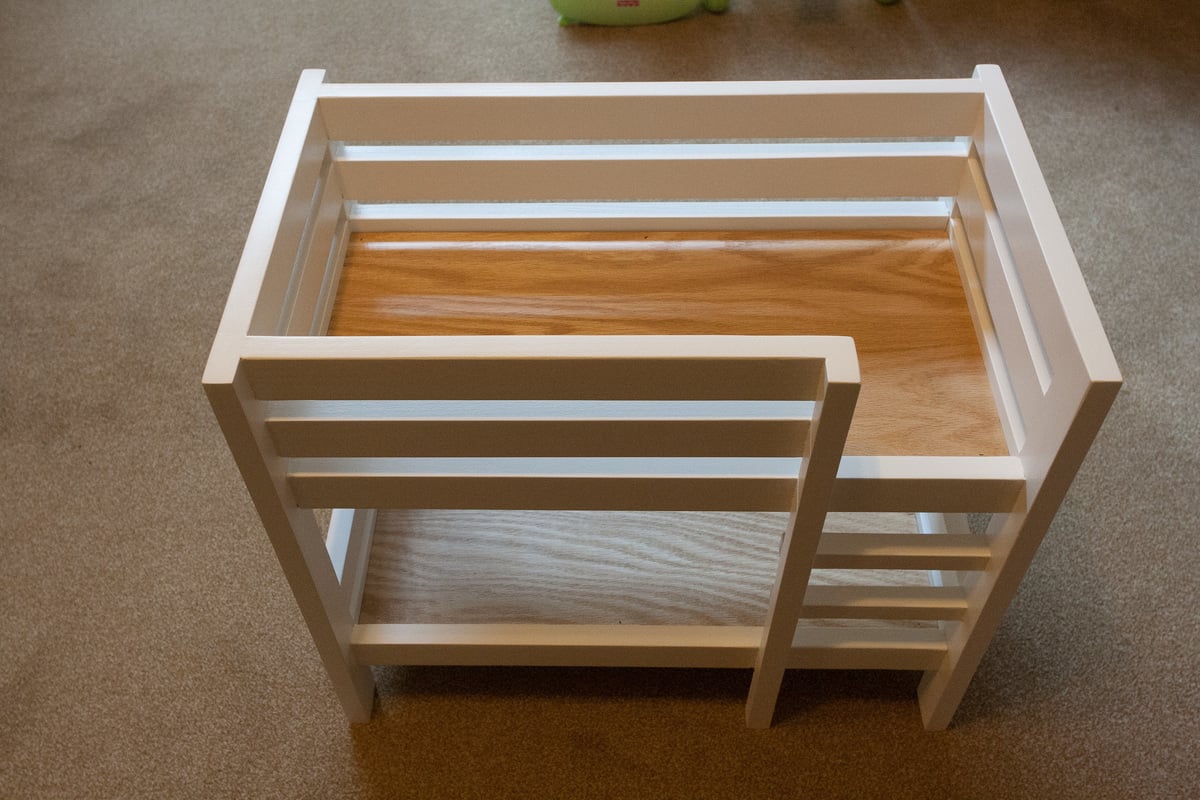
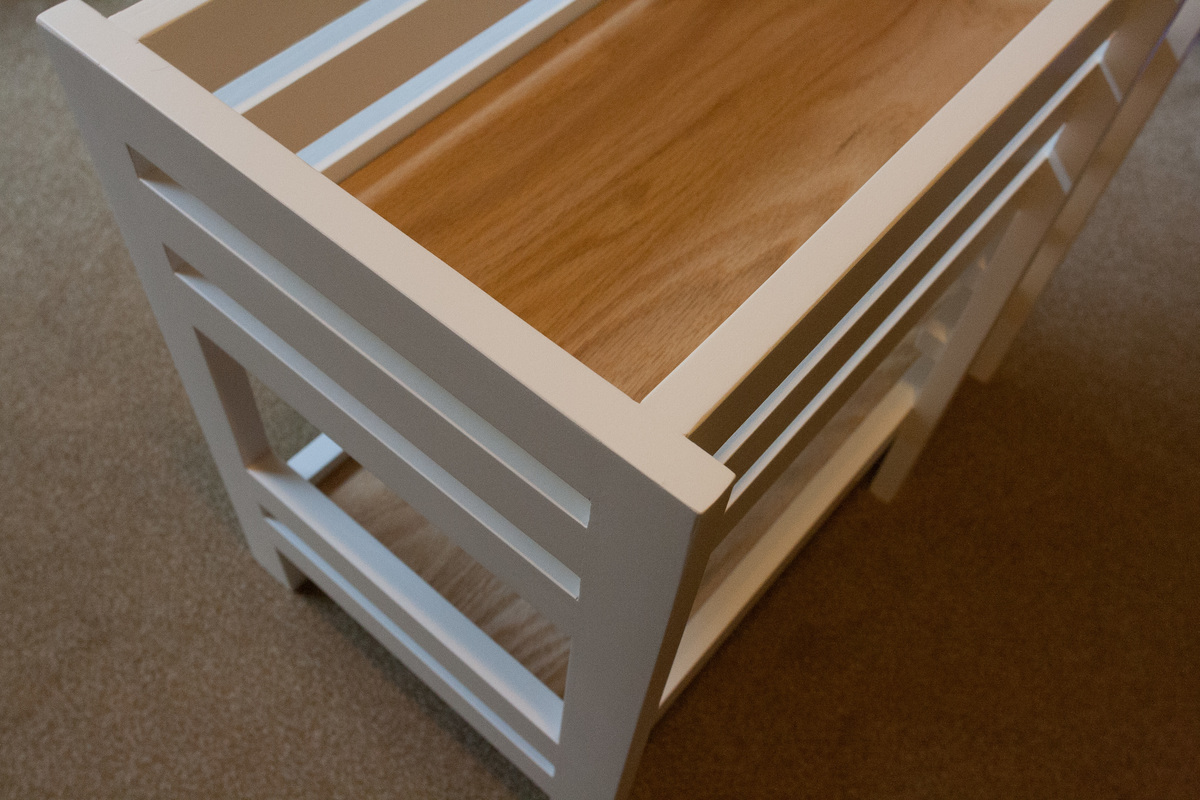
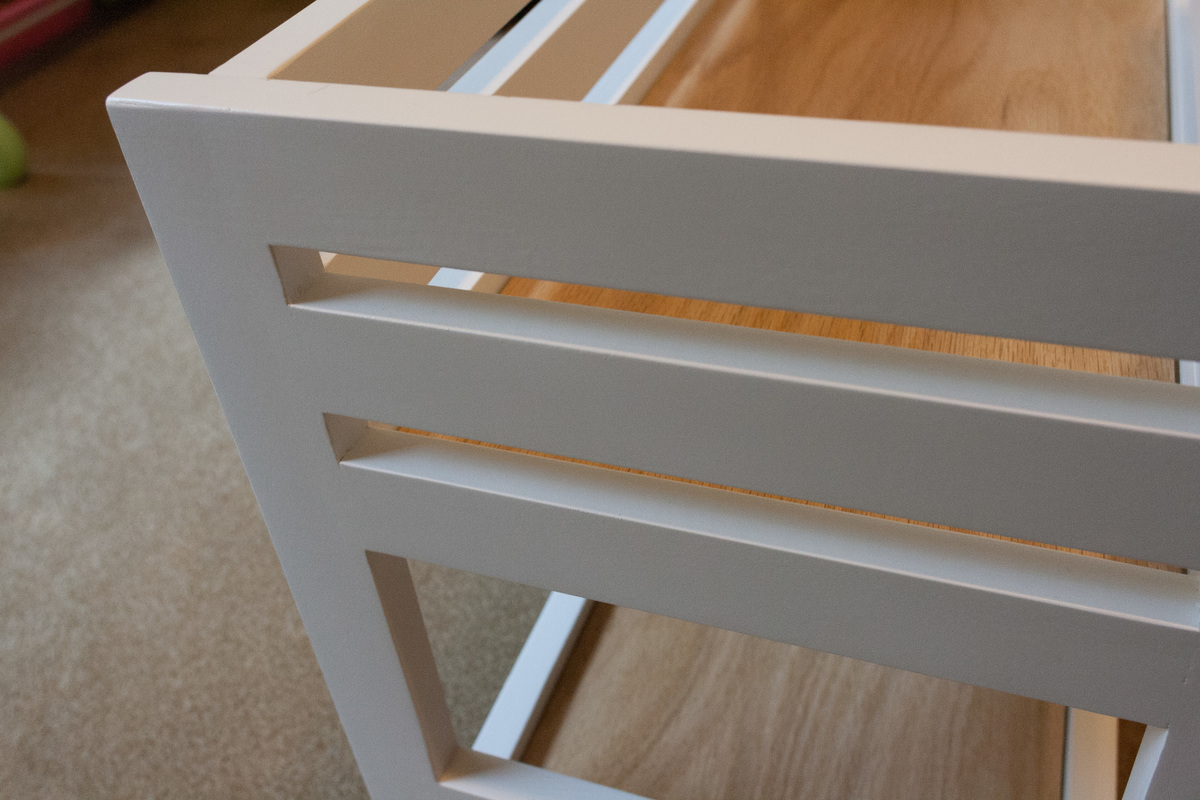
Made from Easy Kitchen Island Plan With a few changes.
Body built from pine, Top surface built of oak.
The shelves were shortened by half To make room for two chairs.
Body painted with varnish polished sporadically.
Top Painted with three layers of varnish after polishing.
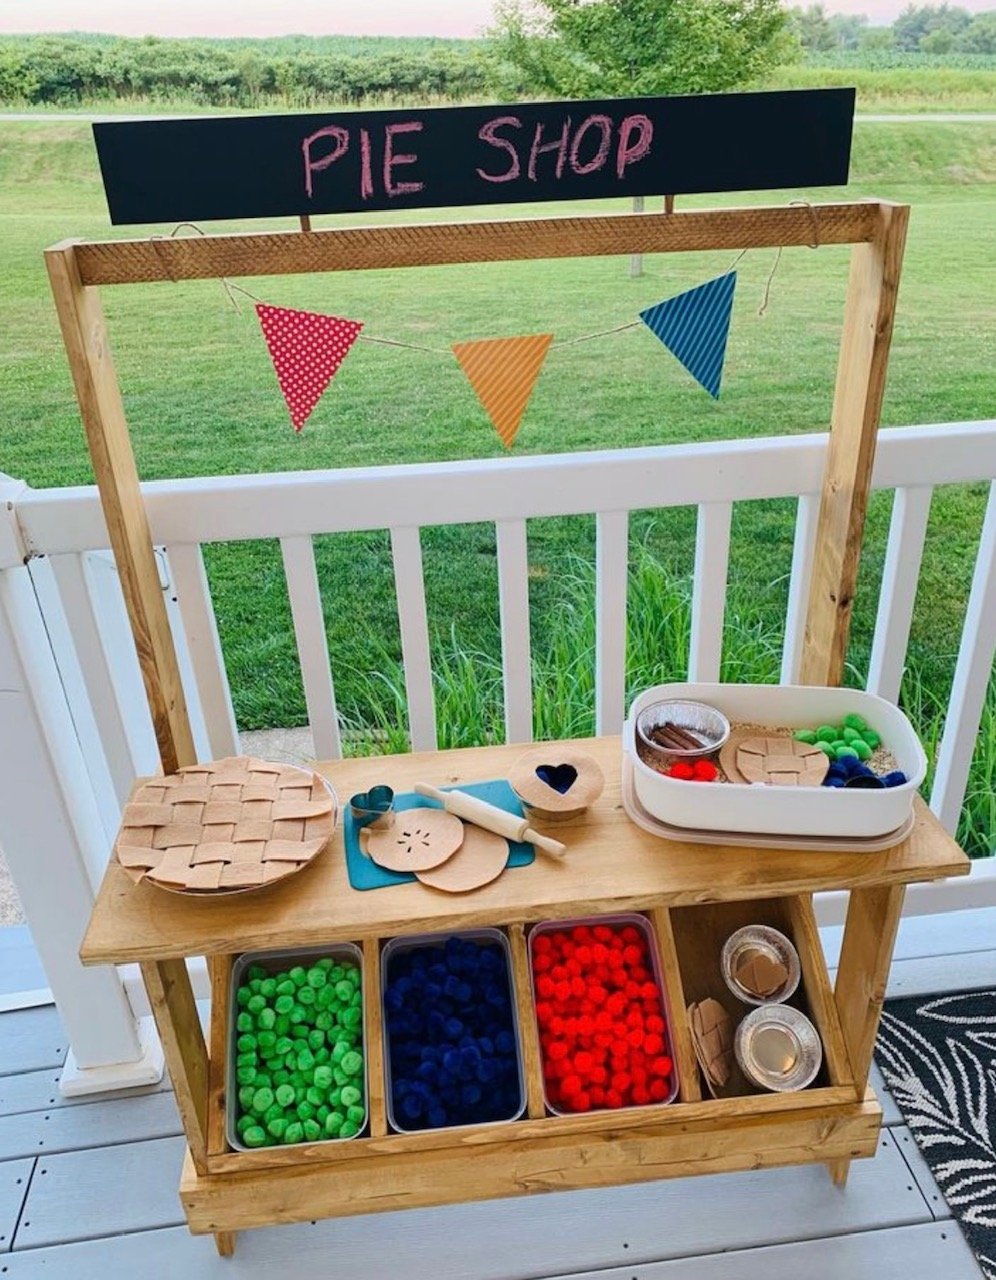
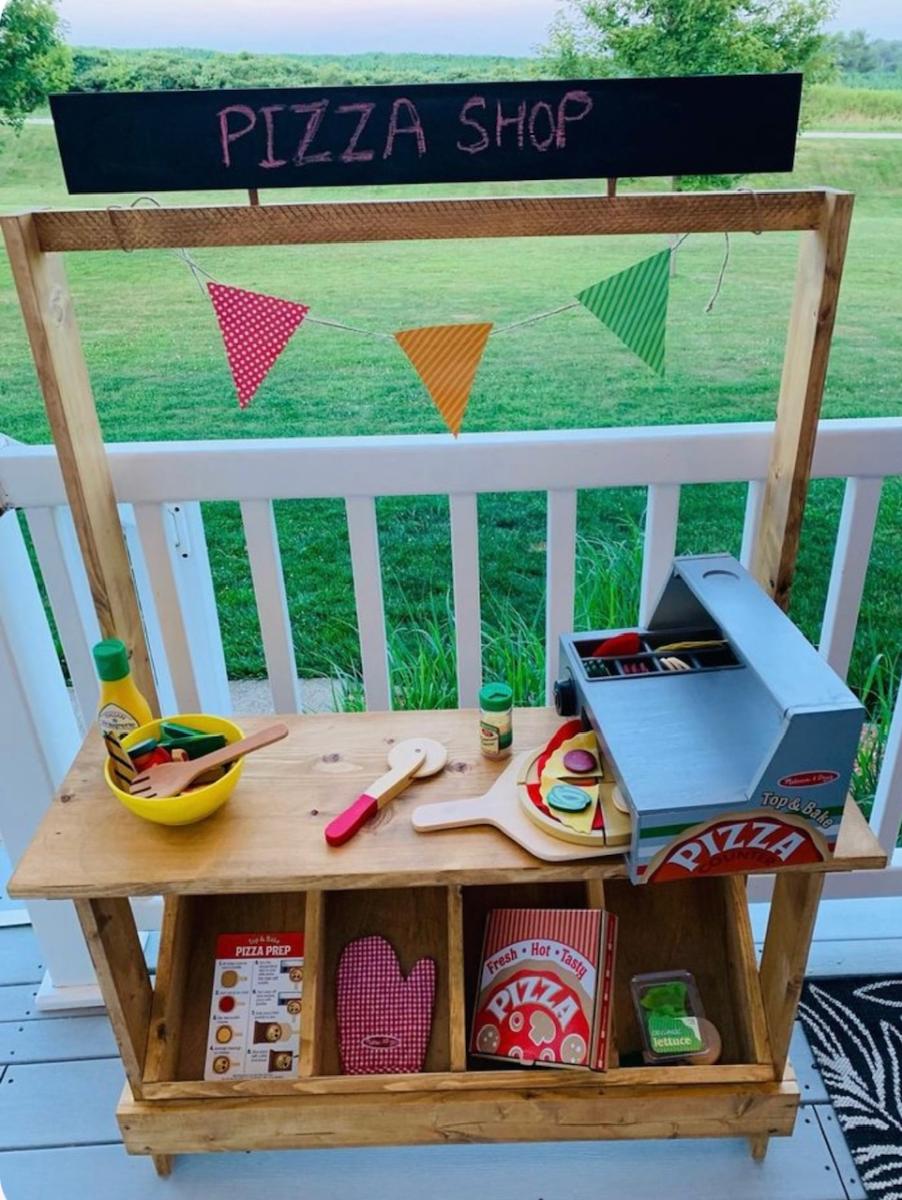
For a 4-H project this year, I want to make the Play Farmer’s Market Stand. I currently work at a daycare and I think the kids would love it.

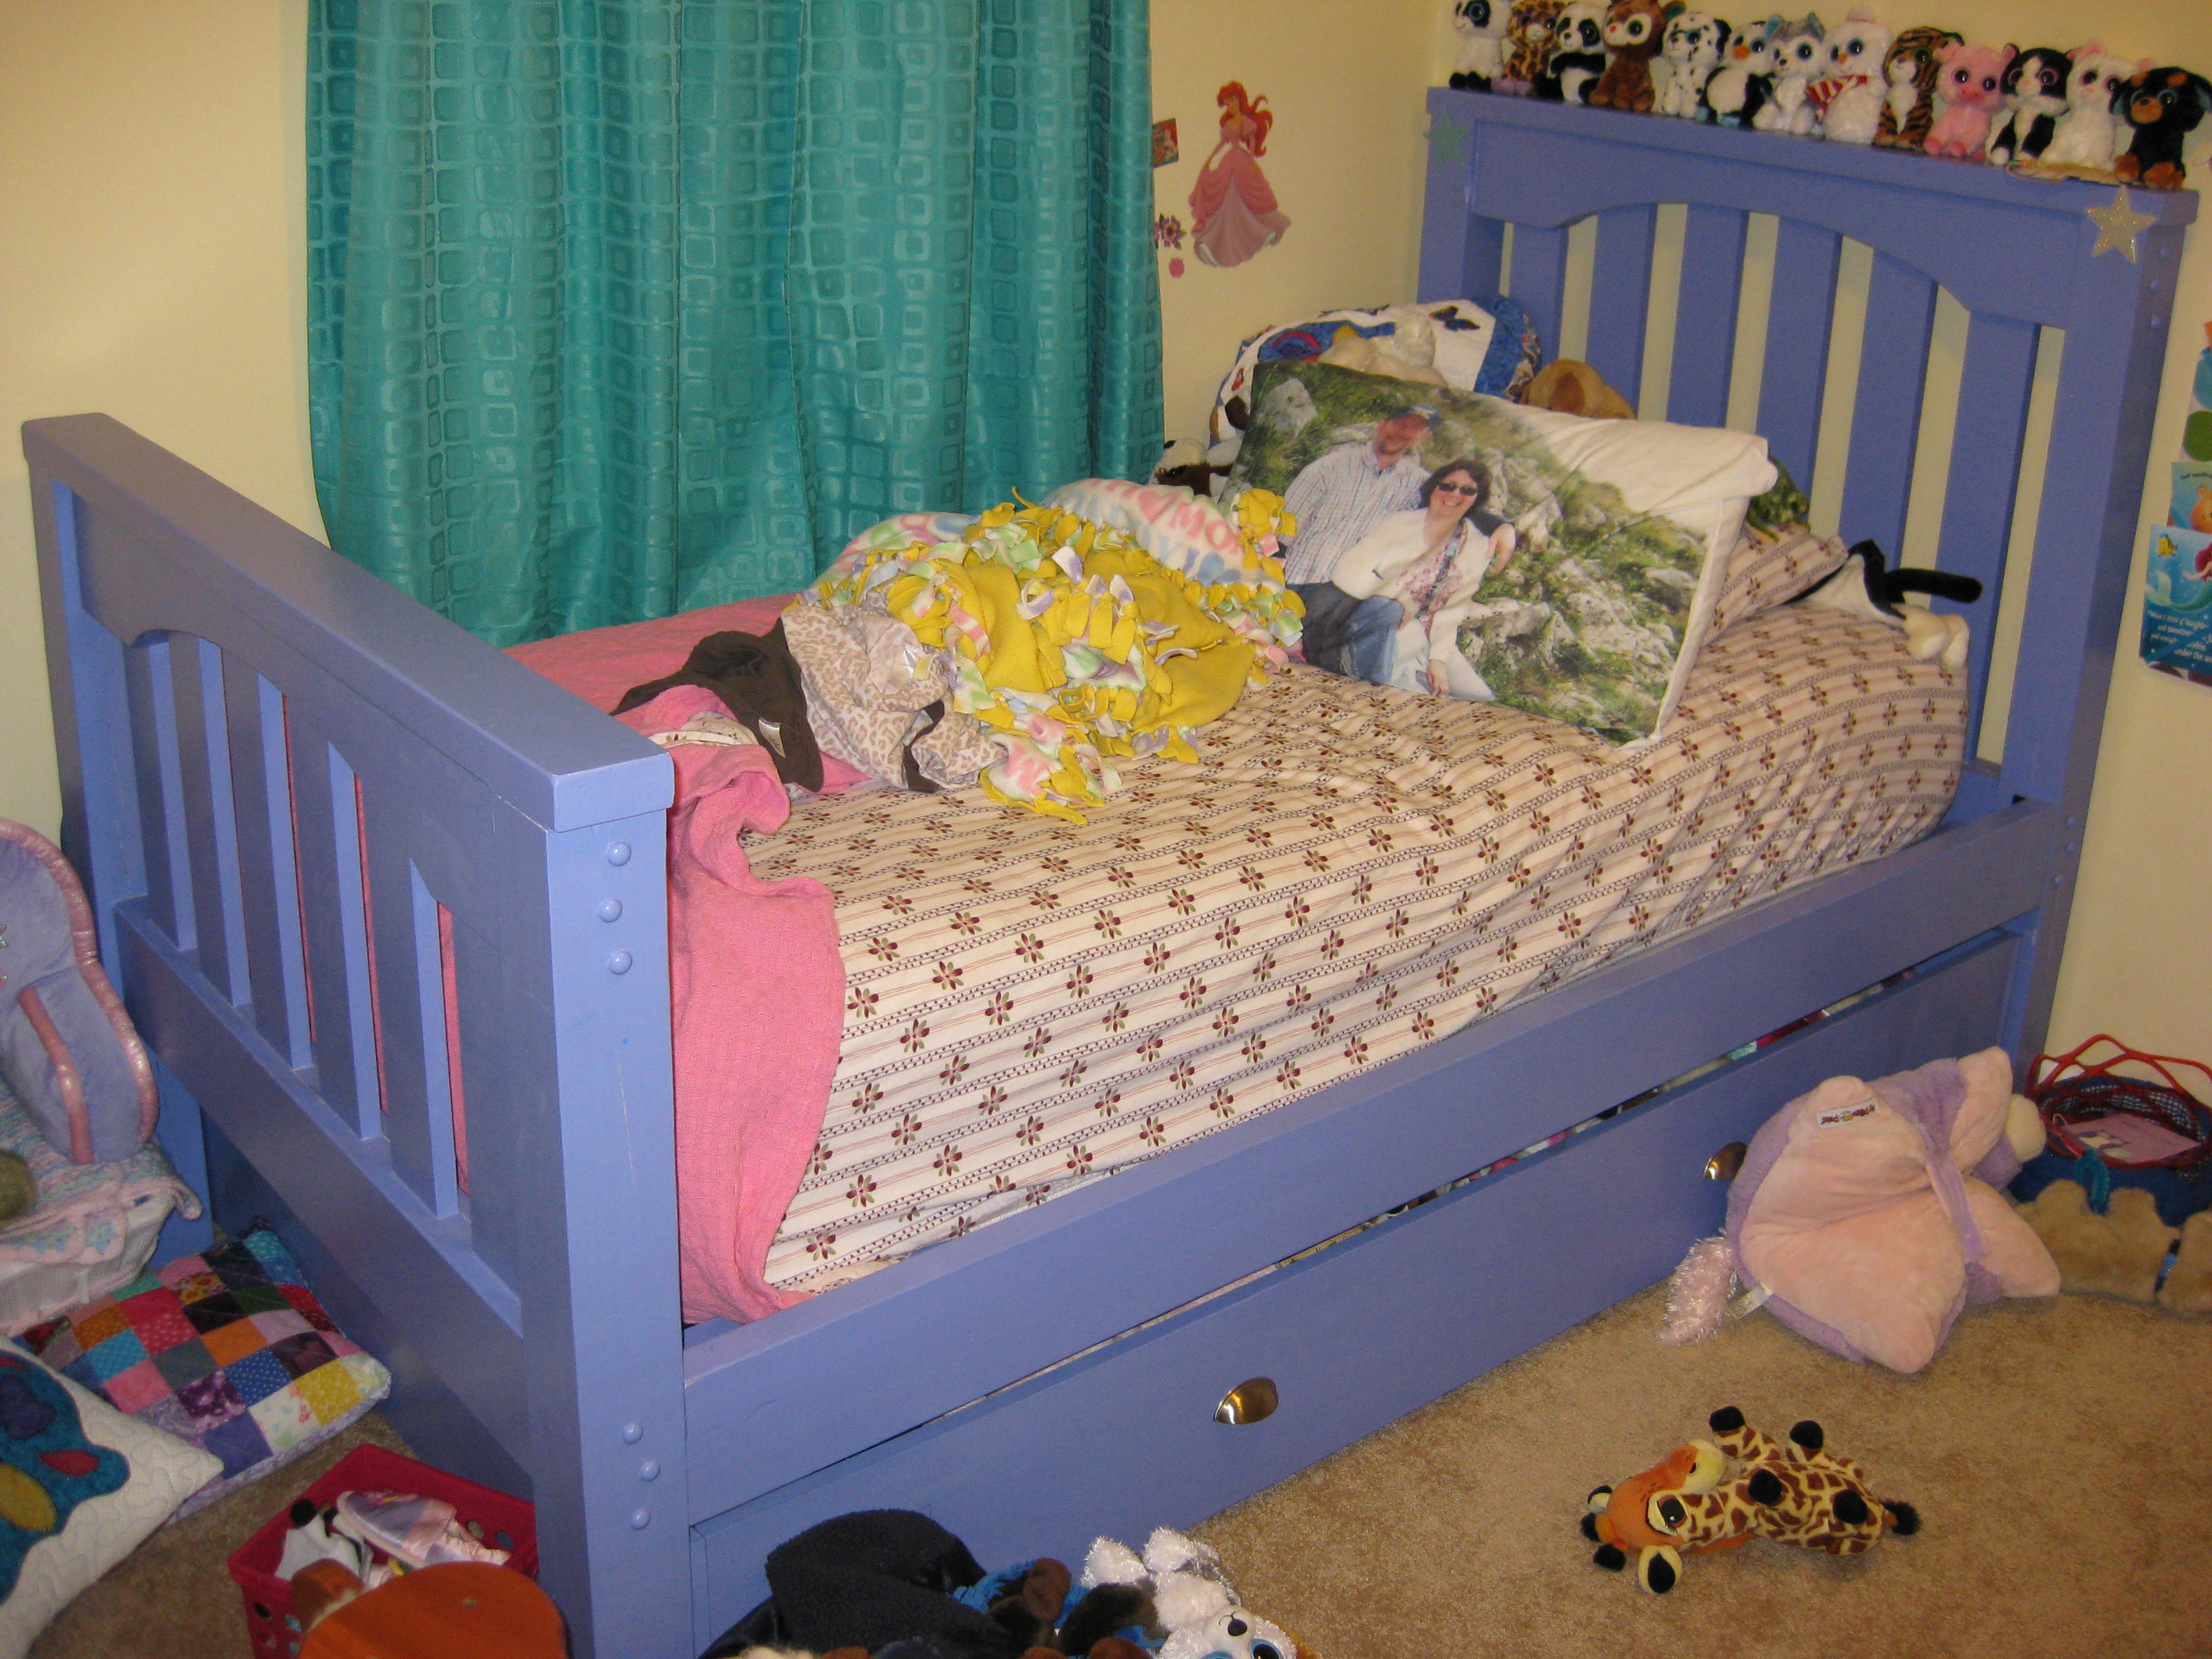
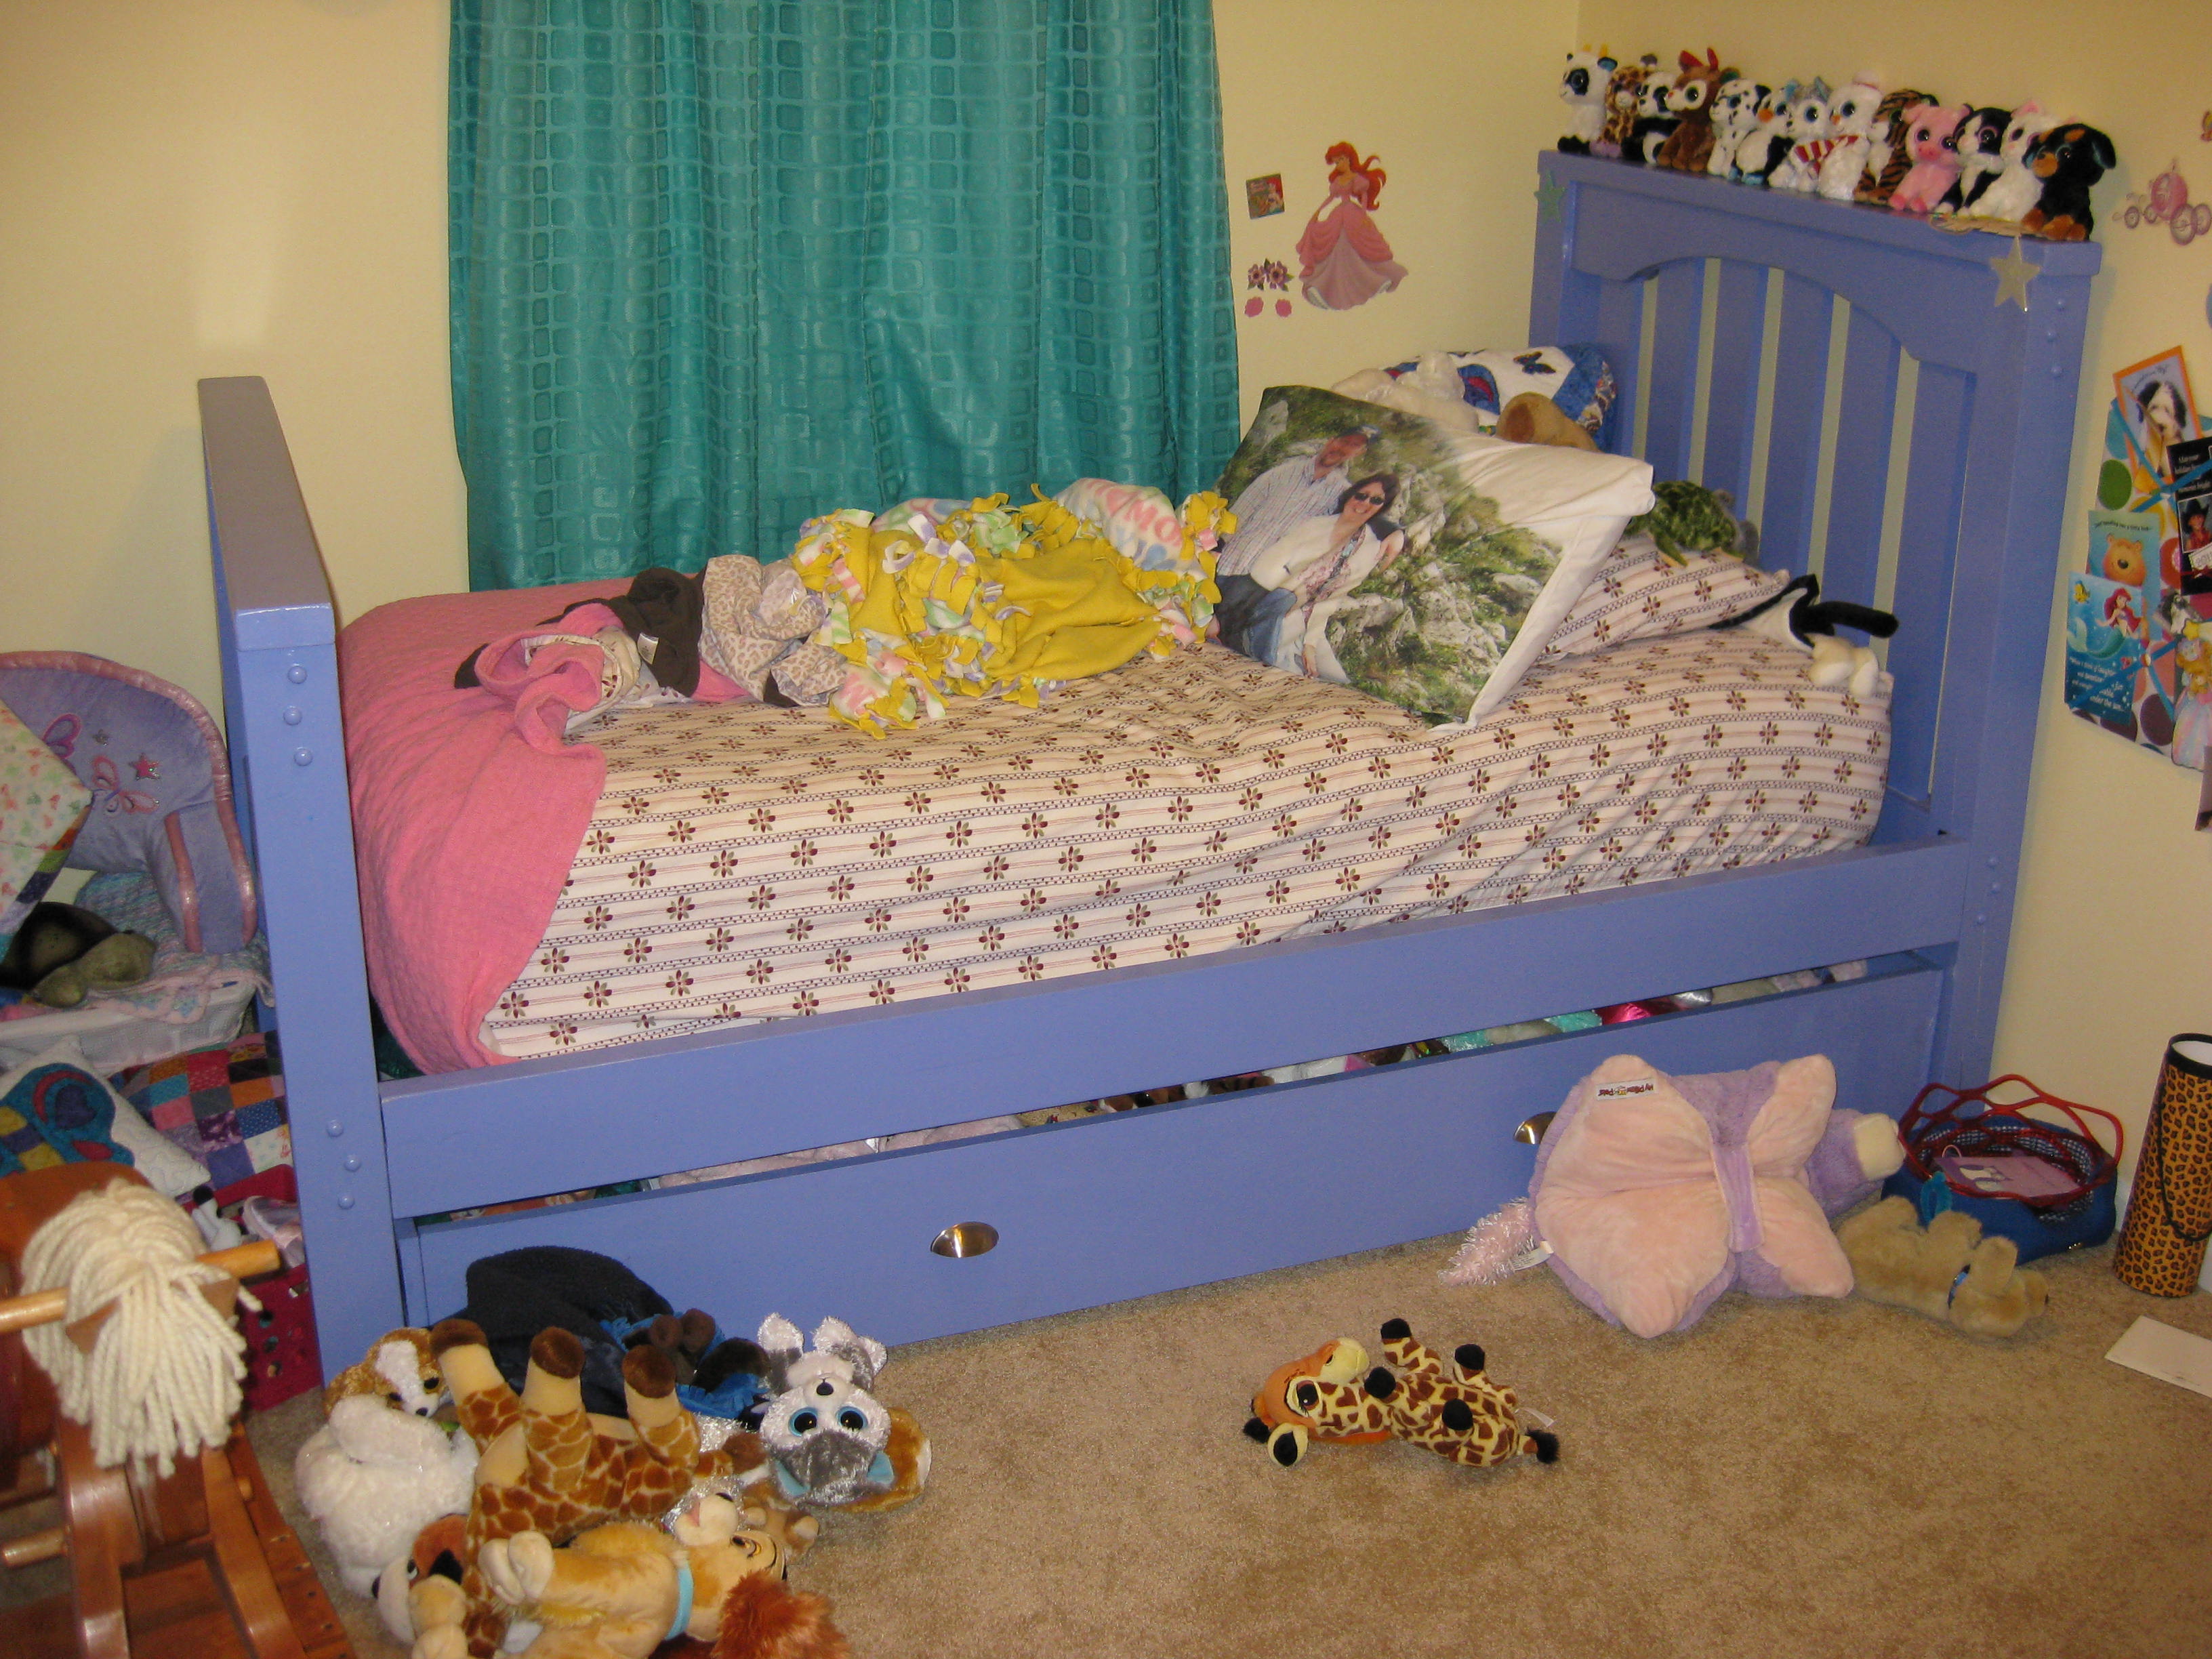
We had just moved from OH to NC and needed a bed for our daughter. We decided to build rather than buy when we found out the prices. We built it out of pine since we plan to upgrade to something bigger in a few years. The plans were easy to follow and we made a few changes to fit our needs and the trundle we built under it for stuffed animal storage for now. The process was simple since we bought all the material in one place. We glued each piece and used screws to hold it all together. We purchased brackets from online to allow us to remove the rails from the head and foot board for moving. Sanded each piece with 180 than 220 grit sandpaper and wood filled all the cracks for a smooth finish.
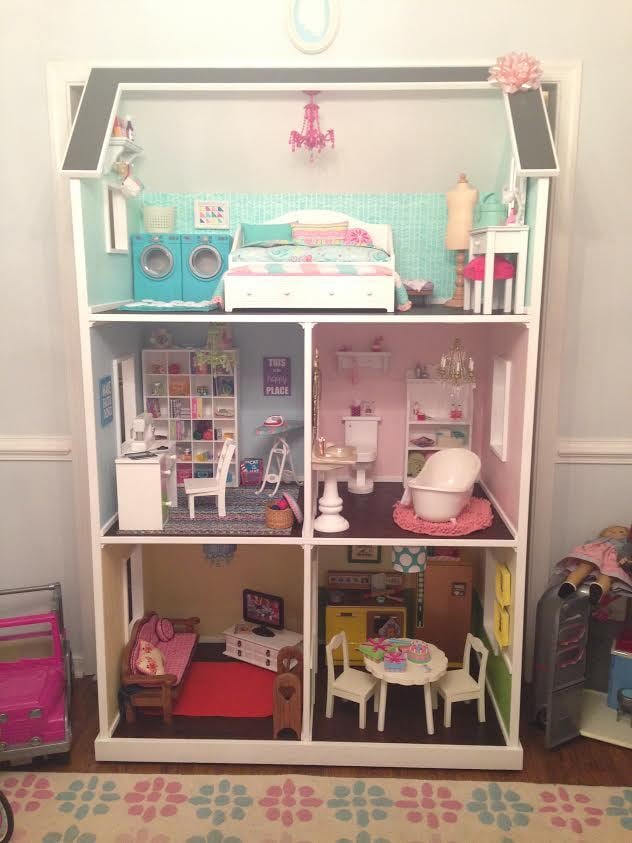
This doll bunk bed was constructed by my twin sons (age 9) and me as a Christmas present for their younger sister.
The tools used were:
Circular saw with Eurekazone tracks
Random orbital sander
320 grit sanding sponge
HVLP 4-stage sprayer
Dowelmax
Kreg Jig
18 gauge brad nailer
Various Clamps
Oscillating Multitool
Chisels
The Eurekazone tracks allowed me to easily rip the thicker stock for the ladder steps and also allowed for boards to be cut to identical lengths as necessary.
The Dowelmax was used for the head and foot of the bed. It allows for very close alignment of the faces. A quick sanding allowed for straight gap-free alignment. It also allowed the boys to easily drill straight.
The Kreg jig was used with two screws at the end of each board. This allowed the use of the Kreg 90 degree clamp in one of the holes. The holes were filled with the Kreg paint-grade plugs. The top boards were aligned by setting the bed upside down on the bench for alignment.
The plywood was attached using a gel cyanoacrylate glue with a few brads.
The oscillating multitool was used to flush cut the Kreg plugs. The little bit of plug left after that was trimmed off with a chisel.
Thu, 01/02/2014 - 08:47
I was looking at the closeups of your joints. The dowel joints are seamless. I used dowels when I made this bunk for my kids, but I didn't use "blind" dowels like you. I used simply drilled a hole through the joint, inserted a dowel, and trimmed off the extra (so called "through" dowel joints). I painted it so you don't see the dowel, but you're joints look nearly perfect and can be used with a clear finish. I'm envious.
Fri, 01/03/2014 - 11:21
The real key was the Dowelmax jig. You can easily get 1/100th of an inch accuracy across reference faces (basically as accurate as your fingertips can sense). After that, it's just a bit of sanding.
Using the pocket holes was a bit trickier for both alignment and filling in the holes. Using two pockets holes so that one could be used for clamping made the alignment easier. I would have skipped the pocket holes entirely, but I had dowel interference problems if I used dowels for both the ends and the sides. Pocket hole screws easily screwed into the end dowels that were hidden. The pocket holes would also make a clear finish more difficult (I'd probably stain it first to blend the inserts with the normal wood).
We get so many compliments on this table! Adjusted it to be a little shorter and narrower for our space.
4x4 farmhouse beam table using pressure treated lumber, made a little longer to accomodate 6' church pews, so pleased with the build, best part, it took me 3 hrs to complete!
Corrina Kelly
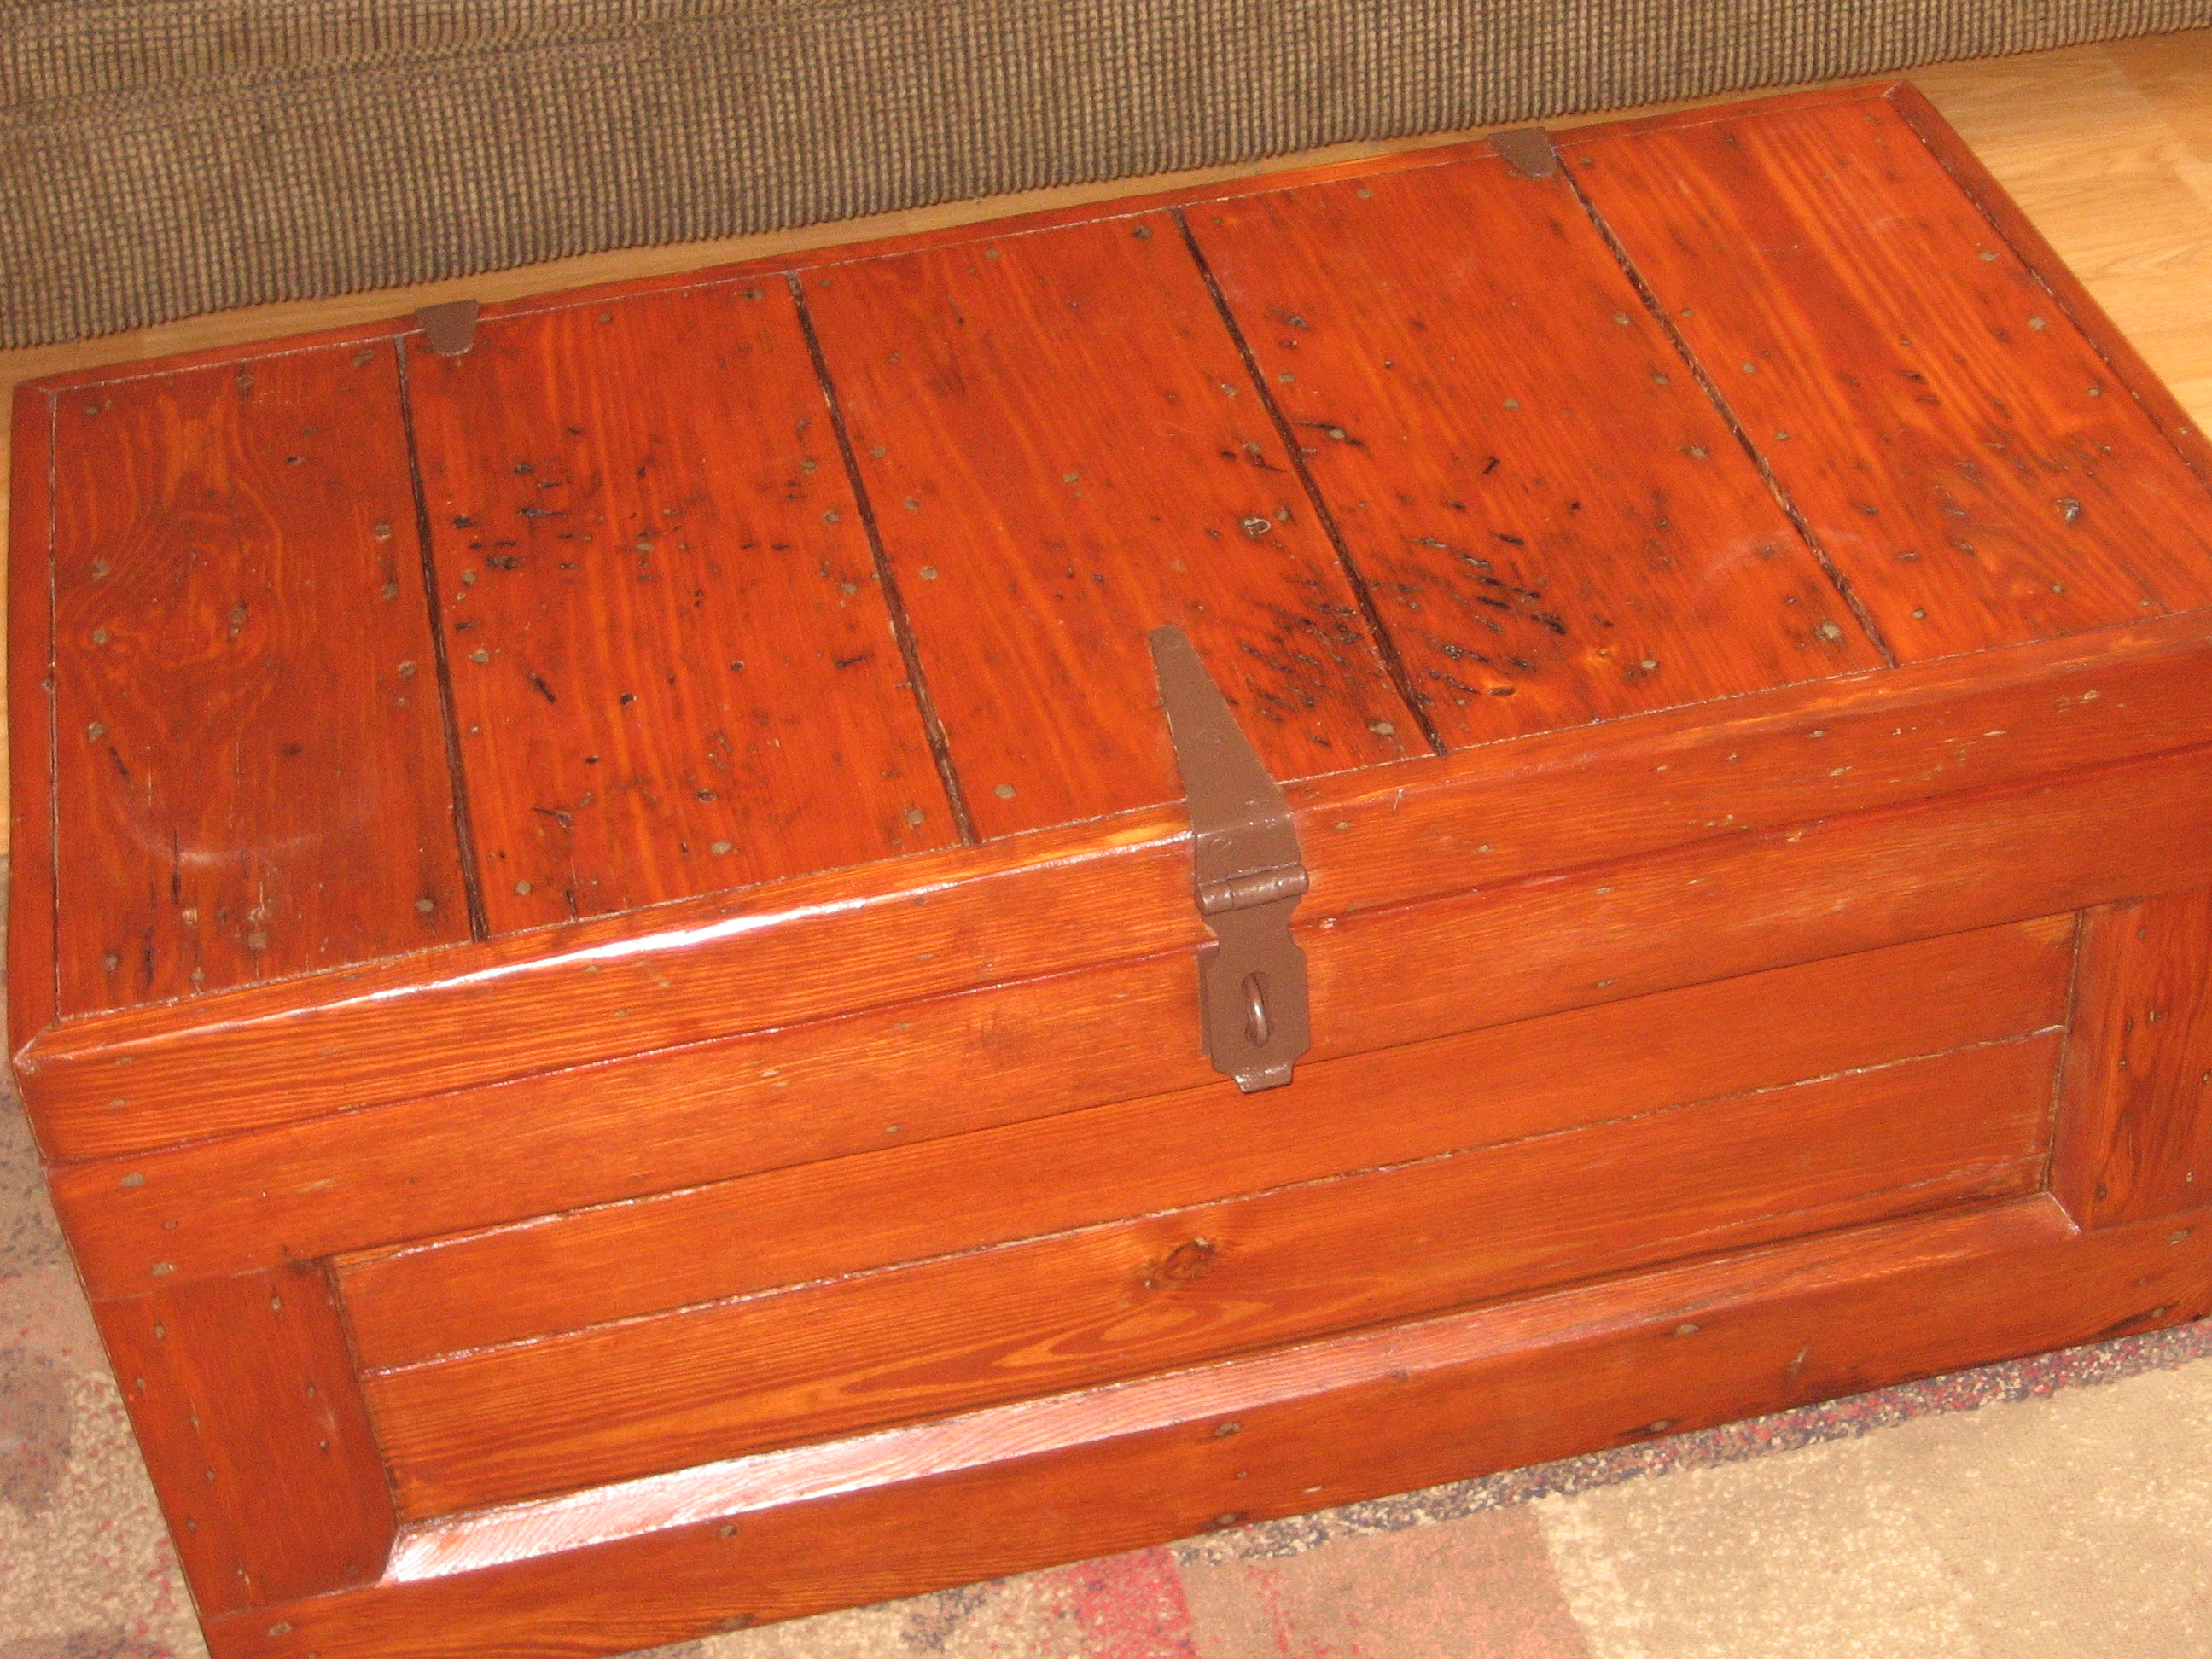
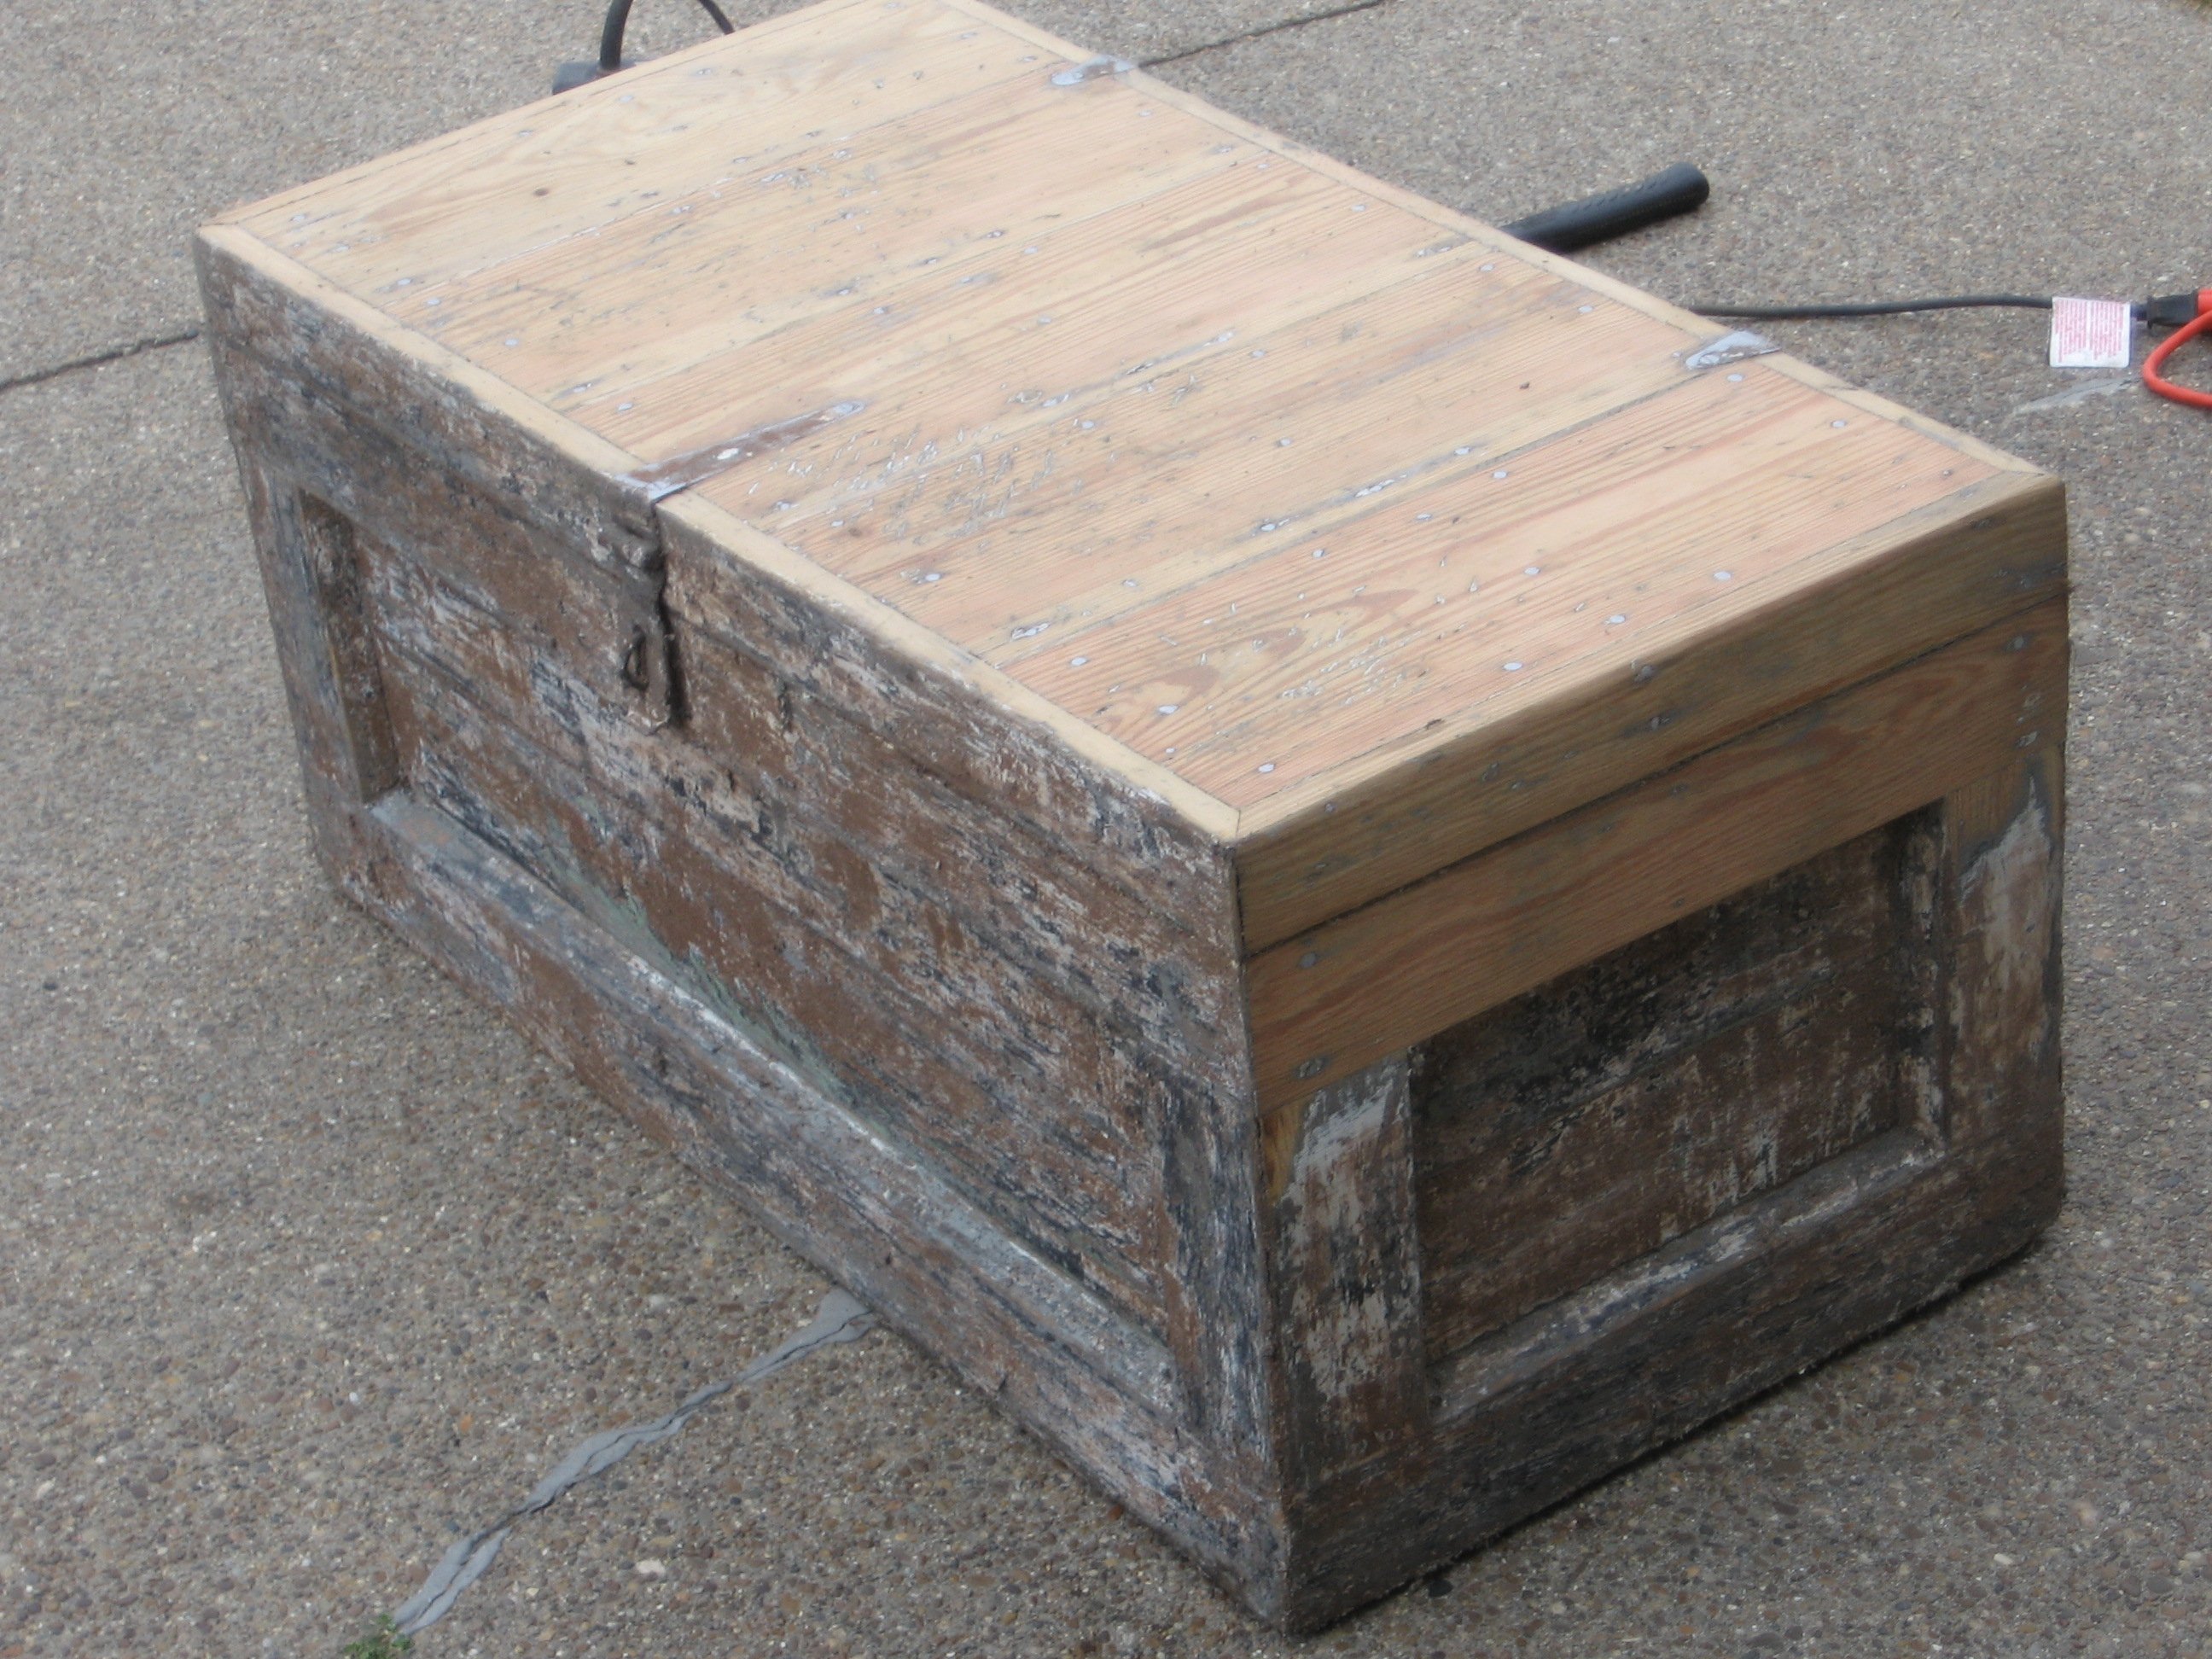
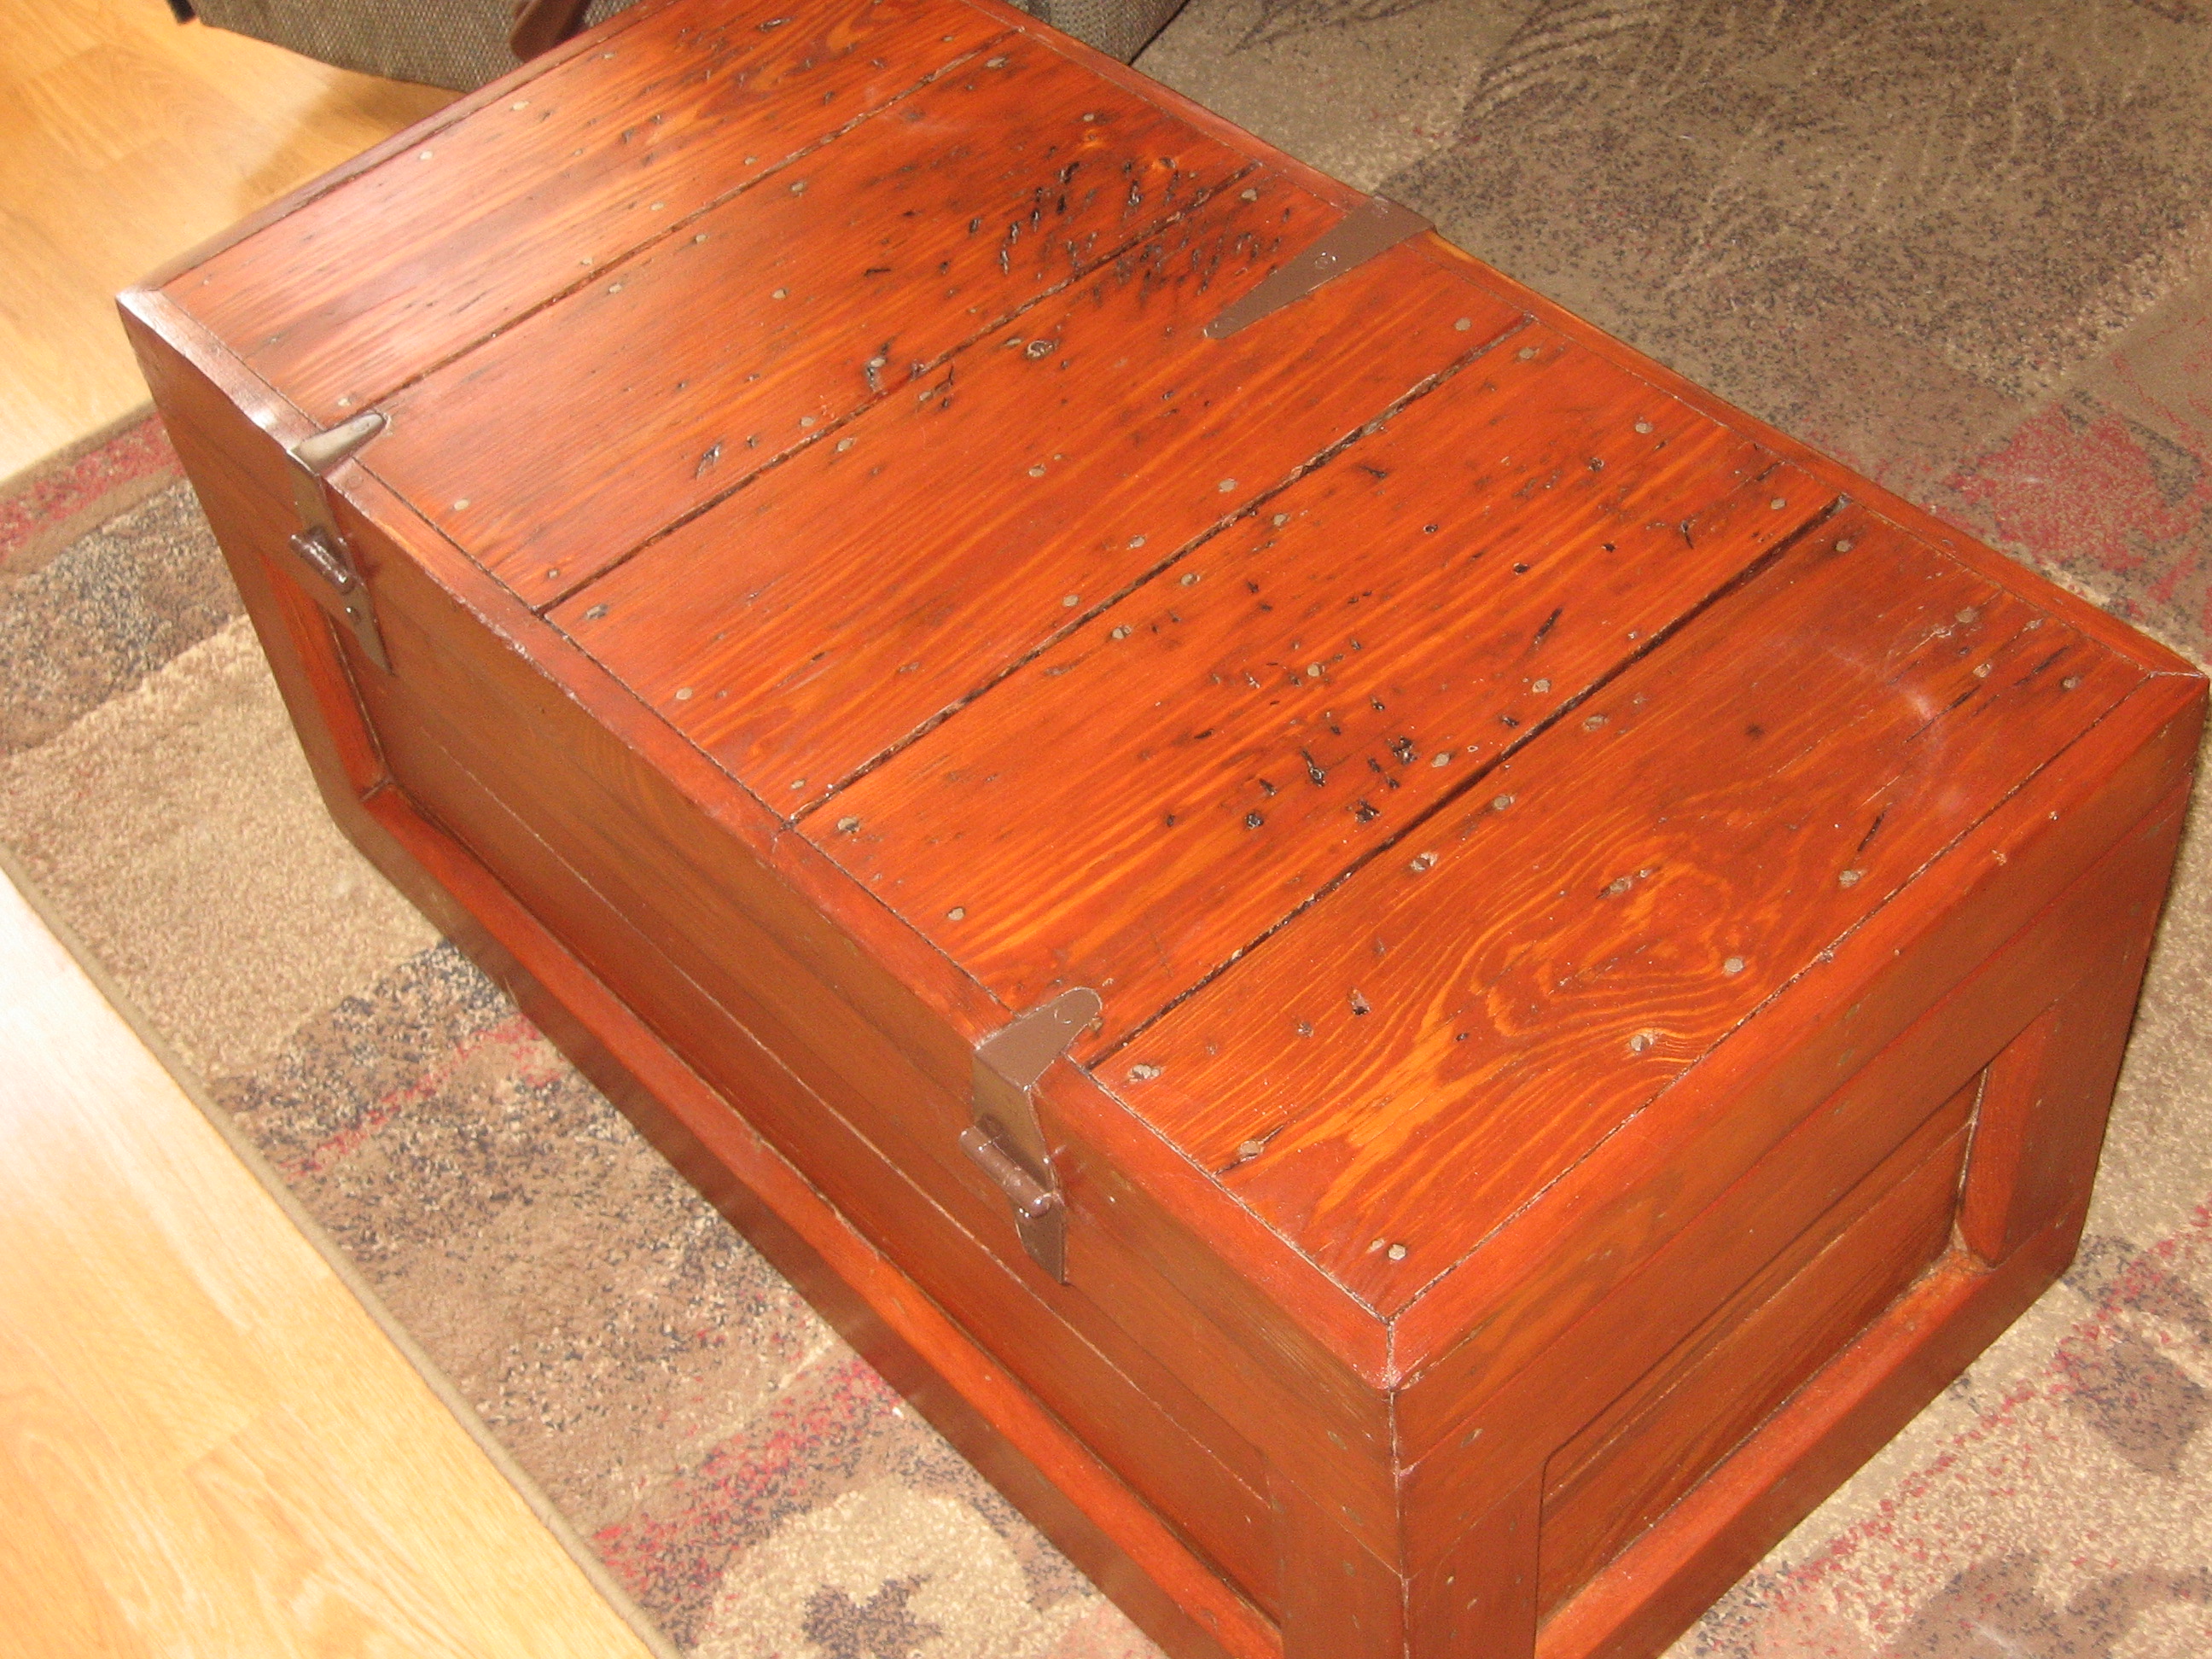
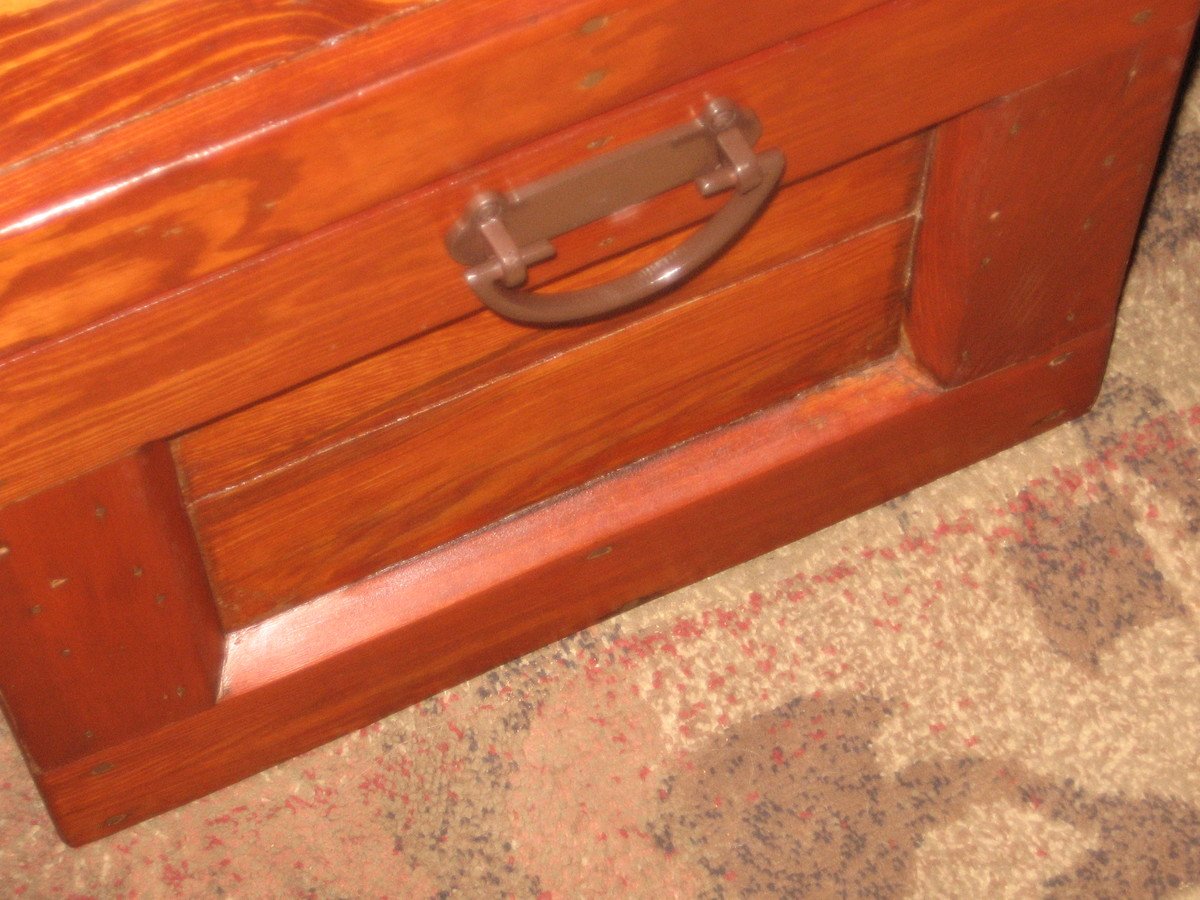
This was an old handmade tool trunk/carpenter's chest my dad gave me many years ago. It had been painted over many times and was quite ugly. I decided to strip it and refinish it. It is made of yellow pine and has many dings and countless nails in it. I think it just adds to the charm. It is now a coffee table.

Sun, 03/11/2012 - 01:47
I will have to draw something up. Or at least give the measurements. It really wasn't created to be a piece of furniture, though I use it as a coffee table. It really is heavy because it uses 2 layers of wood on the exterior and interior and then an abundance of nails were used and driven through both layers and then bent over. It made the refinish quite a challenge. Try sanding around all of those bent over nails w/o tearing your sandpaper. I also quit counting at 5 layers of paint. Much of it wasn't today's latex which removes quite easily. It was given to me by my deceased father so every minute I spent on it was sure worth it.
I have one more similar to it that I plan on refinishing in the near future. I am also on the hunt for an antique factory cart.

Pretty much just followed the directions. I used scraps to build this except for the plywood base.


We used the site plans and then added on more trim (front, around the roof and the corner pieces - plus "crown", "baseboard" and "chair rail".
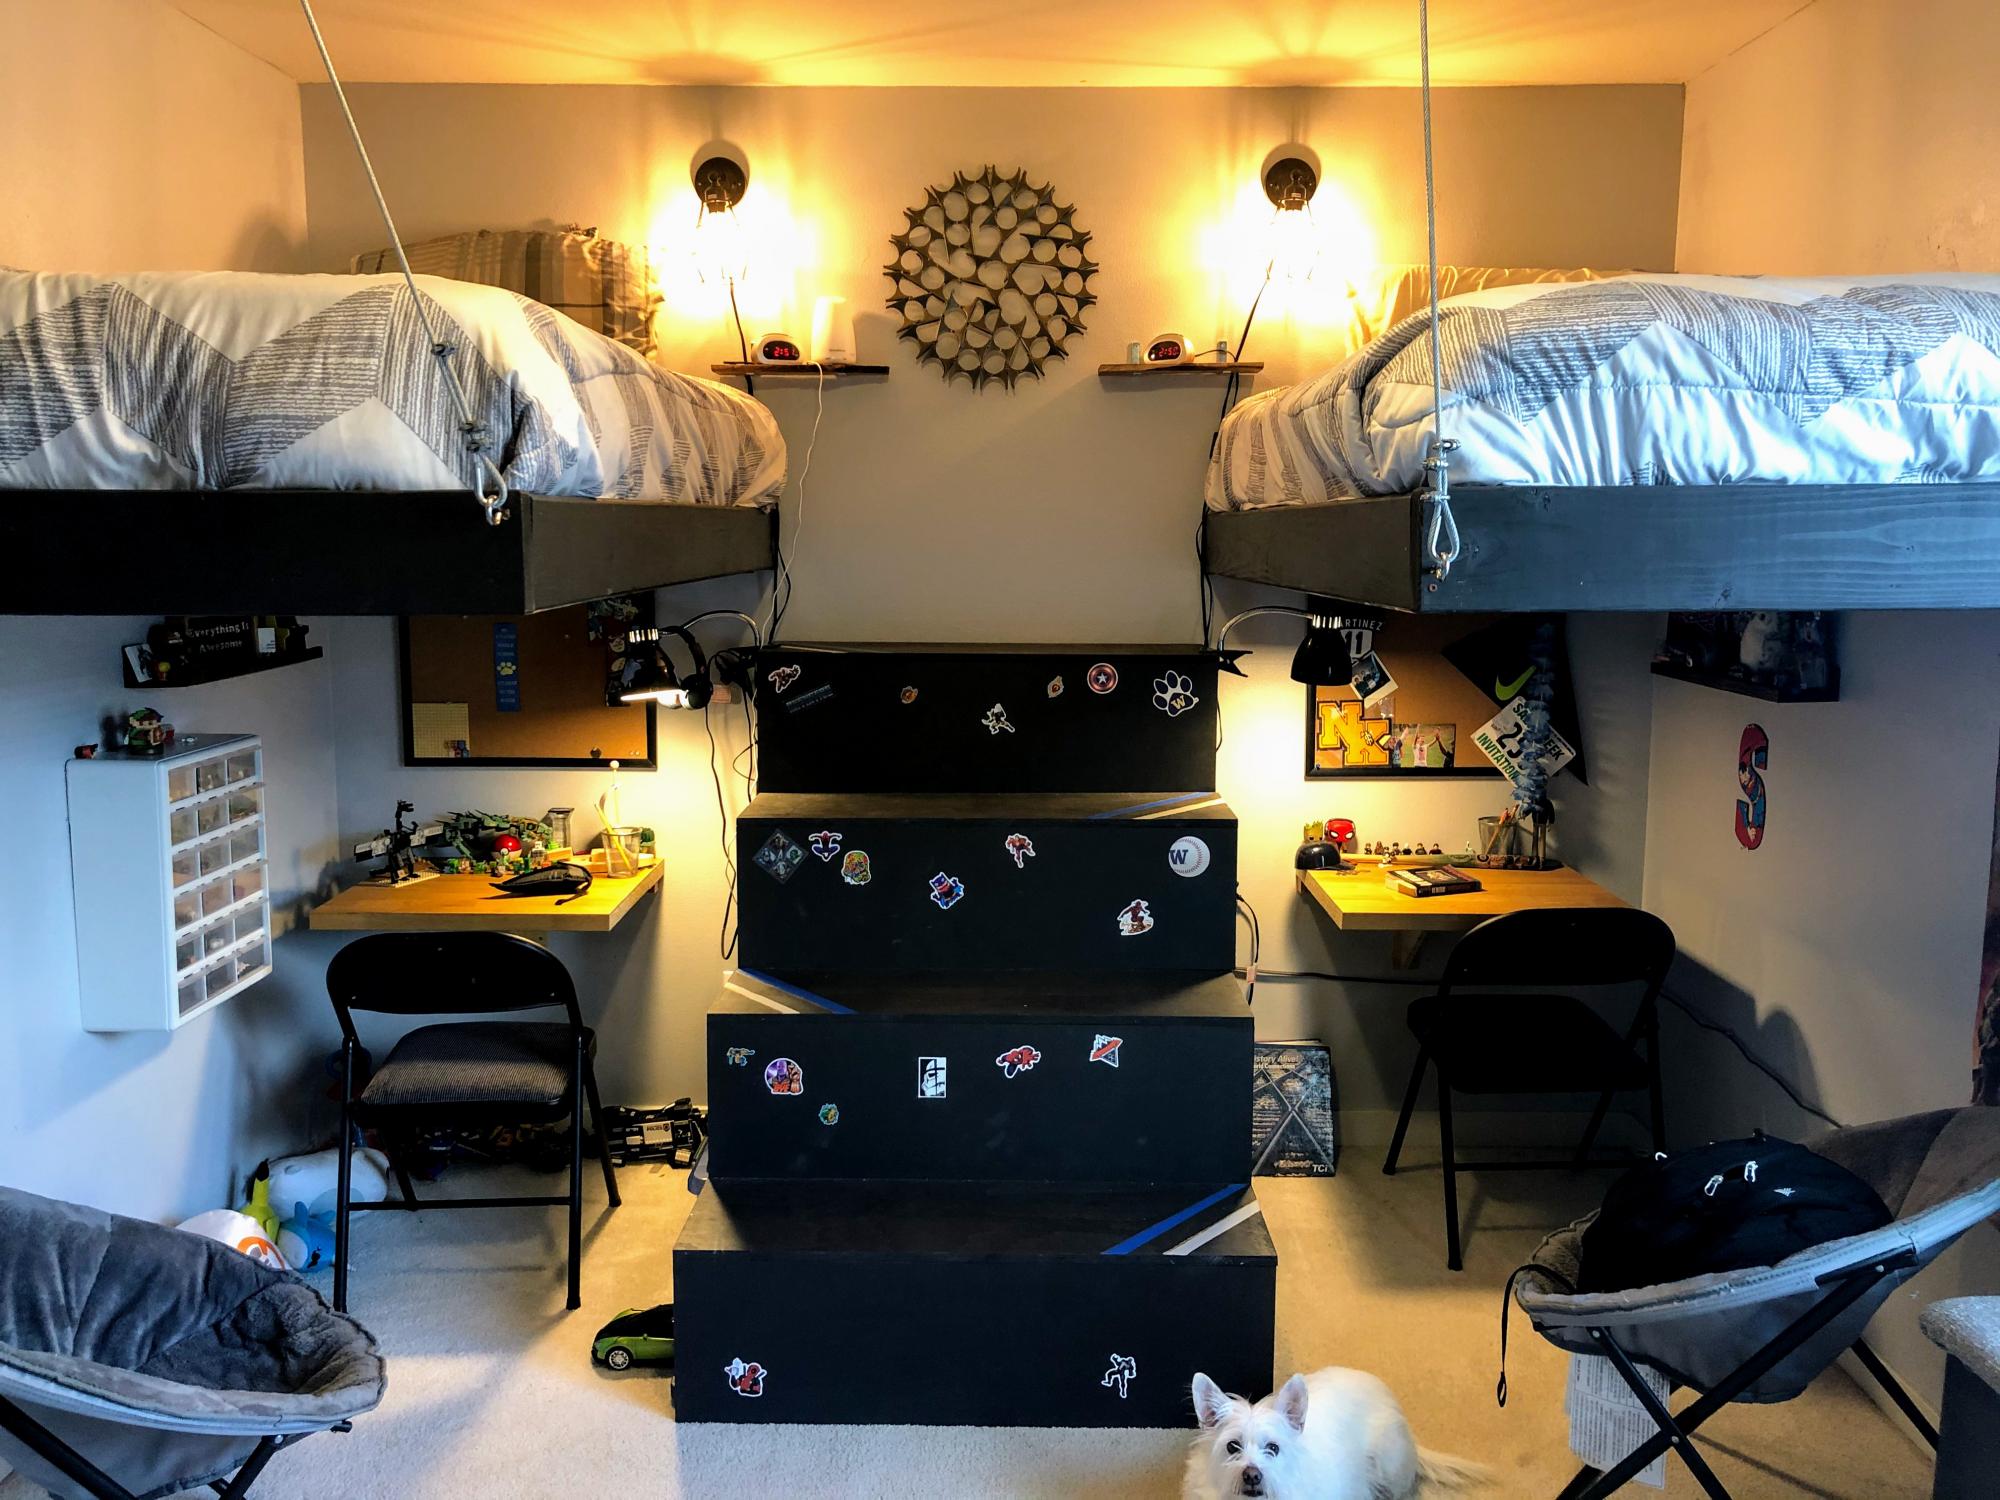
This is a room that we redid so that our two boys that shared the room could have a room that felt more age appropriate and allowed for better function. They have always had to share a room but have never had the space to have desks or much seating. So we hung both their beds from the wall and the ceiling allowing them to have some space under the beds for storage and a small desk. Having the beds up high keeps the area under the bed much cleaner. We also built a window seat for storage and used pallet wood to create a feature wall. The stairs between the beds also have storage accessible from both sides for books and toys. We did the same basic thing in the other boys room but had to do two sets of stairs because of the layout of the room. The stairs were built from a modified version of the Sweet Pea Garden Bunk Bed Stairs. http://ana-white.com/woodworking-projects/sweet-pea-bunk-bed. The beds we just basically took the legs off the beds we had and added braces in the corners.


Loved how easy, Inexpensive and fast this method of customized drawer organizers was to make.
Joan Johansson
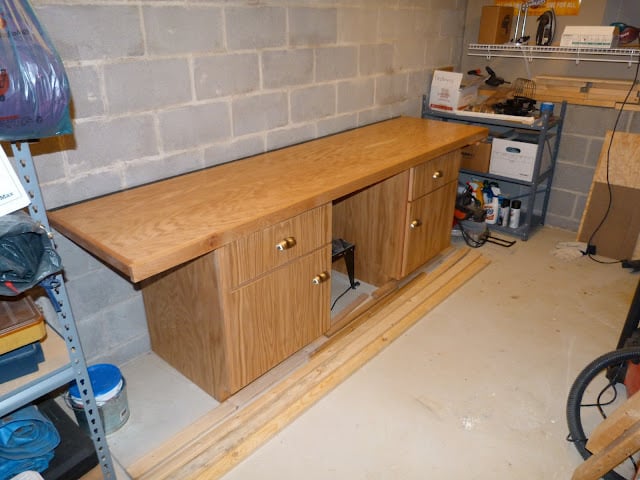
I built this bench to practice making base cabinets. Made the cabinets rather large (24 inches wide and deep). Provides a large, sturdy work area.
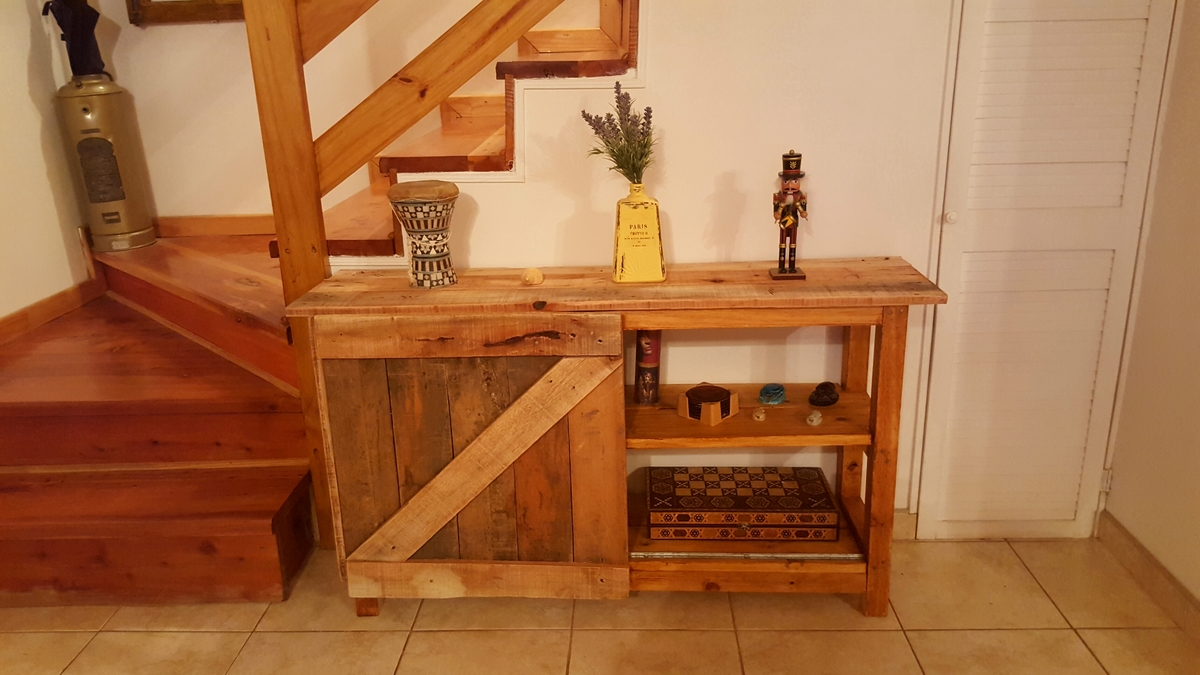
Utilicé pino y la madera de dos pallets. Modifiqué el plano original para que entrara en el espacio con el que contaba.