Community Brag Posts

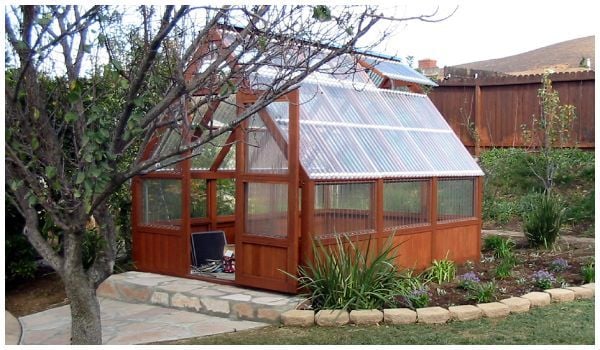
I used the corrugated polycarbonate to cover the greenhouse I made from a chalet style Sun Country Greenhouse Plans. Thanks for the idea.

Submitted by Anonymous (not verified) on Sat, 03/09/2019 - 06:34

I saw the barn shaped greenhouse plan but preferred a regular roof pitch. I did however incorporate the corrugated polycarbionate as a covering. I find it odd that you guys installed the polycarbonate horizonitally instead of vertically.

Anyway thanks for the info on polycarbonate.

Built from Plan(s)
Estimated Cost
Using cedar framing... 9 x 16' @ $3000 +/-
Estimated Time Investment
Week Long Project (20 Hours or More)
Finish Used
Behr
Recommended Skill Level
Intermediate

Comments

hauxy

Tue, 09/01/2020 - 17:47

Love this! I really prefer the roofline on your greenhouse. Did you modify Ana's design, or did you get plans from another site? Would love to replicate your design if possible-very elegant.

Seasonal And Holiday

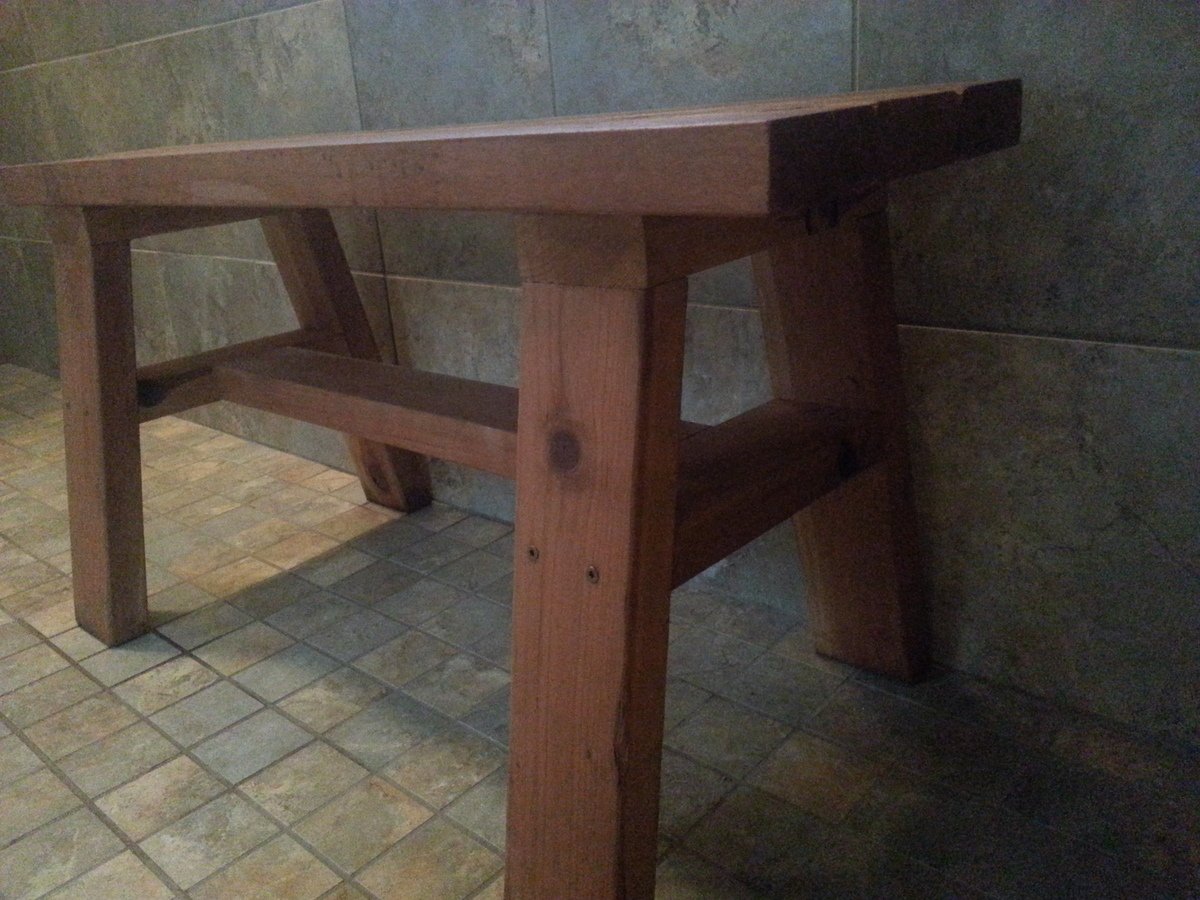
Redwood Shower Bench

Submitted by lwarteman on Sun, 10/20/2013 - 08:33

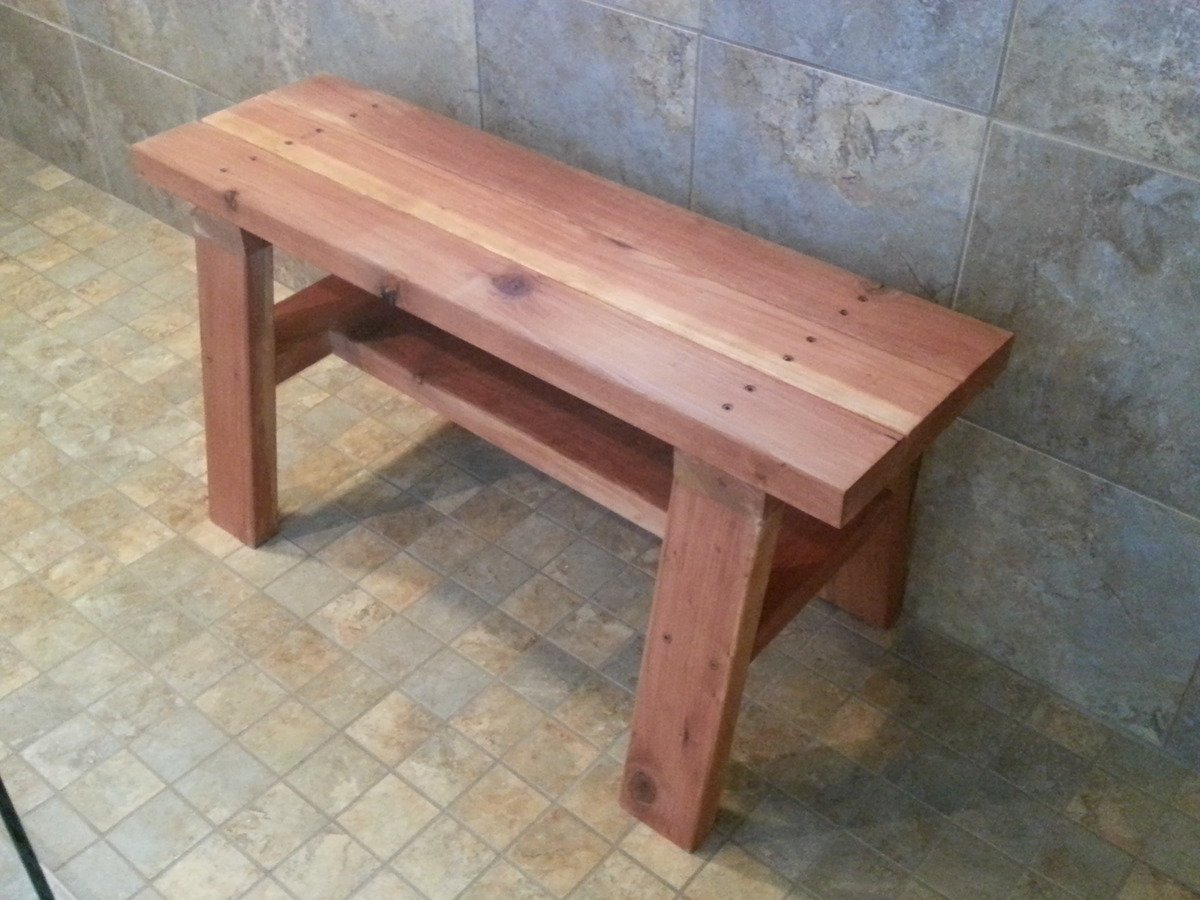
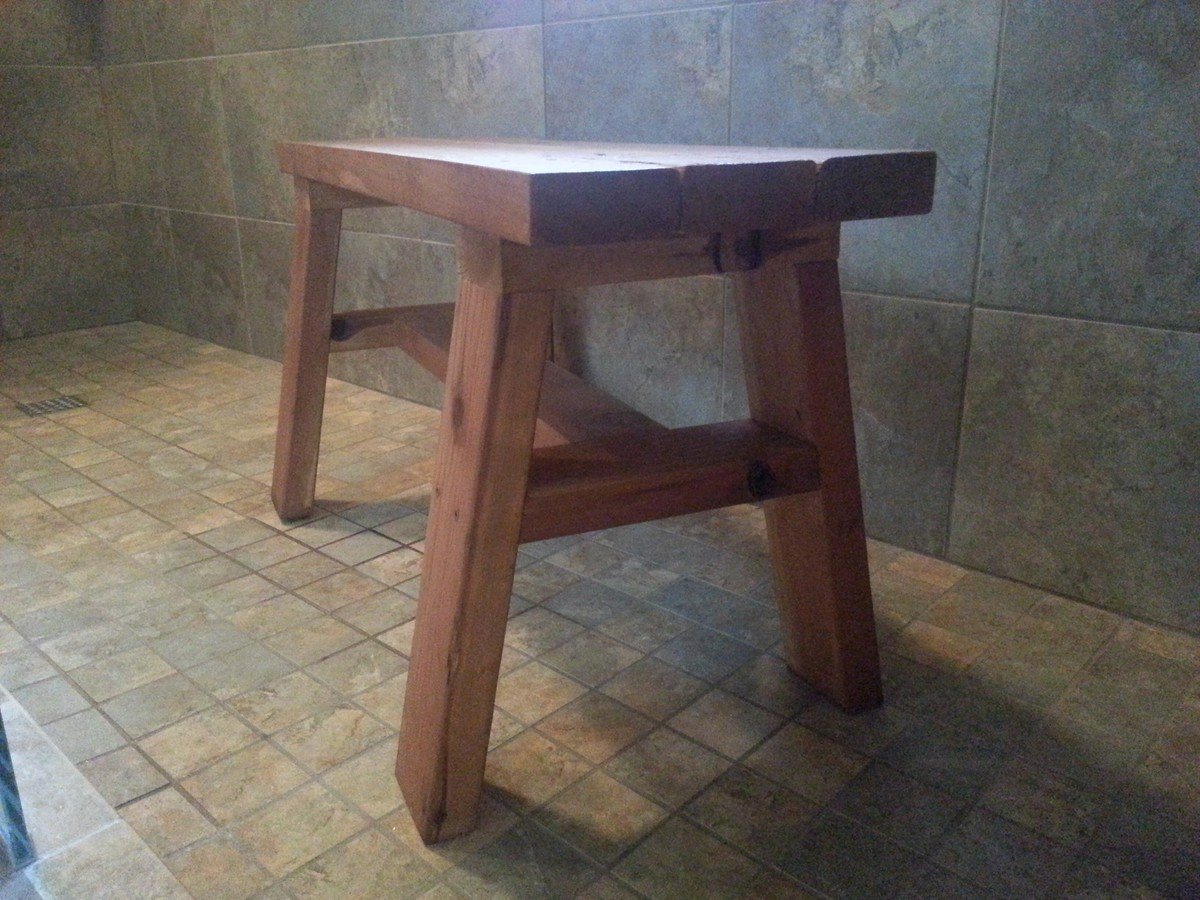
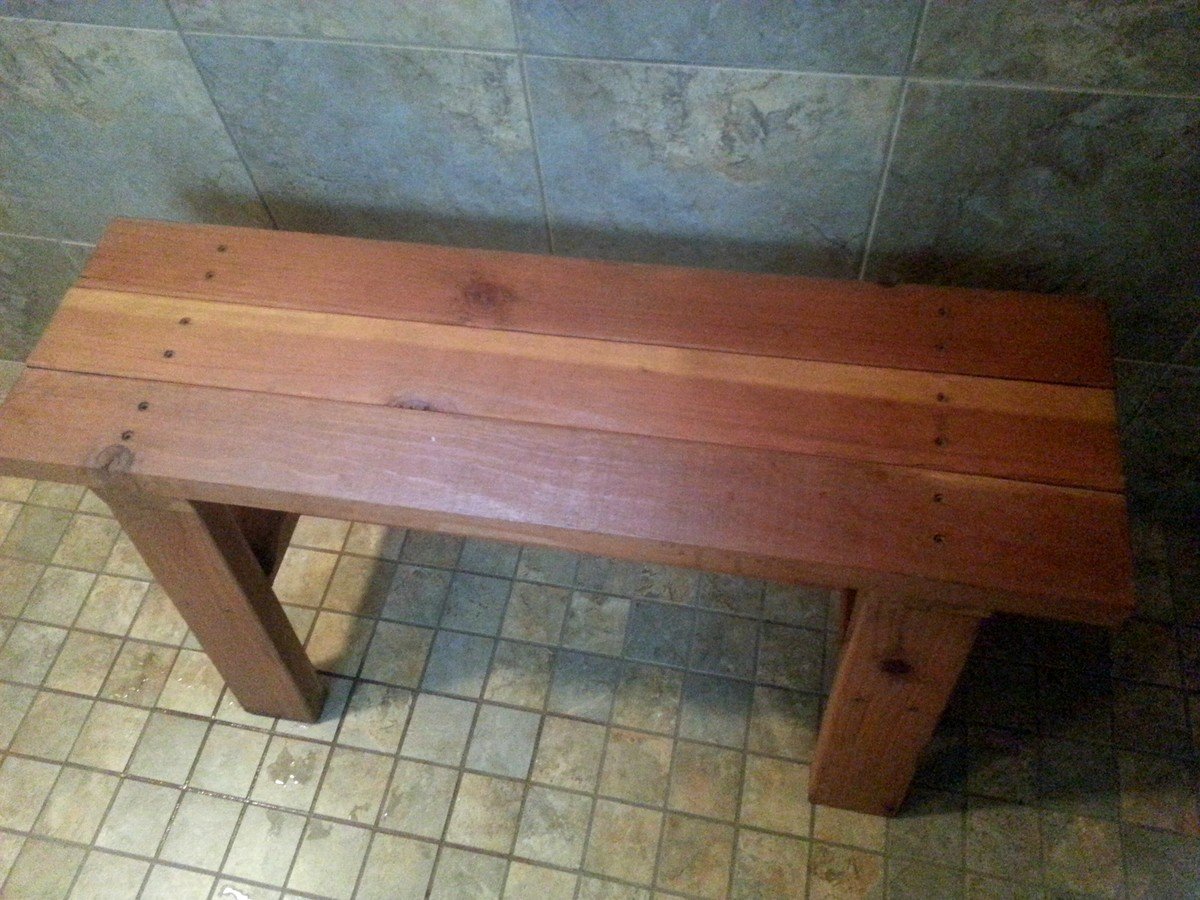
I wanted to build a small shower bench. I used the Providence Bench Plans and just made it a bit smaller with a few adjustments. This bench is 35" long and 18" tall. I did not use the cross supports on the bottom because it was so short. Also, you will see that I turned the bottom stretcher and side supports flat/horizontal. I put the screws for the seat boards through the top down just because this was the easiest way for me to do it. The plans did not show in detail how to attach the seat boards from the underside. It just said "finally, the seat boards." I guess they probably used a pocket jig. I bought a pocket jig and used it in the couple of places, but this was my first time using it. I used brown, coated decking screws in the places I did not use the pocket screws. This was my first attempt at building anything and my first time to use a pocket jig. I used a natural wood stain and Behr Weather-Proofing since it will be in a wet area.

Built from Plan(s)
Estimated Cost
$20
Estimated Time Investment
An Hour or Two (0-2 Hours)
Finish Used
Behr All-in-One Stain and Weatherproofing in Cedar Naturaltone (No. 5533). Because this is going to be in a wet area, I put 2 coats on and let each one dry 12-24 hours in between and before getting wet.
Recommended Skill Level
Beginner

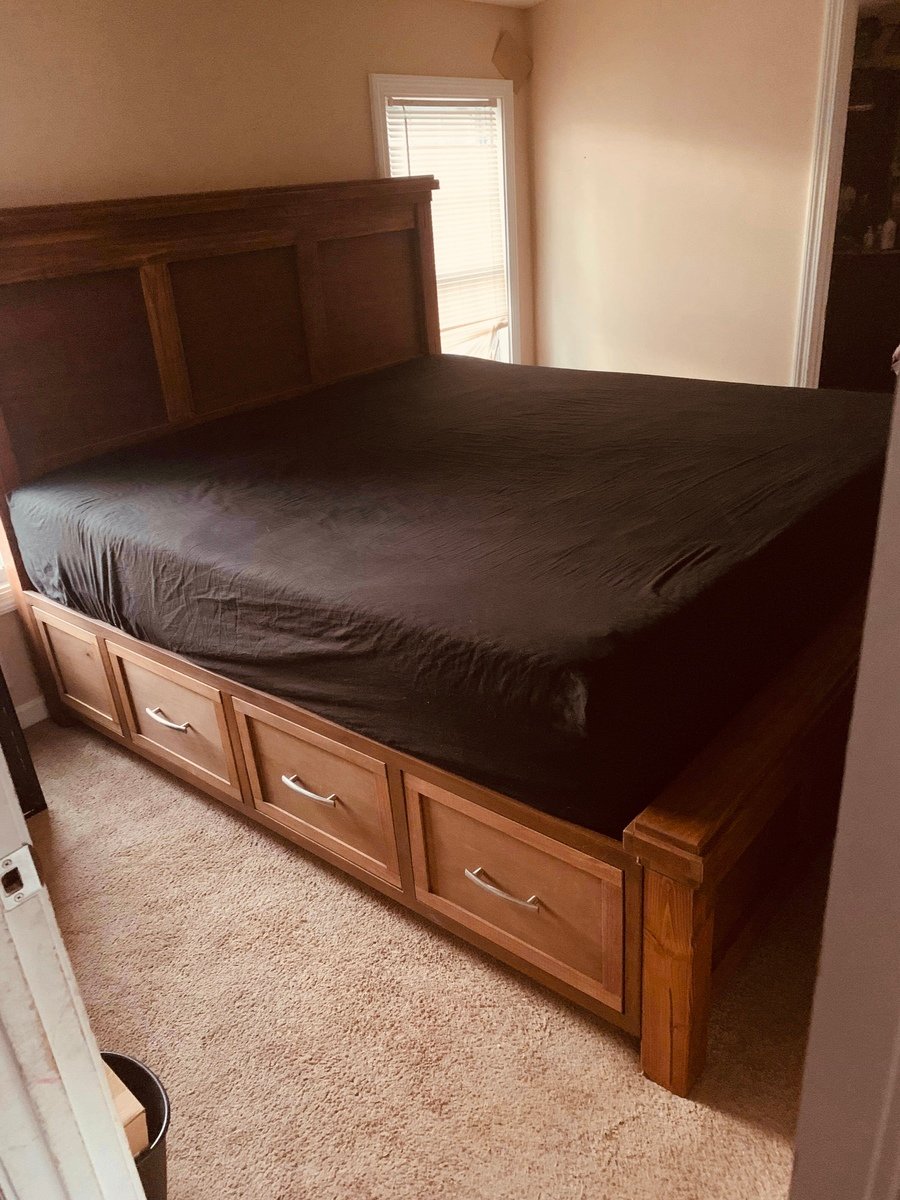
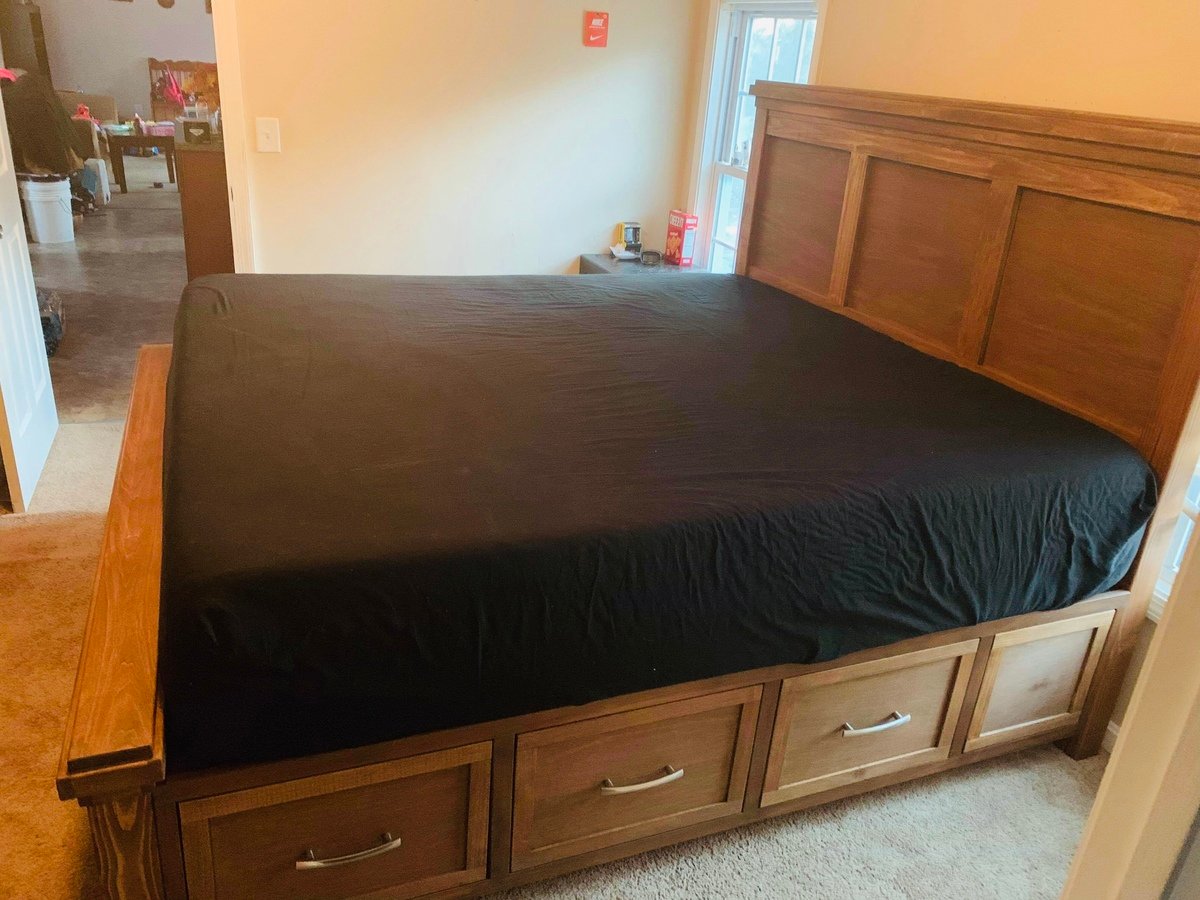
King storage bed

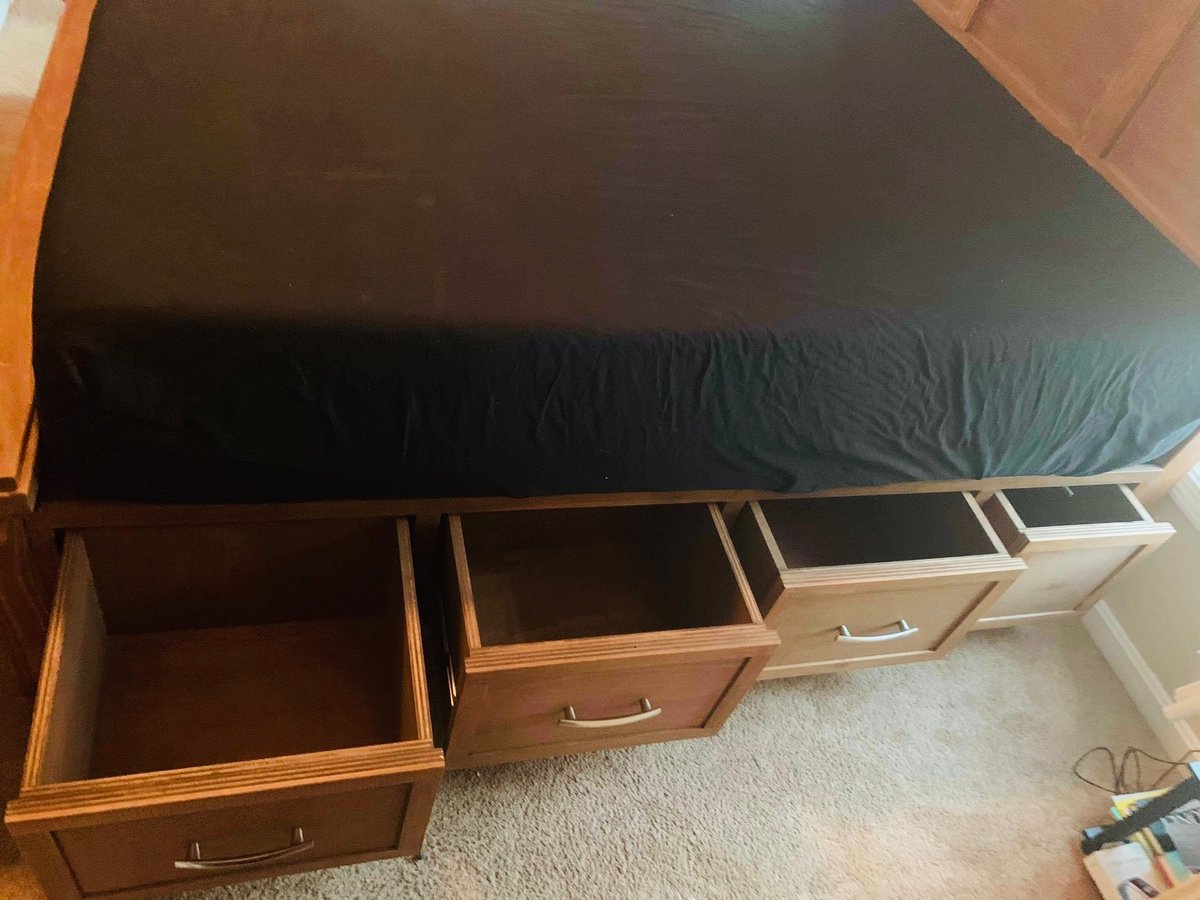
This bed was built using poplar, and pine wood. I used poplar for most of the stained pieces that are visible, and the stain is varathanes Early American. This is the fourth bed I’ve built with Ana’s Farmhouse Storage Bed plans, because it breaks down to four pieces, headboard, footboard and two side boxes, along with the drawers. This makes it easy to assemble on site.

Estimated Cost
$550
Estimated Time Investment
Weekend Project (10-20 Hours)
Finish Used
Varathane, Early American stain
Varathane satin polyurethane
Recommended Skill Level
Intermediate

Comments

Bengals97

Tue, 07/28/2020 - 14:33

I really like how you built this...I noticed you used the queen plans but made a king. Would you be able to share the changes you made to make this a king. I am still relatively new in my woodworking passion compared to your 25 years of experience. Thanks for sharing your end result...I would be open to pay for the updated plans if need be as I know your time and experience is valuable.

Great Plans!

Submitted by Anonymous (not verified) on Thu, 01/07/2016 - 09:46

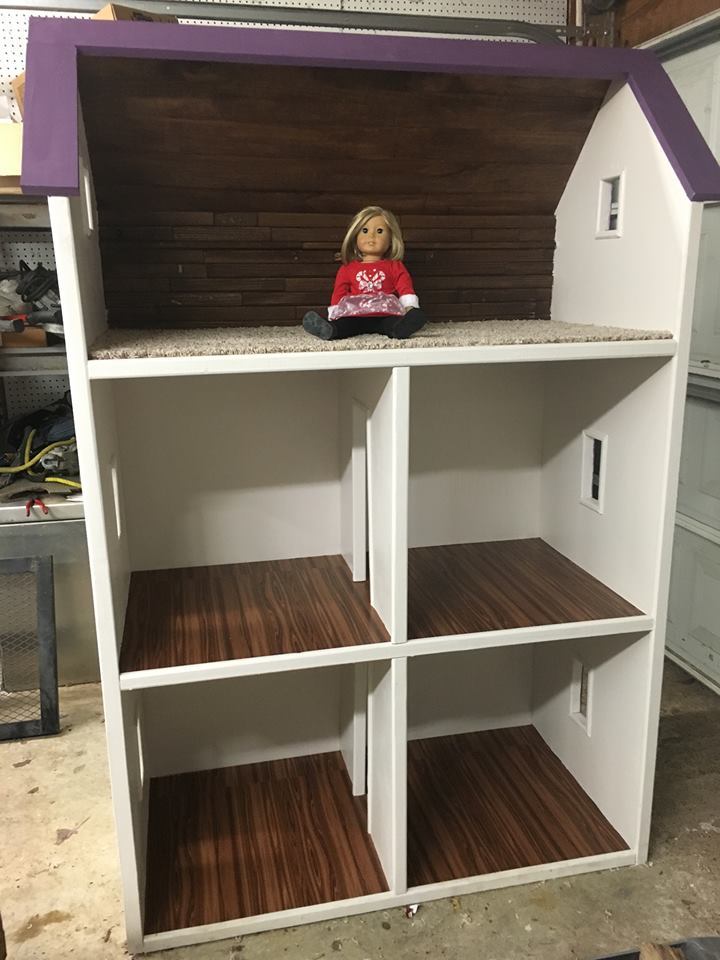
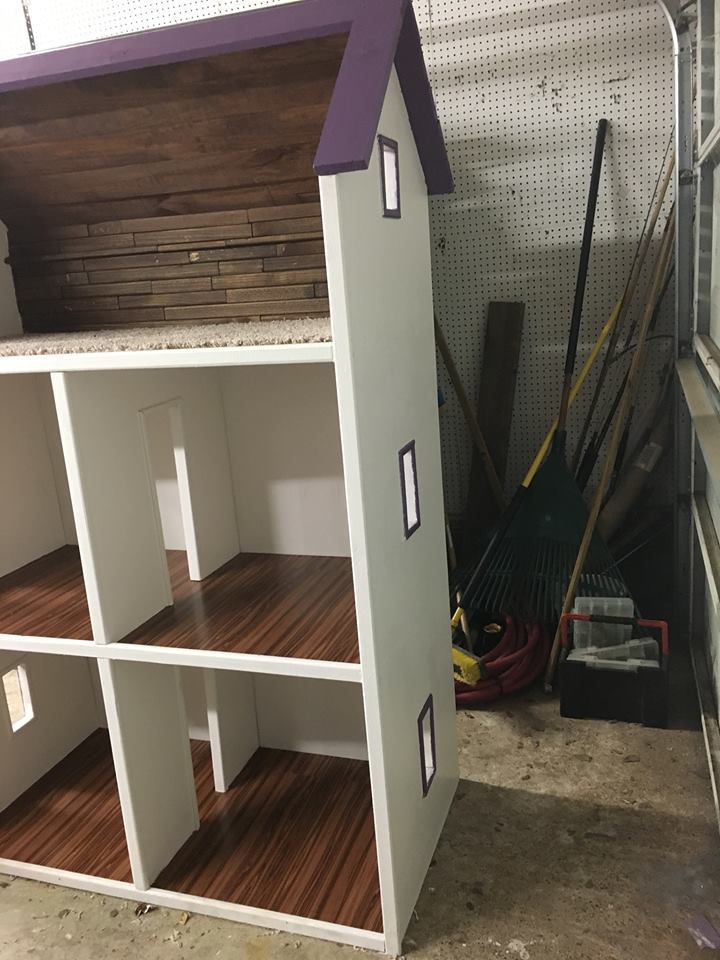
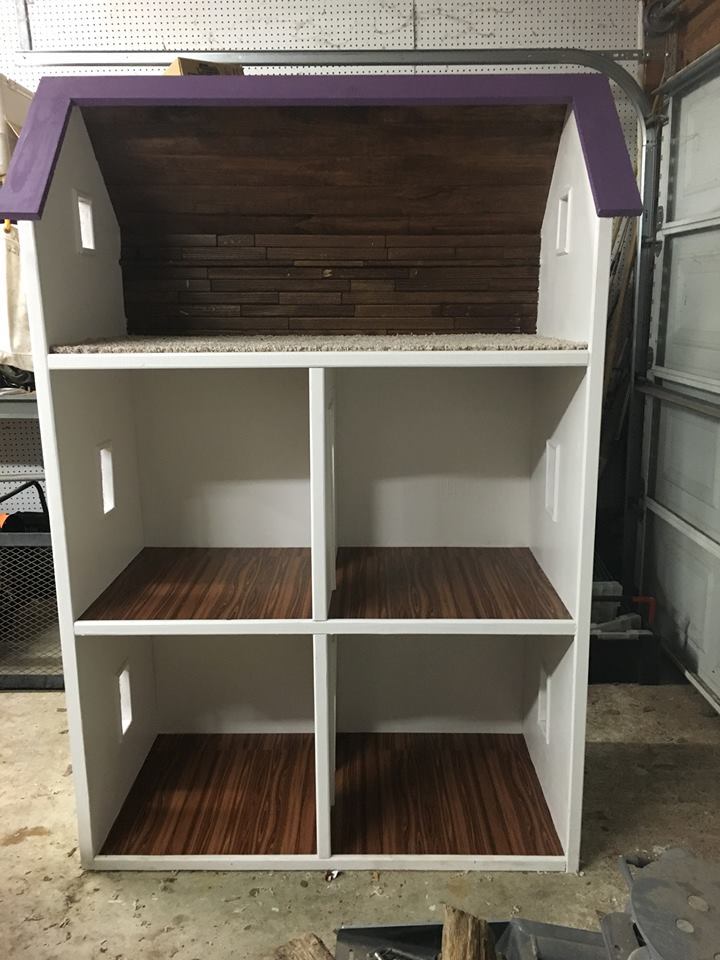
My friend & I made this doll house for a Christmas present for my daughter.  The plans were easy to follow!

I put carpet on the top floor & then used contact paper that lookes like wood for the other flooring.

Estimated Time Investment
Weekend Project (10-20 Hours)
Recommended Skill Level
Intermediate

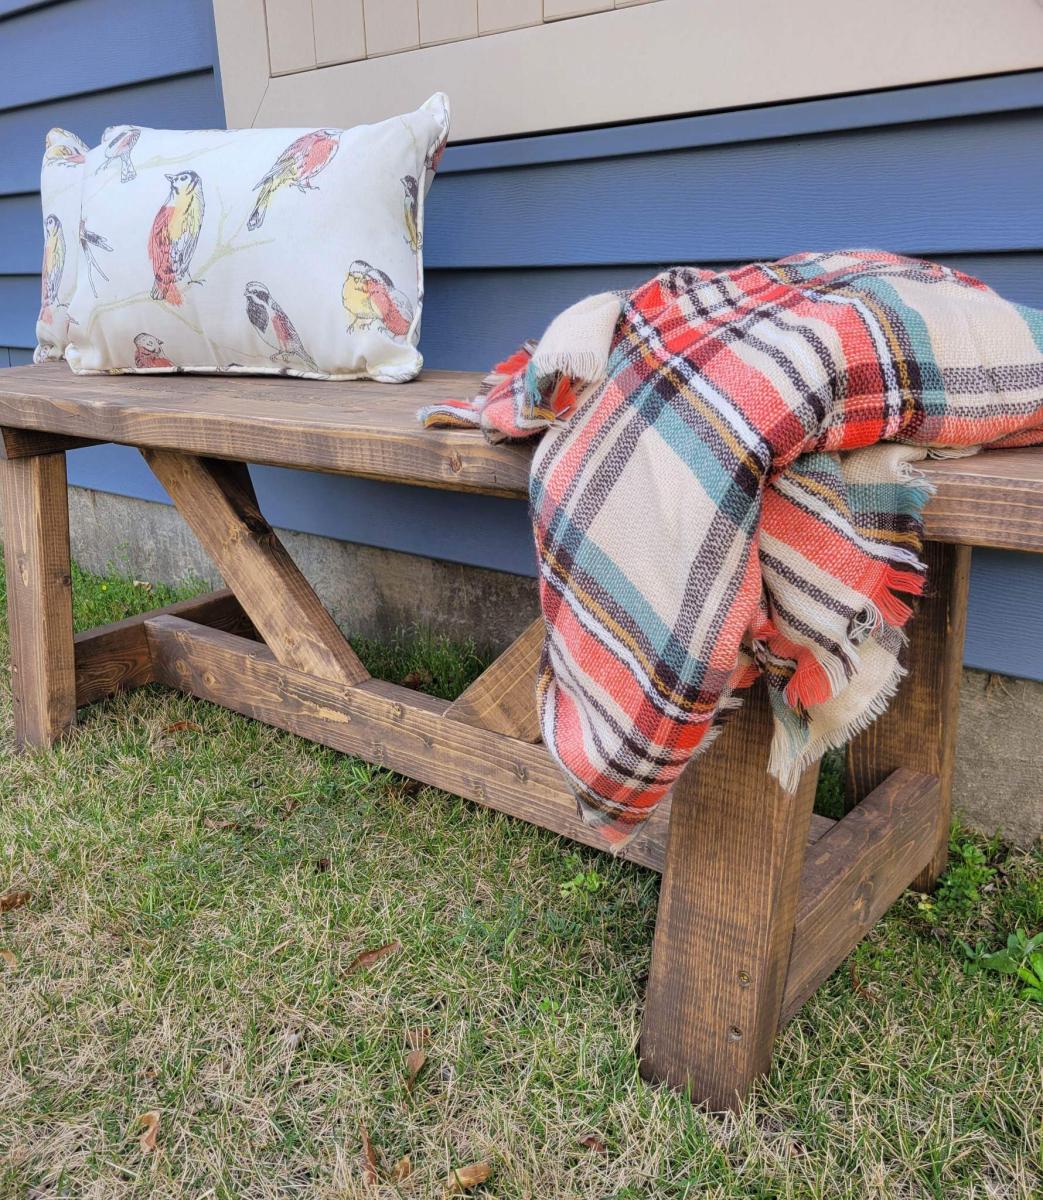
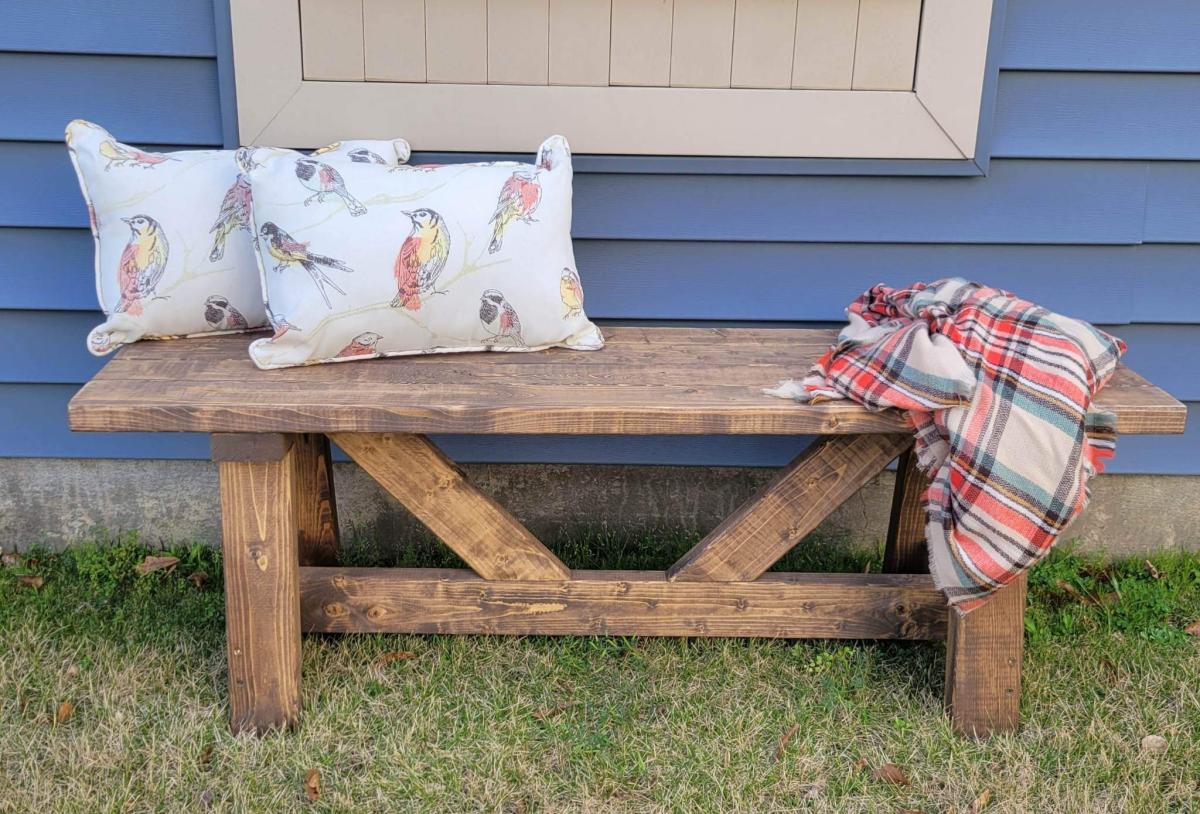
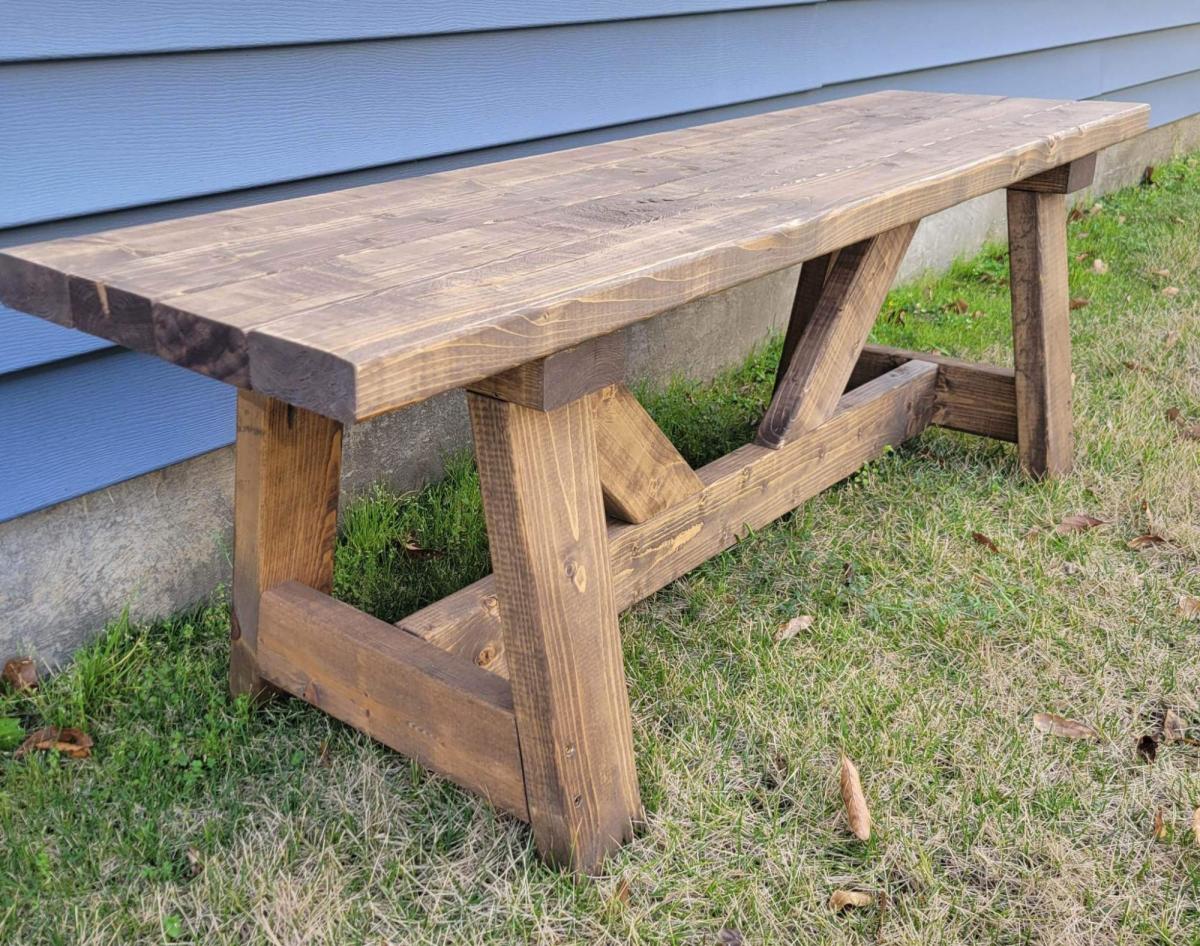
2x4 Truss bench

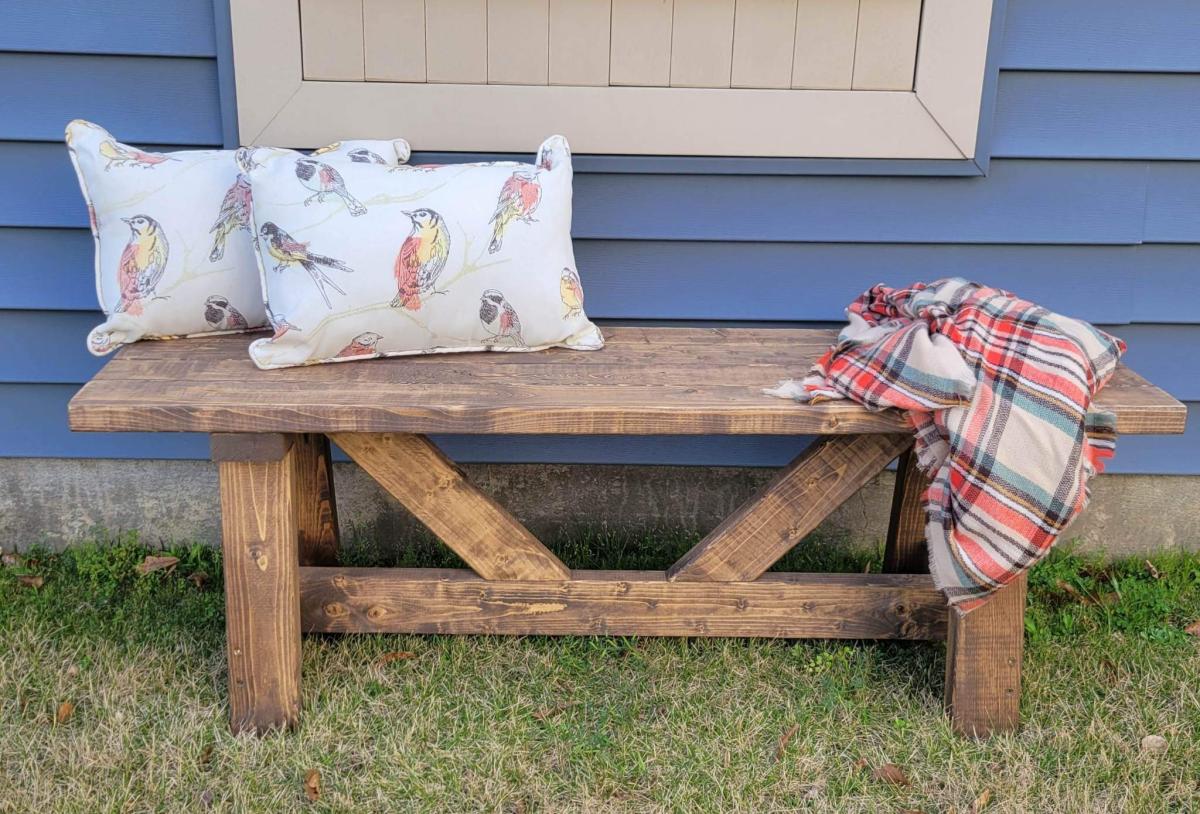
Submitted by Anonymous (not verified) on Tue, 03/07/2023 - 14:52

We've been eyeballing this plan since it was first posted. We tend to accumulate extra 2x4s from other projects. Great easy build, was able to knock it out in a morning. The finish is a custom blend.

Built from Plan(s)

Comments

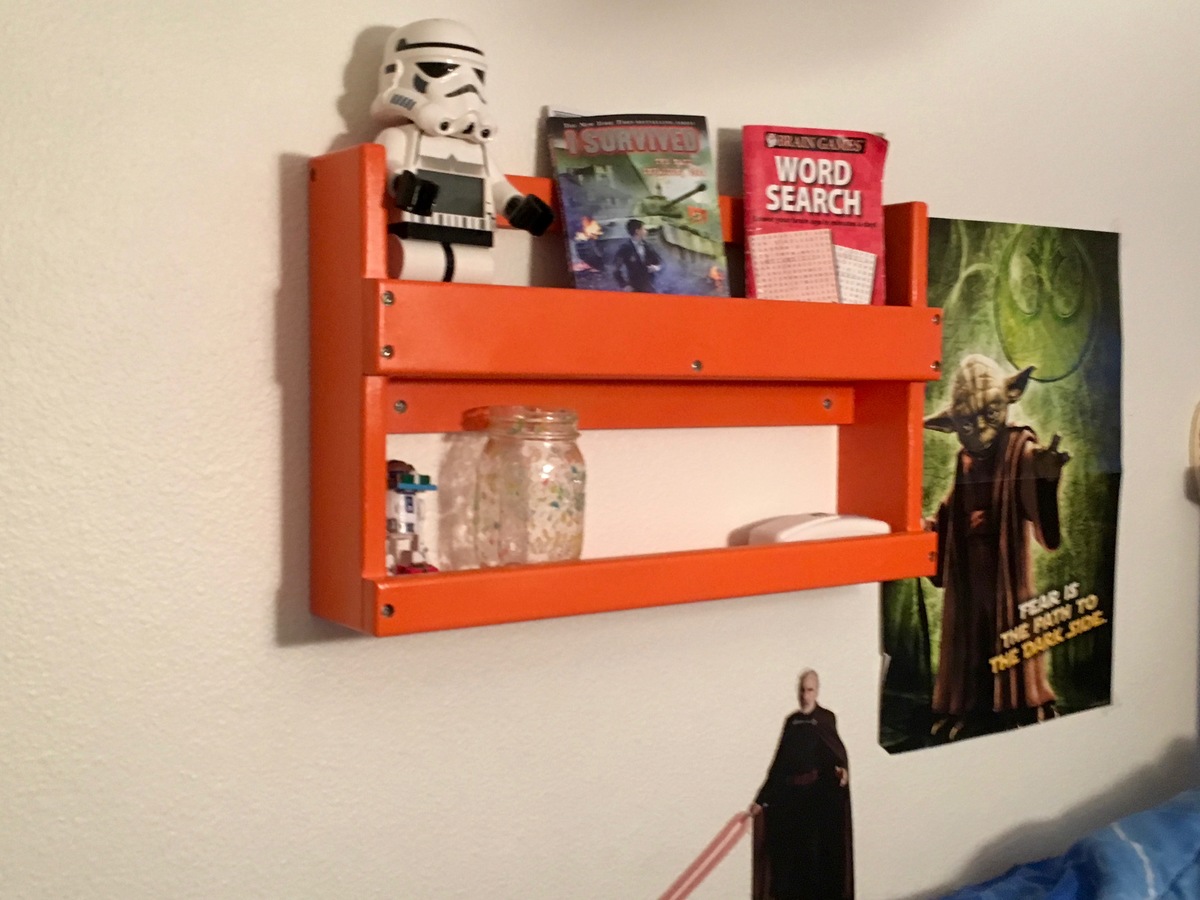
Bunk Bed Shelf

Submitted by Medickep on Tue, 01/12/2016 - 13:11

I made this simple Bunk bed shelf so all the stuff my son stored on the headboard, wouldn't keep falling off. It was easy to make and I painted it while working on another project. and I used spray paint to get the orange on a little easier!

Built from Plan(s)
Estimated Time Investment
Afternoon Project (3-6 Hours)
Finish Used
Spray paint, primer and color. Waited 20 minutes between coats and did the whole thing in one setting.
Recommended Skill Level
Starter Project

Comments

dkkachik

Mon, 10/21/2019 - 19:12

My daughter asked for a shelf for her bunkbed—something to hold her glasses, IPad, and retainer case.  And maybe a book or two.  Thanks to Ana White and free plans...I made the shelf that others have made.  thanks!

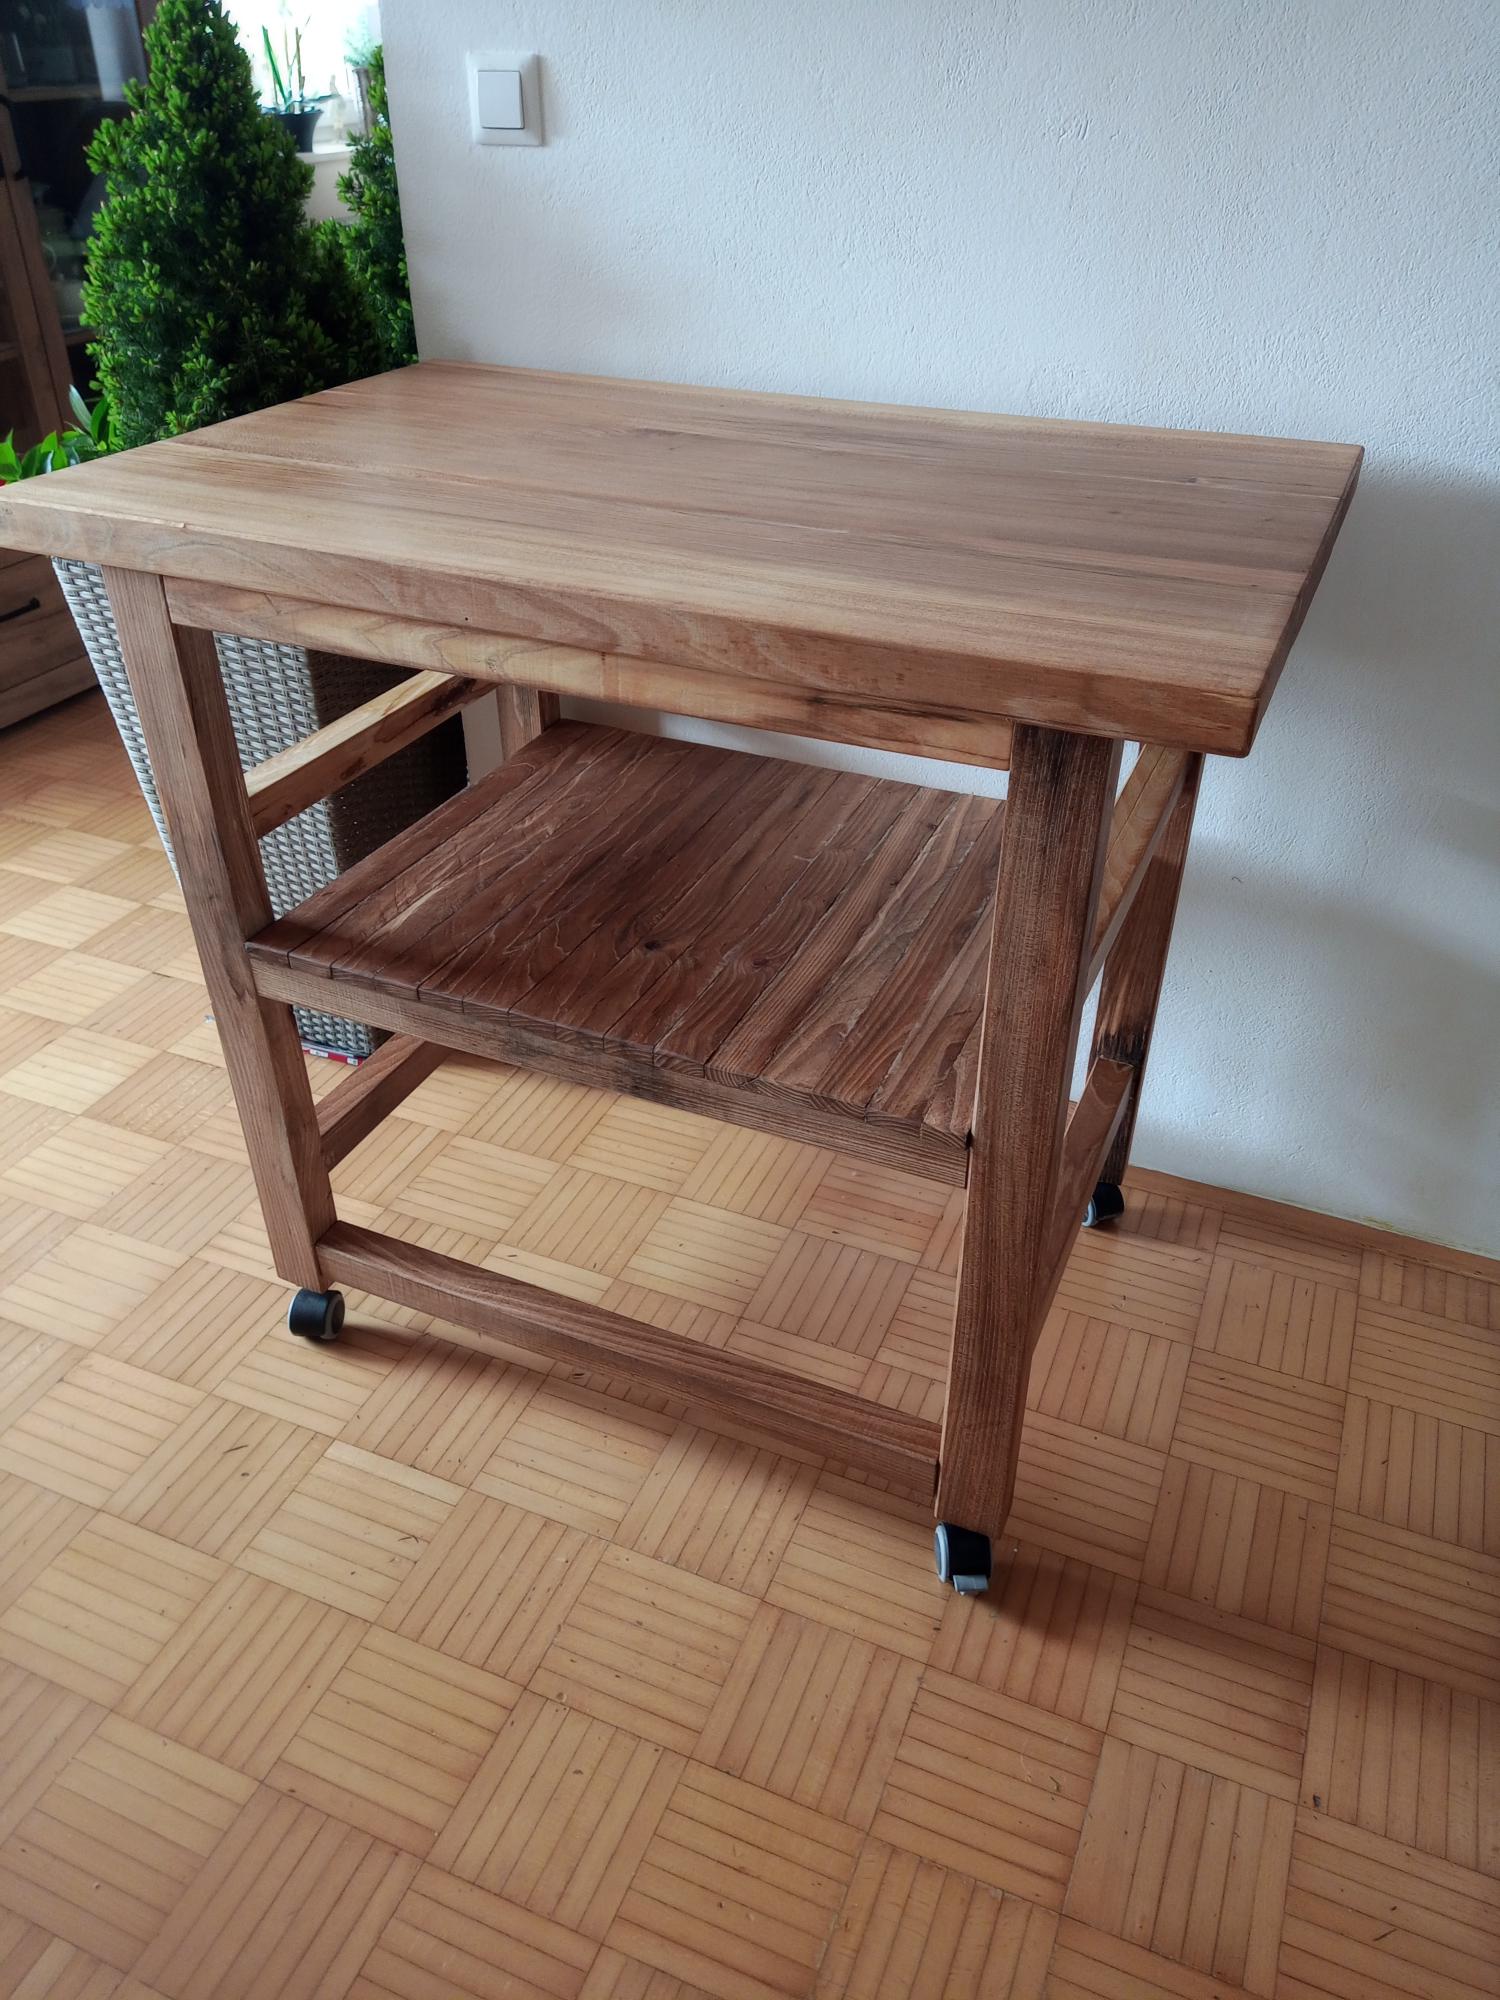
Kitchen island

Submitted by Anonymous (not verified) on Fri, 04/21/2023 - 11:56

my first project!

Built from Plan(s)

Comments

Great First Build!

Submitted by Anonymous (not verified) on Wed, 10/02/2019 - 05:13

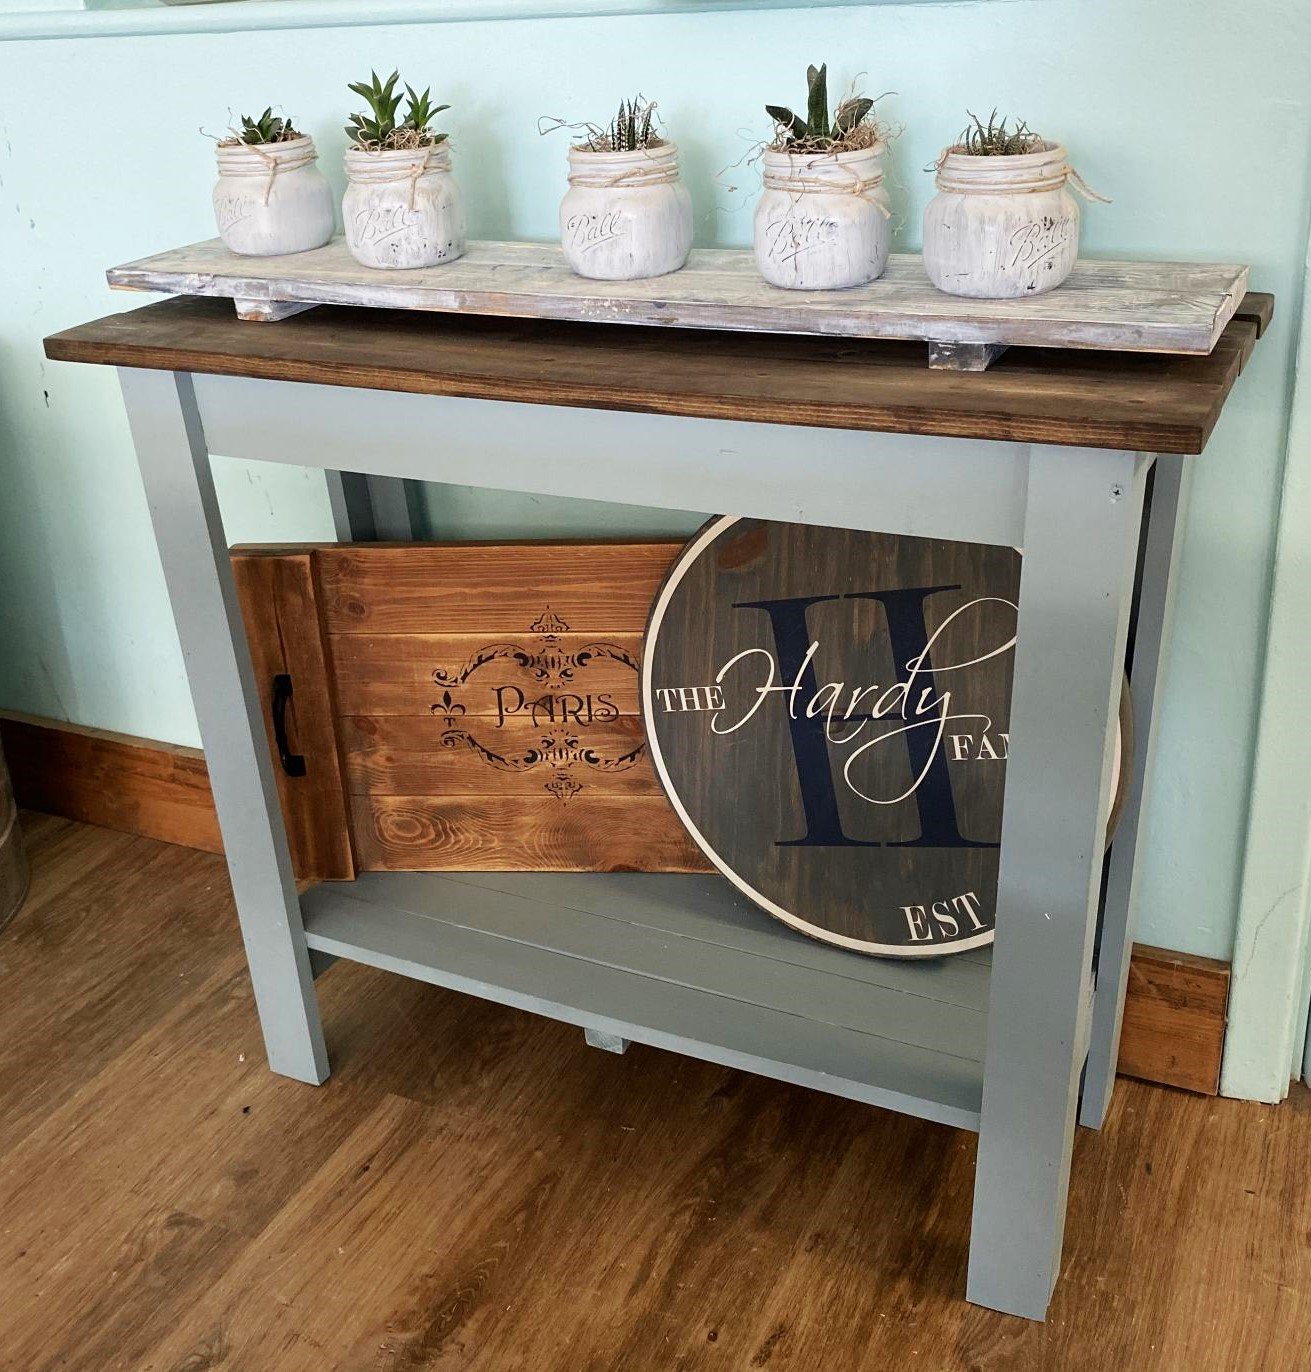
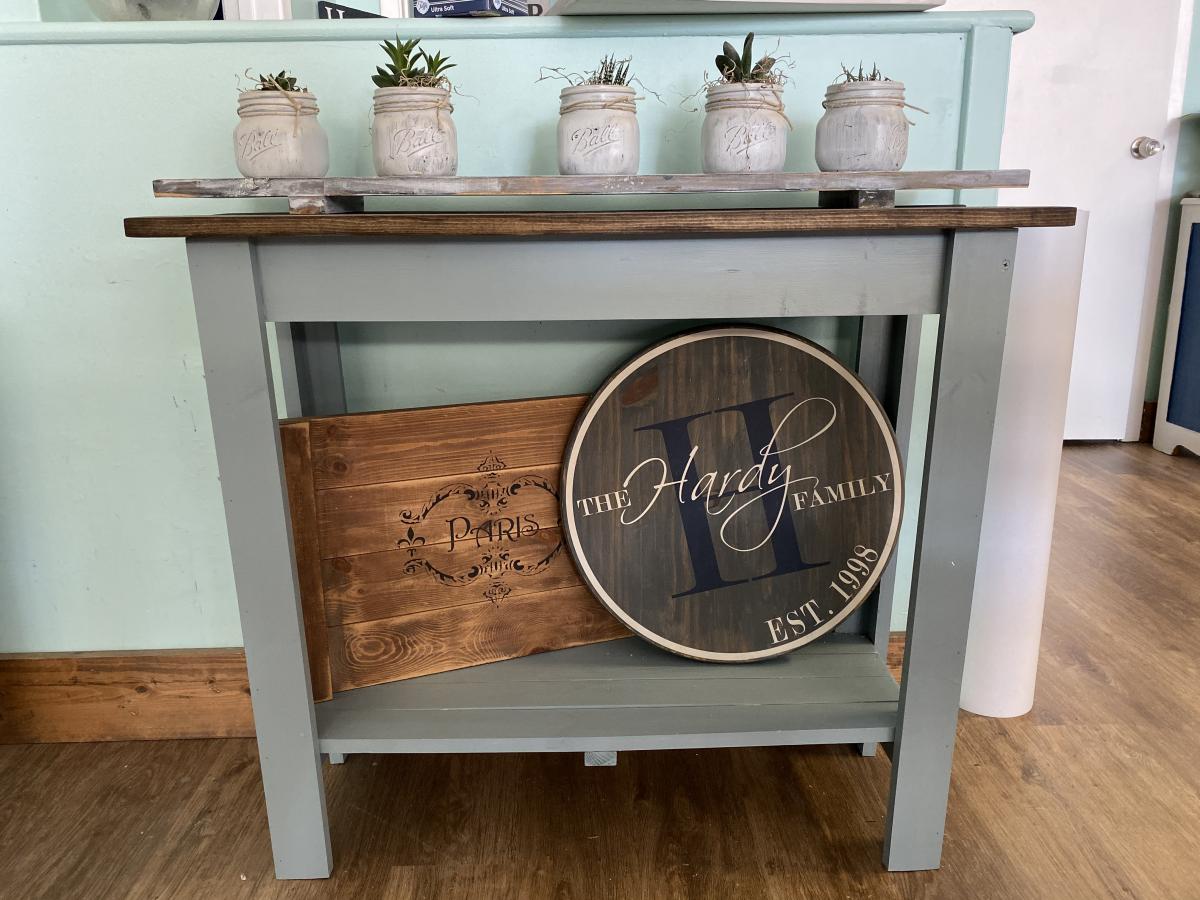
I own a DIY workshop where I teach people to make signs. I always get compliments on my tables which I built from plans on Ana White. I wanted to teach a workshop on a simple first build project to show ladies how easy it is to learn to build your own furniture! This console table was perfect and each person who built one was so proud of the results!

Estimated Cost
$35
Estimated Time Investment
Afternoon Project (3-6 Hours)
Finish Used
Dixie Bell Chalk Paint.
Recommended Skill Level
Starter Project

Comments

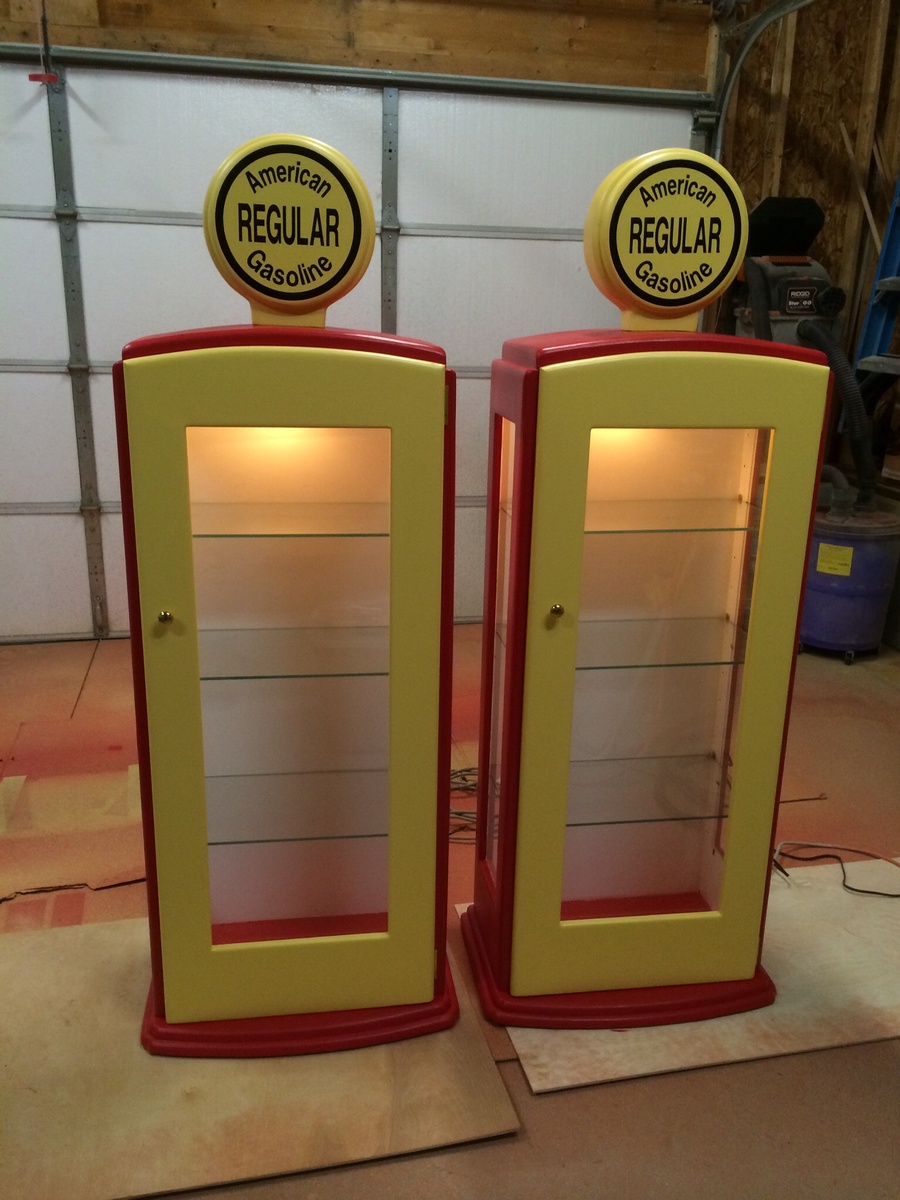
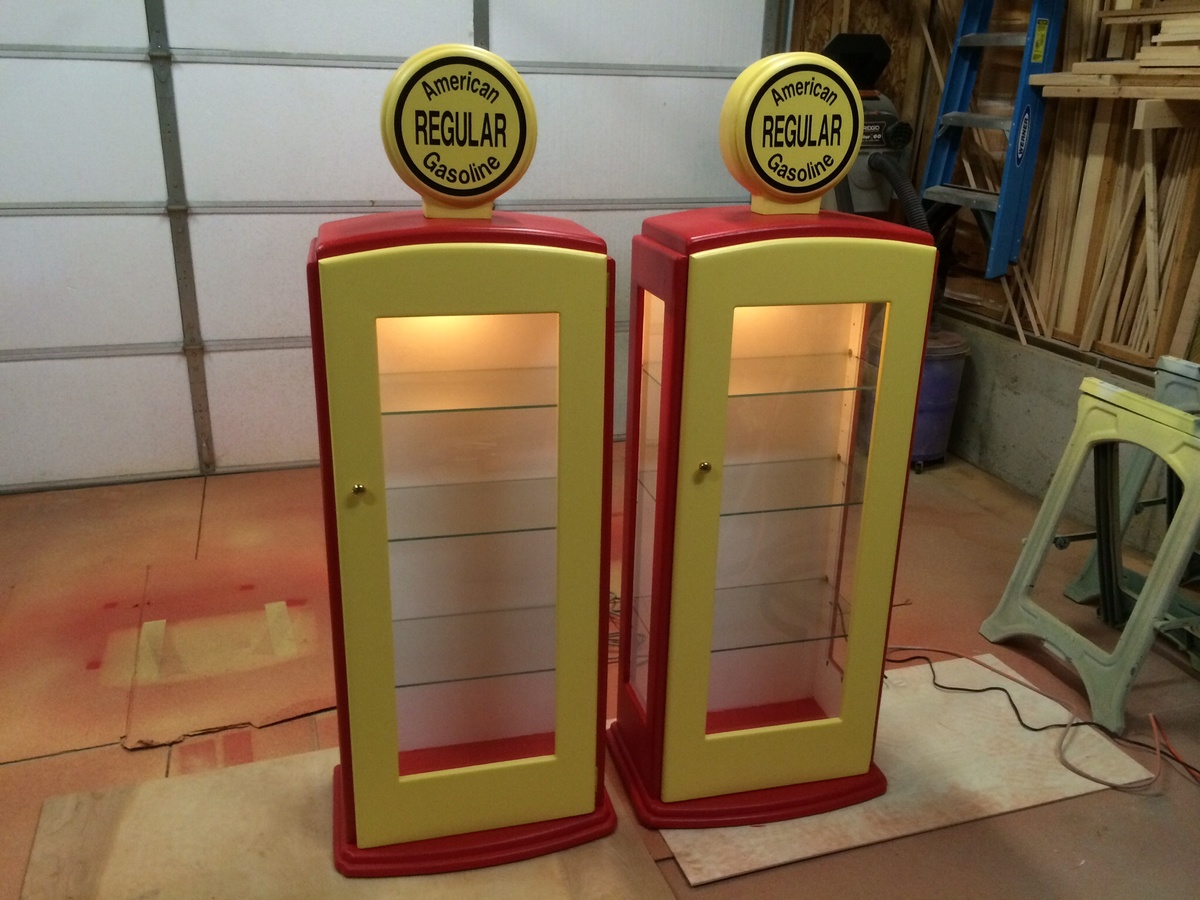
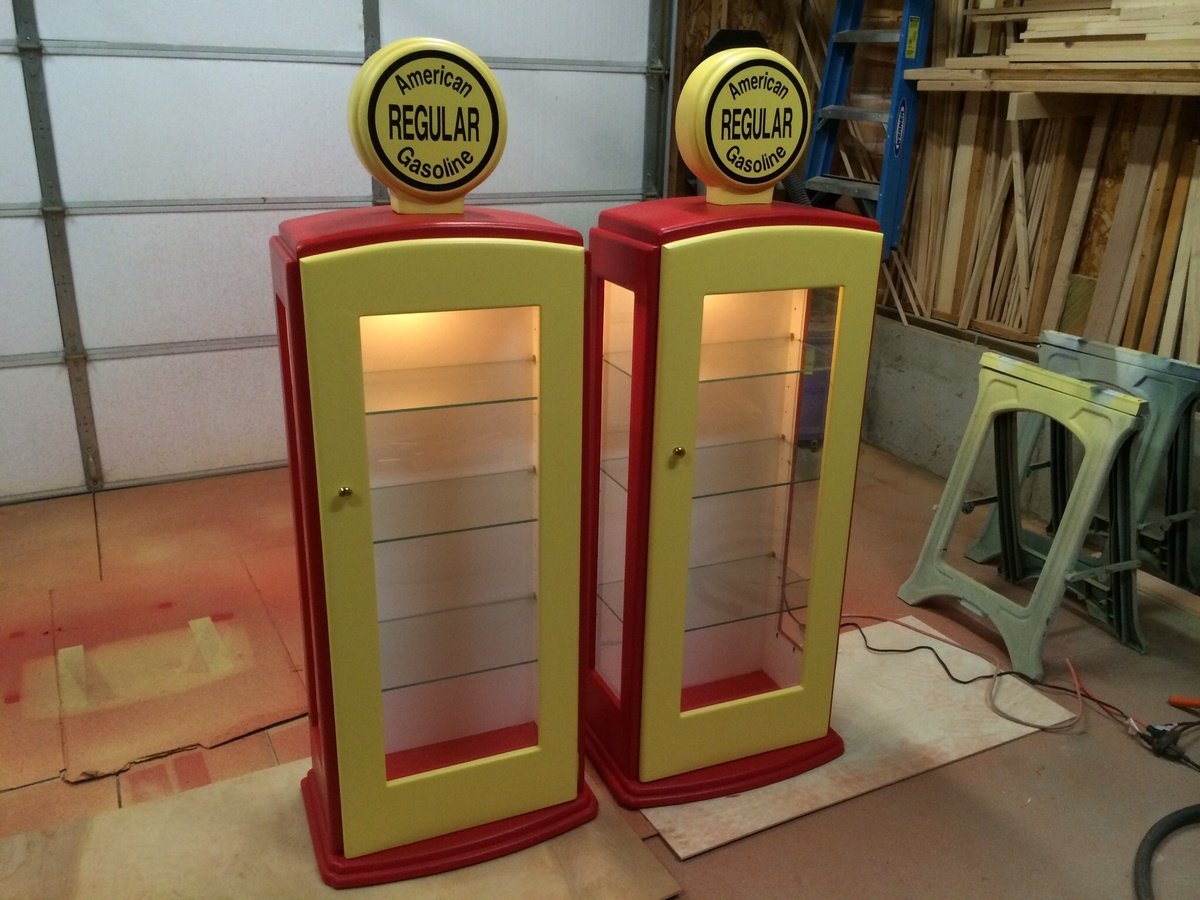
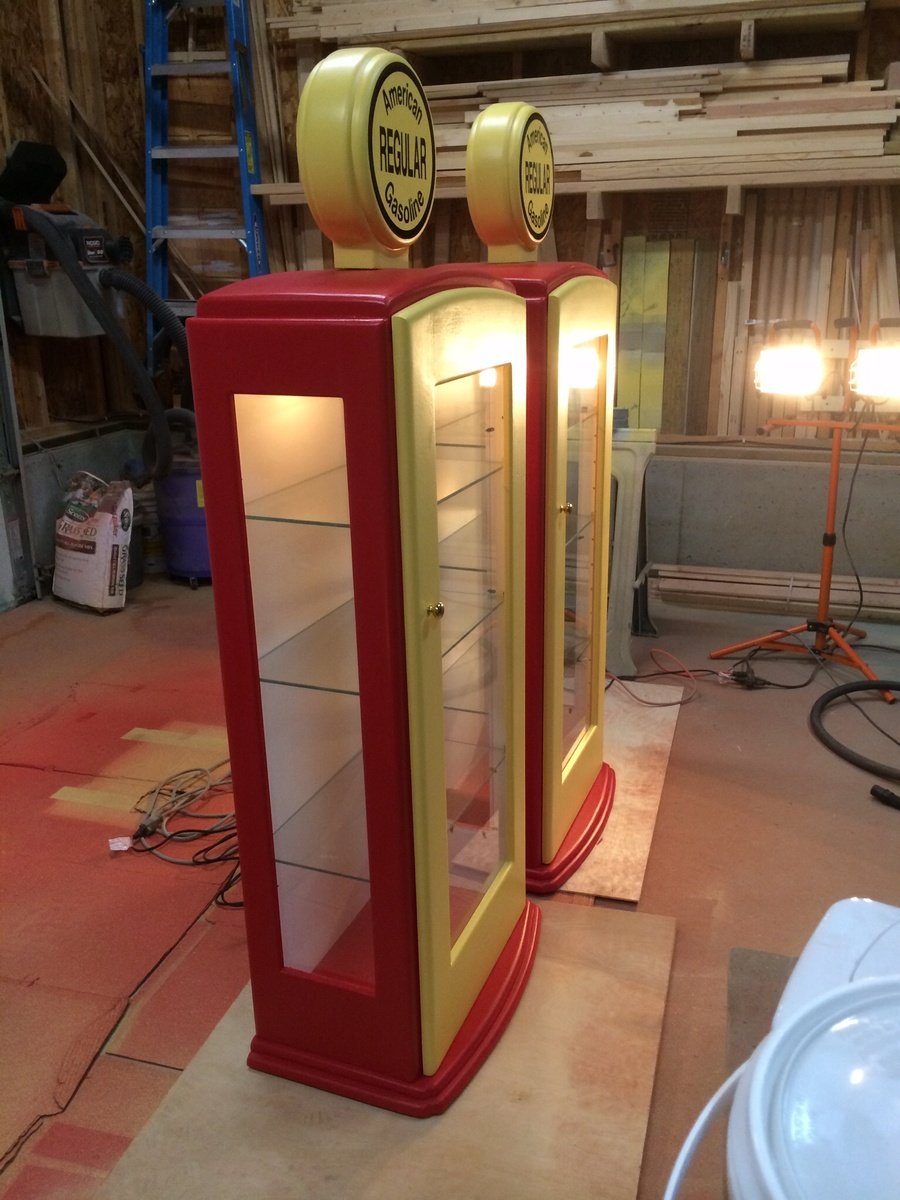
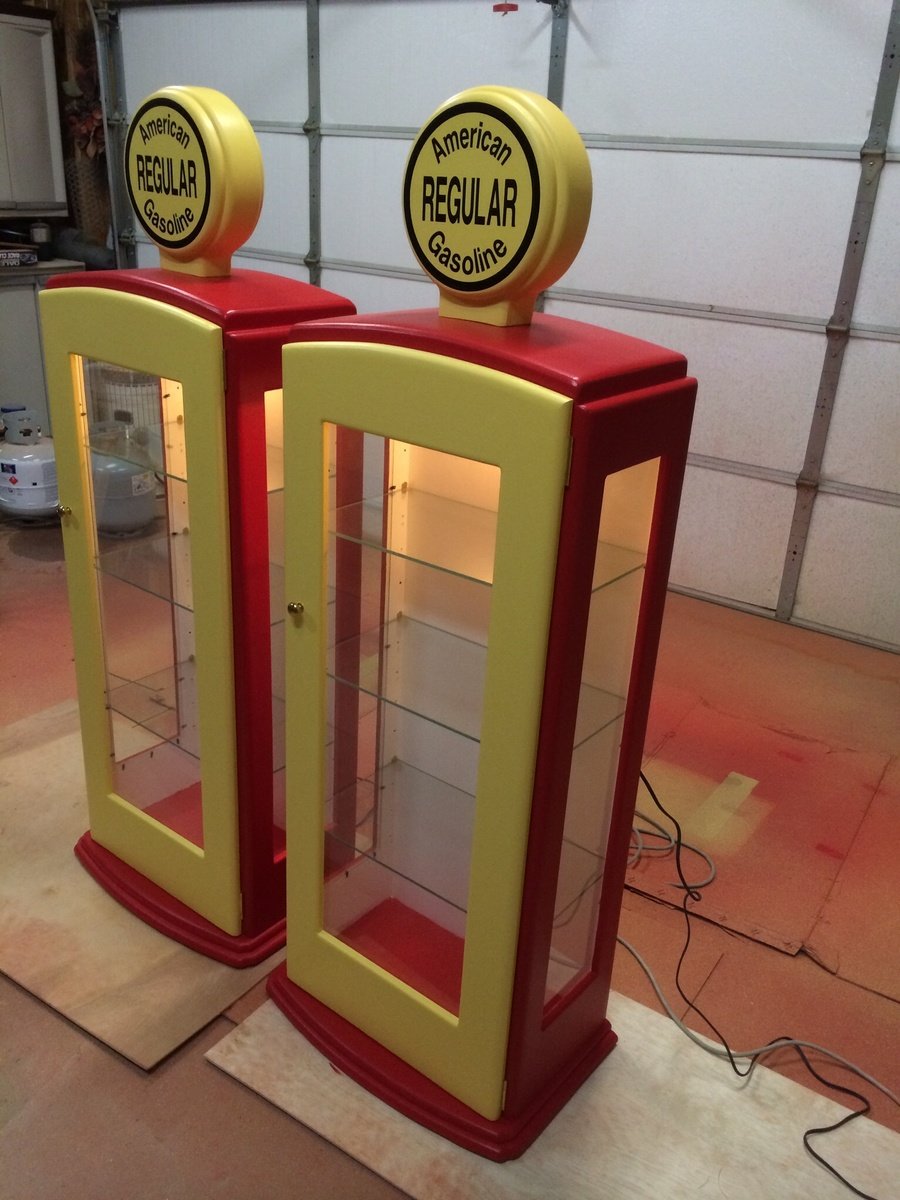
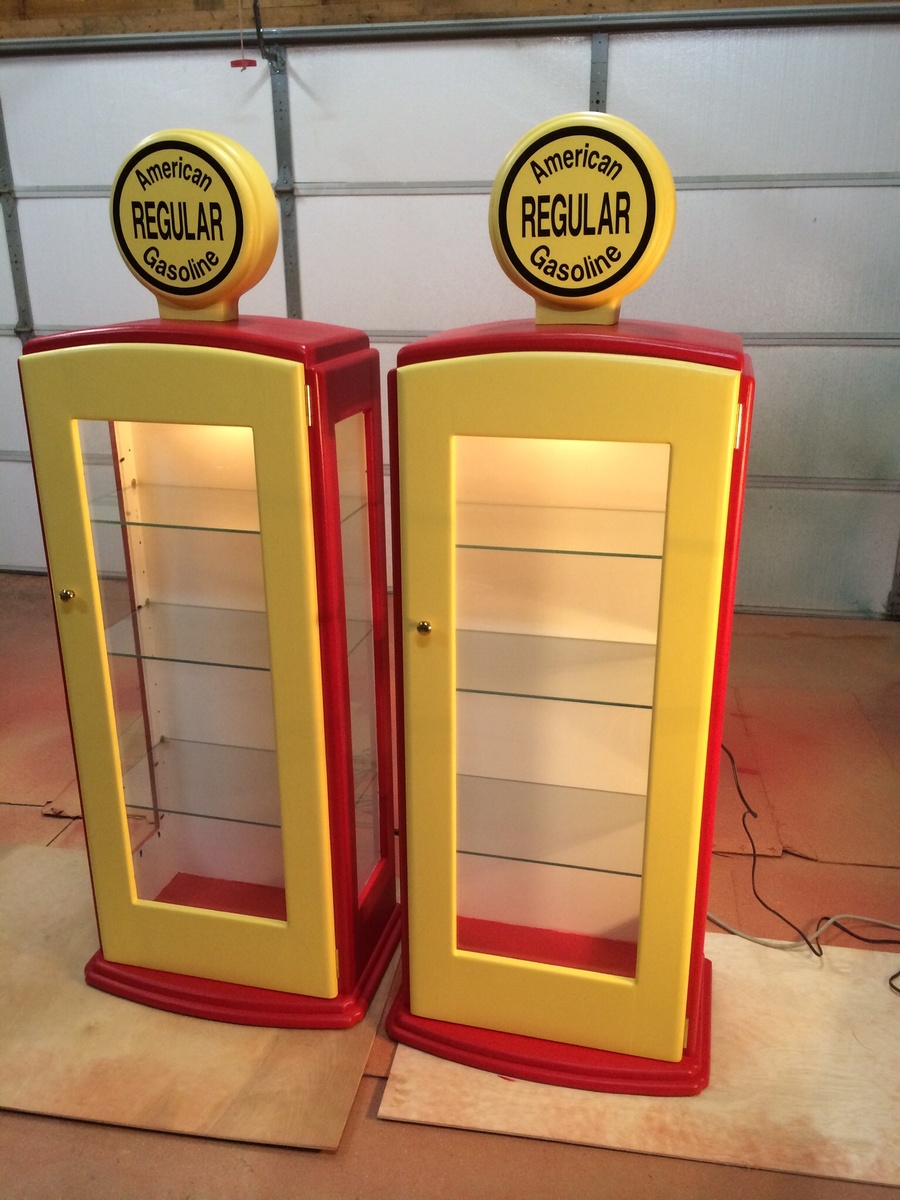
Gas Pump Curio Cabinet

Theses cabinets were built for a customer from plans they had found online. The hardware was ordered with the plans for an extra expense and the glass was made to order. Hope you enjoy them thanks for looking.

Estimated Cost
$450 for two
Estimated Time Investment
Week Long Project (20 Hours or More)
Finish Used
Latex paint
Recommended Skill Level
Advanced

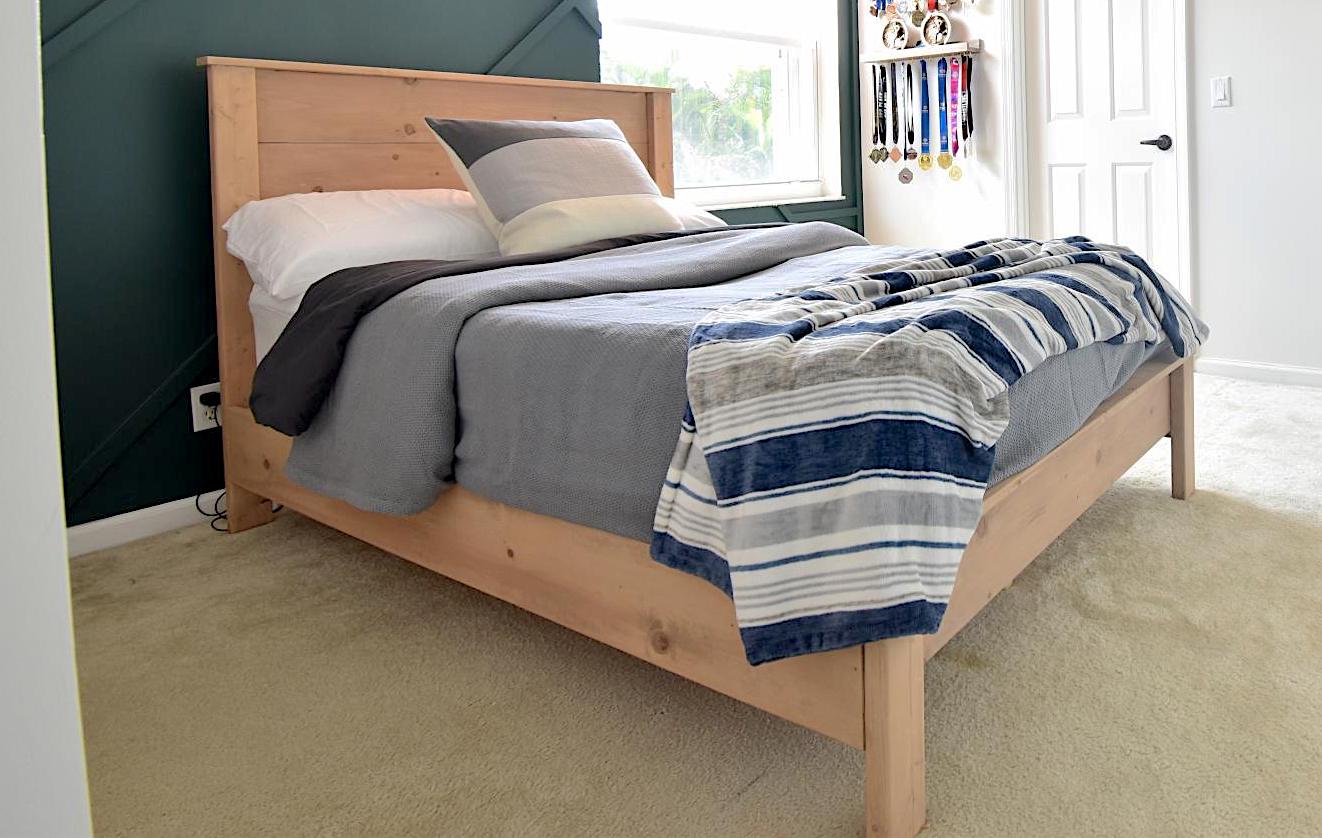
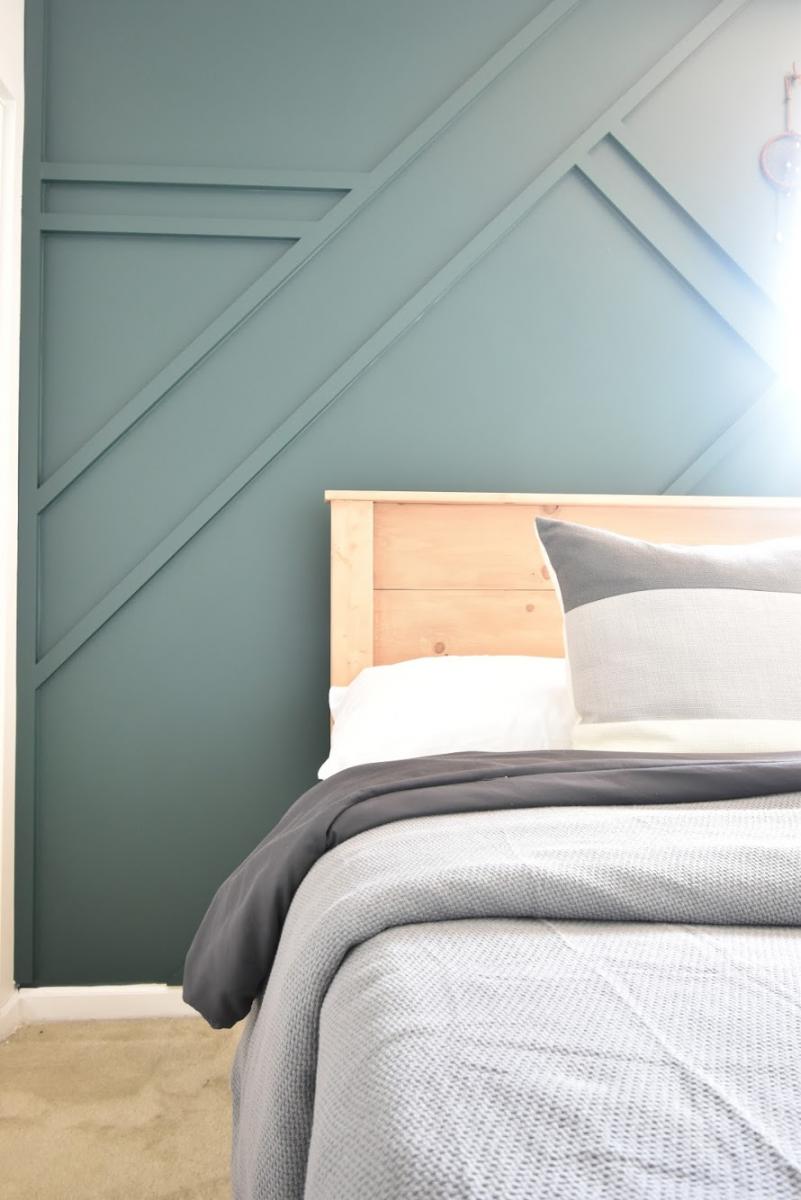
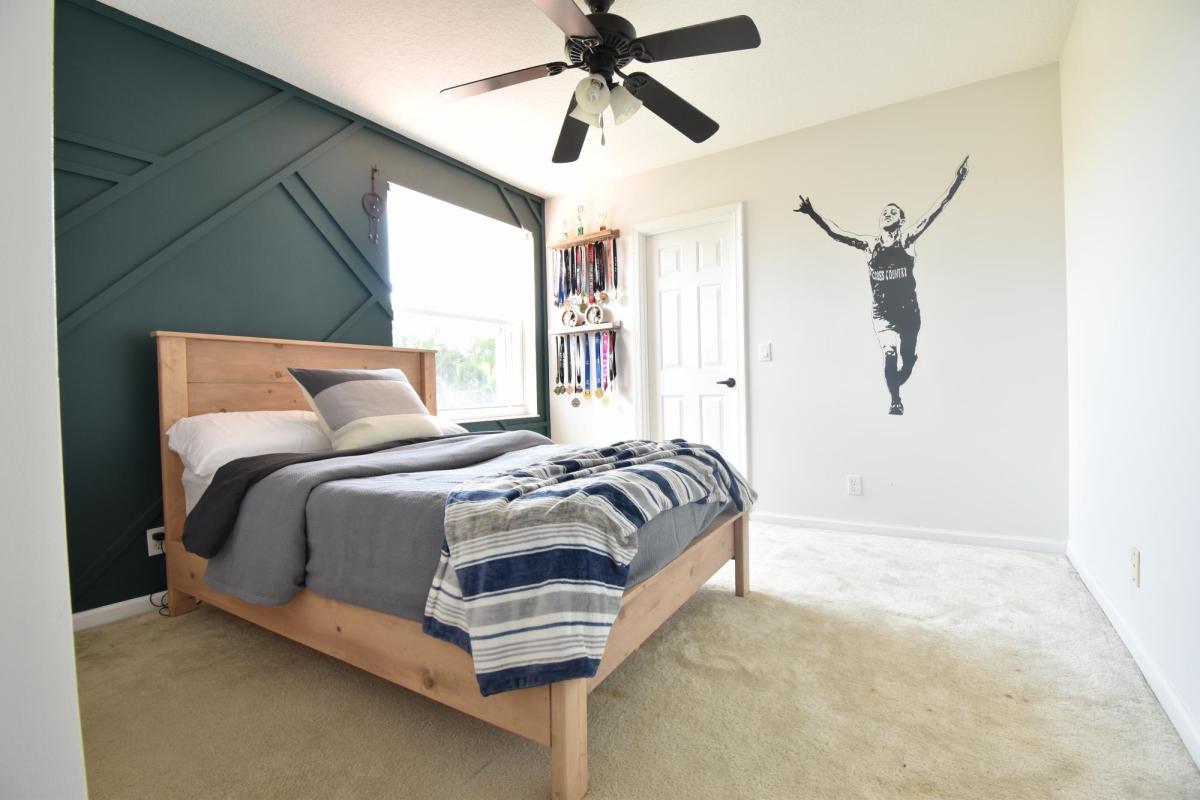
Panel Bed for Ray

I made this bed over a weekend while I “room crashed” my oldest’s bedroom. 
I’m so happy with the result. I experimented with stains mixing two, well layering colors. 
That was a lot of fun! 
I hope to write a blog post about it one day. I will add it to my ever-growing To Do List. 
Let me know if you have questions. I love talking about building and all things DIY! 

Estimated Cost
100
Estimated Time Investment
Weekend Project (10-20 Hours)
Finish Used
Layered Simply White and Early American from Minwax.
I applied the Simply White (didn’t remove excess) and then I added the Early American on top. Let it all sit a bit and wiped off the stain.
This left a beautiful color.
Recommended Skill Level
Beginner

Comments

Benchmark Media Console

Submitted by Toastman on Thu, 03/03/2016 - 20:12

This was a great project to do. I have a family member that paid that full price for the real Pottery Barn piece. I then made this one and showed it to them. Ha!

I used Alder ply but because of the expense I only bought 1 sheet which will run $90-$105 from Menards or Home Depot. Other lumber yards ran up to $140. I got all the pieces out of 1 sheet except for the 2 adjustable shelves which I used birch ply. And you can't even tell. I was going to make my own jig but just bought the Kreg pocket mini jig. Invaluable! and about $20. I found the overall cost from the plans to be under reality. Acrylic, hardware, and hinges will run you $70-$80 easy. But I guess if you use cheap pine or something than maybe you can be close to the estimate. 

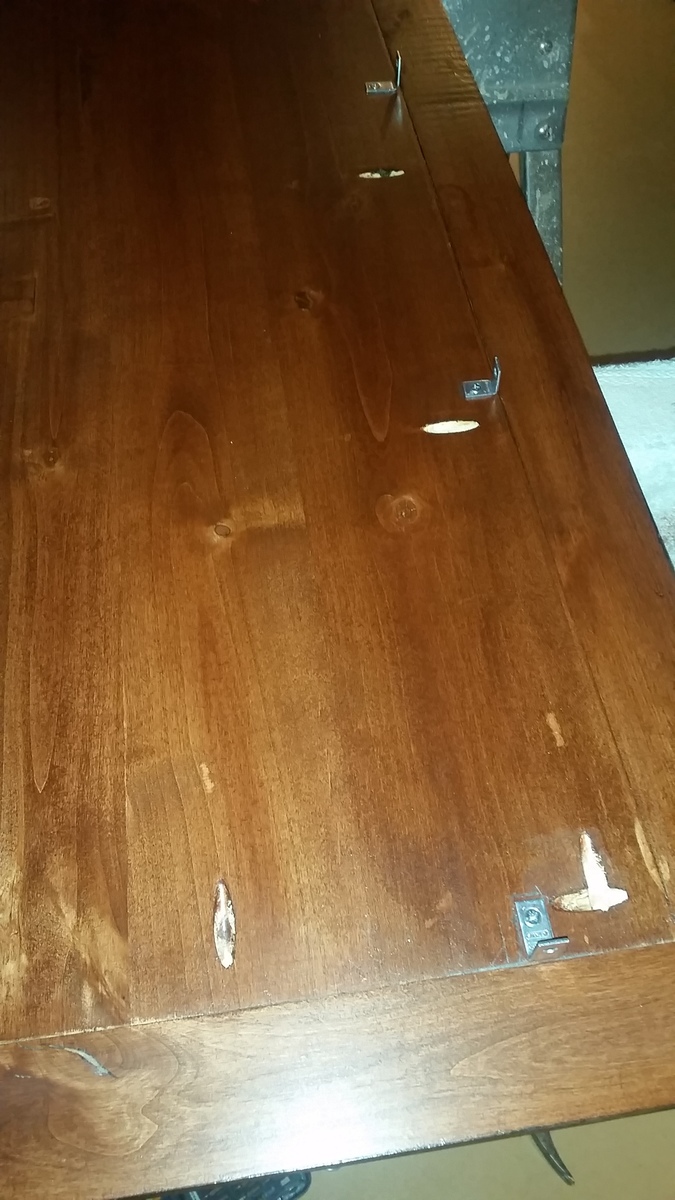
As queried by others, I too found the plans to specify how to attach the top. I used tiny "L" brackets around the underside perimeter and attached them with my screw gun to the frame (pic attached). For the doors, I didn't like the idea of just screwing the acrylic glass to the inside of the door so I routed the inside and attached some plastic tabs I found in the screen door section of HD to hold them in place. (pic attached). You could also use small mirror clips installed upside down.

I wrestled with the color choice for a long time but finally found the Minwax Gel Stain Mahogany (which is different than regular stain mahogany) to be the right color. After staining and a coat of sealer, I glazed, let dry, then sealed some more. Finished it off with some supa-fine steel wool and paste wax.

I love this piece now because I only glued certain pieces so that I can take it apart and put it back together as I am moving soon. (out of country). The European hinges were a bit of a pain to mess with since they have some movement to them and only lateral adjustments, no vertical. But it came out great. (I think)

Thanks so much for these plans!smiley

Built from Plan(s)
Estimated Cost
$300
Estimated Time Investment
Weekend Project (10-20 Hours)
Finish Used
Minwax Mahogany Gel Stain, Polyurethane for finish
Recommended Skill Level
Intermediate

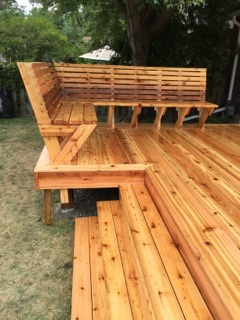
custom cedar bench for deck

Submitted by canyadigit on Sun, 03/06/2016 - 15:14

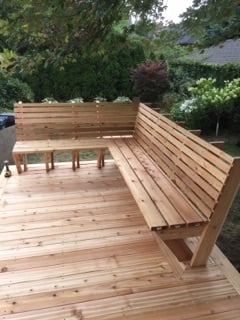
Standard cedar deck, as you can see not complete, . However the benches are complete. Seen a picture in a book and custom cut and fit peices on my own

Estimated Time Investment
Day Project (6-9 Hours)
Recommended Skill Level
Intermediate

Kitchen Island w/ Corian

I used the plans for Michaela's Kitchen Island, more or less, but scrapped the top. Instead of wood, I went with a piece of Corian that I got very, very cheap at a local recycled building materials store. It was not that much more expensive than using wood, believe it or not. It's also easier to work with than wood, at least for this project. We even had enough left over for 2 large cutting boards.

Built from Plan(s)
Recommended Skill Level
Intermediate

Comments

Horizontal Murphy Bed

Submitted by Anonymous (not verified) on Sun, 07/09/2023 - 17:49

We are remodeling our 3 bedroom house into a 4 bedroom. In doing so, my youngest is getting the smaller room. We decided to go with a Murphy bed to allow more play time space. I do not particularly like the fact that this bed doesn’t sit off the ground but overall love the simplicity of making it. We turned it horizontal and just love the overall product. I can mot wait to make something else from this site!
Tams

10 dollar ledge

Submitted by Brian on Sun, 03/04/2012 - 07:58

We built three different sets of these ledges one set for each of the kids and one for our bedroom. We requested some sample paint off line in some colors we choose so the paint was free. Very simple to make and finish. We drilled holes 16 on center to hang them off the studs to allow heavier items down the road. Picked up the wood from the home store cut them down and sanded with 180 than 220 grit sandpaper then slapped on the paint.

Built from Plan(s)
Estimated Cost
10.00
Estimated Time Investment
Afternoon Project (3-6 Hours)
Finish Used
sample paint
Recommended Skill Level
Starter Project

Comments

Outdoor Sectional

Submitted by flarbort on Wed, 10/30/2019 - 06:36

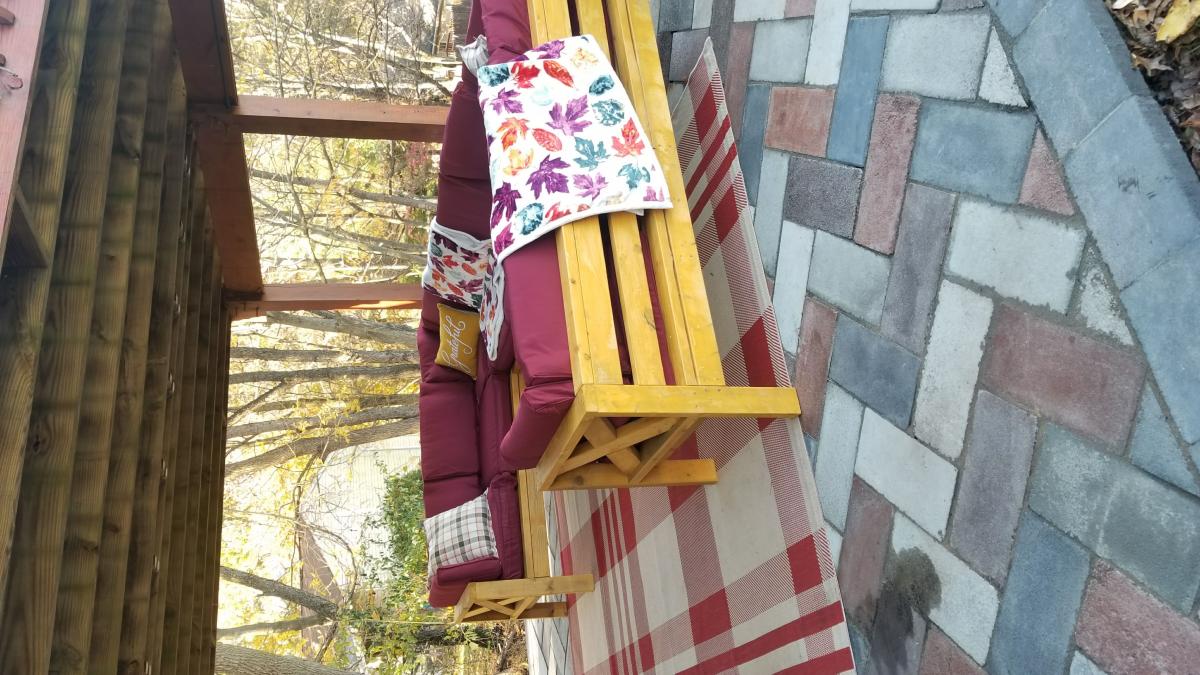
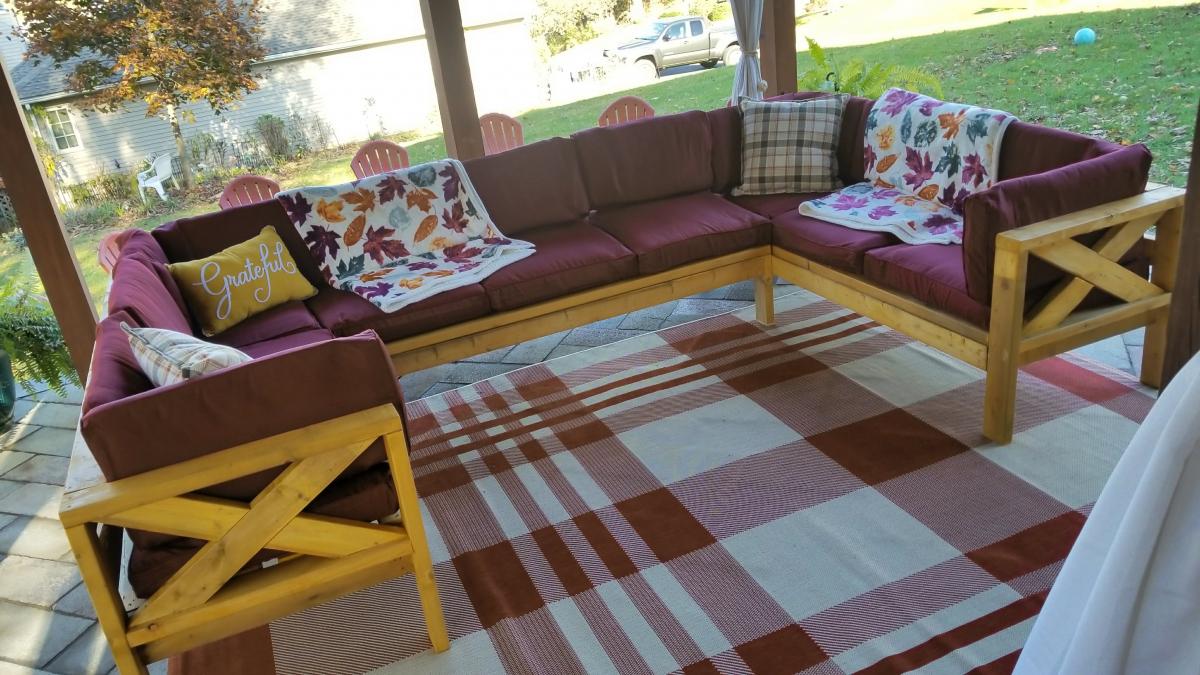
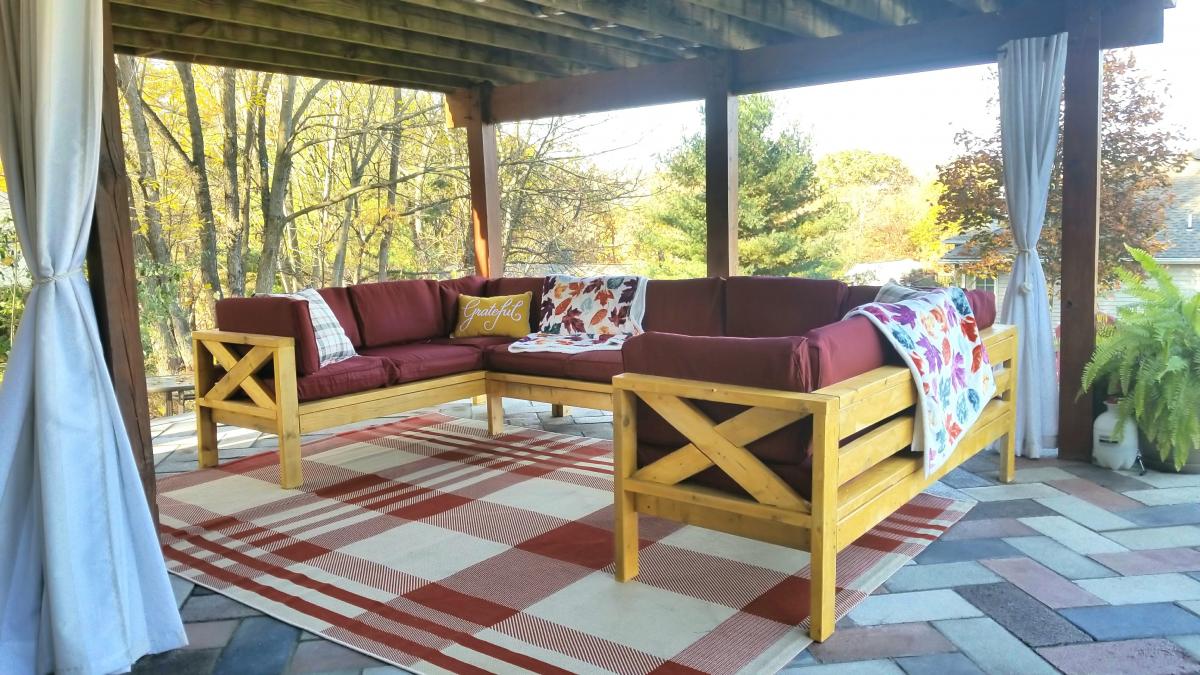
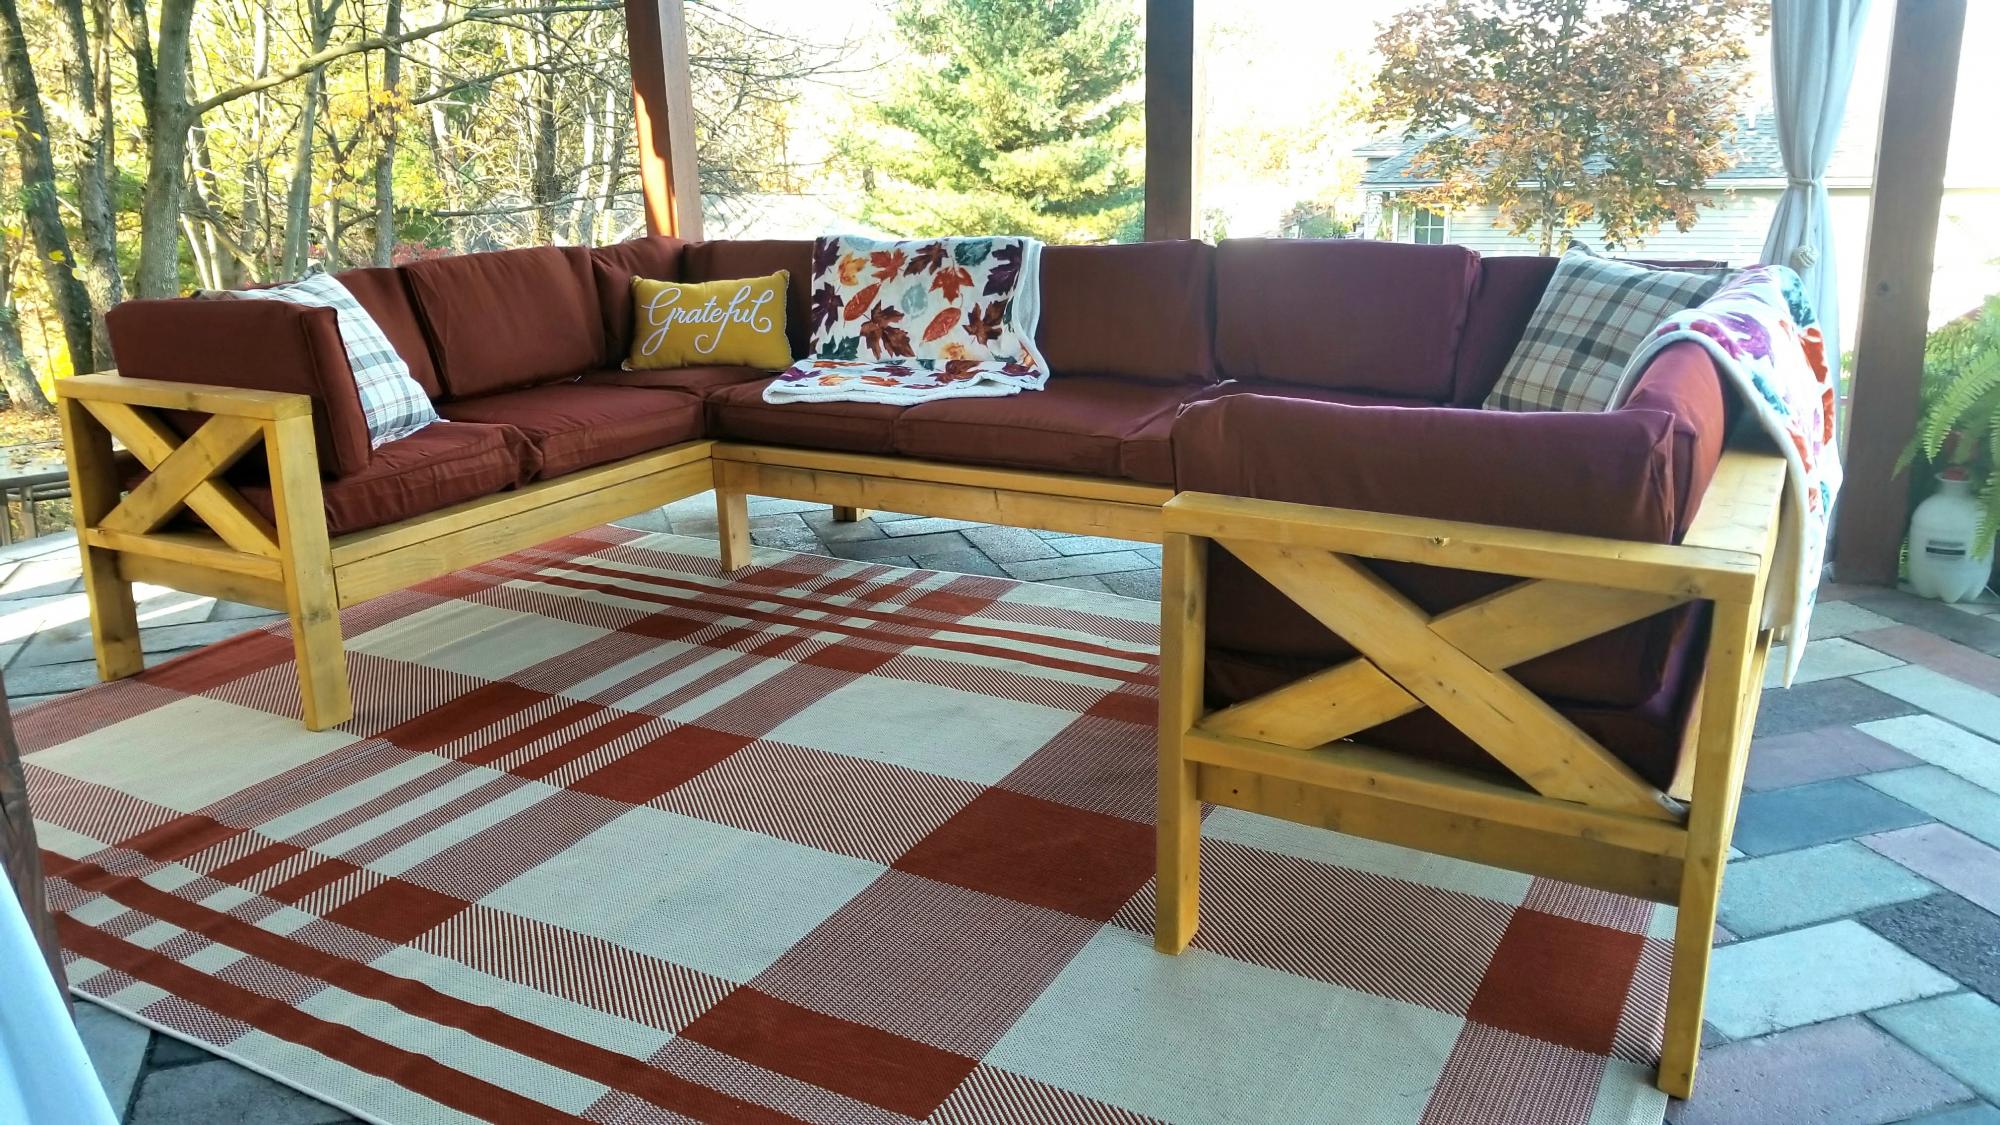
Just put the final stain on the outdoor sectional and I'm so psyched at how great it came out. Believe it or not, this is a very beginner piece (just 2x4s, NO pocket hole screws, all straight cuts- x ends optional) and anyone can do it with a circular saw, some clamps, a sander and an impact drill. Just takes some planning ahead of time. I bought the 2x4 wood and the cushions off Facebook Marketplace to save money so the total cost of this whole sectional was only $140 (wood, cushions, stain, screws). If you price similar new wood sectionals (U shaped, 9 seats) they're well over $1500+. Now, my sectional isn't as perfect as a brand new sectional but I do feel way cooler for saving a ton of money and doing it myself. In all it only took 4 days, working no more than 2.5 hours per day from start to finish to build this and stain it. It's made up of three pieces and I finished one piece a day and stained on the last day. You can make it while your toddler naps;-P Or if you had no other distractions you could bang it out in one long day. As for any of Ana's outdoor sectional plans the biggest expense is going to be the cushions. The cheapest new ones I could find were $40 a set (a 25" seat and a back cushion). That would have made this at least $400 in cushions ALONE! So what I did instead and I recommend this for anyone trying to save cost on this project is that I got a whole bunch of cheap and random cushions off Craigslist and Facebook Marketplace and then I bought cushion covers off Amazon. https://amzn.to/2BRBeeZ I cut some of the cushions to fit the covers and added stuffing to others.

Estimated Cost
$140
Estimated Time Investment
Day Project (6-9 Hours)
Finish Used
Golden Honey
Recommended Skill Level
Beginner
Seasonal And Holiday

Rustic Farm Table & Benches

Submitted by Jeffrey on Tue, 04/03/2012 - 16:45

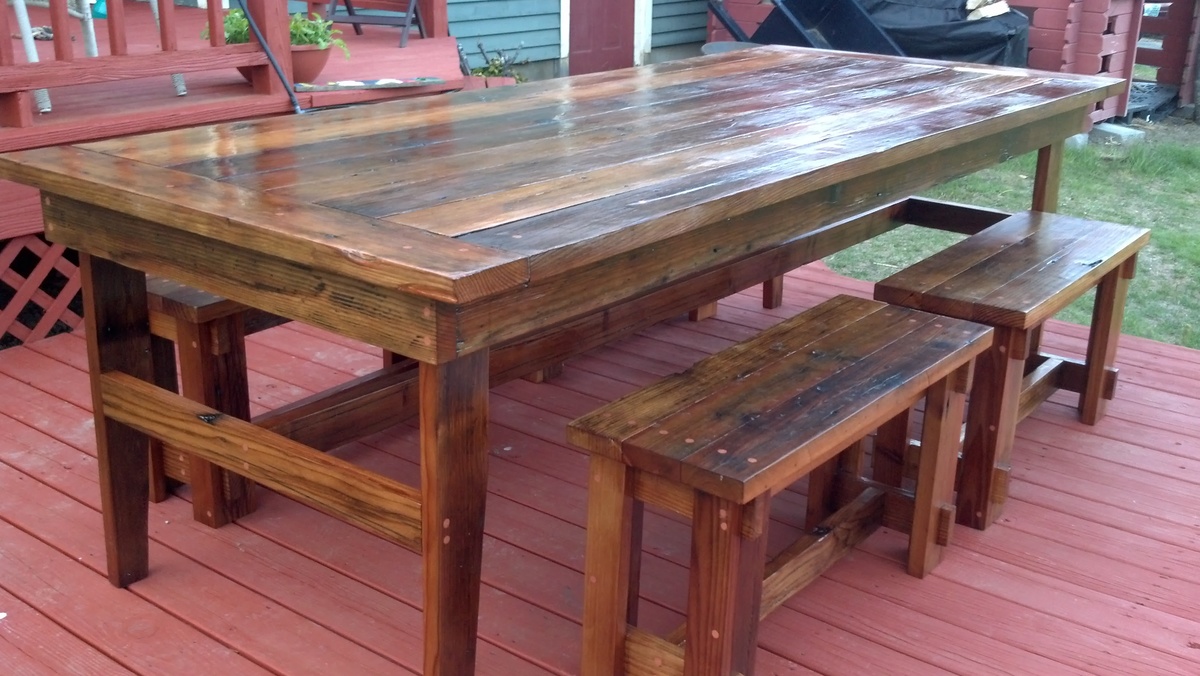
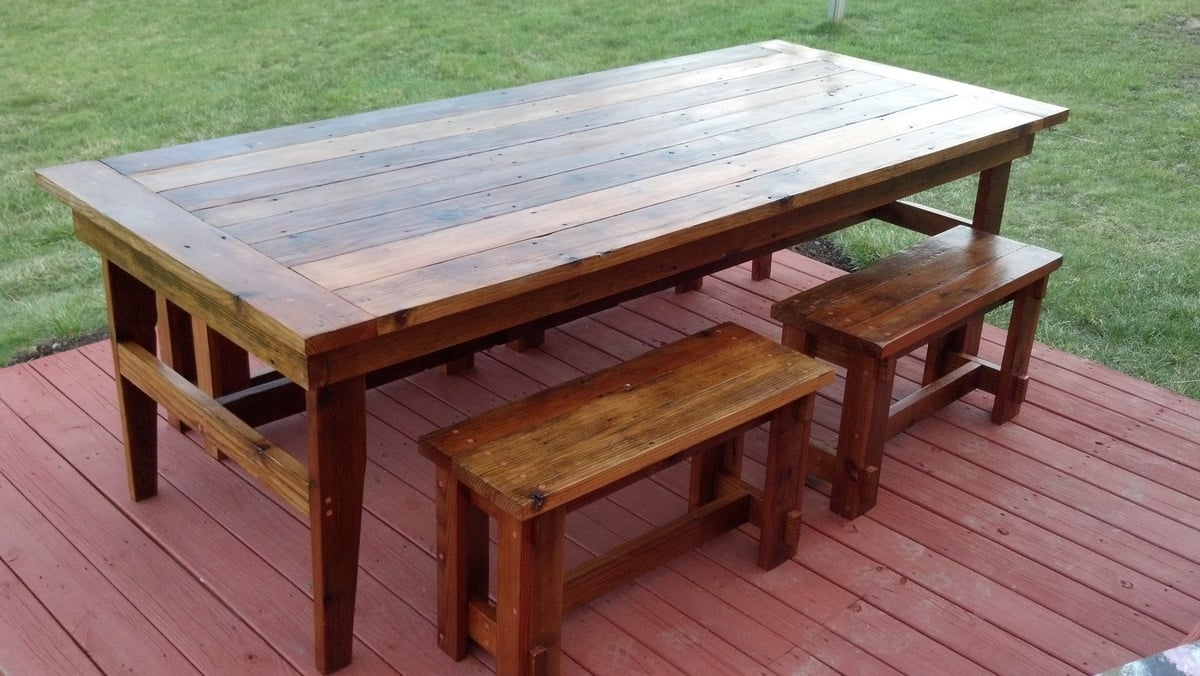
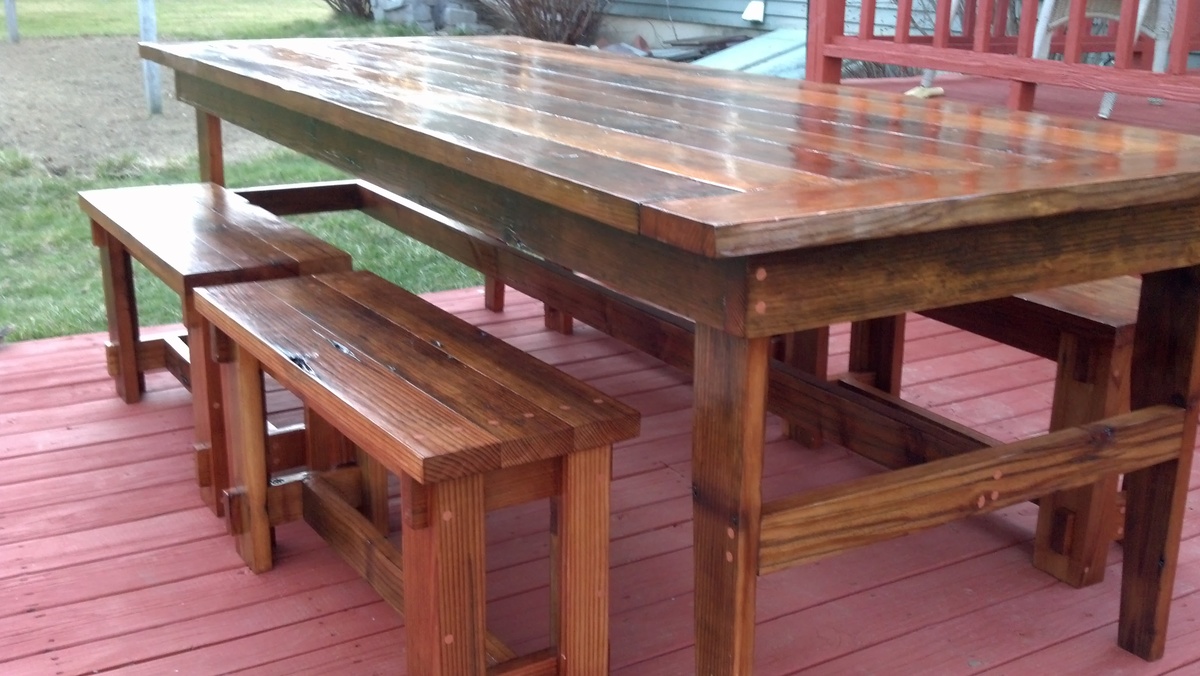
This was a first time woodworking project for me. I used salvaged redwood 2x8's from a friend's deck. The table measures.96"x41" and the benches are 34"x12". I used the plans for a Rustic Table and Rustic X Bench. Of course I had to modify them due to the wood I had available and I also wanted to add the breadboards to the table.

Estimated Time Investment
Weekend Project (10-20 Hours)
Finish Used
Minwax Helmsman Spar Urethane Semi Gloss - 3 coats
Recommended Skill Level
Beginner