Mother's Day Cedar Planter Boxes
![](/sites/default/files/3154828751_1371526590.jpg)
I made some of the cute little cedar boxes to use as planters. I love the size and they were super simple to make.
![](/sites/default/files/3154828752_1371526590.jpg)
![](/sites/default/files/3154828753_1371526590.jpg)
![](/sites/default/files/3154828754_1371526590.jpg)
I made some of the cute little cedar boxes to use as planters. I love the size and they were super simple to make.
This was my first project ever and I absolutely love these shelves! I was looking everywhere for a simple shelf system that was wide enough to stand alone in the middle of the floor. I didn't use the kreg jig at all as I was too intimidated and impatient for my first project. I also didn't add the 2X2 floating bottom. Also, I decided I wanted the whole thing trimmed and went ahead and got some extra 1X2 to trim the middle shelves.
Needed a two seat bench for an existing table. Used biscuits instead of pocket screws to manufacture the seating surface. Cut 1/4" from each edge of the 2x4 (original 1.5" x 3.5" => now 1.5" x 3.0") so the premilled humps would not be evident on the seating surface. The surface now has 6 layers of boards for 6x3=18" width instead of the plans 5x3.5 = 17.5" Great plans, easy to modify!
We combined two 5 Cube Tower Bookshelves with one 6 Cube Bookshelf (with a larger top center compartment to fit our cable box) to make an Entertainment Center for the kids playroom.
Fun project to do! I still have to make the other one, but thought I'd post the one that I did complete so far. The drawer doesn't fit in as perfectly as I wanted it to, but it's still ok and not completely noticeable. I was really torn on whether to do the paint/stain look but ended up staining the whole thing and like how it turned out. I had to split this project up into several days because of work, but hopefully the next one won't take as long since it'll be the second one. Overall not too hard!
I loved the style of this desk, but elected to give it a whirl without pocket holes. I tweaked the plans to used half lap joinery and it turned out great!
What a fun project! I used Ana’s plans for the bunk beds and the mattresses. The bed is finished with a whitewash.
Thu, 12/23/2021 - 20:08
Looks fantastic, love the finish, thank you for sharing!
Fri, 12/24/2021 - 14:36
Thank you! As you can see by my workbench, we are blessed by many of your plans.
I couldn't find any wire baskets to use for this, so I just put some rolled towels and TP on it for now... mine is quite bigger than Ana's version and it's even bigger than the original Pottery Barn version - it's about 37" tall, 19" wide and 14" deep. I had some of the wood still left over from other projects and I already had all of the paint and supplies. I only spent $15 on the wood I needed.
I wanted to attempt making a dining room table. This is my very first woodworking project. I did use store bought legs from one of the big box stores. Your site completely inspired me to just go for it. It's not quite finished. I've got to do all the sanding and staining. I plan to use a mahogany tone stain to coordinate with my brown/black parsons chairs and hutch in my dining room. Finally finished and I think it looks great! It took a lot of sanding to get all the wood pieces even, but so worth the effort. I love the rustic country look.
Our youngest daughter just loves her new big girl bed! Her older sister does too, now she wants a new bed because hers is too boring!
King bed made out of CVG hemlock with doug fir posts. Headboard chevrons are mix of oak, cherry, maple, hemlock.
Pug approved.
The first furniture I built from Ana-White's page. My son liked it so much!
Ps: Home Depot employer cut all the pieces for me...Saved me an hour! :)
My wife, Carrie, and I decided to make this bench for a very deserving couple for their wedding. It turned out great and this will be the first of many pieces we'll build. Thanks for the plans Ana!
I made this with pine boards. I used an old twin mattress for the cushions and covered with some material I had on hand. I love it.
Sat, 06/06/2015 - 06:14
Looks like a great place to relax. Your Golden seems to be enjoying it!
Great project and my wife loves it. I added a door, locking hinges, and made a custom cutout with shelf for the machine to sit flush with the table. I switched to piano hinge for the leaves and locking hinges for the 2x2 legs. Turned out great.
Such a fun and fairly quick and easy Christmas gift for my 8 yr old daughter. She’s been begging for a AG dollhouse and with limited space in our house, this compact design fit the bill. I bought the shelf help kit and all I had to do was assemble, add trim and cut out the windows. Highly recommend the kit, no wasted plywood (and it was high quality too!) Thank you Anna!
Sun, 12/26/2021 - 17:17
That is darling, thank you so much for sharing!
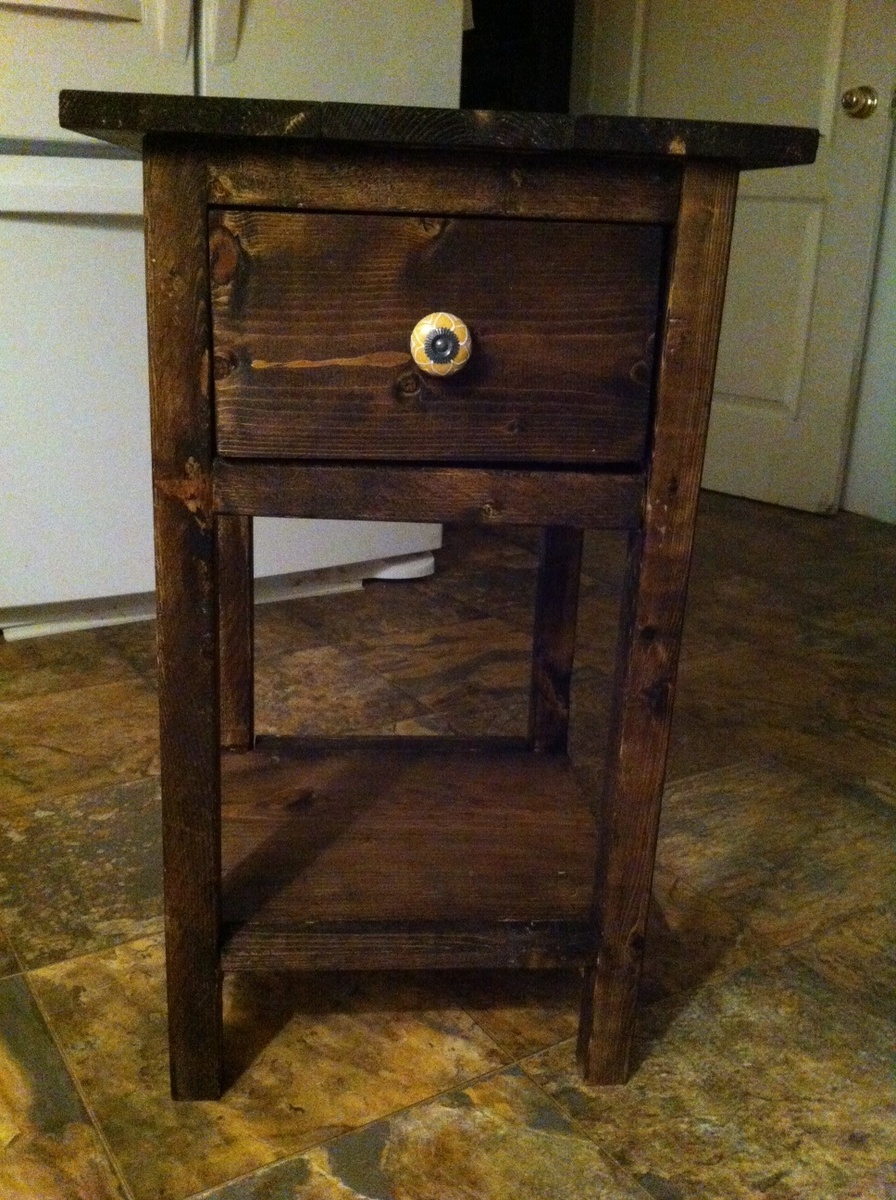
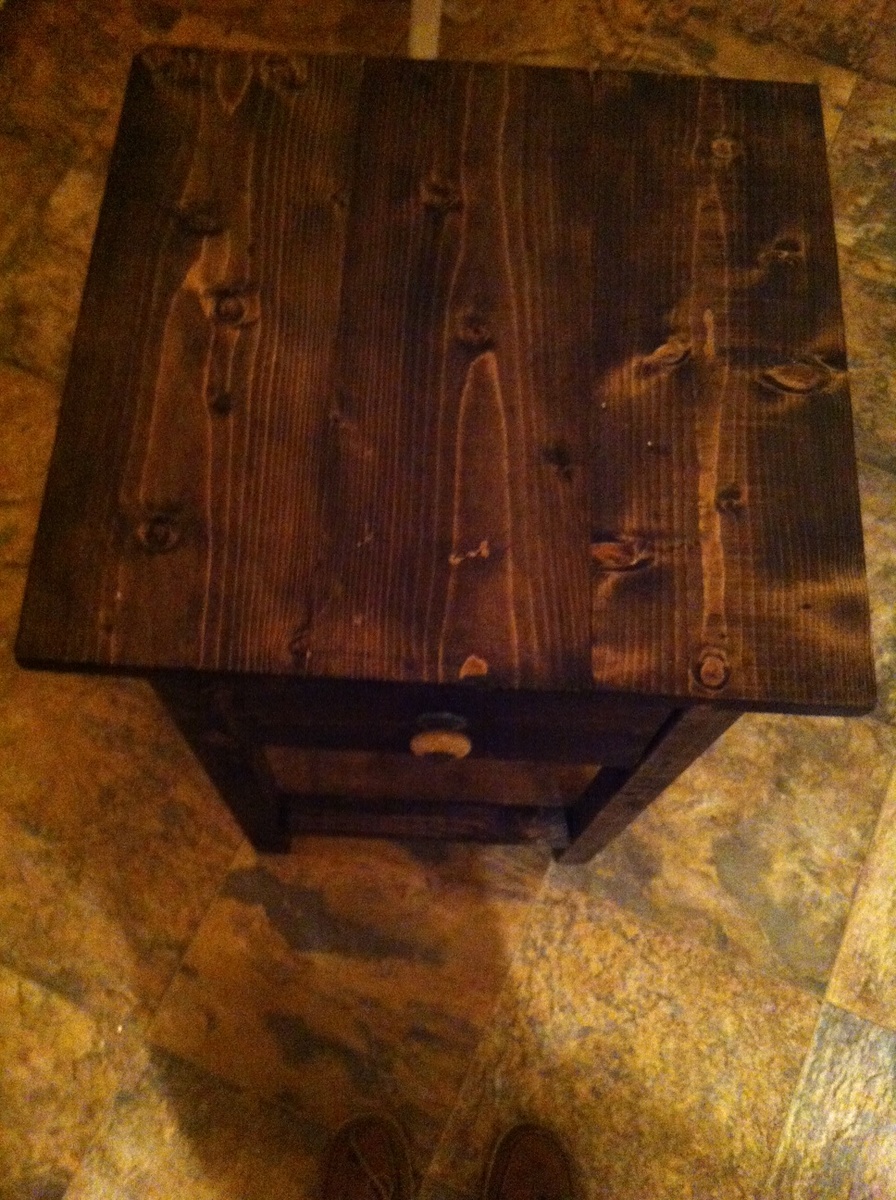
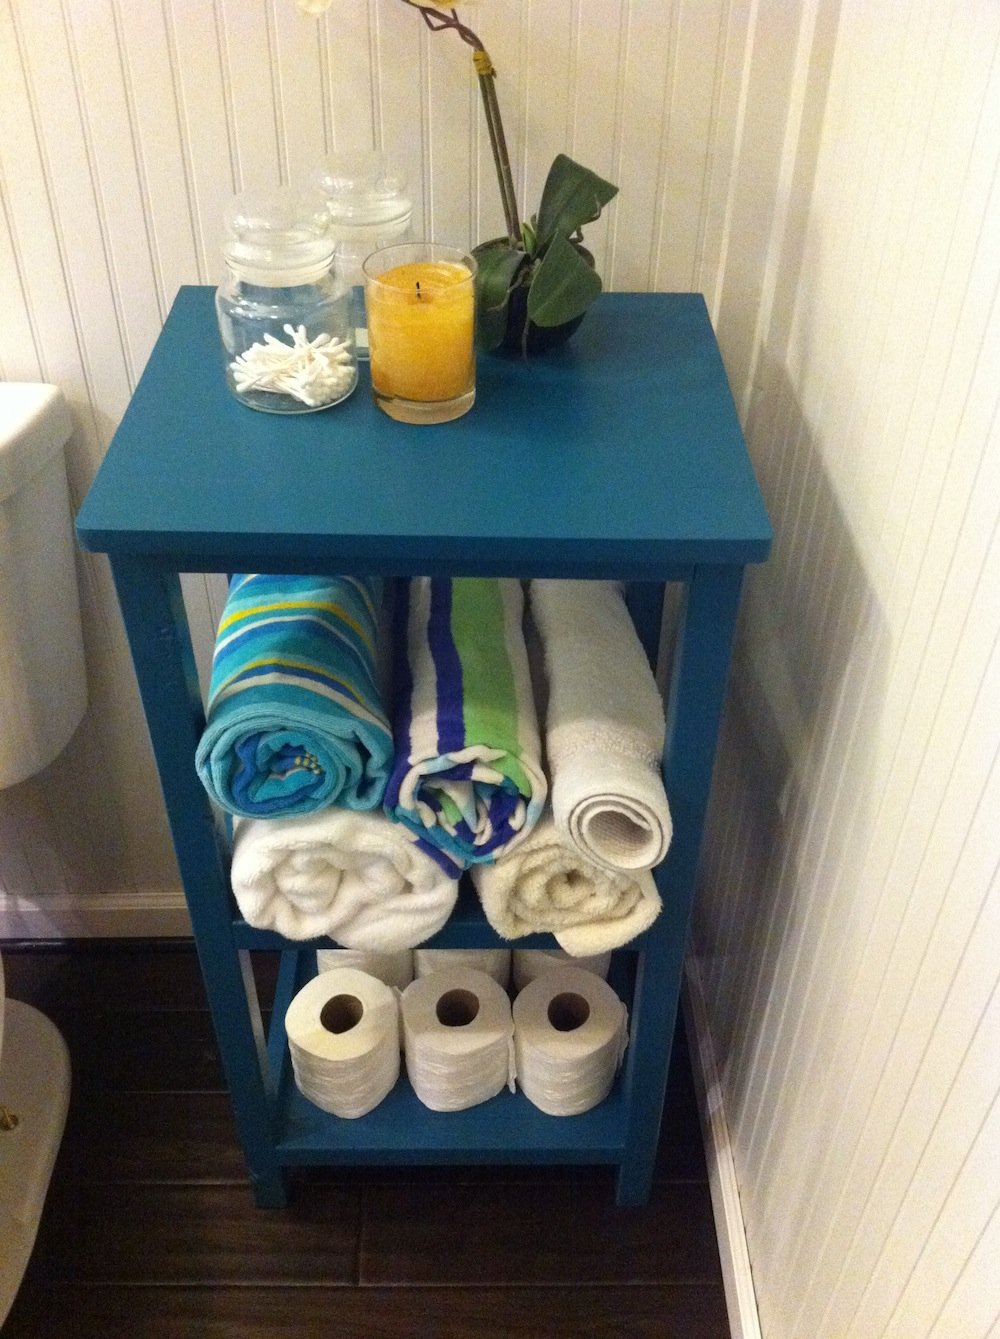
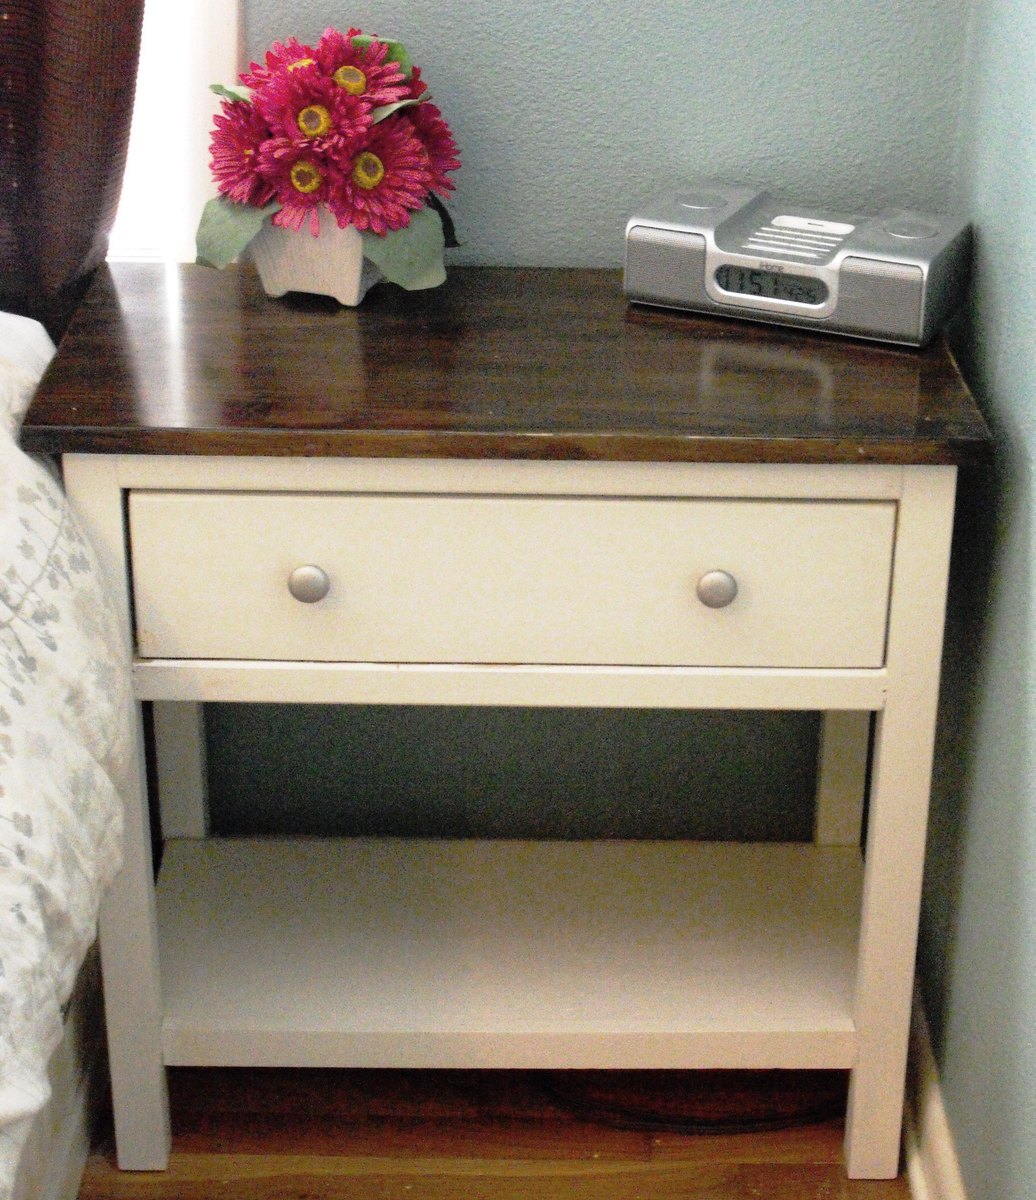
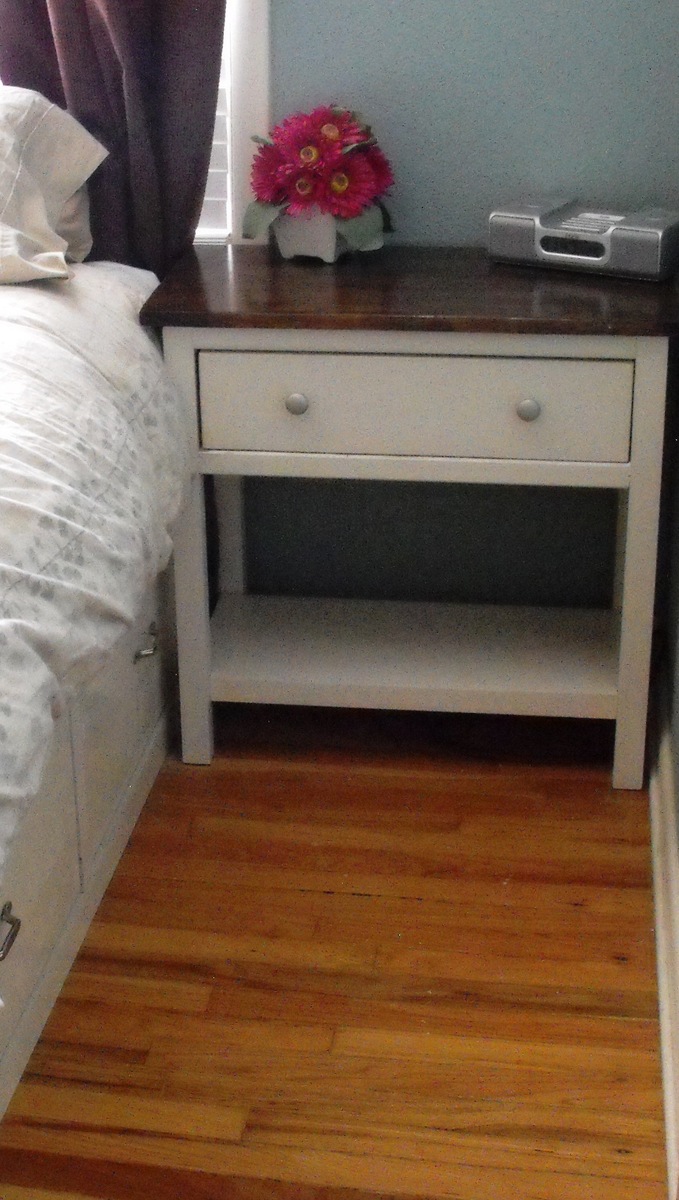
This week, I built the Farmhouse Bedside Table. It was quick and easy to build, but be sure to add a few more hours to paint.
I have a small bedroom with a very long but shallow closet at the foot of my bed. I built Ana’s Queen Storage Bed and had a small short and narrow bedside table from my old apartment. The spaces on both sides of my bed were perfect for the Farmhouse Bedside Table and the right height, so I decided to try to build the Farmhouse Bedside Table.
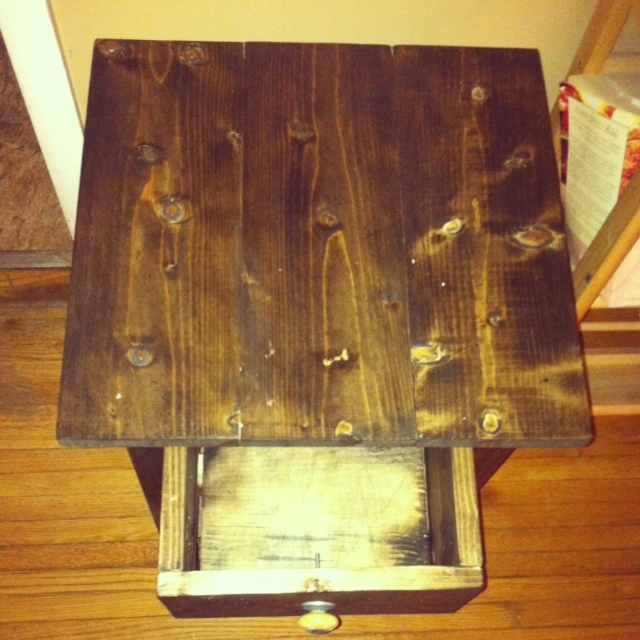
As for the materials -- I found beautiful 2x2's and 4 not-so-great knobs at an estate sale for a total of $2. I spray painted the knobs silver to match with the other hardware in my bedroom. These knobs are temporary until I find something I love. I found the tops on the side of a curb. It looked like the tops were formerly a bookshelf.
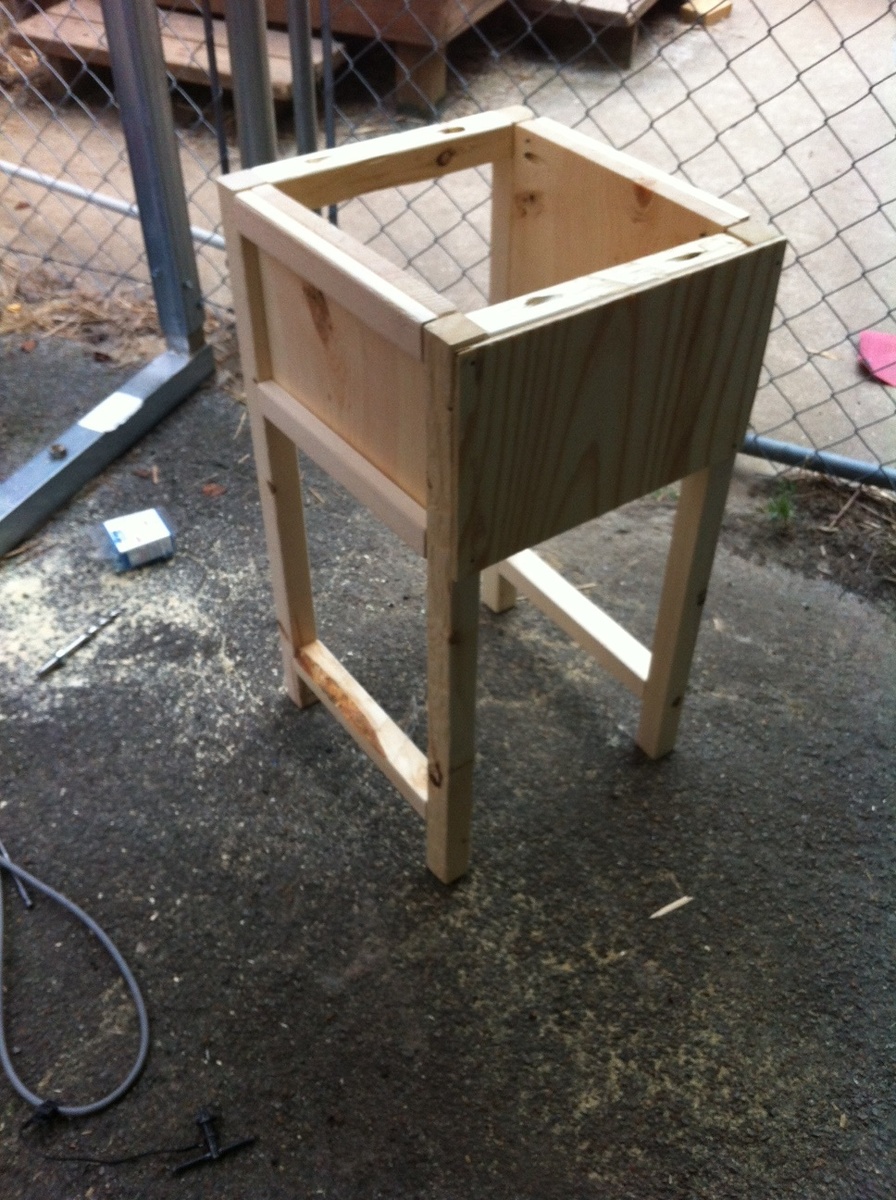
I bought the 2x2, the 1x12 and 1x6. I paid approximately $40 for the wood for the two tables. I sold my existing (shorter) bedside table on Craigslist for $40. Essentially, I was able to build a free side table that fit better with my space.
I decided to cut the wood myself as I haven’t had great experience getting accurate cuts from the store. I used a circular saw to cut and opted to not add the 1/8 depth cut because I was afraid of messing up my project. I used the kreg jig for the joints, my boyfriend’s brad nailer to build the drawers and a finisher nailer to secure the top.
I was unsure about the drawer slides but I completely love them now. It was easier and a much more affordable solution than buying slides from a store. I would use this type of slides on drawers that have very light use.
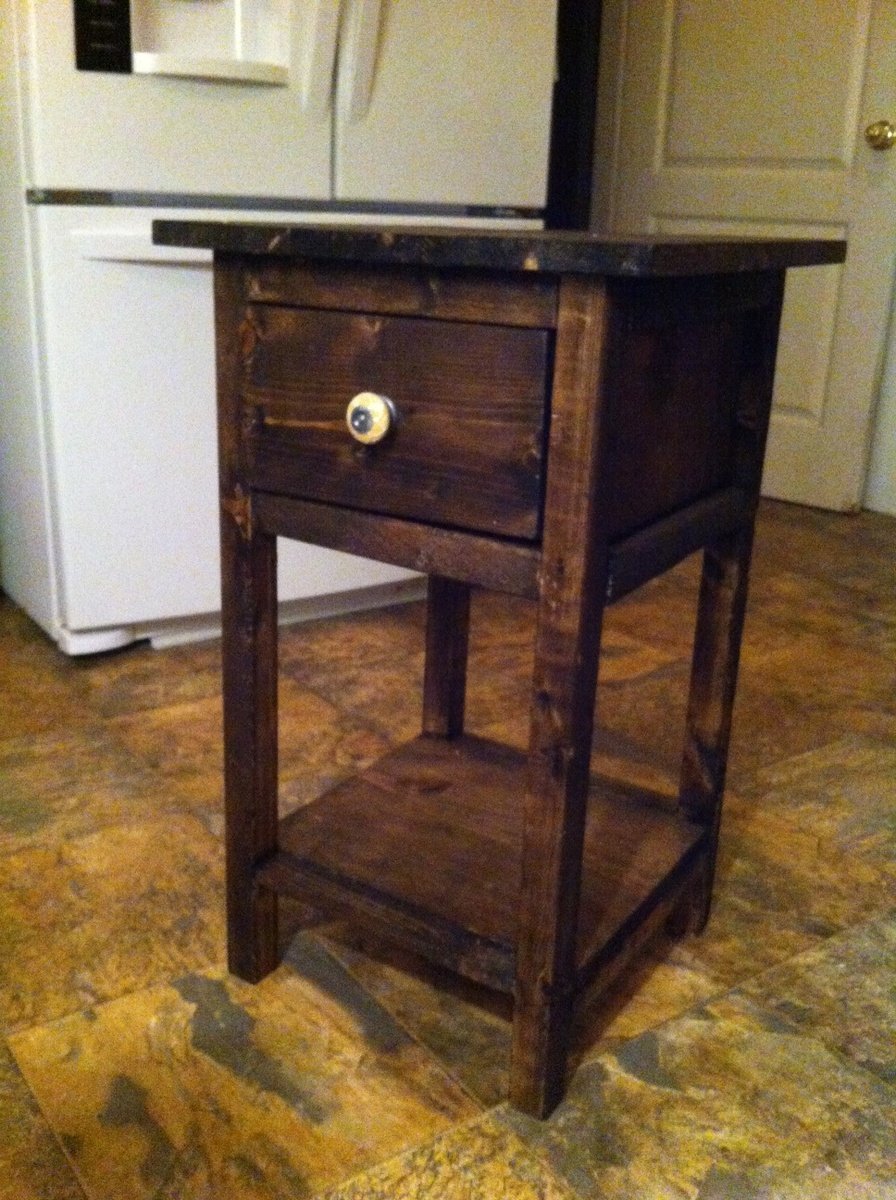
I love these bedside tables and would highly recommend building them too.
My new Craft Table I built from Ana White's plans. I combined her plans from her Modern Craft Table (http://ana-white.com/2010/09/modern-craft-table) and the desk drawer from her Craft Tabletop for the Modular Collection (http://ana-white.com/2010/02/plans-bedford-project-table-top-with.html). I modified the plans slightly, I added 1x2's aroung the tabletop instead of edge banding or nosing to give it a nice decorative finish. I also used 1 x 3's instead of using 1 x 2's for the floating base for the tabletop so you could see more of the floating base since the 1 x 2's around the tabletop covered up the majority of the floating base from view. I also created a frame for the table top to sit on which also helped stabilized the 2 bookshelves in place, as well as adding support to the frame of the drawers.
Mon, 07/01/2013 - 11:23
I love the blue accents! So much better than all white. Nice job on this. I don't know if I'd have the nerve to use it after all that work with the chalk paint :)
I followed the plan but made the sofa longer, the cushions were on clearance from Pottery Barn for $160 and the cushions are about 96 inches wide.
I used weather treated wood and did not want to spend more since its my first project. I used Behr exterior weatherproof transparent stain. I attached the seats back piece using a 2x2 attached on the bottom with screws and pocket hole screws are used to attach the 2x2 to both sides of the arm frame.
I love how it turned out. I was not expecting for it to come out this nice but I am really impressed.
I hope you guys like it too!
Total cost is around $240 including paint, wood, screws and the cushions.
My wife wanted a Hall Tree with a bench to sit on and shoe storage. I used Mimi's Hall Tree plans for the Hall Tree and added the Shoe Rack/Bench for the base. It's all made out of Hickory. I love the multitude of colors in that wood.