DIY Play Farmer's Market Stand
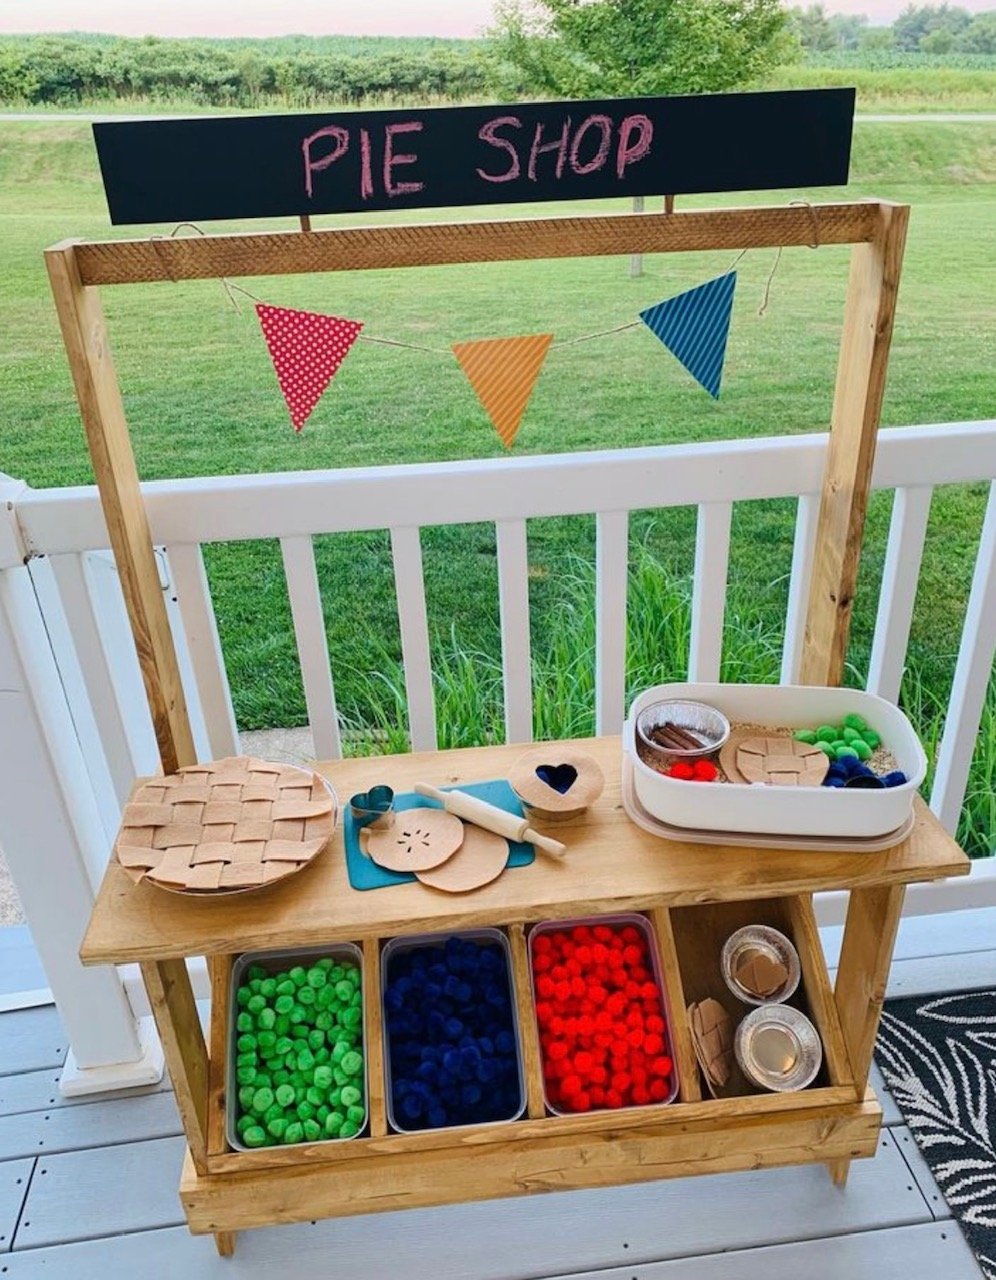
For a 4-H project this year, I want to make the Play Farmer’s Market Stand. I currently work at a daycare and I think the kids would love it.
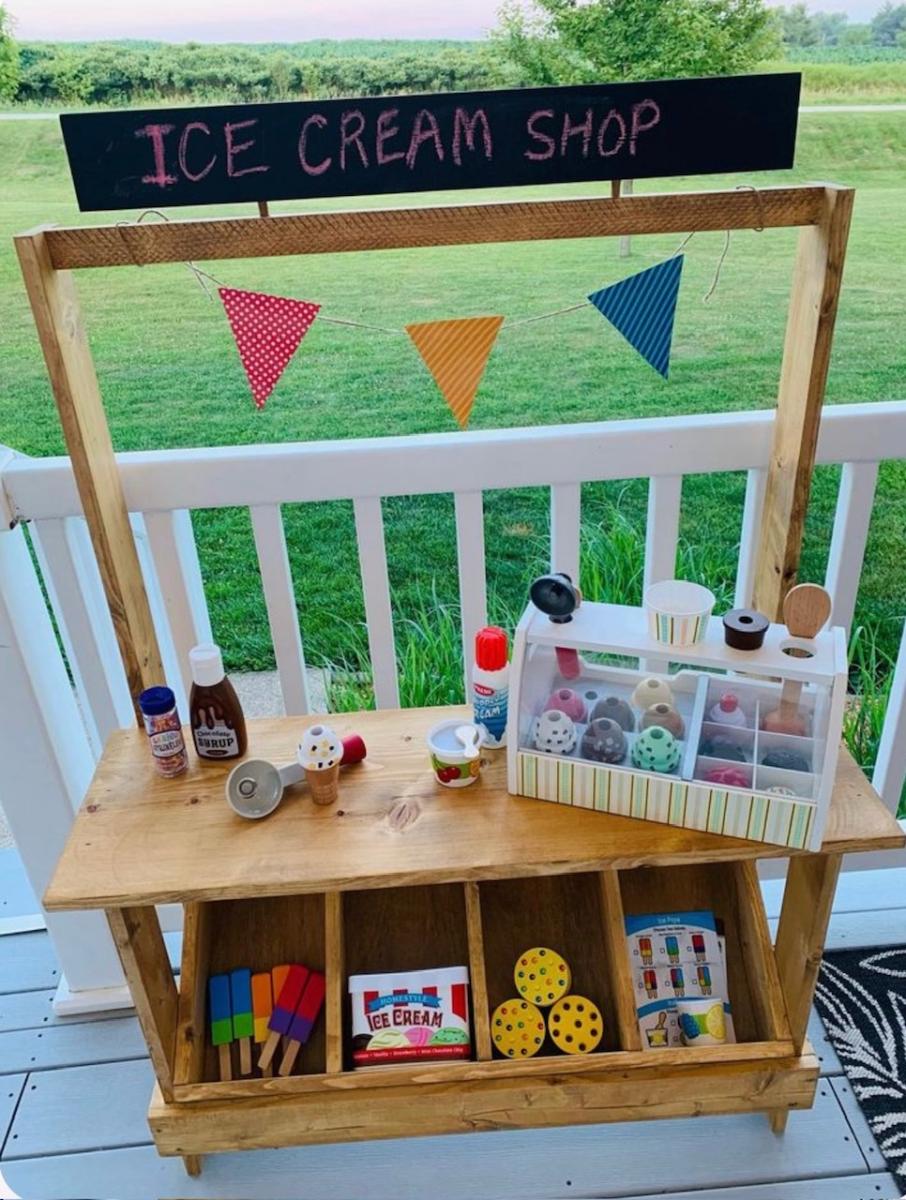
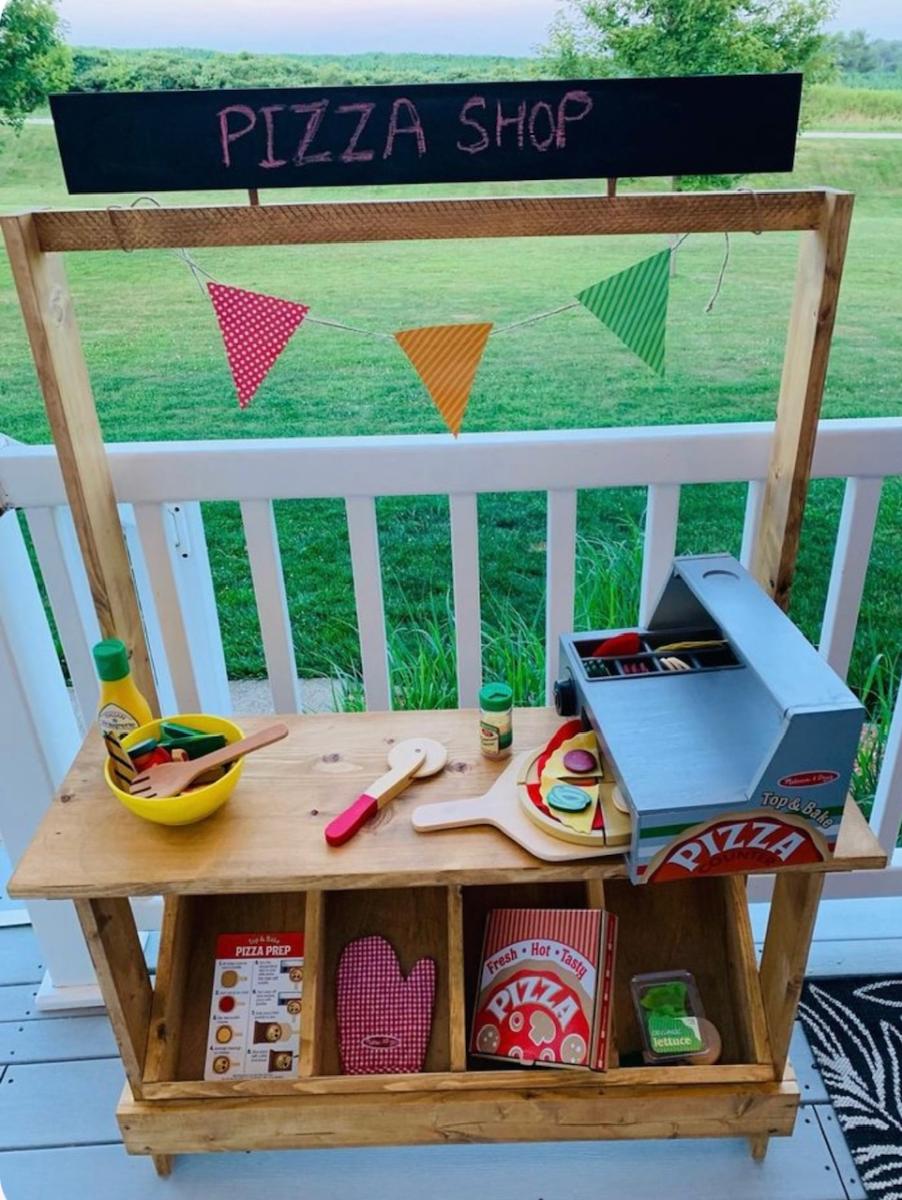

For a 4-H project this year, I want to make the Play Farmer’s Market Stand. I currently work at a daycare and I think the kids would love it.


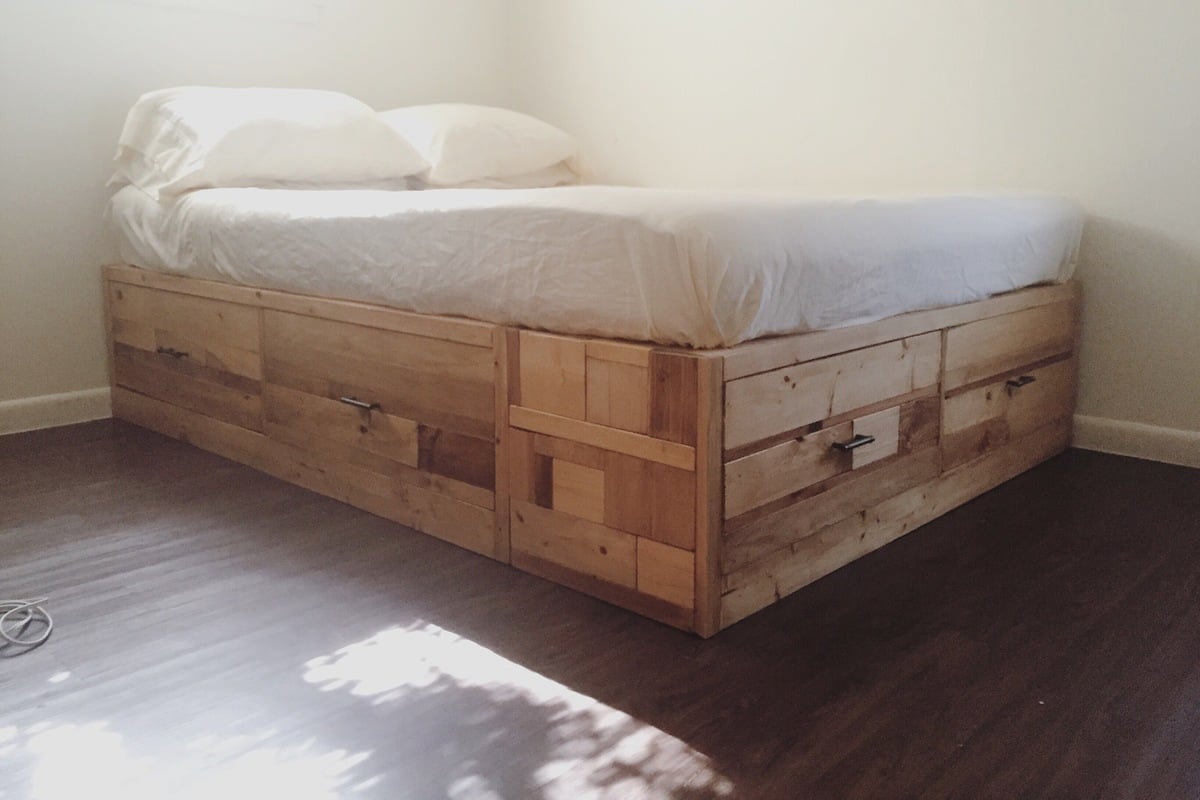
Will probably add a scrappy short headboard, overall very pleased with the design and look
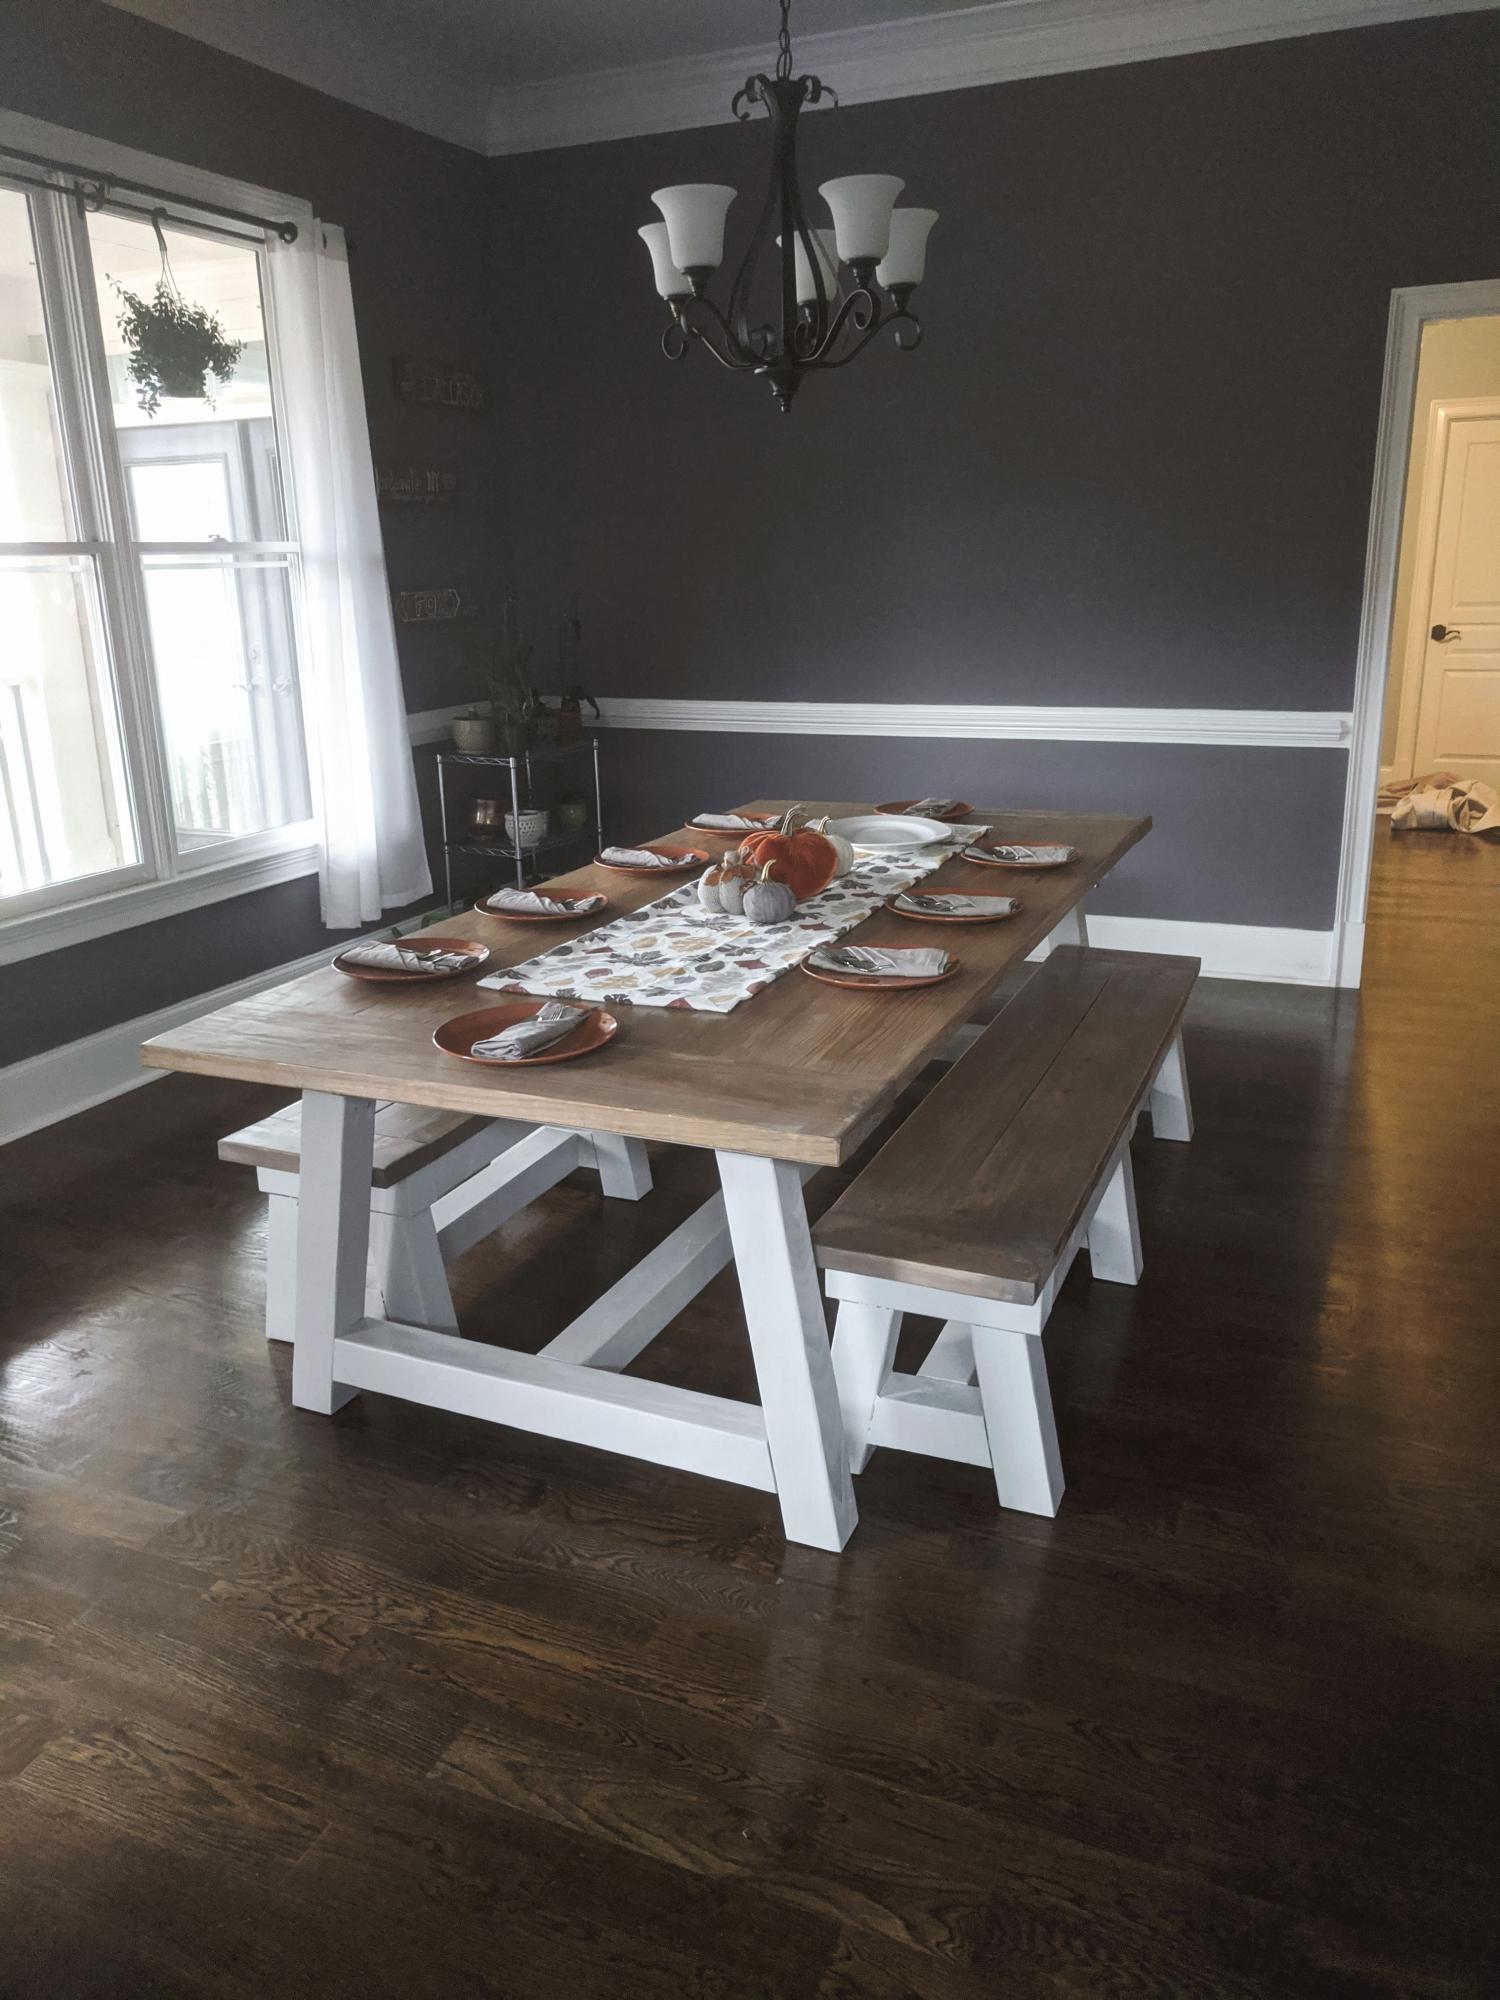
4x4 Truss table and benches
Master bedroom makeover ❤️ bed plans are from Ana White
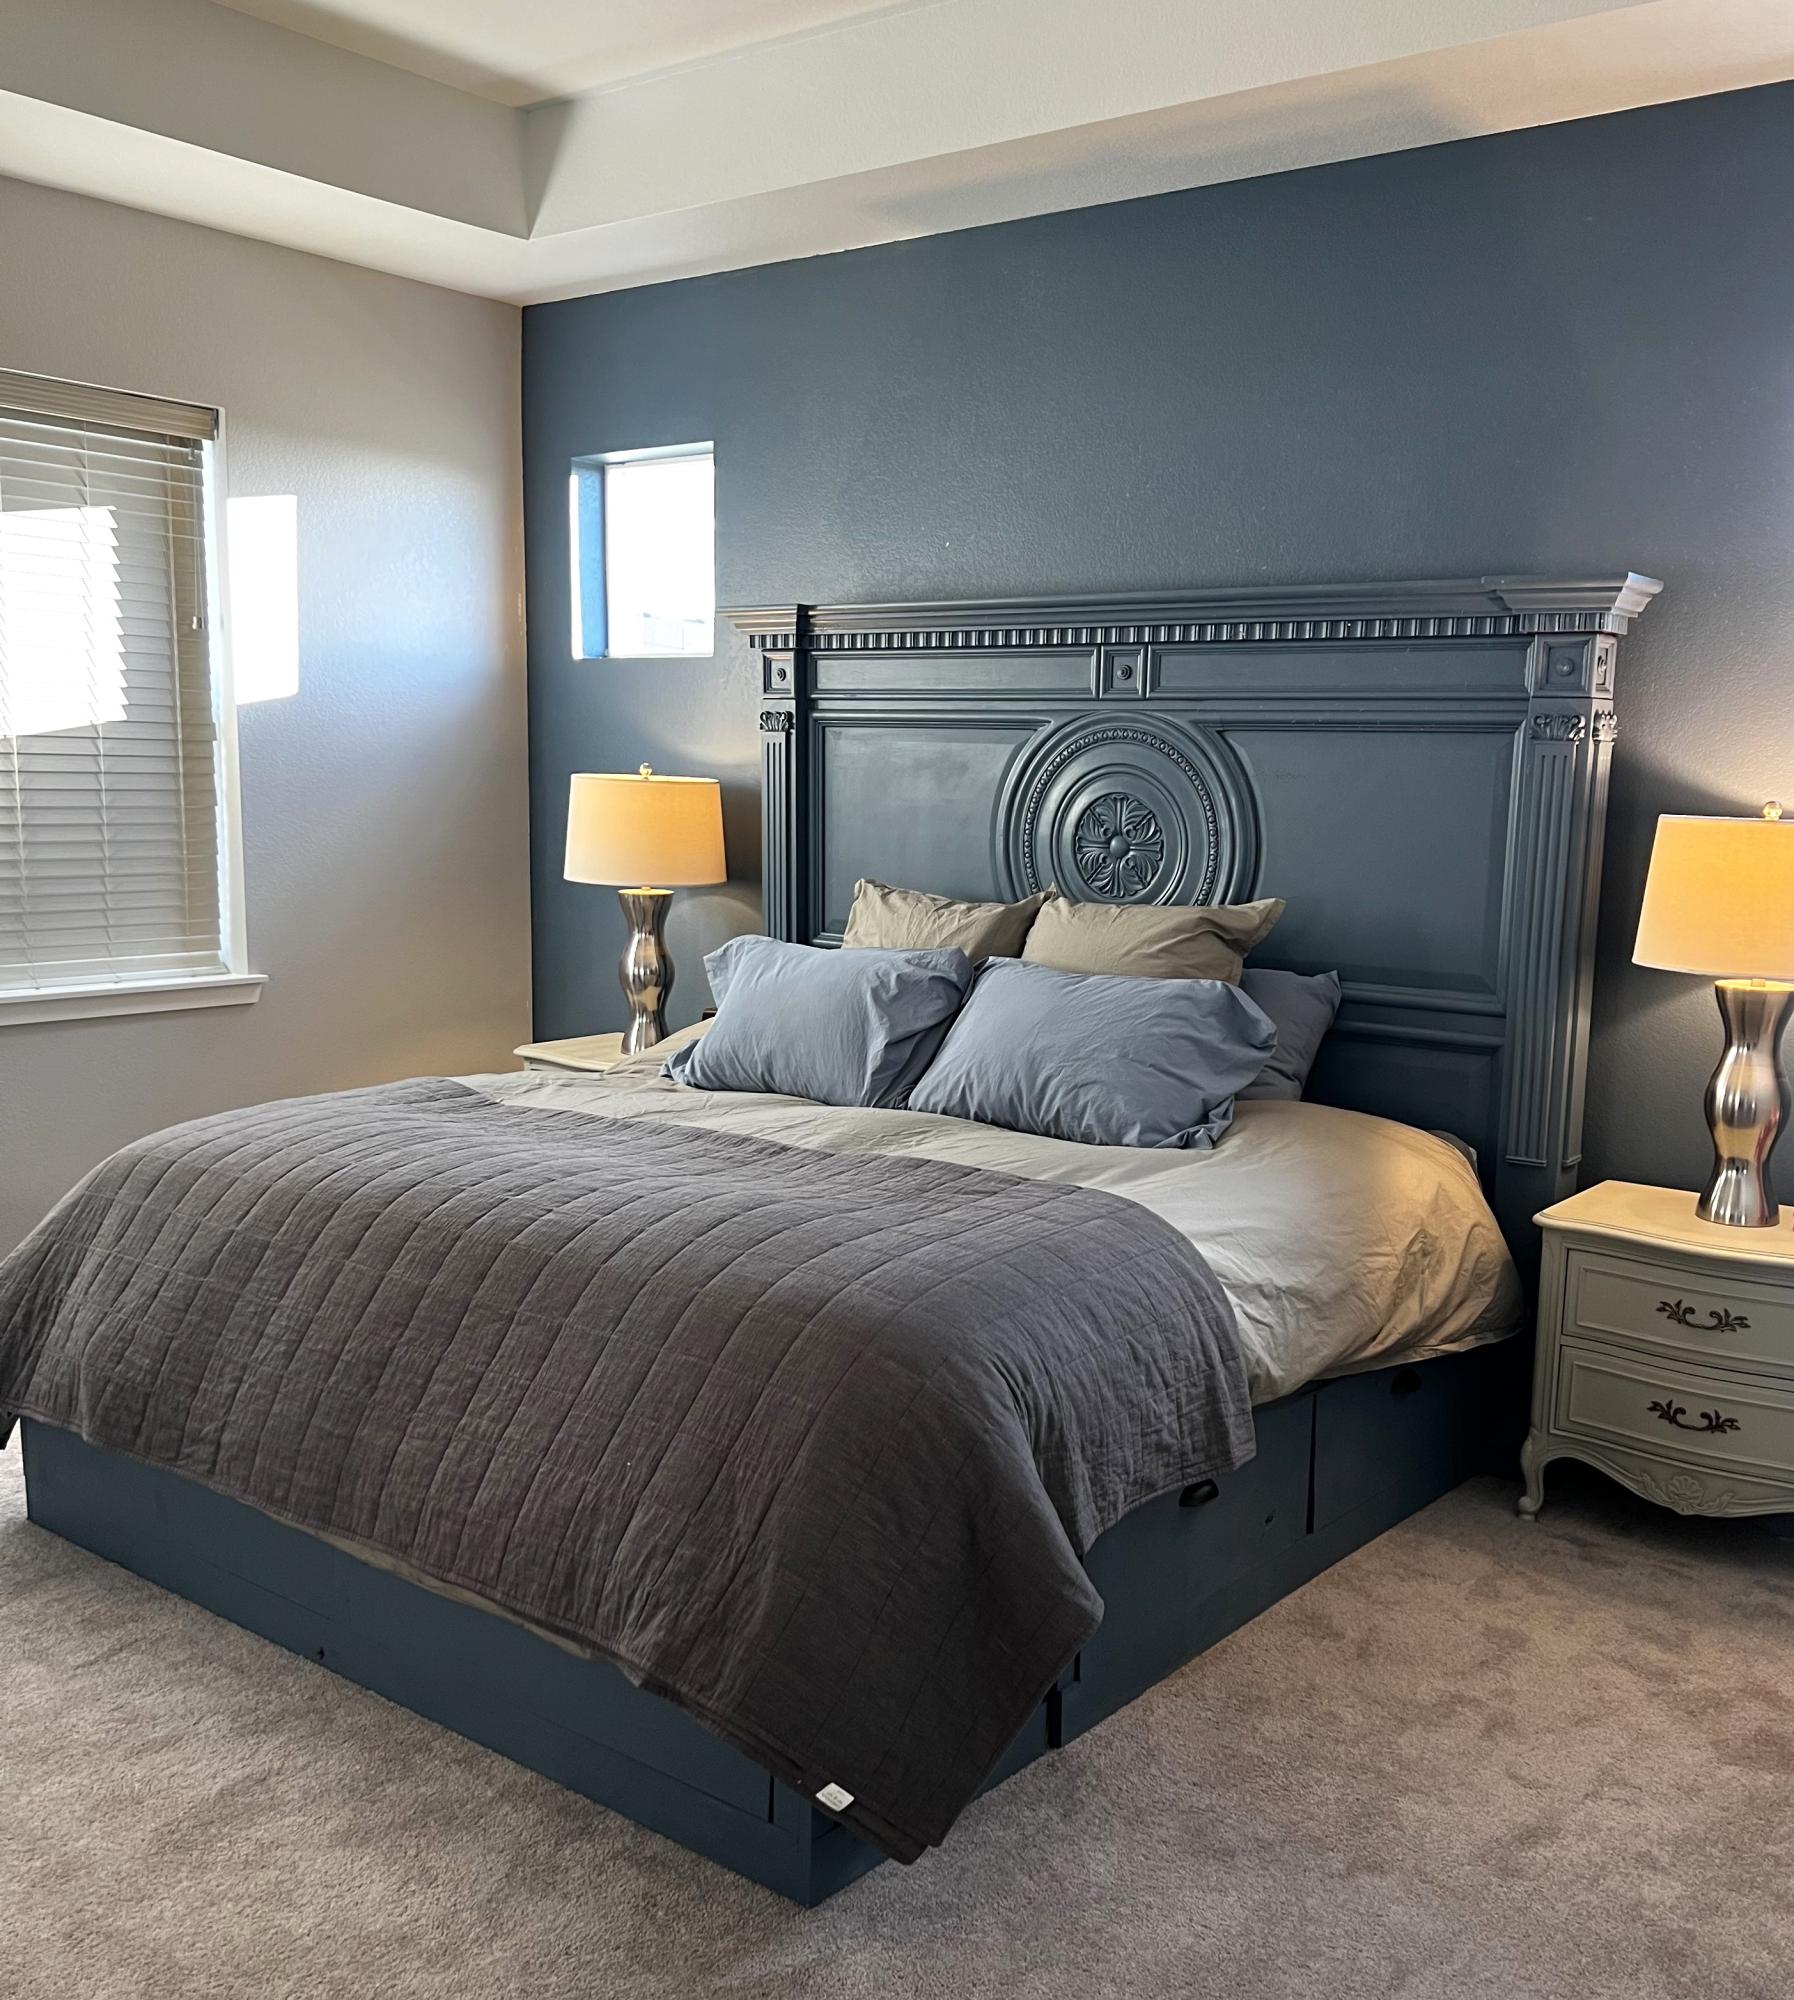
King Sized bed with Storage. Added a found headboard and found Nightstands!
A novice at best
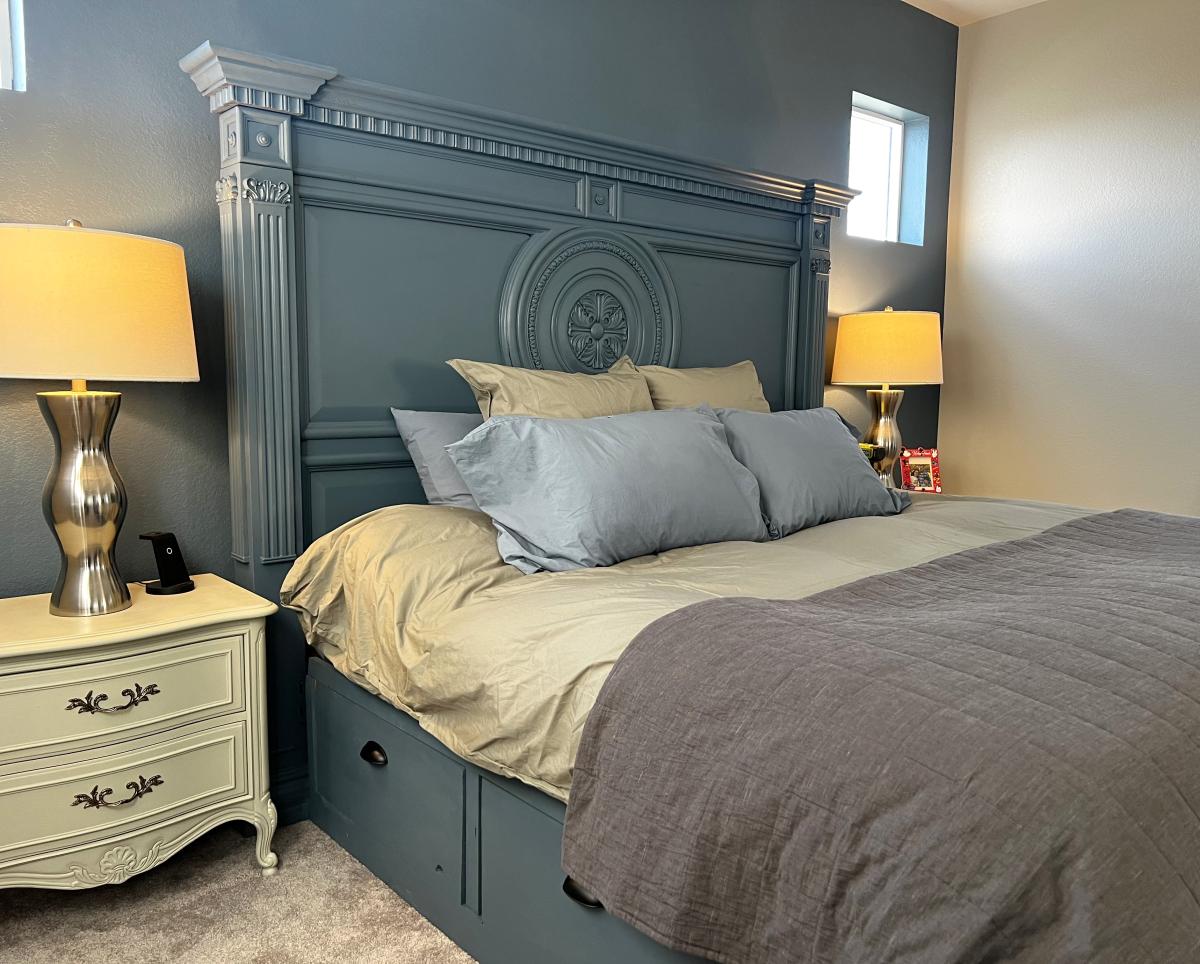
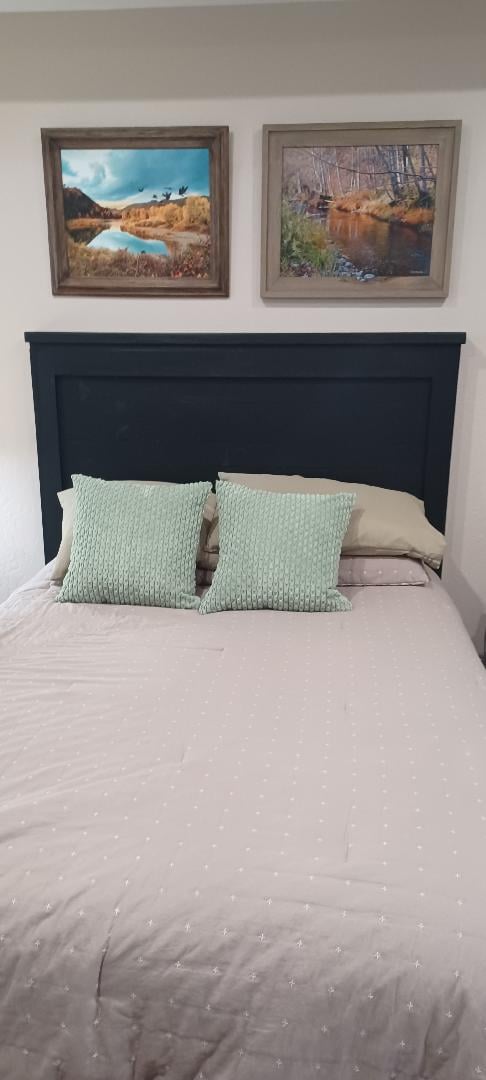
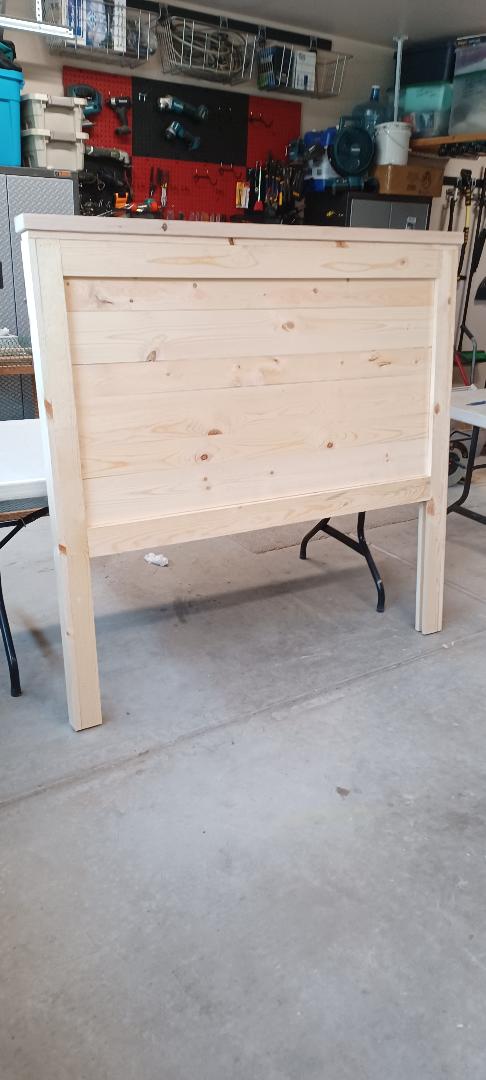
Thank You for this Headboard Plan. It was very easy. Other than painting it I completed it in less than 3 hours. A nail gun sure saves some time. Everyone loved it. They wanted me to put clear coat on it because it looked really good, but I ended up painting it to match my other bedroom furniture which is Black.
Scott Boyd
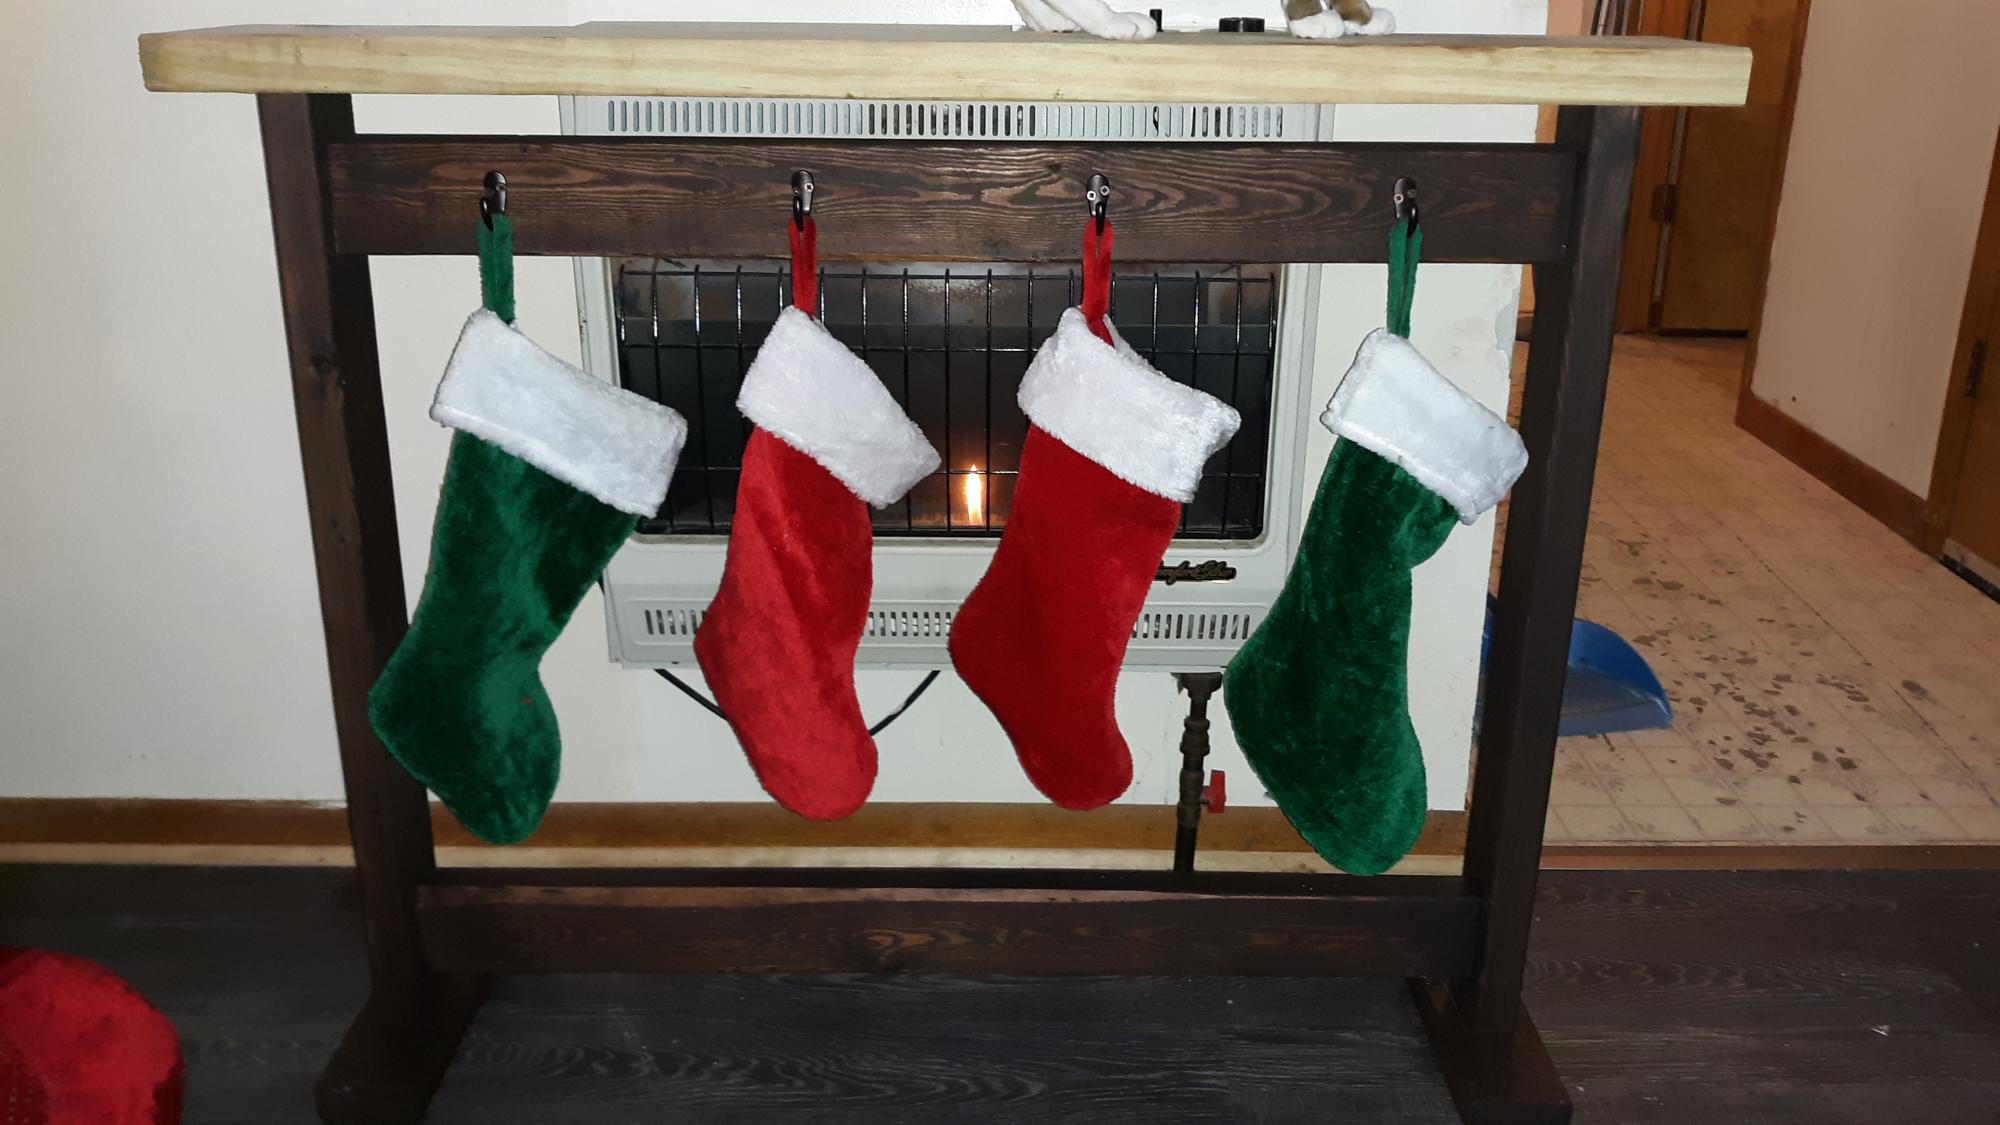
We have a vent-less gas wall heater, but had no mantel for hanging stockings. Thanks to the new plan, we have the perfect solution! We already had the 2X4s left over from the simple panel bed project, so we only purchased hooks and stains for this.
We shortened the width to accommodate 4 stockings instead of 5 (we cut the 2 cross pieces 9 inches shorter). We also decided to add a large 2X6 cap to mimic a mantel, which really seems to tie it all together much better. We love this and have ideas now on how to make slight changes so it will more easily slide "over"/around the wall heater
(yes, we are not keeping it that close while stockings are hung, so as to not risk catching fire)
Built by Holli Peterson
Fri, 04/17/2020 - 09:30
Can someone post plans for this? Materials? Cost?
I love it!!!
Thanks!!
Thu, 08/31/2023 - 21:23
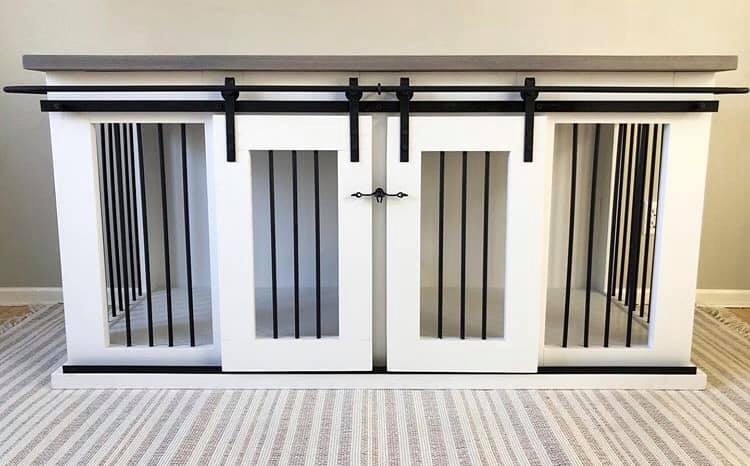
I’m looking to make one similar to this but looking to make it a little bigger for two Great Danes. Do you still have the plans and or cut list for this project to help me out. I’d greatly appreciate it if so.
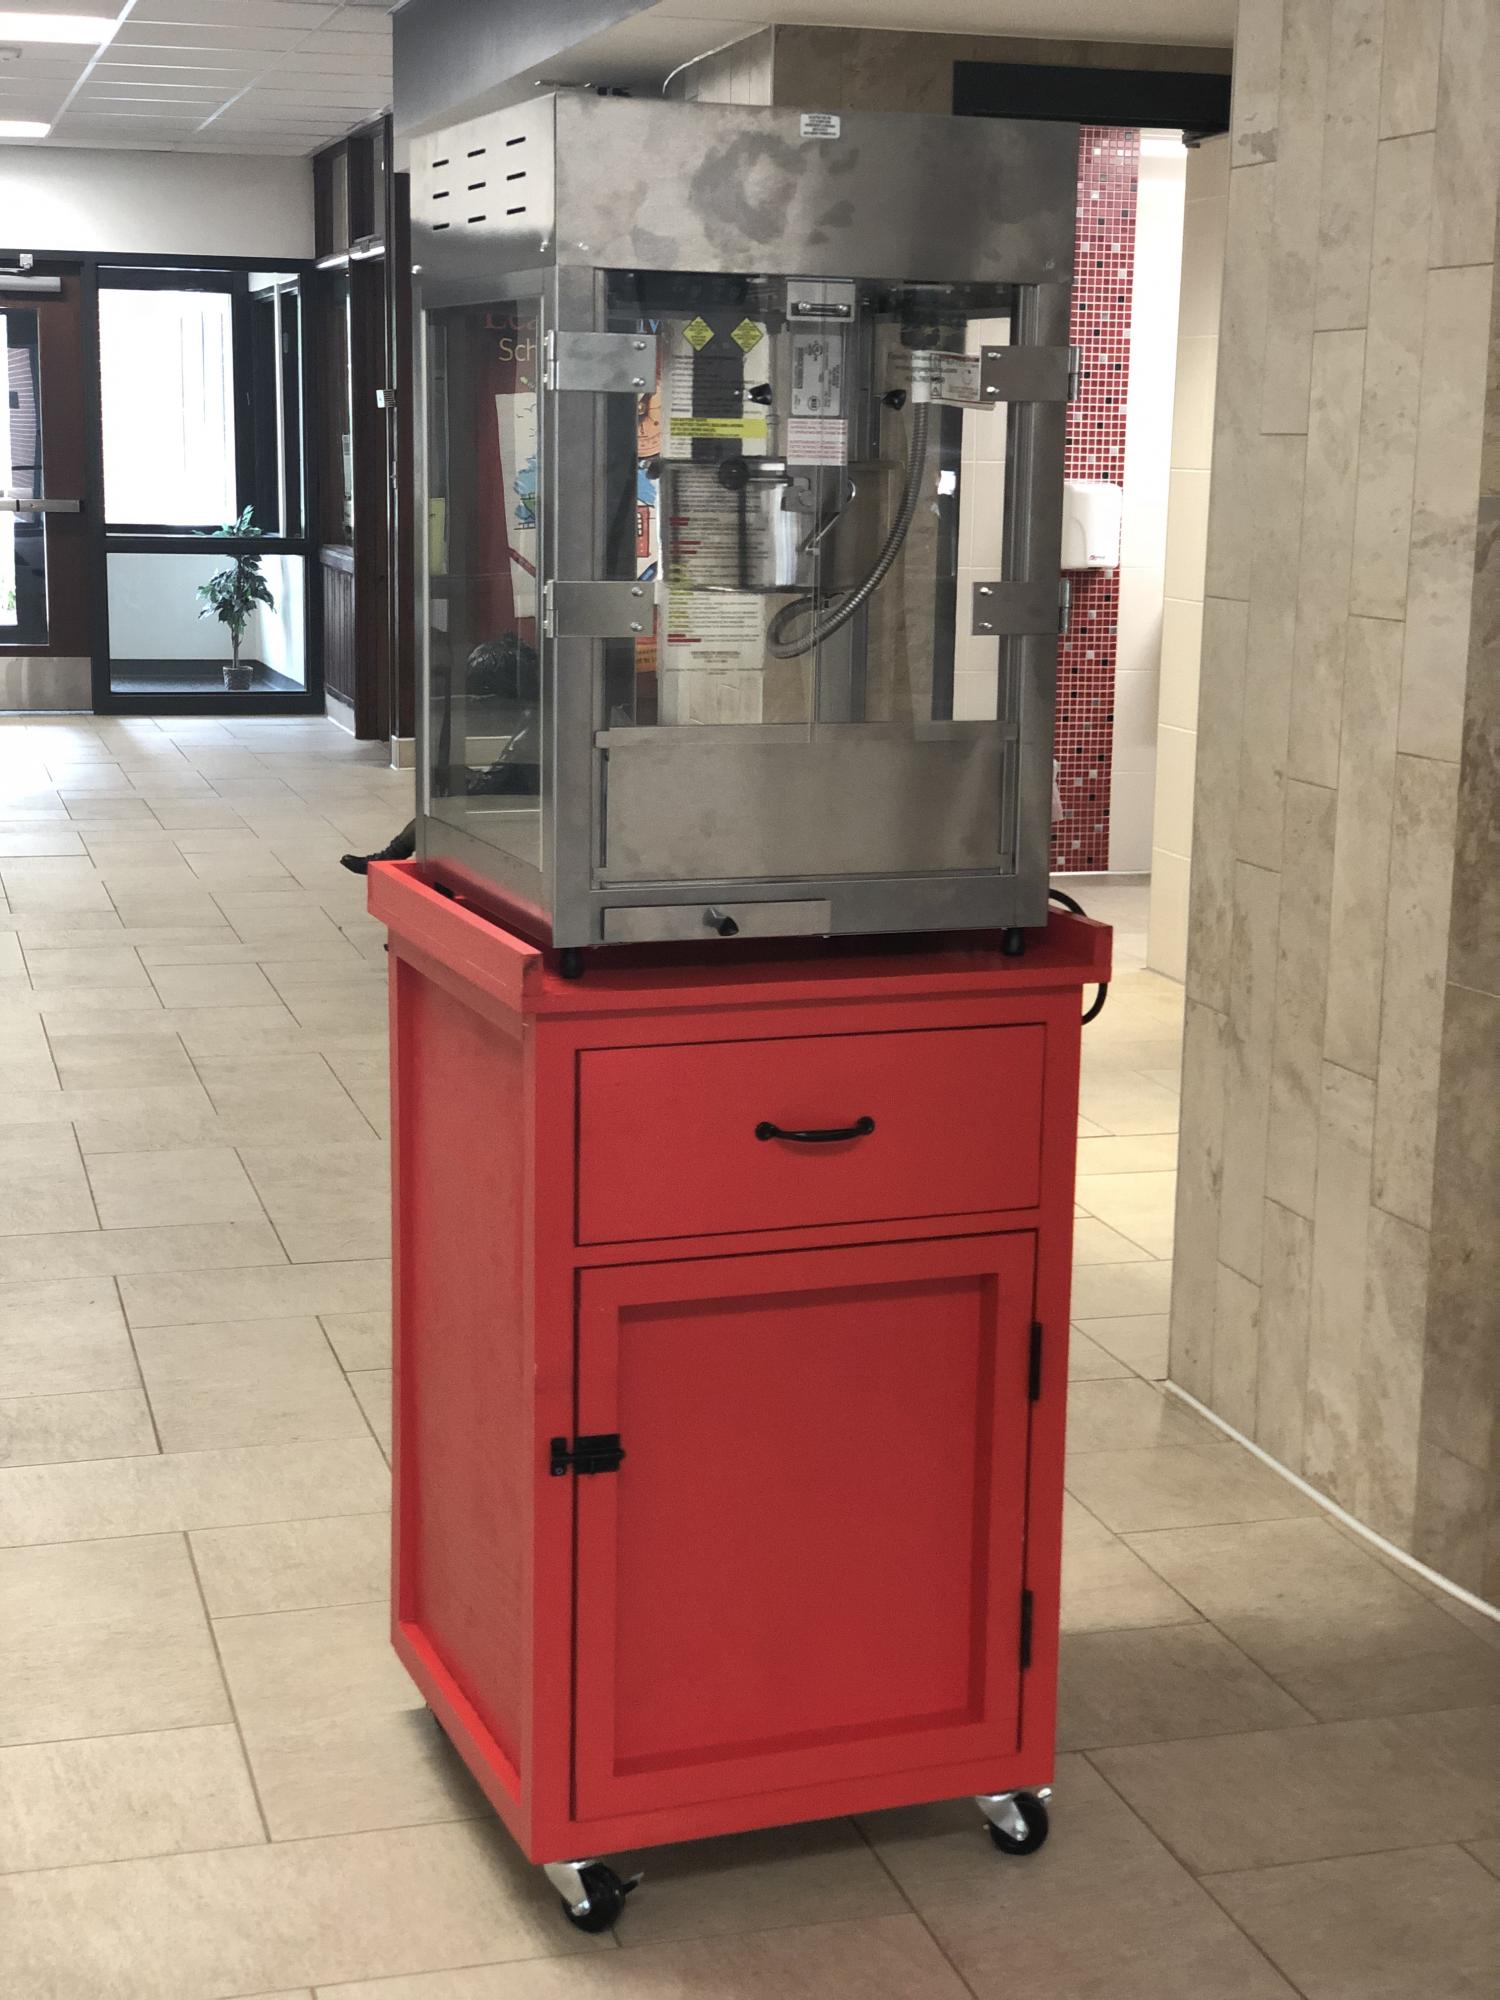
My parent organization at the elementary school had just bought a brand new popcorn machine but had nowhere to store it. So, I offered to try my hand at building a stand with storage. I knew that we needed the stand to be mobile as the idea was to pop the popcorn in different classrooms for incentives, etc. I modified the kitchen prep cart to have a large cabinet underneath to store the popcorn, bags, etc. The pullout drawer was home to the measuring cups, directions, etc. I used my Cricut and cut out our school logo, placed on the popcorn machine and then polyurethaned it to the side. It turned out great!!! I could not be happier :)
Wed, 08/21/2024 - 20:38
How can I download the plans for this popcorn stand? Maybe I’m just blind.
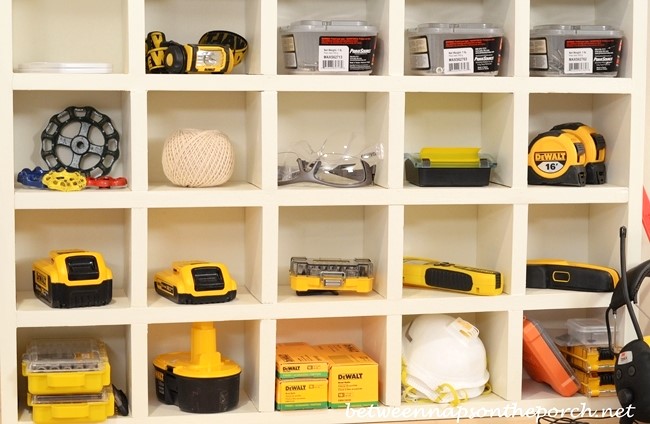
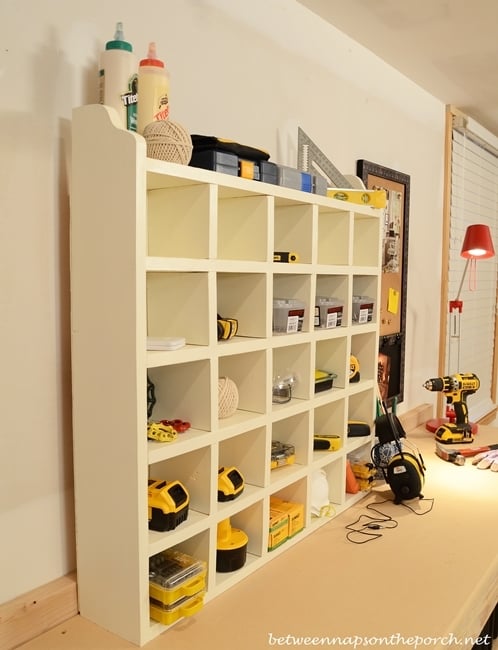
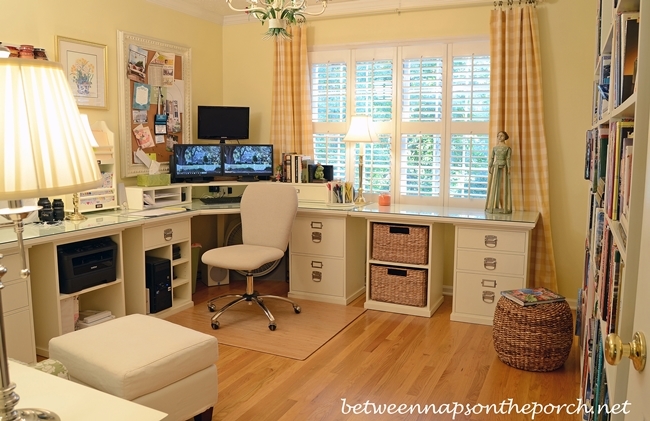
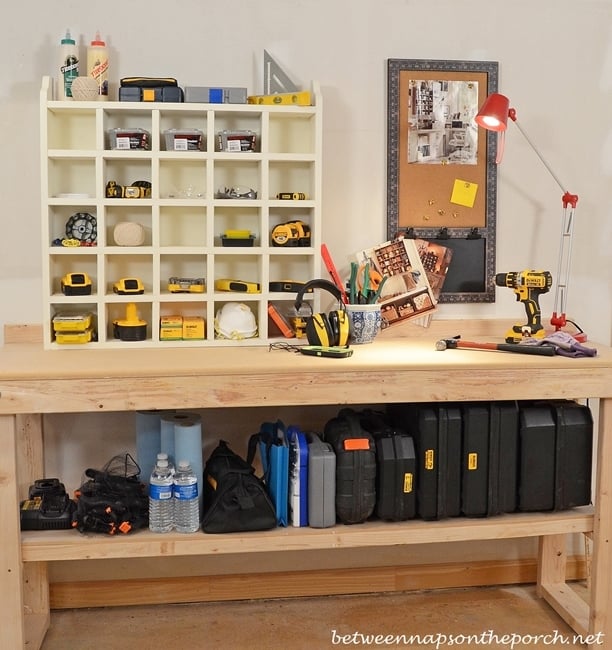
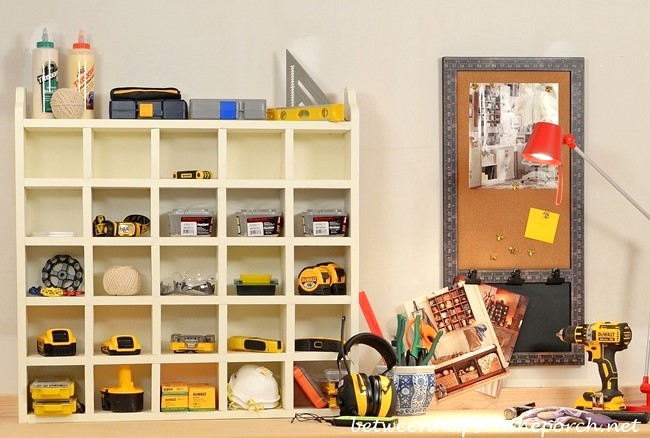
This cubby organizer is great for storage, displaying collectibles or as an advent calendar. I'm using mine in my mini-workshop for storing tools and supplies I use frequently when woodworking. Tutorial can be found at my blog here: http://betweennapsontheporch.net/build-a-cubby-organizer-pottery-barn-i… Thanks Ana for supplying the plans!
Hi
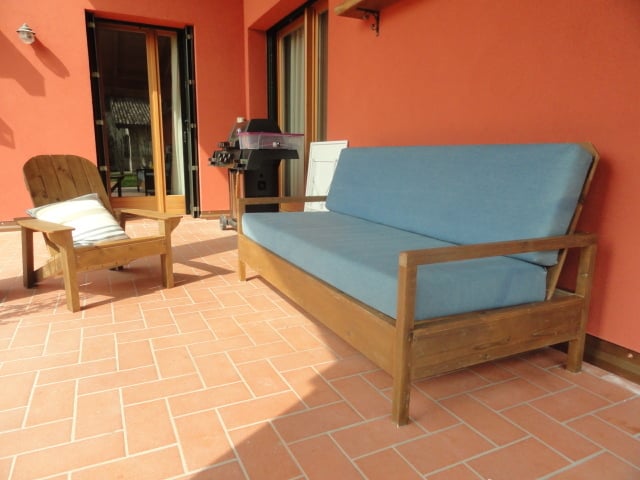
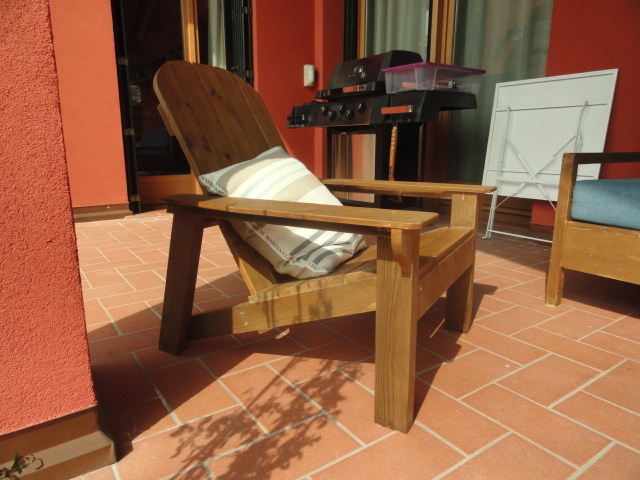
I am still working on my portico furnitures..but as we have changed the colour of our Home, I have decided to change the colour of sofa ( terrible decision) and than to build the adirondack chair for Home depot of Ana to be part of the ensemble.
Thanks Ana. I love it.
I used the same project just changing two small things ( a small support under the arms and making the arms more similar to the original adirondack chair. I used the oxydizing solution to paint and it is a great stuff!
ciao patty
p.s. I already posted the sofa is always Ana's project.
First furniture project, first Kreg jig use.
Heavily adapted storage sofa plans. Used existing day bed mattresses. Made all wood surfaces finished with nice cladding, and all fabric portions removable and washable.
Added arms, and a back ledge. Ledge is hinged to allow access to wall behind so I can get to the outlets.
Lots of work, but it is AWESOME. Thanks for the inspiration Ana!
Sun, 01/22/2017 - 13:37
This is almost exactly what I want to do! I have a dog who loves to rub on furniture and I don't want upholstery. Why did you make the back thicker? Is it just for added shelf space along the back? Thanks for posting the pictures. Very inspiring!
Mon, 02/20/2017 - 07:18
Sorry for the delay in seeing your question. I haven't signed on to this site for a while. You are correct thinking that I wanted to have shelf space along the back. The sectional is the entire width of the wall and I knew that I would not be able to have end tables. I wanted a way to have a lamp and a place to put drinks, etc. As it turns out the arms of the sectional are great for holding my beverage. The shelf holds my lamp and some baskets with general stuff like the remotes inside. Thank you for the compliment.
Wed, 01/18/2023 - 09:28
Hi! I know this is a very old post but I would love try to make something similar to what you did in your storage sofa modifications - especially the wider frame and armrests. Any chance you wrote down your plans or have more pictures of your build? I also would love to understand how you made your upholstery/fabric removable. Did you follow any plan for making the cushions? Thanks in advance!
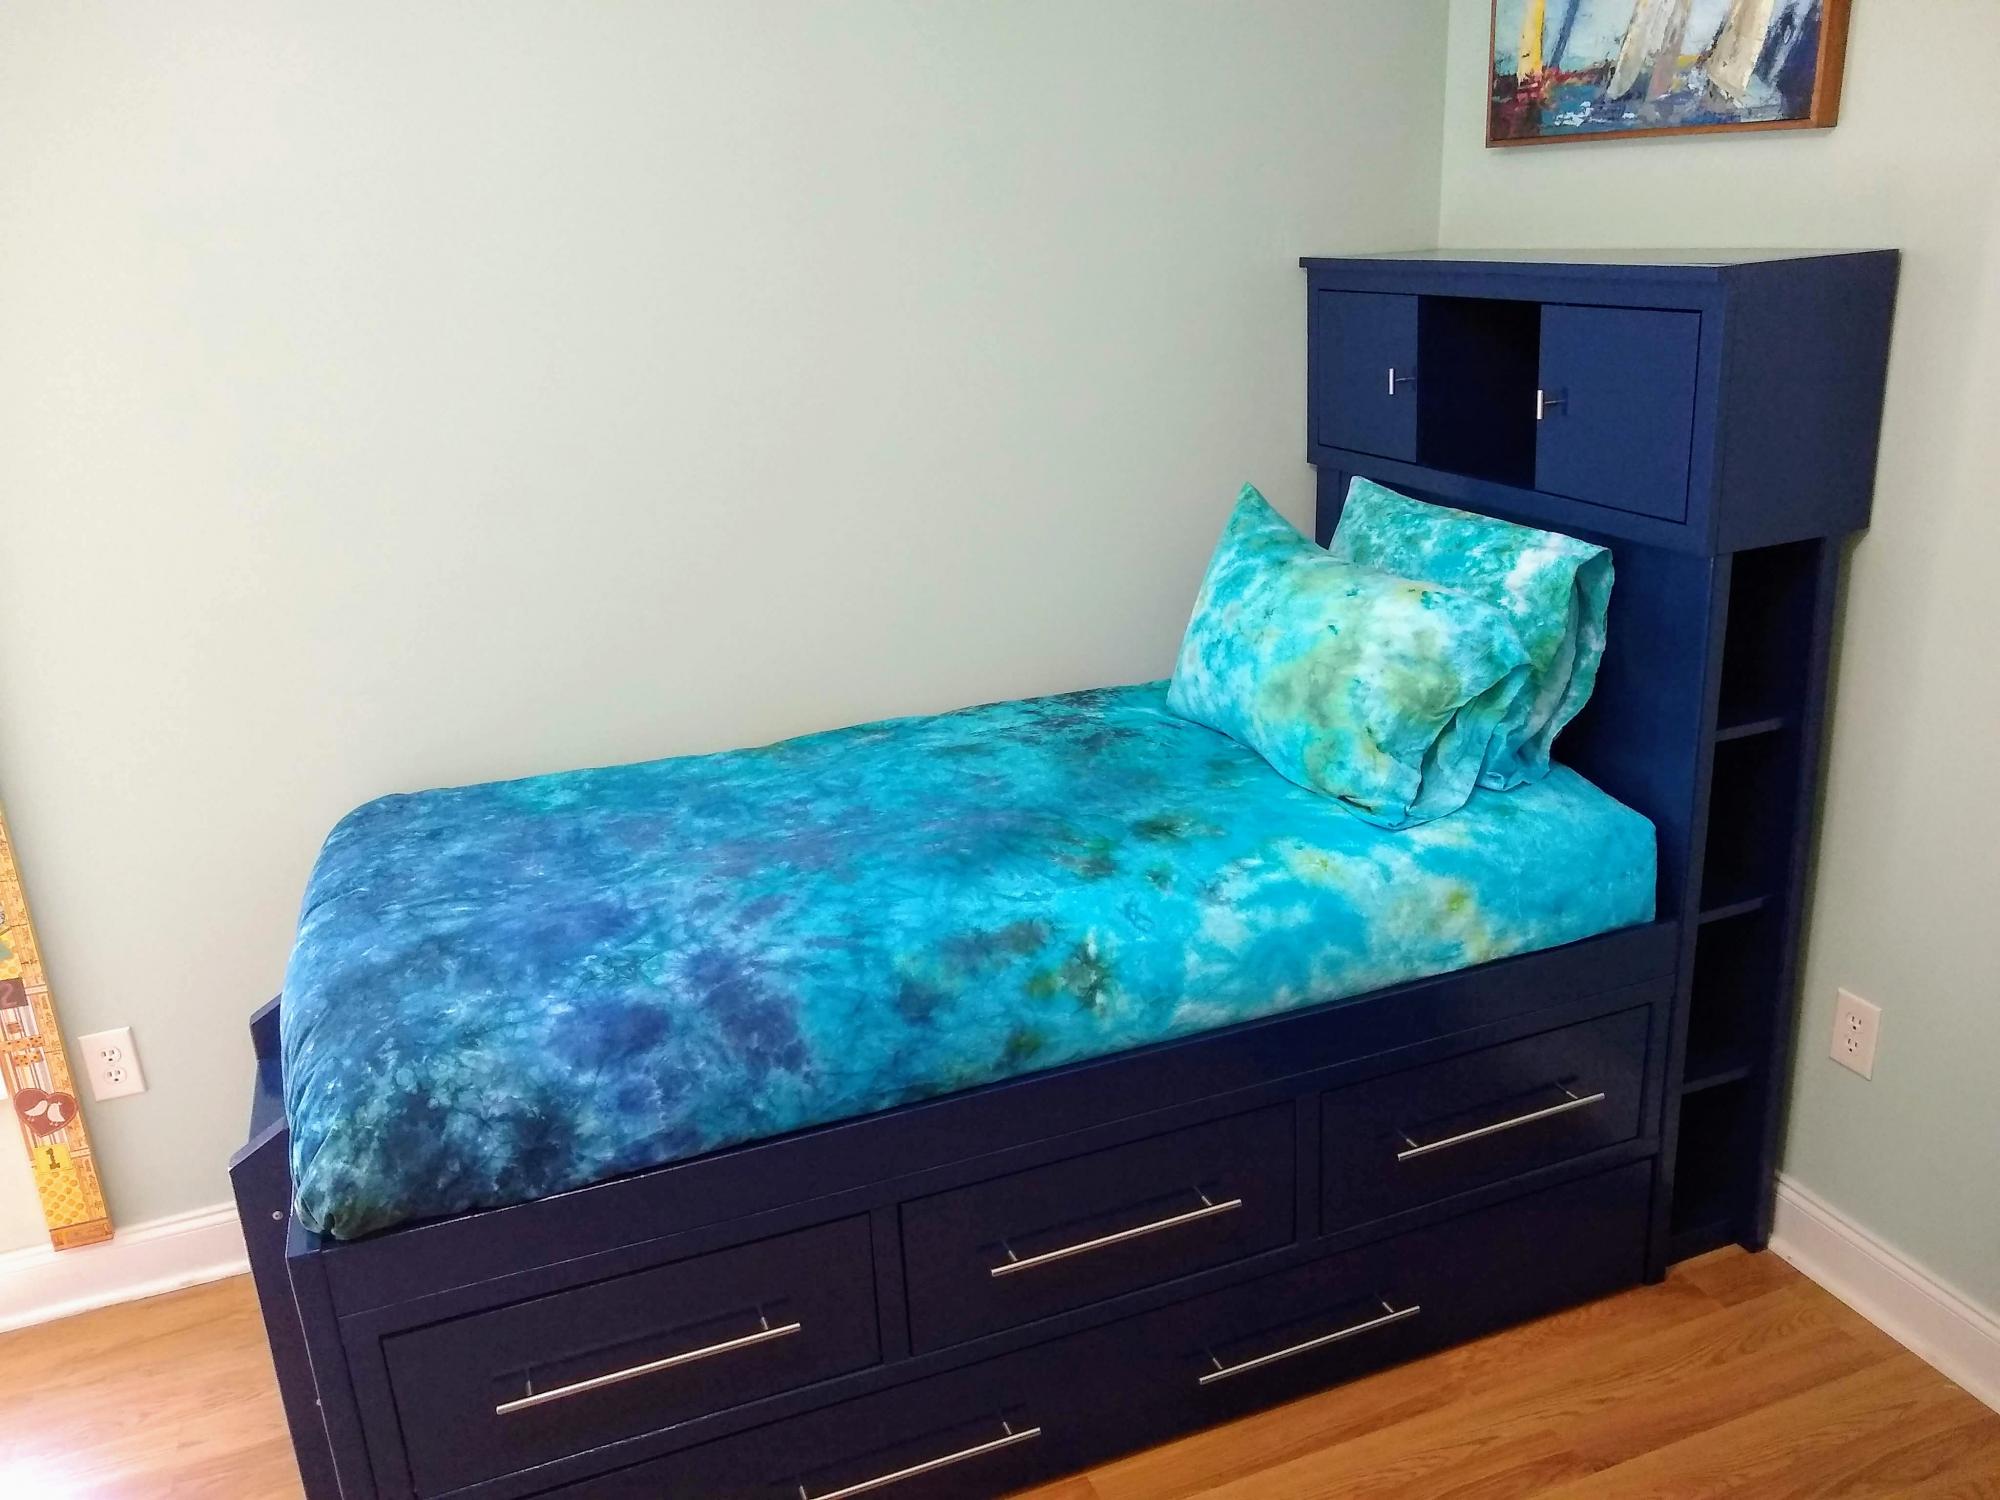
My son needed a bigger-boy bed, moving into his own room from sharing a room with his brother and sleeping in a loft bed. I loved the drawers and trundle bed in this captain's bed, but wanted also a headboard where my son could keep his books, Kleenex box, and alarm clock. I felt that he had aged out of the rails keeping him in bed, as well. I combined three Ana White plans to make this bigger-boy bed.
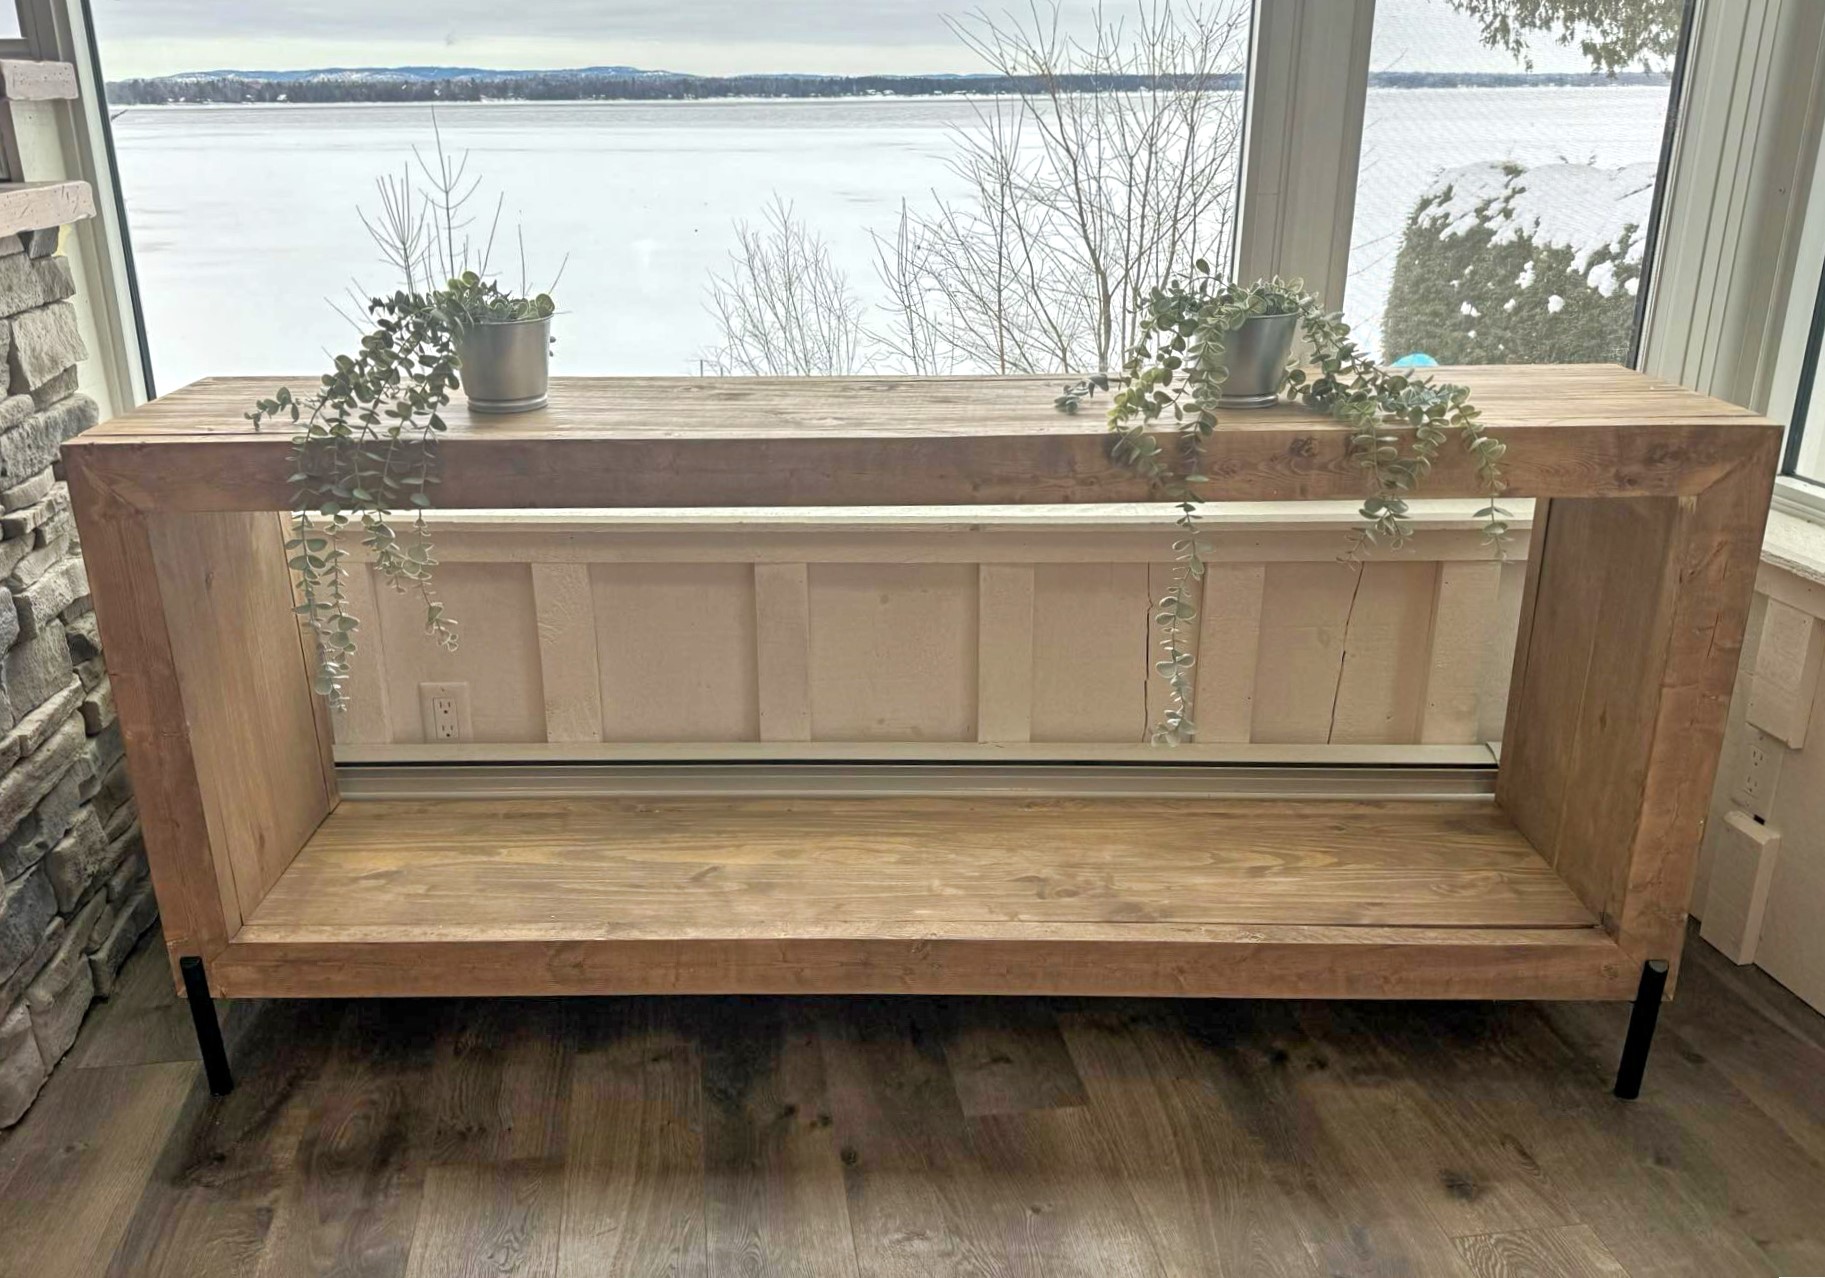
Waterfall console with industrial legs!
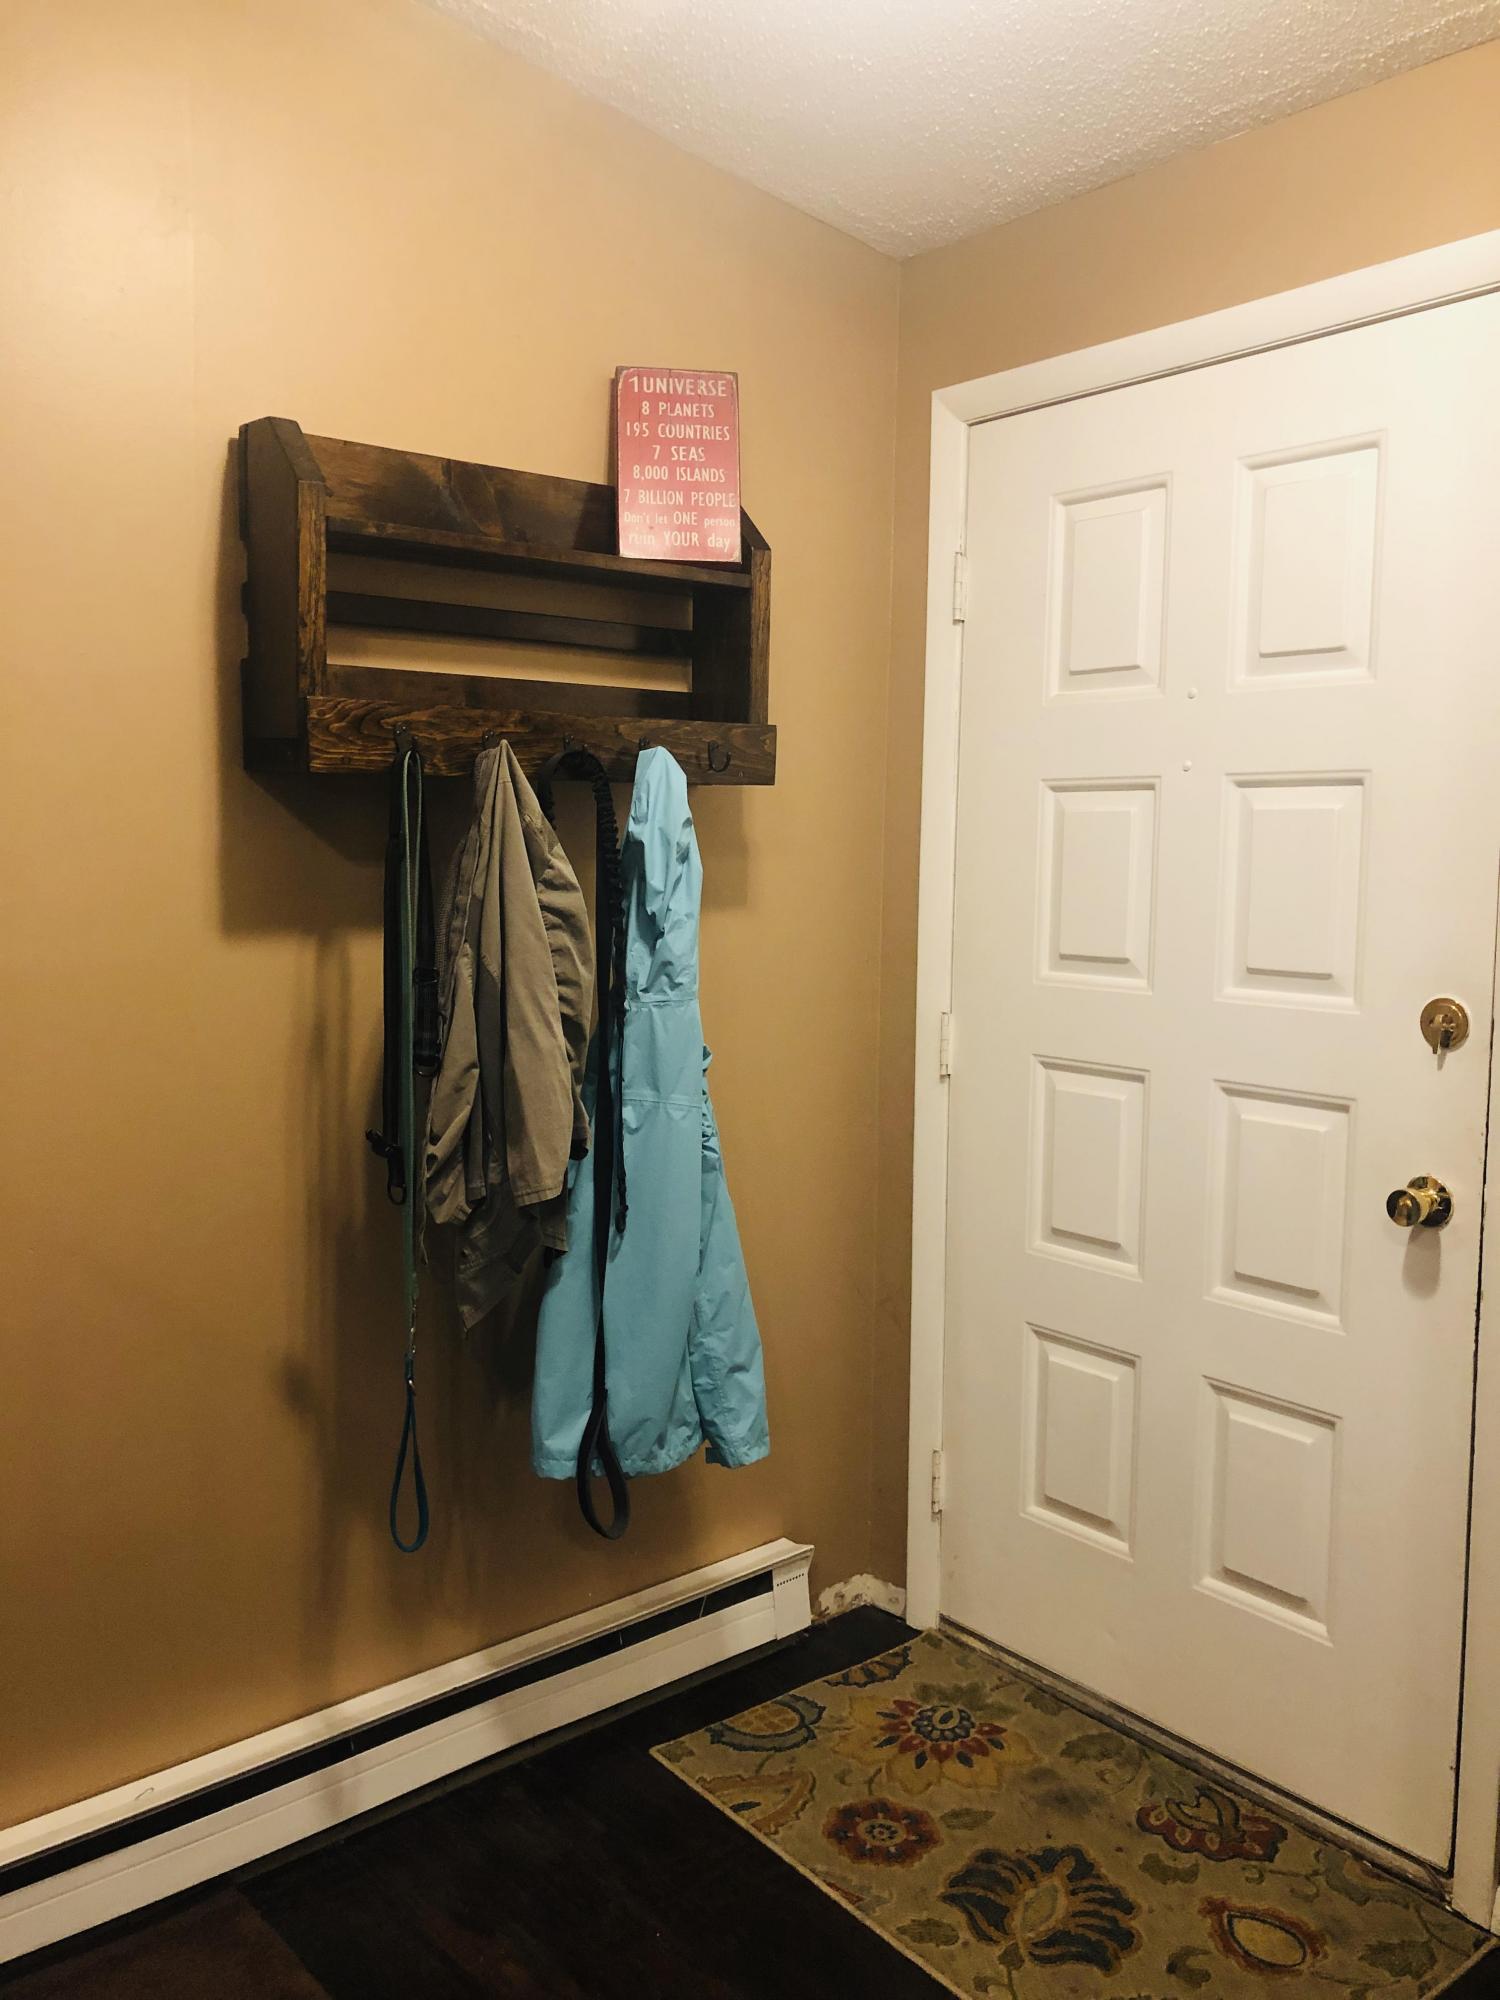
By far the most utilized thing i've ever made.
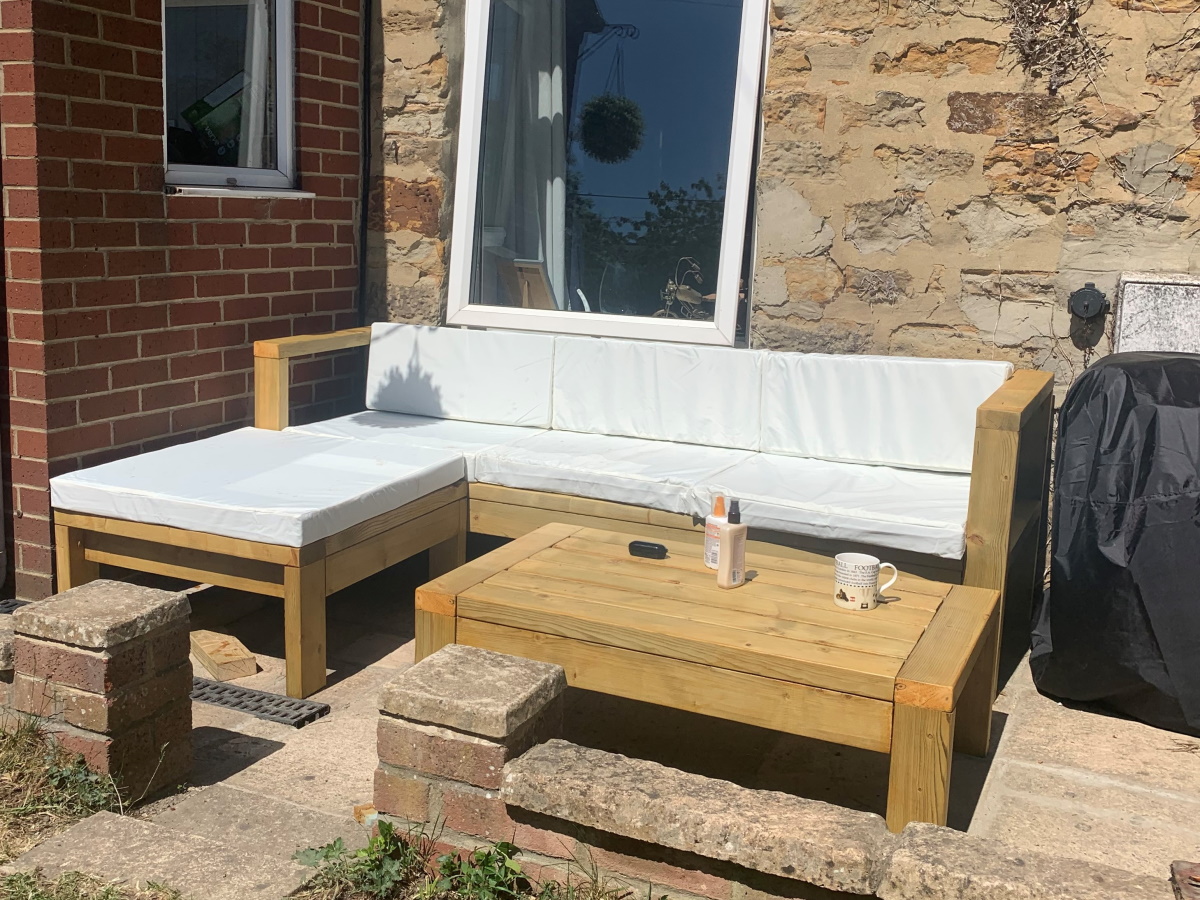
Just completed this to make the most of the little hot weather we get in the UK. Great plans to follow thank you. Built around a cushion set for a rattan corner sofa which was then filled with 3" firm upholstery foam
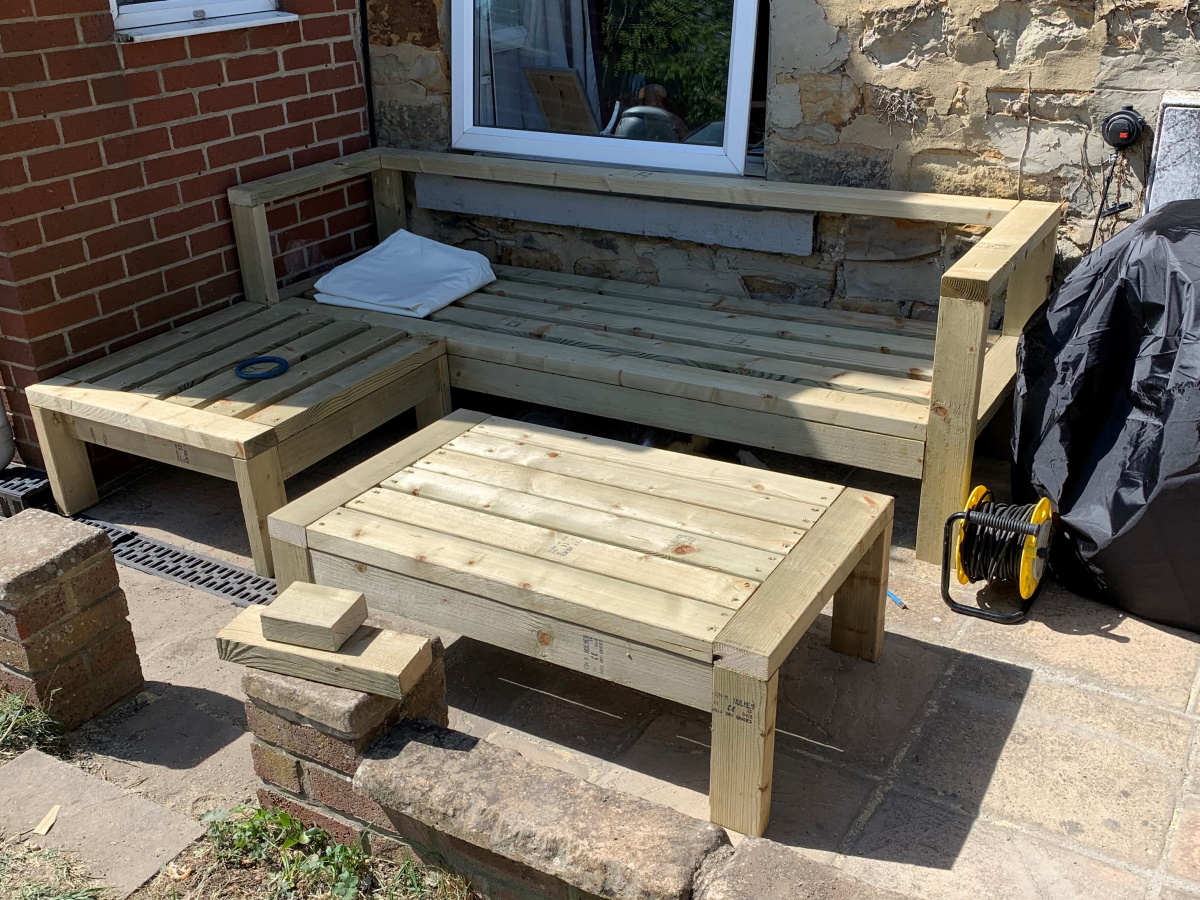
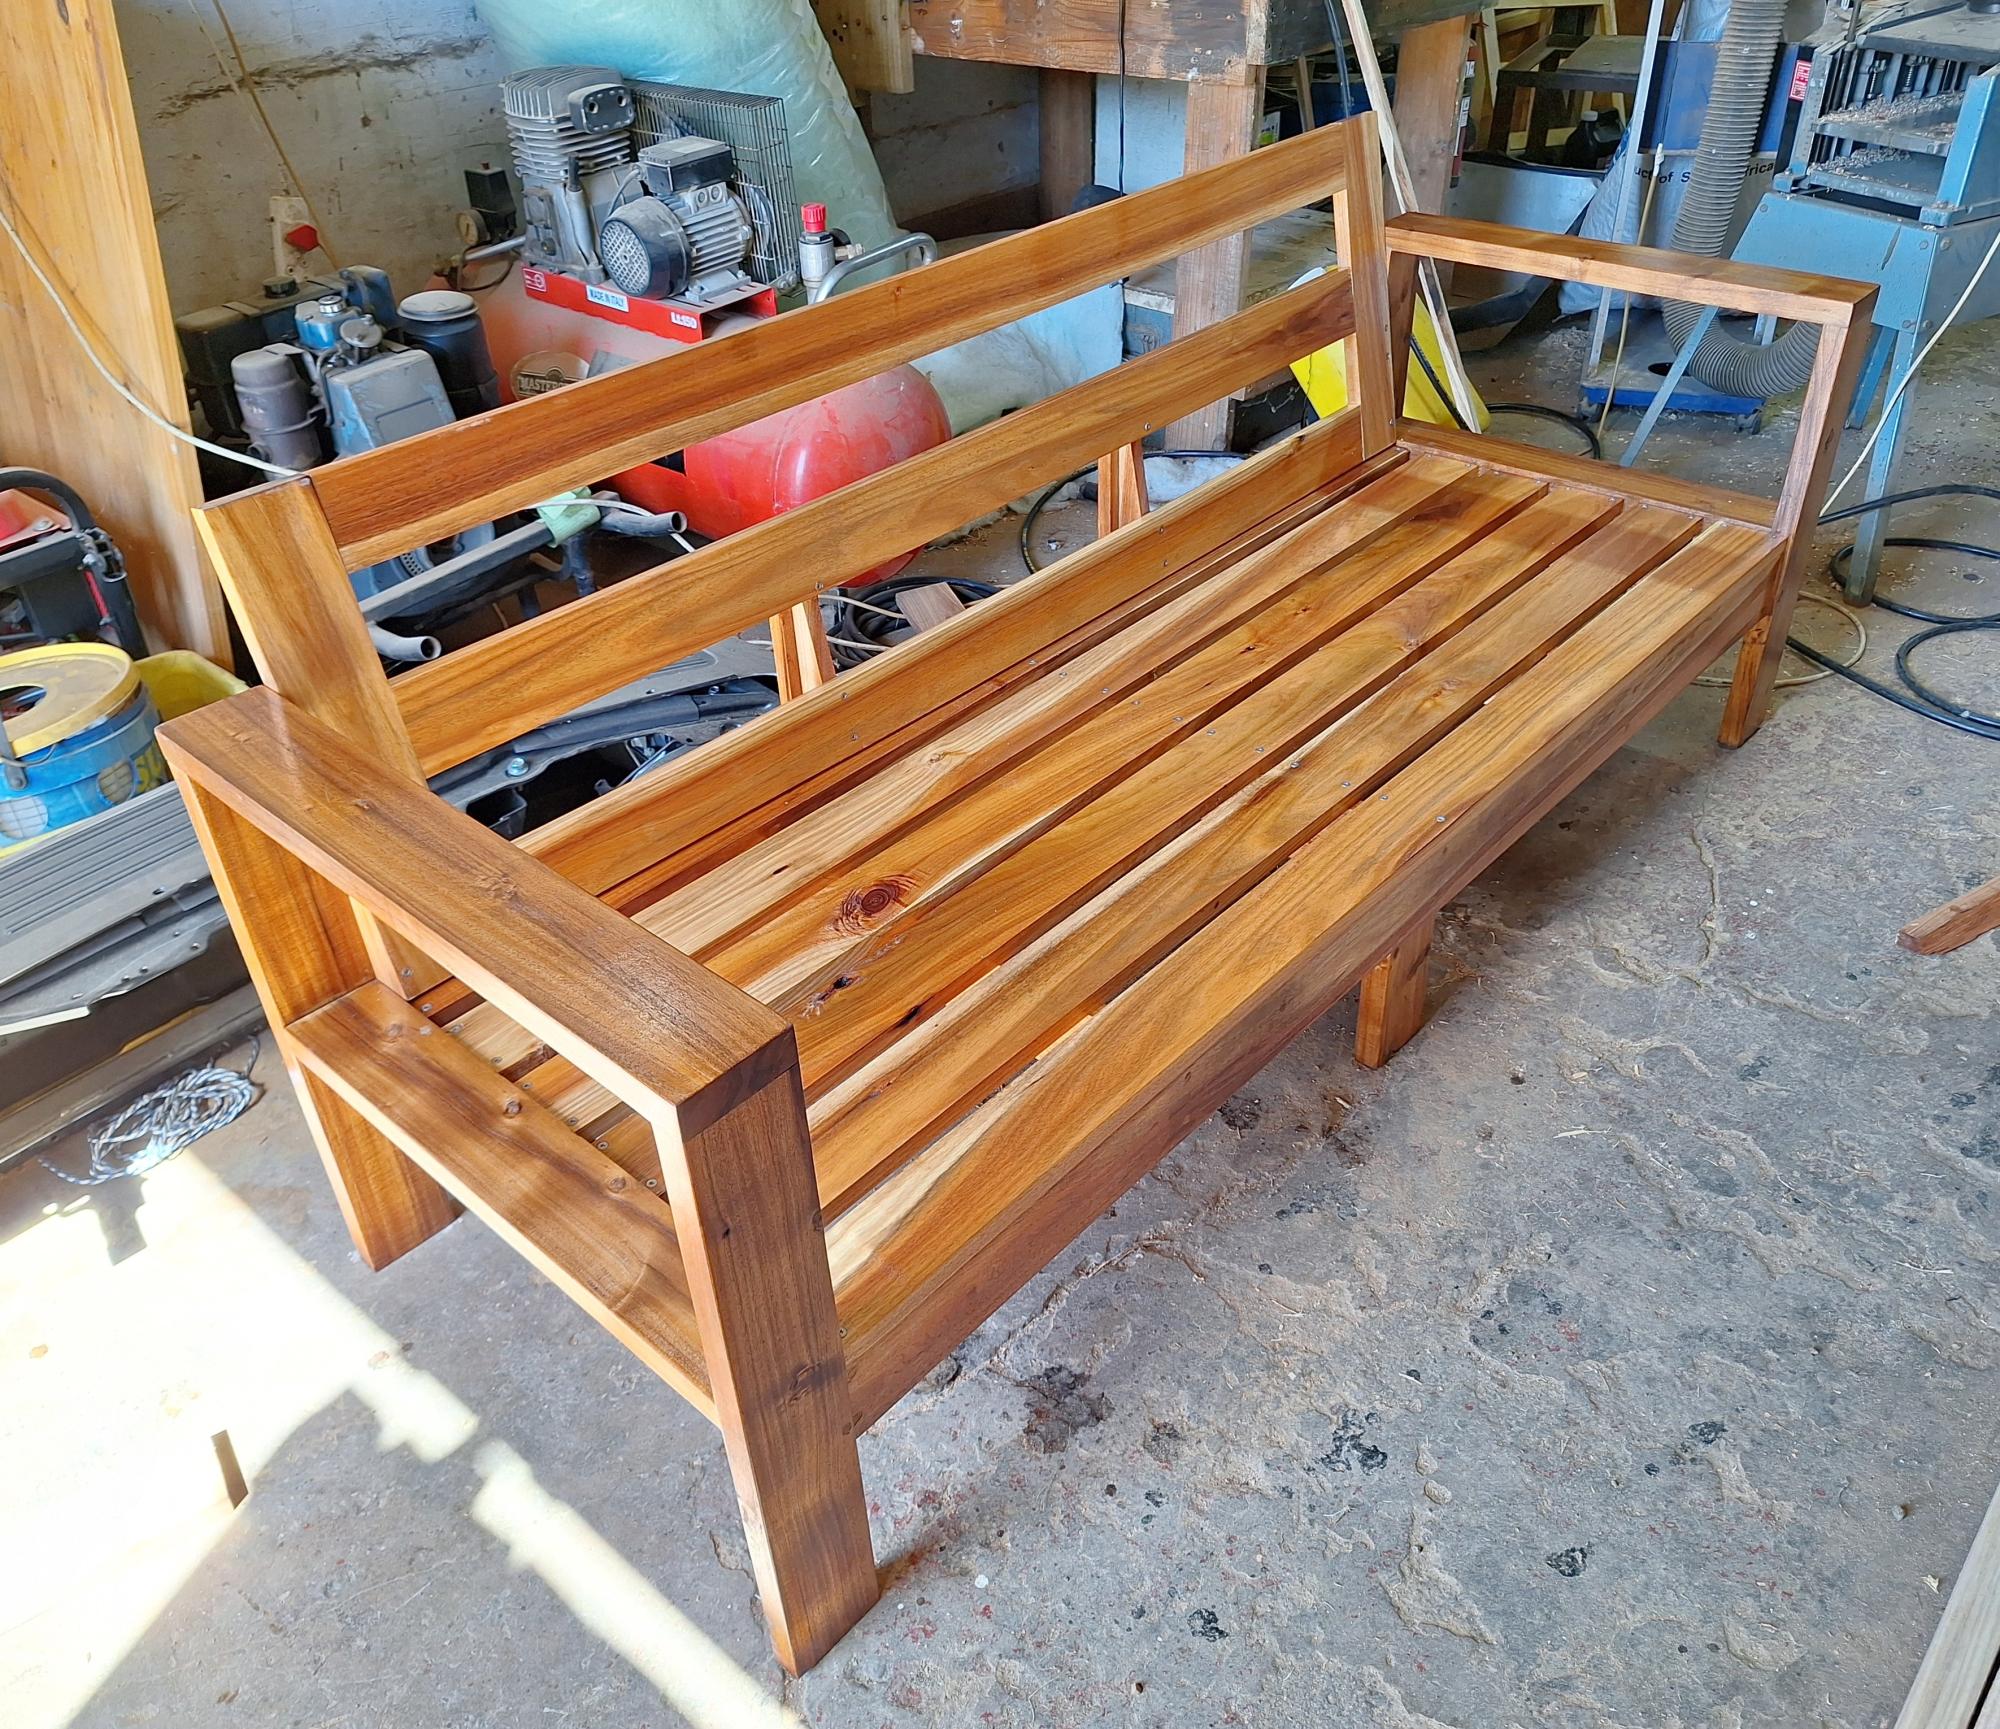
I built this outdoor sofa out of Blackwood. I tweaked Ana's plan to include a backrest and a support in the front, as my planks are only 23mm thick.
Gordon Smith
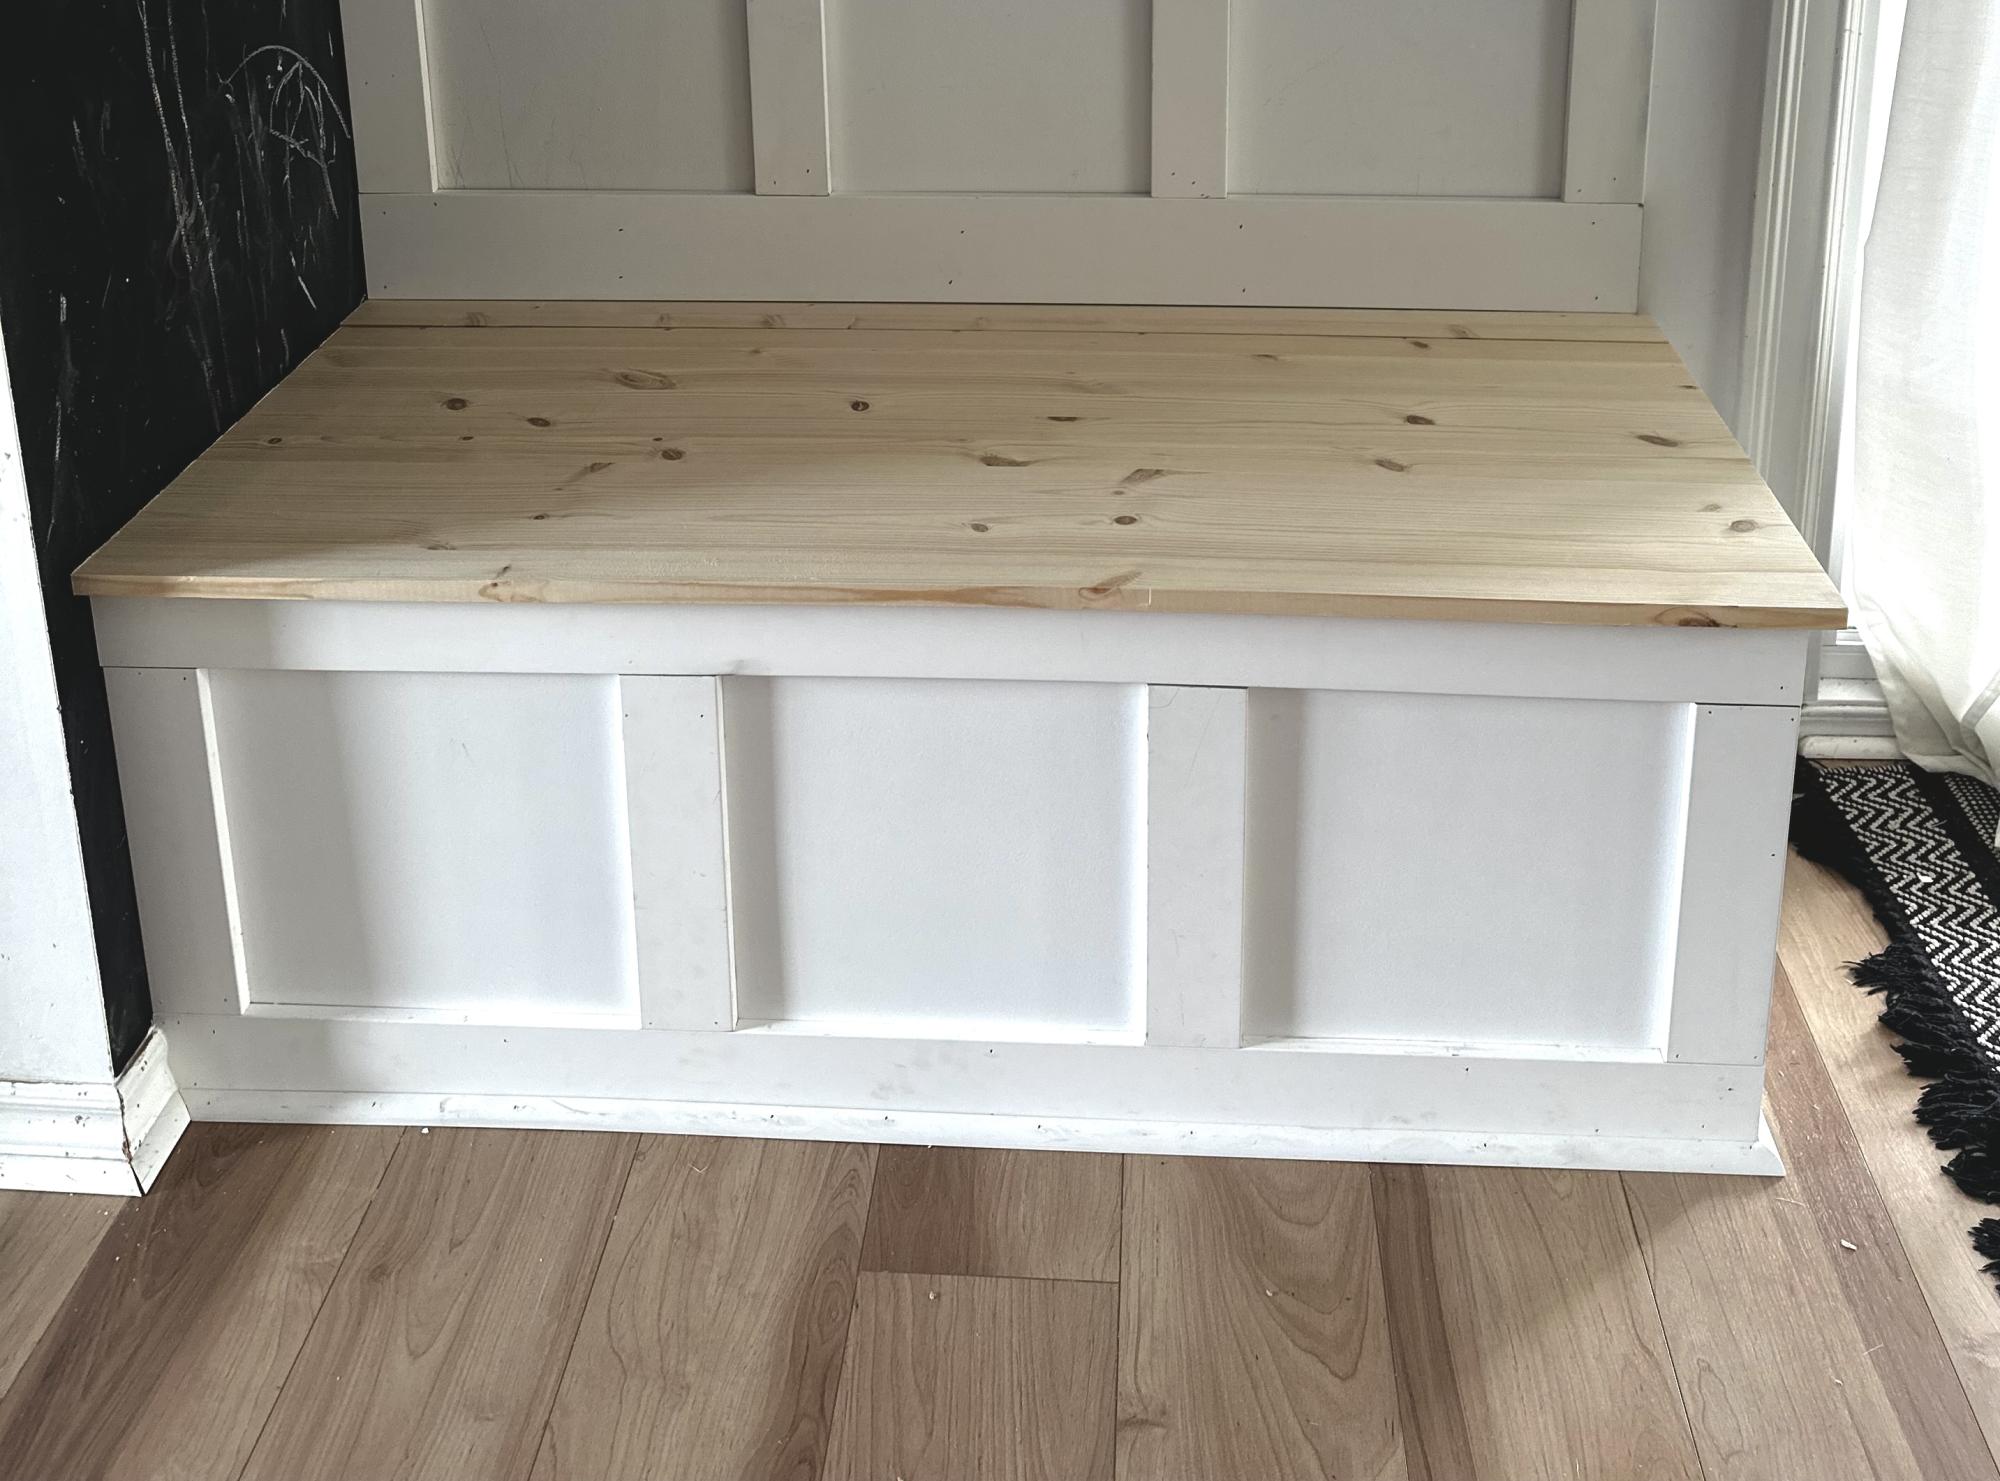
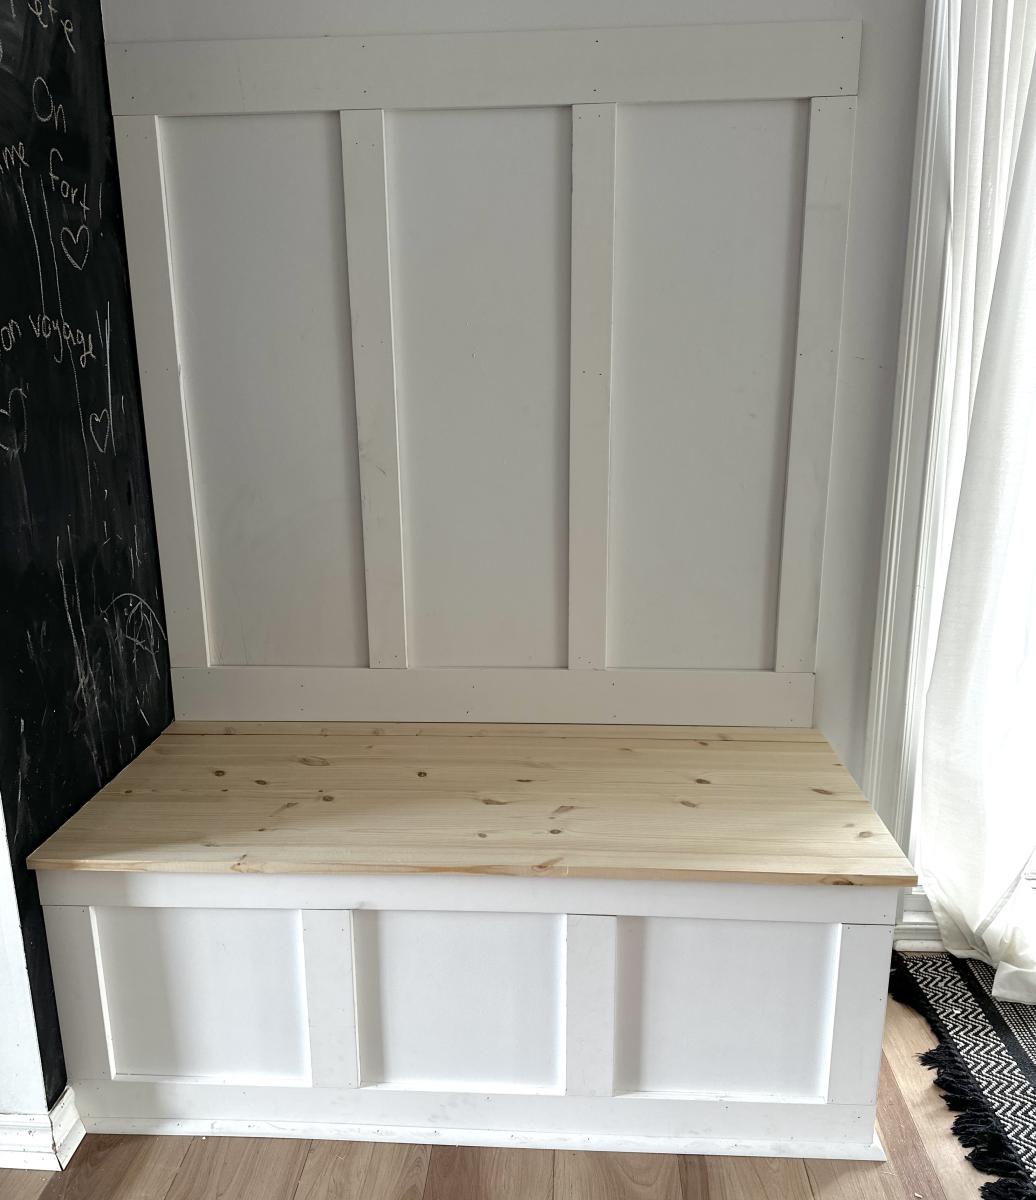
A nice bench with storage!
Built by Sylvie
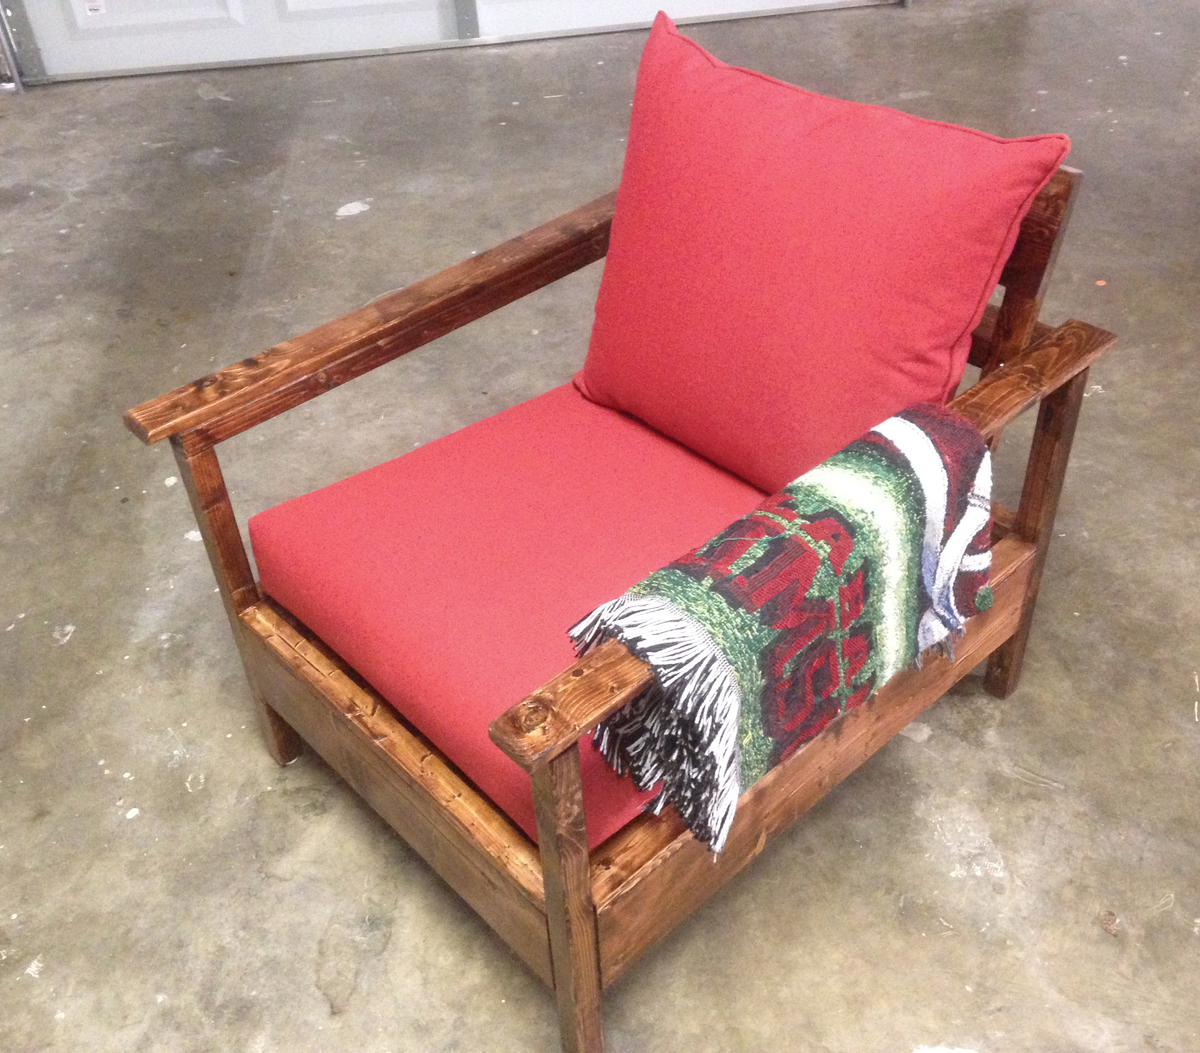
We needed extra seating for friends to come over for football game days, so I took the outdoor chair plans and decided to use it for a den chair. Simple build, but I did add some 1x3 boards on the rails for more comfortable armrests. Add some appropriate color cushions and it's ready for football season! Quick assembly, but as usual, staining and clear-coating took the bulk of the time spent.
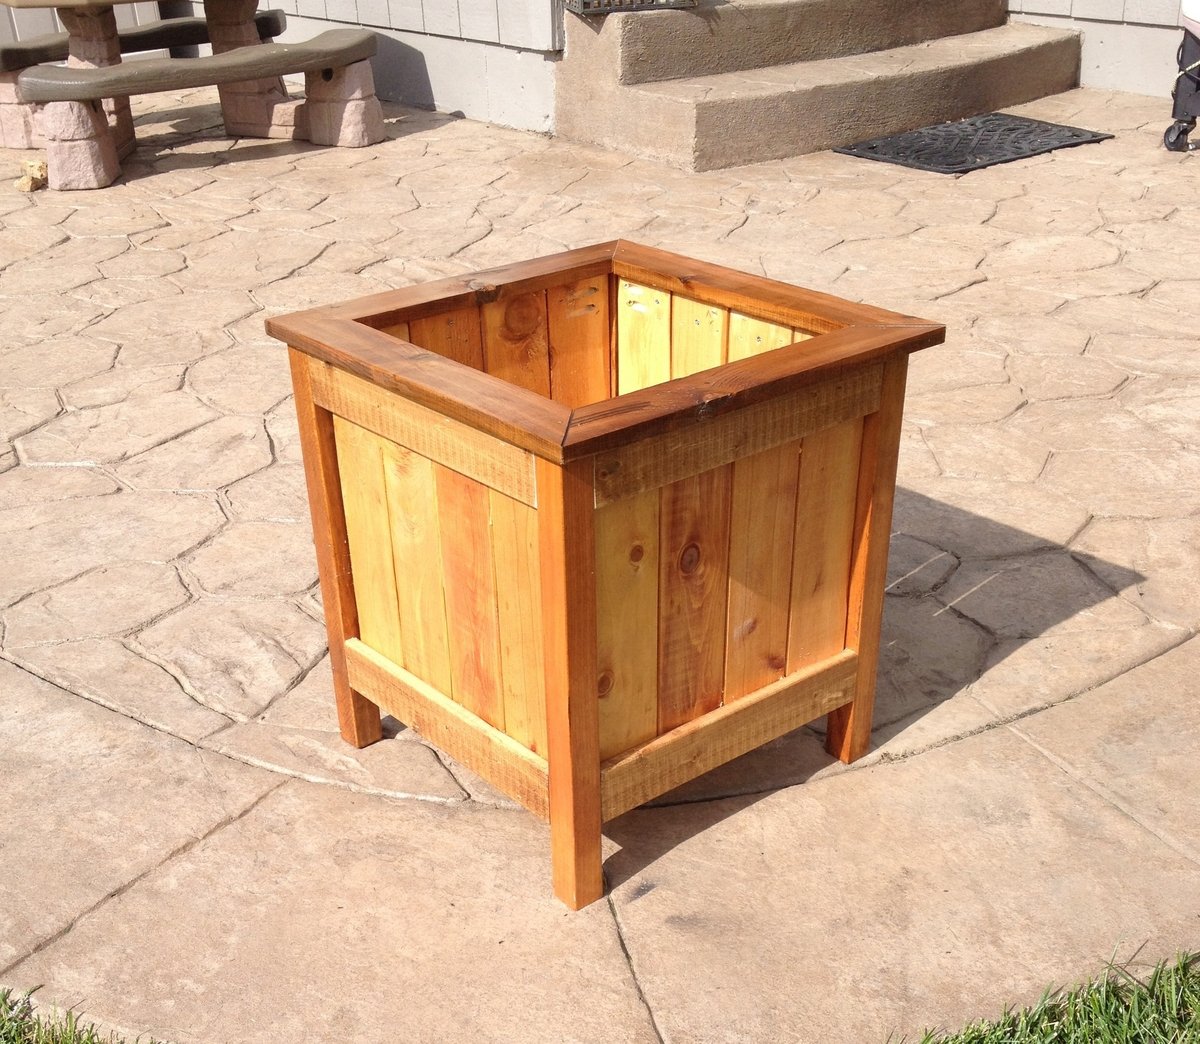
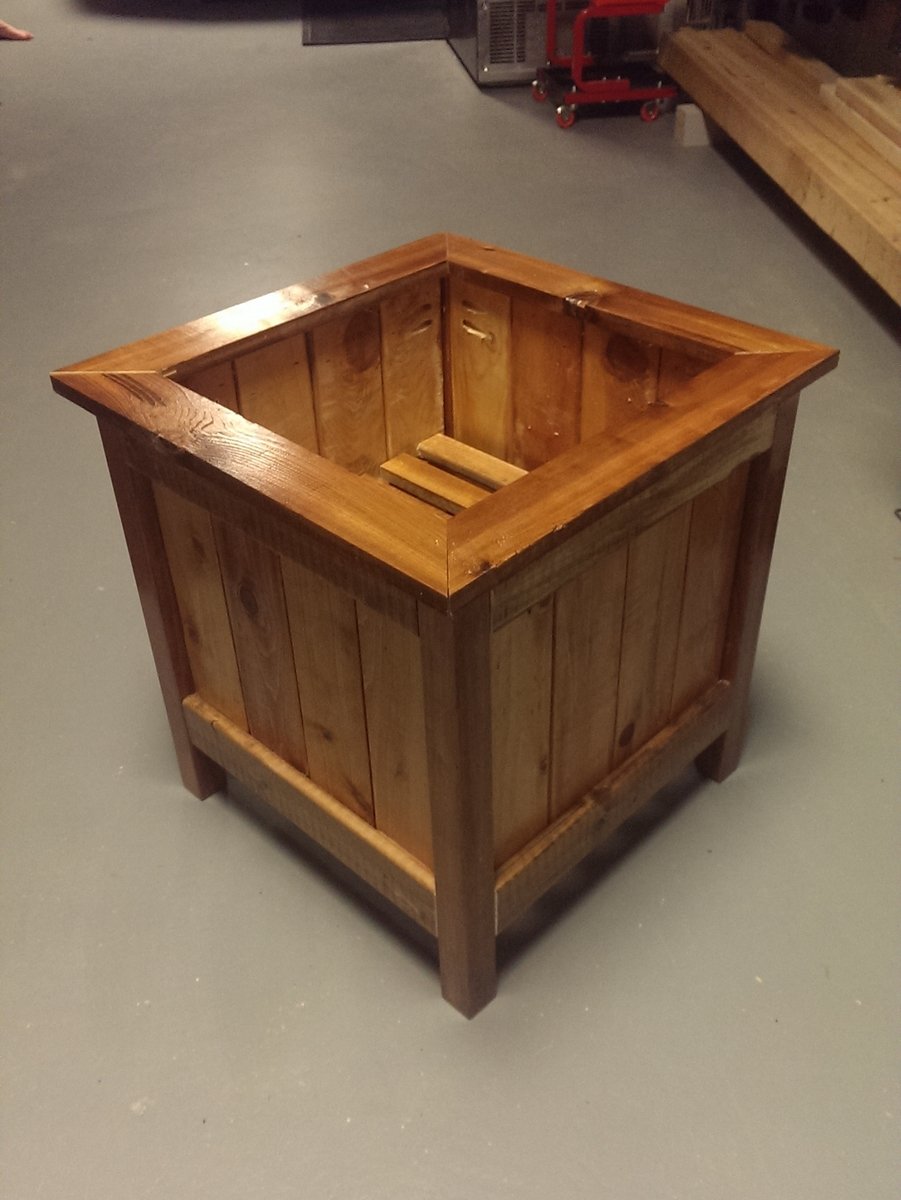
I used the main plan for ideas, but opted to use 3.5 inch pickets instead, which allowed for a smaller planter that wasn't as big. Also chose to miter 1x3s for the top which I think really finishes it off. Sanded everything with a belt sander to 220 grit. Used min wax golden pecan plus three coats of poly inside and out. Finished size was about 17x17. Tile spacers work great to keep the gaps even!
