Community Brag Posts

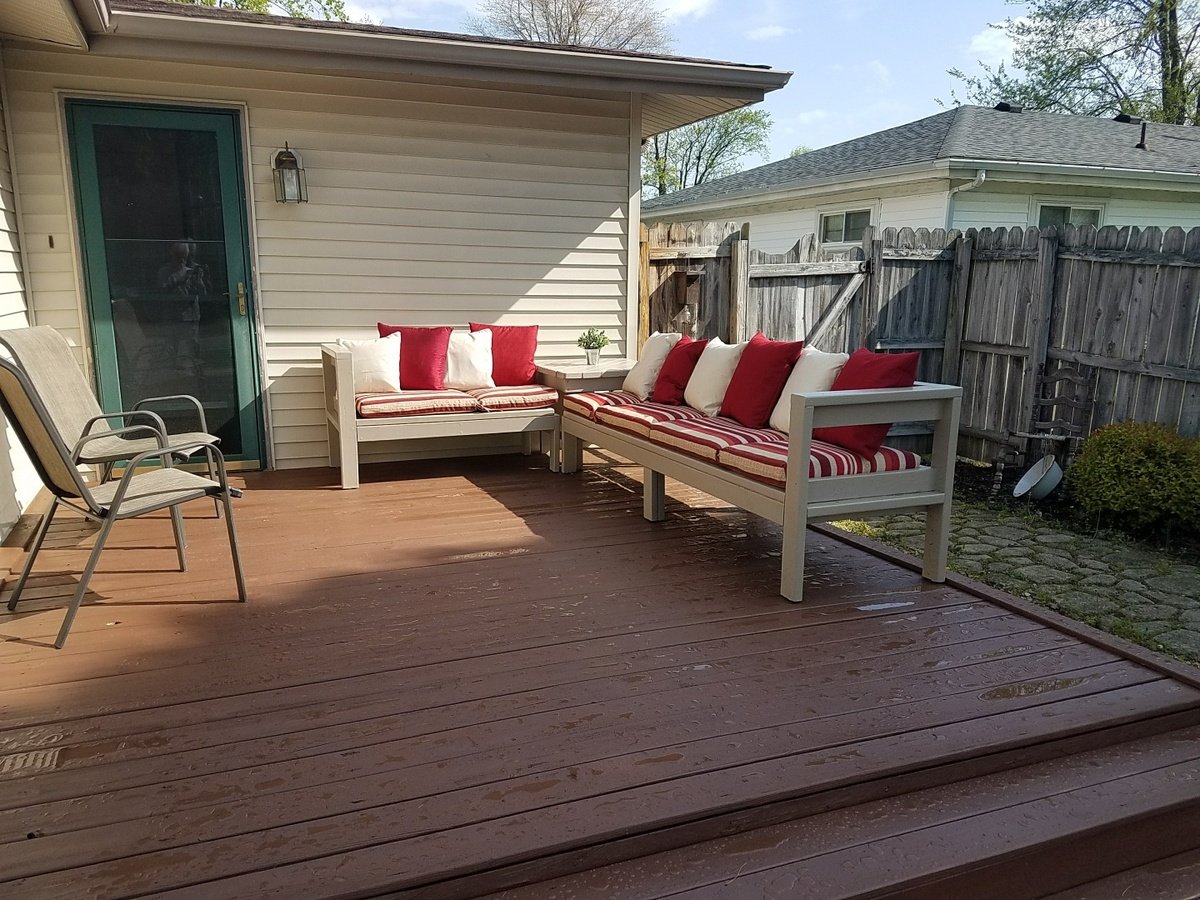
Fine Touch to help sell our house

Submitted by Anonymous (not verified) on Tue, 04/18/2017 - 12:57

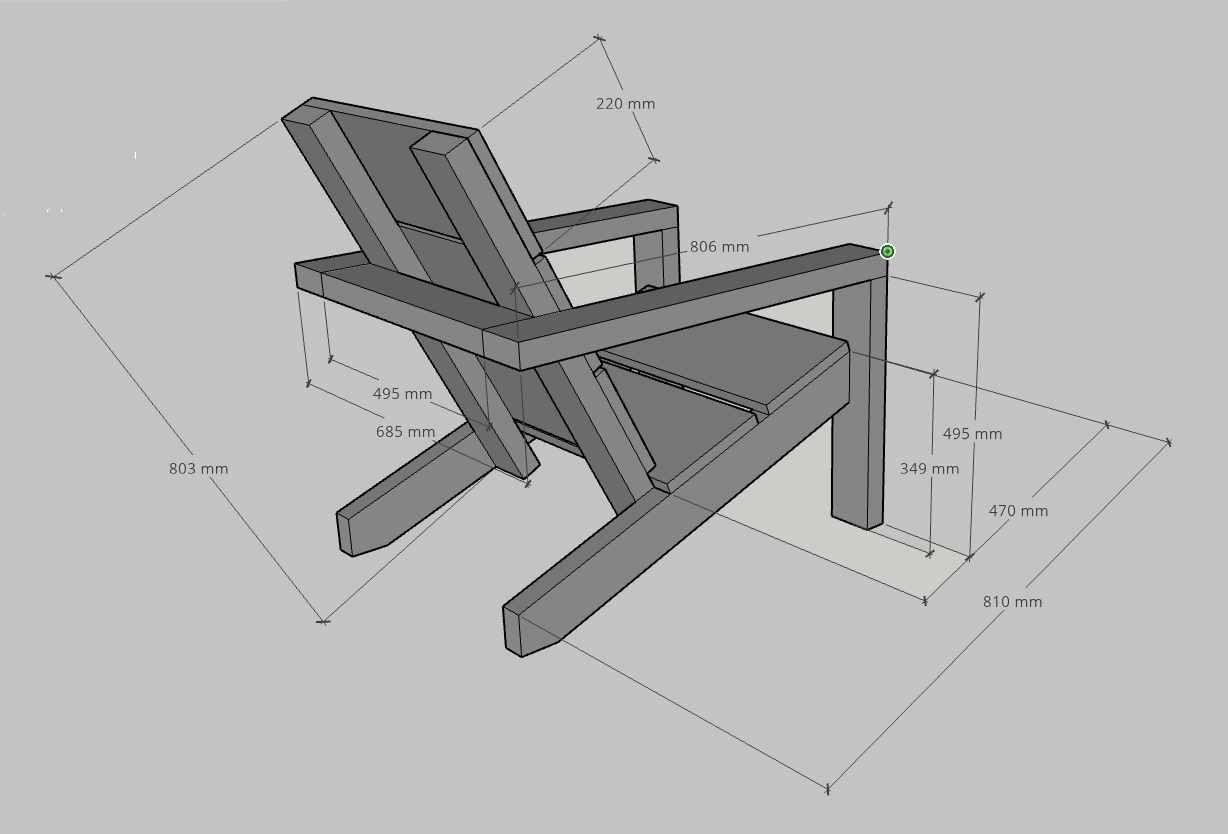
In the plans of selling our home and move from Indiana to Washington, I visited  Ana's website I was able to build this easy, simple attractive outdoor furniture to give a little "Curb Appeal" Besides the couchs, I made a corner table. The cushions are made for chairs and the pillows are cheap pillows with new covers that my wife made. Sad thing about this is I hate to leave. I will just have to make another set some day?

Estimated Cost
$150
Estimated Time Investment
Weekend Project (10-20 Hours)
Finish Used
I used a latex with built-primer. It sat through this past winter and still looks new.
Recommended Skill Level
Beginner

Outdoor Sofa

Submitted by Anonymous (not verified) on Tue, 05/25/2021 - 17:53

Made some adjustments to the original plans to help support larger cushions and pillows.

Built from Plan(s)
Estimated Cost
$400
Estimated Time Investment
Day Project (6-9 Hours)
Finish Used
Used a roll of tape as a guide to round the headrest and arms.
Recommended Skill Level
Beginner

Comments

Church pew style entry bench

Submitted by Anonymous (not verified) on Fri, 05/26/2017 - 15:02

The bench measures 54" wide x 21" deep.  We slightly modified the Rogue Engineer plans at the customers request to allow it to sit flush against the wall. 

Estimated Cost
99.00
Estimated Time Investment
Day Project (6-9 Hours)
Finish Used
Stain is 1 coat Minwax Classic Grey immediately followed by 1 coat Old Masters Dark Walnut Wiping Stain immediately followed by another coat of Minwax Classic Grey. Topcoat is Gemini Gem Coat Matte Pre-cat Lacquer
Recommended Skill Level
Beginner

Comments

DIY Murphy Wall Bed

Submitted by Dstor22 on Sun, 03/15/2015 - 07:05

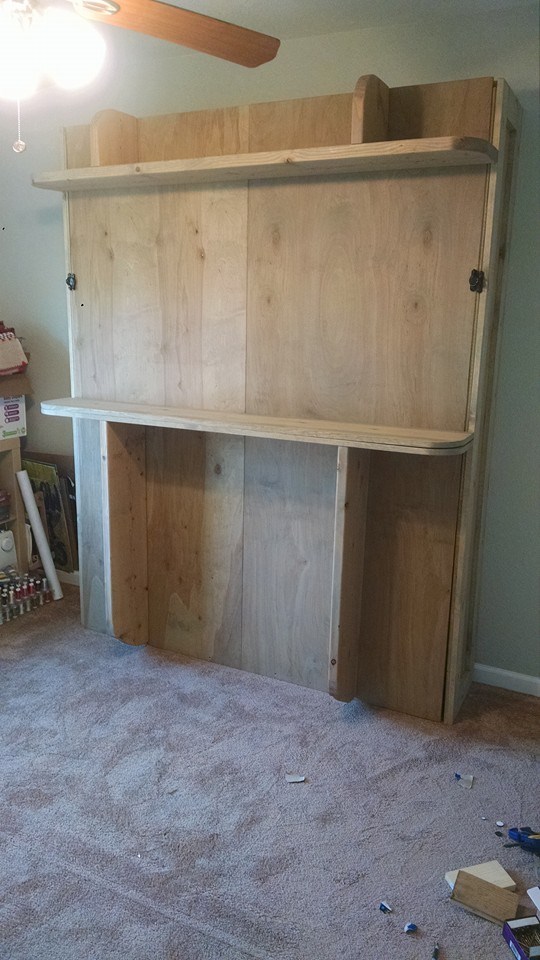
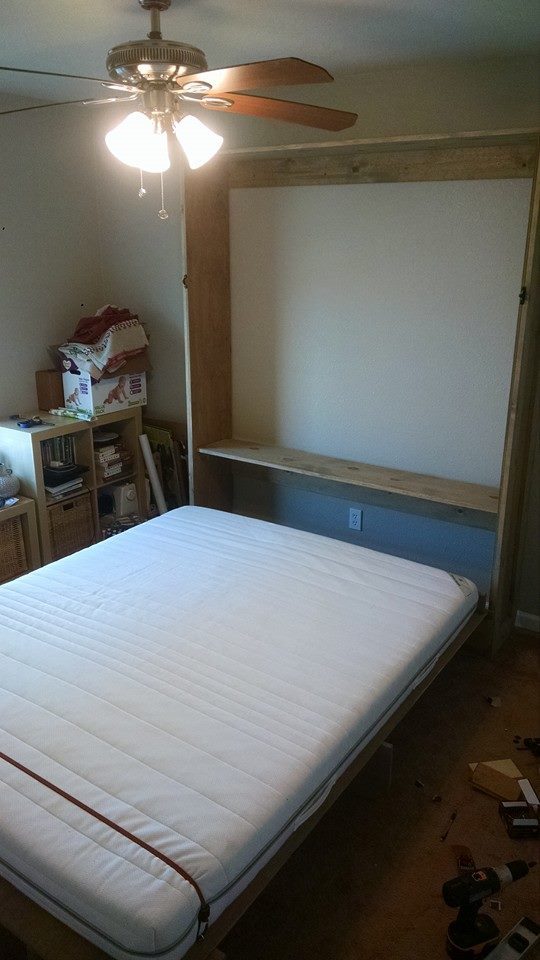
Just finished up my Murphy Bed project. Hope you like.

Estimated Cost
280.00
Estimated Time Investment
Weekend Project (10-20 Hours)
Finish Used
Weathered Oak Stain
Recommended Skill Level
Intermediate

Comments

Grand Kids Picnic Table

Submitted by Anonymous (not verified) on Mon, 10/04/2021 - 12:35

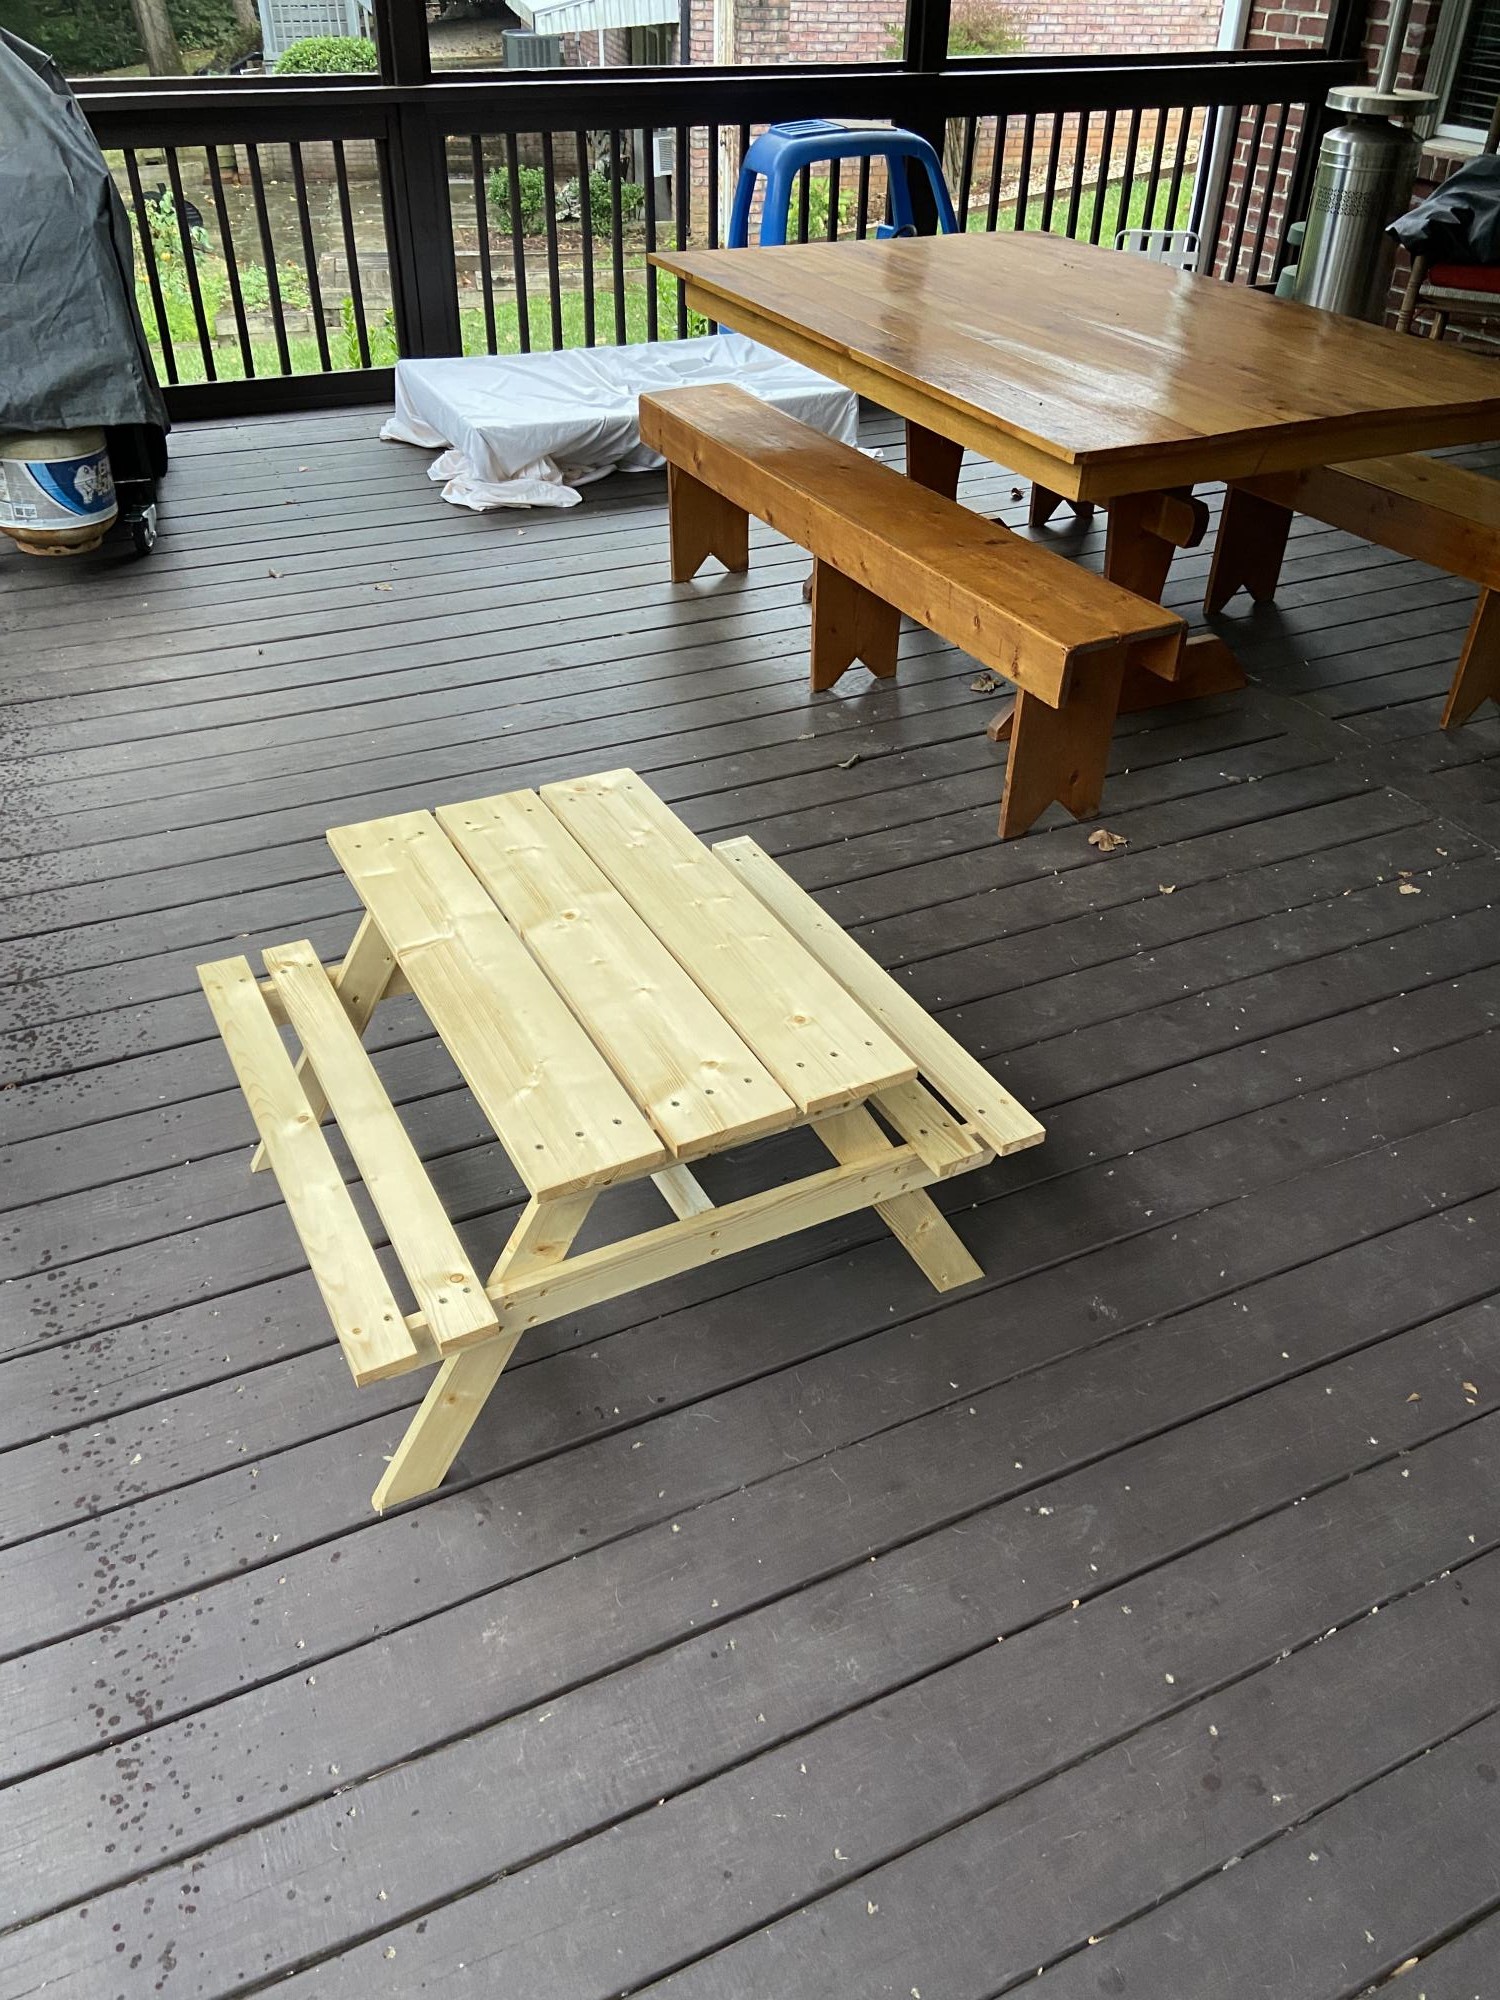
Our grandsons live 10 hours away. I always try to make something for them when they visit. When we saw them a few weeks ago they needed a table their size!

Built from Plan(s)

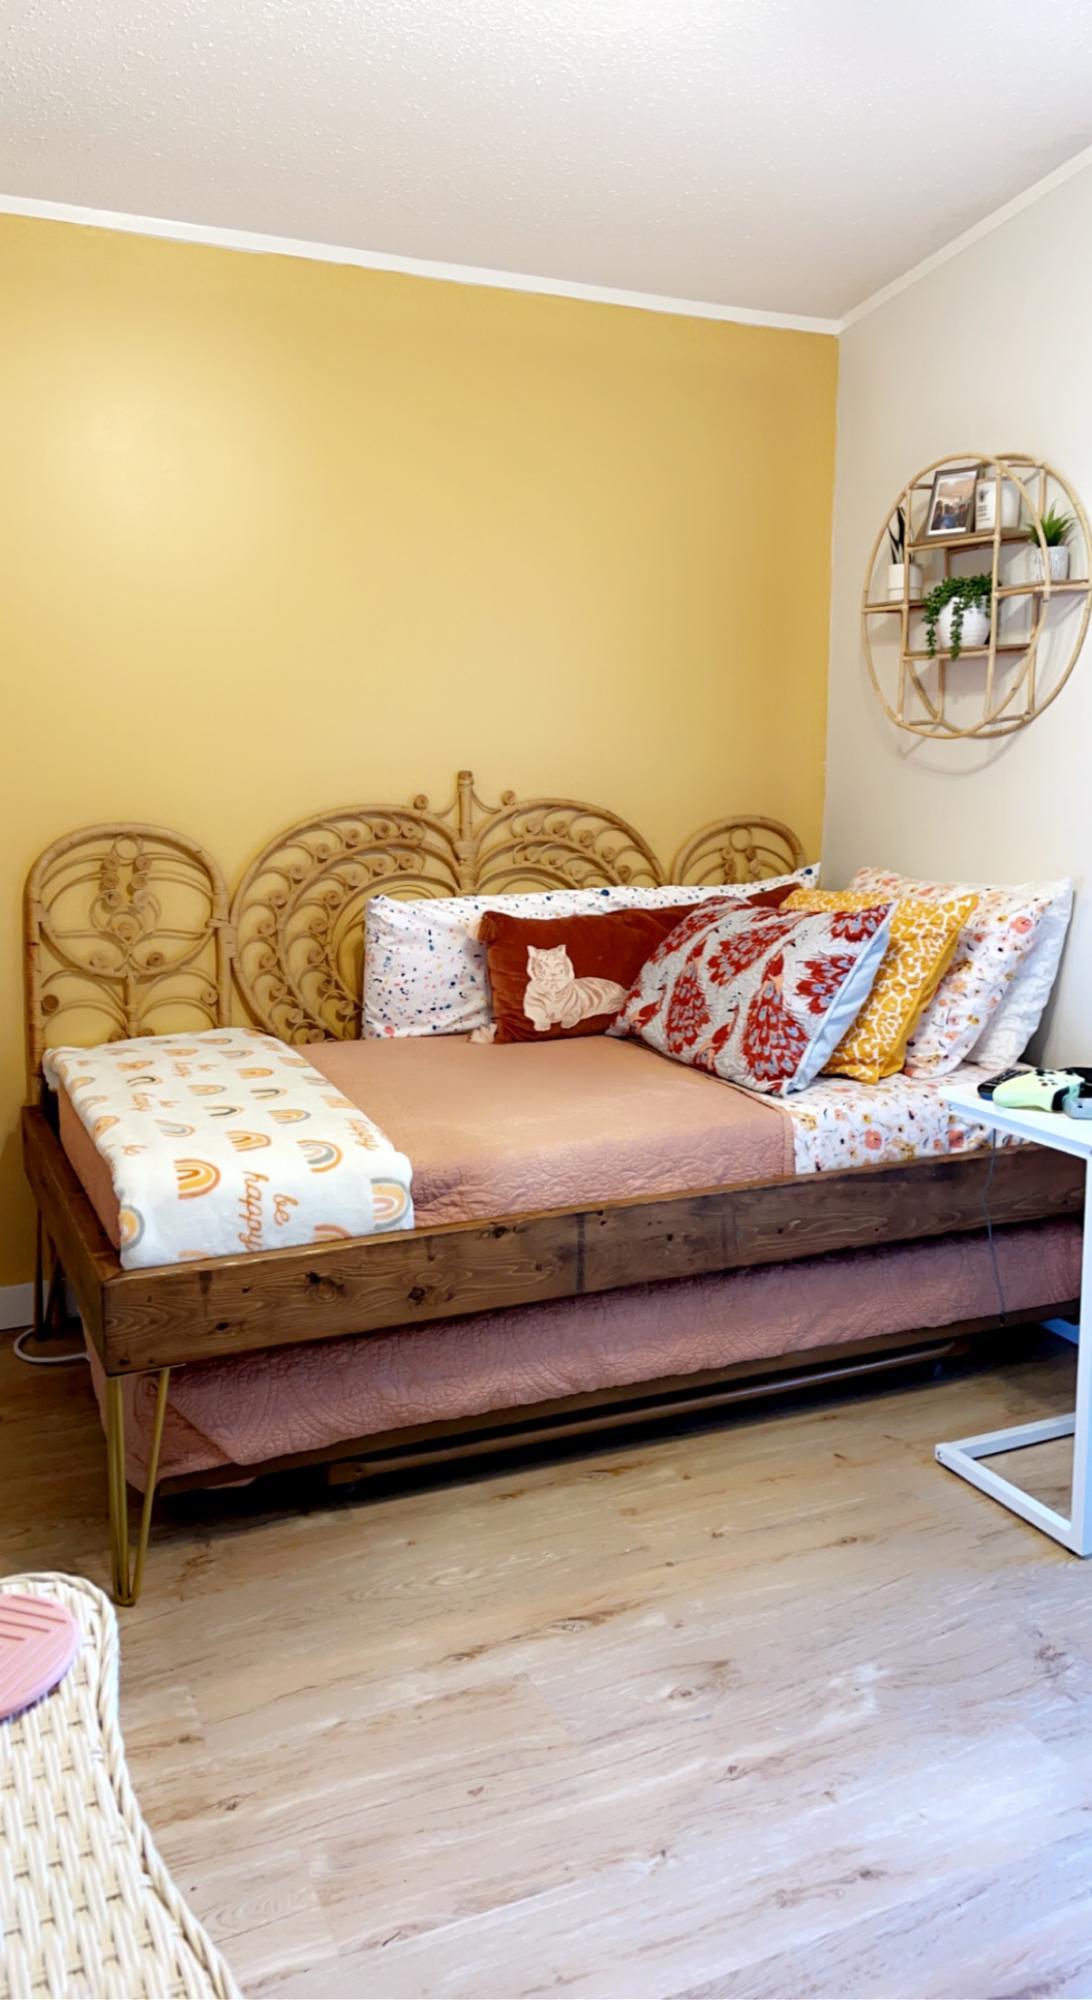
Twin Platform Bed with Hairpin Legs

Submitted by Anonymous (not verified) on Mon, 10/04/2021 - 17:40

I used untreated 2” x 6” boards, mitered the corners and stained with Minwax Early American.
The 14” golden hairpin legs are from Amazon however, after I built the bed, I realized the mattress on the trundle was getting caught on the angles of the legs so I’ve ordered straight legs as replacements. It should take care of the issue. Lesson learned! 🤣 Overall, I built it myself, it’s very sturdy and she loves it! Thanks Anna for the plans!!!

Comments

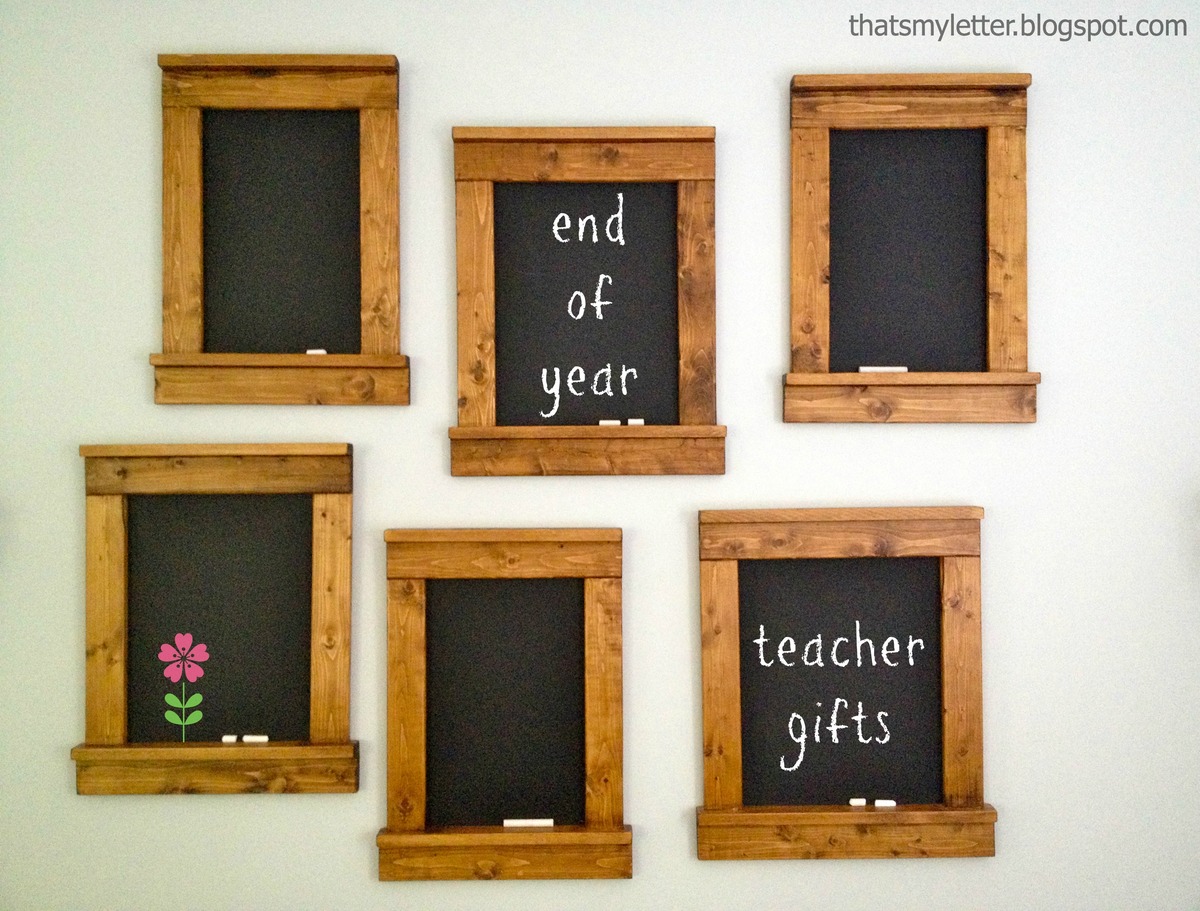
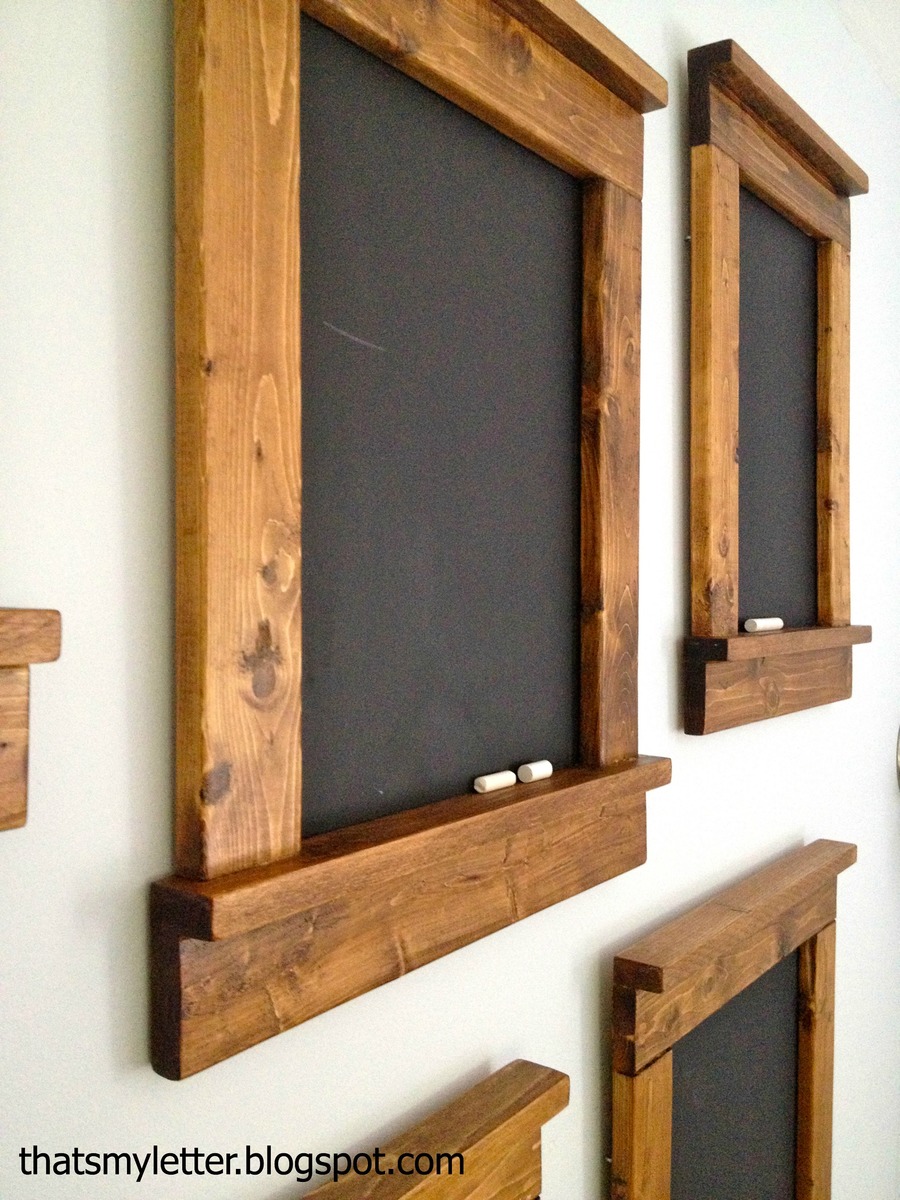
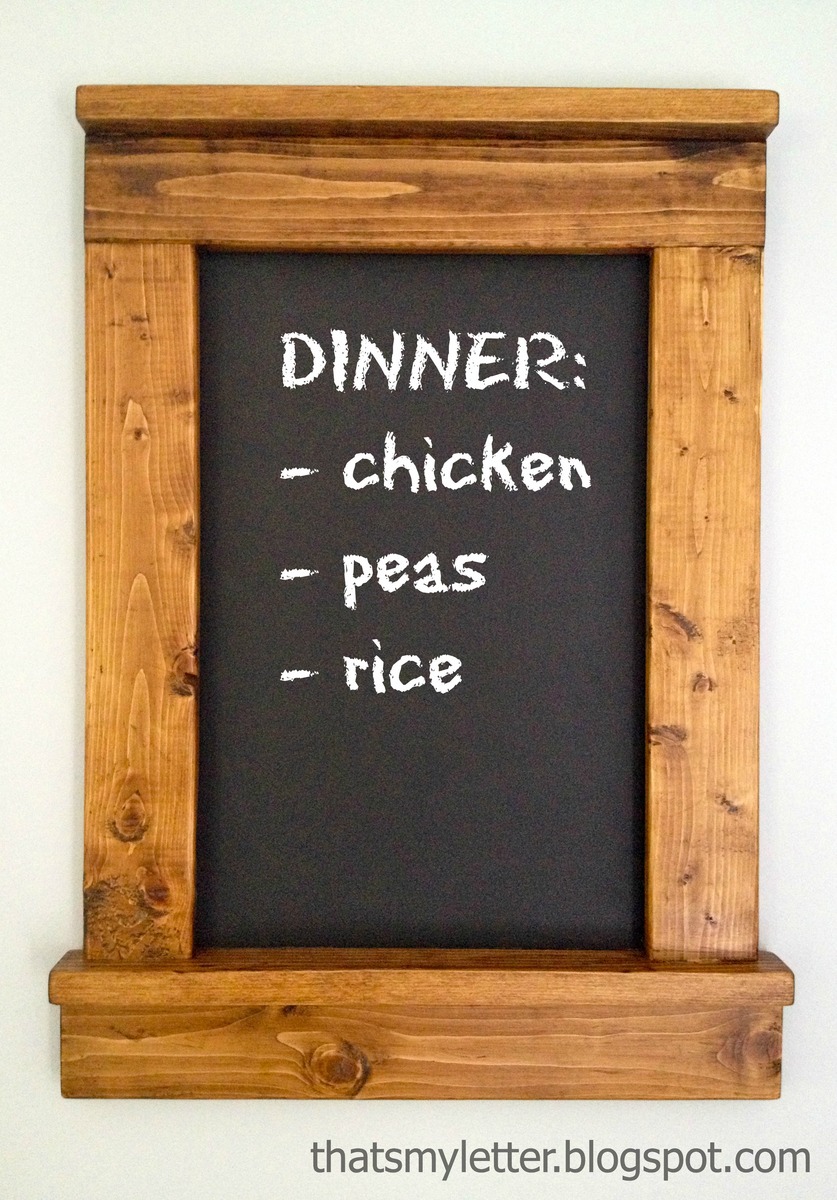
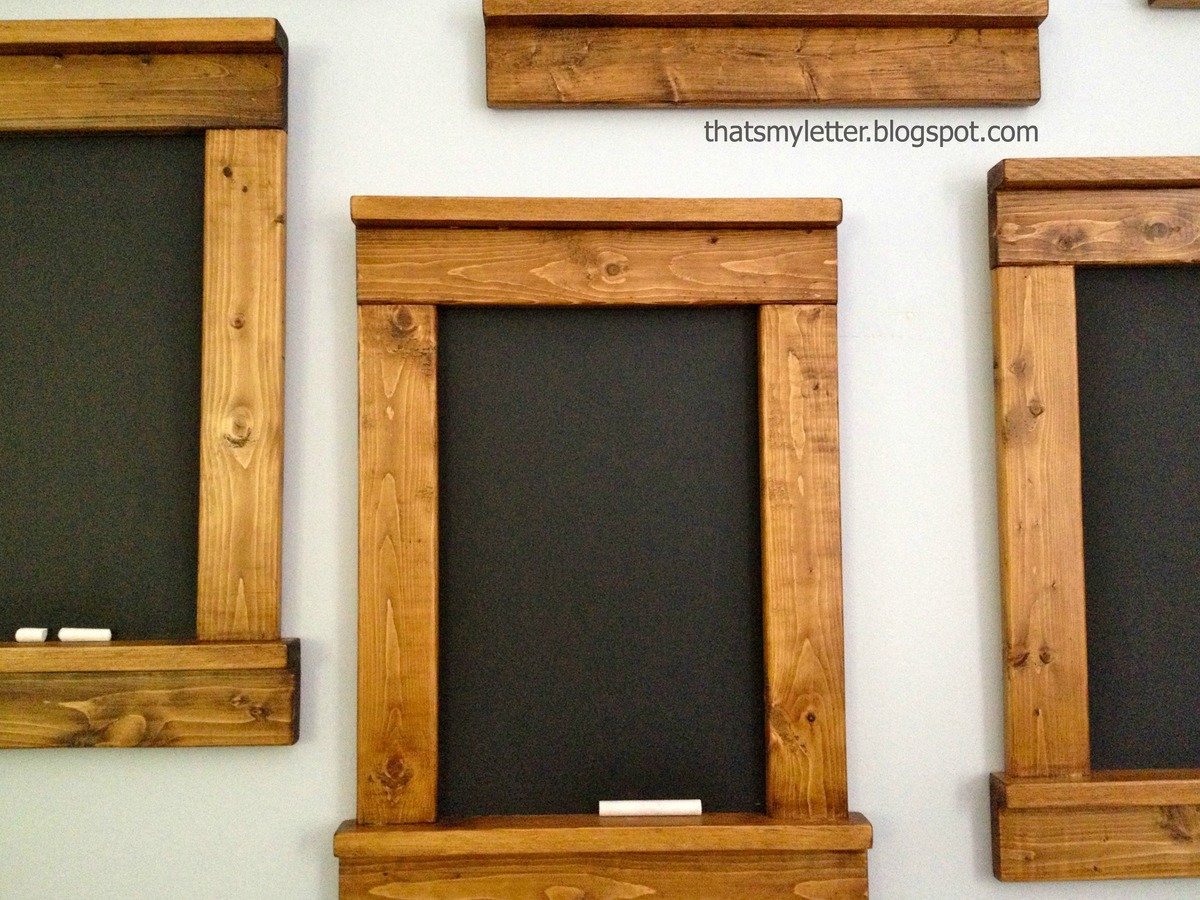
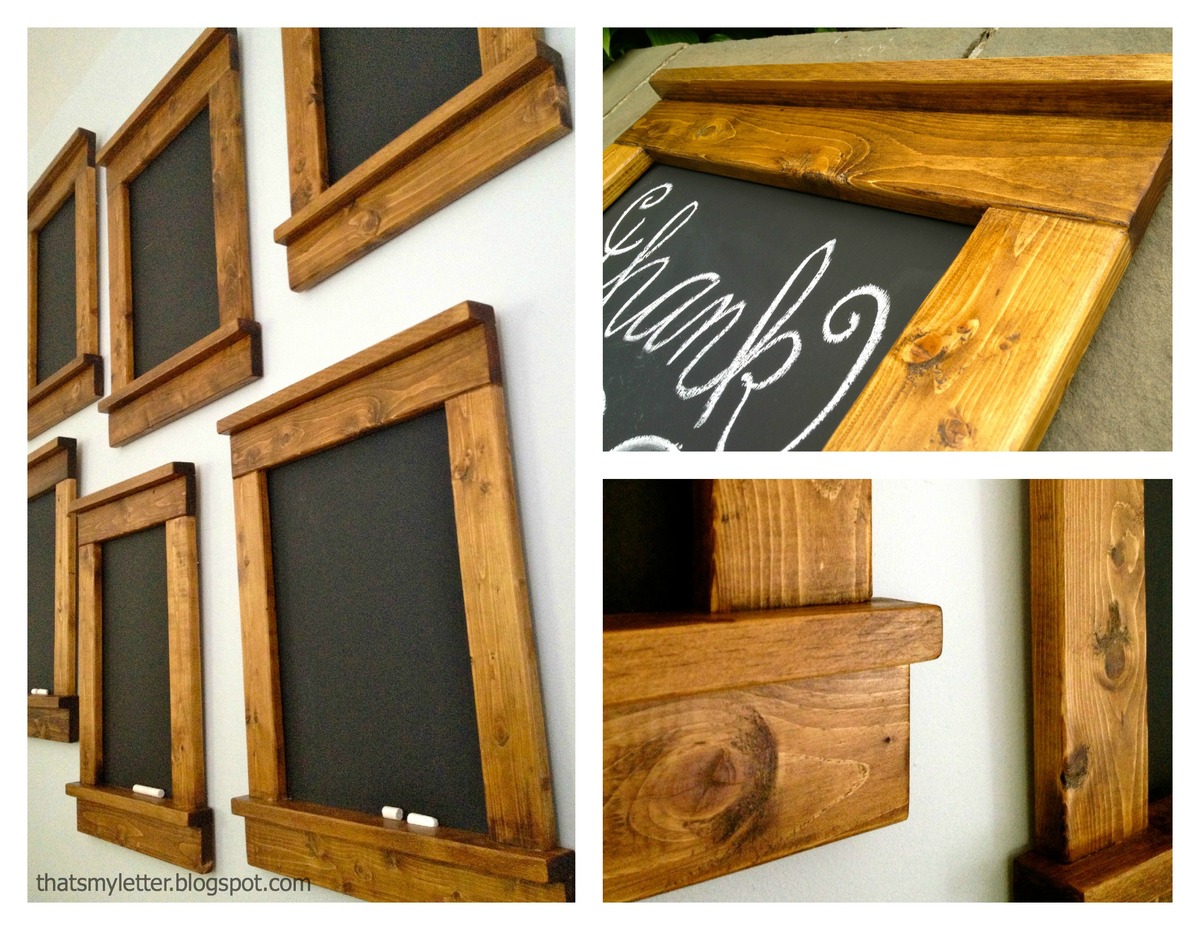
teacher chalkboards

An easy end of the year teacher gift - framed chalkboards. I made these using furring strips and 1/4" plywood for about $5 each.

Built from Plan(s)
Estimated Cost
$5
Estimated Time Investment
An Hour or Two (0-2 Hours)
Finish Used
1. Minwax provincial stain
2. two coats Minwax oil based poly semi-gloss
3. two coats black chalkboard paint
Recommended Skill Level
Starter Project

Octagon table

This was my very first woodworking project. It didn't end up perfect, but I learned a lot by making it, and it is still a quite nice dining table.

The minor modifications I made of the plan: I used 1x4-s as a frame for the table top, flush with the top. (The 2x2-s are next to it inside.) I made the lower supports out of 4x4-s (except that they didn't have 4x4-s at the store here so it's really 2 2x4-s put together). I have a few 2x4-s connecting the 2x8 and 2x6-'s in the base, to make it a bit more stable (not sure I really needed these but anyway), and I also ended up putting a few 2x4-s in the core of the base, again to make it a bit more robust. I routed the 1x4-s on the table frame, and also the table legs with a 45 degree bit (using a router is really fun! And really easy).

I used pine for the base and red oak for the table top -- mostly because I have oak cabinets in the kitchen. After sanding to 150 grit, I stained the oak first with Minwax Oriental Ginger (I would have used a dye if I had had one but this worked fine), and then two coats of GF antique oak. The Minwax gave a nice warm orange undertone while the GF highlighted the grain. It has 6 coats of GF high performance water based poly on it, sanded and wet sanded with very fine grit (up to 2000) so it's pretty smooth. It looks like many people use grain filler with oak, but I like the grain so I didn't. The base is painted white with whatever semigloss white paint I happened to have at hand.

Lessons learnt: 1) always, always measure twice, and always, always make sure that everything is square. 2) Don't build a table base from a board that's not absolutely straight. 3) Make sure to have enough screws and that the screws are of the right kind. 4) If you use a 45 degree router bit, you need to sand that 45 degree part much finer than the other parts of the table top, otherwise the grain will stick out and make it very rough. 5) Don't wet sand oak -- the poly dust white residue gets into the grain and it's impossible to remove. 
Estimated Cost
About $400. Pine would have been cheaper.
Estimated Time Investment
Week Long Project (20 Hours or More)
Finish Used
See above. Two kinds of stains, both water based, and a lot of water based poly, sanded in between.
Recommended Skill Level
Beginner

Herb garden gift

Submitted by bhoppy on Sun, 06/02/2013 - 21:47

I can't find ceder fencing here where we live so I just used a 1x6 I already had. I sealed it with Rustolem's Spar outdoor polyurethane in semi-gloss.

My 6 year old daughter planted the little basil plant seeds a couple weeks ago and we are giving this to one of her teachers this week as an end of year present.

I tried hand painting the herb garden part but it looked really bad so I sanded it down and added the little chalkboard vinyl stickers instead.

I used mostly stuff I had on hand to make the box... I used sissel rope for the handles since I had some. The only cost was for the stickers, terracotta pots and the seeds

Estimated Cost
$6
Estimated Time Investment
An Hour or Two (0-2 Hours)
Finish Used
Rustolem early american, dark walnit and spar outdoor poly
Recommended Skill Level
Starter Project

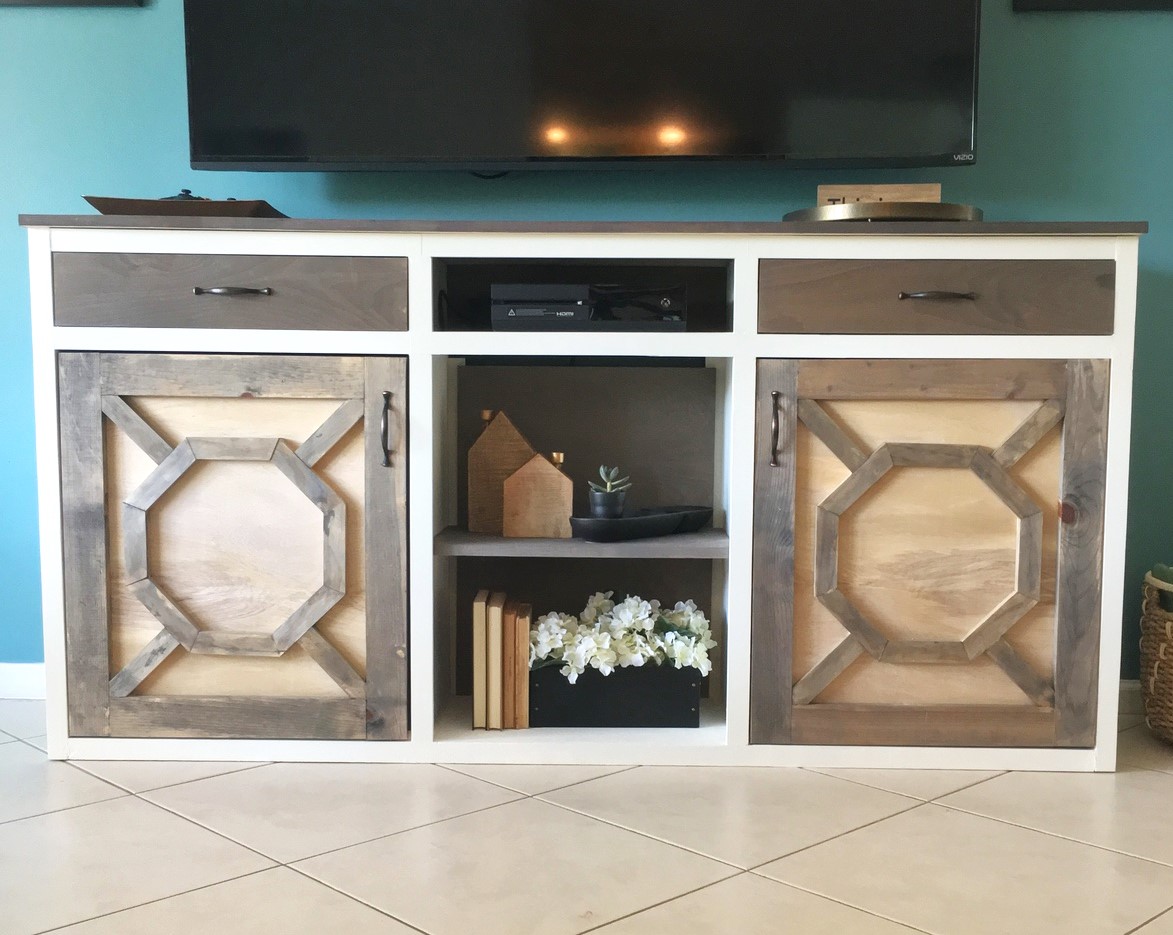
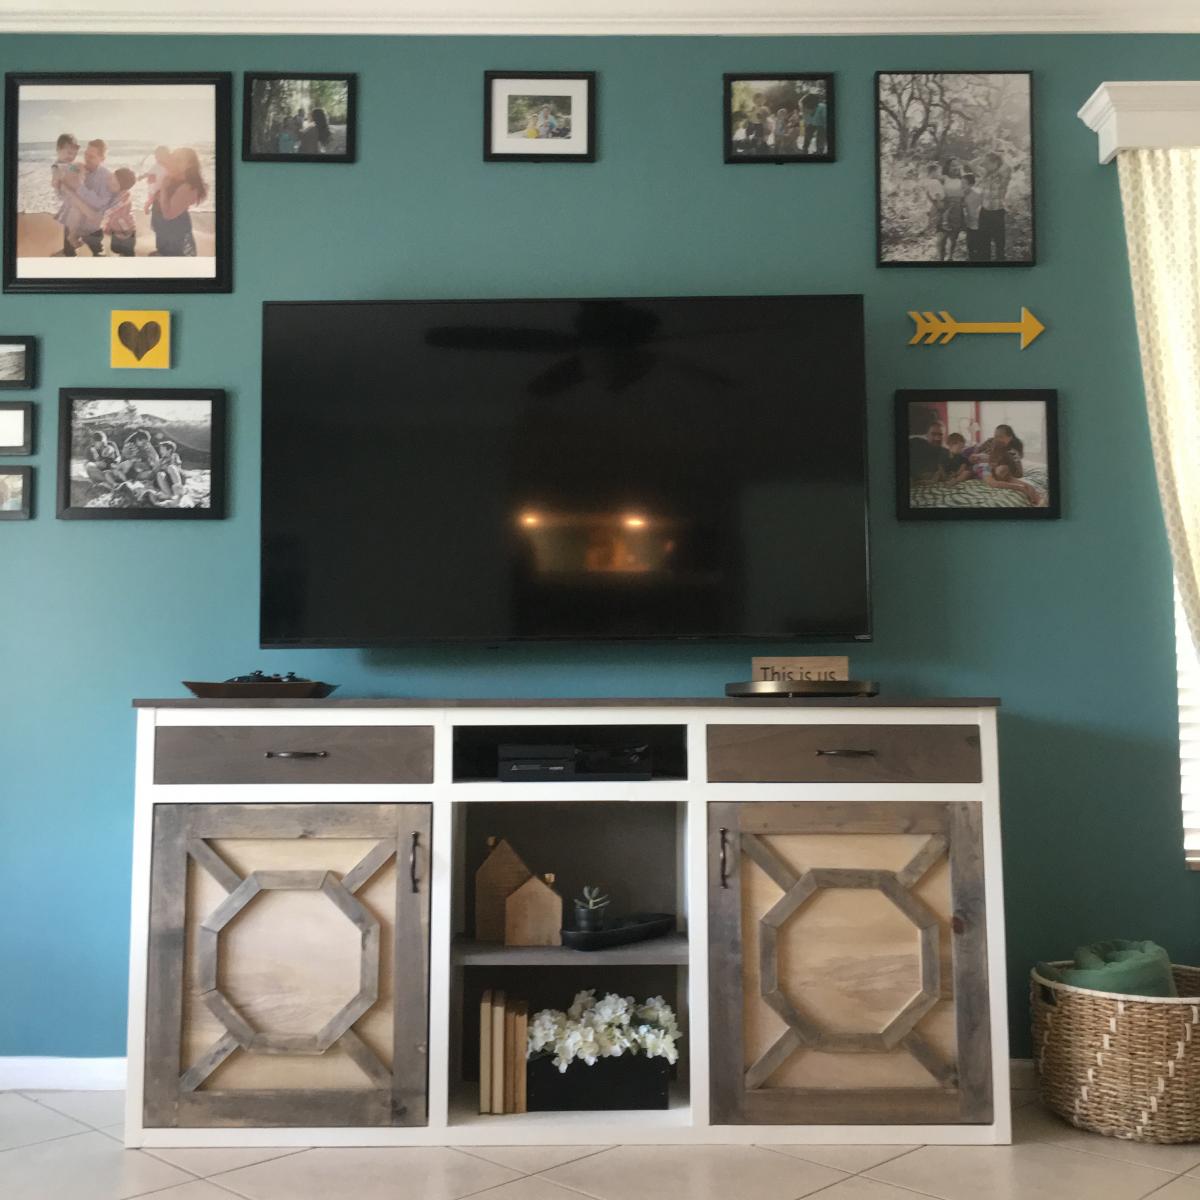
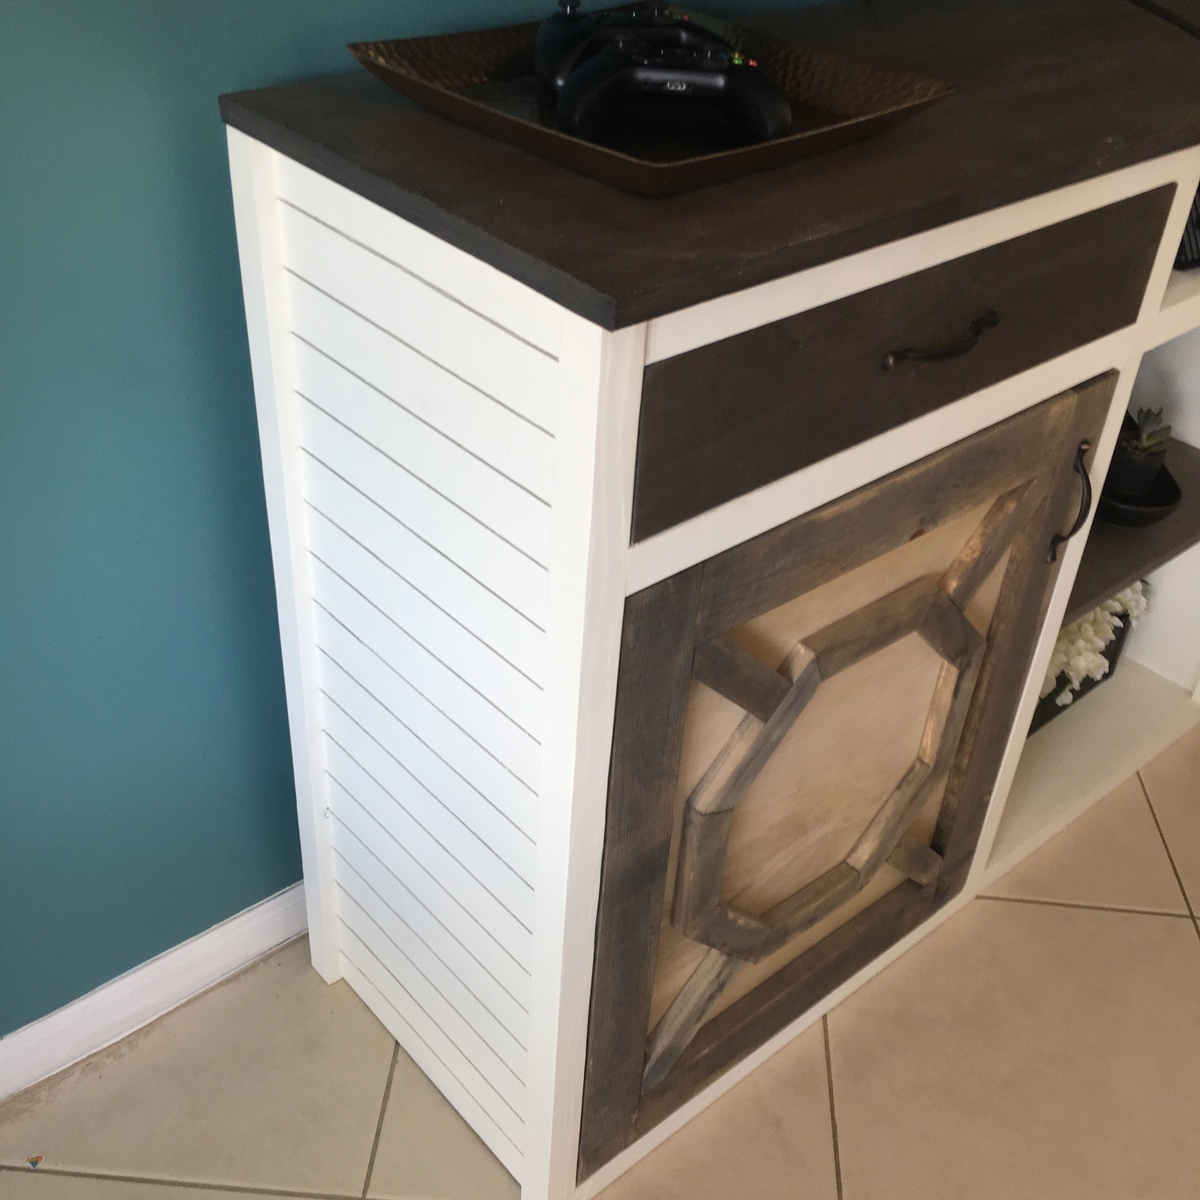
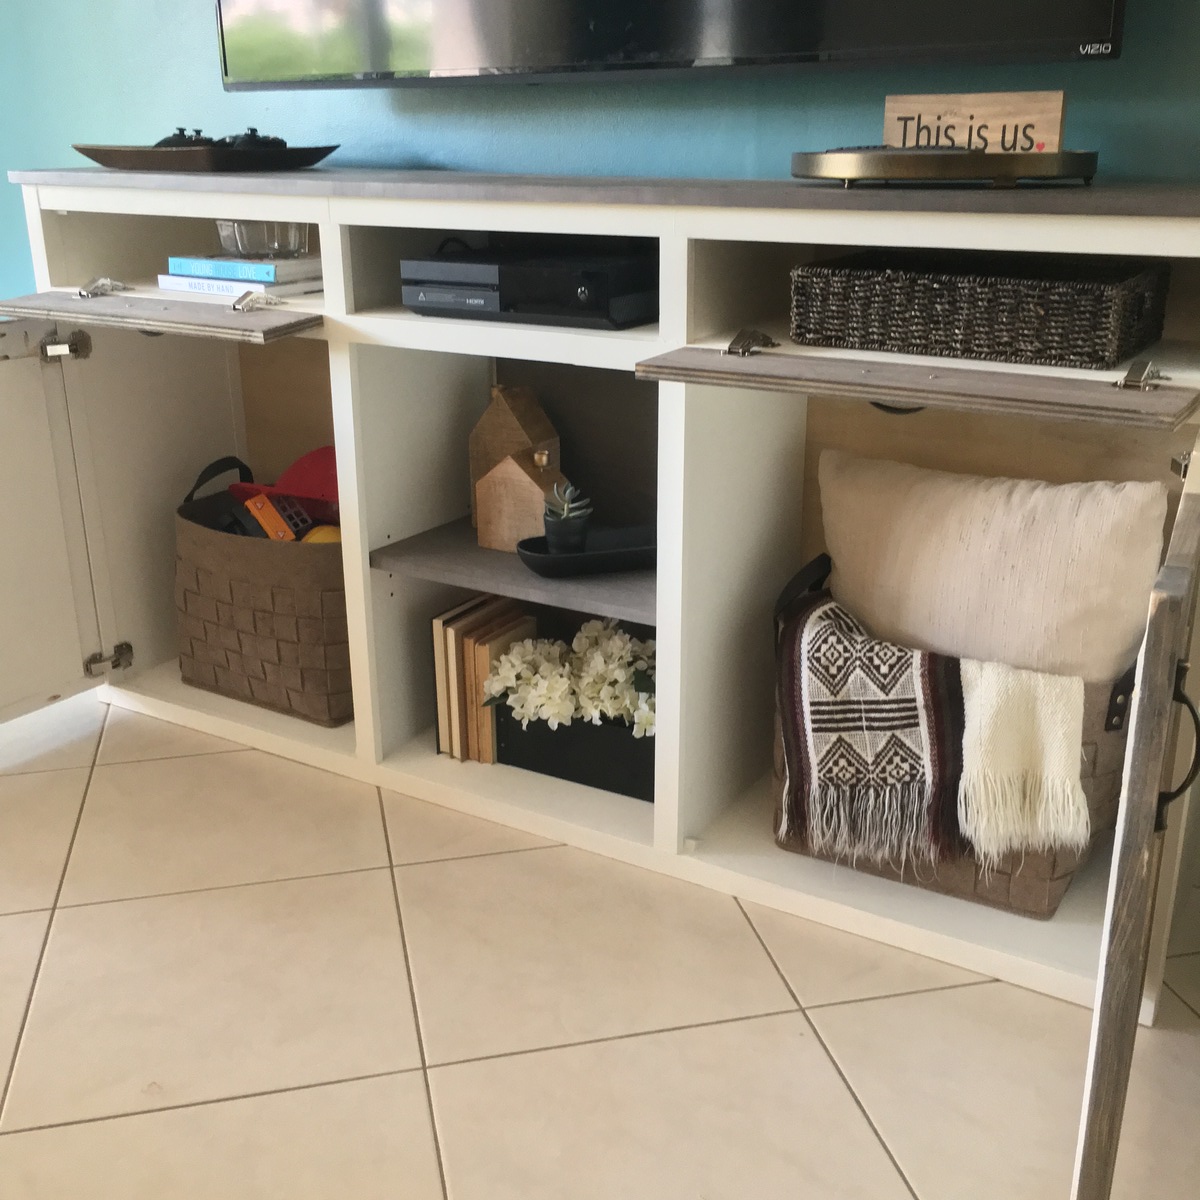
Farmhouse Media Cabinet

Media console made using pine and plywood.

1x2s are using for faceframe

Plywood top with edge banding

1/4" plywood for backing. 

Built from building plans provided by Jen Woodhouse for an Instagram Builders Challange.


Sorry, no idea how to change the orientation of the photographs. 

Estimated Cost
$175
Estimated Time Investment
Week Long Project (20 Hours or More)
Finish Used
Stained using Weather Wash Stains and painted in Ben Moore Simply White.
Recommended Skill Level
Intermediate

First Project - Loft Bed!

This is my first ever piece of furniture. I bought the Kreg Jig, which is awesome. My son has a fairly small room, so extra floor space is handy. I plan on turning the bottom into a reading nook with come comfy pillows, some lighting and a few small bookcases.

I used 2x6s to support the mattress. put in 6 slats, but I think I'll add one more for extra support. I also want to add a 2x4 across the back to keep the legs in place. Pretty sturdy though. I got up there with my son and between the two of us we're about 230lbs.

Can't wait to build something else!

Estimated Cost
$150
Estimated Time Investment
Weekend Project (10-20 Hours)
Finish Used
Minwax Walnut and 3 coats of Poly
Recommended Skill Level
Beginner

Not quite the same

Submitted by cyfry77 on Sun, 04/10/2011 - 14:45

This was something I build a couple years ago, it's not the same as this plan, but very similar. When we moved in to the house, the slab was already poured, with 4x4s already in place, I just used what was there and my imagination for the rest.

Built from Plan(s)
Estimated Cost
$200
Estimated Time Investment
Weekend Project (10-20 Hours)
Finish Used
Purple outdoor deck stain. (Behr?)
Recommended Skill Level
Intermediate

The only thing missing is 8 pies!

Submitted by AlpsJon on Tue, 05/26/2015 - 14:29

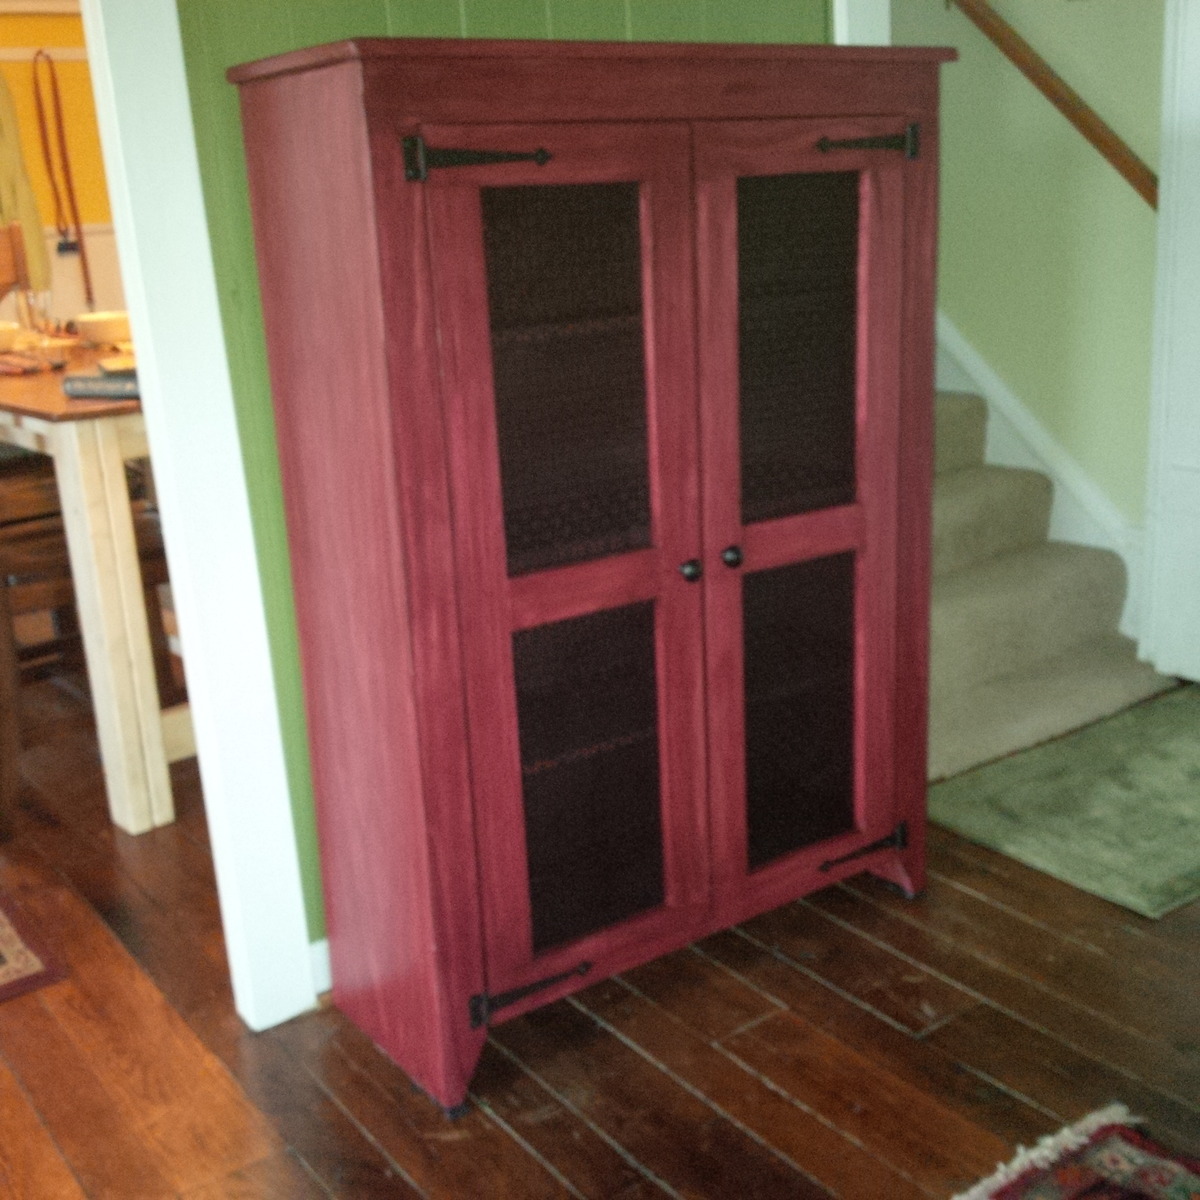
This was my first project with doors! Everything worked perfectly, except there seems to be a small mistake on the cut list - the 4 1x3's for the doors should be 14", not 11" each. The picture is correct but the cut list should be revised. Otherwise, instructions were easy to follow. I used a metal grill pattern for the door insets - purchased from Lowes, cut with tin snips and spray painted matte black. This cabinet is a great storage space and an all-around great project. One extra small tip - it may be better to set the top piece back a 1/4 inch more so that it goes over the top edge of the plywood backing on the rear - it would make for a cleaner finish. Thanks Ana - this is my 4th project from your website and I hope to furnish an entire (tiny) house all by hand!

Built from Plan(s)
Estimated Cost
$200 including several new tools and extra supplies
Estimated Time Investment
Weekend Project (10-20 Hours)
Finish Used
Minwax Sangria stain, pre-conditioned and then 2 coats of poly
Recommended Skill Level
Intermediate

Comments

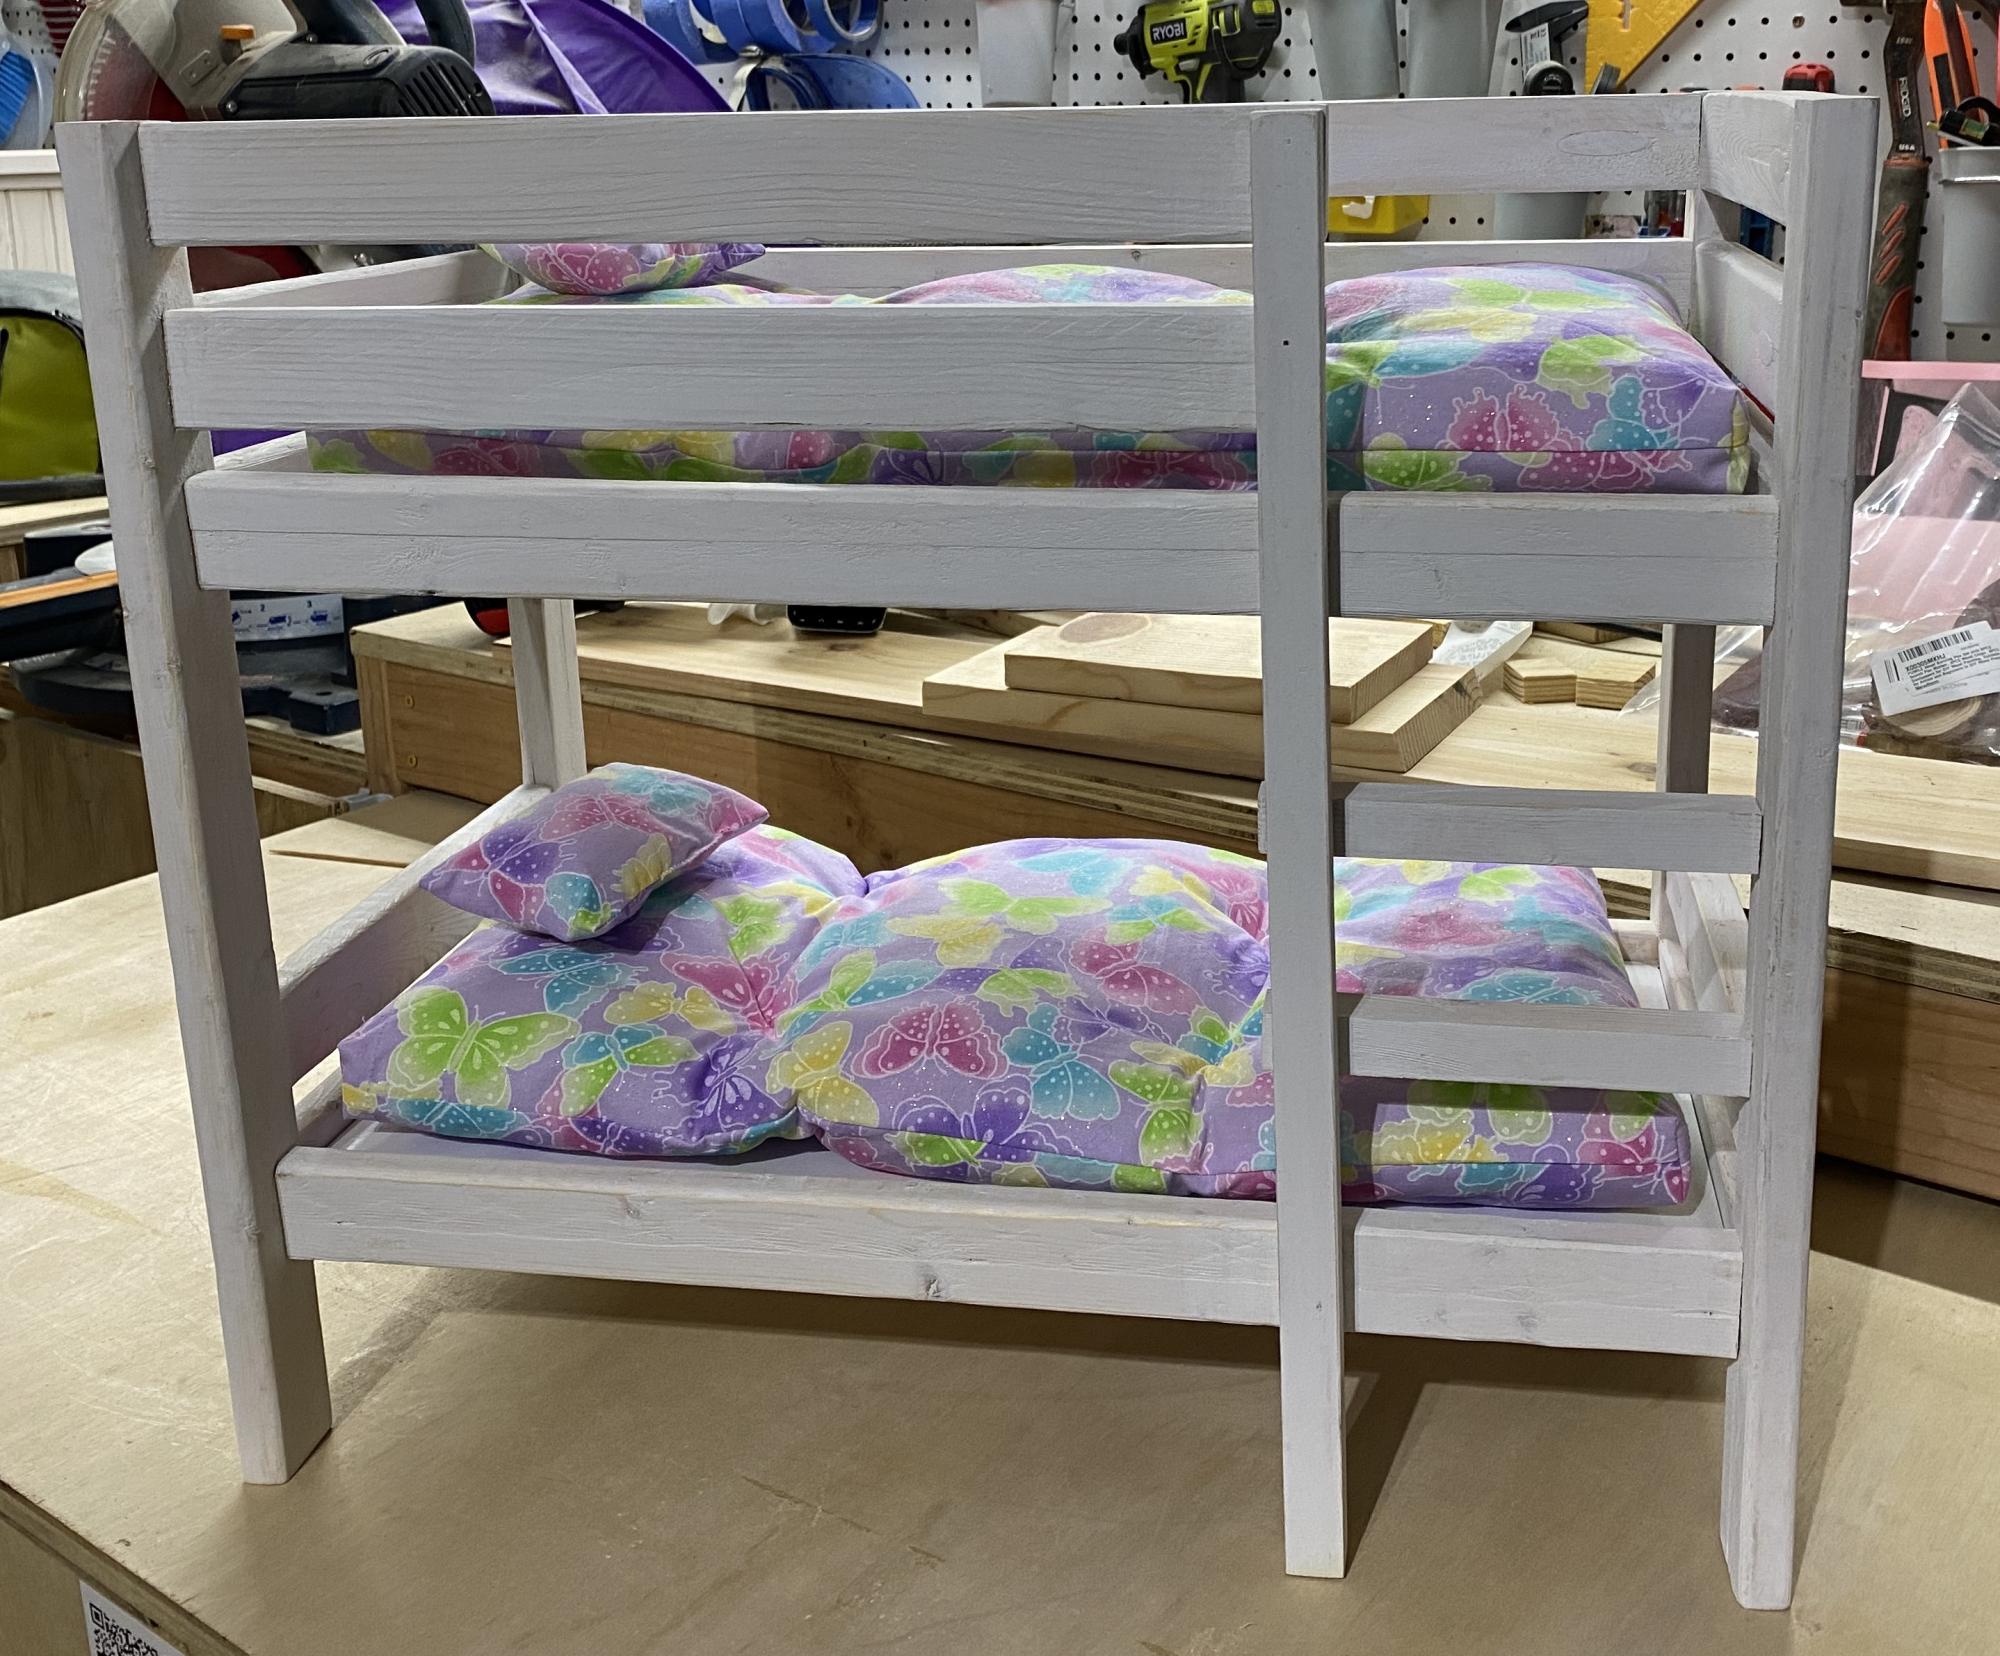
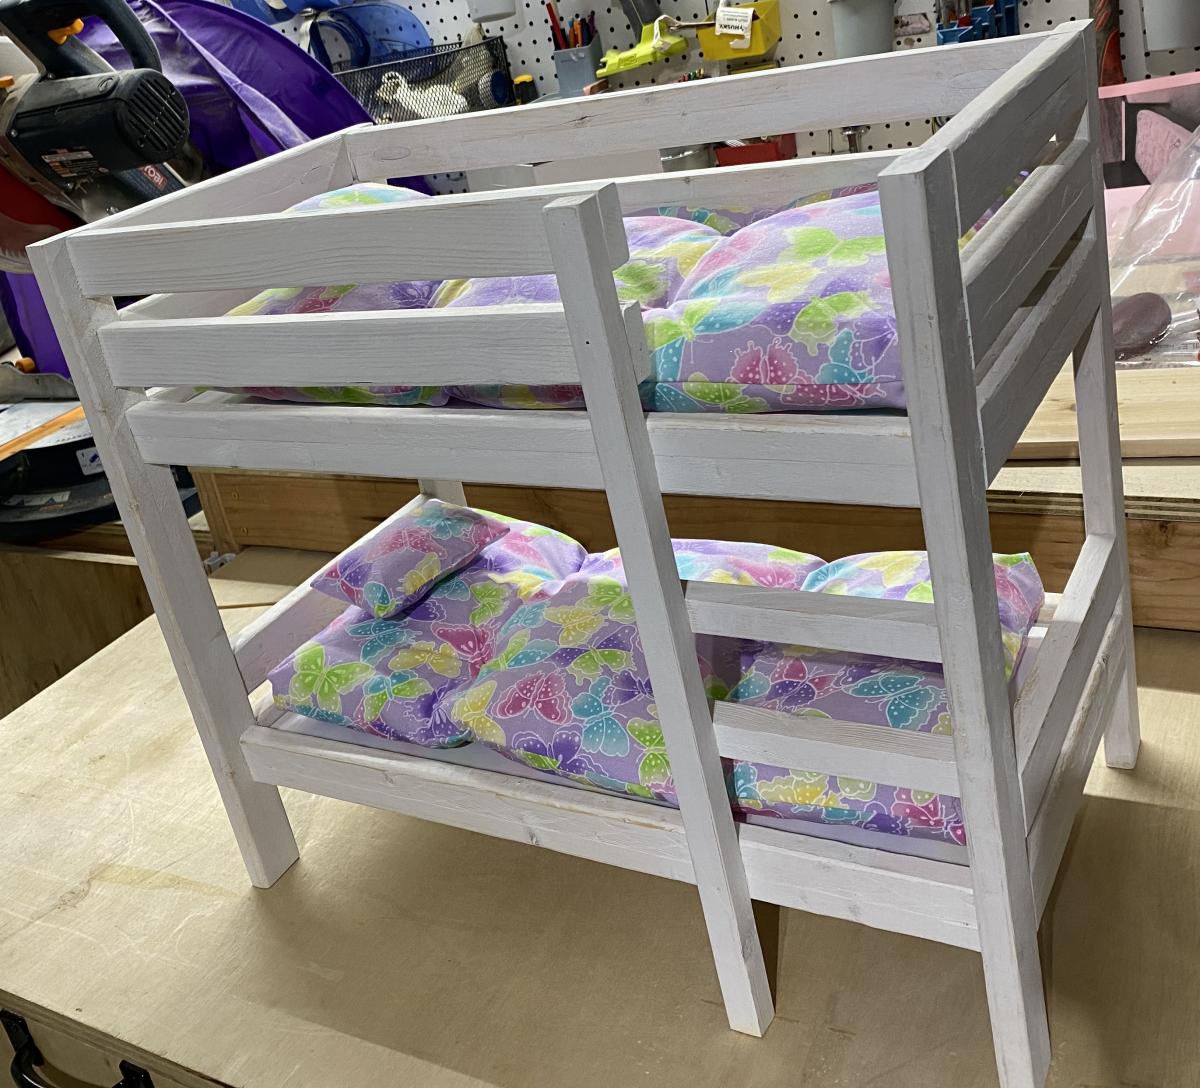
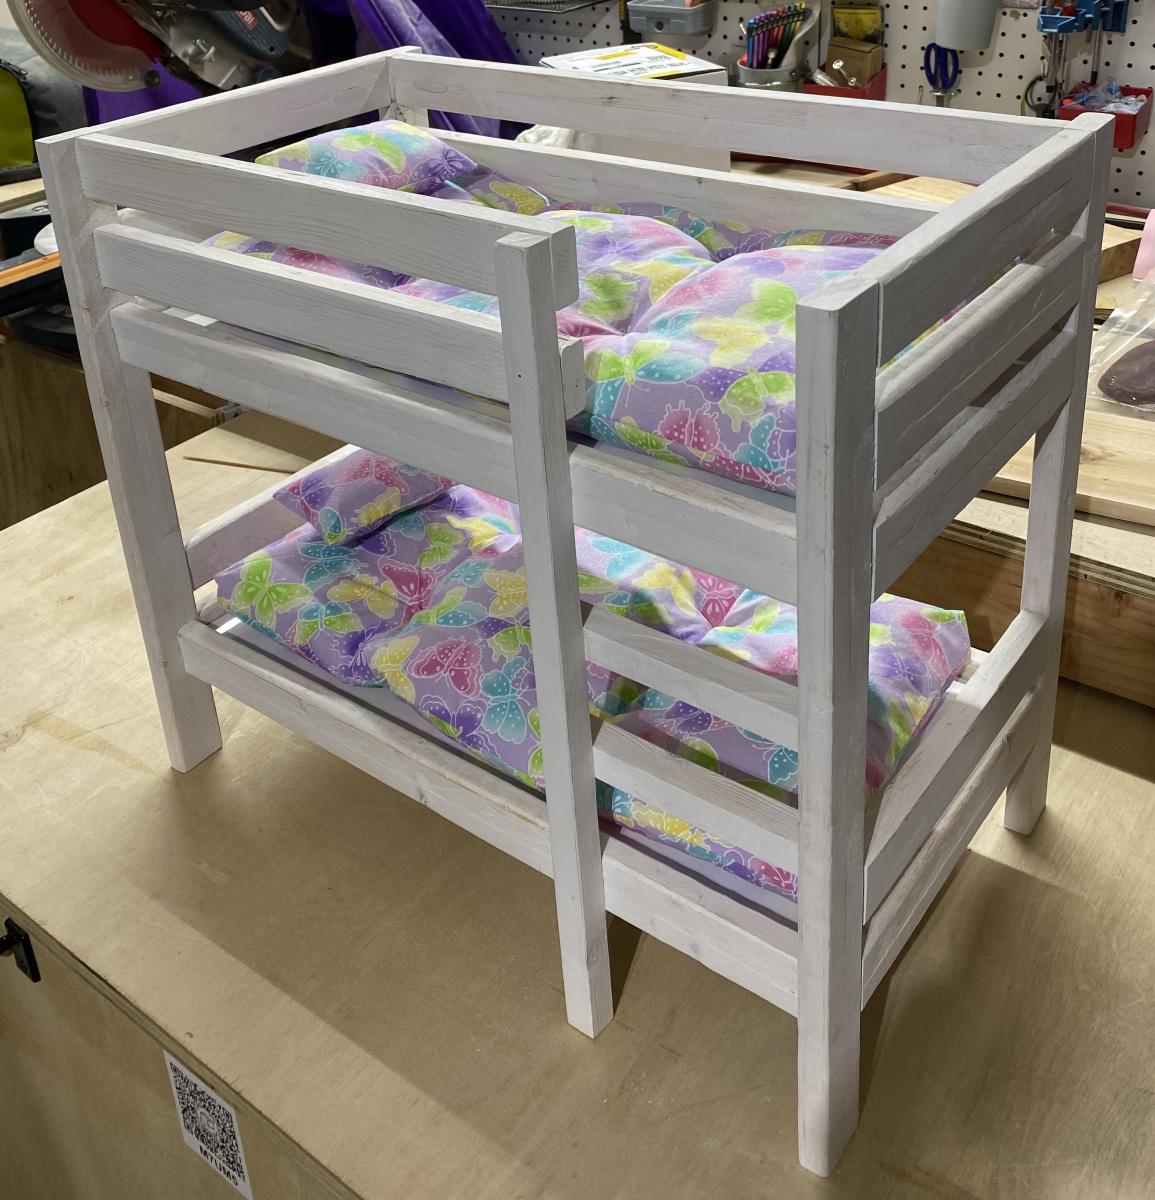
Doll Bunk Beds for American Girl Doll and 18" Doll

Submitted by jkjackson on Thu, 12/23/2021 - 19:22

What a fun project! I used Ana’s plans for the bunk beds and the mattresses. The bed is finished with a whitewash.

Comments

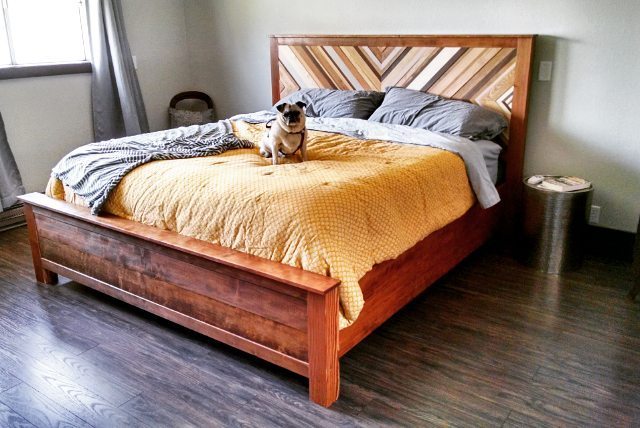
Chevron Cassidy Bed - King

Submitted by marycate01 on Wed, 12/27/2017 - 20:46

King bed made out of CVG hemlock with doug fir posts. Headboard chevrons are mix of oak, cherry, maple, hemlock.

Pug approved.

Built from Plan(s)
Estimated Cost
$350
Estimated Time Investment
Week Long Project (20 Hours or More)
Finish Used
Minwax English Chestnut with Minwax Polyurethane
Recommended Skill Level
Intermediate

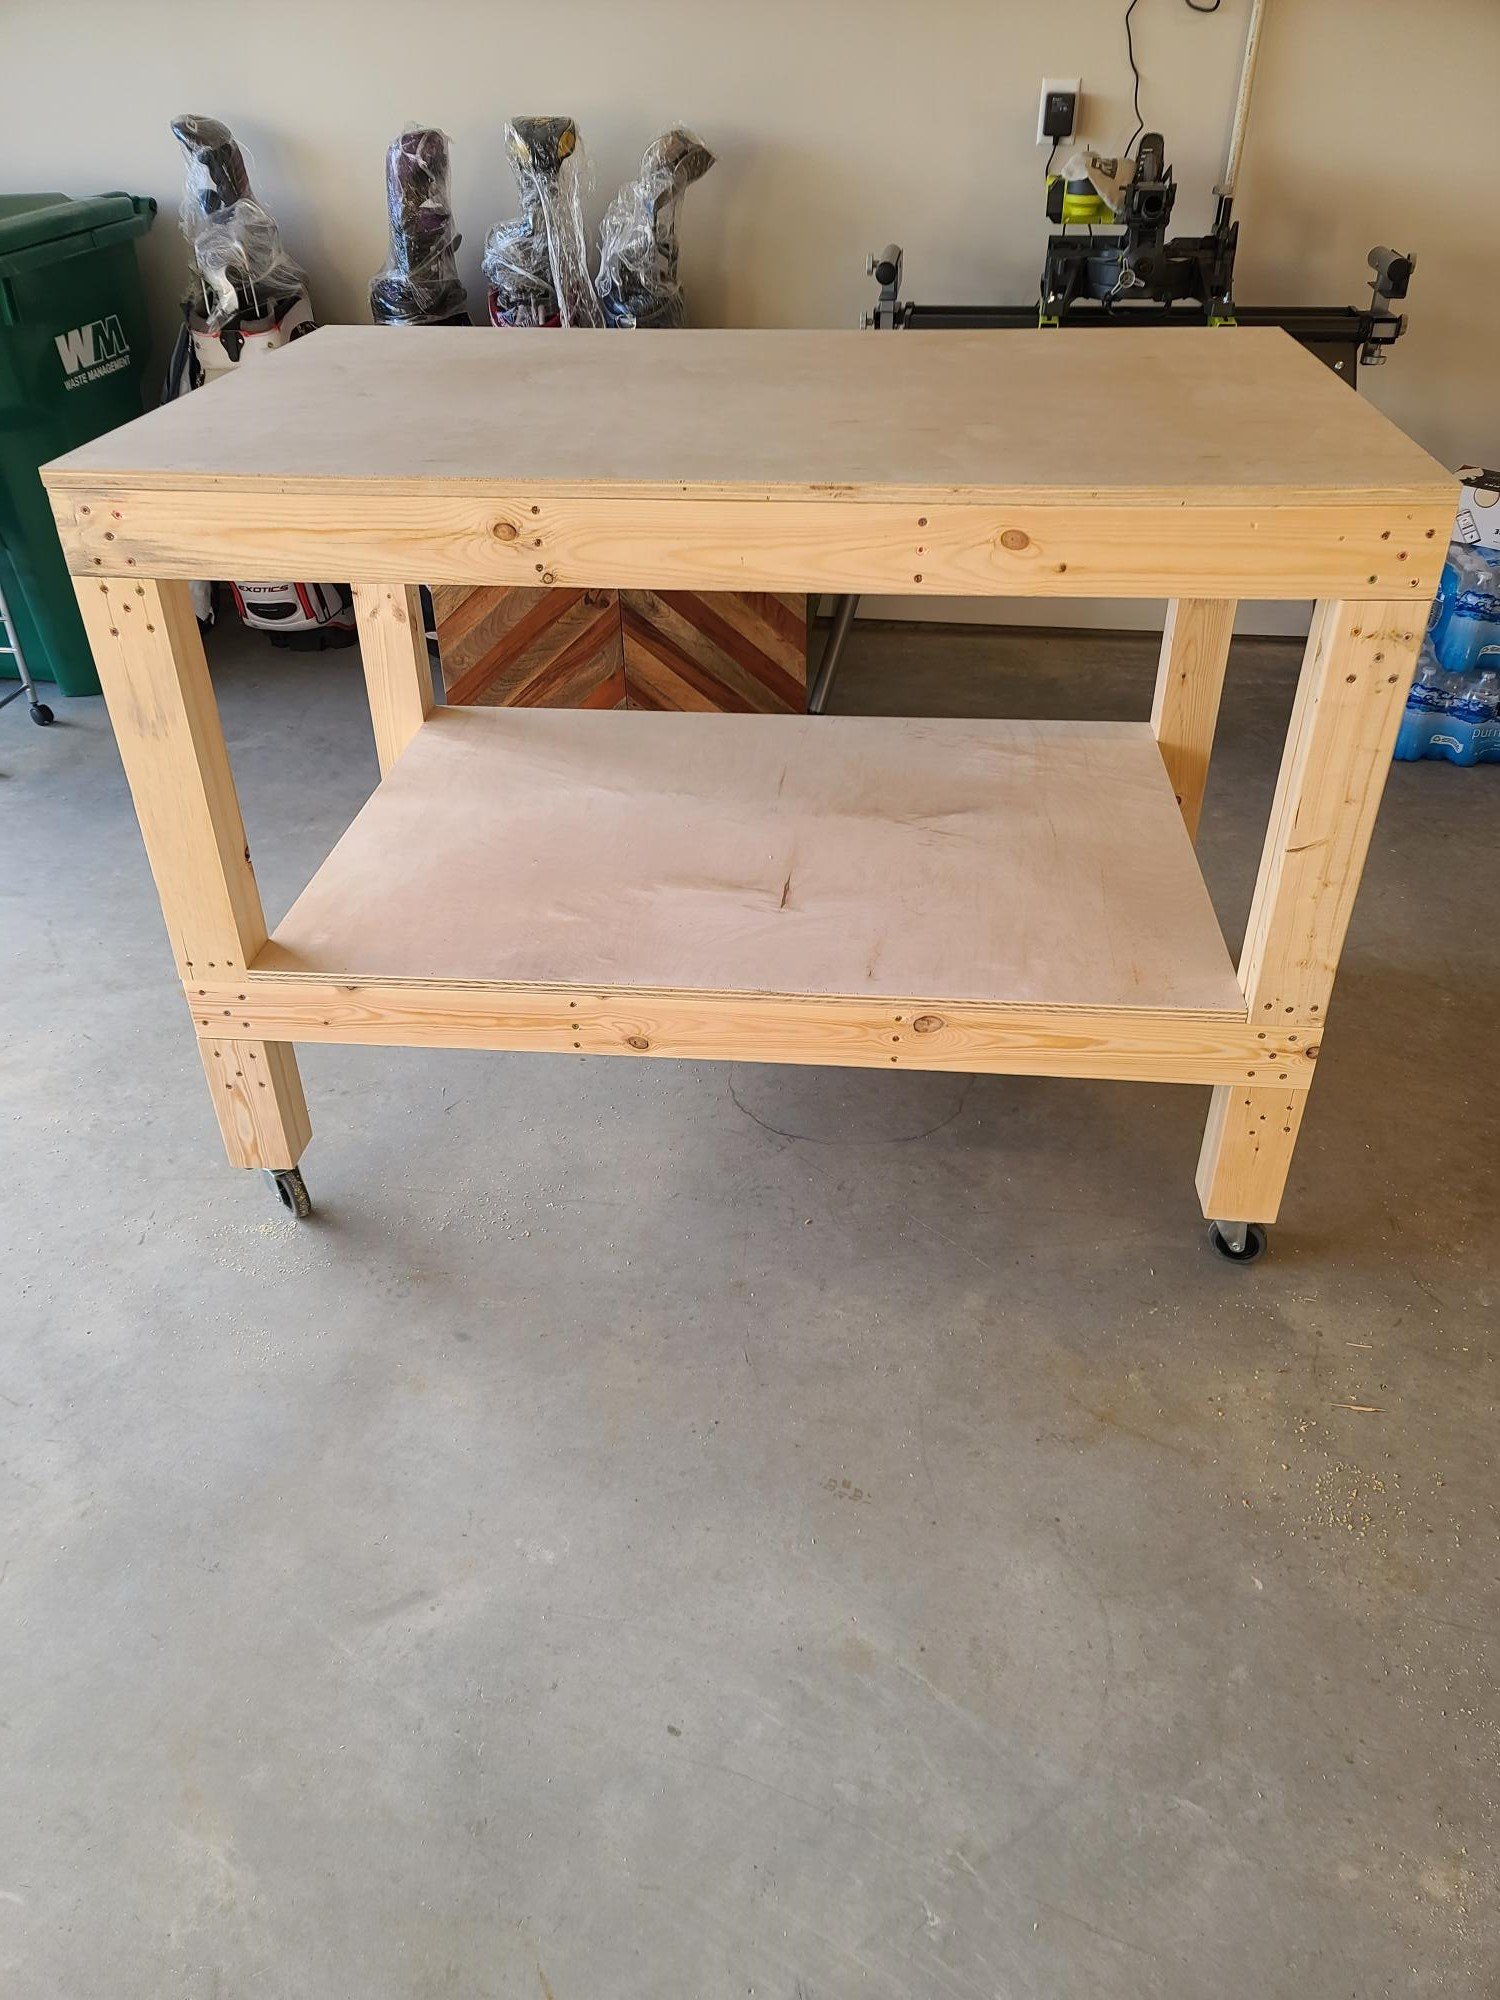
Garage Workshop Bench

This was my second project, with so many more projects in mind, figured I needed to get started on a Workshop bench. This was a fun and easy project and such a great plan.

Comments

Built In Closet for Nursery Room

Submitted by karahart on Wed, 05/11/2011 - 09:47

I didn't follow Ana's plans for this, I actually designed the closet system to correspond with my dimensions / wants / desires (see blog post), but this goes to show you that once you start building things, it's really hard to stop! I think in building brain now. I don't think in "how can I afford that" terms anymore, I think in "how can I make something similar, but BETTER?" Ana has helped us make our nursery for our first baby a labor of love!

Estimated Cost
$100
Estimated Time Investment
Afternoon Project (3-6 Hours)
Finish Used
We primed all of this with white primer and then applied a few coats of ultra white paint by behr.
Recommended Skill Level
Intermediate

Tool Caddy

Submitted by docbromo on Thu, 01/20/2022 - 15:21

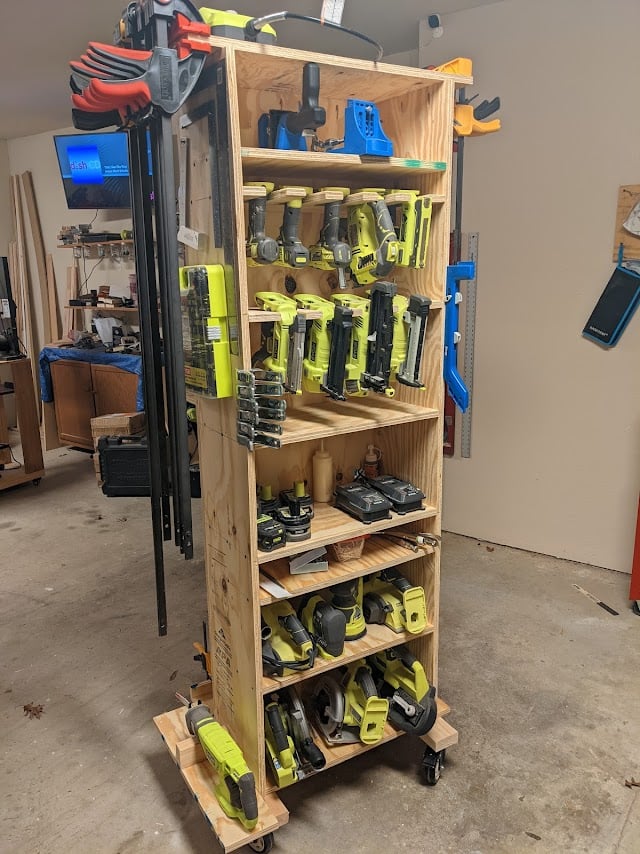
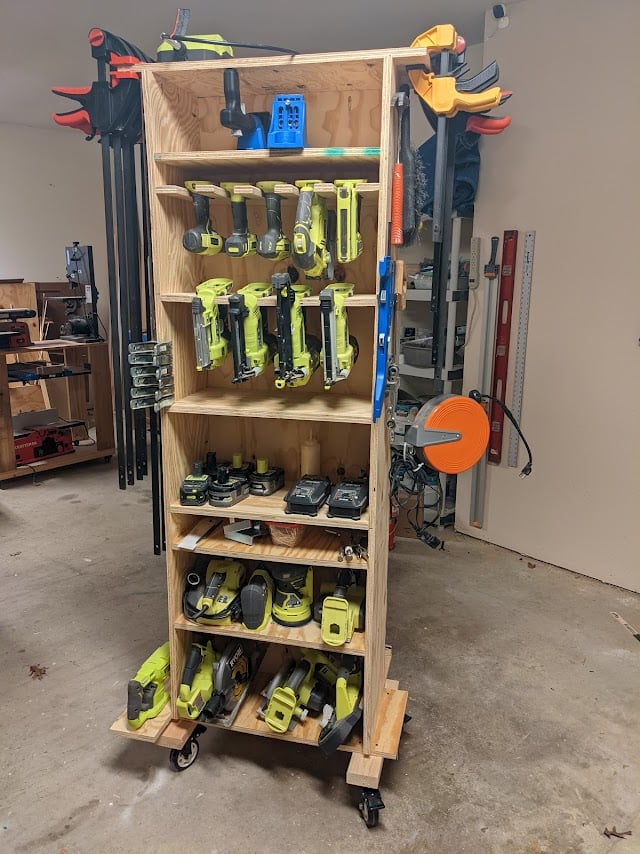
I repurpose furniture as a hobby and I got tired of having my tools hanging on a wall on the other side of the garage so I bult this rolling tool caddy. It is made out of 3/4" plywood, a couple of 2x4's and some heavy-duty casters. I built one about 3 years ago and realized that there were some things I wanted to do differently so I sold it and bult this one. My wife gave me a subscription to SketchUp and I had fun drawing it up and tweaking it. I left an over hang of 3" on both sides so I could store my clamps. I also attached an electrical cord reel on the right side and reversed the ends so the male end can plug into the wall and I can roll the unit across the room allowing me to be able to charge my batteries. The back side has a 44 drawer storage organizer and also a few shelves for additional tools like a router and a multi-tool. I'm not nearly the craftsman many of you are and I'm sure you could do a much better job. I didn't build it to look pretty but to be functional and it works for me.

Comments

Jayp413

Fri, 01/21/2022 - 09:16

I really like this idea. I have my tools hung up neat all around the garage, but I keep walking back and forth for tools and batteries. It would be great to roll this over to a project and have everything you need right there. Nice work. I will modify one for my needs.

BigMacQue

Fri, 01/21/2022 - 10:06

there are some very thoughtful features on this, notably the wings at the top and the bottom for clamps and extra tools and the different shelf heights. Well done! I'm going to build one just like it and a power strip for battery storage.

Easy and Fast DIY Garage Workshop

I used these plans and modified the height to create functional countertop and shelving in my garage. I added a little face framing too. Thank you for the inspiration Ana!

Estimated Time Investment
Weekend Project (10-20 Hours)
Finish Used
Mineral Oil
Recommended Skill Level
Beginner

Comments

tarah

Thu, 03/26/2020 - 15:58

How do I access the plans used for this project? Thanks!