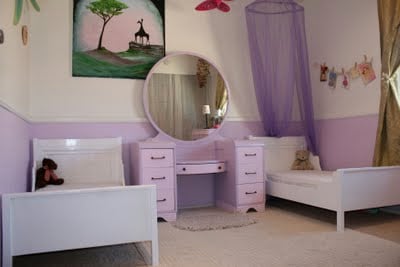
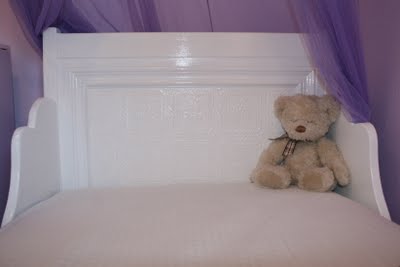
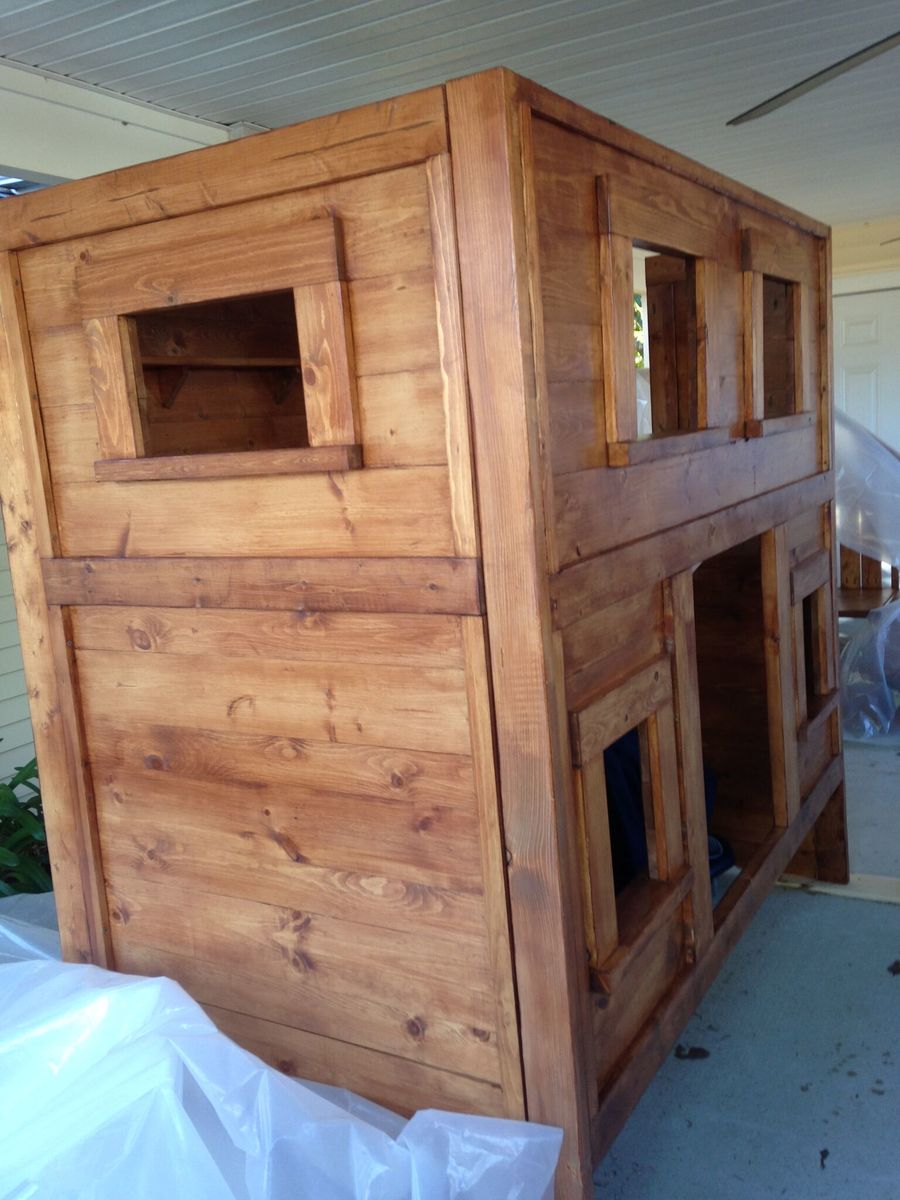
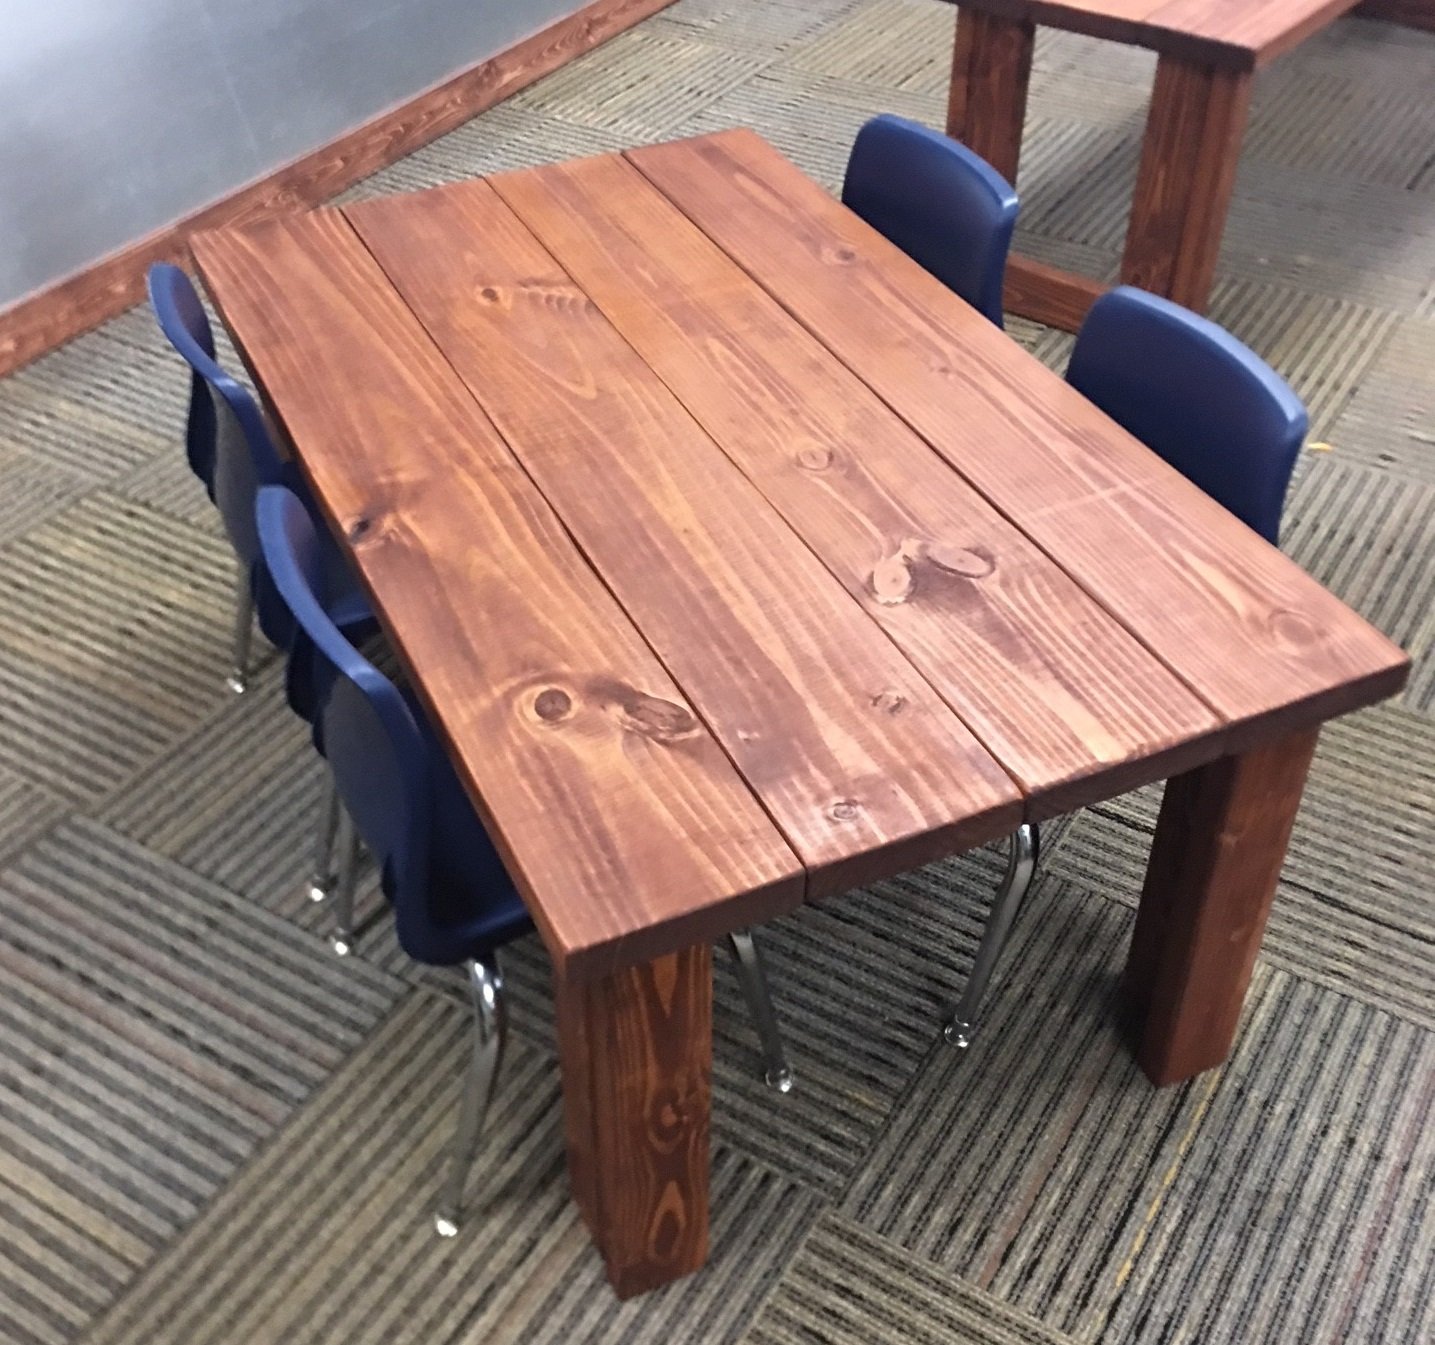
Community Brag Posts

Queen storage bed

Submitted by willowpond on Thu, 04/26/2018 - 20:39

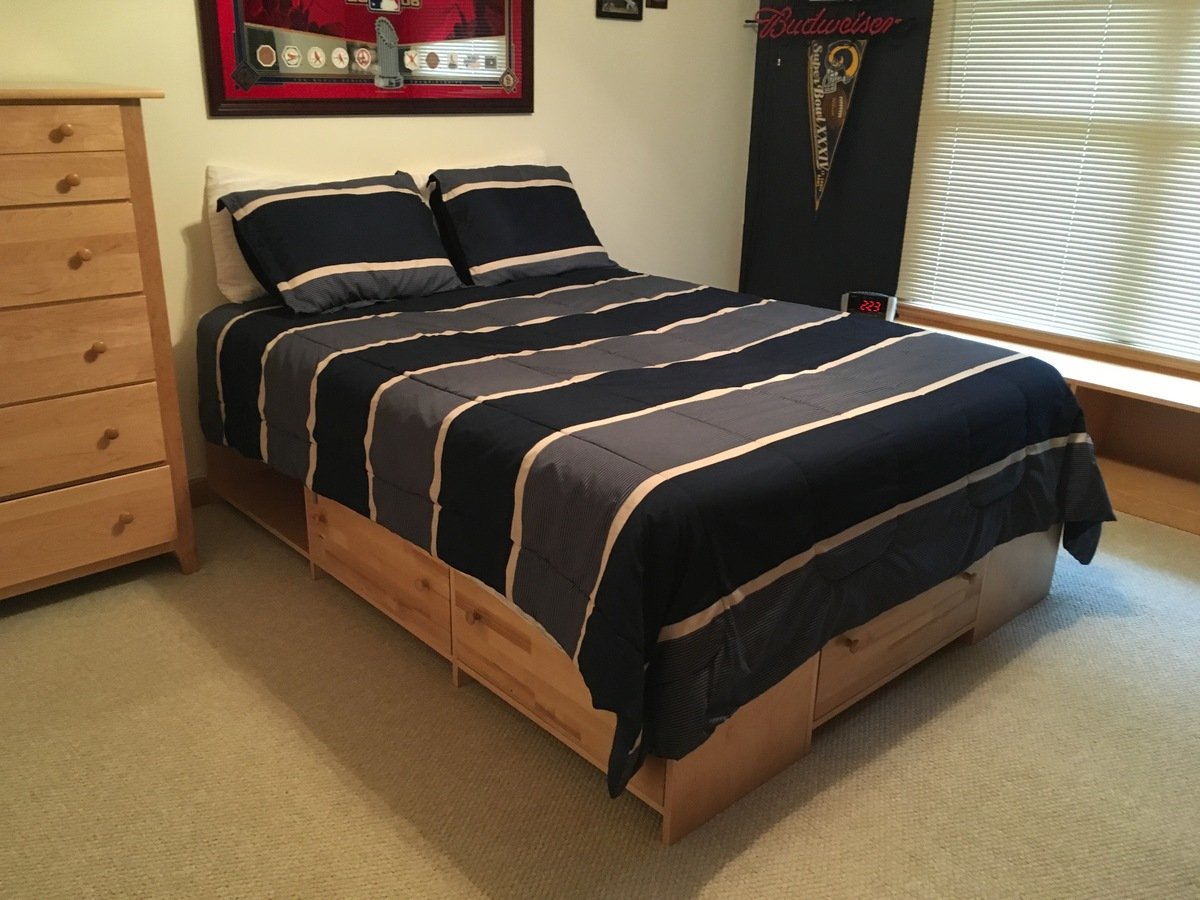
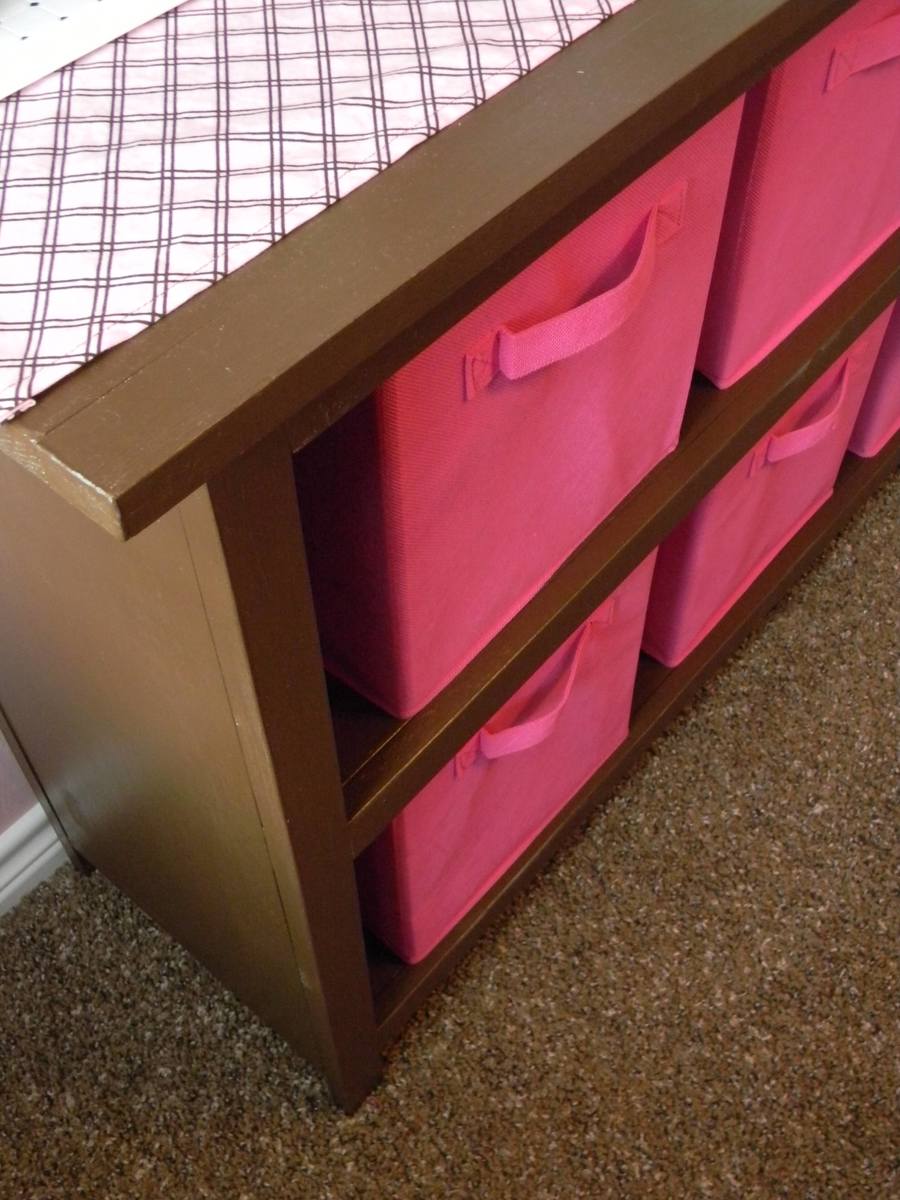
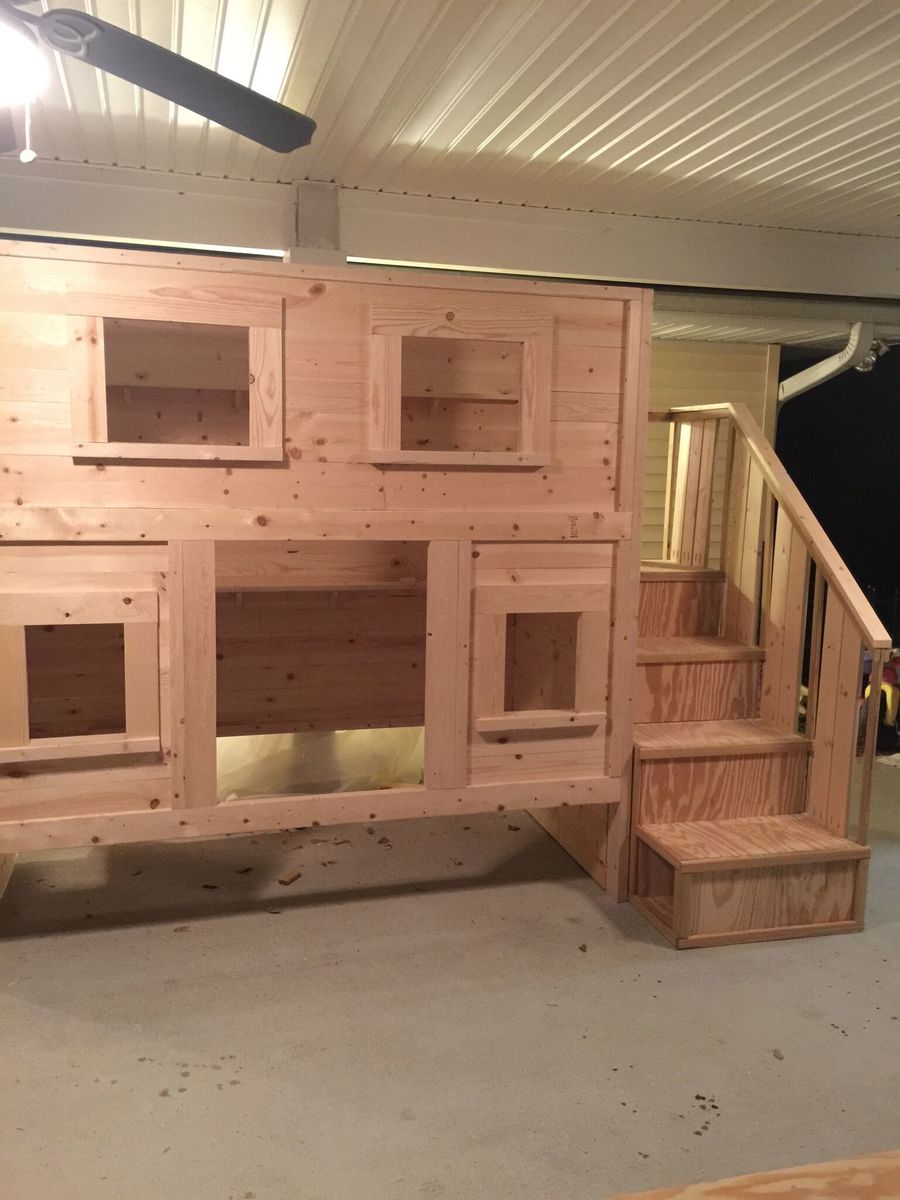
I started with the queen storage bed plans and modified them to fit my needs. Two drawers on each side, one at the foot, all the same dimensions. I left open bins at the head of the bed because there wouldn’t be room to open drawers. They can be used for books or electronics, whatever my son wants to keep close. I mounted a power strip with USB ports inside the open bins (out of sight) so he can charge his electronics.


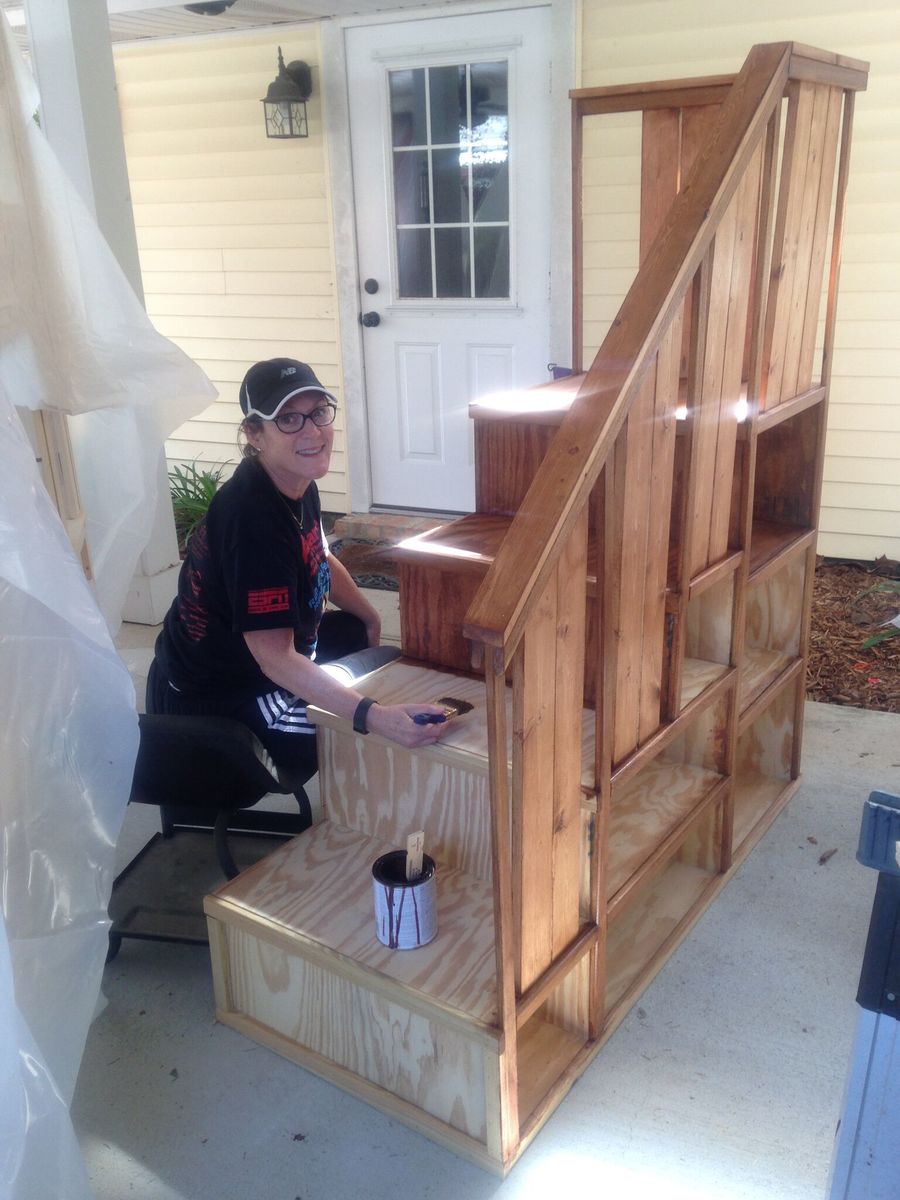
I used birch plywood for the benches, pine for the drawers. I painted the drawer boxes navy blue, matching one wall in the bedroom, and used edge glued birch panels finished with clear water based semi gloss poly for the drawer faces. 


This is is definitely my most difficult project so far, and the one I love the most. 

Built from Plan(s)
Estimated Cost
$200 - birch plywood, edge glued birch panels, pine for the drawers, drawer slides, drawer knobs, assorted hardware, latex paint, poly finish.
Estimated Time Investment
Weekend Project (10-20 Hours)
Finish Used
Clear poly semi gloss - three coats, light sanding in between
Navy blue latex semi gloss on the drawer boxes
Recommended Skill Level
Intermediate

Comments

Fancy X Desk - Altered

I love the fancy X desk plans but made some adjustments to suit my tastes better.

I used 4x4s instead of the 2x4's for the legs and 2x6's instead of 2x12's for the top. Once I have everything built, I hand planed the desktop to even out the 2x6's and make it feel less like standard hardware store lumber and more like an old handmade farm table. I love all the slight surface imperfections that the hand plane left behind.

As always, building it doesn't take long, but finishing it does. I only had about 6 hours invested in the build, but doing the many layers of stain, paint, shellac, and poly took several more days to complete.

for the base of the desk, I started by staining it with a vinegar and steel wool concoction. After letting it dry I lightly sanded off the chalky surface, leaving the aged looking wood. I then used white primer and a rag to give it a white washed look. After the white washing was dry, I used fine steel wool rubbing the surface to reveal some of the faux aged wood below. CAUTION: If you plan on using water based stains, paints or sealers, you may want to avoid using steel wool to avoid rust spots.

For the desktop I alternated coats of Morish Teak and Rosewood from ZAR until I was happy with the color. I had some troublesome knots that kept leaking sap so I sealed them with de-waxed shellac. before sealing everything with polyurethane.

I'm really happy with my new desk. Thanks for the inspiration!

Built from Plan(s)
Estimated Cost
$70 for lumber, $5 for screws, $10 for shellac, already had the rest of the supplies :)
Estimated Time Investment
Week Long Project (20 Hours or More)
Finish Used
BASE = Faux weathered wood (steel wool dissolved in vinegar), white primer white wash, steel wool rub, Satin finish polyurethane

TOP = Morish Teak and Rosewood stains from ZAR, SealCoat Shellac from Zinsser, Satin finish polyurethane
Recommended Skill Level
Beginner

Night stand

Submitted by jmiracle on Tue, 09/01/2015 - 07:35

Built two of these to go with the mantel headboard. we used 3 different pieces of molding that are in the same sequence as the headboard. To save money I made the angled feet rather than using the pre fab bun feet. We used a piece of lexan to put on the top to protect against water. When we attached the top trim we made sure it was level with the lexan I made the crate to fit so that we had some type of storage. The color of the crates match the center of the headboard

Built from Plan(s)
Estimated Time Investment
Day Project (6-9 Hours)
Finish Used
Used a paint sprayer to get a nice even white finish.
Recommended Skill Level
Beginner

My Awesome Corner Cabinet

Submitted by mcbrasi on Mon, 05/28/2018 - 19:35

I really needed more Pantry space in my small kitchen. Found these plans on the site and set out to make it. Needed a little splash of color to add to my otherwise earth-tone color scheme. Love it!

Built from Plan(s)
Estimated Cost
$250
Estimated Time Investment
Weekend Project (10-20 Hours)
Finish Used
Dark walnut for the main box. Various different poly-wood stains for the doors.
Recommended Skill Level
Beginner

Comments

mcbrasi

Mon, 05/28/2018 - 19:47

I needed more pantry space in my small kitchen.  Found these plans on the site and set out to make it.  Needed a little splash of color to add to my otherwise earth-tone coleor scheme.  


Love it!

Outdoor sectional

Submitted by Anonymous (not verified) on Wed, 04/27/2022 - 08:50

Revamping the backyard with your awesome sectional plans!

Comments

Designer Toddler Beds

Submitted by Silveera on Thu, 07/07/2011 - 03:07

With the third baby set to arrive in several months, I needed to take back the crib from my youngest and consolidate the girls living space. After scouring the Anna White site and looking dreamily at plans and general building instructions for several months, these beds are what I came up with. A combination of the Lydia and Farmhouse beds, I made alterations for the wood I had on hand and the final product I envisioned- complete with decorative trim and even wallpaper! My girls love them!

Estimated Cost
$30
Estimated Time Investment
Weekend Project (10-20 Hours)
Finish Used
Kilz Primer, Behr Ultra White Semi Gloss, Poly
Recommended Skill Level
Intermediate

Comments

Debra Davis (not verified)

Tue, 07/17/2012 - 14:18

Did you make the vanity as well?

Kitchen Ledge Shelves

I built ledge shelves for our kitchen using reclaimed wood I painted teal, then silver, then flat black (Napoleon).

Love having them. :)

Built from Plan(s)
Estimated Cost
$5.40
Estimated Time Investment
Afternoon Project (3-6 Hours)
Finish Used
Teal semi-gloss latex undercoat, silver spray paint, matte black (Napoleon) latex paint top coat.

I wasn't sure what color I wanted. I didn't seal the shelves, just in case I changed my mind again, but I love how knicking it brings out the teal or the silver under the black!
Recommended Skill Level
Starter Project

Comments

JoanneS

Sat, 08/10/2013 - 19:19

Great looking shelves, and it's neat how you got these in the corner shape. It adds so much storage! The color looks perfect with the tile and counter. Love the little flecks of the other colors peeking through too! Great job!

In reply to by JoanneS

yurra-bazain

Sun, 08/11/2013 - 10:15

These ledge shelves really are my favorite shelves right now. I plan to add a few more to my daughter's room, but I'll wait to make those until after I build her dresser. :)

babysteps

Tue, 01/14/2014 - 11:42

I love your adaptation of the original design. I have been looking for an example of someone who made this plan into a wider shelf. Has it held up well? I was worried about the stress on the joints when you make it deeper. Has yours handled the weight? How wide is the bottom piece?

In reply to by babysteps

yurra-bazain

Mon, 04/21/2014 - 11:14

I've had the shelves up for about a year now and it's still in the same spot. The corner shelves are the most sturdy, most likely because it is supported by screws in two perpendicular walls. Its filled with mason jars (re-used, cleaned pickle jars) of pantry items, and there is no visible stress on the joints that I can see.

The smaller shelf is not as sturdy because I could not locate a stud (that didn't have electrical wiring close to it). I used wall anchors and it sags ever so slightly forward (about a millimeter). We only keep our drinkware on it, however.

The base of the shelf is made from a 1x8 (7-1/4" wide). The full width of the shelf with the 1x4 back and 1x2 front lip is about 8-3/4" wide.

I hope this comment reaches you and that it helpful!

Hall tree from old doors

Submitted by E. Goode on Sat, 09/05/2015 - 18:27

Complete a long waited honey do.

Estimated Time Investment
Week Long Project (20 Hours or More)
Finish Used
Valspar Toasted Pecan
Recommended Skill Level
Beginner

DIY Rustic Industrial Bar Cart

Hi friends!
 

Jen Woodhouse here from the House of Wood. 

Today I'm sharing with you the building details for this beautiful Rustic Industrial Bar Cart.

This DIY bar cart has a lot of neat features: a bottom shelf tall enough to hold full size wine bottles and decanters, a hanging stemware rack, and a removable serving tray on top! What more could you need? 

Be sure to tag me @jenwoodhouse if you share photos of your build on social media. I'd love to see it!

You can get all the details for this build on my website www.jenwoodhouse.com.

Estimated Cost
$50-$100
Estimated Time Investment
Afternoon Project (3-6 Hours)
Recommended Skill Level
Intermediate

Grace's Bookshelves (Just One)

Submitted by aclayton on Sat, 07/09/2011 - 12:43

I just made one of the shelves instead of two like the plan calls for. It's painted a dark brown to match the bunk bed that I previously made for my girls. Mine was a little more expensive because I used 1x12's instead of plywood.

Built from Plan(s)
Estimated Cost
$50
Estimated Time Investment
Weekend Project (10-20 Hours)
Finish Used
1 Coat of Primer
2 Coats of Valspar "Barista"
1 Coat of Poly
Recommended Skill Level
Beginner

Comments

Debbie (not verified)

Mon, 07/11/2011 - 19:14

You did a beautiful job! Where did you get your pretty pink storage bins? I've been looking for some like them for my granddaughter's room.

Stove Top Cover

Stove Top Cover for more counterspace. 

Estimated Cost
$30
Estimated Time Investment
Afternoon Project (3-6 Hours)
Finish Used
Dark Walnut Stain
Recommended Skill Level
Starter Project

Comments

Ultamate Roll Away Workbench

Submitted by Anonymous (not verified) on Fri, 05/13/2022 - 15:54

Adjusted the shelves slightly. Love the roll away portion.

Comments

Ana White Admin

Sun, 05/15/2022 - 11:55

This is gorgeous, thank you for sharing! Just shared on our facebook page, we'd love to give credit if you'd like to respond with your name:)

My first crack at it! Hyde console:)

First project for actual furniture ever. This stuff is better than a good book that you can't put down. I am so addicted!

Estimated Cost
100-125
Estimated Time Investment
Weekend Project (10-20 Hours)
Finish Used
Polyurithane black matte after wood conditioner just in case. I put the first coat on heavy with a brush let it dry for 6 hrs+ then distressed with a combo or 120 sand paper and 000 steal wool and then rubbed on a thin coat to seal it all up with an old t-shirt.
Recommended Skill Level
Starter Project

My Daughters Loft Bed and Room

Submitted by haddixml on Wed, 08/14/2013 - 19:52

This was a family summer project. I built the bed and furniture...my wife and daughter did all the painting and picked out the accent pieces!

Estimated Time Investment
Week Long Project (20 Hours or More)
Finish Used
Satin Behr Paint
Recommended Skill Level
Intermediate

Comments

spiceylg

Fri, 08/16/2013 - 05:30

Nice build! Love all of the colors and such. What a fun room!

Cabin Bunk Bed for Dima

My wife, grandchildren, and I have spent the last 8 months building 2 bunk beds from the site.  First we build this cabin version for my grandsons and then we built the sweet pea version for my granddaughters. I thank Ana White for using this website to enable amateur wood workers like myself a tool that enabled us to create a great piece of furniture that they use every day and collect childhood memories and know how much they are loved.  Thank you Ana White.

Estimated Time Investment
Week Long Project (20 Hours or More)
Finish Used
Sanded and stained.
Recommended Skill Level
Intermediate

Comments

Wife's Kindergarten Classroom

Been a while since I had time to actually build anything worth posting about! My wife wanted some items for her Kindergarten classroom this year, so built several items, most inspired by the Farmhouse family.

Estimated Time Investment
Day Project (6-9 Hours)
Recommended Skill Level
Beginner

Comments

Octagon Picnic Table

Submitted by Anonymous (not verified) on Thu, 05/26/2022 - 18:07

Just completed the Octagon picnic table. I added a couple of features to mine, namely a center hole for an umbrella and support blocks around the center point under the table to lock in the umbrella post on the lower base. Finished it in time to have lunch AND dinner on it today. This took from Monday through Thursday morning for me, but some of that time was me waiting for supplies along the way. In reality, I think this can be built in one day, with paint/stain curing overnight and final set up on the morning of day two.

Comments

Doll Farmhouse Bed

Submitted by canesa on Fri, 07/15/2011 - 00:22

When Ana posted the plans for the Doll Farmhouse Bed I quickly started thinking of all the little girls I could build this for. I ended up building 4 of them. The first one was definitely my learning curb, the other three went a lot smoother and just looked better!

Estimated Cost
$10
Estimated Time Investment
Day Project (6-9 Hours)
Finish Used
I painted two of the beds Antique White, lightly distressed the beds with 120 sandpaper and glazed them with Ralph Lauren Smoke glaze. I painted the third bed Antique White, lightly distressed it with 120 sandpaper and rubbed it with Minwax Dark Walnut Stain. I painted the last bed in white and lightly distressed it.
Recommended Skill Level
Beginner

White Wash Pickled Farmhouse Table

When we sold our last house, we sold the dining room furniture we had custom built with it. We did projects, homeschooled and ate off of a folding table for the first 7 months we lived in our new house. Until we built our new farmhouse table!

Estimated Cost
300
Estimated Time Investment
Weekend Project (10-20 Hours)
Finish Used
We chose to white wash/pickle our farmhouse table. All the instructions can be found here: http://www.akadesign.ca/white-wash-pickling-get-the-restoration-hardware-look-for-less.
Recommended Skill Level
Beginner

Comments

Locker bookshelf

Submitted by Tbpb4ever2 on Fri, 09/18/2015 - 09:14

This is our second Ana White project, our first was the loft bed which turned out great! With this project we used 16" wide boards for the extra room for backpacks and it fit perfectly in our space at the end of the hall.  We used Beadboard for the back panel and painted it with Valspar interior semi gloss paint I got off the reject shelf at Lowes at $10 for a gallon! This is my new favorite piece of furniture in the house!

Built from Plan(s)
Estimated Cost
$150.00
Estimated Time Investment
Afternoon Project (3-6 Hours)
Finish Used
Valspar interior semi gloss, not sure of colors name as it was a reject gallon at lowes
Recommended Skill Level
Beginner

Comments