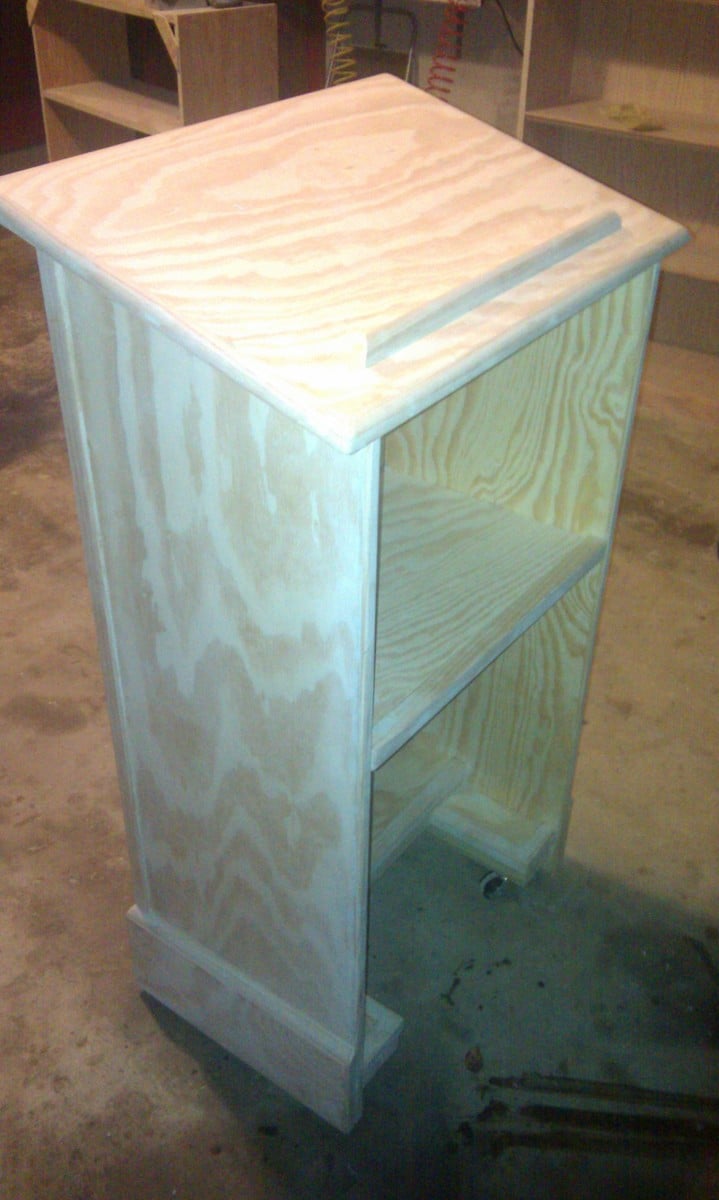
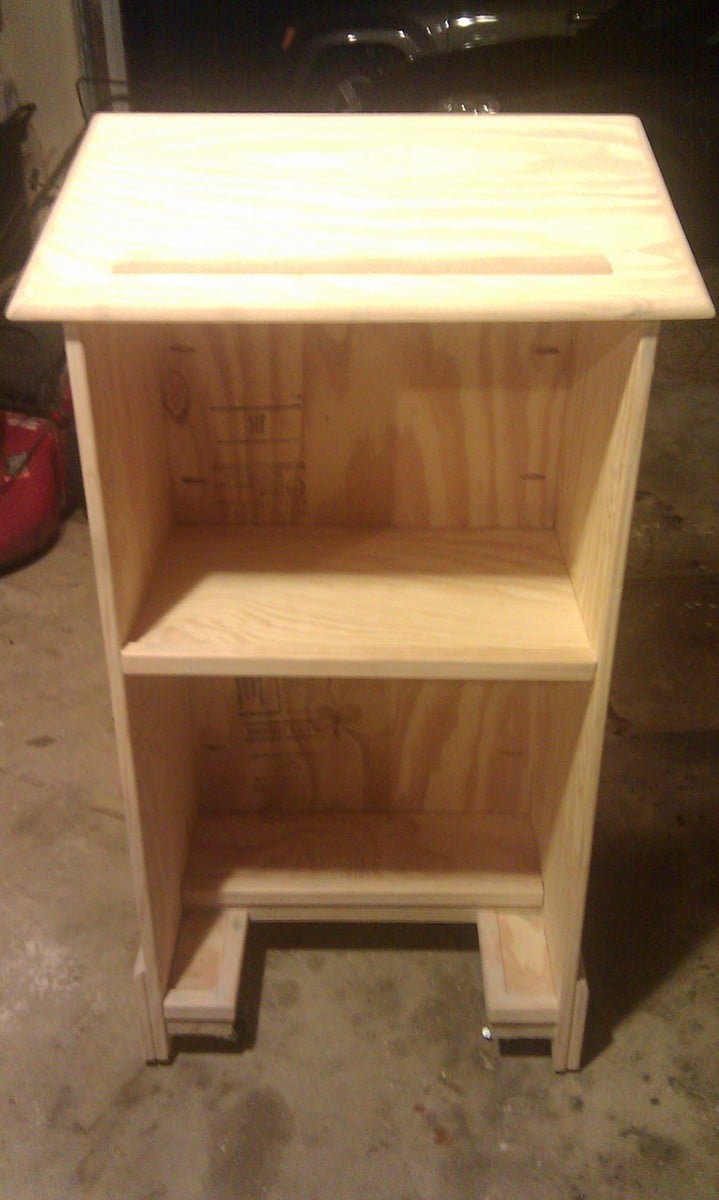
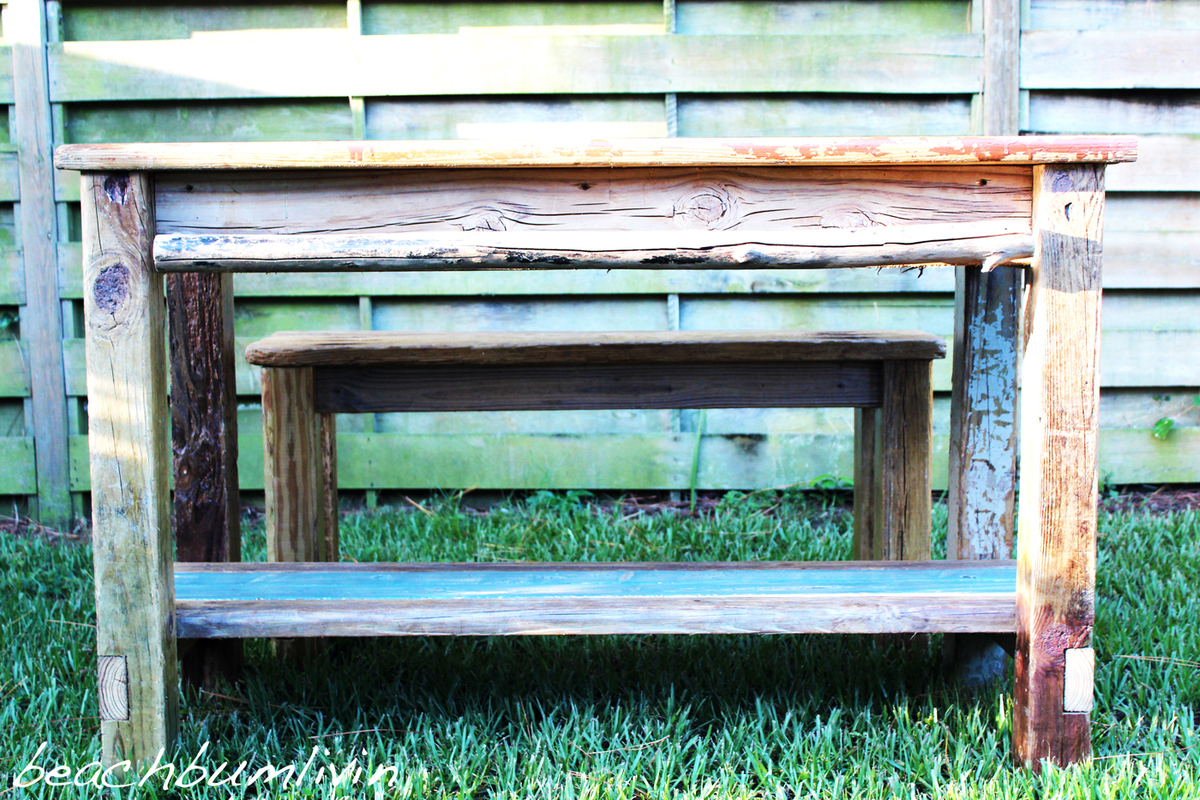
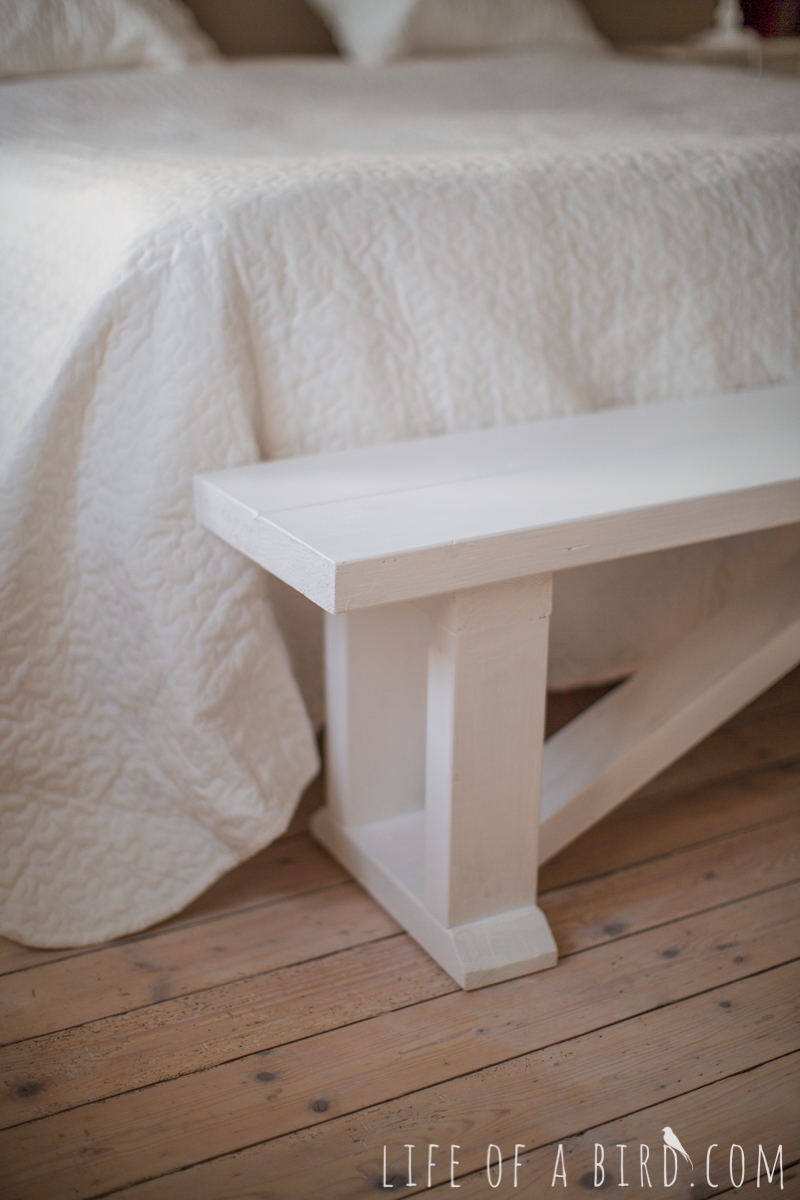
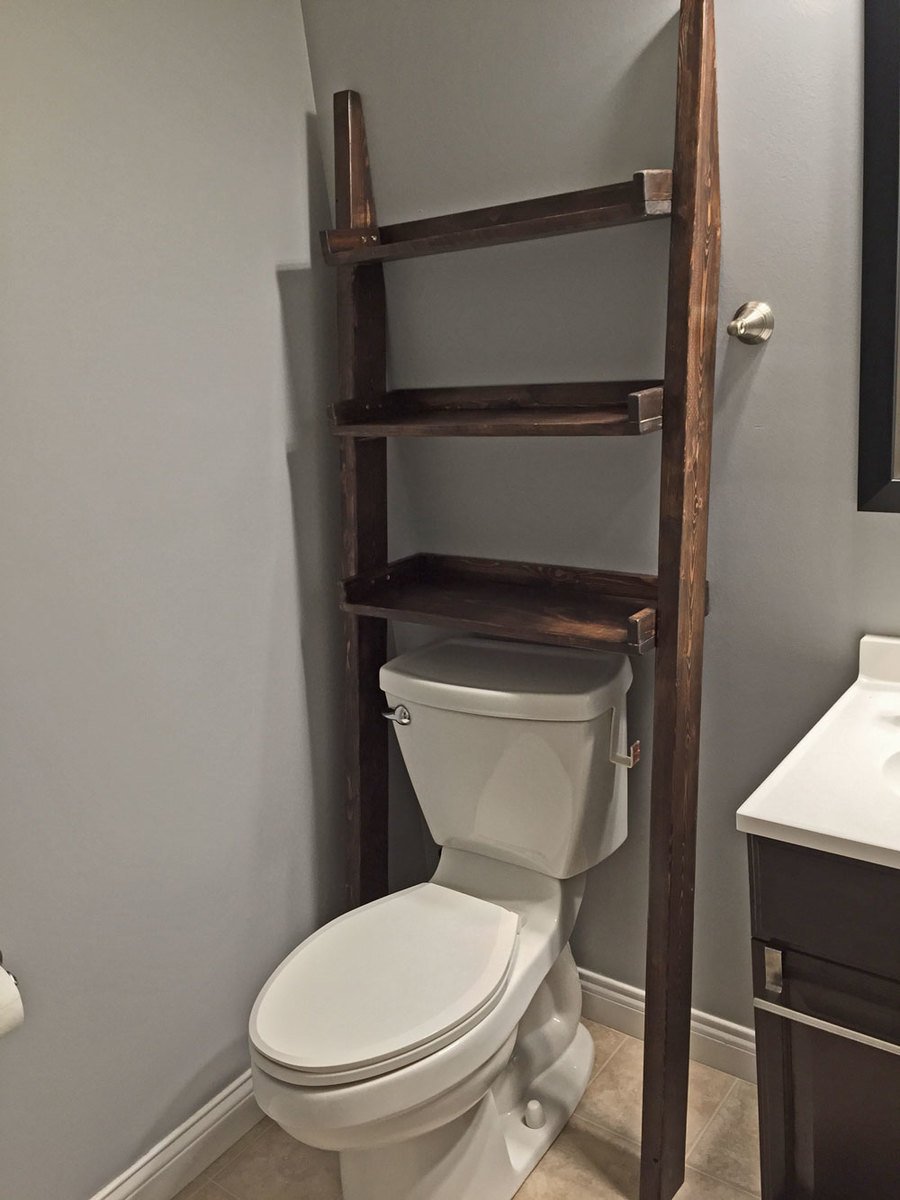
Leaning Bathroom Ladder Shelf
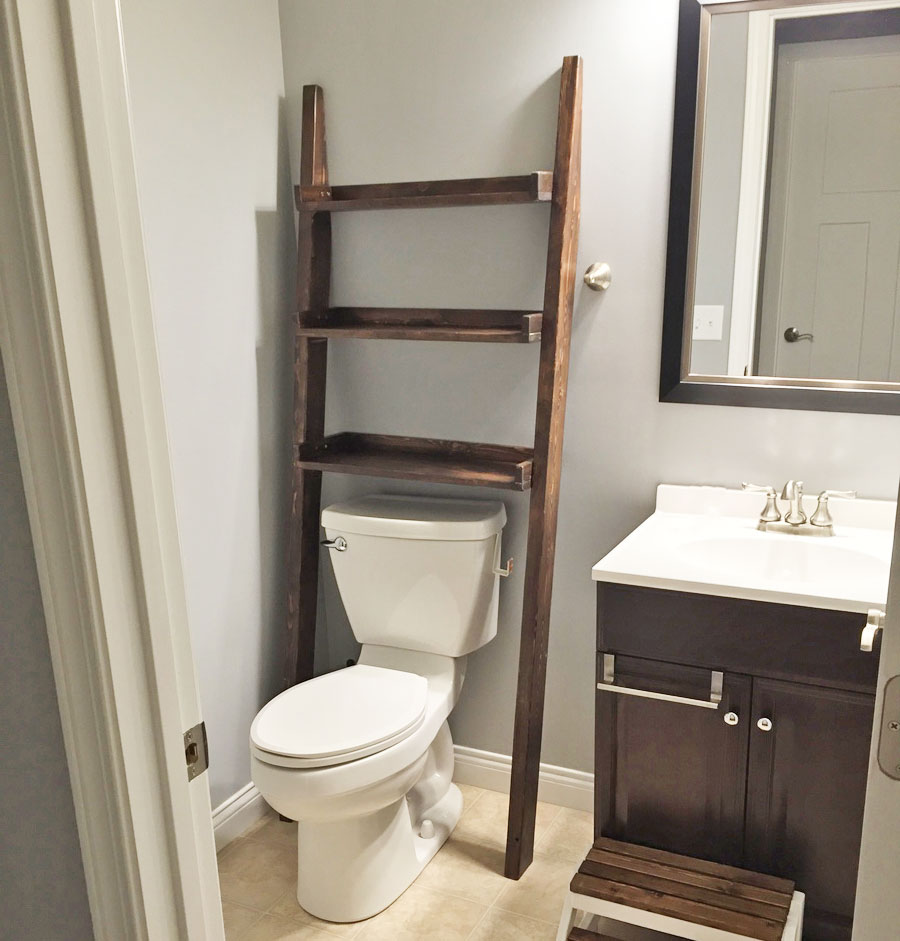
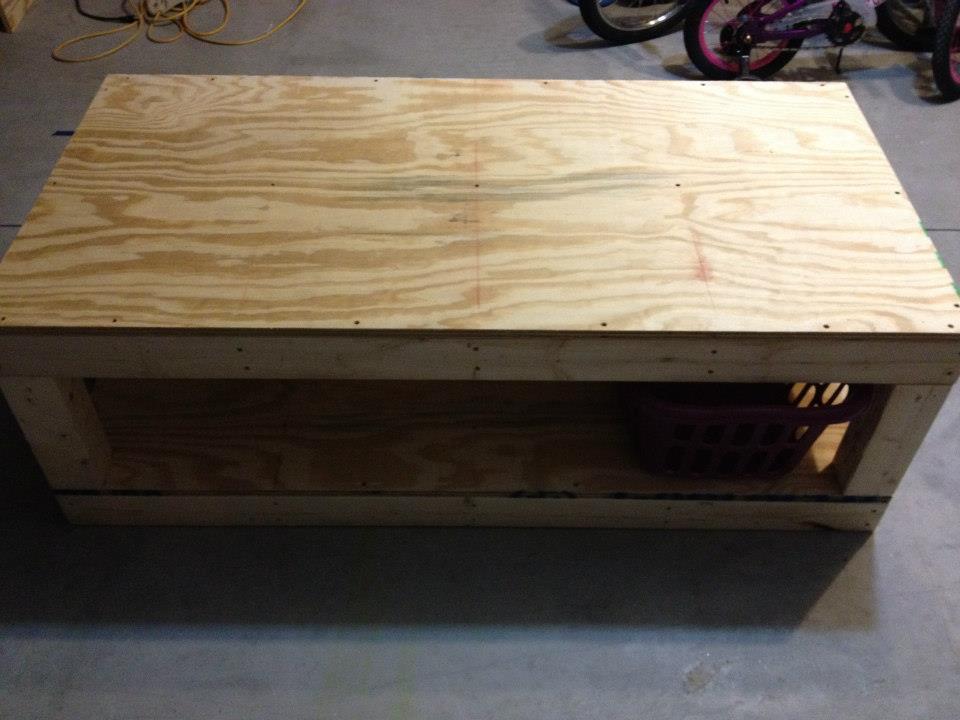
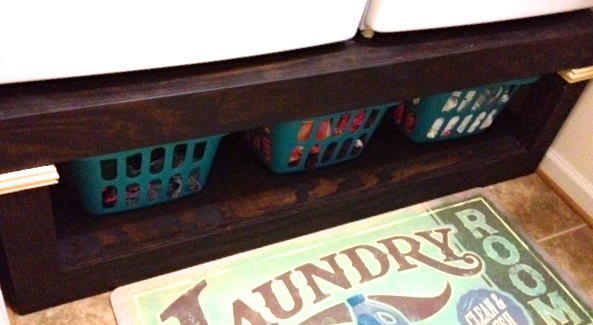
My wife saw your post for this shelf and knew it would be perfect for our half-bathroom. She showed it to me and I agreed. I built it in a few hours one afternoon. Stained and sealed a few days later and it fits perfectly. Now we just need to wait (impatiently) for everything to cure so we can actually begin to use it. We'll try and share another final photo when in full use.
Built from Plan(s)
Estimated Cost
Already had all supplies on hand. If I had to price it....
$5 for 2 2x4s (sides)
$10 for 1 1x10 (shelves - ripped to shorter widths as needed)
$6 for 3 1x2s
(+screws/nails/glue/stain/sealer)
Total $21
$5 for 2 2x4s (sides)
$10 for 1 1x10 (shelves - ripped to shorter widths as needed)
$6 for 3 1x2s
(+screws/nails/glue/stain/sealer)
Total $21
Estimated Time Investment
Afternoon Project (3-6 Hours)
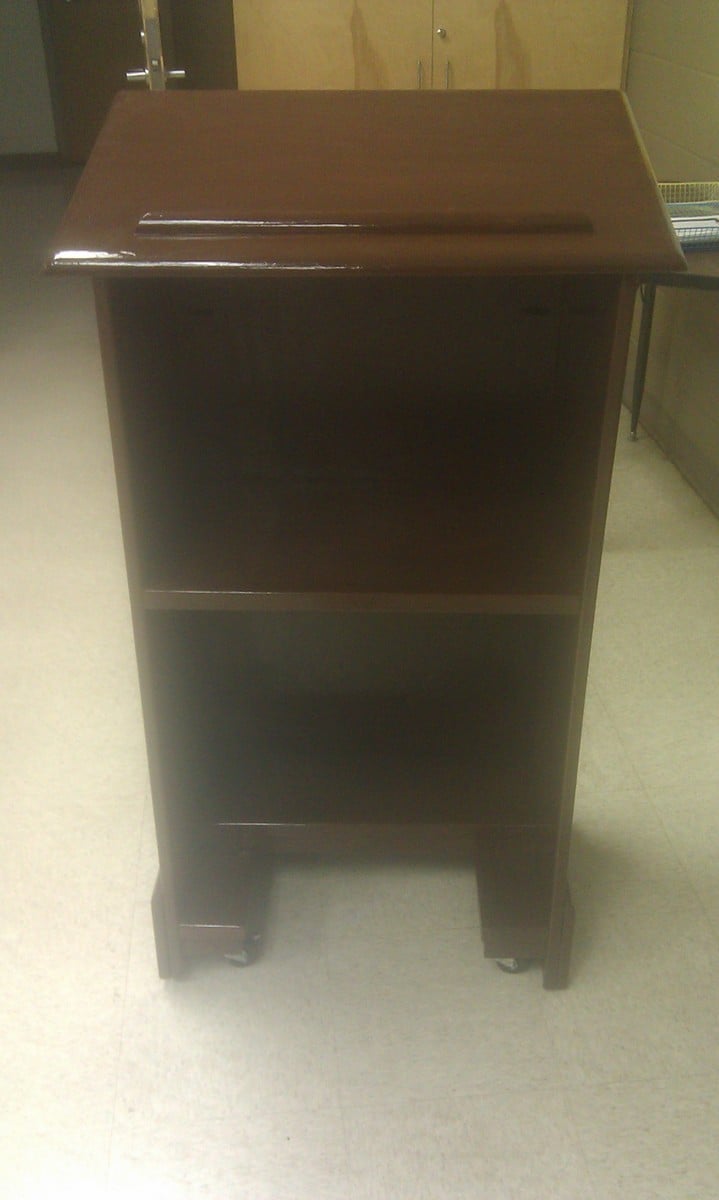
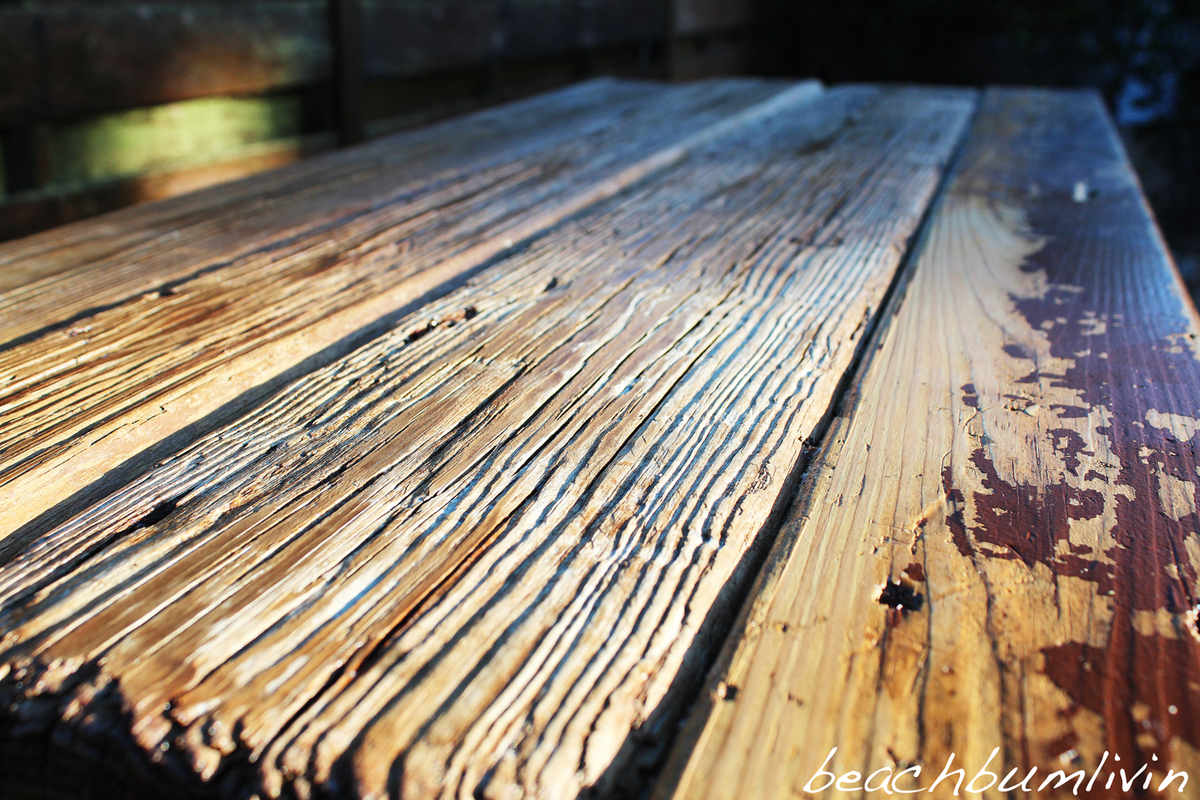
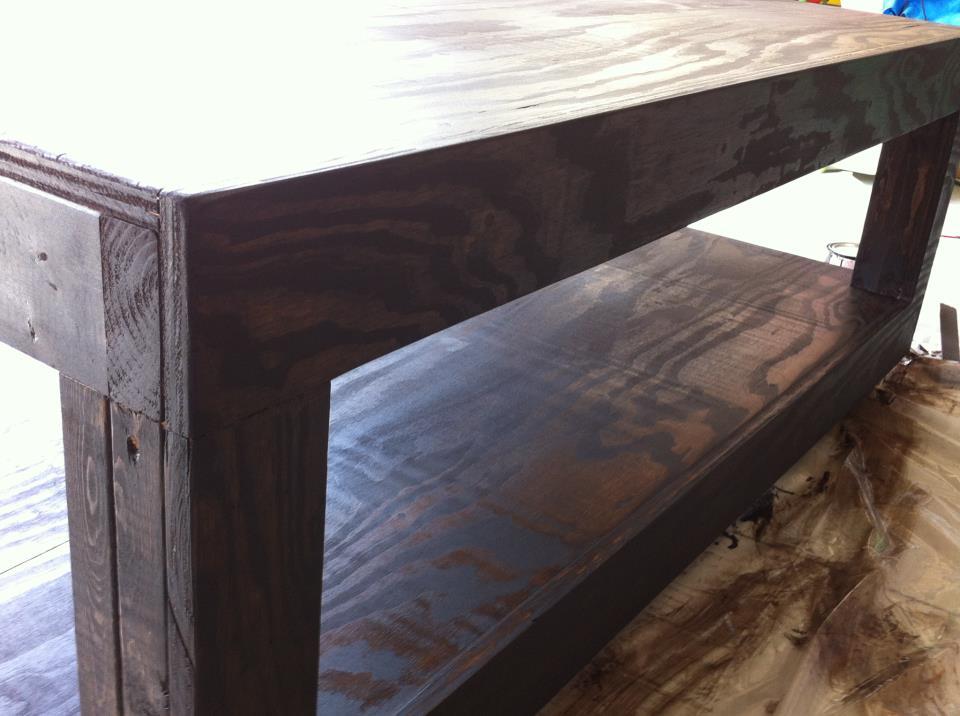
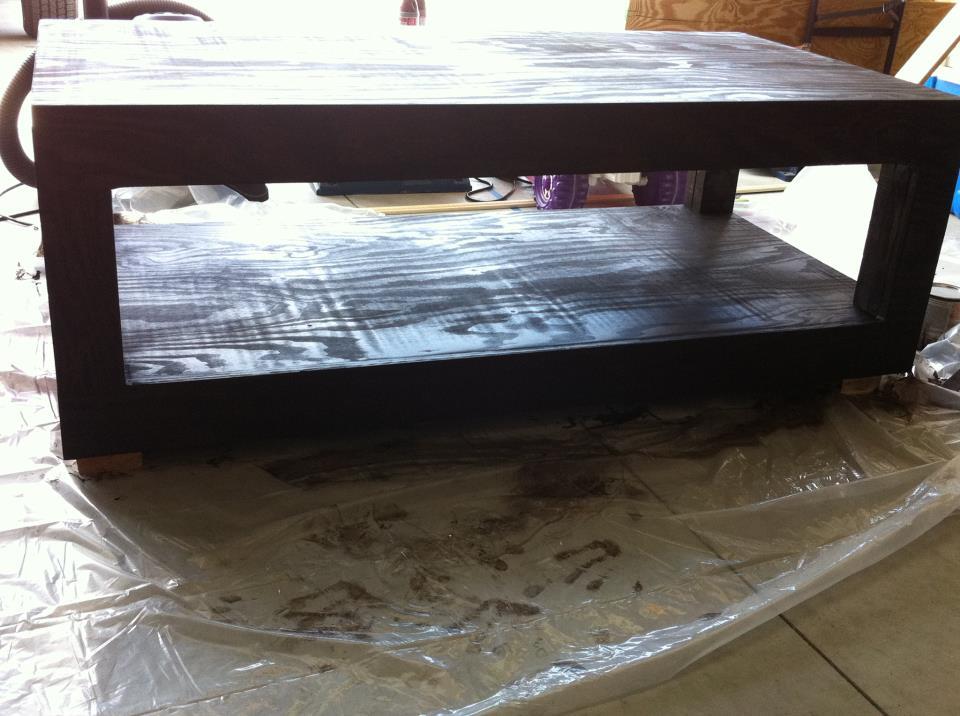
Finish Used
One coat of stain, followed by two coats of polyethylene. Light sanding with sanding sponge to smooth everything out once dried. Going to wait a week for everything to cure before placing anything on the shelves.
Recommended Skill Level
Beginner