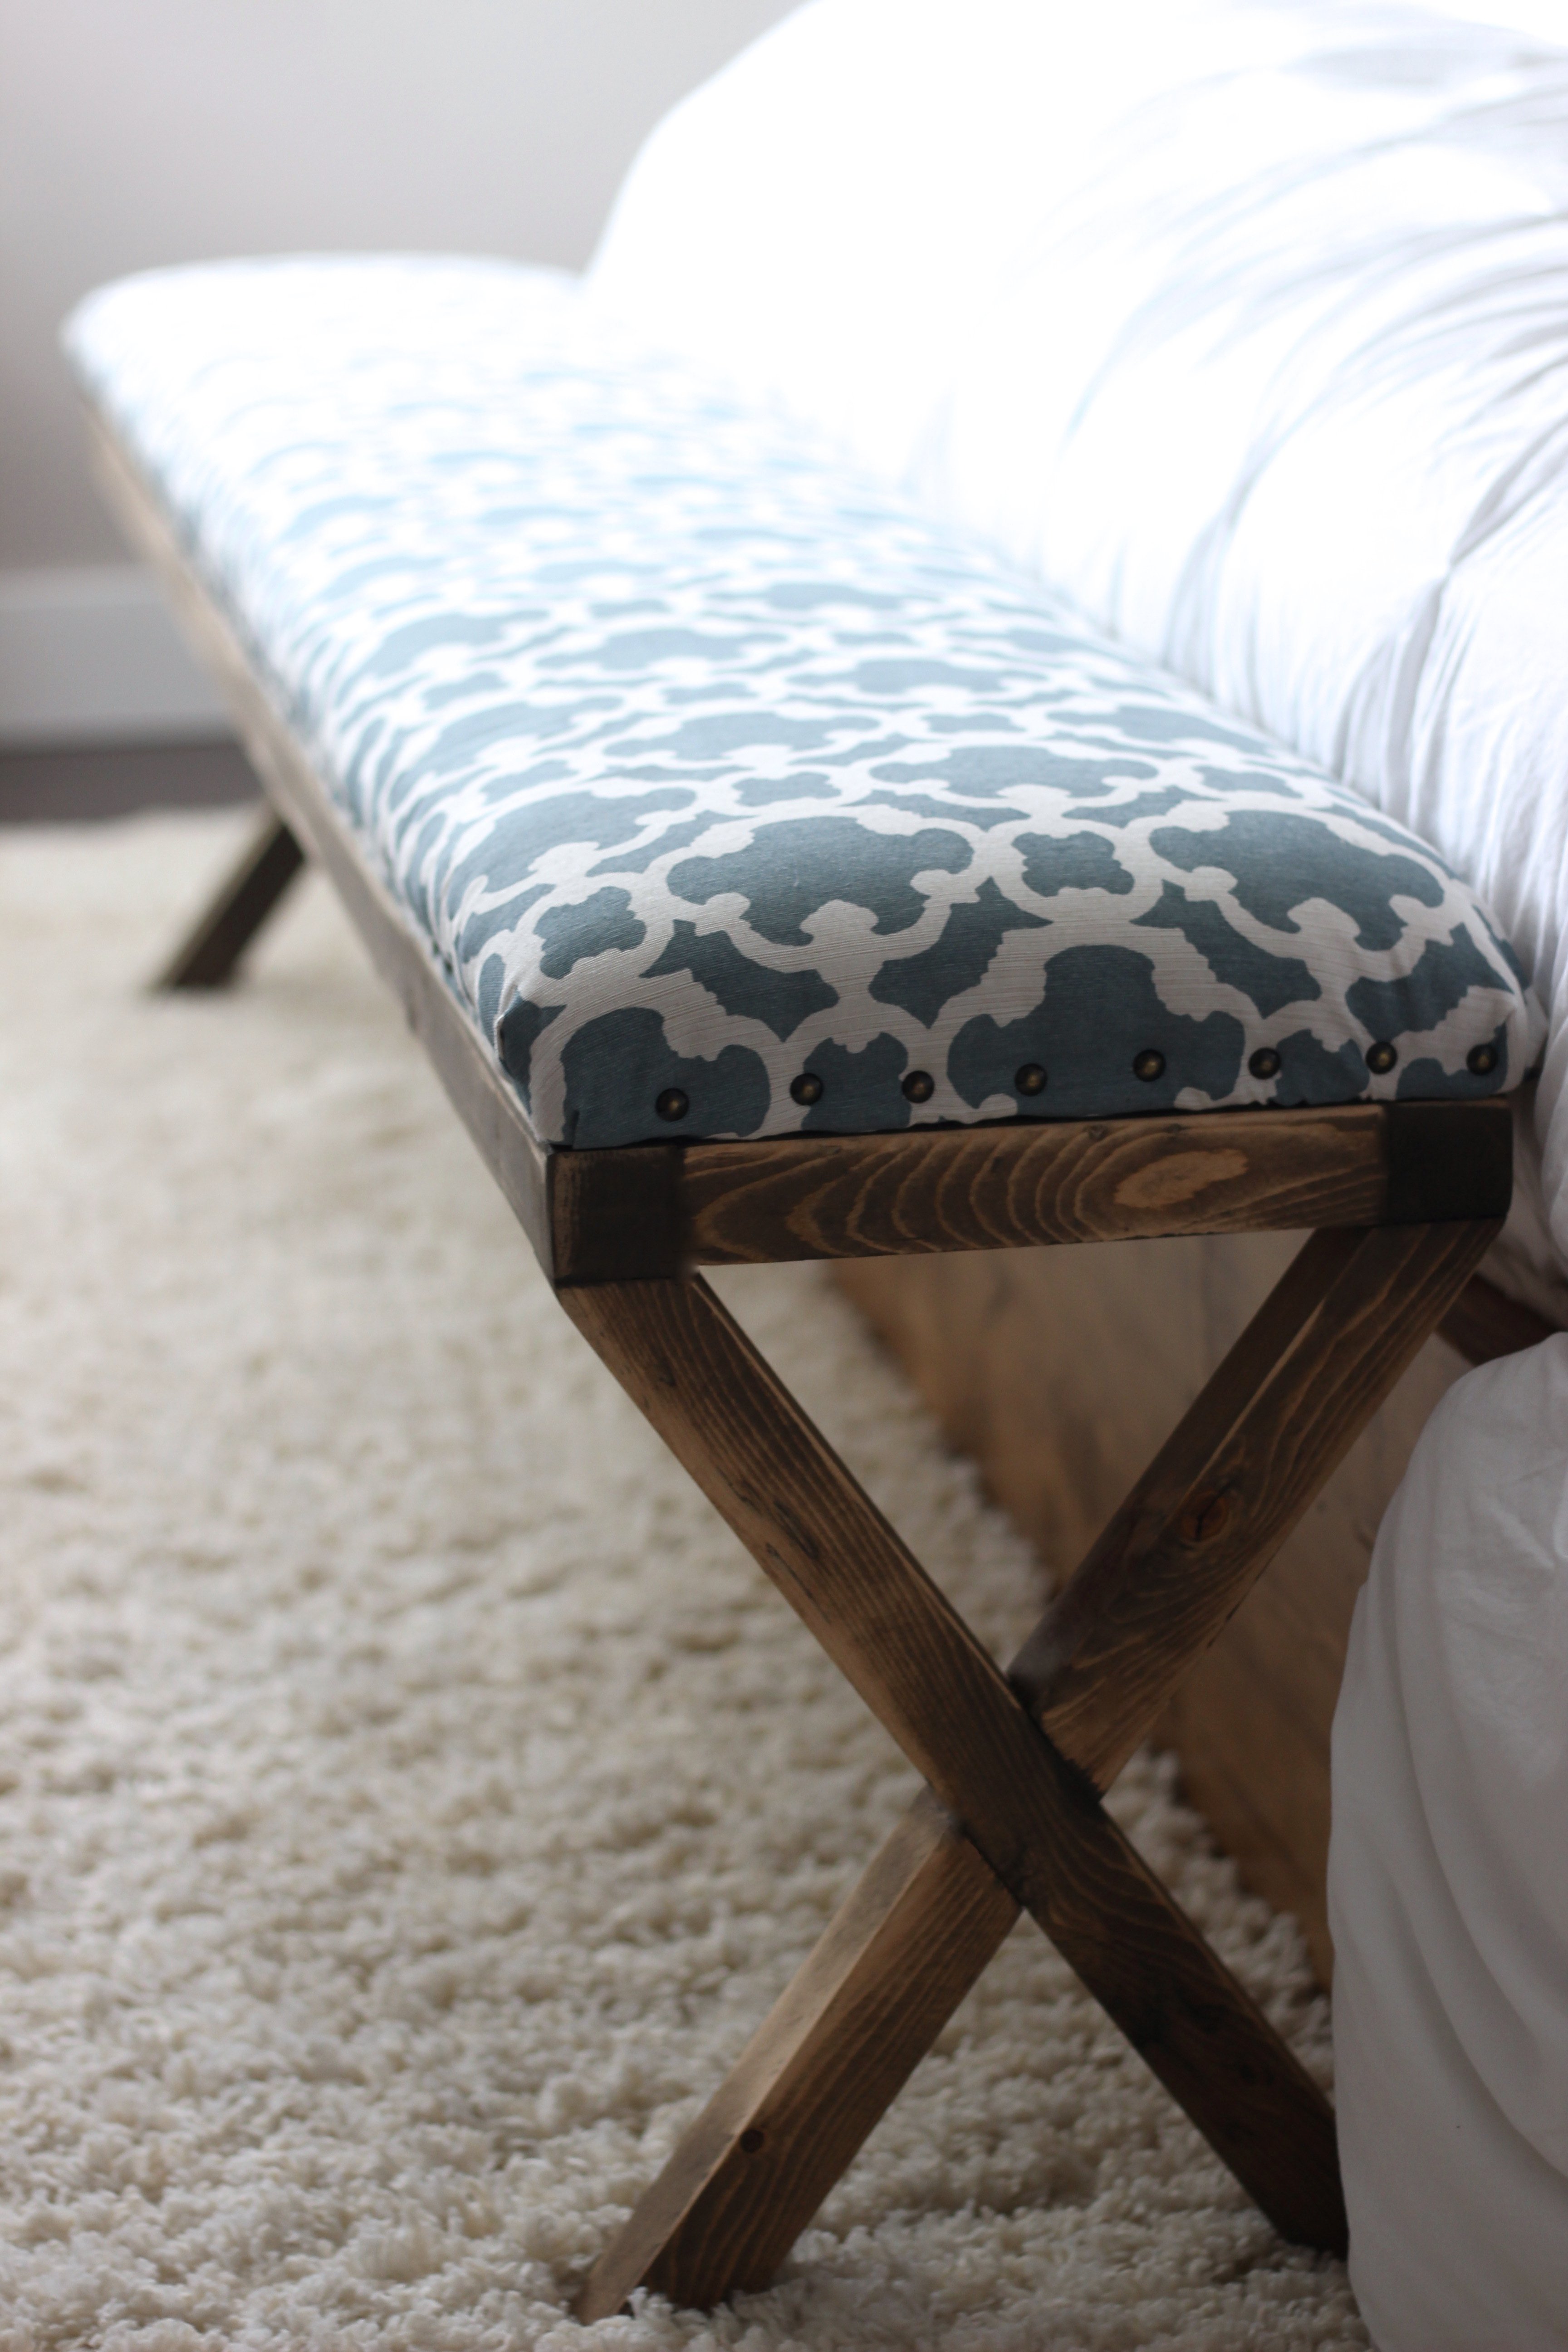
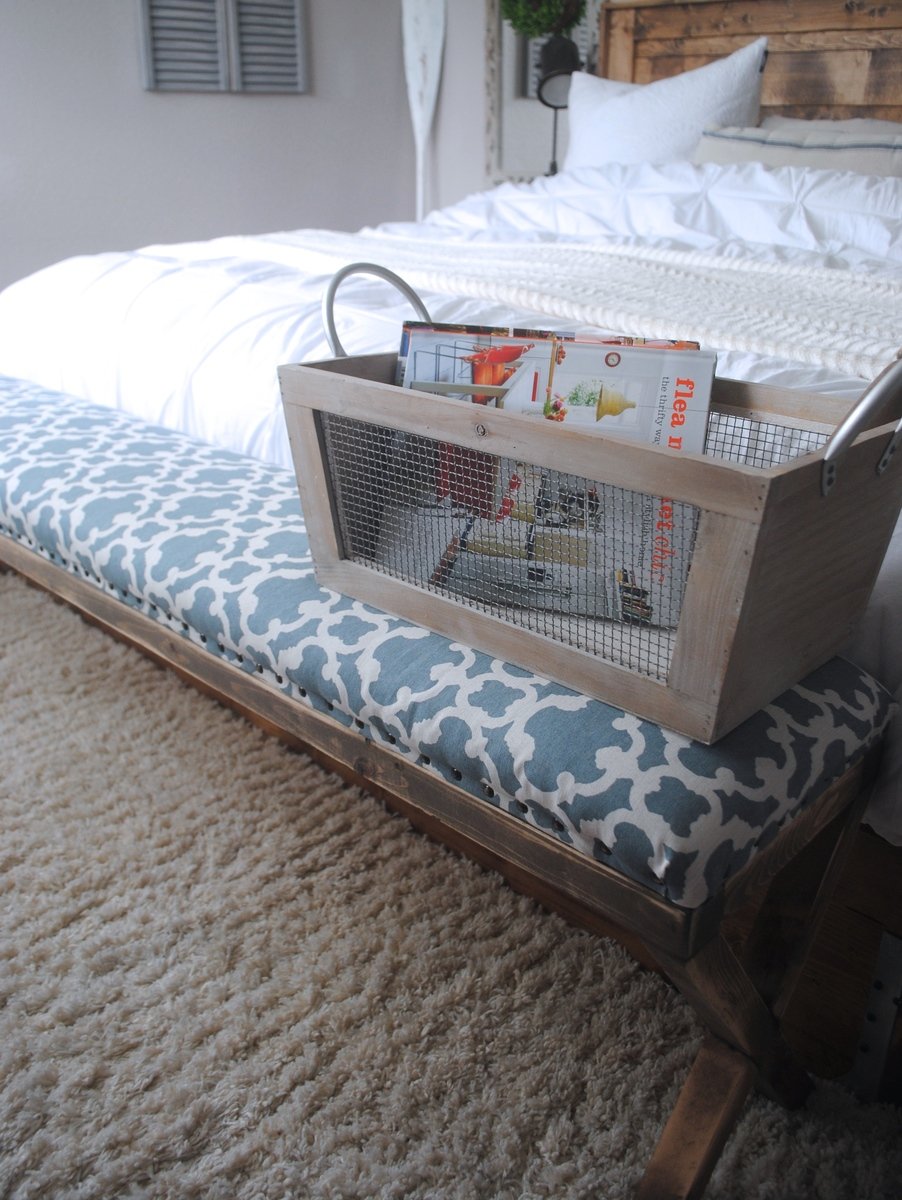
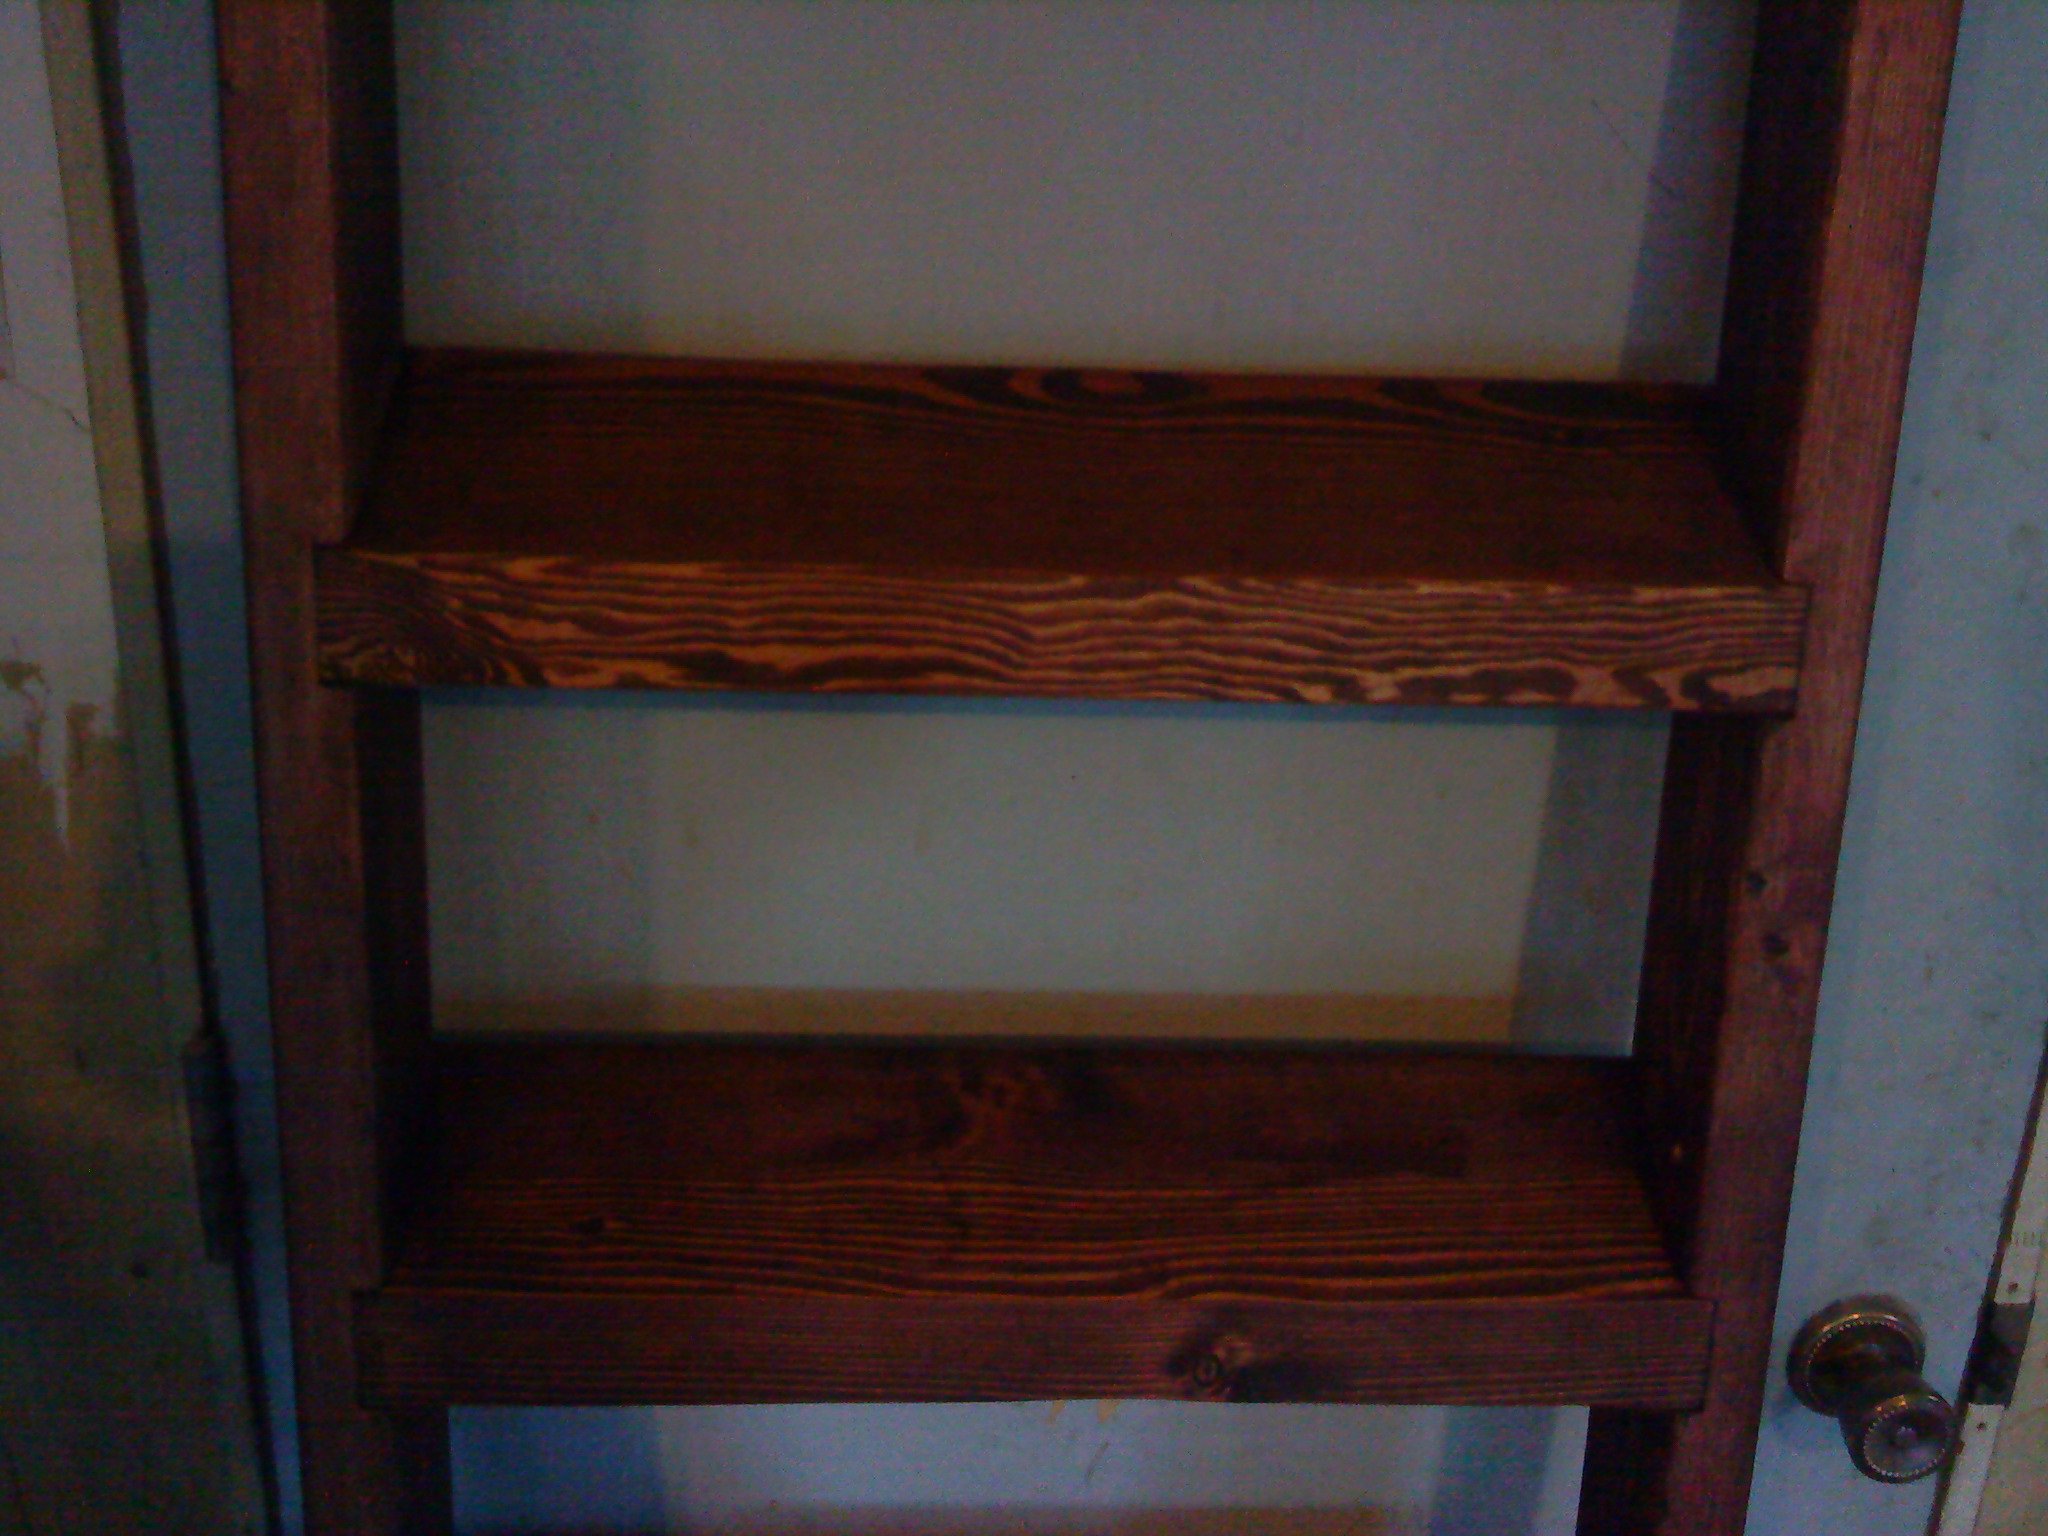
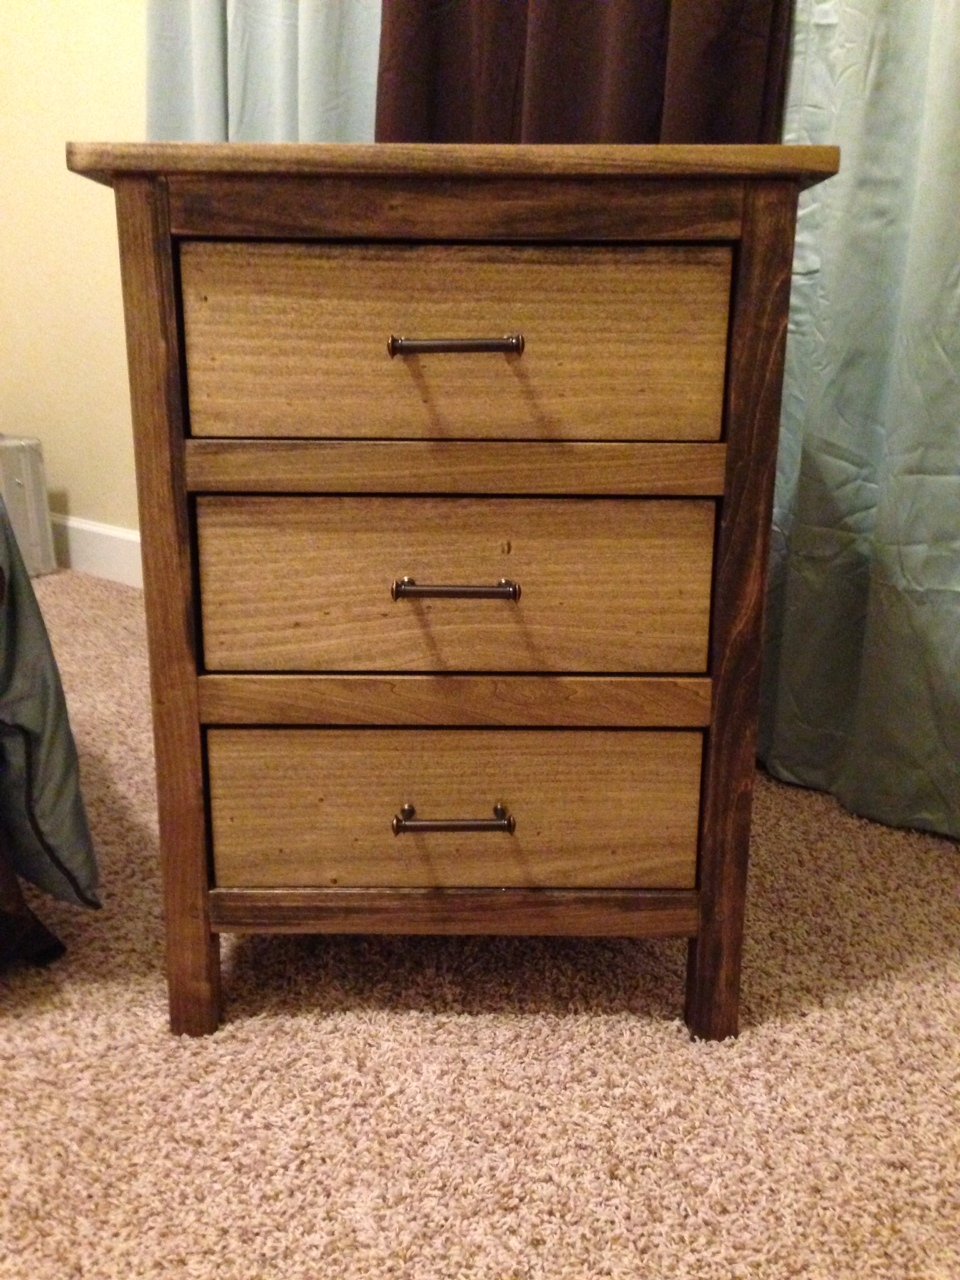
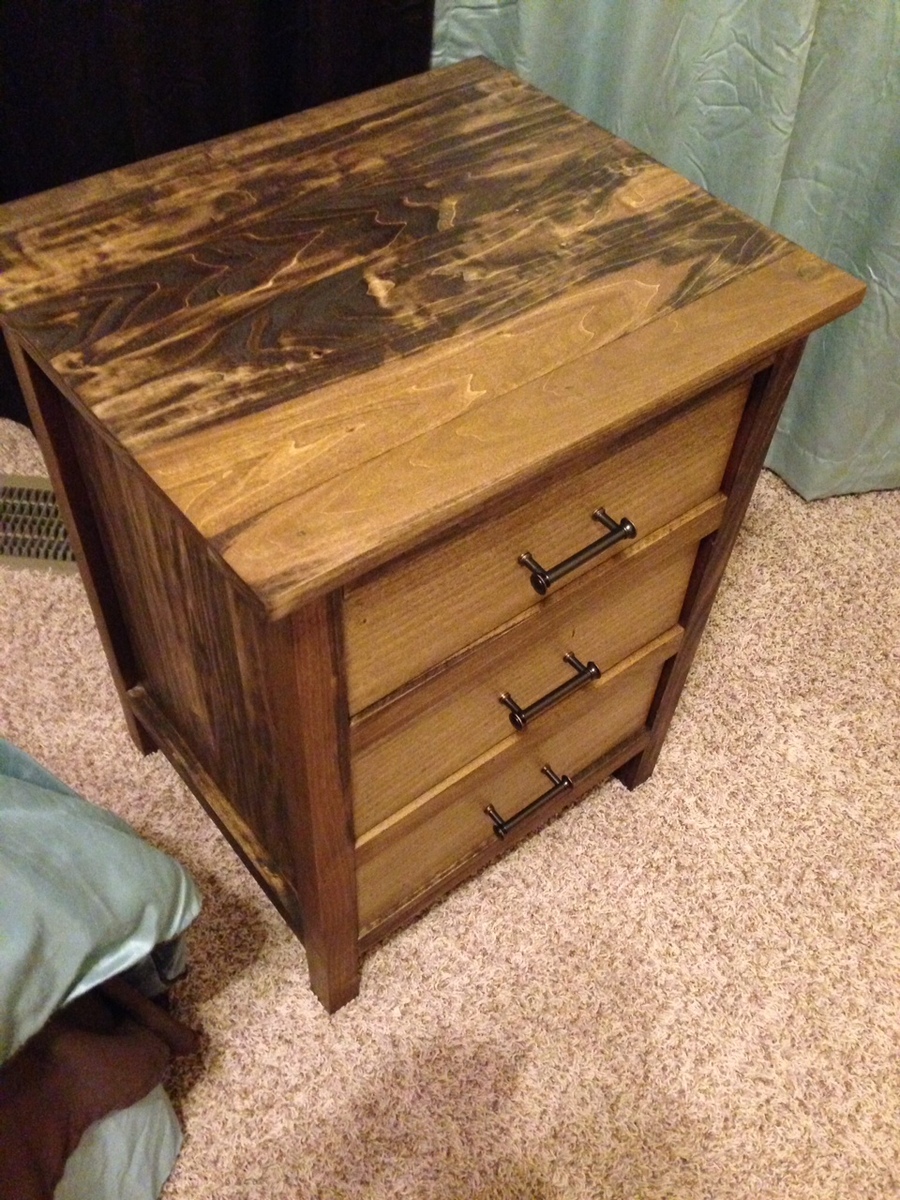
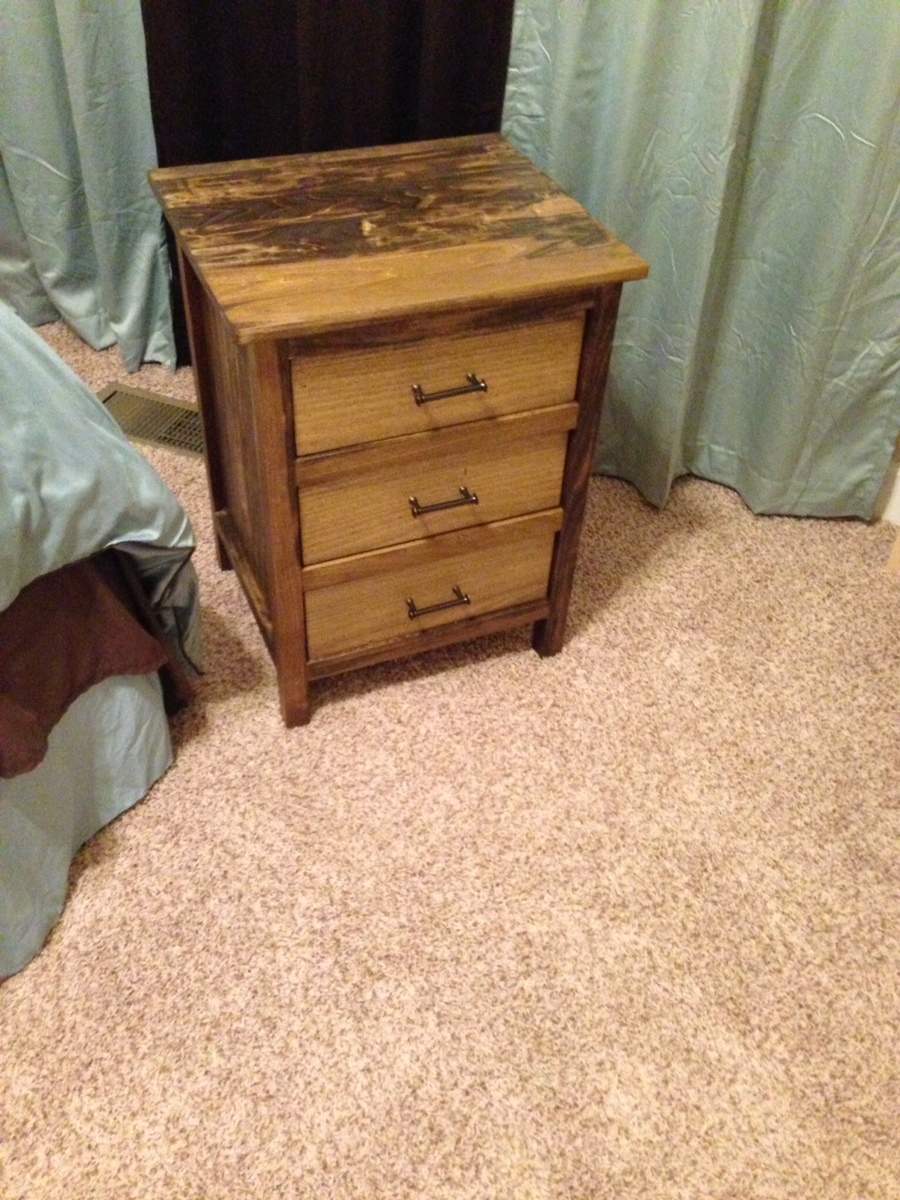
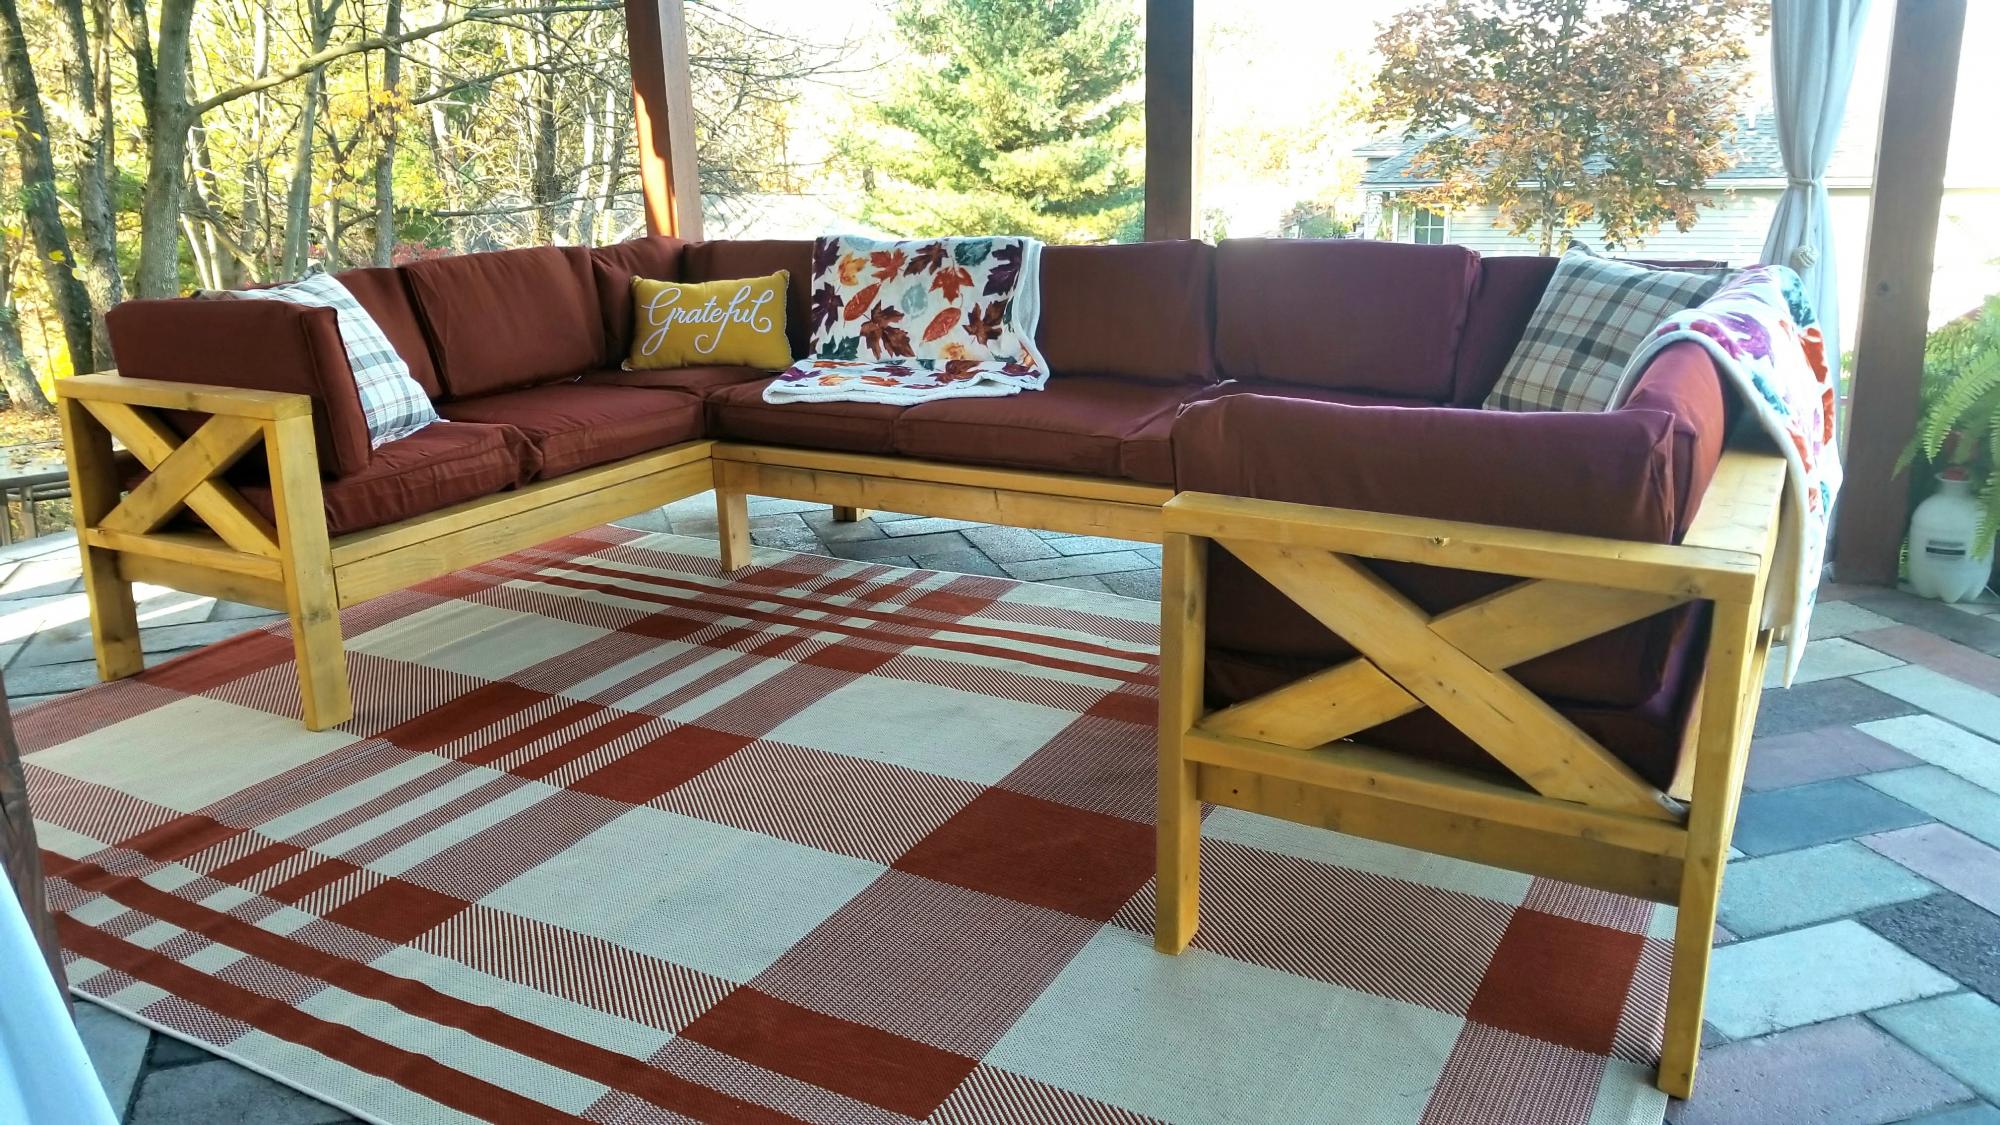
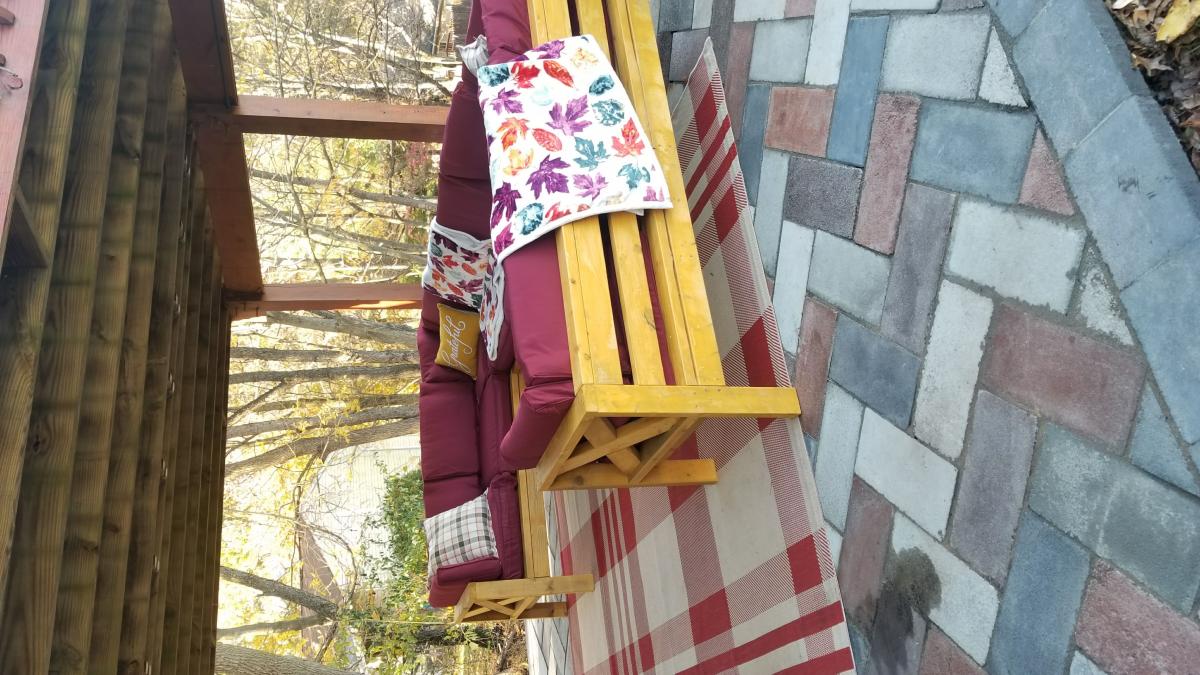
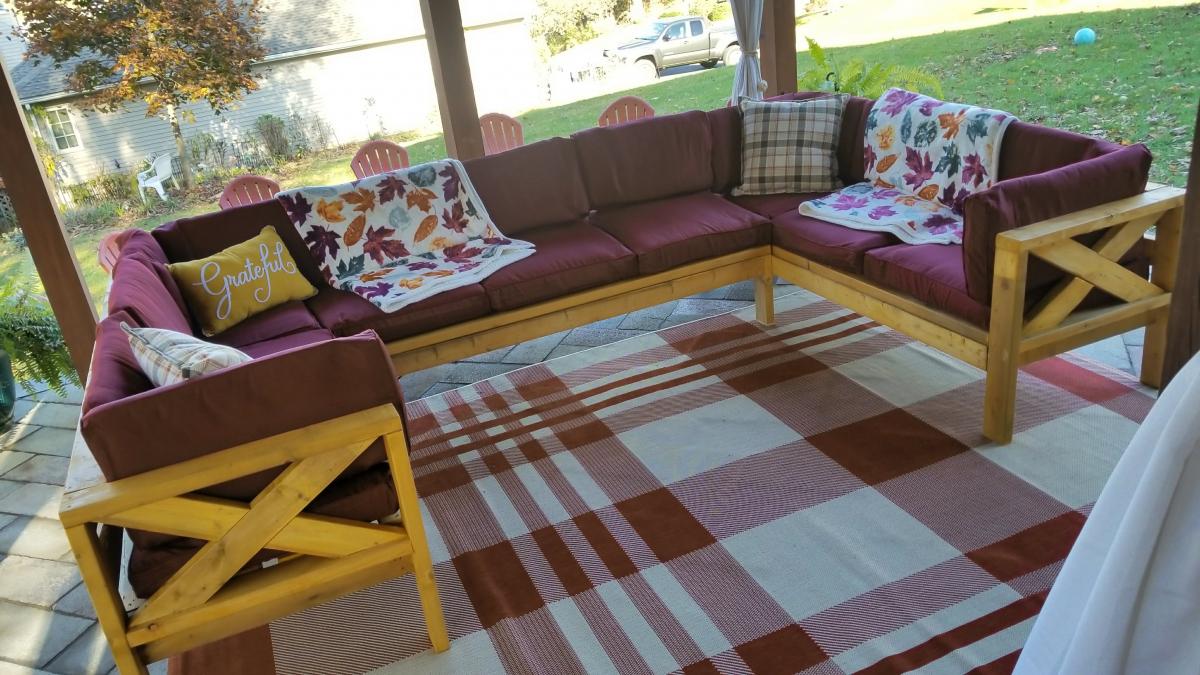
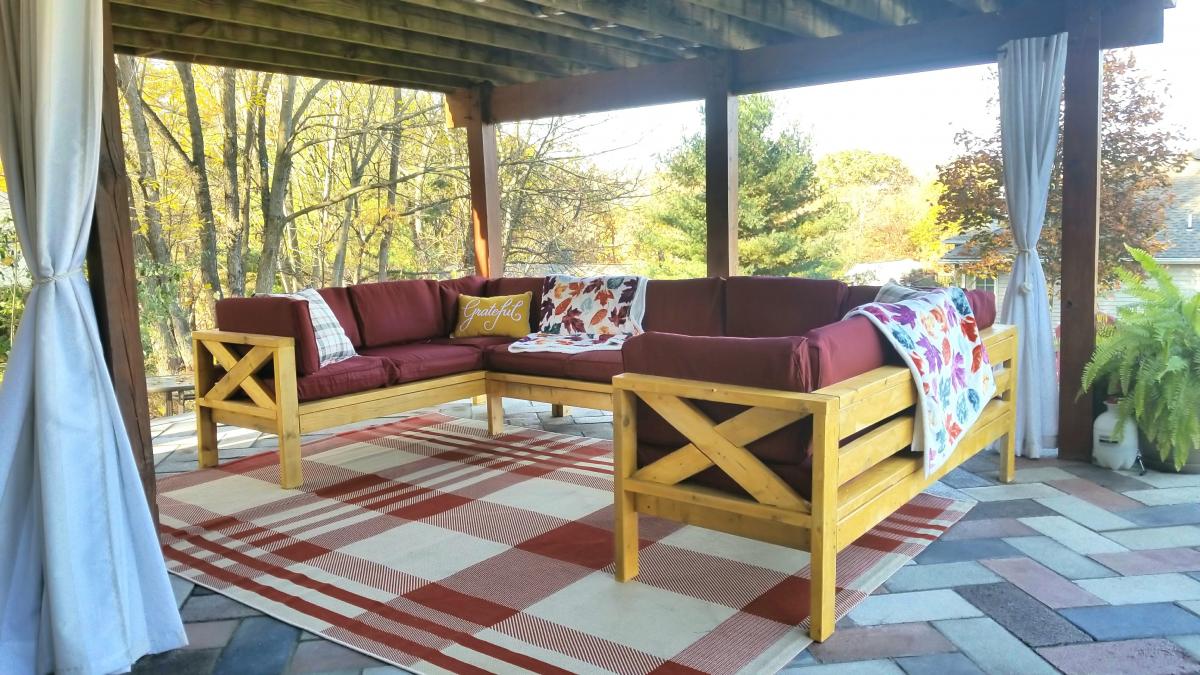
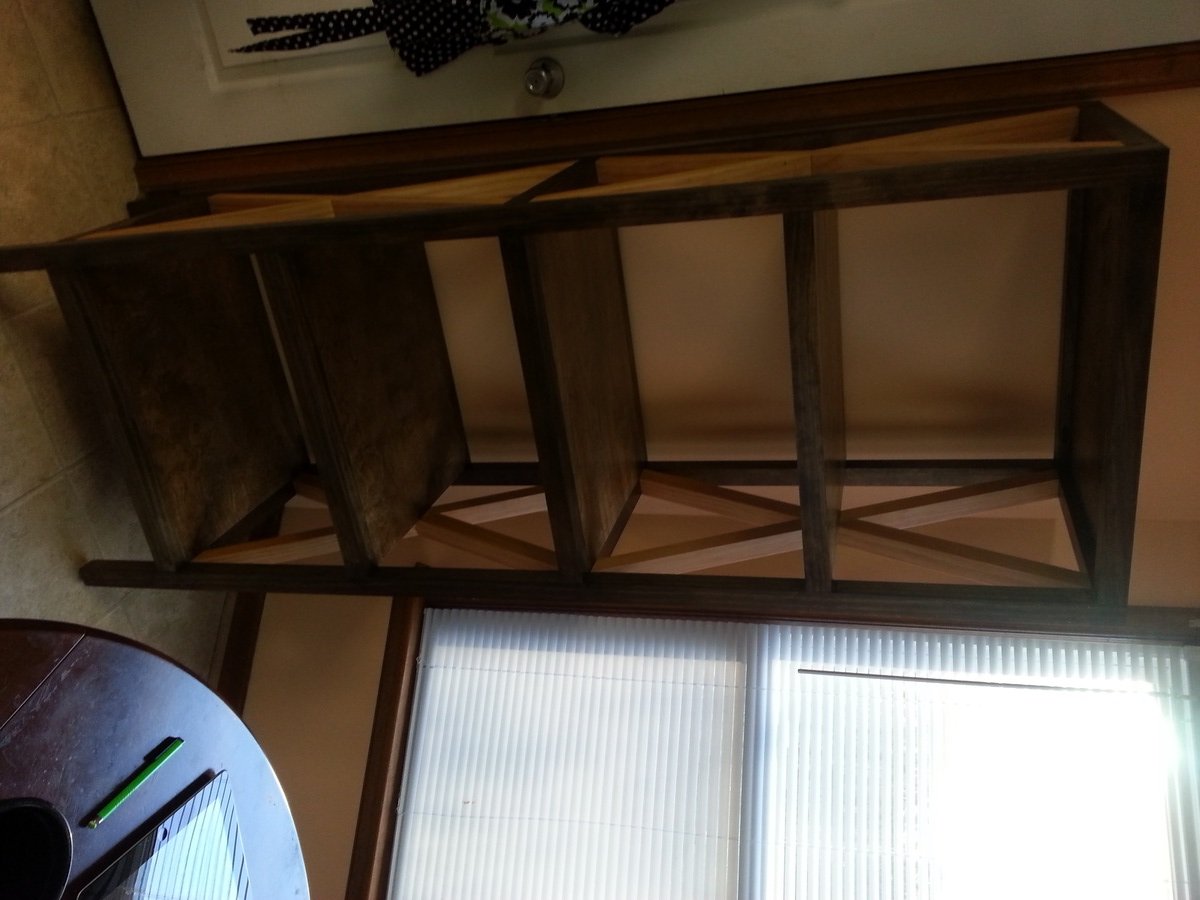
Community Brag Posts

Two Toned X Shelf

Submitted by bellpm75 on Sat, 12/28/2013 - 14:28

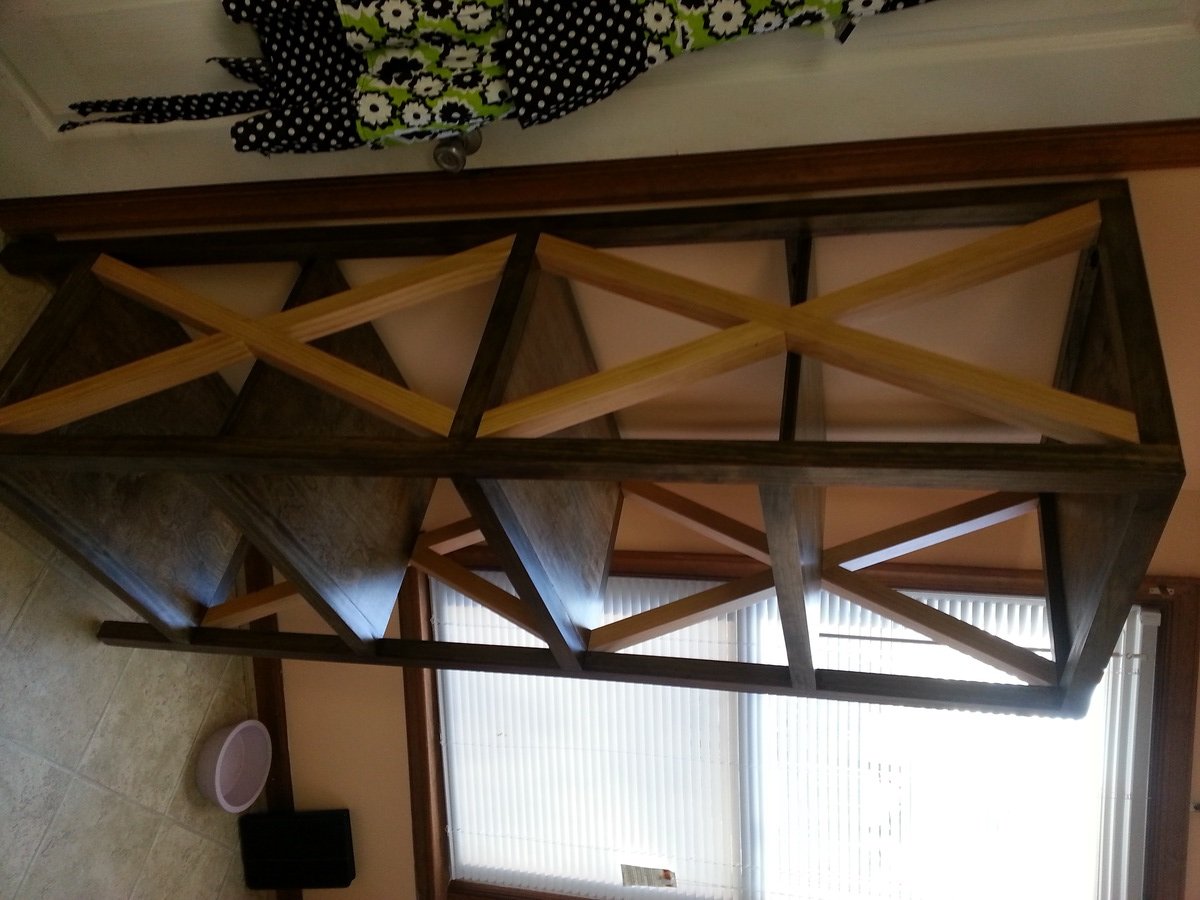
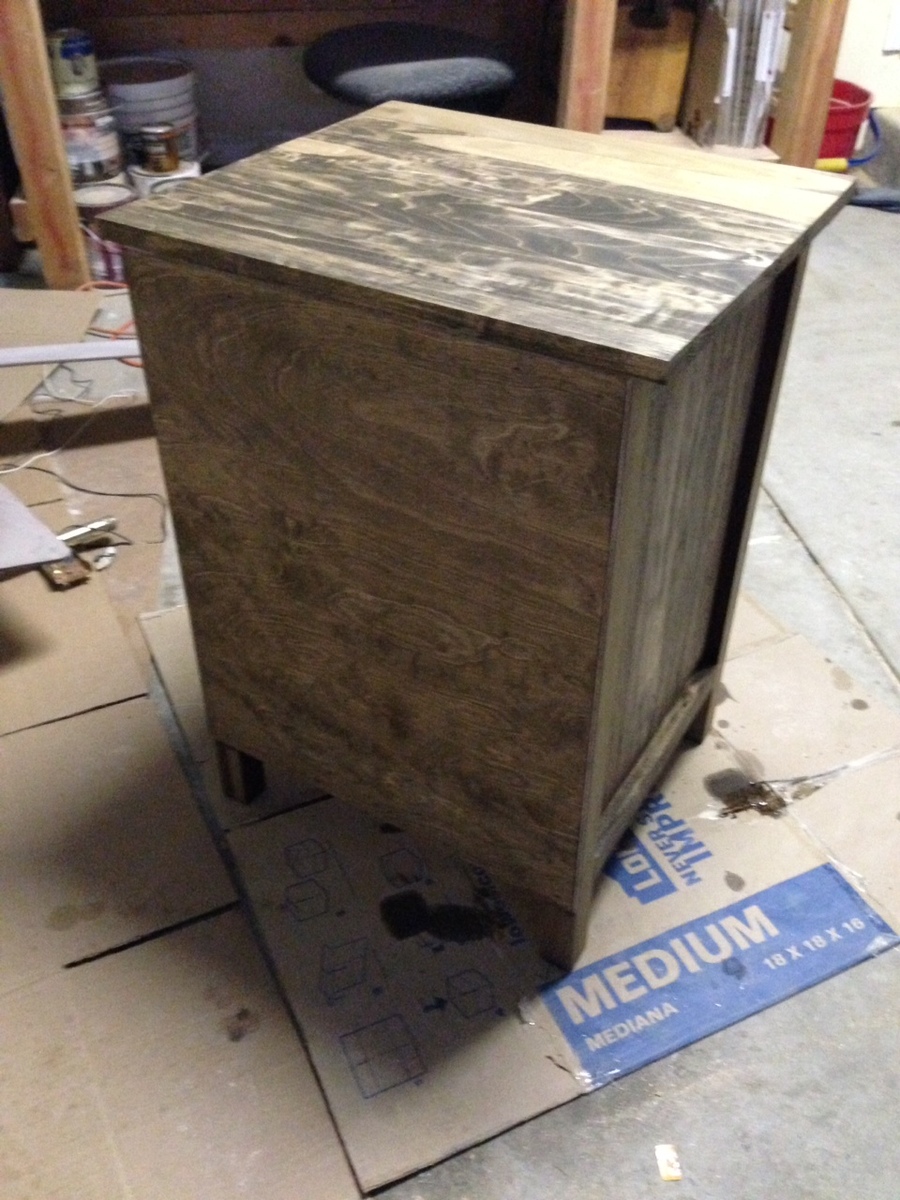
I made this piece a little different. I used 2x2's vise 2X4's for the frame. I also made the width 4 inches shorter. My friend found a 3/4 inch 4x8 birch plywood piece being thrown out, so I paid next to nothing for it from him and used it for the shelf. The framing was made using select pine which was a little expensive, but the boards were clean and straight as an arrow. Well worth it! Making the X was difficult! I had to go through a few cuts to fit them just right. I used one clamp in the center of the X to hold the X in place while the glue dried.

Built from Plan(s)
Estimated Cost
100
Estimated Time Investment
Weekend Project (10-20 Hours)
Finish Used
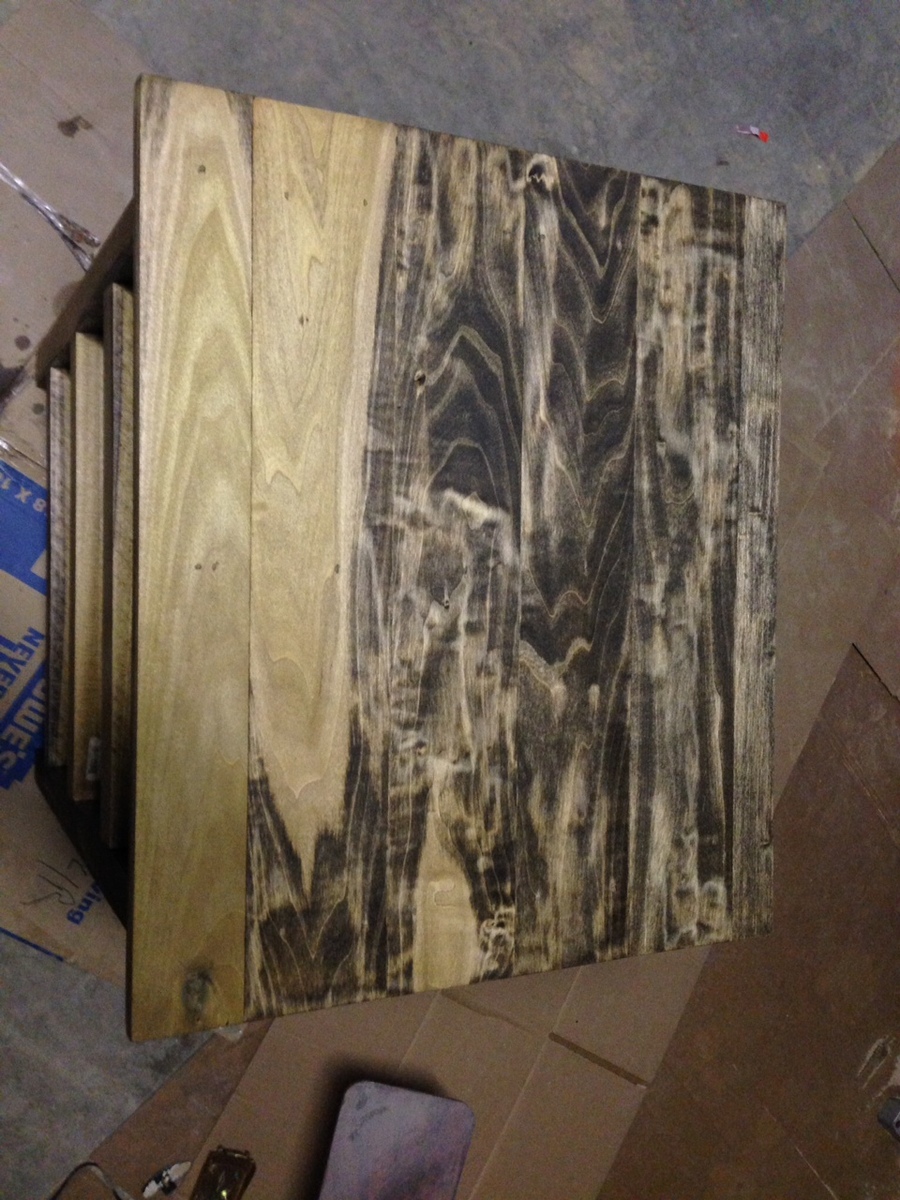
I used Miniwax Ipswich Pine for the "X" and Dark Walnut for the rest. I followed the finish with two coats of oil based poly. Sanded with 220 grit between coats.
Recommended Skill Level
Intermediate

Super Easy DIY Upholstered X Bench

Submitted by Anonymous (not verified) on Thu, 03/10/2016 - 16:36

I've wanted a nail head upholstered ottoman for forever. I came across this tutorial & Roque Engineers tutorial and combined them Super super easy guys! We made ours at 6' in length x 12" in width ( our room is SUPER small ) Check out our blog for more details.

Built from Plan(s)
Estimated Cost
45.00
Estimated Time Investment
Afternoon Project (3-6 Hours)
Recommended Skill Level
Starter Project

scooter

Submitted by jczimmcoll on Mon, 10/21/2019 - 02:11

I made this for my Grandson's 1st birthday.  He absolutely loves it!!  I modified it slightly as it was a little too tipsy.  Thank you so much for the inspiration.  

Hanging Plant Stand

Submitted by Anonymous (not verified) on Sat, 07/08/2023 - 09:51

I made this for a friend. The hardest part of the build was finding the correct font.

Allyn

twin over full bunkbed

Submitted by sjknecht on Sun, 02/26/2012 - 14:38

This project was so much easier than I thought it would be when we started. If you follow ana's plans your bunkbed will be much stronger than anything you can buy for a fraction of the price. I would never do it but I honestly think I could park my truck on these beds. The finish is red mahogany stain with a couple coats of polyurethane over it. They say not to use dark stain over pine because of the uneven coat but i like the way it striped the grain. Not everyone's cup of tea but we love it.
We've all heard the saying "give a man a fish and you feed him for a day, teach a man to fish and you feed him for life. Thank You Ana for teaching me to fish. This was the first, but will not be the last project i do from your site.

Estimated Cost
about 200
Estimated Time Investment
Week Long Project (20 Hours or More)
Finish Used
minwax red mahogany stain, and 3 coats of minwax polyurethane
Recommended Skill Level
Beginner

Comments

Farmhouse Table

Submitted by joejarrett on Sun, 03/13/2016 - 19:13

Lots of fun on this one

Built from Plan(s)
Estimated Cost
$159
Estimated Time Investment
Week Long Project (20 Hours or More)
Finish Used
Special Walnut stain for the table top and Milk White paint for the legs.
Recommended Skill Level
Intermediate

Main closet bench and shelving

Submitted by Anonymous (not verified) on Sun, 10/27/2019 - 13:11

We have a 10 ft closet in our entry which offered plenty of space but had three closet sliding doors. Only one could be open at a time. Had two upper shelves and a rod. Wanted to get things more organized and have a place to get shoes on. Always give my 1 and 3 year old easier access to dress/undress themselves. First attempt at building anything. As I went along changed things based on materials and to get around issues with our closet or my skill level/available tools.

Estimated Cost
200
Estimated Time Investment
Week Long Project (20 Hours or More)
Finish Used
Painted areas are Olympus white sherwin Williams. Stain is classic oak.
Recommended Skill Level
Starter Project

Horizontal Murphy Bed

Submitted by Anonymous (not verified) on Sun, 07/09/2023 - 17:49

We are remodeling our 3 bedroom house into a 4 bedroom. In doing so, my youngest is getting the smaller room. We decided to go with a Murphy bed to allow more play time space. I do not particularly like the fact that this bed doesn’t sit off the ground but overall love the simplicity of making it. We turned it horizontal and just love the overall product. I can mot wait to make something else from this site!

Tams

Full Toy box bookcase

Submitted by ana8178 on Fri, 03/02/2012 - 06:46

We knew we wanted to make this bookcase as soon as we saw it! I plan to put baskets and toys in it later, but for right now all books. The only difference to the original plan is that we put some plywood behind the bottom two shelves so that we could have a backing when we do use toys. My three year old loves to sit and go through all the board books at the bottom and clean up is a snap!

Built from Plan(s)
Estimated Cost
$120
Estimated Time Investment
Weekend Project (10-20 Hours)
Finish Used
Minwax Polyshade Bombay Mahogany
Recommended Skill Level
Beginner

Comments

My first piece of furniture that I built!

Submitted by strotter13 on Mon, 12/30/2013 - 23:41

This was my first attempt at building furniture. I decided to make new nightstands for my wife and I. I used the bedside table plans, and they worked excellent. I used poplar hardwood for the material. I stained it using Minwax Special Walnut, and I used Minwax Satin Polyurethane. I am currently working on the second one, which will be my wife's (she said she wanted me to build mine first, so that if I messed it up, hers wouldn't be messed up, lol). Mine turned out good, I am very happy with it. Thanks for the plans! After the next nightstand is built, I would like to build a matching triple dresser...

Estimated Cost
75
Estimated Time Investment
Weekend Project (10-20 Hours)
Finish Used
I used one coat of Minwax Wood Pre Stain Treatment,
Then two coats of Minwax Special Walnut
Then 3 coats of Minwax Spray on Satin Polyurethane
Recommended Skill Level
Intermediate

Comments

Fancy X Desk

Submitted by WesleyT on Wed, 03/16/2016 - 15:13

I stuck to the plans for the most part. The only change I made was to add an additional 2x6 to the top to make it a bit deeper. I added a few inches to the bottom/top 2x4 on the base to support the additional depth of the top.

Built from Plan(s)
Estimated Cost
$60
Estimated Time Investment
Weekend Project (10-20 Hours)
Finish Used
Finished base with Minwax Ebony stain and top with vinegar/steel wool stain. Finished with 2 coats of Mimwax Polycrilic clear satin.
Recommended Skill Level
Beginner

Rustic Farmhouse Queen frame

Submitted by Anonymous (not verified) on Mon, 10/28/2019 - 19:16

I’m absolutely loving the outcome of this design. The plans were perfect and so much fun. I used it as a welcome home gift for my wife and she said it was the best gift ever. Literally my favorite project. Thank you Ana

Built from Plan(s)
Estimated Cost
$200
Estimated Time Investment
Weekend Project (10-20 Hours)
Finish Used
Weathered Oak then painted Antique White then sanded down hard to distress
Recommended Skill Level
Intermediate

Rustic bench

Submitted by Brian on Sun, 03/04/2012 - 08:39

Fun little bench to make for our front porch. We liked it so much we built 2 more smaller ones one for each of the kids to go with mommy and daddy's bench. Bought all the material at the home store and decided to use stain since it was going to stay outside. Used the same method with all my other projects sanded using 180 than 220 grit, wood filled all the cracks and the Kreg Jig made this simple.

Estimated Cost
30.00
Estimated Time Investment
Weekend Project (10-20 Hours)
Finish Used
2 in 1 stain samples
Recommended Skill Level
Beginner

Chelsea Bunk Bed System

Submitted by steasck on Wed, 01/01/2014 - 14:36

My dad and I built these beds for my 7-year-old daughter for Christmas. We followed the plans almost completely, with a few tweaks of our own. We didn't feel that the decorative feet would be very stable, so we just continued the length of the bookshelf and desk all the way to the floor. We put a piece of 1/4 in. MDF on top of the slats to help support the memory foam mattress. We also stapled canvas to the underside of the top bunk to hide the slats. I didn't want a headboard or foot board on the lower bunk (toe-stubber!), so instead of building the matching Chelsea bottom bunk, we just made a simple platform bed. We added magnet boards to each side of the desk. I liked the idea of magnets better than bulletin boards. Since this plan didn't include a ladder, we built the ladder from the Loft Bed plan. The bed had some significant wobble to it, so we attached it to the wall. Took ALL of the wobble out and it is very solid and secure now. I'm very pleased with how these beds turned out and my daughter loves them as well!

Estimated Cost
$375
Estimated Time Investment
Week Long Project (20 Hours or More)
Finish Used
We used spray primer and spray paint. It was easy to do it this way, but very messy and it took us about 18 cans to get the entire thing covered.
Recommended Skill Level
Intermediate

Chevron end table

I loved the look of this table and wanted to try something a little bit different.

Built from Plan(s)
Estimated Cost
$150-200
Estimated Time Investment
Day Project (6-9 Hours)
Finish Used
Mini wax English chestnut stain, and mini wax polyurethane
The chevron detail was made using painters tape, off white spray paint, then then edging the chevrons with a gold Sharpie
Recommended Skill Level
Beginner

Outdoor Sectional

Submitted by flarbort on Wed, 10/30/2019 - 06:36

Just put the final stain on the outdoor sectional and I'm so psyched at how great it came out. Believe it or not, this is a very beginner piece (just 2x4s, NO pocket hole screws, all straight cuts- x ends optional) and anyone can do it with a circular saw, some clamps, a sander and an impact drill. Just takes some planning ahead of time. I bought the 2x4 wood and the cushions off Facebook Marketplace to save money so the total cost of this whole sectional was only $140 (wood, cushions, stain, screws). If you price similar new wood sectionals (U shaped, 9 seats) they're well over $1500+. Now, my sectional isn't as perfect as a brand new sectional but I do feel way cooler for saving a ton of money and doing it myself. In all it only took 4 days, working no more than 2.5 hours per day from start to finish to build this and stain it. It's made up of three pieces and I finished one piece a day and stained on the last day. You can make it while your toddler naps;-P Or if you had no other distractions you could bang it out in one long day. As for any of Ana's outdoor sectional plans the biggest expense is going to be the cushions. The cheapest new ones I could find were $40 a set (a 25" seat and a back cushion). That would have made this at least $400 in cushions ALONE! So what I did instead and I recommend this for anyone trying to save cost on this project is that I got a whole bunch of cheap and random cushions off Craigslist and Facebook Marketplace and then I bought cushion covers off Amazon. https://amzn.to/2BRBeeZ I cut some of the cushions to fit the covers and added stuffing to others.

Estimated Cost
$140
Estimated Time Investment
Day Project (6-9 Hours)
Finish Used
Golden Honey
Recommended Skill Level
Beginner
Seasonal And Holiday

Princess bed for my princesses

After about a month of looking for a new bunk bed for my daughters and becoming more frustrated with every new search at the outrageous price and often cheap quality of what's available I decided to look to the web for inspiration to build one myself. It took a little while to work myself up to going for it but man am I glad I did. And I am even more glad I found Ana White's site almost immediately. Her incredibly well written and documented plan for this bed made it not only doable but incredibly fun for me. And it gave me the confidence to create a loft bed for my son from nothing but an idea and dream. Thanks a ton Ana!

Built from Plan(s)
Estimated Cost
Approximately $400 including paint and some specialty tools.
Estimated Time Investment
Week Long Project (20 Hours or More)
Finish Used
I used a satin finish paint and the only advice I would offer would be to paint as many of the pieces before assembly as possible. This bed has a ton of little nooks and crannies and you'll save yourself a full day of painting if you don't have to try to get a tiny brush into every one.
Recommended Skill Level
Beginner

Comments

Goldglv

Thu, 06/12/2014 - 11:01

Hello.....is that another mattress in the bottom portion of the playhouse? If so, how did you get it in there? I wanted to try and put another mattress in the bottom but couldn't figure out an easy way to get it in and out......

Play Kitchen

Submitted by betsy47 on Thu, 01/02/2014 - 20:06

The painting took me a long time but it was fun learning all the skills required to make this project. I added a little microwave oven under the sink and a utensil holder along one side. The wood construction was quick - the painting knobs, and jig cut-outs took a little longer!

Estimated Cost
$75
Estimated Time Investment
Week Long Project (20 Hours or More)
Finish Used
Two coats of four different colors - light blue, dark blue, white and gray. I like the way it turned out with the variety of colors.
Recommended Skill Level
Intermediate