Community Brag Posts

Family Tree

Submitted by Anonymous (not verified) on Mon, 05/15/2023 - 20:38

Thank you for sharing such a neat project plan! I threw this together with some pallet wood that I stripped a few weeks ago. Quick work with the mitre saw, brad nailed it, a quick sand, threw on some stain with a rag, and freehanded the rest. Not real good on the letters but it worked. This was a Mother's Day gift for my wife. She loves red birds. She was in love with this when she saw it!!!! I think I got some brownie points! :)

Gary G.
Athens AL

Built from Plan(s)

Comments

Nesting Tables

Submitted by jenn923 on Sun, 01/08/2012 - 10:40

I was really excited when I saw this plan. I needed a side table for my guest bedroom and these are perfect. The plans were very easy to follow - the only thing I did differently was I left off the angle braces. The hardest part of the project was waiting on the paint to dry. I've done a few other projects but this my best work so far...I'm getting better and better with each build. So excited to start something else...

Built from Plan(s)
Estimated Cost
$20
Estimated Time Investment
Afternoon Project (3-6 Hours)
Finish Used
Very light blue - Oops paint from Lowe's
Recommended Skill Level
Beginner

Comments

Kate (not verified)

Sun, 01/08/2012 - 13:08

They look great! I'm sure your guests will love them.

I'm currently still in the painting stage of a modified version of just the large of the Preston tables. I love seeing one fully completed!

Laura Fama

Sun, 01/08/2012 - 13:37

Awesome!!! ... What a great job you did!!! I am making these too... glad to see how great they look... can't wait to finish mine now!

Turned Leg Farmhouse Table

This projected started with a mishap. I bought table legs from Lowes that were 35" tall, and after trying to decide if I could somehow make our chairs taller...I returned them for the correct set. The set I used was from Waddell online (the manufacturer). 29" Country Pine legs. With shipping these were the most expensive part of the entire project. The rest went according to plan. Once the table was done I decided on a whim to make a matching bench. I bought the bench legs from Home Depot and a bit more pine for the seat. The bench legs were 15" country pine also. I guessed on the measurements for it, and it came out okay. The only hard part was that my drill didn't fit with the Kreg bit on it when I was trying to screw in the bench supports. I actually had to borrow a shorter drill and bit from a friend to complete it! The staining took me a long time because I don't have a heated garage and the temperatures dropped below comfortable to work on it.

Built from Plan(s)
Estimated Cost
$130 for table and bench
Estimated Time Investment
Weekend Project (10-20 Hours)
Finish Used
I used oil based pre-stain by Minwax so the stain would cover evenly (mostly because I used such a soft wood). Then two coats of Minwax oil based stain in Special Walnut. I was planning on going darker, but this Special Walnut had that Pottery Barn rustic look I love. Lastly I did 3 coats of Minwax oil based Polyurethane in Satin finish. The first coat looked great, the second coat ended an ugly cloudy gray color. So...I didn't read the instructions and now I know. STIR STIR STIR. You have to stir this finish for a long time prior to each application. I thought stirring it was was enough. Don't make this mistake! Then I sanded forever and started over...3 coats.


UPDATE: I moved to a house with grey wood floors and the table didn't match at all. So I sanded the top coat of poly off and added Minwax Classic Grey Stain over the Special Walnut from last year. One more coat of poly and this table looks like it was made to match the floors!!
Recommended Skill Level
Beginner

Comments

DIY Skateboard

I attempted my first homemade skateboard, this was a present for my 7 year old nephew for Christmas. The deck was made out of Birch veneer, maple is also very common material to use. More details and photos on my blog if interested: http://www.woodworkingfourdummies.com/blog/diy-skateboard Cheers, Ian

Estimated Cost
- $30 for wood veneer for the deck
- Spray paint - $7/can ( I had some black already)
Estimated Time Investment
Weekend Project (10-20 Hours)
Finish Used
Oil based Polyurethane
Recommended Skill Level
Beginner

DIY Folding Camp Stool with Burned Wood Finish

Submitted by Anonymous (not verified) on Wed, 09/25/2019 - 08:30

I used Jaime Castiglio's tutorial and Ana's plans to build this folding camp stool. I modified the plans slightly and just stapled the canvas seat to the frame. I used a heat gun to create the burned wood finish on the stool. I also used the heat gun and a bar of fabric wax to waterproof the canvas seat.

Built from Plan(s)
Estimated Time Investment
Afternoon Project (3-6 Hours)
Finish Used
I used a heat gun to create a wood burned finish. You can seal it with a clear topcoat.
Recommended Skill Level
Beginner
Seasonal And Holiday

Mailbox

Submitted by loniwolfe on Tue, 01/10/2012 - 13:50

My grandmother has been in terrible need of a new mailbox. The one she had was original to the house, 1972, I believe. Needless to say it was falling apart.
My stepdad and I built this for her, and my sister painted on the name adn address.
All better now!

PS, I chose Grace's Mailbox plan because you have to choose a plan when posting a brag blog and we didn't use one, we just kind of winged it.

Built from Plan(s)
Estimated Cost
$20-$30
Estimated Time Investment
Afternoon Project (3-6 Hours)
Finish Used
Clear wood sealer, spray can
Recommended Skill Level
Beginner

Comments

Apothecary Console

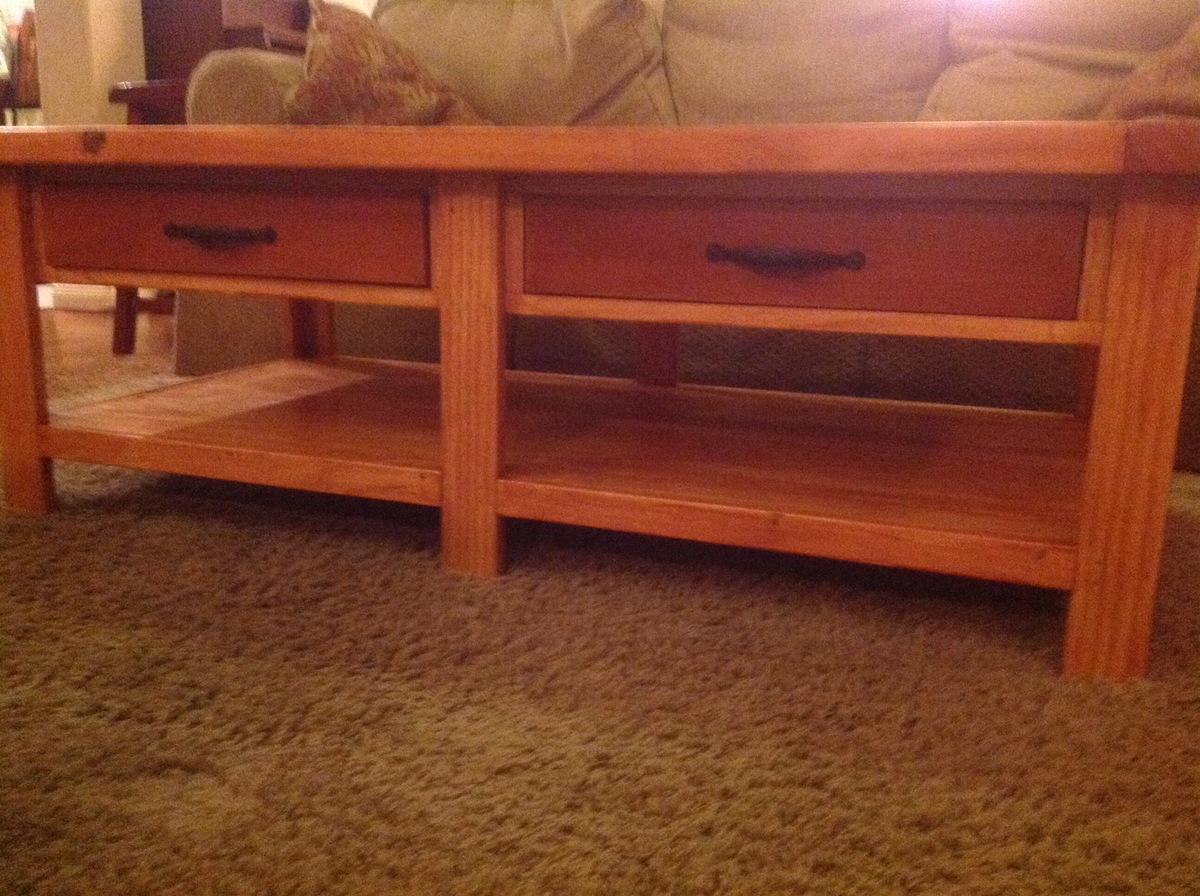
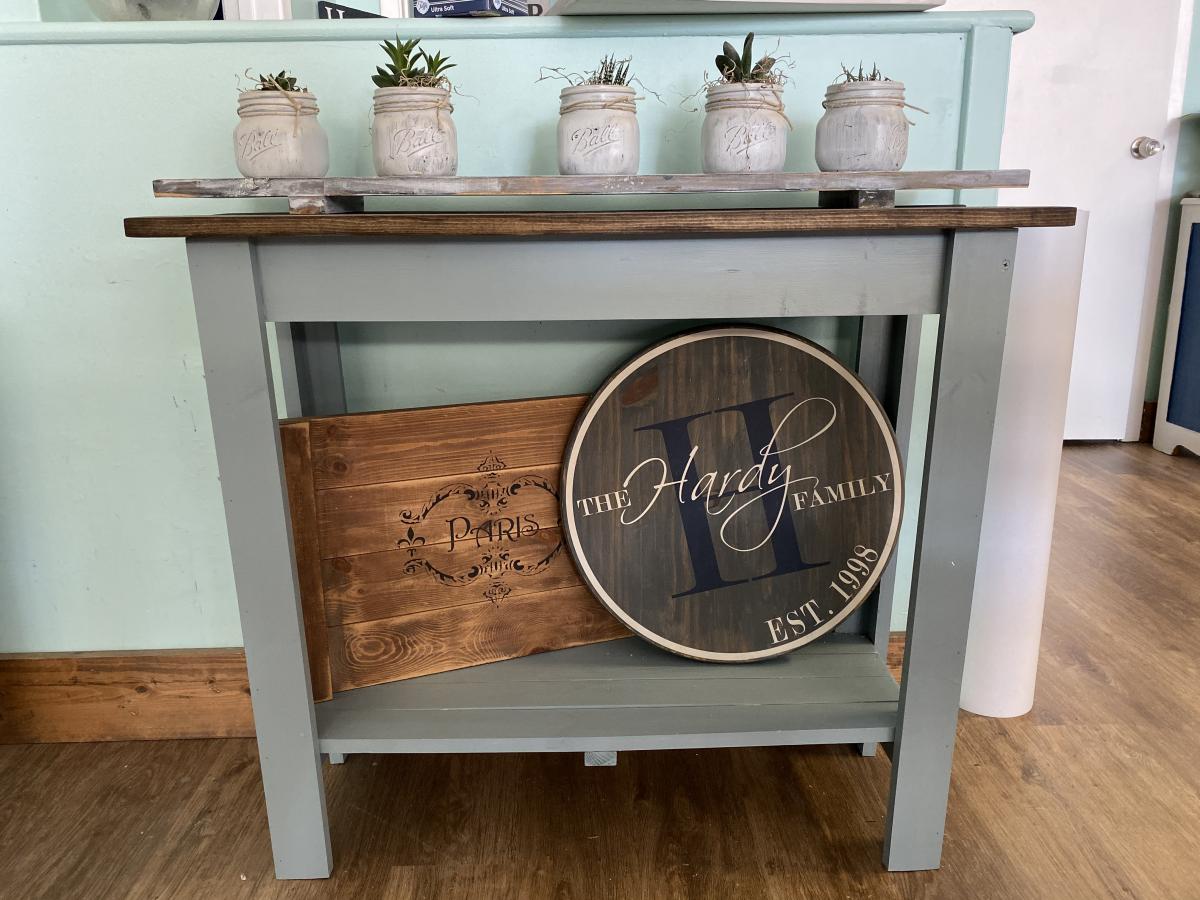
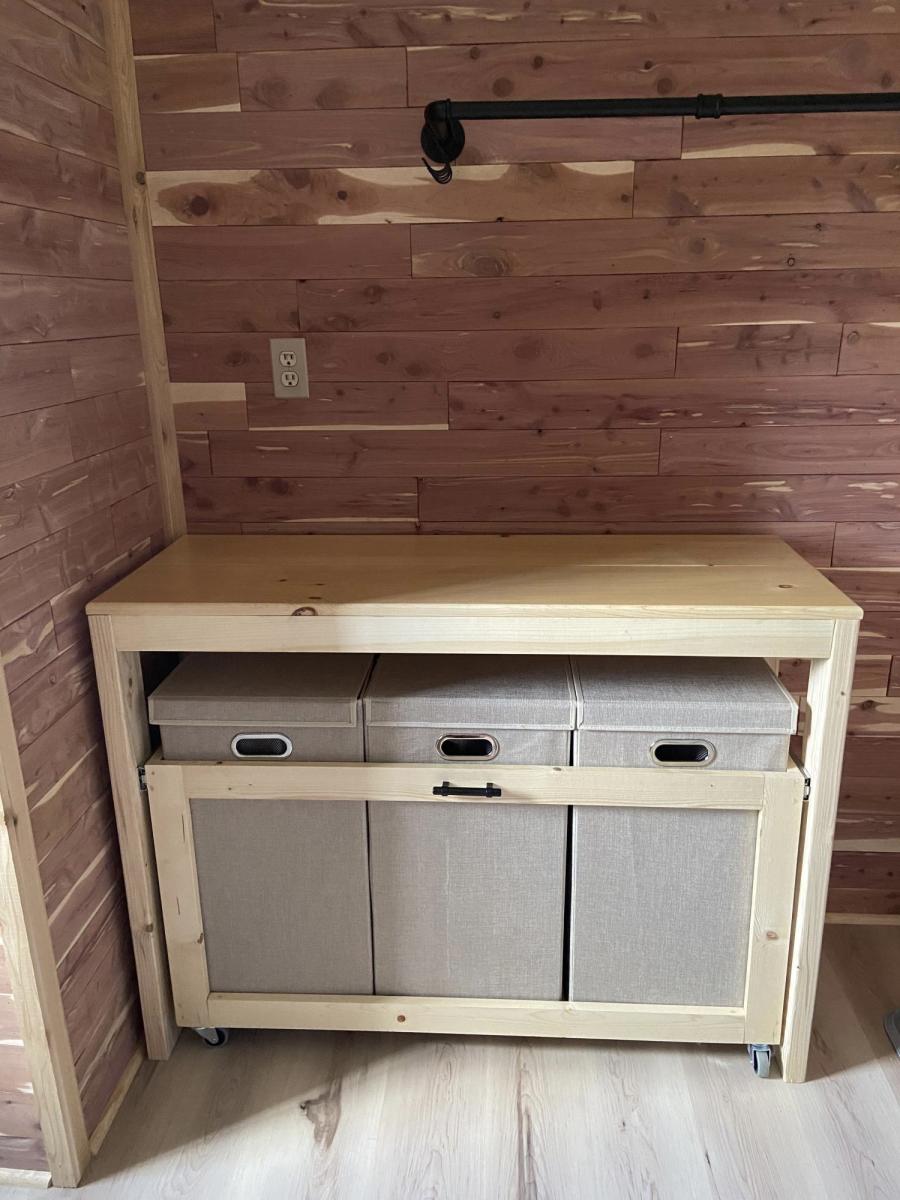
This apothecary console table was designed to primarily hide my wife's big all-in-one printer in the bottom section. the middle section are two doors that open up like French doors and have a large section for the printer to sit in. The printer is also on one of those drawer slider platforms. The far sides each have two drawers and directly below them are 2 cabinets for more storage. Even though this looks like individual drawers there are none. 

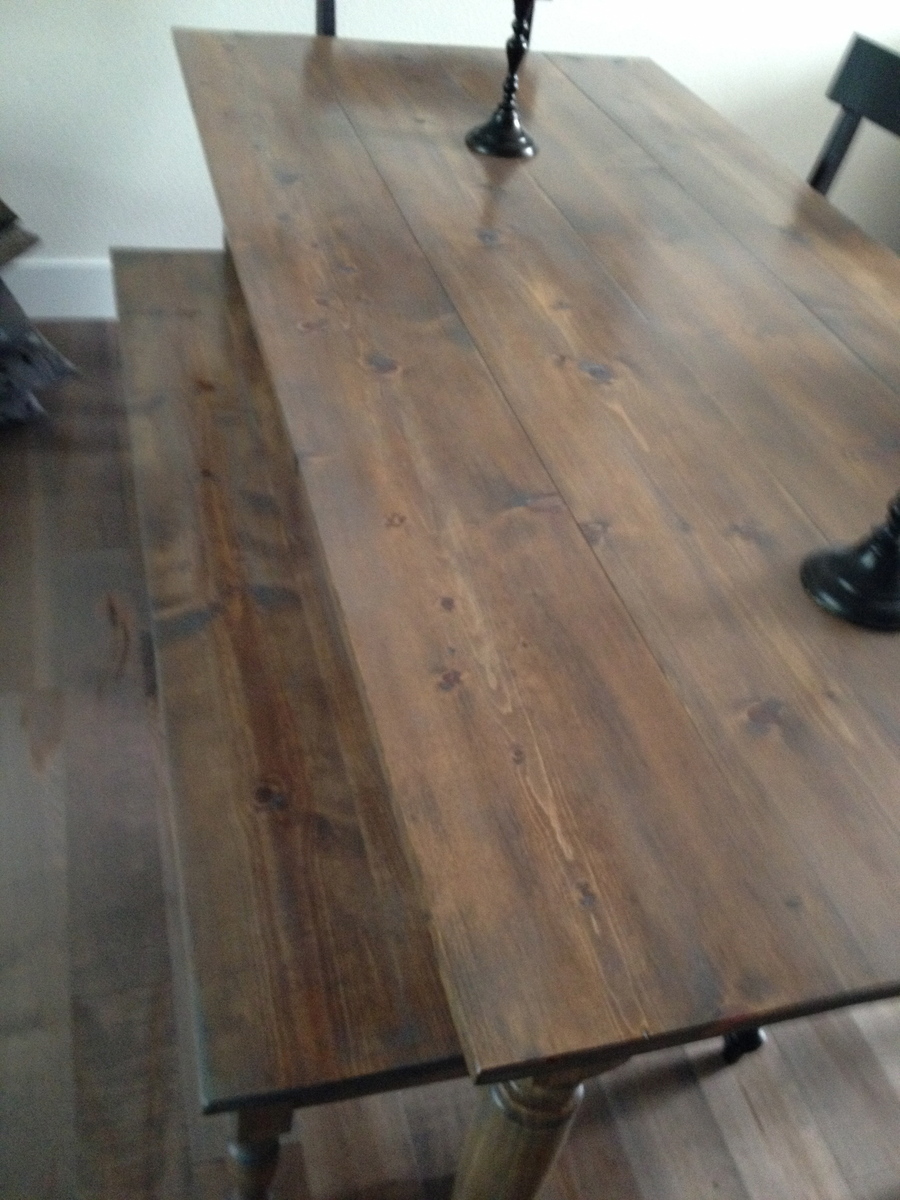
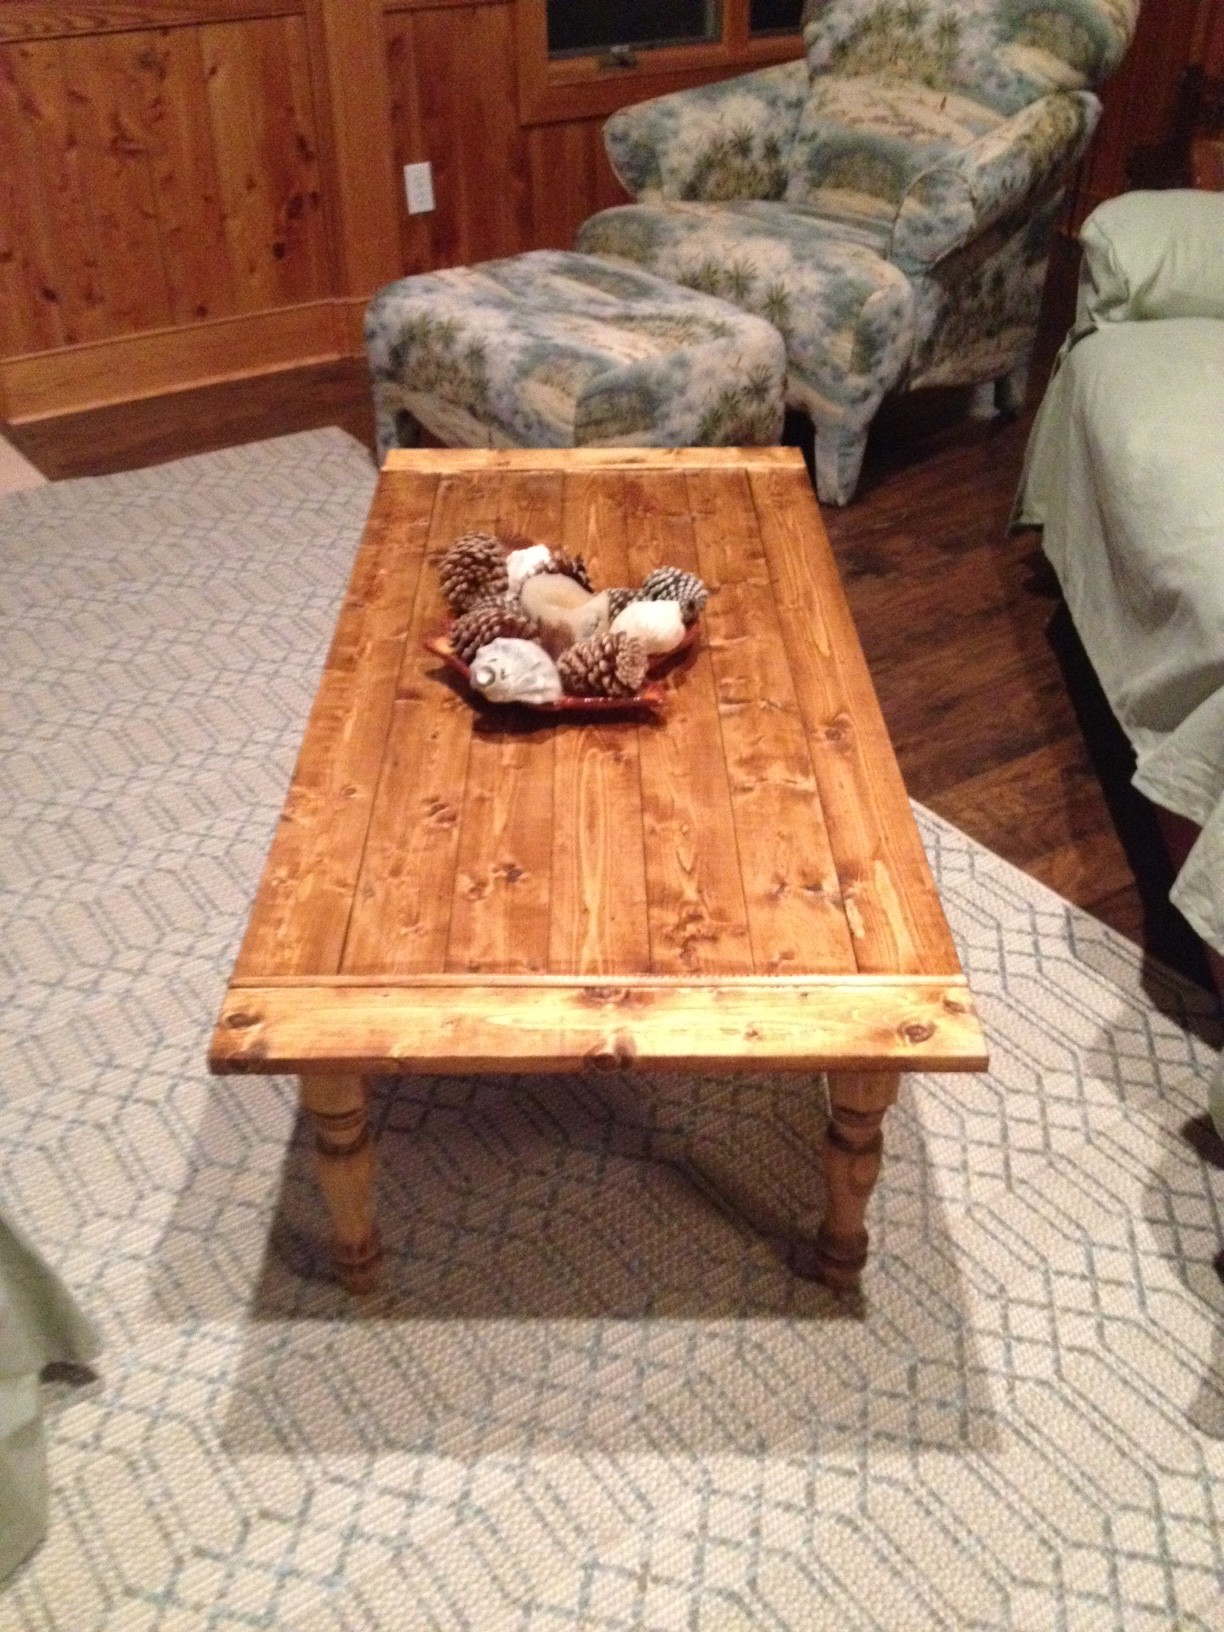
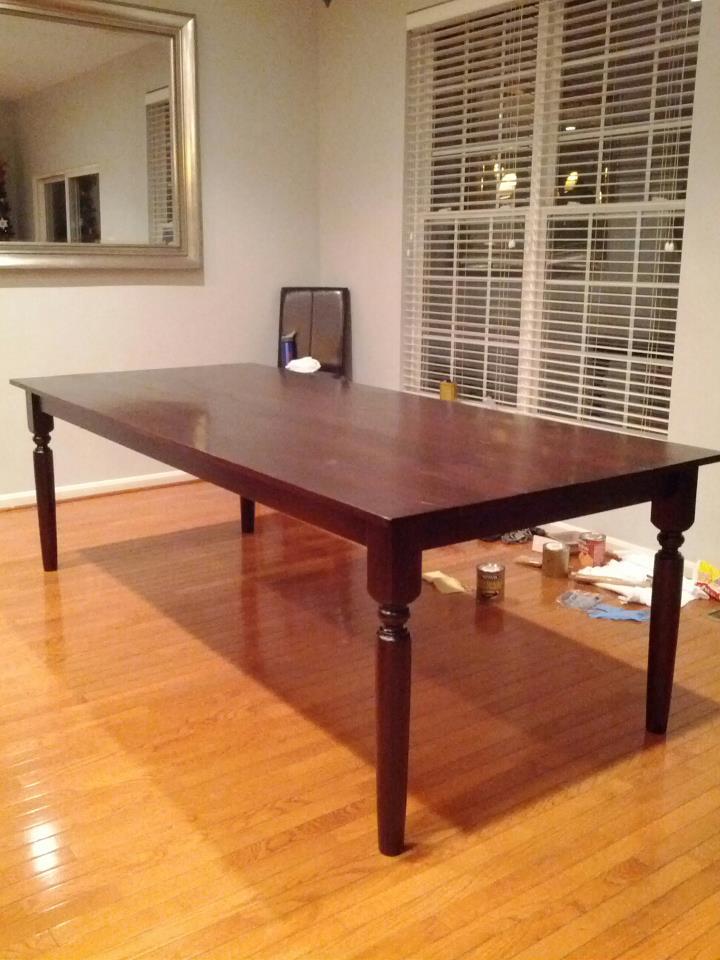
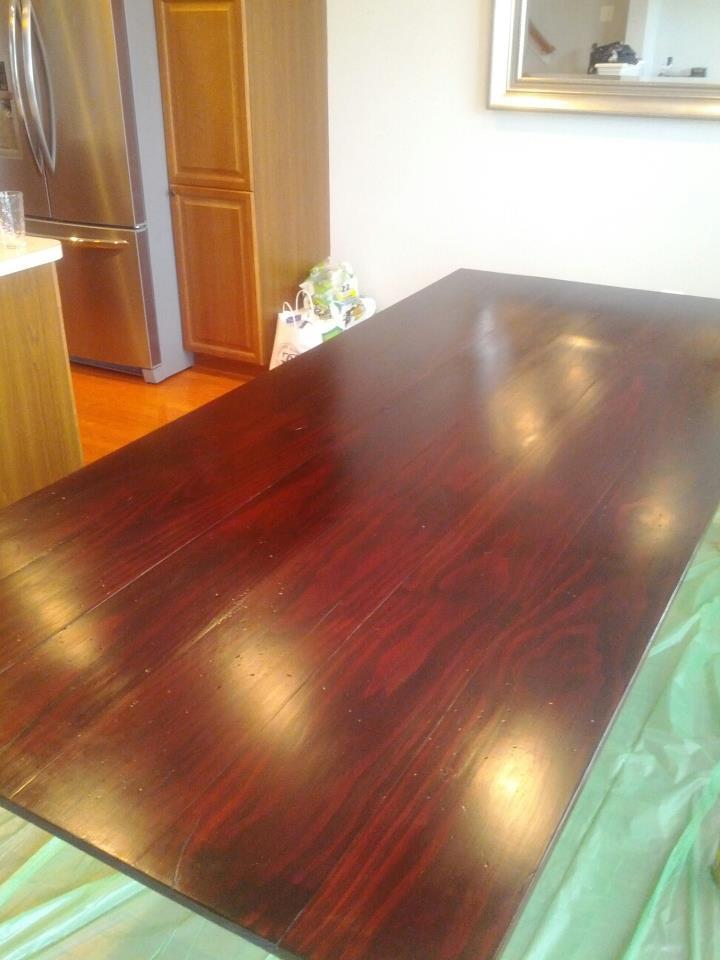
The bulk of the cabinet is made from a combo of plywood and solid wood. The top is walnut we were given and was from my wife's grandfather' attic. It was glued and clamped together and then distressed around the edges to make it look more rustic.

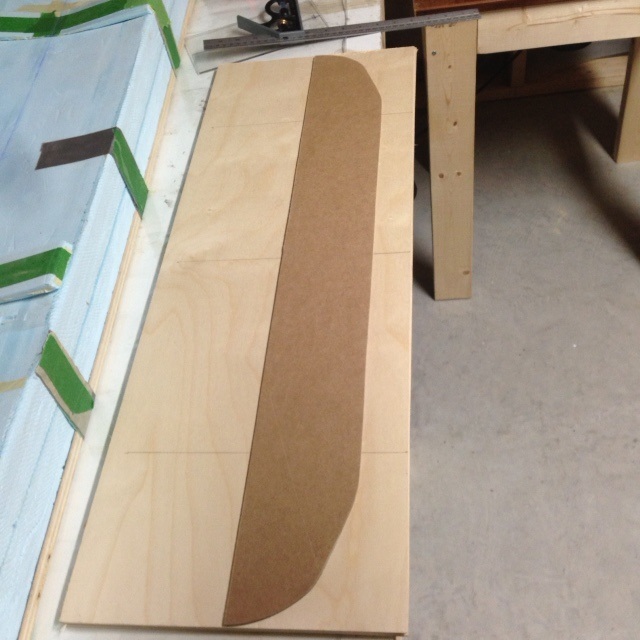
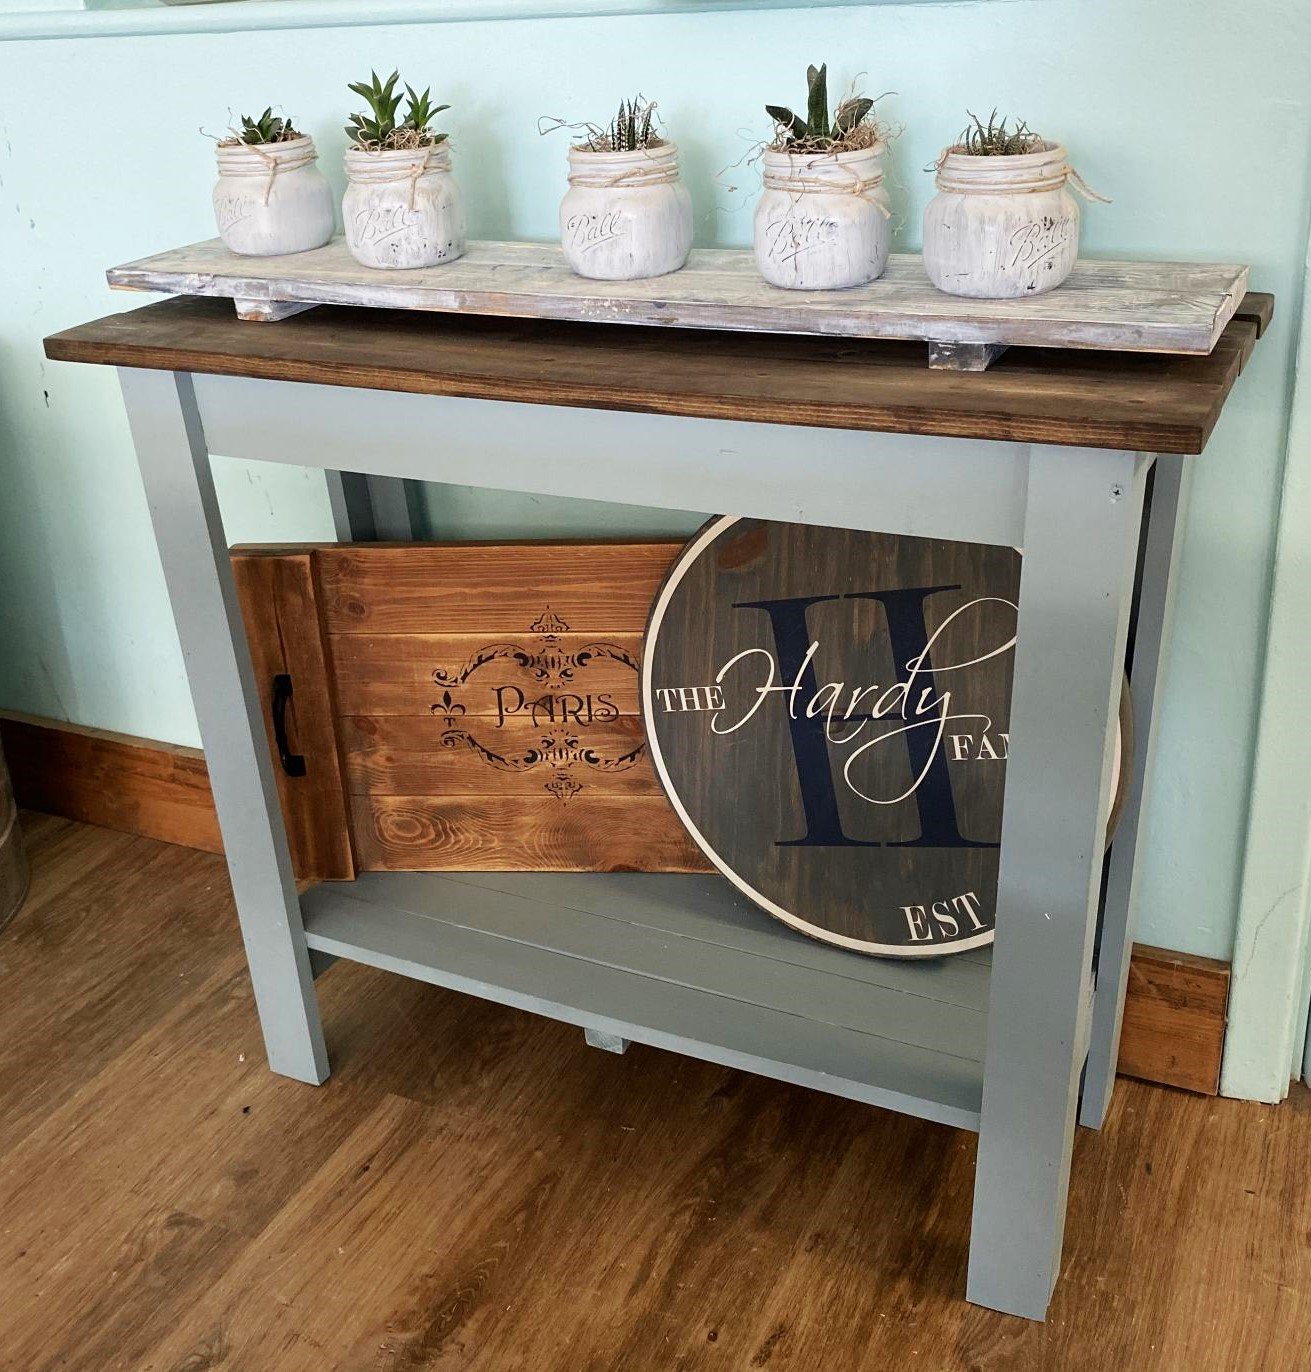
Once the basic design was set, I painted the bottom white and then sanded and distressed the edges. If there were sections that needed more distressing I would add stain to the exposed wood to make it more distinct. 

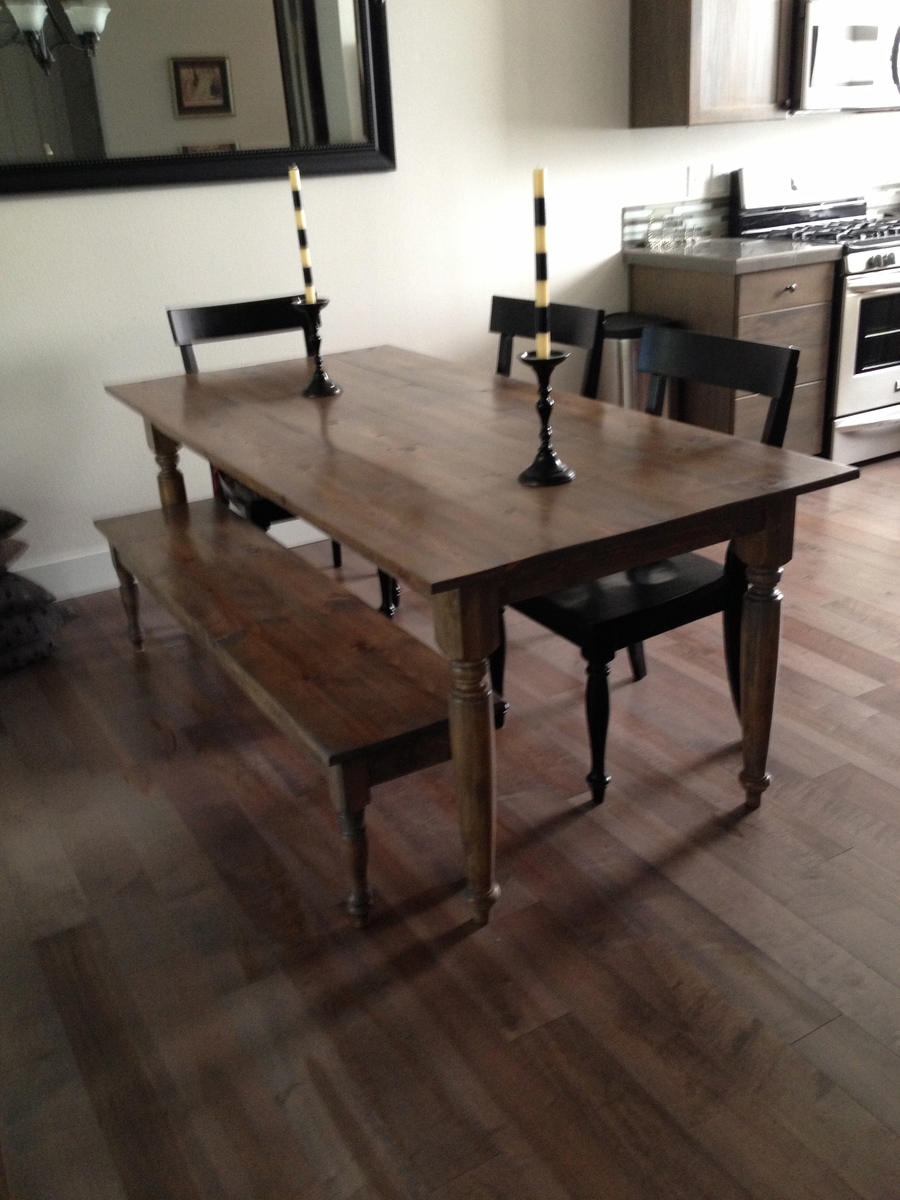
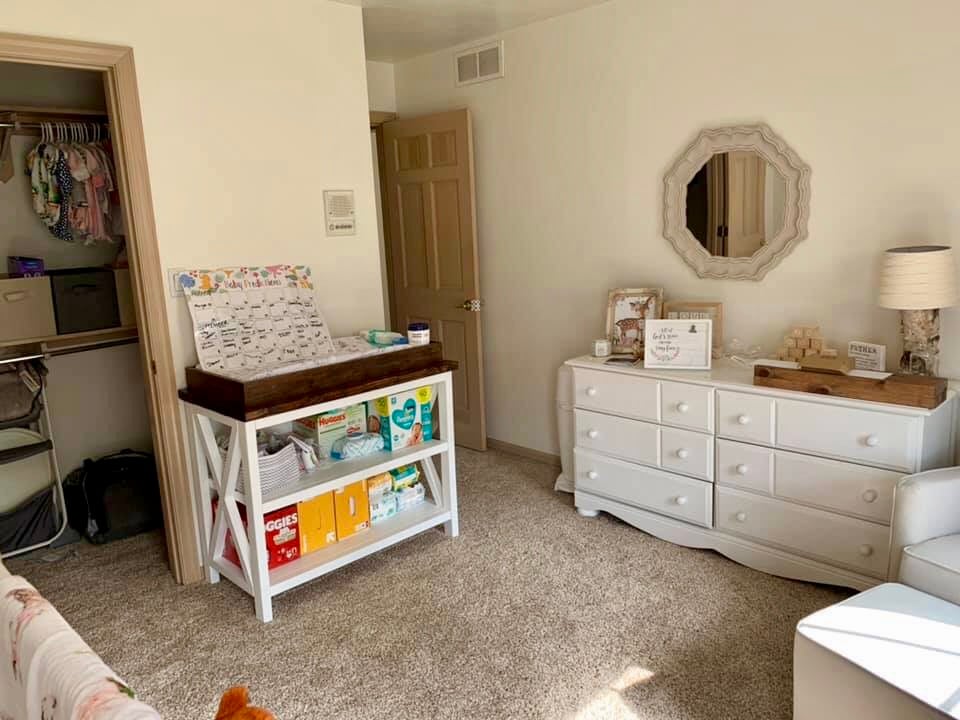
I used a basic design from a popular home furnishings website and then used ideas from here to help fine tune how I wanted it to look. We are using this piece on the wall underneath our stairs to our 2nd floor and holds kids books, magazines, our printer of course, and other odds and ends we want to hide when we have company over.

I wanted to post our photo since when I was in my designing mode I used ideas I saw here to help inspire and direct my dimensions and ideas. 

Built from Plan(s)
Estimated Cost
$100
Estimated Time Investment
Week Long Project (20 Hours or More)
Finish Used
Printer console, storage unit in 1st floor
Recommended Skill Level
Intermediate

Outdoor Daybed by Ana made by Kevjewel

Submitted by kevjewel on Sun, 02/14/2016 - 17:56

I wanted a Daybed so I could relax outside and read. I found this bed plan on Ana's site. My hubby helped me a lot (I had no wood working experience).  I ended up staining and putting on Spar to protect from there Texas sun.  I use a blowup camping mattress and twin bed mosquito canopy netting!

Love love, my bed. 

Thanks Ana! 

Jewels 

Estimated Cost
$200
Estimated Time Investment
Day Project (6-9 Hours)
Finish Used
Stain, spar varnish (Texas sun)
Recommended Skill Level
Beginner

Mud Room Closet Organizer

Submitted by mmadden20 on Tue, 10/01/2019 - 18:41

Combined the Extra Wide Shoe Bench and the Braden Entryway Hutch plans and added some customization to make the perfect mud room closet organizer! I modified the measurements to fit the width of the inside of the closet. Each kid has a ‘locker’ with hooks, a storage cubbie above and hidden storage below. The bottom of each locker has a removable lid that hides winter boots or off season gear behind the shoe shelf. So nice to have out of sight storage for items we only need for part of the year! 

Estimated Cost
$350
Estimated Time Investment
Weekend Project (10-20 Hours)
Finish Used
Paint (Dover White) and stain (Minwax Dark Walnut)
Recommended Skill Level
Intermediate

Comments

Odified Rhyan end table

Submitted by randyeby on Sun, 05/28/2023 - 14:33

Took the Rhyan side table plans an modified to add a round top. Also made a rectanglar table based on the same style construction

Built from Plan(s)

Comments

Turned leg coffee table

My first project. I made some mistakes, but was able to make it work, by adding some trim on top and 2 supports under the breadboard ends.

Built from Plan(s)
Estimated Time Investment
Day Project (6-9 Hours)
Finish Used
Minwax Golden Oak and Minwax Polyurethane
Recommended Skill Level
Beginner

Coffee table

Submitted by Anonymous (not verified) on Tue, 02/16/2016 - 20:25

Built this for my son's apartment. Great design!

Estimated Cost
$150
Estimated Time Investment
Week Long Project (20 Hours or More)
Finish Used
Minwax Combo stain/polyurethane satin finish - pecan
Recommended Skill Level
Advanced

Great First Build!

Submitted by Anonymous (not verified) on Wed, 10/02/2019 - 05:13

I own a DIY workshop where I teach people to make signs. I always get compliments on my tables which I built from plans on Ana White. I wanted to teach a workshop on a simple first build project to show ladies how easy it is to learn to build your own furniture! This console table was perfect and each person who built one was so proud of the results!

Estimated Cost
$35
Estimated Time Investment
Afternoon Project (3-6 Hours)
Finish Used
Dixie Bell Chalk Paint.
Recommended Skill Level
Starter Project

Comments

Incredible laundry station

Submitted by Anonymous (not verified) on Sun, 06/04/2023 - 09:02

This laundry station is perfect for our new red cedar laundry room. We left the wood natural to match the unstained trim and the light color in the cedar planks. Coated with polyacrylic for a smooth finish. Thank you so much for providing the inspiration and plans for such an amazing laundry room solution!!

Built from Plan(s)

Comments

Farmhouse Table with a Classy Twist

Submitted by Notsohandy on Fri, 01/20/2012 - 13:30

I stumbled across this site on accident one day in need of a dining room table. After hunting desperately for weeks, my wife and I couldn't find one we liked for under 1200 dollars. So, I had this great idea to build one myself. I figured if it didn't turn out I would just stick it on the deck and use it as a patio table.

I looked at the dozens of table plans on this site and picked things i liked from each and finally came up with the end product you see in the picture.

I used all pine, and found pre-turned legs at a local big box home improvement store. Total wood investment was about 200 dollars, half of that being the turned down legs.

Came out much better than I thought, and the wife was please.

Thanks to the users for all their amazing photos and directions! They came in handy!

My wife is already asking me to build more!

Estimated Cost
~250
Estimated Time Investment
Weekend Project (10-20 Hours)
Finish Used
2 Coats of MinWax Wood Conditioner
1 Coat of MinWax Poly Shade Black (Satin)
2 Coats of MinWax Ploy Shade Bombay Mahogny (Satin)
2 Coats of Urethene
Recommended Skill Level
Beginner

Comments

Margaret Kubiszyn (not verified)

Fri, 01/20/2012 - 15:19

The finish is beautiful!

Al Meredith (not verified)

Sat, 01/21/2012 - 07:32

Great Job! Looks entirely professional. What are the dimensions?

Guest (not verified)

Sun, 01/22/2012 - 15:51

Clean and Simple, exactly how I like it.

Although, you probably should have splurged a bit and used Oak or something harder than pine. You're gonna find pine is too soft when you start getting dents and gouges really easy.

American Girl Doll Couch

Submitted by mybartmart on Thu, 12/05/2013 - 00:53

My friend's daughter's both love American Girl Dolls. I have made them the bunk beds and the Farmhouse bed. But they really wanted a couch. I made them one using some of the elements from the Farmhouse Bed. I used a blue paint with a pickling whitewash stain on top.

I did have a hard time getting a good photo of the finished project.

Estimated Time Investment
An Hour or Two (0-2 Hours)
Finish Used
Blue wall paint, left over with Pickling white wash stain on top
Recommended Skill Level
Beginner

Farmhouse Table

I built this table with cedar and used Cabots Australian Timber Oil hoping it would last a long time on my patio. After 1 summer, it still looks great! I made slight modifications for a comfortable height with the chairs I bought and also simplified the rounded cuts to a 45 degree cut on the bottom. Using glue and screws during assembly made the table solid.

Built from Plan(s)
Estimated Cost
$200
Estimated Time Investment
Weekend Project (10-20 Hours)
Finish Used
Cabots Australian Timber oil
Recommended Skill Level
Intermediate

Rustic “x” Changing Table for Baby Prim

Submitted by Anonymous (not verified) on Wed, 10/02/2019 - 13:27

Built this for a very dear friend as a baby shower gift for her new baby, Prim. I tailored it to fit her space as she was looking for it to fit on a certain wall and finished it how she liked! Simple and timeless white and natural stained top. ✨

Built from Plan(s)
Estimated Cost
200
Estimated Time Investment
Weekend Project (10-20 Hours)
Finish Used
White chalk paint and natural stained top
Recommended Skill Level
Beginner

Comments

bench

Submitted by Anonymous (not verified) on Fri, 06/09/2023 - 12:12

plan supplied by Ana

Comments

Farmhouse bedside table: Project 24

Submitted by mhayden on Mon, 12/09/2013 - 16:44

Built of these bedside tables using Ana's book. The plan was very clear to understand and the cut and supplies list took a lot the guess work out of the project. Instead of using a circular saw I used a portable Dewalt table saw. This worked extremely well, especially for cutting pieces of MDF. It is worth noting that you DO NOT want to make large cross cuts using your table saw fence. I learned the hard way with ONLY a bruised hand (and ego). Once I removed the fence from my saw the second table was built much faster and I felt safer doing it.

The only other snag in the build was not being able to find the "1x16x72" MDF. Instead I purchased a 2'x4' section for $8. I planned on painted the tables all along so the MDF was perfect. If you were going to stain the tables you would want to use some sort of hardwood (I used pine everywhere else) on the top, sides, and bottom.

Both tables were finished in a weekend (took about 3 hours each) and I spent the following weekend priming, painting, and installing the drawer slides and hardware. I would highly recommend these tables for anyone looking to get a high quality bedside table at a fraction of the cost. Thanks Ana for the plan and I look forward to my next build.

Estimated Cost
$120 (including all wood, MDF, Drawer Slides, Hardware, and Paint)
Estimated Time Investment
Weekend Project (10-20 Hours)
Finish Used
Hallman/Lindsay: All of my house paint is from here! They are fantastic, low cost, high quality, No VOC, and close to my house! Can't beat that combination.
Recommended Skill Level
Beginner

Comments

bhoppy

Wed, 12/18/2013 - 08:53

I love how your tables turned out!! I made one a few months ago with some scrap plywood I had and haven't got around to making the second one. Your brag has inspired me to finish what I started:-)