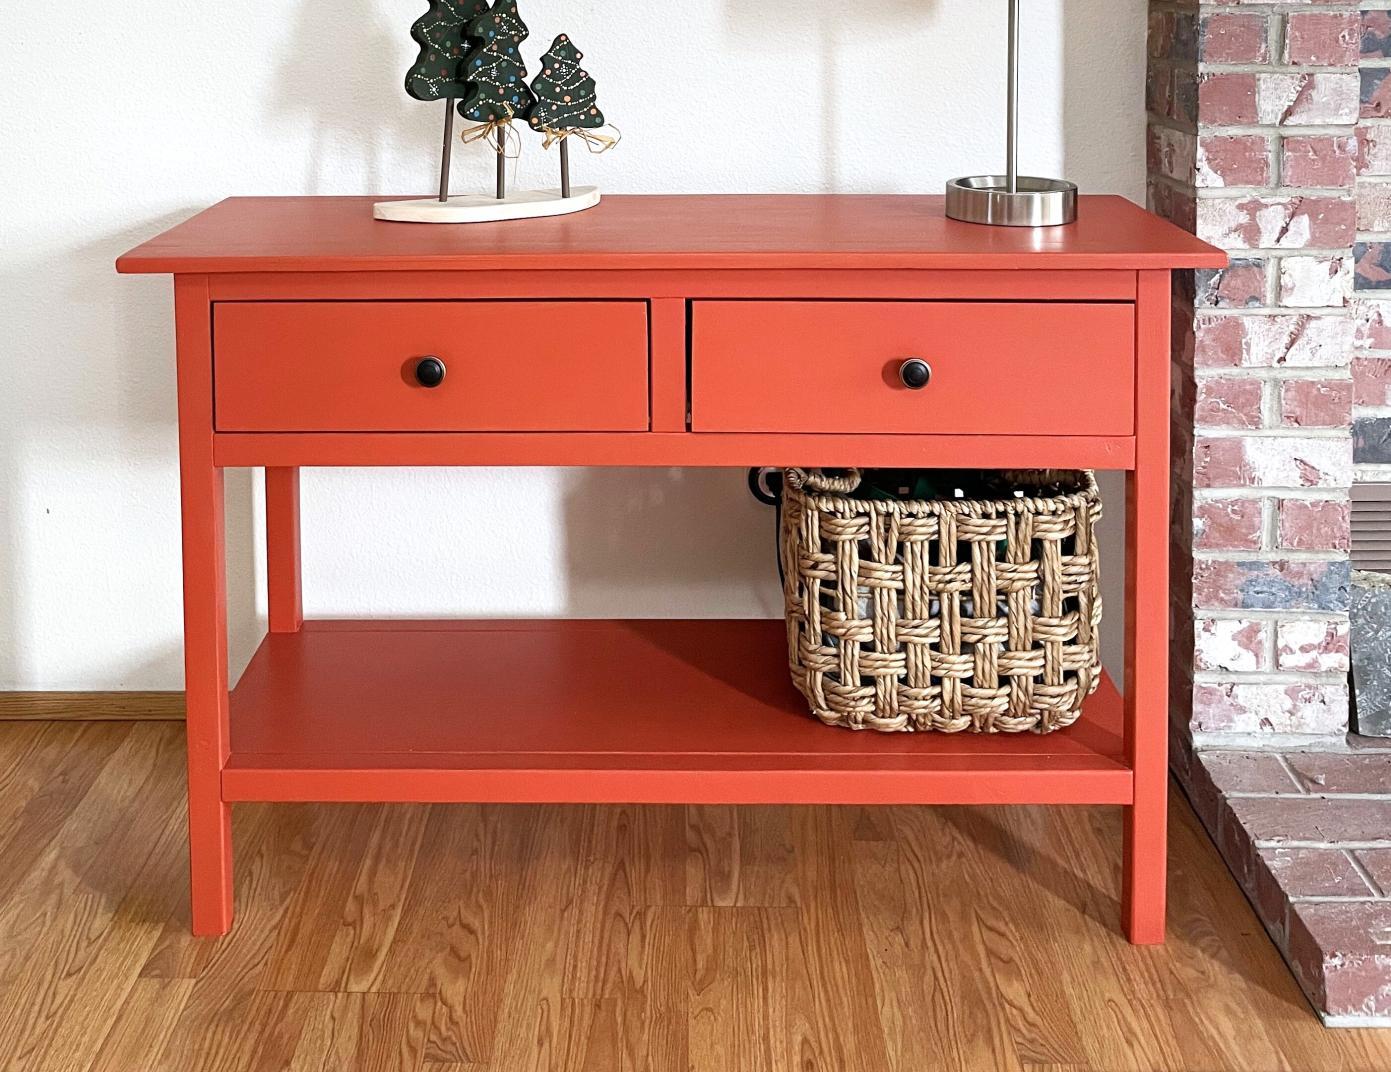
Christmas Media Console
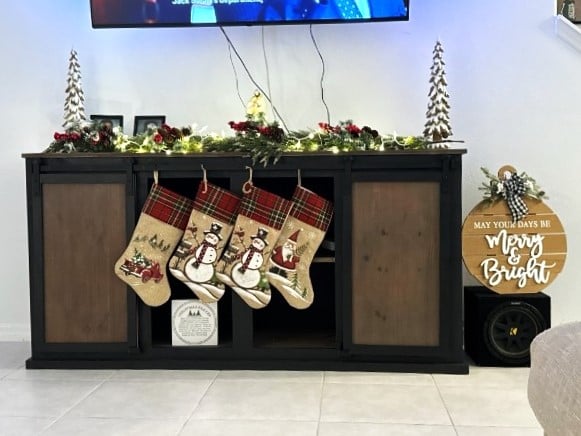
A simple design wood-stained with vinegar and steel wool and black. It's a 6ft design.
Dale Mulert
Built from Plan(s)
Seasonal And Holiday
A simple design wood-stained with vinegar and steel wool and black. It's a 6ft design.
Dale Mulert
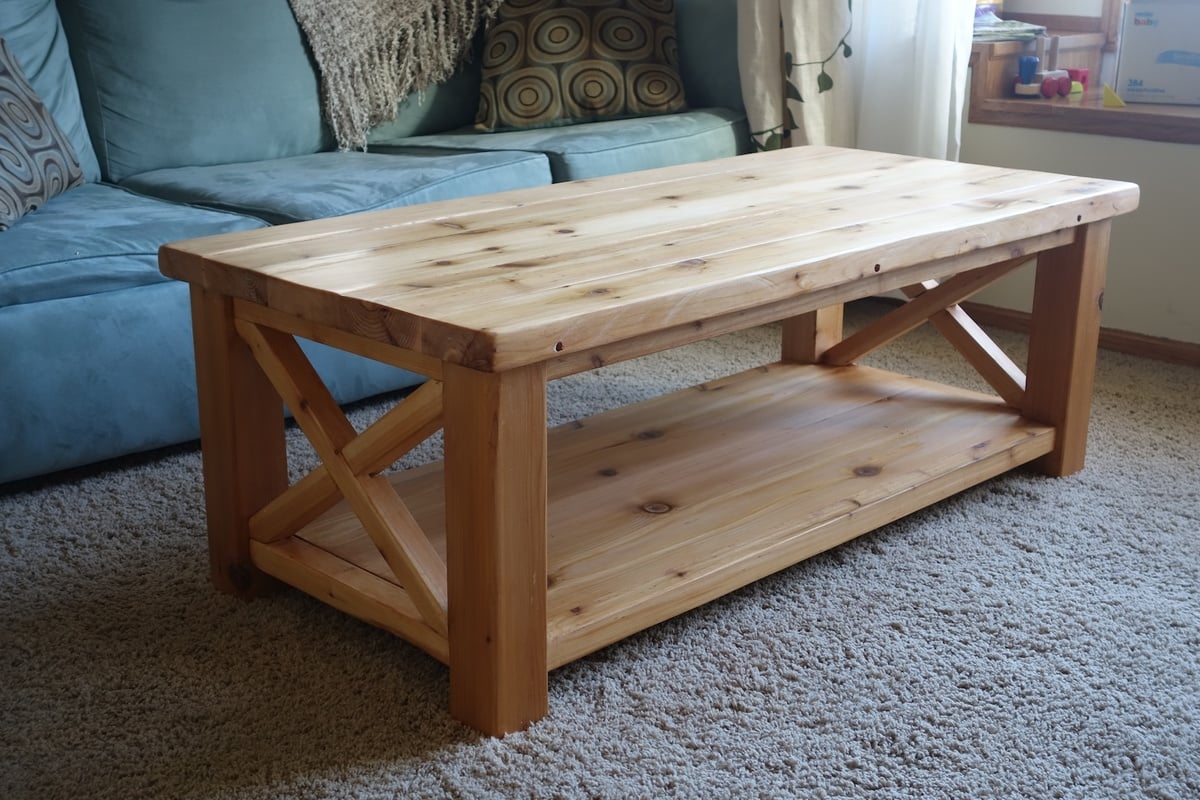
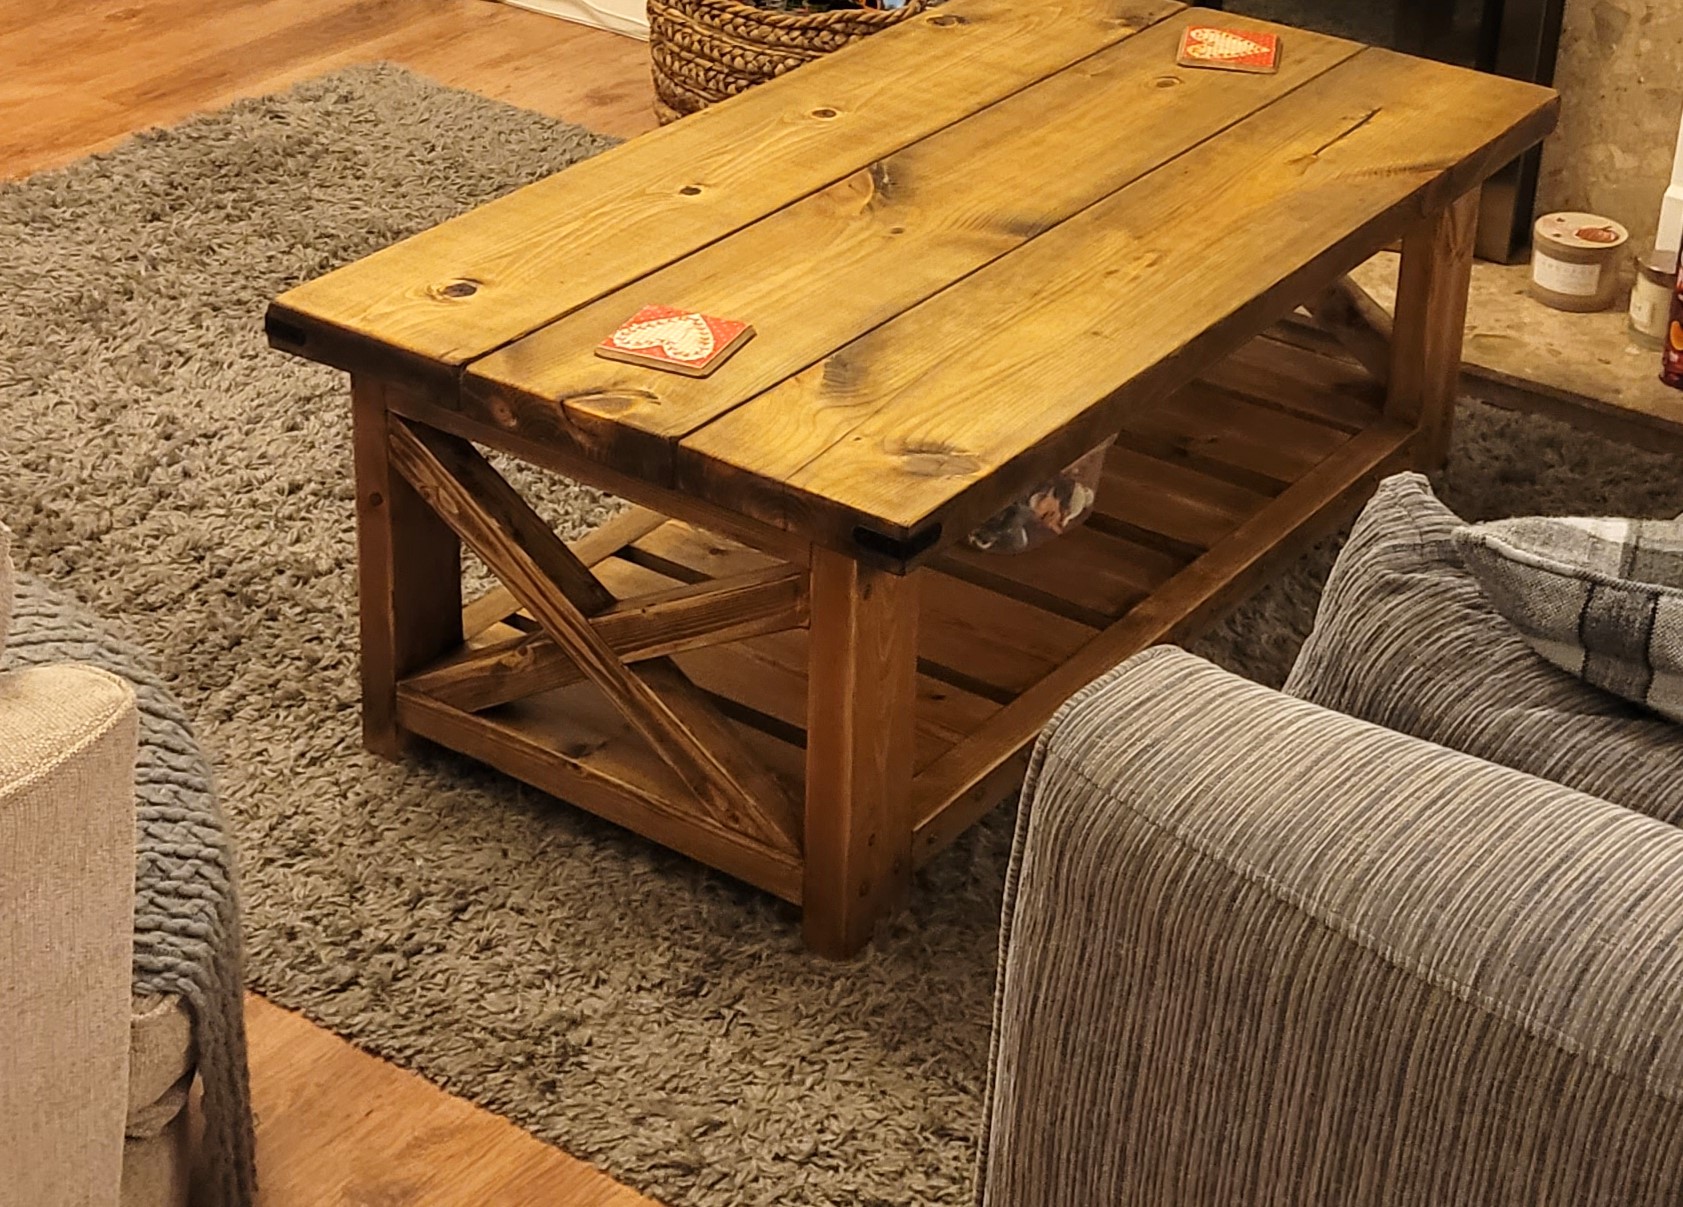
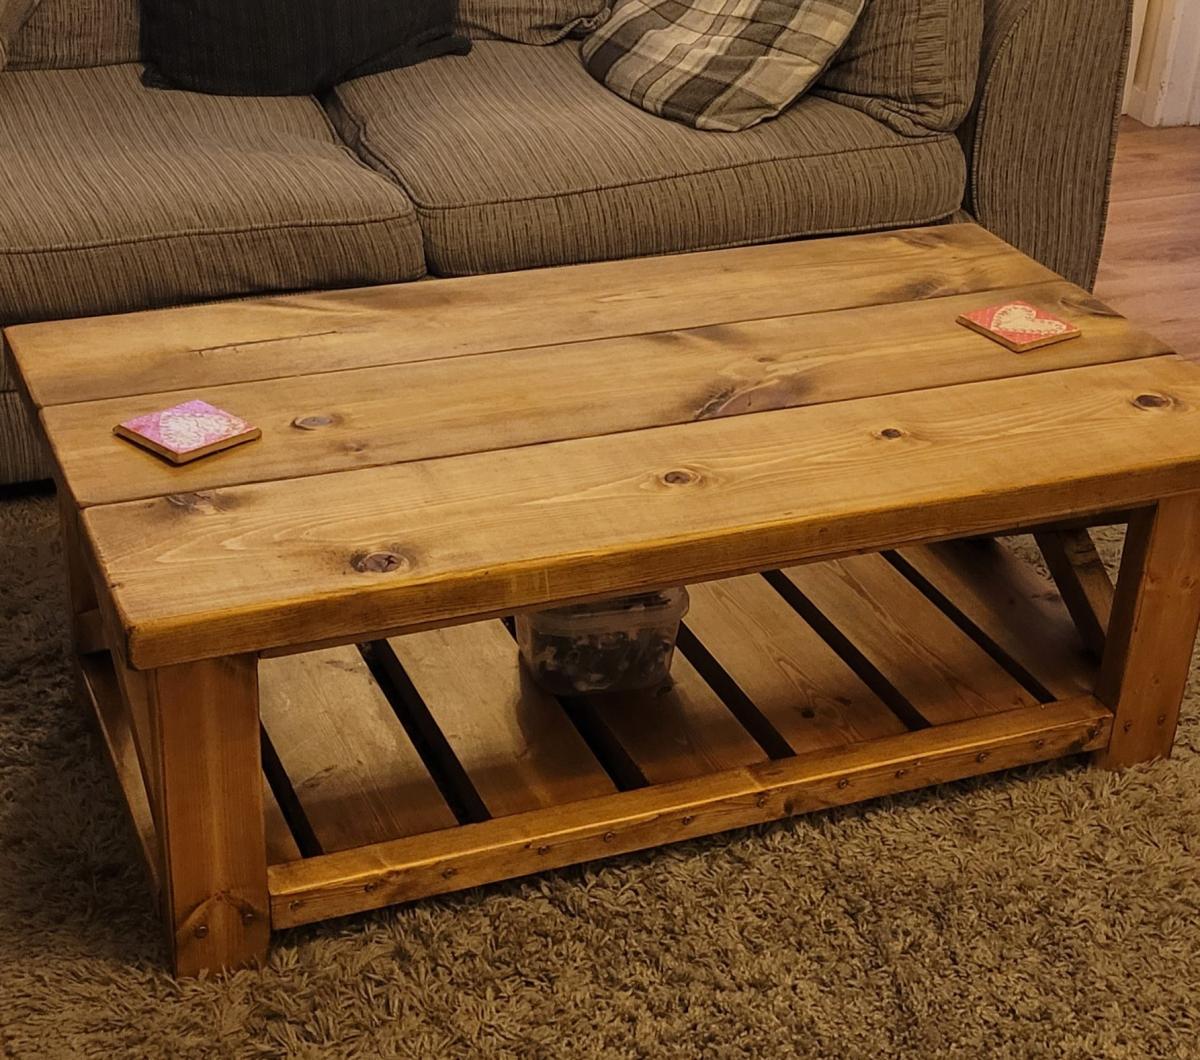
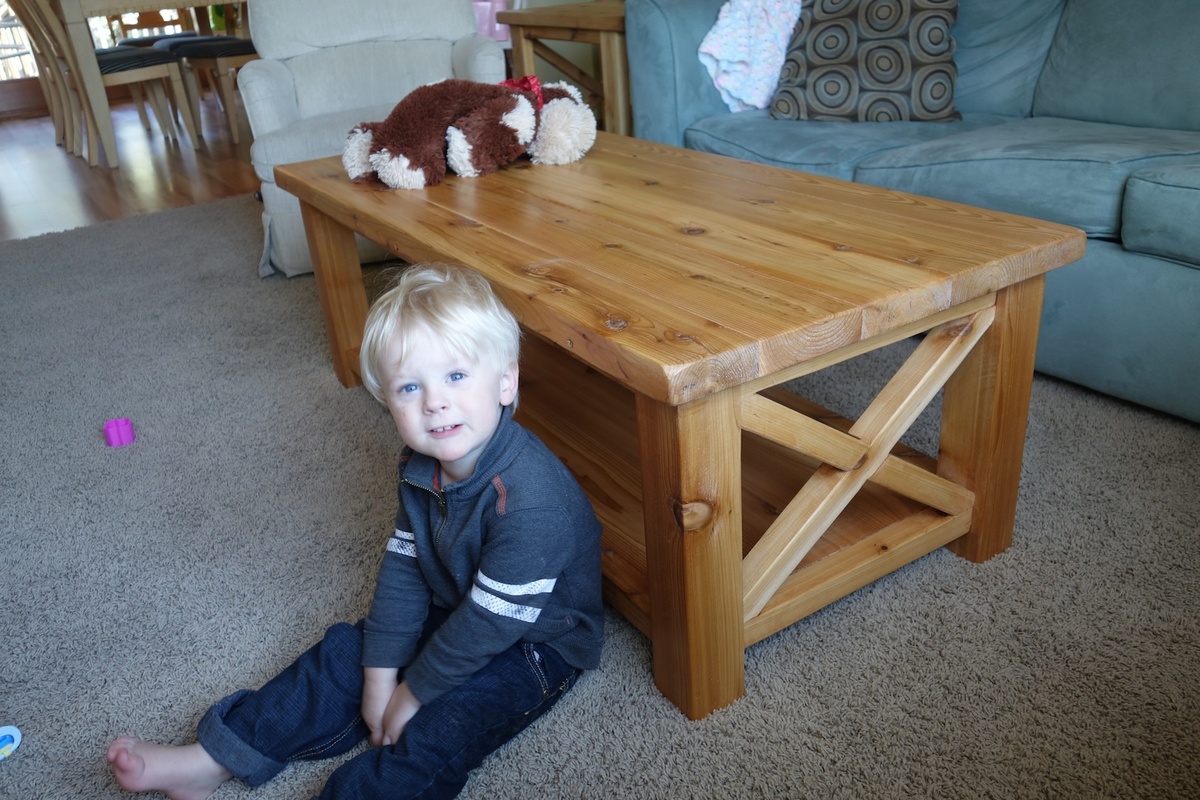
This is my first real piece of furniture I've built. We decided to build it in Western Red Cedar because our local home improvement store had a good selection of it. It was pricier than pine, but it holds stain really well and is really beautiful.
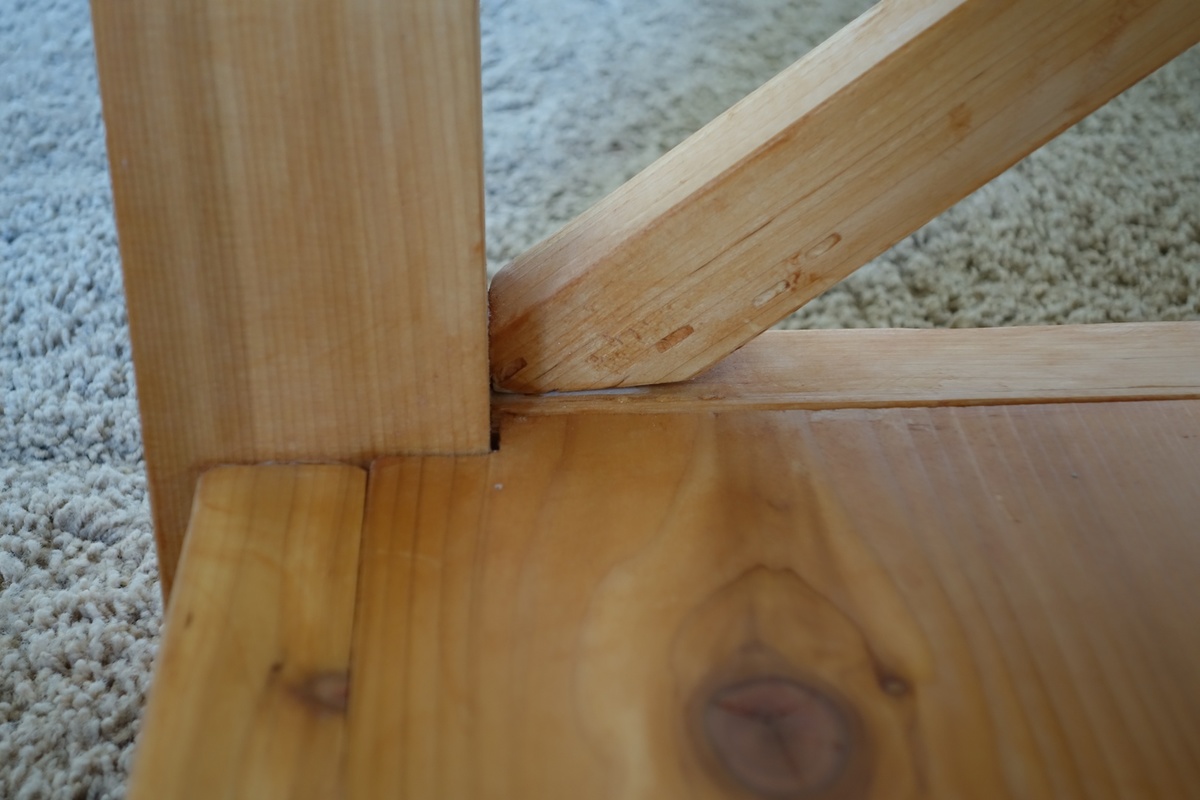
I modified the plan and bought a 4x4 for the legs, then I cut that down to 3" x 3" exactly with my table saw. That way it doesn't look like a standard cut of wood, but something more custom. As a result I had to put corner notches in my bottom piece so that it would fit in with the legs. That was tricky to do, but would have been easier if I had a jigsaw
I made a few measuring errors and had to correct it by trimming down the table top so there was only an inch overhang on the edges. So this is actually a few inches less deep than the plan called for, but it worked out ok I think.
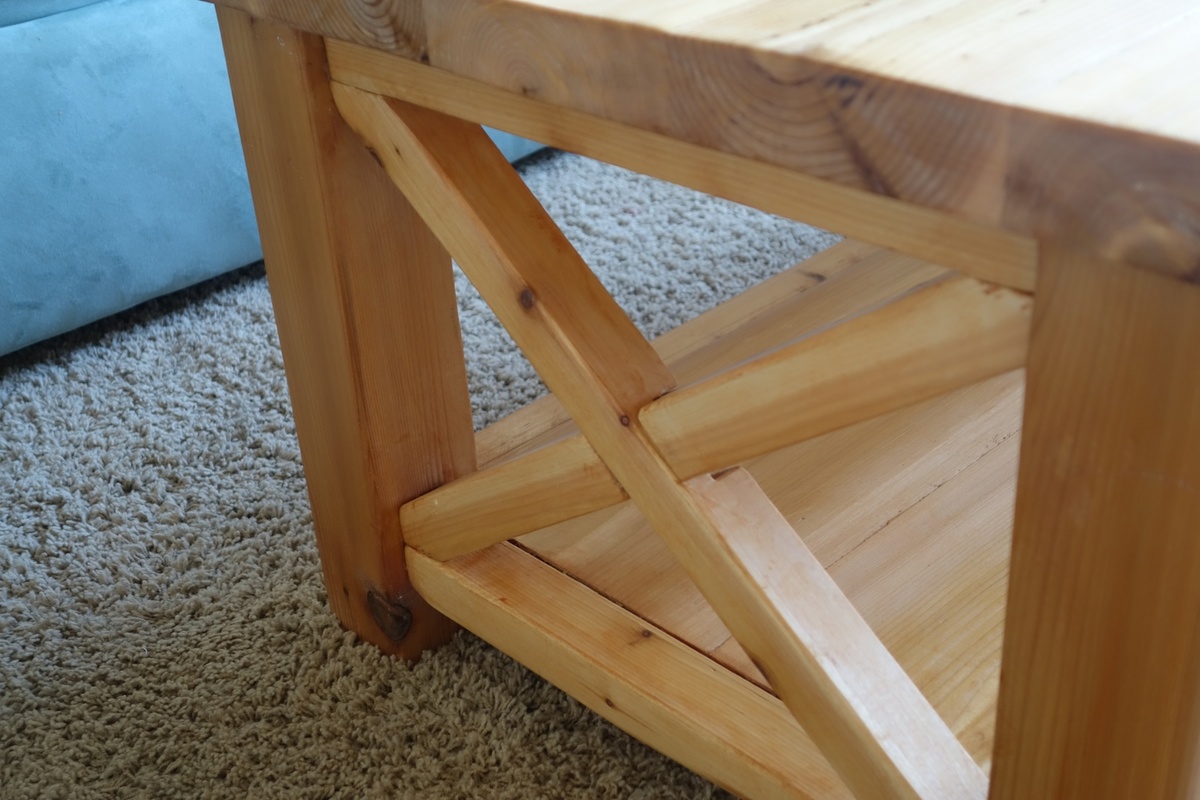
With the X's I laid them on top of the legs and traced a line to cut rather than trying to cut an exact miter. I also traced it so that I'd cut a bit off of the top and side of the corner so that it fits in nice and snug on both edges.
I also traced the intersection lines. Then I set my table saw (don't have a circular saw) to 1/2 an inch and just cut out several notches in between the intersection lines so the to X pieces could overlap each other. A "halved joint" I believe it's called.
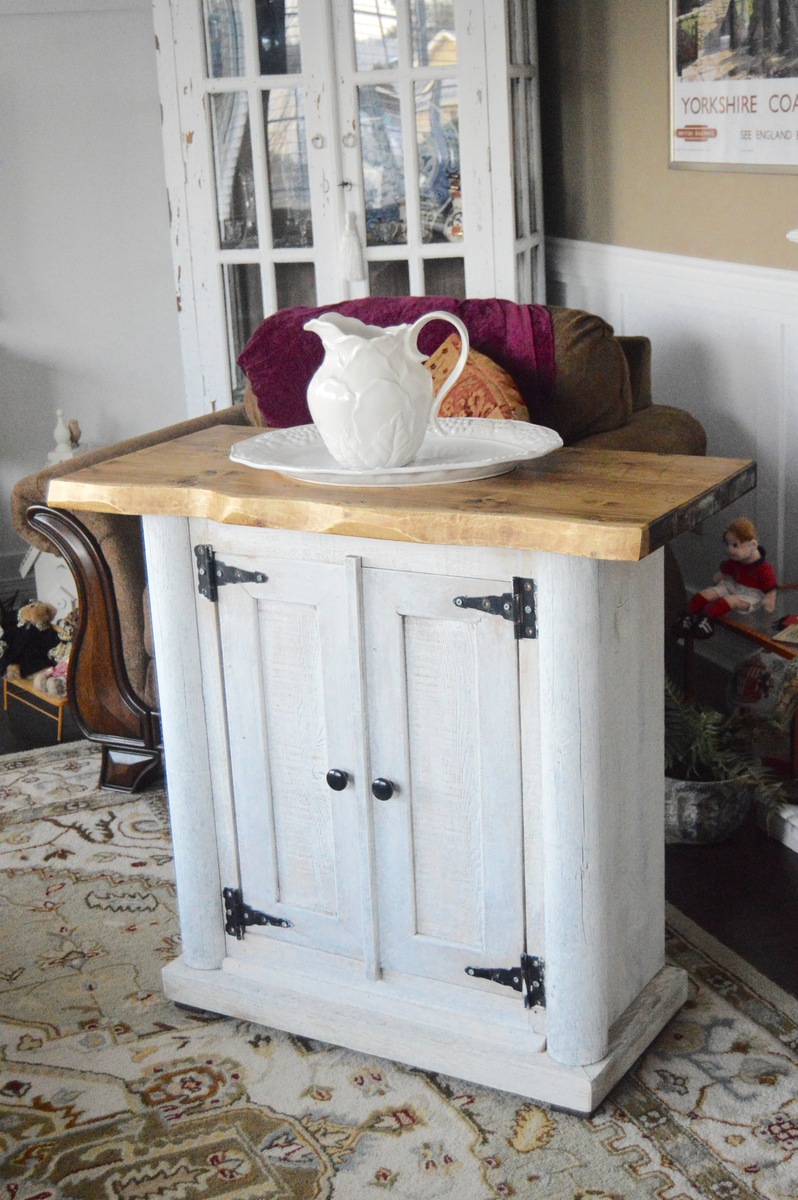
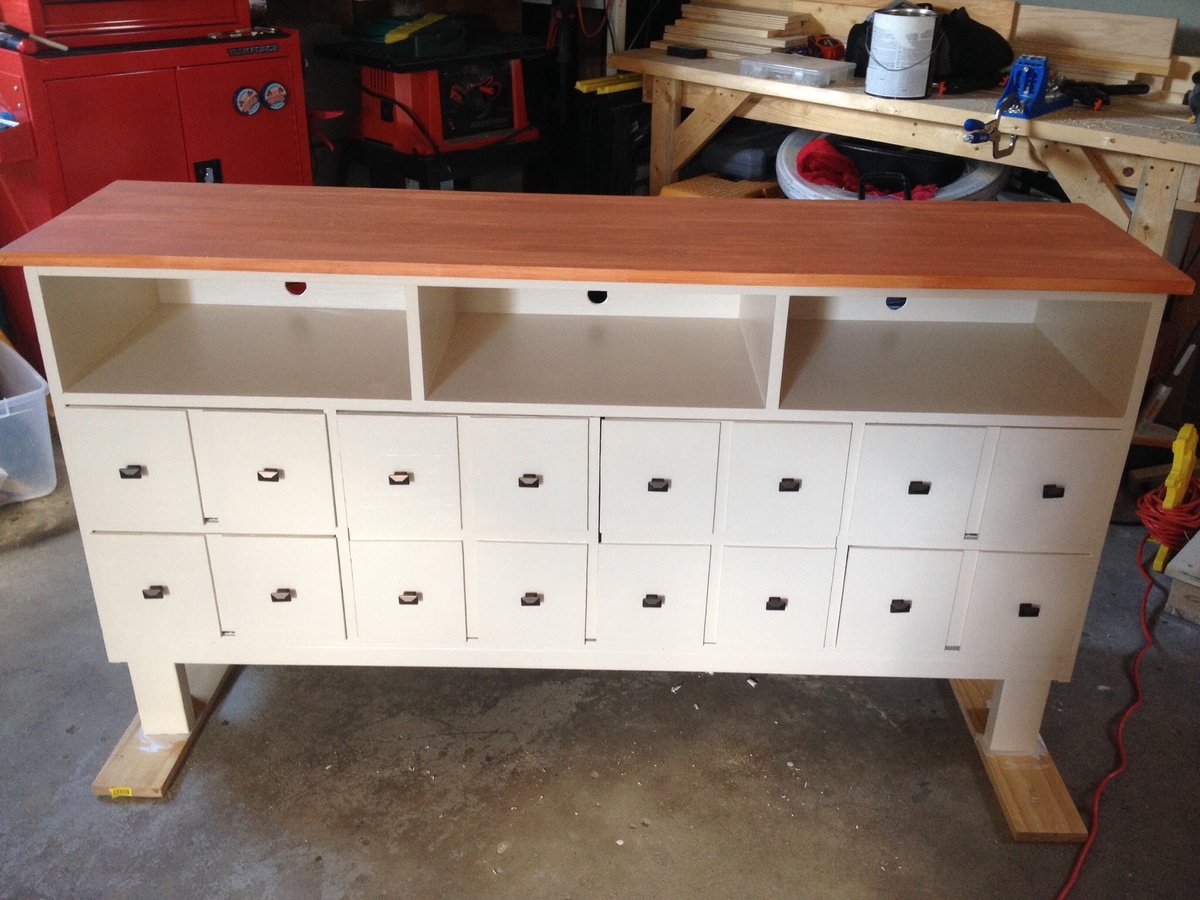
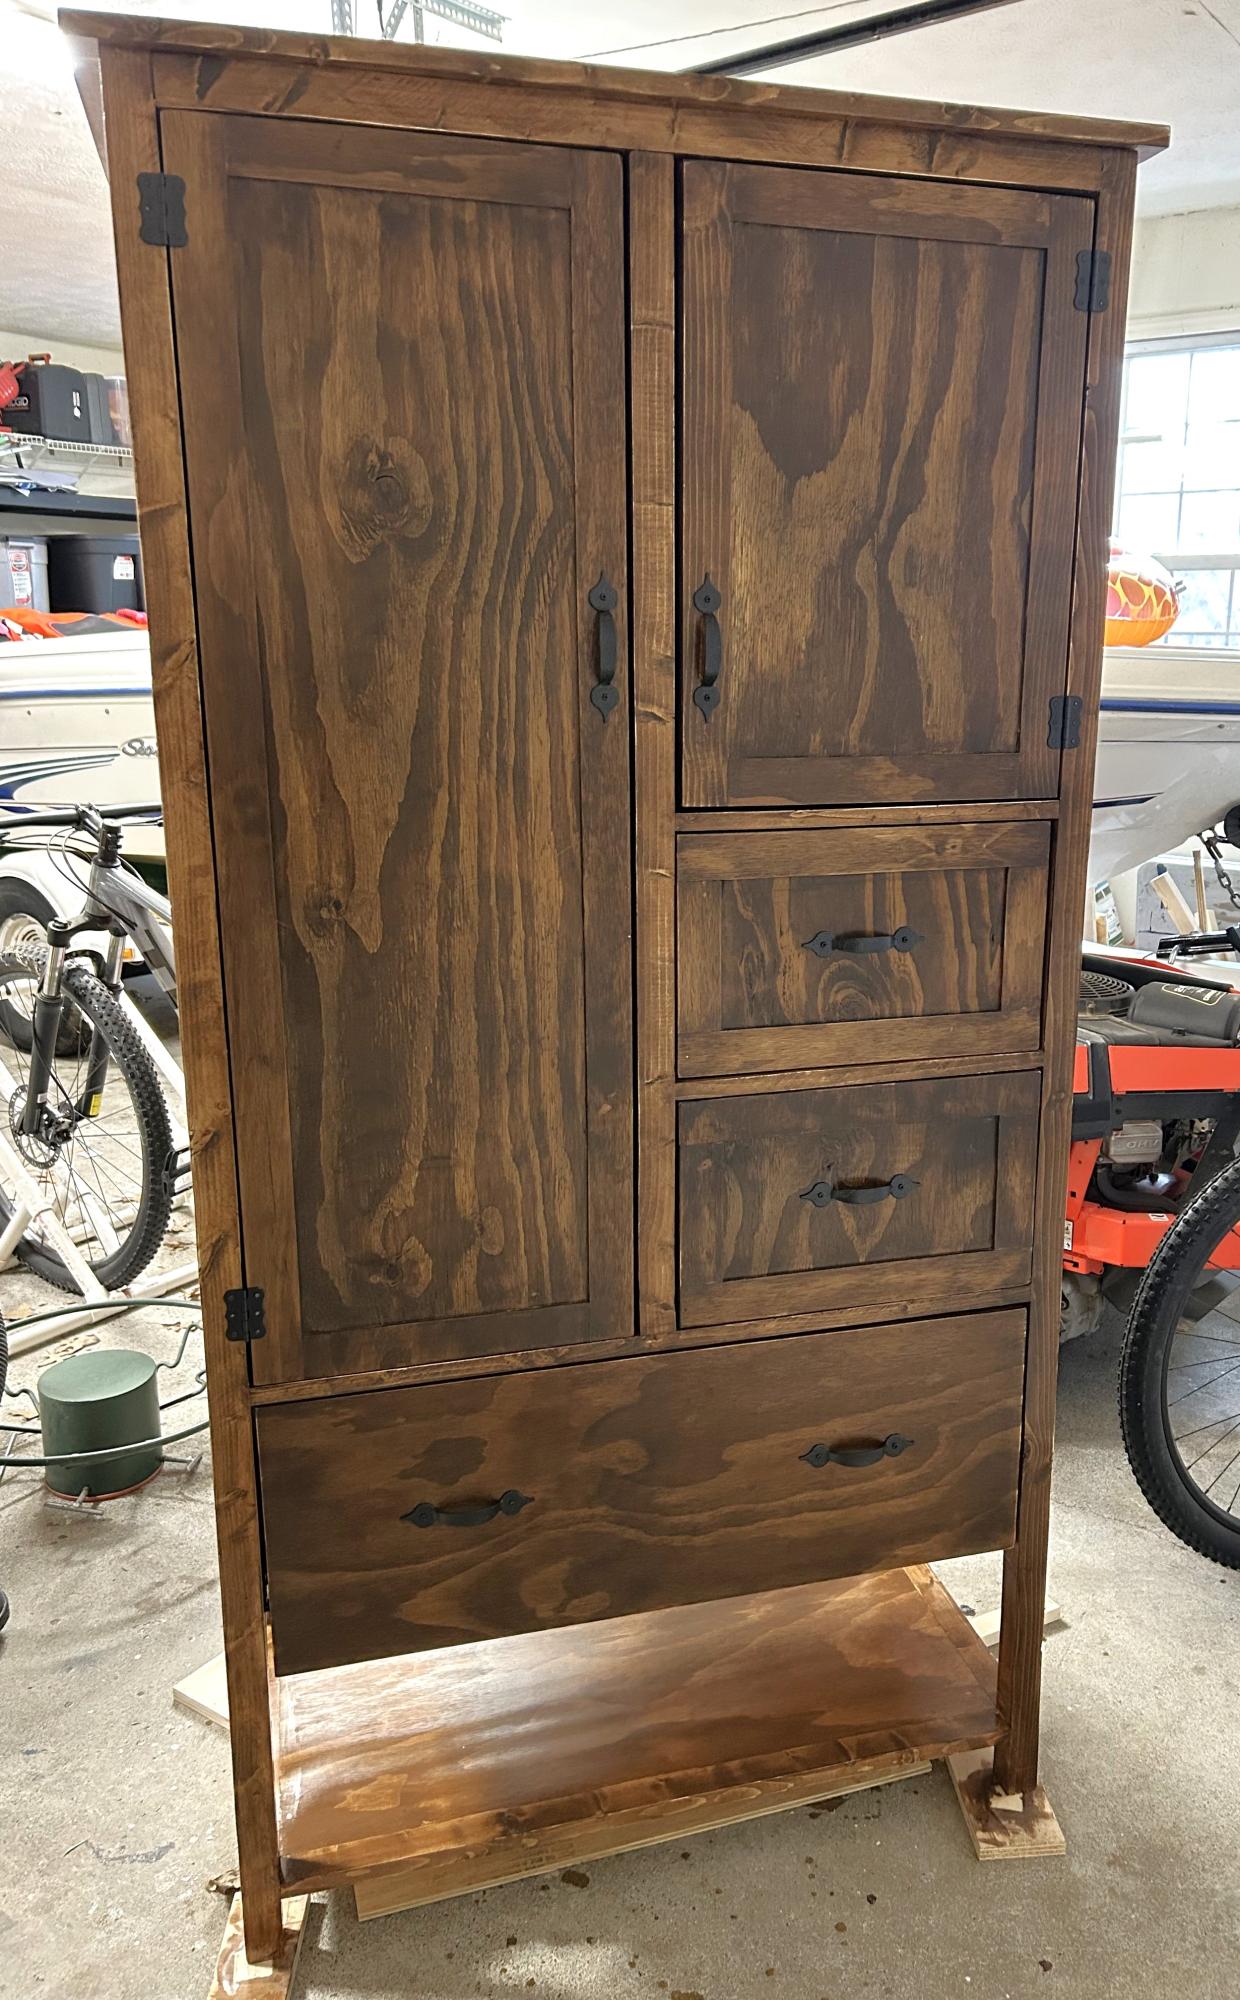
A cabinet that I built from inexpensive material. The top is construction grade 2x6 with the front edge cut with a jigsaw set on an angle to form a faux live edge, biscuit join with pocket screws from the underside to add other 2x6 boards to obtain the depth required. After sanding I masked off about 1 inch in from the live edge with a wavy edge before staining then removing the masking tape to apply varnish. I have replaced temporary screws in "gate hinges" with better quality screws since this photo was taken.
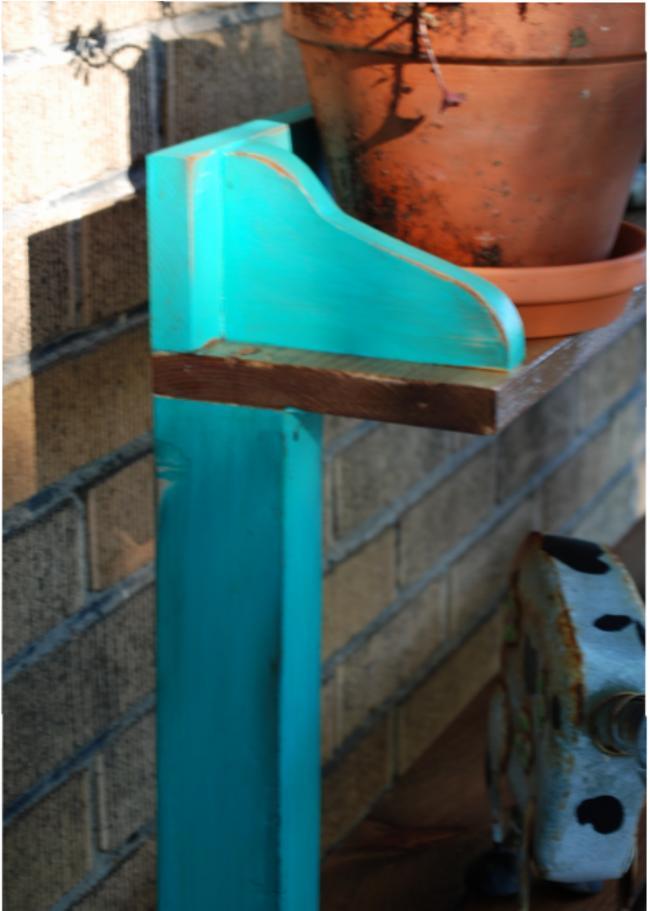
The cabinet was built from new cedar fence boards & the rounded corner pieces at the front edges are round fence posts with a 1/4 notch cut out to wrap around the corner.
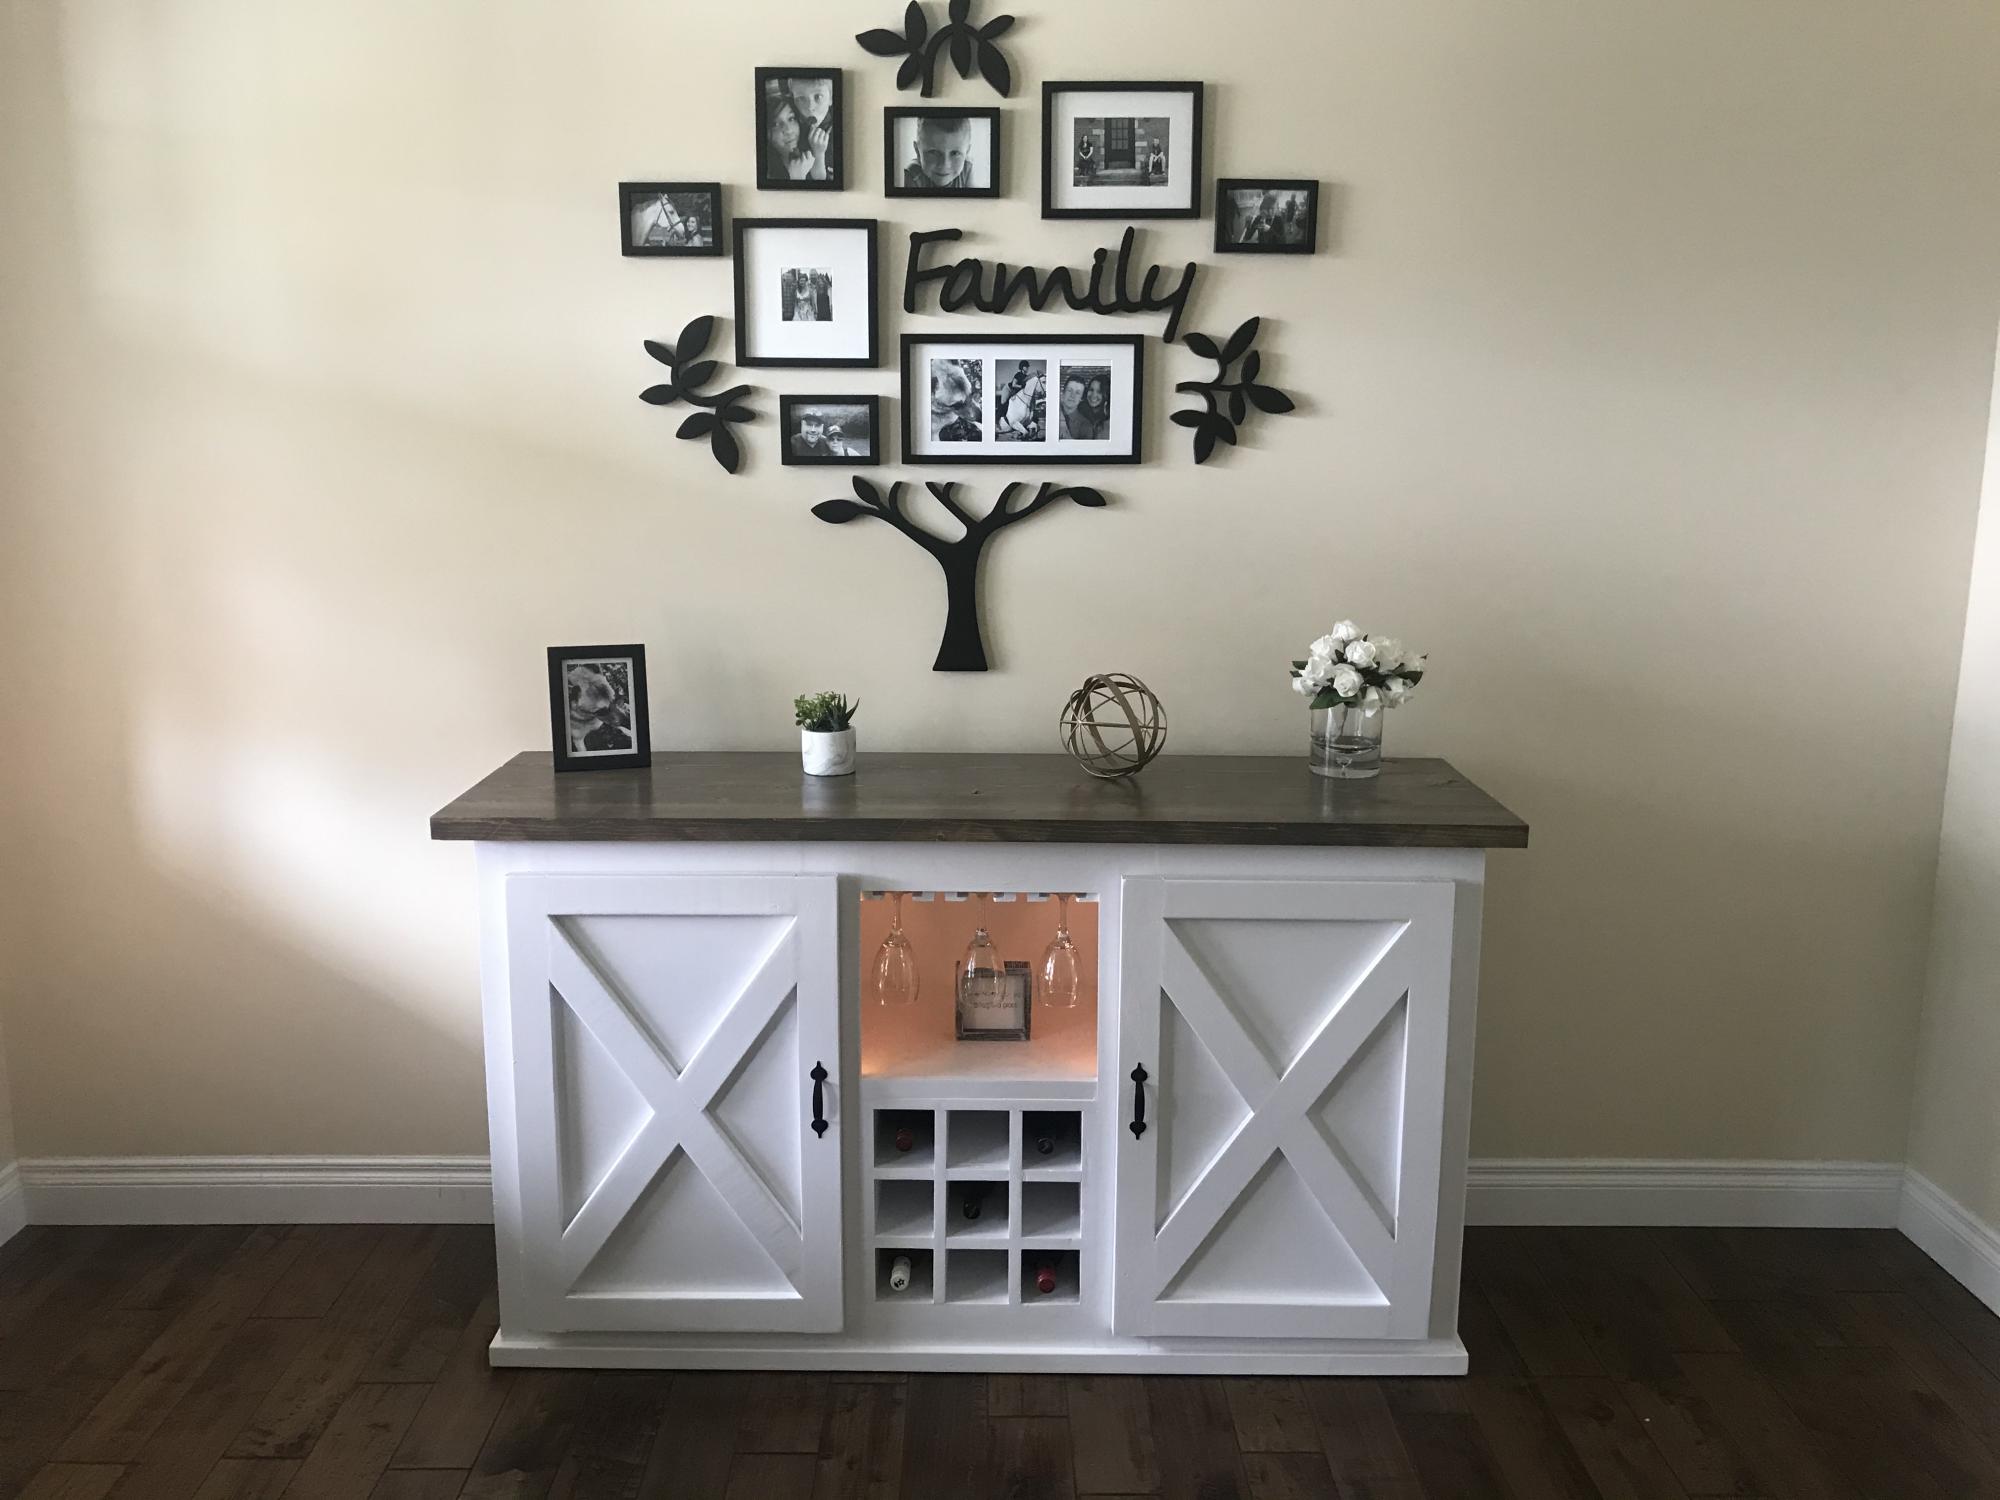
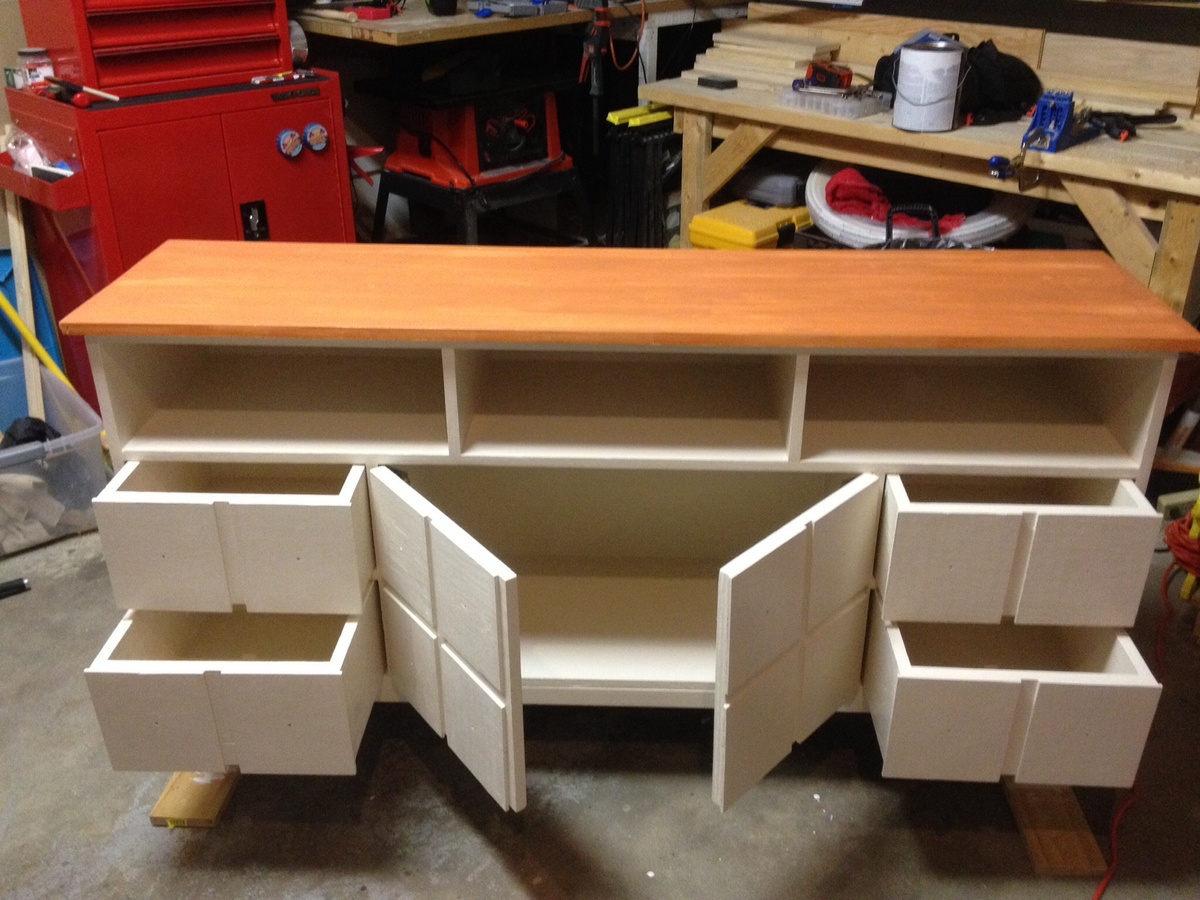
Modified the plans to shorten the console. Used hinged doors because of the cost of the sliding door hardware. Added wine rack and wine glass holder. Added multi colour LED light strips to the top centre.

This project was very much needed in my house! My daughter loves playing dress up and is obsessed with all things pink and princess-y. It has been driving me crazy that she doesn't play dress up as much as she wants to, though, and the reason why is because we didn't have a good way to store/display her things. Up until we built this it all stayed in this storage bin, but since you had to pull it out in order to even see it, she never played with it. So once I saw this plan I knew it had to be ours. I'm so glad we did it! It turned out beautifully!
My husband built it (his second woodworking project), and, like his last project, he did a great job. No complaints or issues at all. I primed (although I doubt that was necessary) and painted it. I actually did all of the painting other than the letters before he built it, and that turned out nicely. My only complaint was the letters. I bought some stencils from Hobby Lobbby and used a smaller brush to paint them on. For one thing I wish I had of been more careful and paid more attention to how straight the letters were. For another, although you can't tell unless you're up close, there are spots where the paint pooled up under the stencil. My husband sanded it down as much as he could without messing it up, but it's still there a little. I'm no painting expert so I'm not sure how to go about doing this without having that happen. Even with those things, though, I'm so happy with it, and my daughter has been happily playing dress up all week!

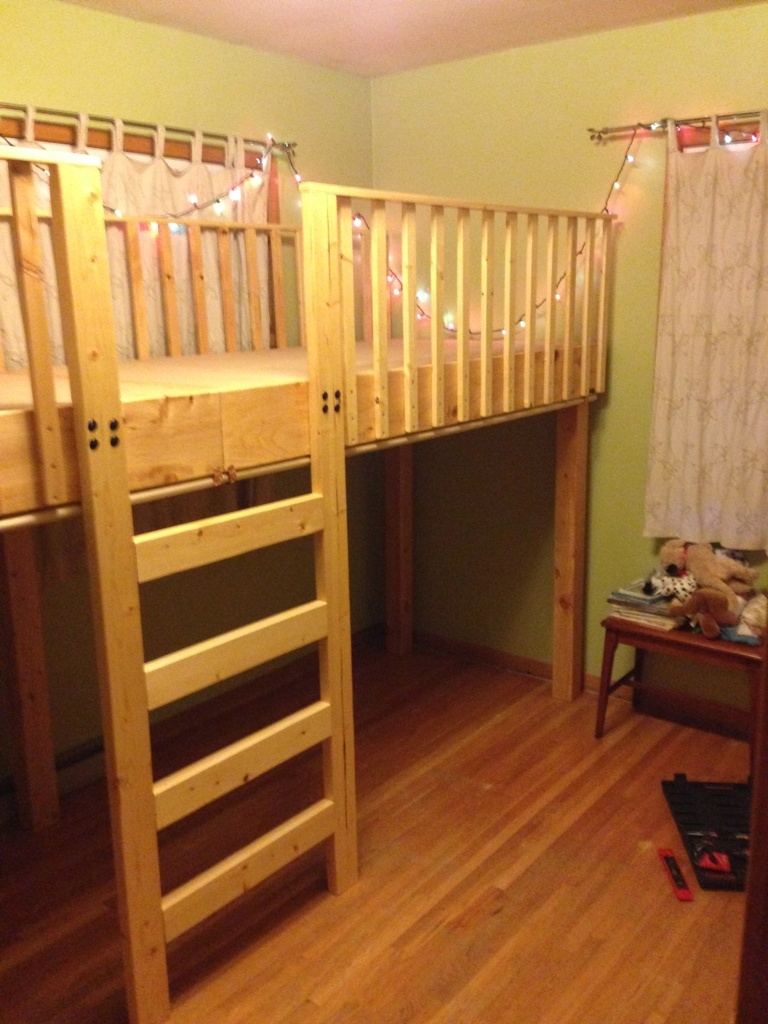
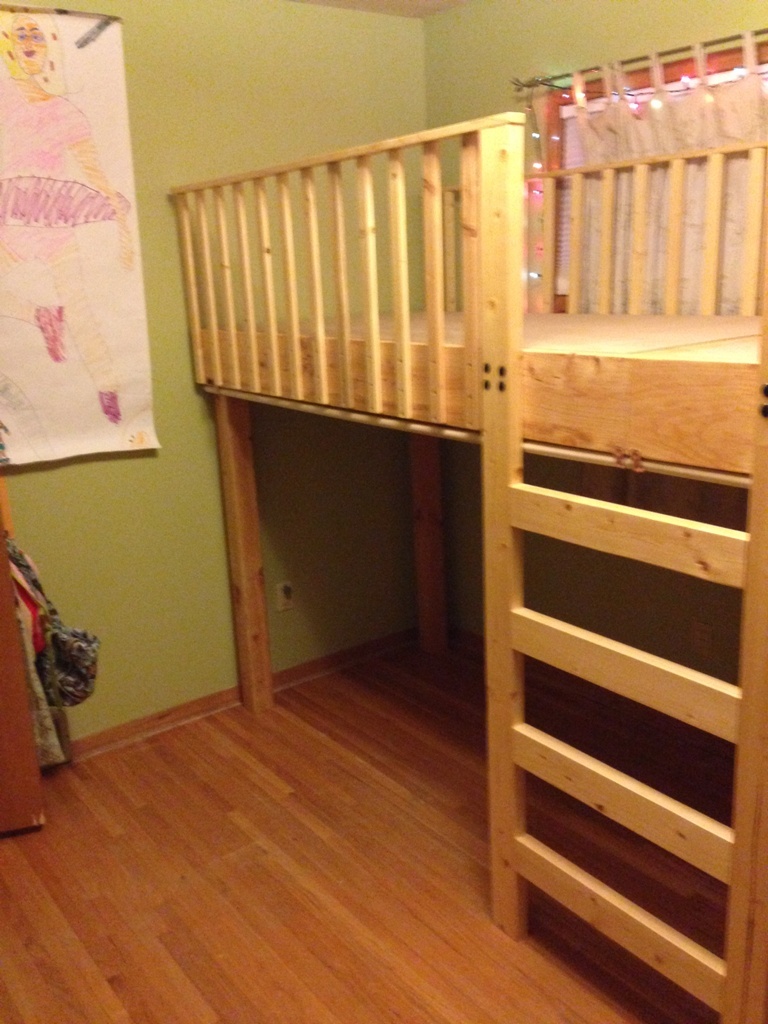
My sister asked me to look into building a double loft bed for my two nieces, since the younger was outgrowing her bed and found a plan for one from "The Hand Made Home". http://www.thehandmadehome.net/2011/08/how-to-build-a-loft/
I didn't love how their plan had a rope ladder and no center support in back, so I changed that up. Took around 50 hours work time total, but was a lot of fun and both of my nieces totally loved it, so it was well worth the time and energy! :-)
This was my first project and was a great one for someone just starting out. I really enjoyed the building part but was disappointed in how the stain turned out. I stained it with sunbleached by varathane but then made the mistake of finishing it with an oil based polyurethane which turned the color slightly green.
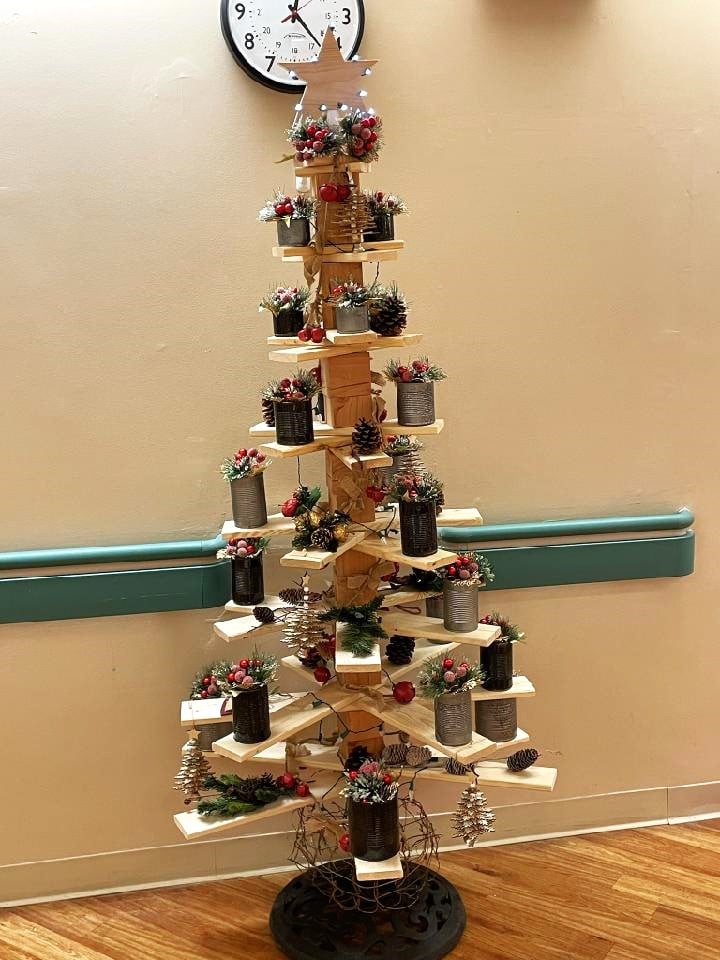
Christmas tree for hospital when my wife works. We used 1x4 lumber with 4x4 spacers. She painted tin cans and put greenery in them and we cut a star for the top with a scroll saw.
Wendell Londsey
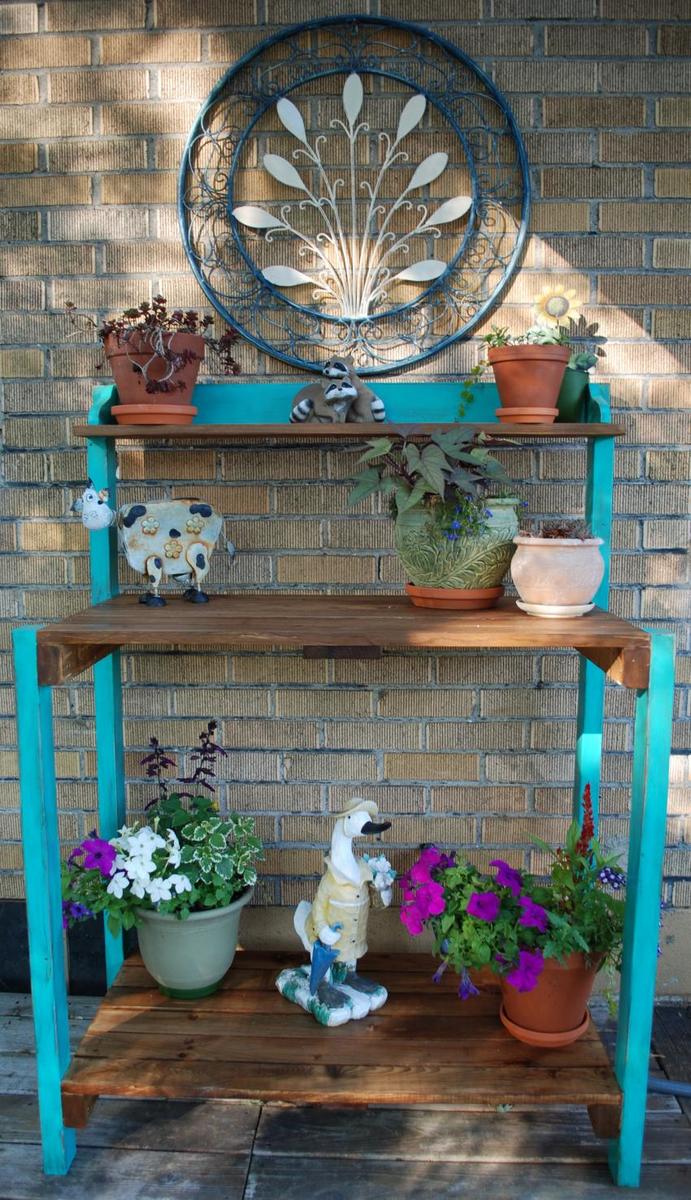
This is a very simple weekend project, it took longer to put the finish on than to build it. It is made out of spruce and pine shelves. The finish is done with homemade vinegar steel wool stain for the shelves and paint for the legs. We distressed the legs by sanding and wiping stain in some areas. Finished with 3 coats of exterior poly.
Sun, 07/29/2012 - 15:37
I love the potting bench that you want to build from the Southern Living magazine.
How can I get my hands on those plans?
Built straight off the plans except I added drawer slides.
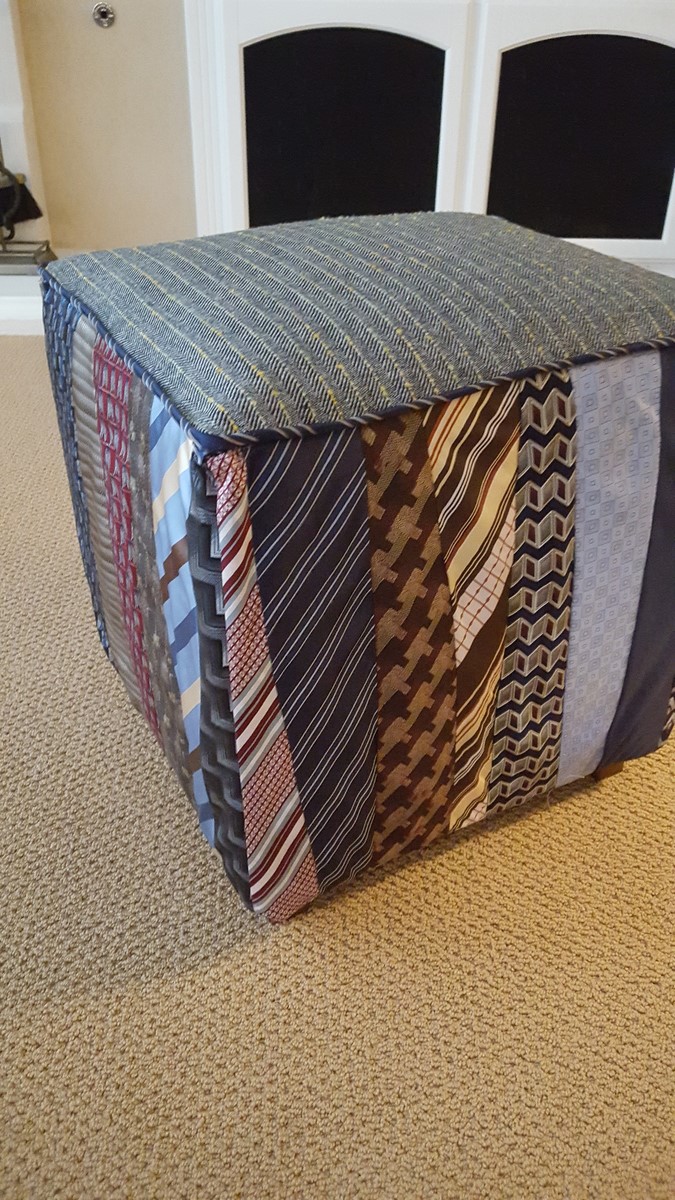
Use those ties and a suit you aren't using anymore now that you are retired! Sit back and relax!!
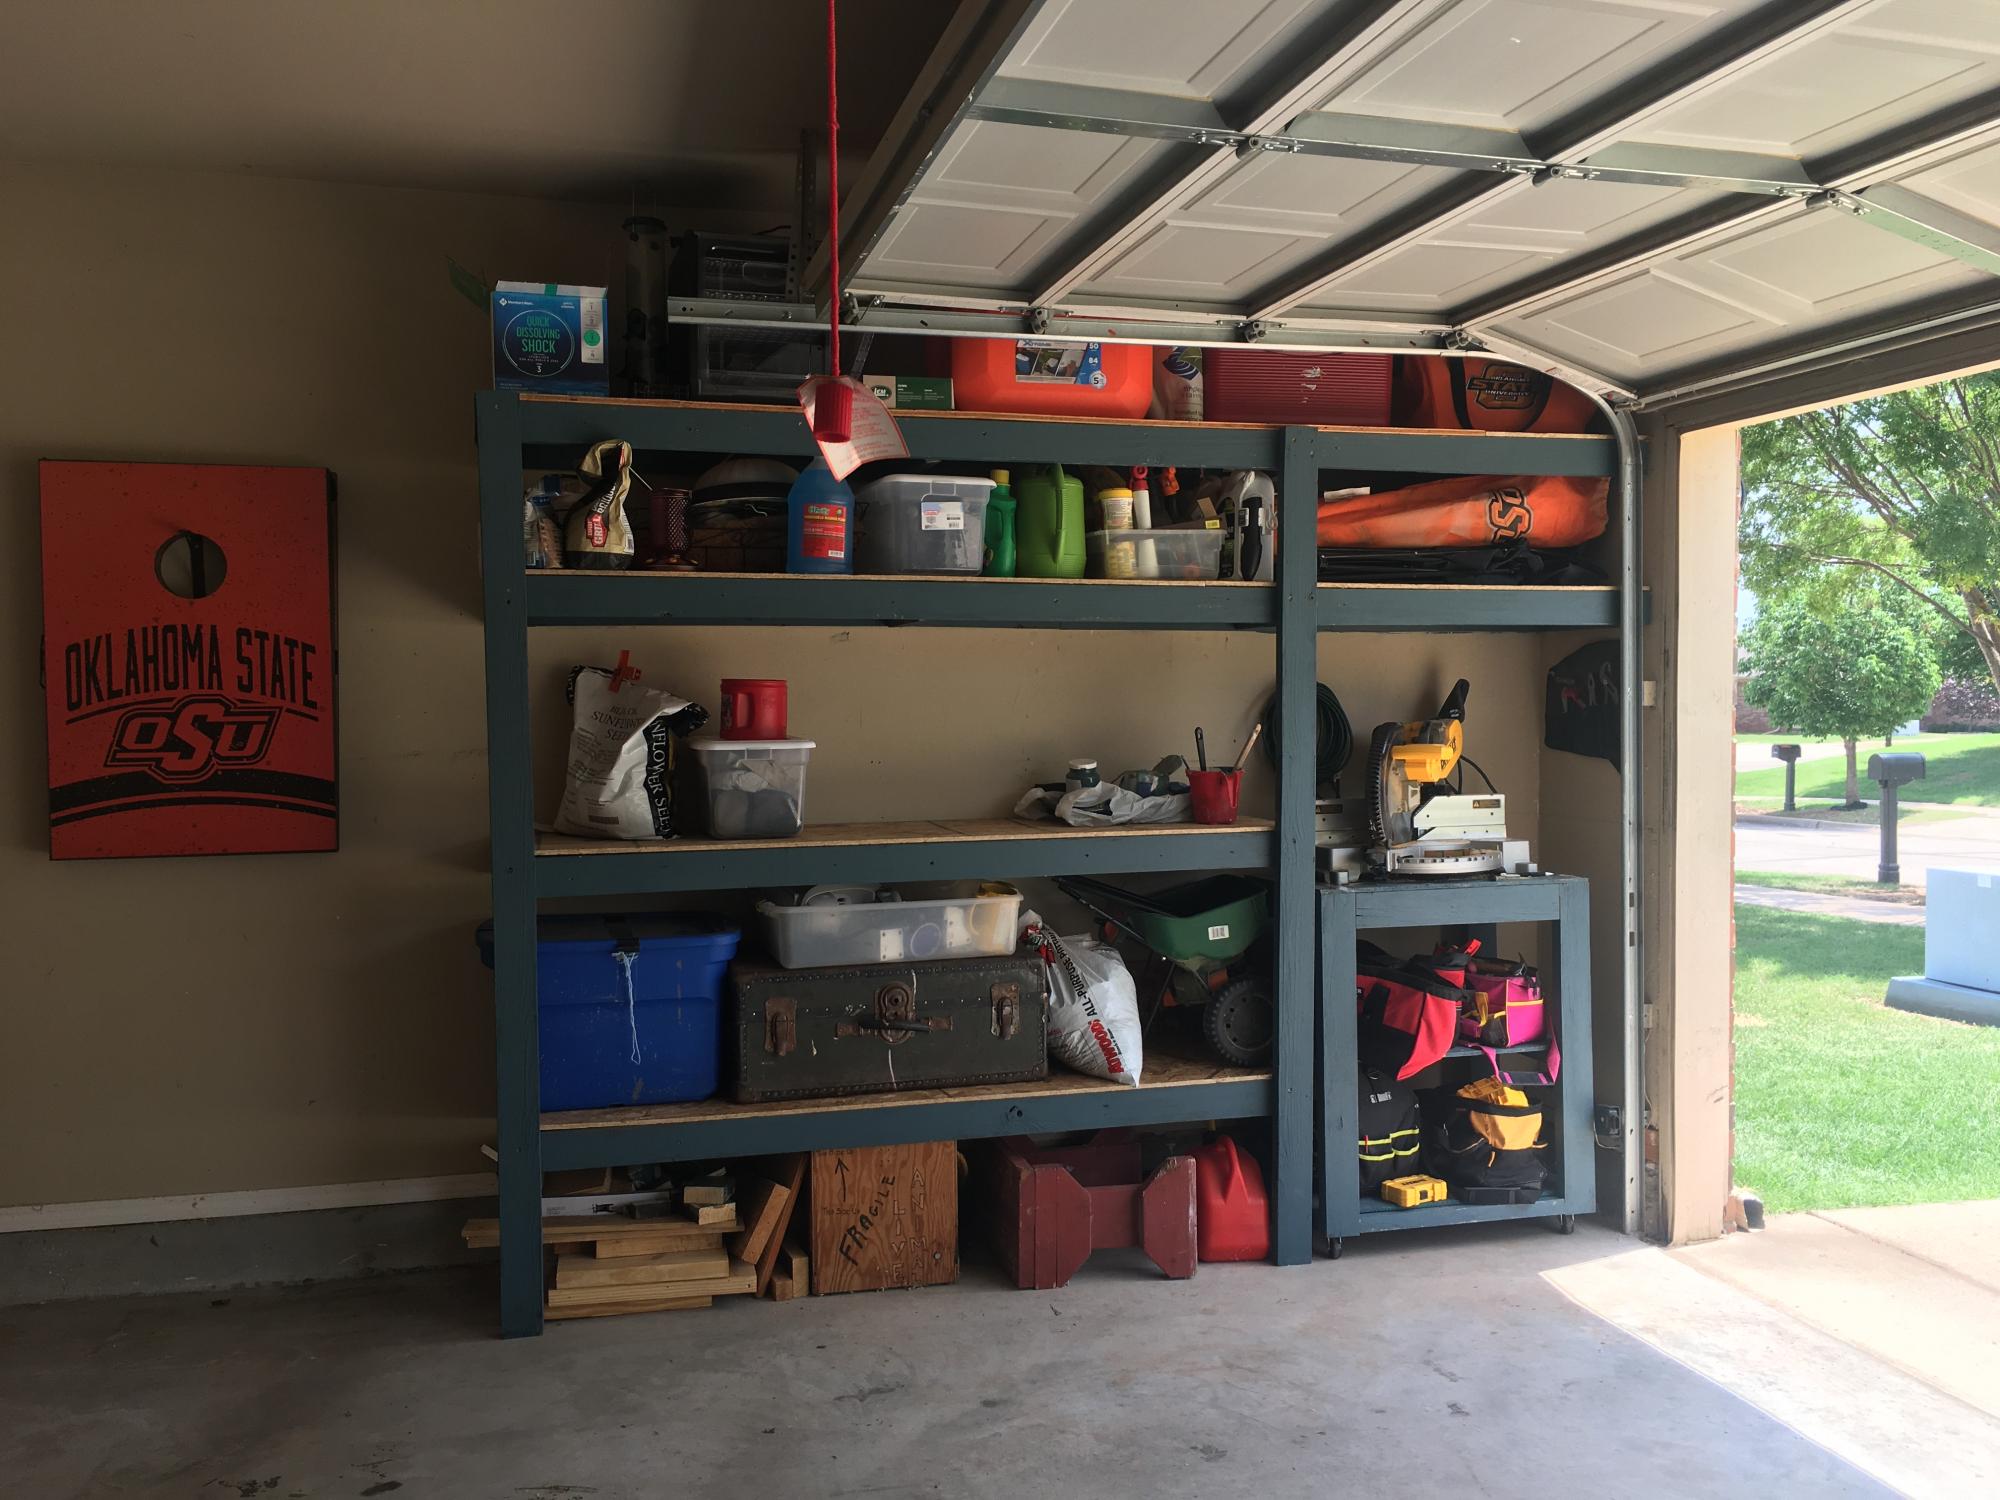
I based these plans off of the garage storage shelf plans and built a cart for my miter saw that is on wheels.
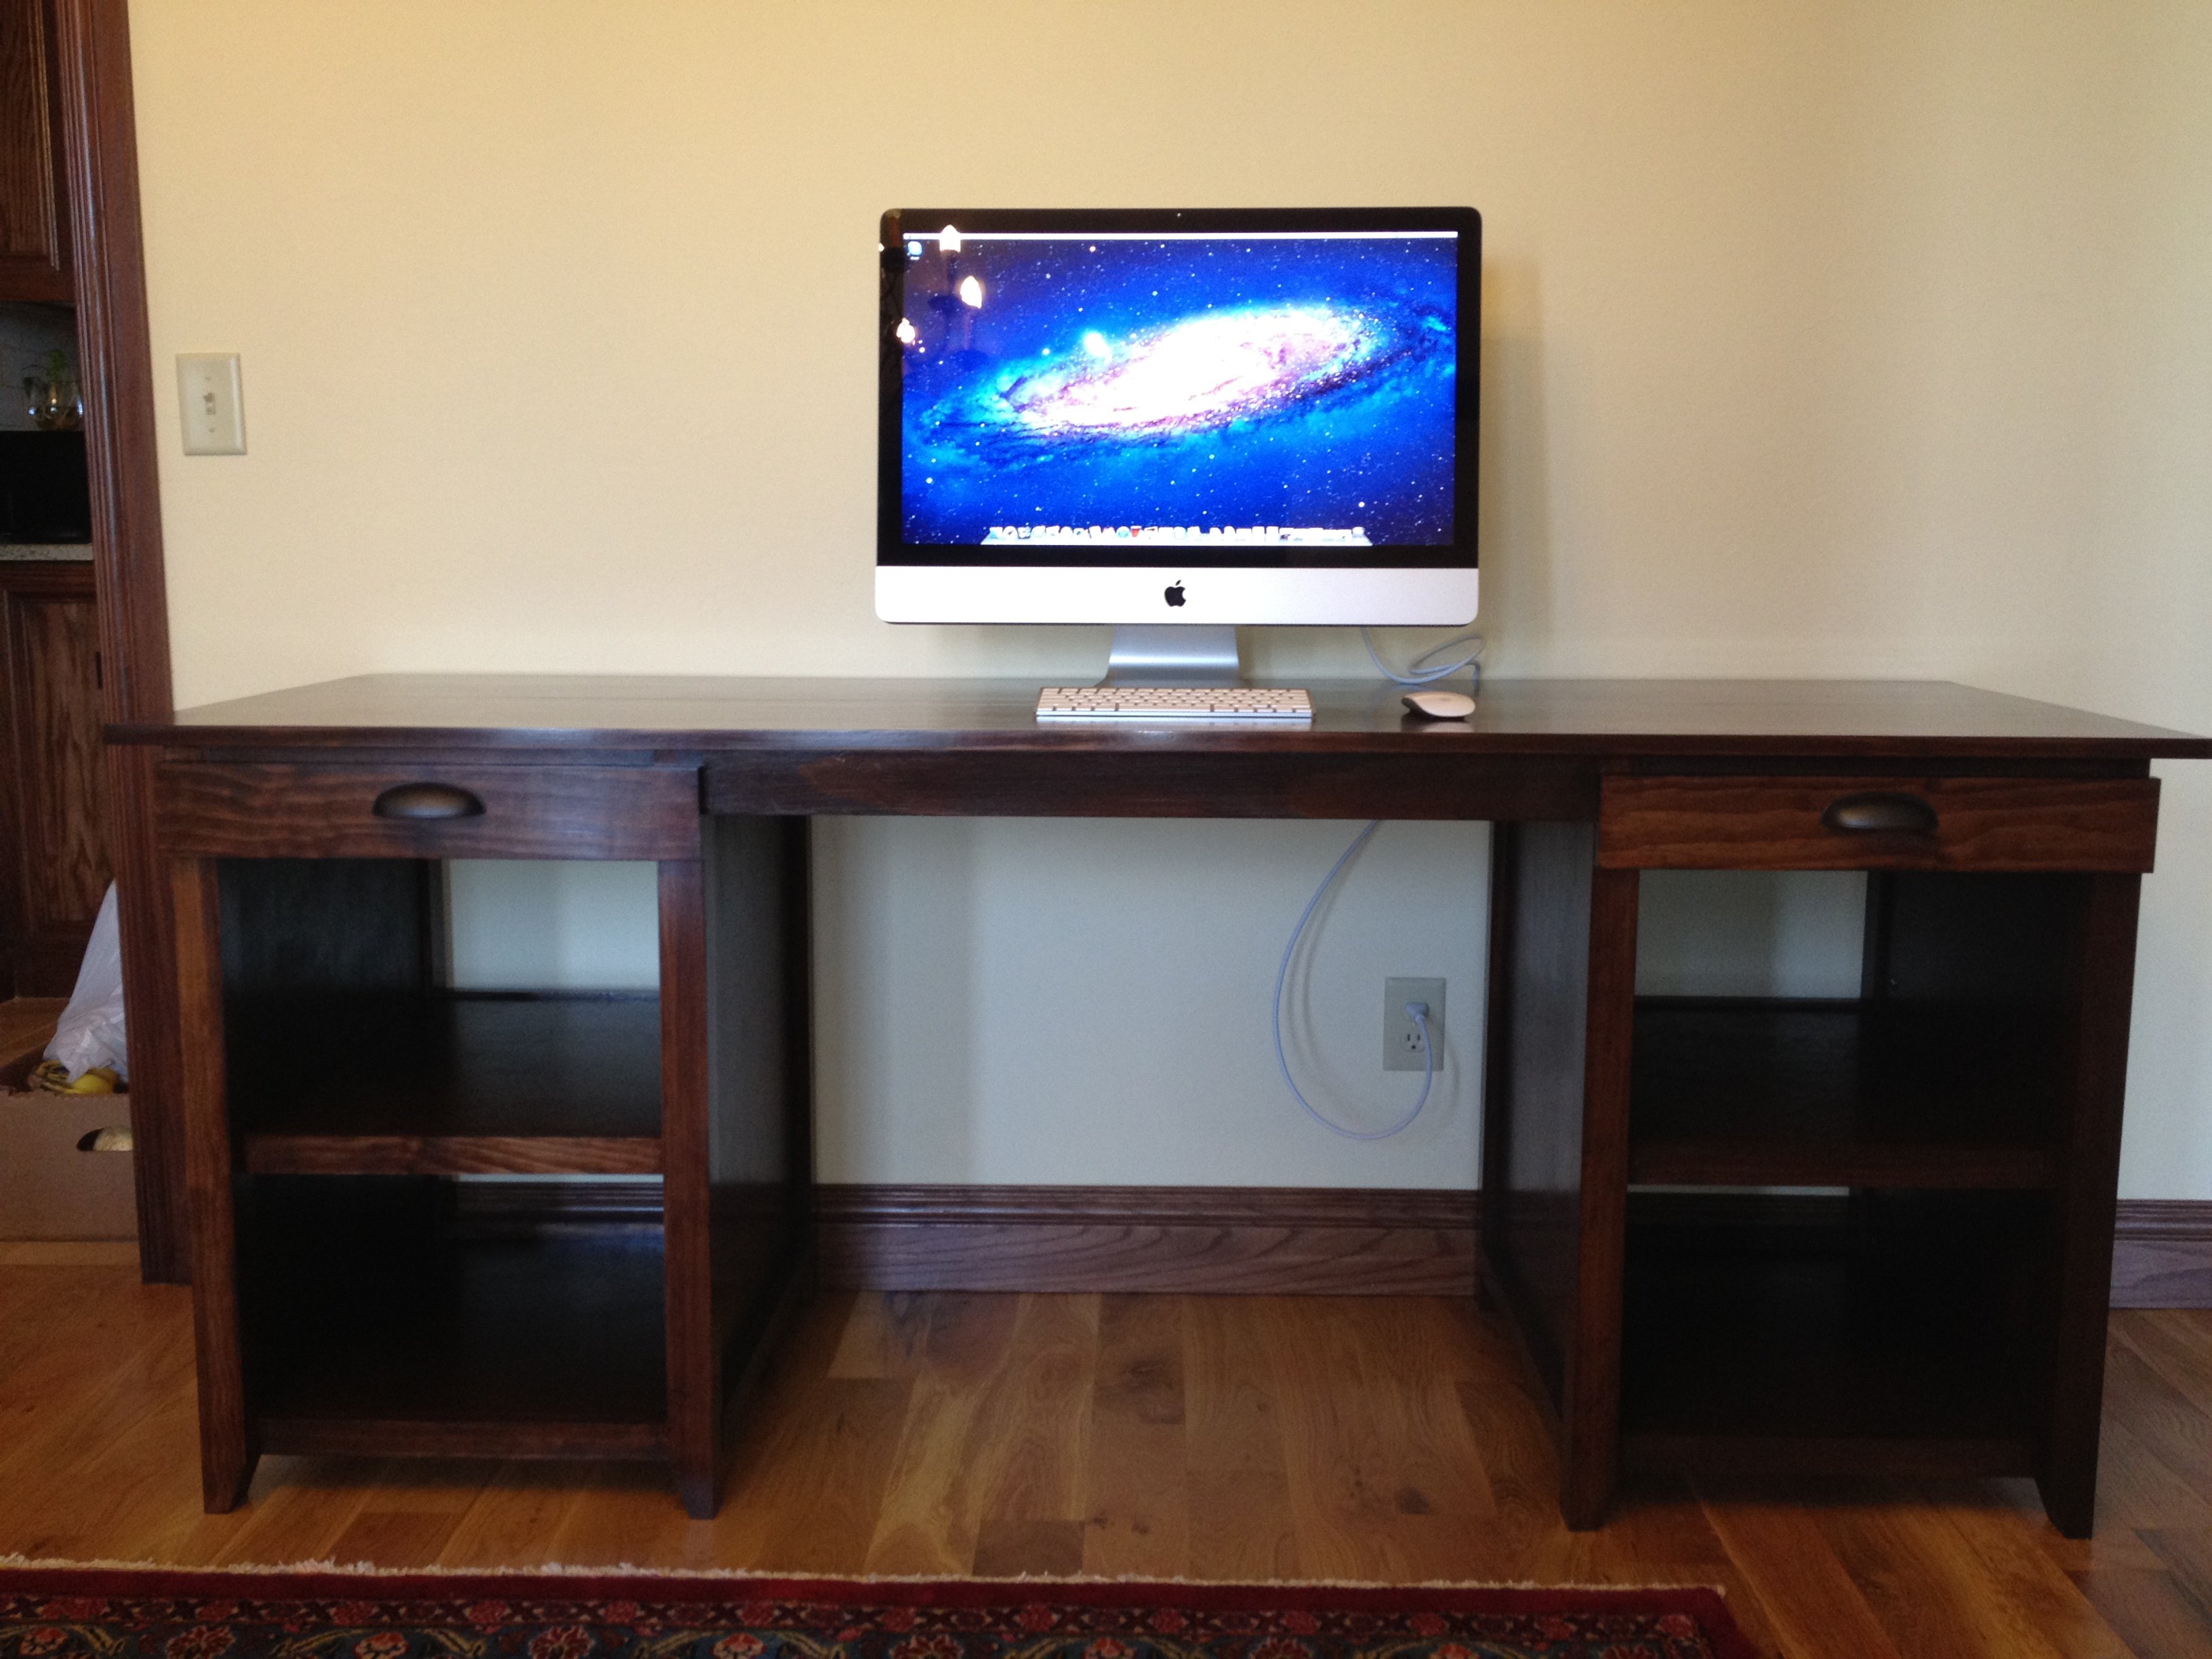
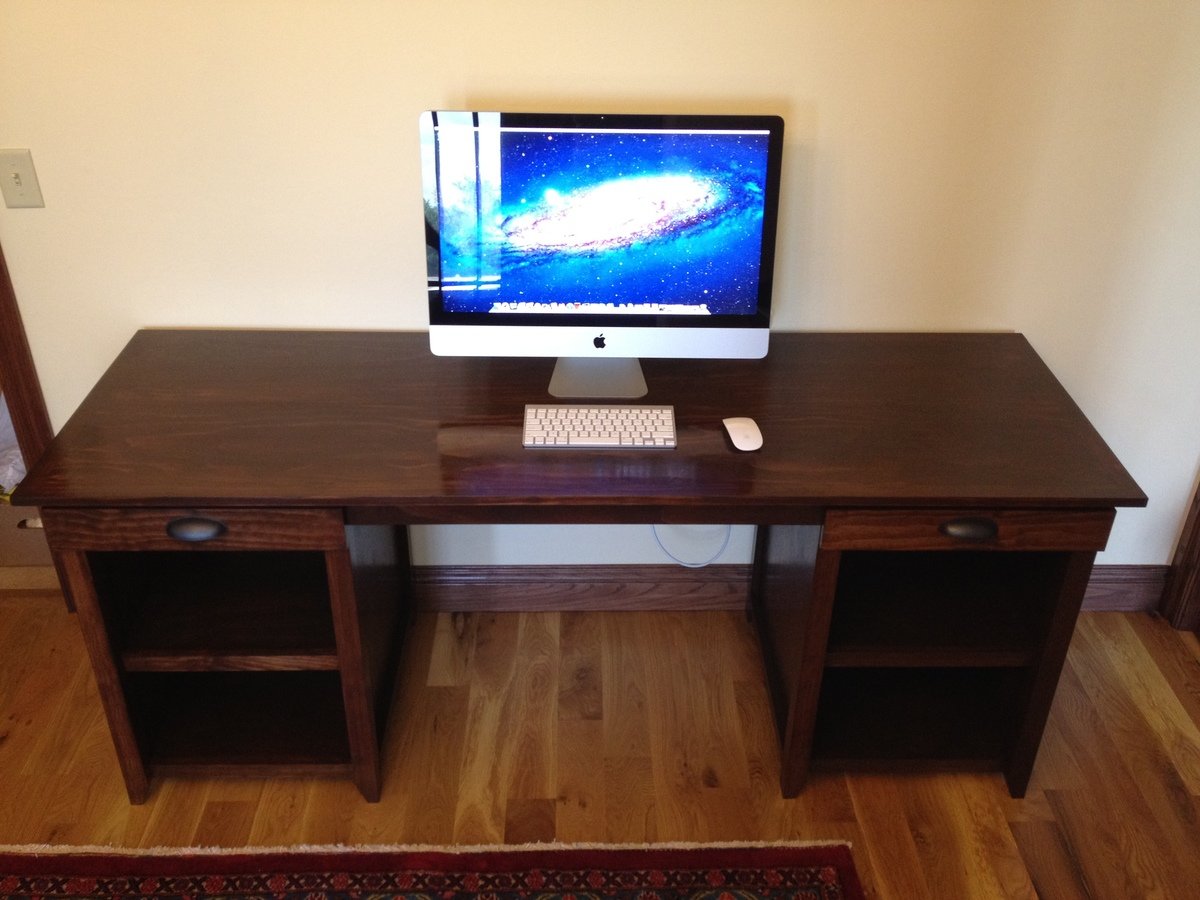
We made some alterations to Shanty2Chic's design. Rather than one side open we made two cabinets with drawers. It made it a little longer and deeper than expected but we are still happy with the desk.
We have a six month old baby, so we build during naps and when we can convince grandma to watch her.

Sun, 07/01/2012 - 16:21
Wow, this looks amazing! Looks better than what you would see at a furniture store, and the finish is so beautiful! Awesome job.
Wed, 08/22/2012 - 20:44
Ji,
If you are finishing soft woods, especially pine, it is woth the few dollars it costs to but some pre-finish wood conditioner. The conditioner will help eliminate the irregularities in stain color on soft woods. It doesn't really cost too much and it really does help eliminate blotches, streaking and helps get a more consistent color.

This was my first project! I love this site. My husband and I needed a work space we could share. I loved the width of the craft table so I extended it to the full 8ft of plywood available and added a support shelf. Voila! Table for two!


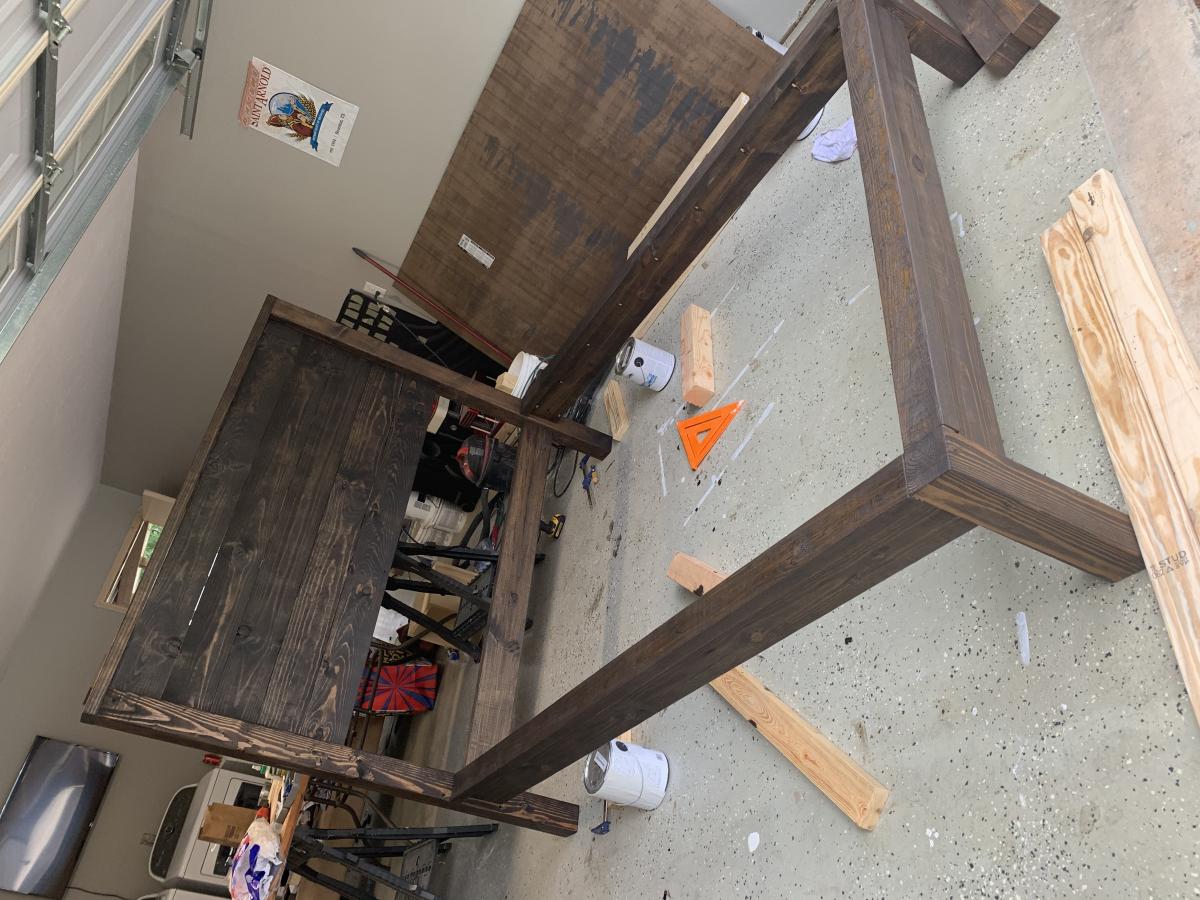
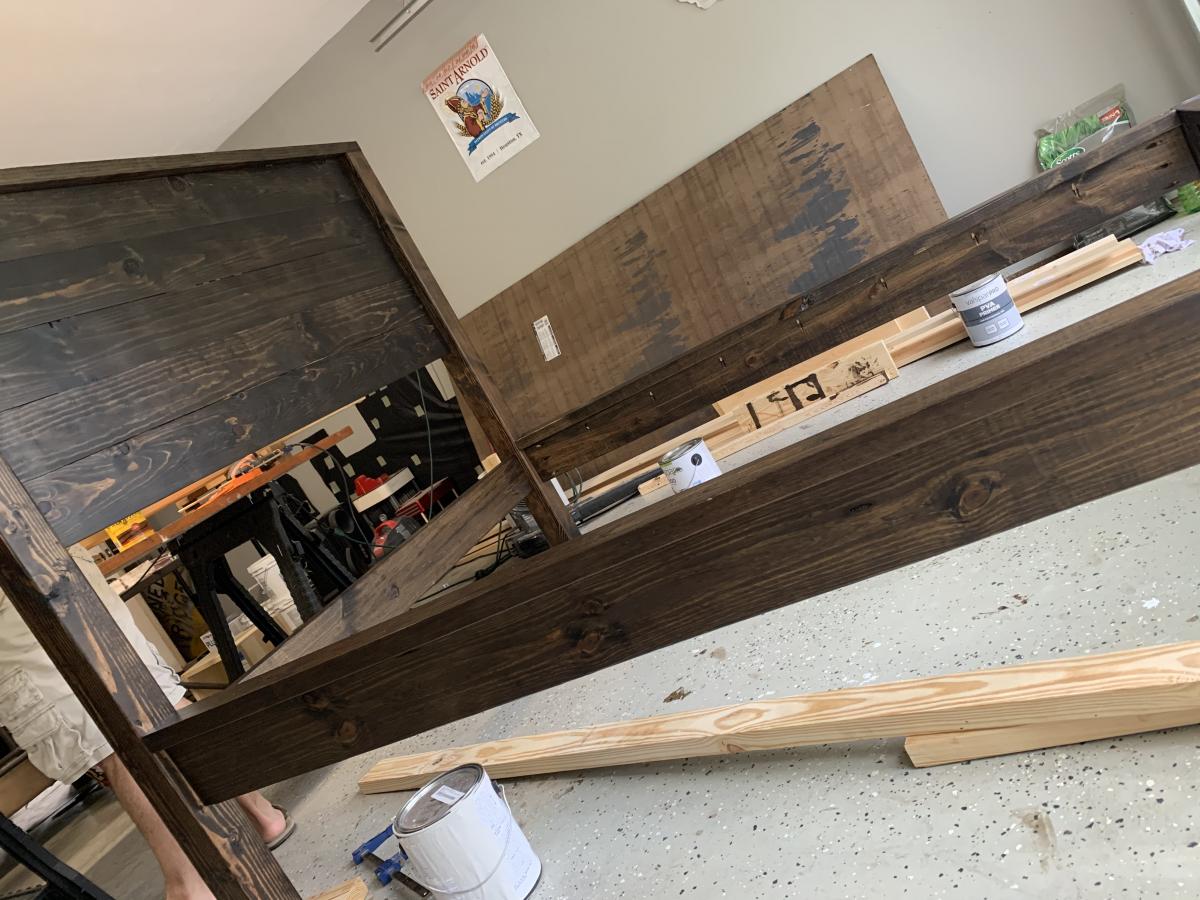
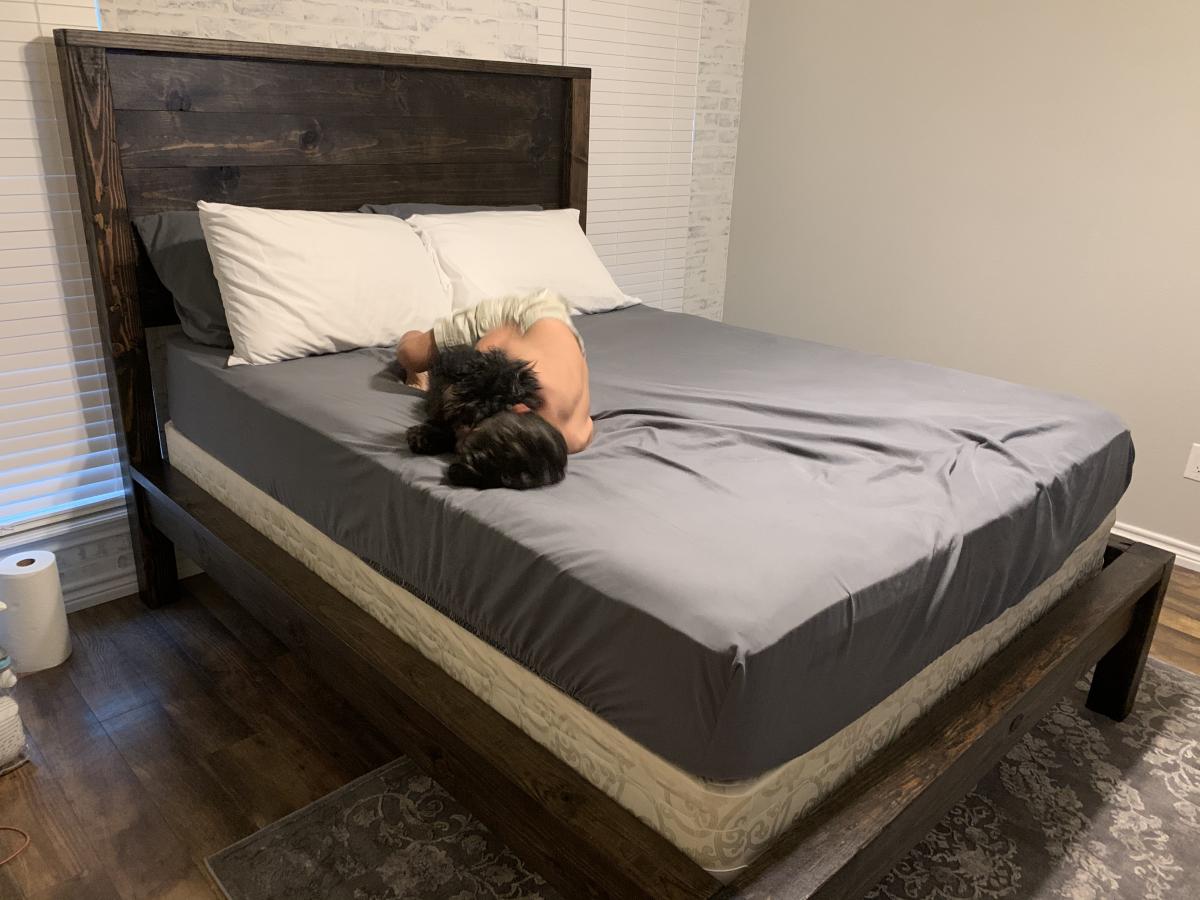
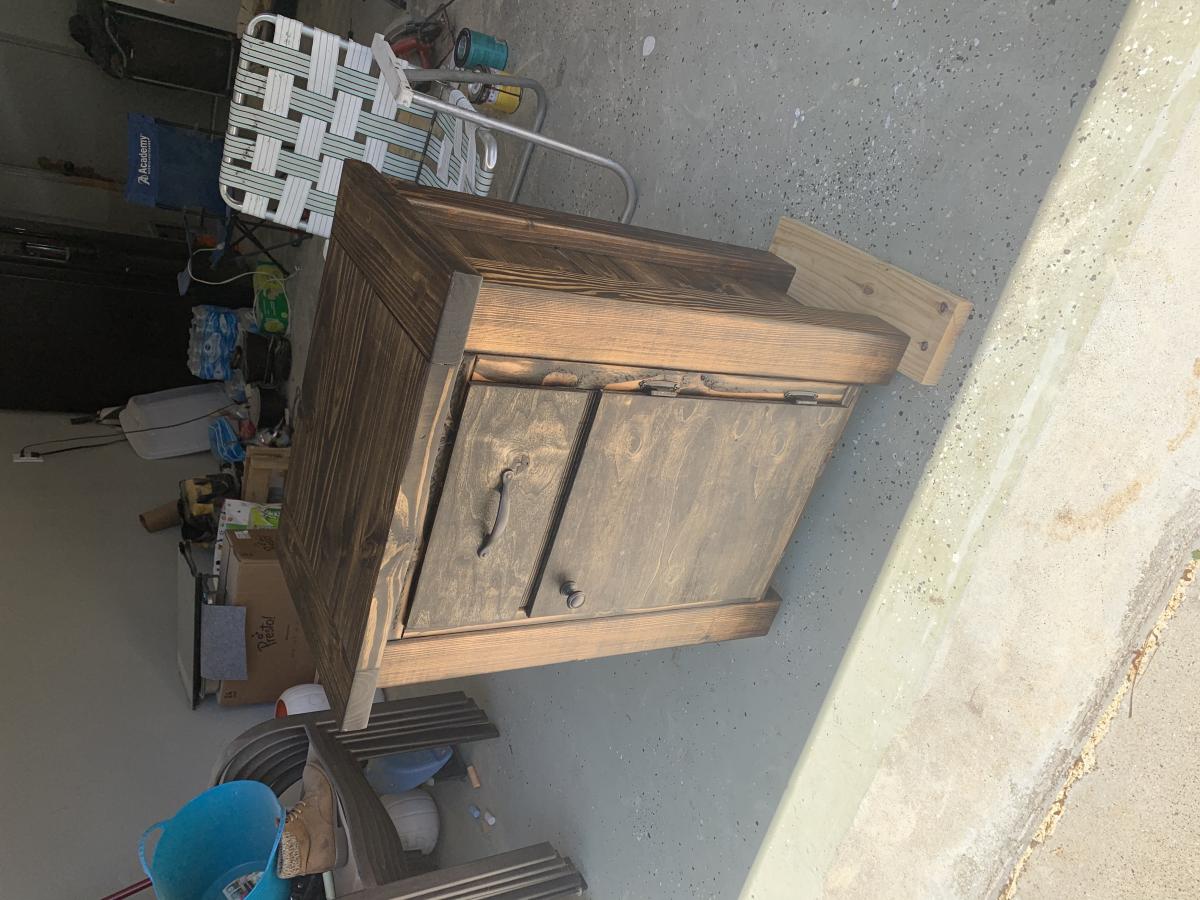
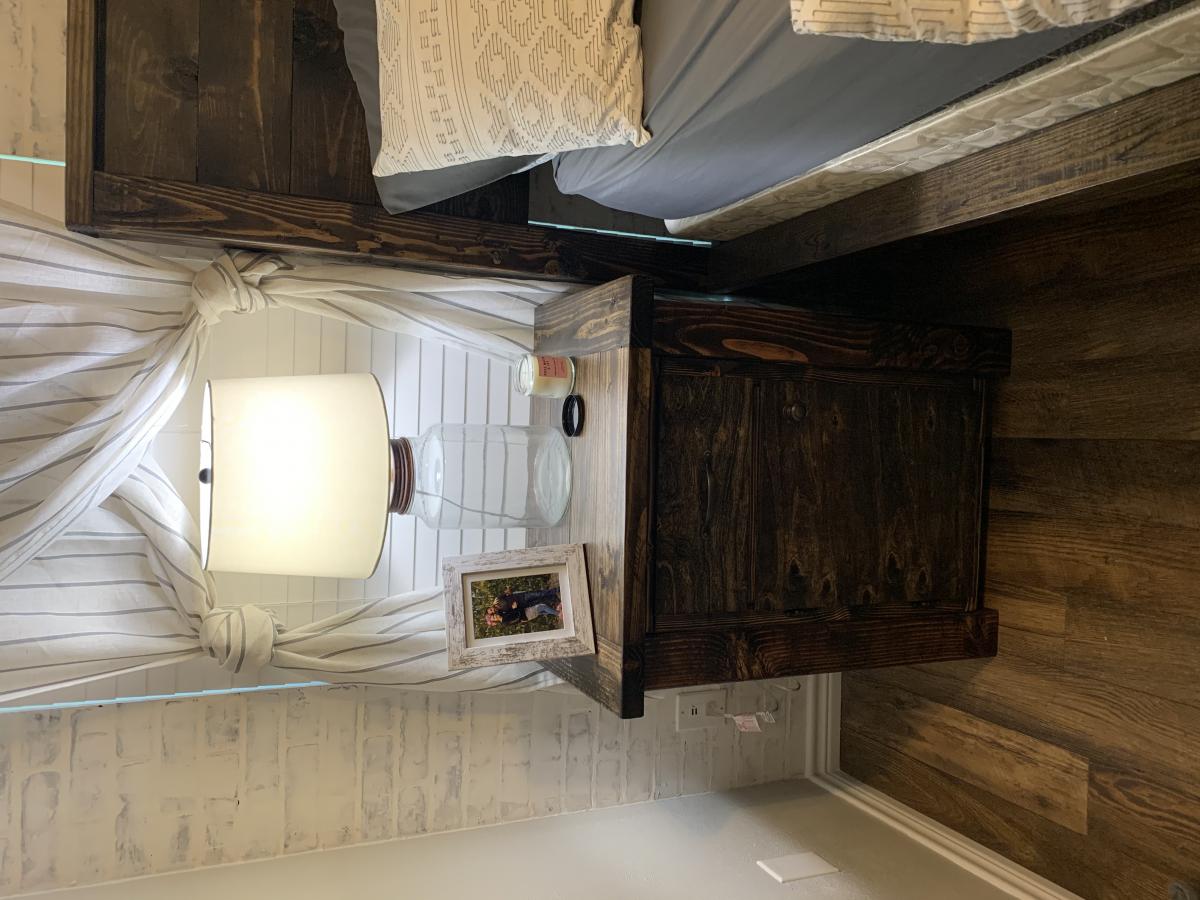
My husband and I built the Modern Farmhouse Bed Frame, but we modified it. We wanted a taller bed, so we cut our 4x4’s at 18” instead of what the plans called for of 14”. We stained it in Minwax - Dark Walnut and used Polycrylic in Clear Matte to finish it. We also made our own matching nightstands as we preferred taller and different ones than the ones shown as the matching set on this site. We are so in love! The bed is super sturdy!

Mon, 05/11/2020 - 10:58
This is a really beautiful set! I like the taller height too!
Tue, 06/09/2020 - 14:30
So pretty! Did you modify the plan to allow for a box spring?
After searching for a long time for a storage piece to fit the space I needed I finally decided to build one! Thank you for the plans! (Of course I had to size it down and adjust it to fit my needs.) Absolutely love it!
Patricia Cable

I found some measurements from this site and another site in order to build my craft desk. Thanks Ana
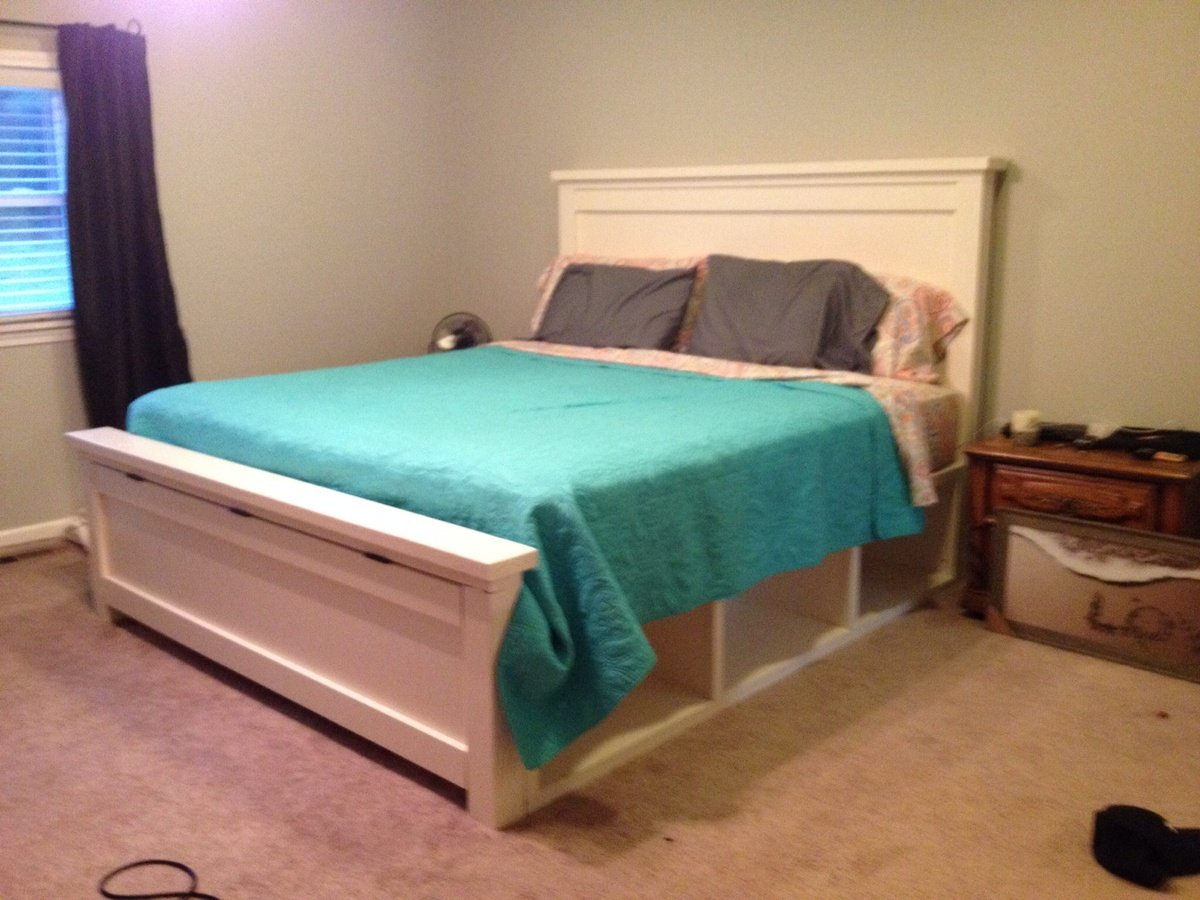
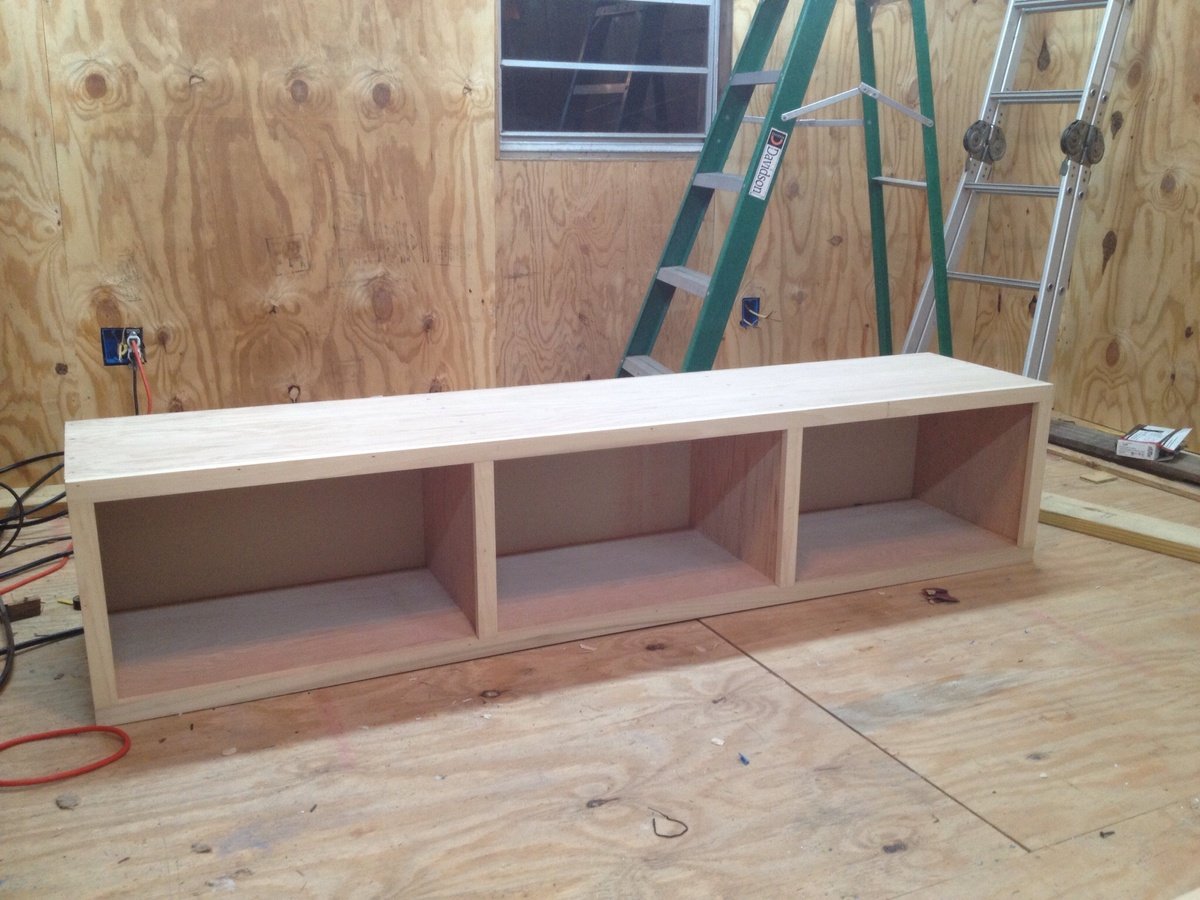
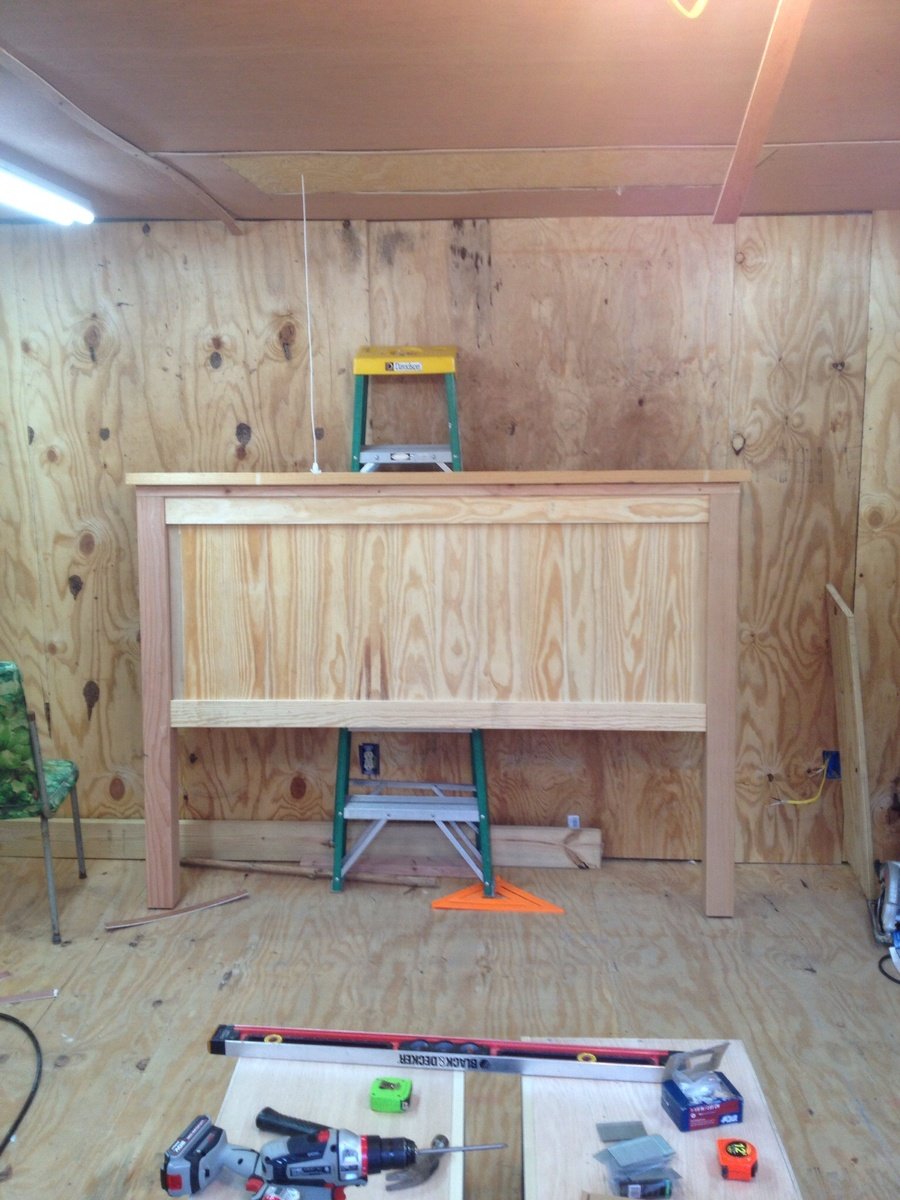
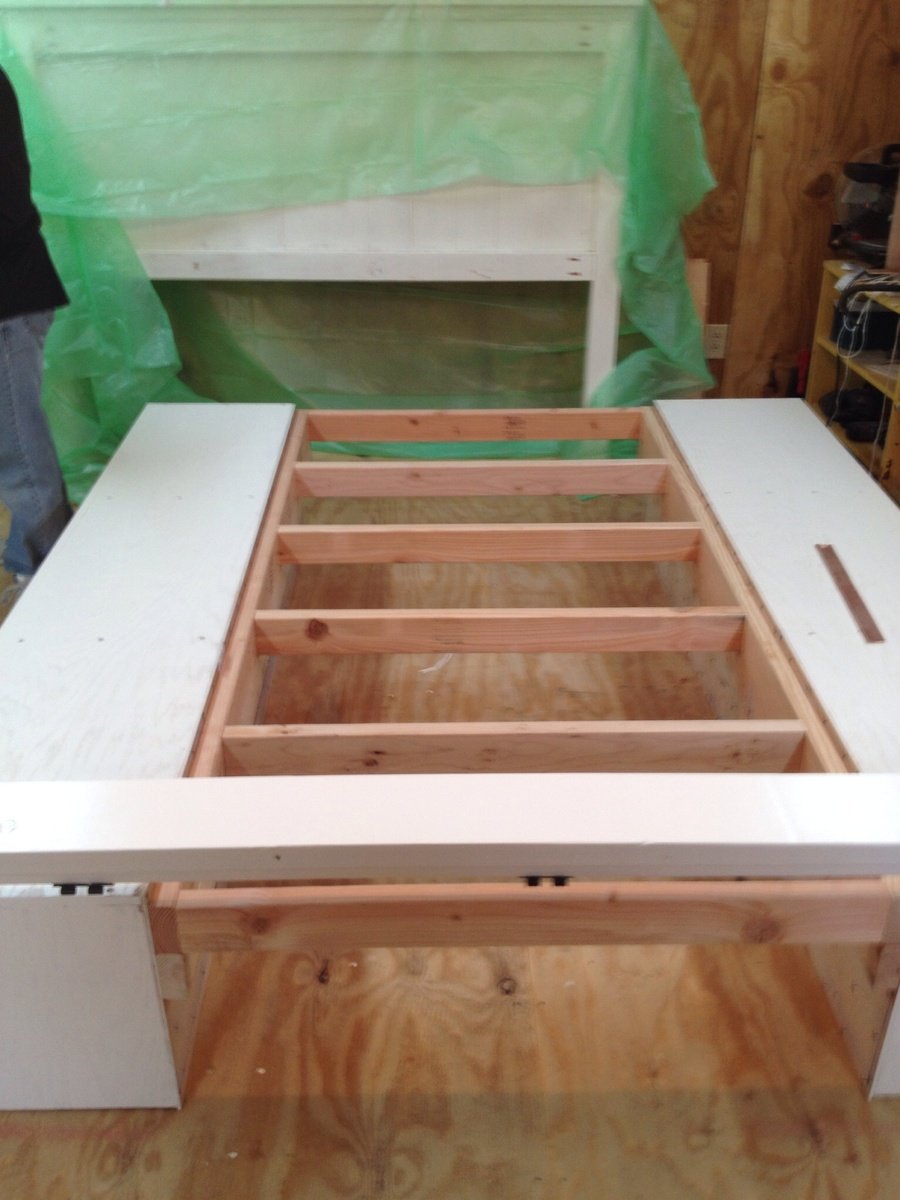
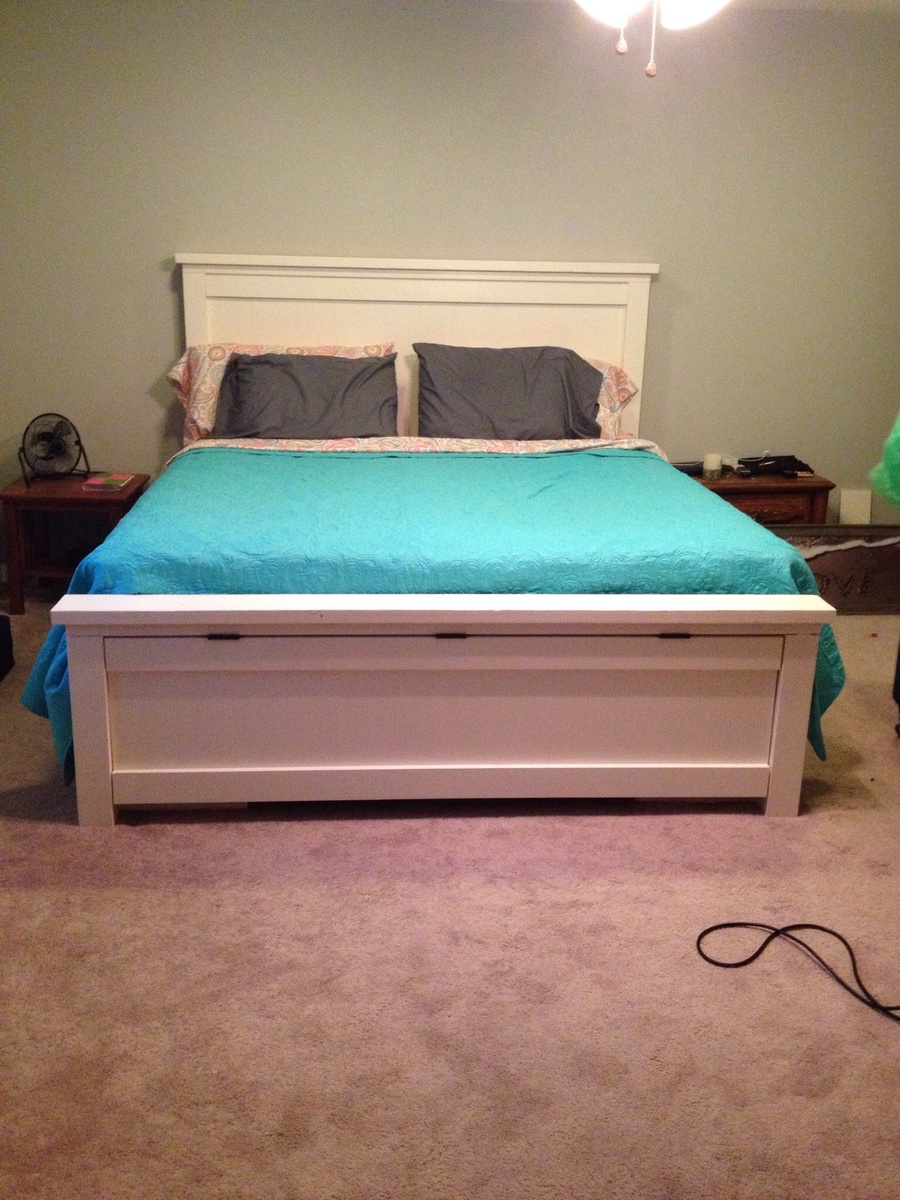
My wife and I wanted to upgrade to a king size bed and we stumbled upon this website and are so glad we did. My dad and I built this over the course of a month, working a couple hours at a time as time permitted. It was a fun build and the plans are easy to follow. I encourage anyone building these beds to find the exact measurement of your mattresses and modify the plans accordingly.

Mon, 02/20/2017 - 13:43
I plan to make a bed very similar to what you did. I like the idea that it has a headboard and footboard with storage on the sides. How did you end up fastening the head and footboards to the body of the bed?

Mon, 02/20/2017 - 21:06
Bought your book and I love it, pouring through it every nite. Planning to make the full size farmhouse bed. Got lots of tools in the Garage and taking inventory of what's in there and what I'll need, (none have been used in a few years). So glad my husband left all the tools behind when he left.
I've already built the worktable and saw horses.
Mon, 02/20/2017 - 21:07
Bought your book and I love it, pouring through it every nite. Planning to make the full size farmhouse bed. Got lots of tools in the Garage and taking inventory of what's in there and what I'll need, (none have been used in a few years). So glad my husband left all the tools behind when he left.
I've already built the worktable and saw horses.
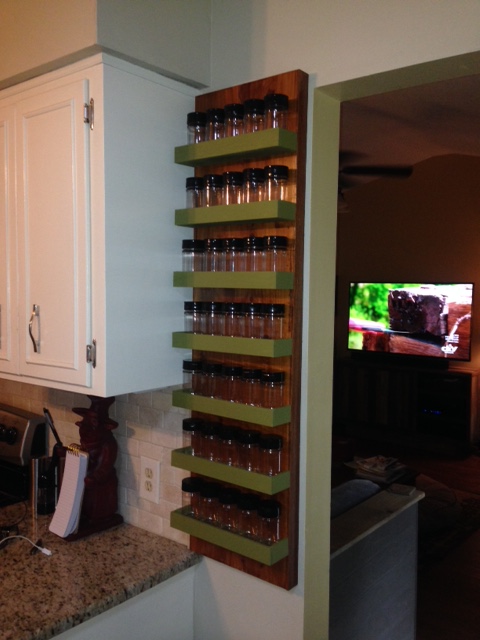
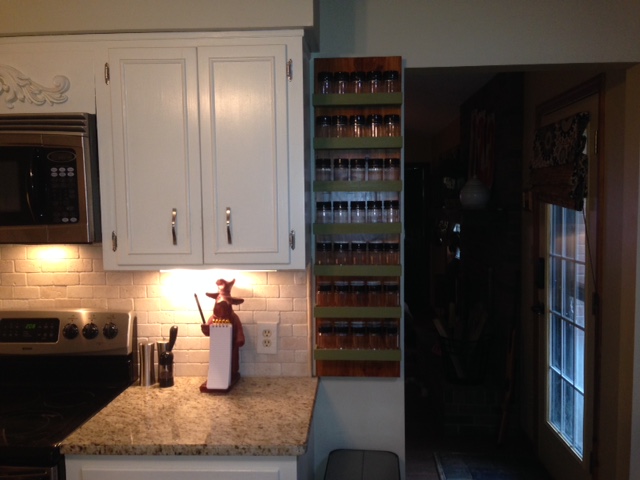
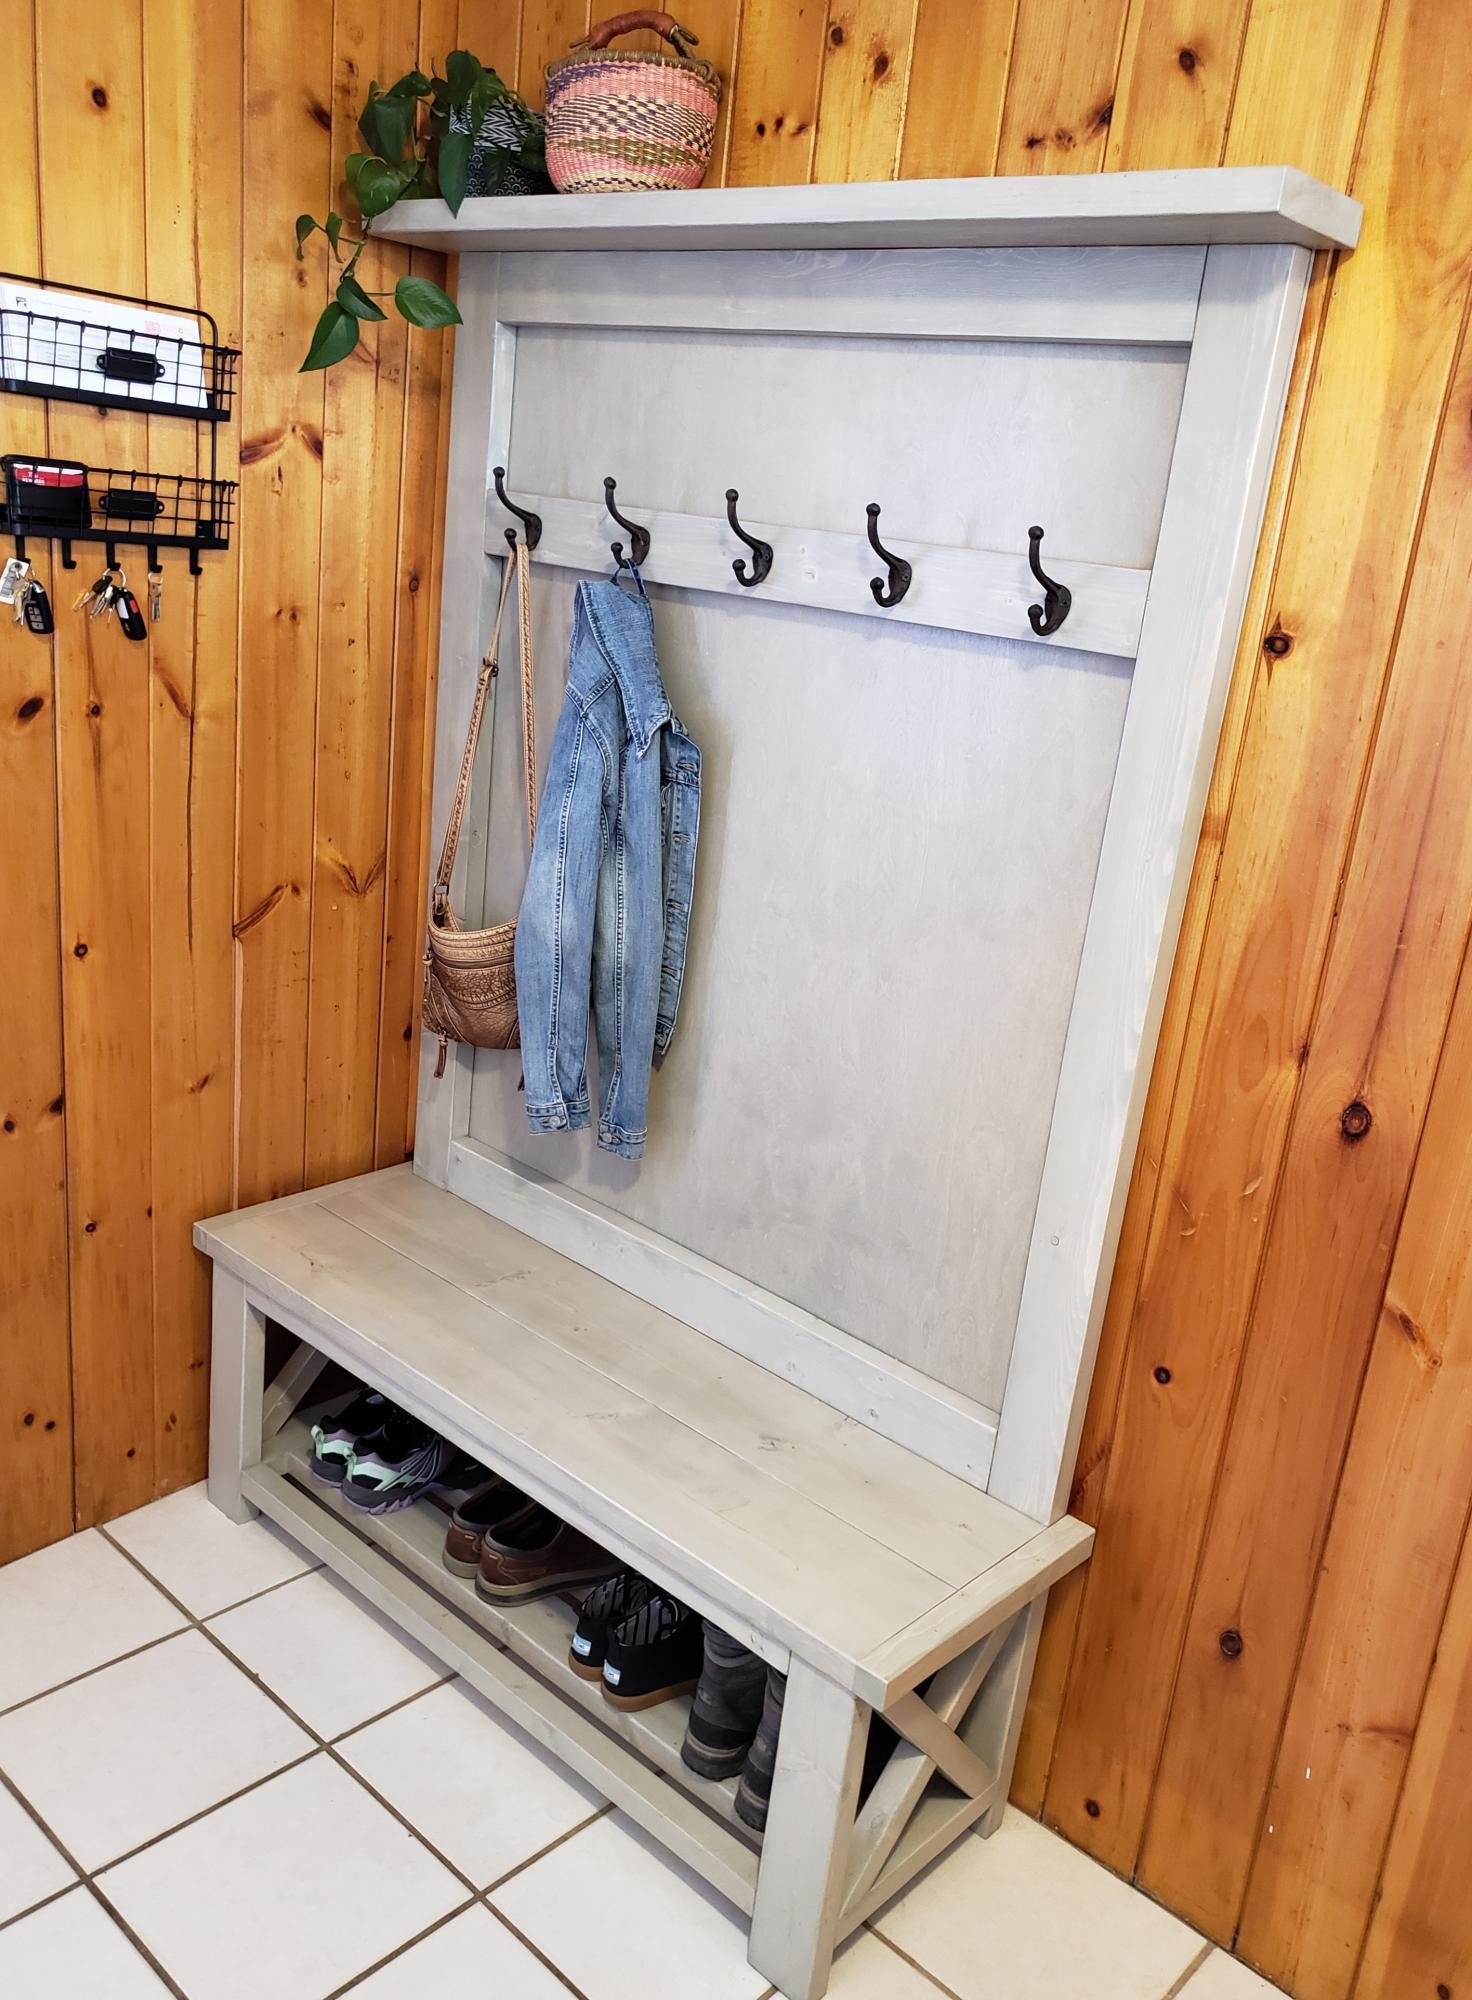
At the end of the day, my spice rack did not look anything like Ana's plan, but it did make my creative juices start.
I hung mine on my wall. I used a premade panel as the backing which I then stained. I boxed in the panel with a thin 1x2 along the sides so that the hanging wire would not show. The shelves are 1x3 trimmed with the same 1x2 to provide a ledge so that the spice bottles won't fall off.
Still waiting on my labels to arrive so have not loaded up the jars yet! Splurged on the jars from a specialty bottle company. They are high grade impact resistant plastic that is super clear and lightweight. The lids have a hinged top with one side having shaker holes and the other open to be able use a measuring spoon.
So proud of the finished result. Thanks Ana!