Community Brag Posts

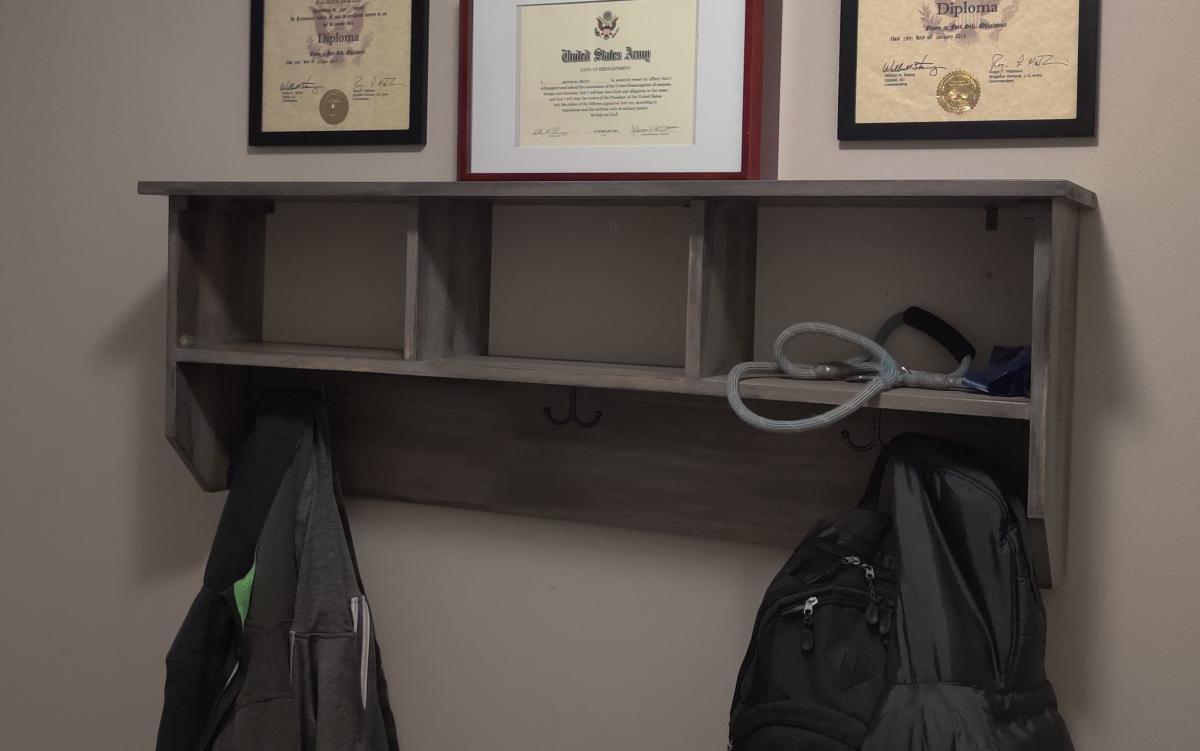
Entryway Bench and Storage Shelf with Hooks

Submitted by DC_Idaho on Fri, 10/23/2020 - 10:37

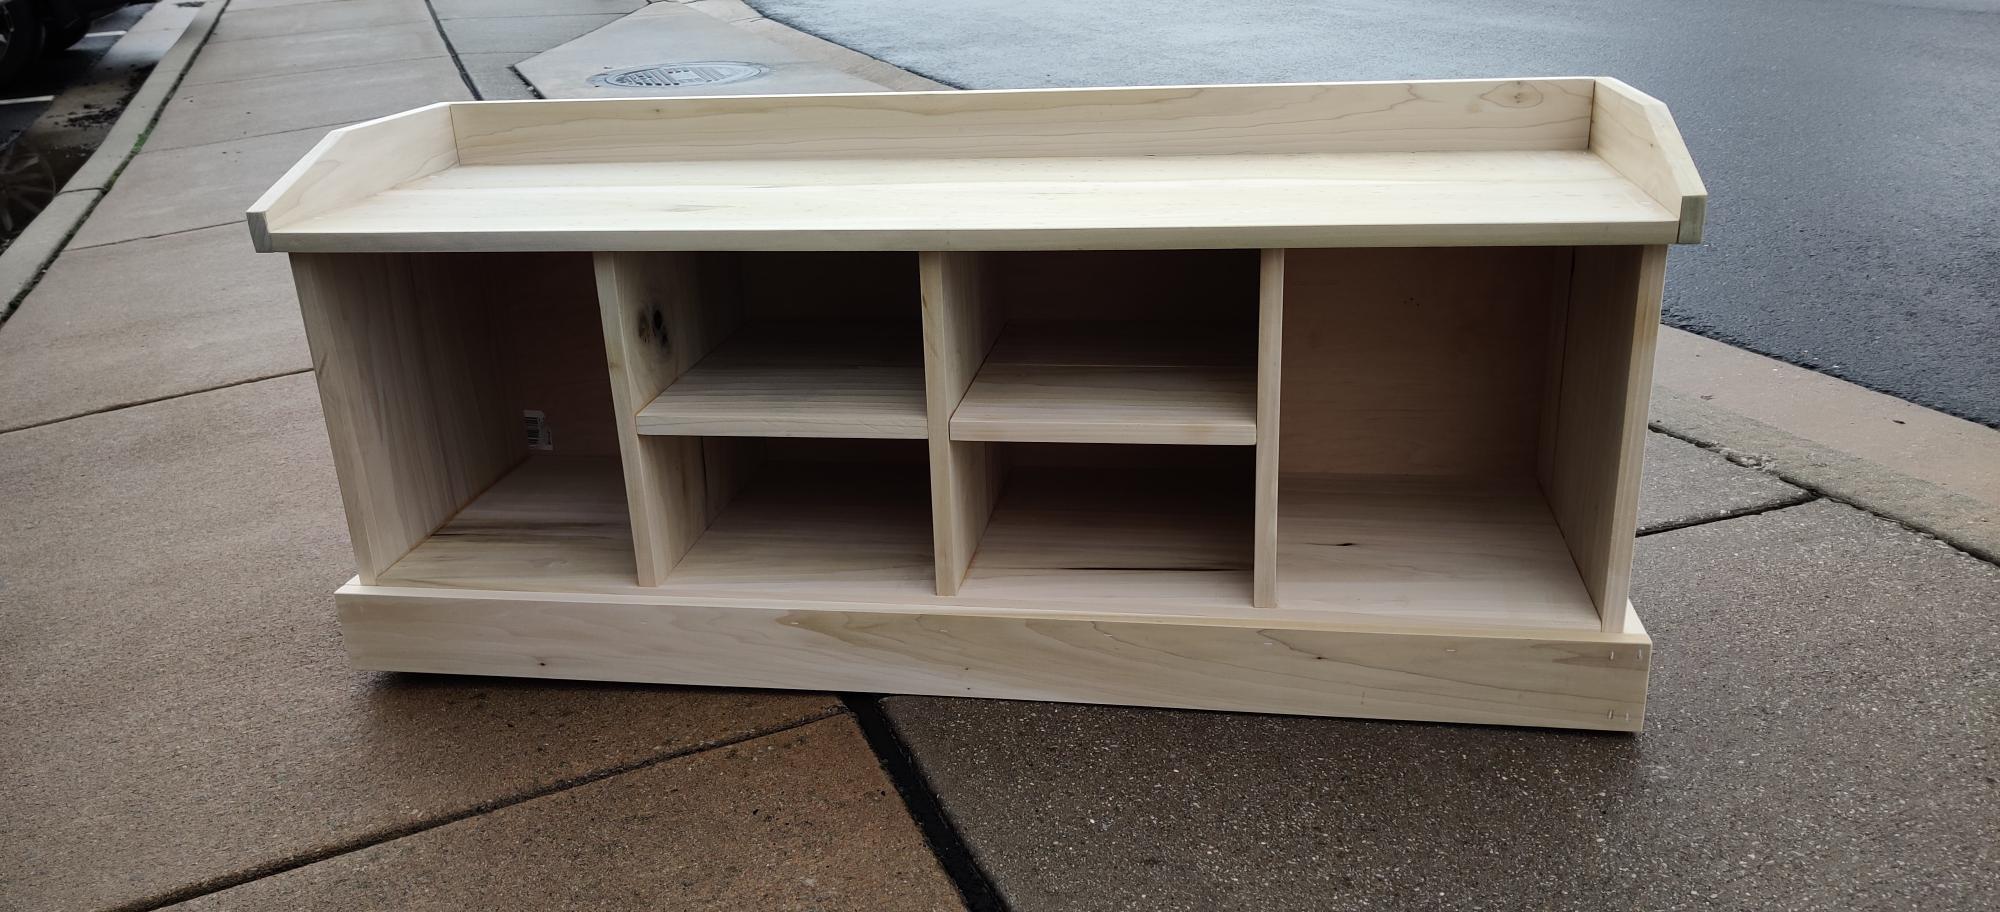
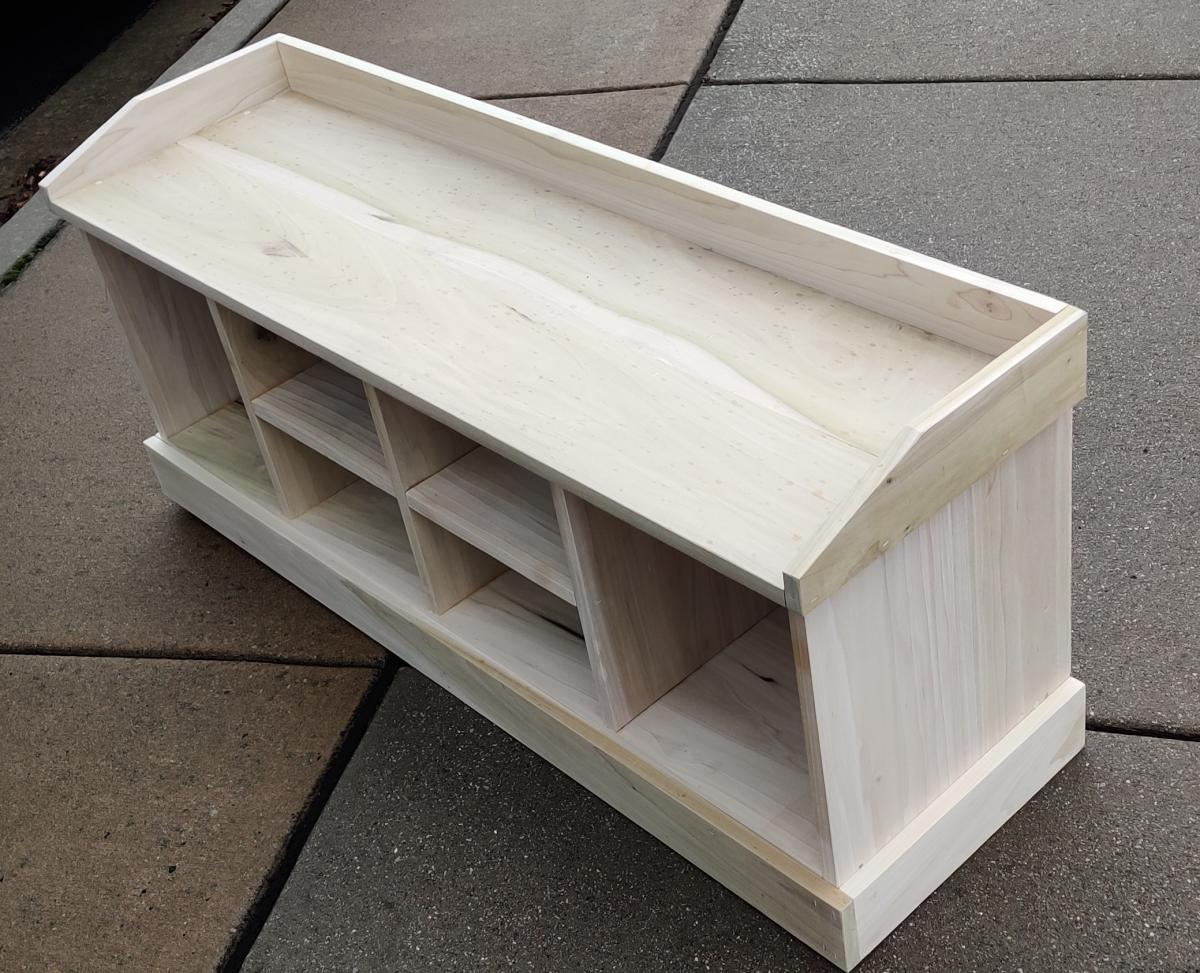
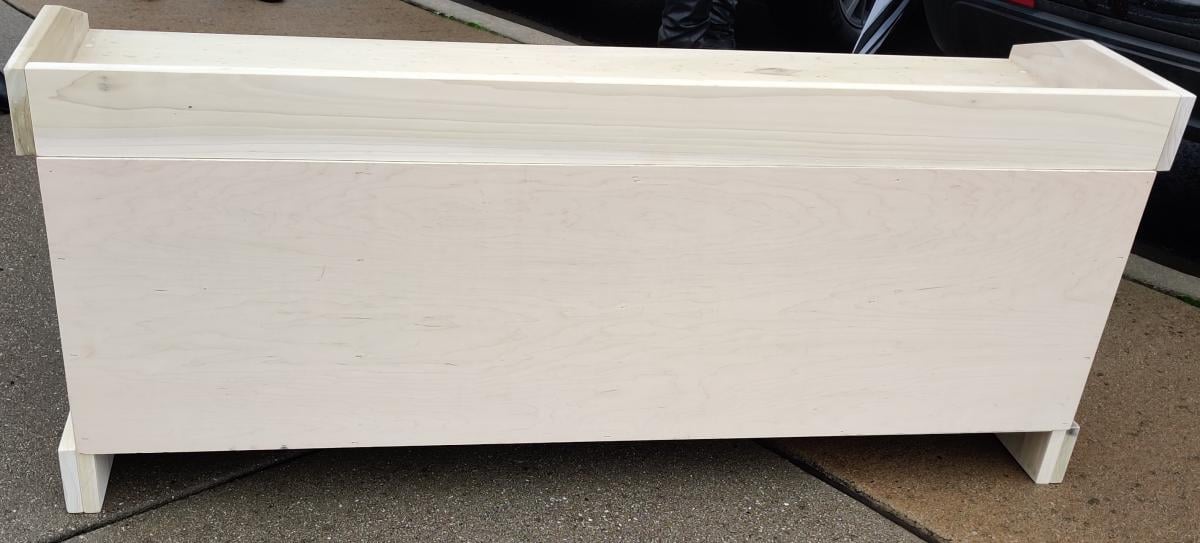
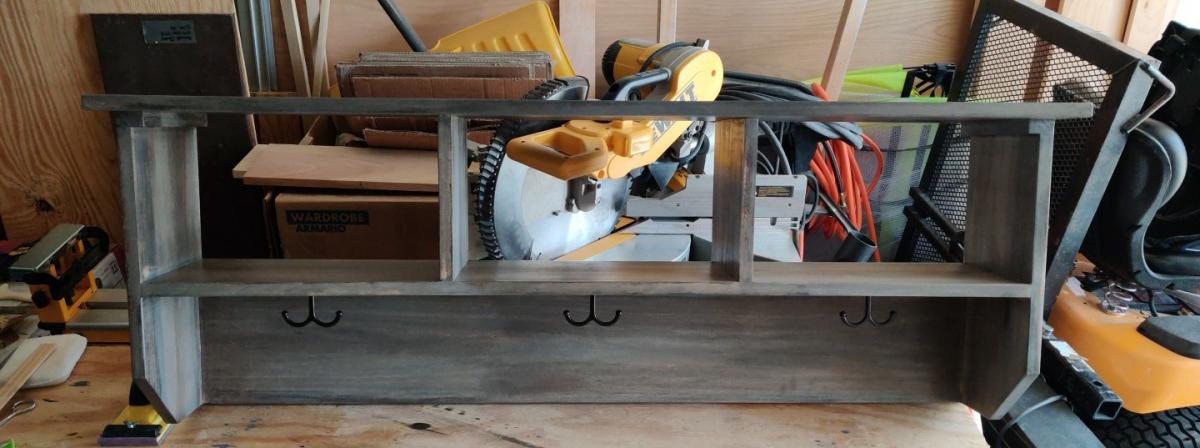
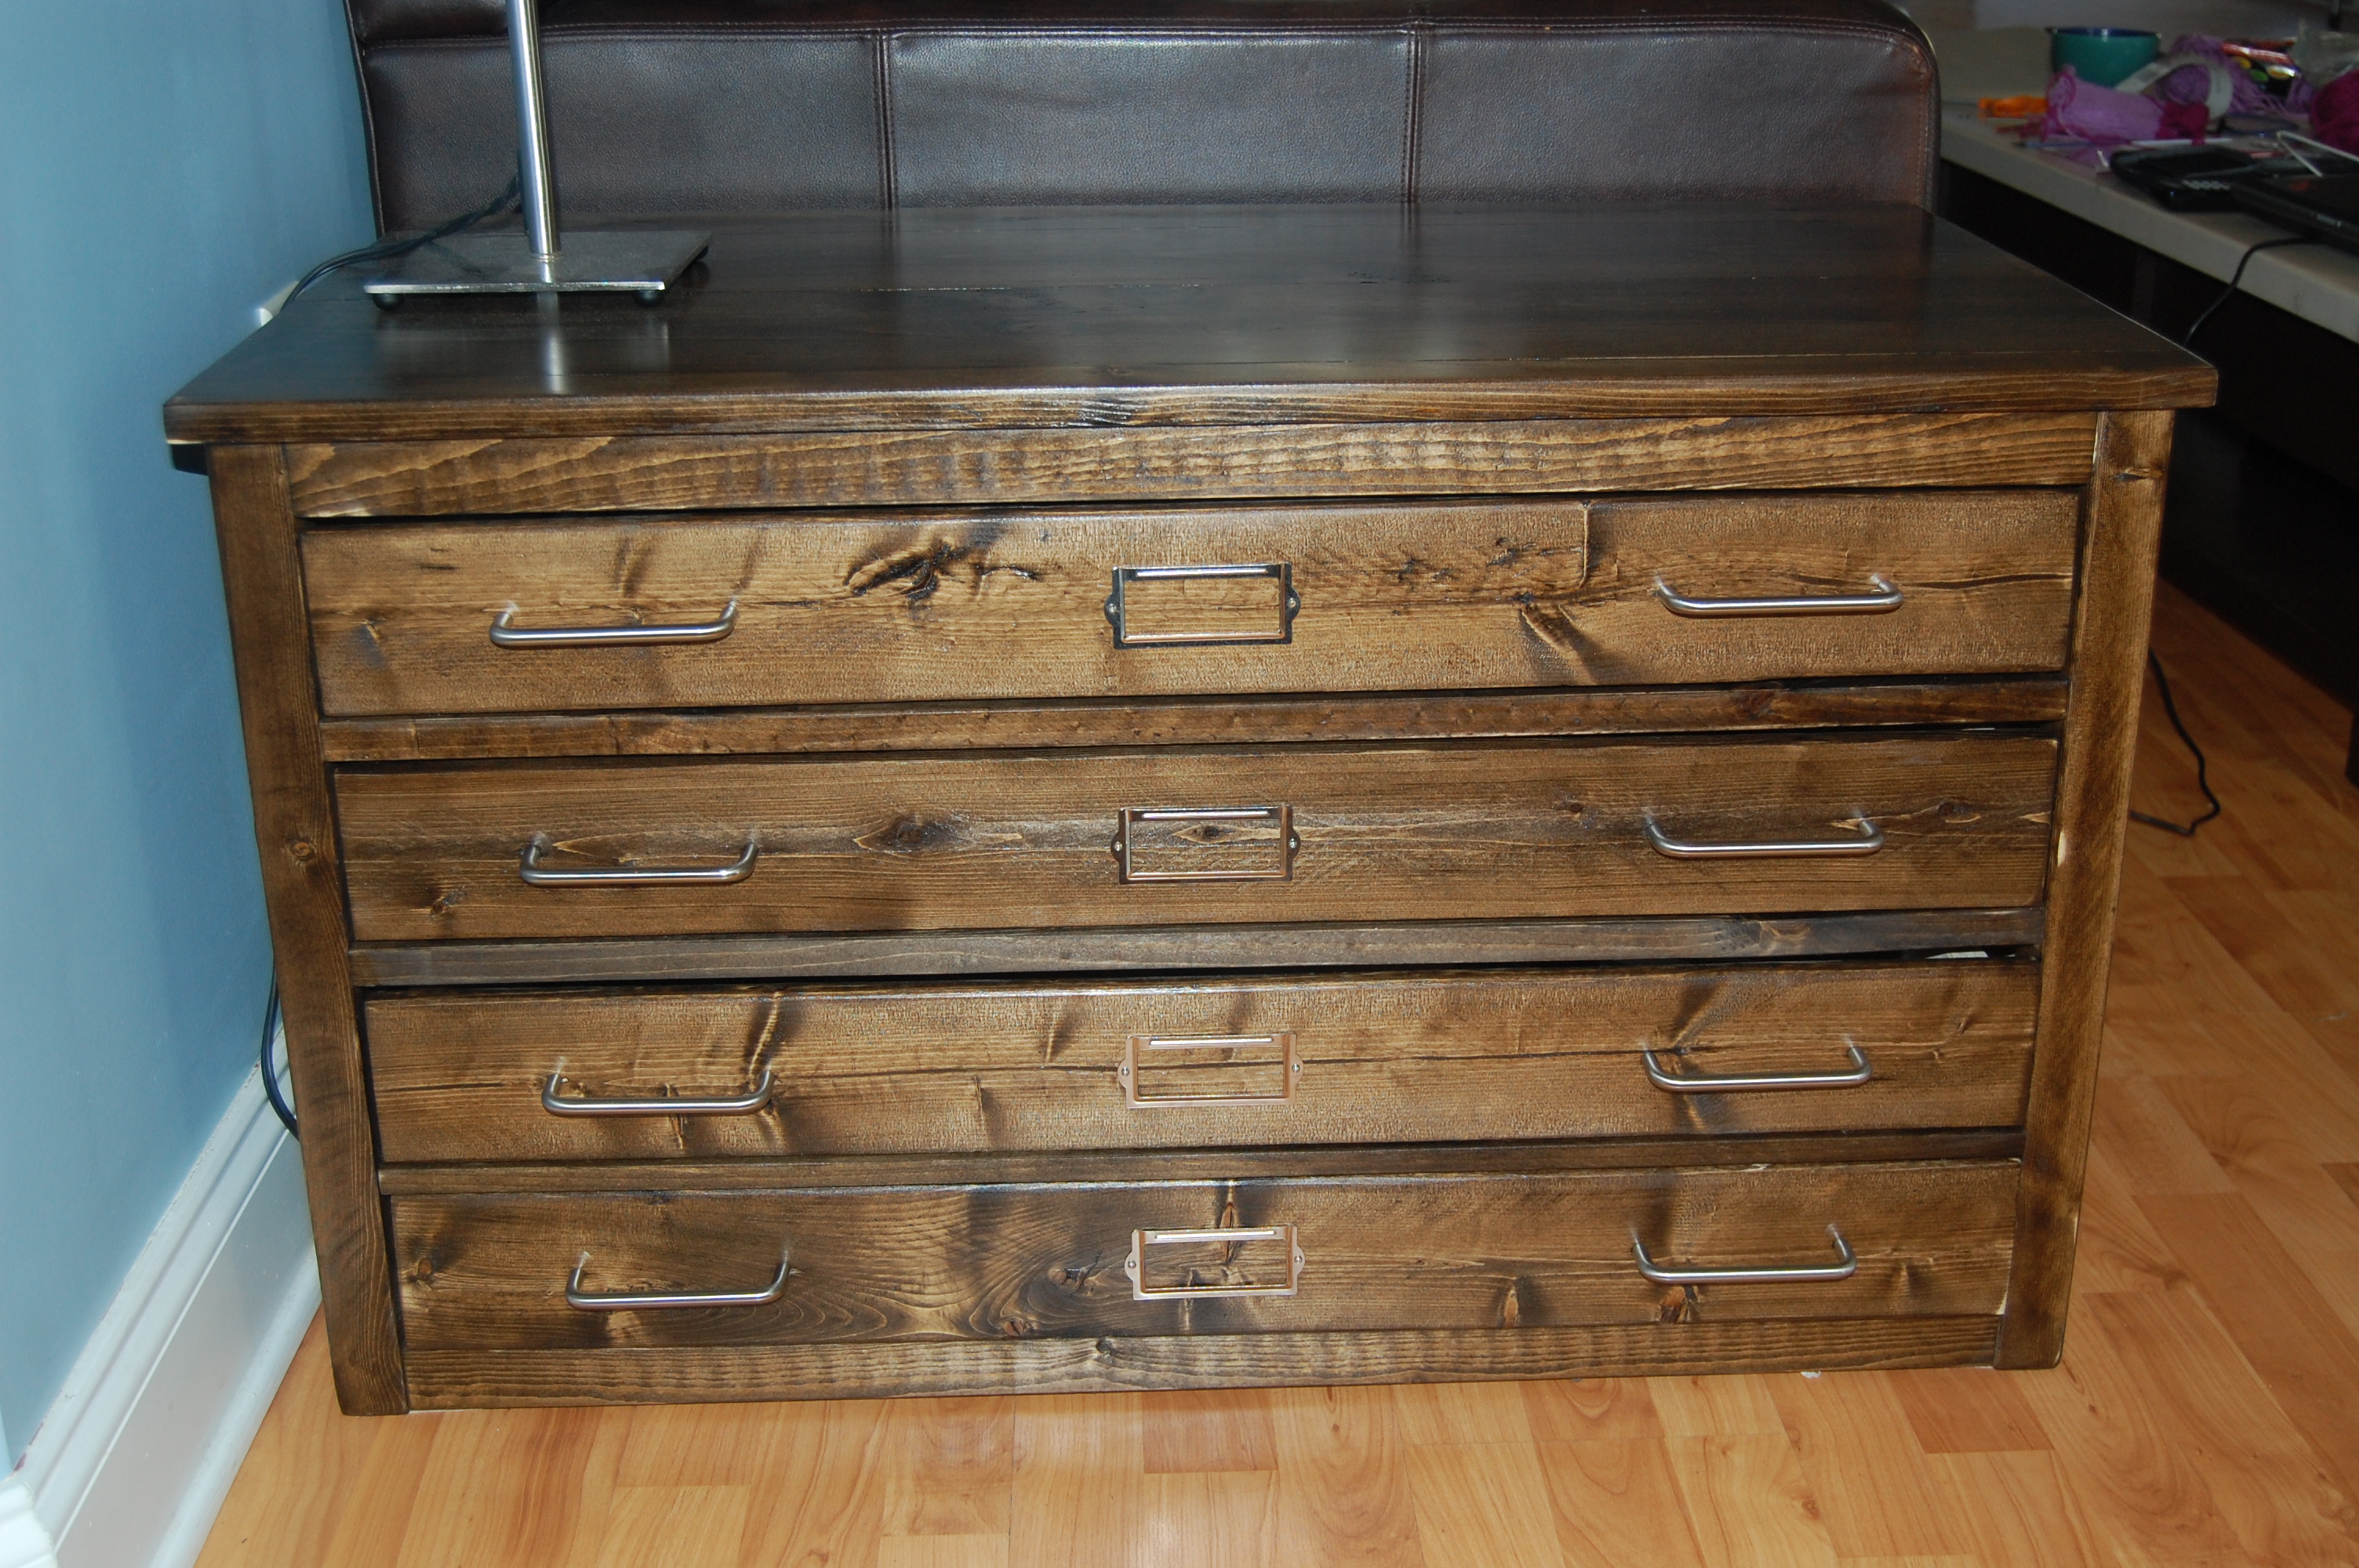
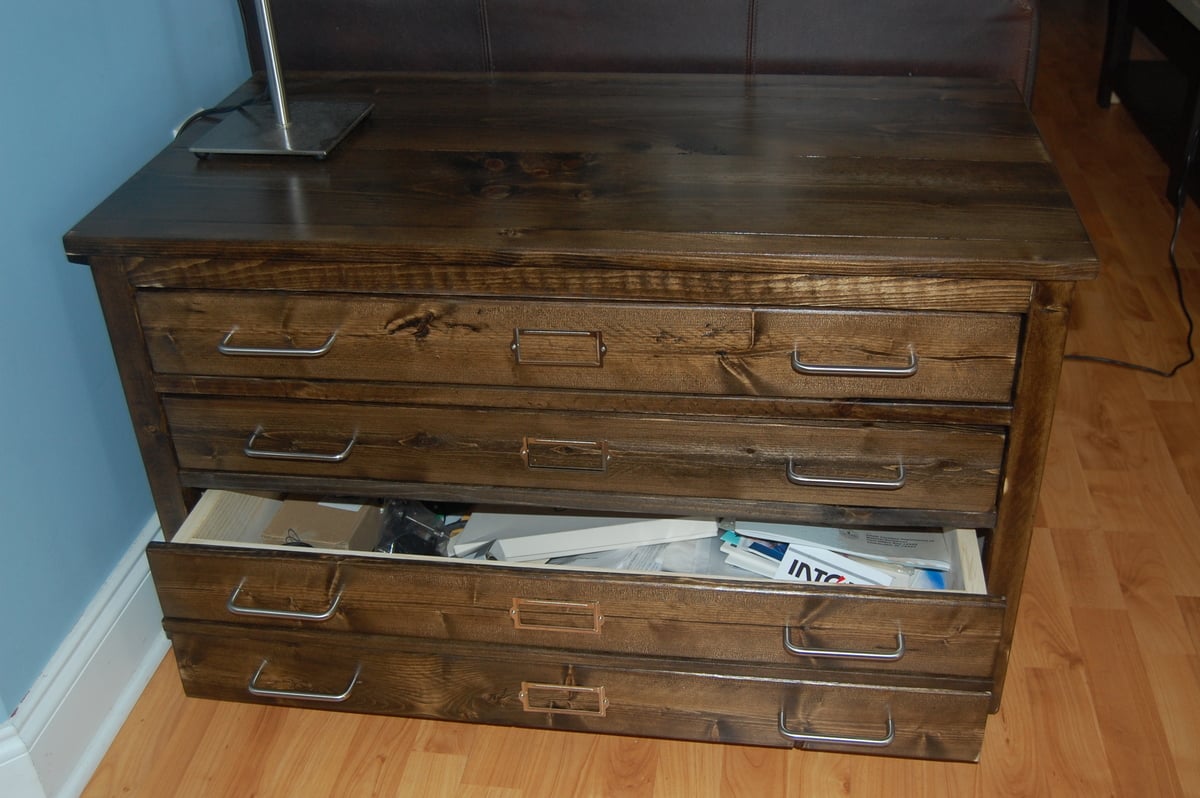
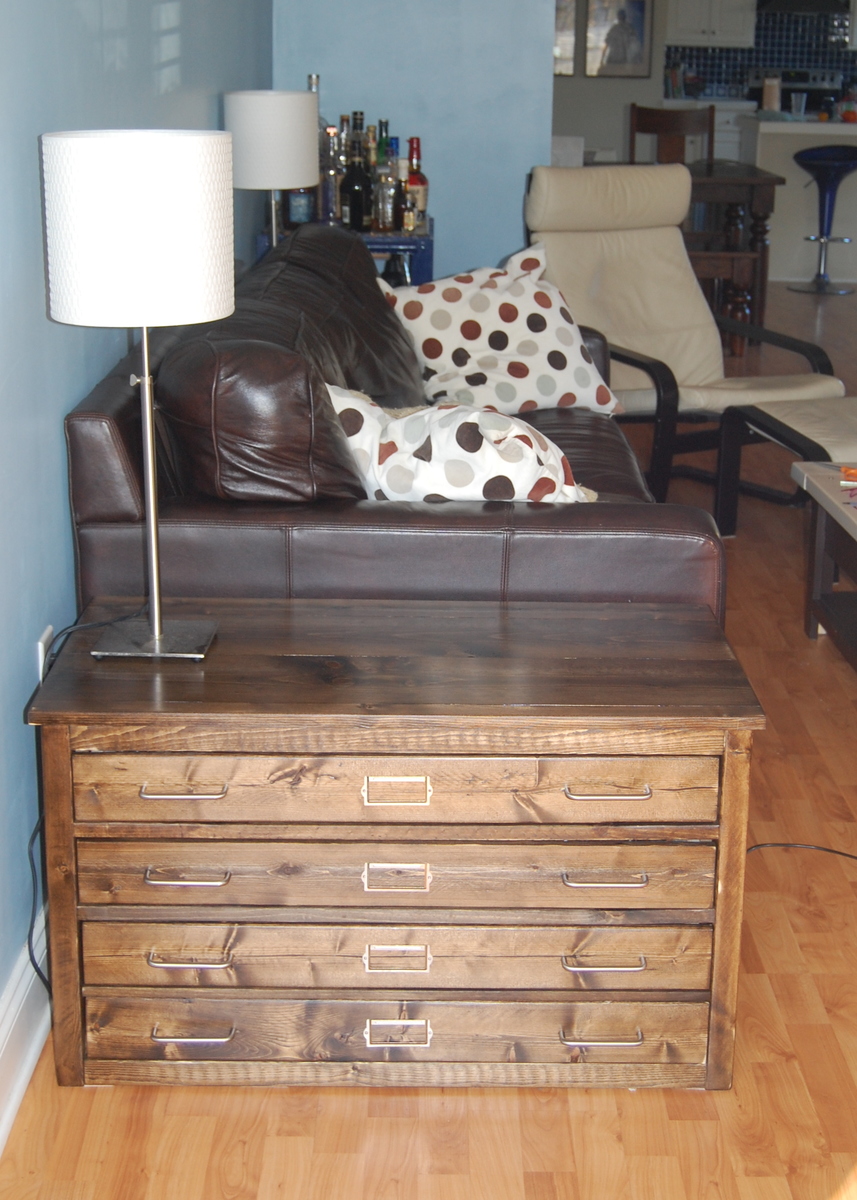
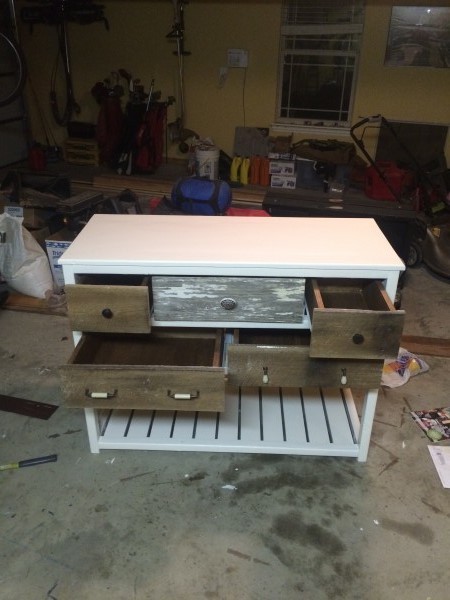
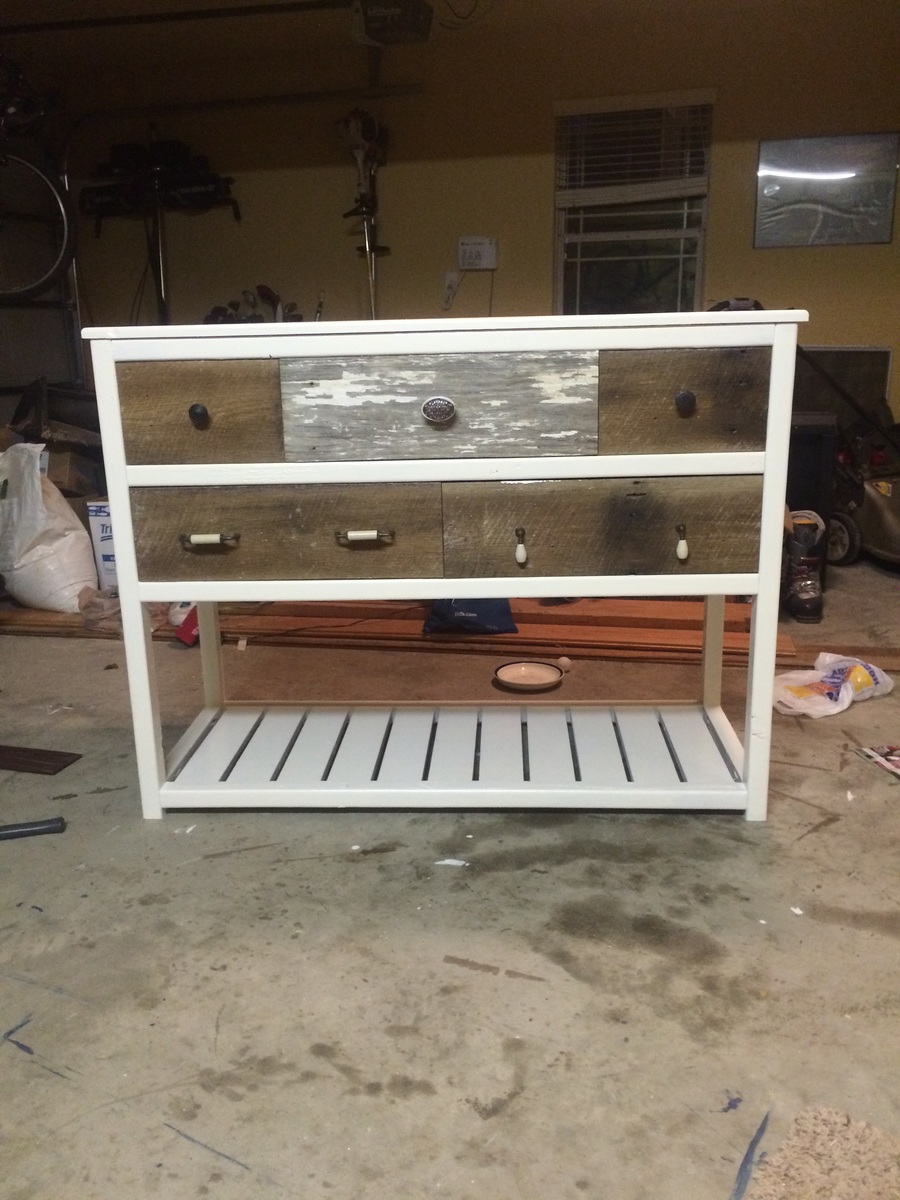
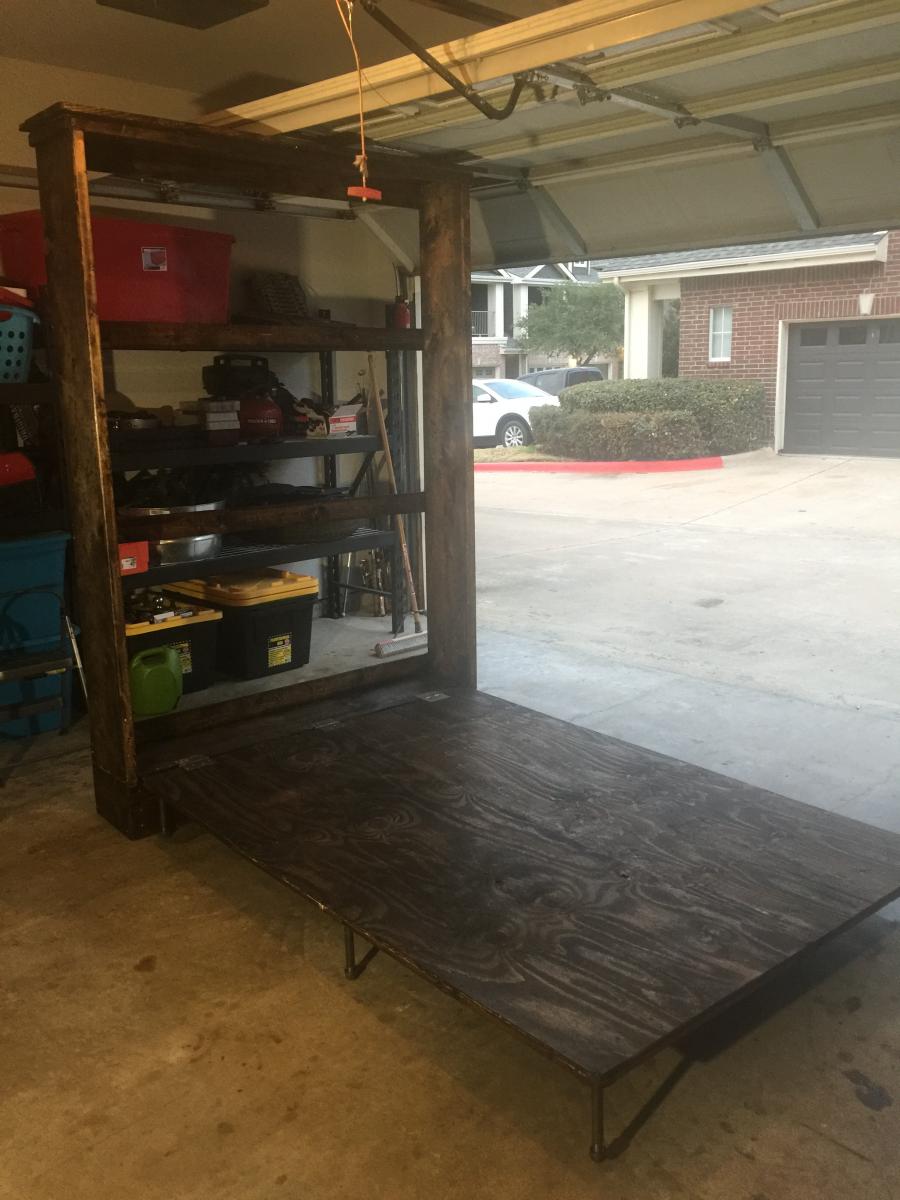
I took your entry way plans, went to my local saw mill and bought some rough cut poplar, and got to work. I started this project for my wife and was able to get the entry way shelf built. When I showed a co-worker what I was doing she asked if I would build her a bench with a few customizations. I took a break from doing the bench for my wife and made the bench for a co-worker, btw, I totally under sold the bench($200). The pictures show what I came up with, smaller shoes on the inside and boots on the outside. I still have to build another bench to match my wife's entry way shelf with coat hooks :)

Estimated Cost
$600
Estimated Time Investment
Week Long Project (20 Hours or More)
Finish Used
Stain and diluted off-white paint
Recommended Skill Level
Intermediate

Comments

Map drawer for Erin

Submitted by Quartney on Fri, 01/04/2013 - 13:16

My husband needed a place to store his stuff--maps, yes, but also cords, hard drives, and other things he didn't want the kids to get into. I took the coffee table plan, essentially cut it in half, then raised it up to fit four drawers. The best part was that I only made three drawers--the bottom one is extra-tall to fit his extra-tall stuff, but it has false drawer fronts. I also opted to skip the caster wheels.

Estimated Cost
$160
Estimated Time Investment
Week Long Project (20 Hours or More)
Finish Used
Minwax Wood Finish in Jacobean
Recommended Skill Level
Intermediate

Comments

Bander

Fri, 01/04/2013 - 20:22

It looks wonderful. I have not yet attempted a project with drawers, are they difficult to get right?

Quartney

Sun, 01/13/2013 - 17:28

Thank you! Well, I've made one project with drawers that was fairly straightforward, and these drawers were more difficult, so I can't really say how hard drawers are! Like everyone advises, you have to make sure the drawer box is square ...

Storage bins

Submitted by DIY JEFF on Sat, 10/25/2014 - 13:03

Needed storage for the twin storage beds I built and came across this plan. I just modified it a bit. Used shoe moulding to give the bins a locker door look. 

Built from Plan(s)
Estimated Cost
10.00 each
Estimated Time Investment
Day Project (6-9 Hours)
Finish Used
Home Depot Bear Gloss Trim paint
Recommended Skill Level
Beginner

So easy to make!!!

Submitted by Anonymous (not verified) on Fri, 02/03/2017 - 19:37

I couldn't believe how simple this console table was. I used my Kreg pocket hole jig to easily add the shelf and am so pleased with my results. Used white-washed pickling stain to hivevit this great color. 

Estimated Cost
$35-$45 total cost.
Estimated Time Investment
Afternoon Project (3-6 Hours)
Finish Used
Stain then white washed pickling stain.
Recommended Skill Level
Starter Project

Corner Table for stair landing

Project for corner of stair landing at my house. Made in an afternoon using poplar wood -- no finish, only water based matte finish polycrylic. No plan used, please let me know if you would like plan supplied.

Estimated Cost
$30
Estimated Time Investment
Afternoon Project (3-6 Hours)
Finish Used
Topcoat only - water based polycrylic
Recommended Skill Level
Intermediate

Comments

First build - Modified media console

Submitted by bd on Sun, 01/06/2013 - 13:59

I wanted to learn how to make furniture, so I decided this "Rebecca Media Console" knock-off would be a good first project. I made it a little deeper (15in) and narrower (36in) because I only wanted the center piece to put the Blu-ray player and some DVDs, cds, games, etc. I also added some holes to each section so that I can run electronics to it in the future if needed.

Painted with Valspar "Gilded Pesto" and Minwax Polycrilic - both in satin.

I definitely learned a lot from this project and it was surprisingly fun! There several errors in it, but I wanted to post pictures to help others who may be interested in modifying the original plans.

***Sorry for the side-ways pics. I can't find a place to change the orientation***

Estimated Time Investment
Week Long Project (20 Hours or More)
Finish Used
Valspar - Gilded Pesto in satin
Minwax Polycrilic in satin
Recommended Skill Level
Starter Project

Comments

Bander

Sun, 01/06/2013 - 15:18

It looks great! To make the doors, did you just attach the face frame over a plywood piece of the same dimensions?

Also, where did you find that style of hinge? I have been unable to find those at my local big box stores.

bd

Sun, 01/06/2013 - 18:16

Thank you! That's exactly what I did with the doors. I didn't have the tools to make a rabbet, so I just cut the 1/4" plywood to size and glued/nailed it to the frame of the door. Seems to work just fine!

The hinge was at Lowes. I went there once and didn't find the right style hinges, but went another time and found the small section that had these 2" hinges. They have ones that are even smaller, but I thought these looked good and sturdy. They have 2 holes on either side of the hinge, if that helps. Good luck.

rhettar

Sat, 01/19/2013 - 05:17

You did a great job for your first project! Even the unfinished piece you have a pic of looks good. You even tackled doors, that is inspiring, because I haven't done that yet and my next project will have doors.

rhettar

Sat, 01/19/2013 - 05:17

You did a great job for your first project! Even the unfinished piece you have a pic of looks good. You even tackled doors, that is inspiring, because I haven't done that yet and my next project will have doors.

Miniature Hope Chest

Submitted by JoanneS on Tue, 10/28/2014 - 18:59

This build is a gift for a friend who is retiring.  It is made from scrap wood and left over finishes, so the only things I had to purchase were the moulding, hinges and “bling”.

Used Georgia’s Jewelry Box plan, with these mods:  made it a little longer with no overhangs; added stop moulding trim around the top and bottom; added some lattice squares for “feet;” added a small sliding tray in aromatic cedar (1/4” cedar closet lining for the tray, stop moulding for the rails), and some self-adhesive rhinestone flourishes (found these at Michaels). 

This would be an afternoon build.  The finish took longer than the build - probably 2 or 3 hrs  (filling, sanding, painting, and attaching the hinges and  “bling”).   It took me much longer to decide how to decorate it, than it did to actually build it ;)

Some squares of sticky-back felt were also added to the bottoms of the feet.

I’m very pleased to say that this gift was a big hit!

Built from Plan(s)
Estimated Cost
$15
Estimated Time Investment
Afternoon Project (3-6 Hours)
Finish Used
Finish is 3 coats of Ace Royal semi-gloss in Crushed Peanut, sanded between coats, and the rhinestones are a champagne gold color. Also added some crystal clear super glue (I used Loctite) around the rhinestones with a tiny artist brush, to make sure the stones stay in place.
Recommended Skill Level
Beginner

Comments

JoanneS

Fri, 10/31/2014 - 15:24

Thank you for the nice comment!  :)  I might build some more of these for Christmas gifts.

:)

Fancy X farmhouse table

Submitted by Anonymous (not verified) on Mon, 02/06/2017 - 13:56

I liked the style of this table and needed something for my kitchen that looked nice but not cheap. I had to shrink it to fit in my kitchen as my space is limited. I changed the top to have a little more finished look and even though I made it smaller than normal,  the size I have still fits 6 people. I think it came out fairly well and wanted to say thanks a million for some great ideas and plans. 

Built from Plan(s)
Estimated Cost
$75-$80
Estimated Time Investment
Weekend Project (10-20 Hours)
Finish Used
bombay mahogany, no top coat as yet since I finished it when it was to cold to lacquer in the garage.
Recommended Skill Level
Beginner

Farmhouse table and bench

Submitted by Chriss45 on Sun, 11/01/2020 - 16:24

I built this farmhouse table and bench from 2x6s. For legs I cut different sized blocks and used different router bit profiles then glued them together.

Estimated Cost
100 dollars
Estimated Time Investment
Week Long Project (20 Hours or More)
Finish Used
Stain and poly
Recommended Skill Level
Intermediate

Rustic X Coffee and End Table

Submitted by Liz325 on Mon, 01/07/2013 - 22:34

Made this for a friend of mine with the intention of doing the oxidized vinegar finish. Unfortunately, I didn't read the directions too well and ended up with an awful brassy red color. So I had to remove that (quite the task) and then stain. The end result is still something pretty rustic since the vinegar discolored the wood some. X's were tricky because my miter saw didn't cut that angle, but it worked out in the end.

Estimated Cost
$125
Estimated Time Investment
Week Long Project (20 Hours or More)
Finish Used
Golden Oak and furniture wax
Recommended Skill Level
Intermediate

Comments

madtom123 (not verified)

Tue, 01/08/2013 - 07:20

I love it! I like how the finish turned out. What are the black straps on the corners? I'm hoping to tackle this project after the Farmhouse bed.

Liz325

Wed, 01/09/2013 - 09:28

Thanks so much! The black straps are L-brackets spray painted black. They're just for decoration. There's bolts at the bottom of the legs too just like on the original plan post.

madtho

Wed, 01/09/2013 - 11:33

Thanks for the reply... L brackets....that's exactly what I was going to add to the farmhouse table but thought maybe you have found some sort of strap. I love the look and love em in black!

Angelique (not verified)

Wed, 01/09/2013 - 13:57

I'm in the process of making this table but this is the first big project I've started & I had a question about making the bottom shelf. In the directions it says to make the pocket holes in the 2x2s & screw into the 1x12 but how do you do that if you have different widths like that. I know how to do it if the pocket holes were made into the 1x12s & then screwed into the 2x2s but that's not what the plans call for. If you could clarify that for me I'd greatly appreciate it. Thanks!

Angelique (not verified)

Wed, 01/09/2013 - 13:59

I'm in the process of making this table but this is the first big project I've started & I had a question about making the bottom shelf. In the directions it says to make the pocket holes in the 2x2s & screw into the 1x12 but how do you do that if you have different widths like that. I know how to do it if the pocket holes were made into the 1x12s & then screwed into the 2x2s but that's not what the plans call for. If you could clarify that for me I'd greatly appreciate it. Thanks!

Liz325

Wed, 01/09/2013 - 15:11

I'm not sure how you would put pocket holes into the 2x2's. i definitely put mind in the 1x12's. My best guess is that's it's a mistake in the plans. If I remember correctly the image on either the end table or coffee shows the pocket holes on the 1x12's and that worked great for me. Hope that helps!

Angelique (not verified)

Wed, 01/09/2013 - 18:26

I figured that was the only way to do it but just wanted to double check. Thank you so much for the quick reply!

Reclaimed wood console table

I really enjoyed this project. The plans were very well done and easy to follow. I had to make some changes so that all 5 drawer faces had a functioning drawer, but still stuck pretty close to the plans otherwise. 

Built from Plan(s)
Estimated Time Investment
Day Project (6-9 Hours)
Recommended Skill Level
Beginner

Comments

Minnie chair modified

Submitted by Anonymous (not verified) on Thu, 02/09/2017 - 14:25

I don't know why they came out sideways My grandaughters are Minnie fanactics so I am building them each one for Valentines day. Thanks for the pattern and instructions!

Estimated Cost
$25 I used all new wood.
Estimated Time Investment
Day Project (6-9 Hours)
Recommended Skill Level
Beginner

Comments

Recycling center

Loved building this recycling center. Basically made three cabinets from the plans and then attached them together. Now the dog can't get in the trash and the recycling and empty cans don't gather in the counter and it looks great! I used piano hinges for the doors which makes them feel much more stable.

Estimated Cost
$200 (including 3 garbage cans)
Estimated Time Investment
Weekend Project (10-20 Hours)
Recommended Skill Level
Intermediate

Comments

Reclaimed Wood Bed

I was inspired by Ana's plan for a reclaimed wood bed. I went through the wood in my garage and was able to make this bed in an afternoon and for $0!

Tool List: Drill and screws, jigsaw (or handsaw), orbital sander (or sandpaper), nail gun (or hammer and brad nails), miter saw (or handsaw), polyurethane and a paintbrush.

Material list: 2 wood pallets, 2 – 4×4 posts cut to 54″, 2x4s and 2x6s to make the bed platform (I have a double bed so the finished product is 53″x74″), 1 – 2×6 cut to 57″ to make the ledge on the headboard.

Estimated Cost
$0
Estimated Time Investment
Afternoon Project (3-6 Hours)
Finish Used
Polyeurethane (satin finish)
Recommended Skill Level
Beginner

Modern Outdoor Sectional and Ottoman Tables

Submitted by Storm on Tue, 11/04/2014 - 19:58

Built using 2x4 pressure treated lumber. Made two ottomans with one used as a corner piece. I made that one three inches taller to help keep cushions in place. I also made the sectional back legs taller for more back support. In doing so I had to add an extra cross piece in the sectional back to support the pillows. I love it!! 

Estimated Cost
Approx $450, including pillows
Estimated Time Investment
Week Long Project (20 Hours or More)
Finish Used
WoodRx Semi-Transparent Stain
Recommended Skill Level
Beginner

Colin's surf shop

Submitted by Anonymous (not verified) on Sat, 02/11/2017 - 18:07

This bed was fun to make and our son loves it!

Recommended Skill Level
Intermediate

Outdoor Furniture Set

Submitted by Anonymous (not verified) on Sun, 11/08/2020 - 16:56

This set was the first thing I've built. I did it completely by myself and am so proud! I started with the coffee table to get a hang of the tools the. Moved on and made the sofa, love seat, and two chairs. I had a little trouble finding cushions but eventually found some at Lowe's. The cushions are just so expensive. I didn't love the color of the stain on the coffee table and the plan was to sand it and retain after staining the rest but I actually like how it stands out. It took a long time to finish because I had to work on it whenever I had spare time but a motivated individual with some building experience could do this all in a weekend or two. Coat of wood and screws for the whole project was $350. All the cushions were $518.

Estimated Cost
$875
Estimated Time Investment
Week Long Project (20 Hours or More)
Recommended Skill Level
Beginner

Comments

Seasonal And Holiday

Wood Pallet Wine Rack

Wine Rack

Material: Re-claimed wood

Specs: 32″ width x 5.25″ depth x 21″ height

Description: Two shelf wine rack.

I had an old pallet leaning up against my garage and decided to build a wine rack for a birthday gift.

This is a very simple project to tackle. I really liked the lettering on the pallet, so I wanted to make sure that was a feature in the finished product. I simply sealed the wood with water based poly to bring out the colors in the wood and to seal it.

If you are not a drinker it also makes a great spice rack!

Estimated Cost
$0
Estimated Time Investment
An Hour or Two (0-2 Hours)
Finish Used
Water-based poly
Recommended Skill Level
Starter Project

Little Adirondack Chair

Submitted by wabilinski on Fri, 11/07/2014 - 13:31

Built this for my daughter to enjoy sitting around the fire pit roasting marshmallows on crisp fall evenings.

Built from Plan(s)
Estimated Cost
~$30
Estimated Time Investment
Weekend Project (10-20 Hours)
Finish Used
-Valspar Duramax Exterior Matte Tintable Latex-Base Paint and Primer in One
-Cabot Satin Spar Varnish Aerosol Spray
Recommended Skill Level
Beginner

Comments

Noyehx4

Mon, 07/20/2020 - 14:50

These are so cute! Debating on sizing...my 11 year old is almost as tall as me, 4 foot 11 inches, and daughter not far behind him. Would you say this is geared towards 6-10 year old kids? Thinking of making the regular sized for my son. Or is this for 3-5 year olds?

Murphy Bed

Submitted by Anonymous (not verified) on Mon, 02/13/2017 - 19:21

More difficult build then I'm used too. Modified it to fit a full mattress but I think it turned out great! It's a lot cheaper to build than most Murphy beds to purchase out there on the market. Enjoyed these plans. Thank you Ana!

Estimated Cost
$250
Estimated Time Investment
Weekend Project (10-20 Hours)
Finish Used
Dark walnut
Recommended Skill Level
Intermediate

Full farmhouse bed

Submitted by hrsgrl337 on Thu, 11/12/2020 - 09:33

Full size farmhouse bed chalkpaint and grey glaze. I did have to modify to fit a queen mattress after so the side boards got moved out just a couple inches...

Built from Plan(s)
Estimated Time Investment
Weekend Project (10-20 Hours)
Finish Used
Chalk paint and glaze