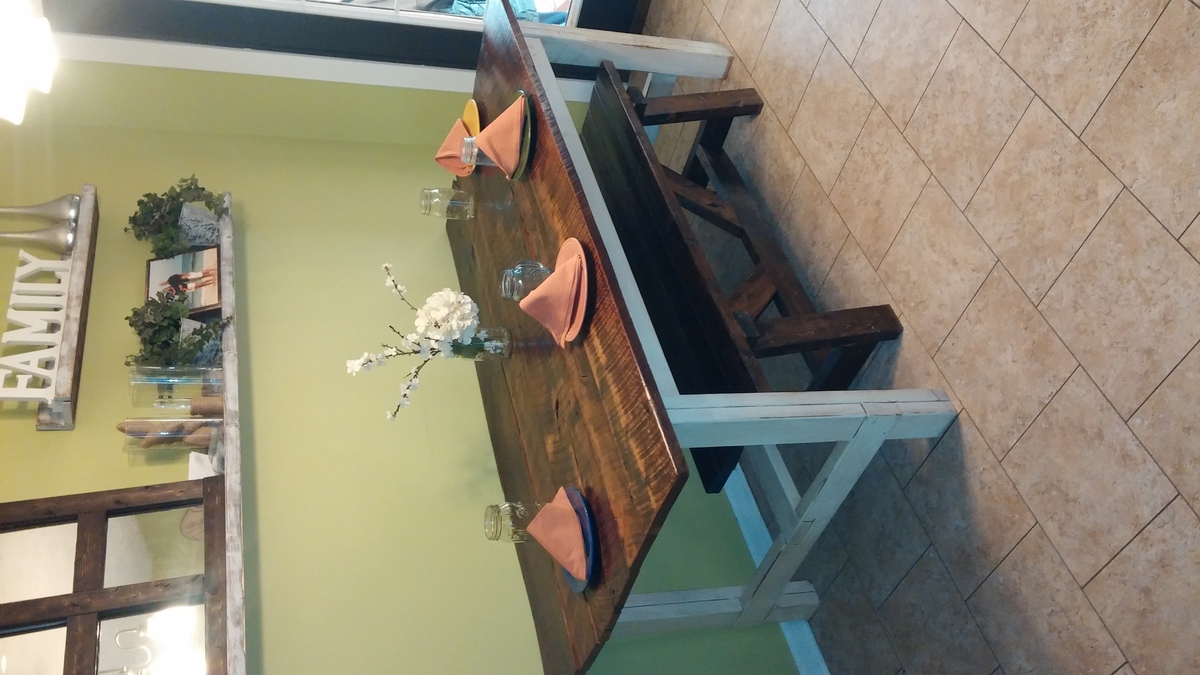
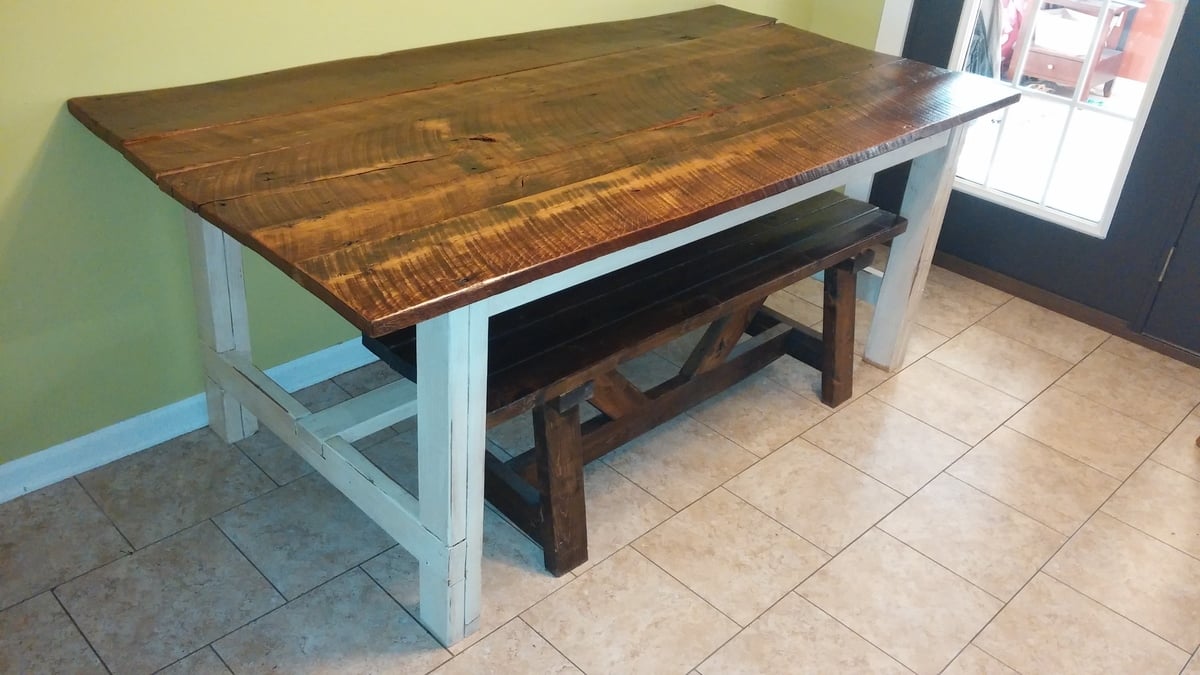
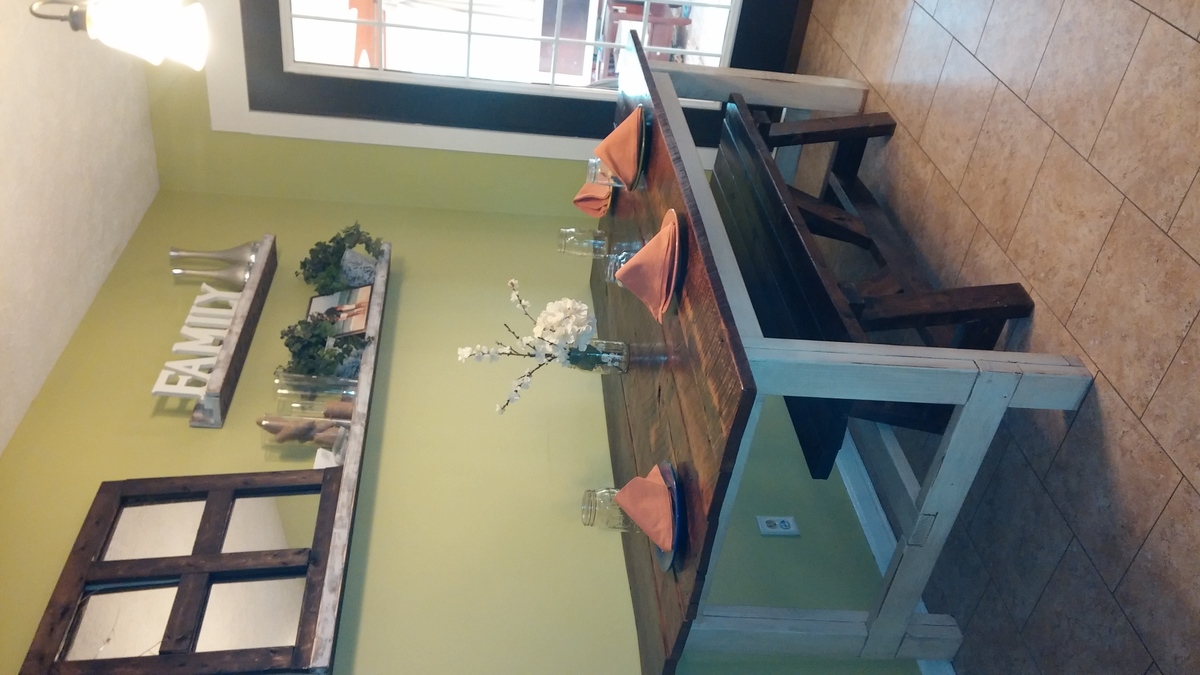
4x4 truss beam table
Still needs stain but came out pretty good so far!
Built from Plan(s)
Still needs stain but came out pretty good so far!
Our very first project. Both Ana White projects. Loving it! Thank you so much for free plans!
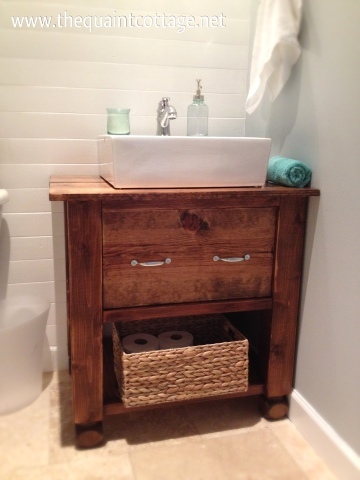
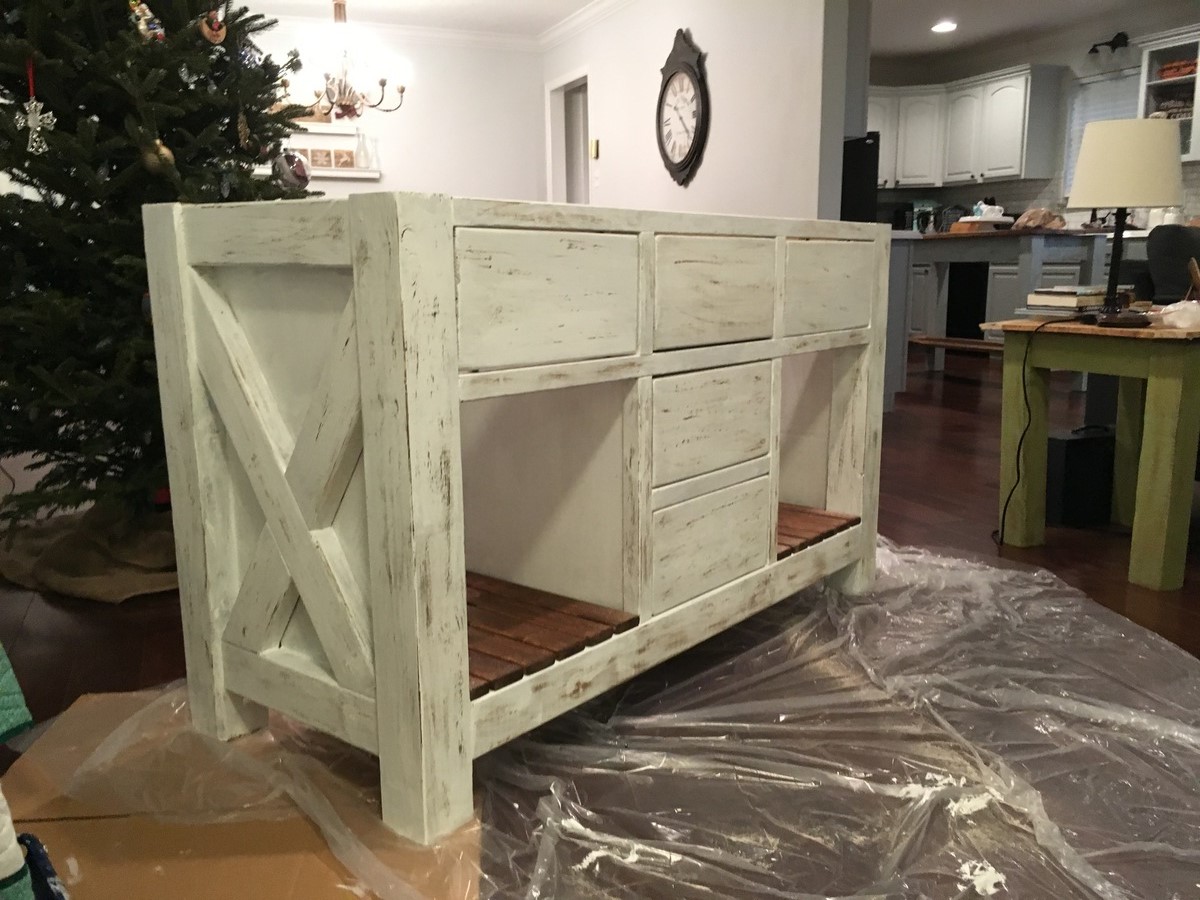
I found the William Vanity on Pottery Barn and loved the look, just not the price. I recreated it with a top sink and a drawer for a fraction of the cost.
Mon, 01/30/2017 - 12:33
The link to the instructions for this vanity is no longer valid. Would really love to get the instructions for the vanity.
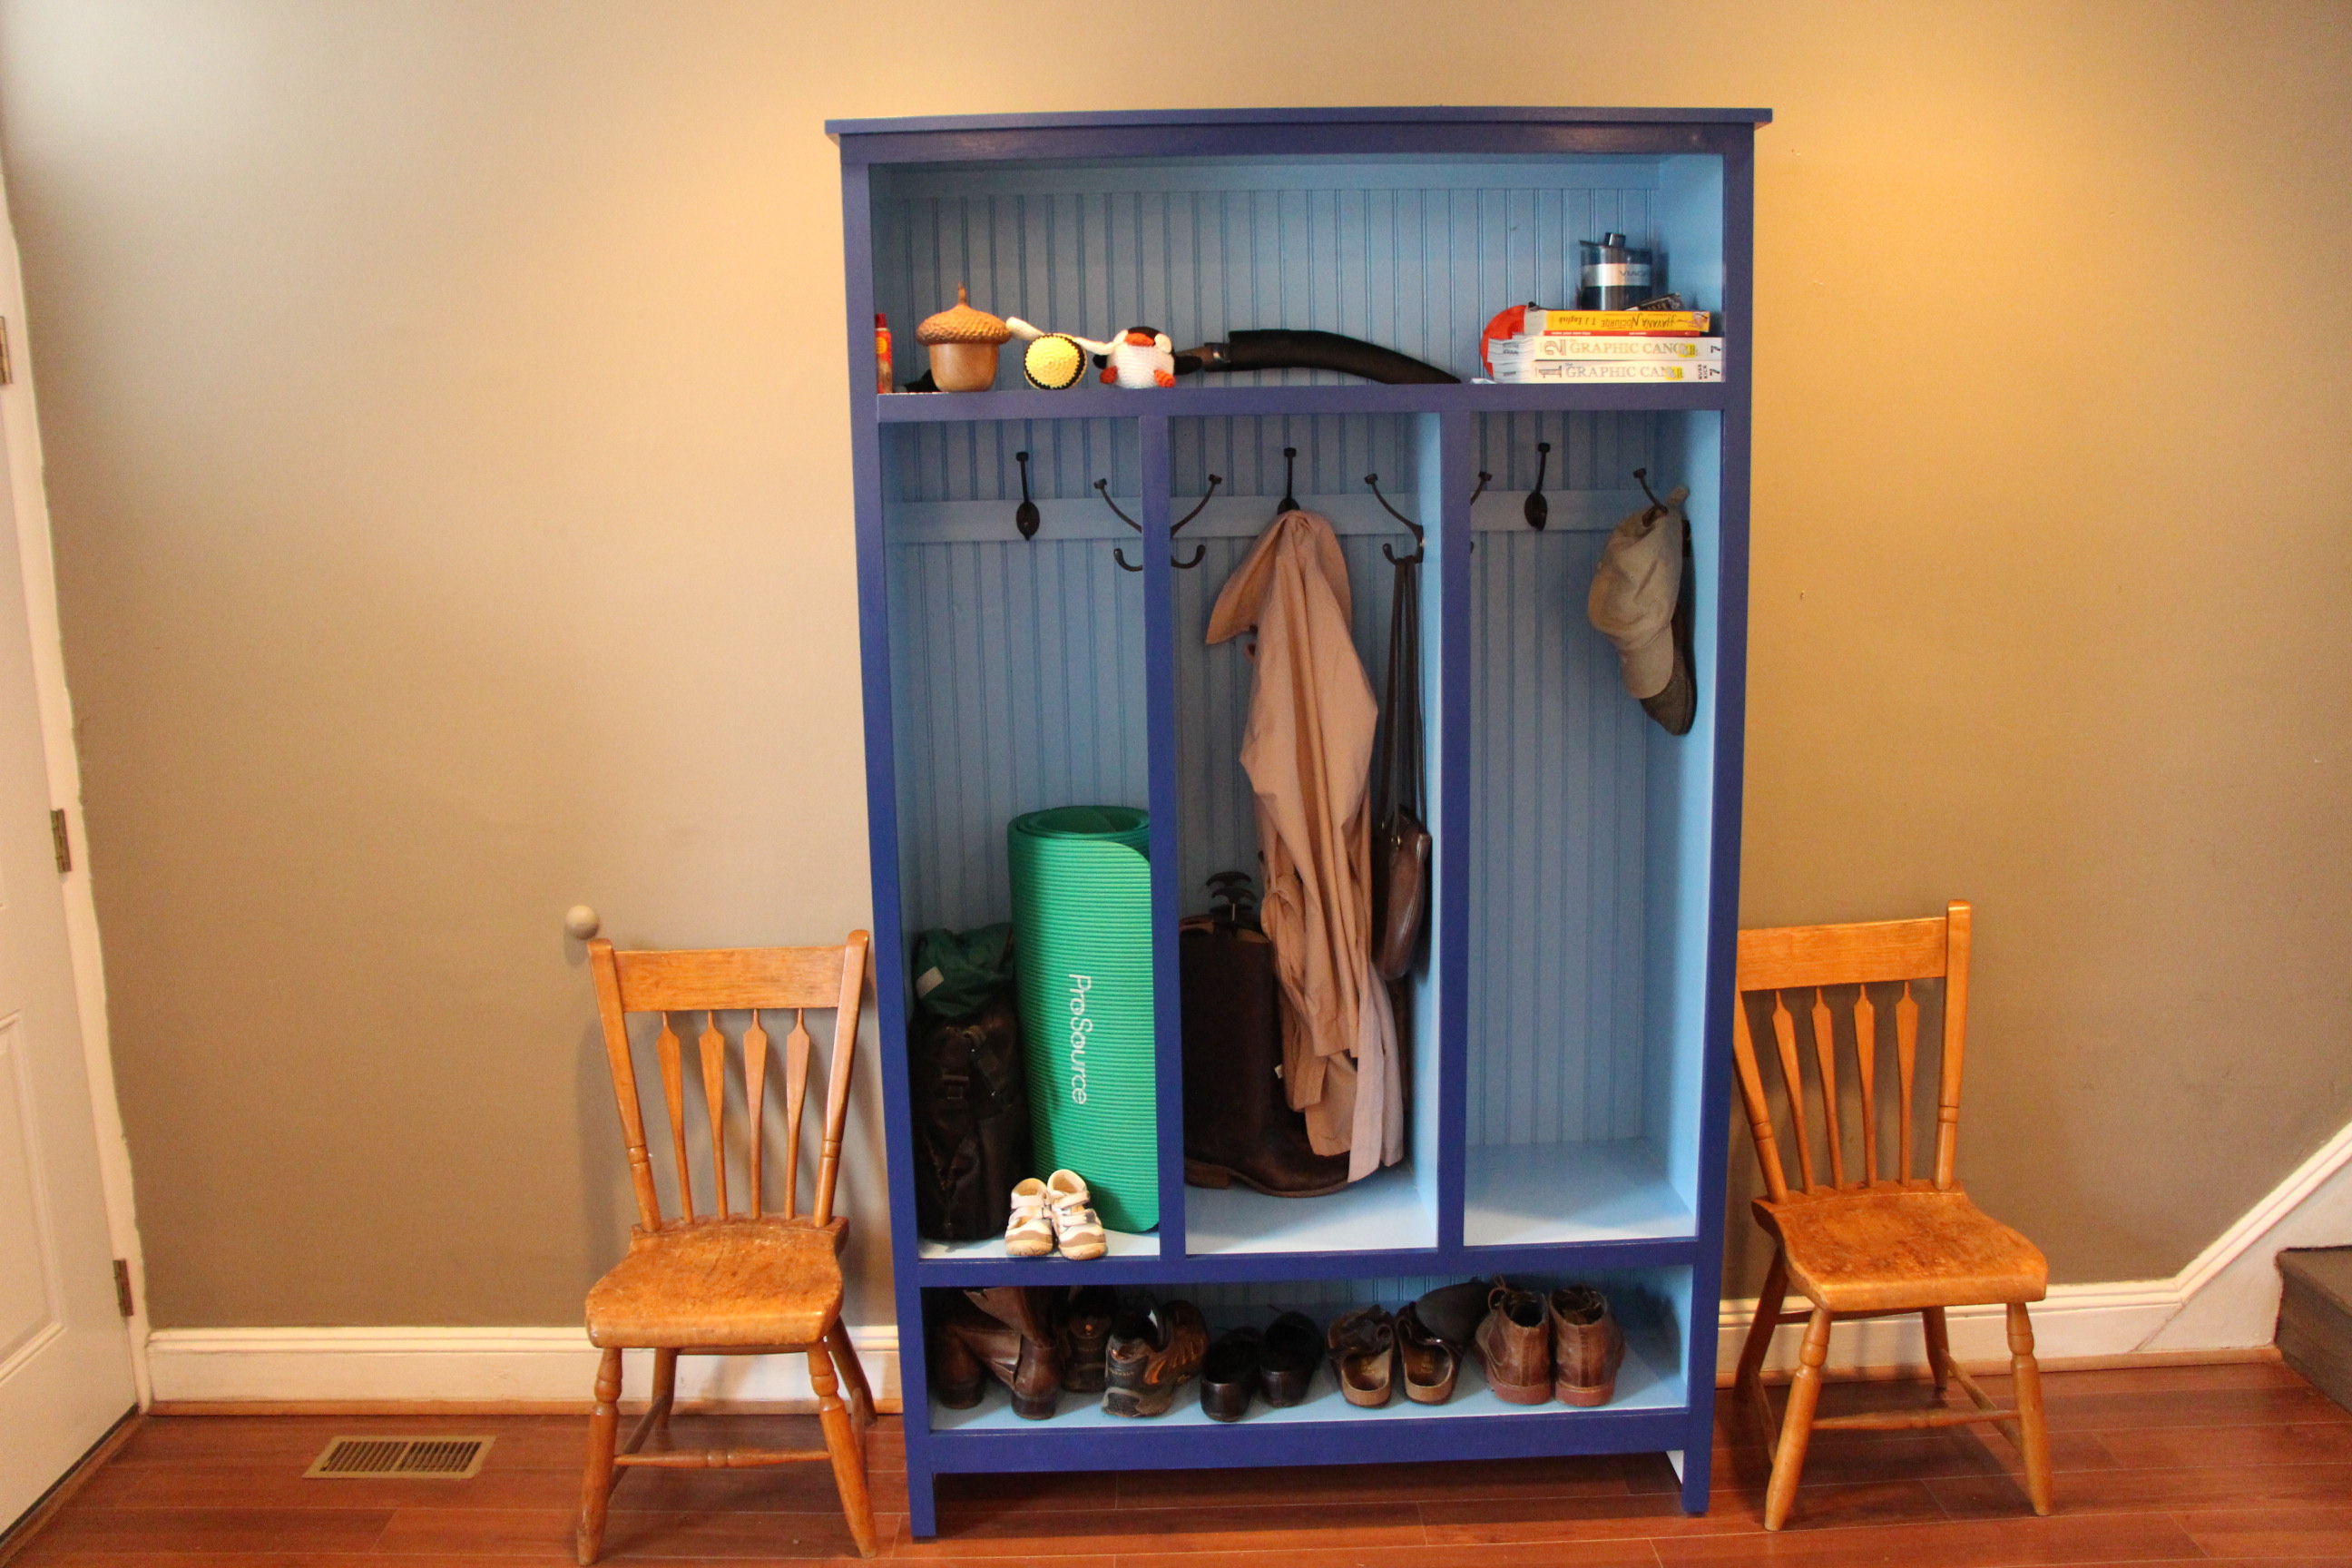
I made the locker cabinet and resized it to 80 inches to provide a little more locker height, and changed the depth to 16 inches. I haven't installed the last coat hook because I'd like to make a charging station on the top shelf using the outlet under the cabinet. Went really well!
Wed, 03/19/2014 - 13:36
Oh, and I decided to face frame everything so I wouldn't have to see the plywood edges.

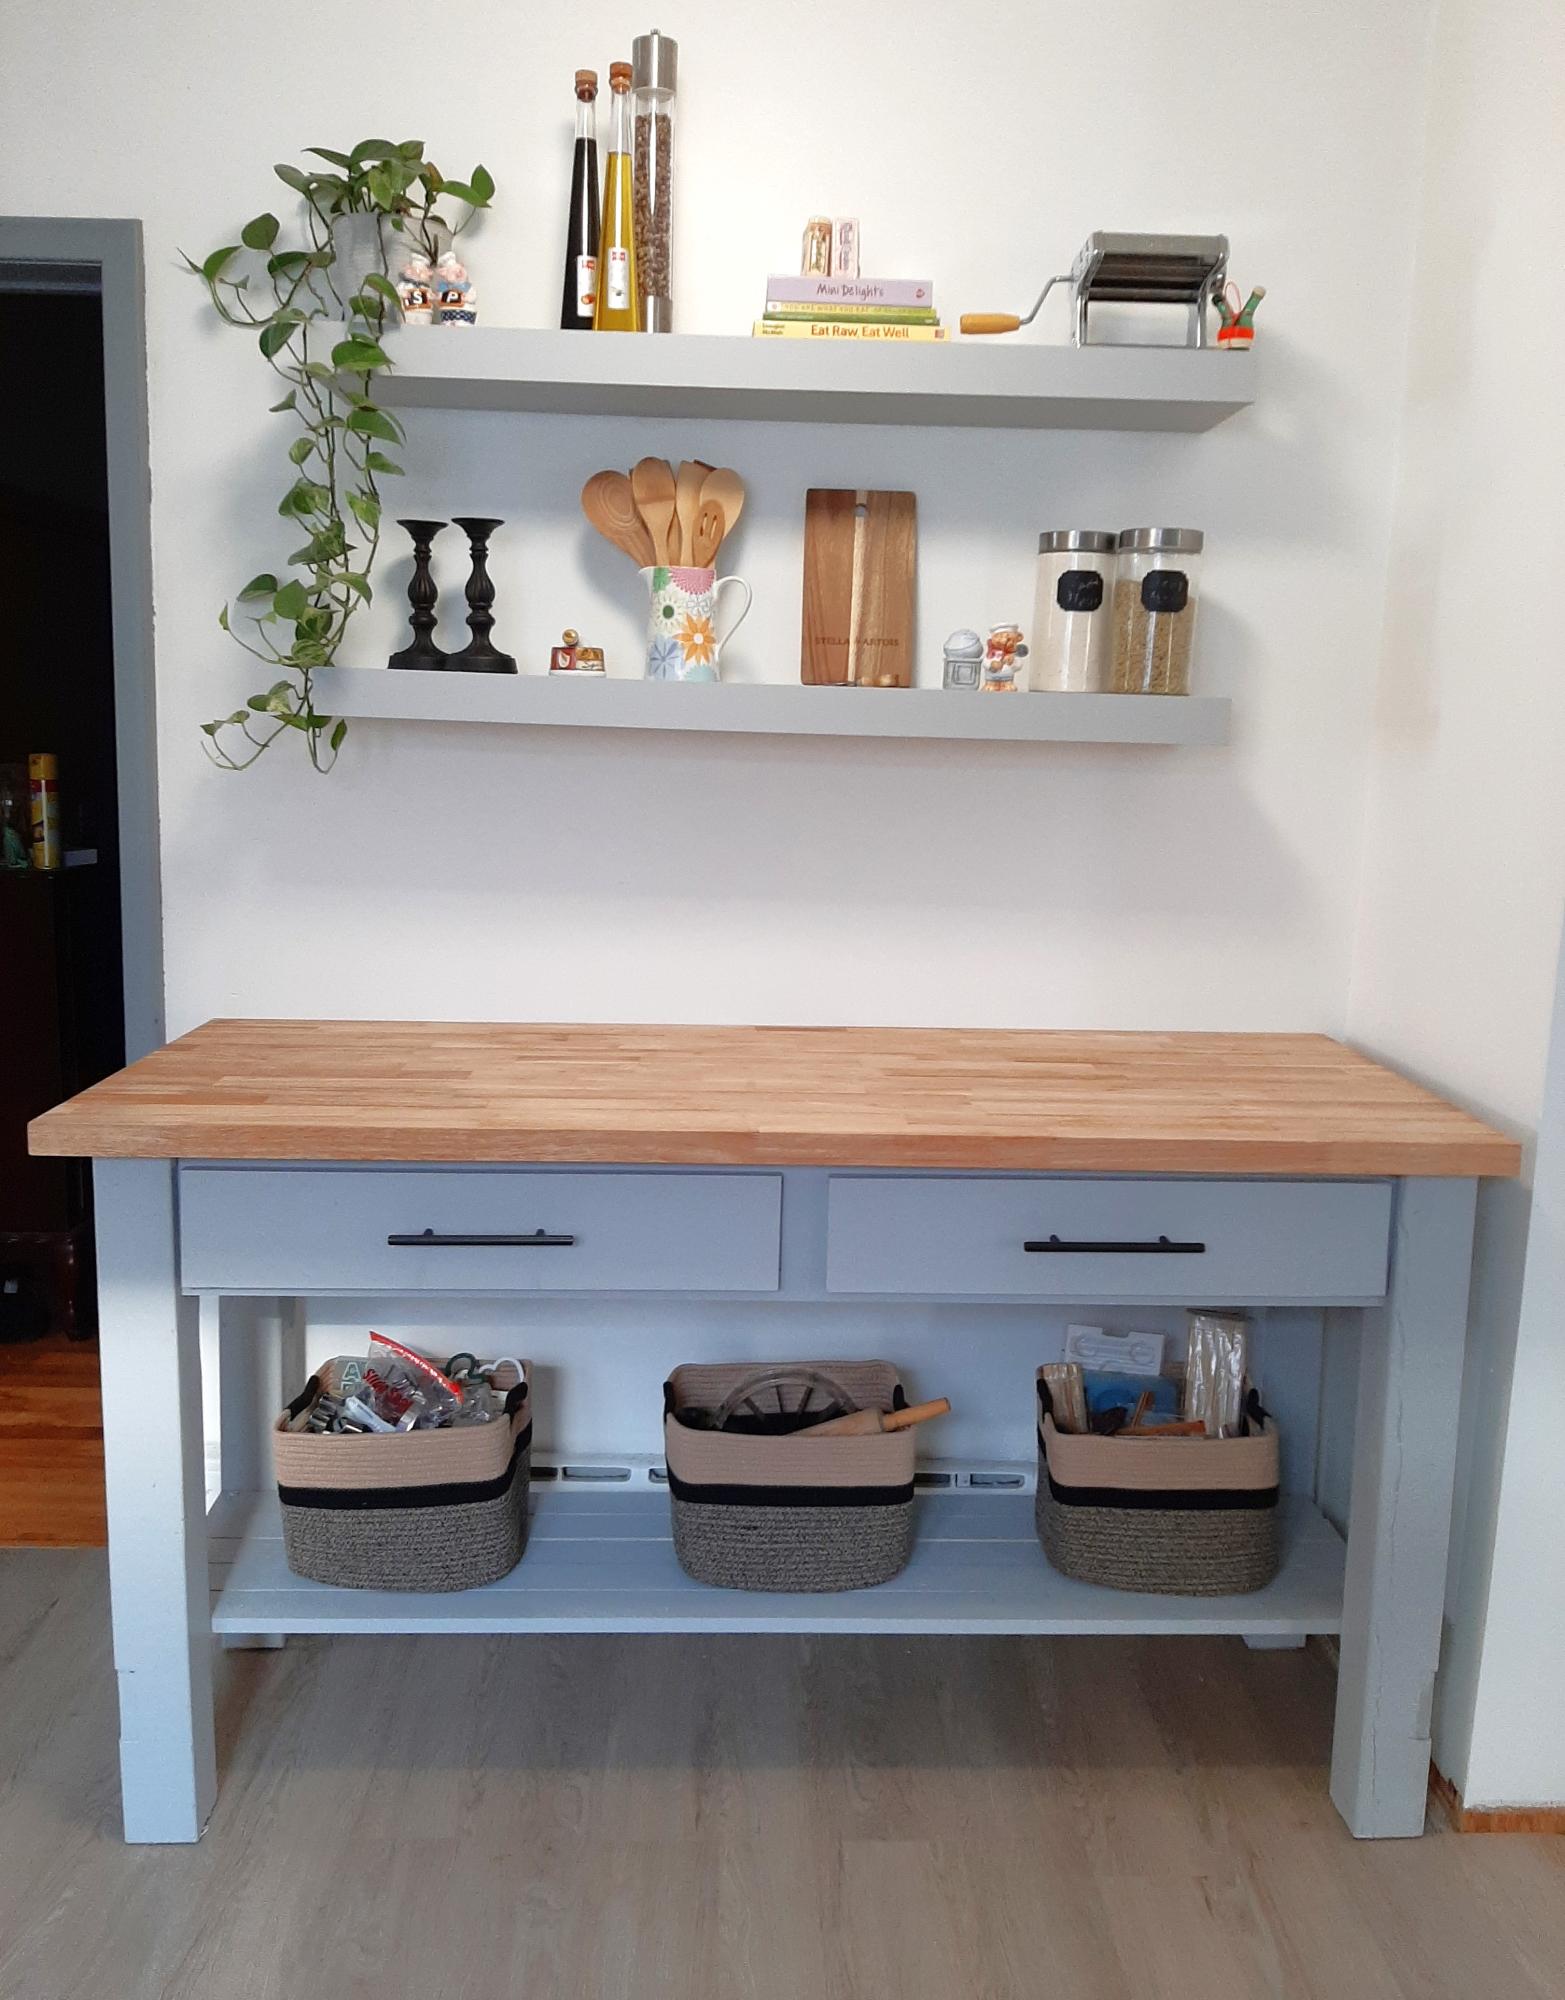
This is a heavily modified version of the rustic x kitchen island that I tweaked to make for 2 sinks.

Thu, 08/15/2019 - 11:52
This is gorgeous! Thanks so much for adding a brag post!
Mon, 11/25/2019 - 11:39
Do you happen to have plans or info on what you did to modify it to hold the sinks?? Absolutely love this!!!
Mon, 02/03/2020 - 06:41
Absolutely love this but I would like the actual modified plans . Is it possible to get them?
Sun, 01/03/2021 - 16:01
Love this!!! Great job!!!! II need new vanities... this will be a great project!!
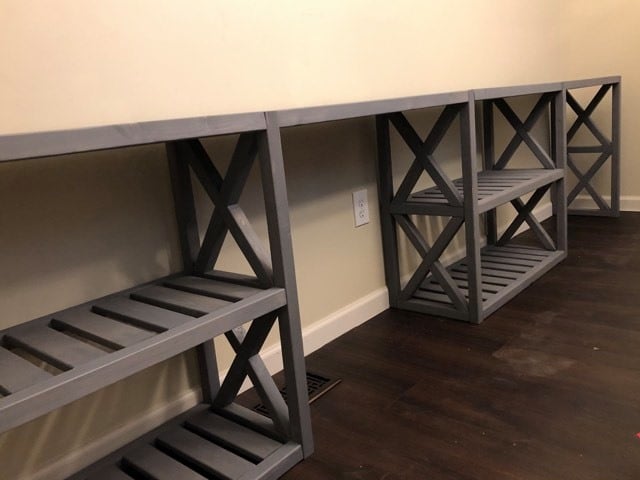
My husband and I both work from home and we don't have a lot of space. I was getting frustrated that he was always working at our dining room table, so I wanted to create dedicated work areas for both of us. I really liked the style of the farmhouse console table, so I modified the plan to add a second desk on one end. They are very functional and did not take up a lot of space. Best of all, they were very affordable!
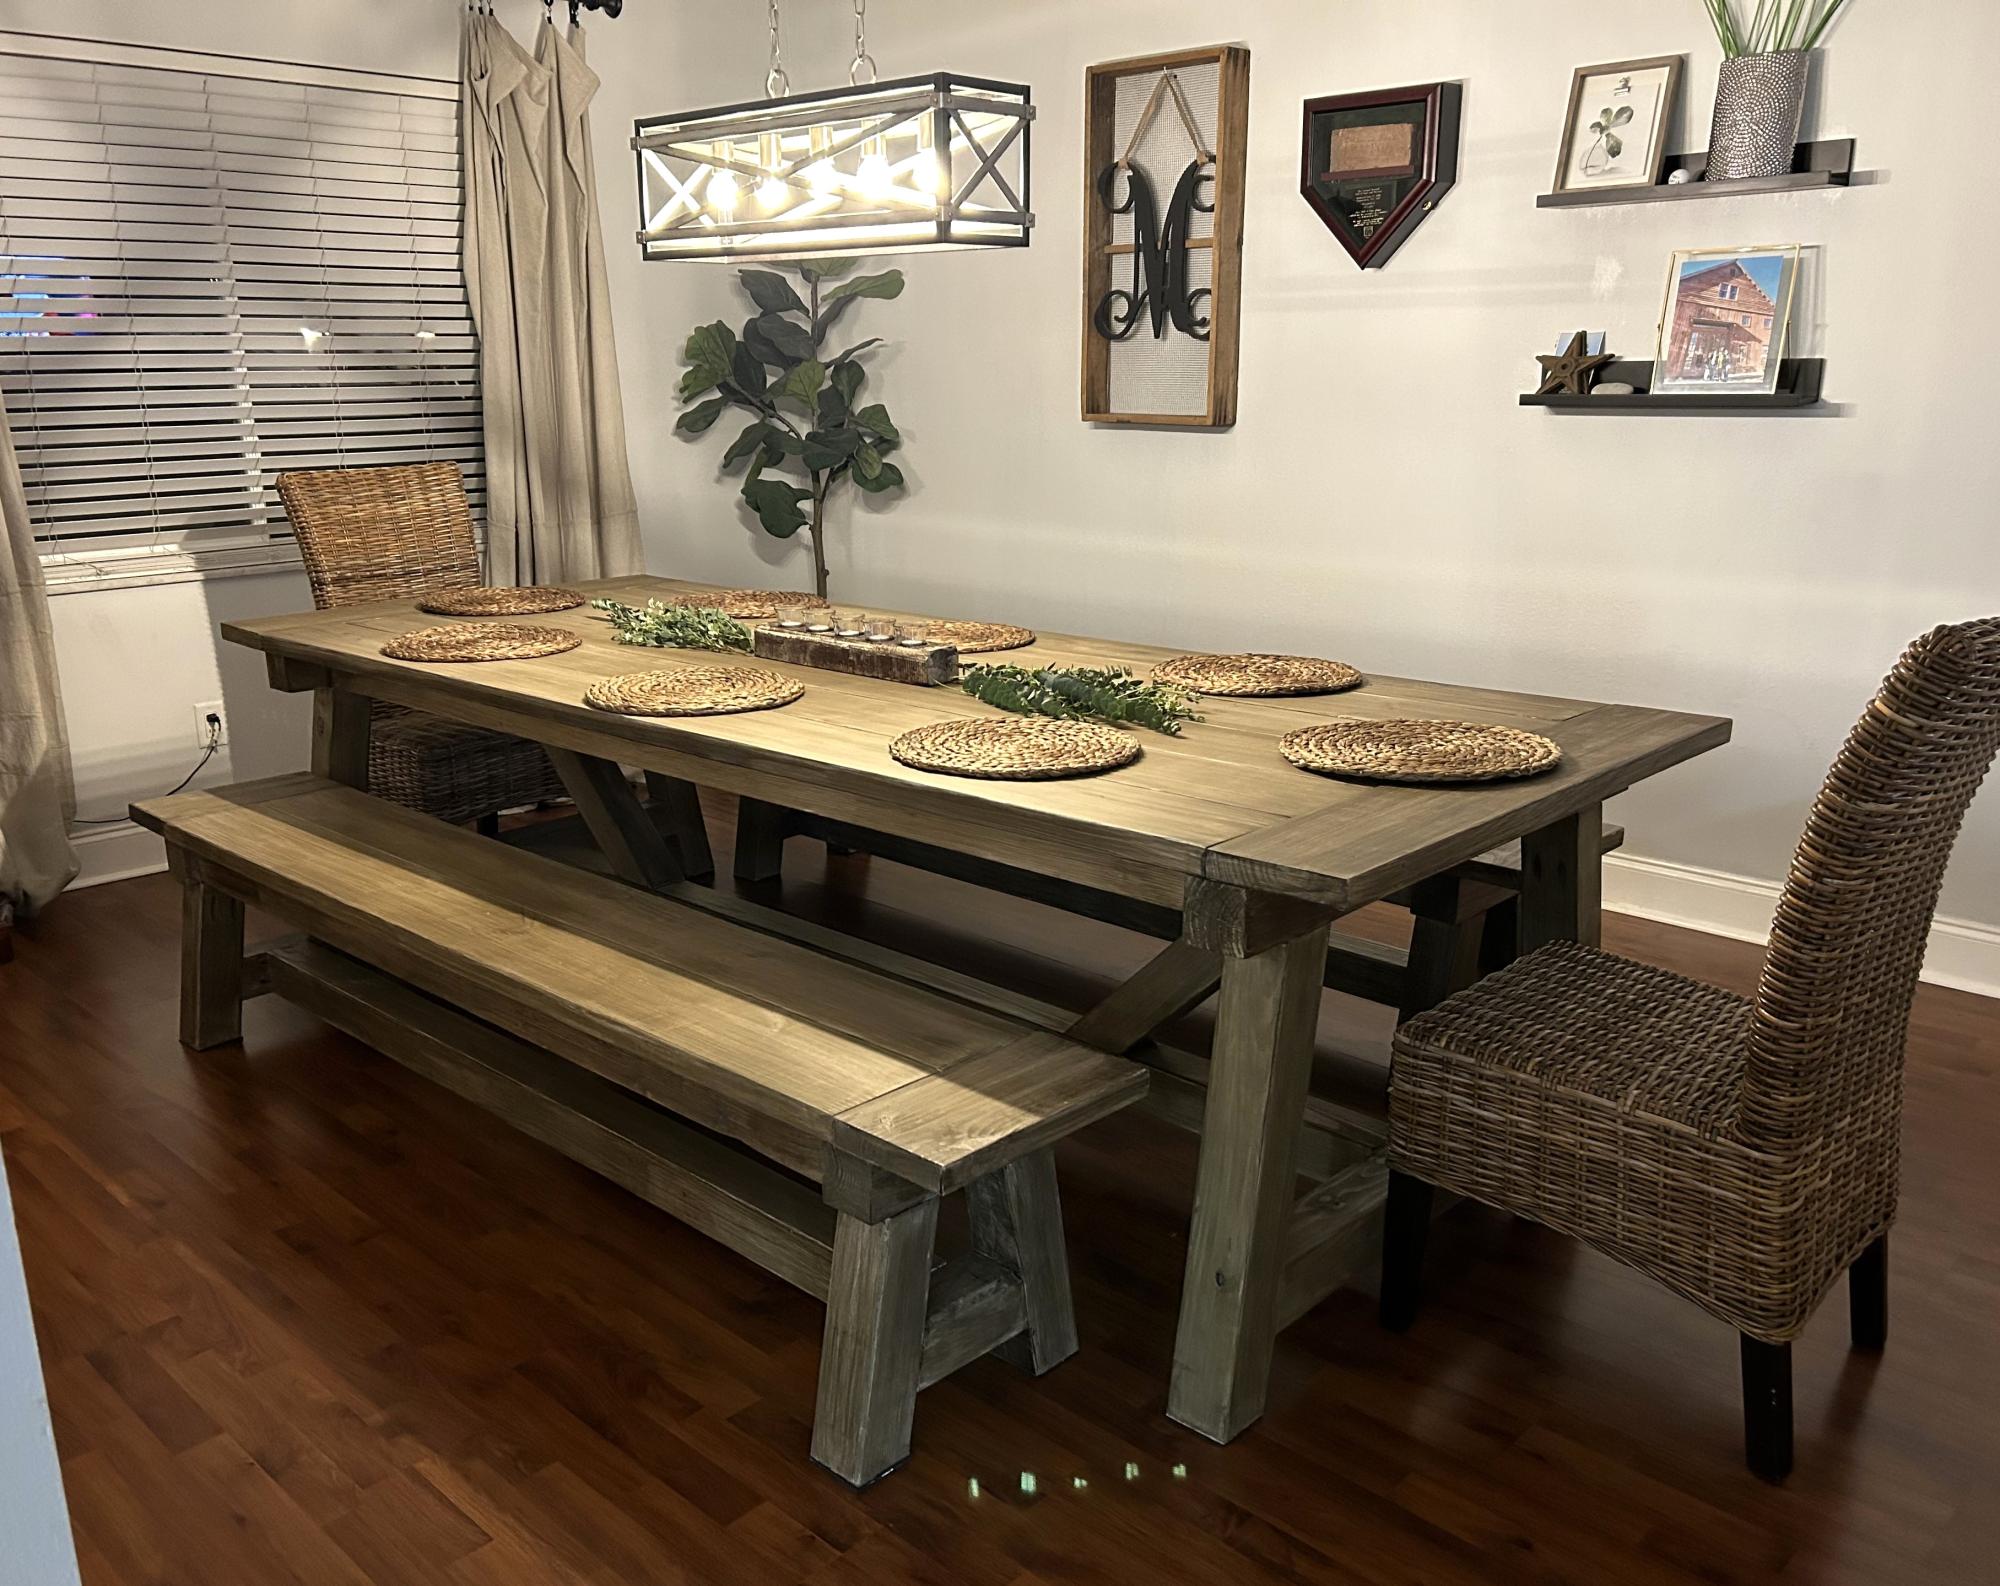
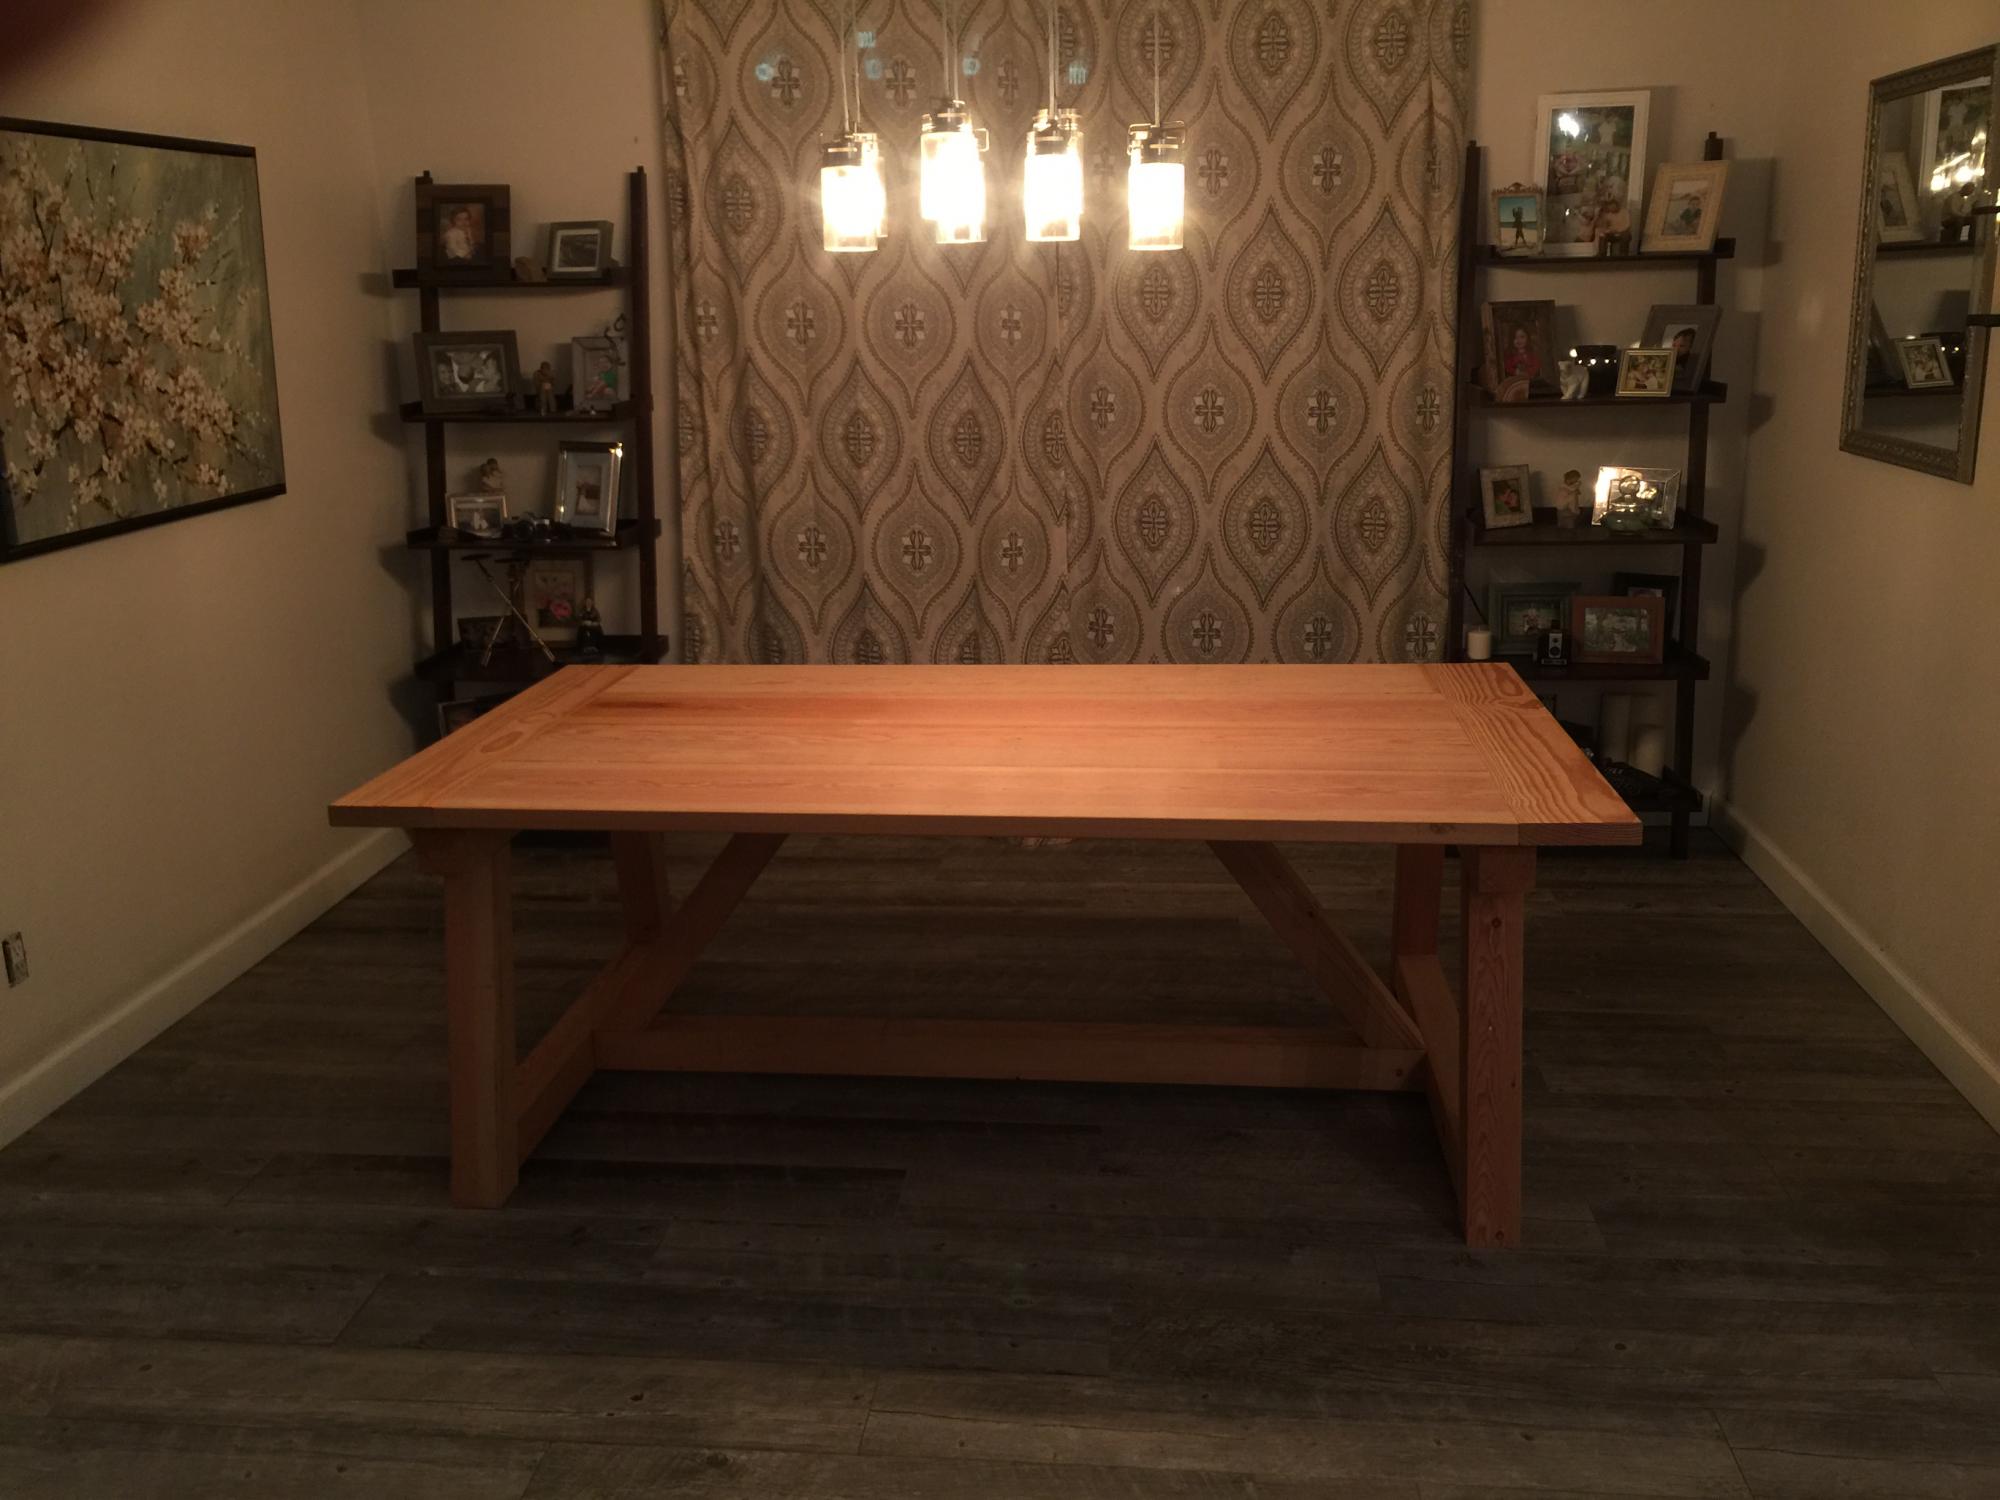
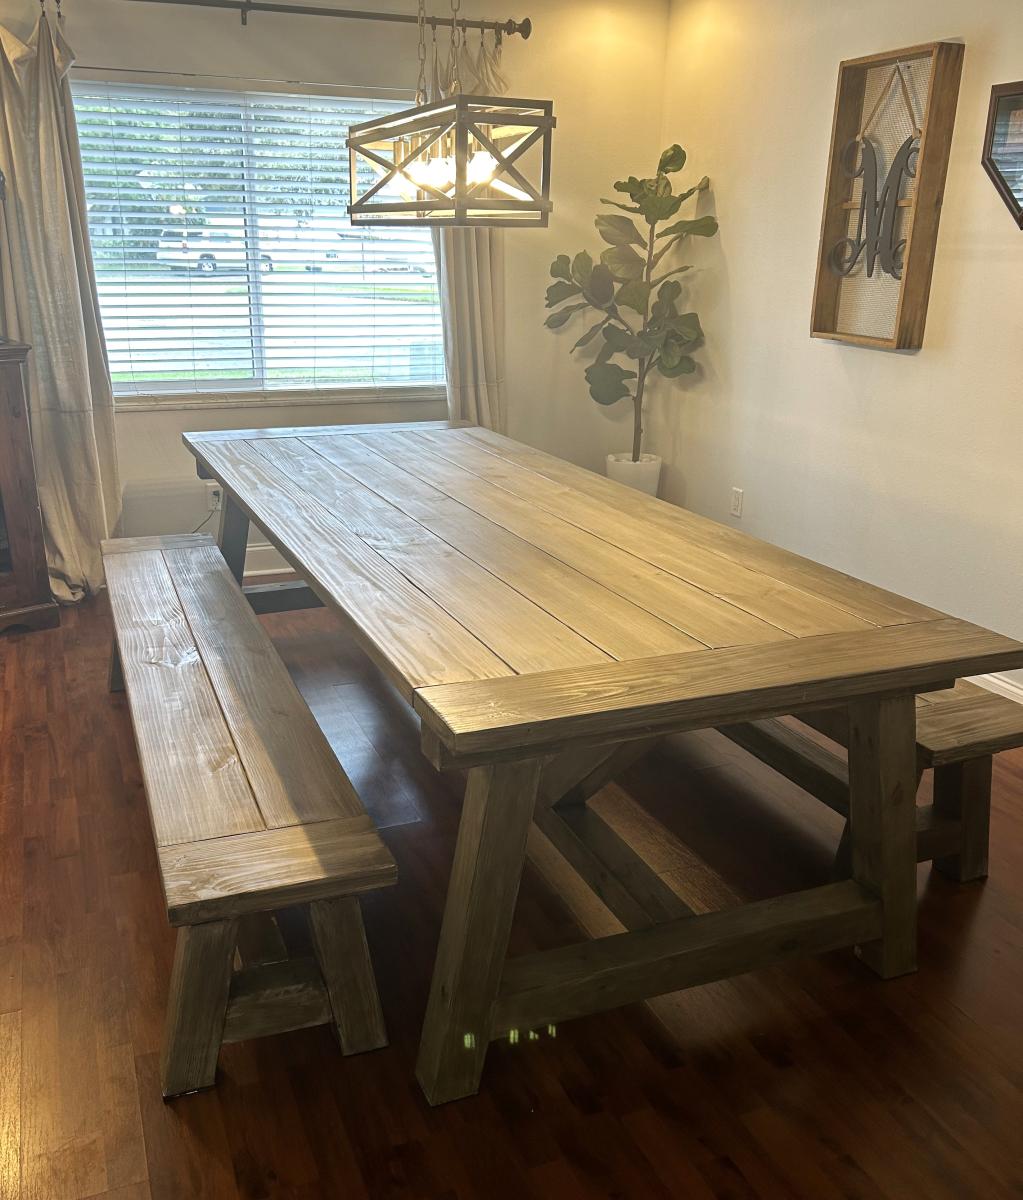
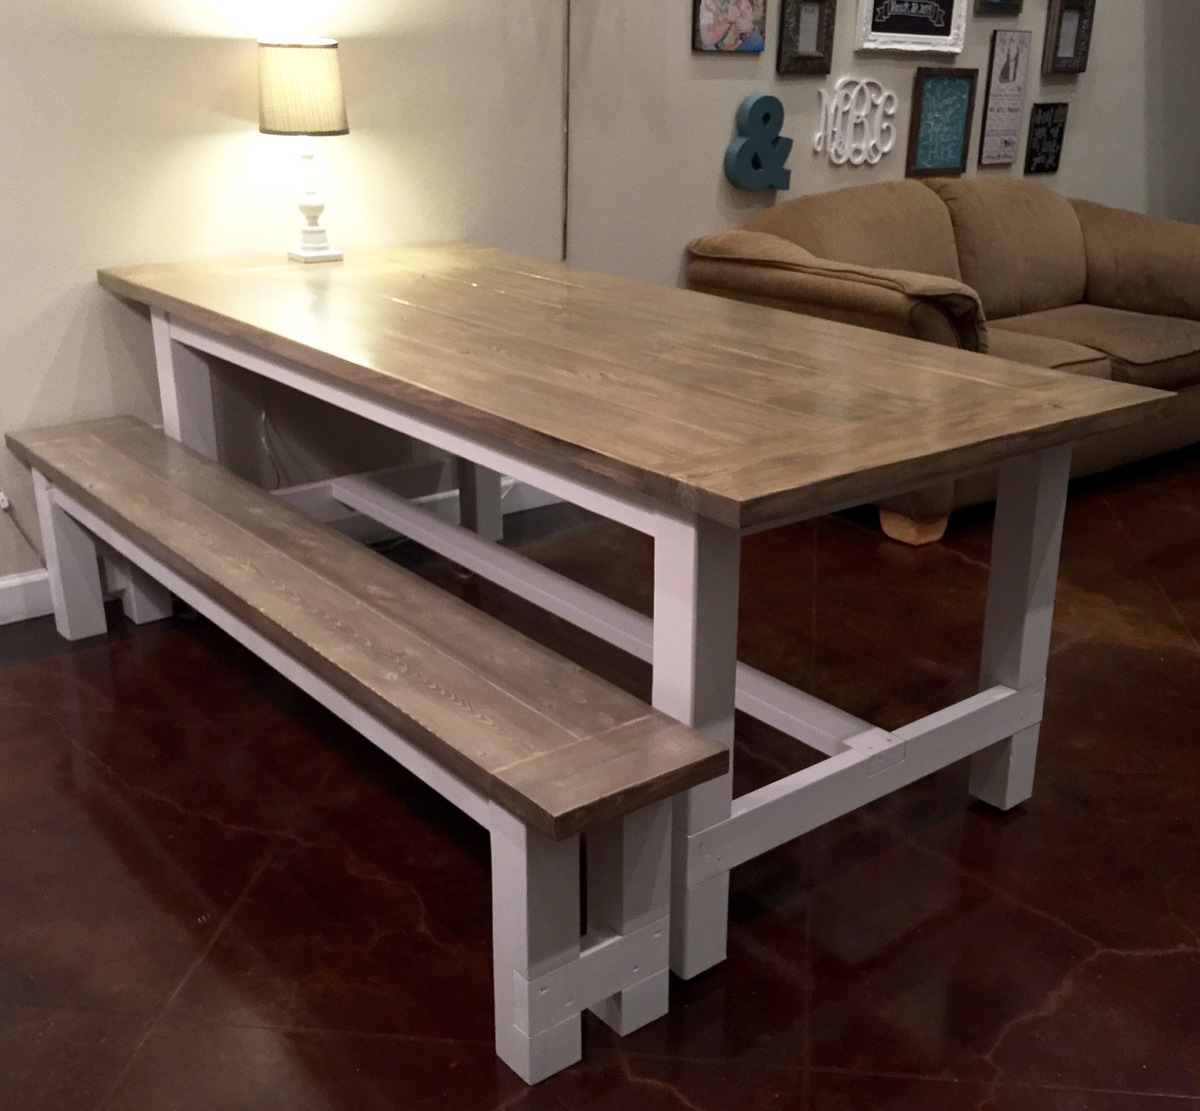
4x4 Truss Table and truss bench
Extended table to 109 inches. Finished just in time for Thanksgiving dinner. All 14 of us fit around the table comfortably.

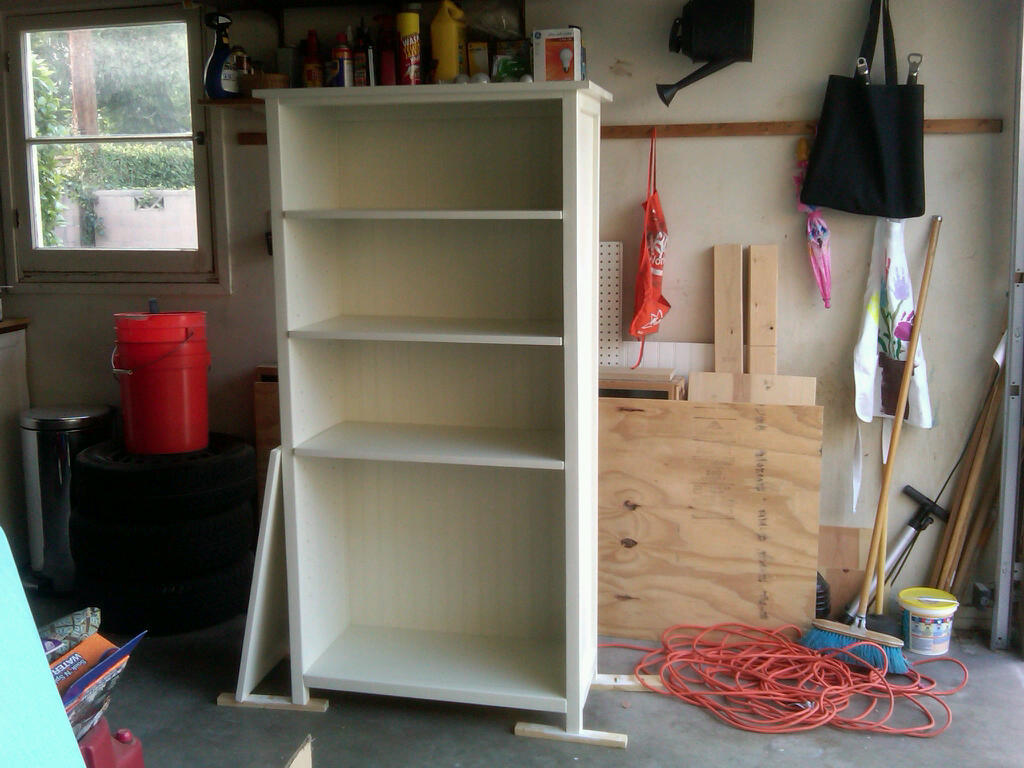
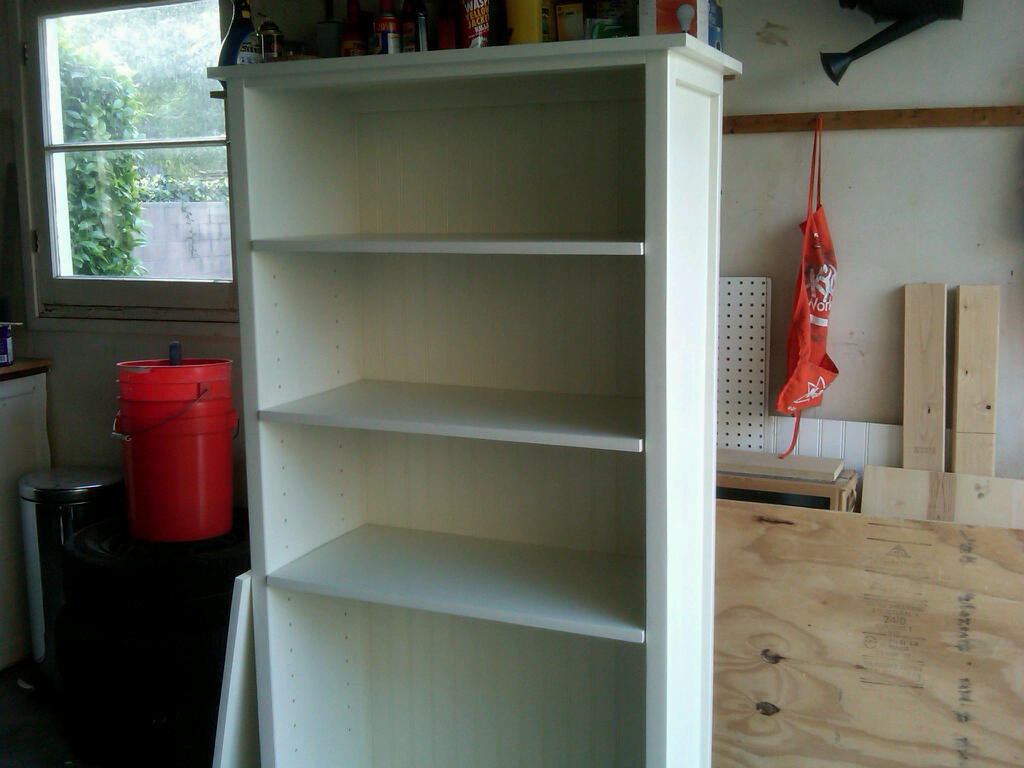
This is my first project. It was very fun and quite a learning process. Thanks Ana for the great site and inspiring me to start a new phase in my life. I was missing a couple of shelf pins
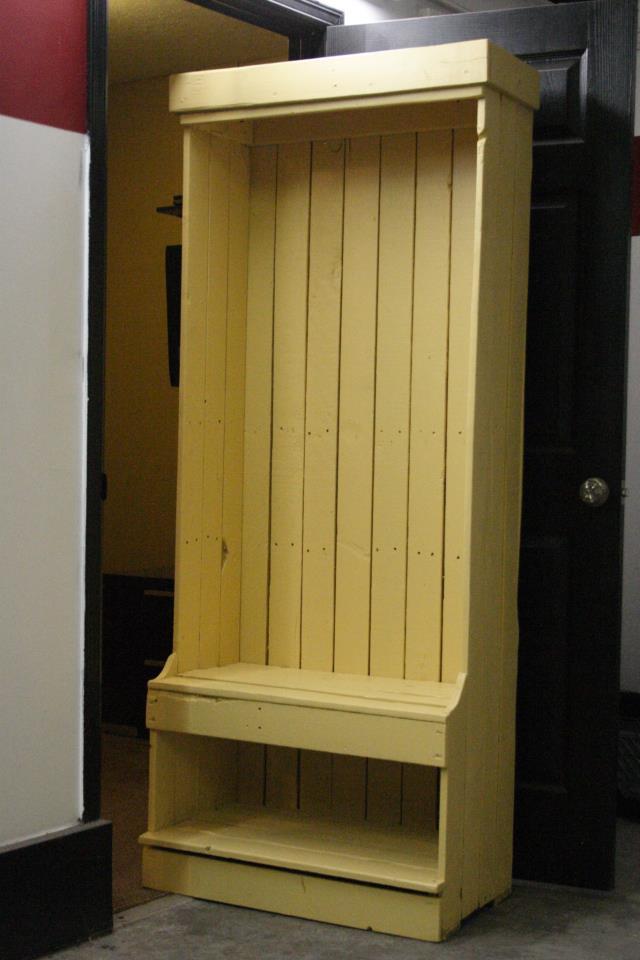
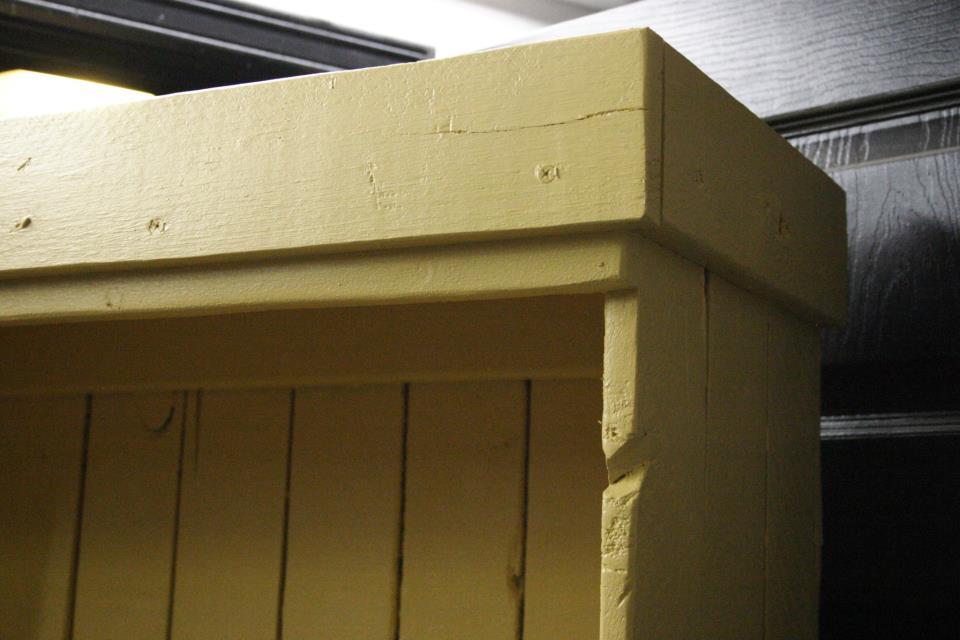
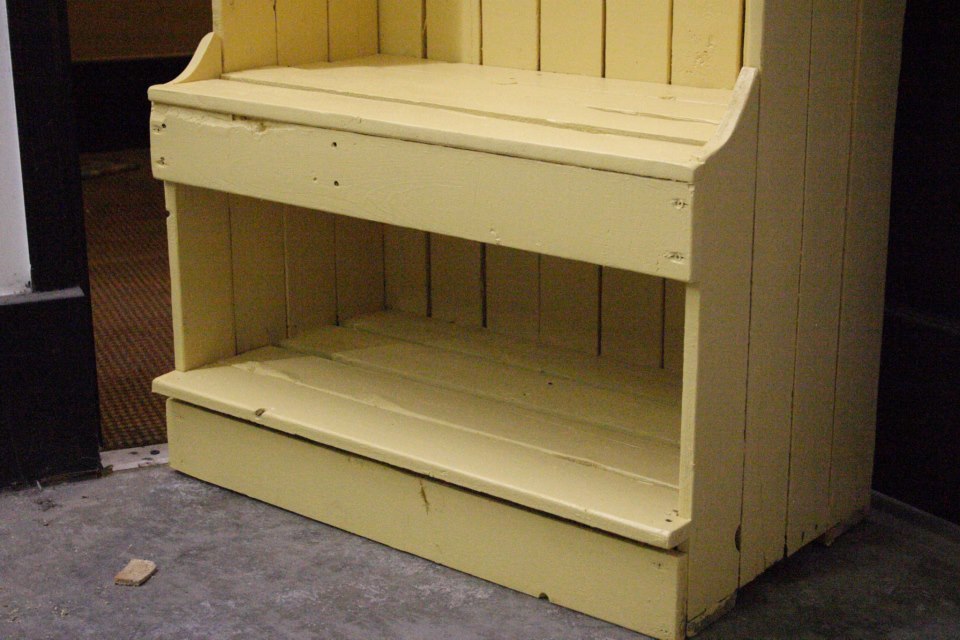
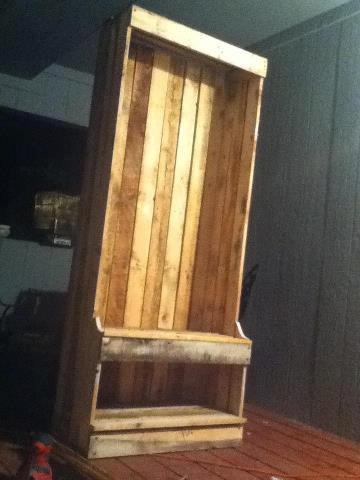
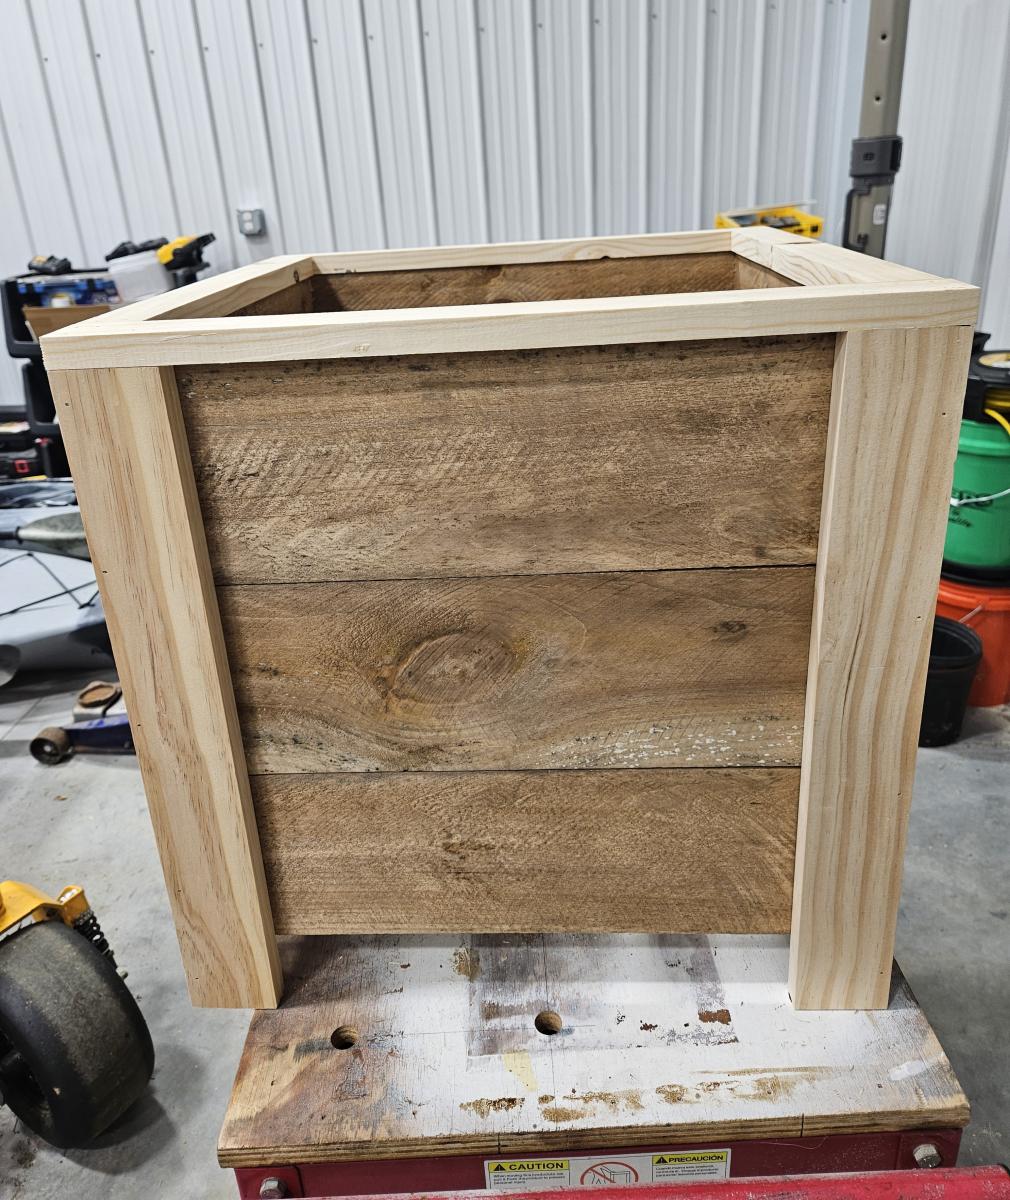
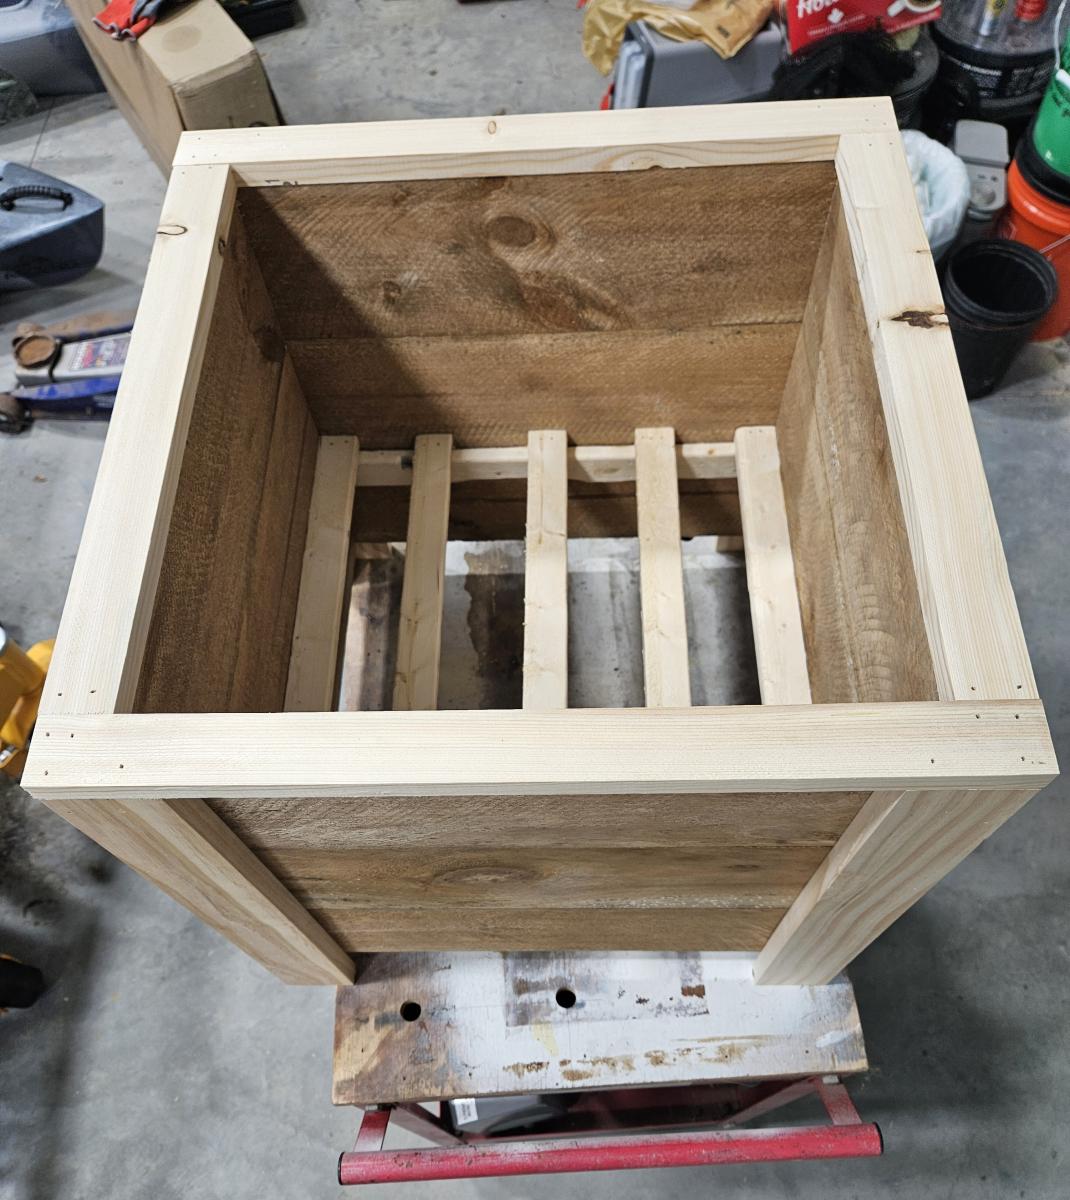
This hall tree started life out as a pair of ceder pallets.
This isn't based on a plan but could easily have been modified from the single locker cabinet plan here on Ana White.
The whole thing was screwed and glued together using 7/8" drywall screws and Elmers all purpose white glue.
I have no money into this unit that wasn't already spent. I got the wood for free. The screws glue and misc. tools I already had laying around.
The lady that bought it from me intended to put coat hooks in it and use the space below for shoes.
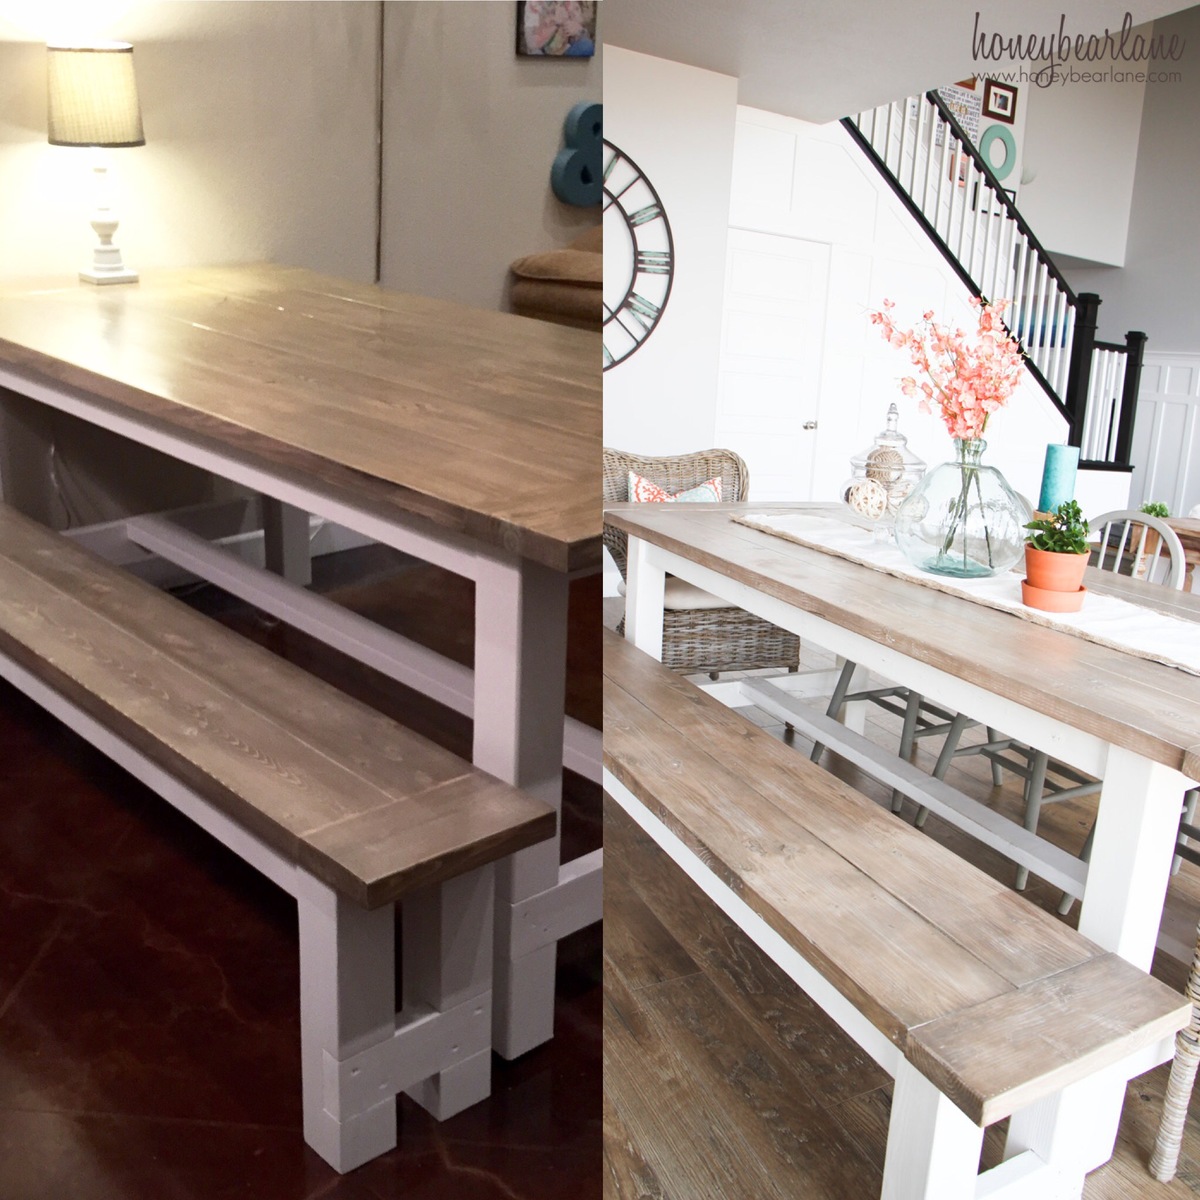
Farmhouse style table using Ana-white plans and HoneyBear finish.
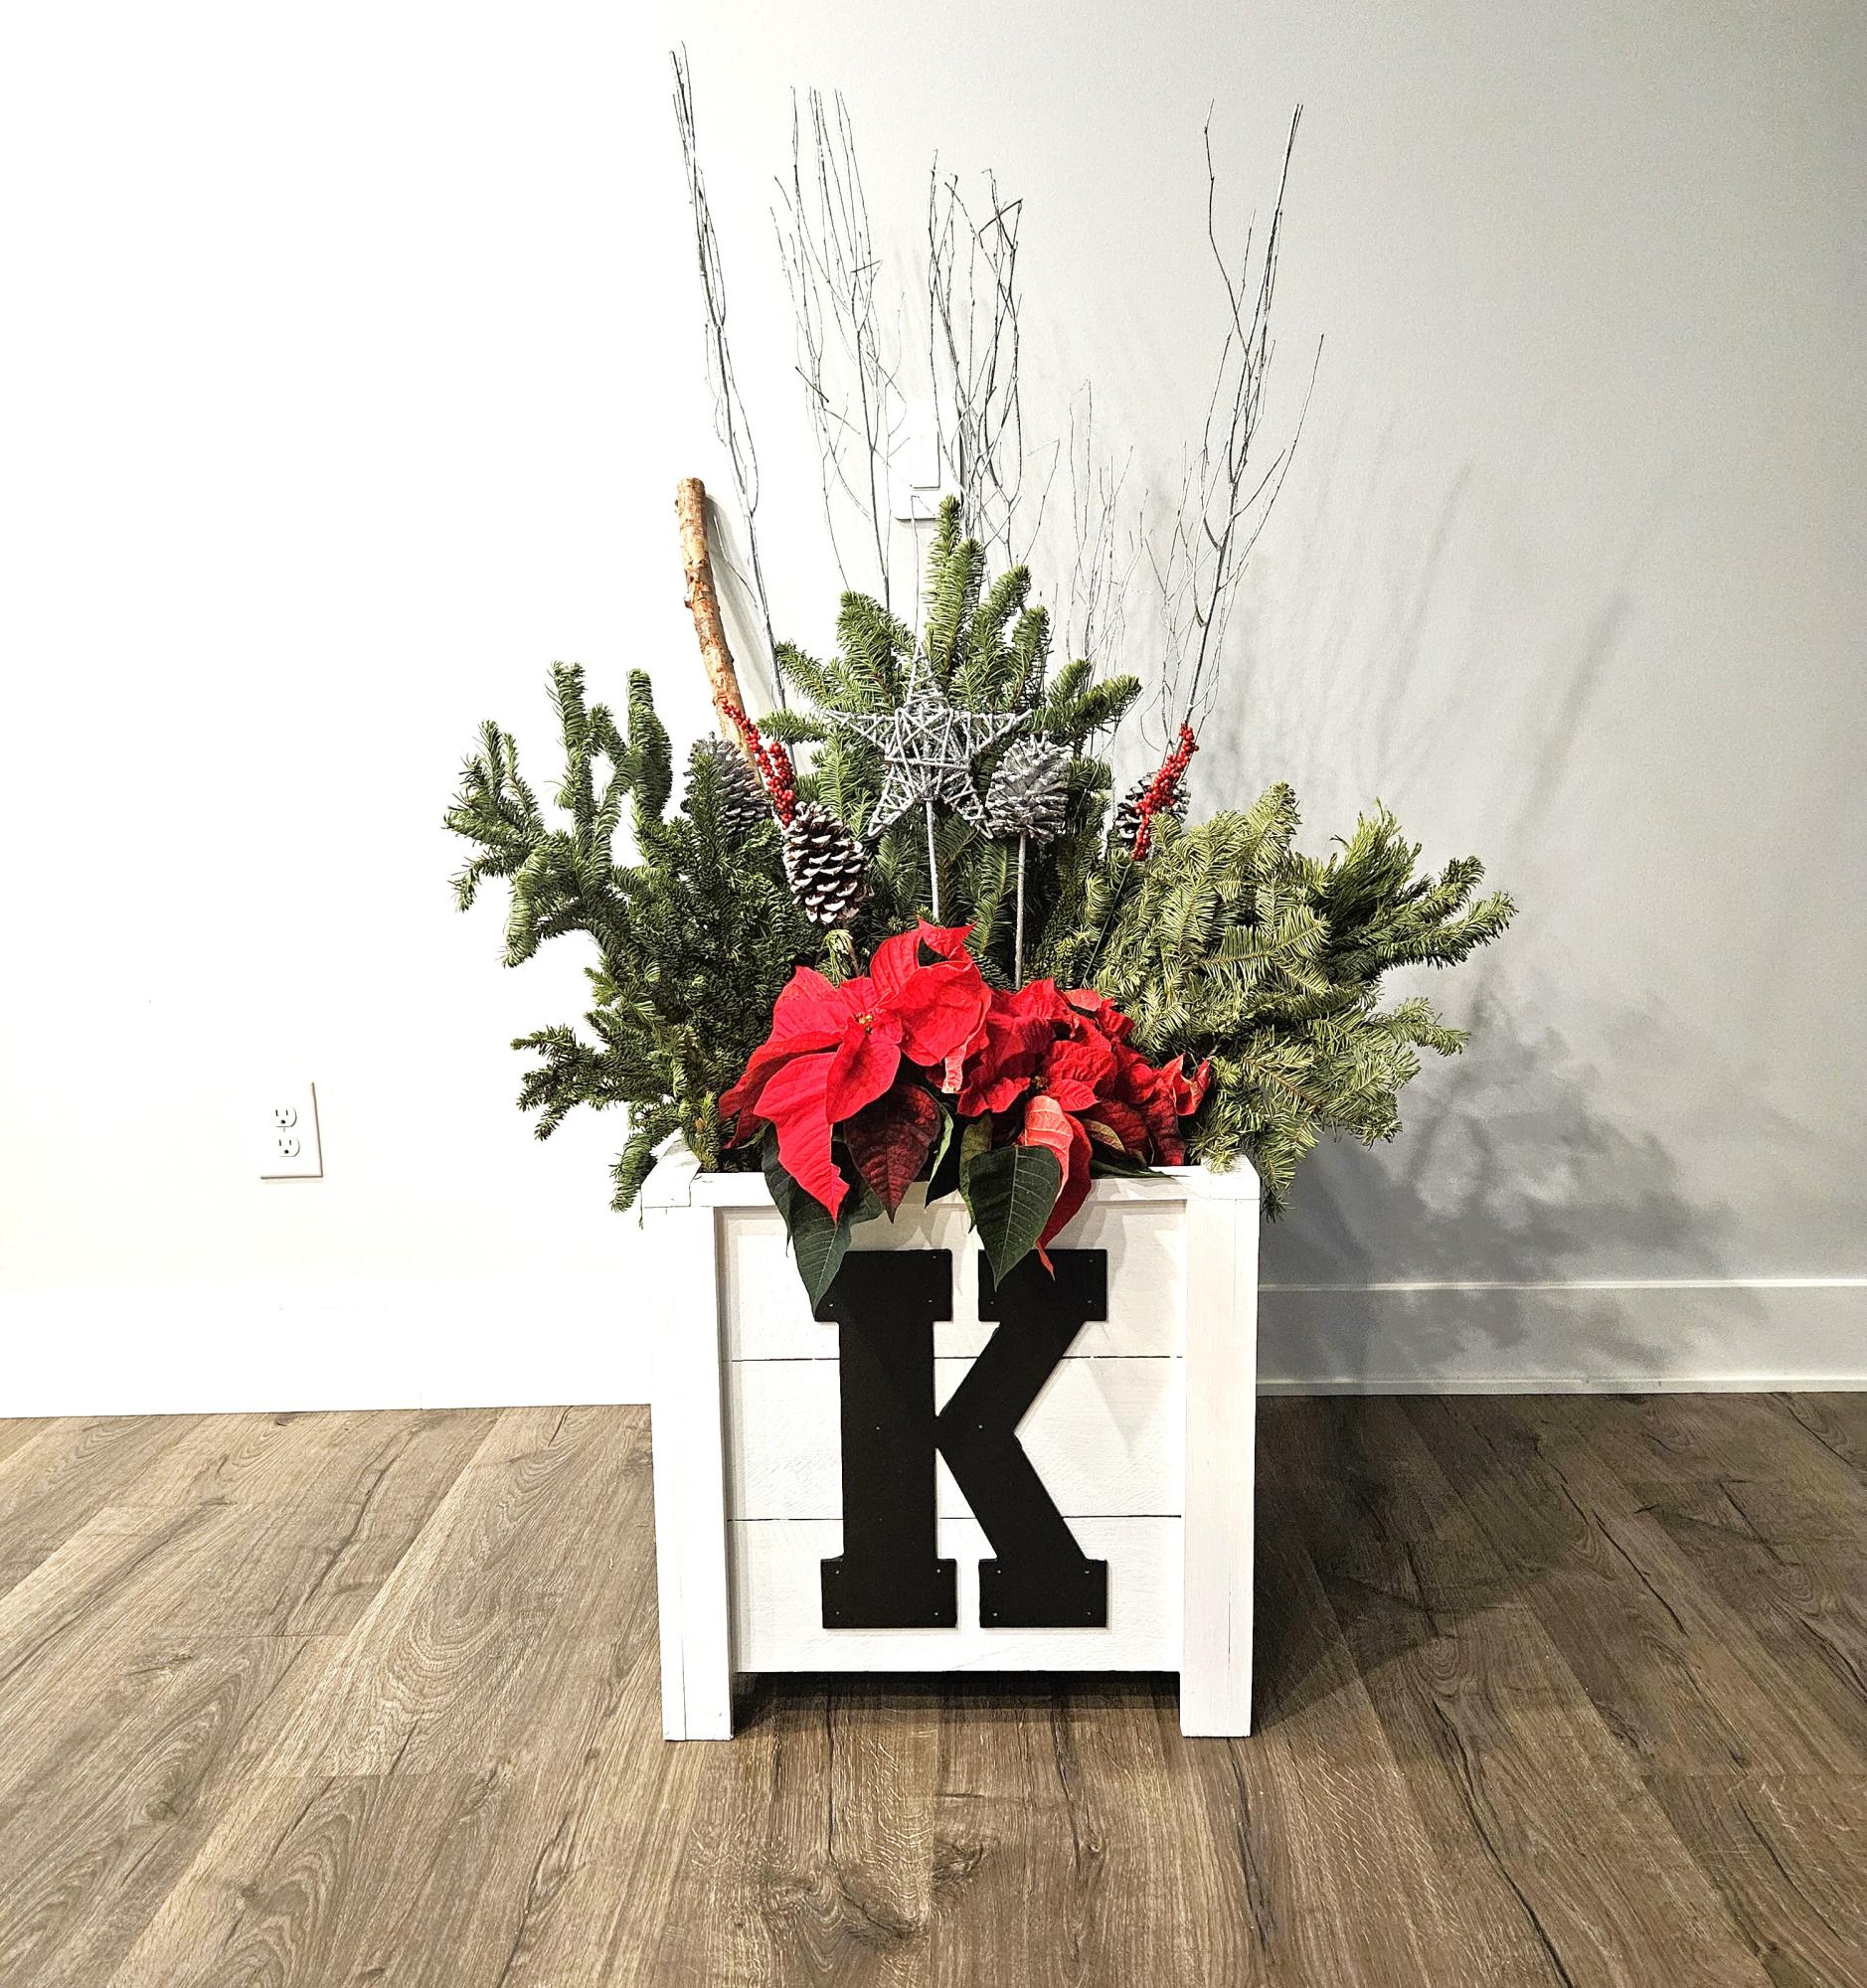
Christmas gifts my wife and I have been working on. These are great projects Anna, thank you!!!
Robert and Crystal

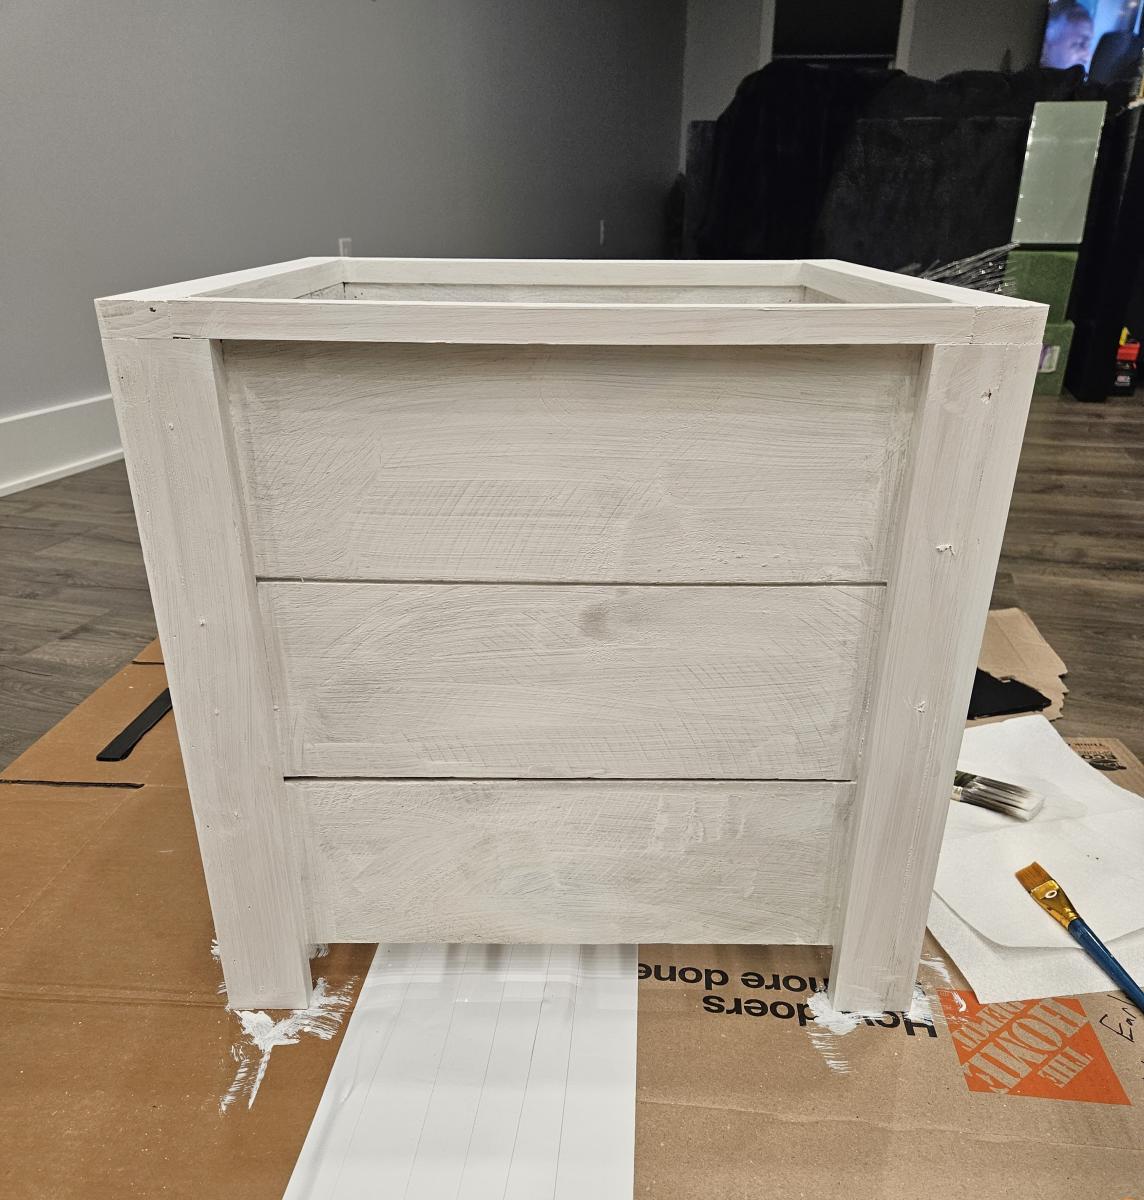

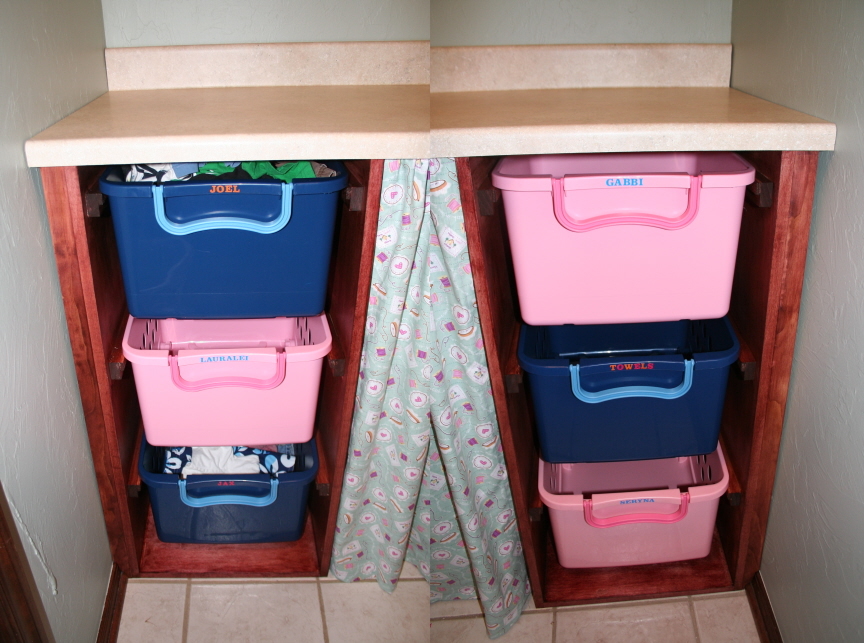
I had already bought these rolling & stackable baskets from Target for my 5 kids (http://tinyurl.com/72be9cn - 2.37 Cu. In., 10.75 " H x 16.38 " W x 20.0 " L) and I knew I wanted a countertop for sorting clothes. I thought I had an idea of shelves to put these on under the counter (which would have been attached to the wall) and somehow have a space for the litter box too, but then I found the "Laundry basket dresser" here. I was so excited because this was exactly what I was looking for.
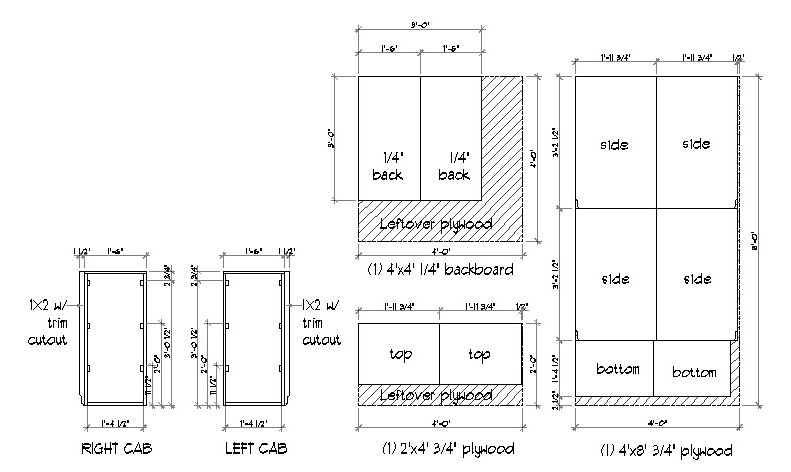
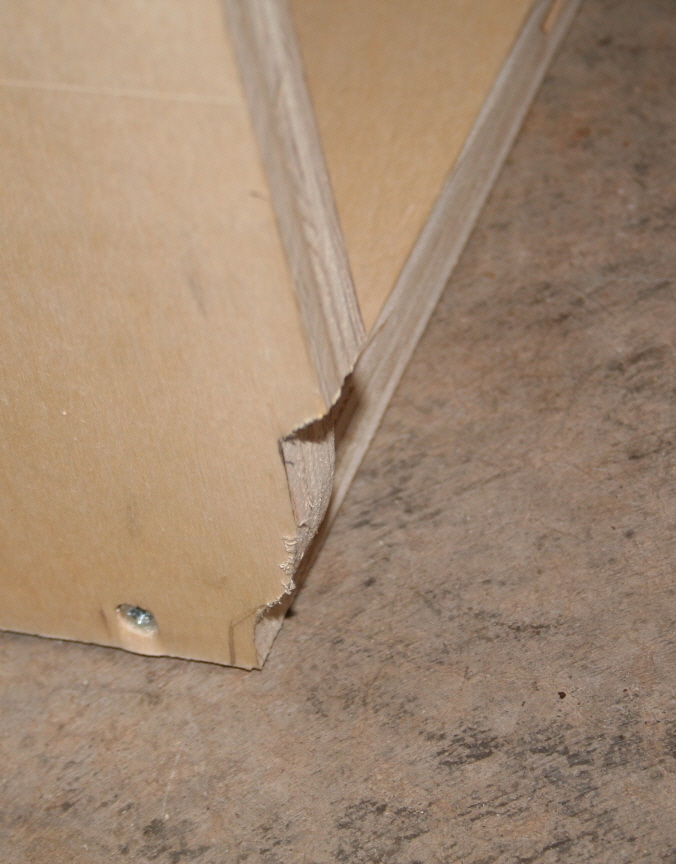
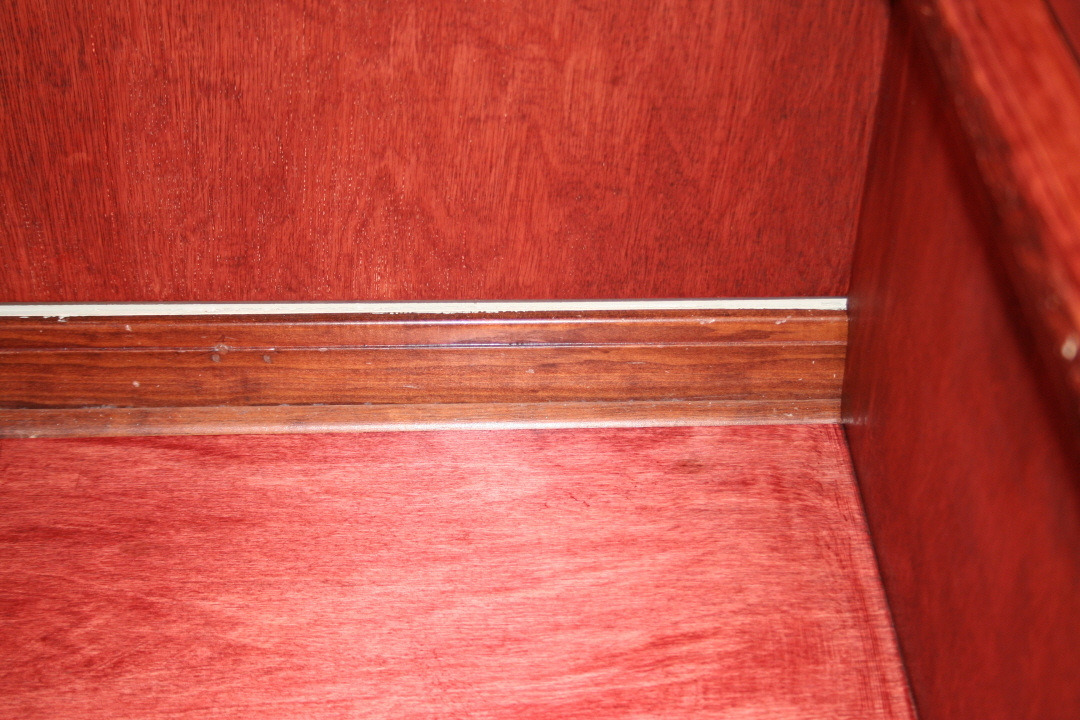
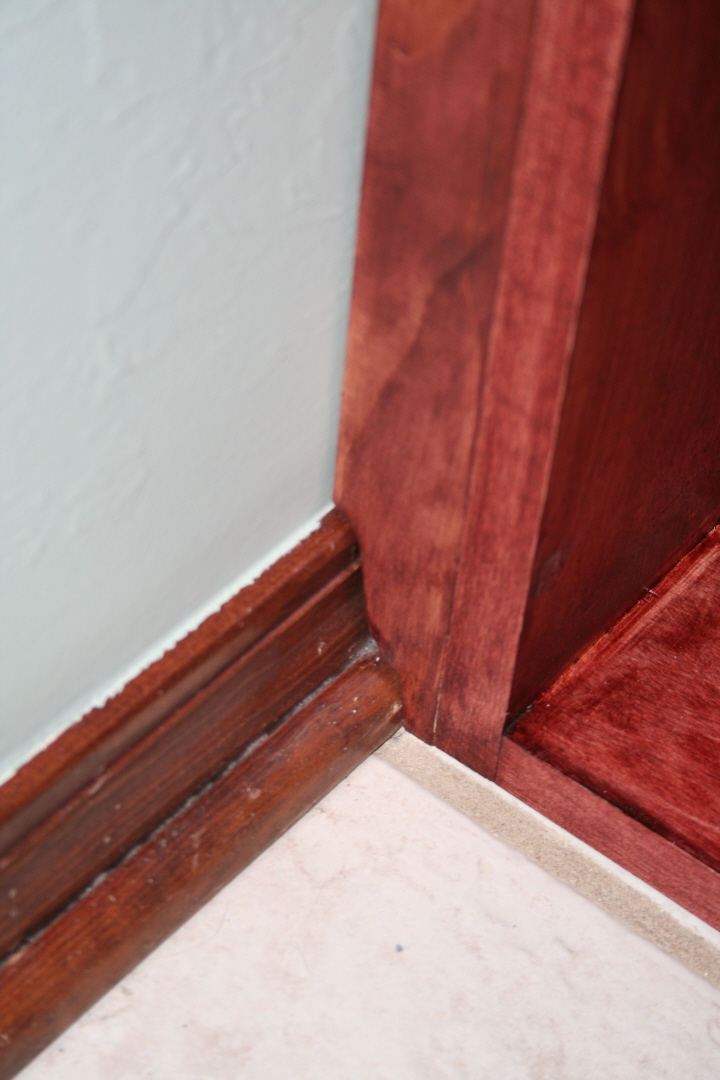
I modified the plan first by making these countertop depth, then making the base of the cabinet (at the floor) not as deep and cutting a trim shape out of the side panels so the cabinet would slide all the way back against the wall without having to remove the trim. Then, I added a 1x2 on the left side of the left cabinet and the right side of the right cabinet with the same trim cut out so I could get it against the wall on either side. I didn't want to have these sitting with gaps at the back & sides like a freestanding cabinet, but I wanted it to look built-in. Finally, the counter could sit right on top against all 3 walls only screwed to the cabinets underneath without having to be attached to the walls. So, it's a freestanding cabinet with counter.
I attached the plans I used for building this. I was able to take this to Home Depot and have all the major cuts done before even bringing it home. Then it was easy to put together. I added the curtain to cover the area where my litter box goes between the two cabinets. It would also be an excellent place for a laundry hamper.
*NOTE: One thing I've noticed is many of these laundry basket dressers have their 1x2 (that holds the baskets) align with the front (on each side). I think it looks better to push back the 1x2 1" so it's not so noticeable from the front view. That's how I did mine.
Fri, 06/08/2012 - 08:48
I love this. Really great job on cutting it to match the profile of the baseboards. I don't think I'd have the patience or skill for that! :-)
Sat, 06/09/2012 - 12:58
THANK YOU!!! We have a contour gauge like this: http://preview.tinyurl.com/btauo6x It makes it really easy with a jig saw to get the correct shape & cut it right out.
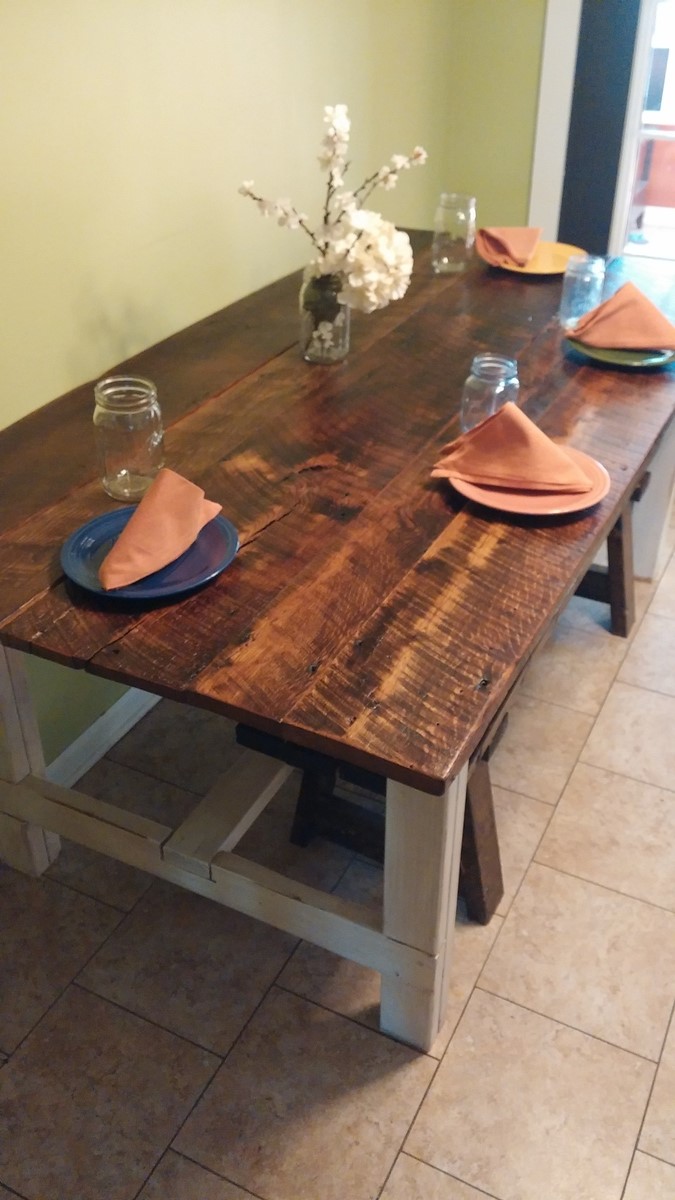
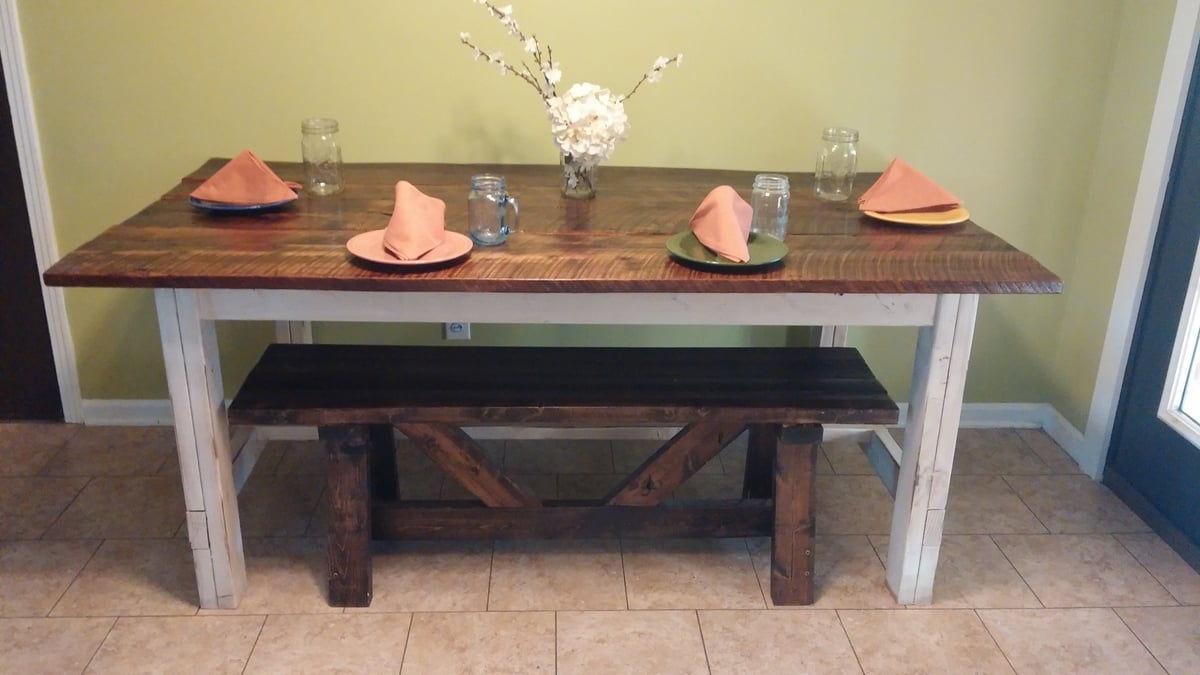
I was super duper lucky and i had someone give me....yes give me 100 year old barn wood. I had been wanting a farmhouse table but couldn't afford the ones I had seen in PB or other stores. After i was given the barn wood, I came immediatly to Ana's site and found the plans. I could have made the table entirely out of the barnwood, but i wanted an old looking white base, so i bought pine 2x4's. It's all i ever wanted an then some!


Changed the top and some dimensions but love how it turned out
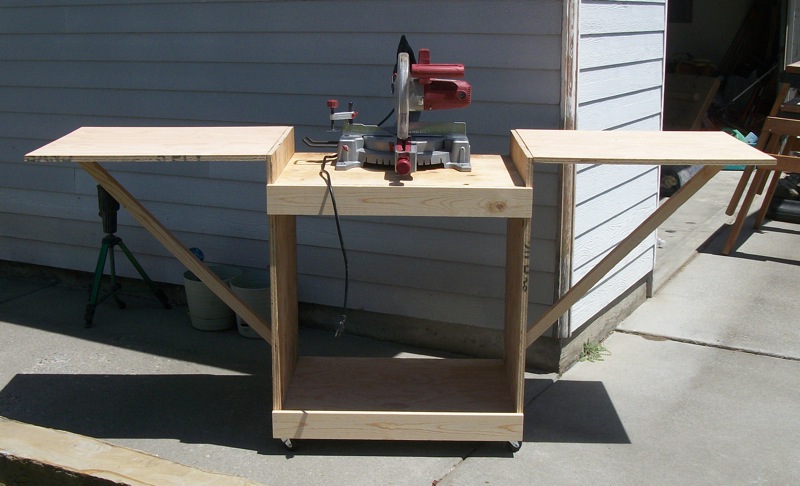
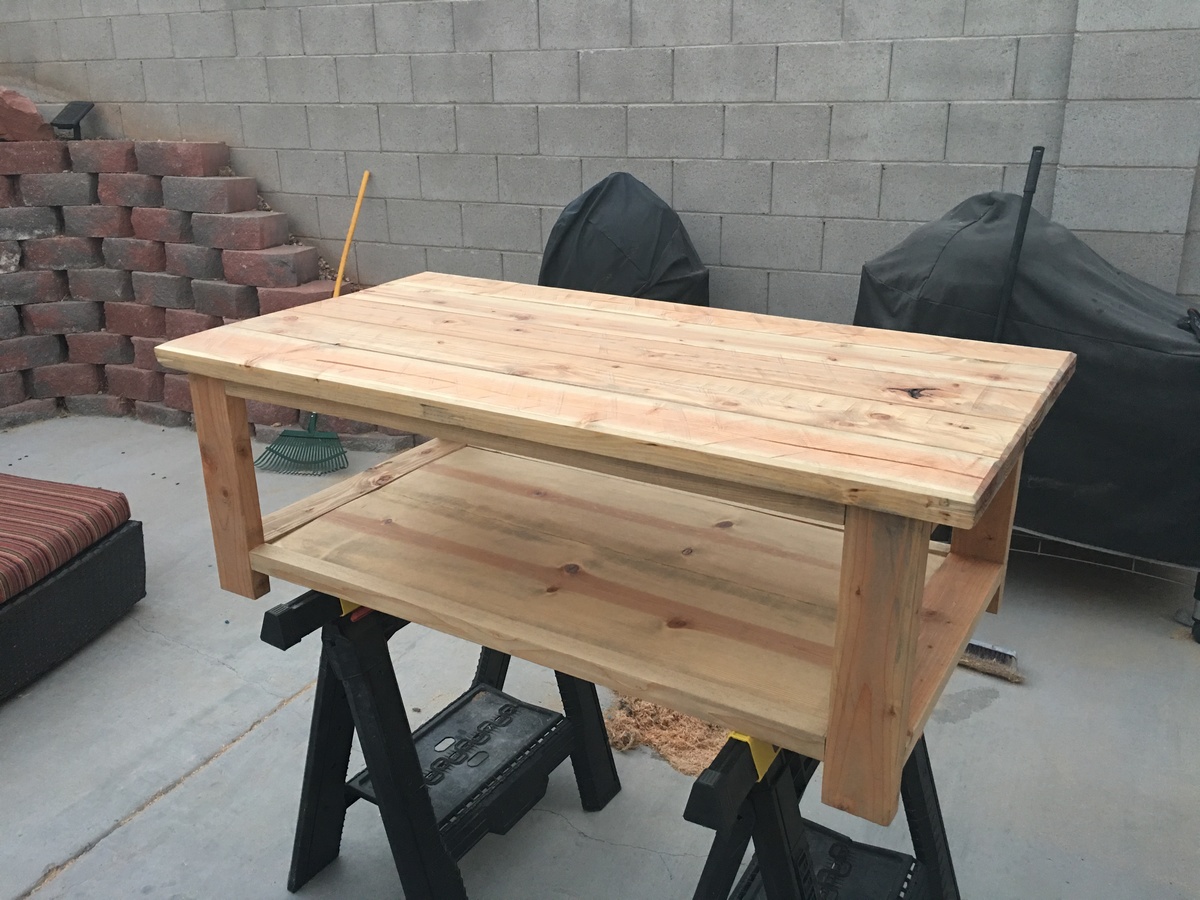
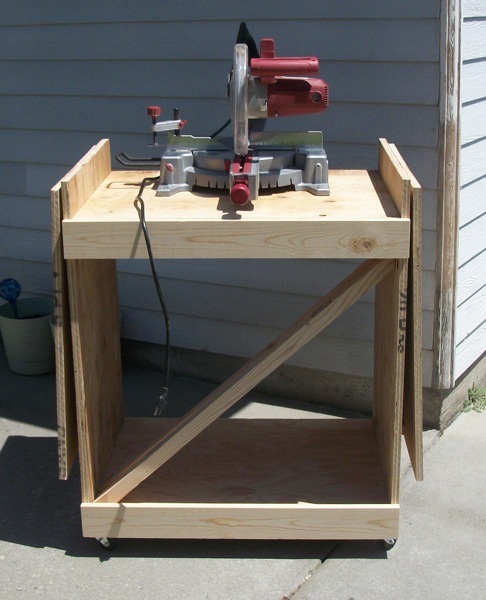
Love this plan, it was easy to do. I did modify it a little as did another member with longer support arms. I just purchased an extra 2x2 and cut it to fit! Thanks for the great plans!!! Hope to see more shop furniture on here soon!

In reply to This is just great!!!! by Ana White
Thu, 06/14/2012 - 01:00
Always love to get feedback and when the Queen Bee of Building comments with a compliment, I'm just thrilled!! Thanks a bunch for posting the plans!!!!
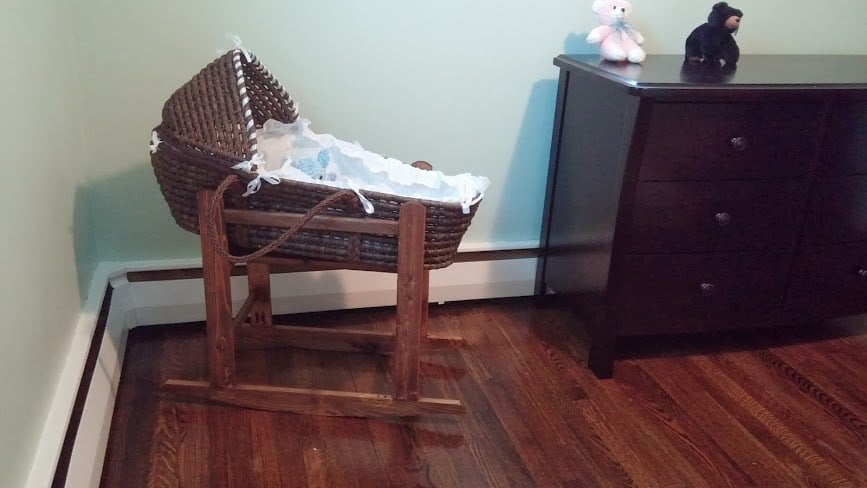
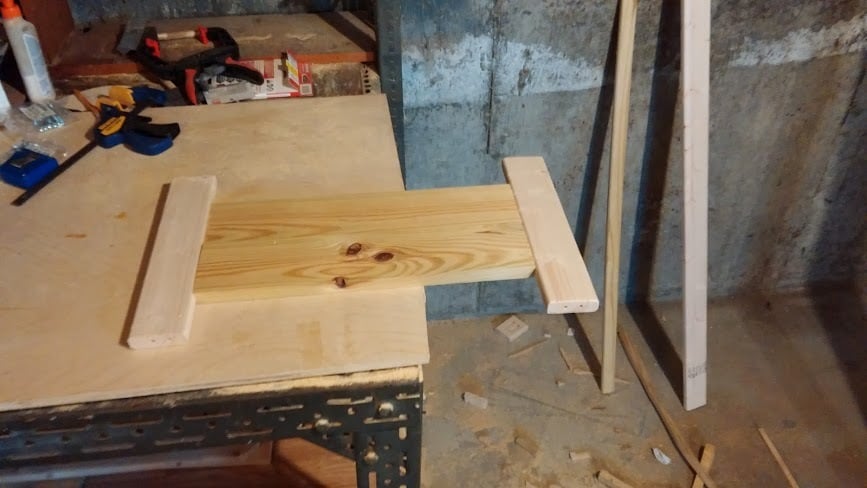
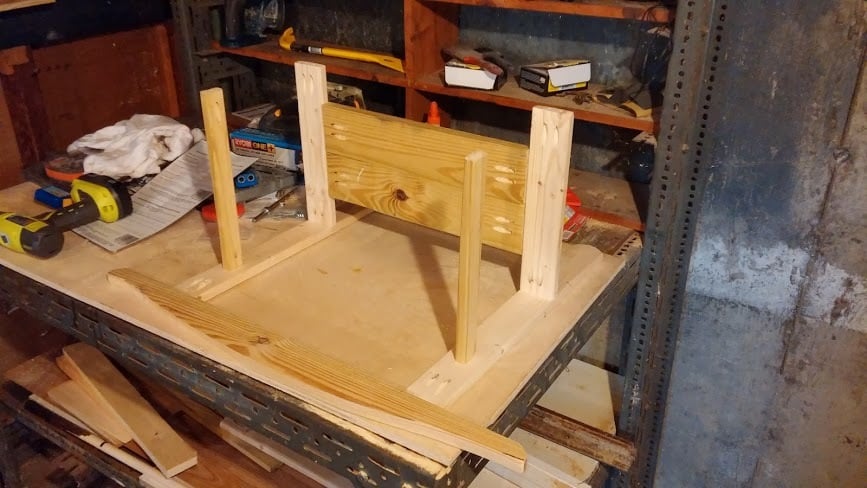
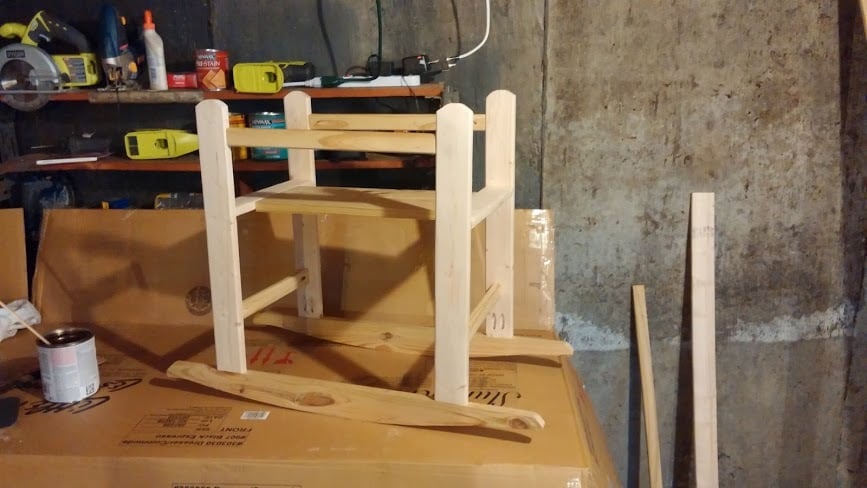
I made this over a weekend when this plan first was posted and have meant to upload these; however, this can be done in a day if you know what you are doing with the rockers. The main difference between the plan and mine was I kept the top of the rocker square, which made it a bit easier to attach the legs to it. I also made the mistake of making the curvature of the rocker too steep, which does not allow for smooth rocking and instead makes the rocker sort of hit only only 3 points.
The advice I can offer on this, is to print out the rocker from the plan. I forced the picture to be as long as I wanted to rockers, then printed it out on multiple pages, taped it together and traced. If I had done this from the start my rockers would have gone much faster; instead, I did my own trace, then figured out it was too steep and then had to take what I had done apart and fix them with the stencil.
All in all, this was pretty easy and I spent under $8 on lumber, which is really awesome.

Thu, 10/08/2015 - 11:31
Where is the link to the printable rocker plans? I can't find them.
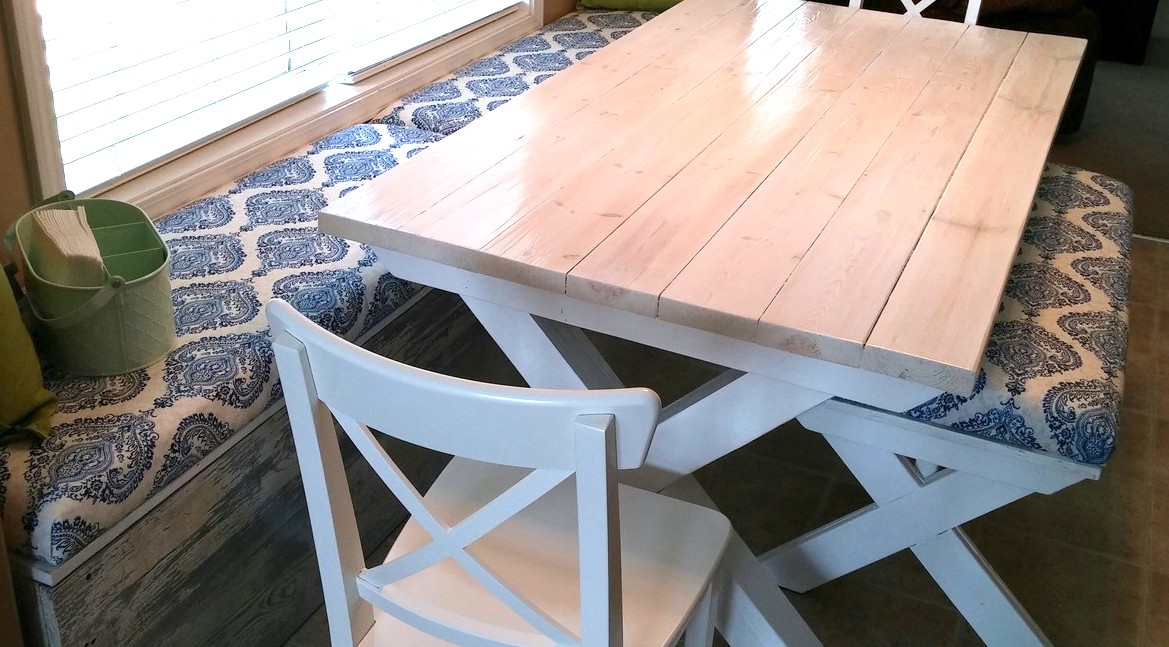
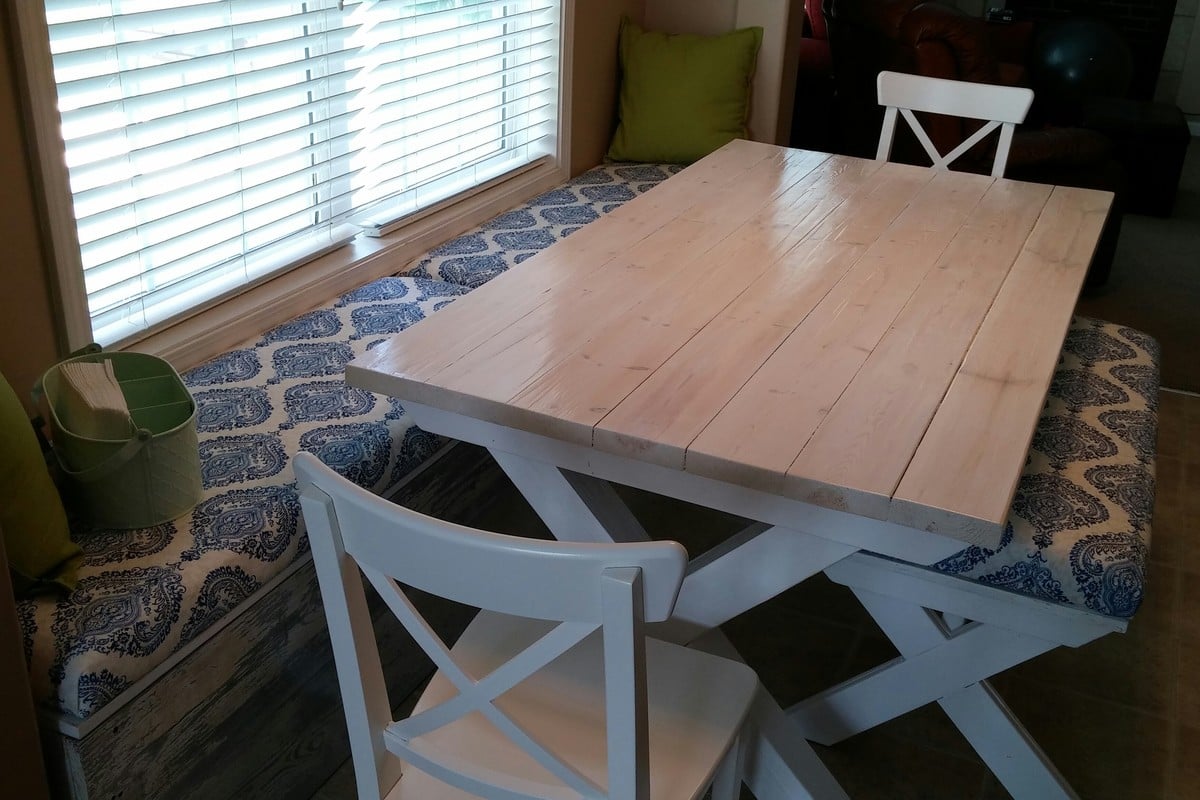
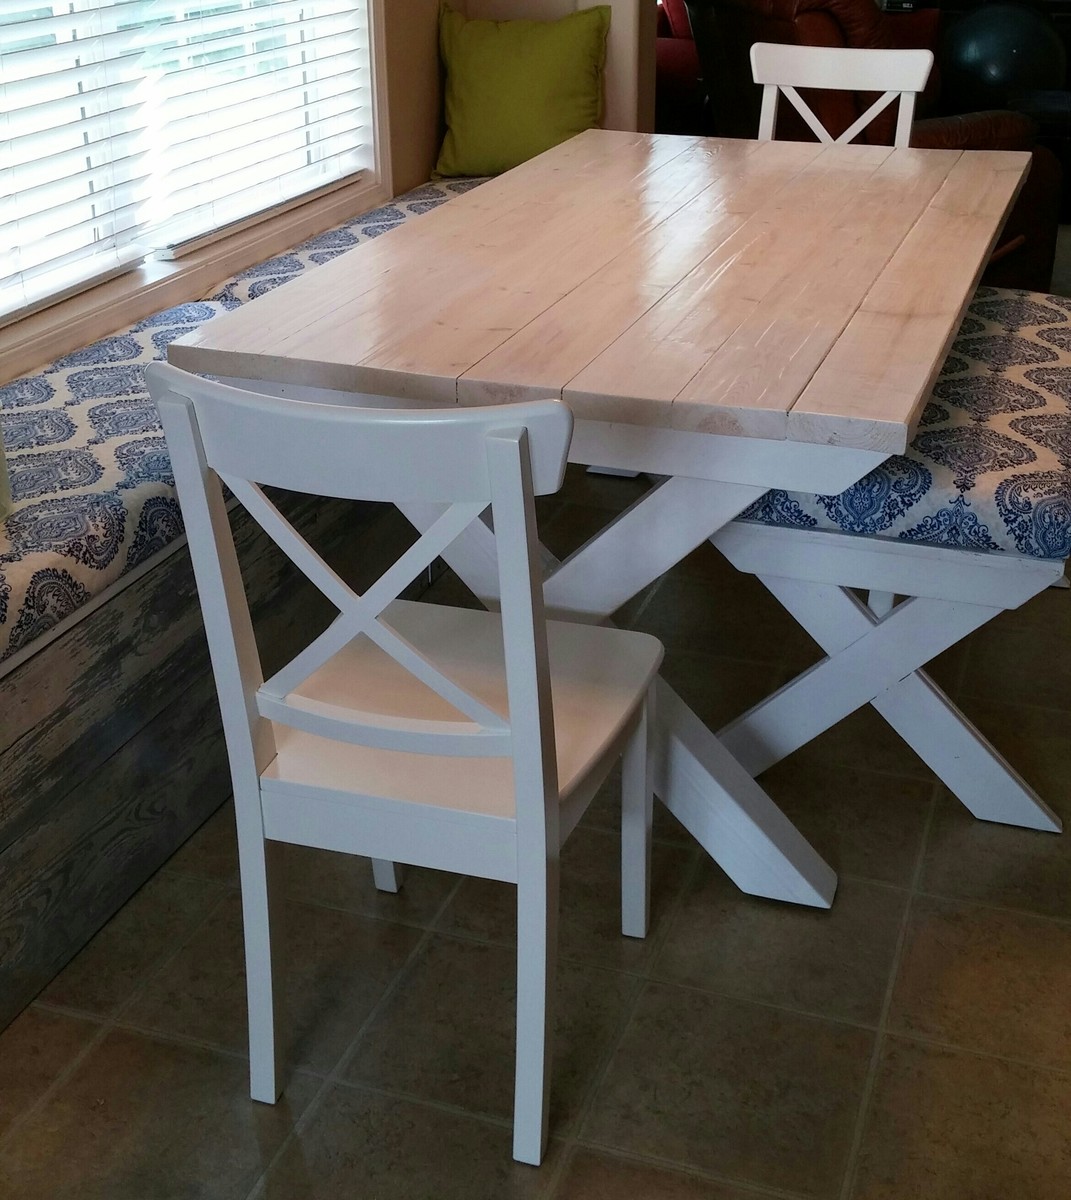
We love our table with the new similar bench and also bankette seating my husband made also. Chairs we bought at IKEA to match. The bench he made from the table plans but modified them to fit under the table. We have a small space to pass by the table from one end to the other. So the bench under the table helps visually make the space look bigger.
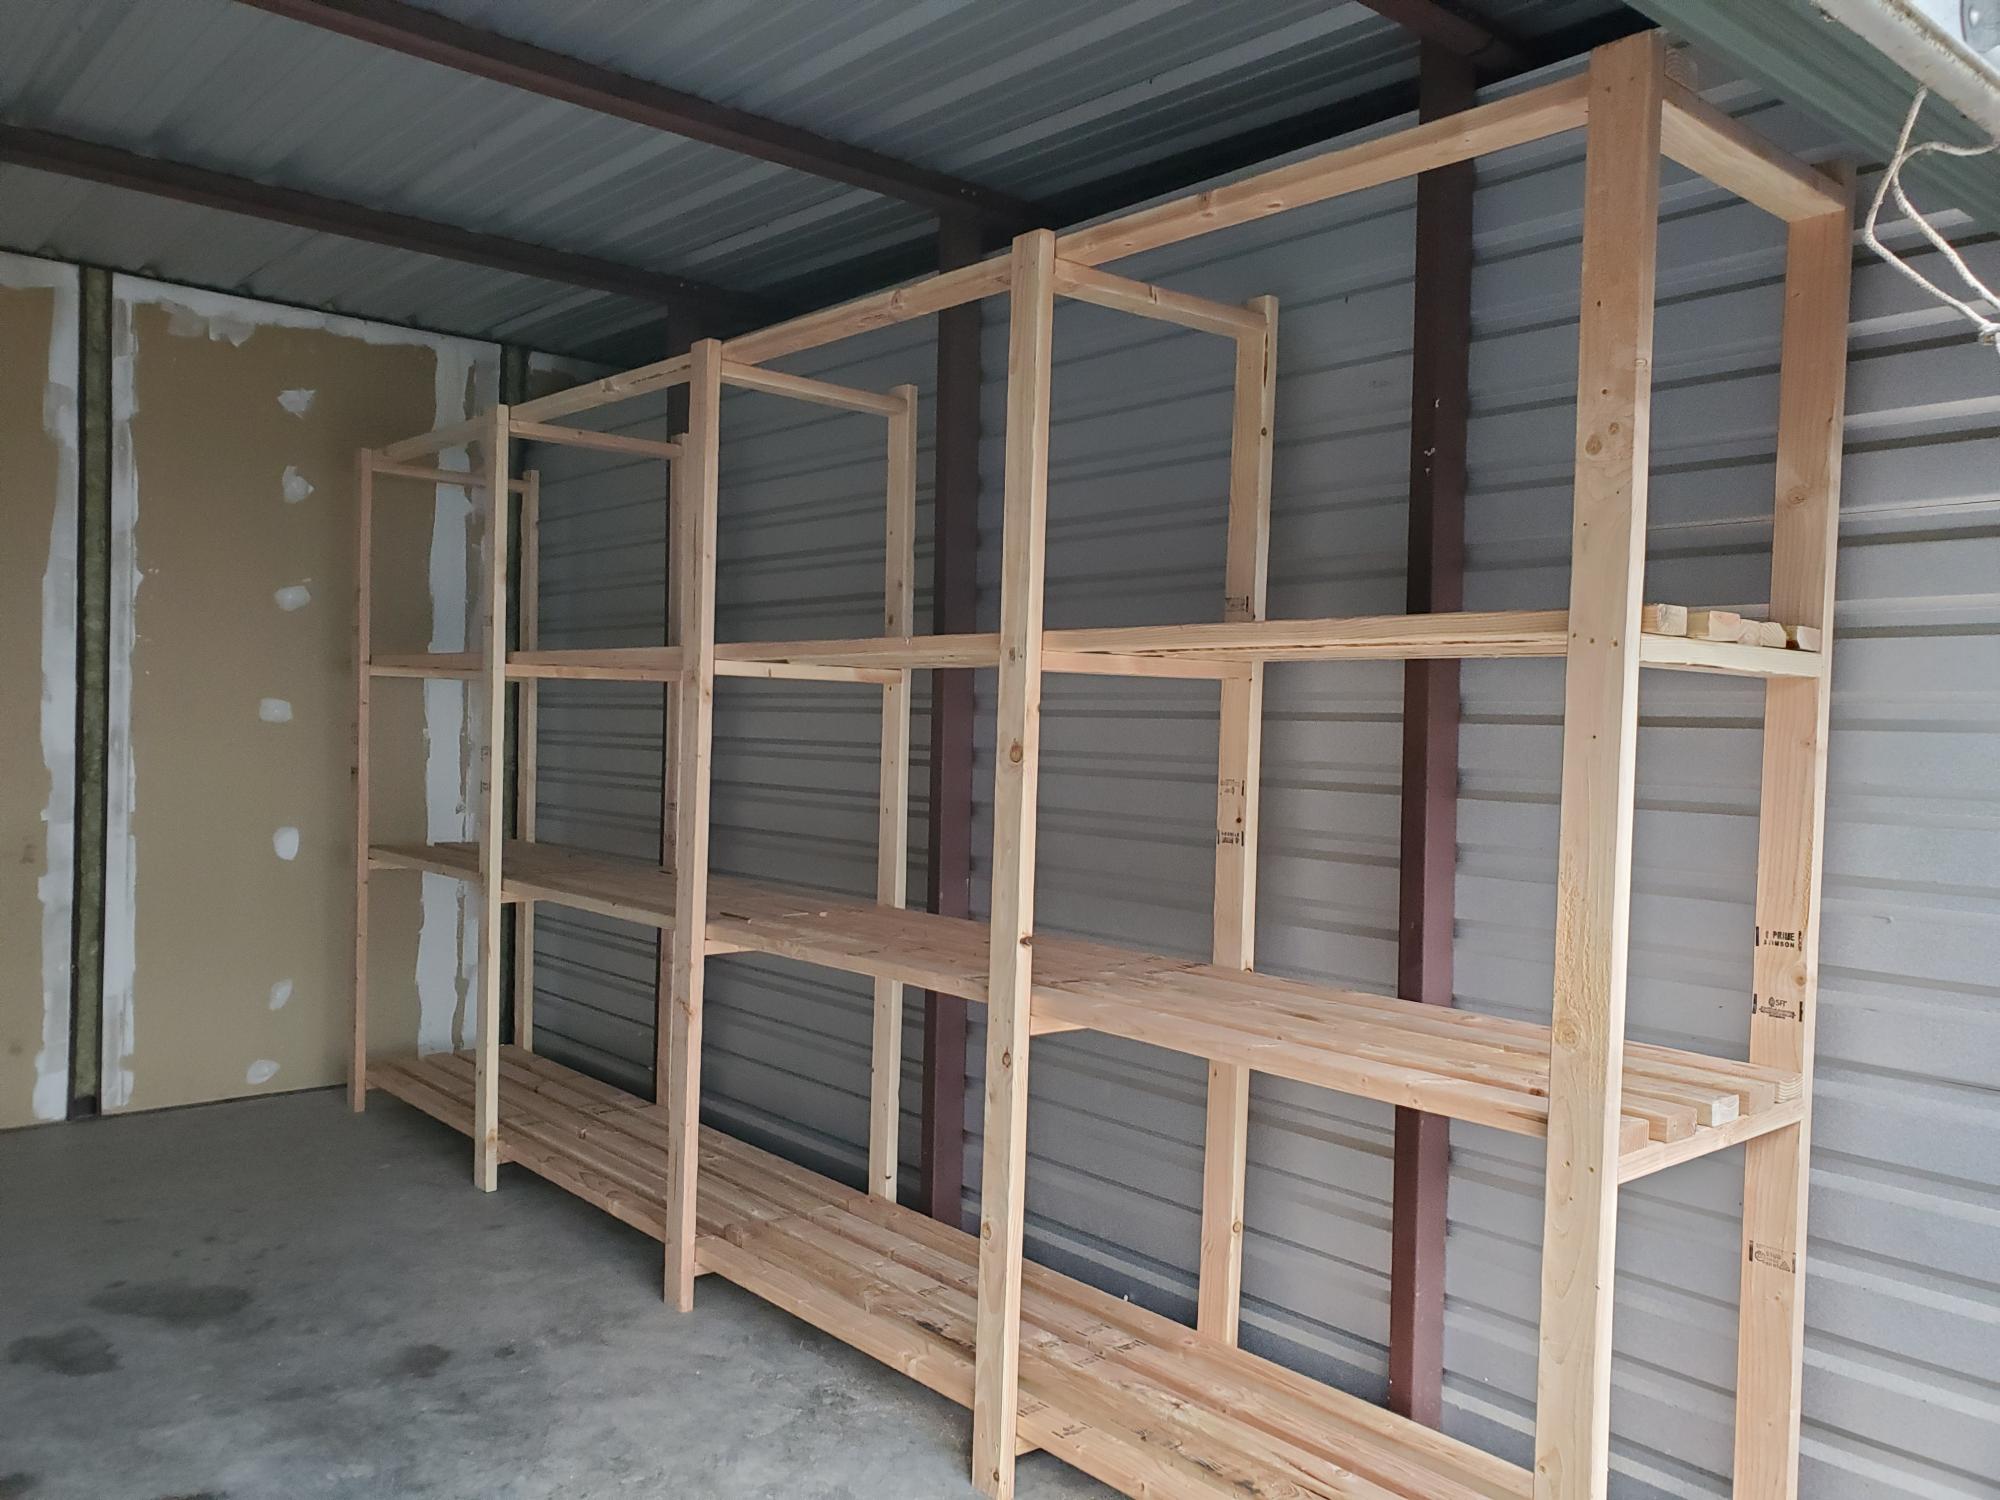
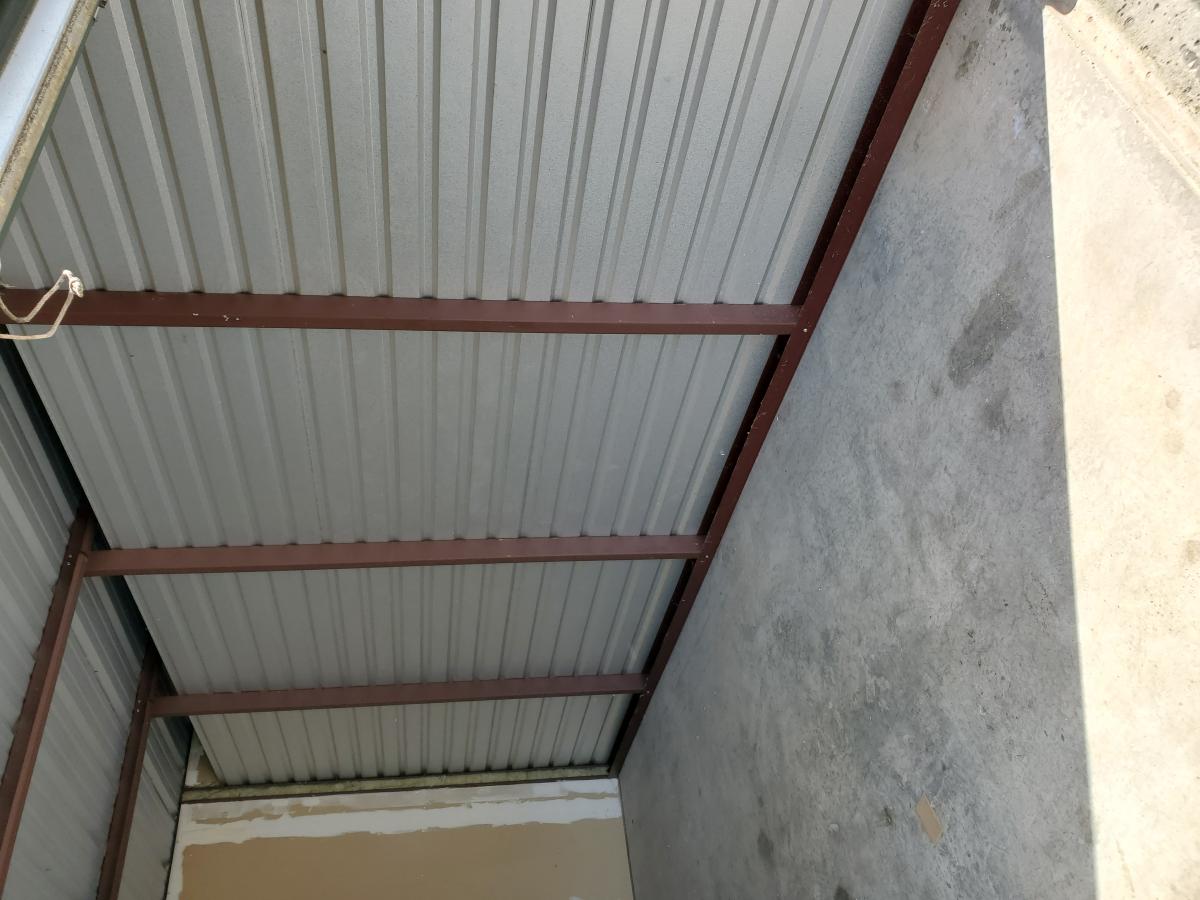
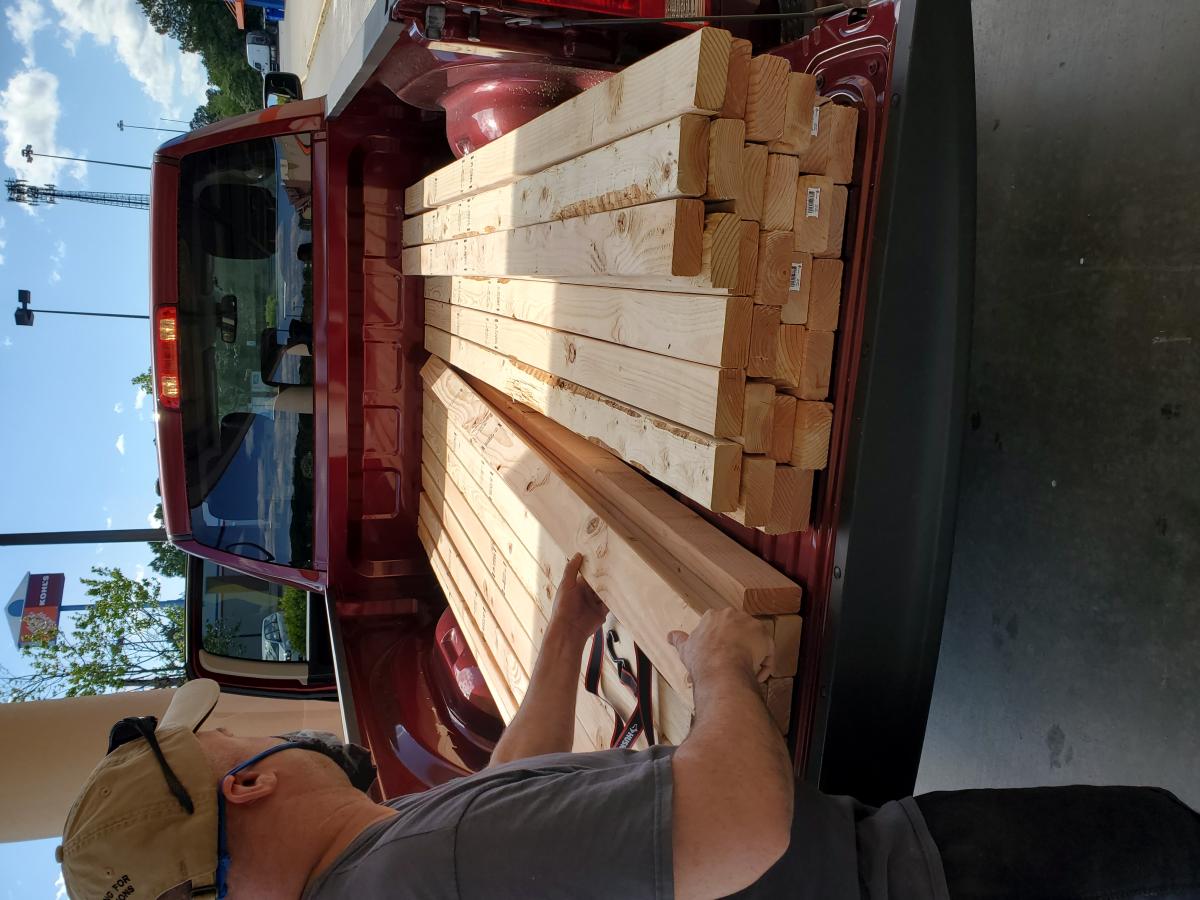
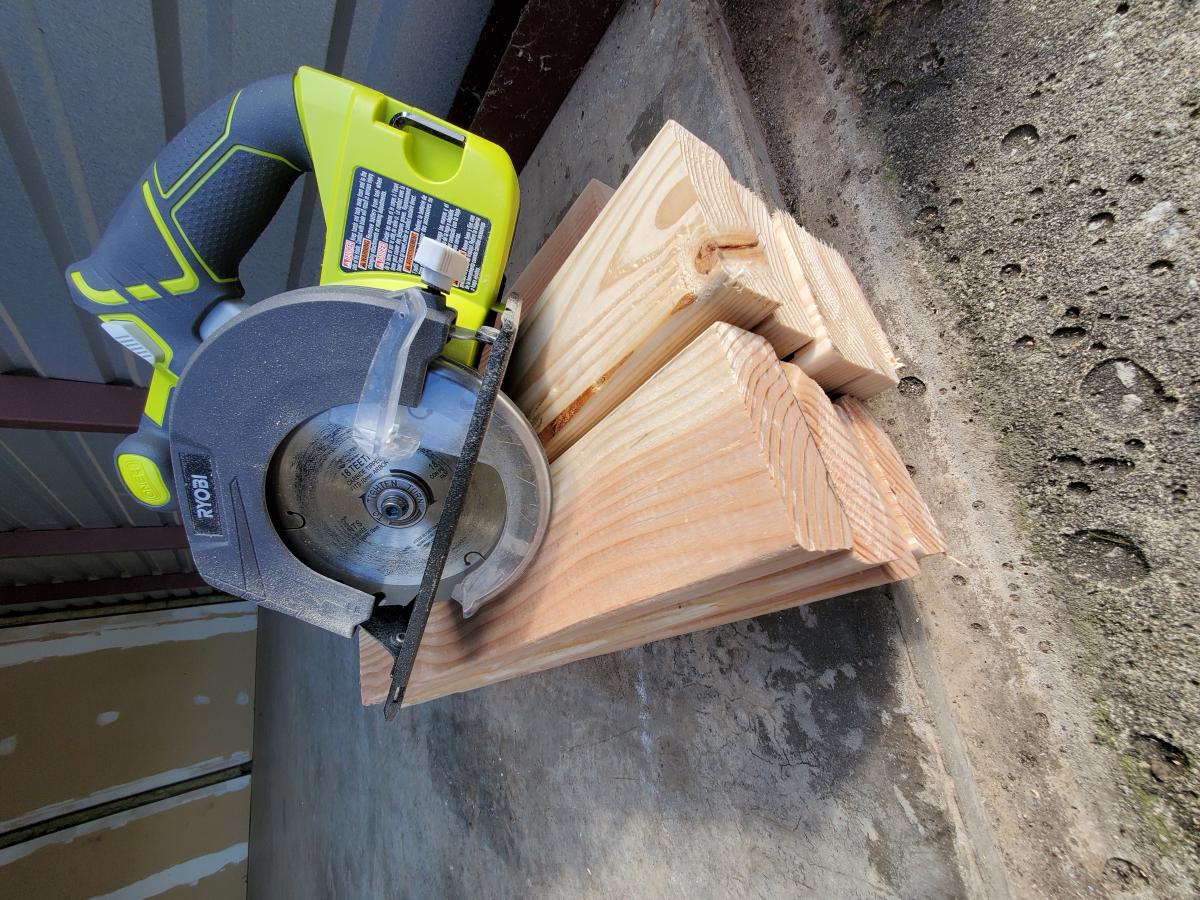
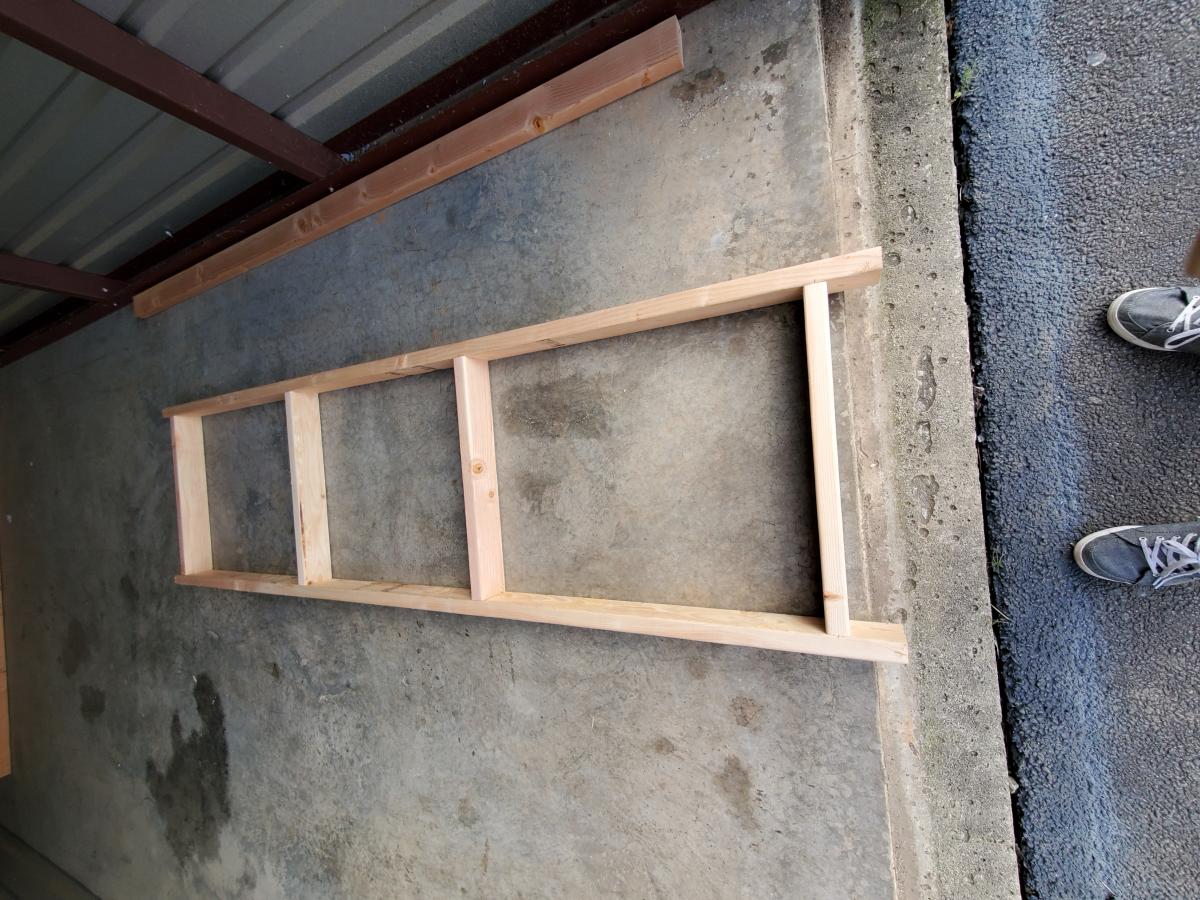
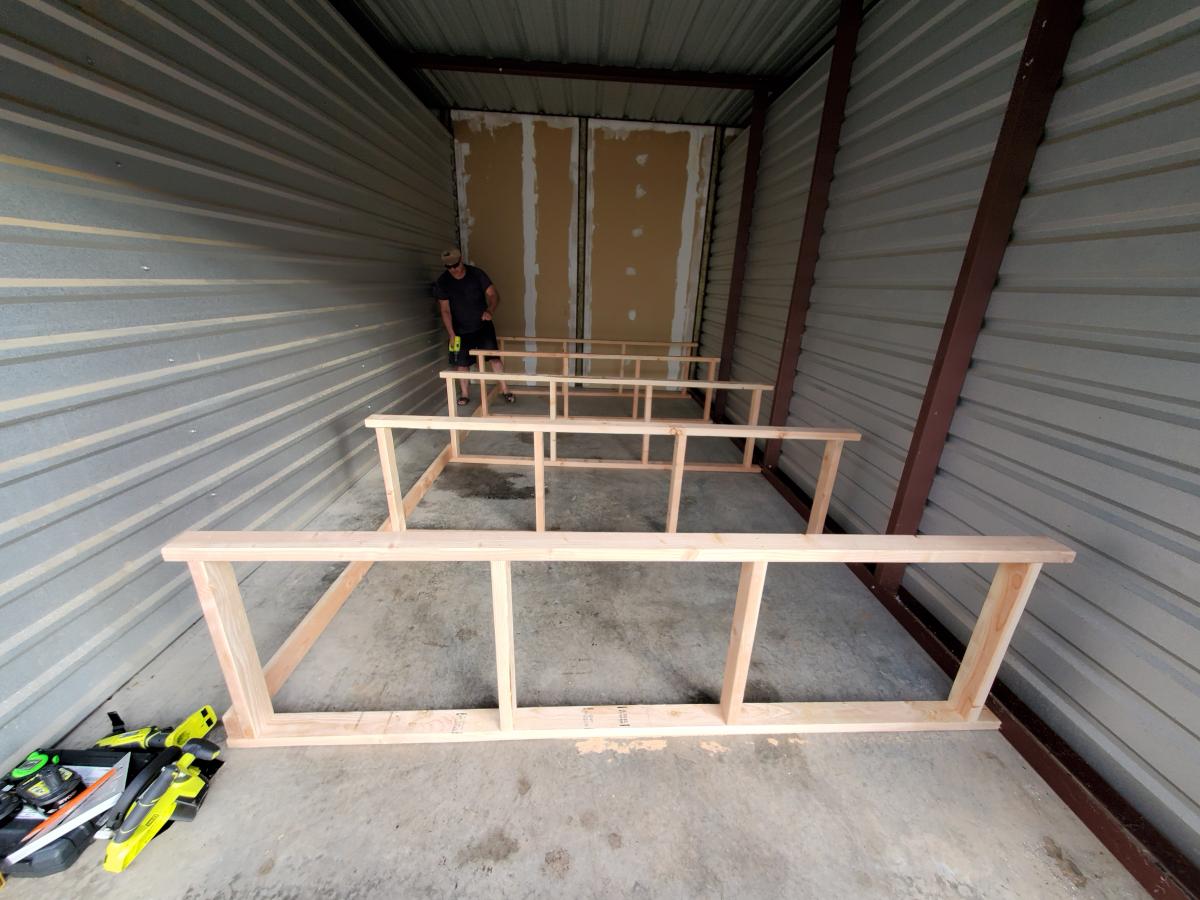
This was our first real DIY from scratch project. We somehow made it a bit too tall and so have not put the top shelf planks on. Over all we are pretty happy with it. This was in a rental storage unit. We plan to give it another go in our garage too.
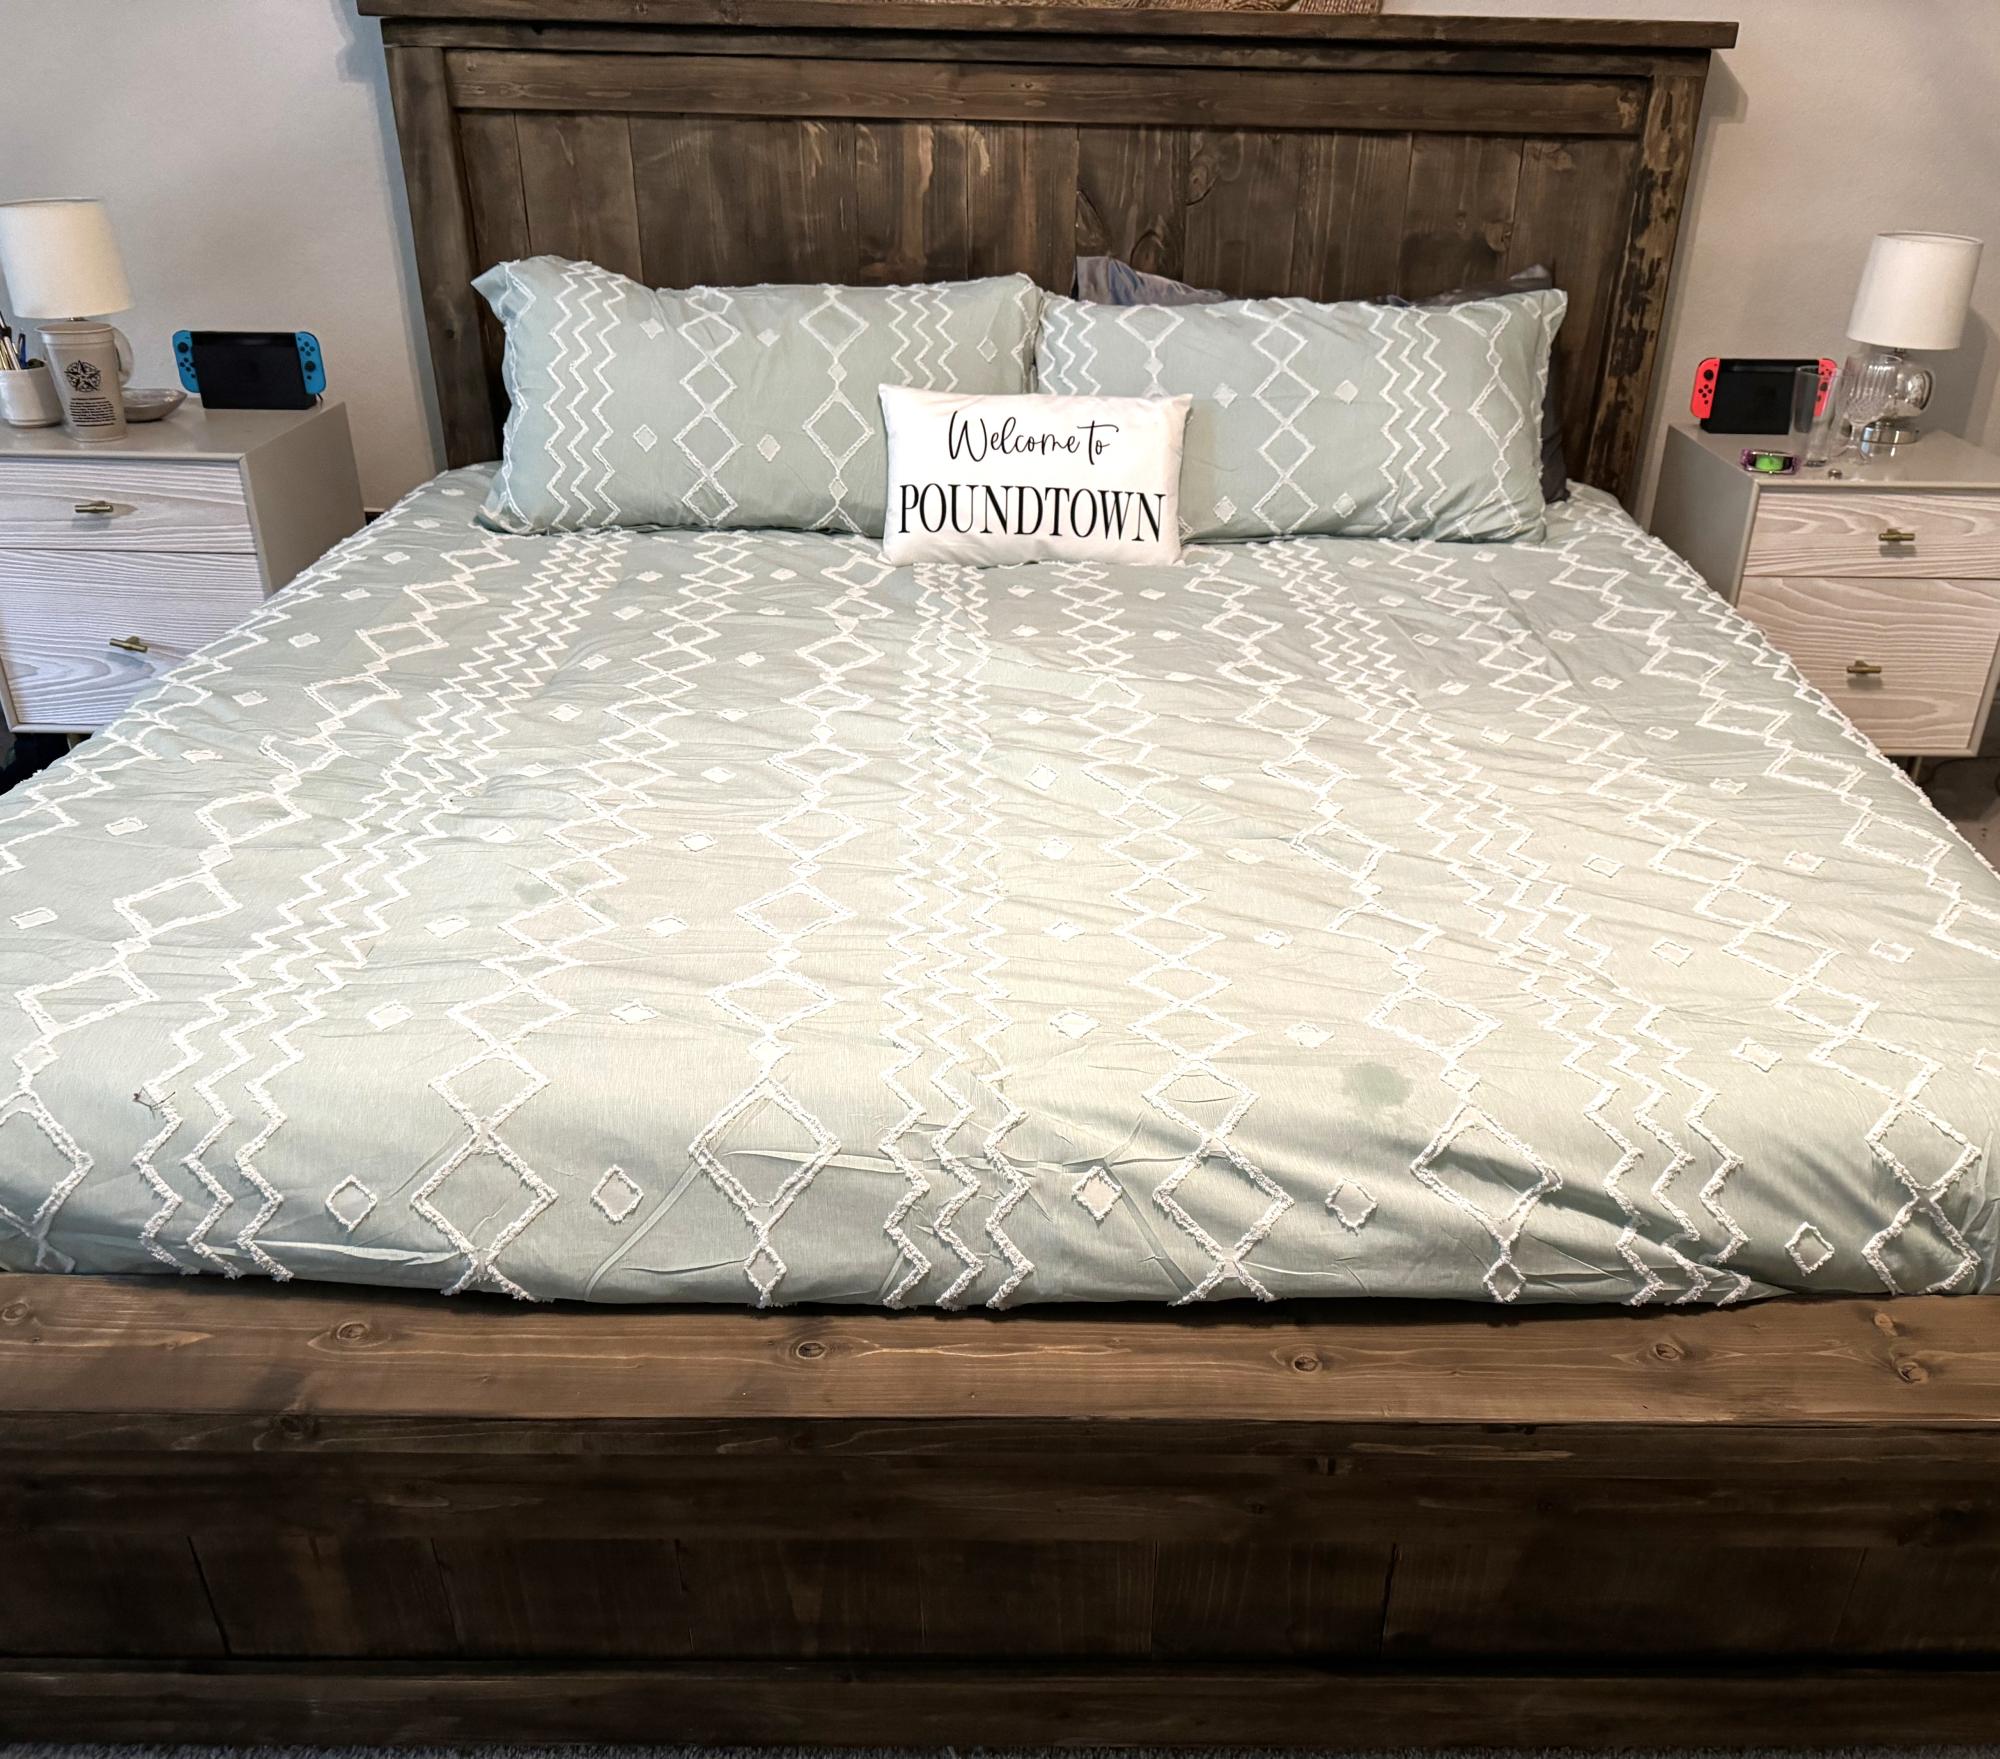
Farmhouse King Bed
Broken Jarhead
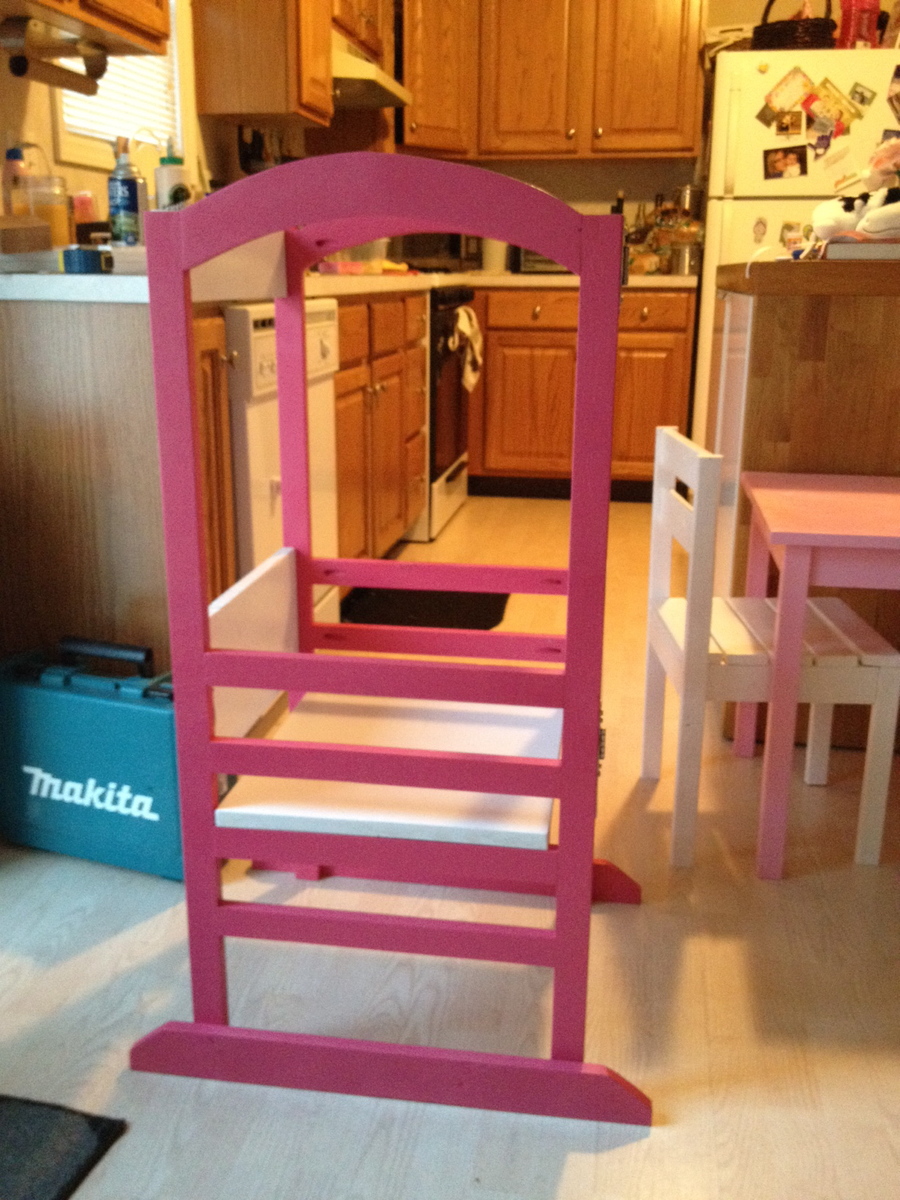
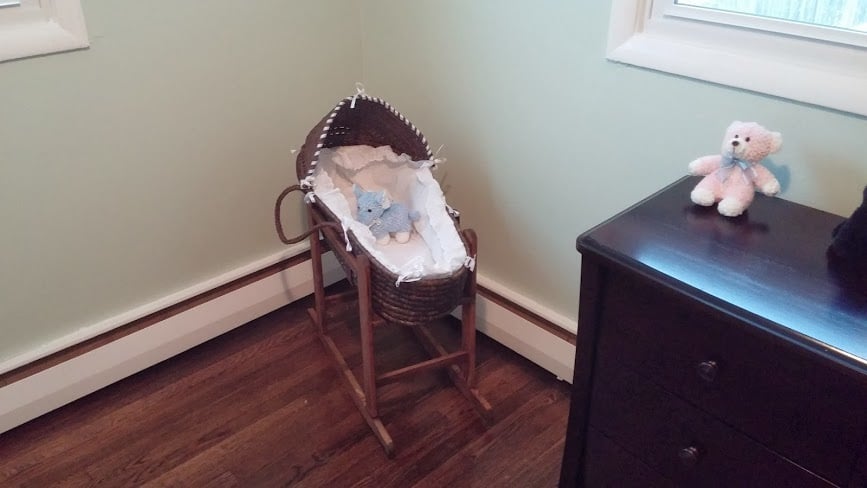
I have seen these like most other people for outrageous prices. This was pretty simple to make but I thought it would be a good idea to add the hinges. I think with the hinges, it is not as stable as my 2 year old seems to "wobble" it side to side pretty good. If I had the space, I would make one without the hinges or learn more about hinges and maybe how to make it more stable. I am thinking adding some more stability to the base of it as in Ana's plan and hopefully that will take care of the wiggling.