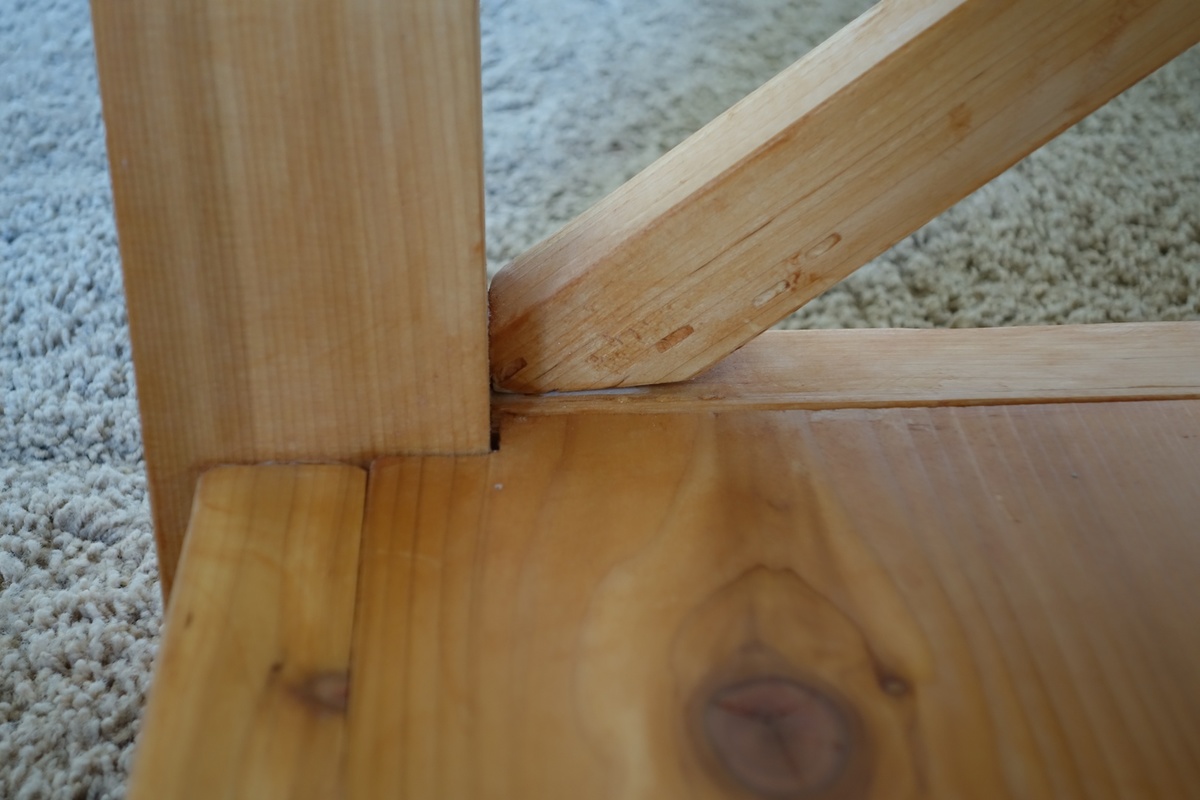
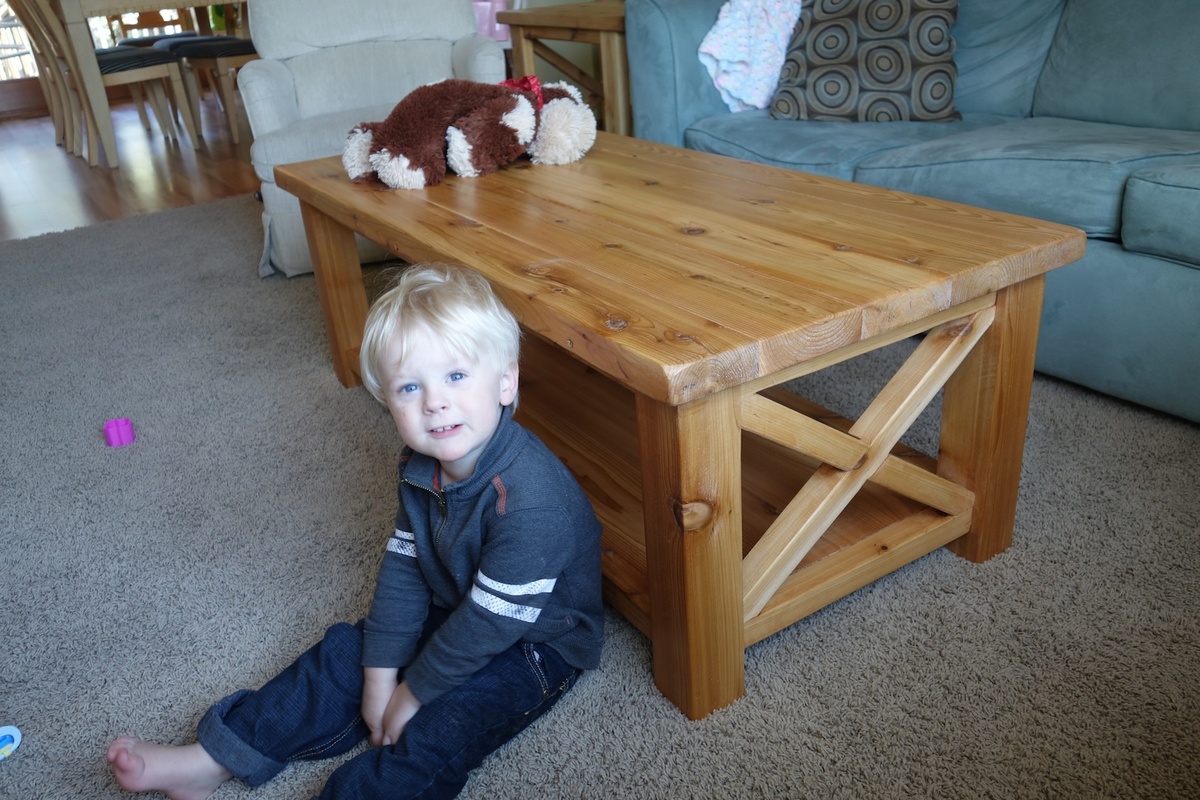
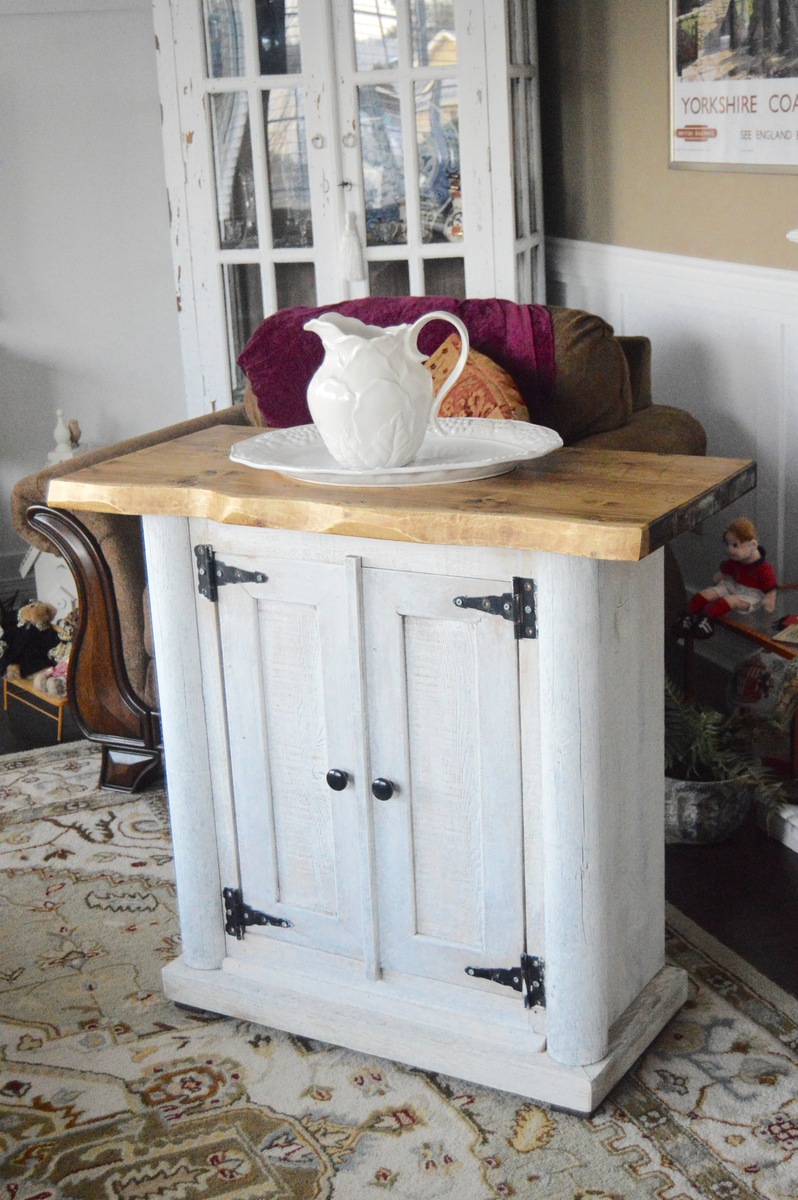
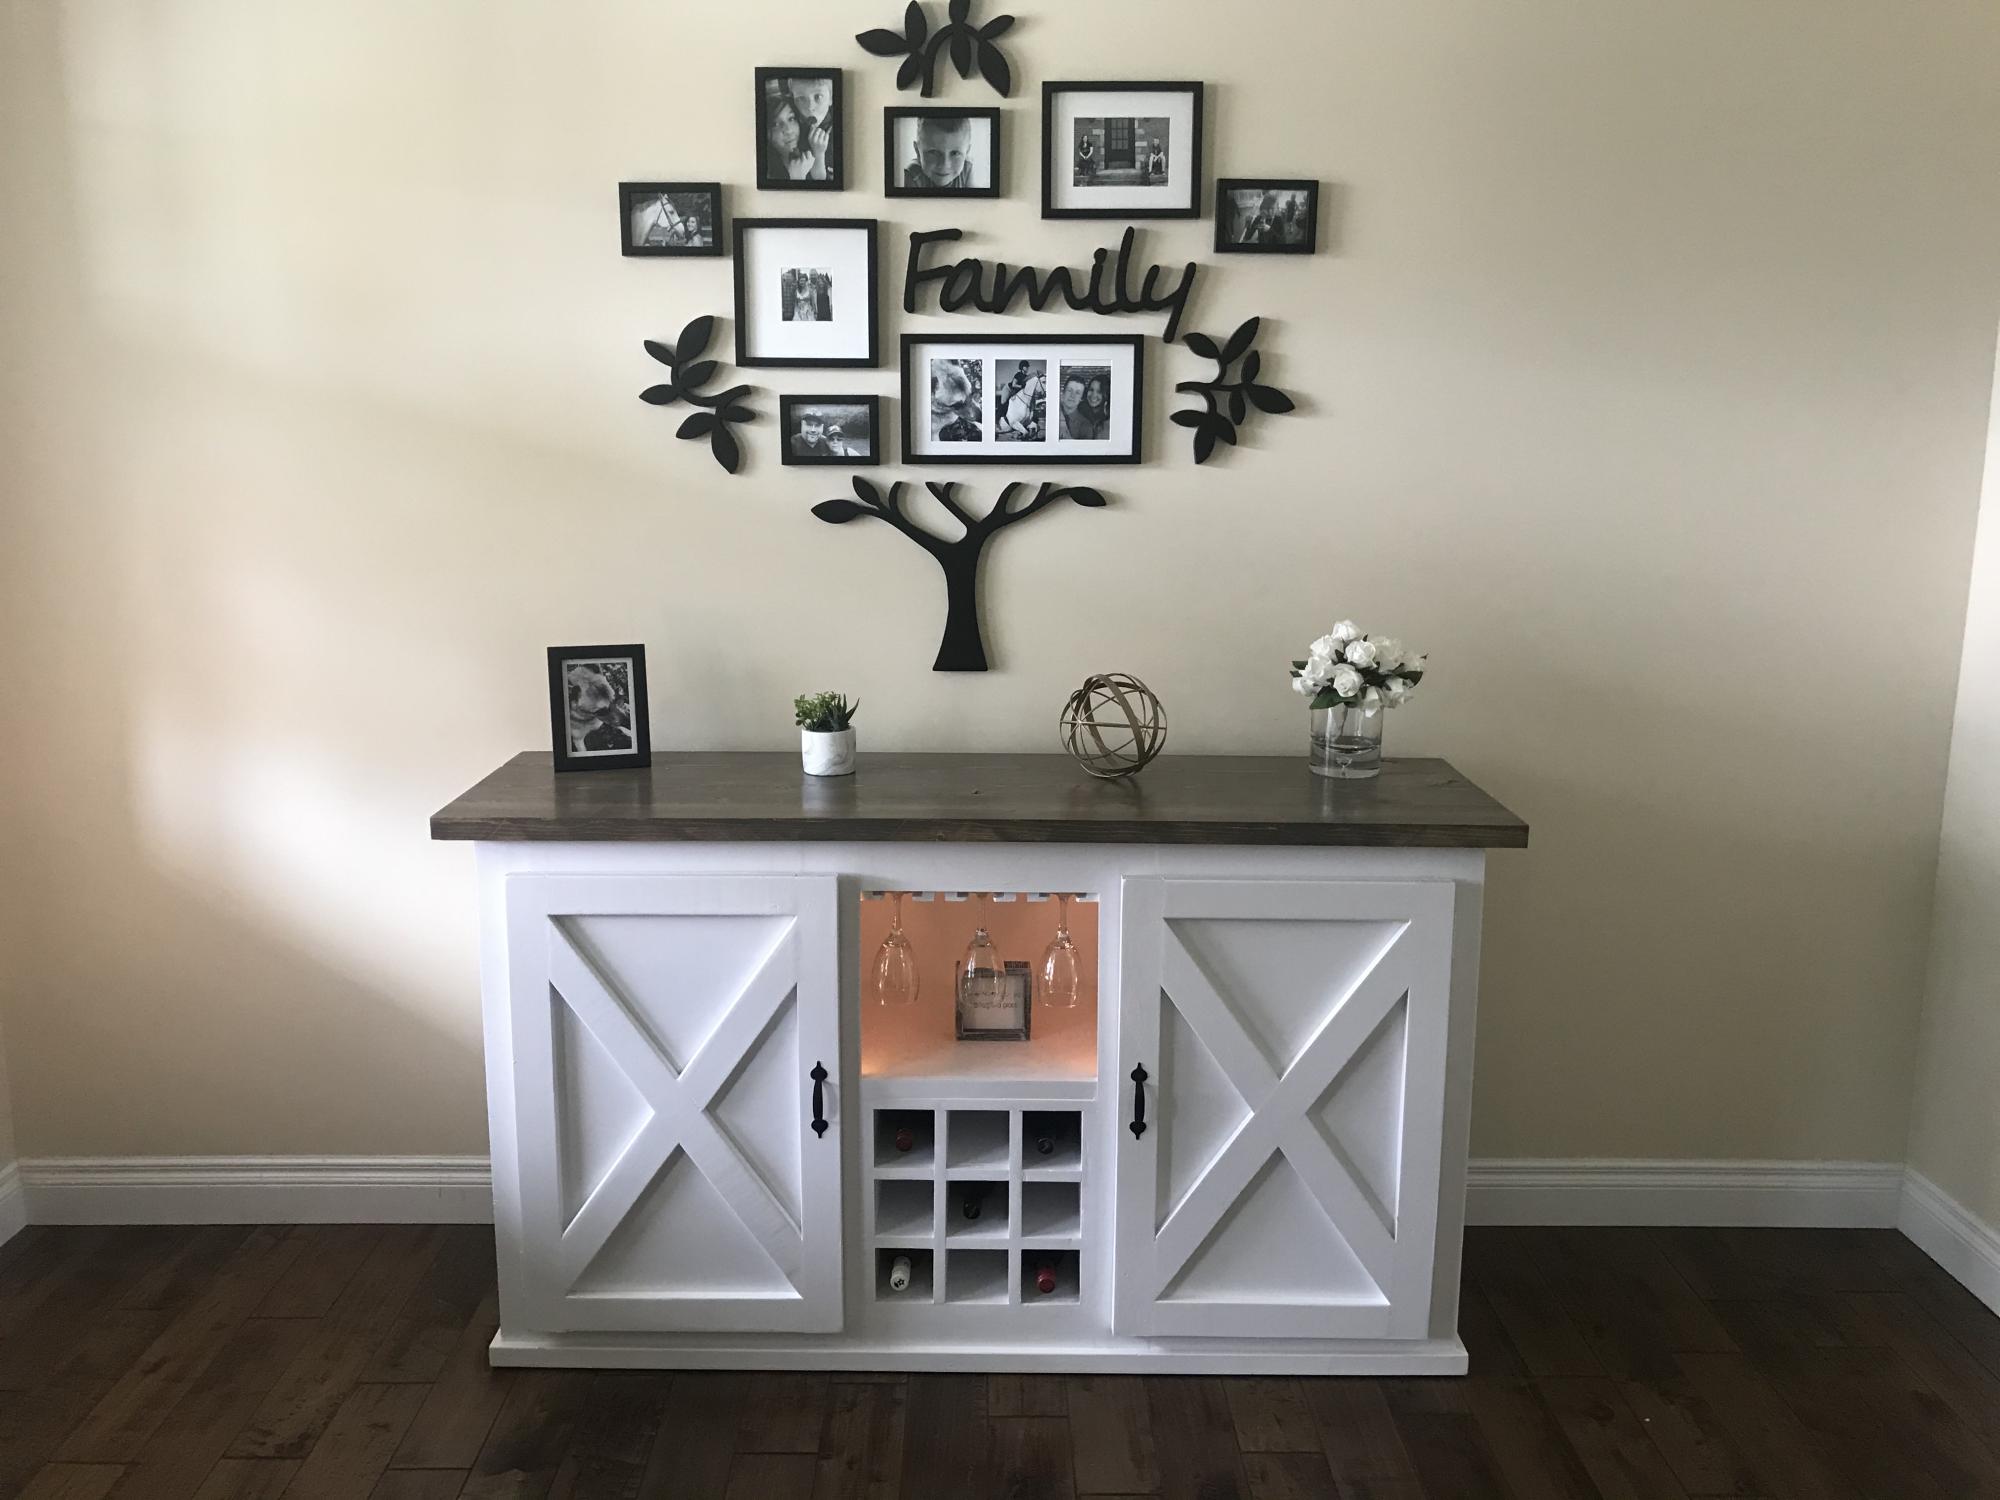
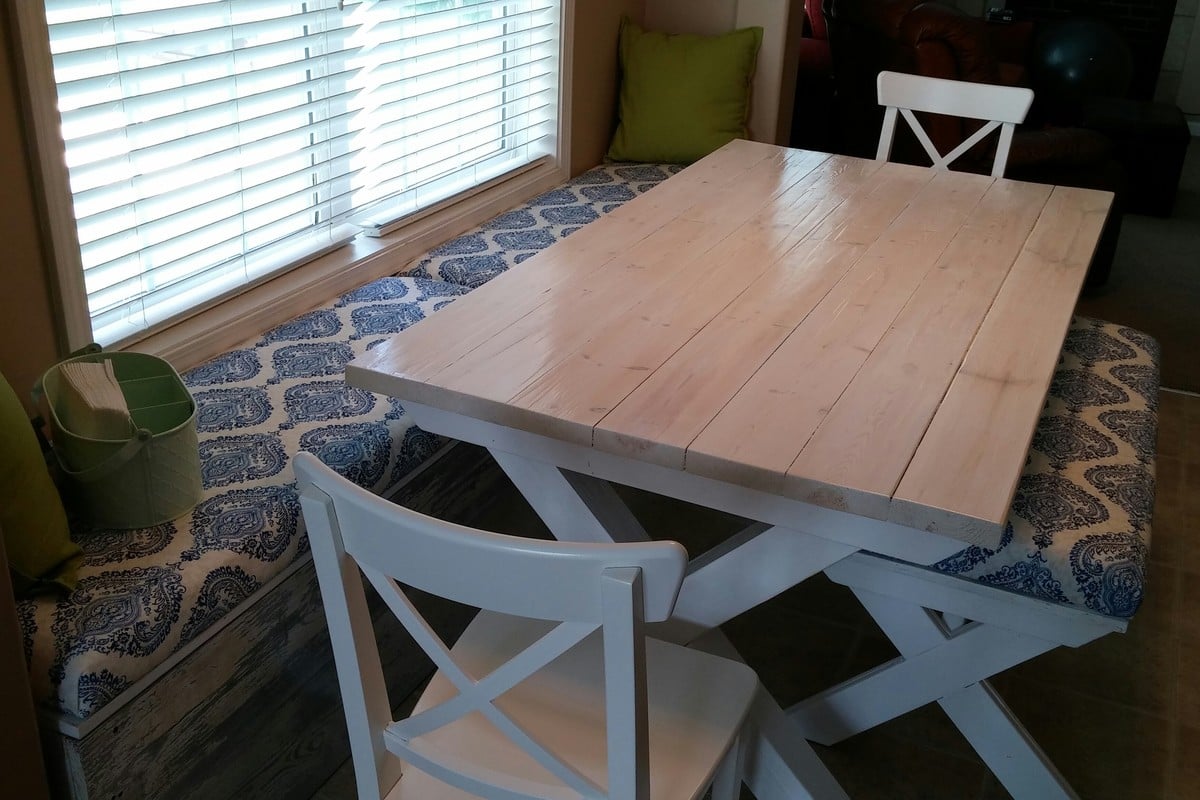
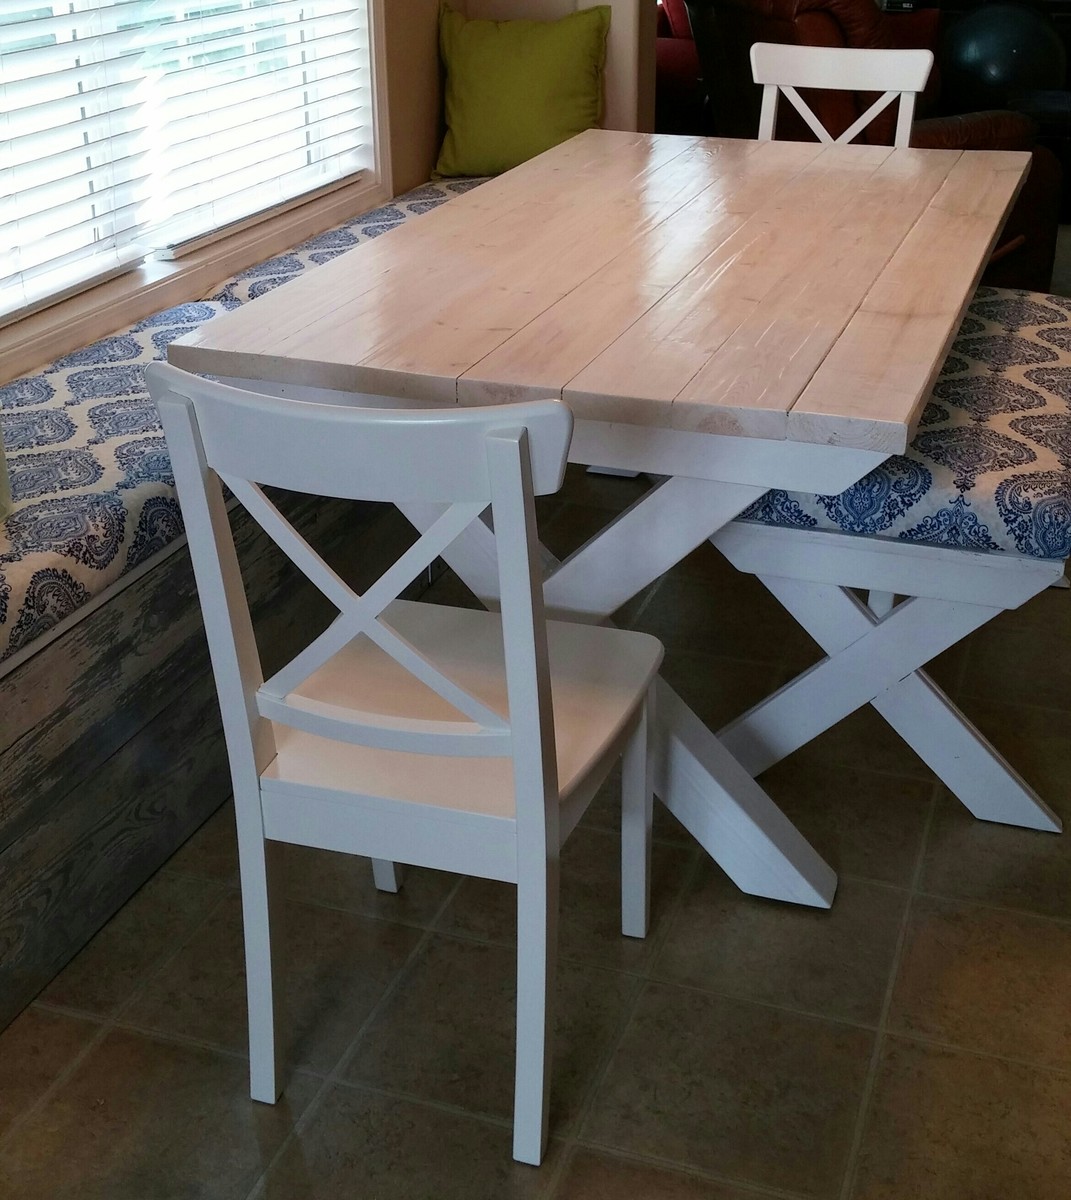
Community Brag Posts

Our Vanessa Table

Submitted by Anonymous (not verified) on Fri, 07/01/2016 - 10:27

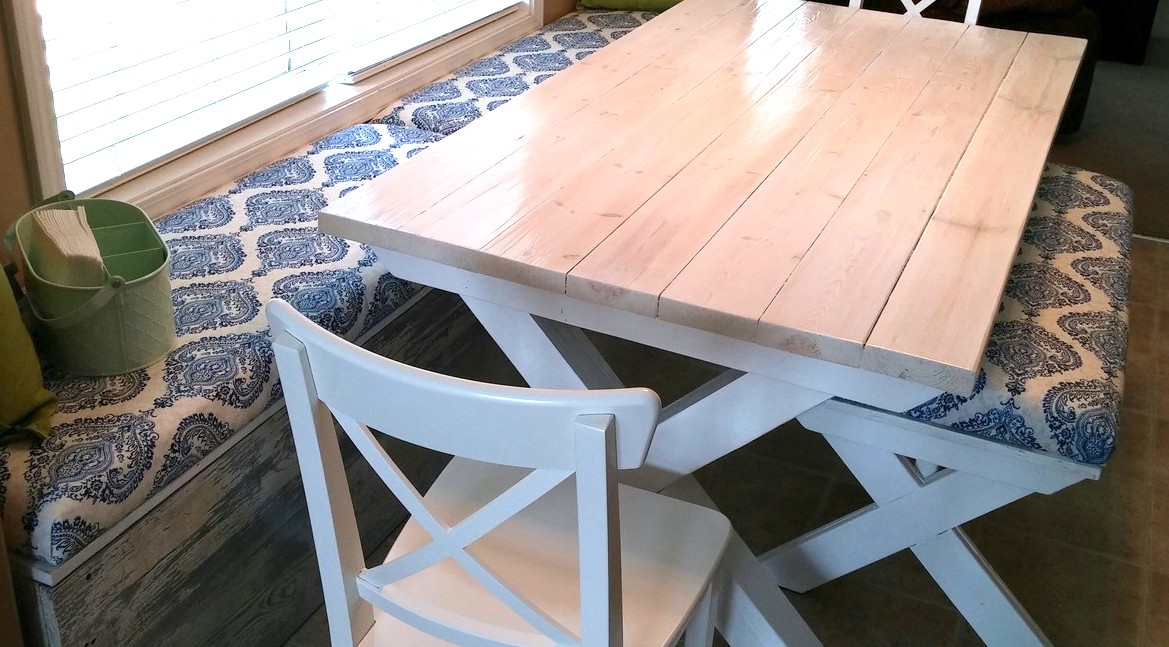
We love our table with the new similar bench and also bankette seating my husband made also. Chairs we bought at IKEA to match. The bench he made from the table plans but modified them to fit under the table. We have a small space to pass by the table from one end to the other. So the bench under the table helps visually make the space look bigger.

Built from Plan(s)
Estimated Cost
With wood, foam, paint and fabric we estimated the cost of about $300 for everything. The two chairs we bought at IKEA. The barn wood on the bankette seating we got from a friend from an old barn on his property. The bankette seating/storage benches my husband measured and made himself. No plans were used for that. If you need alot of foam for cushions buy on the internet, its alot cheaper than a fabric store.
Estimated Time Investment
Weekend Project (10-20 Hours)
Finish Used
White paint, foam, and fabric. We used home decor fabric from Walmart. Super cheap and it only cost me about $20 for the entire project for the fabric. To white wash the top we used the same white paint as the bottom but added water in the paint, then wiped it off. We also used felt coaster rings on the bottom of the small bench seating and the table. Easy to pull in and out. You can buy those at Lowes or Home Depot.
Recommended Skill Level
Beginner

Freestanding Garage Shelves

Submitted by Jeanna on Mon, 04/27/2020 - 08:07

This was our first real DIY from scratch project. We somehow made it a bit too tall and so have not put the top shelf planks on. Over all we are pretty happy with it. This was in a rental storage unit. We plan to give it another go in our garage too.

Estimated Time Investment
An Hour or Two (0-2 Hours)
Finish Used
None
Recommended Skill Level
Beginner

Daddy's little helper

Submitted by Rennie82 on Wed, 06/13/2012 - 17:30

I have seen these like most other people for outrageous prices. This was pretty simple to make but I thought it would be a good idea to add the hinges. I think with the hinges, it is not as stable as my 2 year old seems to "wobble" it side to side pretty good. If I had the space, I would make one without the hinges or learn more about hinges and maybe how to make it more stable. I am thinking adding some more stability to the base of it as in Ana's plan and hopefully that will take care of the wiggling.

Built from Plan(s)
Estimated Cost
About 20$ plus the cost of hinges
Estimated Time Investment
Afternoon Project (3-6 Hours)
Finish Used
Rustoleum spray paint
Recommended Skill Level
Beginner

Rustic Bench (Coffee Table)

Submitted by REASMOM on Mon, 04/07/2014 - 17:09

I made this coffee table from Ana's Rustic Bench plans in The Handbuilt Home. I needed something fairly small for my living room and this worked perfectly. I used pine and stained it with Minwax Early American. I finished it with 3 coats of Minwax Polyurethane.

Estimated Time Investment
Afternoon Project (3-6 Hours)
Finish Used
Minwax stain in Early American and Minwax Polyurethane (clear satin)
Recommended Skill Level
Beginner

Comments

Teen Girl's Bedroom

Submitted by Anonymous (not verified) on Mon, 07/04/2016 - 17:47

This was built for my daughter, who is 12. The storage bins were bought at Bed, Bath, and Beyond.

Built from Plan(s)
Estimated Cost
$200
Estimated Time Investment
Day Project (6-9 Hours)
Finish Used
Semi gloss white
Recommended Skill Level
Intermediate

Dumpster Dresser

Love Ana's Dumpster Dresser. It is the perfect addition to our guest bedroom!

Built from Plan(s)

Comments

nekeroom58

Thu, 08/20/2020 - 07:39

Your dumpster dresser looks great I hope that mine looks as good as yours. I'm making the Dumpster dresser and it's turning out pretty good would I be able to post my picture of the dresser here?

Rustic X Coffee Table in Cedar

Submitted by daveJay on Fri, 04/11/2014 - 07:16

This is my first real piece of furniture I've built. We decided to build it in Western Red Cedar because our local home improvement store had a good selection of it. It was pricier than pine, but it holds stain really well and is really beautiful.

I modified the plan and bought a 4x4 for the legs, then I cut that down to 3" x 3" exactly with my table saw. That way it doesn't look like a standard cut of wood, but something more custom. As a result I had to put corner notches in my bottom piece so that it would fit in with the legs. That was tricky to do, but would have been easier if I had a jigsaw

I made a few measuring errors and had to correct it by trimming down the table top so there was only an inch overhang on the edges. So this is actually a few inches less deep than the plan called for, but it worked out ok I think.

With the X's I laid them on top of the legs and traced a line to cut rather than trying to cut an exact miter. I also traced it so that I'd cut a bit off of the top and side of the corner so that it fits in nice and snug on both edges.

I also traced the intersection lines. Then I set my table saw (don't have a circular saw) to 1/2 an inch and just cut out several notches in between the intersection lines so the to X pieces could overlap each other. A "halved joint" I believe it's called.

Built from Plan(s)
Estimated Cost
$120
Finish Used
I finished it with a coat of Minwax Honey Maple gel stain followed by some Minwax Paste Finishing Wax. Just put a thin layer of wax on, wait for it to dry several minutes and then buff it out with a clean rag till it's got a nice shine.
Recommended Skill Level
Beginner

Distressed cabinet

Submitted by Doug B on Thu, 07/07/2016 - 13:30

A cabinet that I built from inexpensive material. The top is construction grade 2x6 with the front edge cut with a jigsaw set on an angle to form a faux live edge, biscuit join with pocket screws from the underside to add other 2x6 boards to obtain the depth required. After sanding I masked off about 1 inch in from the live edge with a wavy edge before staining then removing the masking tape to apply varnish. I have replaced temporary screws in "gate hinges" with better quality screws since this photo was taken.

The cabinet was built from new cedar fence boards & the rounded corner pieces at the front edges are round fence posts with a 1/4 notch cut out to wrap around the corner.

Estimated Time Investment
Weekend Project (10-20 Hours)
Finish Used
Flat white paint.
Recommended Skill Level
Intermediate

Modified Grandy Barn Door Console

Submitted by dickeydee on Sun, 05/03/2020 - 18:32

Modified the plans to shorten the console. Used hinged doors because of the cost of the sliding door hardware. Added wine rack and wine glass holder. Added multi colour LED light strips to the top centre.

Built from Plan(s)
Estimated Cost
$300
Estimated Time Investment
Week Long Project (20 Hours or More)
Finish Used
Stain was a 50/50 mix of Briarstone and Flagstone. Semi gloss finish as well as semi gloss white paint.
Recommended Skill Level
Intermediate

My daughter's beautiful dress up wardrobe

Submitted by Motsy on Thu, 06/21/2012 - 12:31

This project was very much needed in my house! My daughter loves playing dress up and is obsessed with all things pink and princess-y. It has been driving me crazy that she doesn't play dress up as much as she wants to, though, and the reason why is because we didn't have a good way to store/display her things. Up until we built this it all stayed in this storage bin, but since you had to pull it out in order to even see it, she never played with it. So once I saw this plan I knew it had to be ours. I'm so glad we did it! It turned out beautifully!

My husband built it (his second woodworking project), and, like his last project, he did a great job. No complaints or issues at all. I primed (although I doubt that was necessary) and painted it. I actually did all of the painting other than the letters before he built it, and that turned out nicely. My only complaint was the letters. I bought some stencils from Hobby Lobbby and used a smaller brush to paint them on. For one thing I wish I had of been more careful and paid more attention to how straight the letters were. For another, although you can't tell unless you're up close, there are spots where the paint pooled up under the stencil. My husband sanded it down as much as he could without messing it up, but it's still there a little. I'm no painting expert so I'm not sure how to go about doing this without having that happen. Even with those things, though, I'm so happy with it, and my daughter has been happily playing dress up all week!

Estimated Cost
$30 for lumber
Estimated Time Investment
Afternoon Project (3-6 Hours)
Recommended Skill Level
Beginner

Double Twin Lift Bed.

Submitted by rojohn on Sun, 04/13/2014 - 14:15

My sister asked me to look into building a double loft bed for my two nieces, since the younger was outgrowing her bed and found a plan for one from "The Hand Made Home". http://www.thehandmadehome.net/2011/08/how-to-build-a-loft/
I didn't love how their plan had a rope ladder and no center support in back, so I changed that up. Took around 50 hours work time total, but was a lot of fun and both of my nieces totally loved it, so it was well worth the time and energy! :-)

Estimated Time Investment
Week Long Project (20 Hours or More)
Finish Used
4 coats of Minwax Satin Polyutethane
Recommended Skill Level
Intermediate

Rustic x hall tree

Submitted by Kristi88 on Tue, 05/05/2020 - 15:03

This was my first project and was a great one for someone just starting out. I really enjoyed the building part but was disappointed in how the stain turned out. I stained it with sunbleached by varathane but then made the mistake of finishing it with an oil based polyurethane which turned the color slightly green.

Built from Plan(s)
Estimated Cost
150 CAD
Estimated Time Investment
Day Project (6-9 Hours)
Finish Used
Sunbleached by varathane with a polyurethane finish.
Recommended Skill Level
Beginner

Wood Christmas Tree

Submitted by Anonymous (not verified) on Thu, 12/28/2023 - 14:10

Christmas tree for hospital when my wife works. We used 1x4 lumber with 4x4 spacers. She painted tin cans and put greenery in them and we cut a star for the top with a scroll saw.

Wendell Londsey

Seasonal And Holiday

Simple Potting Bench

This is a very simple weekend project, it took longer to put the finish on than to build it. It is made out of spruce and pine shelves. The finish is done with homemade vinegar steel wool stain for the shelves and paint for the legs. We distressed the legs by sanding and wiping stain in some areas. Finished with 3 coats of exterior poly.

Estimated Cost
50
Estimated Time Investment
Afternoon Project (3-6 Hours)
Finish Used
homeade stain , paint , varathane diamond outdoor finish
Recommended Skill Level
Beginner

Comments

Cyn-d Williams (not verified)

Sun, 07/29/2012 - 15:37

I love the potting bench that you want to build from the Southern Living magazine.
How can I get my hands on those plans?

Apothecary Console

Submitted by Jorlik on Wed, 04/16/2014 - 09:08

Built straight off the plans except I added drawer slides.

Built from Plan(s)
Estimated Cost
250
Estimated Time Investment
Week Long Project (20 Hours or More)
Recommended Skill Level
Intermediate

Re-tie-r-ment Ottoman

Submitted by Anonymous (not verified) on Wed, 07/13/2016 - 21:30

Use those ties and a suit you aren't using anymore now that you are retired! Sit back and relax!!

Built from Plan(s)
Estimated Time Investment
Weekend Project (10-20 Hours)
Recommended Skill Level
Beginner
Back