Kayak Rack and Garage Storage
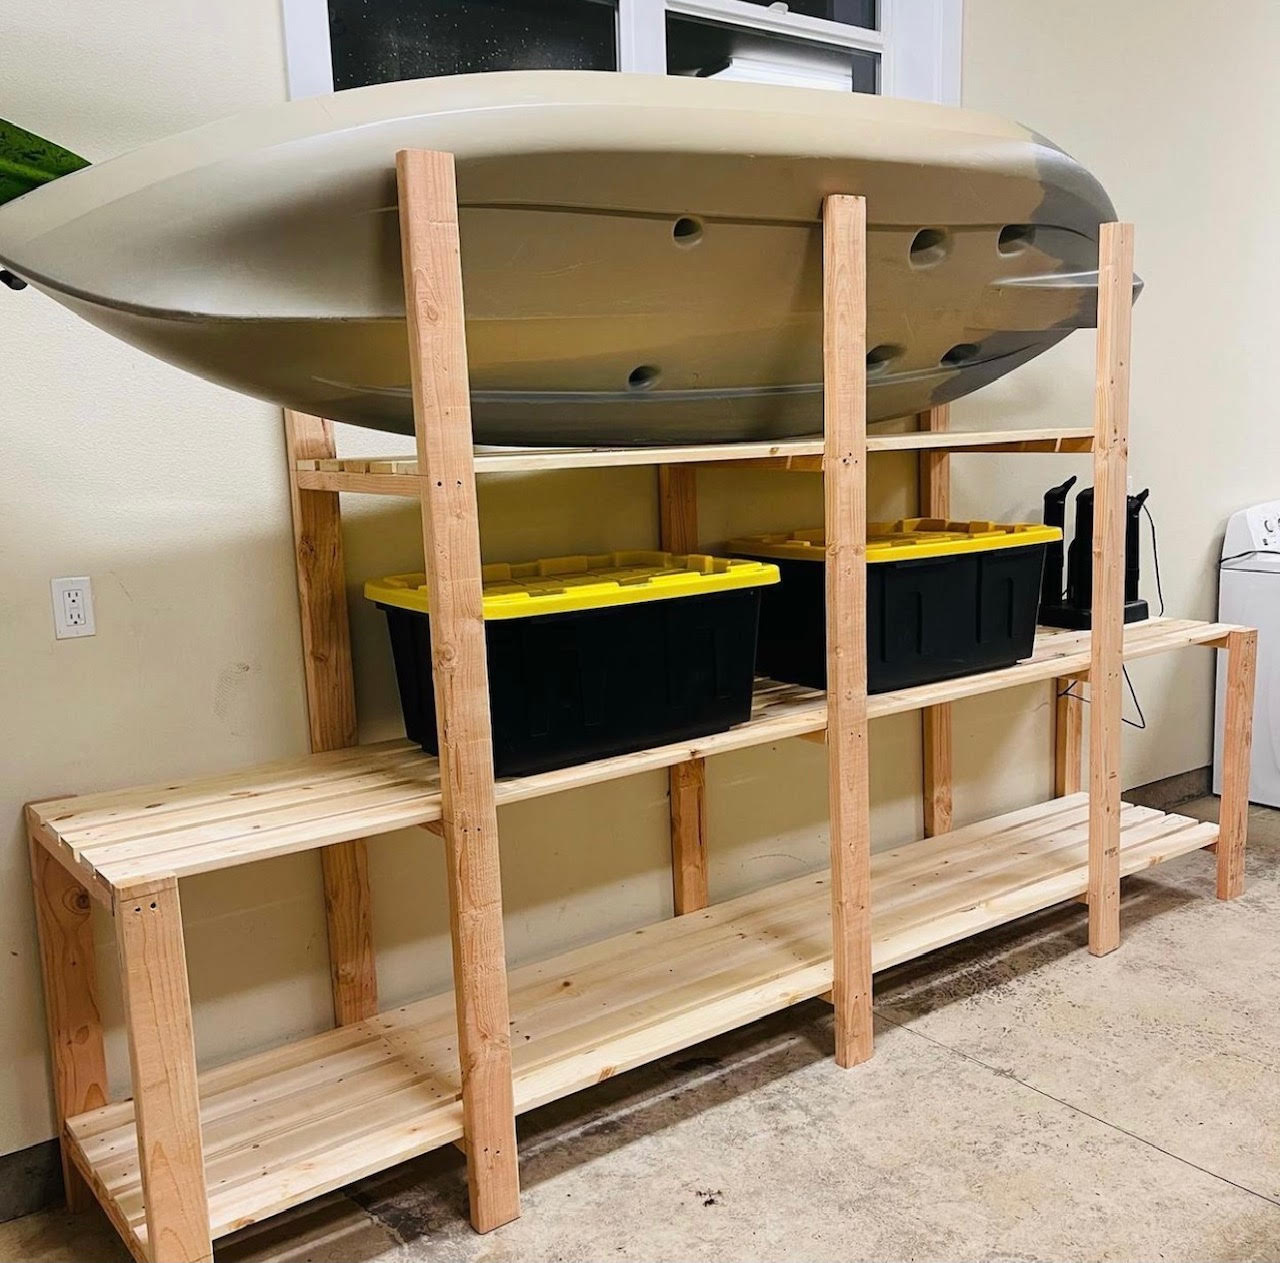
I used Ana's simple freestanding garage shelves plan. I made a couple modifications and left the top open to also store a kayak, it works great!
Built from Plan(s)
I used Ana's simple freestanding garage shelves plan. I made a couple modifications and left the top open to also store a kayak, it works great!
Did you know they make 3.5 inch redwood fence posts. I was thrilled when I found that out. I used them for this project here: http://ana-white.com/2011/08/raised-raised-planter-bench and had some leftovers. I need good outdoor wood in my harsh climate and so made these with the leftovers.
I actually added 3 inches to the legs so I could have them tall enough to eat at my table with.
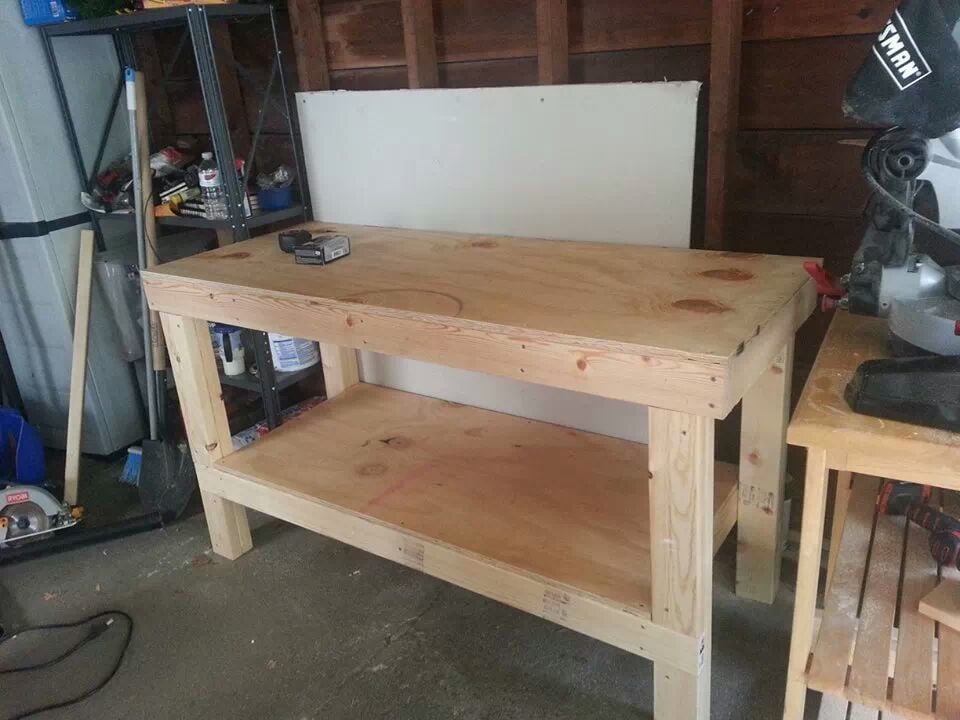
This bench was made from the plans for the Workbench to Get the Job Done....and we did get it done. About $50 in lumber and a few hours work. The only change we made is we used 3/4" plywood for both shelves to only use one piece of ply. Next to paint it turquoise! Thanks to my friend Richard Ramirez...he did most of the work! Next I'm going to make 2 more not as wide and without the bottom shelf so I can roll my shop vac under one and my trash can under the other.
Sun, 09/01/2013 - 06:45
If I may make a suggestion, you could screw a 2x4 flat to the back, which willow you yo drills holes across it for screwdrivers, chisels punches and what not!
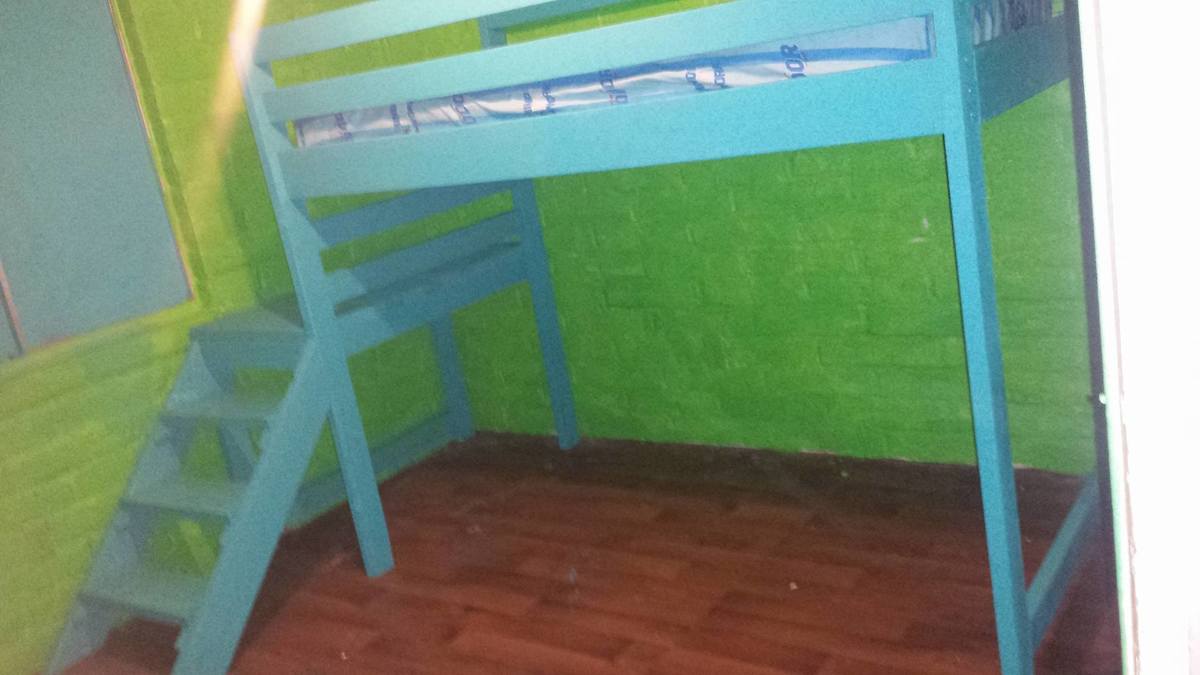
We had a really great time building this bed. Even our son could help (kinda). A very easy design and evan simpler to follow. We hit a small snag when makeing the deck, only cause we did'nt know we had to gap the 2x4s...but it was easily fixed by adding one 2x6. and taking away one 2x4. The plans state its not weight tested...well i am a larger woman and it held me just fine. ^_^ Our son loves it! He is five years old and this is his first big boy bed. When i saw his little face light up it was worth everything. Thank you for the great plans and for the family time we enjoyed as we all joined into this project.
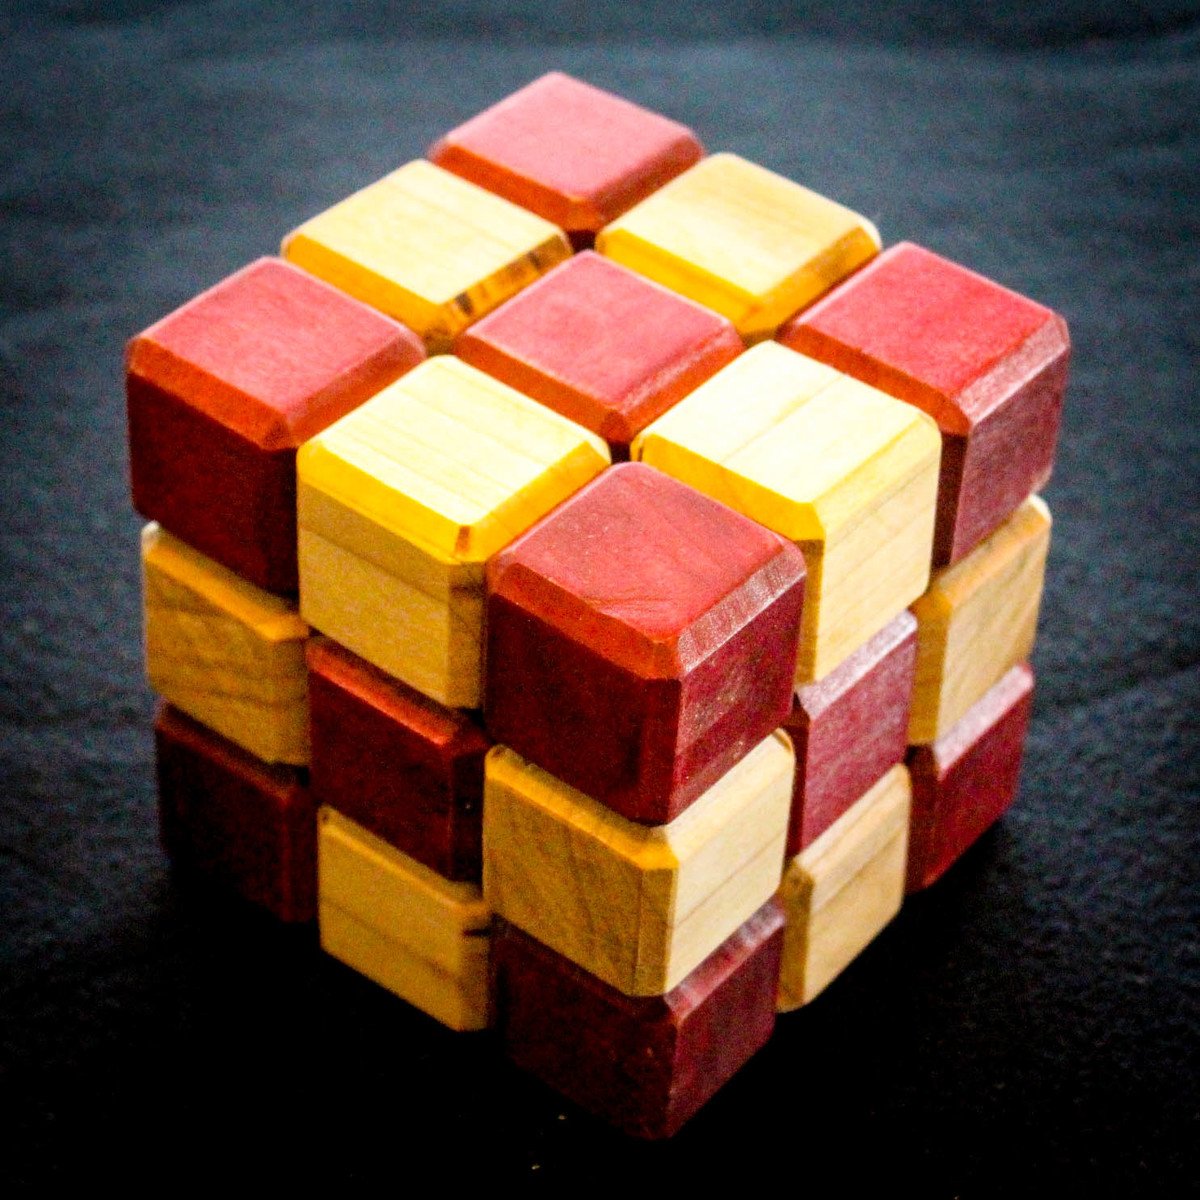
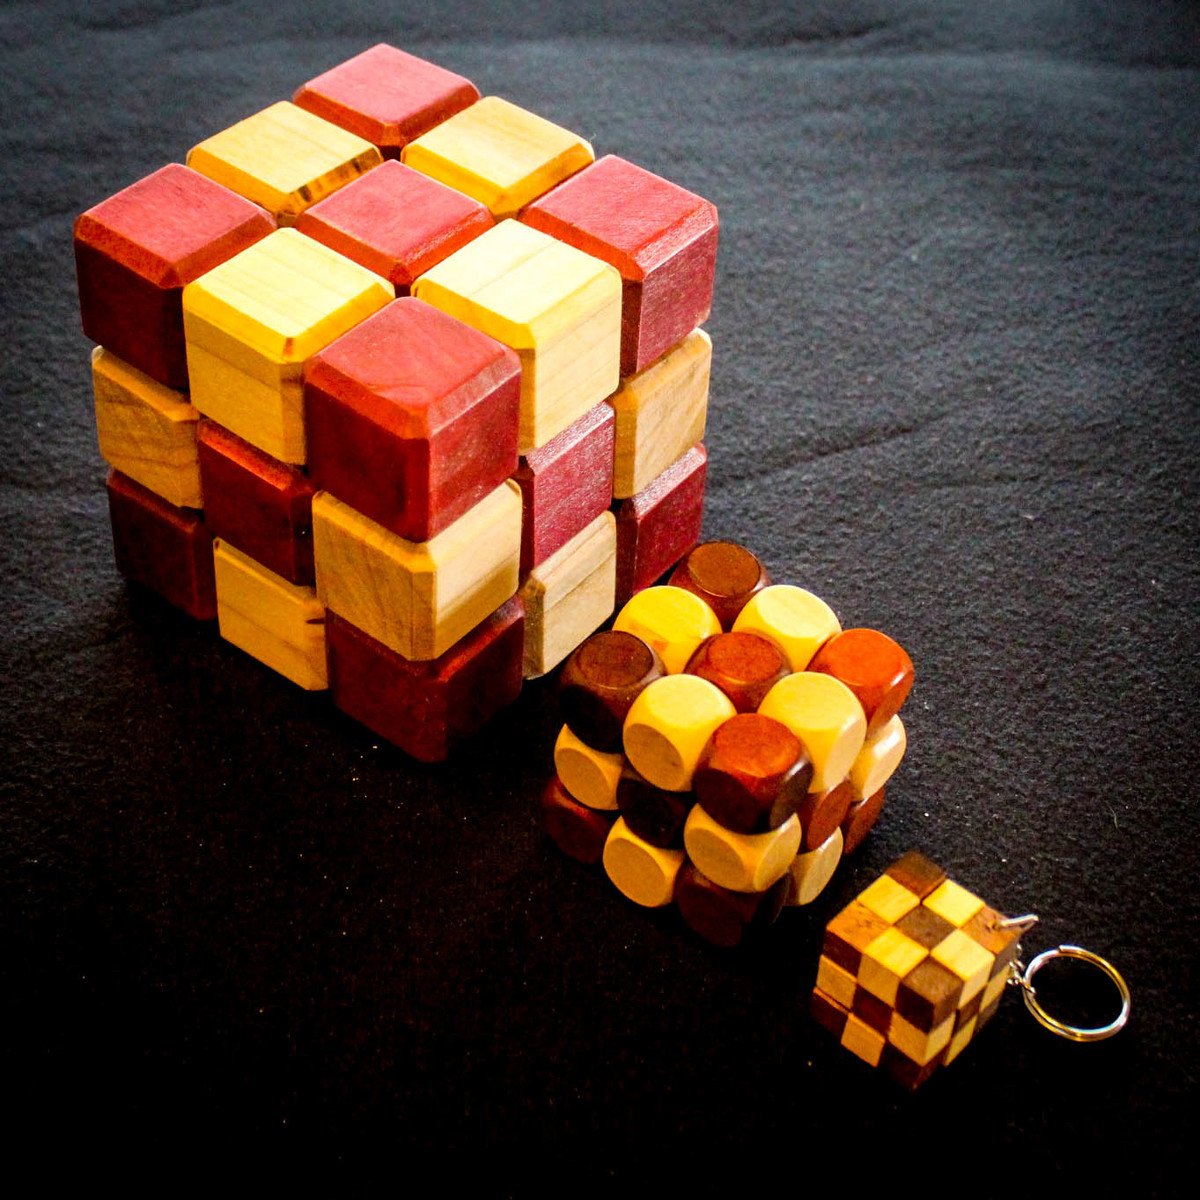
This is my take on the classic wooden snake puzzle. Purchased ones generally range in size from 2" cubed down to key chain size. This one is 4.5" cubed. Although time-consuming and somewhat mind numbing, it wasn't very challenging to build. However, you will need to pay attention to the build and assembly instructions.
Drawings & Build Instructions: https://www.instructables.com/id/Wooden-Snake-Puzzle
Solution: https://youtu.be/JpehfwloYIE

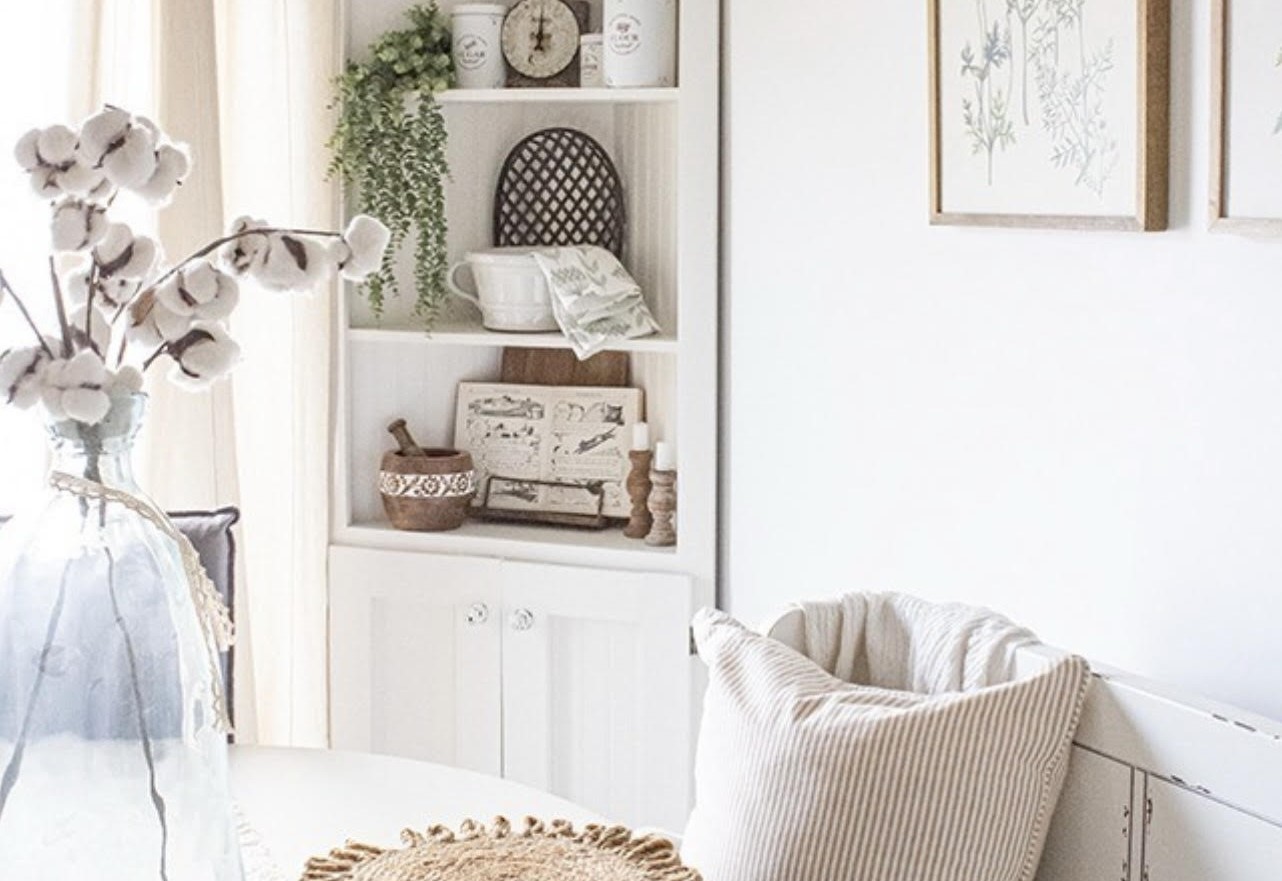
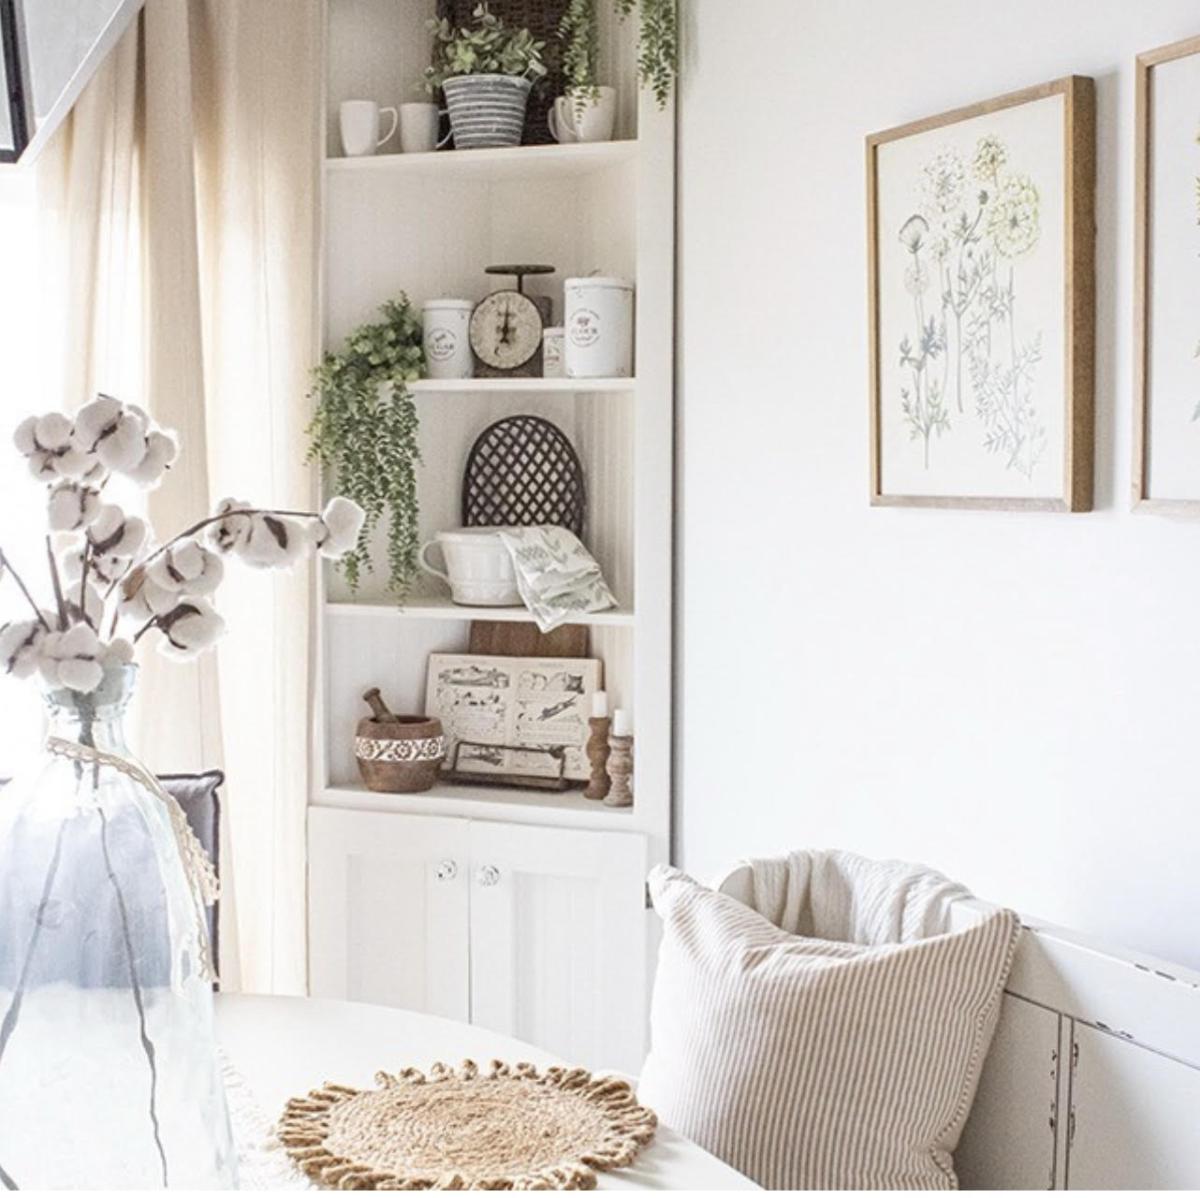
Cute Corner Cabinet by Thrifty and Chic Decor!
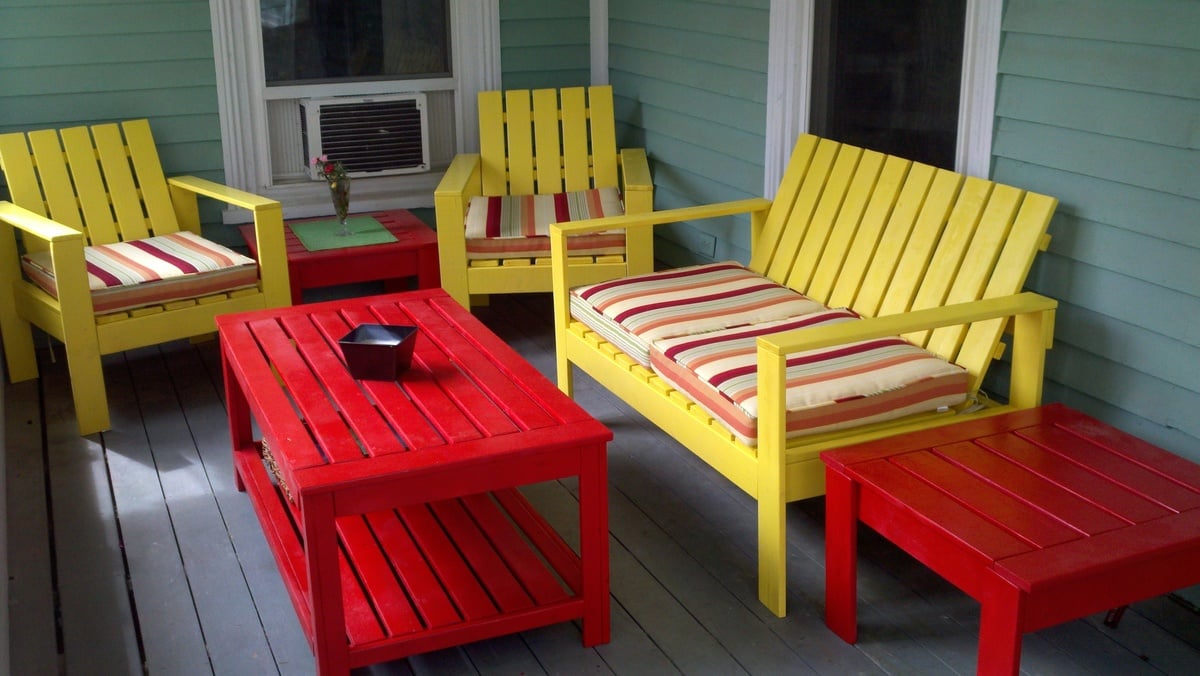
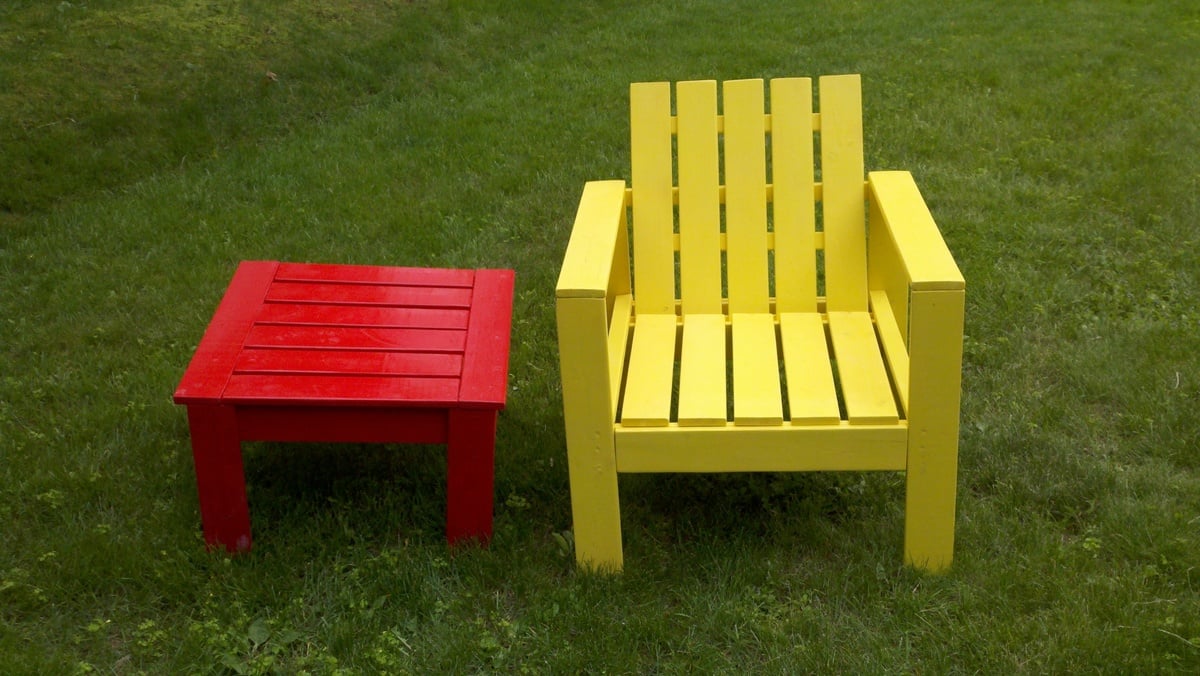
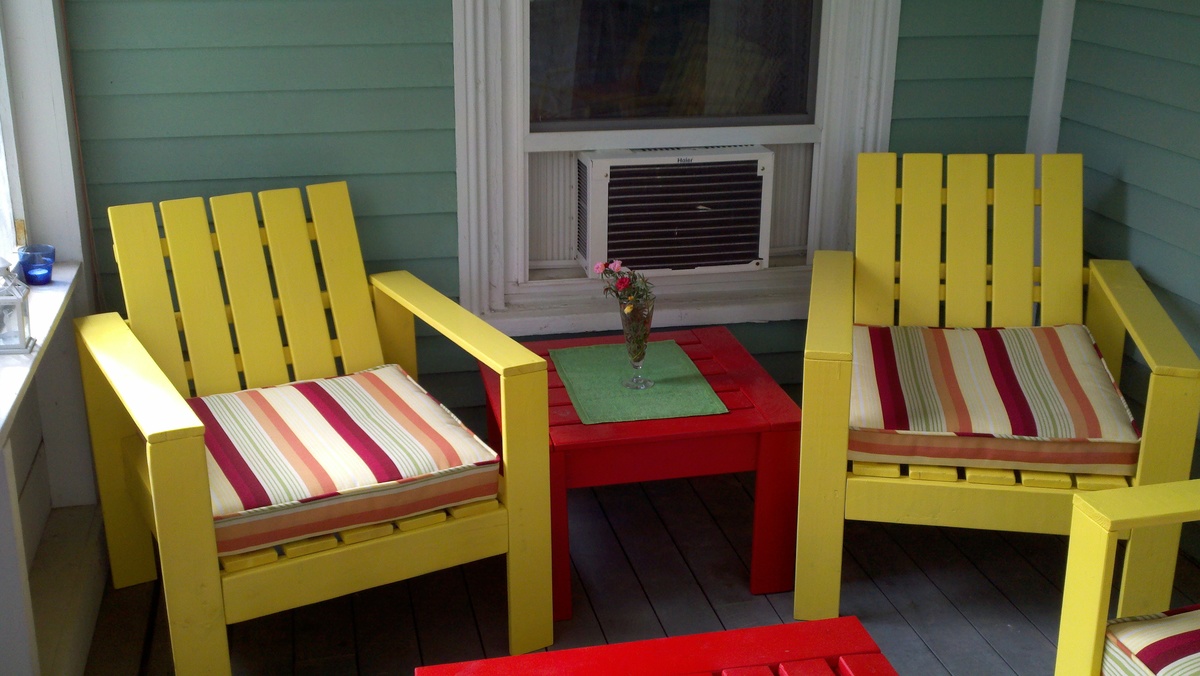
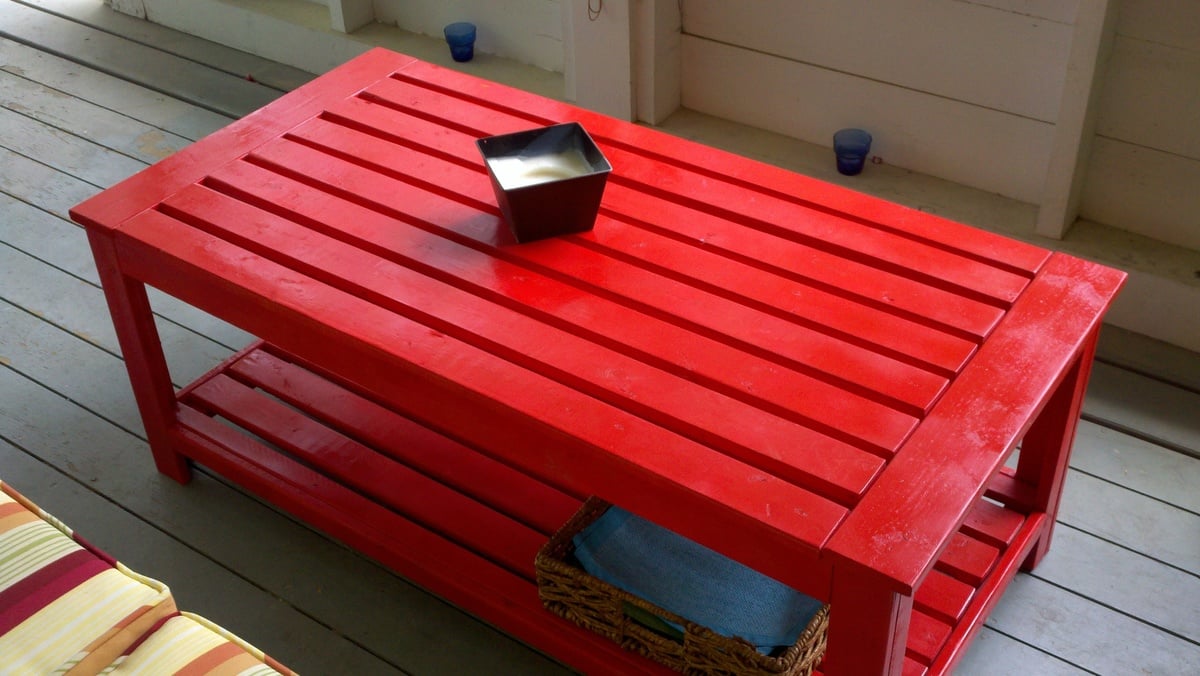
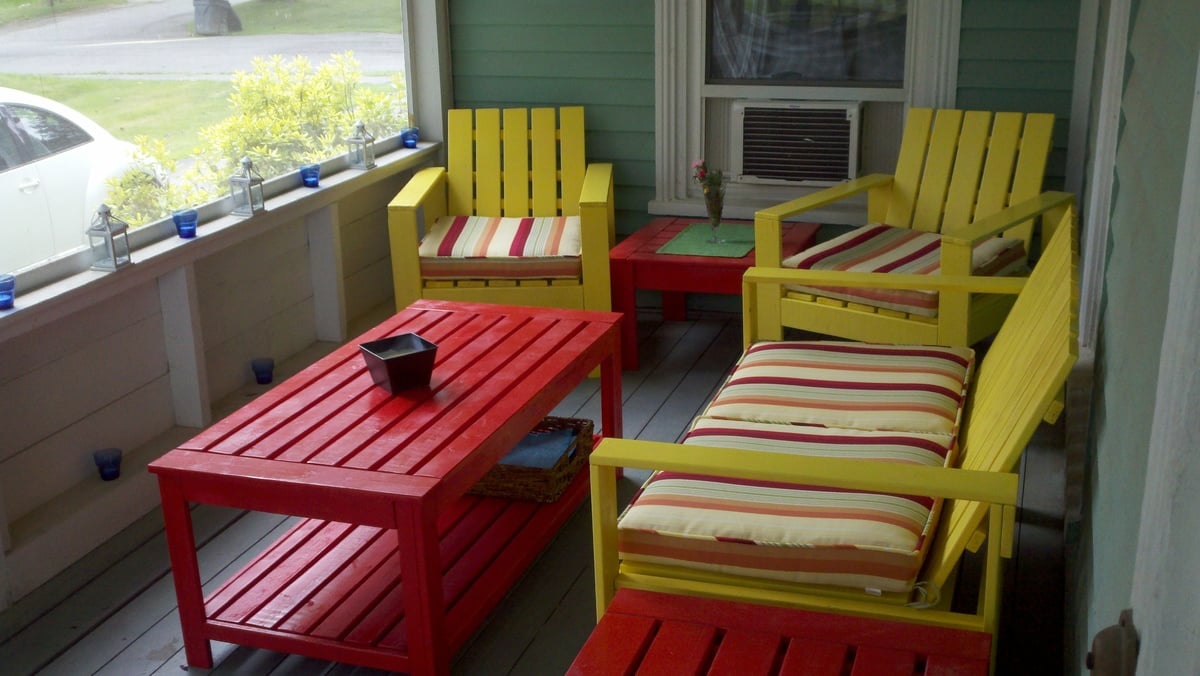
It's summertime and I wanted to be able to sit on my screened in porch with my husband with a cold drink and enjoy the nice weather. But...we had a less than cheery porch and not to mention no porch furniture. So, I started a mission to bring a little excitement to our porch and give us an outdoor area to entertain and enjoy! With some bright-colored paint, my carpenter's square, and a little patience okay..a lot of patience, I think I nailed it! I made 2 accent/ottoman tables, 2 outdoor lounge chairs, an outdoor lounge love seat, and the Hudson Outdoor table. I also bought 4 cushions on sale at Walmart in colors that match my bright patio set perfectly!
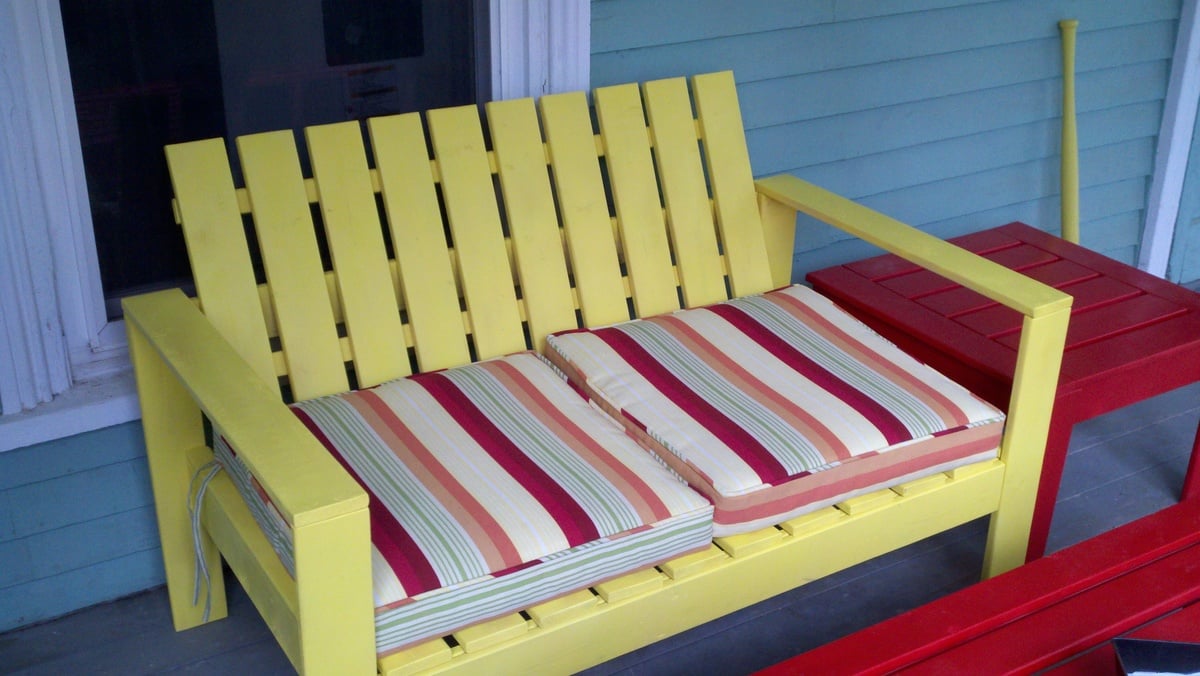
I modified the outdoor lounge chair in to a love seat by doubling the dimensions of the: back tie-in, seat frame supports, front and back aprons, seat back supports and seat back bottom support, using a 1x4 back tie-in instead of the 1x2, adding an extra seat frame support in between the front outside and inner support, and used 10 back boards and seat boards instead of 5.
I think now I'll go back to the porch and enjoy the afternoon with a nice cool iced green tea and finally get to relax on a porch with furniture on it!

Tue, 08/09/2011 - 17:29
One more beautiful than the next! So impressed with this whole set! Amazing!
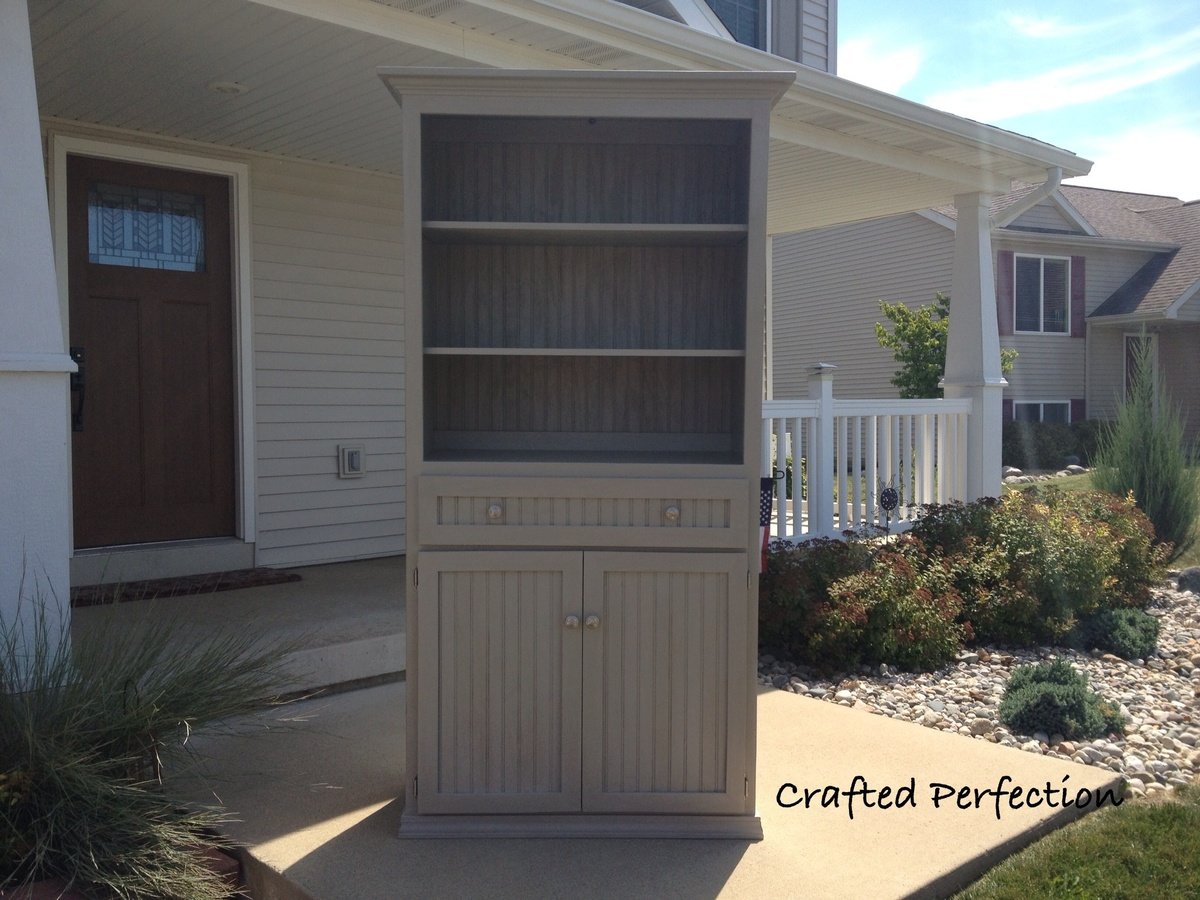
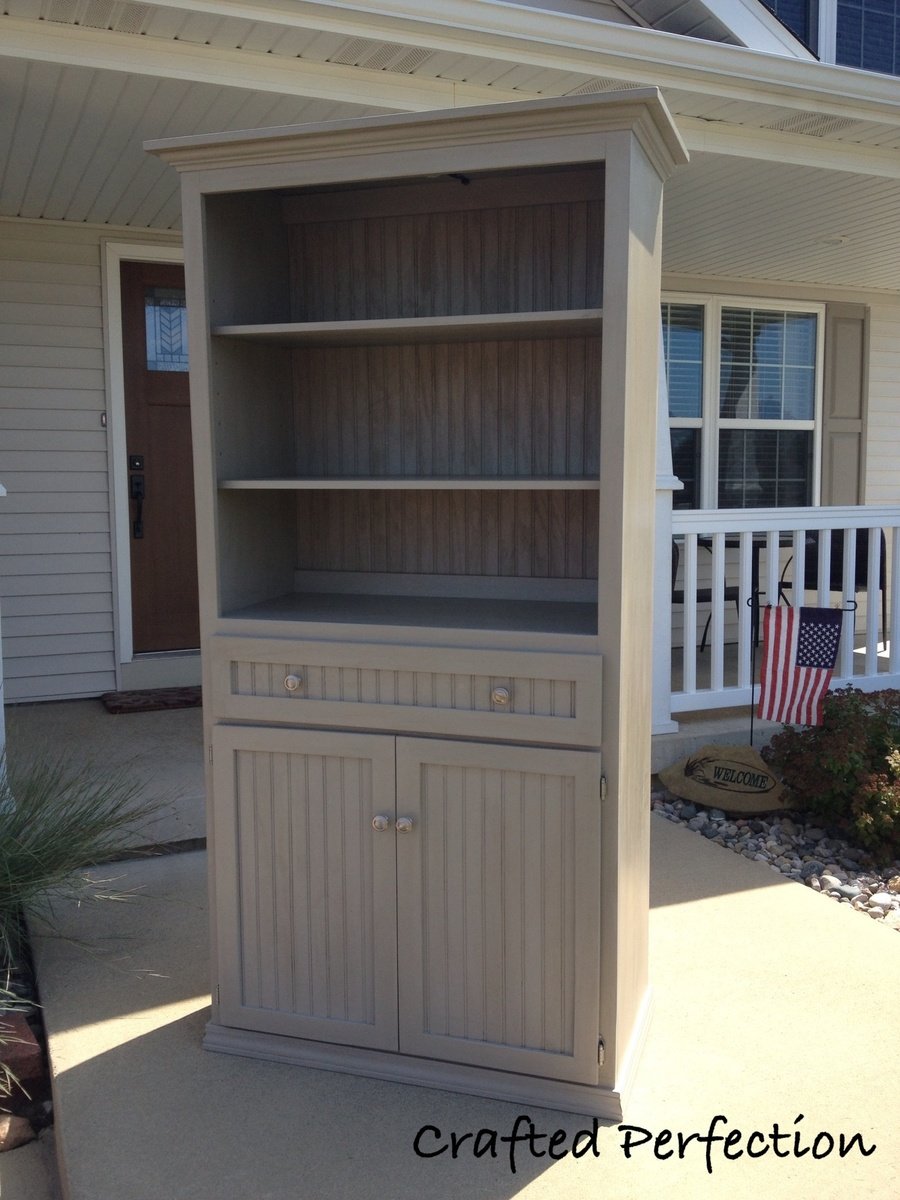
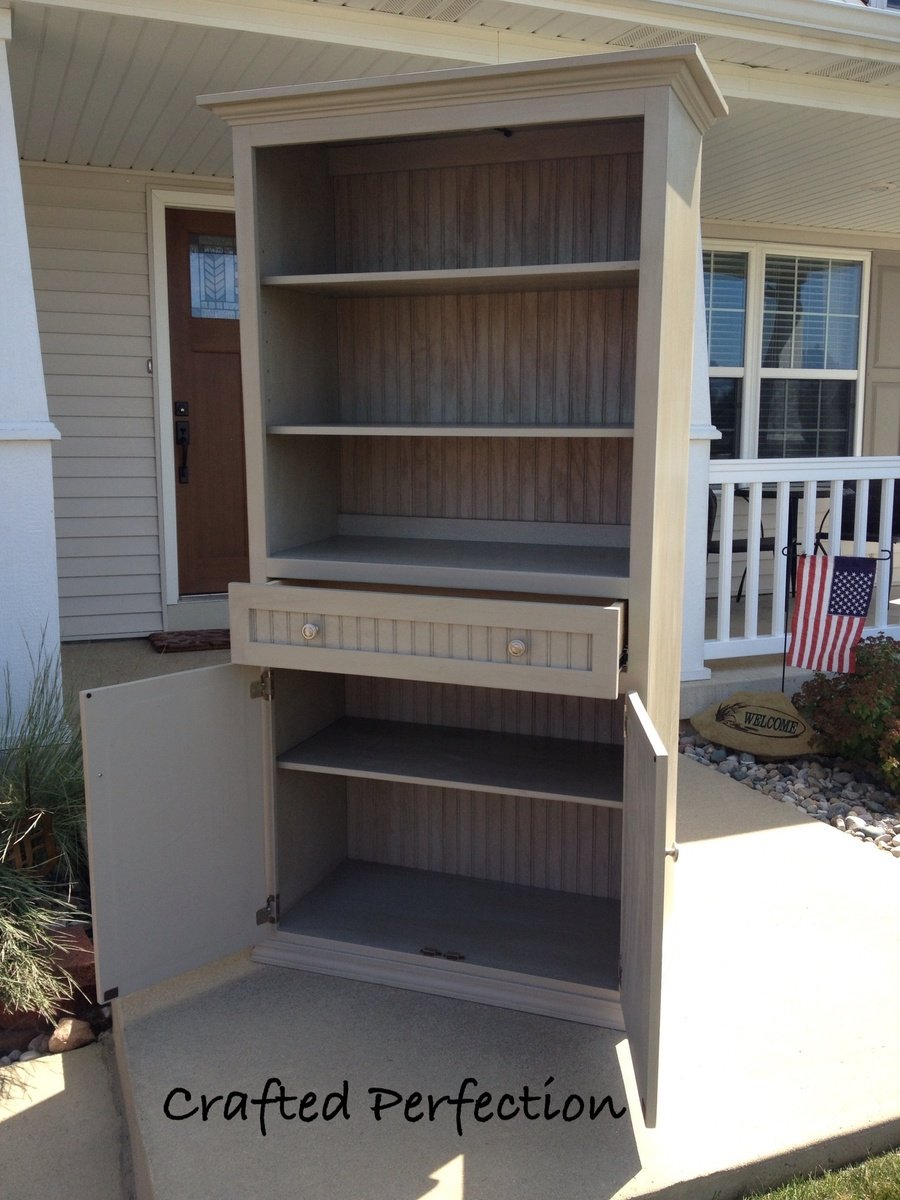
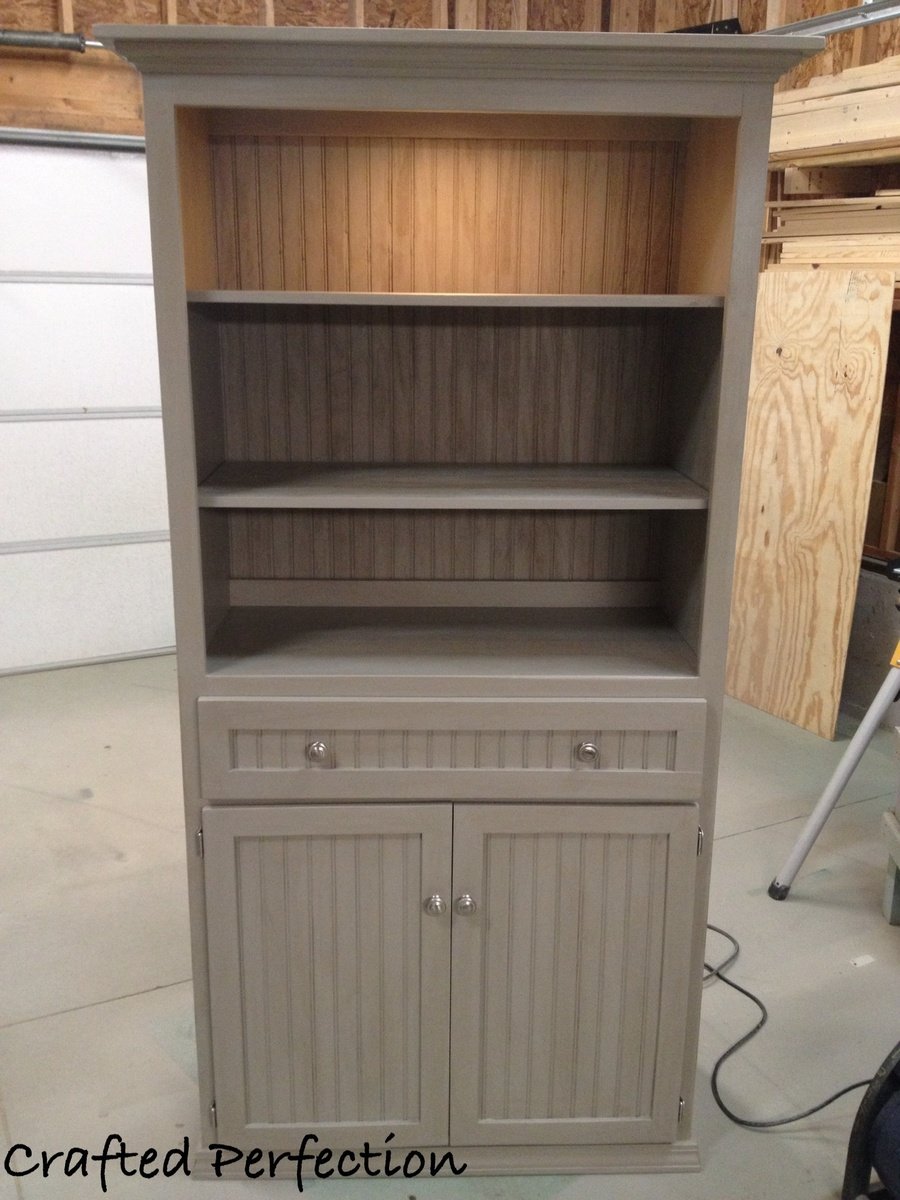
This is similar to a display cabinet I found online. I got the dimensions and created my own version. We added a under cabinet light to the top to give it a little bit of an elegant look. We changed it up from the original one by adding beadboard to the back and the door inserts. The shelving on the top and bottom are adjustable for different sized display items.
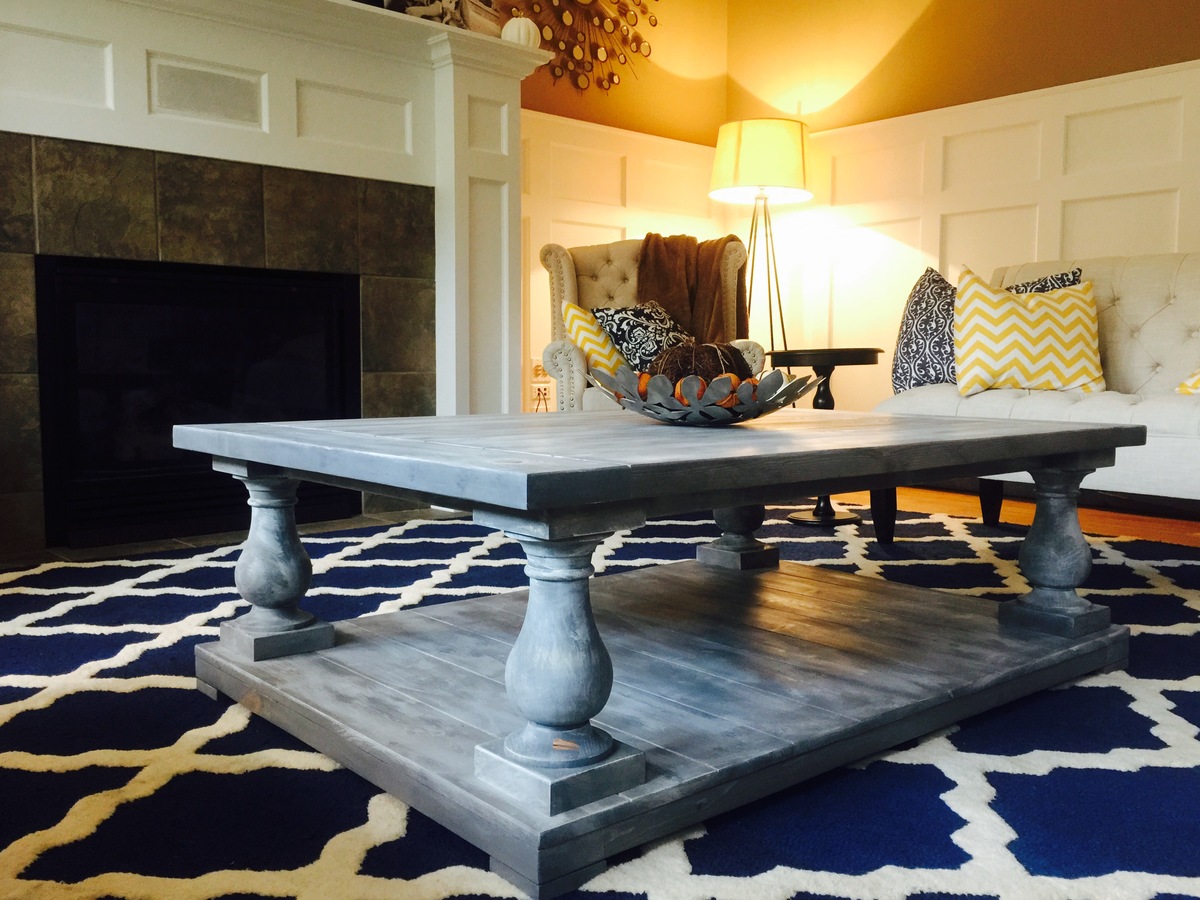
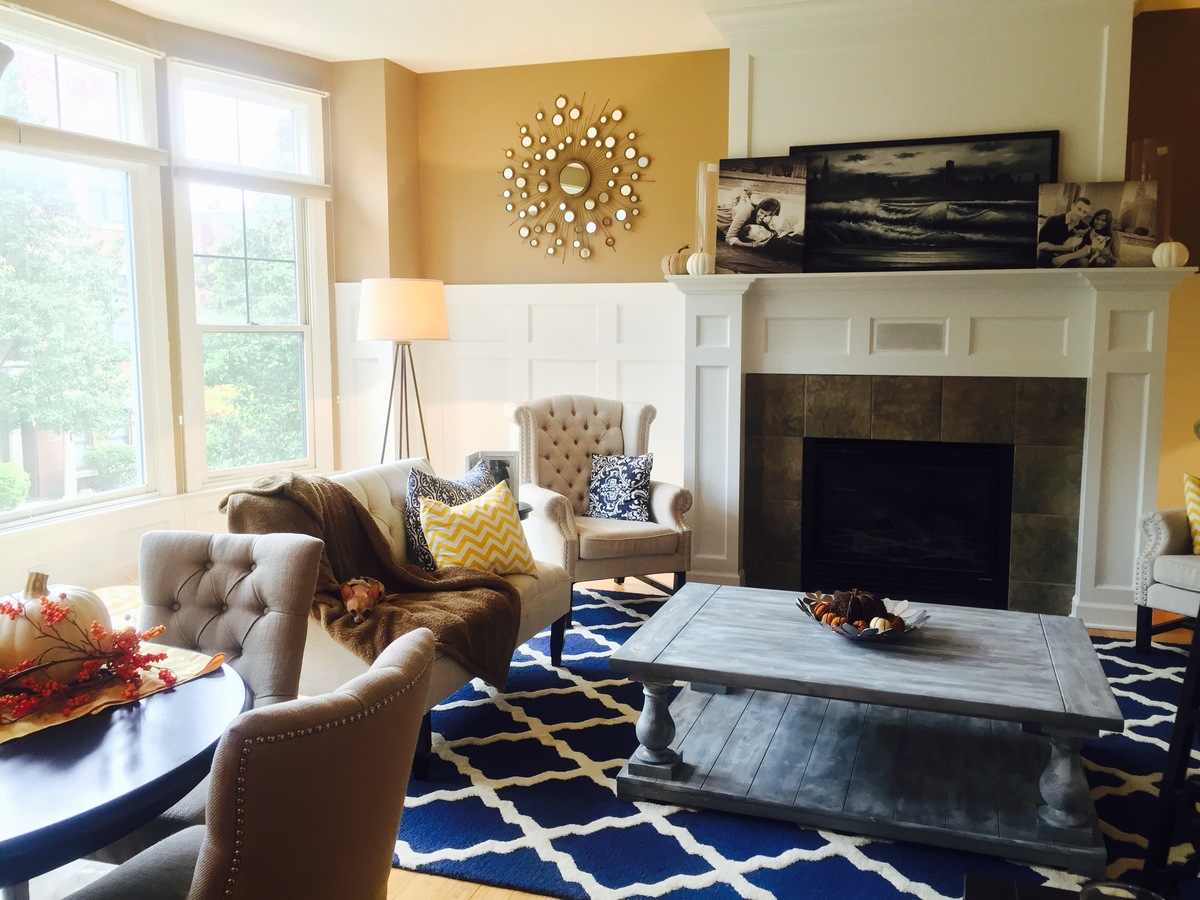
Restoration Hardware inspired balustrade coffee table.
Mon, 10/26/2015 - 08:30
Lovely color and it looks really great along the rest of the furniture. Congrats!

In reply to Stunning! by Ana White Admin
Mon, 01/02/2017 - 15:31
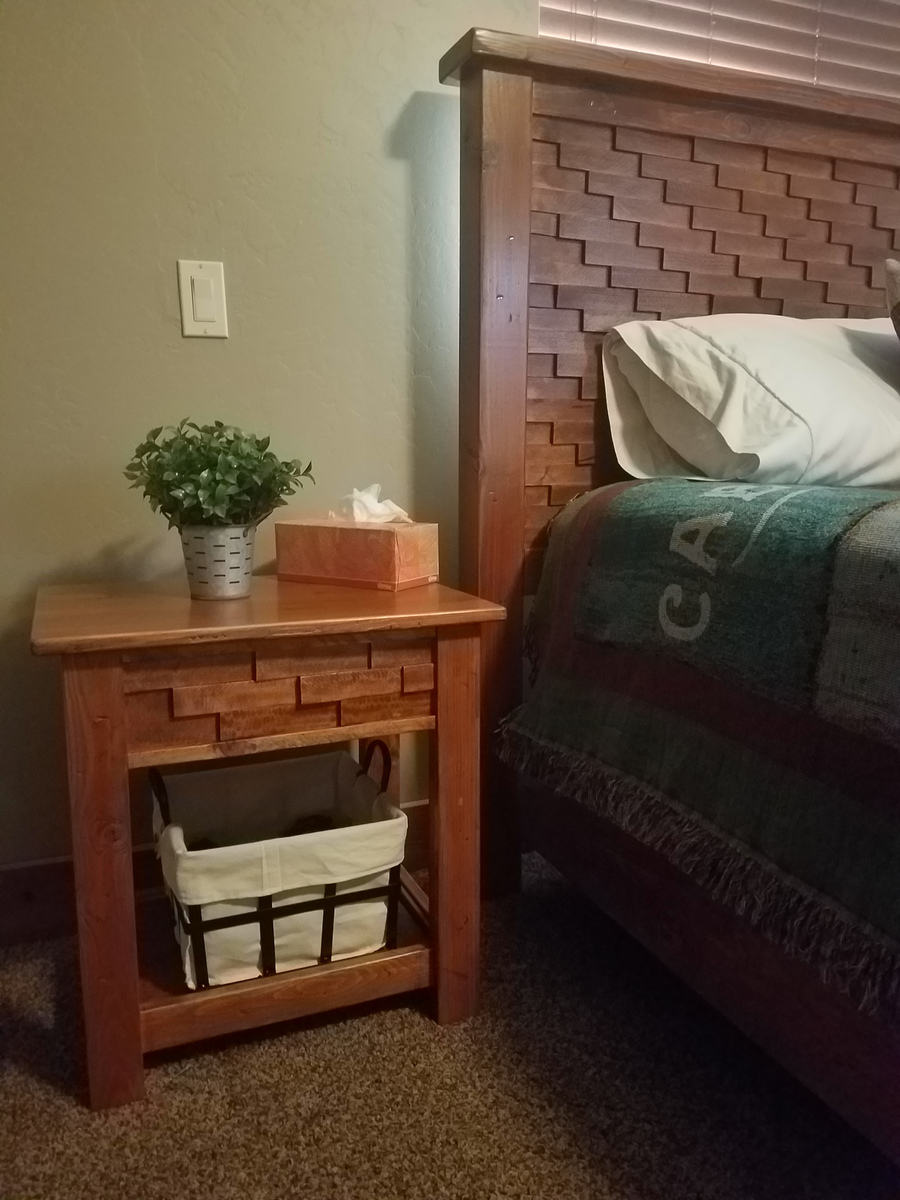
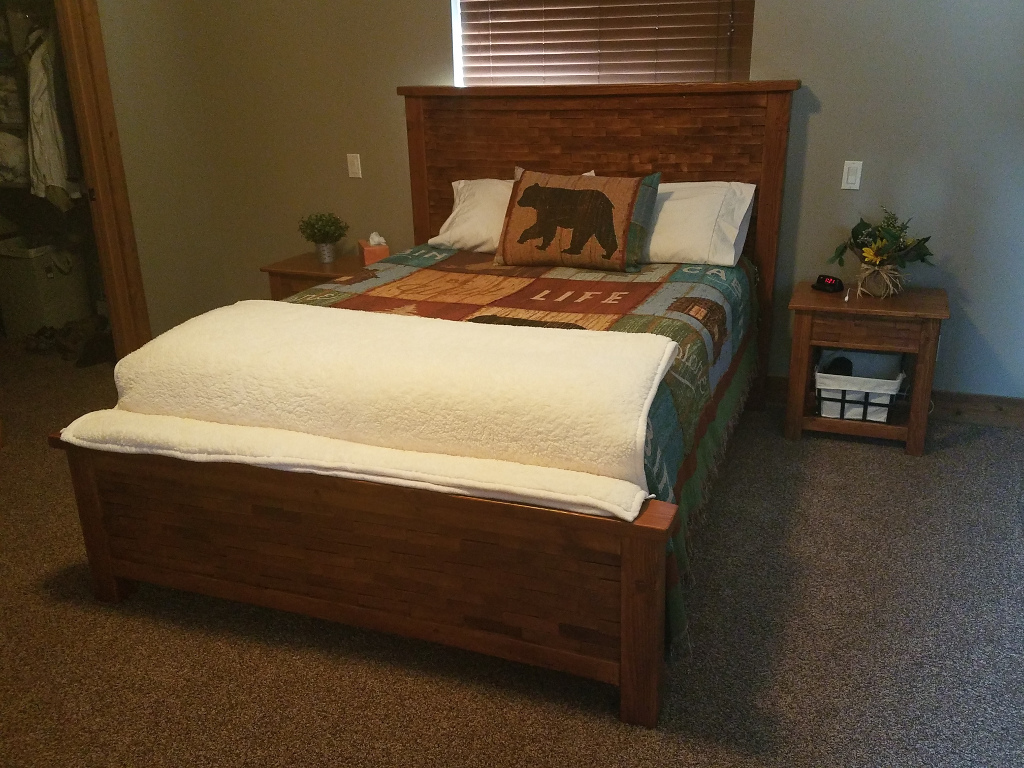
Thanks! I've made a dozen of these over the last few years for friends and paying customers. One major modification that I've made is to use tongue and groove instead of pocket holes. I also use a sliding breadboard end to allow for wood movement. If not, you get cracking and separation during the various seasons. I can try to take photos to include in the plans during my next build if you're interested.
Mon, 01/02/2017 - 15:33
Sorry for the delay. I never got notifications for these comments. I use minwax gray first. Then I whitewash using whatever white paint I have laying around mixed with water. Finally, I dry brush with minwax ebony here and there to add depth.
Thu, 09/15/2016 - 11:42
Could you please tell us how you did your stain? I have a table ready to stain and would love to achieve this color.
In reply to STAIN PROCESS by melissafontes
Mon, 01/02/2017 - 15:36
Hi. Sorry for the delay. I use minxway gray first, fllowed by whitewash with whatever white paint I have laying around (half water/half paint). Finally, I accent with minwax ebony using a dry brush technique. Good luck!

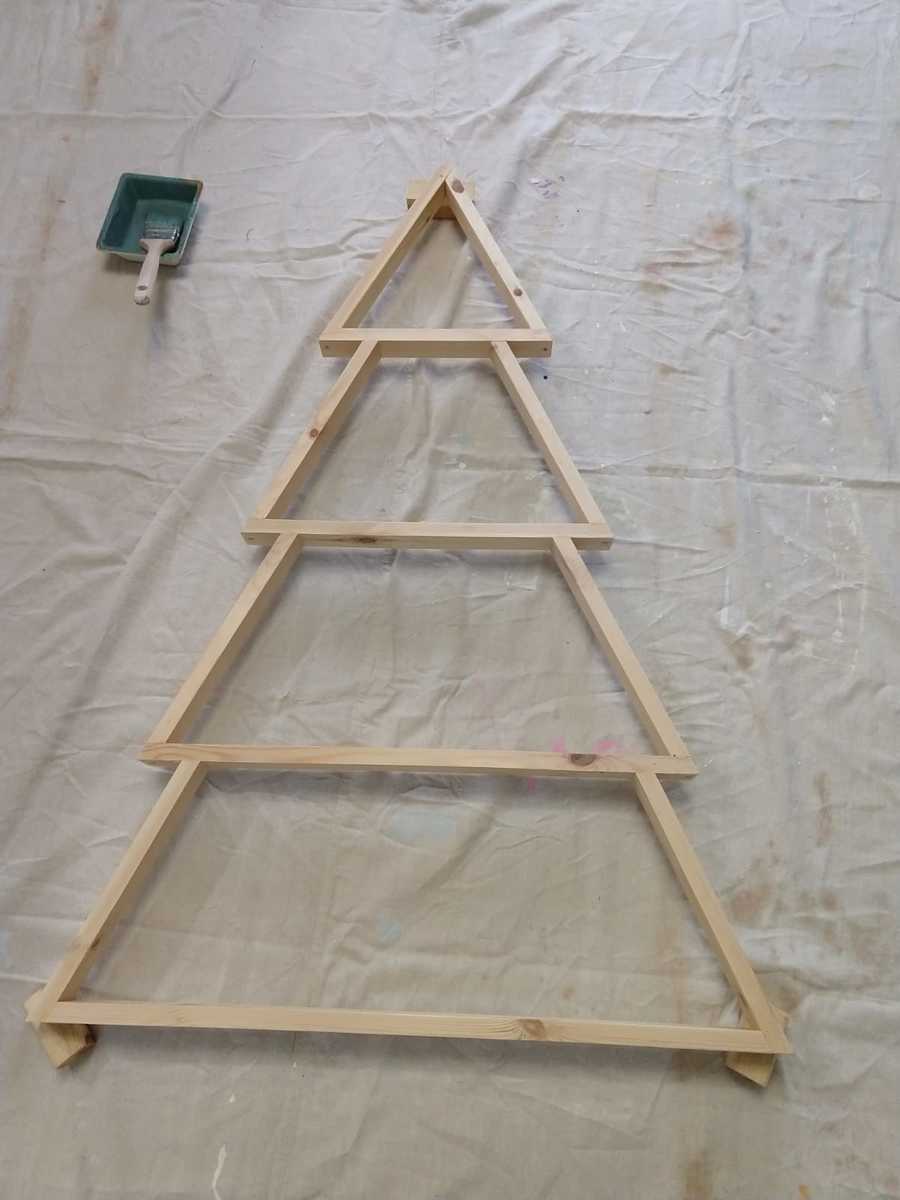
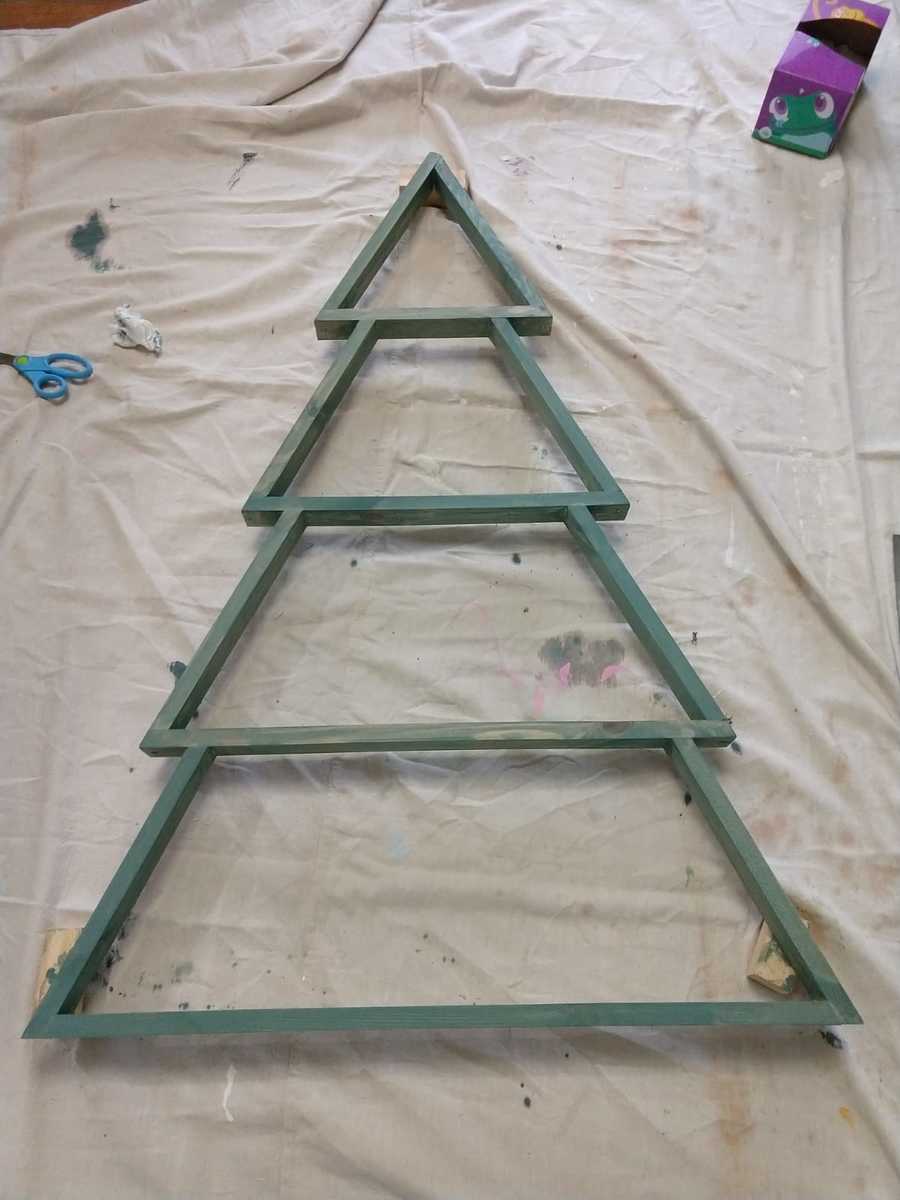
Thanks for the Tree Shaped Wall Shelf plans. I modified the dimensions to match my space on the wall and used 1x2 to make the frame. This replaced our traditional Christmas Tree this year and looks great on the wall. Thanks a lot.
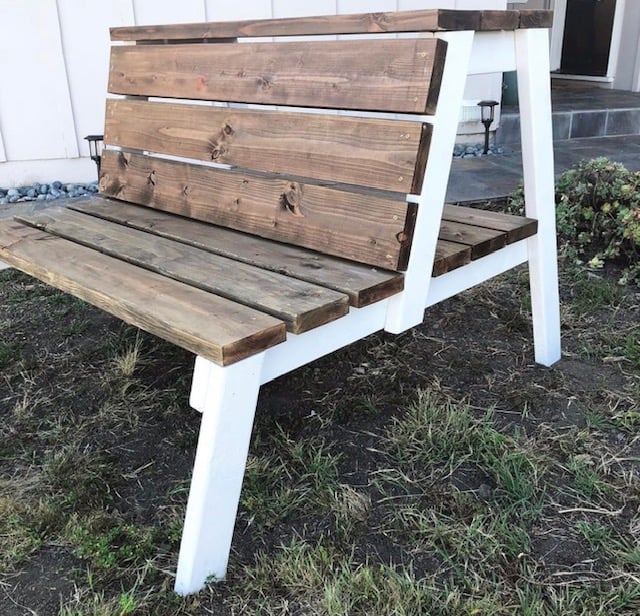
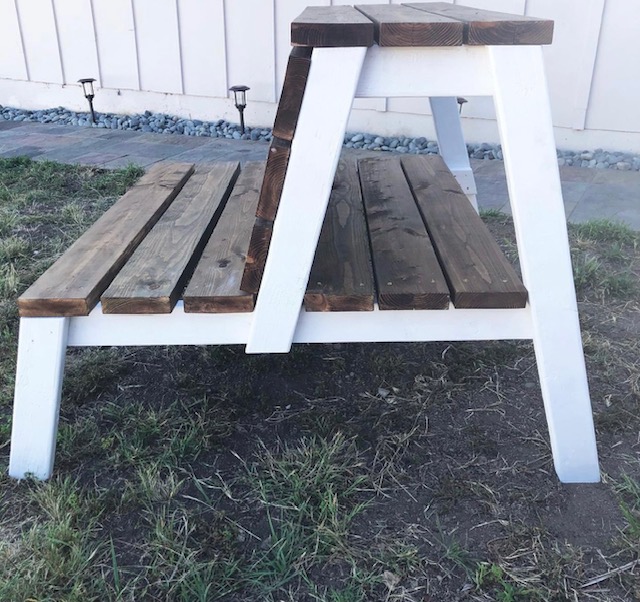
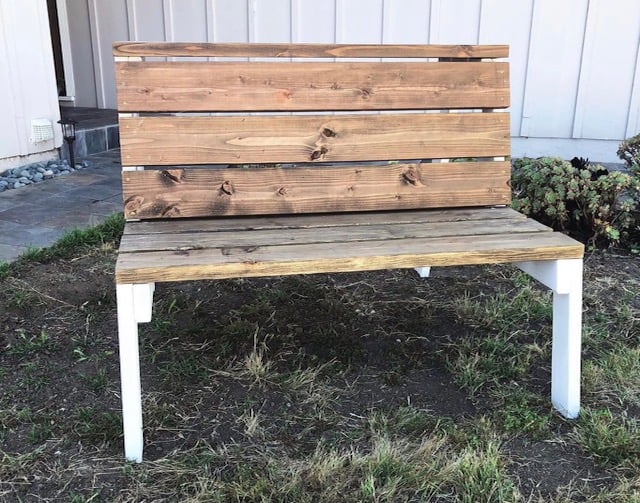
DIY BACKYARD PARTY BENCH // This is the perfect setup for your backyard. It’s durable, comfortably sits two people, and has storage in the back.
by DIYDOUGHERTY

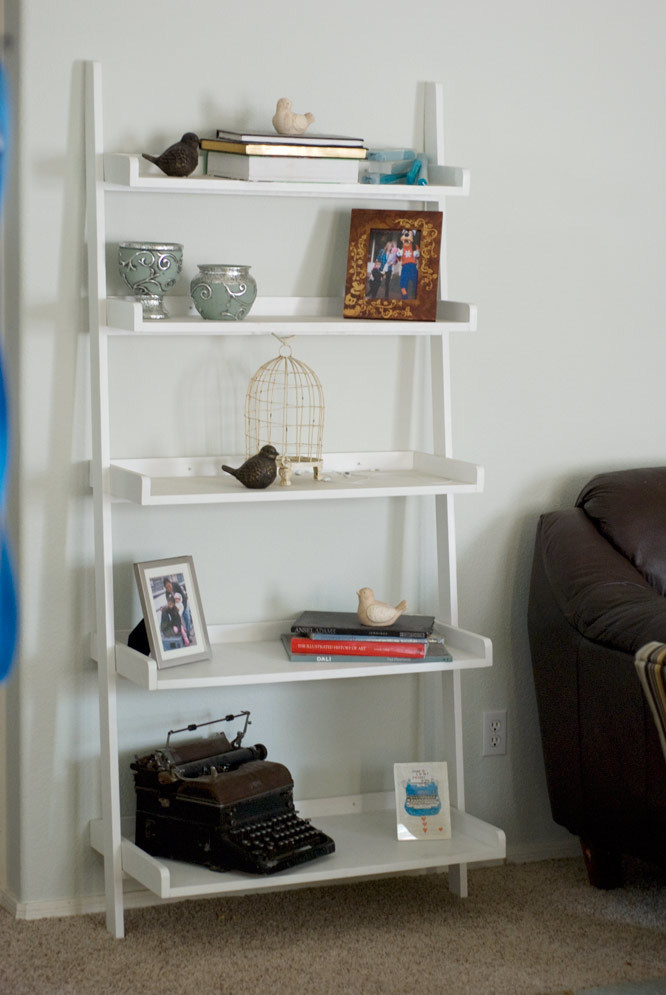
This was one of those projects that you just don't want to start because you don't have time to finish it, kinda thing... And I still started it. UGH! haha. I had 2 days before I was going to leave for Vegas, and the first of the 2 days was half over already... But I still managed to get it finished, painted and IN before I left! I threw random stuff from throughout my house on it, and still haven't decorated it how I'd like to... But I will! Eventually...
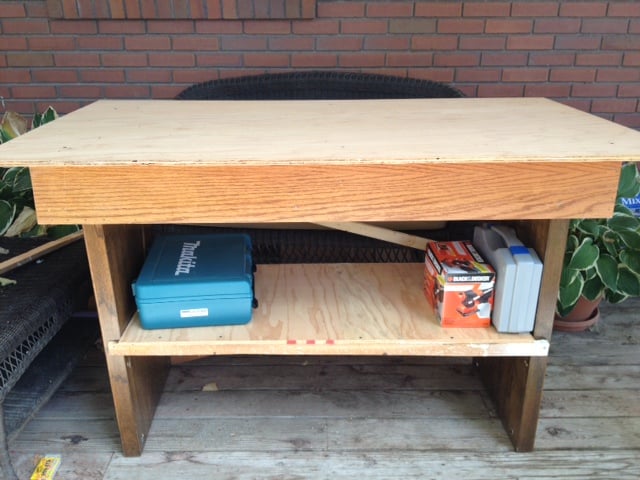
I built this work table from some old junk that was going to be thrown away - a church pew, a wooden box light fixture and some plywood that was in my parents' garage. I didn't follow any specific plan, I just had an idea of what it needed to look like from some work bench plans I saw on Ana-White.com. It cost me nothing to build it. I even re-used the old steel screws from the church pew. It's not very pretty to look at, but it is sturdy and it will be a great space for me to store my tools and work on future projects. Thanks Ana White for your awesome website and for inspiring me! I never would have thought I could take some old junk and figure out how to built something like this. It's an awesome feeling!
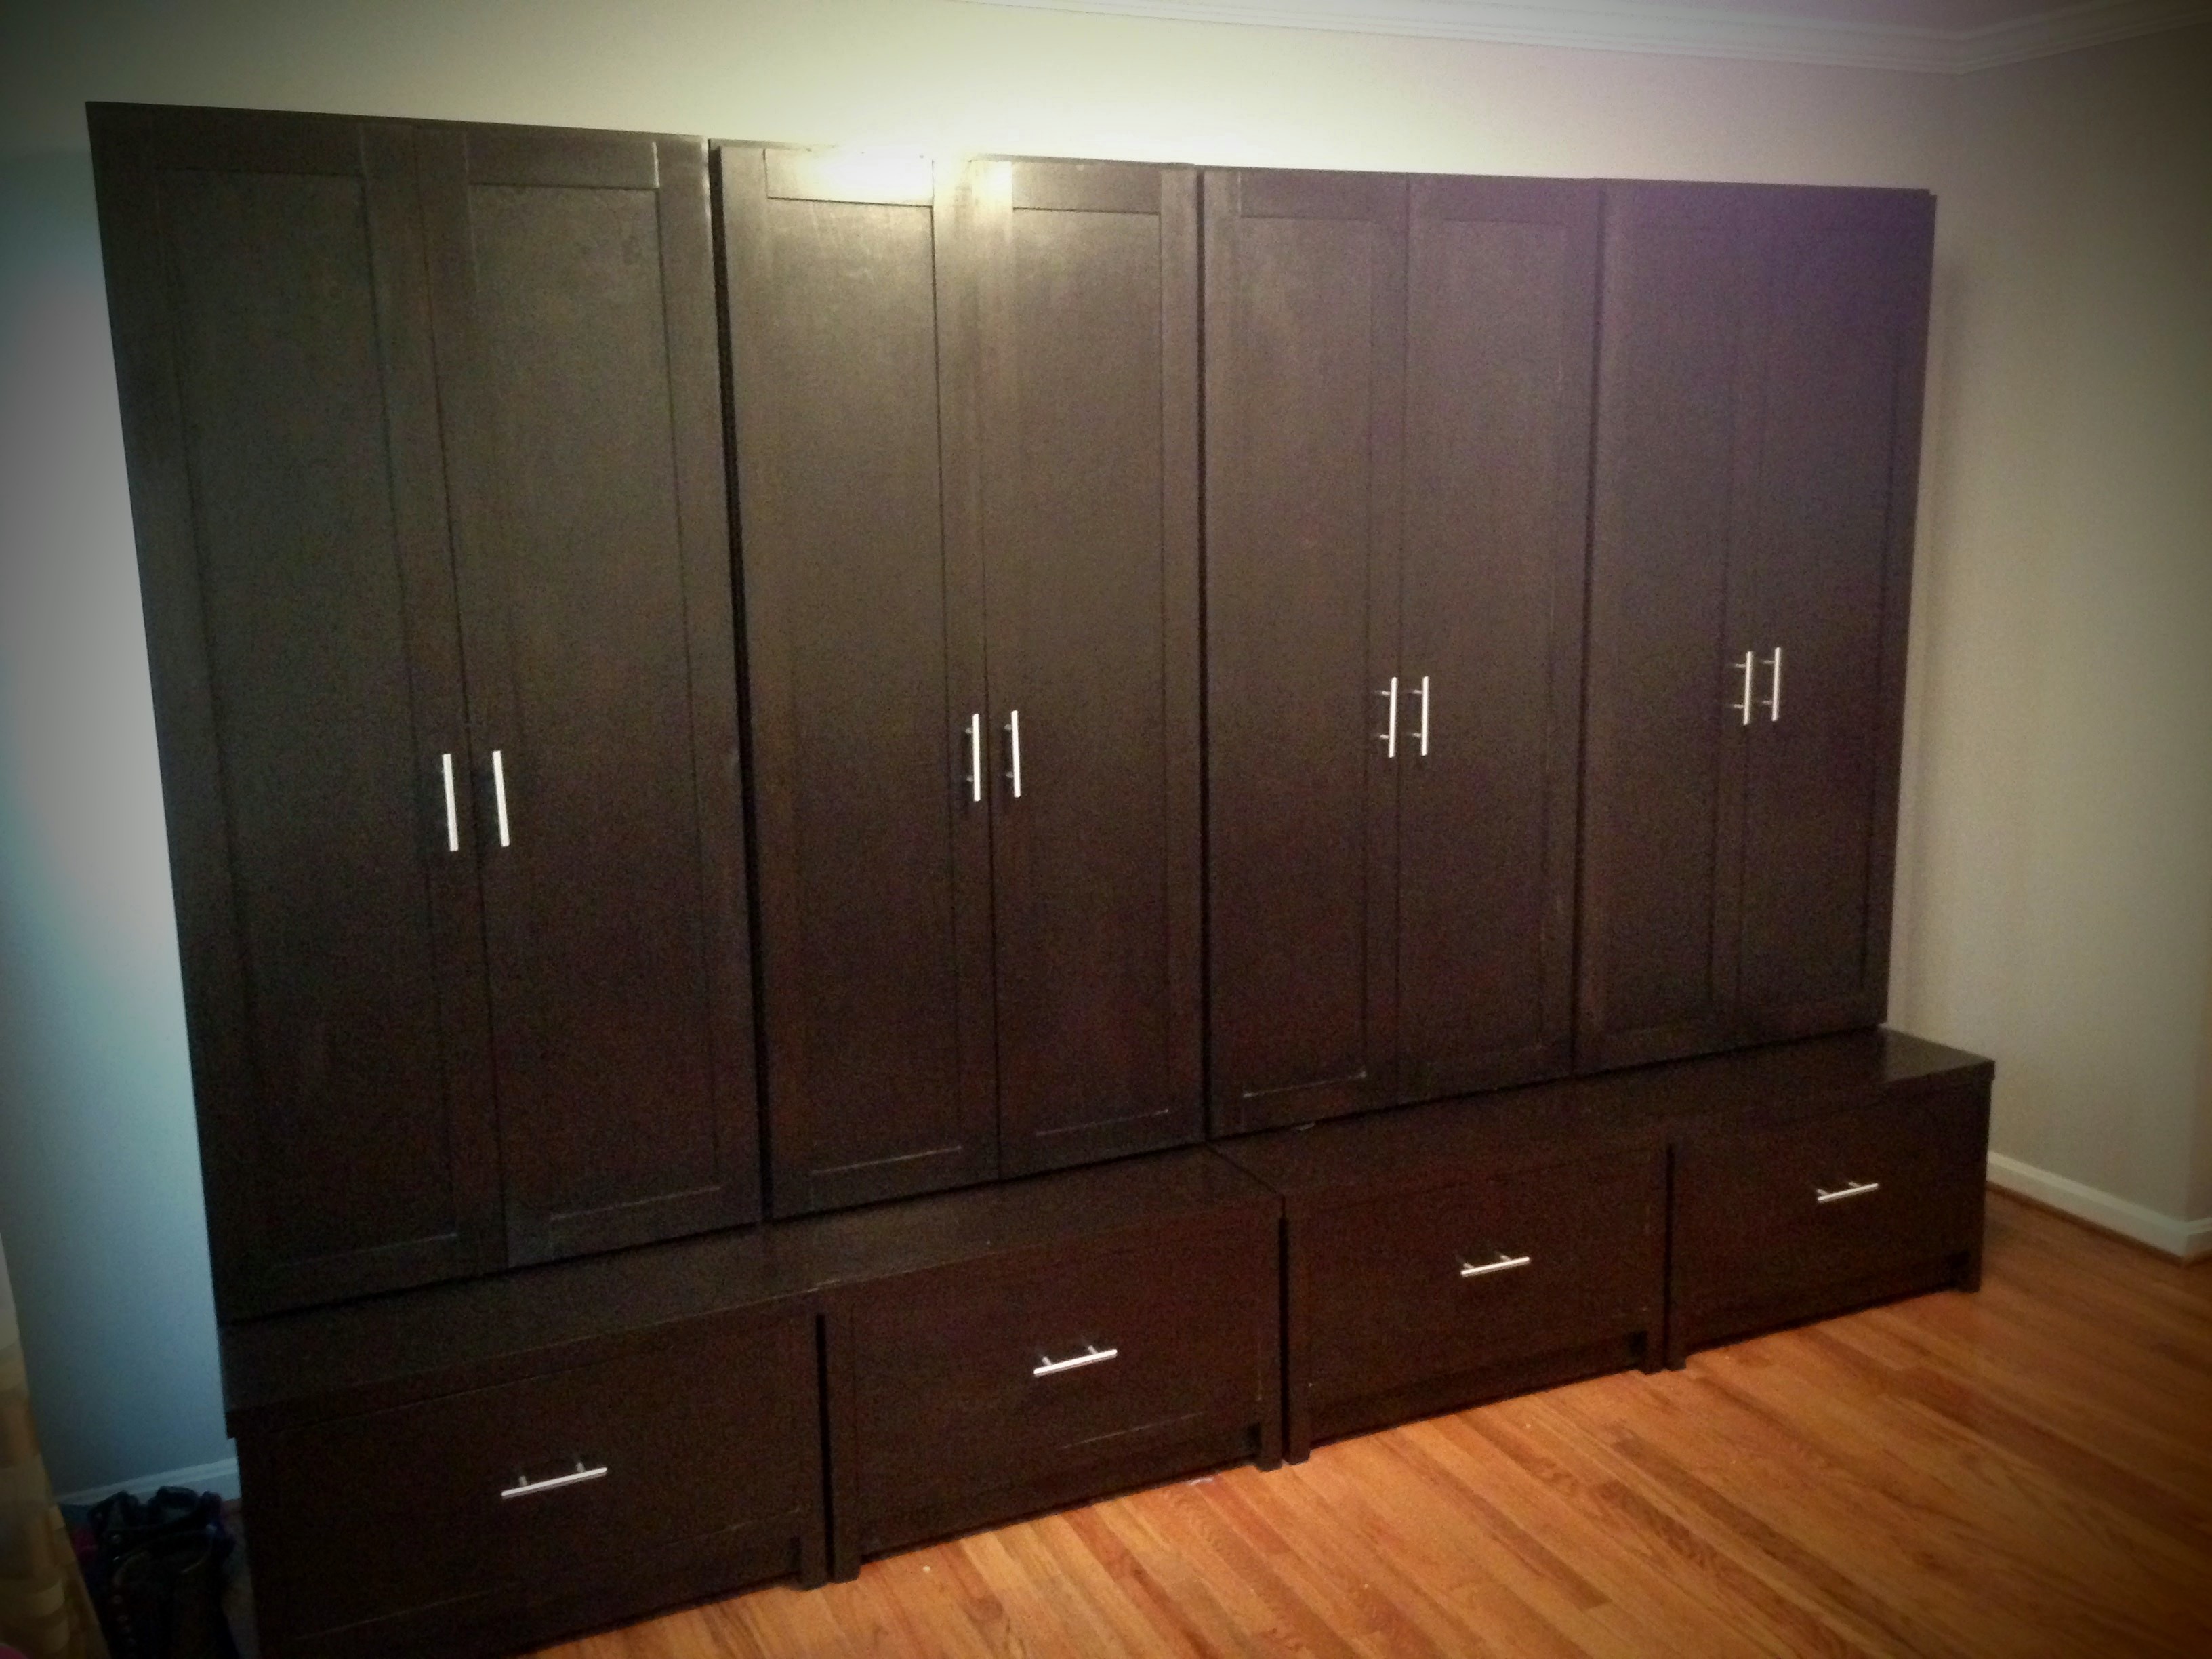
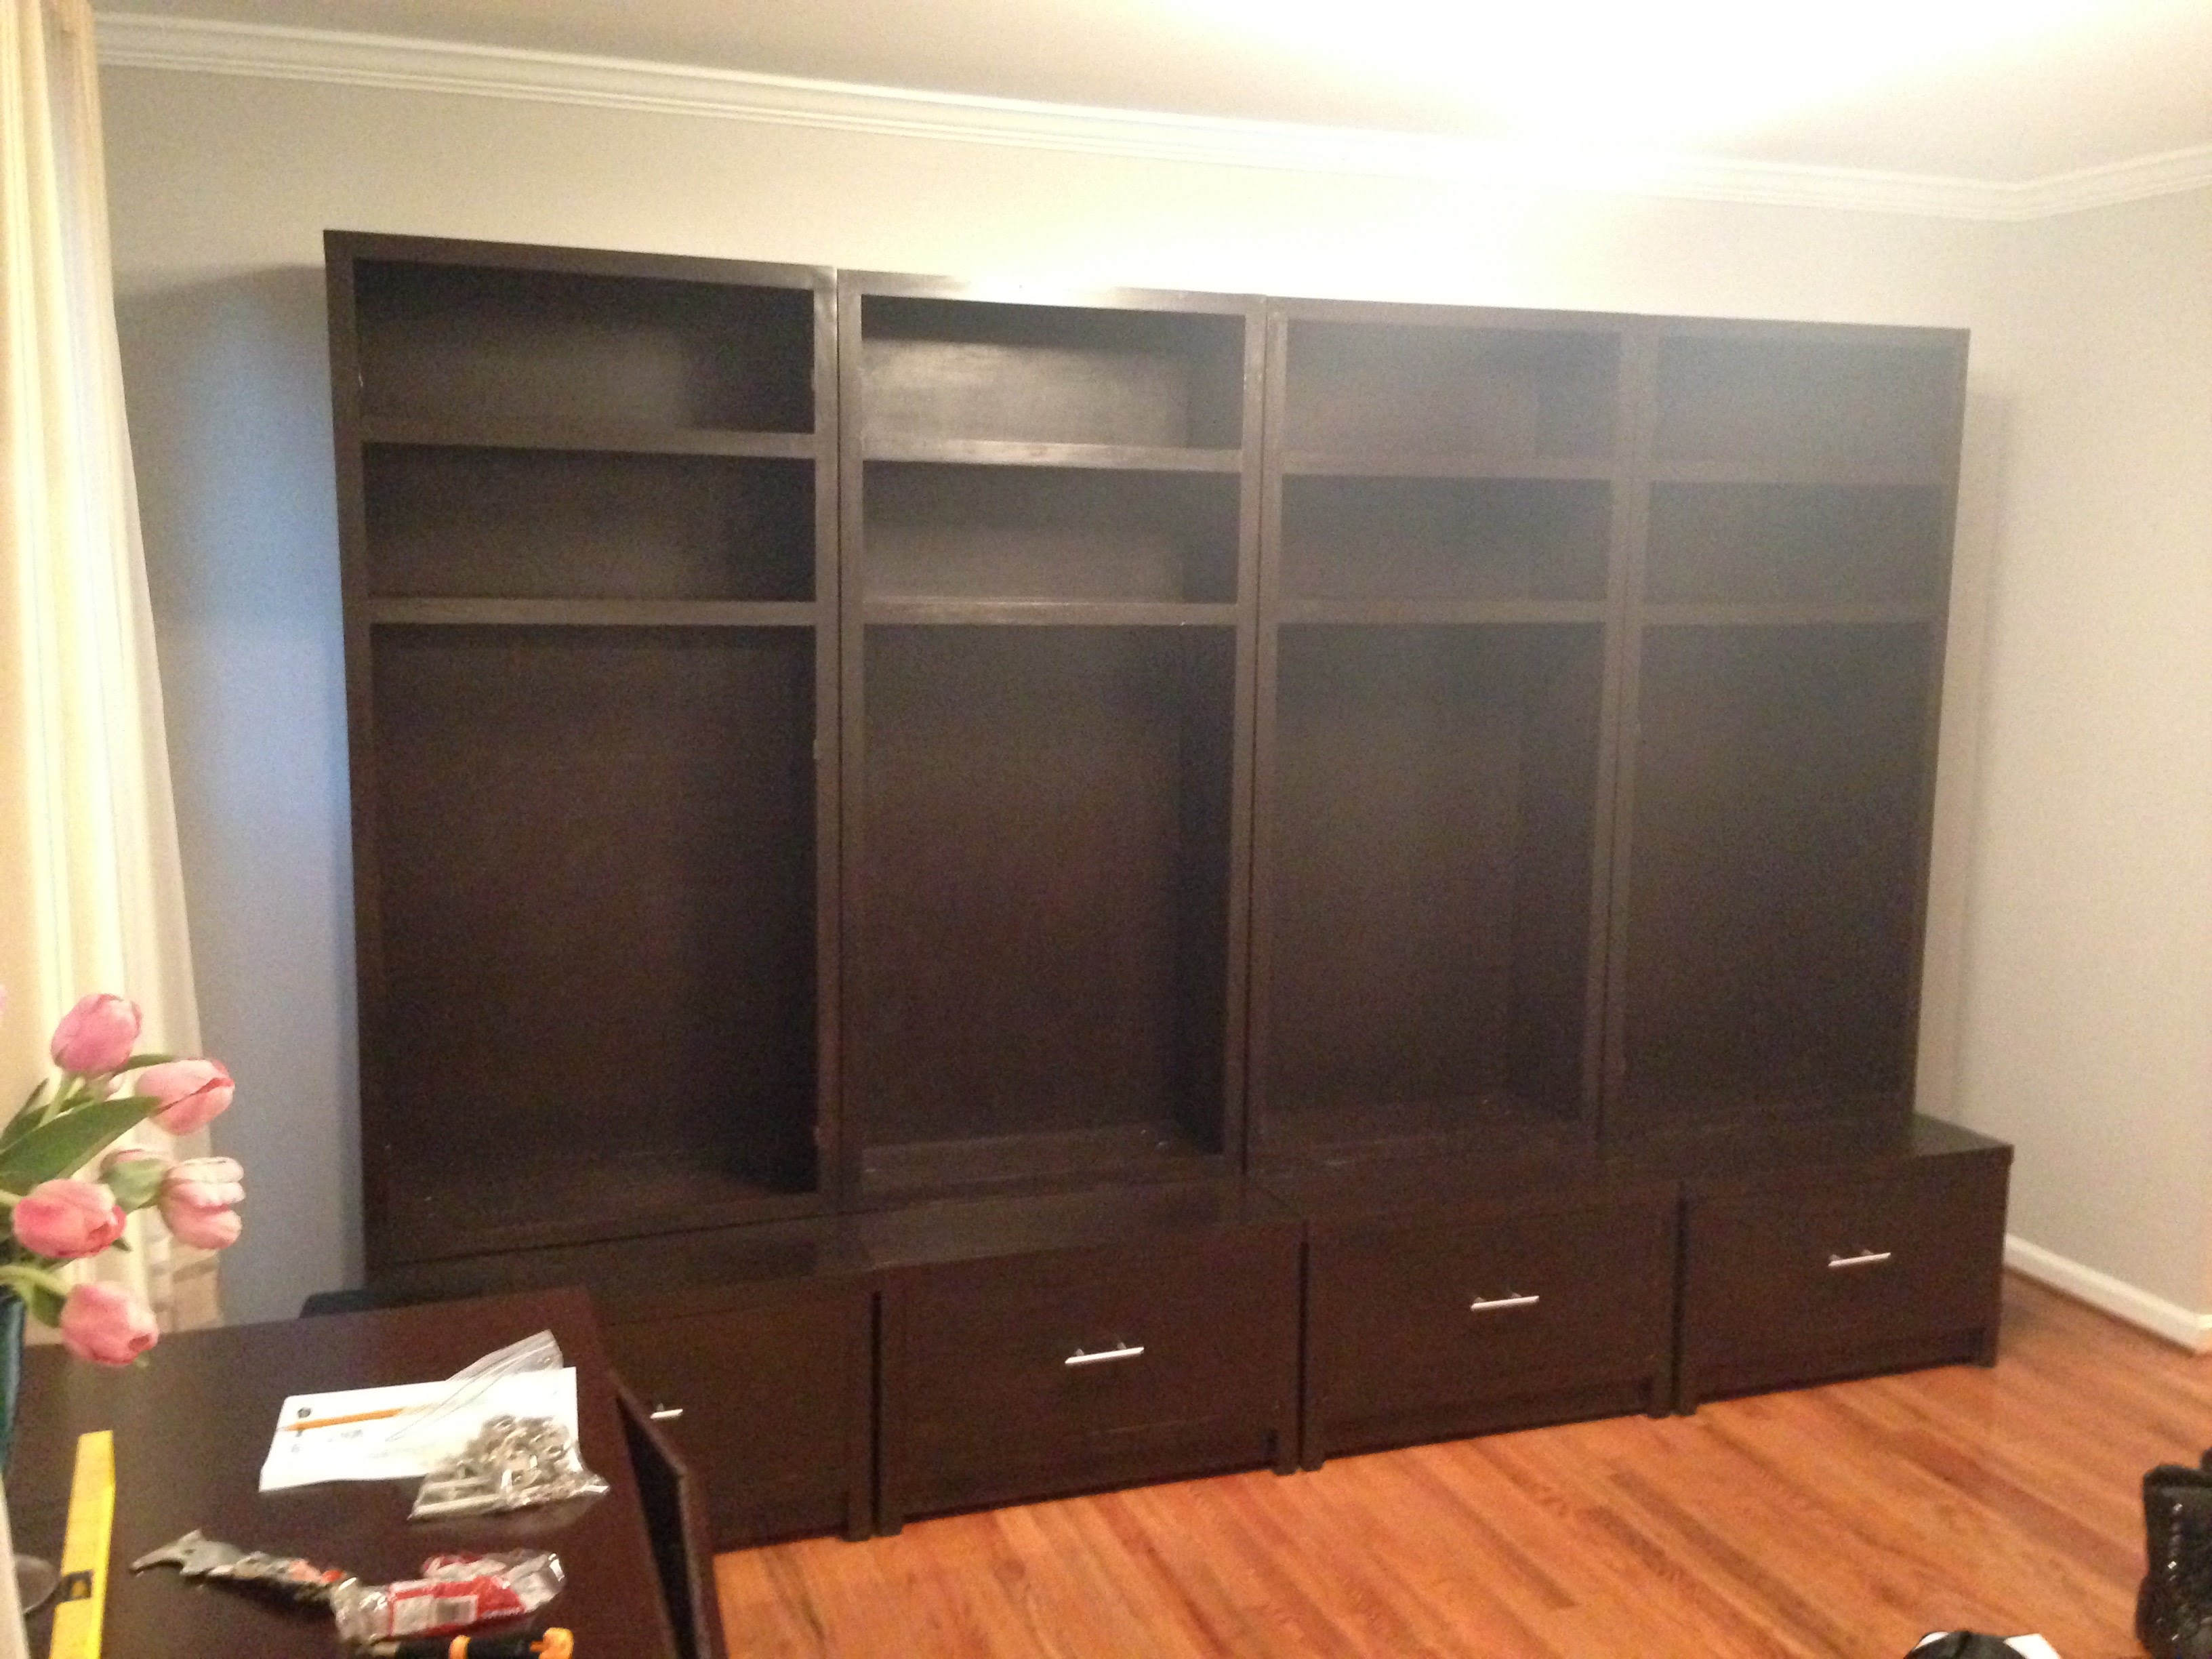
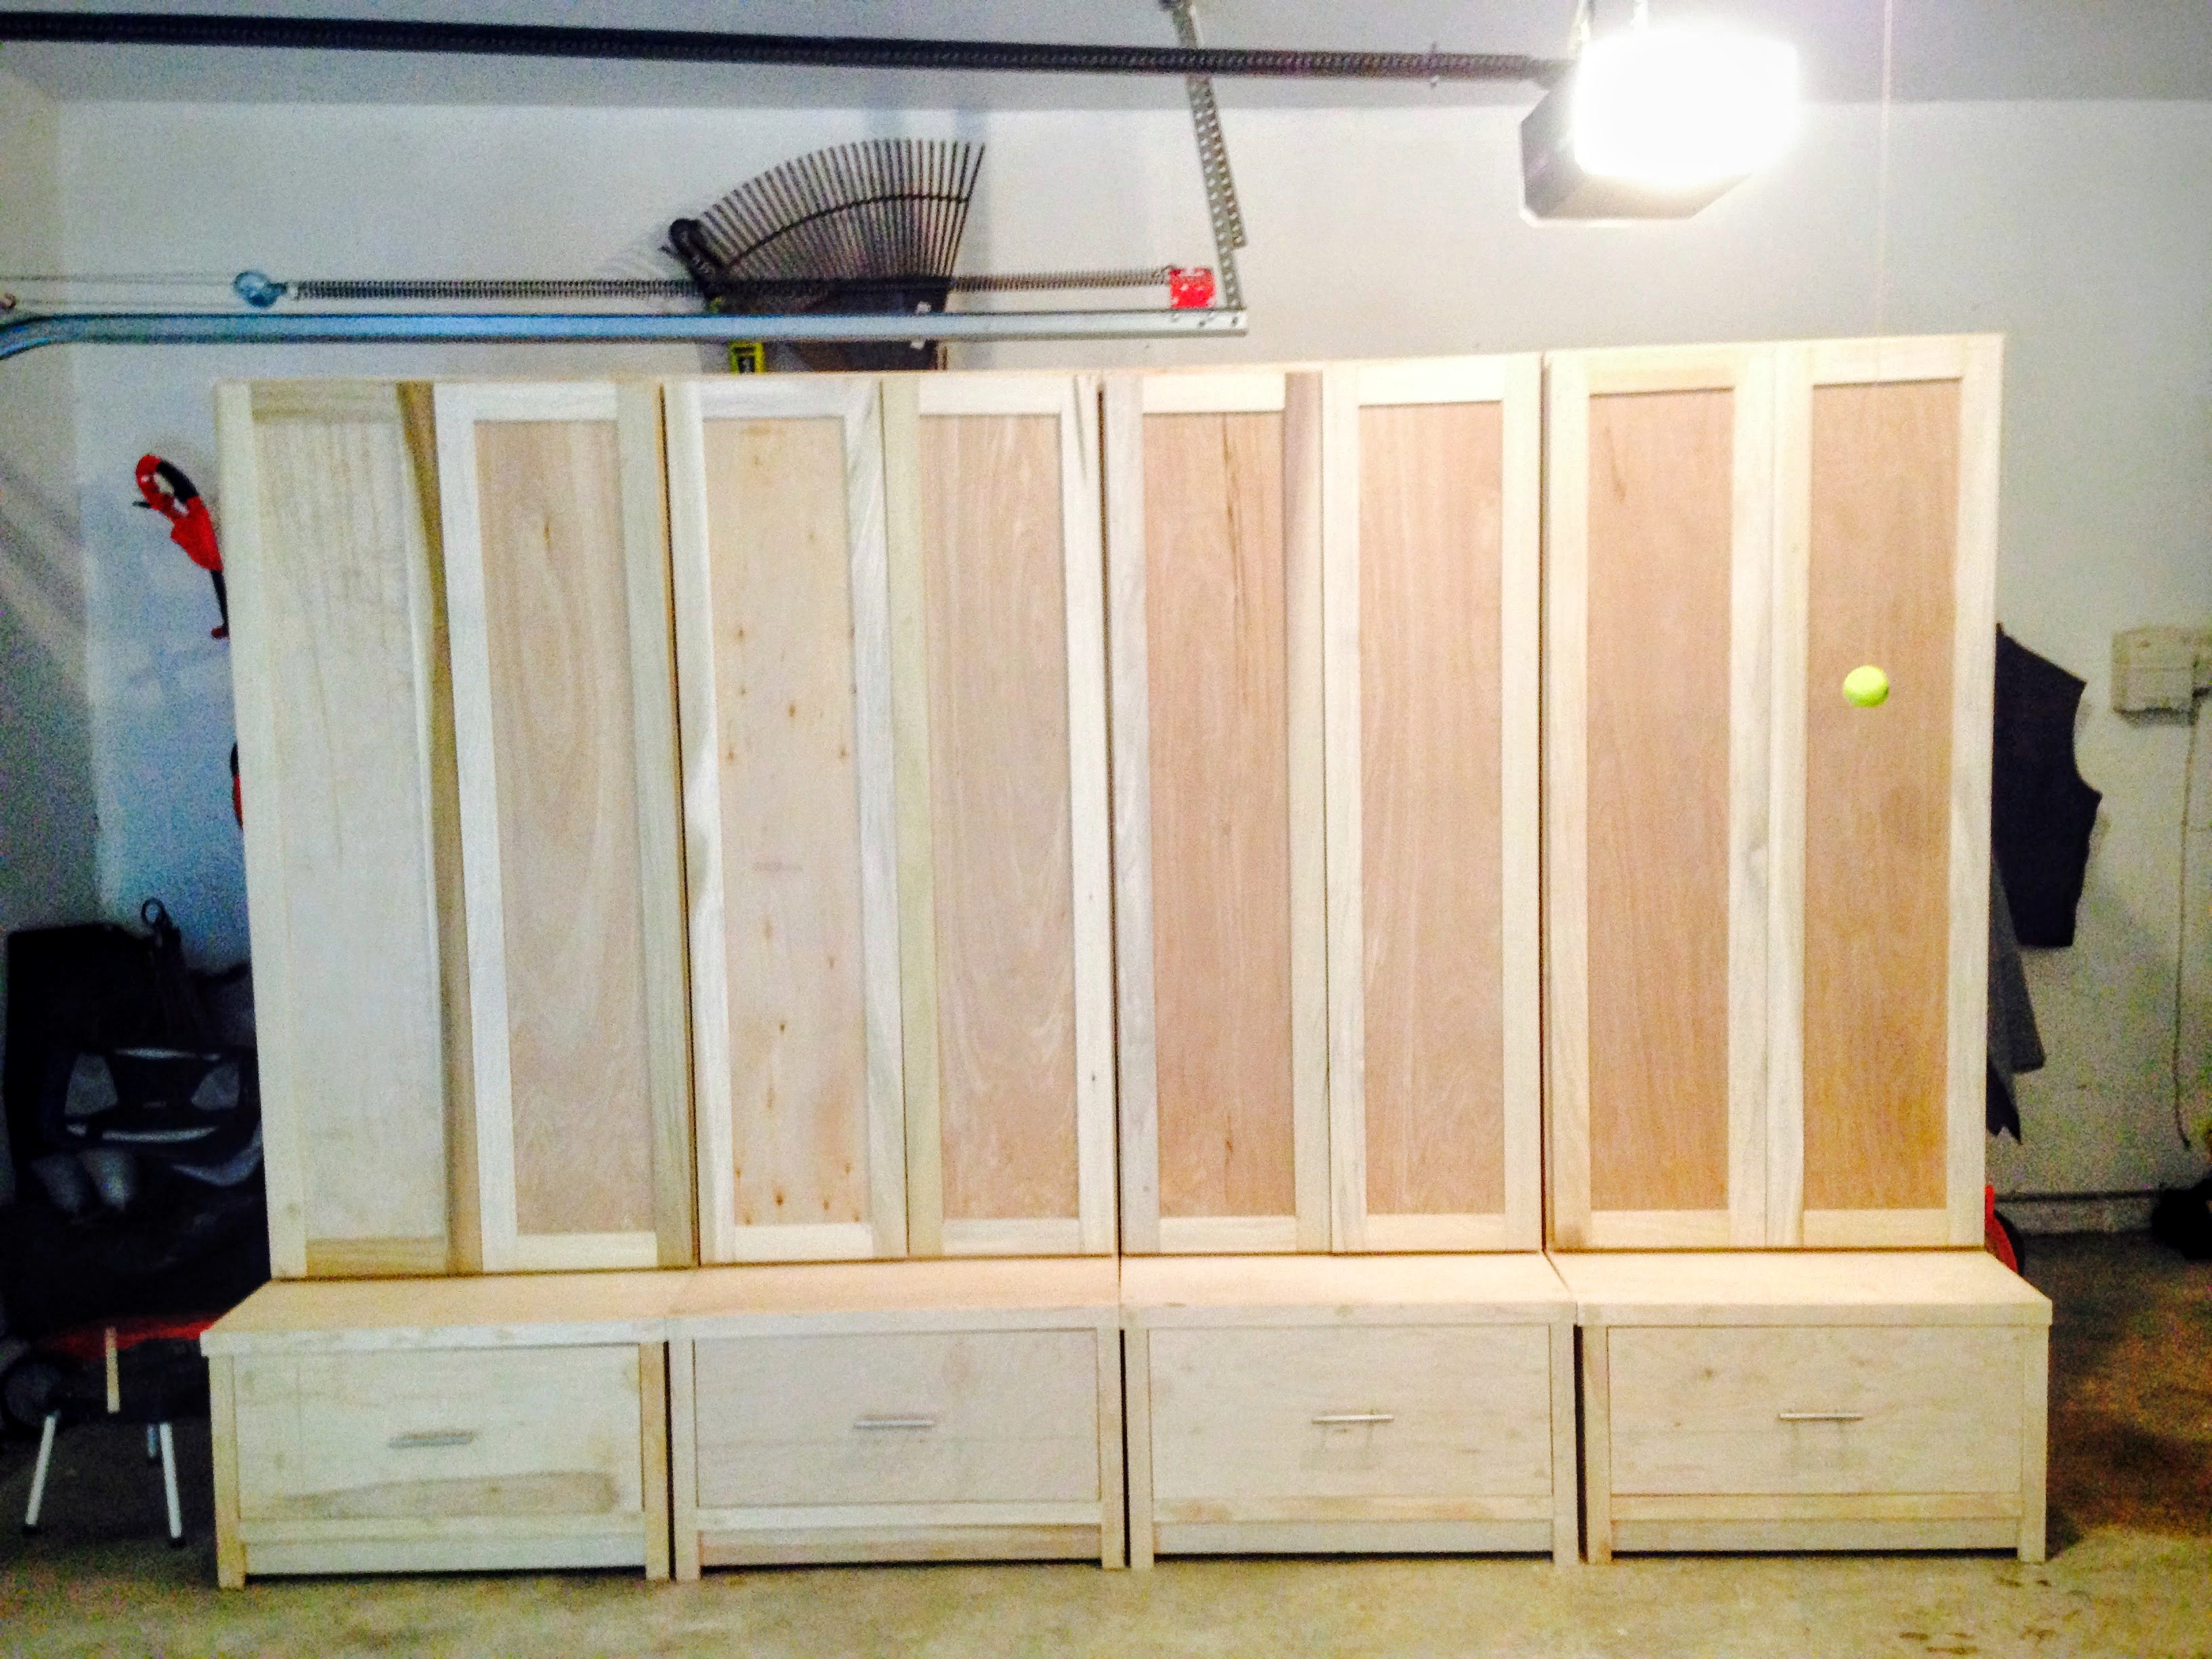
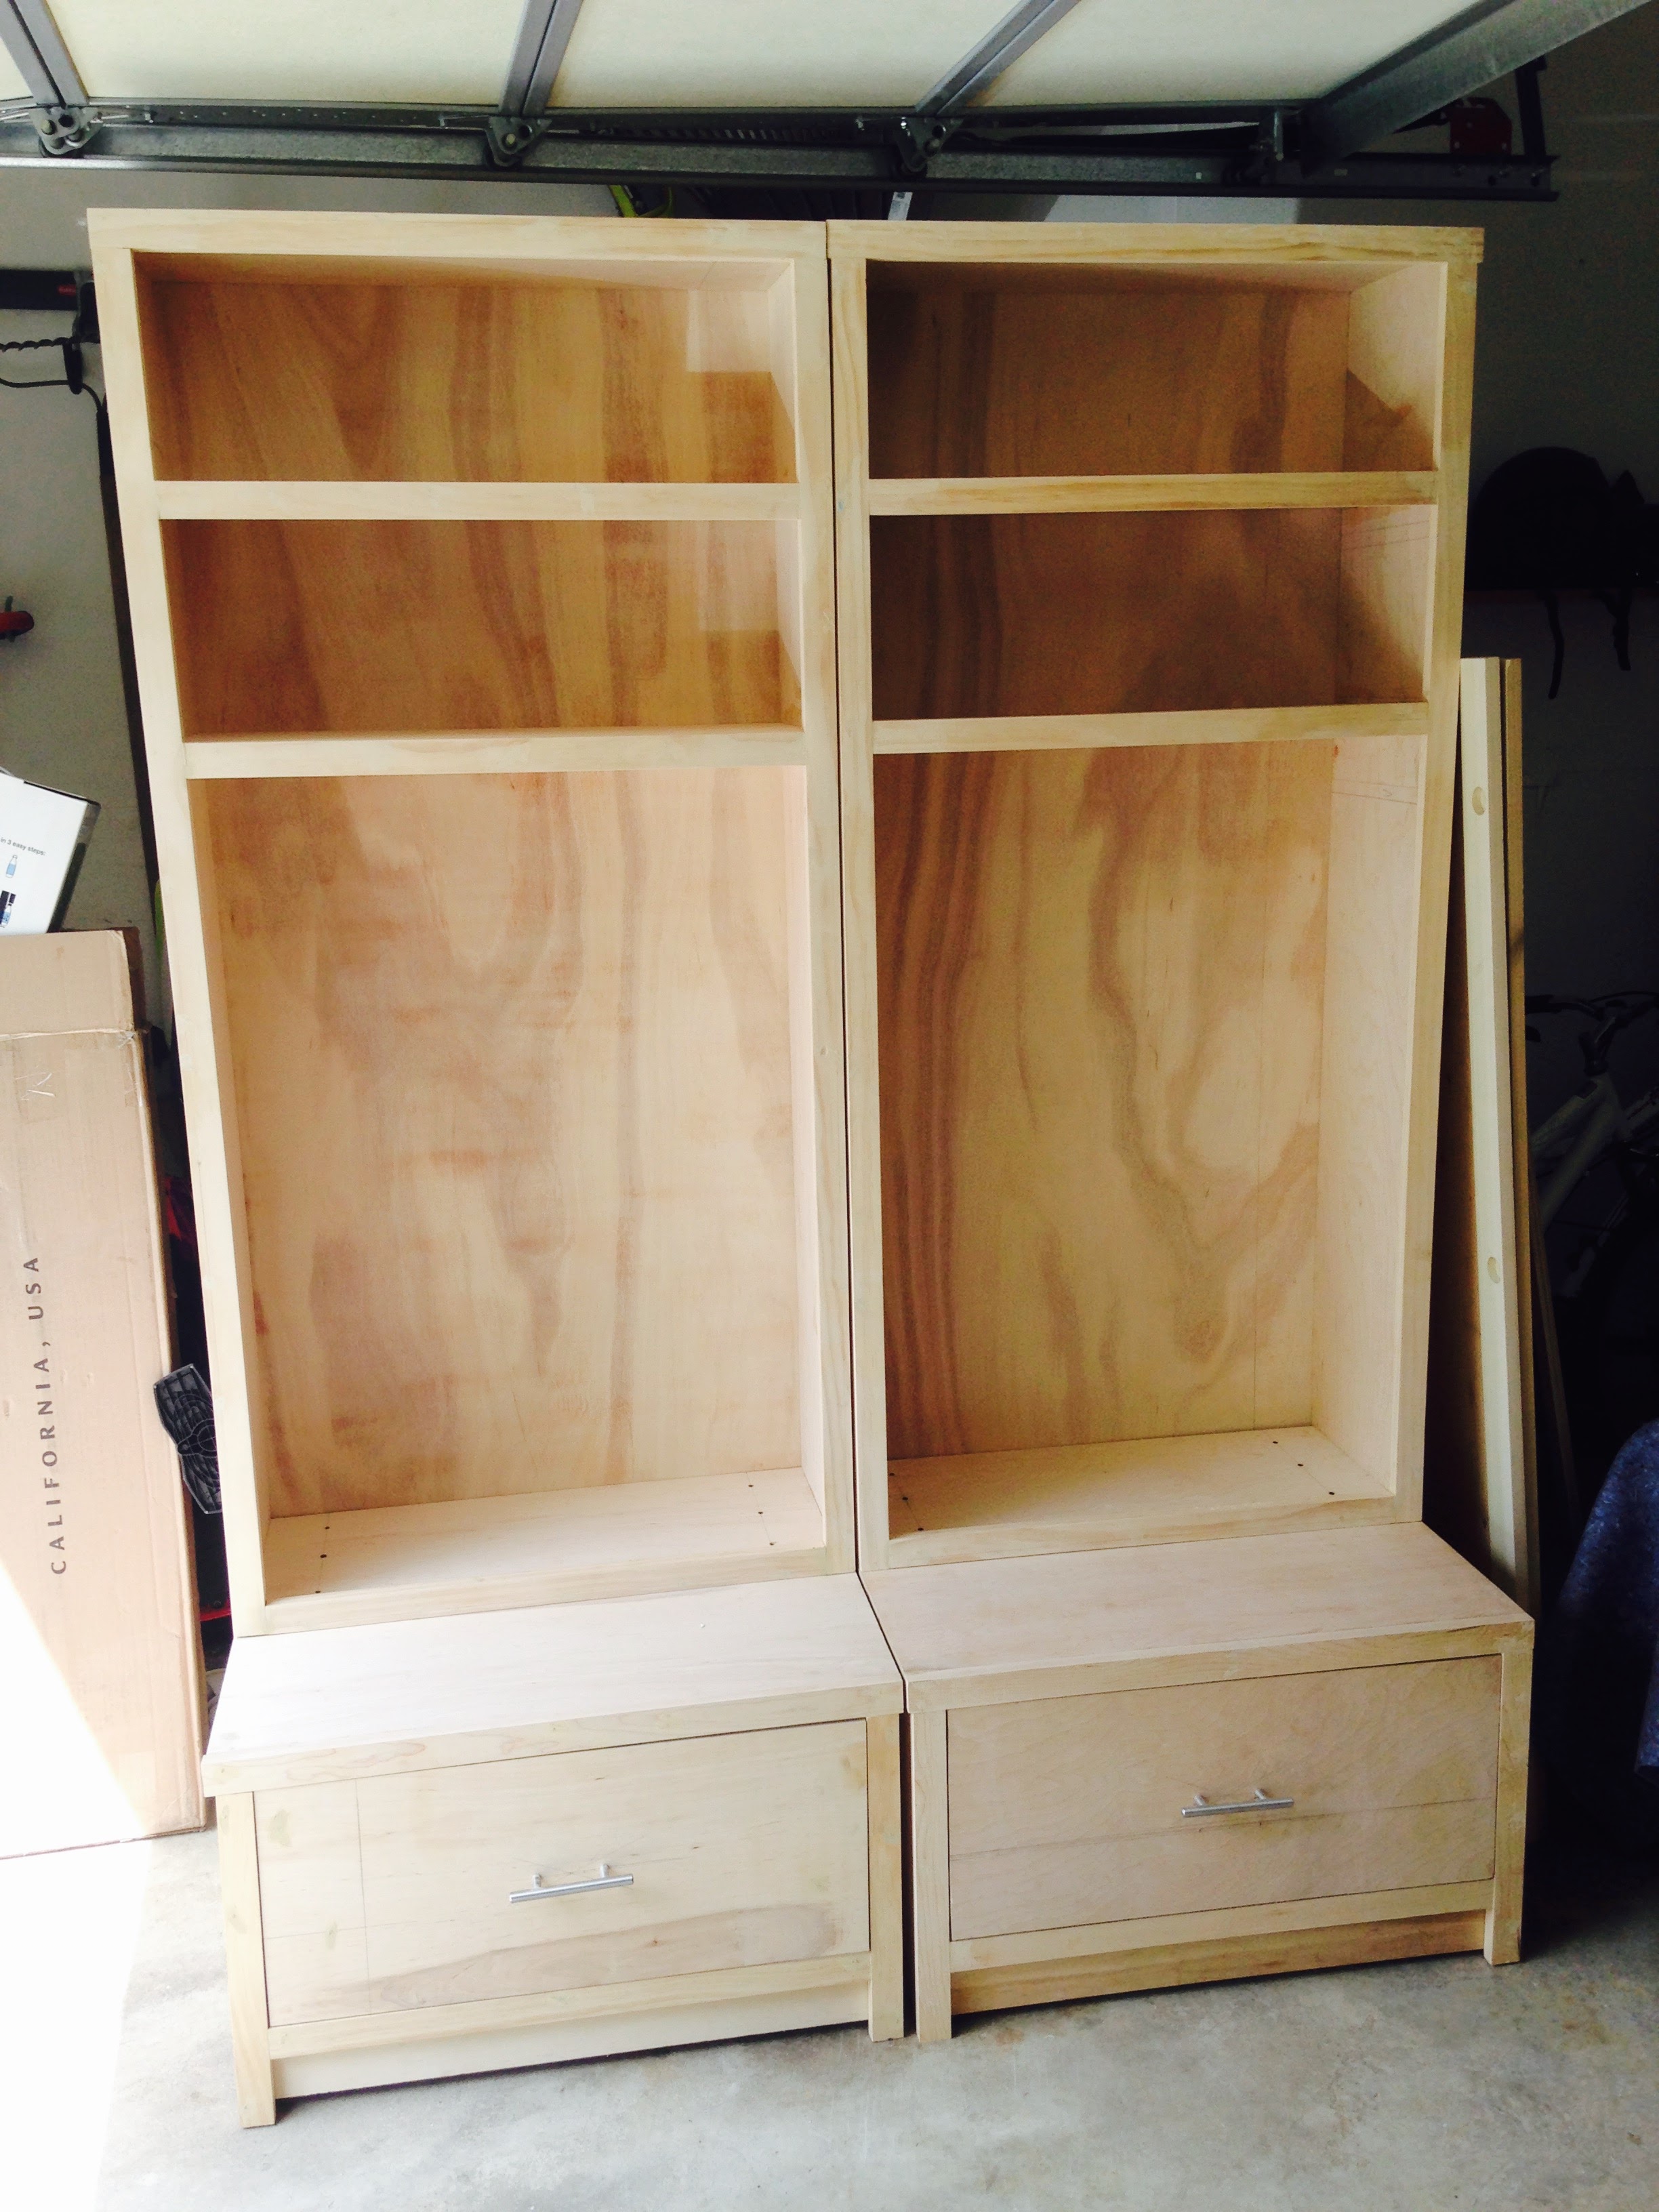
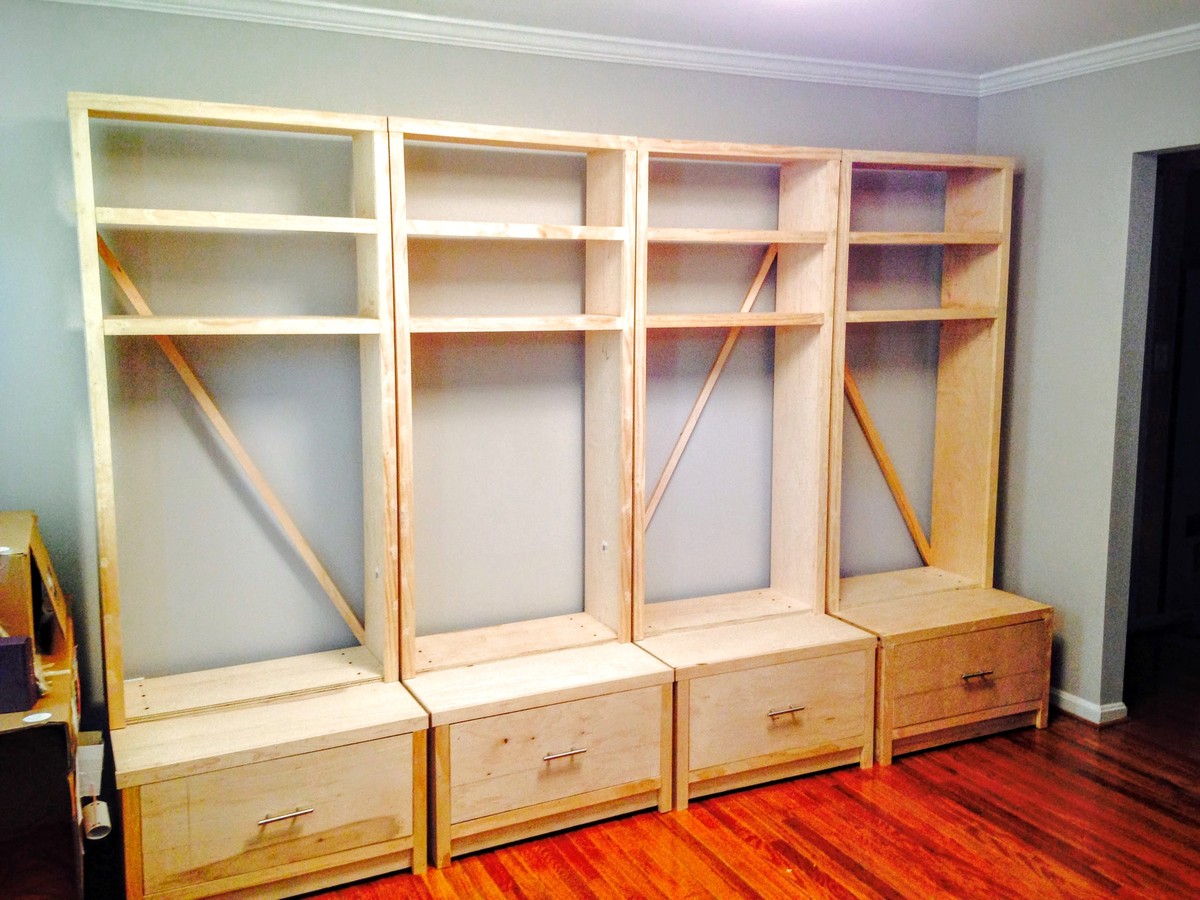
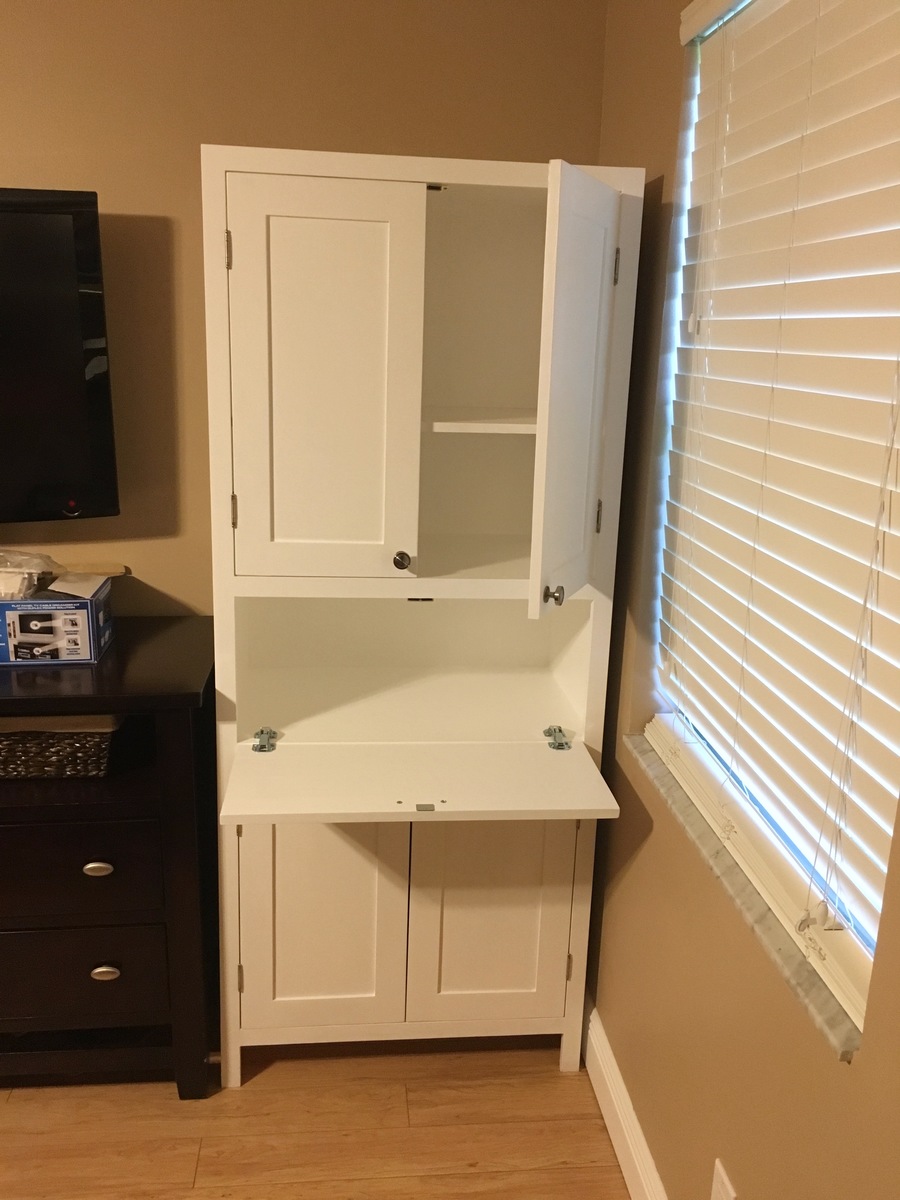
I took the plans and modified it for my family needs. We have bigger items such as instruments and such so we took out the divider. My wife really wanted doors, so we watched a few youtube videos on how to make shaker style doors. Took me a little over 2 months to finish the whole thing.
I used a six inch reveal of the shims on the head and foot board. I used a nail on the hidden shim end and glued the thick or visible end to avoid having holes. It was completed a year ago and is holding up very well.
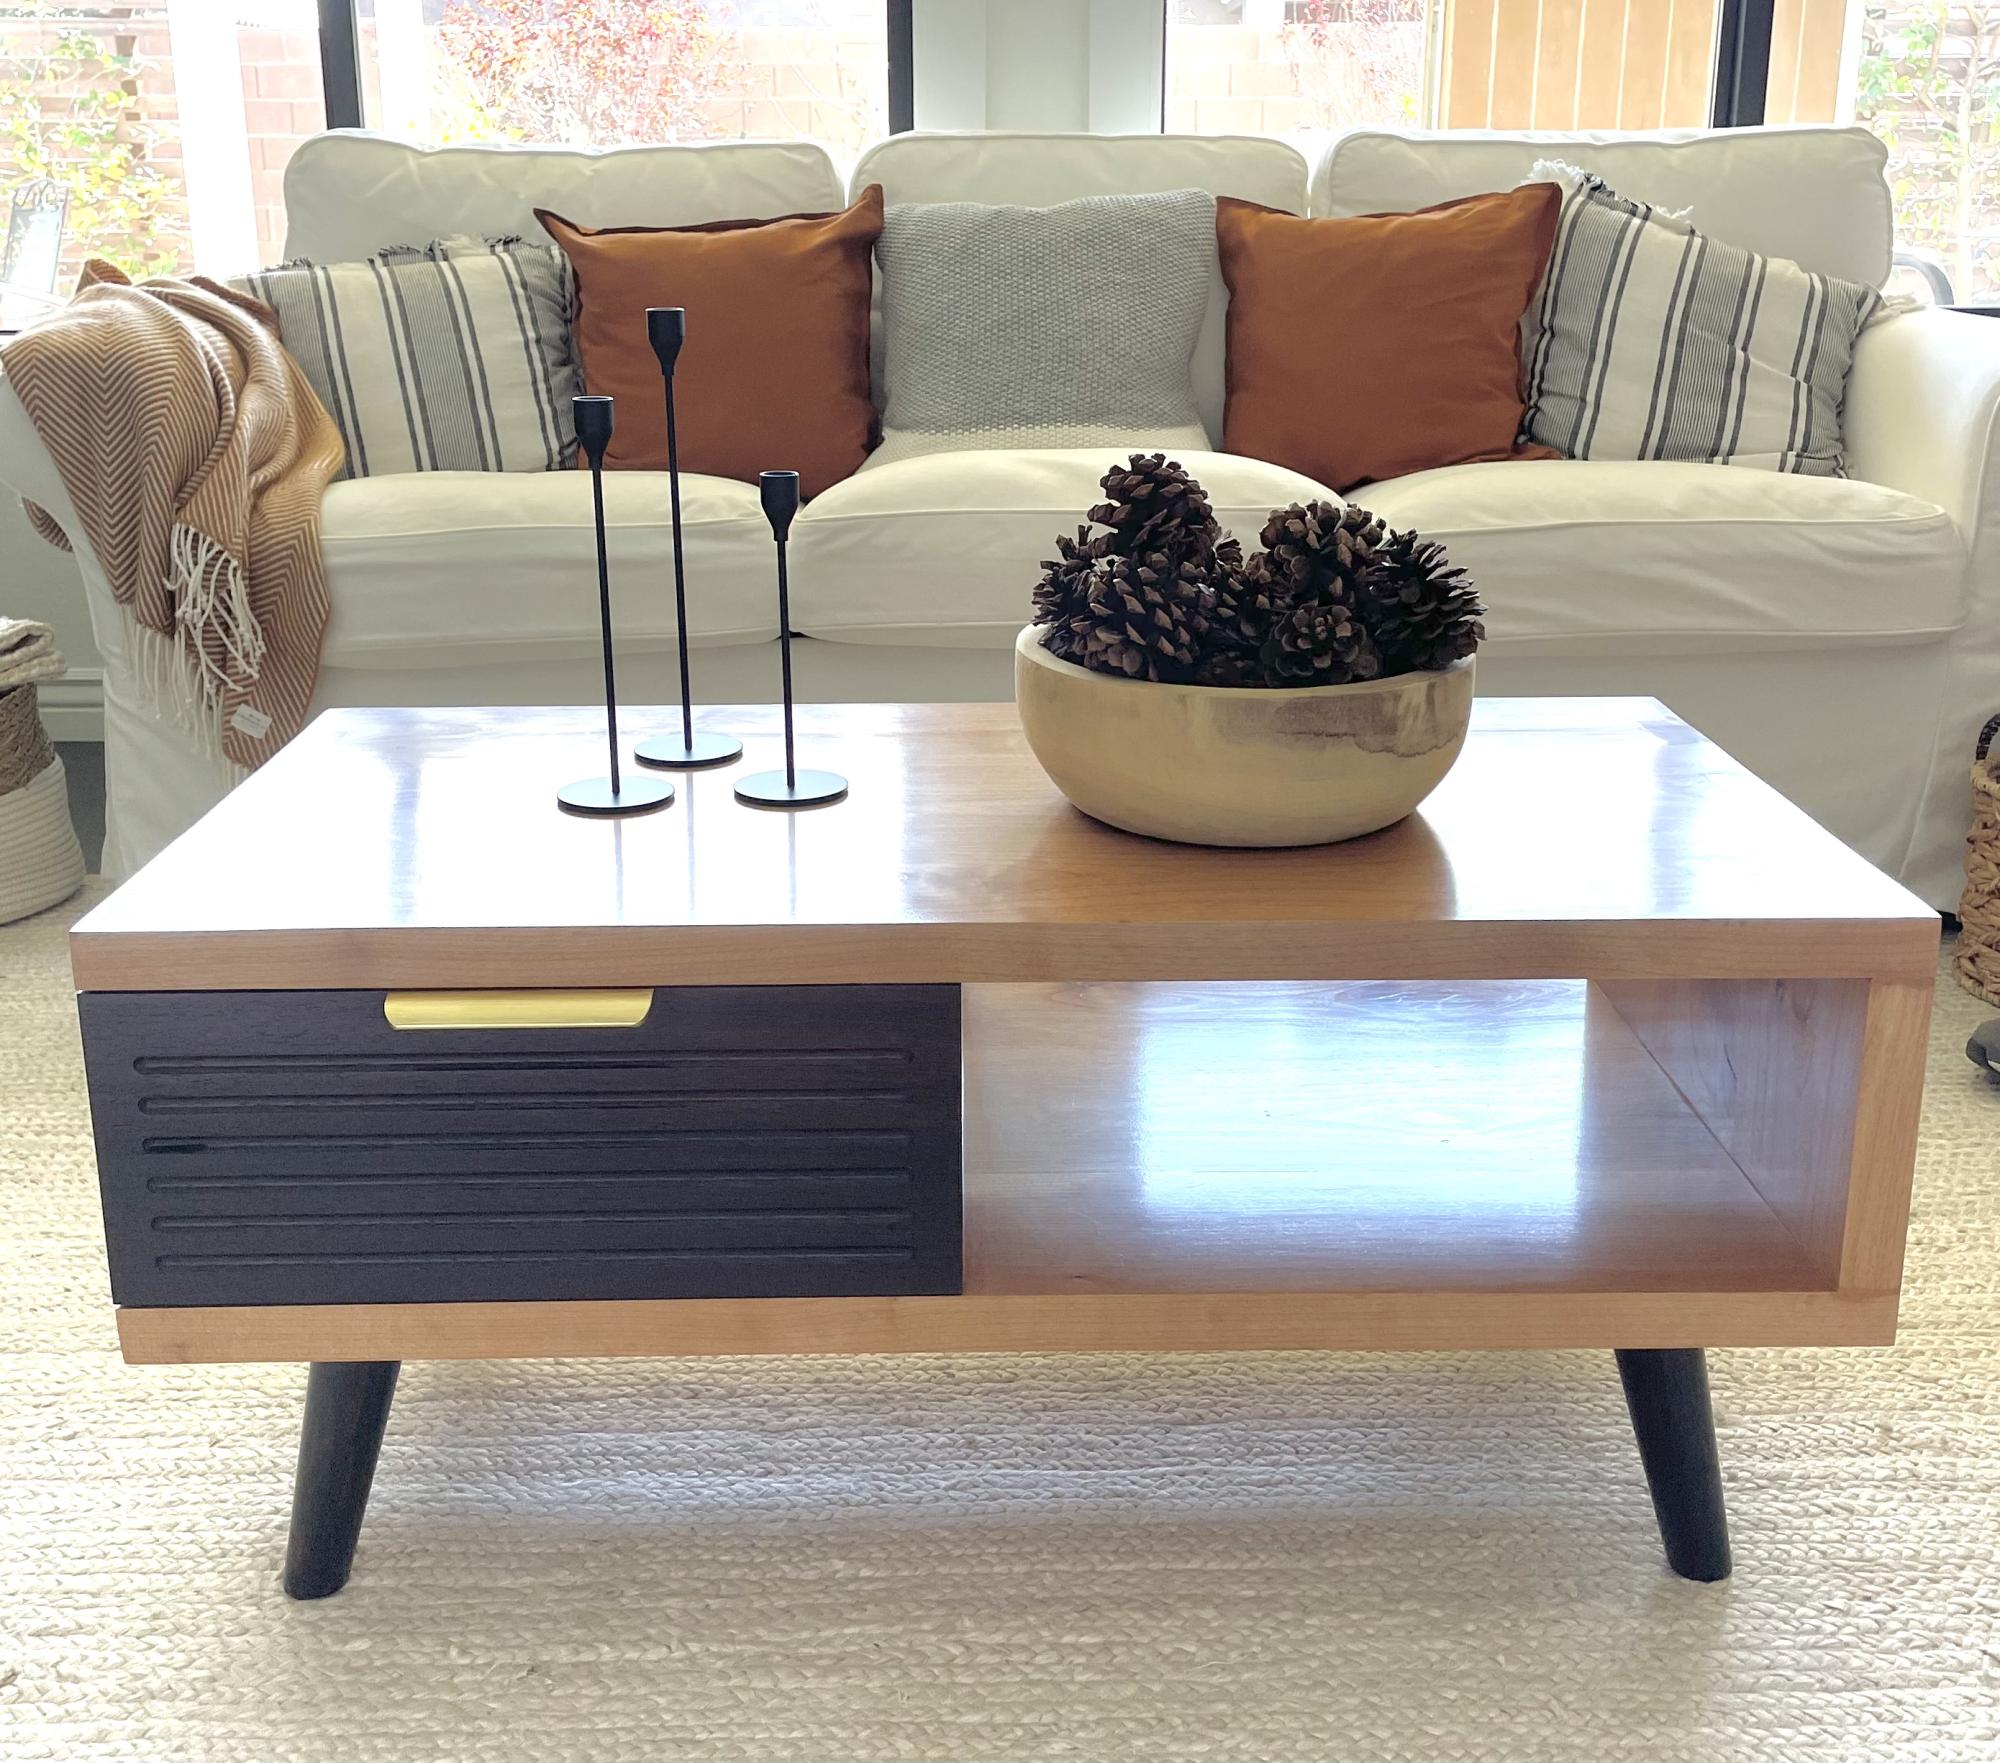
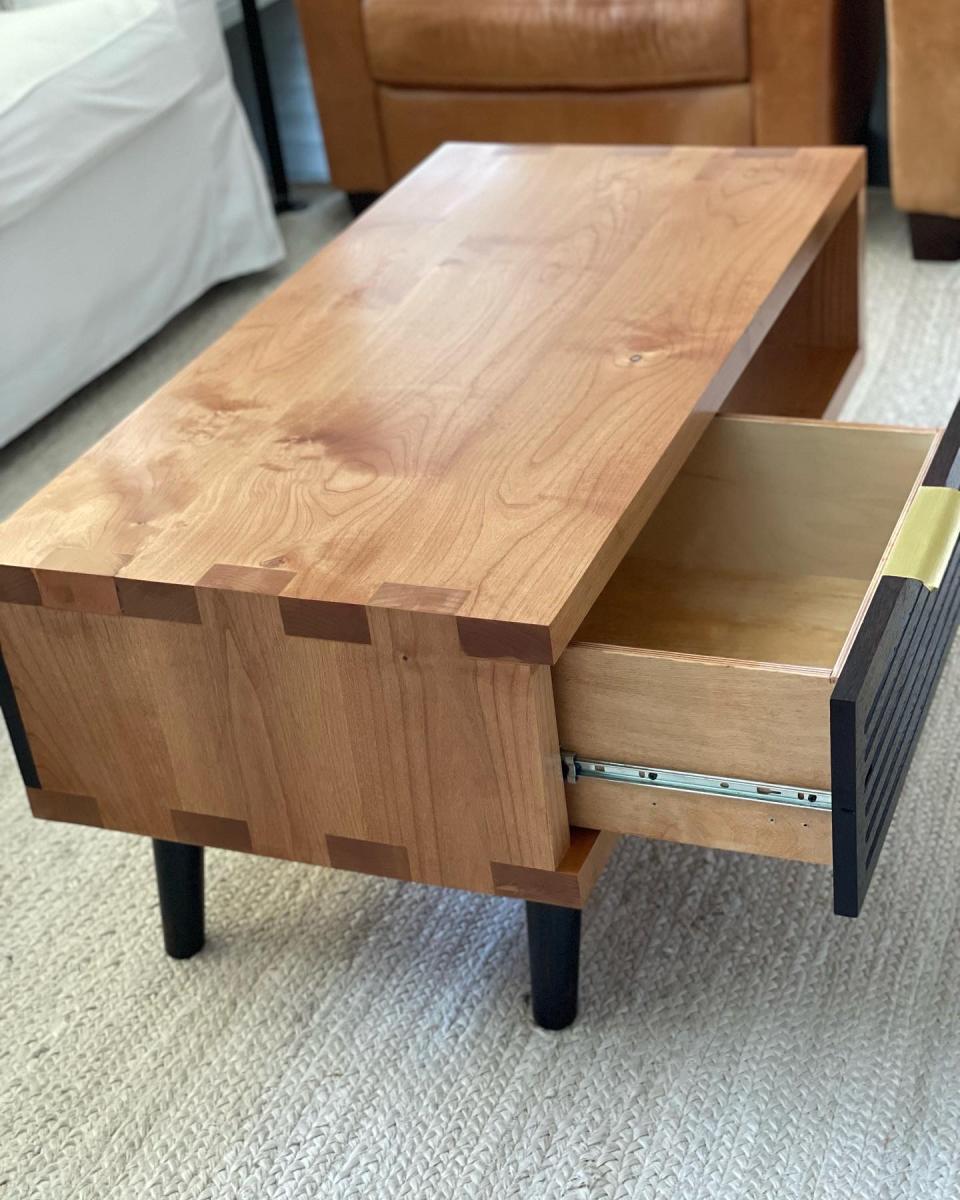
Mid-century modern alder and wenge wood coffee table. Dove tail corners, router grooved drawer.
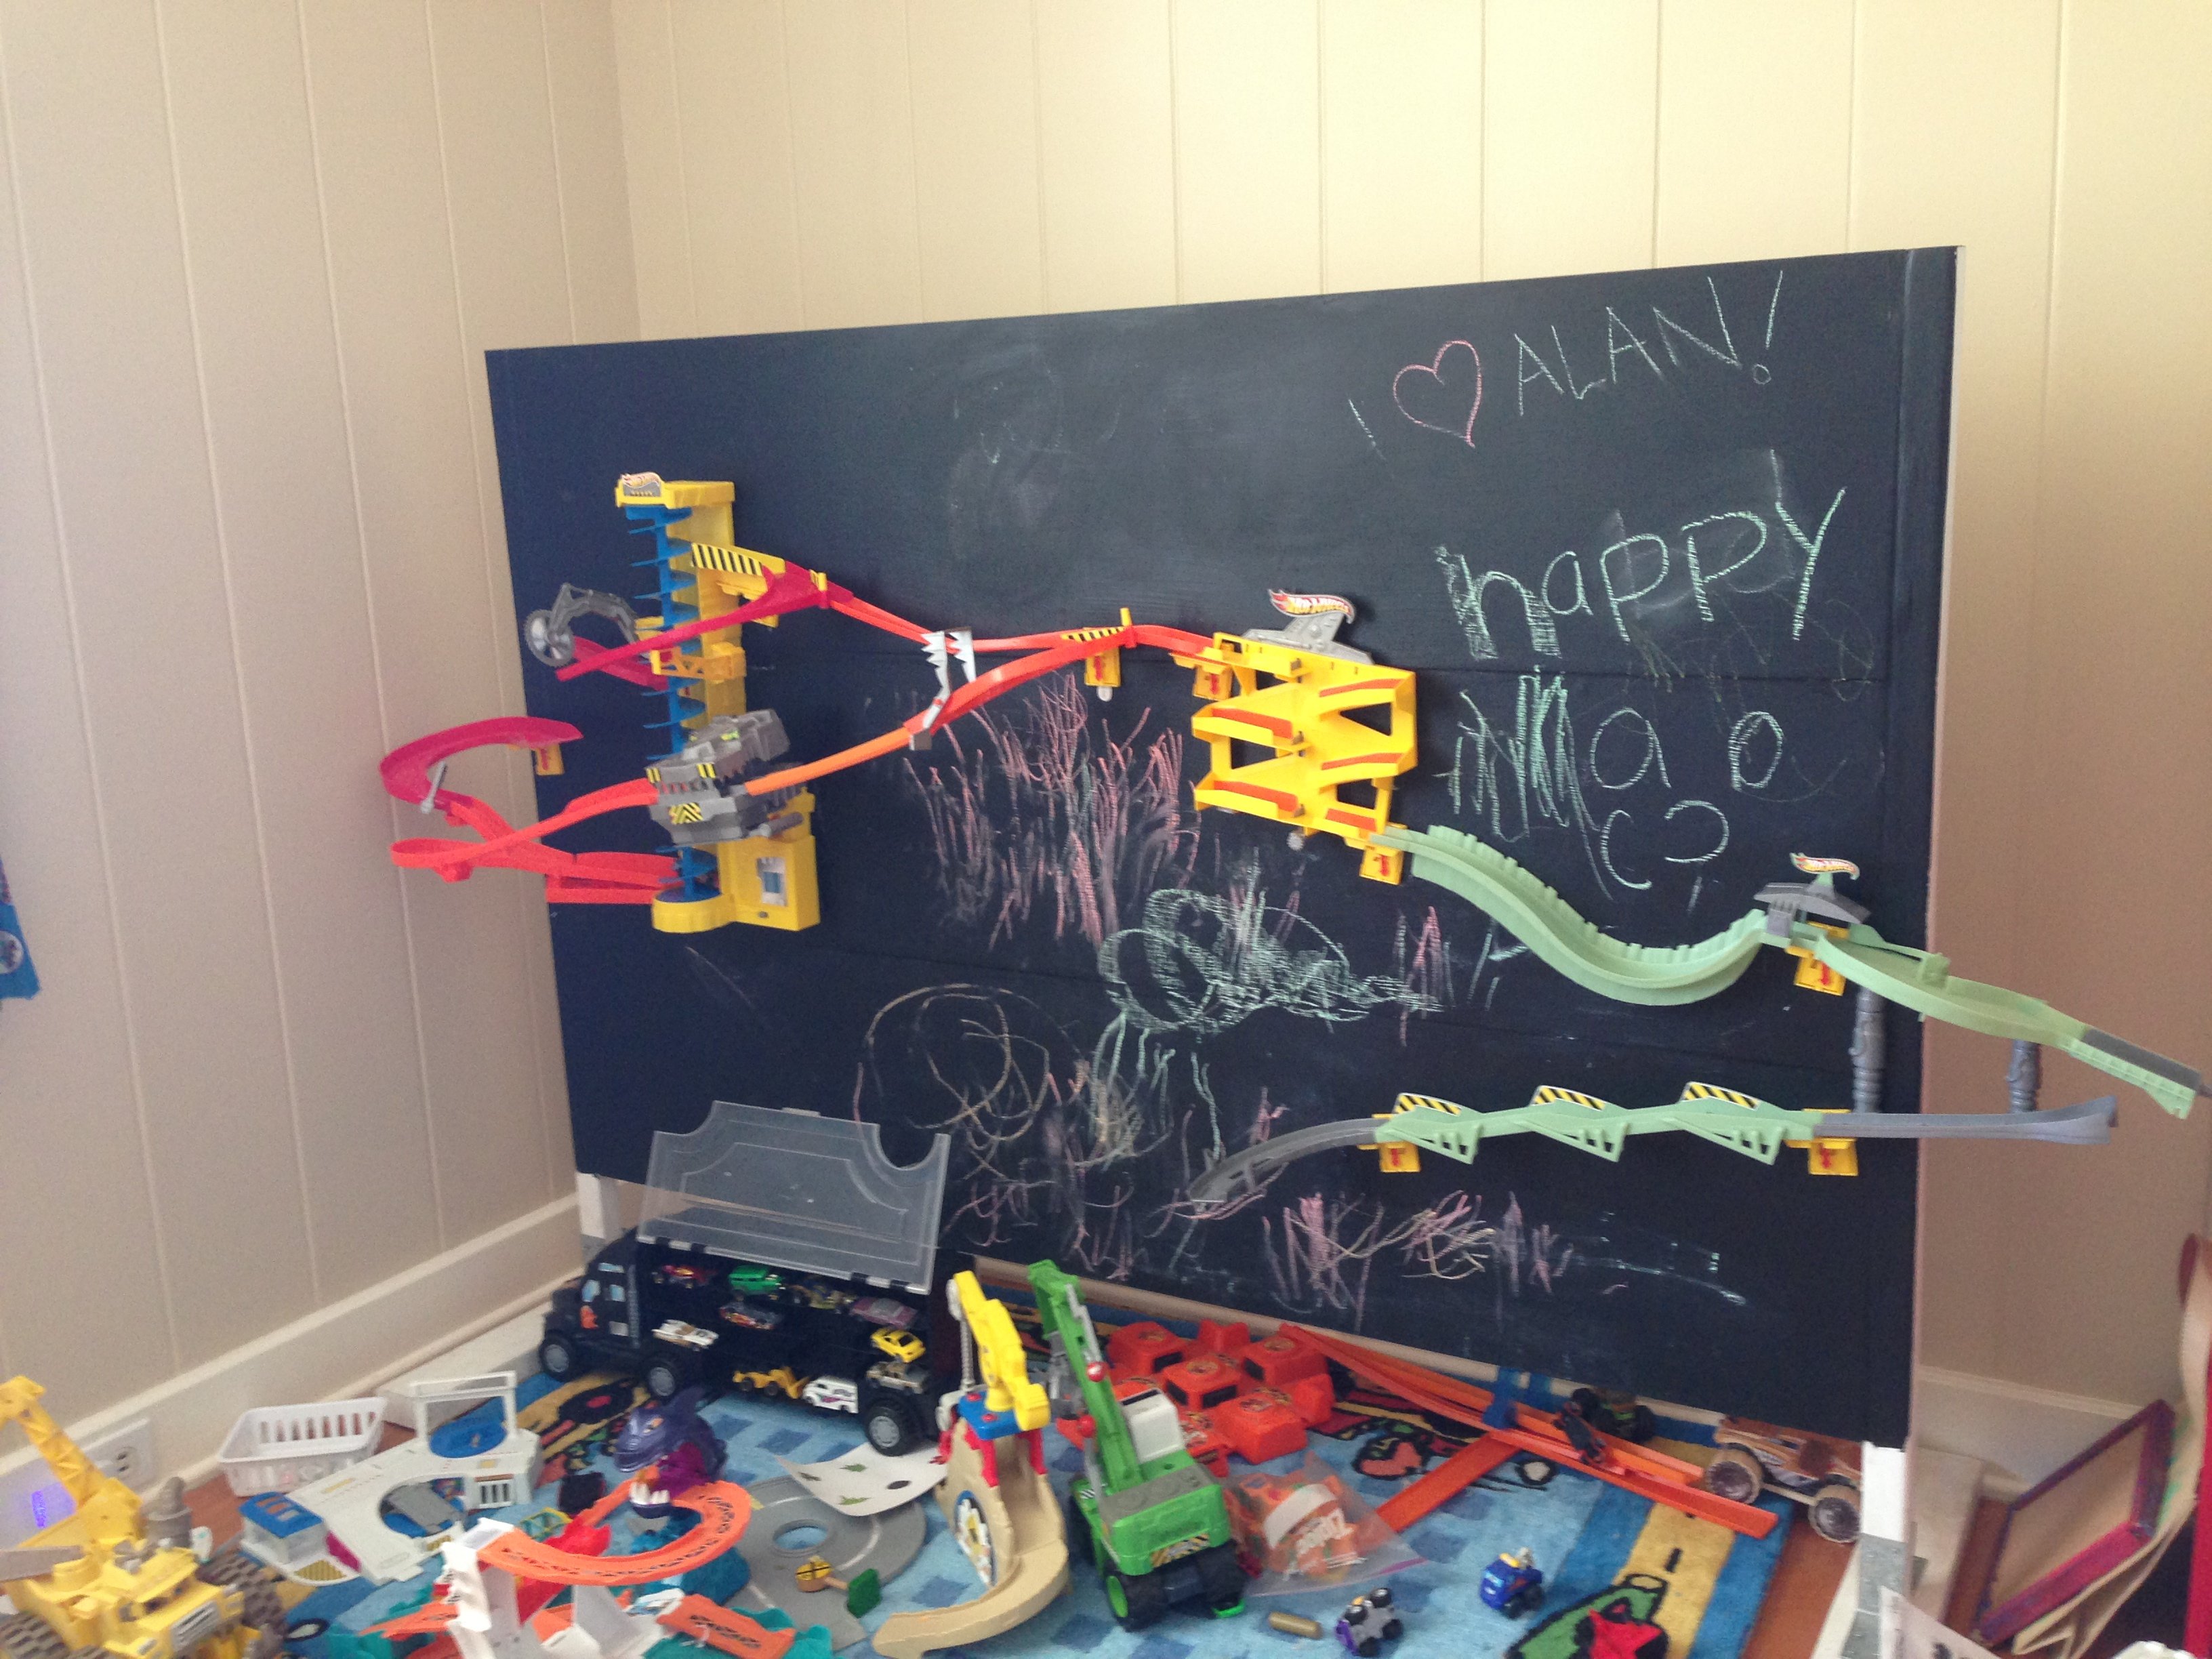
The Hot Wheels Wall Tracks are designed to stick to your wall, but ours kept falling off. My husband hates putting extra holes in the wall, so what to do? Build your own wall!
I just used 2x2s as side supports, kreg jigged 3 leftover 1x16 pieces of plywood from another project (if I were to do it over again, I would use one piece of plywood to make a smoother surface) as the wall, and screwed the 2x2s onto scrap 2x4s as the base. I added some 'L' angle pieces as supports at the bottom where the 2x2 join the 2x4s to ensure that that the sides would not start to lean over time... The overall size is about 5 feet across and about 4.5 feet high - I wanted something big enough to fit our wall track pieces on, but not too big...
We painted the wall with chalkboard paint, so we can draw on the background as desired, then mounted the various wall track components on using screws. Voila - wall tracks without messing up your wall. And, the wall is easily movable too.
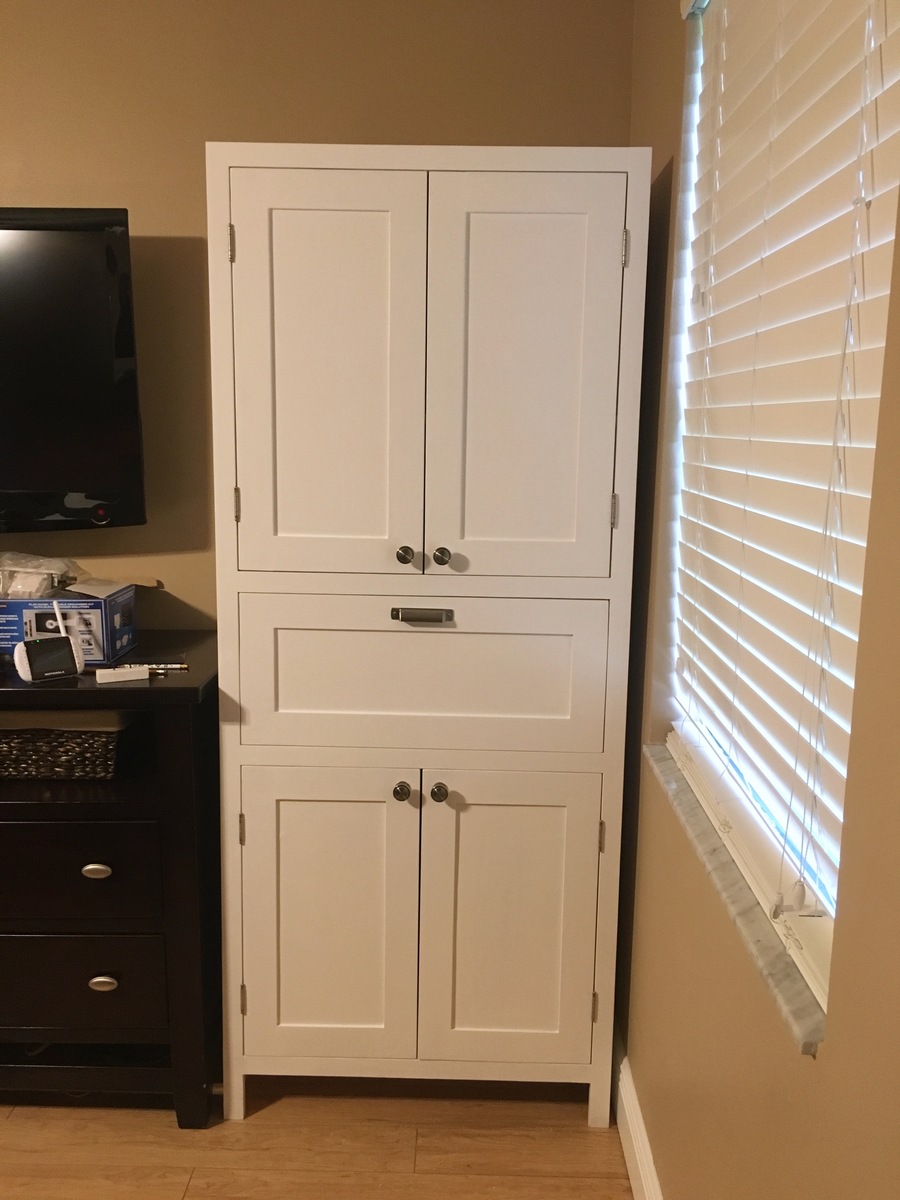
Inspired by the Tall Secretary with mail slots but with my own twist/needs incorporated in it. Finished with pure white satin paint.
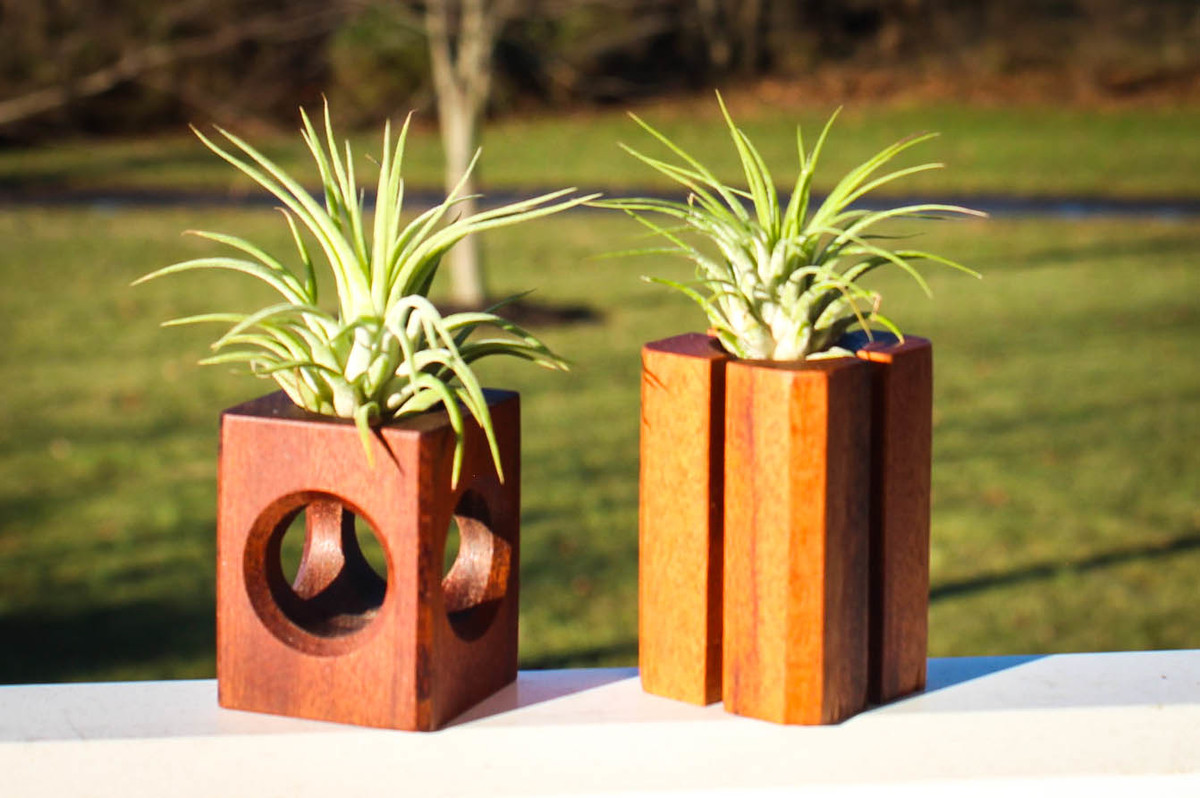
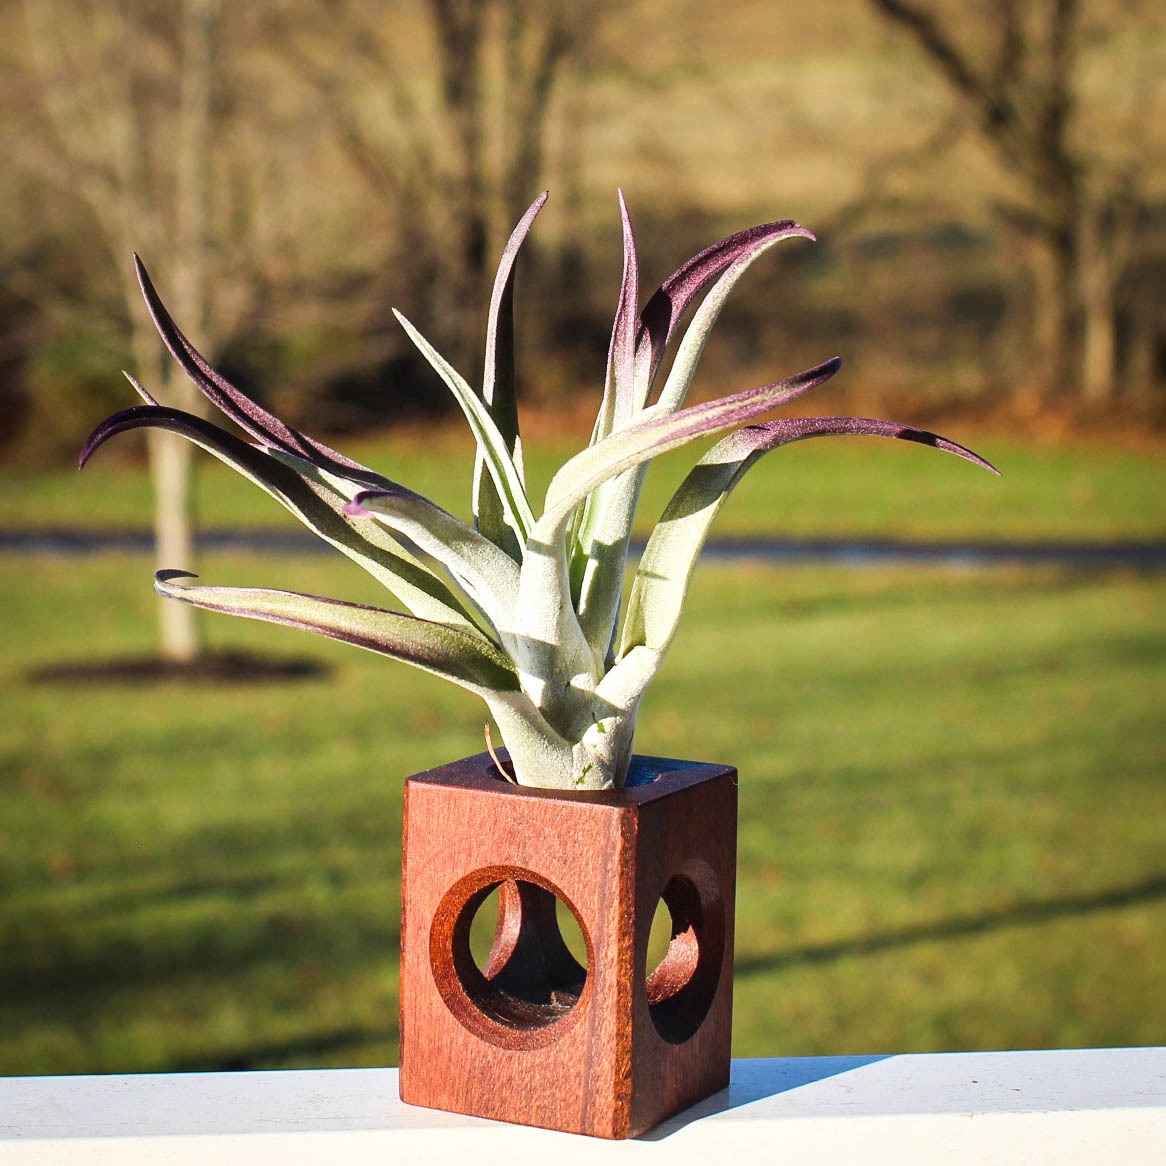
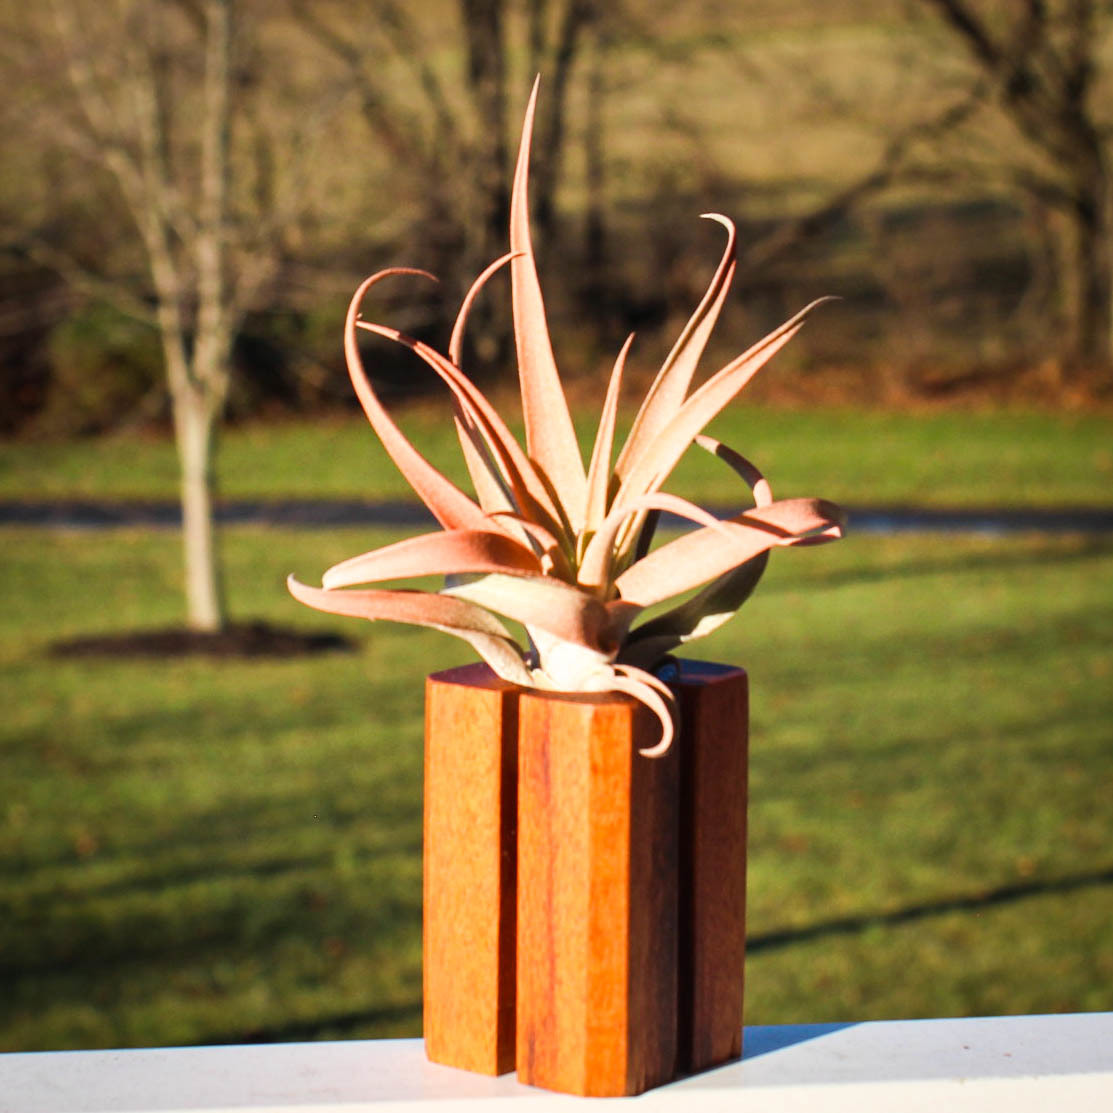
My daughter recently started collecting succulents and Tillandsias (air plants). Honestly, I had never heard of air plants but as the name implies, they grow without the need for soil. They can be purchased at your local nursery or garden center and online.
Anyway, she wanted a way to display them. Online, you will find various options for containers with the most common selection being glass terrariums. I wanted to make something a little different. Also, it's an excuse to use my scrap wood.
More Info/Build Instructions: https://www.instructables.com/id/Air-Plant-Holders/
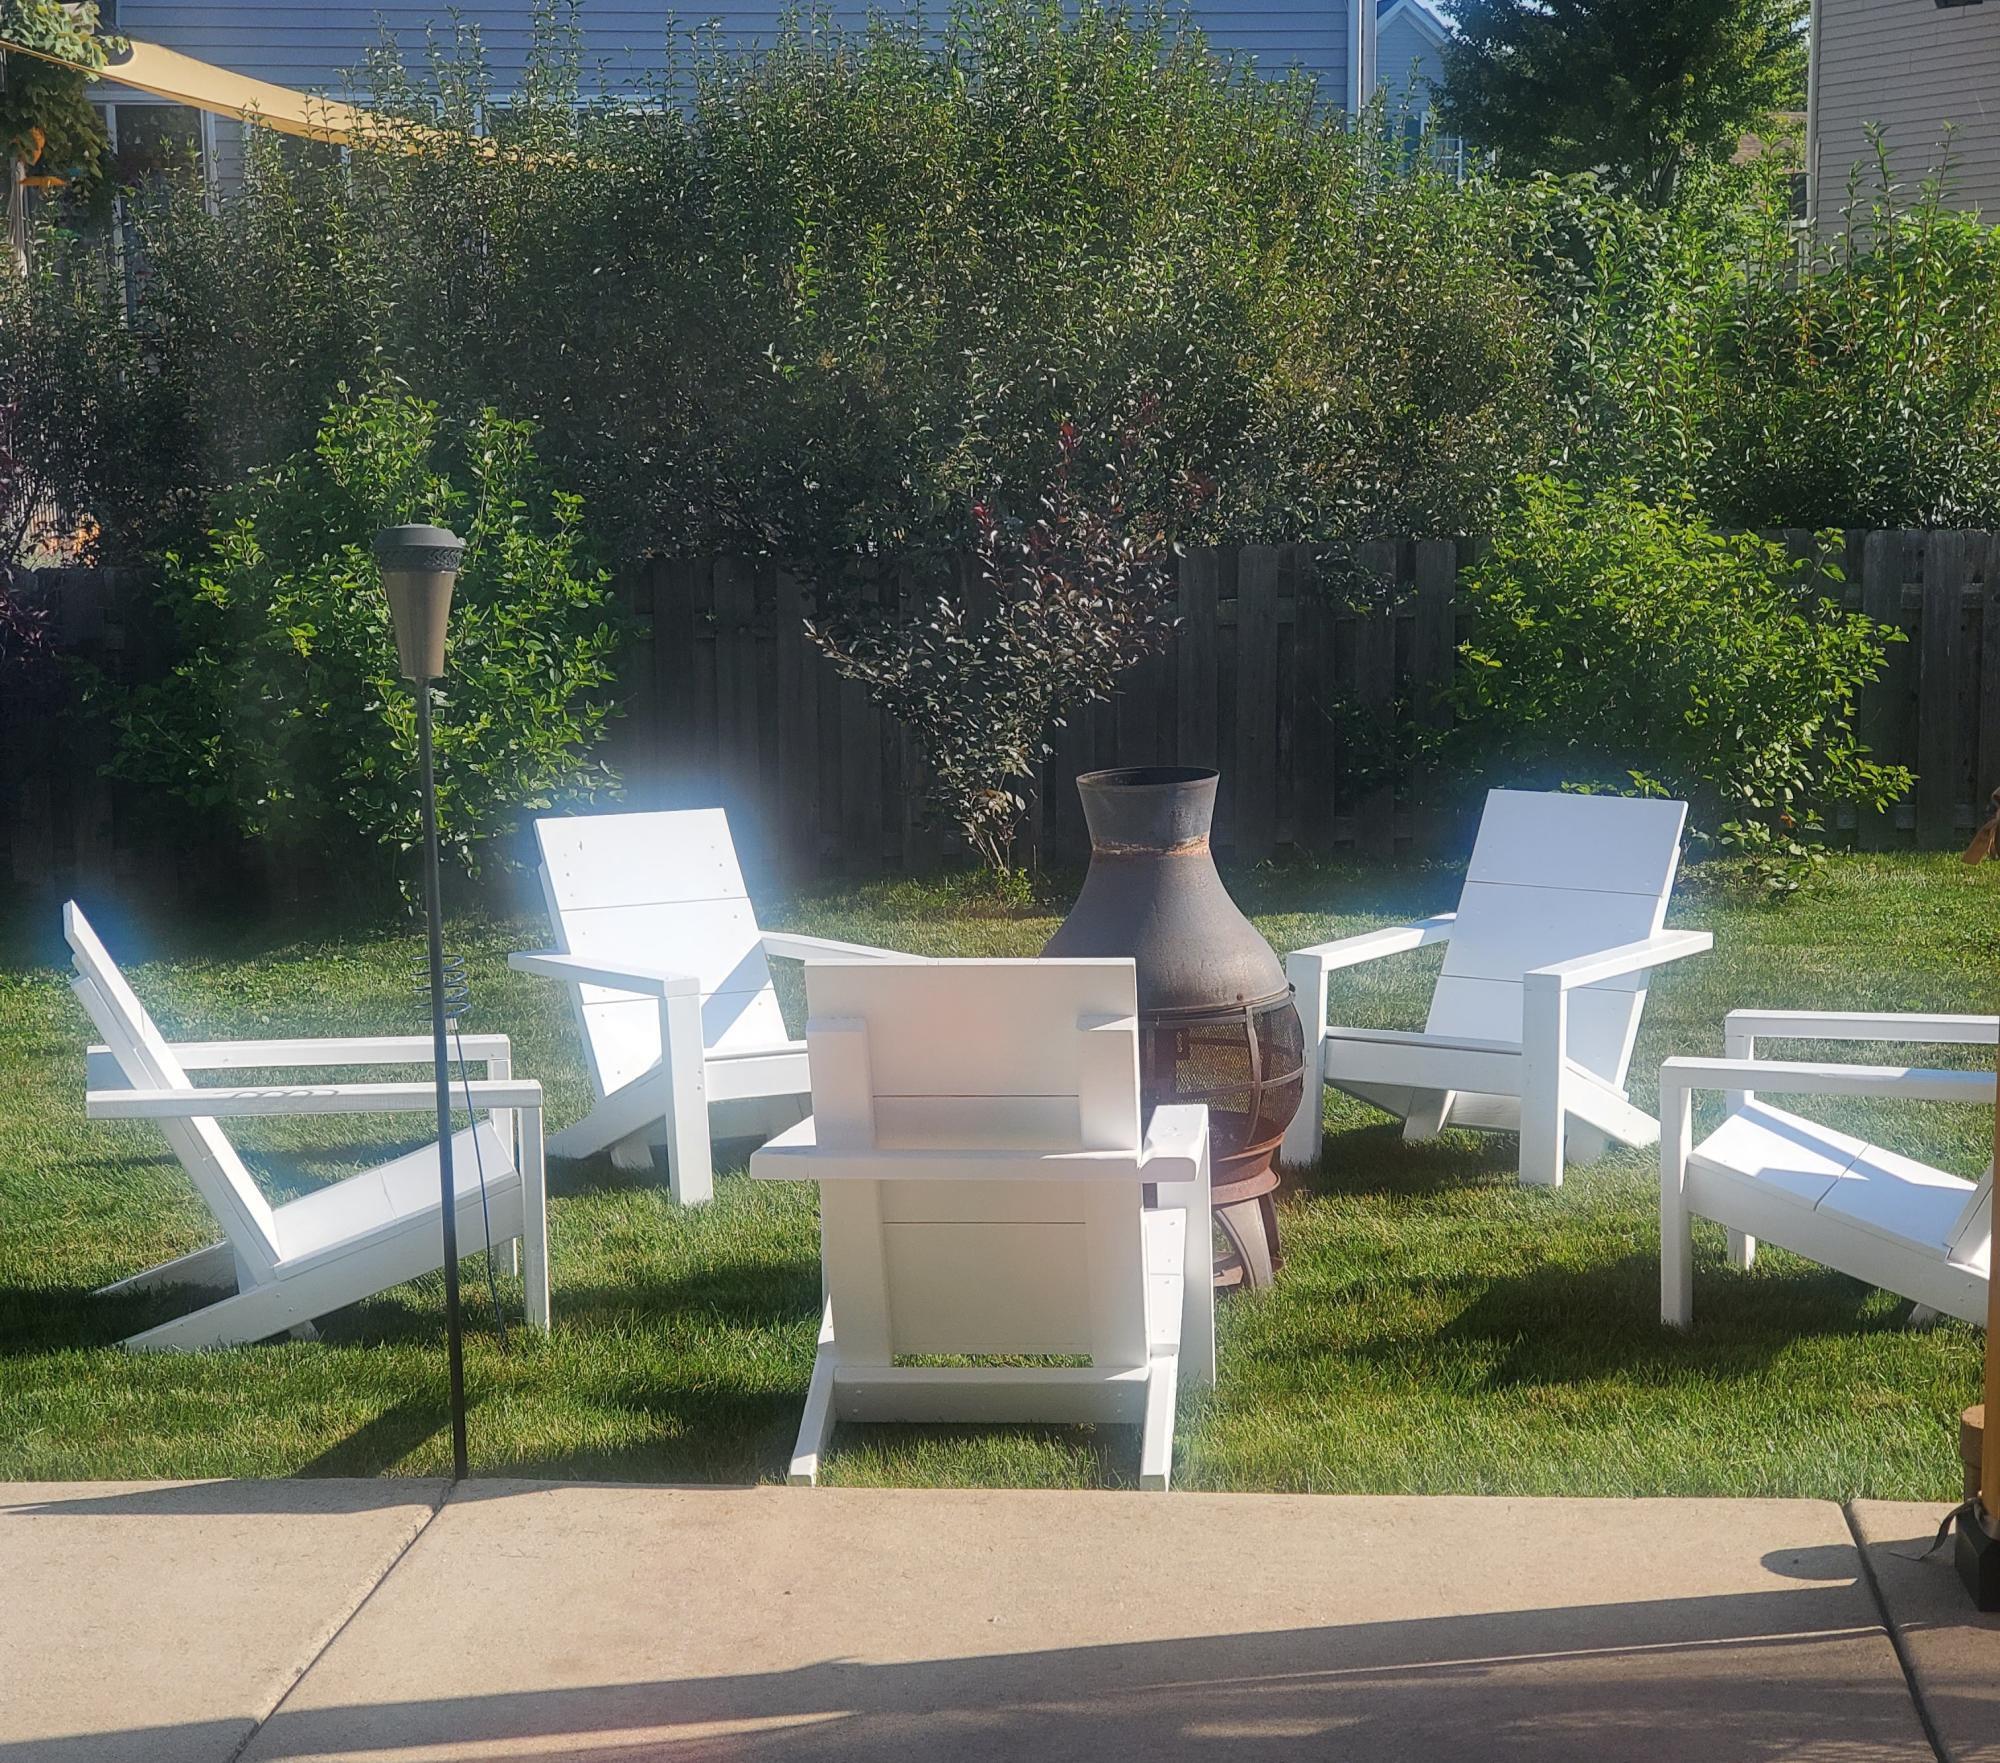
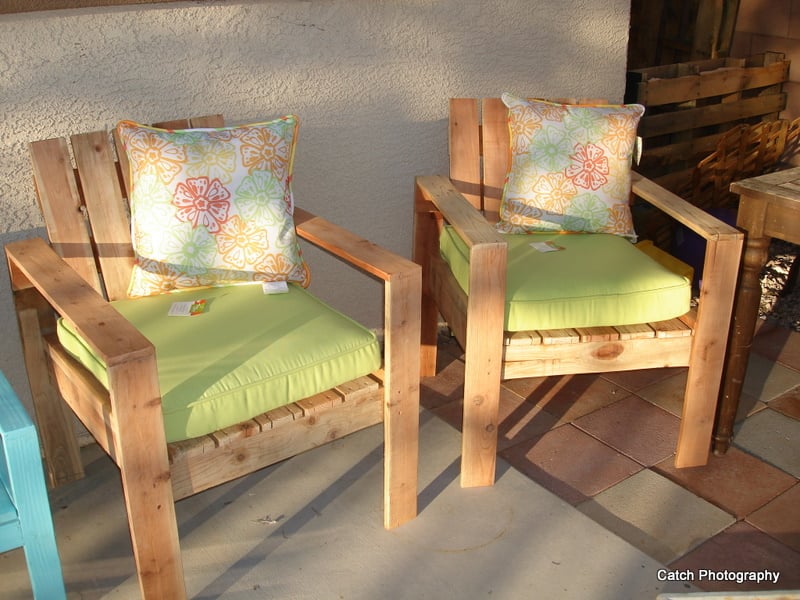
These chairs were soooooo easy to build and are stunning in any light. The stark white makes them look like we spent a fortune on a new set but we're smarter than that lol. Thanks for the plans and continued home improvement inspo Ana!!!!
I found out what the rack in the drive up area of my local Lowes was!
I often see piles of wood and sheets or plywood and such sitting there, but I never paid it much mind-turns out its a clearance rack of sorts they call it the "cull" rack, because they are culling the items from inventory that may be cut, chipped marked etc.
So I was at the store buying something for my Bocce Court and saw this pile of 16ft 2x4's and saw they were only $20 and there was 8 of them- so I picked em up for a "future project".
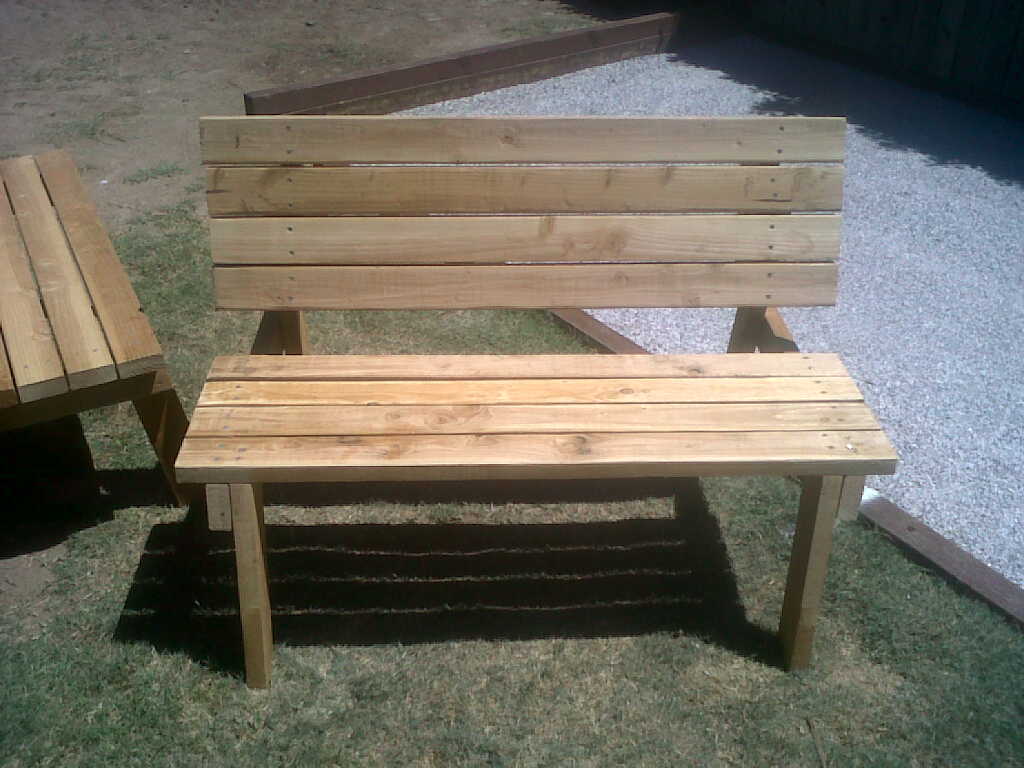
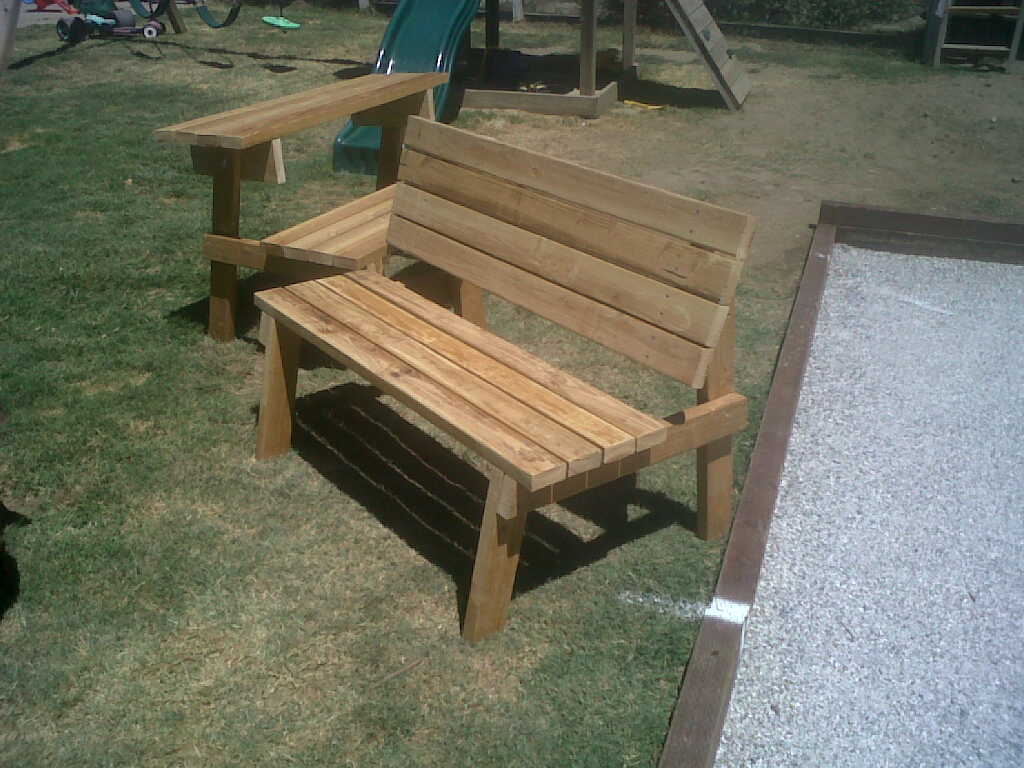
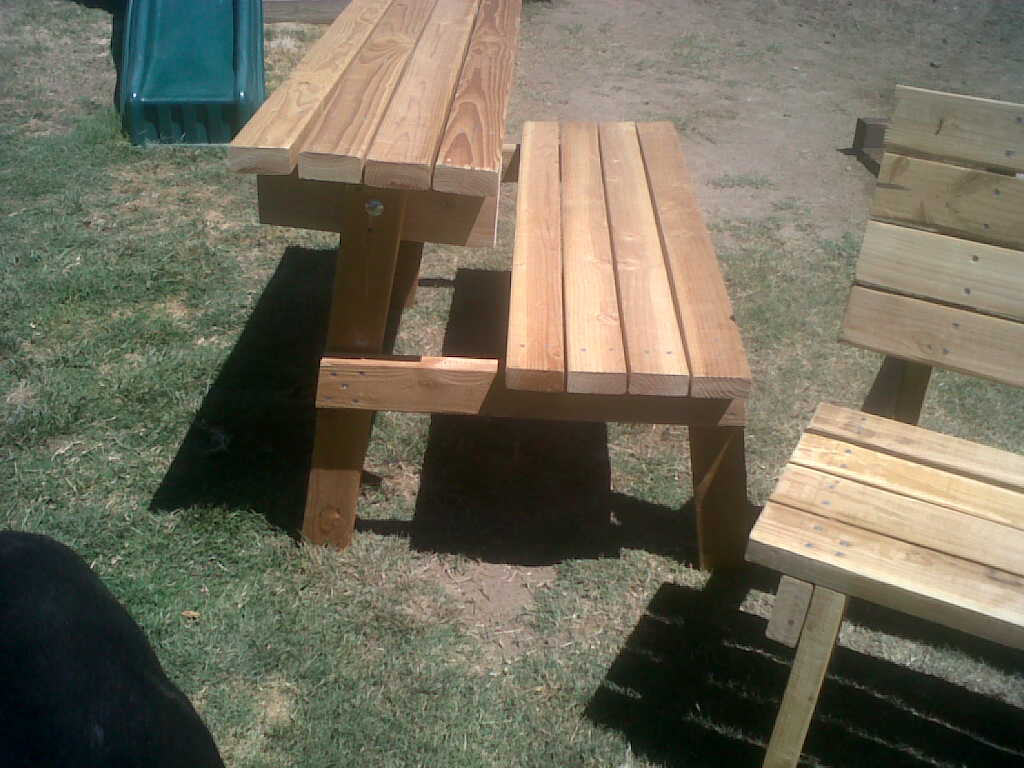
Needless to say they weren't the truest boards but they worked well enough for something like this. I had to buy a 2x6 to attach the top to because 2x4's aren't wide enough to give proper clearance as the plans showed(and I really didn't want to reinvent the wheel on this) so i bit the bullet and bought a $3 2"x6"x8'
Now if you notice I used all 2x4's for this instead of 2x6 so I adjusted the top to 14 1/8 to accommodate 4 2x4 pieces separated by spacers I use when installing wood floors. I made no change to the seat dimensions, but there is 4- 2x4's vice 3- 2x6's.
Great plan- perfect for more seating on my weekly bocce nights and they hold in excess of 600 lbs easily for those concerned about load limits.
(Note for those curious, that is my Bocce court in the background, it is 10'x60' and built with pressure treated 4x6's and 2x4's and a whole bunch of DG and crushed oyster shells.)
Thu, 02/23/2012 - 11:14
I plan to build several of these for my daughter's family. They stand around a fire most nights in the spring. Those nights often end up with roasted hot dog dinners with the friends who have dropped by. The dual purpose of these would be perfect!
