Garage tool storage
This was super easy to do. Thank you for the inspiration and sharing the plan.
Absolutely love this bed! Thank you Ana!
Brianne Sing
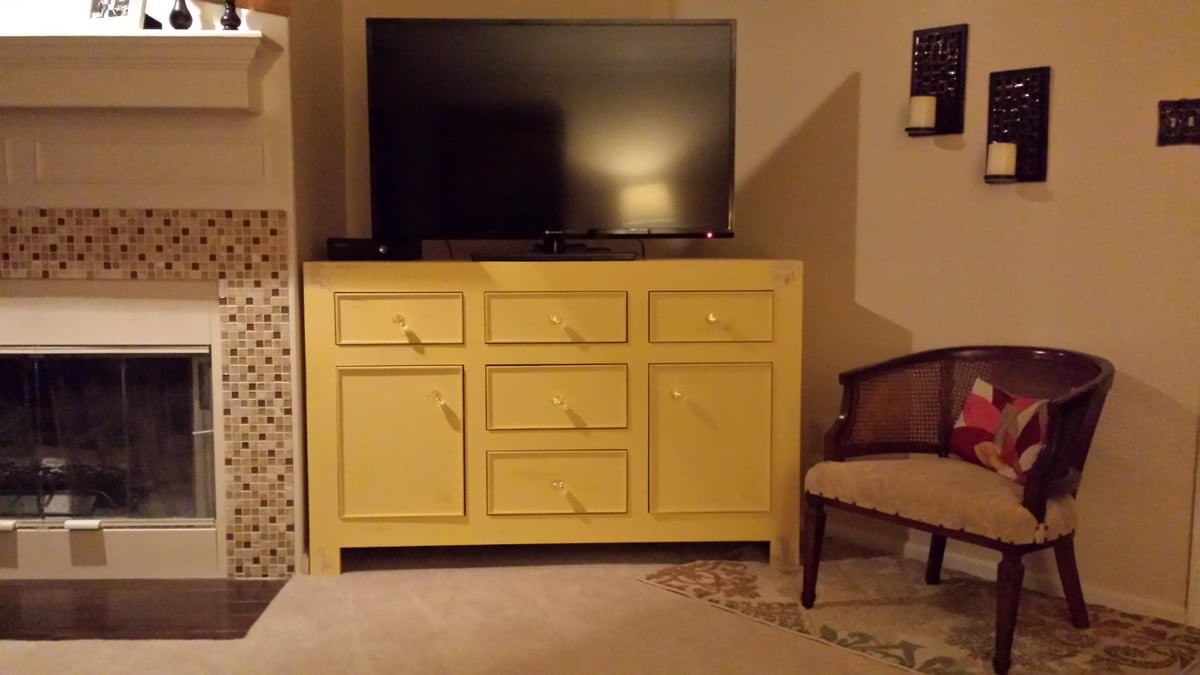
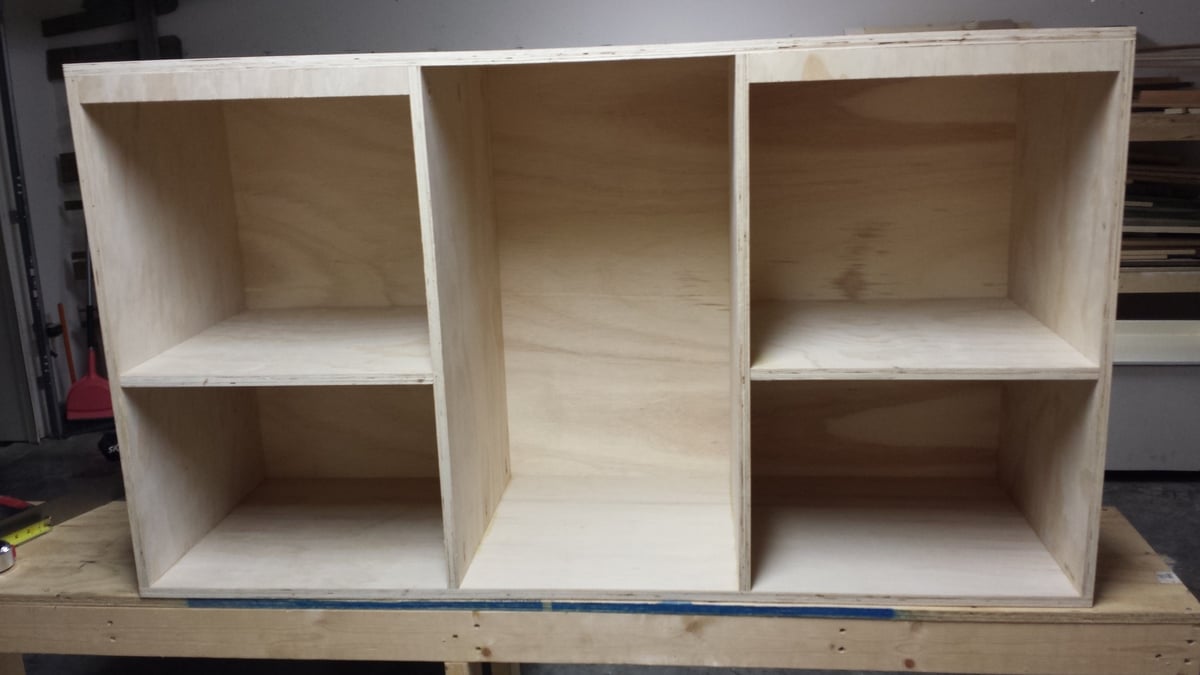
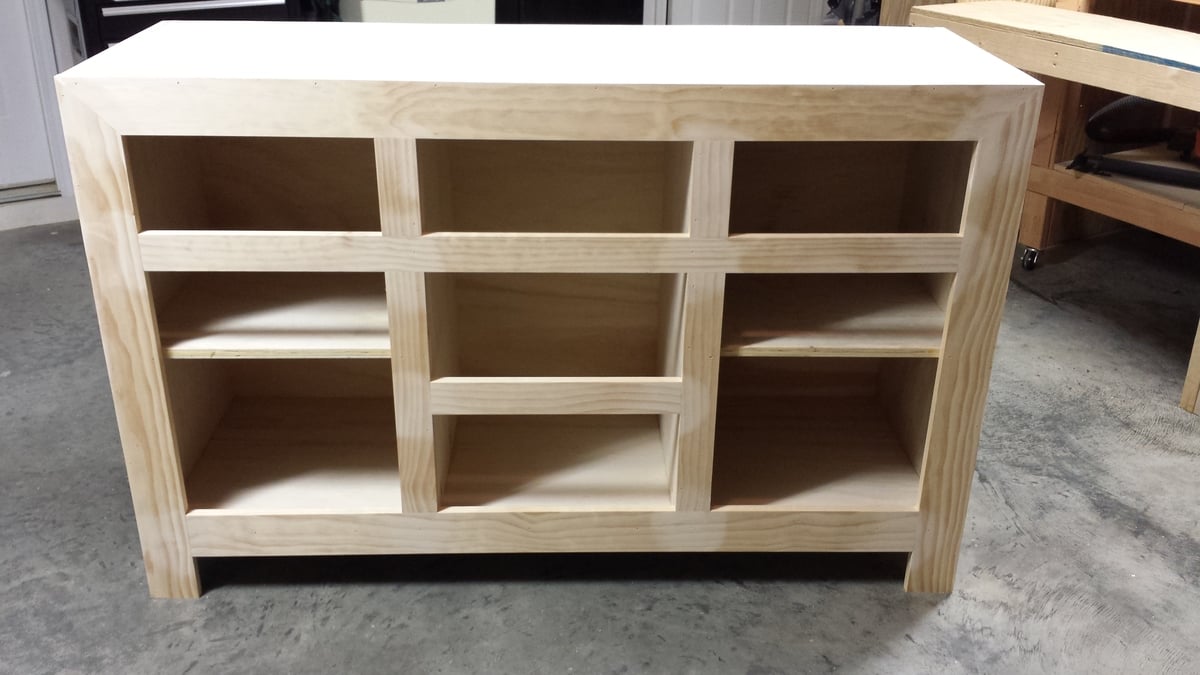
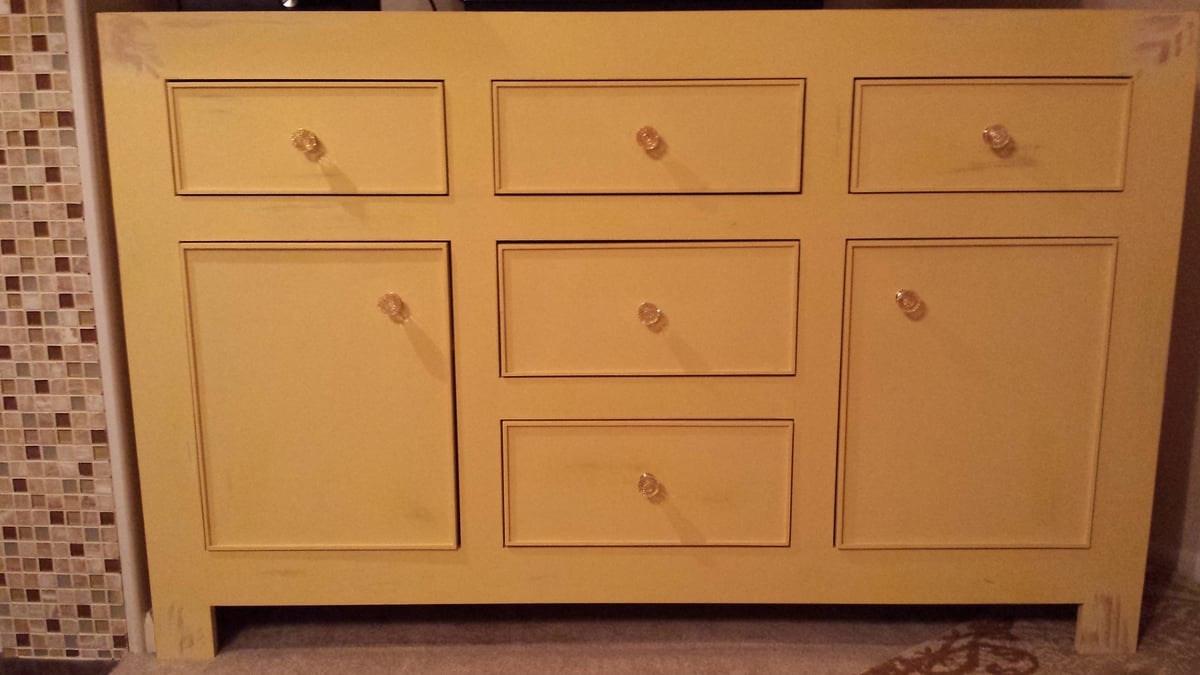
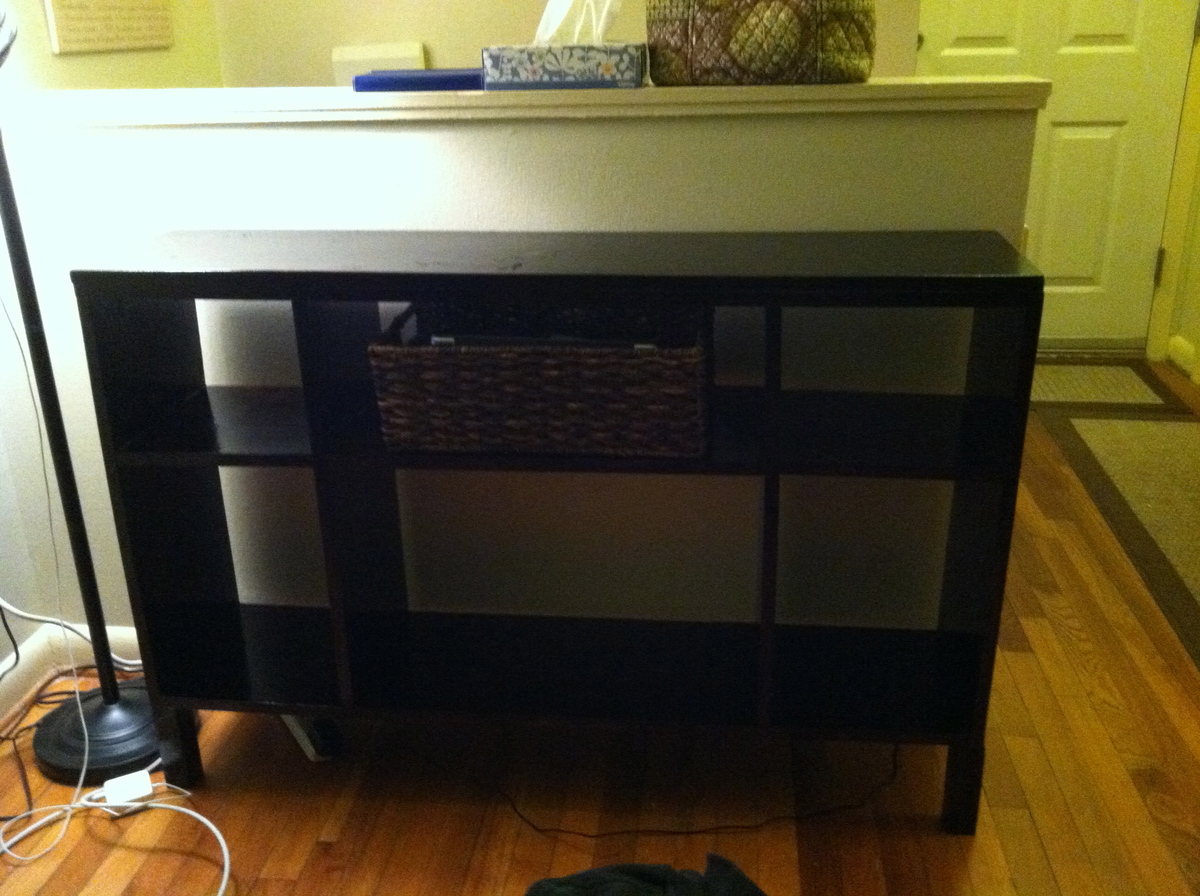
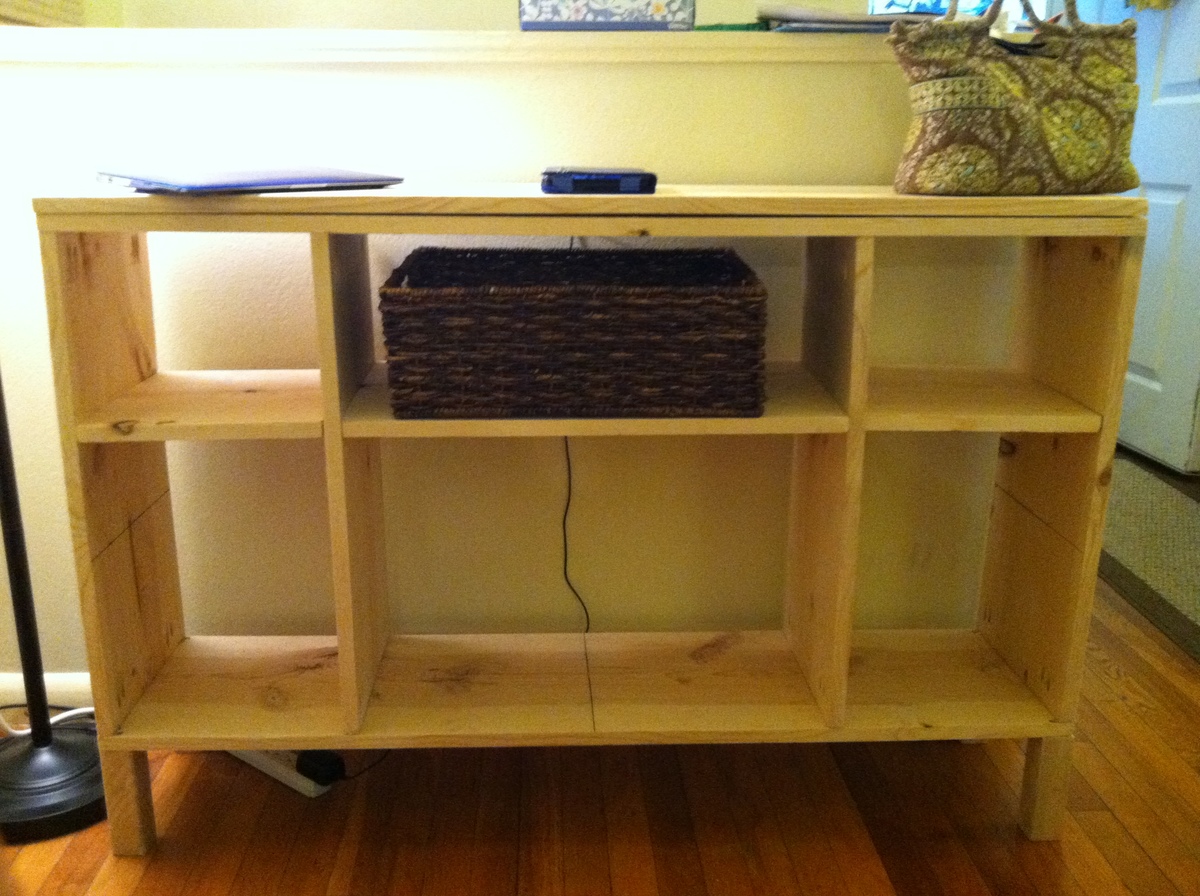
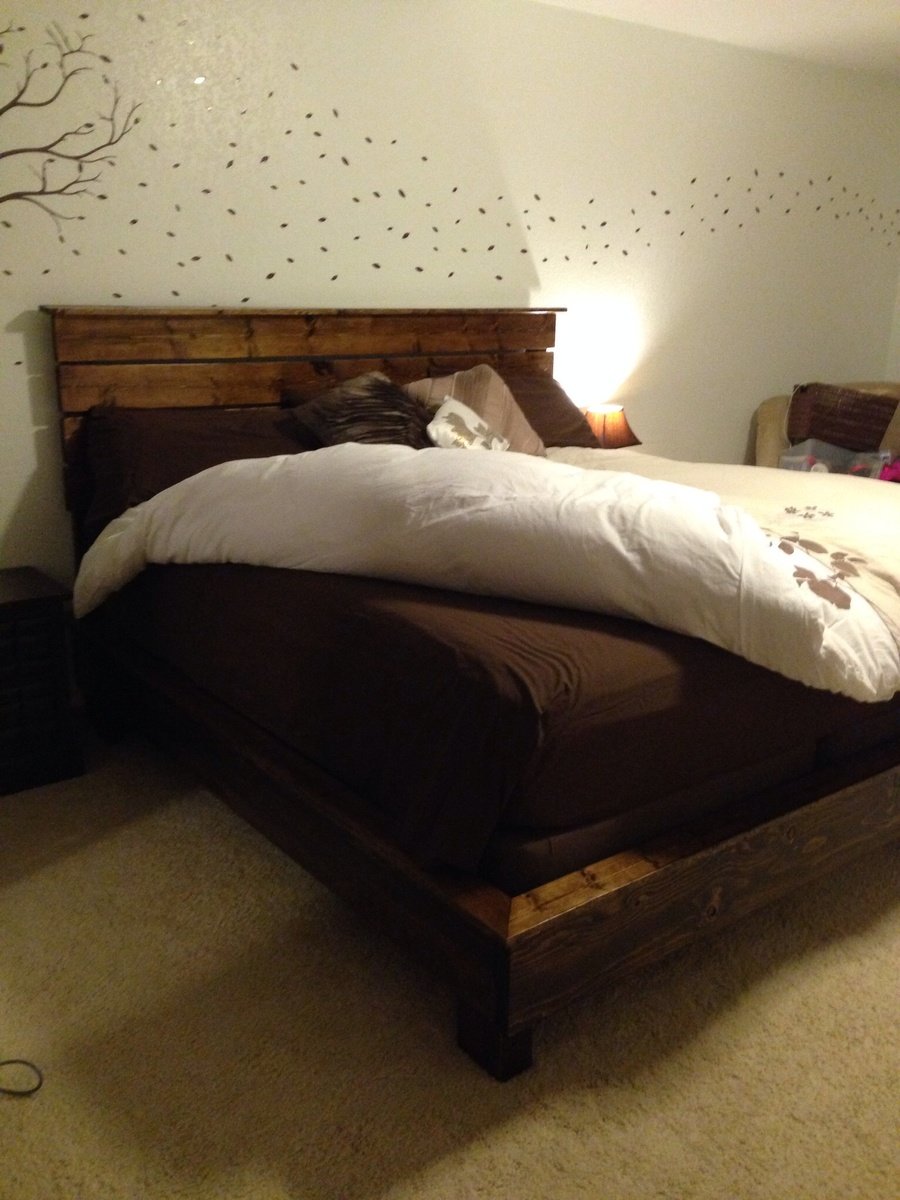
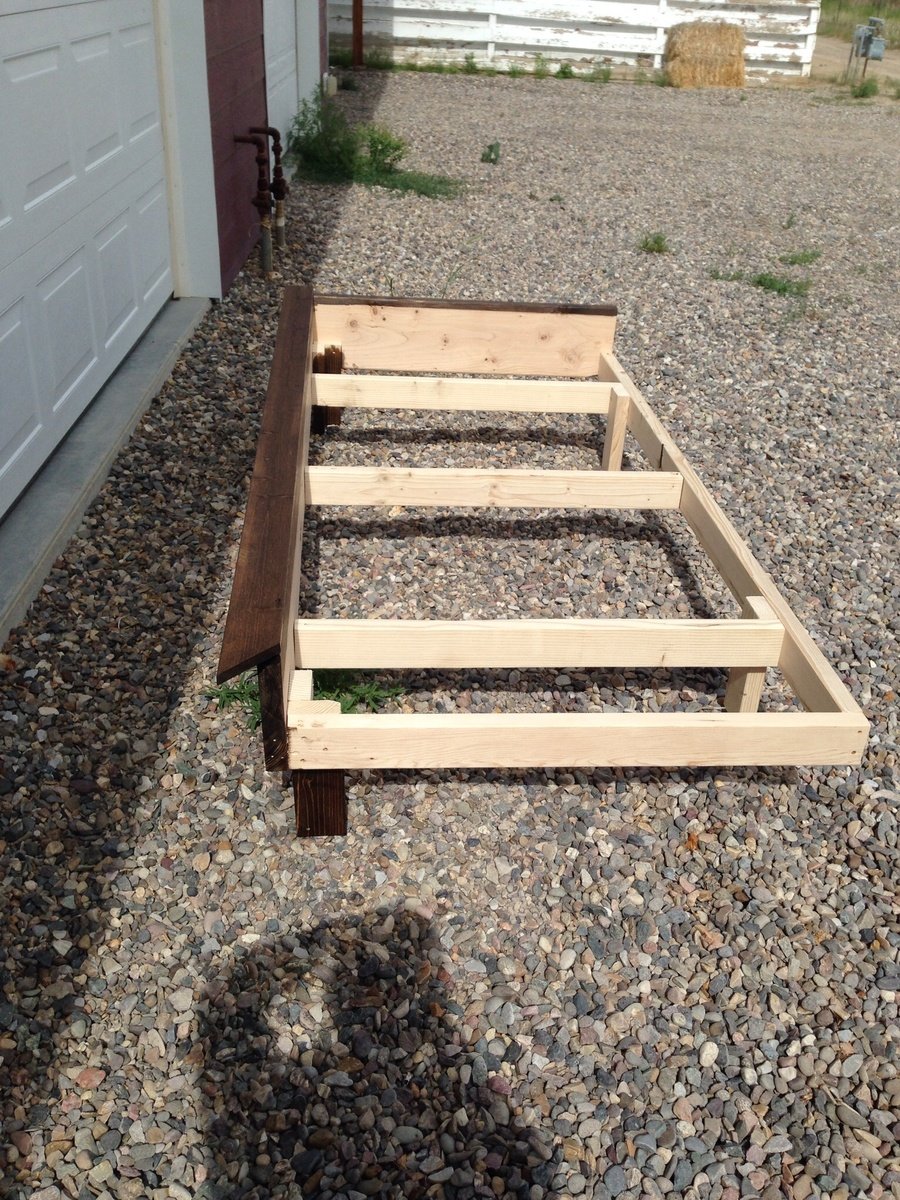
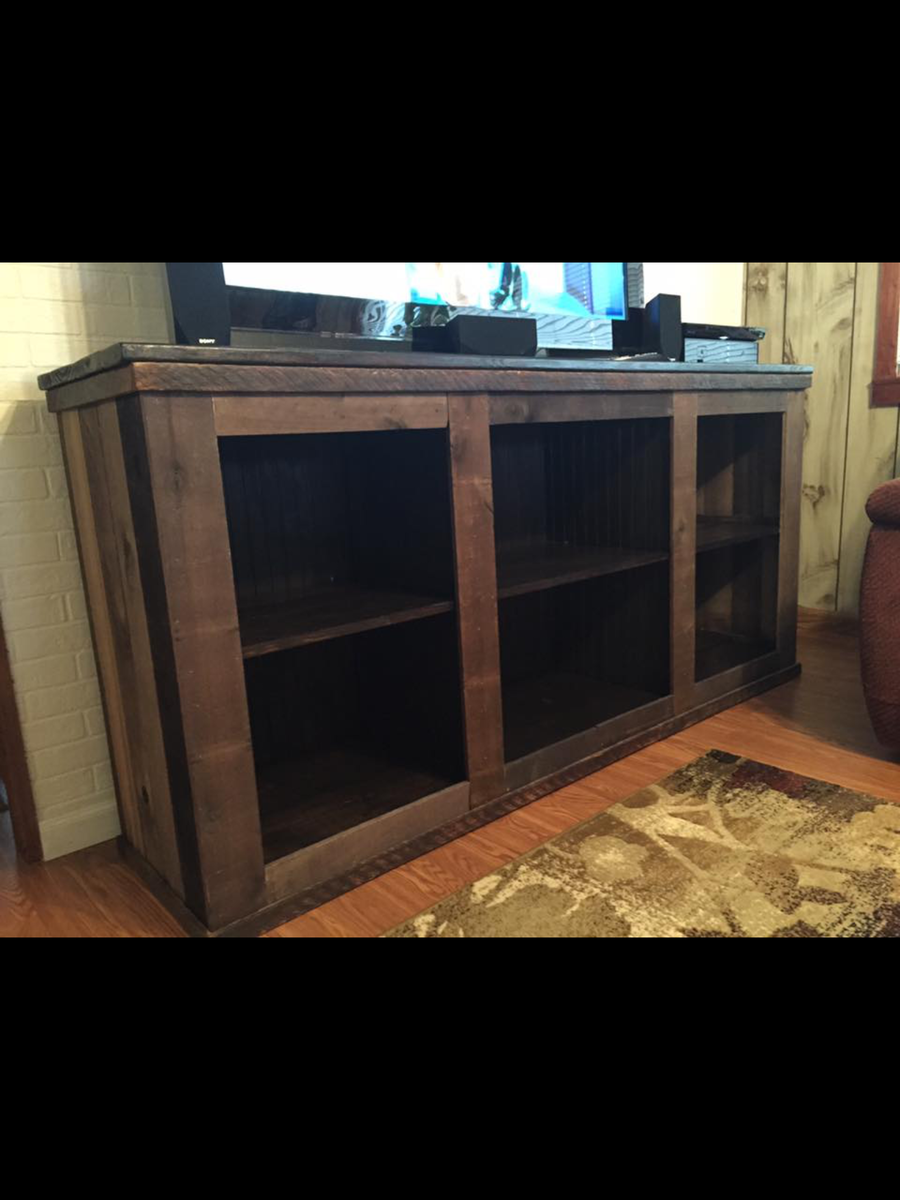
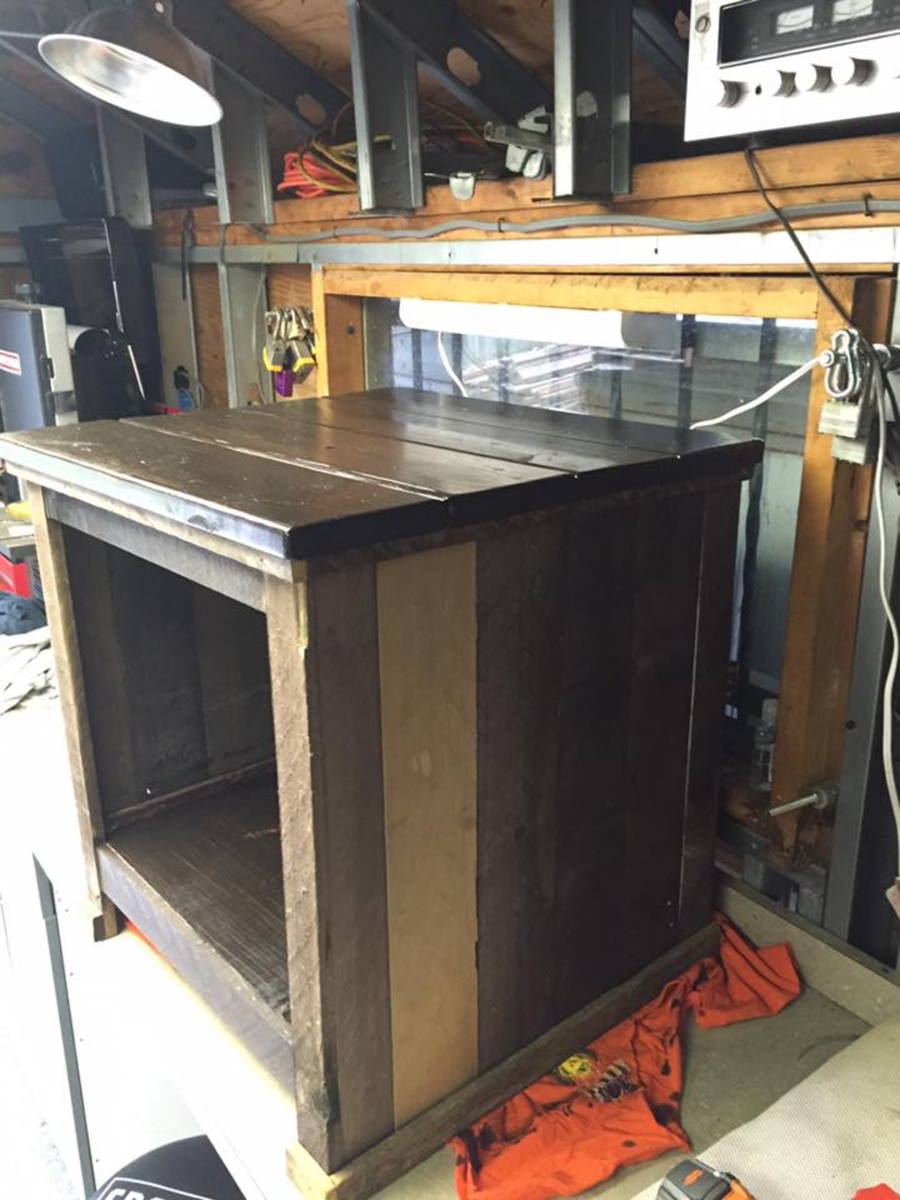
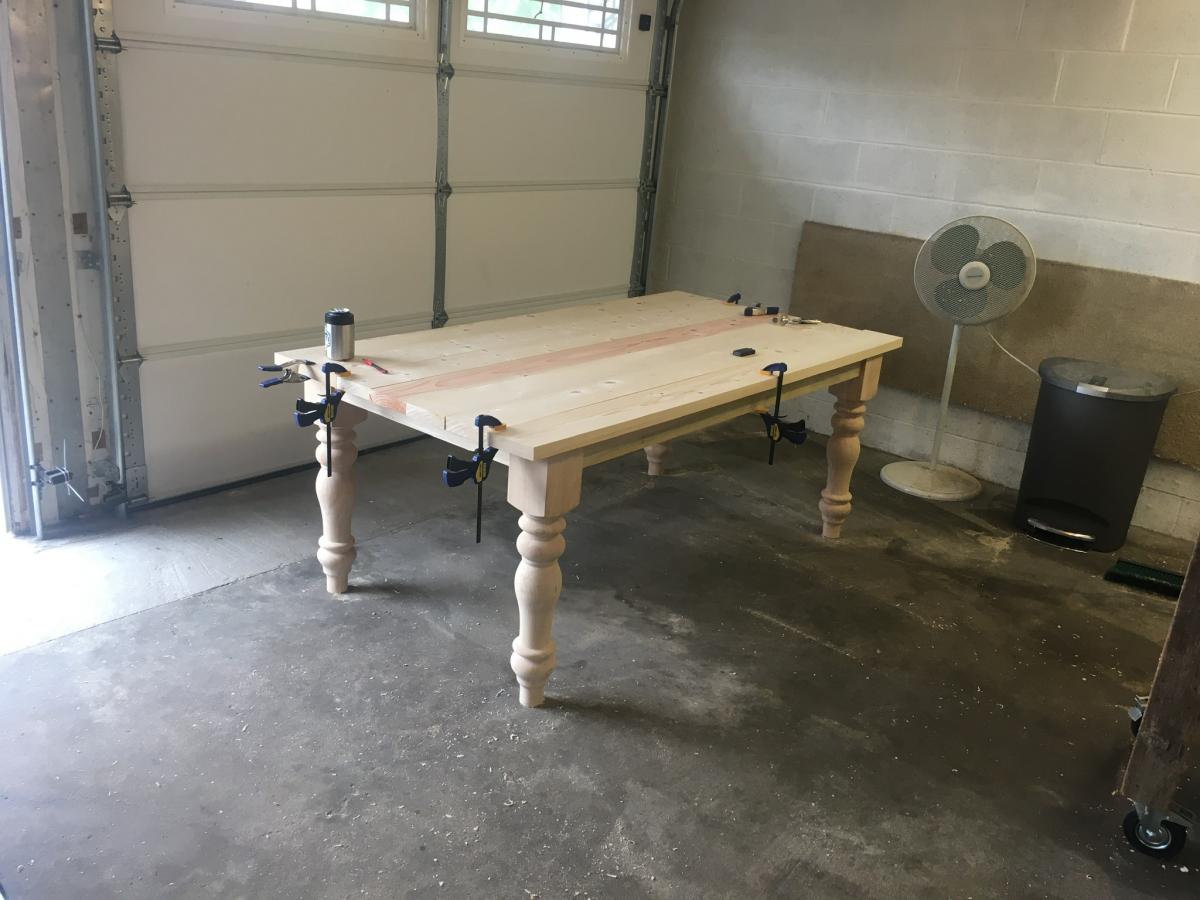
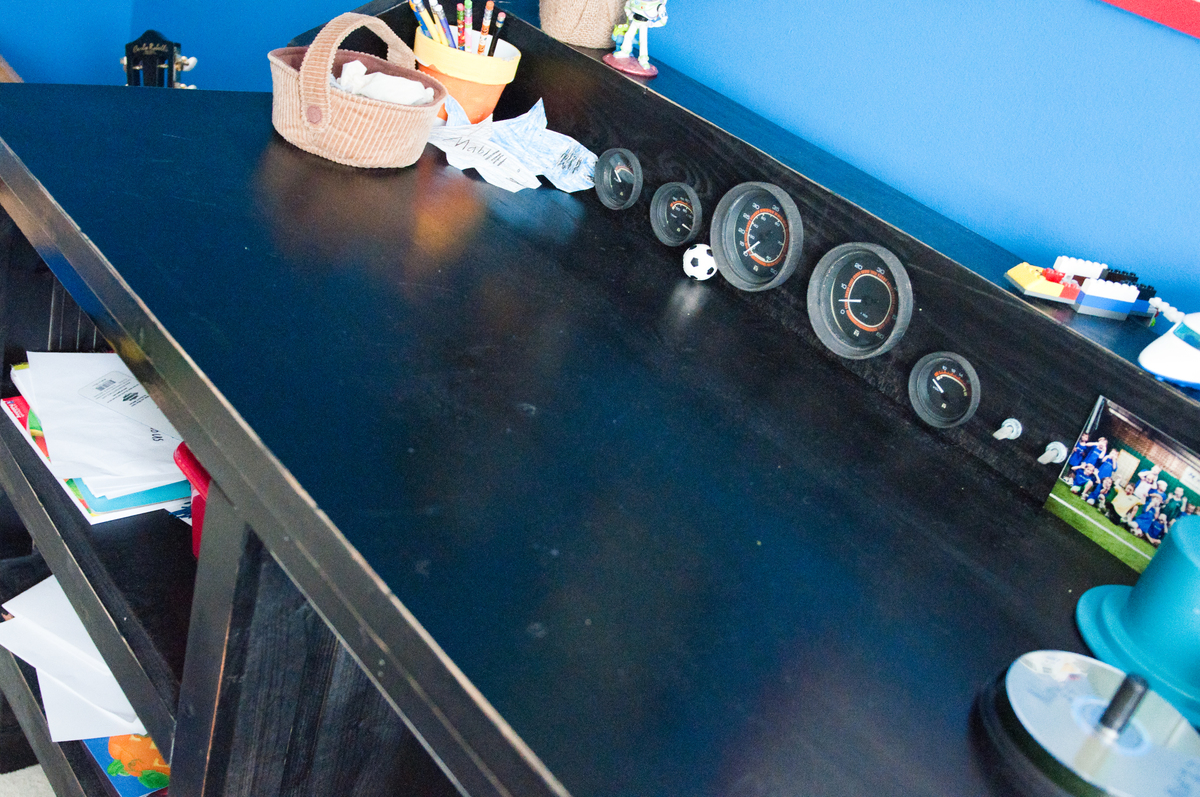
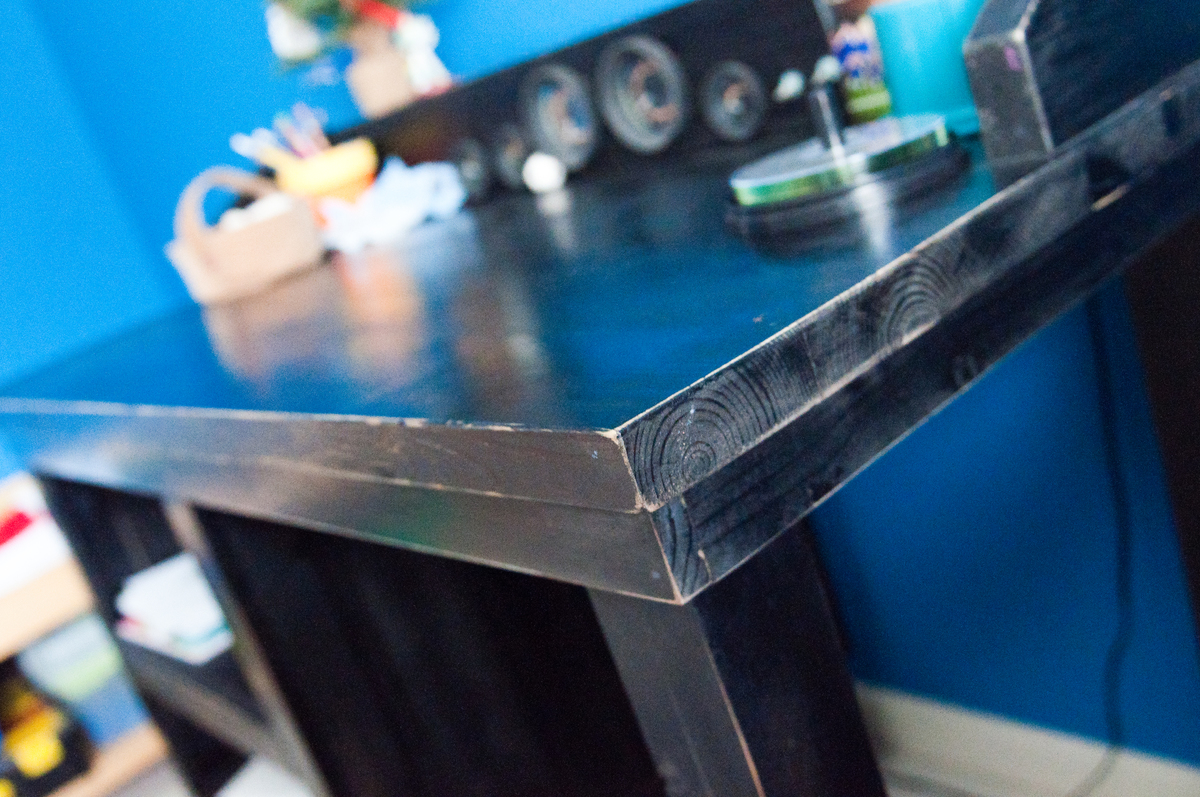
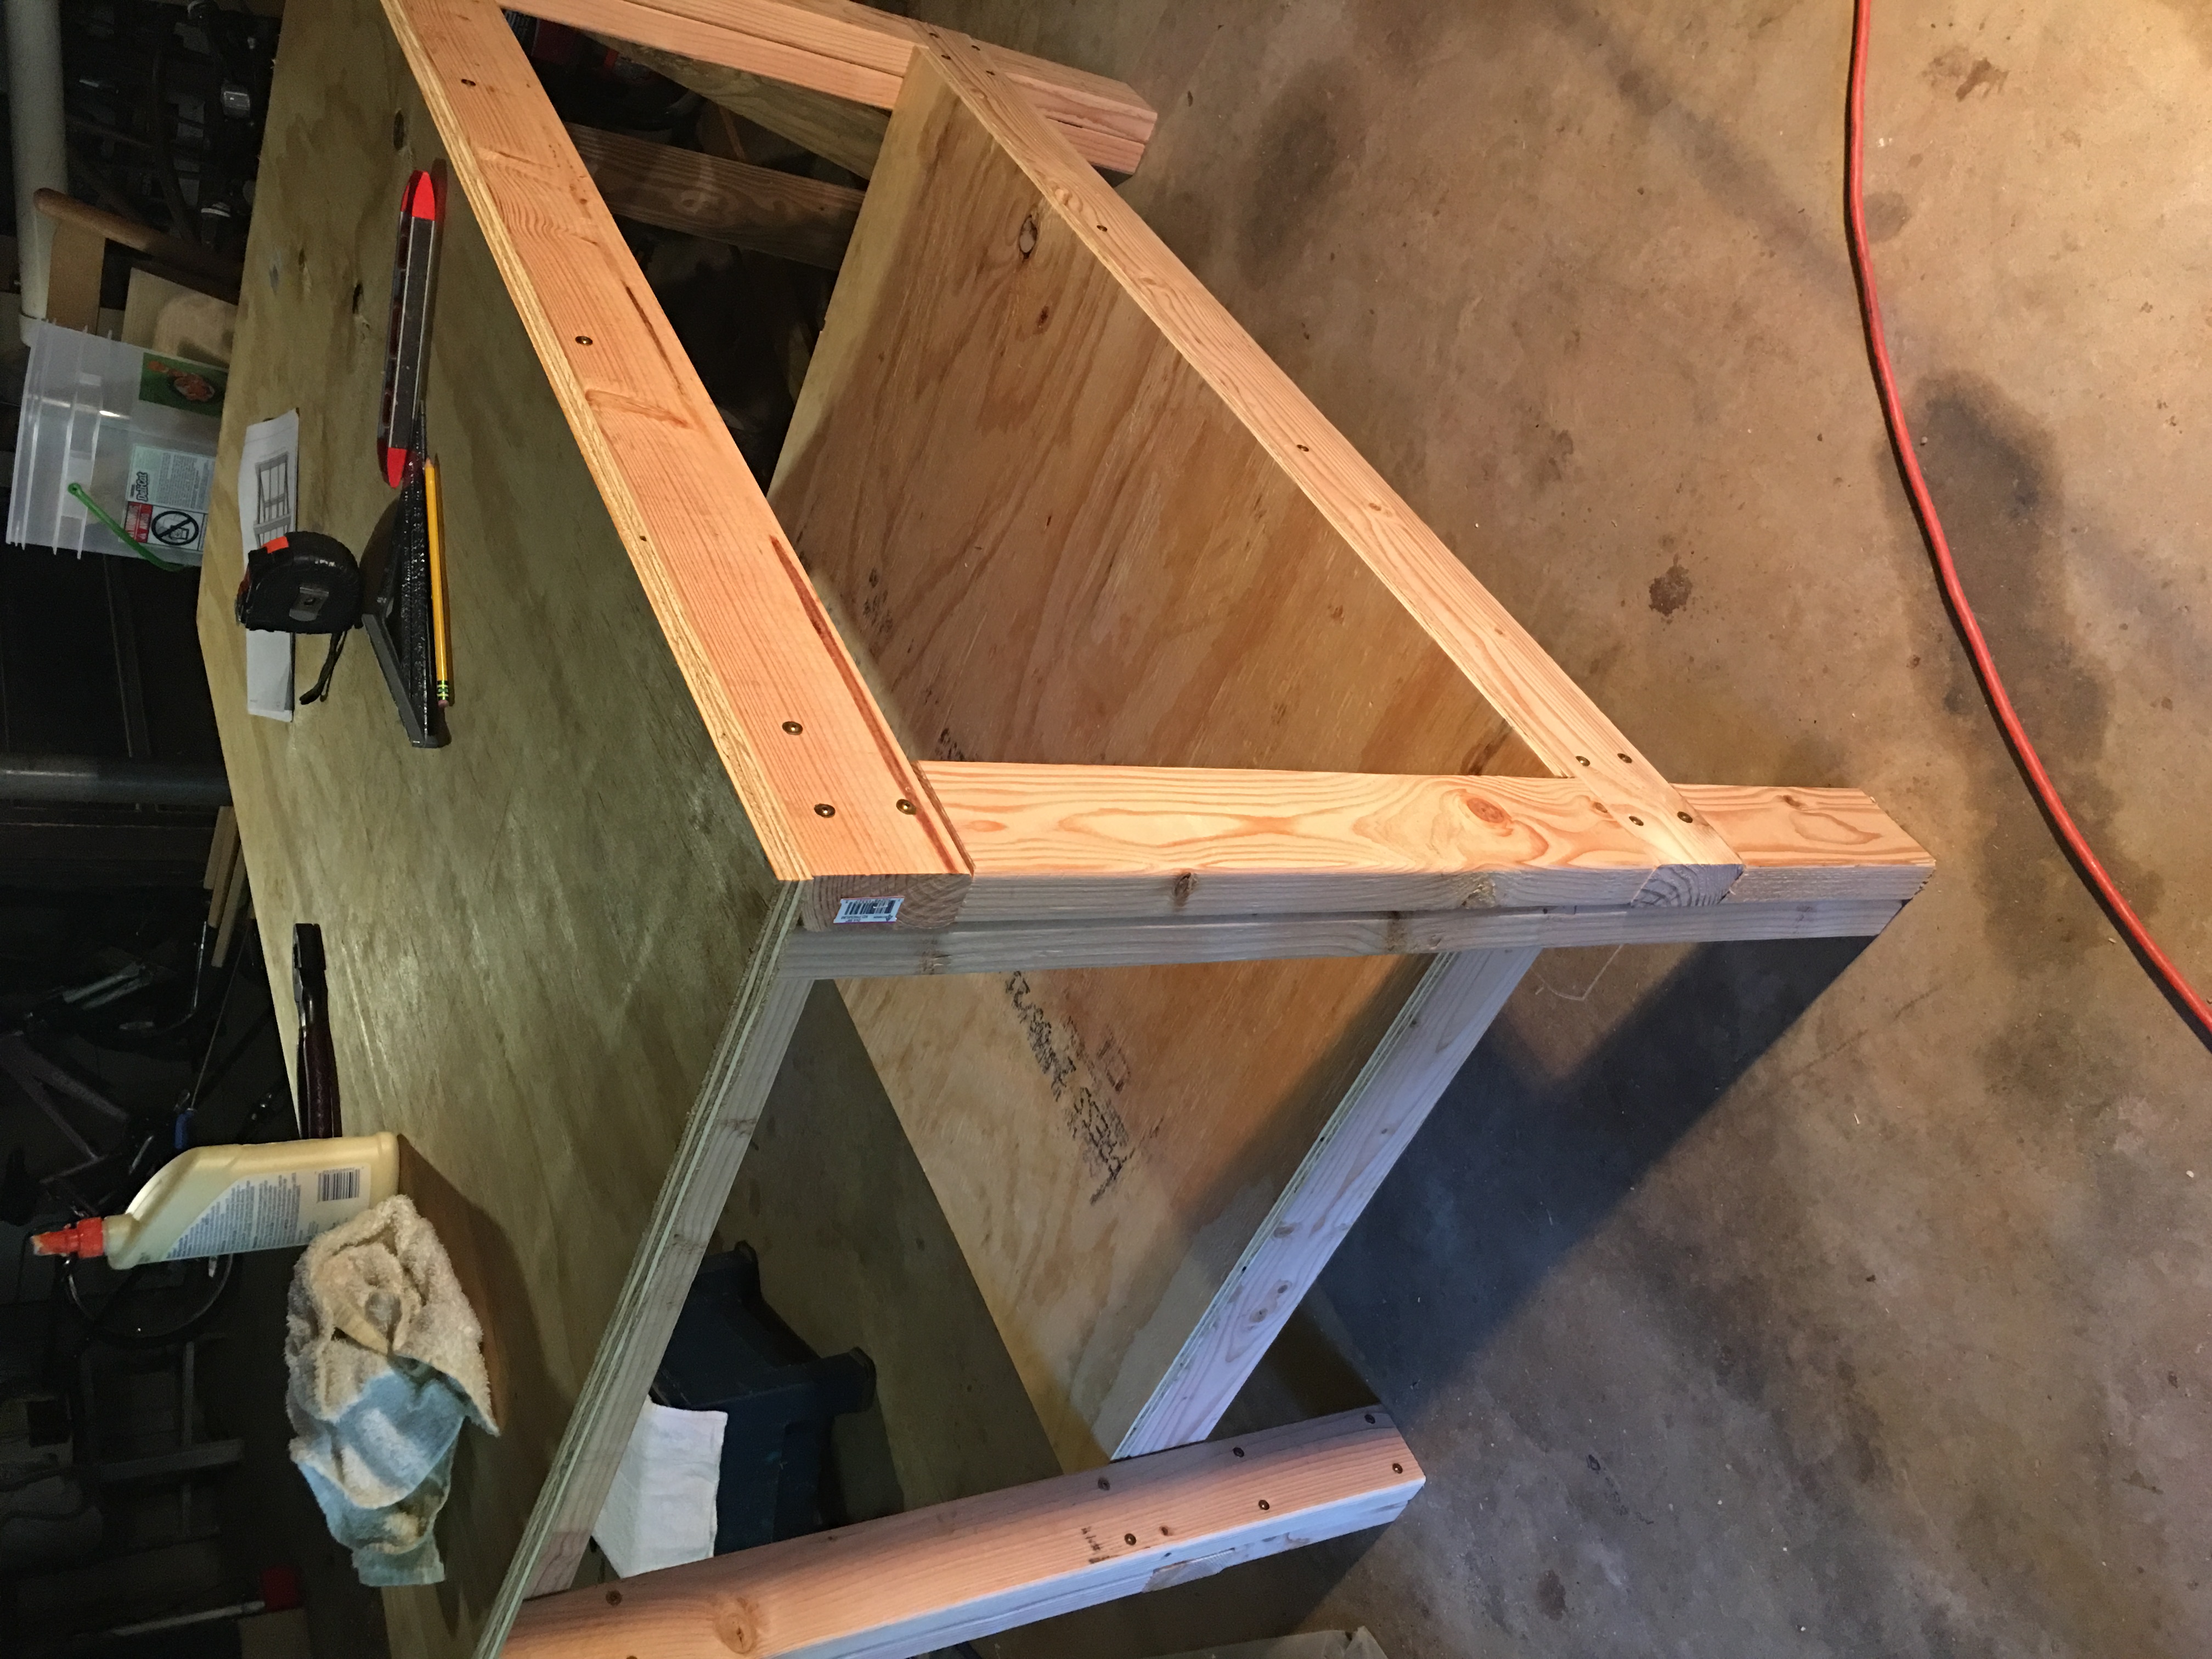
This is the first piece that I have built from your website. The plans were easy to follow. I had to change the dimensions to fit the console where we wanted so it made the parts list a little more time consuming to figure out with a few mishaps in the original plans. After that it was smooth sailing.
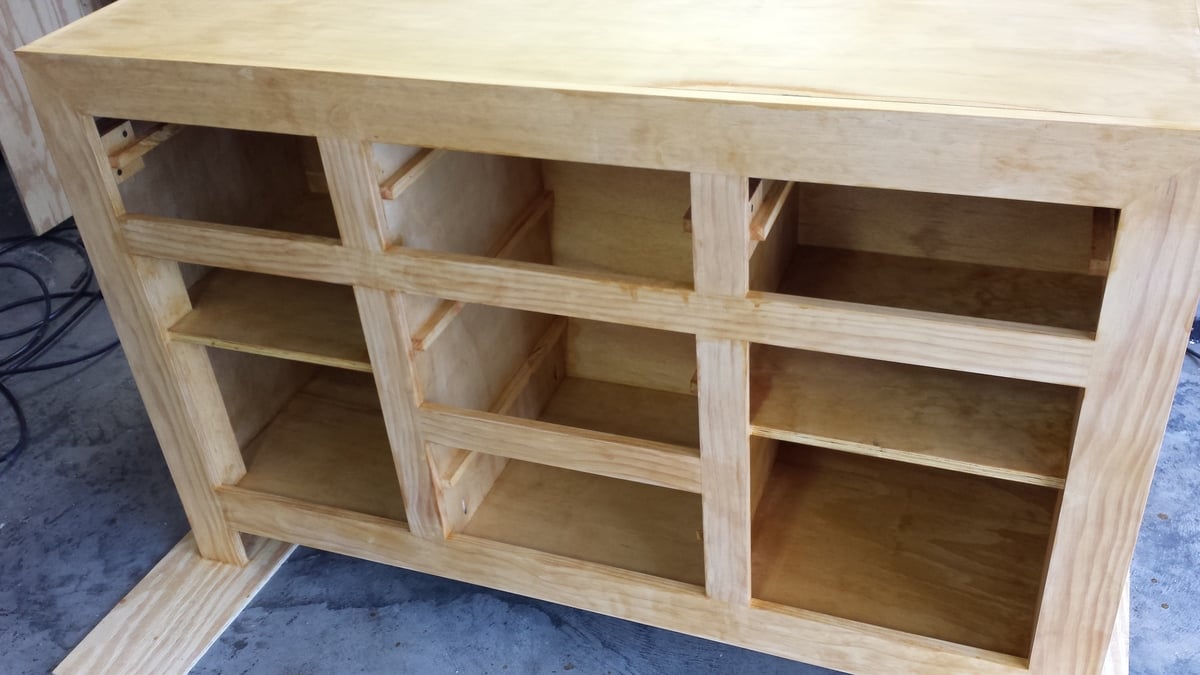
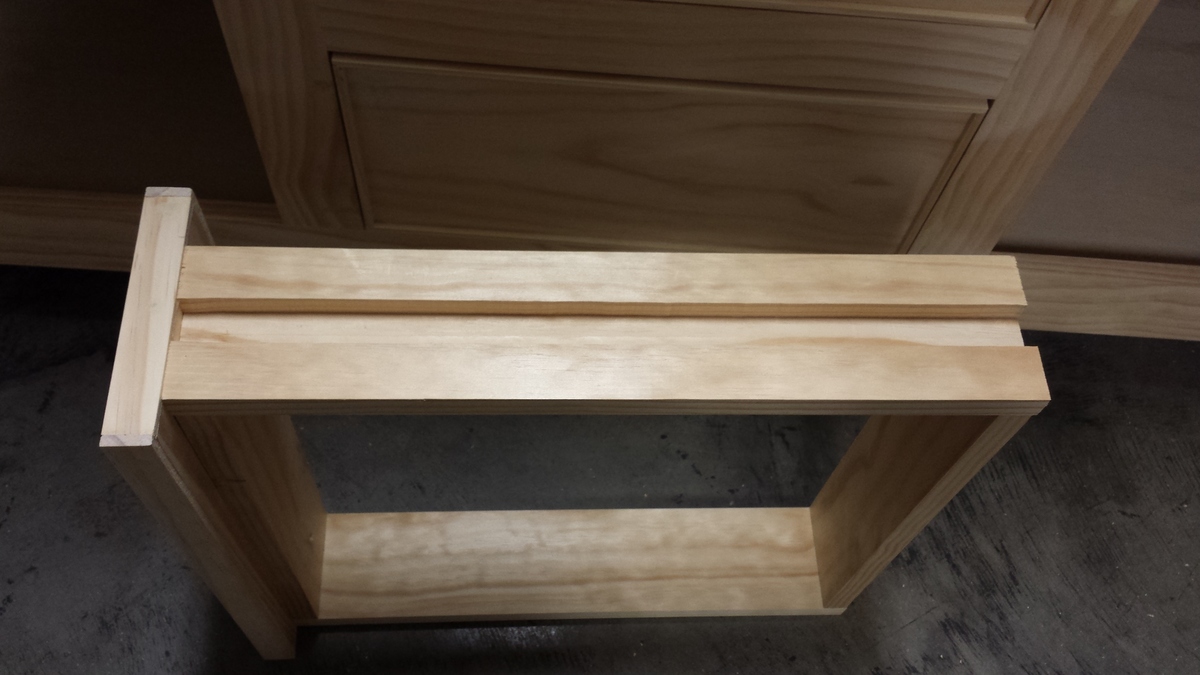
I tried to save money where I could so I created my own slides for the drawers rather than spending $100 for the slides. They turned out great. I also made the chalk paint with plaster of Paris since the cost of chalk paint is pretty high.
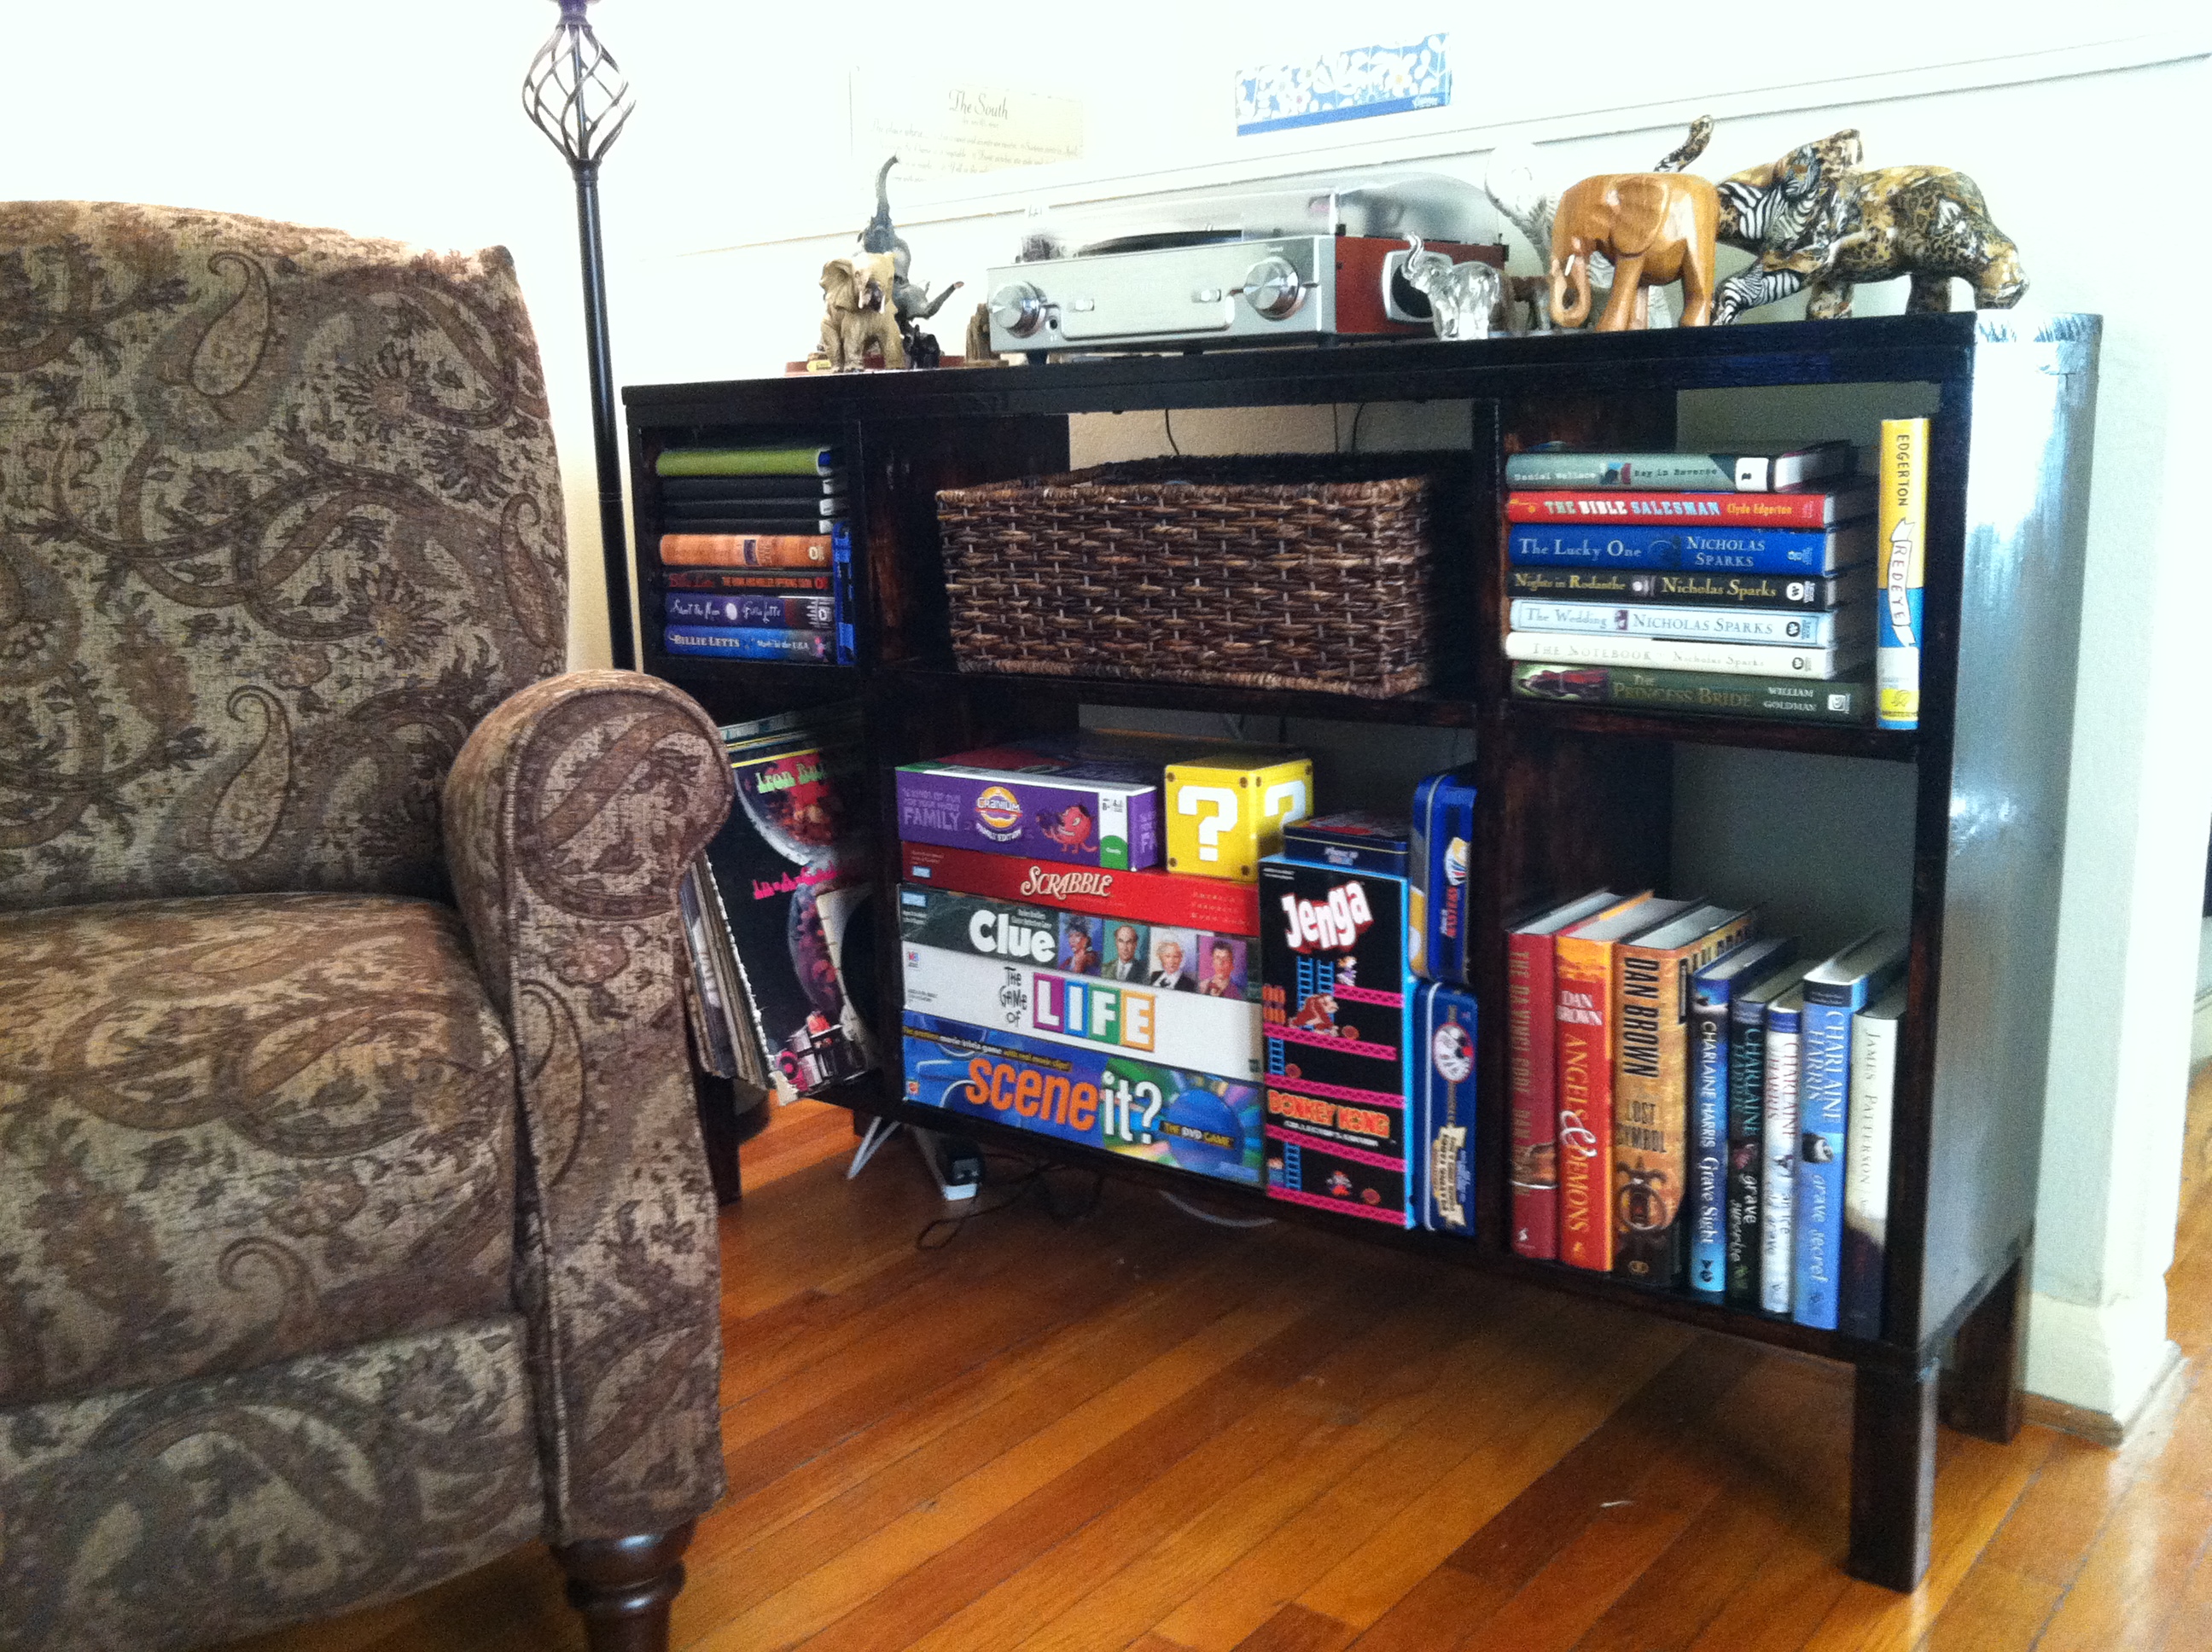
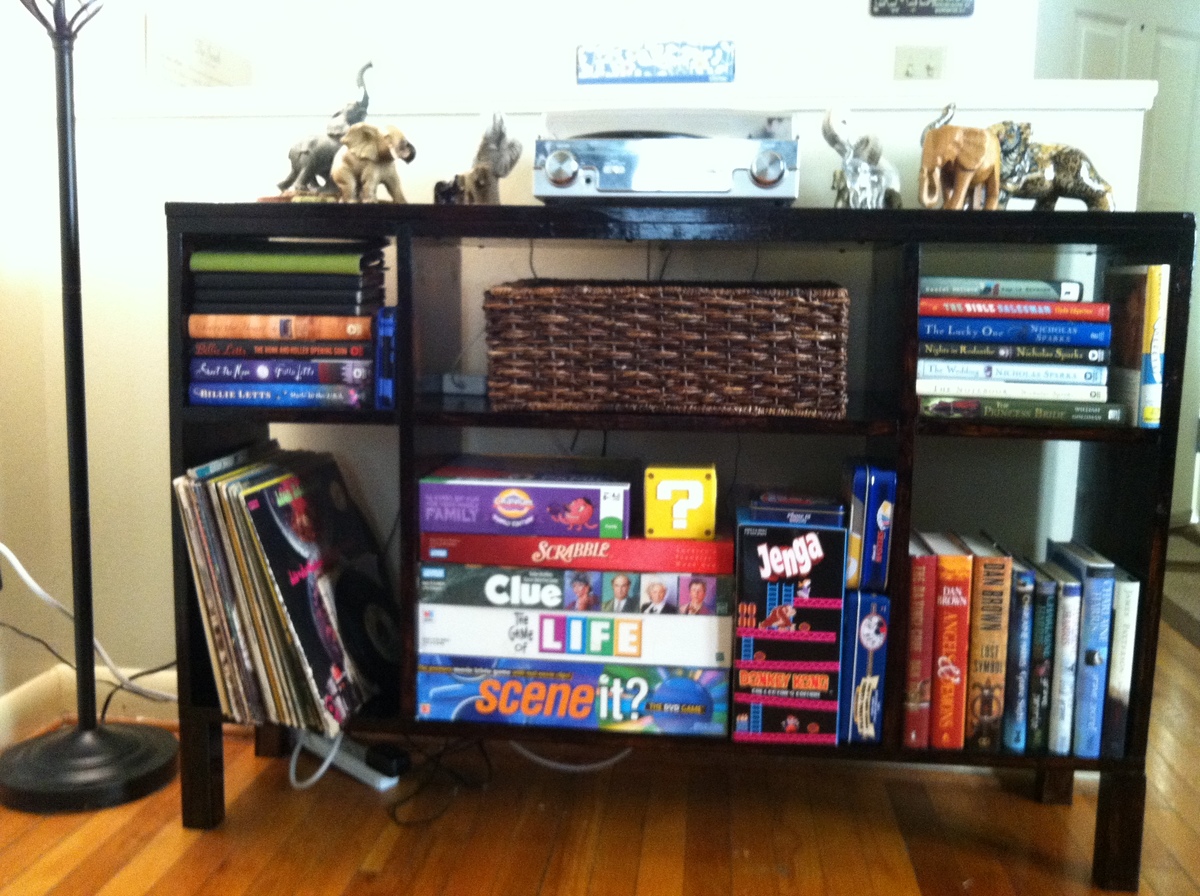
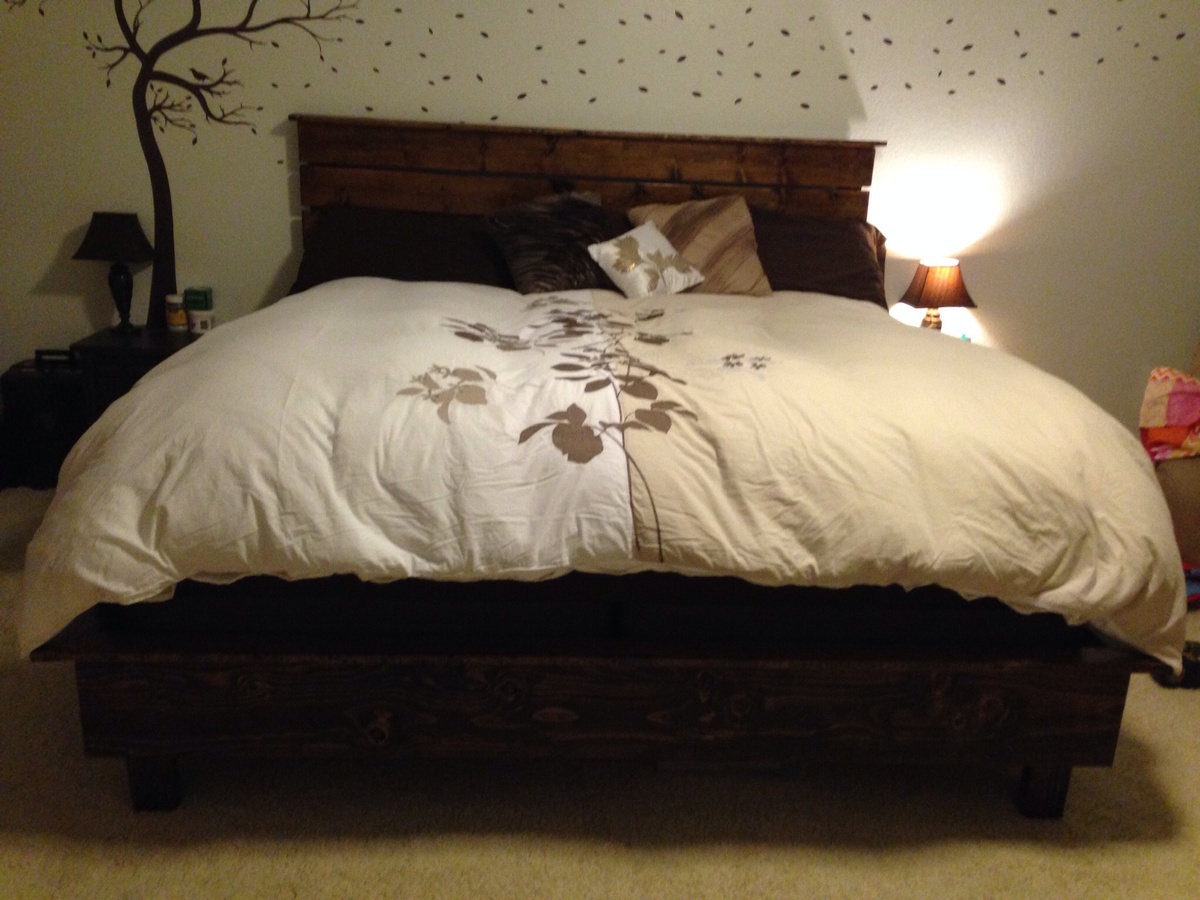
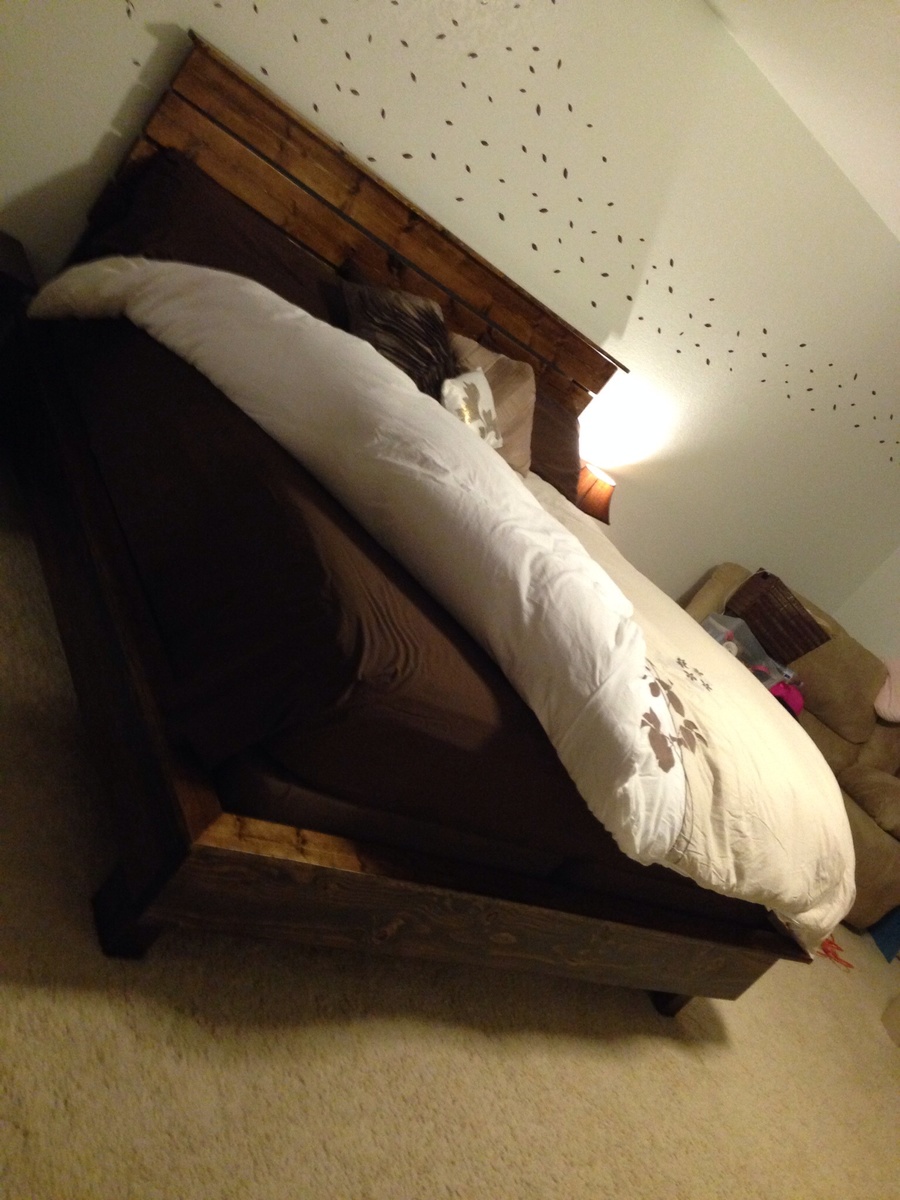
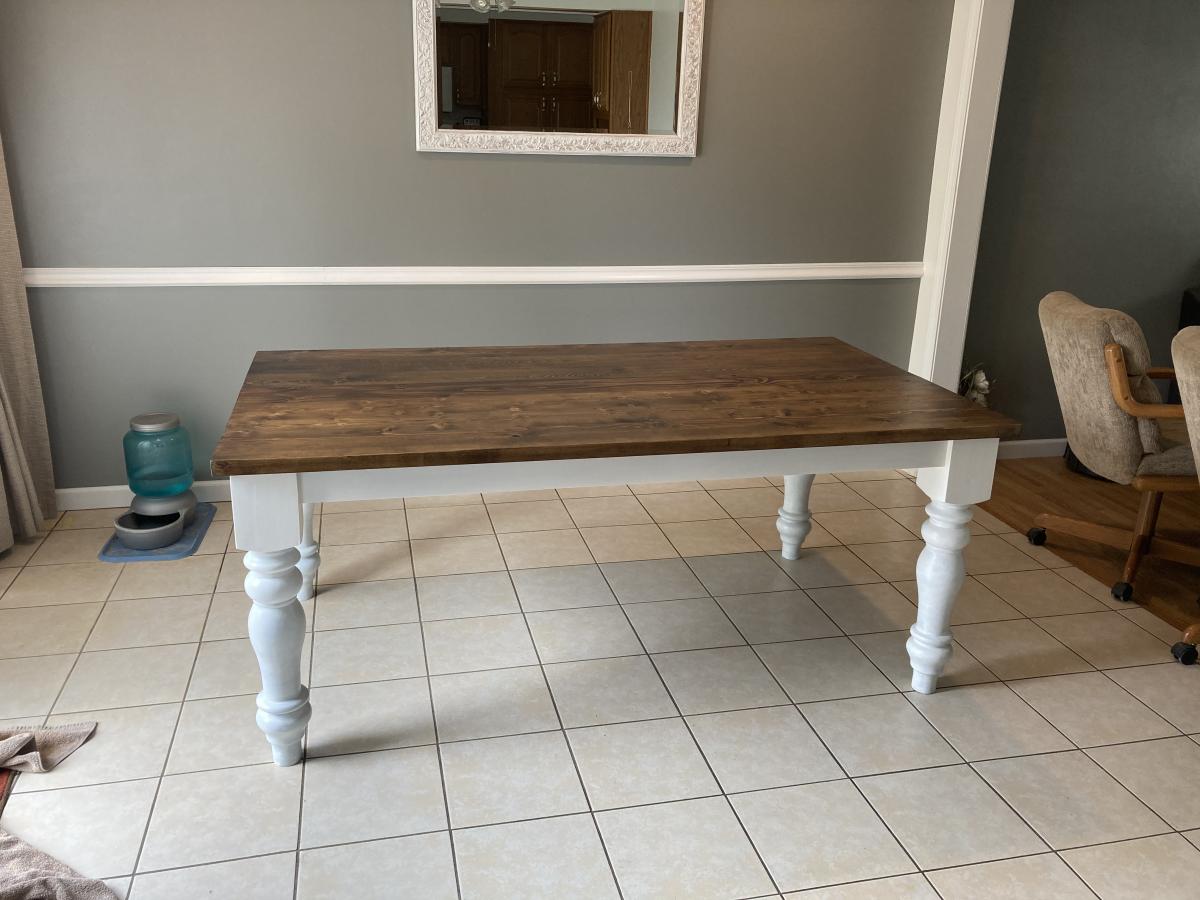
My wife and i were very pleased with the outcome. Thank you Ana for the great plans. With a little basic wood working knowledge and the proper tools, just about anyone could make this piece.
During the COVID-19 pandemic, I needed a new work from home station. So, I built this desk using the Rustic X Desk plan and just modified the shelf down to half size to make it a little less bulky for the room it sits in now.
Sat, 08/22/2020 - 00:13
Looks great! Absolutely love the top, I’m building one as well right now, and I’ll be using a similar color scheme. Happy building man!
i started this project during the pandemic, and it was amazing I did make even for my neighbors
This was my first BIG project. I was inspired by a console table from a blog Take the Side Street and the Ikea Hemnes Sofa table. I didn't use any plans, so just winged the whole project. I was a bit afraid taking on this project, so I used 89 cent utility boards (roughly 1'x4') that I found at Menard's. So I wouldn't feel bad if it turned out like crap or fell apart. Little did I know how wonderful it would look. I added parson legs to the bottom that I bought from the Home Depot and finished it off with a coat of Minwax Ployshades in Mission Oak.
I'm really excited about how it turned out and have less than $20 invested in the whole project by using the utility wood. This console table holds it all.
The table measurements are 48"x32 1/2"x11 1/2"
Saw the Outdoor sectional on your website and I just had to build it! Made some variations to the original plans, one being making it higher off the ground and the other was a necessity because Home Depot didn't have the right size wood and I wasn't about to go running around from store to store, so I used scraps to make a corner piece that fits perfectly. The most timely aspect was the sanding and removing all the rough edges. Also used Bondo to fill in all the holes that were on the outside to give it an all around smooth finish. The end result is just about the same though and the family and friends are in love with it! Thank you so much for the plans! Really could not even come close to justifying what it would cost to buy a sectional like this. Cushions were a huge concern and rightfully so. After building, I started searching and was mostly getting prices in the plus $800 range. It was breaking my heart knowing I was going to have to pay more than double what the entire sectional cost me. In the end though, was able to land some 25 x 25 x 6 cushions at Lowes for 50% off ($50 a piece).
Tue, 06/17/2014 - 14:11
You sure have outdone yourself, love the space! Thanks for sharing!
Mon, 03/16/2015 - 09:06
I love this modification. Did you use 2x8s or 2x10s for your base? It looks like you angles the back. How did you go about doing that? Thank you for posting this?! Great work!
Mon, 06/29/2015 - 18:00
nice build, when you get some time can you put up your modifications please:) would love to build this! Love the colours you used and how it looks!Me too..you cook like me, i make it my style...thats how i do my salsa ..my way i like it...
Mon, 06/29/2015 - 18:00
nice build, when you get some time can you put up your modifications please:) would love to build this! Love the colours you used and how it looks!Me too..you cook like me, i make it my style...thats how i do my salsa ..my way i like it...
Mon, 06/29/2015 - 21:50
sorry about the end of my comment, must of pasted a message in their somehow? My bad.
I love this table!! Simple build using recycled wood from dumpsters.
Our take on the modern outdoor chair! Fun and easy to build. Will be making the 2 seater loveseat to match.
Best looking greenhouse and great size!
Mary McLachlan
A bunkie board needs to be added to the shopping list. I used one from a bunk bed that I used to have as well as some metal slats that I used to support the bunkie board. I would imagine you could use boards as well. Also, I would add that 2" screws would be helpful. There were times when 2 1/2 were too long and 1 1/2 were not long enough. It's a very sturdy bed. Definitely recommend using lots of wood glue for reinforcements. I also added L-shaped brackets under the 2x6's to add support.
We didn't want a platform bed but liked the looks of this bed. We used a 2x10 for the vertical frame. The 'rail' around the top of that is a 1x4. We sunk the supports slightly to hide most of the box spring. I also wrapped the box spring so that it matches our bedroom and isn't so apparent. The legs we did were two 2x4s as we couldn't find a 4x4 in pine. We did two twin beds to support the twin box springs and did a 'footboard' that brings them together. They wouldn't have fit through doorways otherwise. It turned out very well. The headboard is somewhat our own creation.
Decided to use your plans and build an entertainment center for the house. I did however change a couple of things, like it is a little smaller and I used weathered wood for the sides and front, along with deciding on not using the doors. After building this project ...I Loved it ! In fact loved it so much , I built a matching end table. Thank you so much for the plans and ideas.
Wed, 09/21/2016 - 15:32
The weathered wood is beautiful! I love your take without the doors. Thanks so much for sharing!
This was a fun project to replace our old oak table. Anna’s project plans was very easy to follow. My wife wanted a semi plank look so I used a wood jointer and a wood planer to get the top nice and snug without many gaps. I used popular for the sides and I used 3 pocket holes for every frame connection to add strength. 2 pocket holes seemed a little weak. I used valspar aspire white for the paint and Minwax walnut stain. For the poly I used varathane 3x thick satin oil based polyurethane. I tried using semi-gloss but it was two shiny for us. I added 2 cross braces for added support for the lower portion of the table and to add more points of contact to keep the table flat. And secure. Don’t be afraid to have small imperfections. They give it the authentic look.
DIY Home Closet Upgrade
I built this custom desk for a customer's 6 year old son. I started with the Modular Office Small Desktop. I had to make changes to the plans because I was using 3", posts, 1.5" solid wood top and the entire desk was made out reclaimed lumber. I also added a cross beam on the bottom to make it more secure. Once we settled on the basic idea my customer said if I found something unique to go ahead with it. They were thinking a cool piece of wood or something like that, however when I found an old boat instrument panel at the used furniture shop where my wife and sell furniture I had to have it. I then pulled all gauges from the panel and installed them in a wood "back splash". I rewired the gauges to work on 120V power so one switch will turn on the gauge lights and the other will make some of the gauge neddles jump.
We just built our first set of Adirondack chairs and after sharing with our friends, we have sold a few. We are now building other stuff too!
The only change I did to the original plan is place the 1x3 on the top in the back. Makes it look more stout and clean finish.
We painted it 3 times with a nice red and bought some great cushions at a good price.
This workbench was fairly easy to make and I was able to do it by myself. The hardest part was attaching the supports to hold the two sides together without an extra set of hands but I figured it out. I made another shelf to sit on the bottom so I'd have a space to put smaller stained/painted projects to dry. I love this table, it's exactly what I needed. Supplies were purchased at Home Depot for about $50.
Sat, 09/24/2016 - 09:53
You did a great job! It can be tricky sometimes without an extra hand, glad to see you got it worked out. Thanks for sharing!