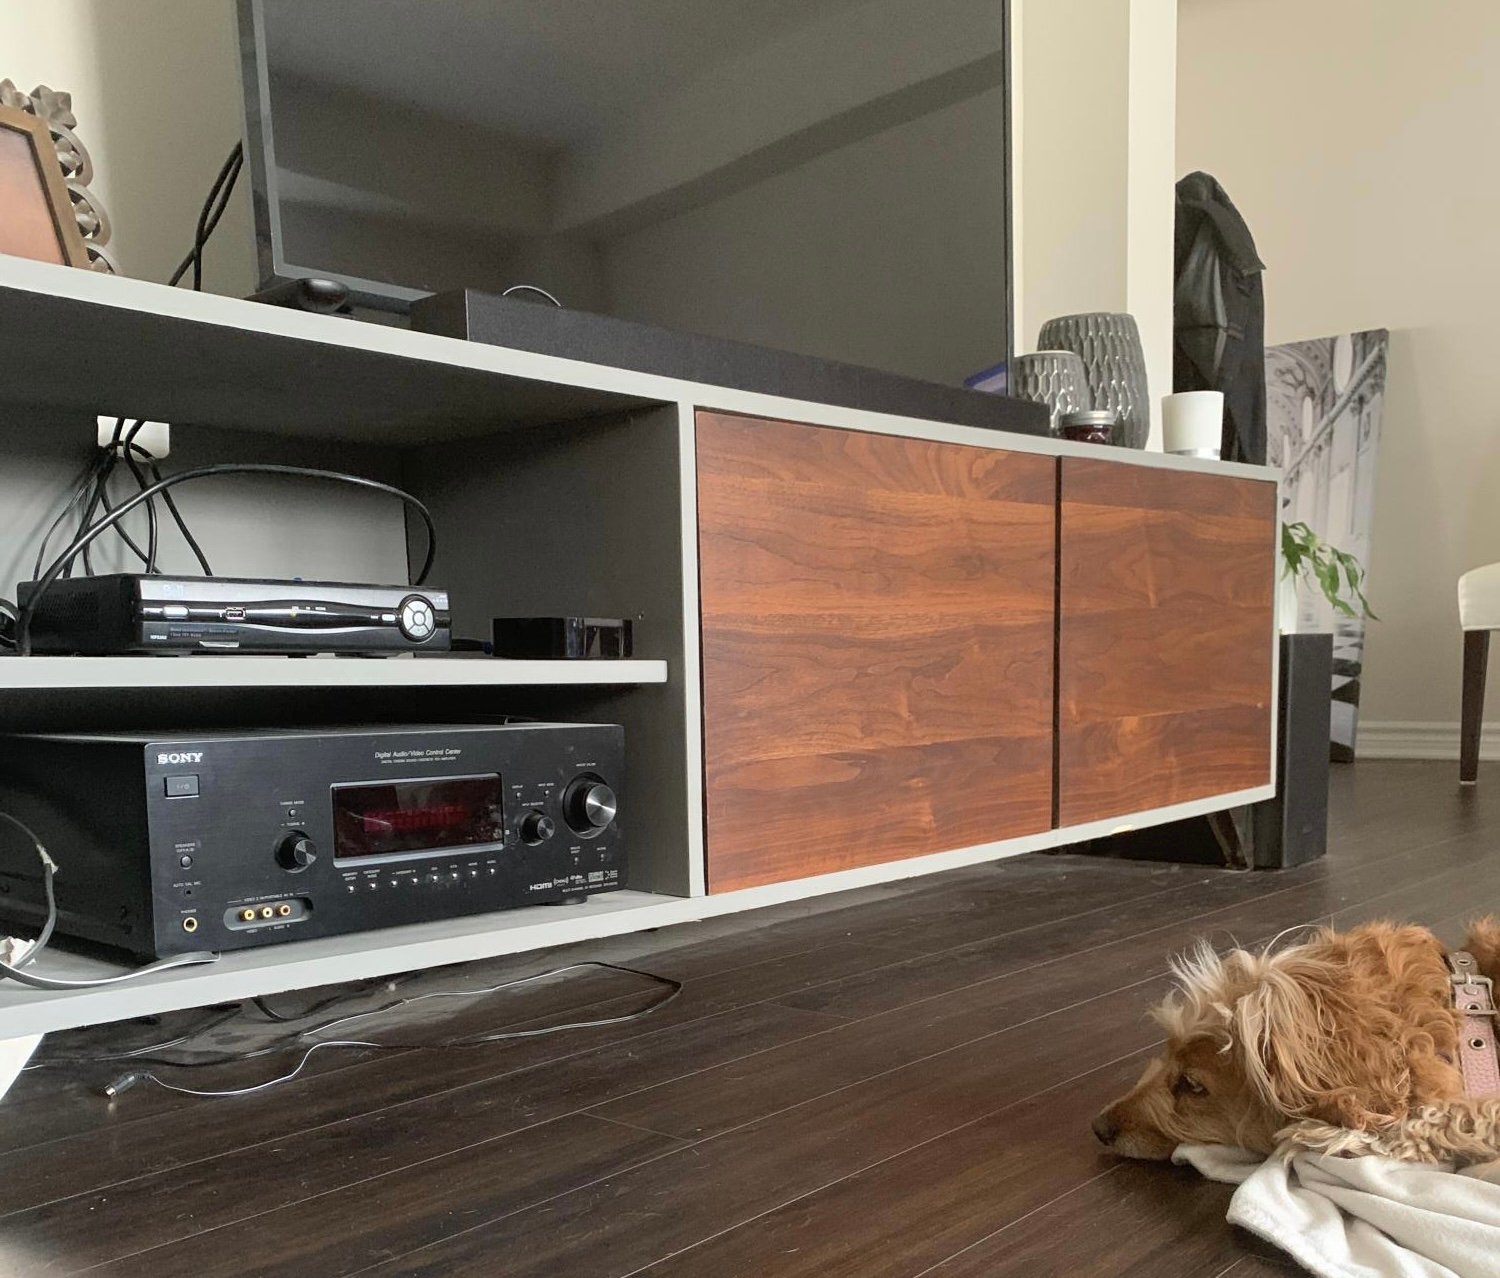
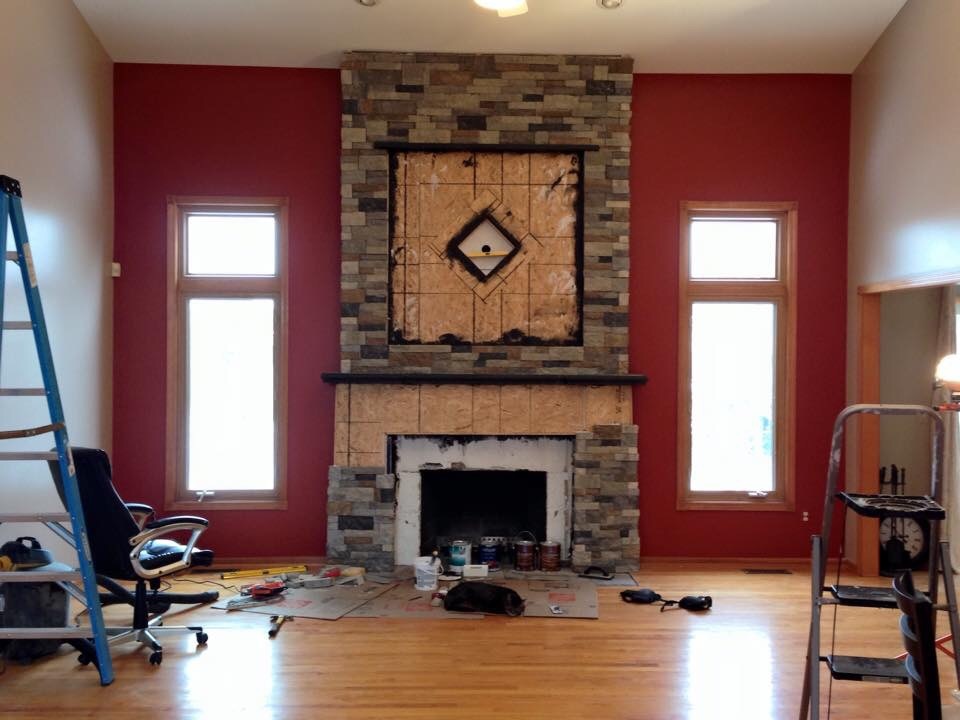
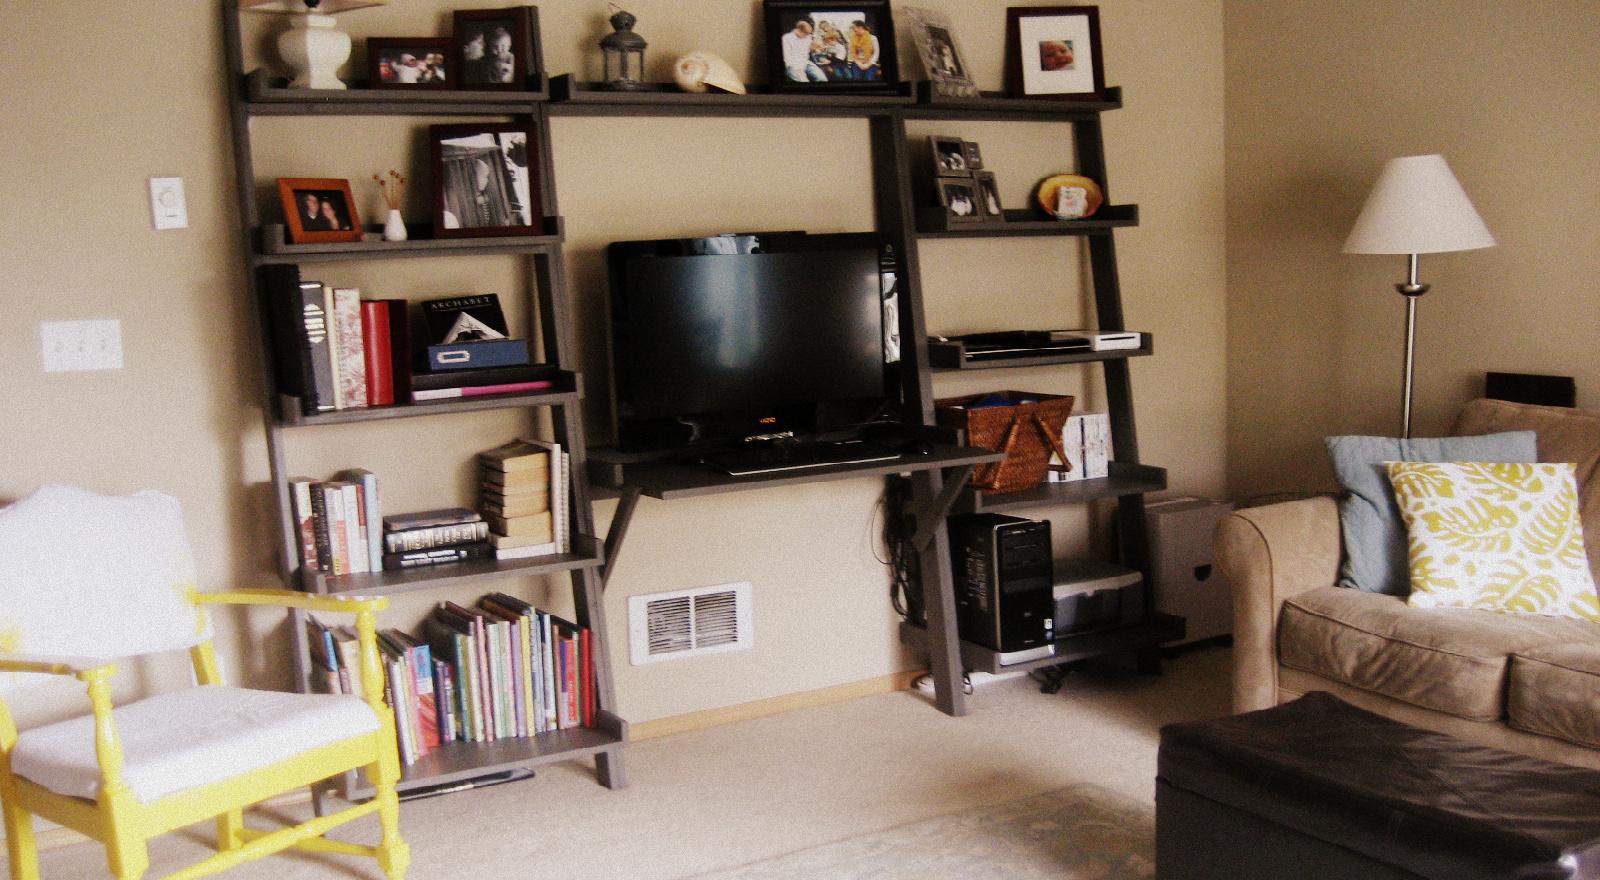
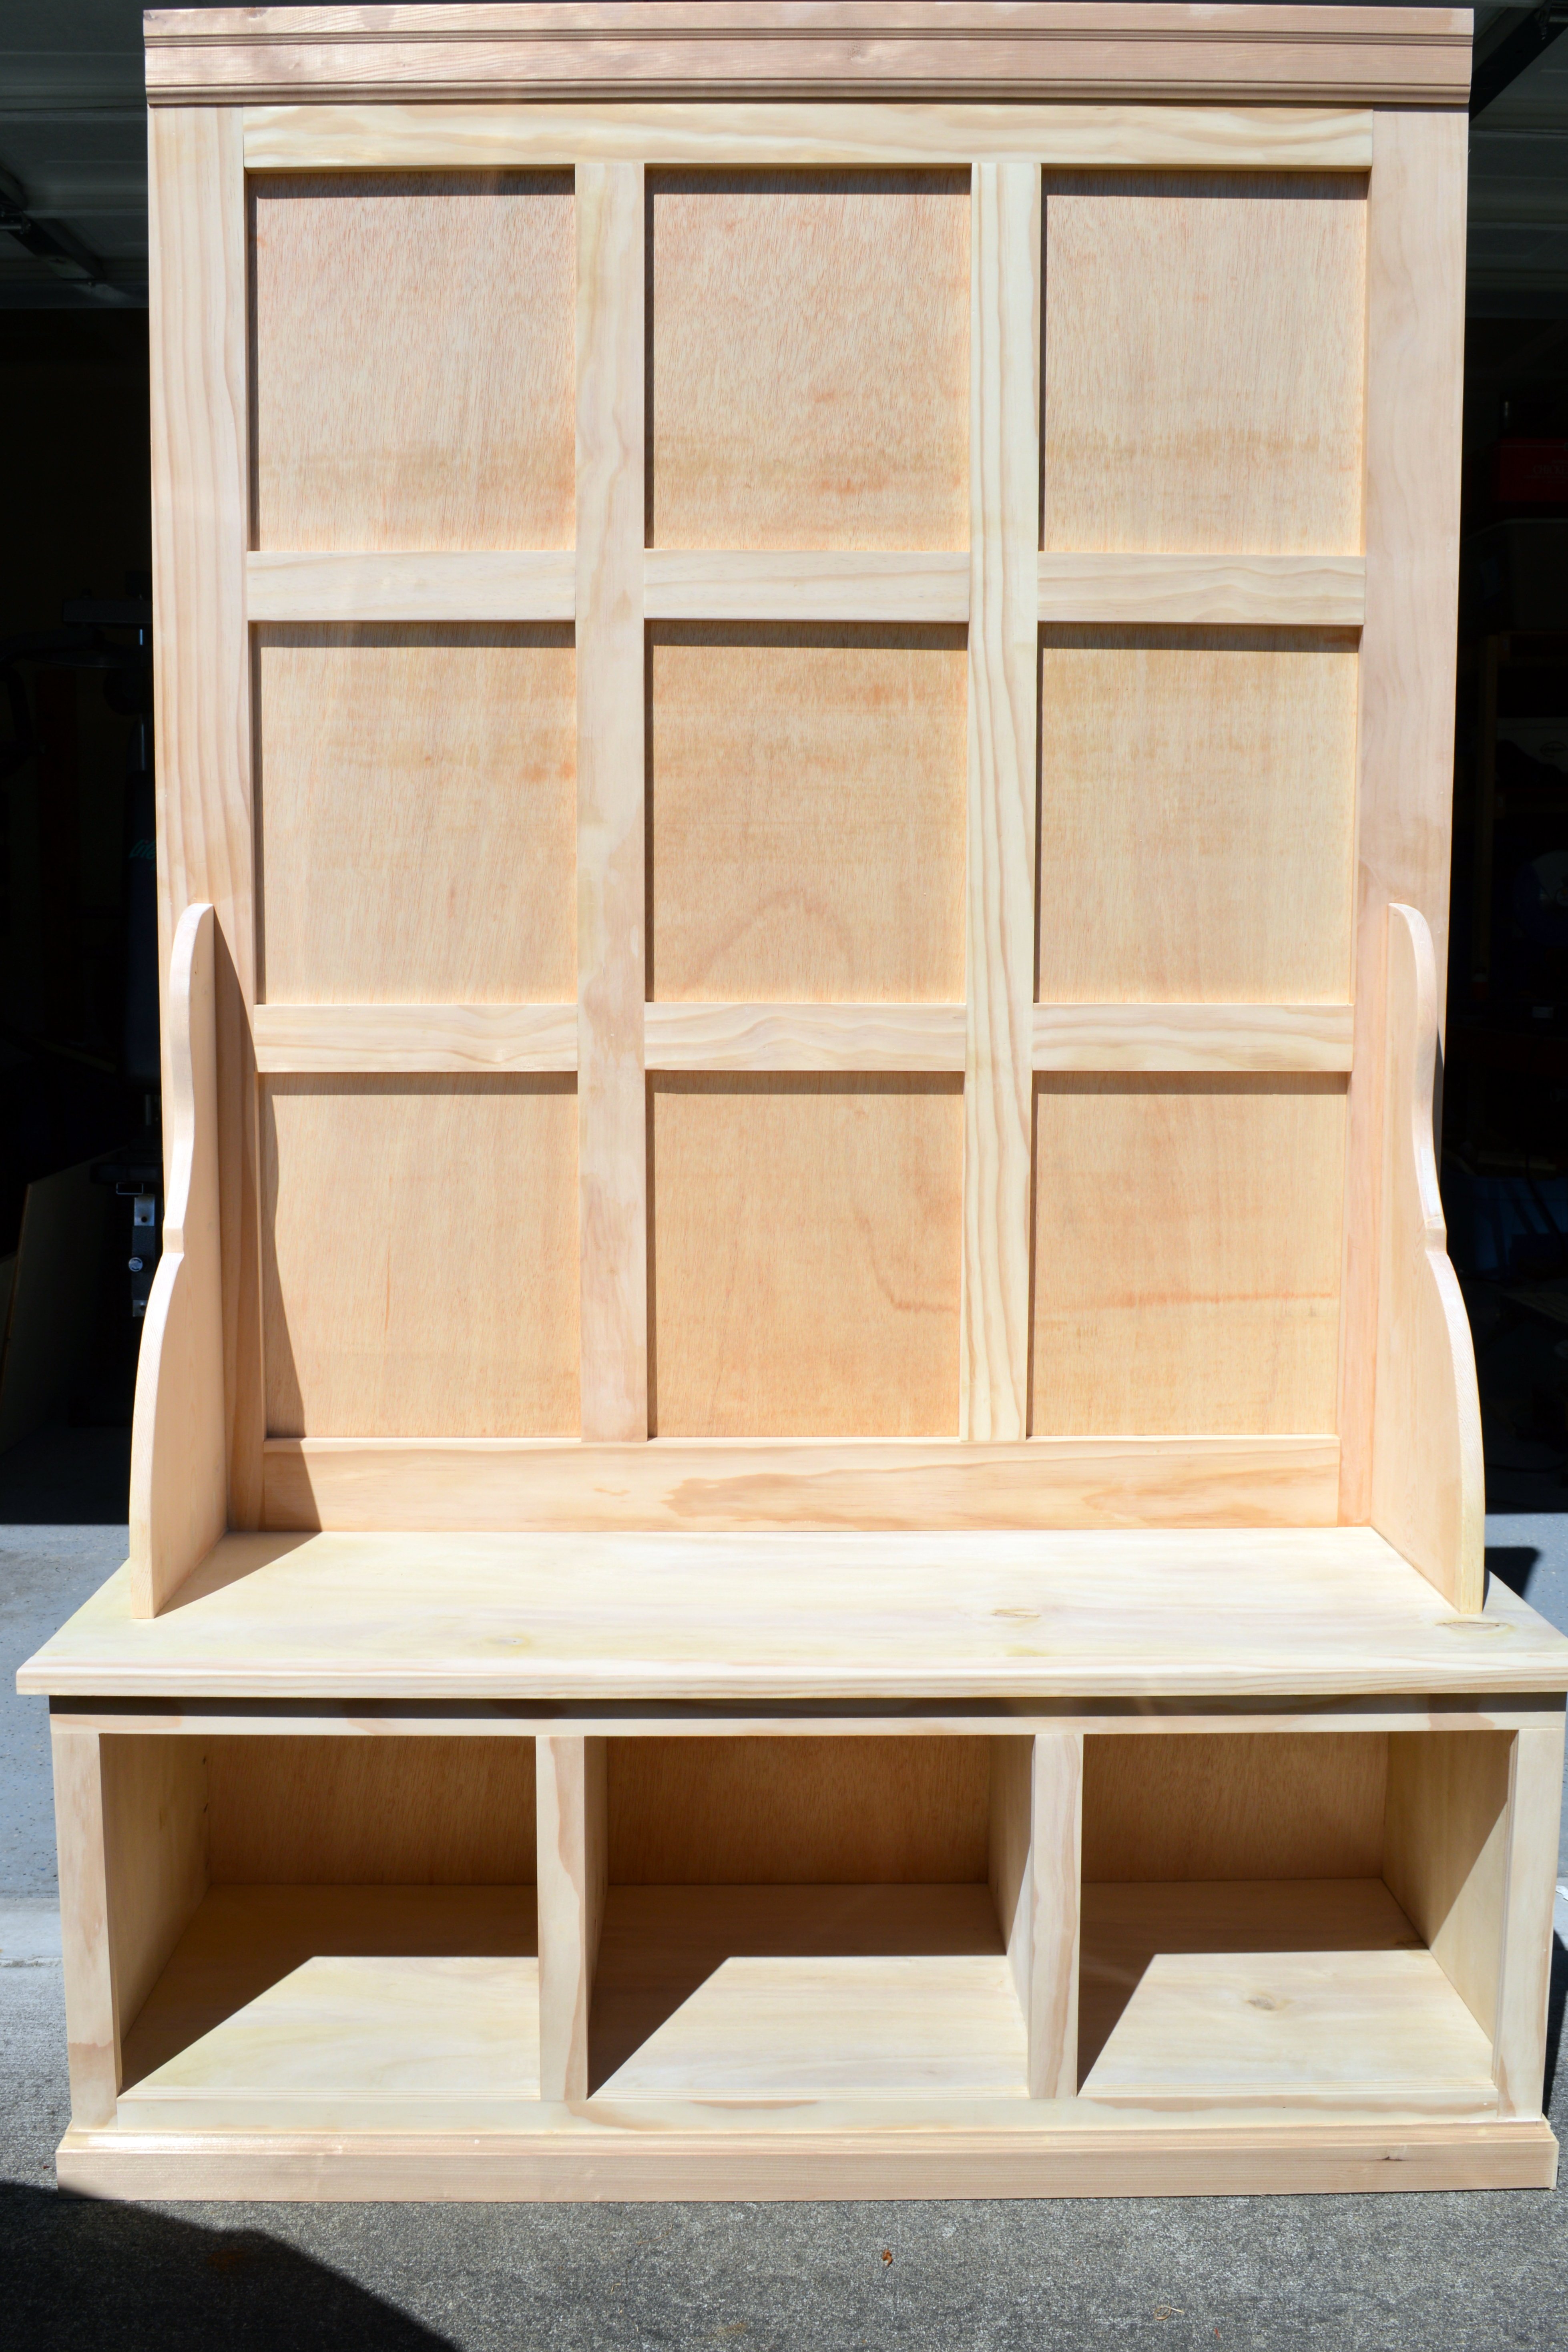
Recently I was a Crate and Barrel and I found the Sloane Leaning Desk and thought that it would be perfect for my media center. (See that wall heater under the desk, I needed that to be open and I was tired of my big wood box of a media center on the, now, couch wall.) So knowing that I had seen the Leaning Wall Shelf on this site I knew I could reconfigure it a bit to work out for my own needs.
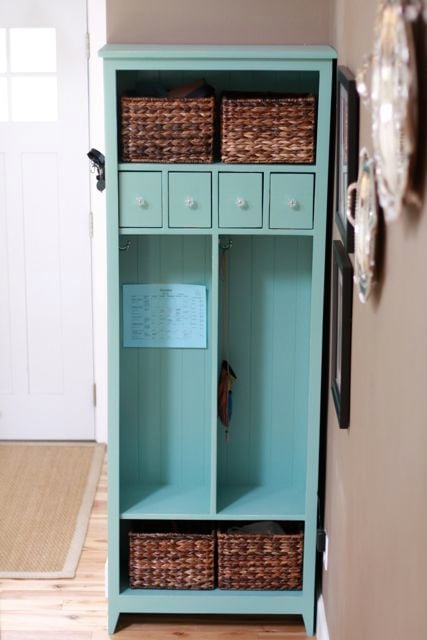
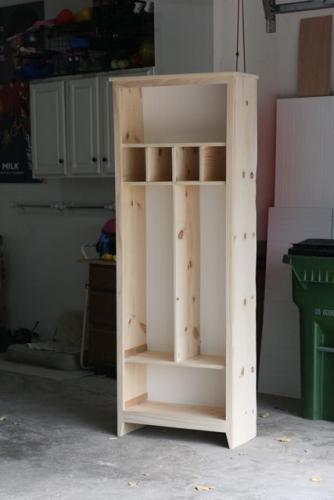
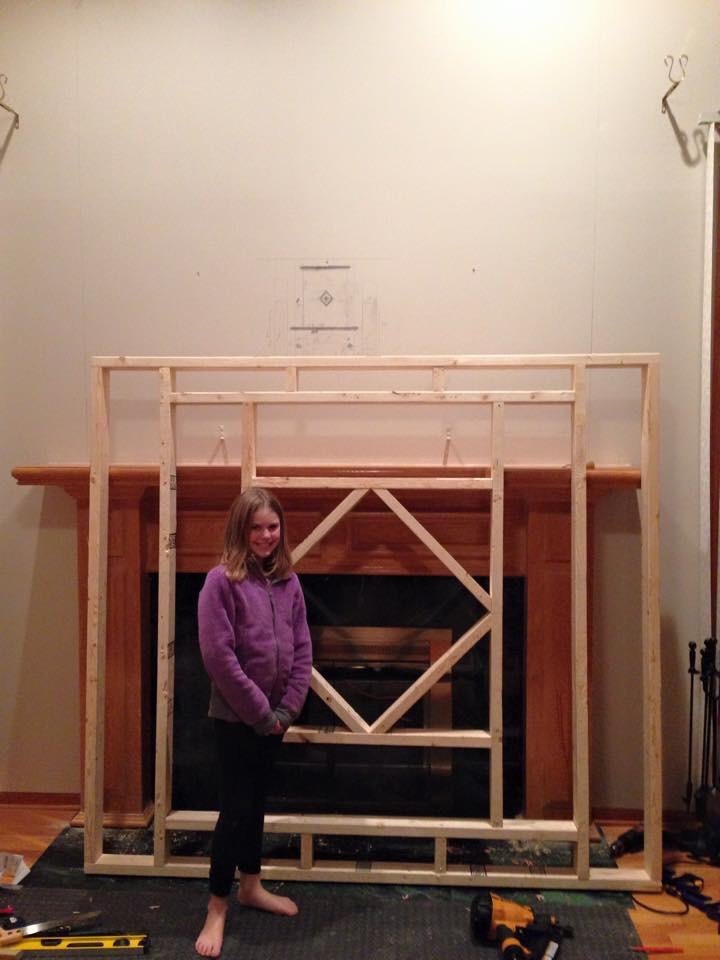
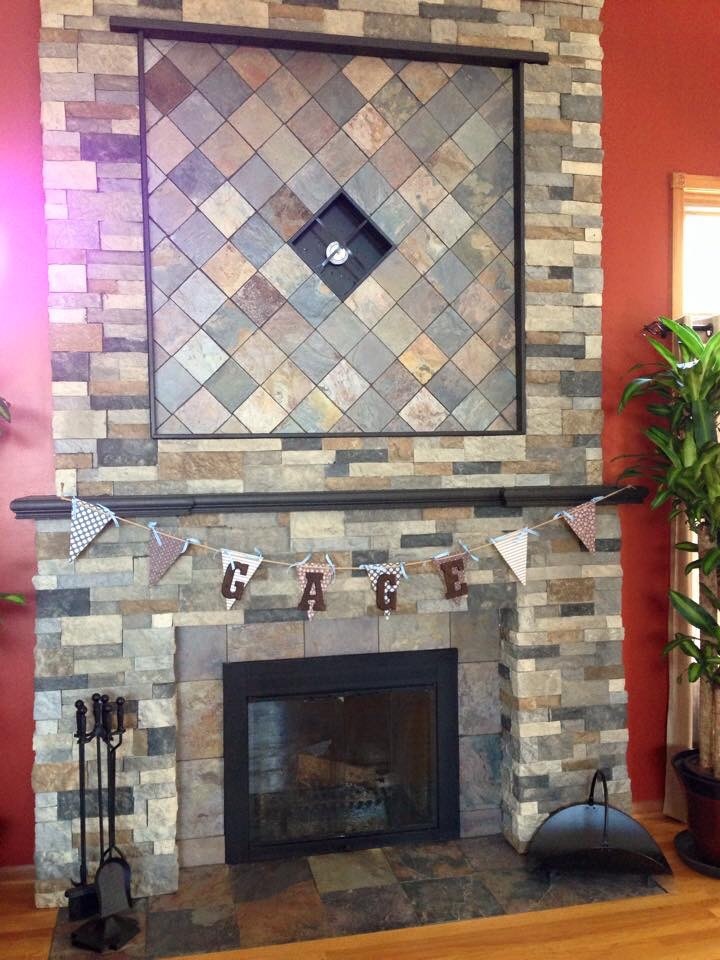
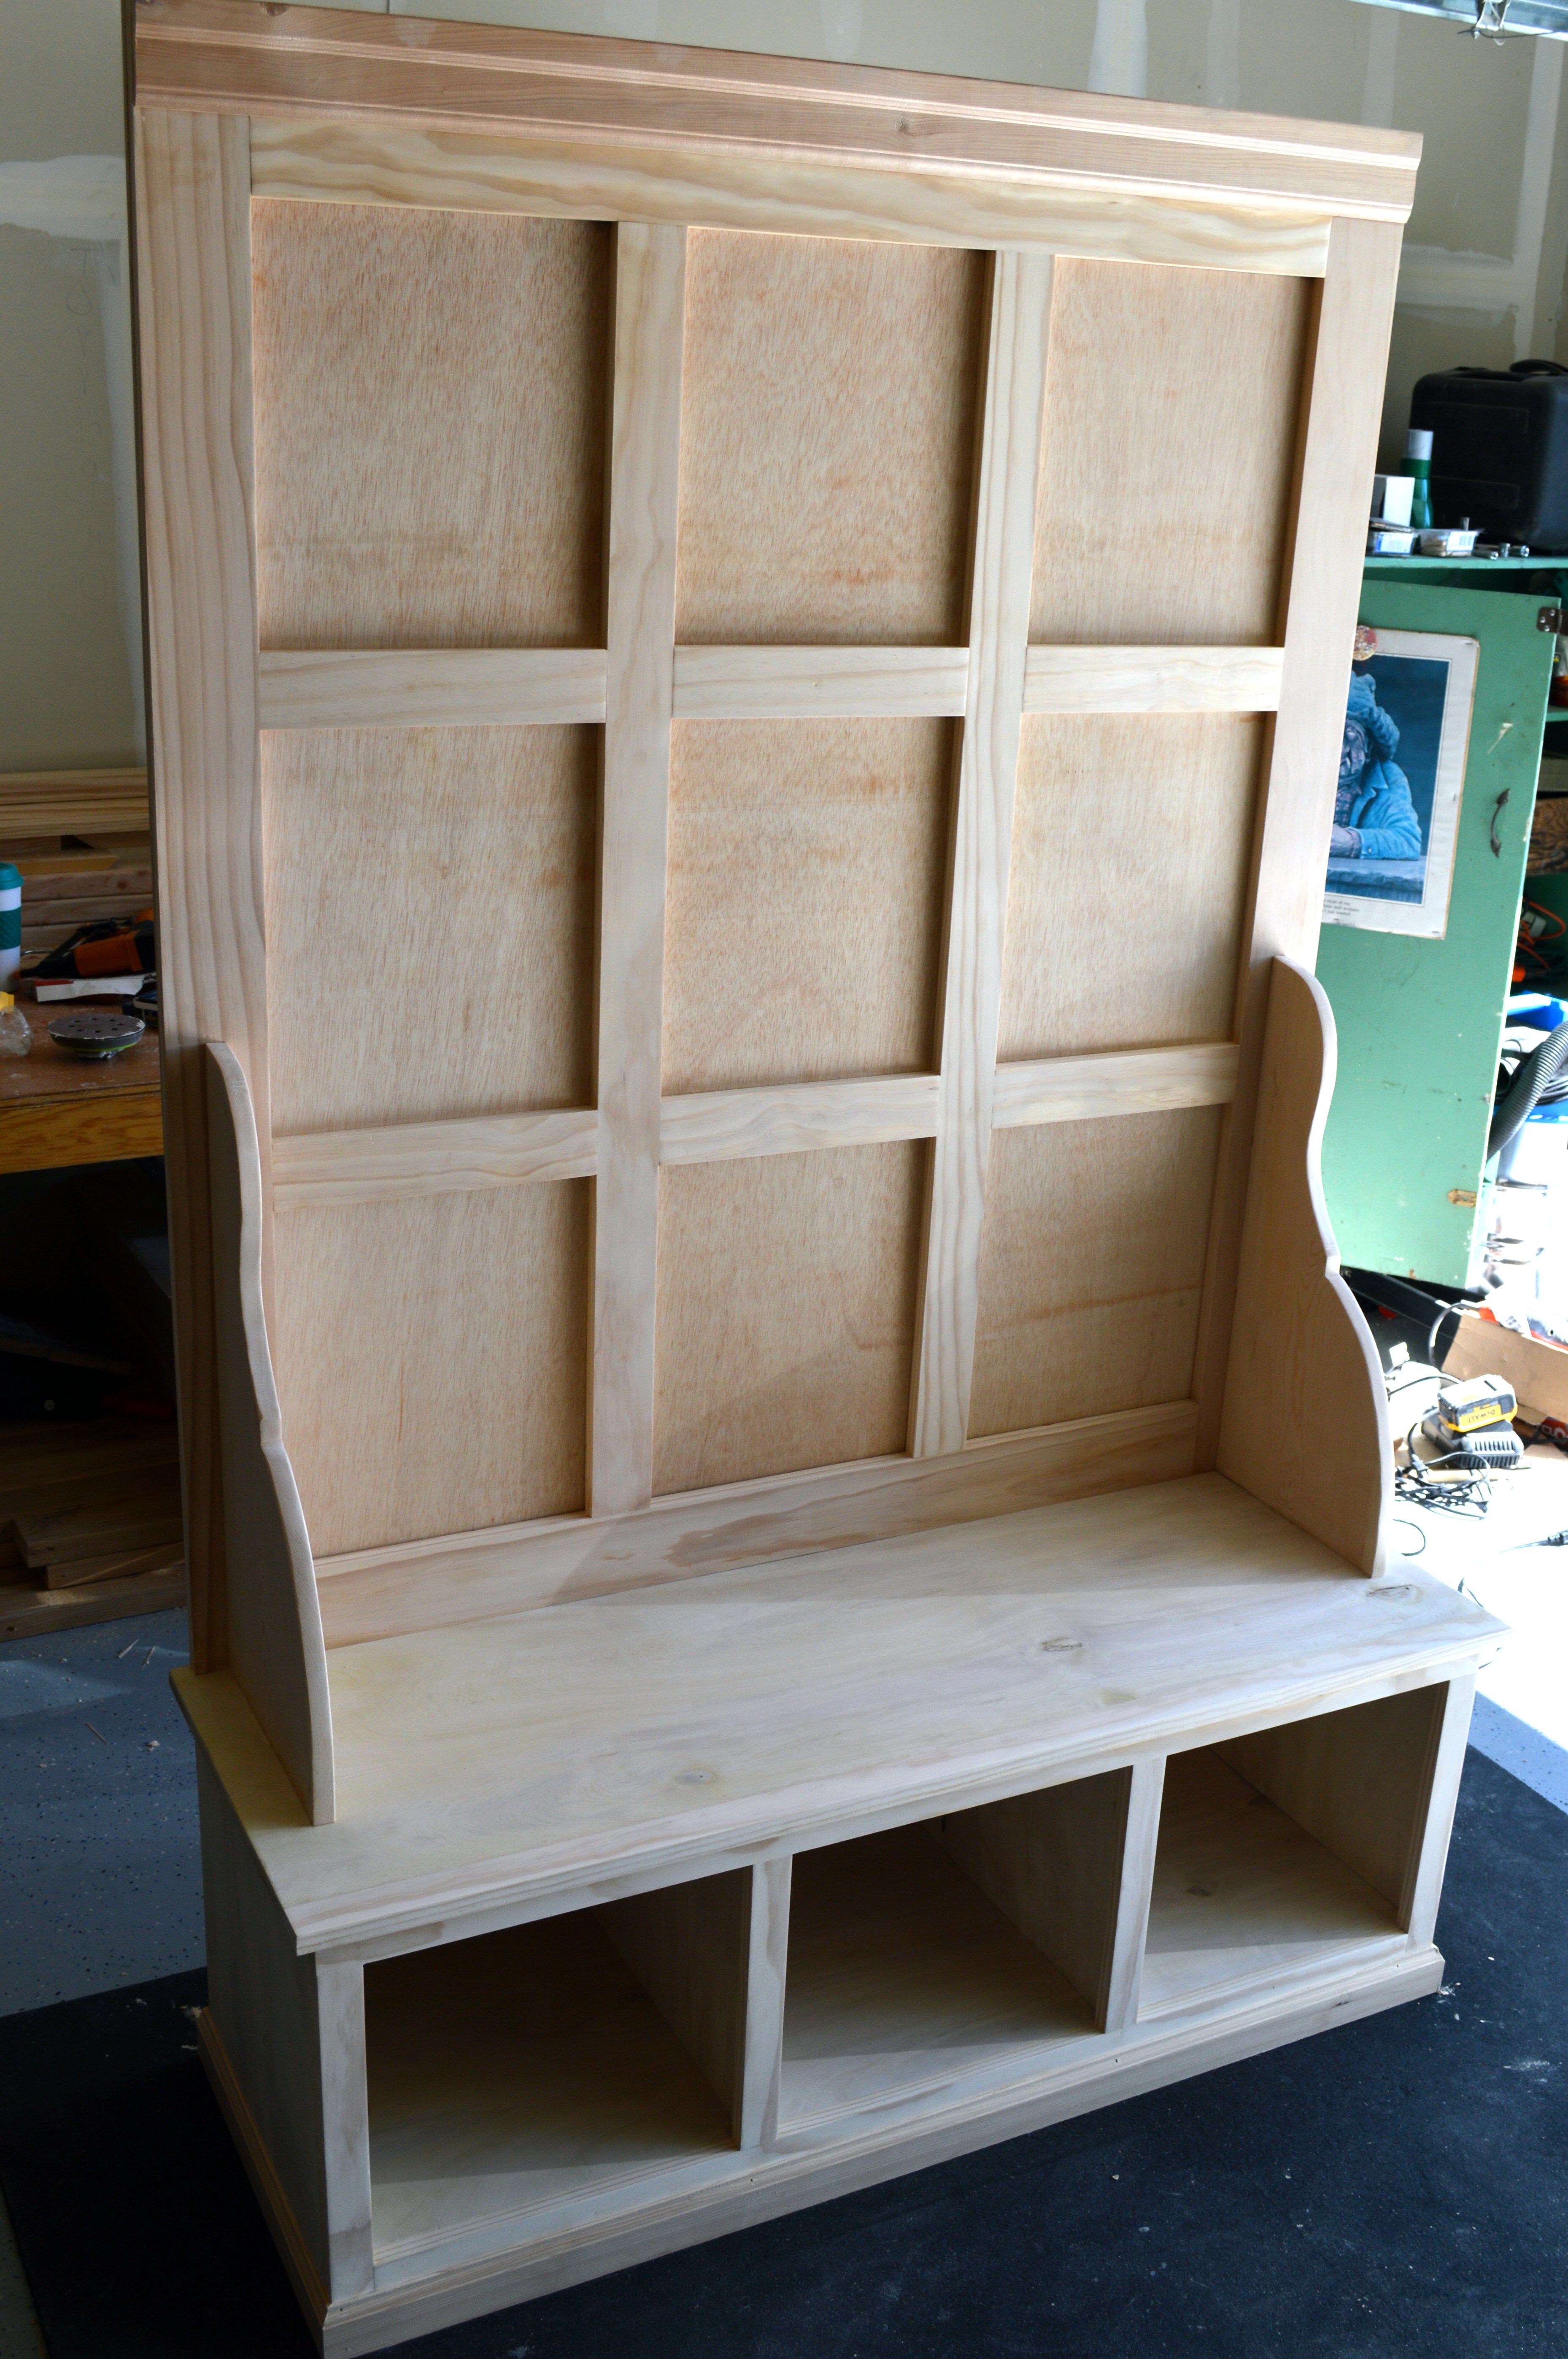
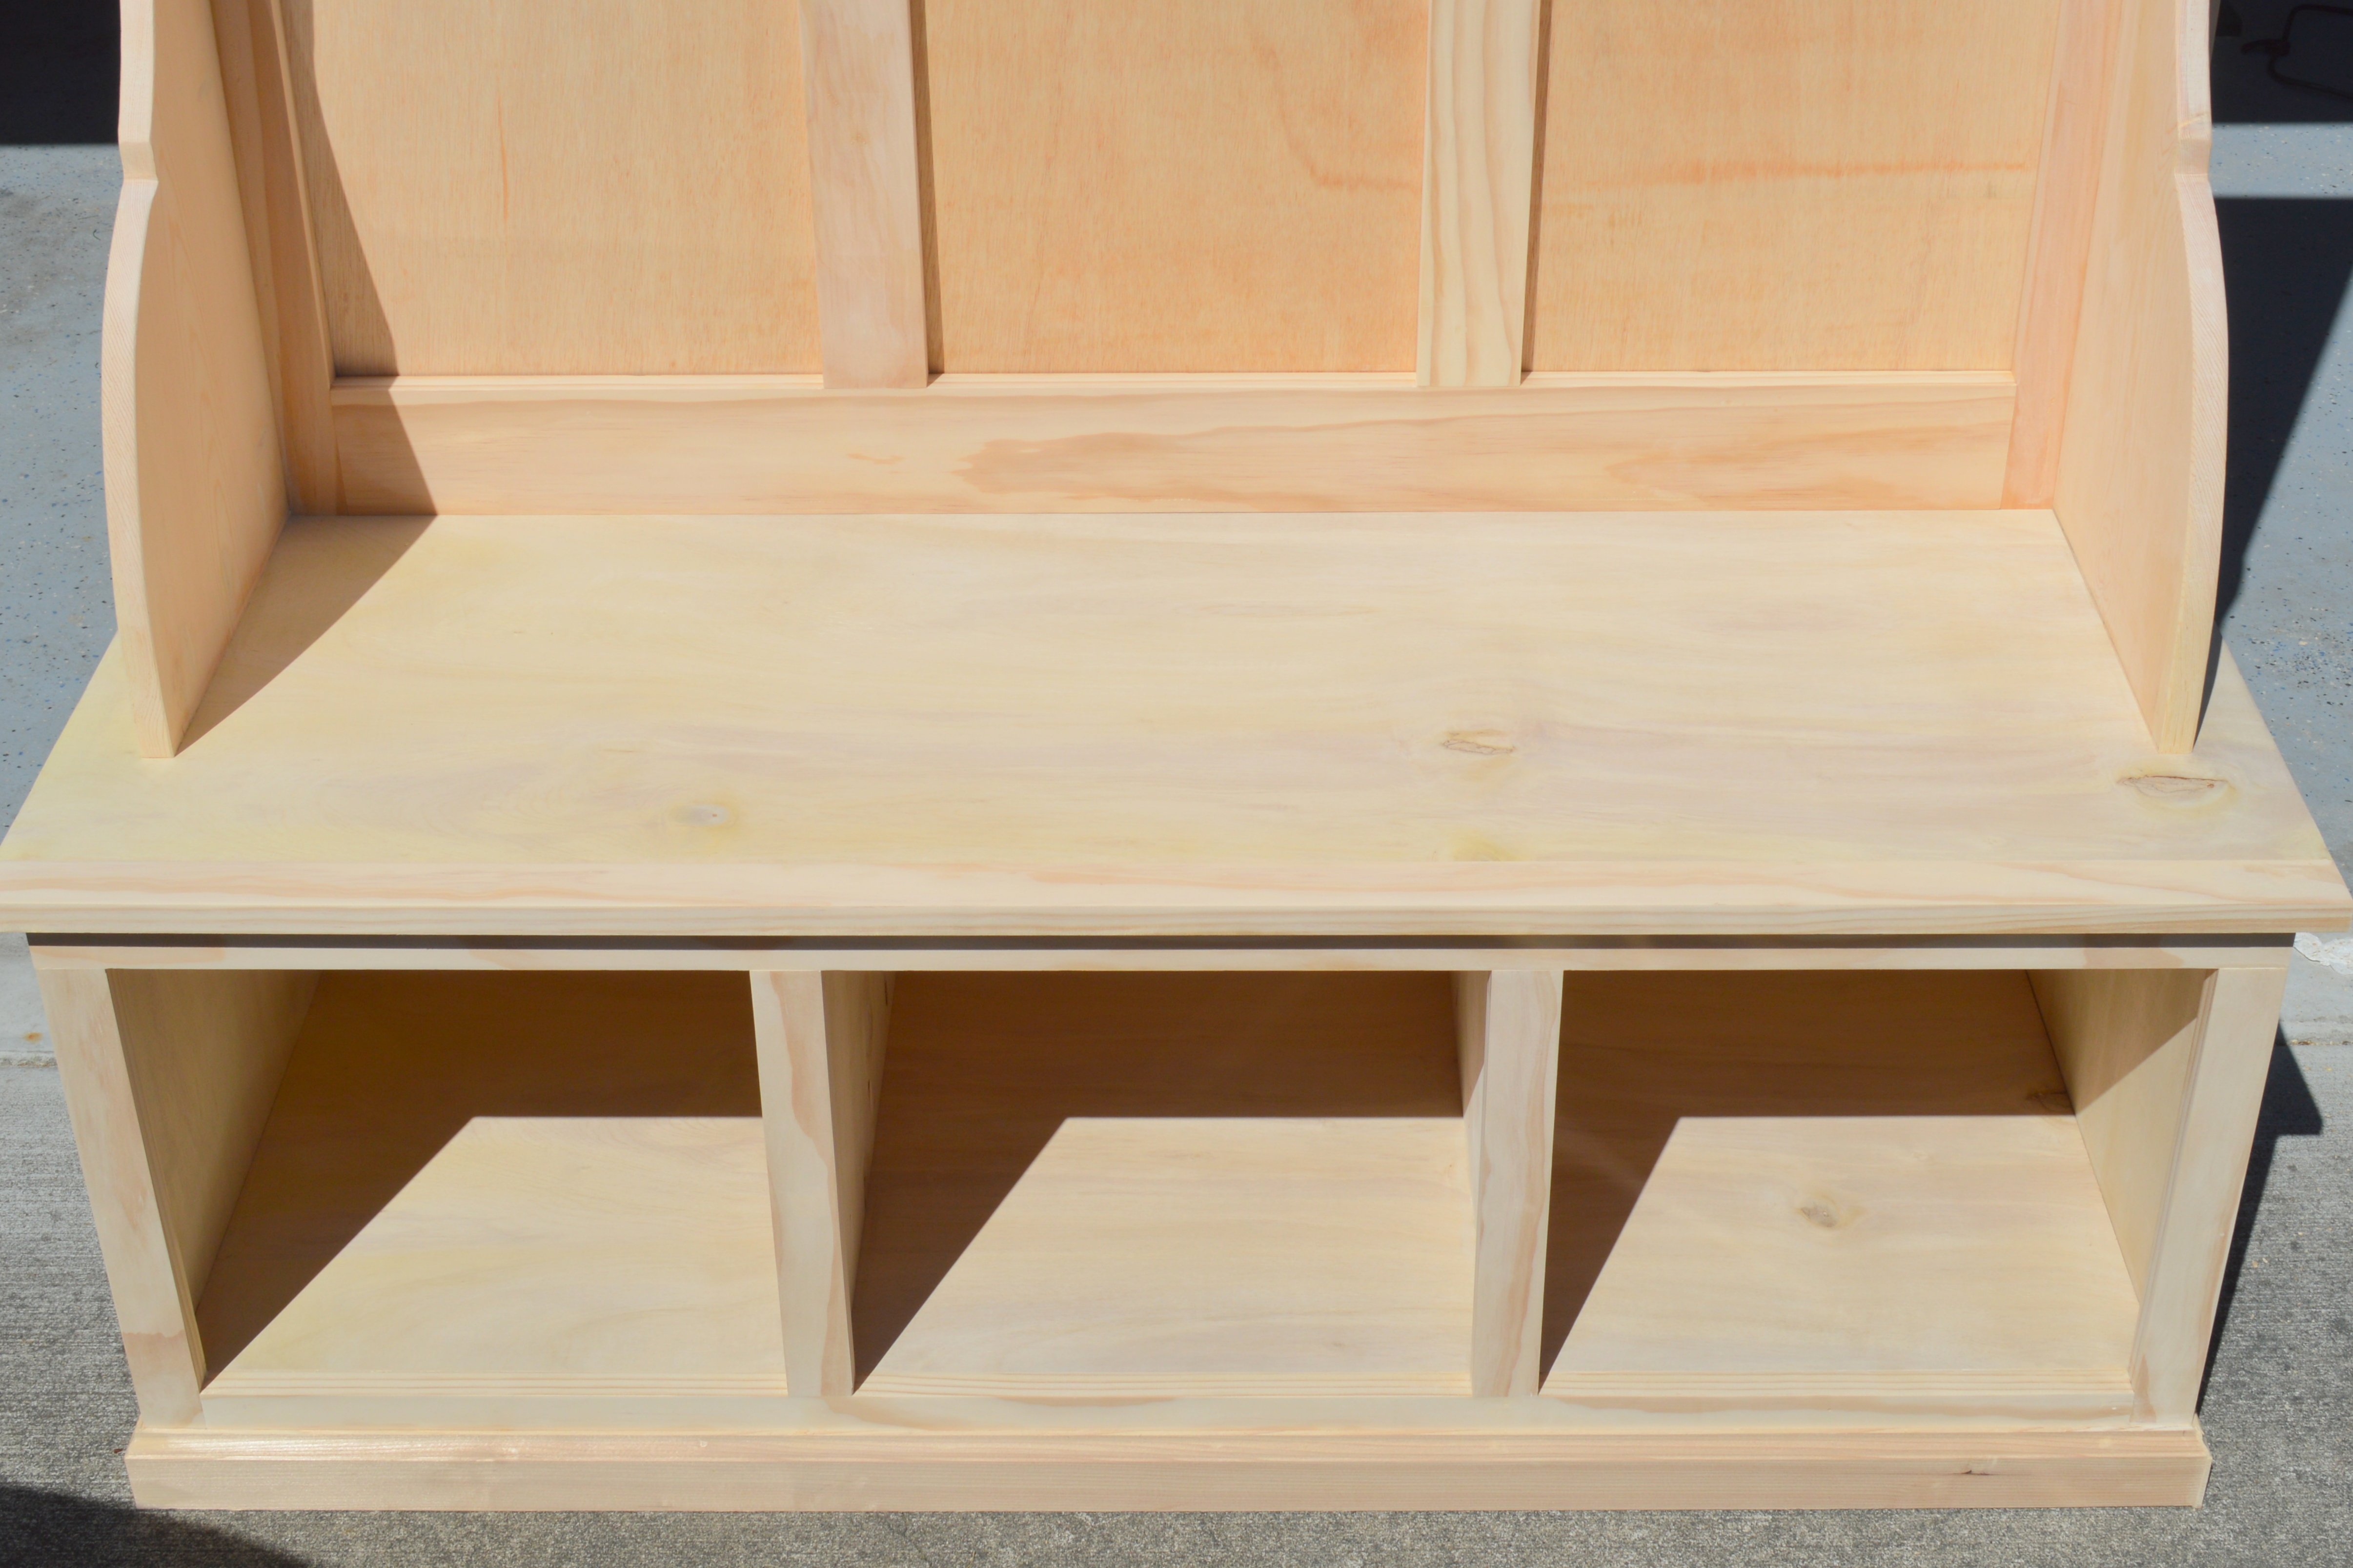
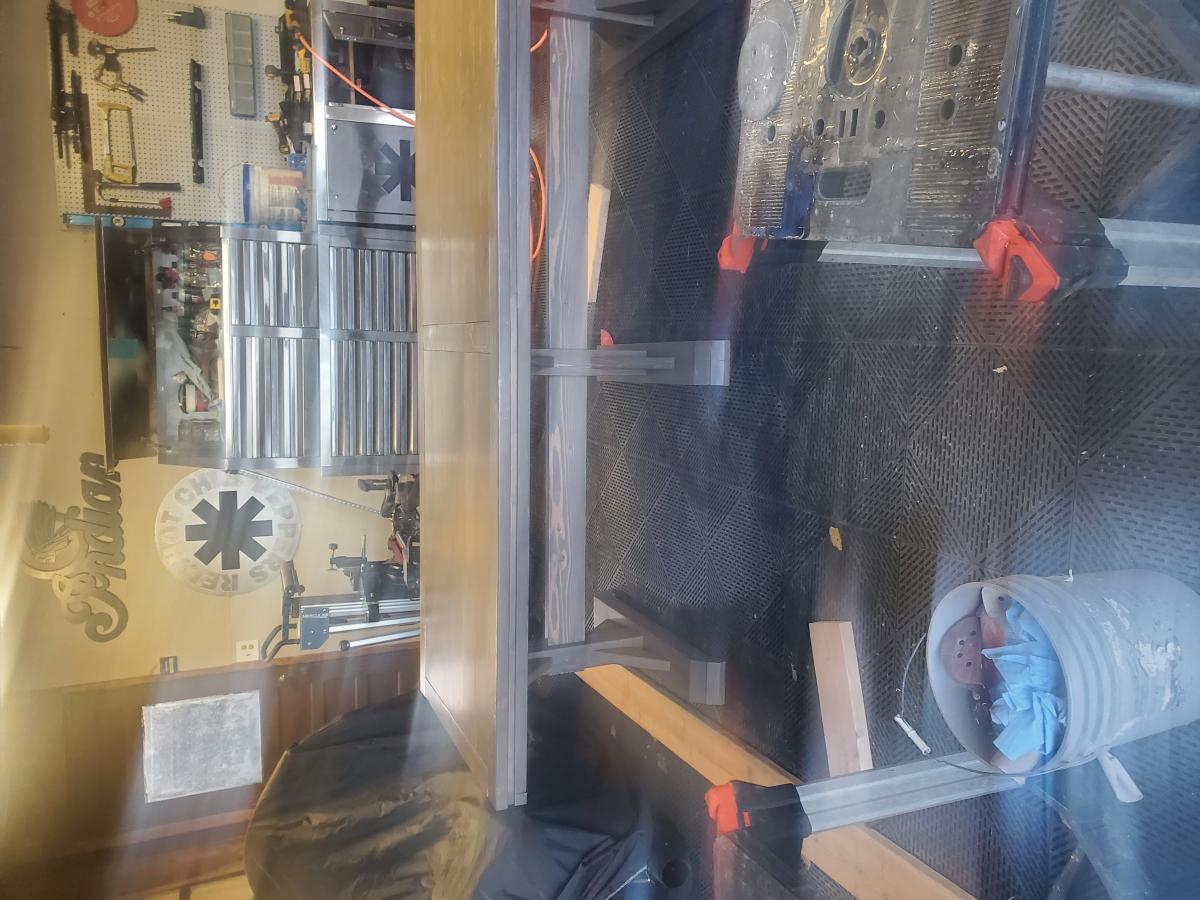
First, I cut the dimensions down a bit. Instead of the 31 1/2" length on all of the shelves I cut them at 24". Then then all the back trim at 25 1/2". Then for the middle section, I cut the shelf and desk at 36" and the back trim to 37 1/2". The side trim for the desk is 14 1/4". The desk itself was 22x36" and the top shelf was cut from a 1x8x6. I did this because I could cut all the other shelves and the desk from one piece of 4x8' plywood. For added support I used a 2x4 as the brace under the desk and added 1x2 braces (cut at a 45 degree angle) for extra support on the front/ sides of the desk (see photo). I also left all the edges squared off for a more modern look, like the Sloane.
I hope this helps you and good luck with your project! FYI, this was my first build EVER, and with a little help from my dad cutting the wood and getting it level, I got it done pretty easily. Oh, and get yourself some large clamps or an extra set of hands to help hold things together while you're drilling.
Estimated Time Investment
Week Long Project (20 Hours or More)
Finish Used
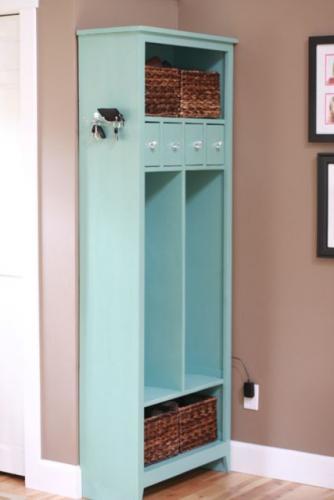
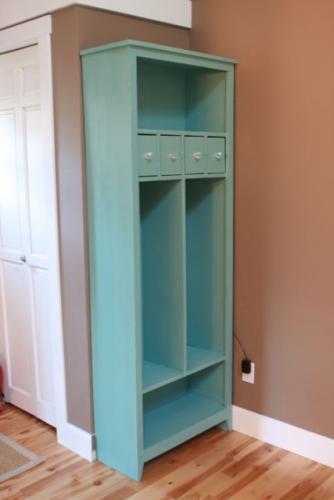
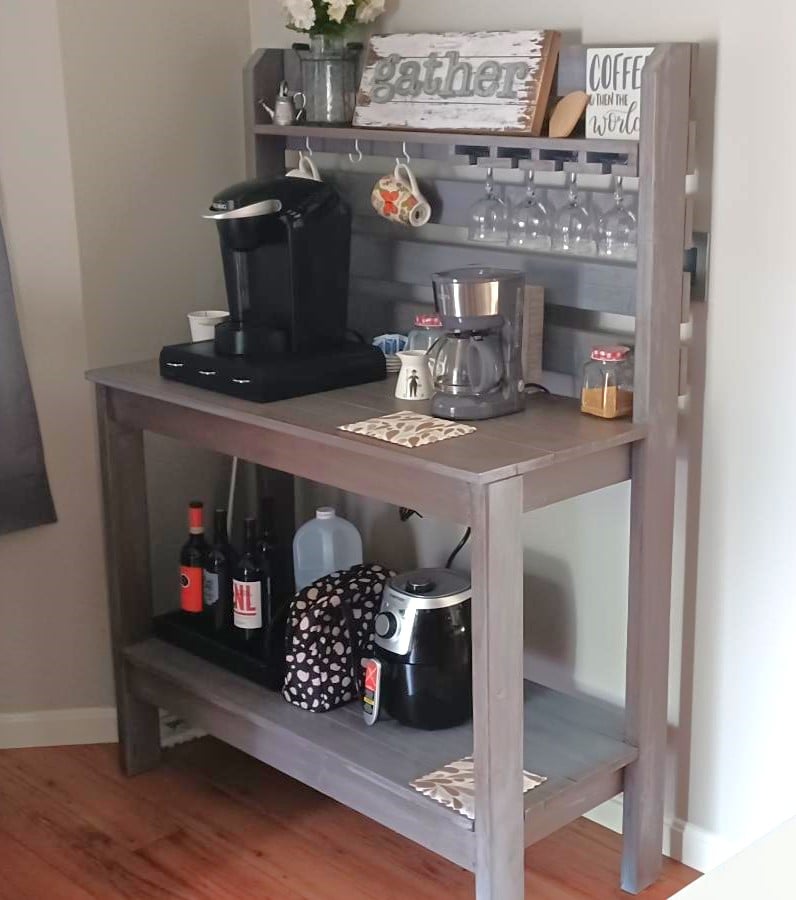
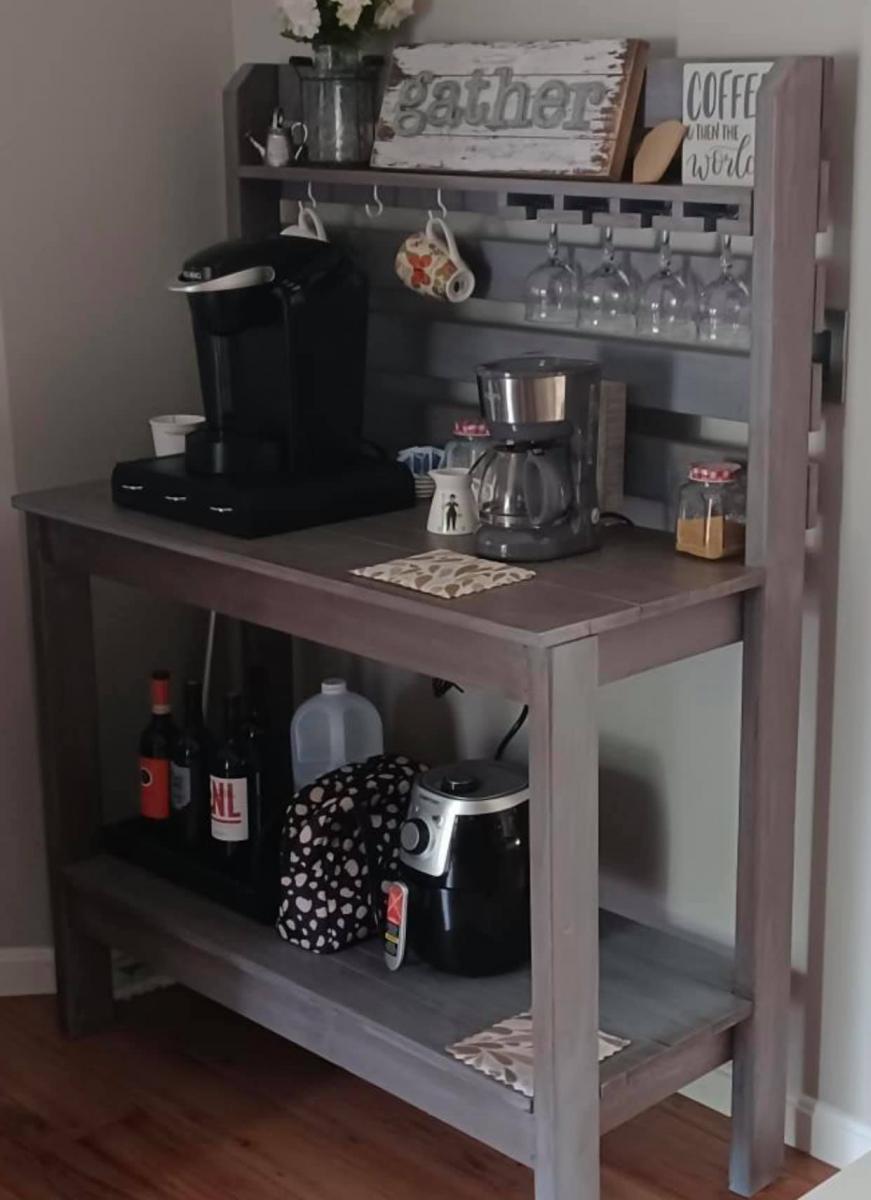
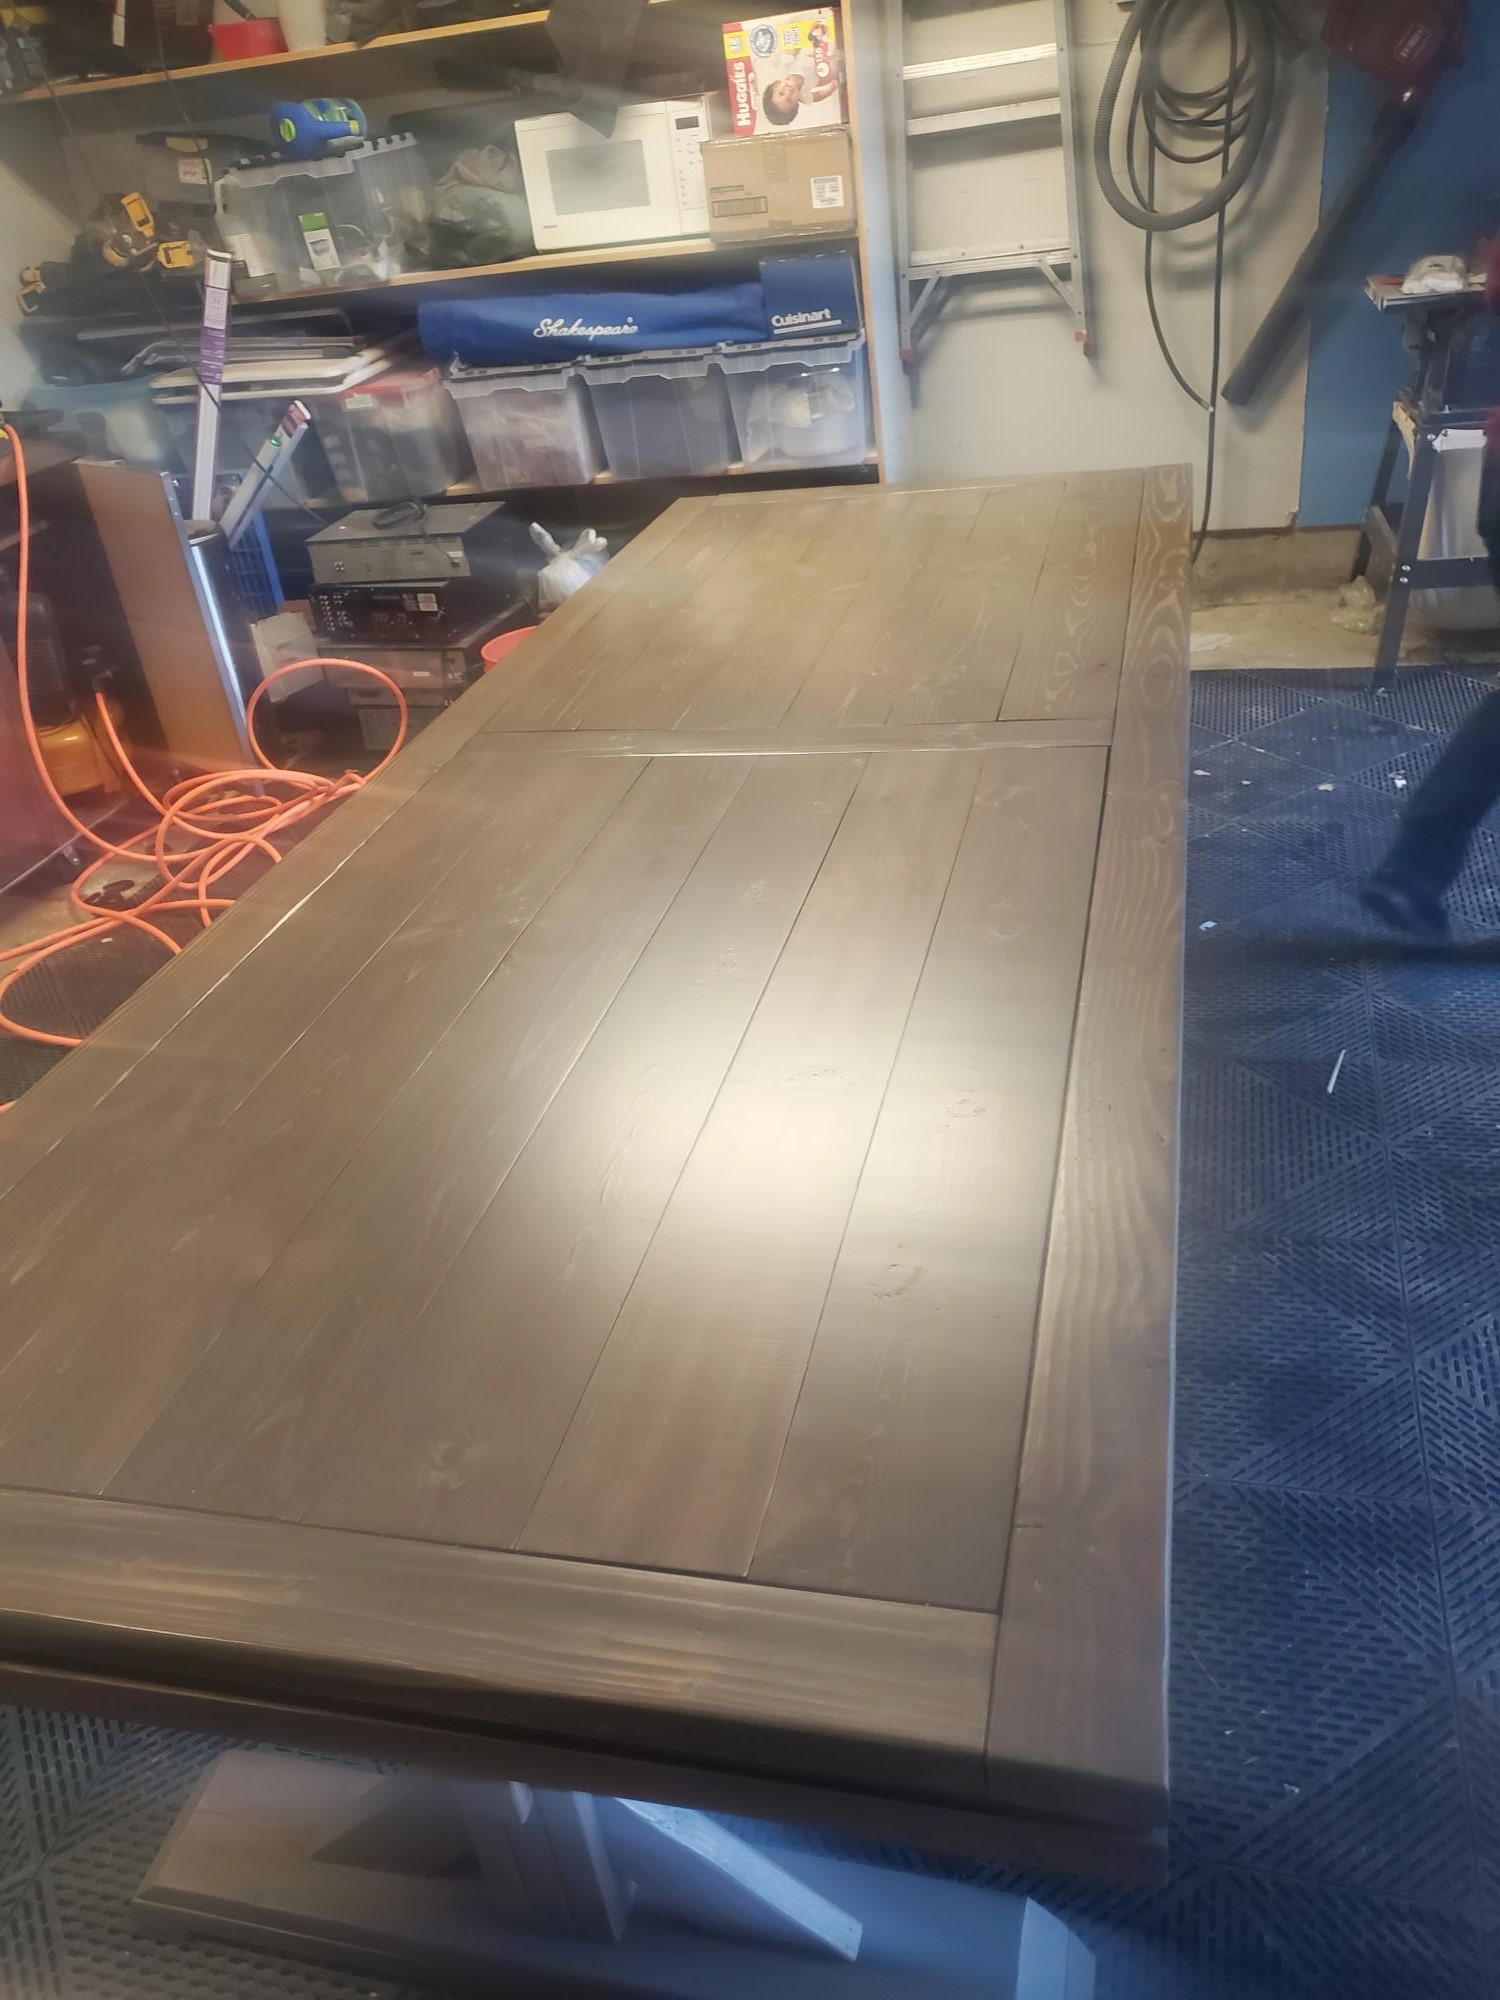
I built the main supports and shelves separately then sanded, primed and painted them before assembling them in my home. For the primer I used 1qt. Zinsser 1-2-3 (1 coat), then used 1qt. of Martha Stewart, Seal (2 coats with a smooth finish roller) in a satin finish.
Recommended Skill Level
Beginner


Comments
Juliebpappas
Thu, 05/09/2013 - 19:54
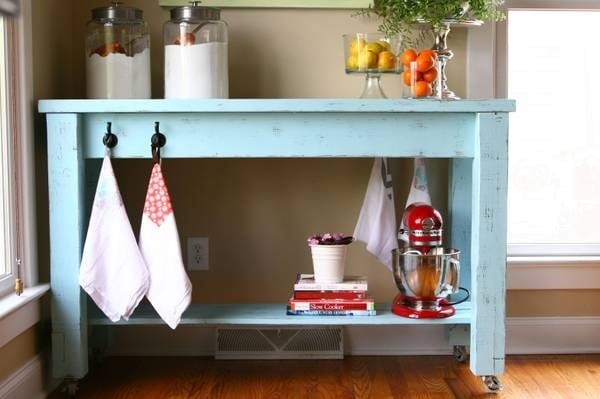
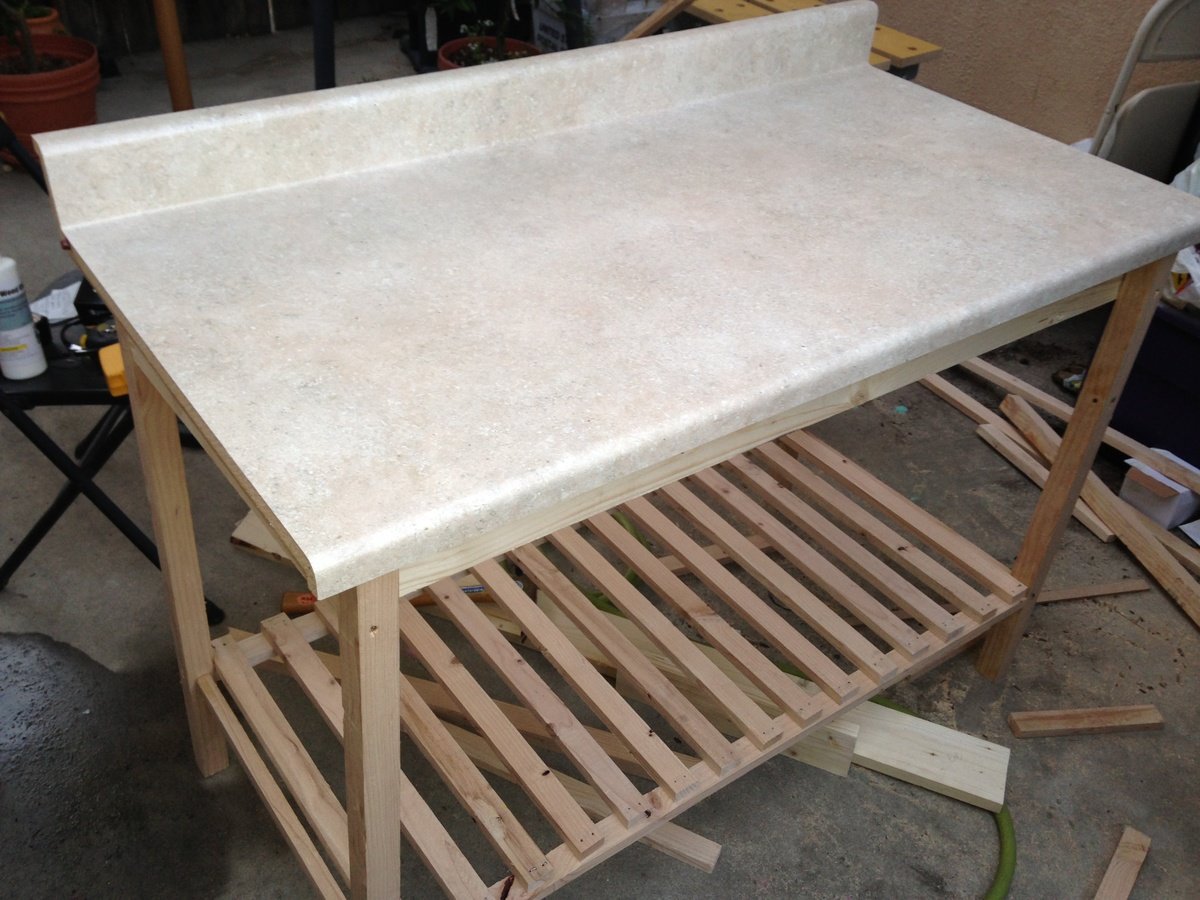
Kitchen island
I loved doing this table. Easy enough for any beginner!
Pam the Goatherd
Fri, 05/10/2013 - 09:52
The finish is beautiful! Very
The finish is beautiful! Very fresh!
Wood Hacker
Sat, 05/11/2013 - 15:05
The finish looks really
The finish looks really simple but effective, reminds me that I really should finish my other halfs kitchen island I made in February!