Square Outdoor Picnic Table
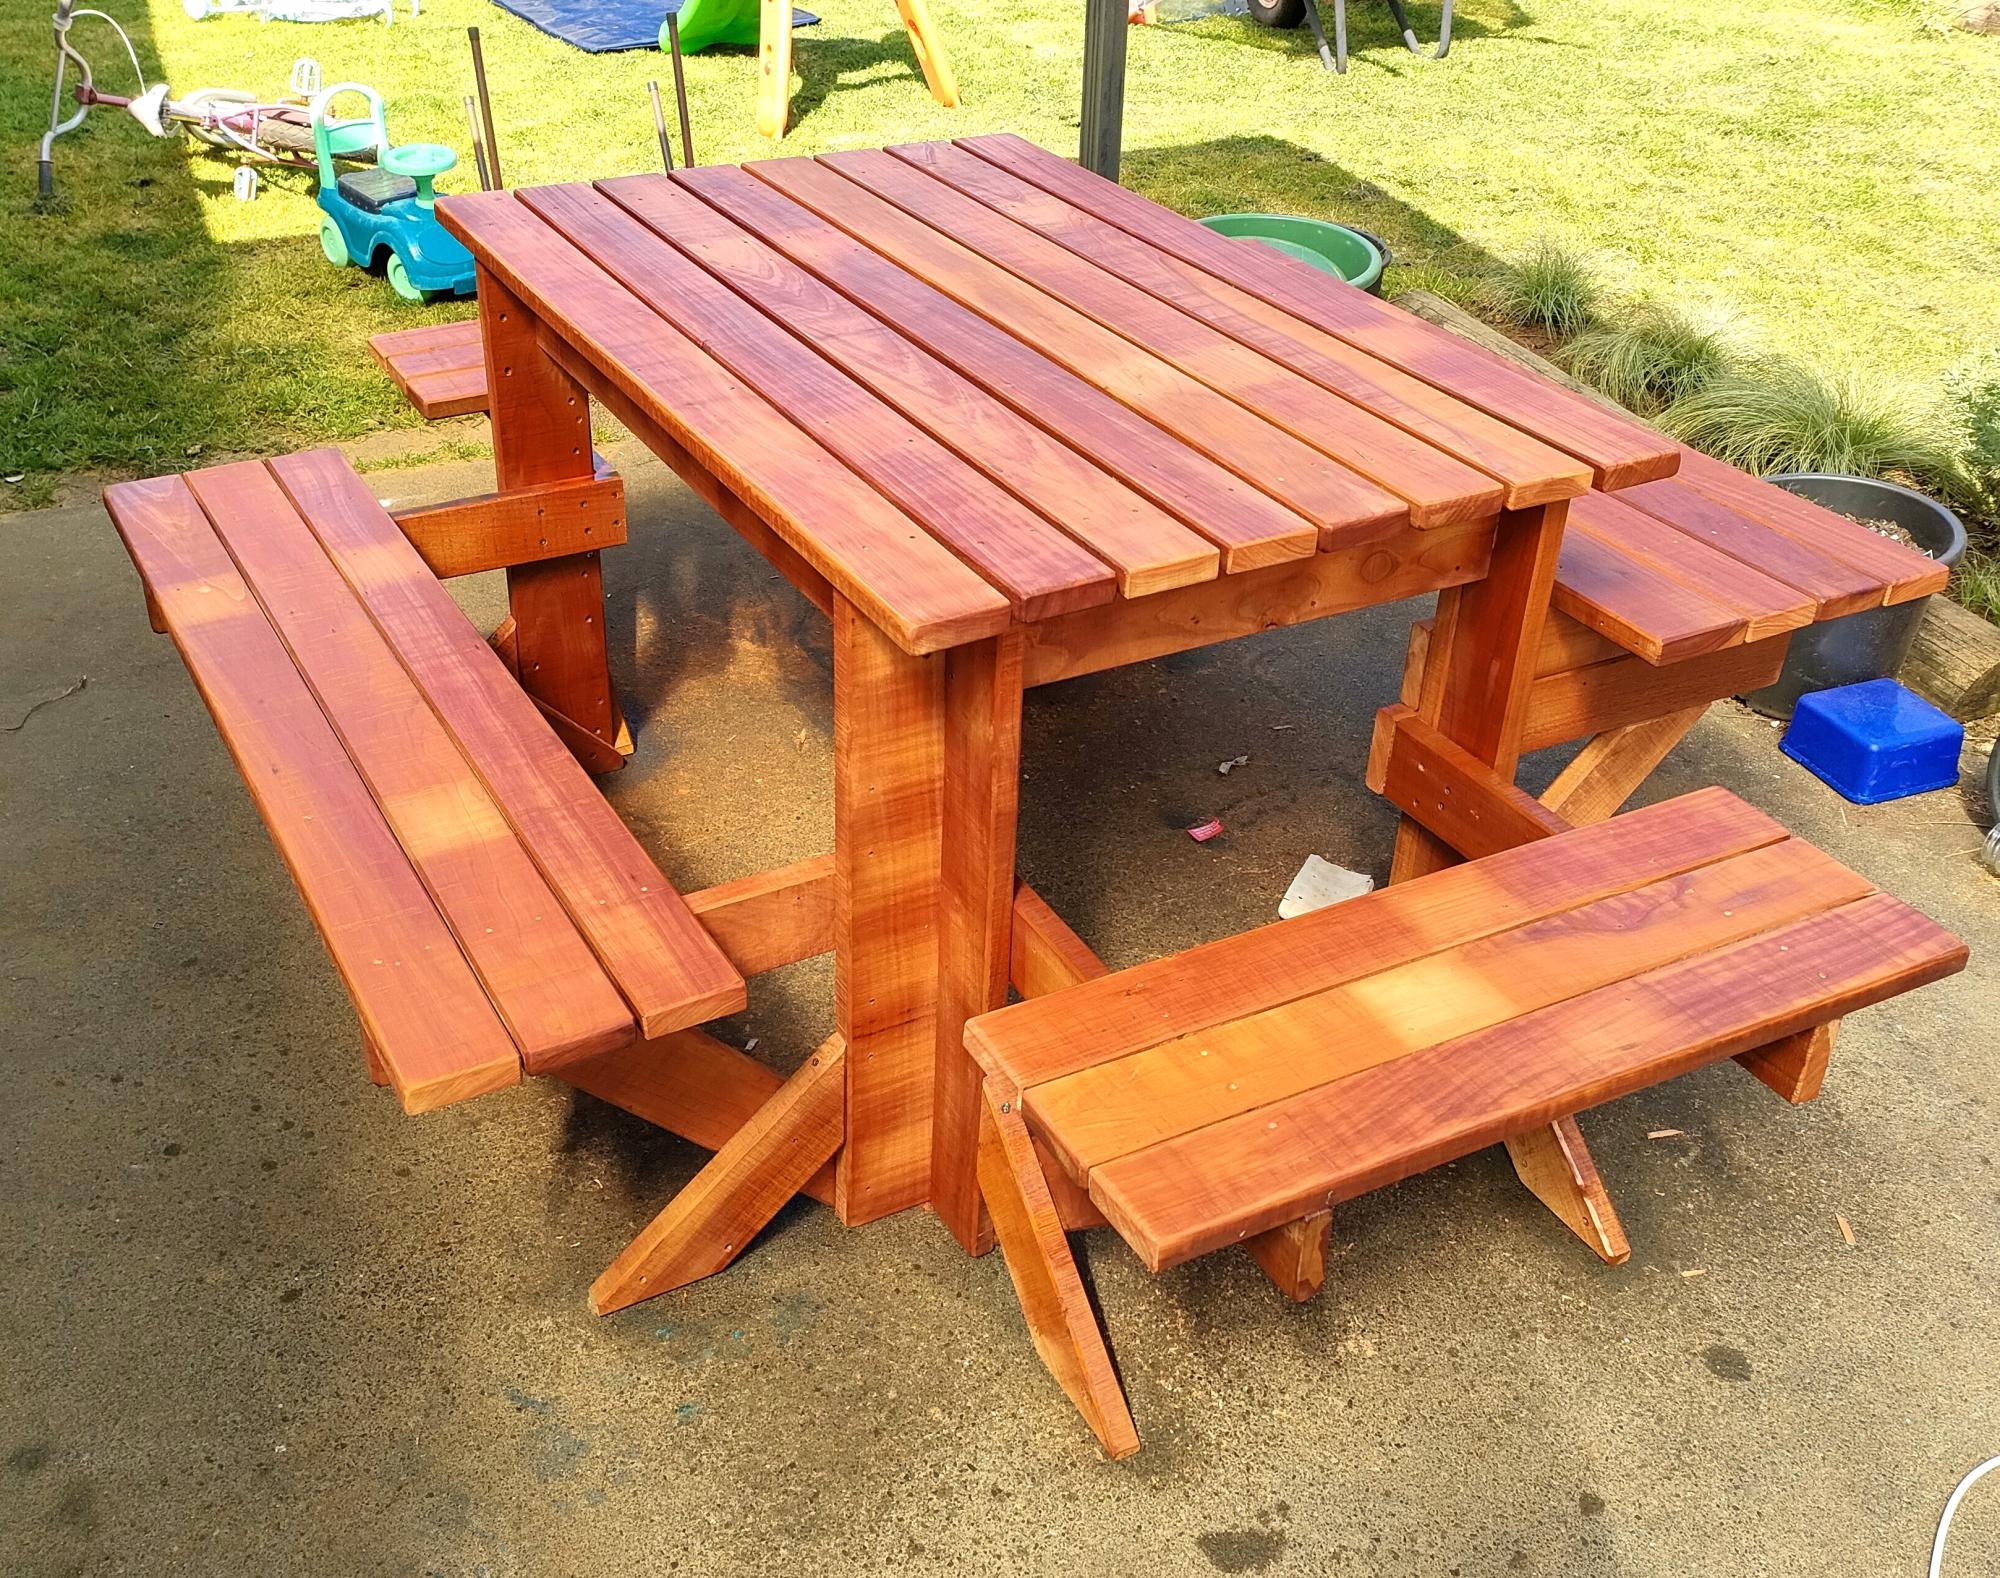
6 seater Recycled Fijian Kauri with extra leg supports, one side higher & closer for kids.
Marty
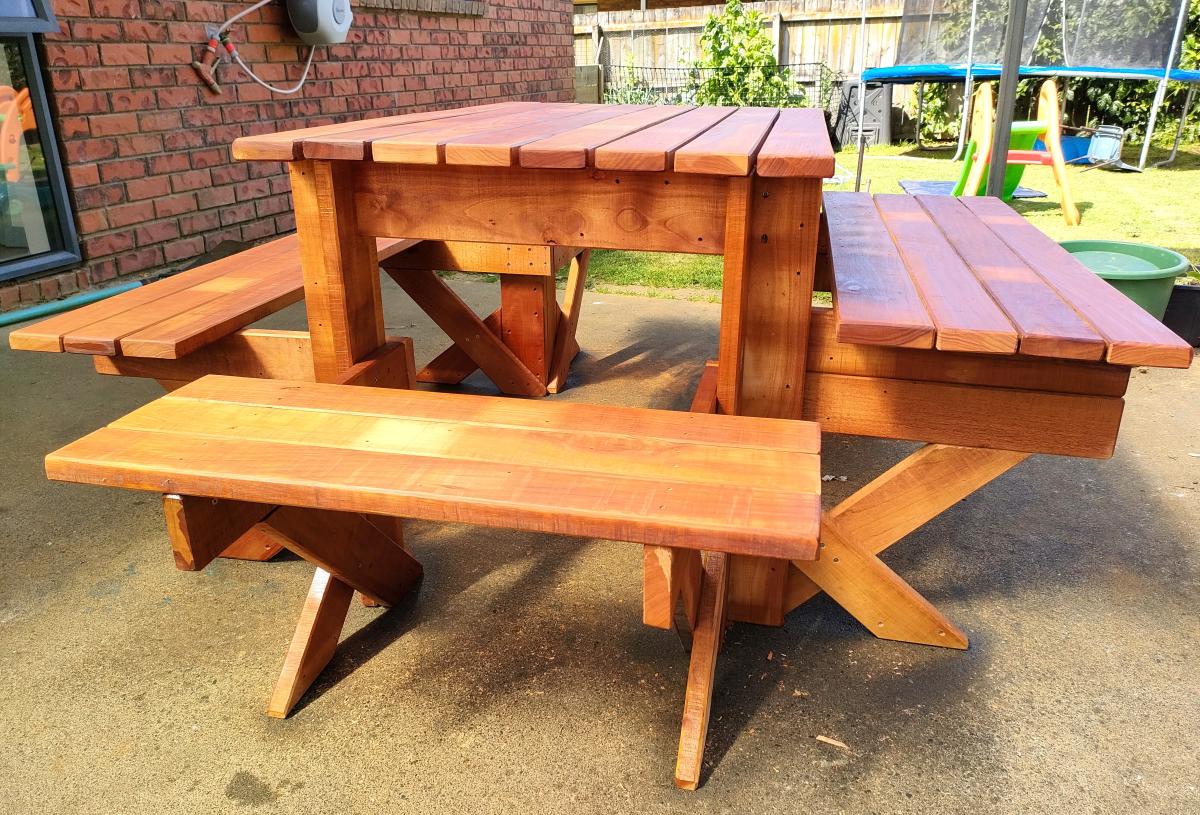

6 seater Recycled Fijian Kauri with extra leg supports, one side higher & closer for kids.
Marty

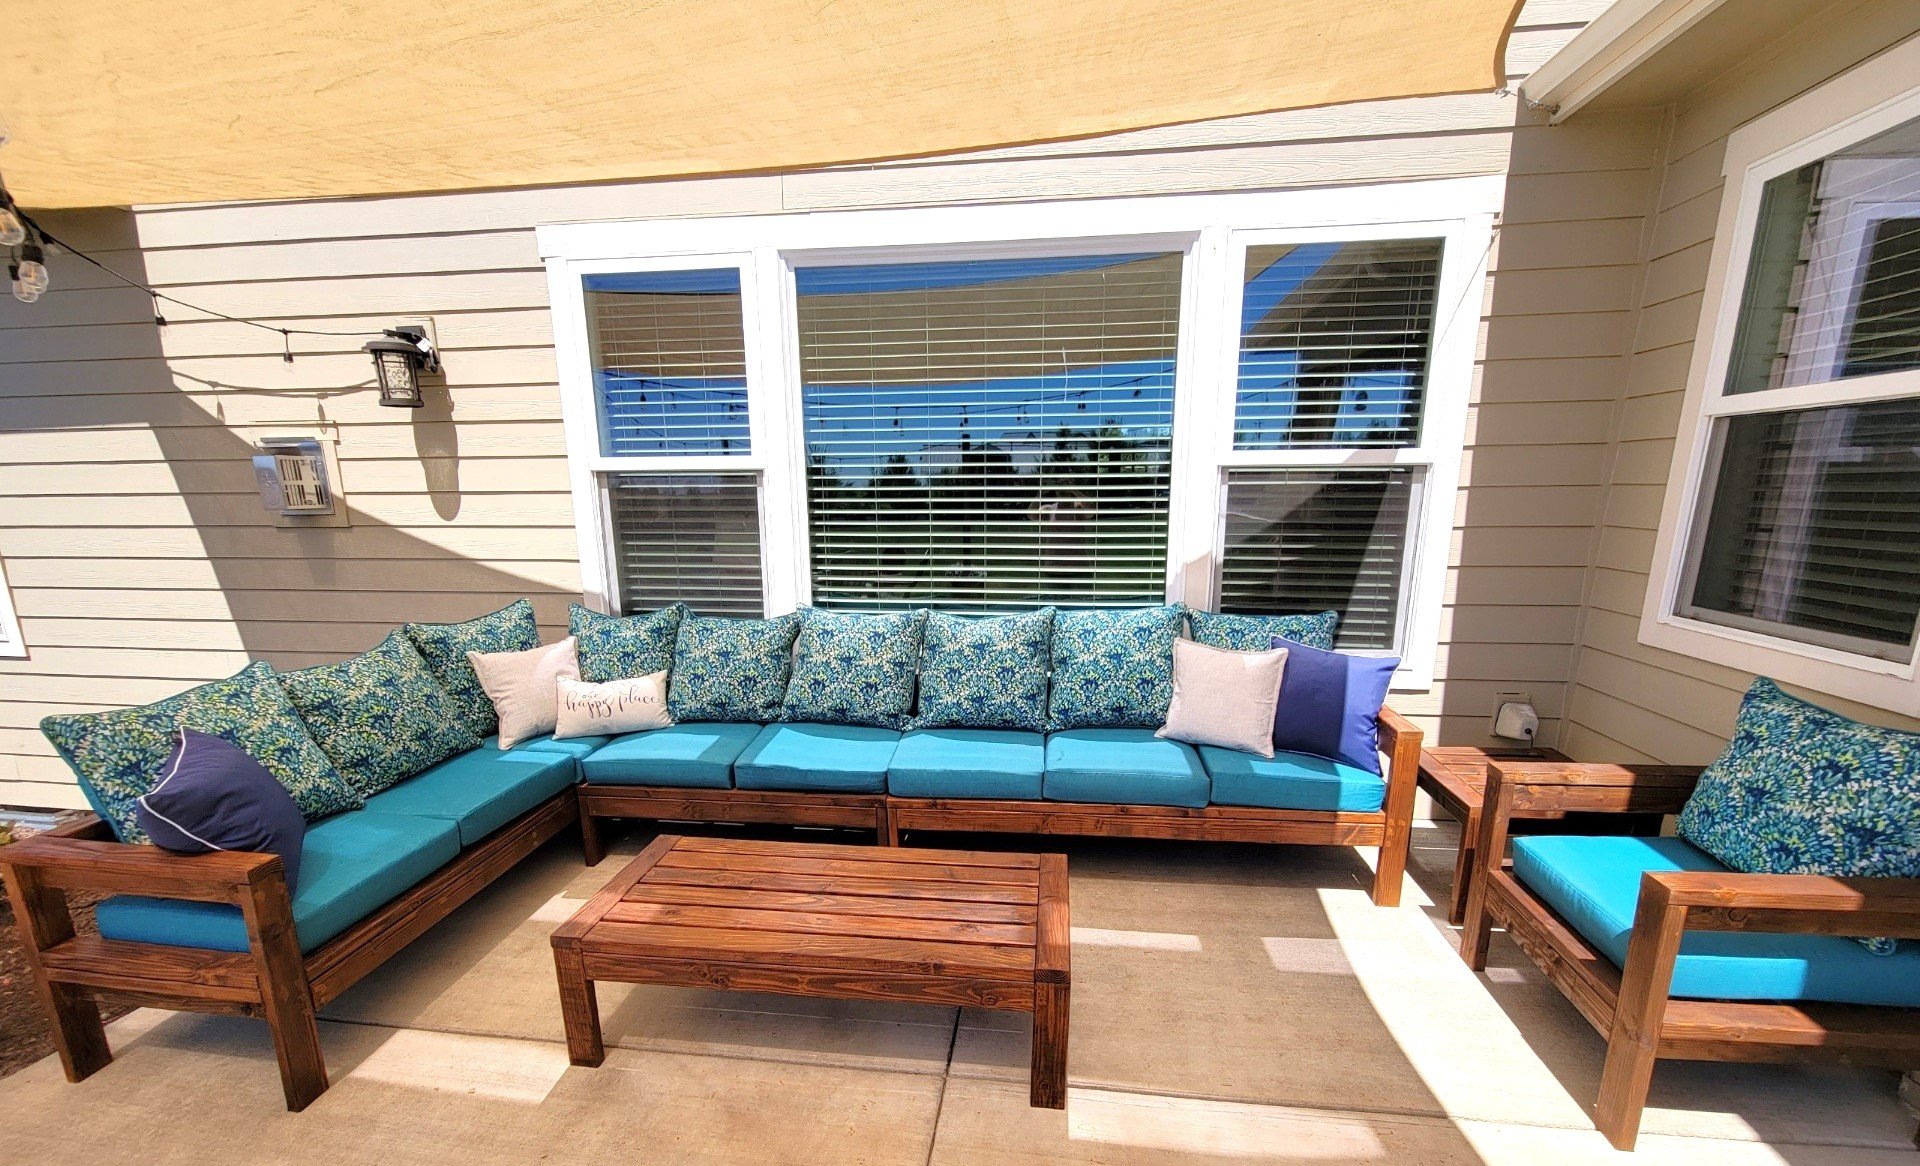
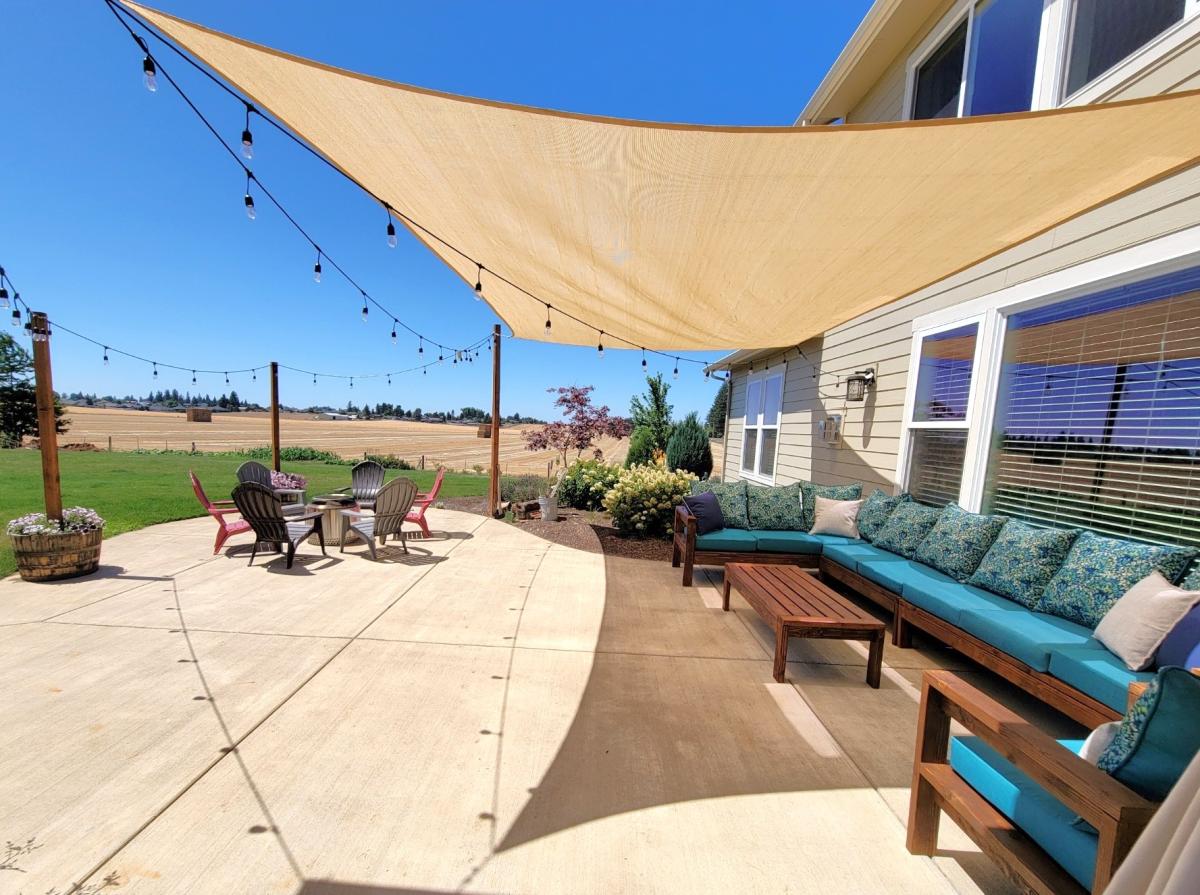
My wife used you patio sectional and table plans to make herself a summer oasis. She built it specifically to fit a corner of our patio that we were never using. Now it is used almost daily for reading, visiting or just sitting outside watching the birds.
Tony for Julie
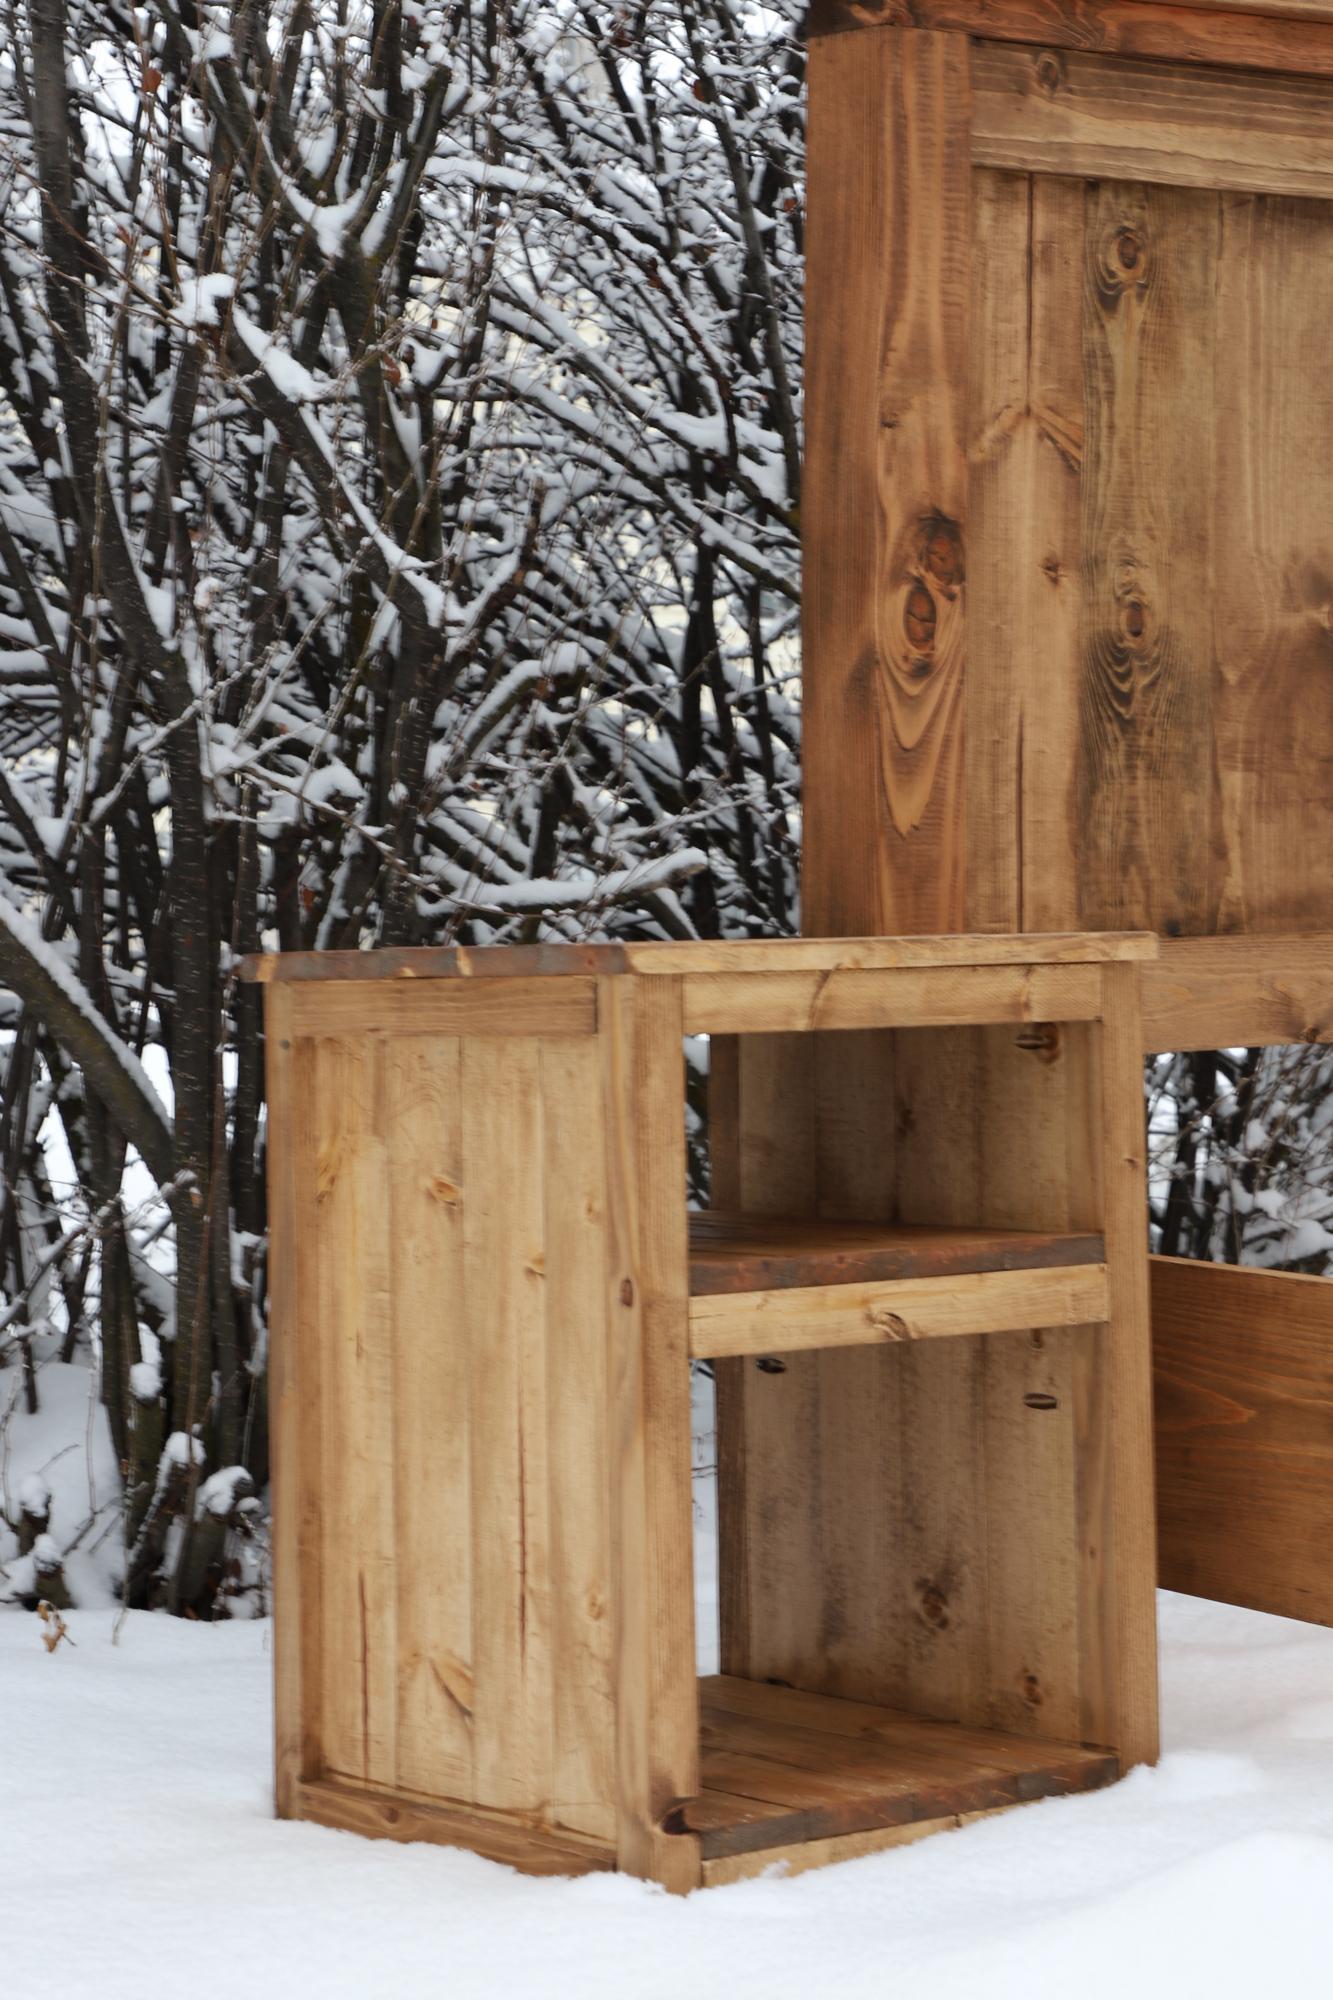
I built these matching nightstands to go with a king bed frame I built for a couple whose rebuilding their home that burned down. They were pretty simple to put together, but despite their simplicity, they are gorgeous.
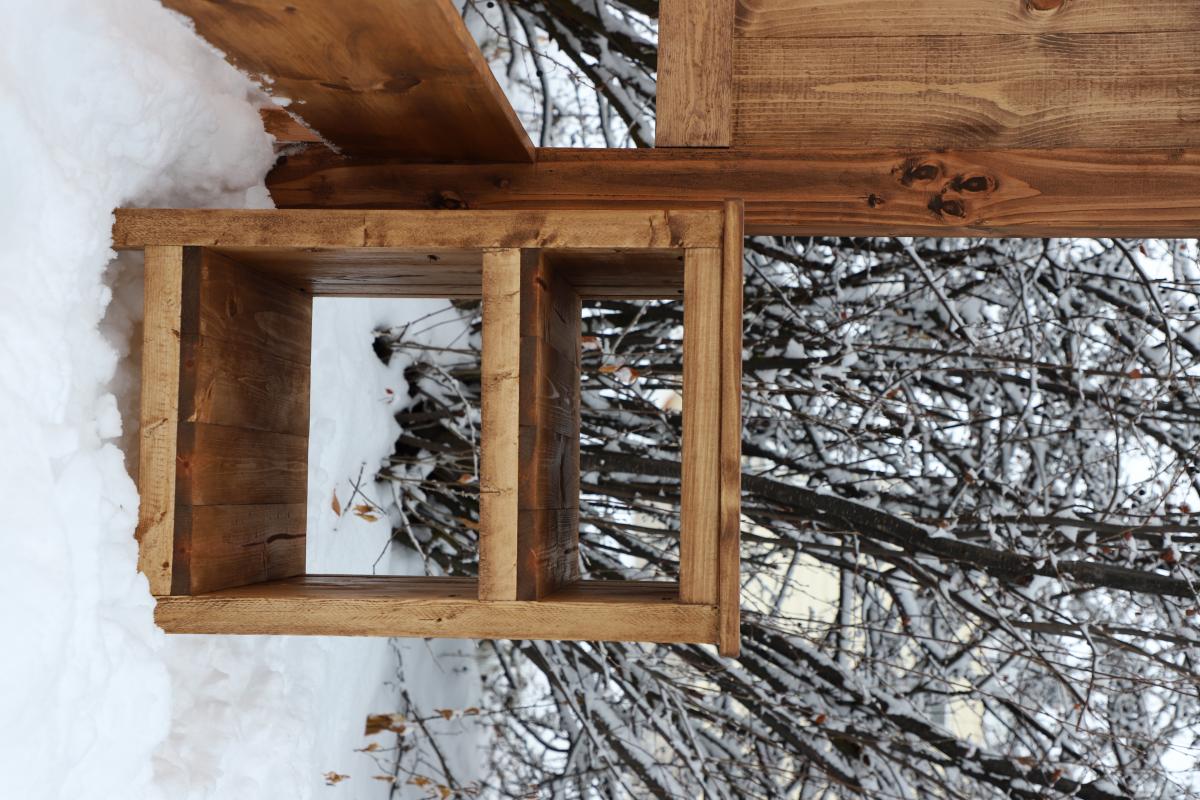
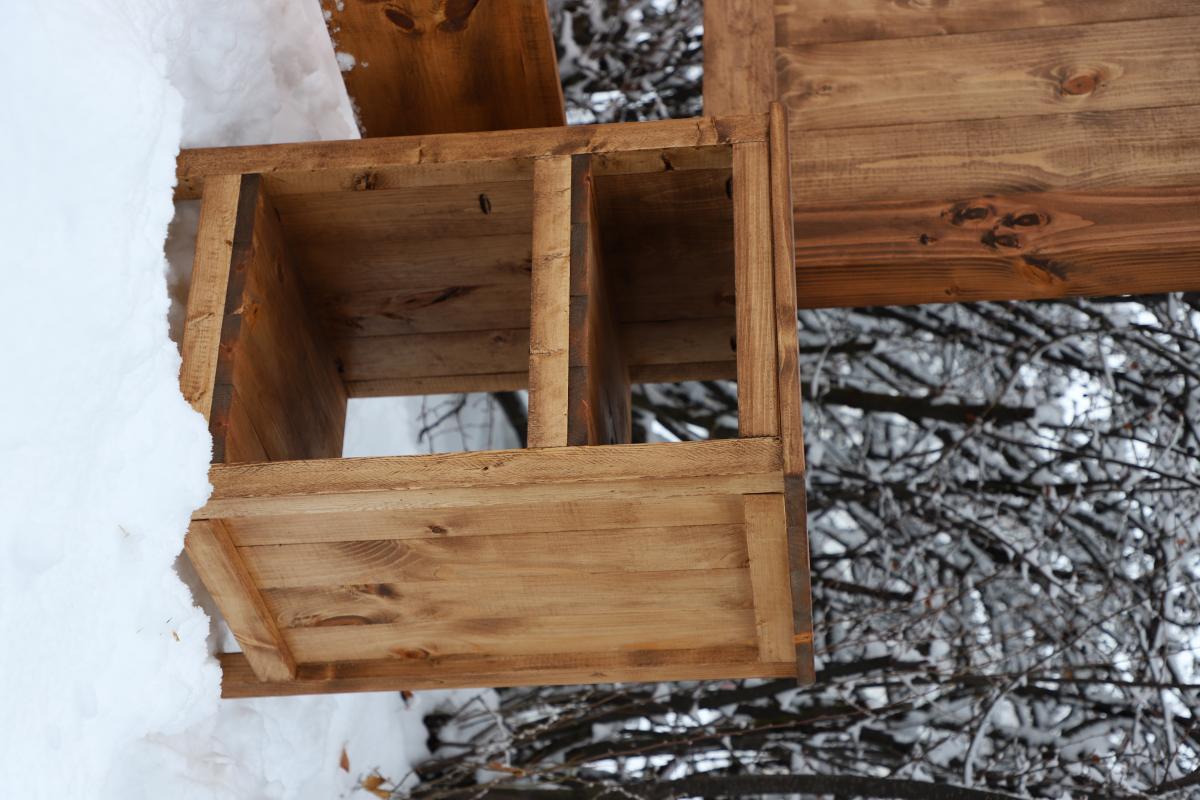
I love how sturdy and beautiful these planter steps turned out! They were easy to build and work perfectly with the new deck/front porch I built this summer. I only needed one step and I used the same 1x material for the top of the step as I did the deck. I just added a couple more supports for the 1x material, as it isn't as sturdy as 2x6's. Thank you so much for the wonderful plan!
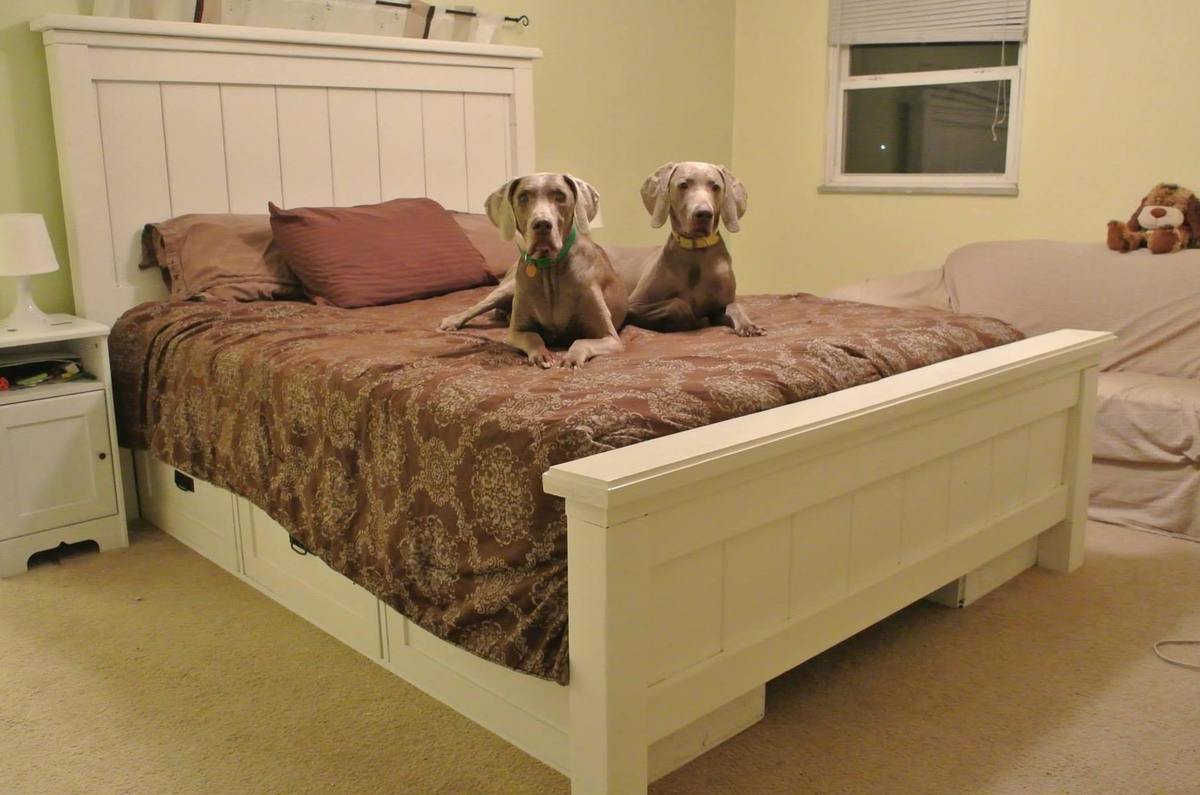
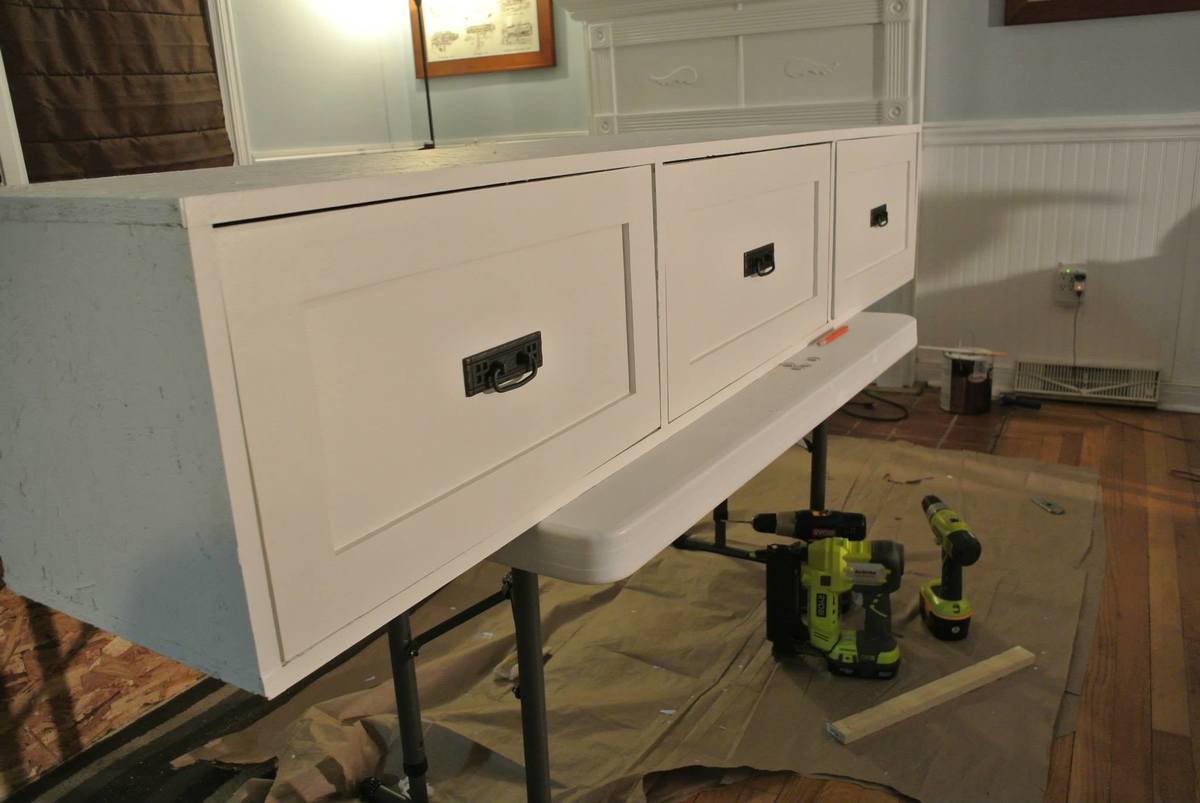
I meshed the Farmhouse Bed with the Farmhouse Storage Bed with Storage Drawers and this is the final product. Let me know if you have any questions. I learned along the way.
A few things I modified -
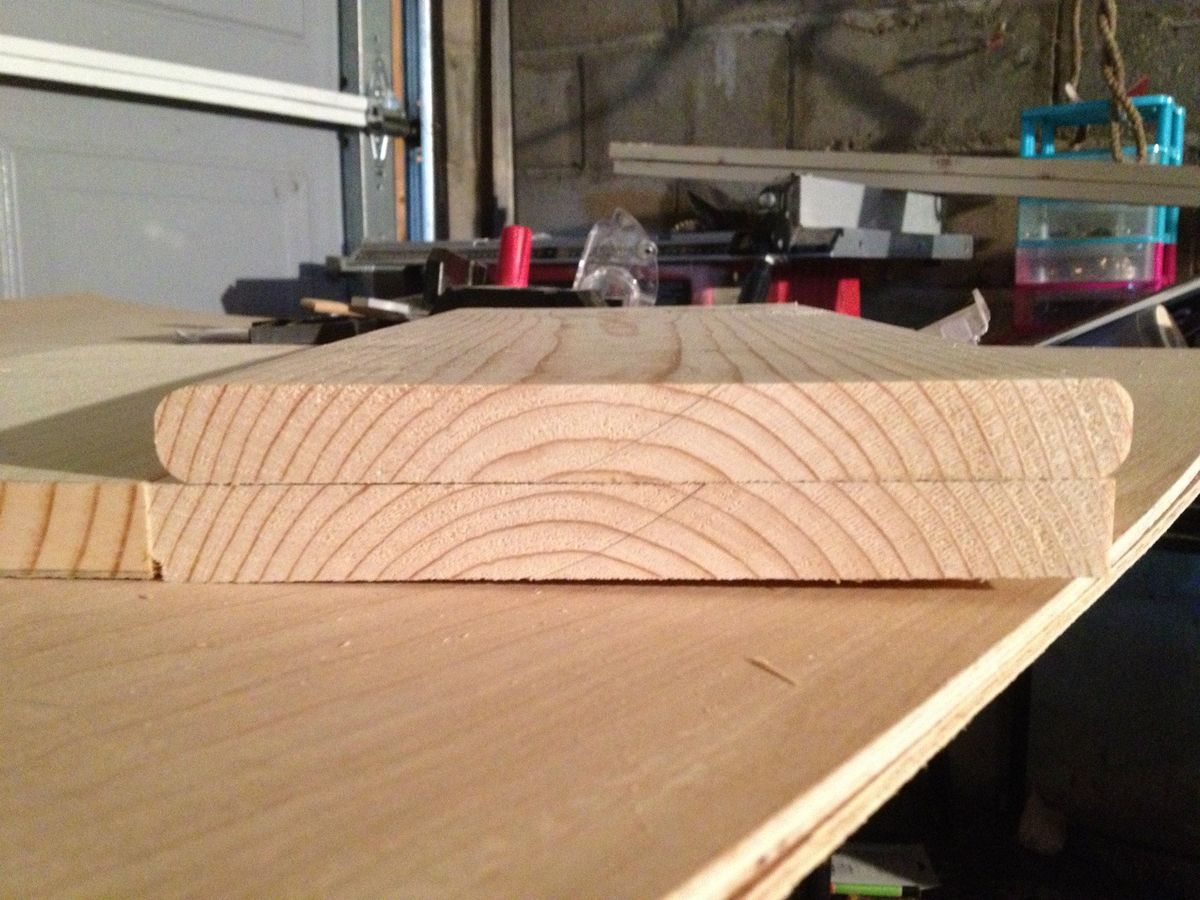
I knocked off the corners of the 1x8's used in the footboard and headboard as I wasn't a fan with how they butted up straight. I liked the rounded edges of the routered boards instead.
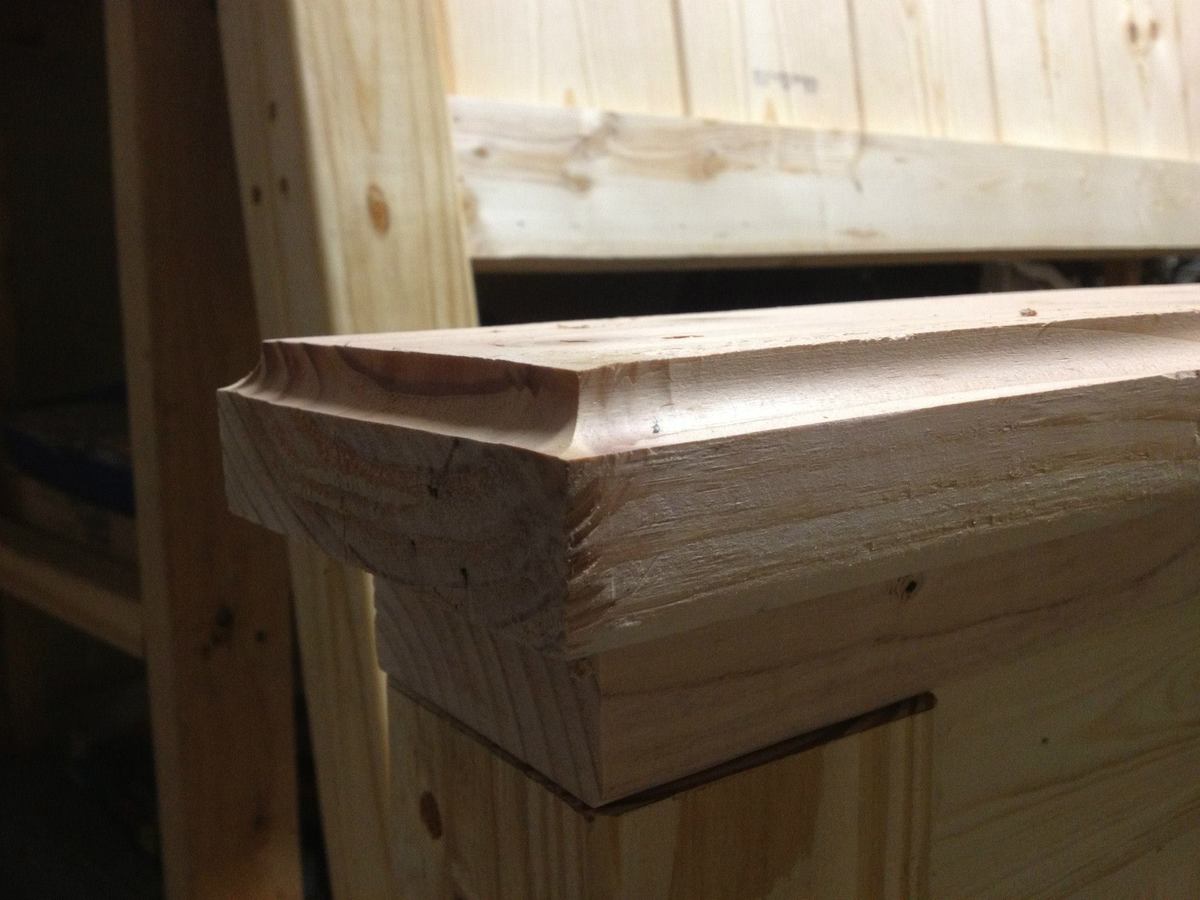
I cove routered the tops of 2x6's and loved how they turned out
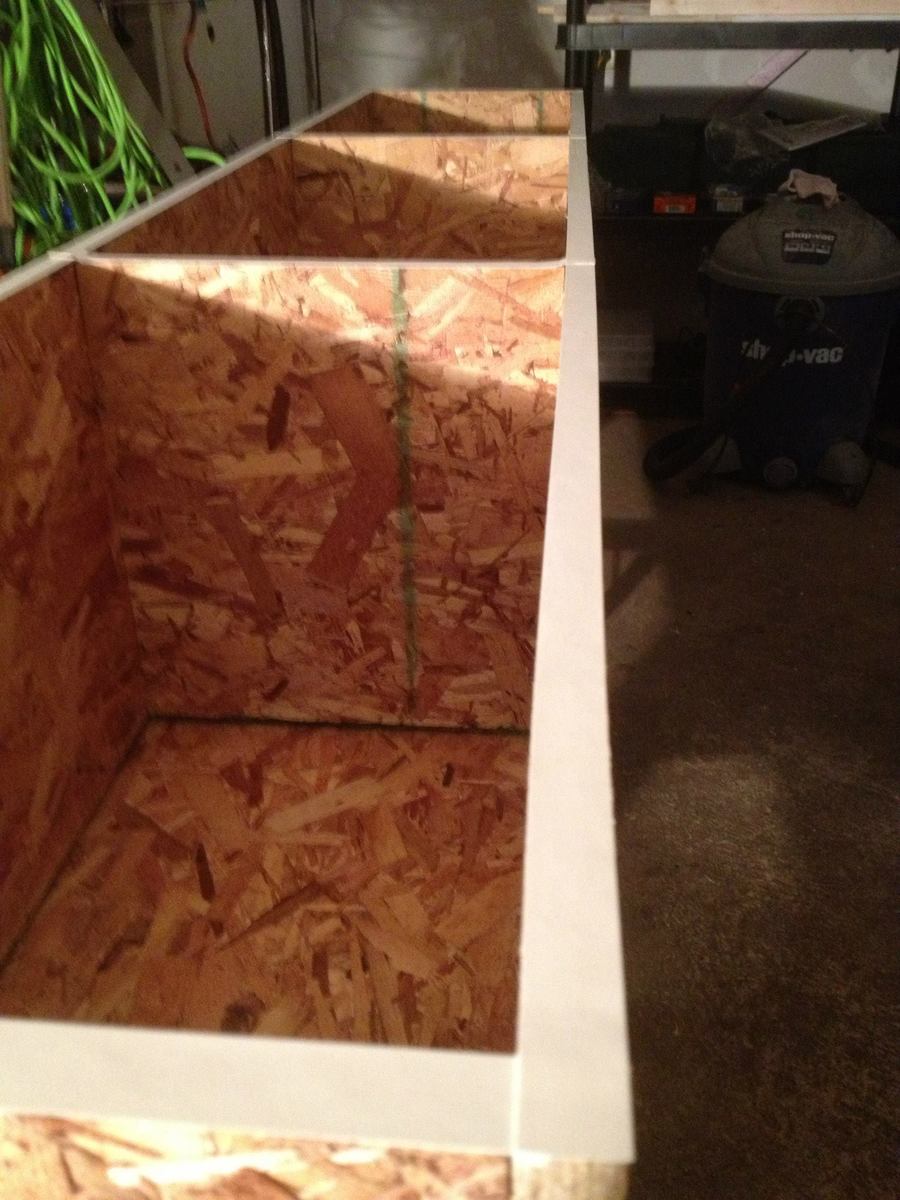
When I handed my cutlist to the kid at the big orange store, he pulled OSB instead of plywood for the storage cabinets. I realized it halfway through the cutting as I was shopping for other things and didn't have the heart to tell him halfway through the job. I had to edge band (first time) the edges and the OSB soaked up a lot of primer.
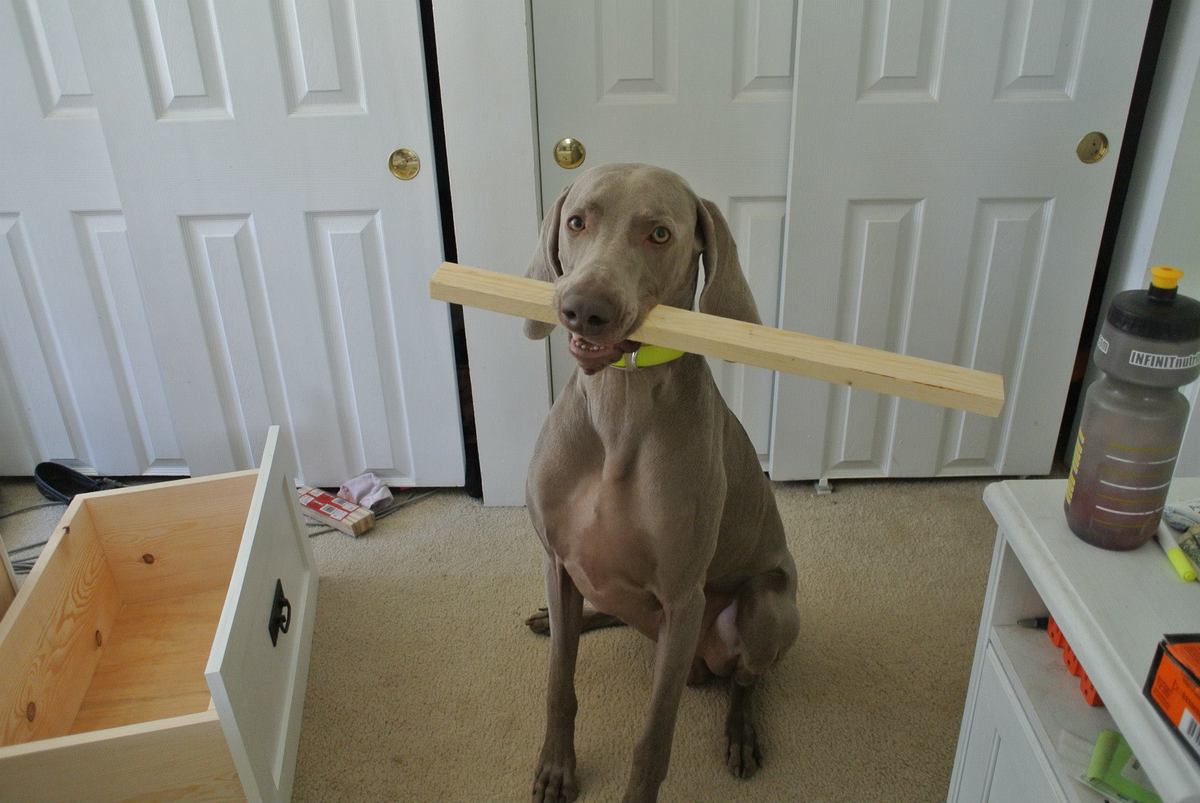
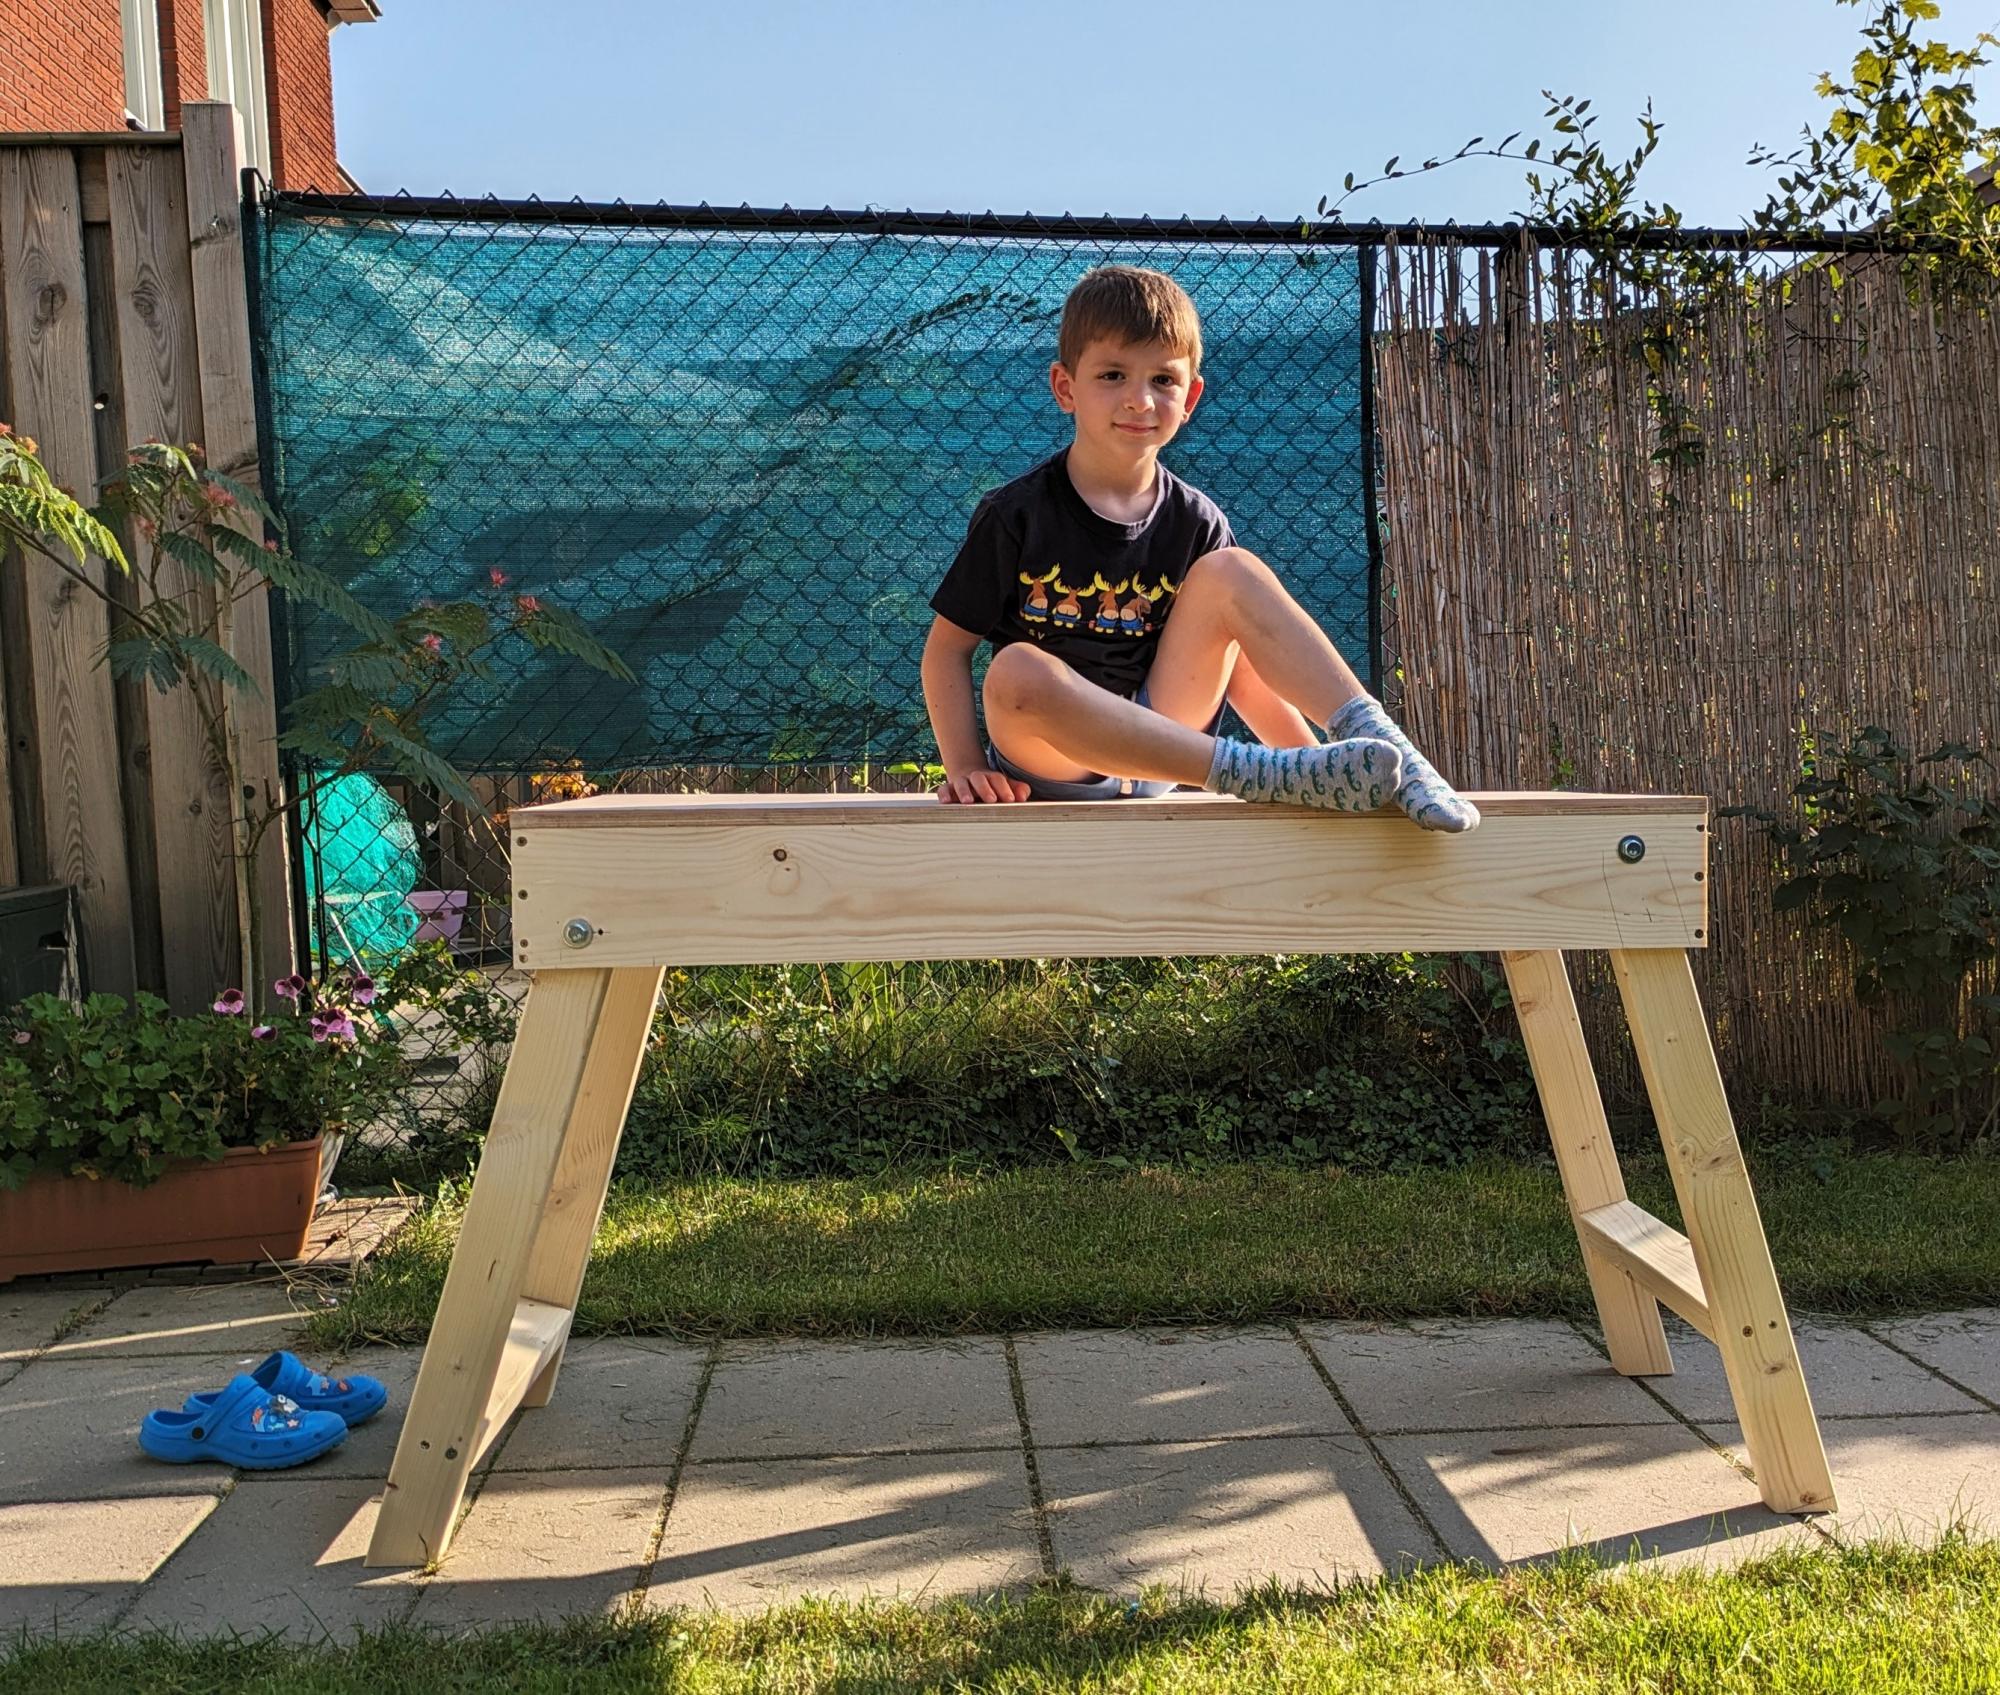
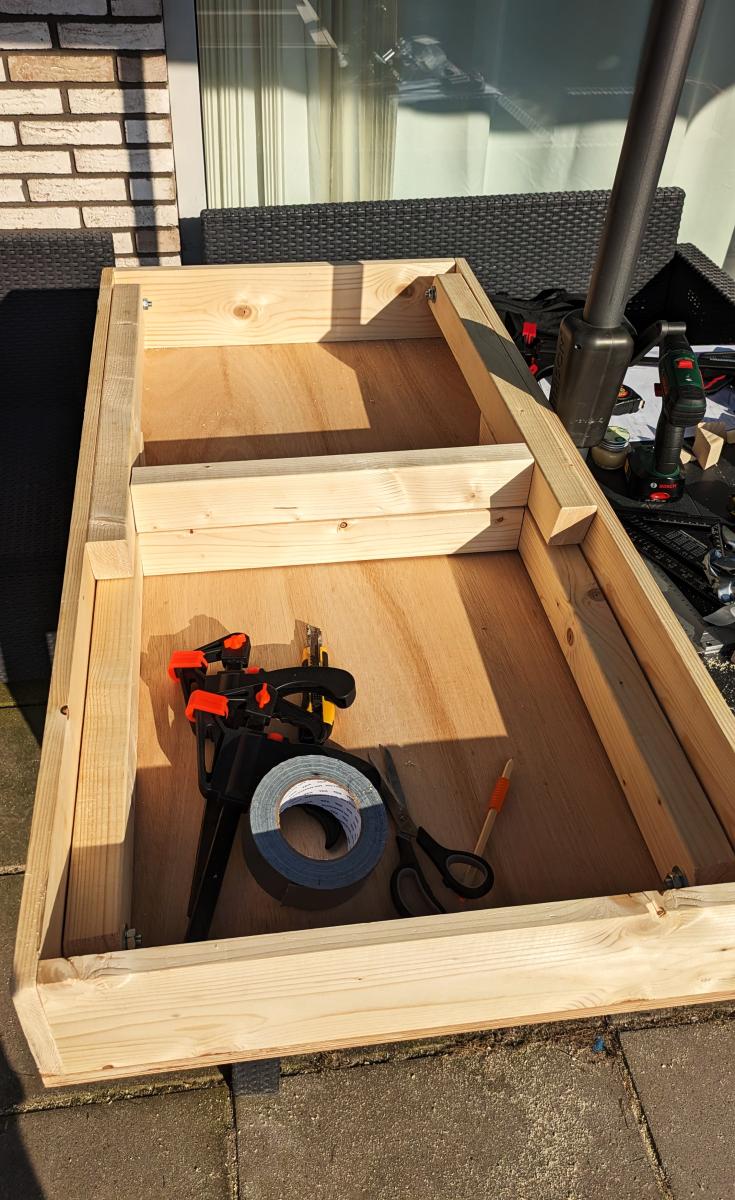
This is my very first project. I have no other tools yet besides the drill, so I had to make all the cuts with the hand saw, but it worked out well :) As I am in Europe, the imperial metrics mean nothing to me. The wood they sell here is of different sizes. That is overall not an issue, although I had a tough time calculating the holes for the legs. Luckily, only one error hole, and all came out level on the first try. No waste of wood! I also had a good helper.
Thank you, Ana
Ventsi
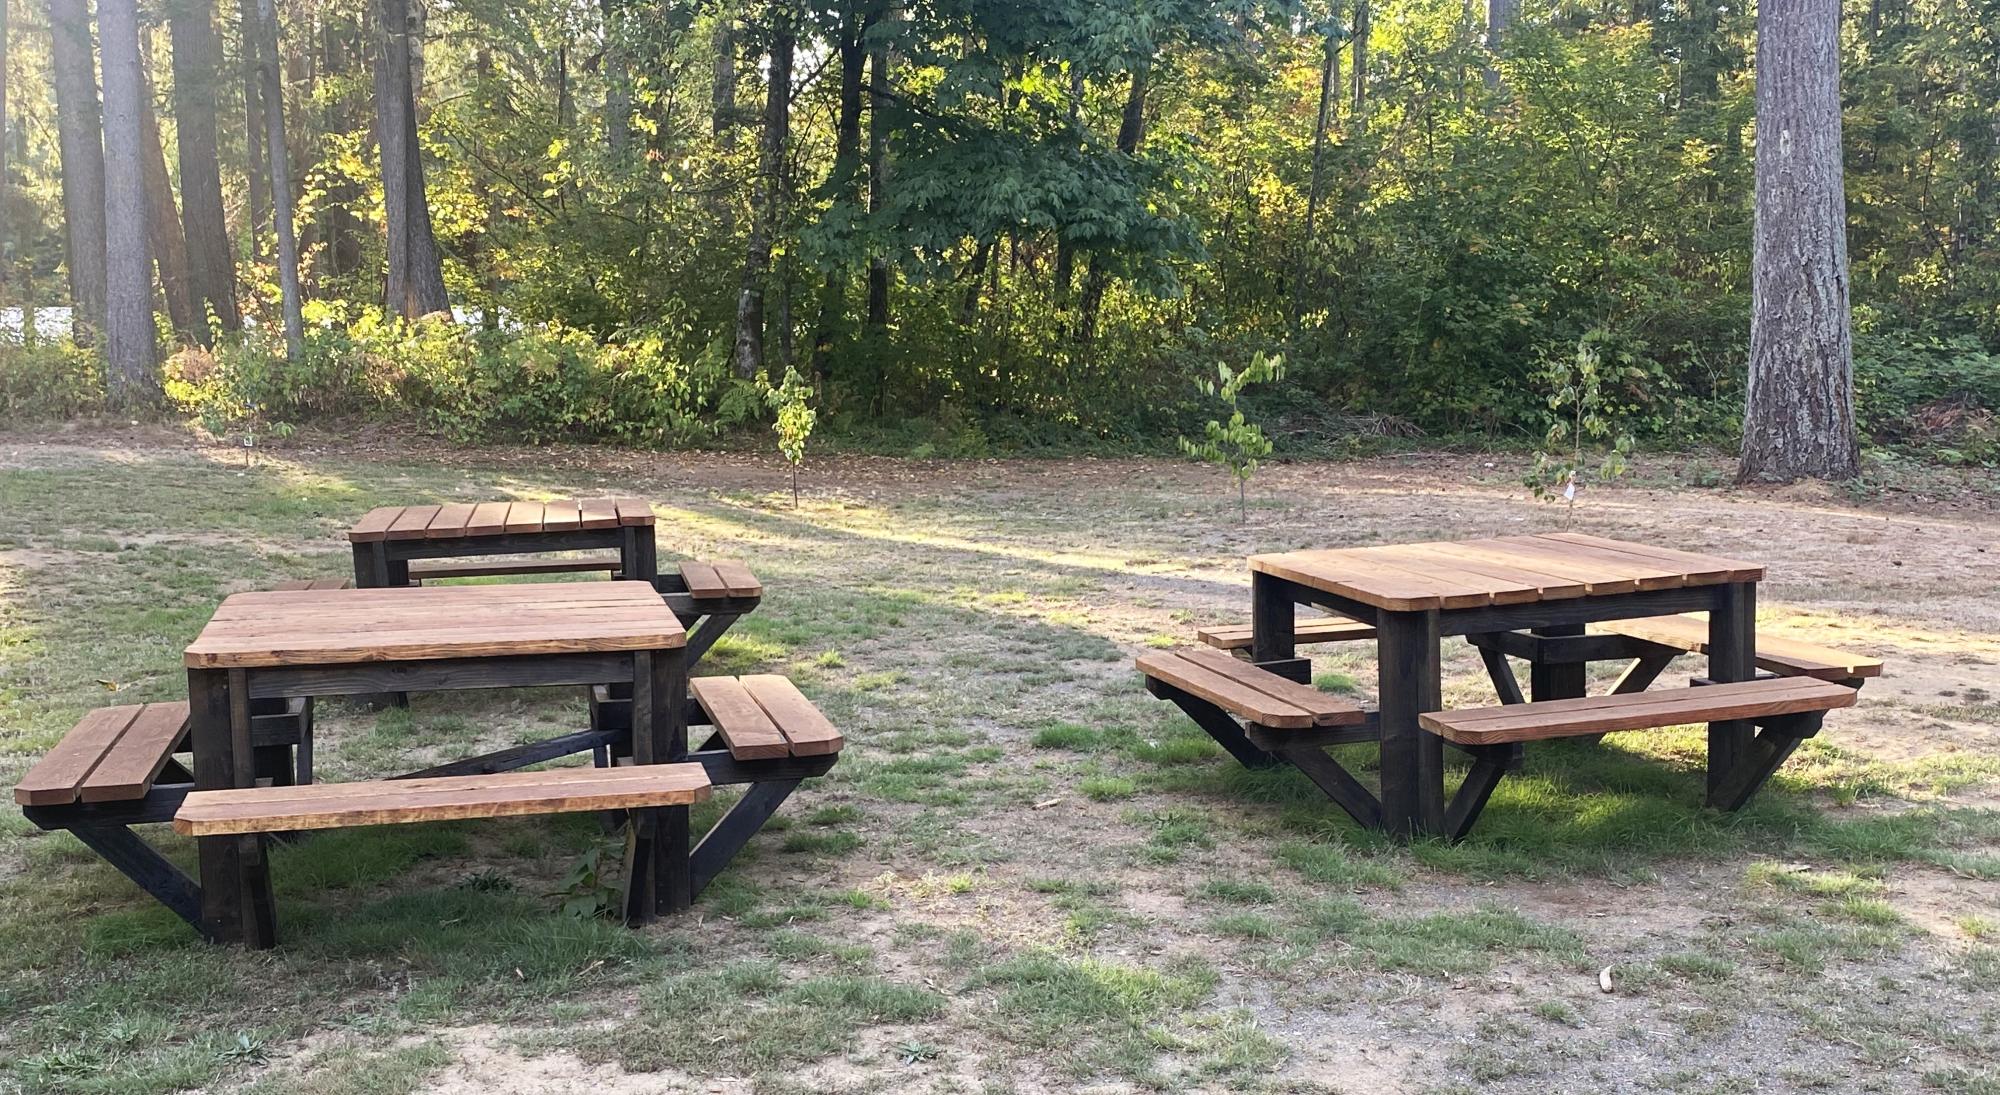
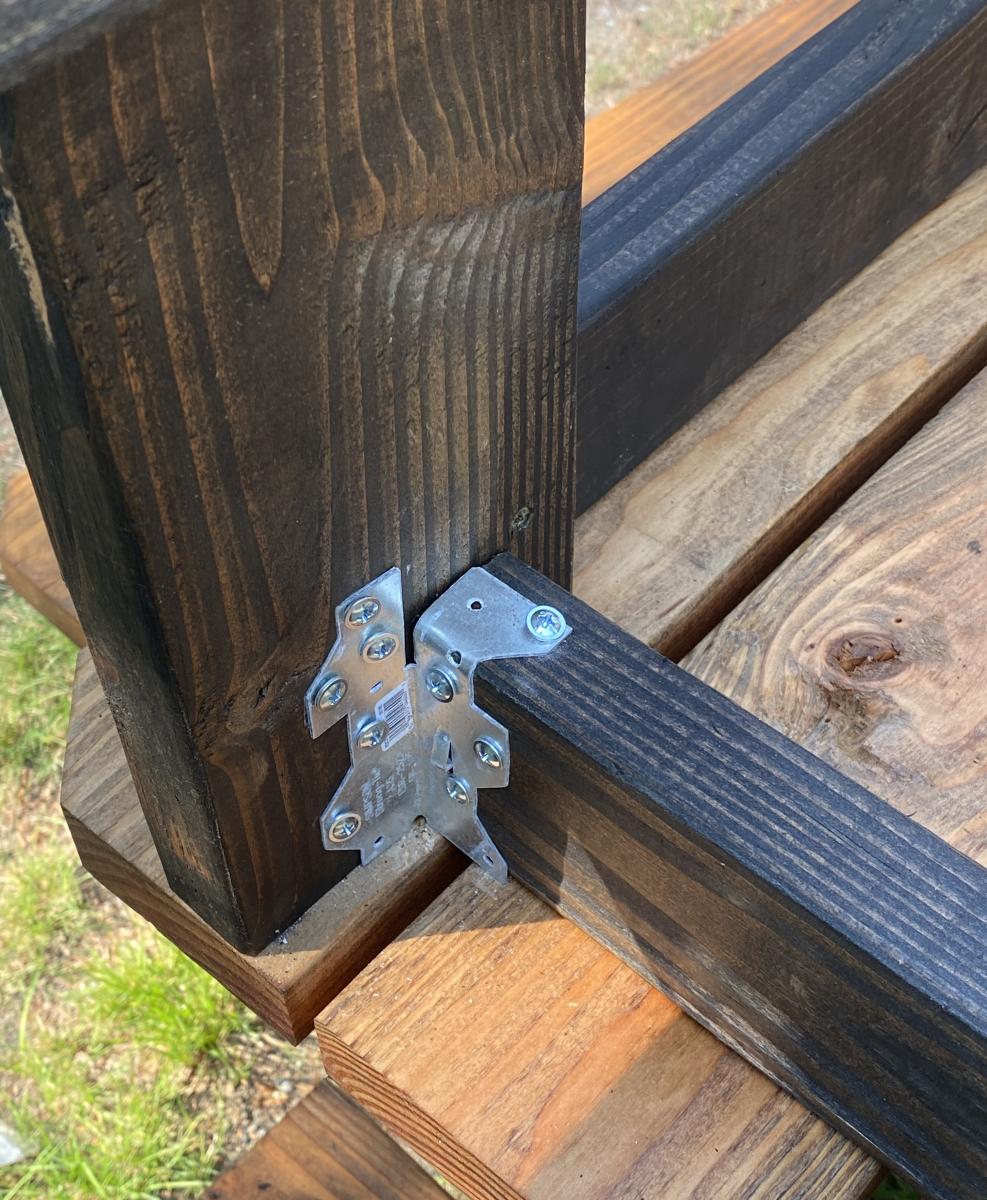
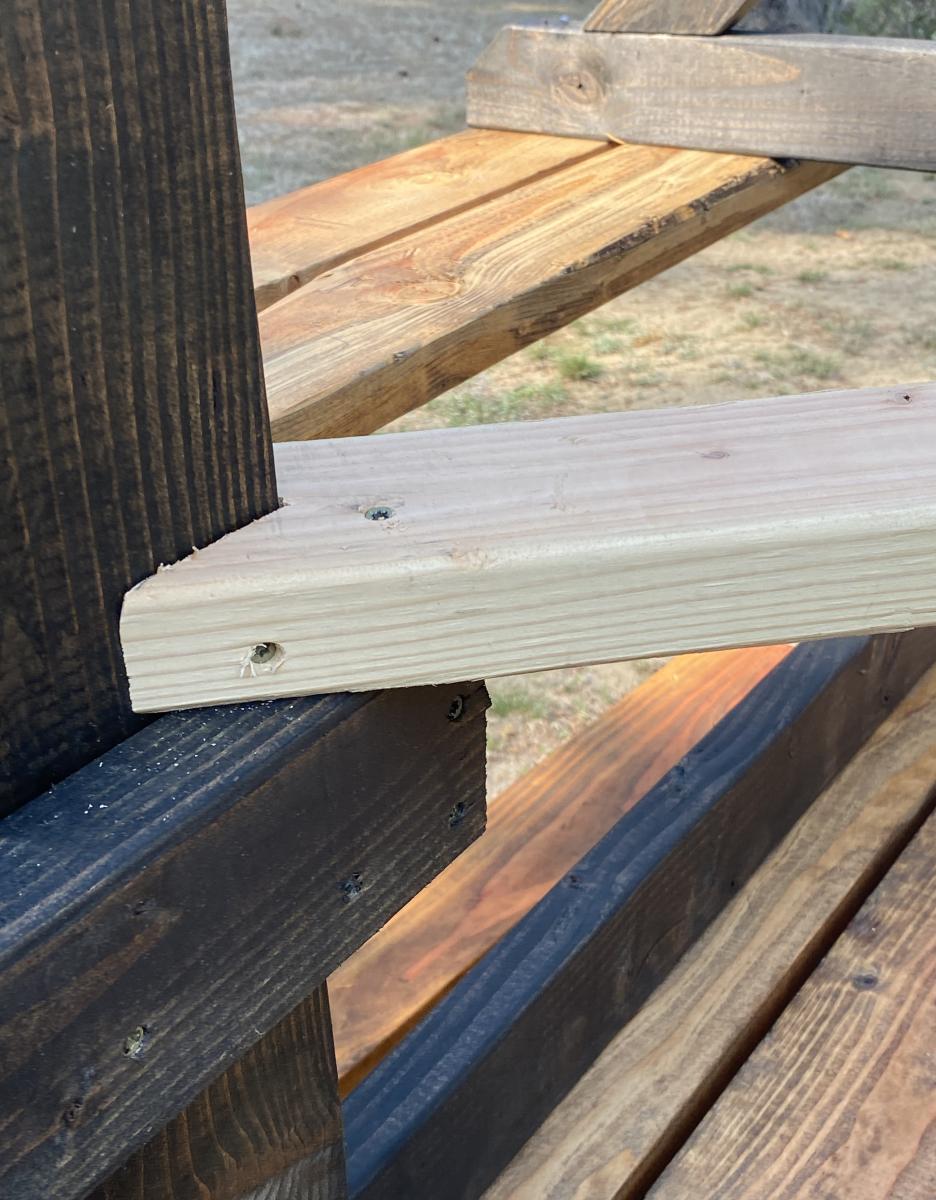
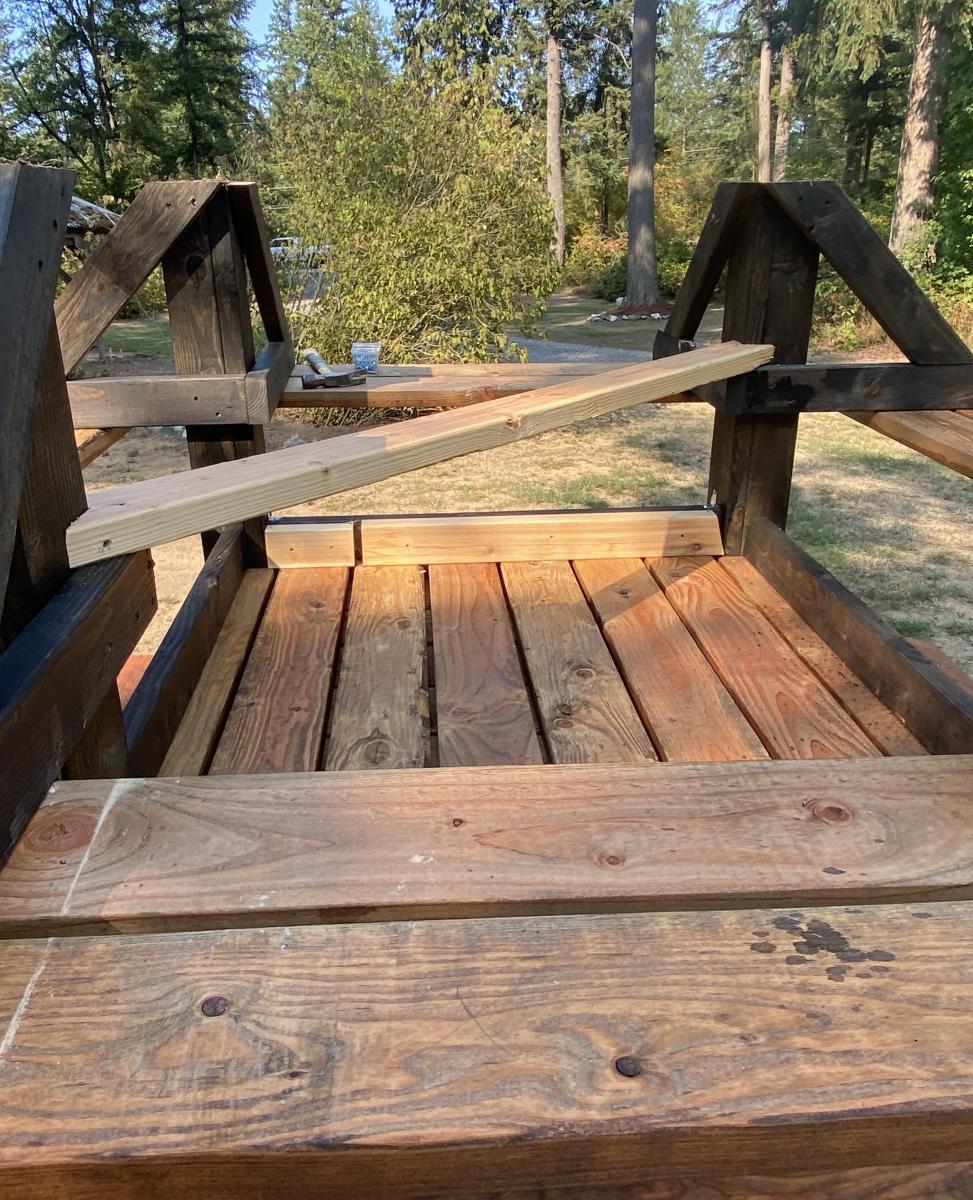
I built 3 of the square picnic tables, as we have a large extended family. I enjoyed the project and the results. I did end up adding a cross brace and some metal clips, they added a little more strength for the table when it was full of people.
Thank you for sharing your plans.
Rick
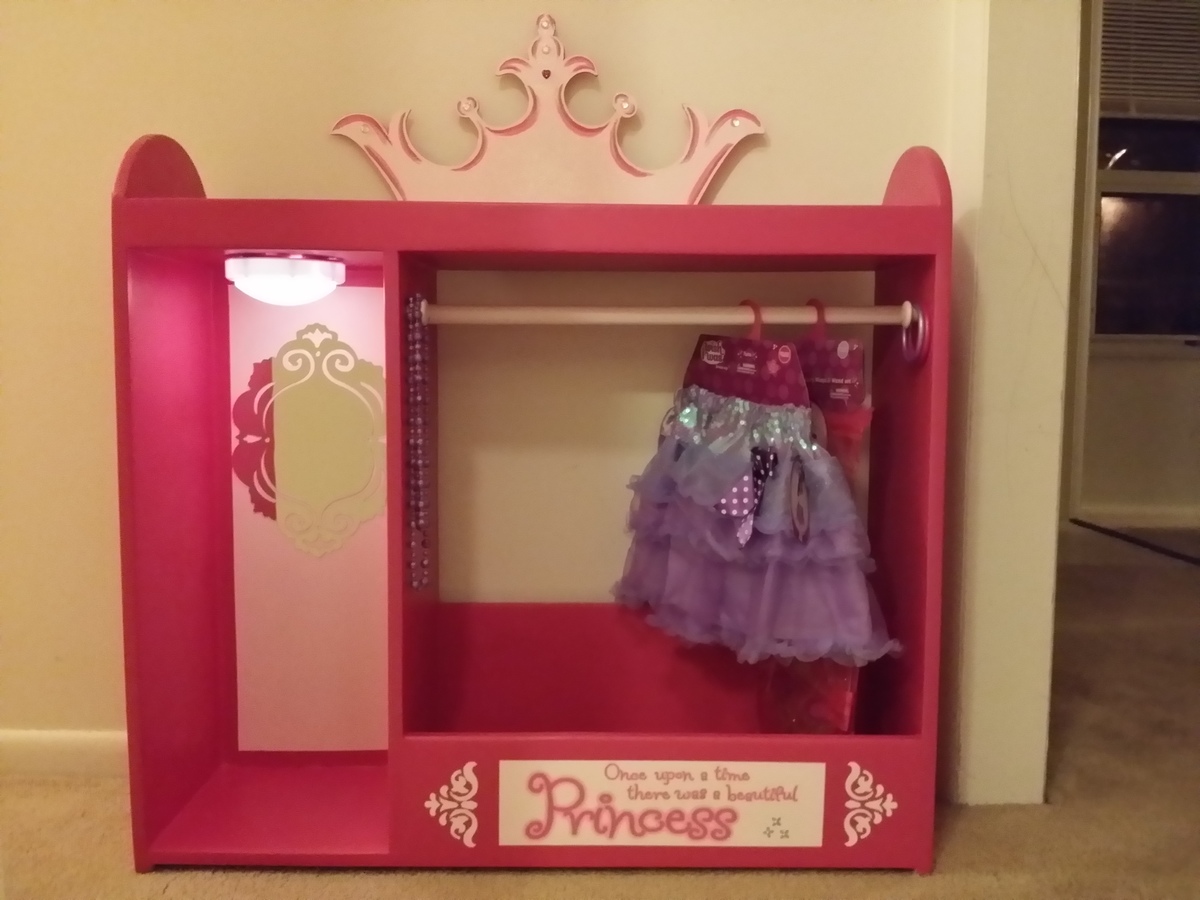
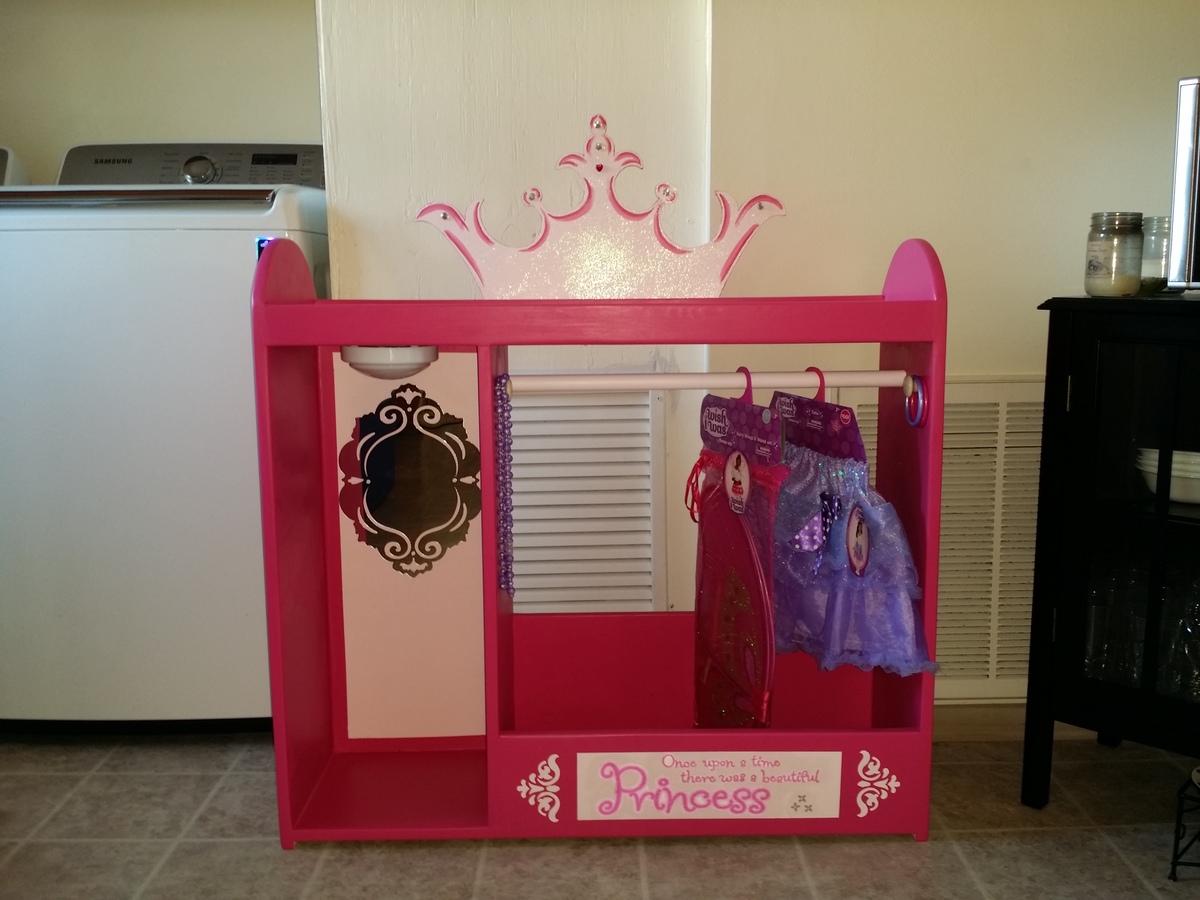
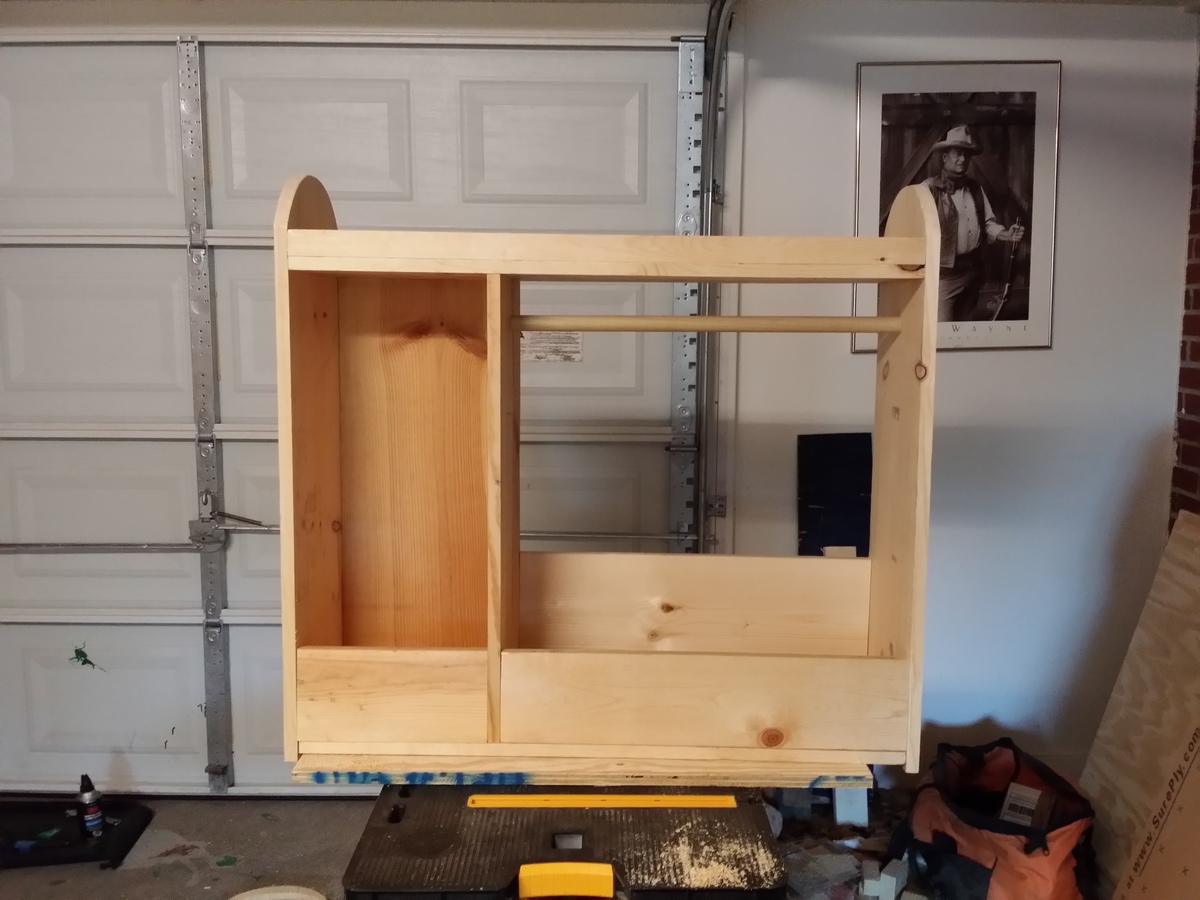
This project took about a week of commitment because of the multiple coats of paint. Otherwise, it was a very quick build, built in one day, but quite tedious sanding. I wish I could have sanded before I built it because the corners were very difficult to get around on the inside. I drew the crown on very thin Plywood that I had laying around from a night table I built and cut it out with a jigsaw.
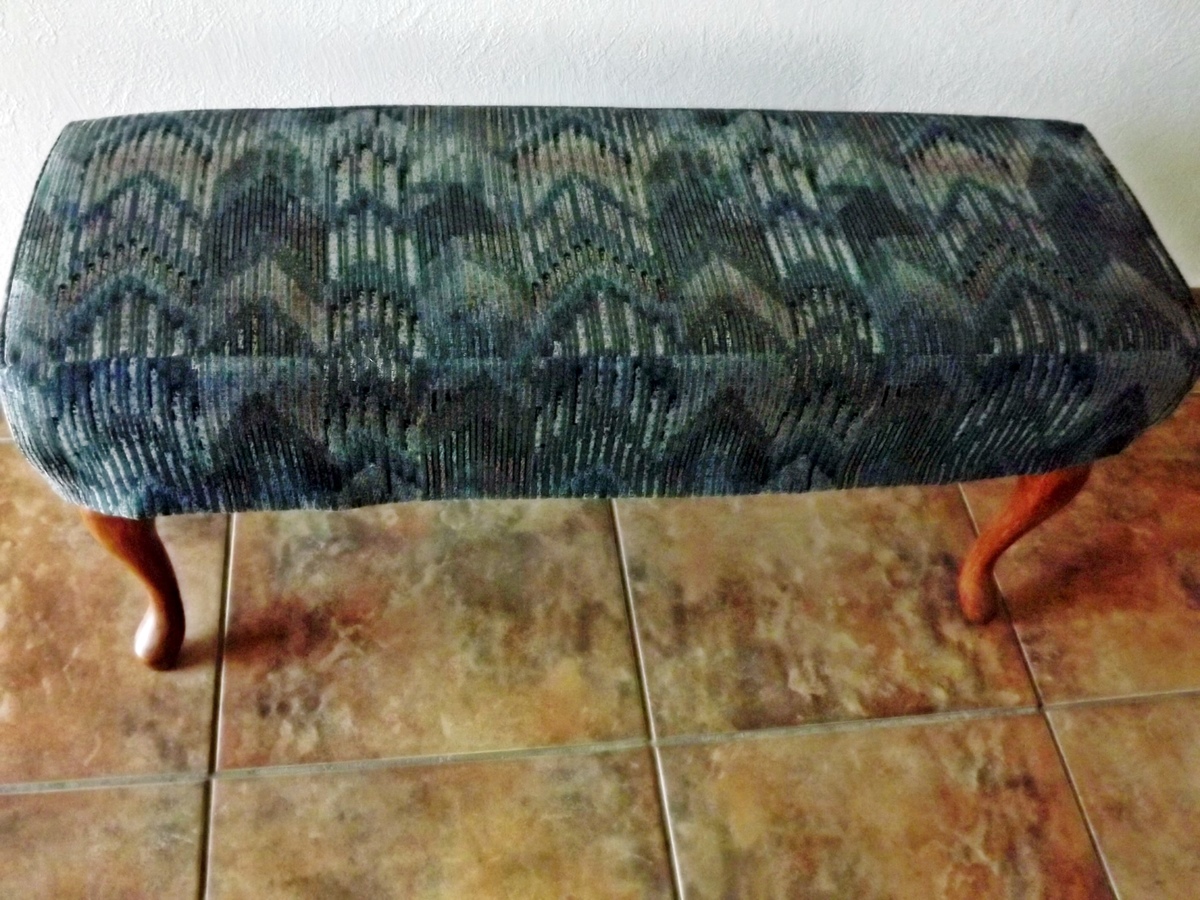
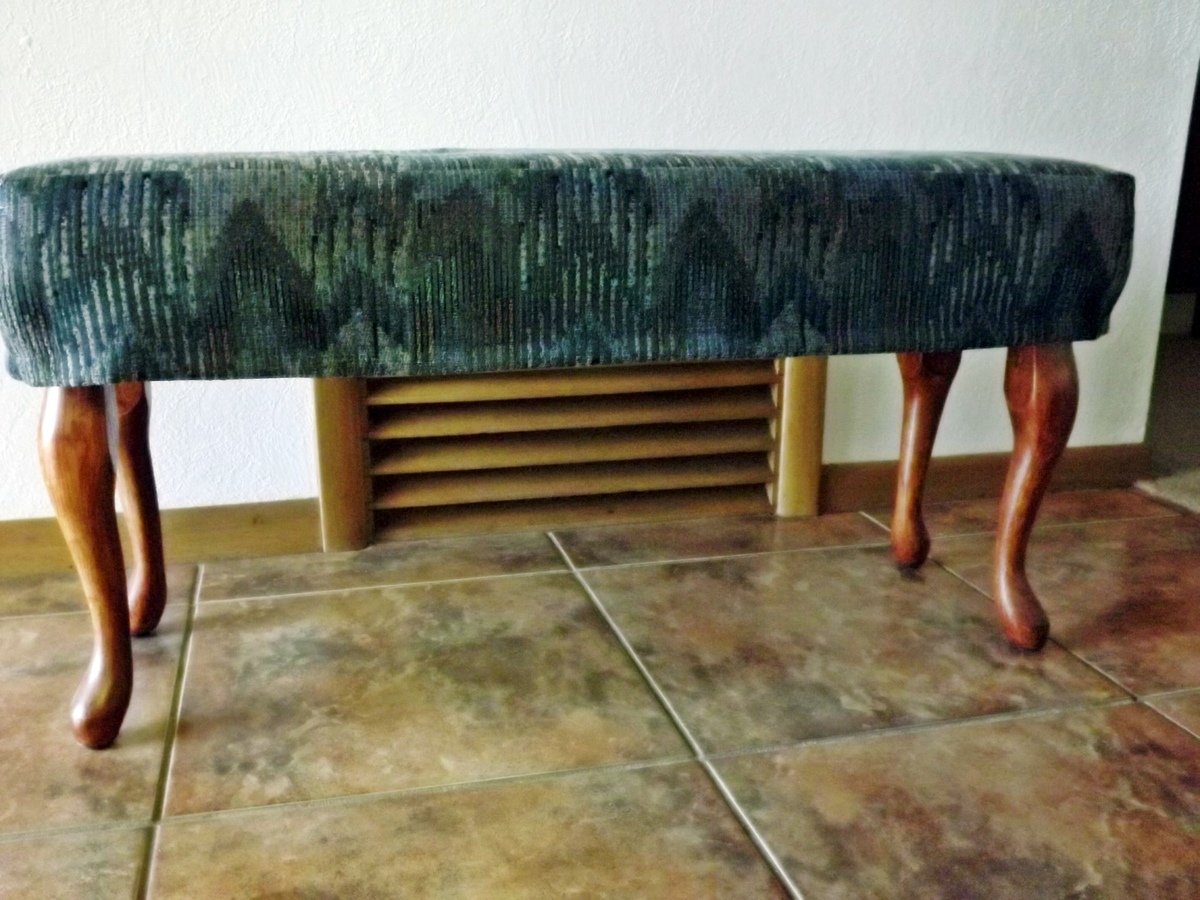
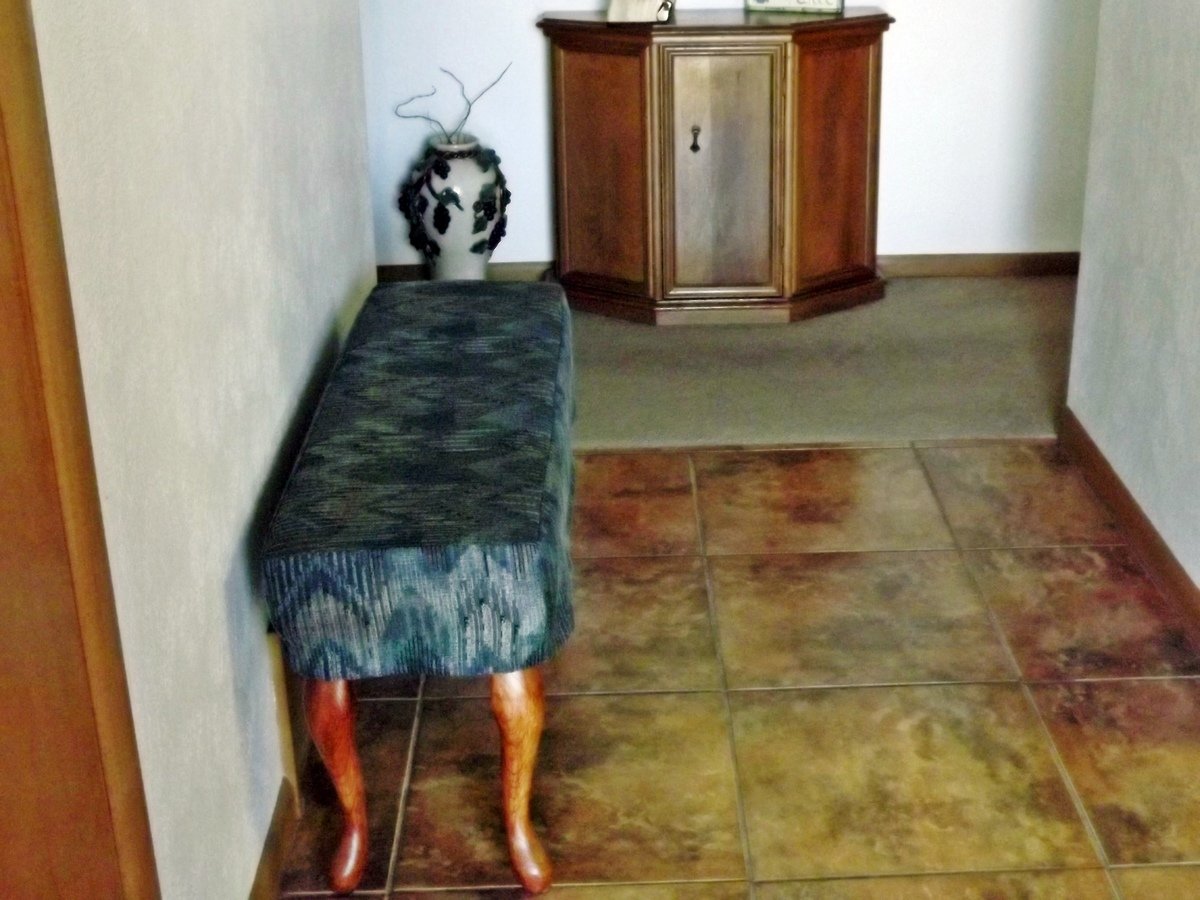
My mother needed a bench in her small entryway. She had definite dimensions in mind and we looked everywhere. None fit the bill. Then I saw these plans and we went from there. She had leftover fabric from recovering her dining room chairs, and I had the plywood. She wanted the Queen Anne legs to go with her traditional furniture; we put felt floor protectors on the bottom of the feet of the legs, which helps keep the bench from moving so easily on the tile floor. The plans were easy to follow, including the tutorial on how to sew the slipcover. The bench worked out just like she had hoped. Thanks Ana, for the great plans.
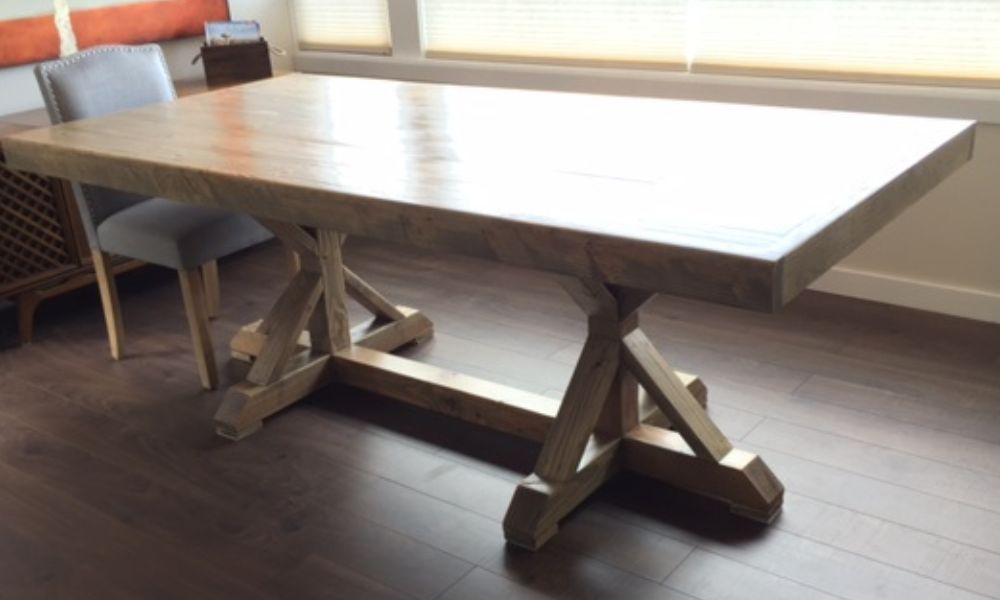
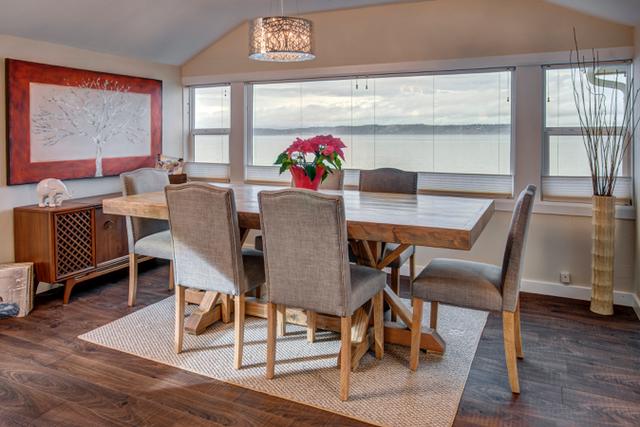
Needed a classy table...
Purchased the chairs separetely. Sanded the legs from black paint back to wood, and stained them to match the table.
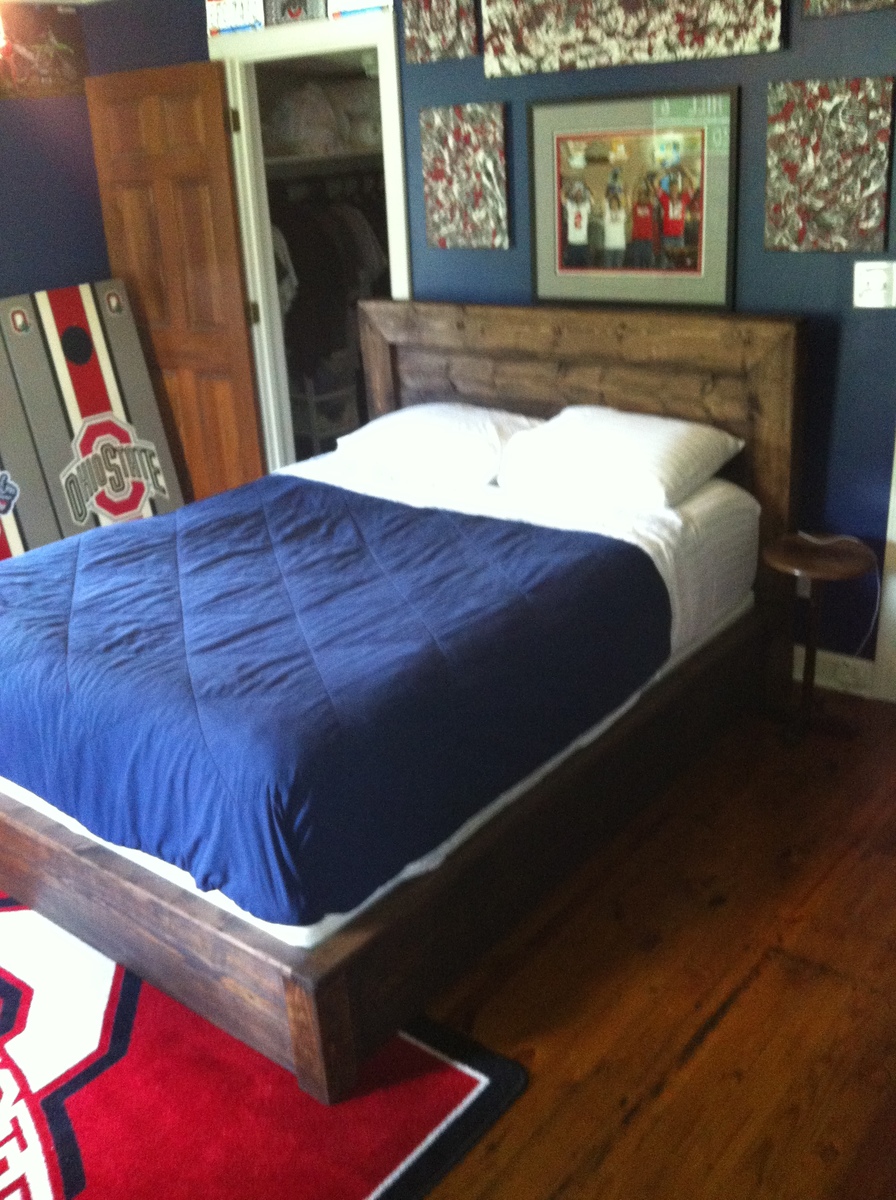
I had searched for a nice bed frame for the longest time. I wanted something that would last and the prices in furniture stores or antique shops were crazy. I found the plans for the platform bed/headboard and modified them a little. I used 2x12's for the frame and set my 2x6's down inside for my box spring. 2x6's for the headboard and trimmed it the same way as in the plans. I love it. Thanks for the plans Ana.
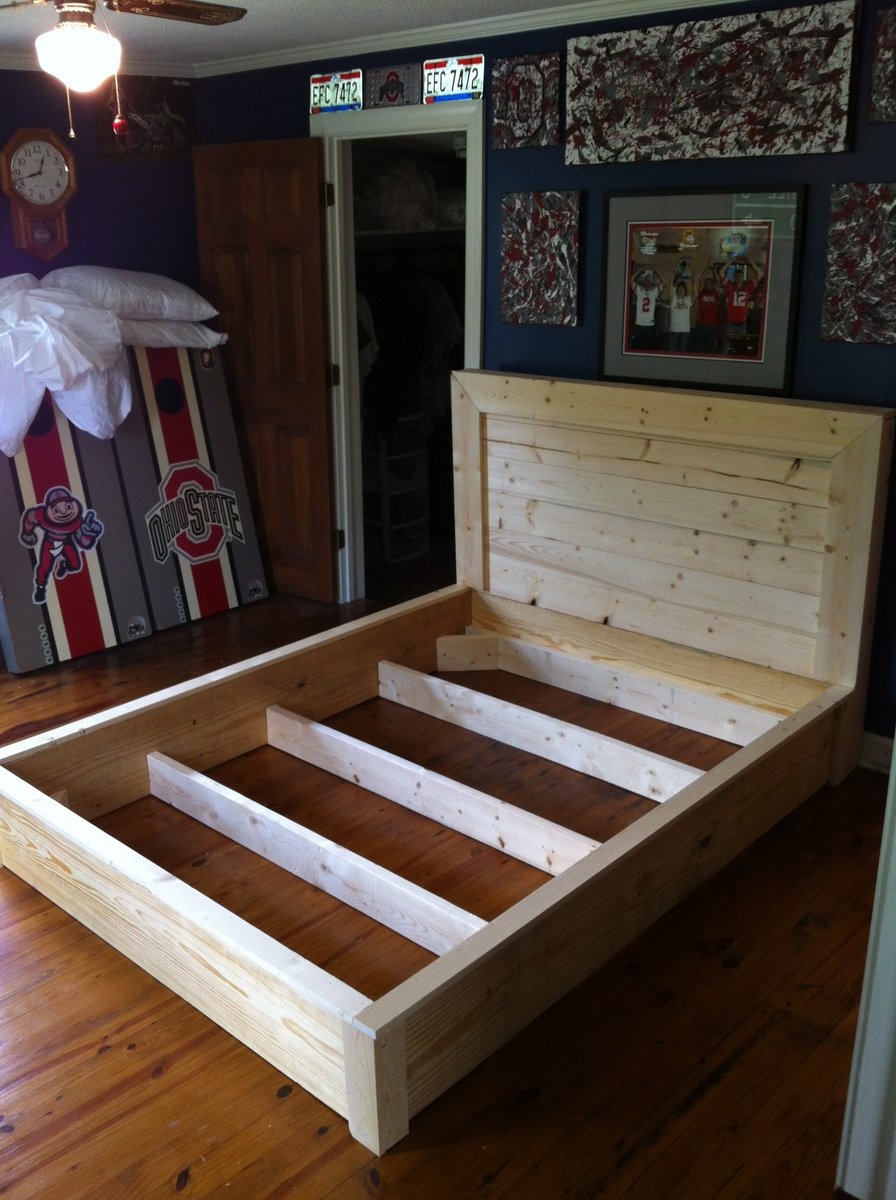
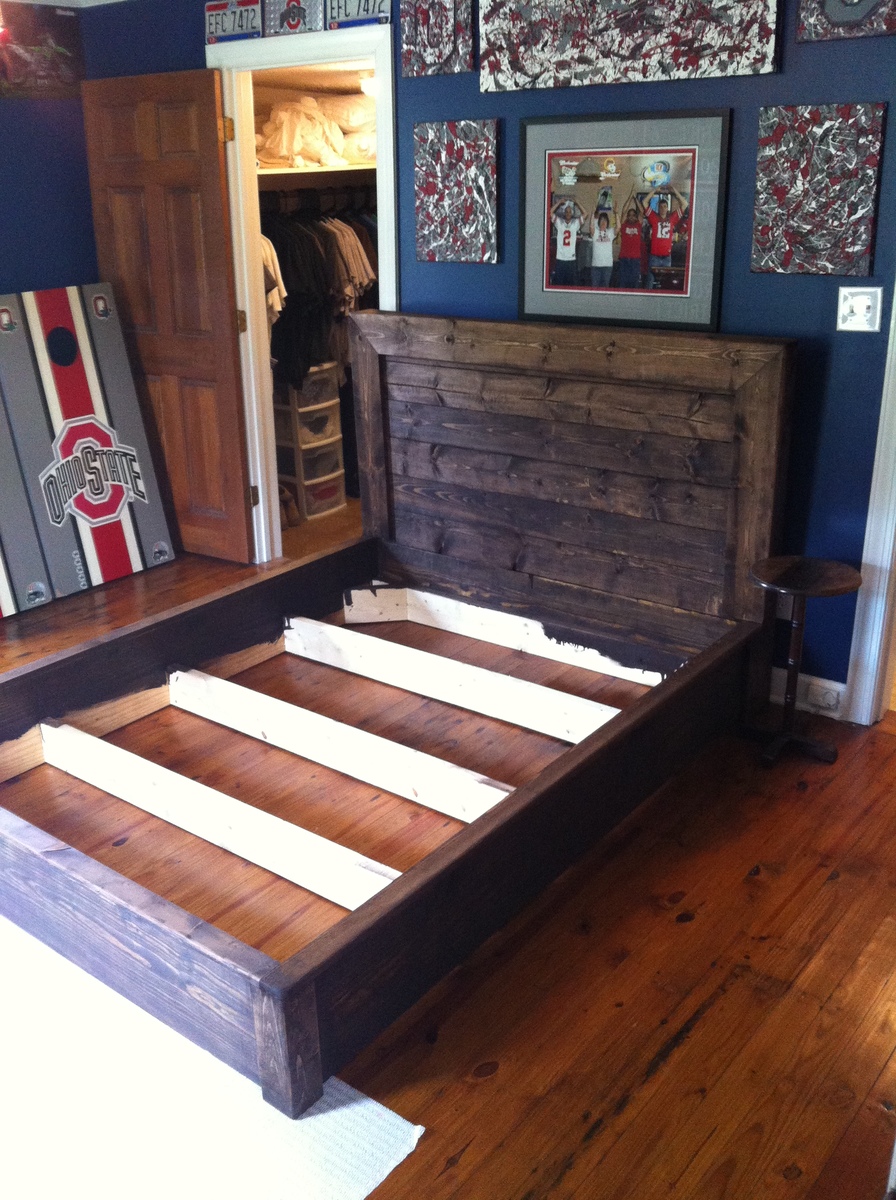
Fri, 05/30/2014 - 18:40
Love your inspired bed! What size mattress is your frame for? I am looking to make a frame just like yours for a queen size bed. Do you have your measurements or are they pretty similar to the original post? Complete beginner here, any help is much appreciated!!
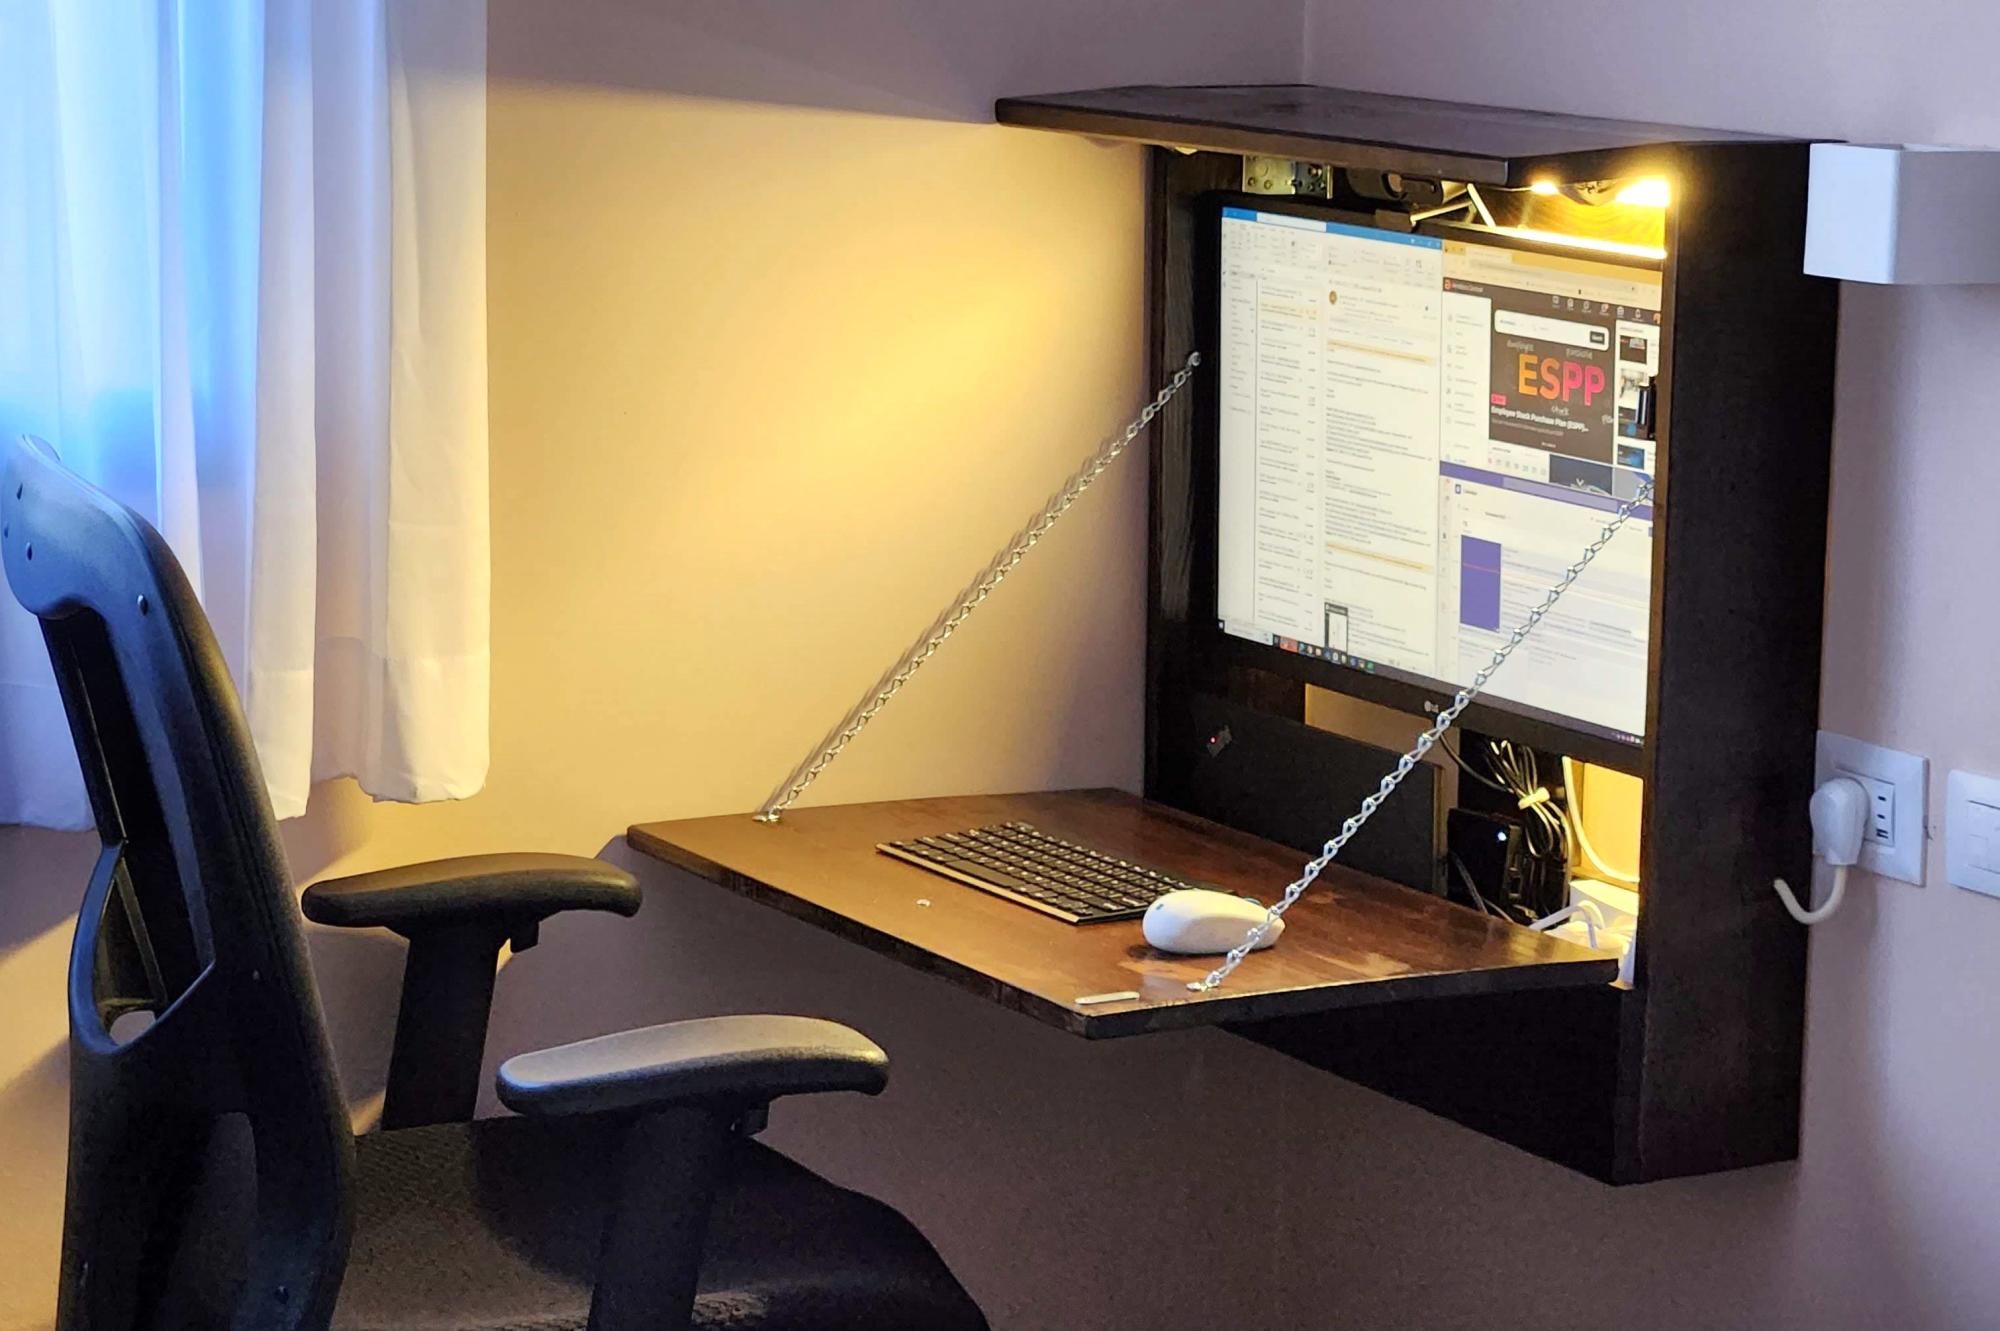
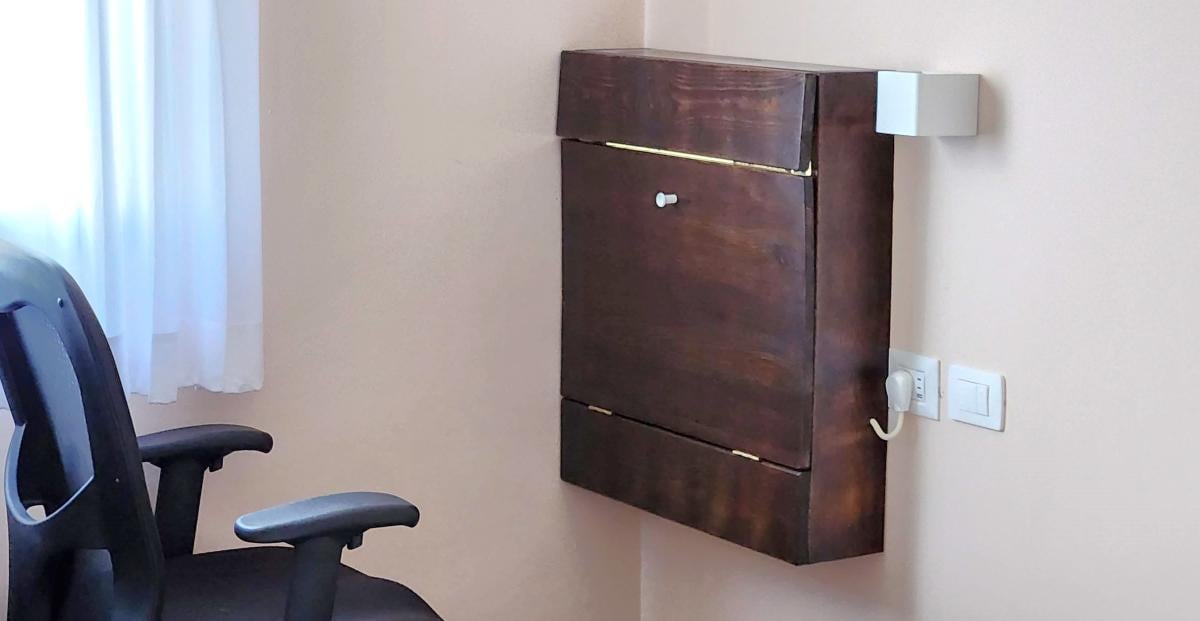
I built this fold-up desk, out of sheer necessity. It's rather unassuming when closed, yet fully functional when open, with built-in power outlets and light, a large screen, a nook for the laptop and the chargers, etc. It's tailored to my needs and specific size limitations, but I think you could make a great general plan of it for anyone needing a small-space hideaway desk.
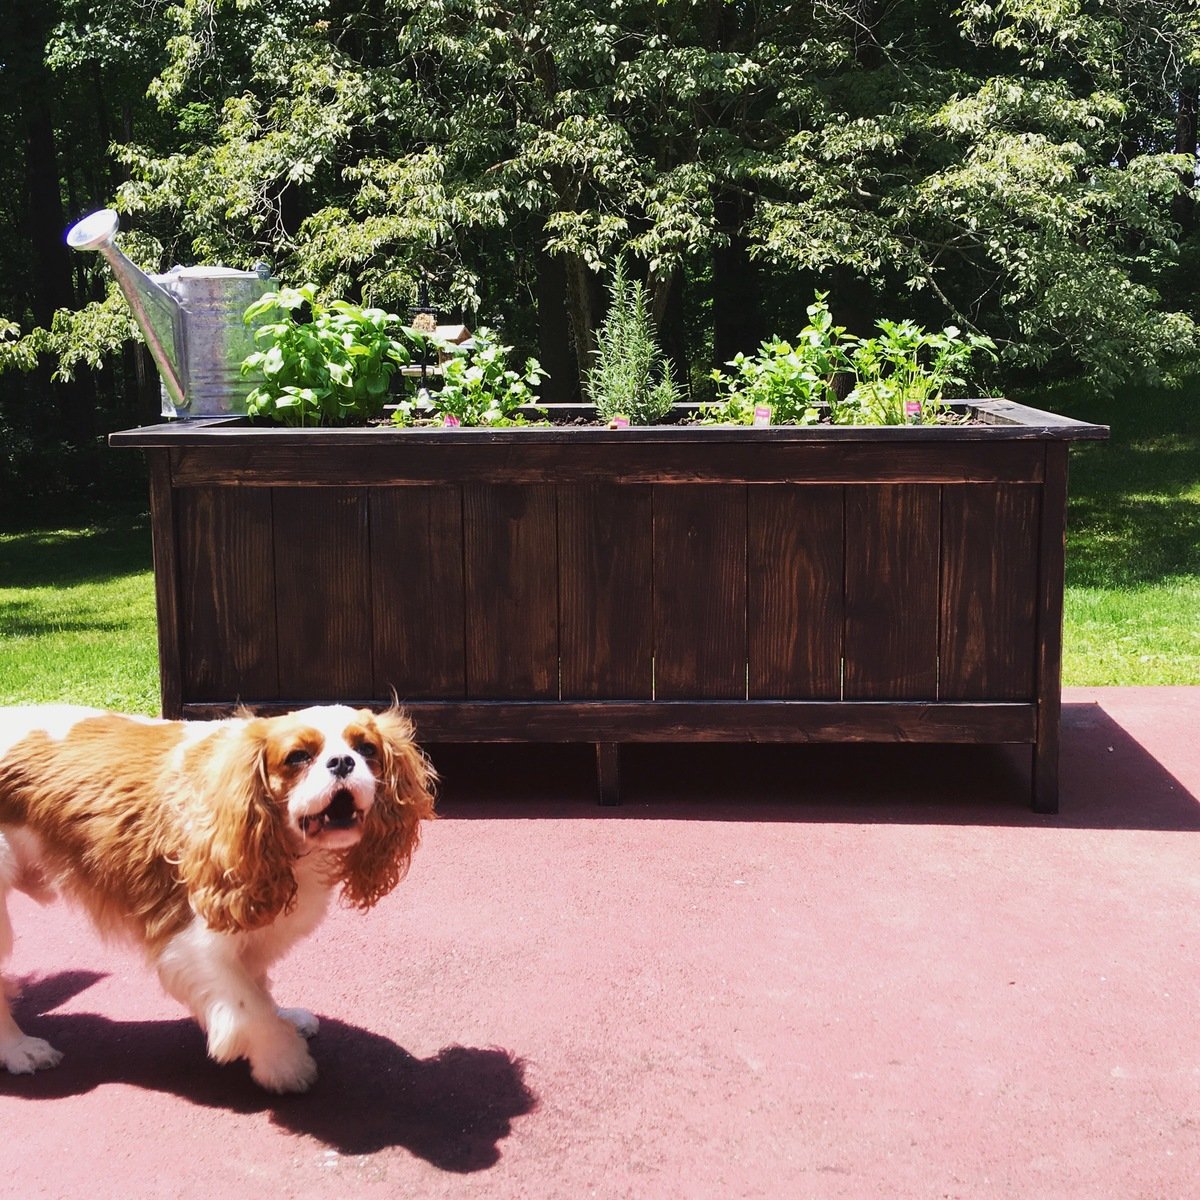
Modified the dimensions to make a good sized planter for patio herb garden :)
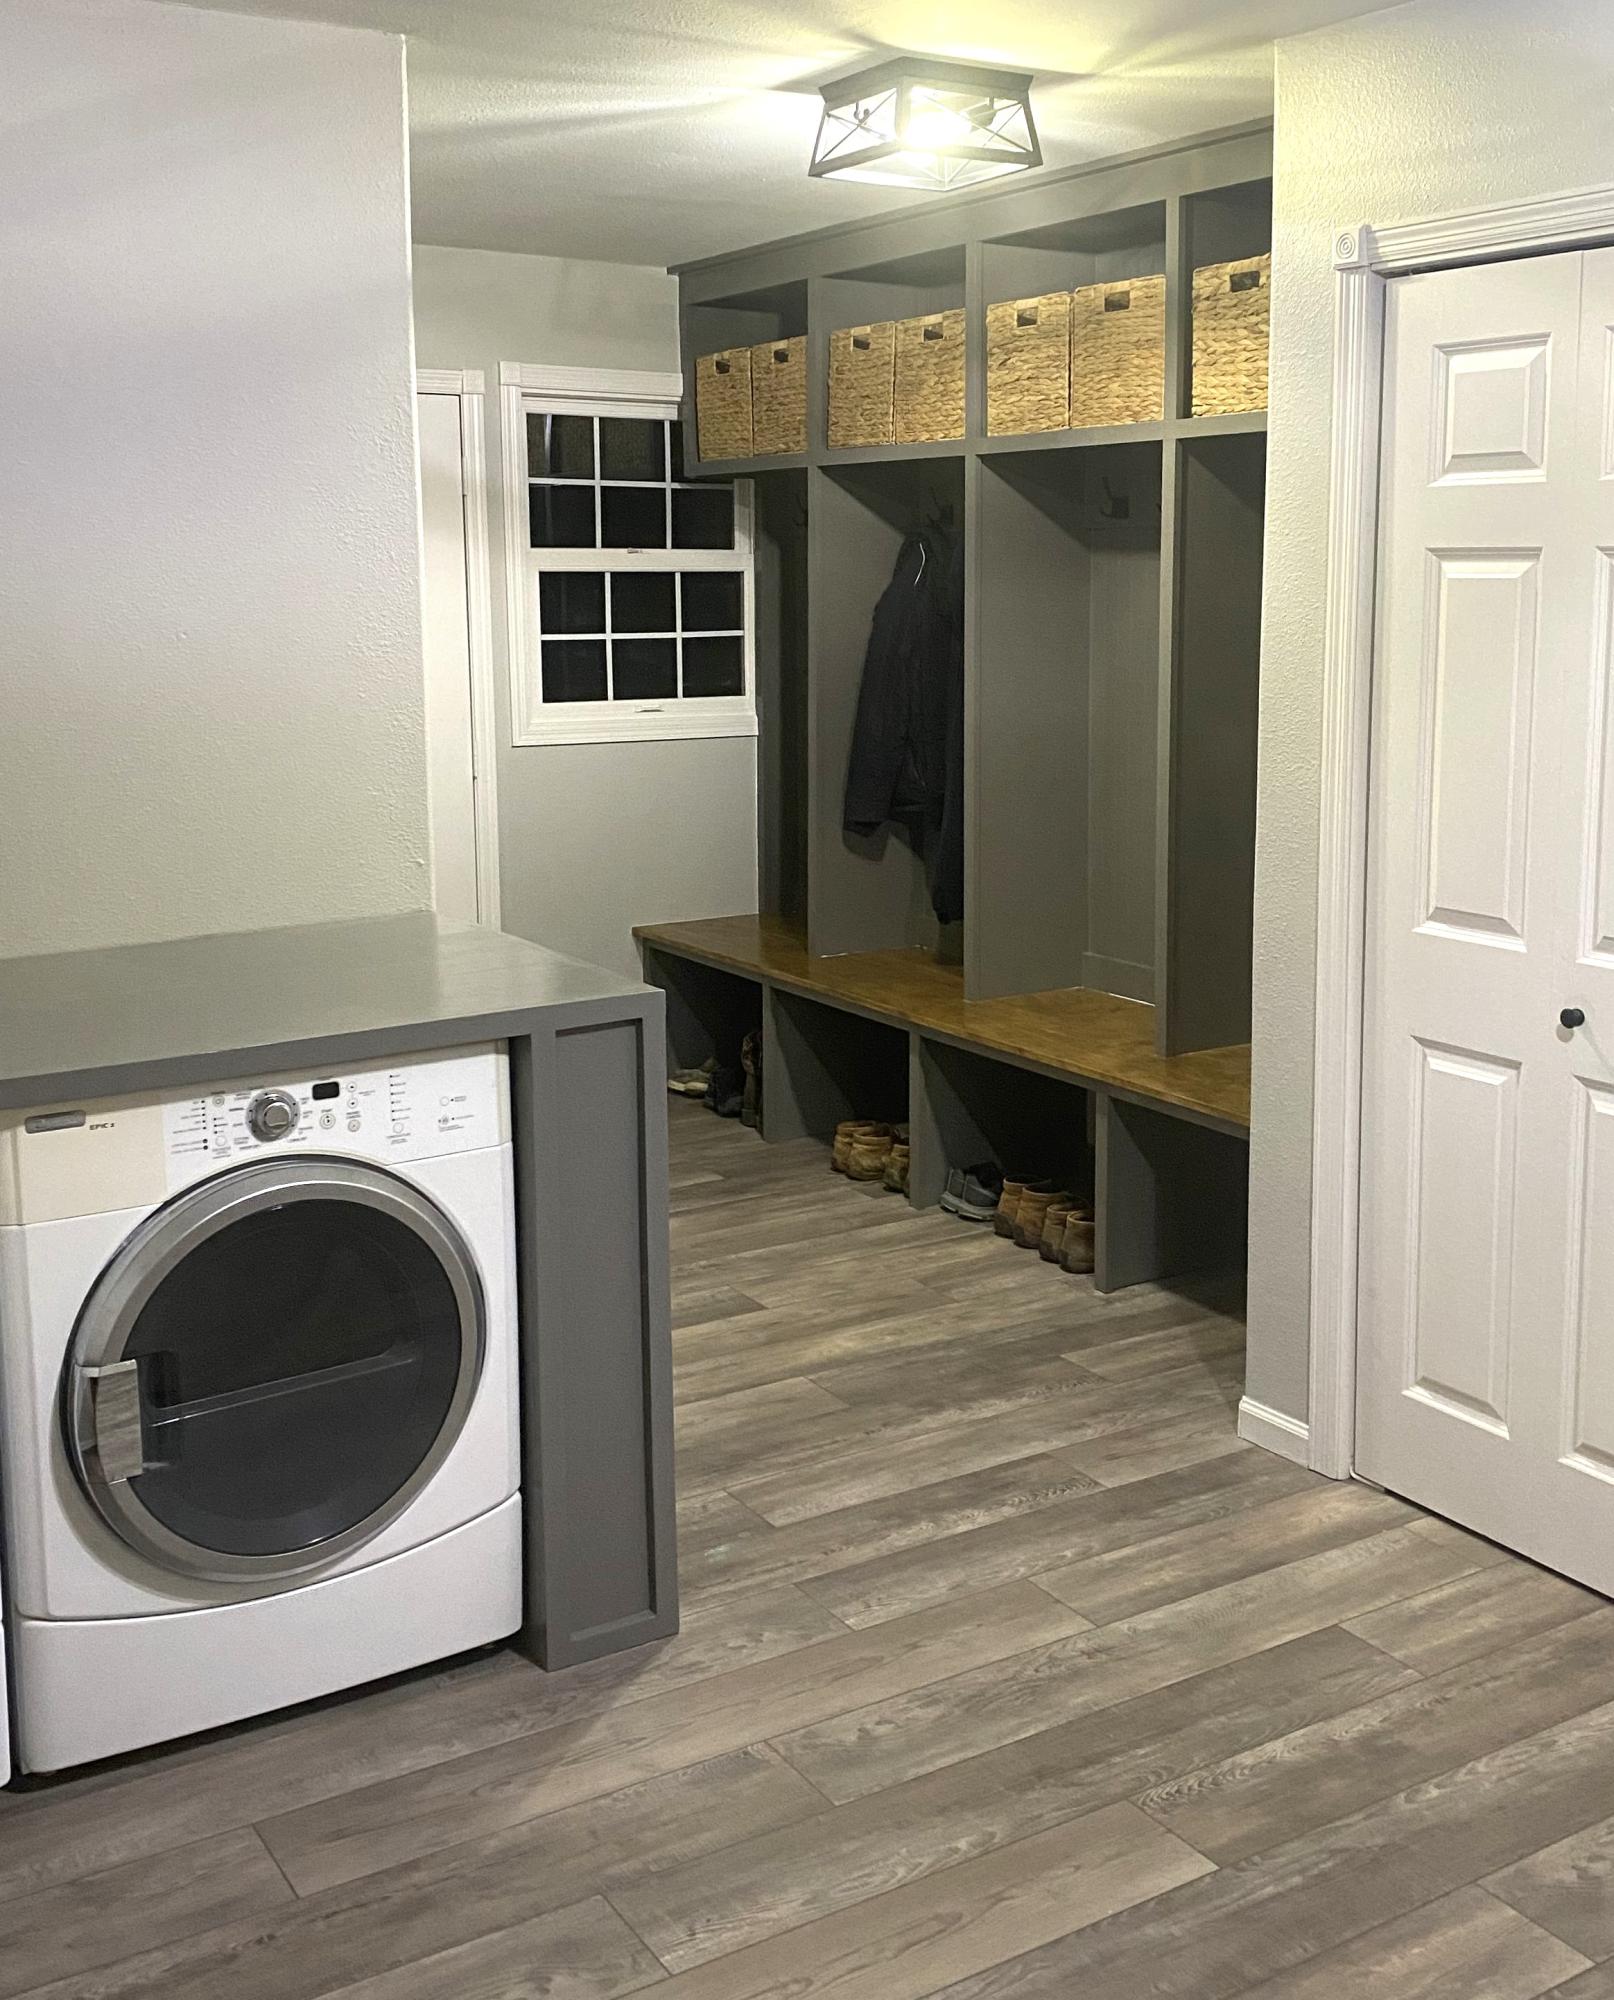
Laundry Mudroom Storage
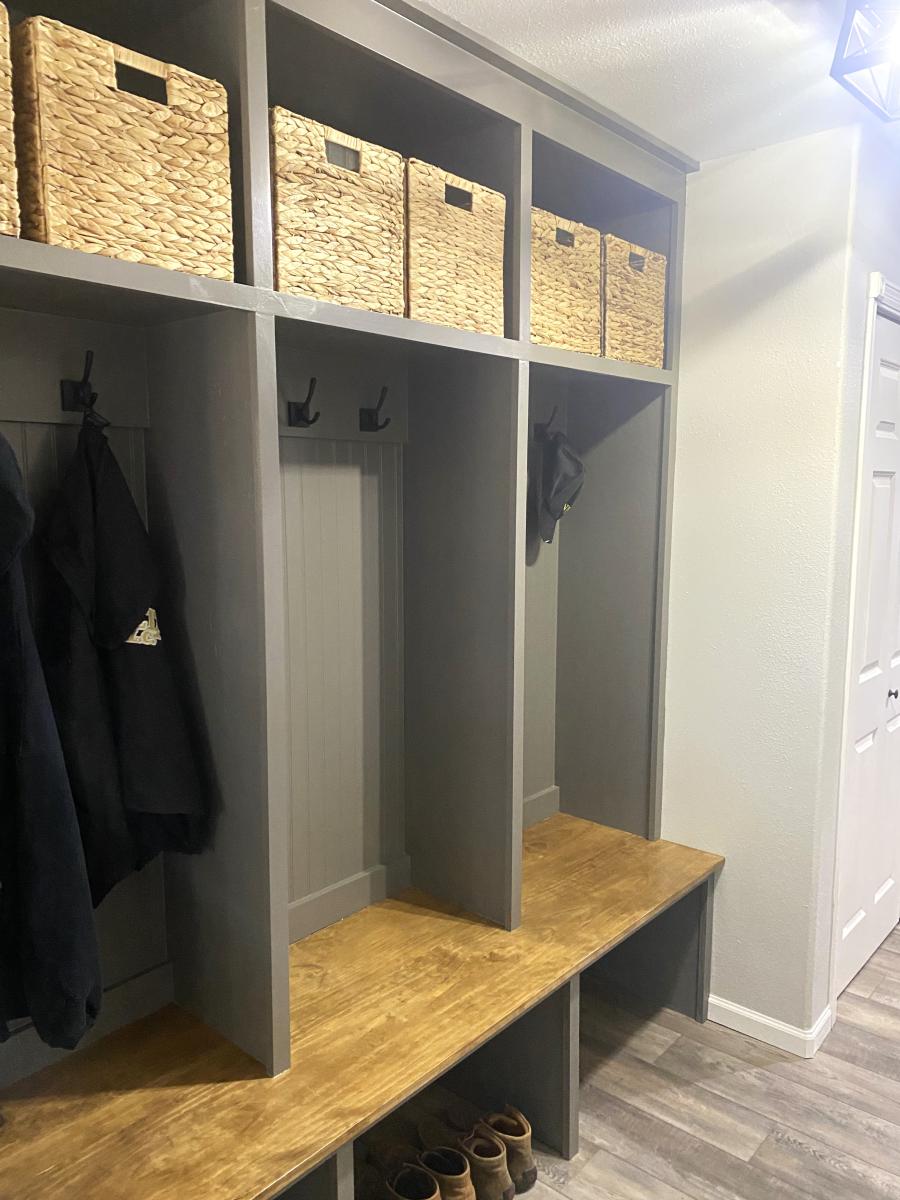
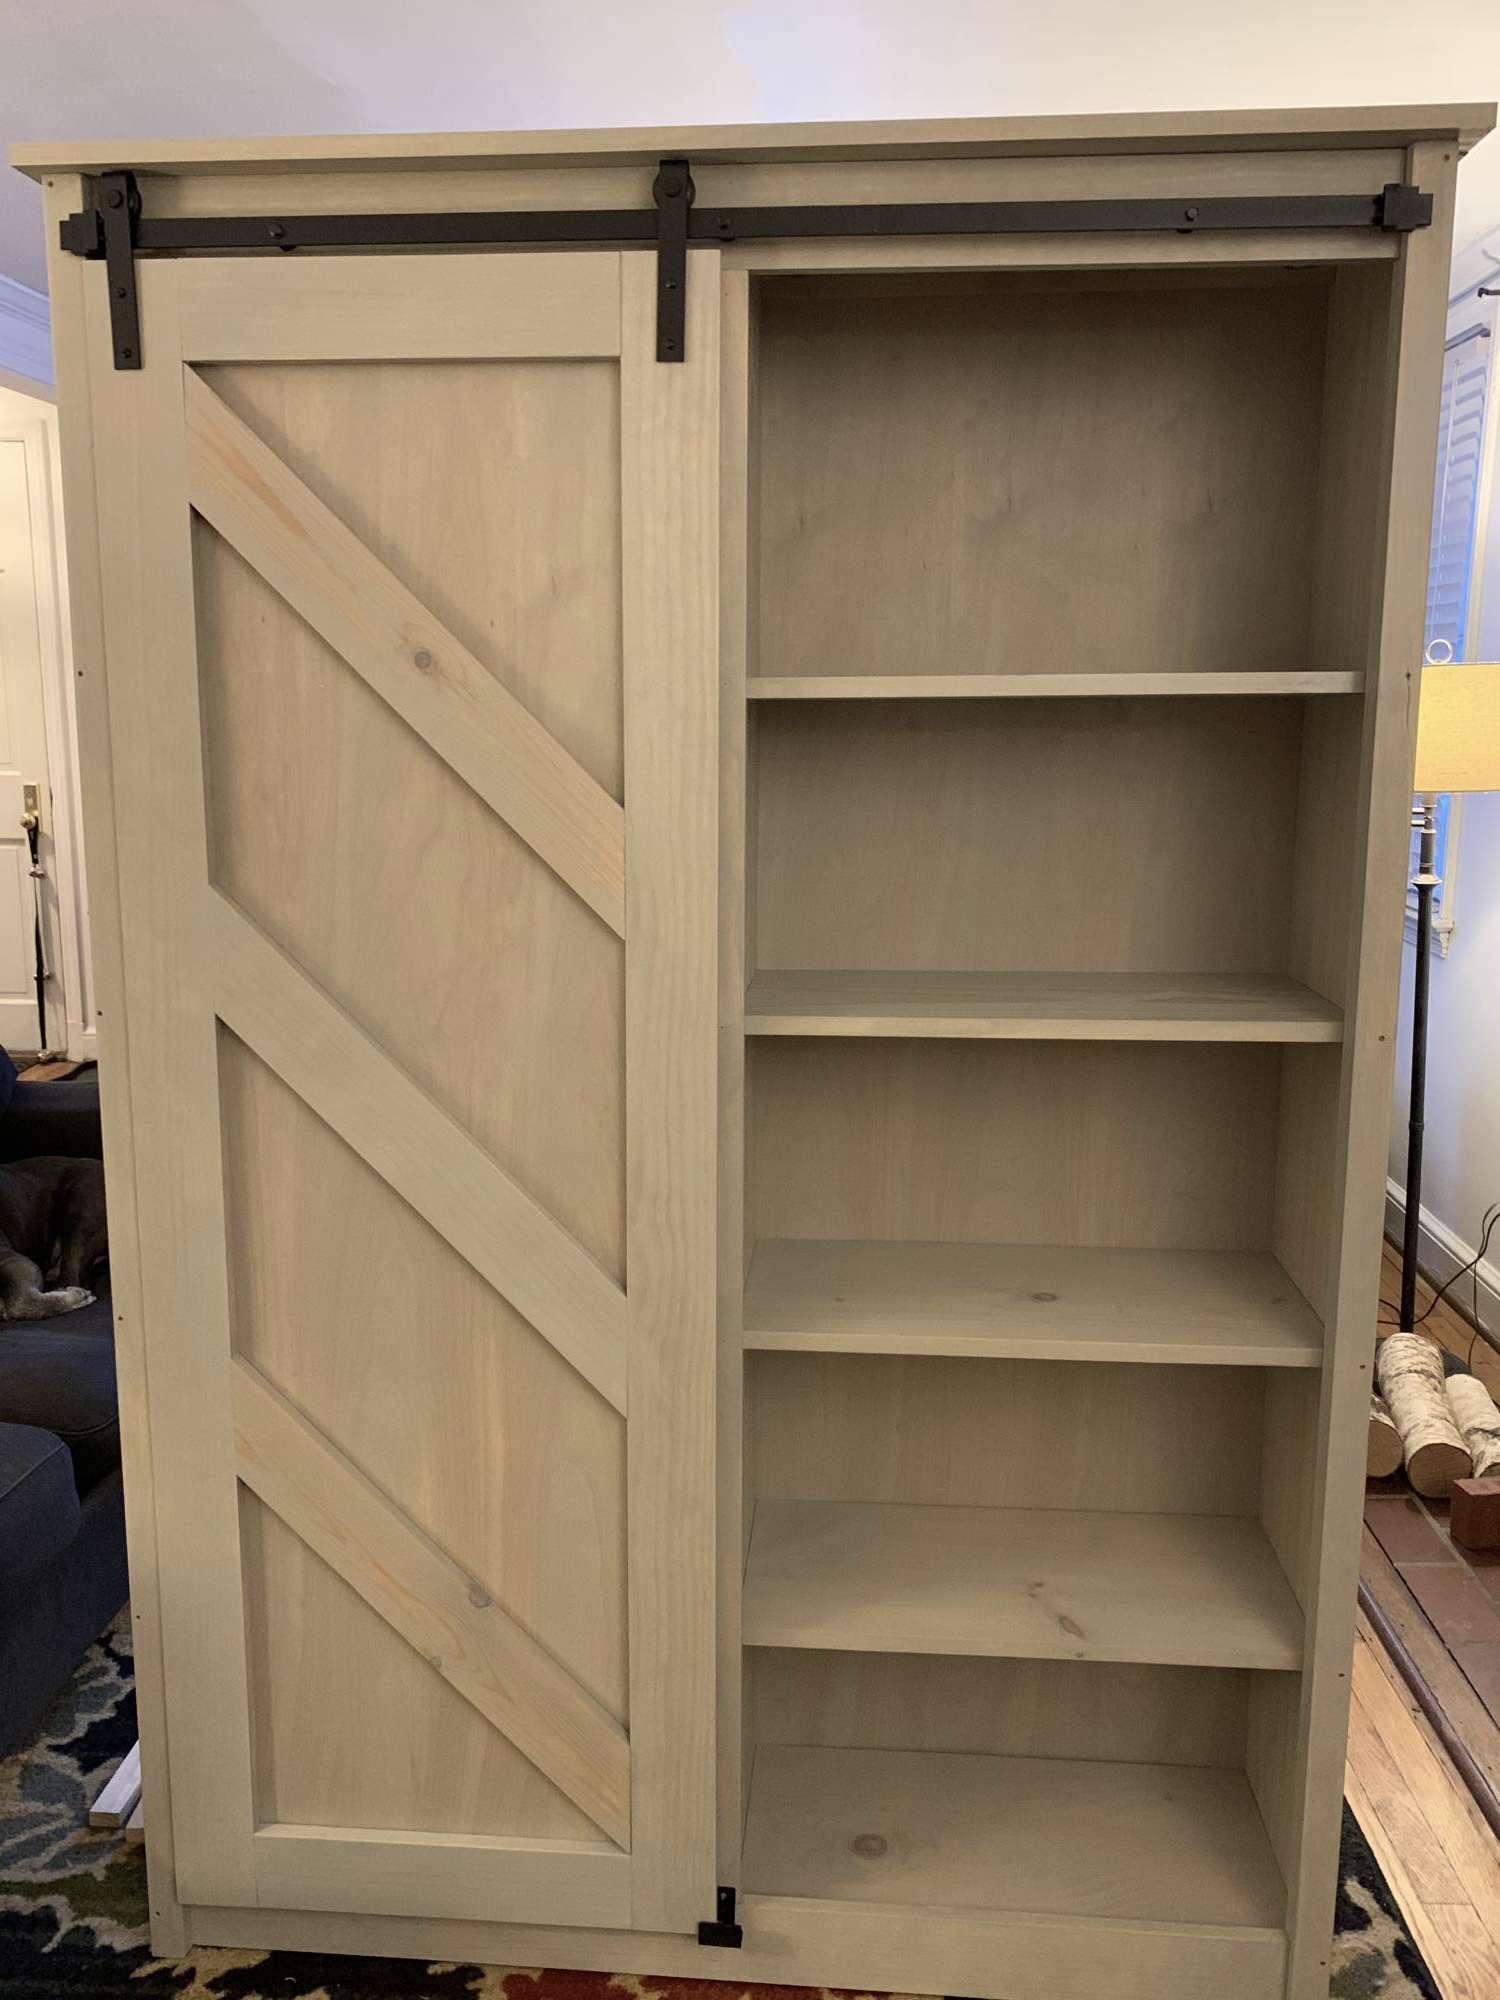
This took a lot of time and money but I like the way it looks. We have 4 kitchen cabinets and one drawer and no room for more so storage is tight.
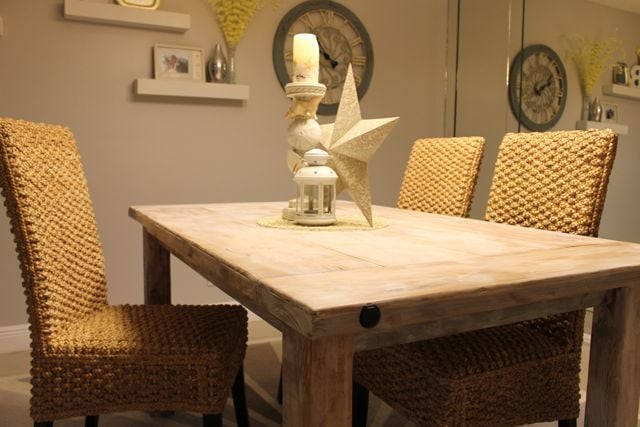
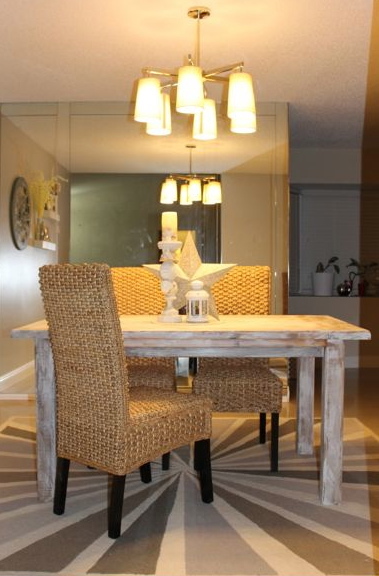
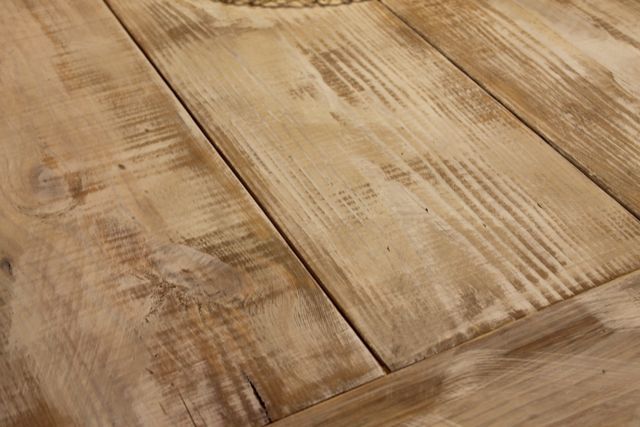
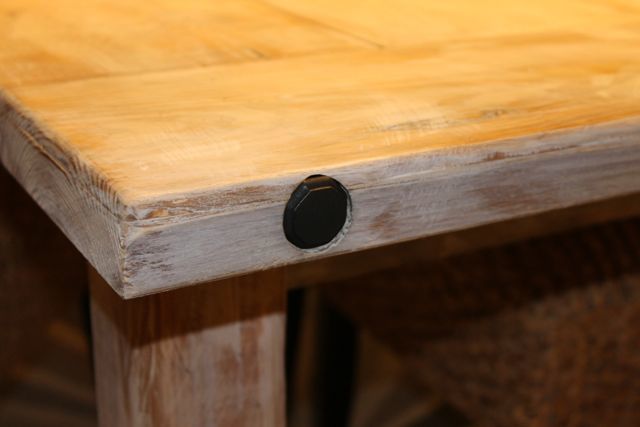
Finally got a chance to try my hand at whitewashing and I just love the outcome!
Sat, 11/17/2012 - 13:12
What were the final dimensions of your table? I've been wanting to modify the plans so it will fit in our space as well. Thanks so much!
Wed, 07/24/2013 - 06:49
Hello I ahve seen your post here. I liked it, but one thing which i want to make sure that, these same things i found much expensive here on the http://www.biglovestyle.com/
I am not confirm what makes you to keep low:(
By the way, I am a little bit late to read your post. :(
Last Sunday me and my wife has changed all the old furniture and replaced it with the new.
I hope next time i will go to your shop first:)
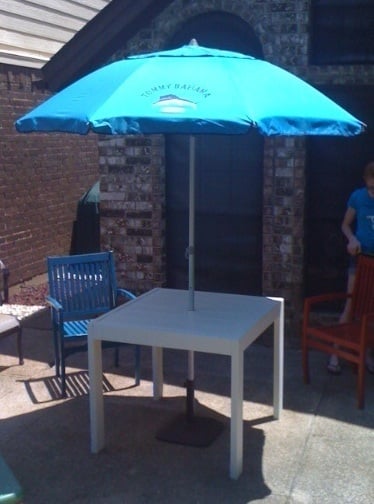
From the Modern Square Farmhouse table.
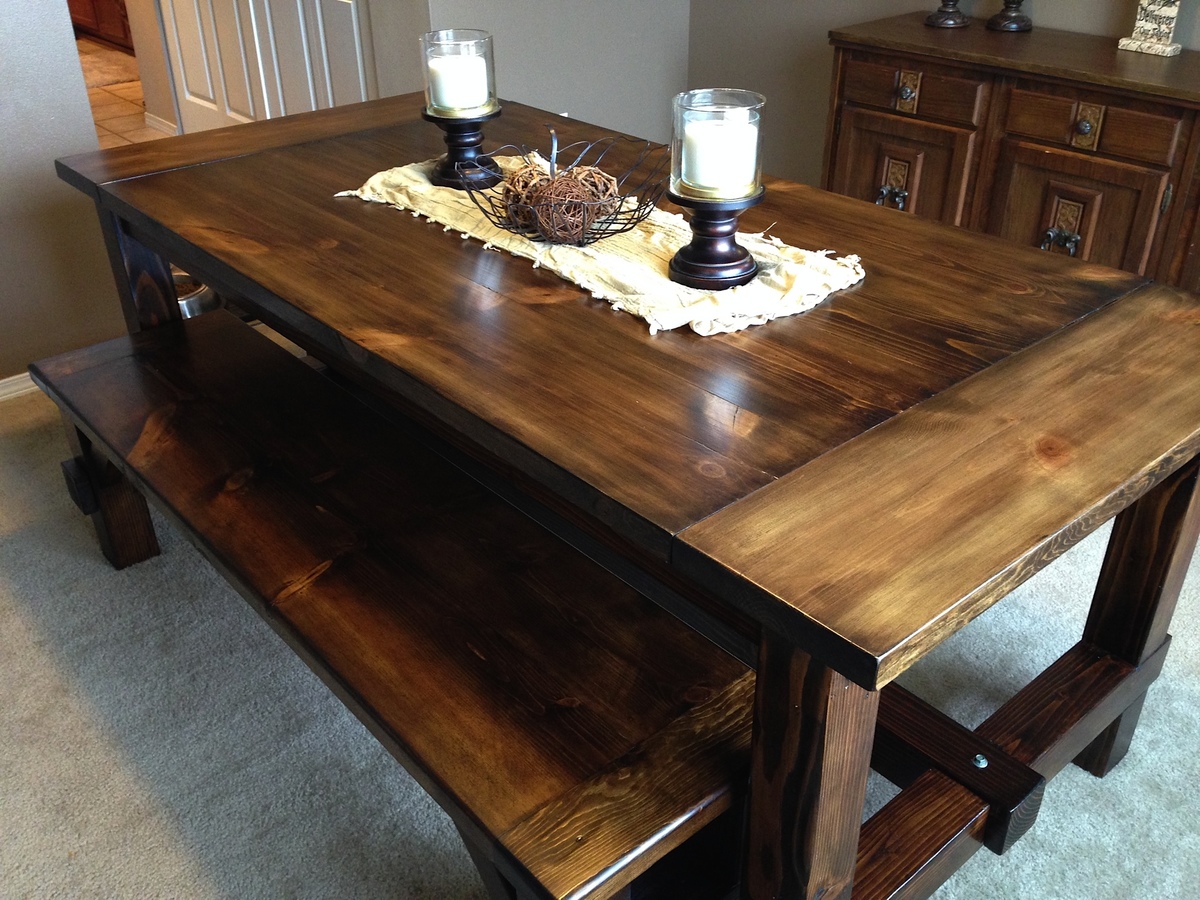
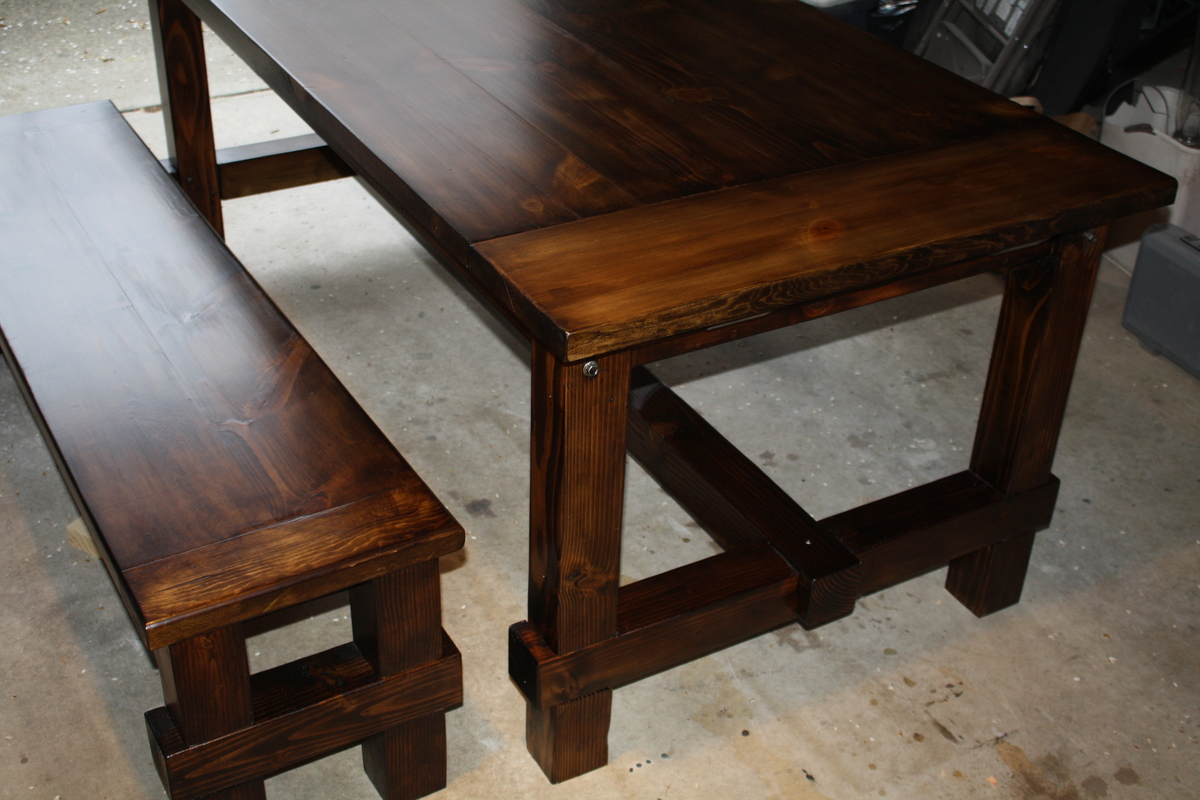
My niece's husband is career military and they move a lot. She saw the farmhouse table on Ana's site and asked if I would build her one that could be disassembled for moving and have extensions for large group gatherings. Challenge accepted!
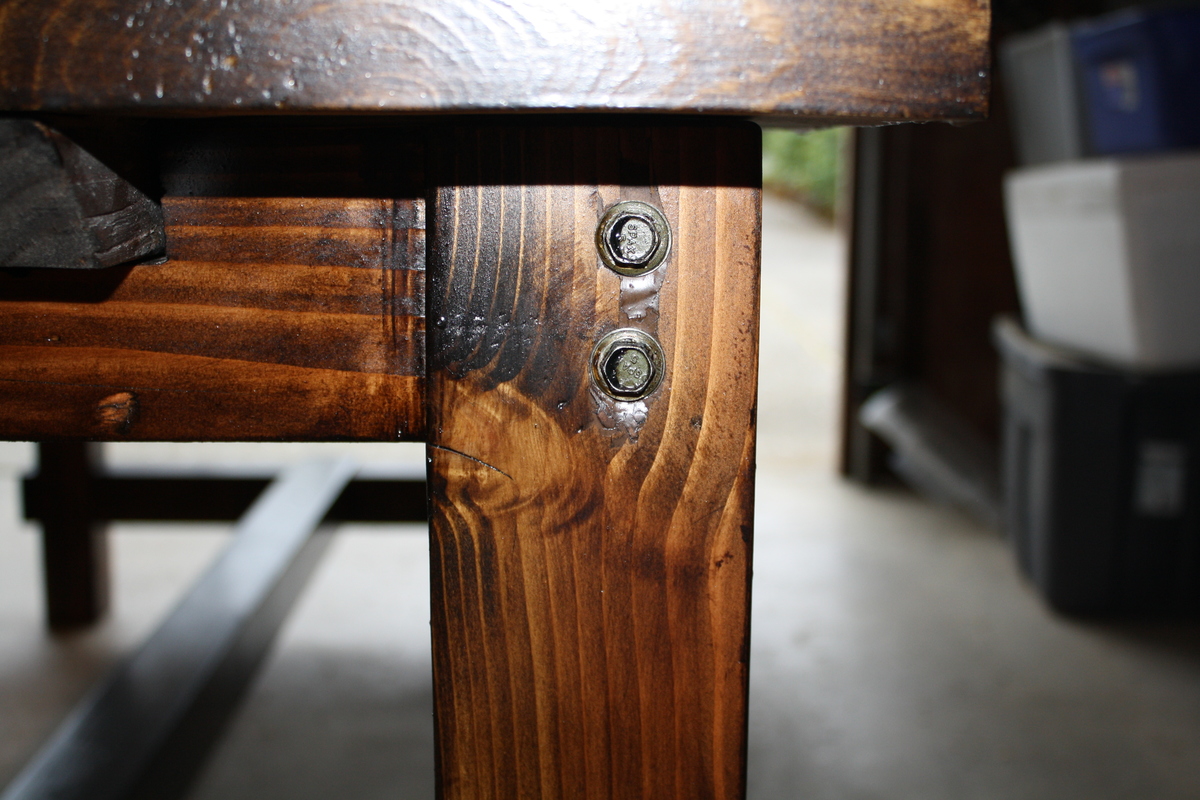
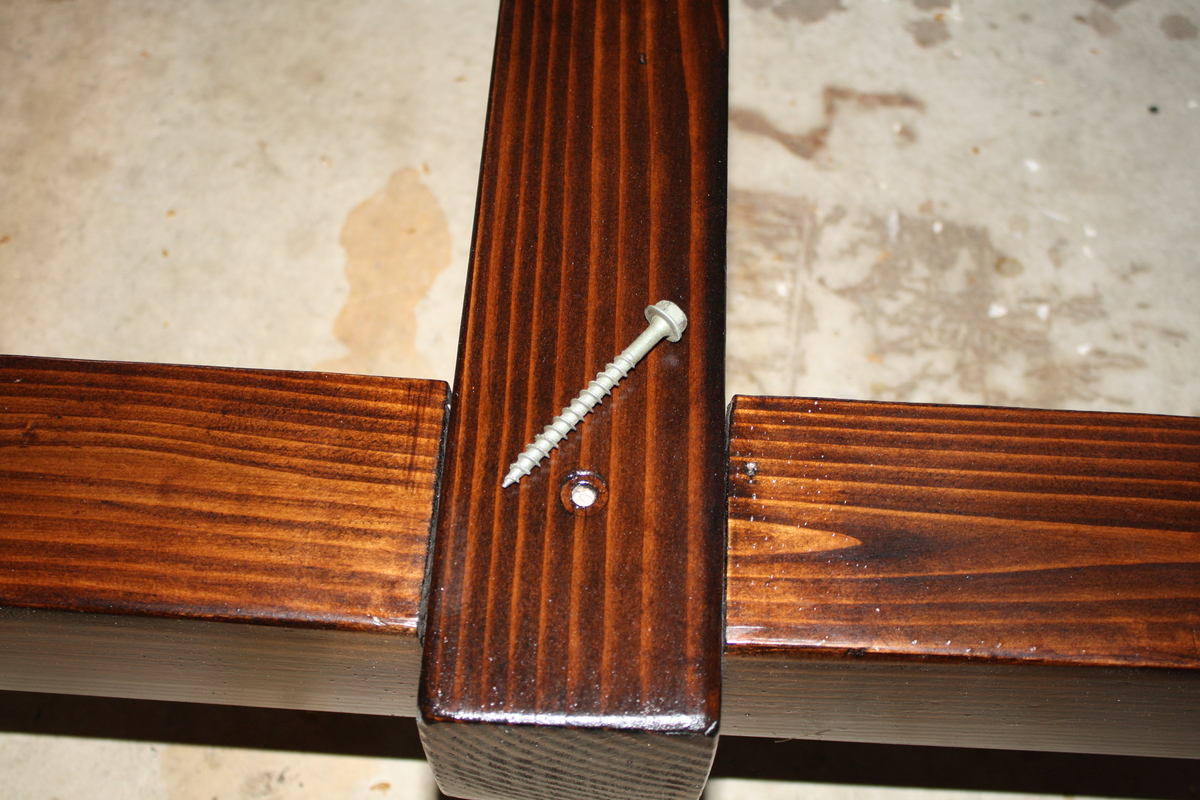
In order to take the table apart, I used 2 - 6 inch long lag screws at the top of each leg that screwed into the 2x4 supports for the table top. Due to the weight of the table, it is advised to turn the table upside-down when removing the screws or assembling the table. Next, I used 3 inch lag screws to secure the beam under the table. Again, the lag screws are easily removed for moving.
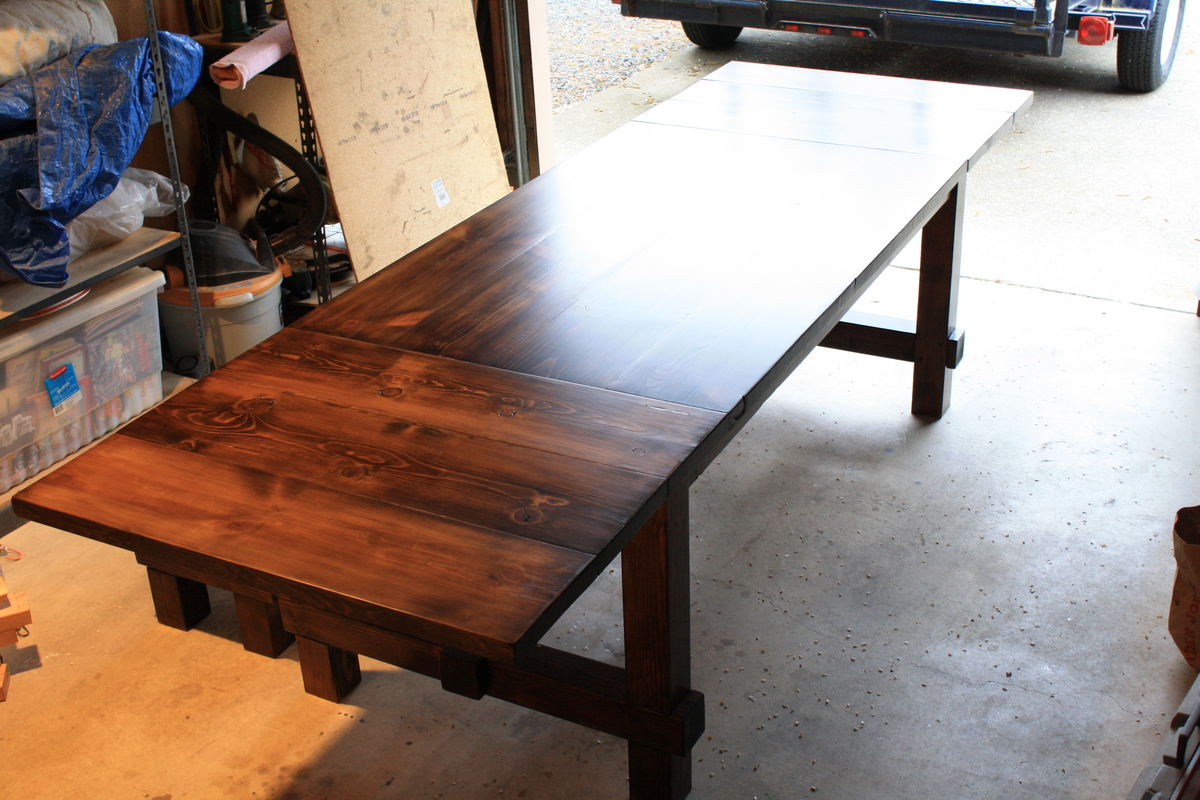
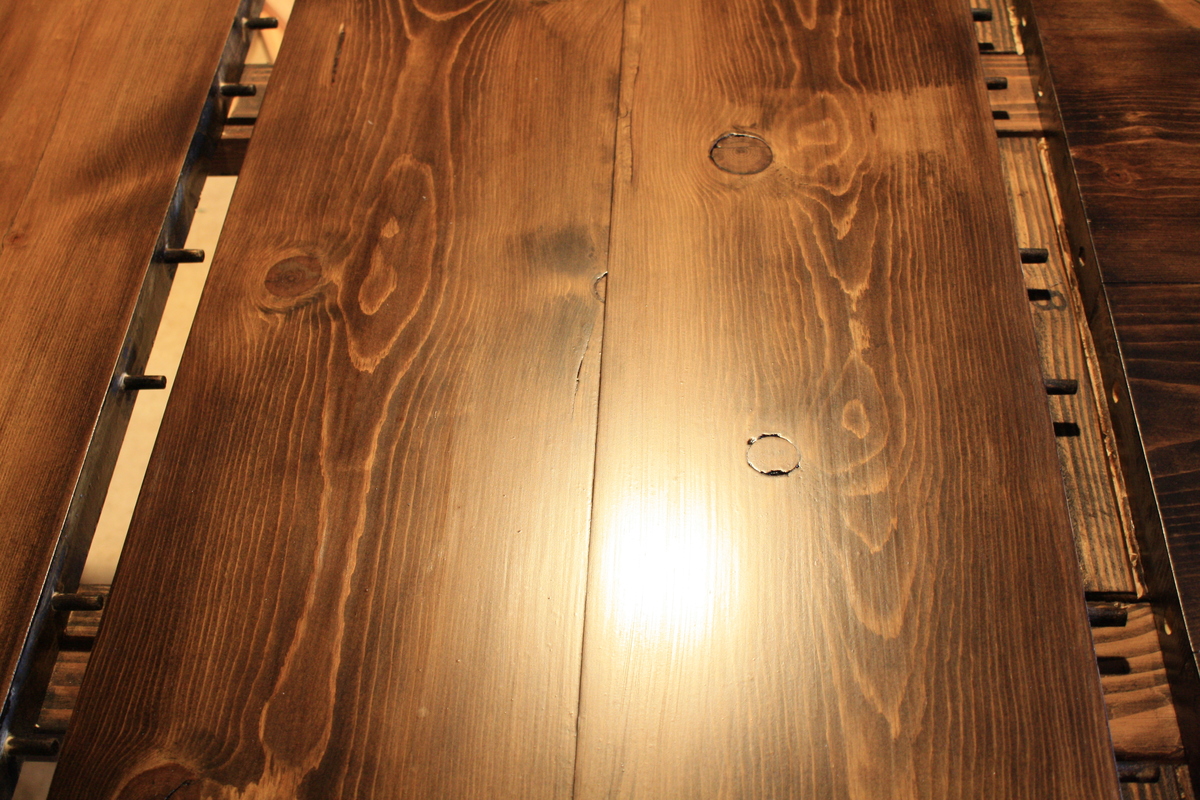
For the leaf inserts, I utilized a dowel jig so the leaf extensions could be easily inserted and removed on the sliders that support the breadboard ends. (It is necessary to drill the holes out a little larger that accept the leaf dowels. If this is not done the leafs will fit too tight and it is difficult, if not darn impossible, to remove them.) This was advantageous for two reasons ... (1.) The leafs are easily installed and removed; and (2.) No need for leaf extensions that have their own 2 x 4 sliders. This reduces storage space for the extensions and eliminates the slider insert hole cutouts on each end of the table because the slider is never removed.
The table, when disassembled, is in (8) sections:
(2) table leg sections
(1) table top
(1) Main beam from under the table
(2) Leaf extensions
(2) Breadboard ends attached to 2x4 sliders
My niece is simply thrilled with the table.
Tue, 04/15/2014 - 10:39
This table was built for me! I like it for several reasons, but the main reason is that because we are a military family. Therefore, we move every two to three years and our furniture always seems to break. I have always wanted a solid farm house table, but not only are they expensive, they are hard to manuver and move. My uncle customized this table so that it would serve three important purposes for our family. One, it extends with two easily storable extensions, two, it comes apart, giving us the opportunity to move with it; and three, it is incredibly sturdy, therefore, making our next move a guaranteed success. So excited to have everything I want in one table for 1/4 of the price.
Fri, 04/25/2014 - 07:59
Thank you so much for sharing your wonderful gift. I am retired military myself, so I know how hard it is to move so often. I appreciate your sharing with us how to make it so it can be disassembled. I am going to try to build this with your instructions.
Comments
Ana White Admin
Wed, 08/02/2023 - 15:43
Great table!
Thanks for sharing, cool mods for the kids side!