Community Brag Posts
DIY Wall Mounted Concealed Jewellery Organizer
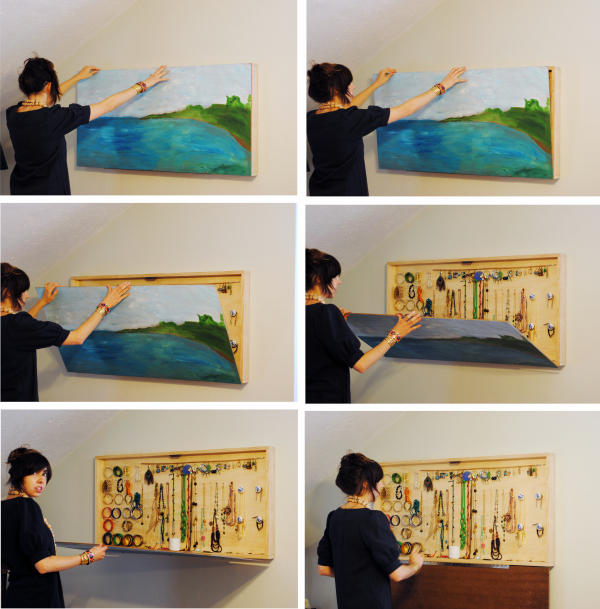
The idea for this project (and the final image that you see) came from the Whiskey Drink Studio ! Cheers to them for the original design.
So, this is a really fun project that has to solve the following problems:
- Be a handy place to store jewellery
- Feature a custom layout / organization system
- Be concealed, meaning it shouldn't be directly obvious it's a container, or if so that it contains jewellery
- Be mounted on the wall (just because where else would you really put it)
- The cover should be a painting on a canvas or another form of artwork. I mean not really SHOULD, but this was the original idea, you can modify it for your purposes
- Should be styled to match the decor and interior design
Great, lets start with the:
Materials

The sizes are entirely up to you, but if you're going to be using a canvas as a cover, you should first pick the size of your artwork and then scale everything else to size.
They go as follow:
1 x A3 Canvas Painting (420mm x 100mm)
1 x Same size hardboard cover (420mm x 100mm)
2 x Wooden Boards (420mm x 100mm x 50mm)
2 x Wooden Boards (287mm x 100mm x 50mm)
1 x Bundle of nails
1 x Bundle of screws
1 x Bundle of screw hooks
1 x Magnetic catch set
3 x Standard cabinet hinges or 1 x Piano Hinge
This a very very beginner level build, so we're using the easiest techniques possible. Advanced users, who want to make the strongest box possible, can use alternative materials and methods.
Step 1: Assemble the box
So, very straightforward, just start building the box, starting from the frame. In the GIF above you see how we put the shorter boards in between the longer ones and just nailed them together.
If you want this to be extra strong, you can use corner braces on the inside.
After the frame is ready, flip it on it's face and nail in the hardboard. The hardboard should be thick enough so it holds the screw hooks and your jewellery. It should also be pretty sturdy and well attached to the frame so use plenty of nails (well, don't go overboard).
Step 2: Attach the cover

Take your canvas (or whatever other cover you picked) and mark equidistant locations on the lower back side. Take your measurements and mark the same locations on the bottom of the frame. Put the two together and see if they match.
Now screw the hinges in the cover and then, into the frame.
At this point the door should open and close, lining up perfectly.
Step 3: Screw the hooks

The next step is to think about the internal layout. Using a pencil plan and divide your space to represent your needs for storage. Then simply screw the hooks in.
Step 4: Attach the magnet catches

The last part is attaching the magnet catches. They will hold the cover tighly close, with no accidental falls and issues. This can be substituted for a hydraulic arm, but we chose the simplest options.
Special thanks to Rachel at Whiskey Drink Studio for the inspiration !
Check out the full tutorial over at my blog - DIY Wall Mounted Jewellery Organiser
Estimated Time Investment
Day Project (6-9 Hours)
Recommended Skill Level
Beginner
Comments

Thu, 10/22/2015 - 05:05
I love your animations!
I love your animations! Really cute project you've done there! Cheers
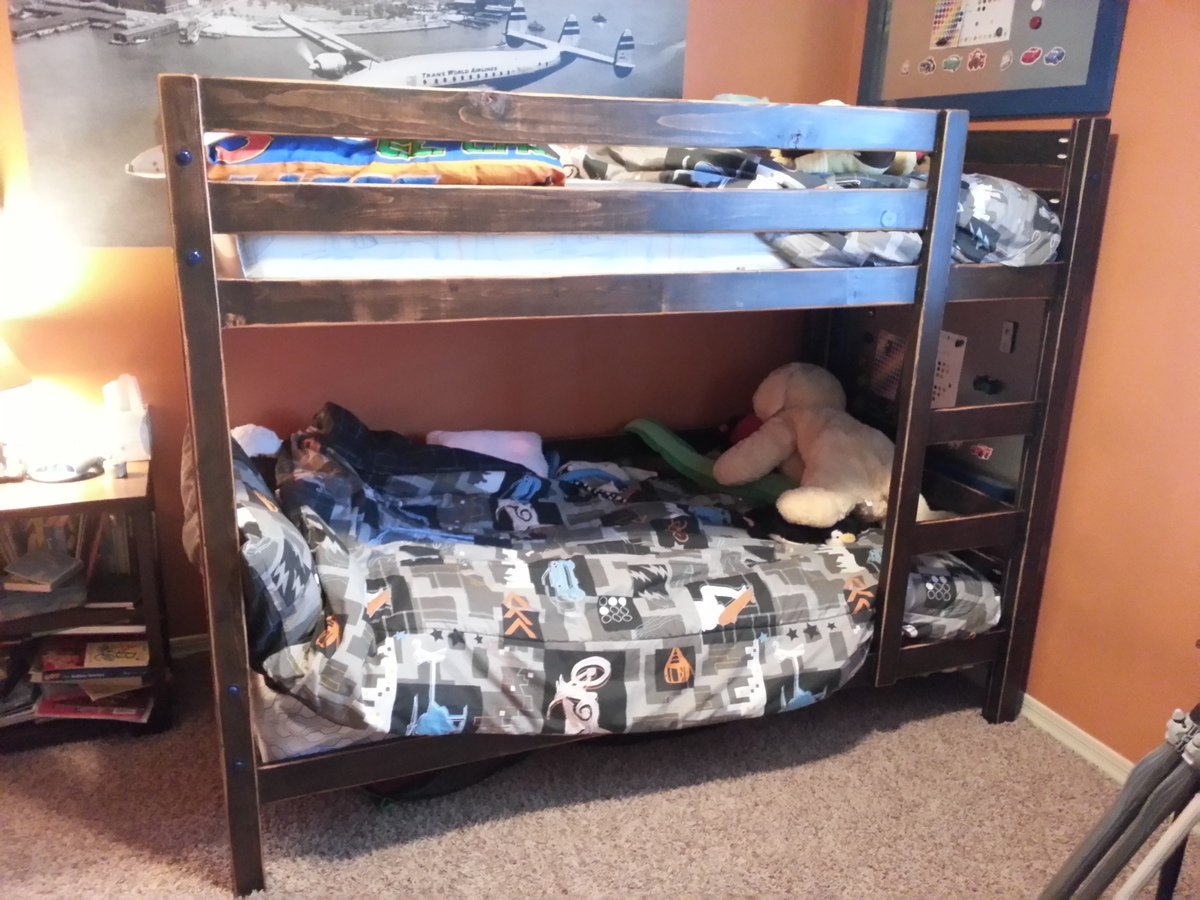
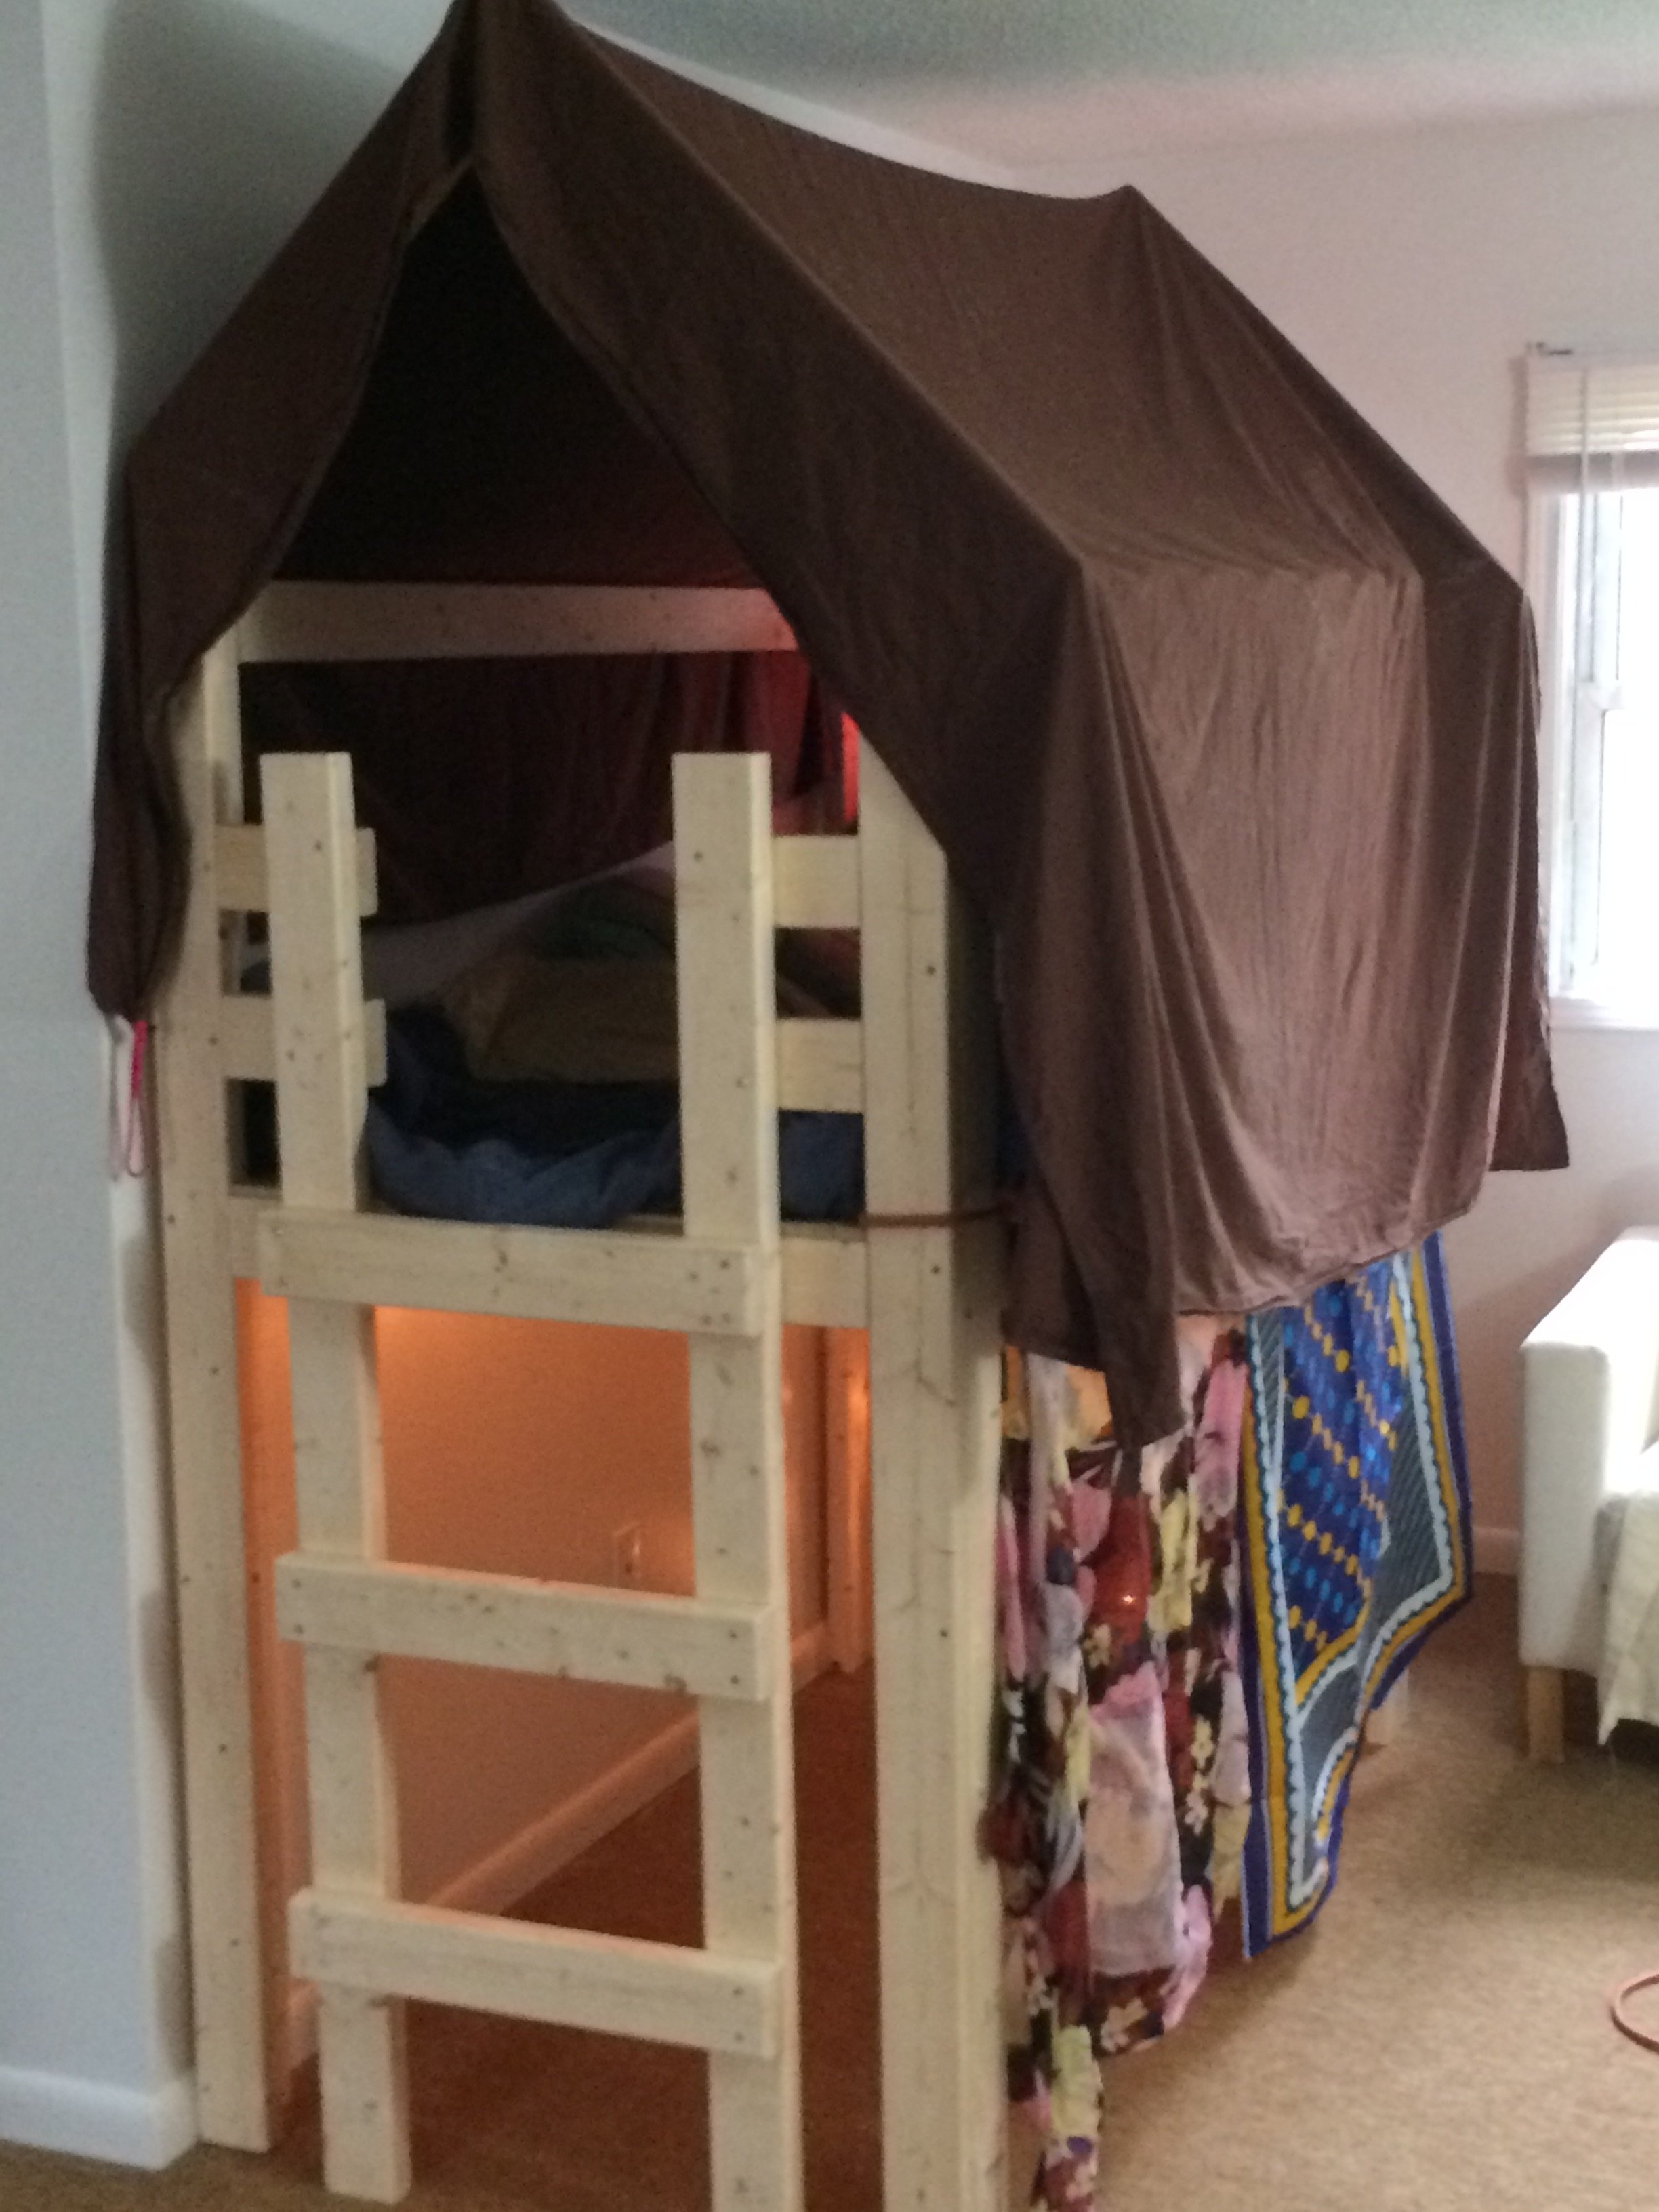
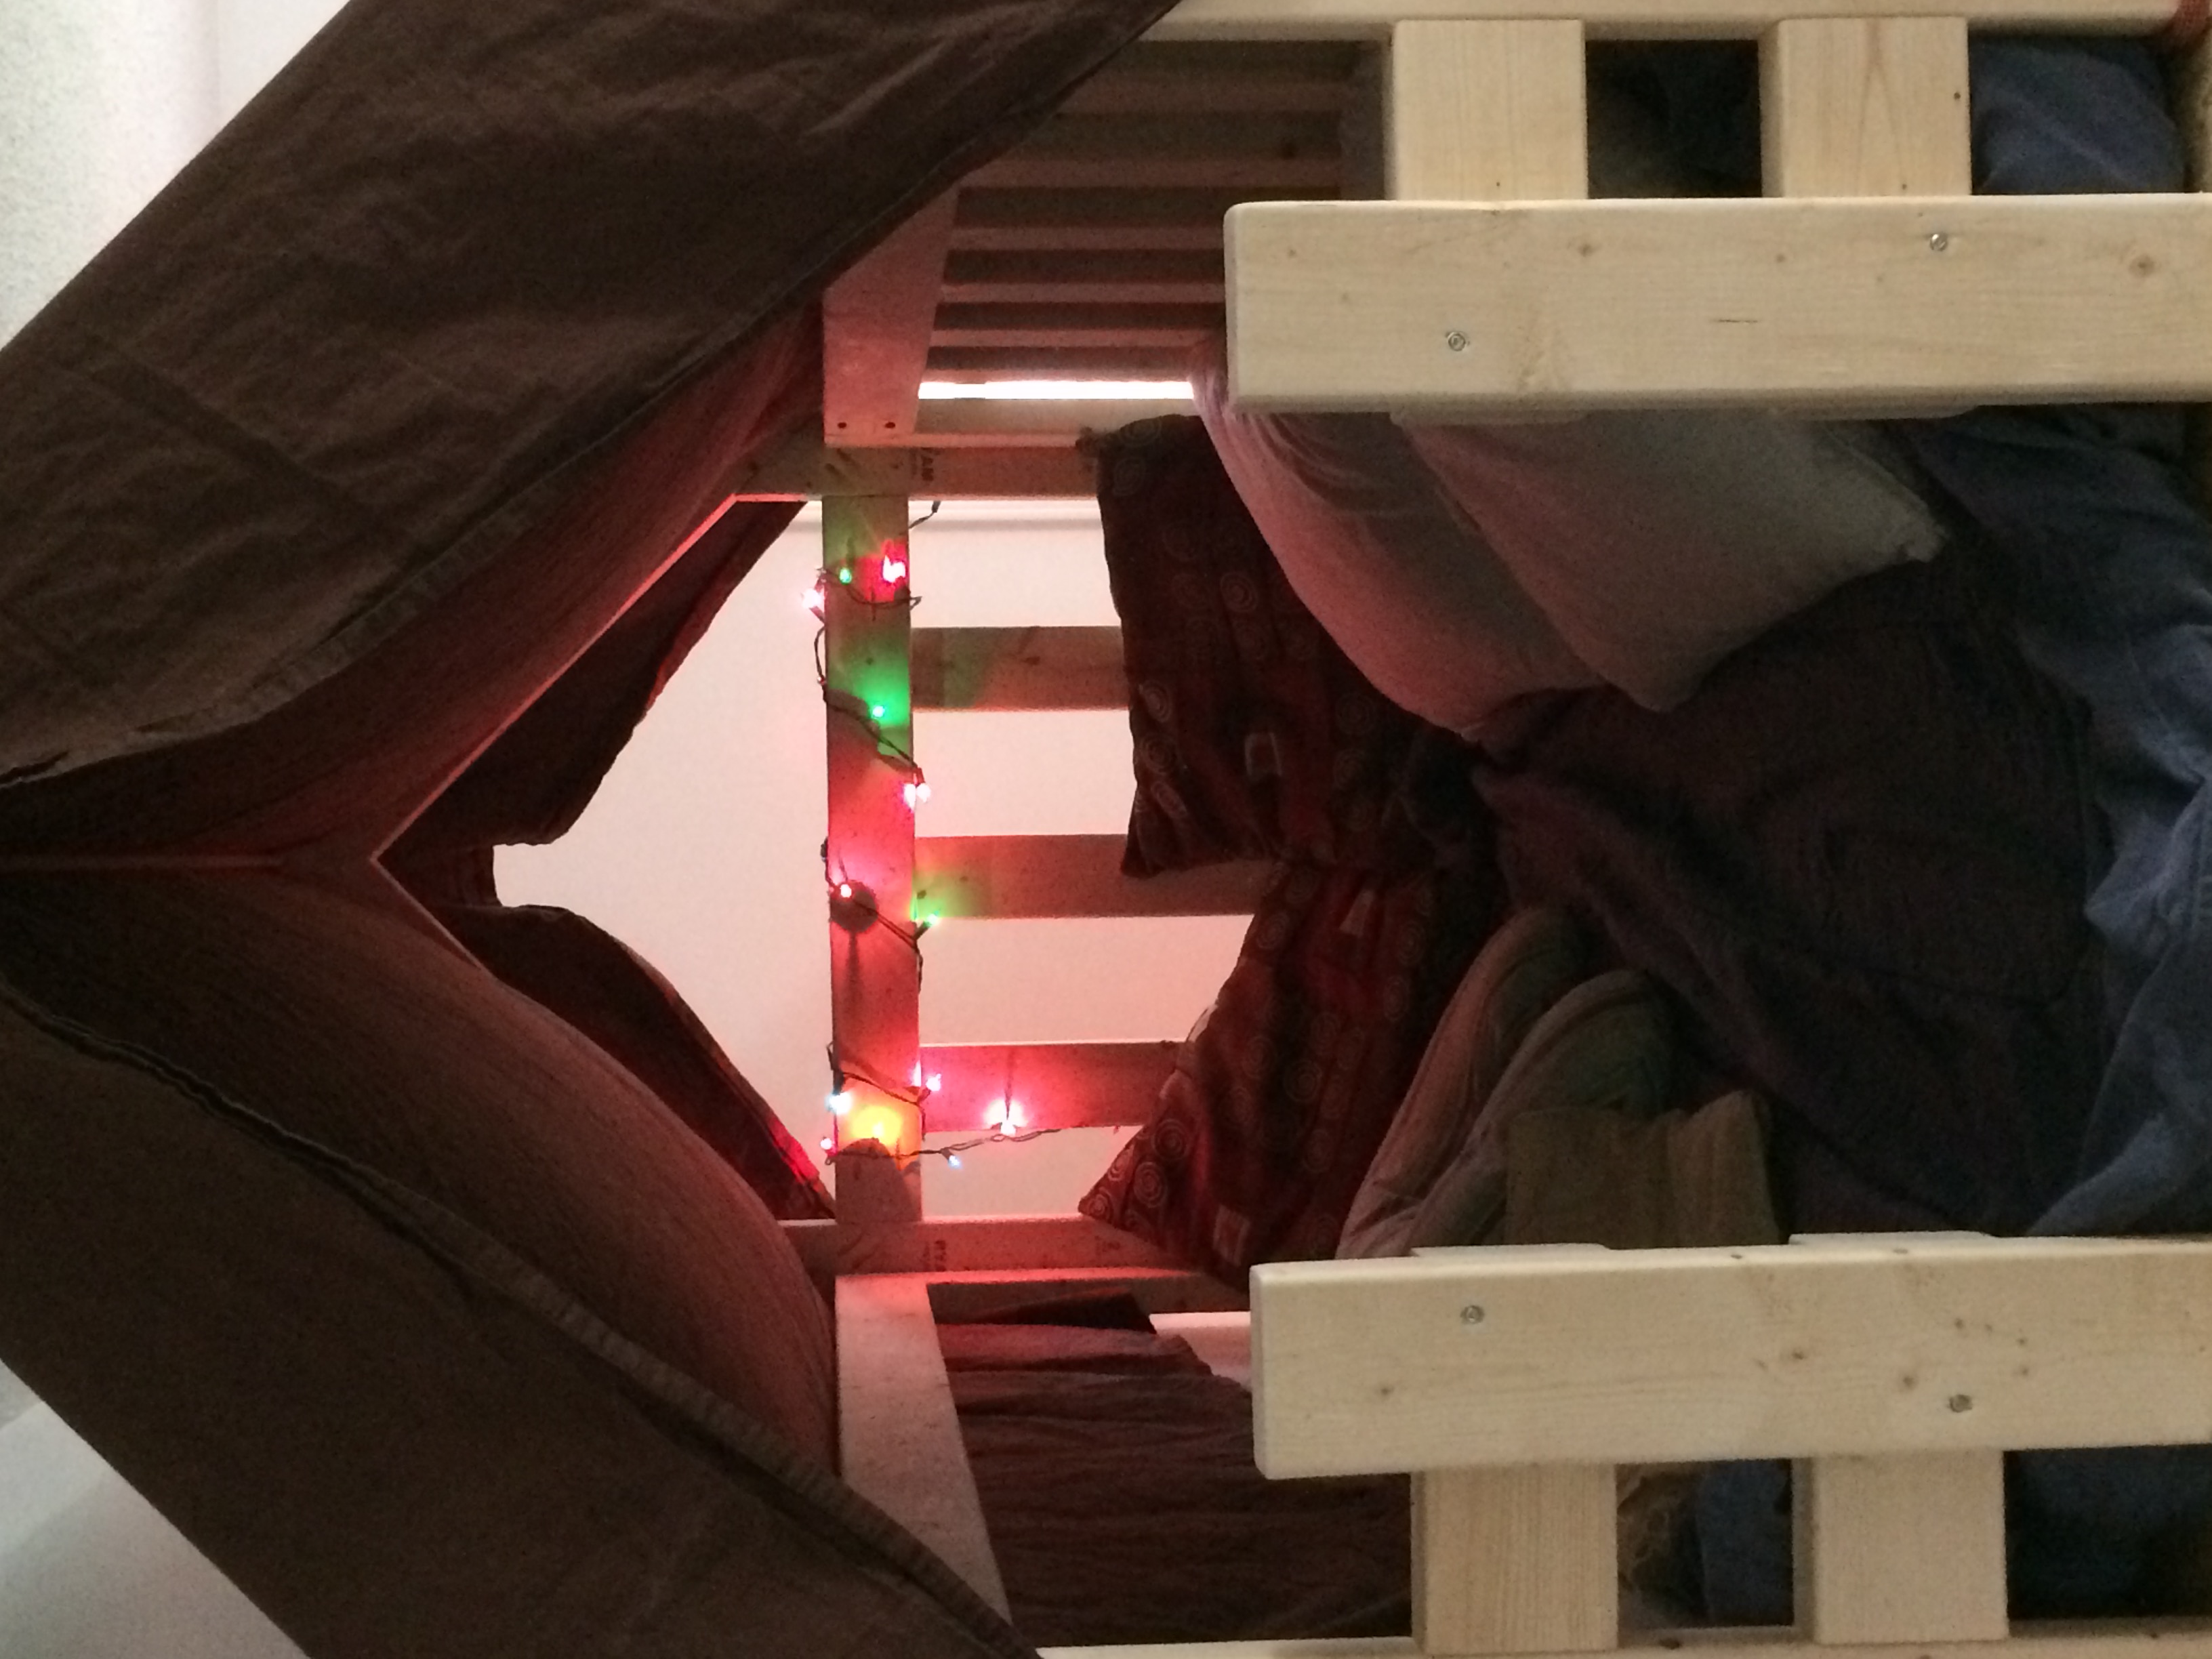
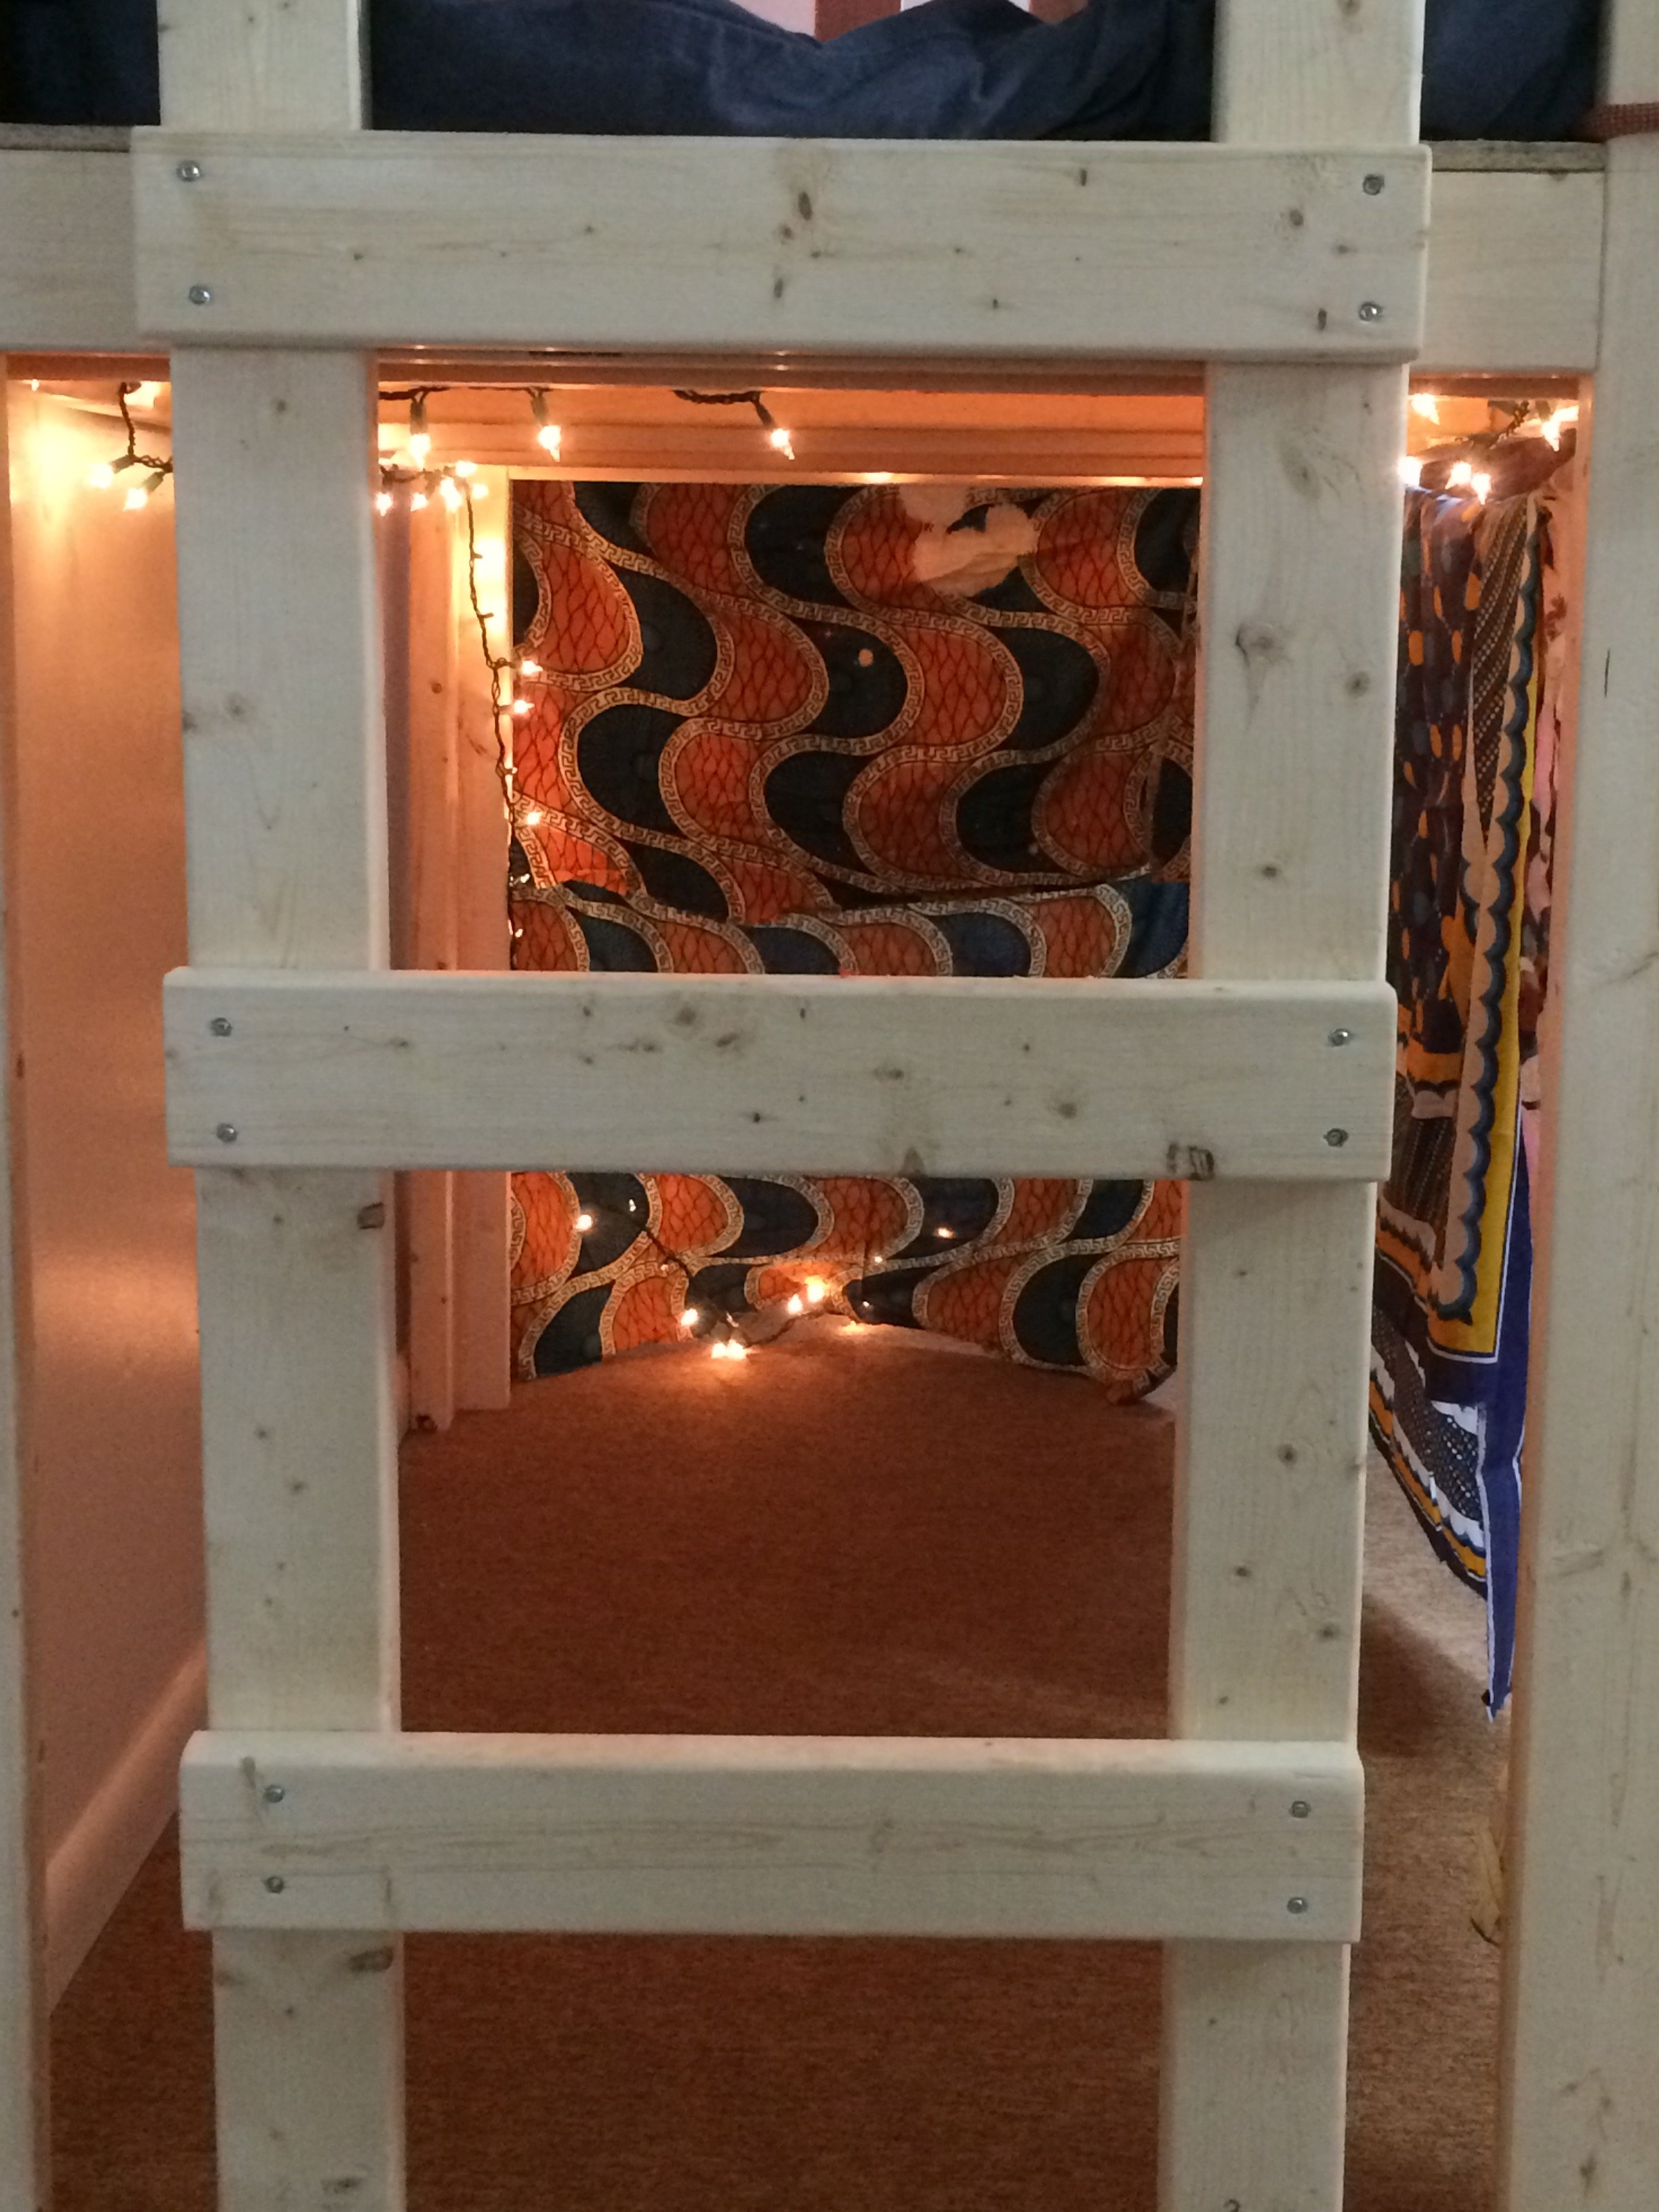
Over Bed Indoor Playhouse (loft)
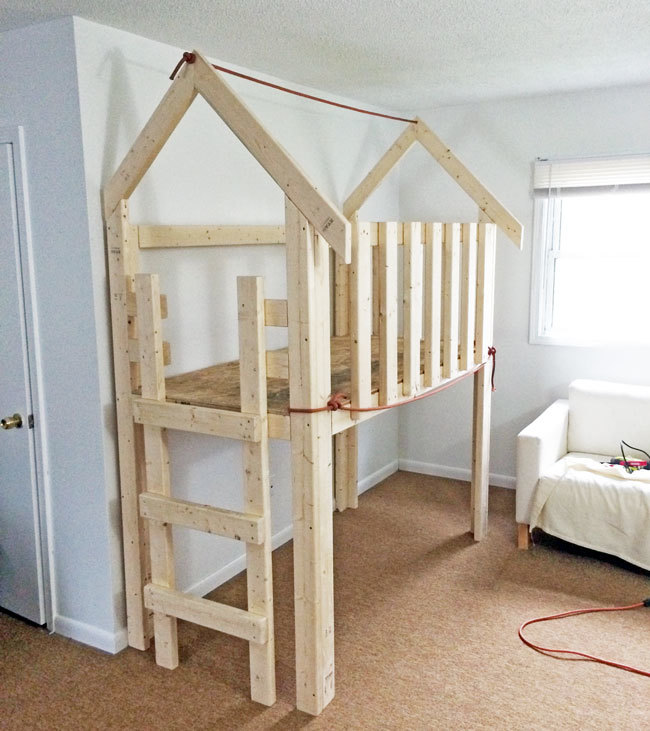
Simple project. Only took 3-4 hours. The kids love it!
Built from Plan(s)
Recommended Skill Level
Beginner
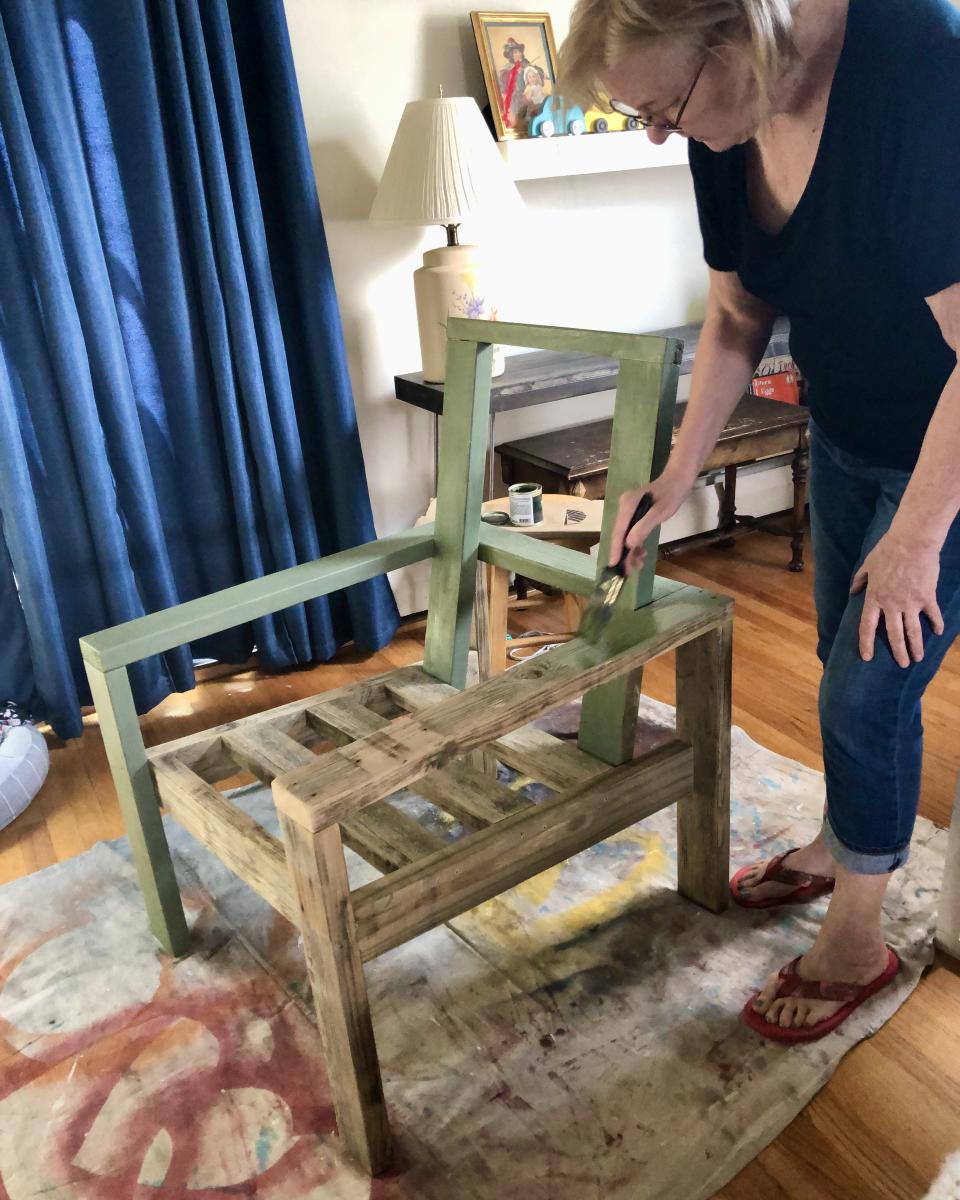
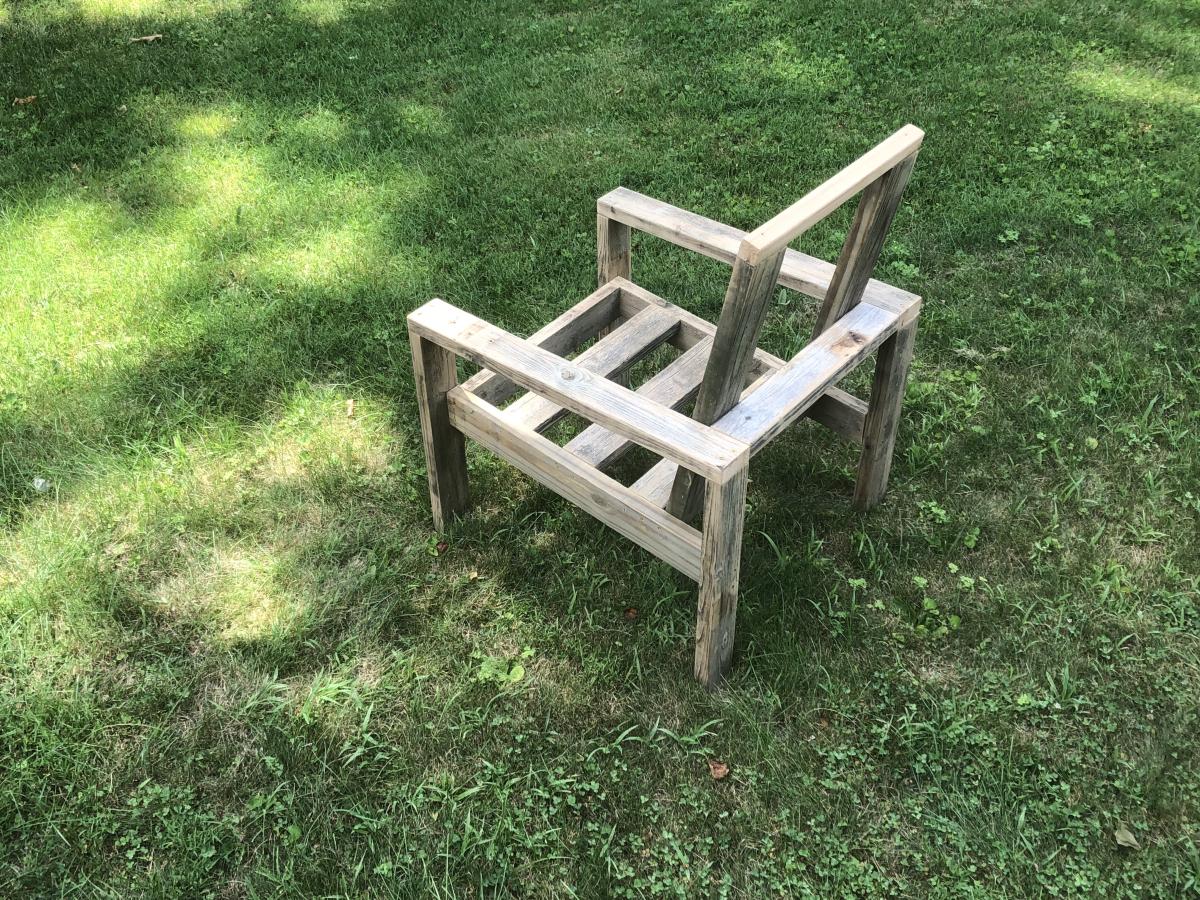
Comfortable Easy-Build Chair
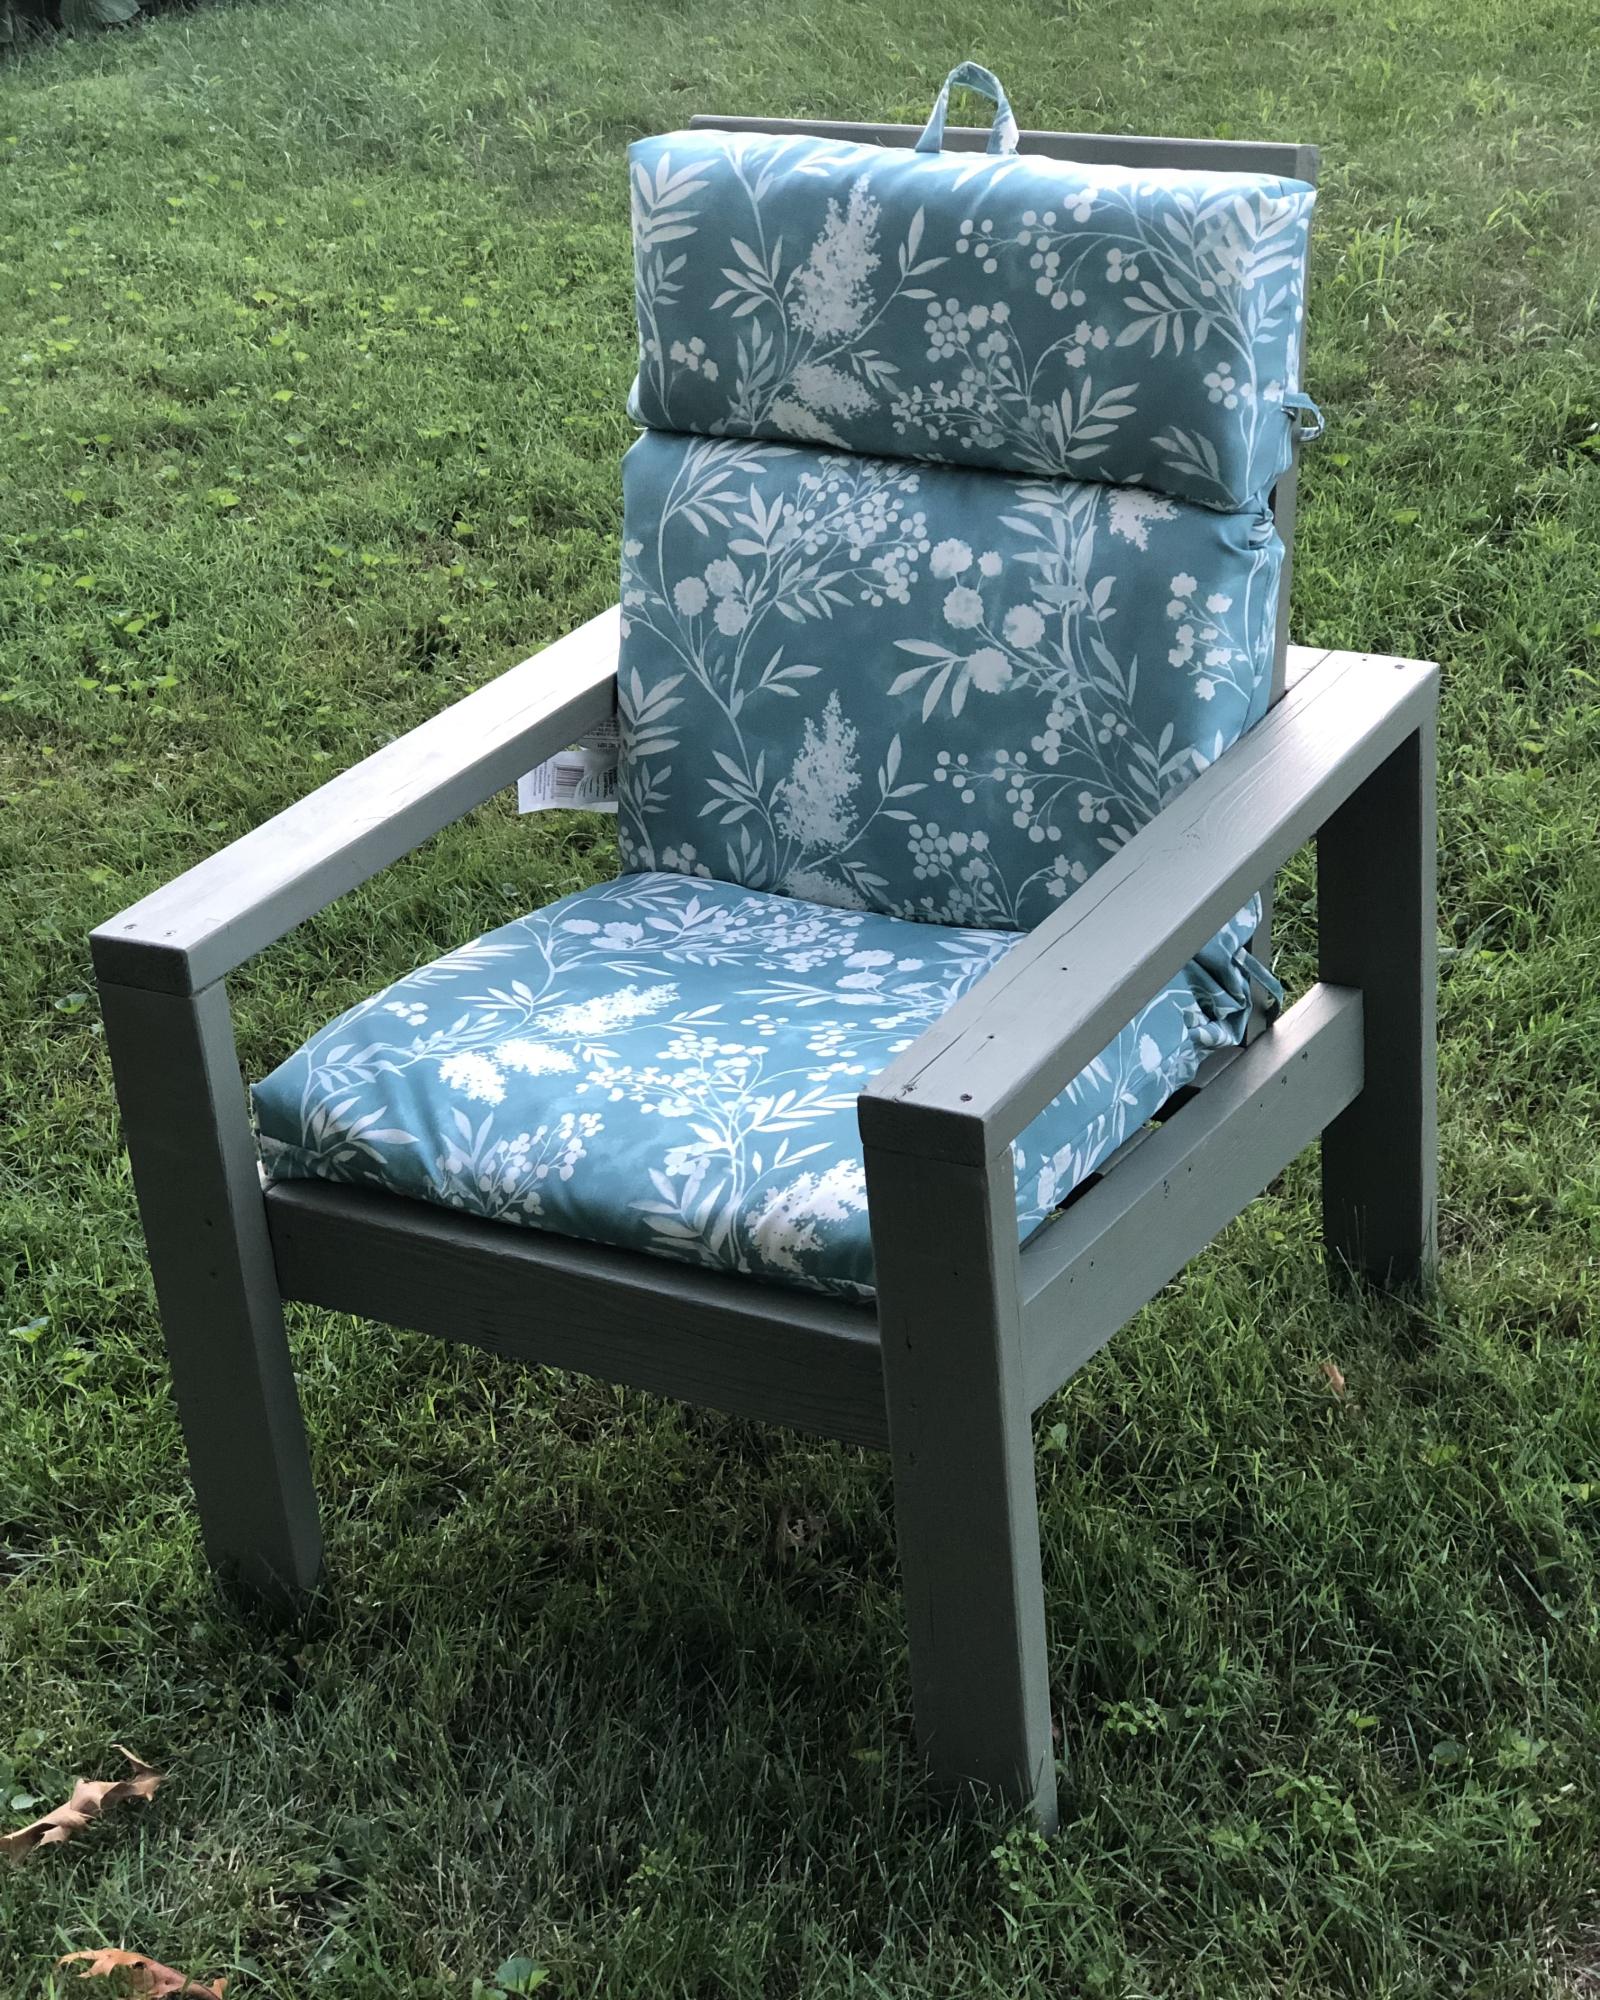
This was a great project! If a 70 year old woman can build it, so can you. I had an old bench that used 2x4's and those plastic ends. I took it apart and salvaged most of the boards after sanding them down. So my cost was zero dollars to build this, but I'm sure it wouldn't last as long as using new wood.
I found the instructions easy to follow. I used 2 1/2" exterior star screws, and finished the wood with solid exterior stain in a sage green. The wood wasn't in great shape, so a transparent stain would not be a good choice for me.
I bought a $16 chair cushion and I'm tempted to make another chair!
Built from Plan(s)
Comments
Fri, 08/12/2022 - 17:05
Gorgeous chair!
Great use of material, love the finish! Than you so much for sharing.
Corner Hutch Storage Bed for my Girls
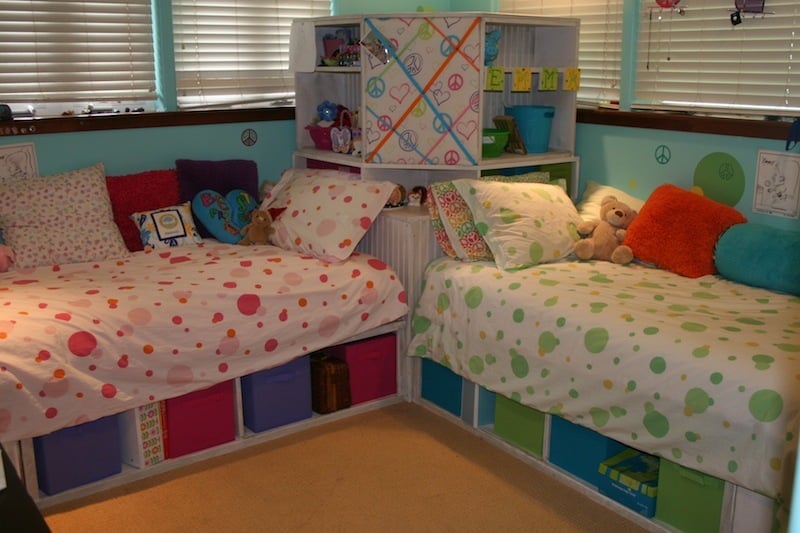
I made this bed for my 2 girls who share a room. It was my first real attempt at building anything substantial. They are thrilled. The plans were so easy to follow. The only thing I did different was use 3 inch screws in the hutch base because I felt it made it more sturdy. I used bead board for the outside of the hutch and the back of the book cases. Thanks Ana for such great plans.
Estimated Cost
$525
Estimated Time Investment
Weekend Project (10-20 Hours)
Finish Used
White semi gloss paint with special walnut minwax stain brushed over to age
Recommended Skill Level
Beginner
Comments

Tue, 12/25/2012 - 04:39
I really want to do this for
I really want to do this for our twins who are about to move to big girl beds. However, I do not see the plans for this. Do you have a pdf to show how to build them? I especially love the hutch!
In reply to I really want to do this for by Rachel Stacy (not verified)
Wed, 01/16/2013 - 18:16
bed plans
It's from the twin storage bed plans, and the storage hutch plans too. I don't have a pdf myself, but all the plans are from Ana's site. Good Luck!
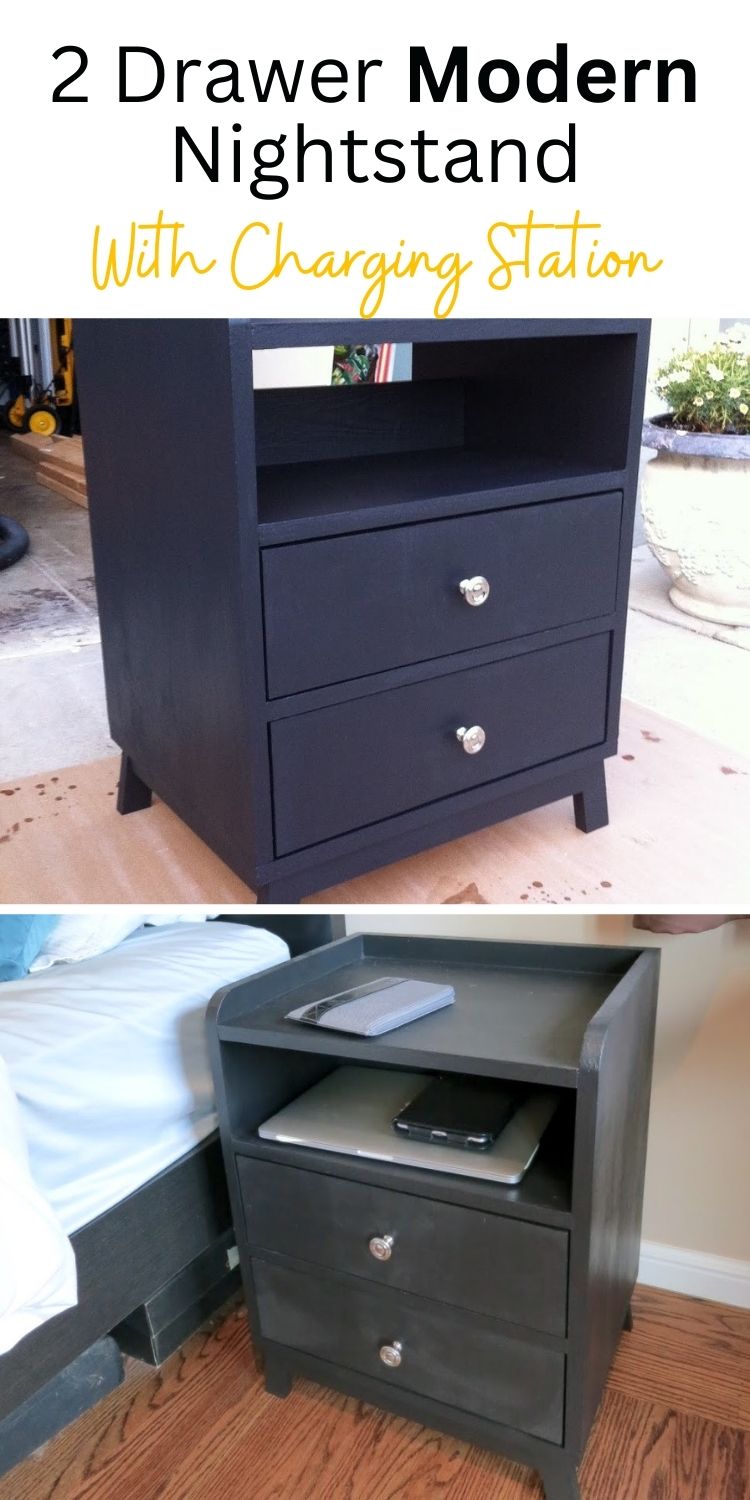
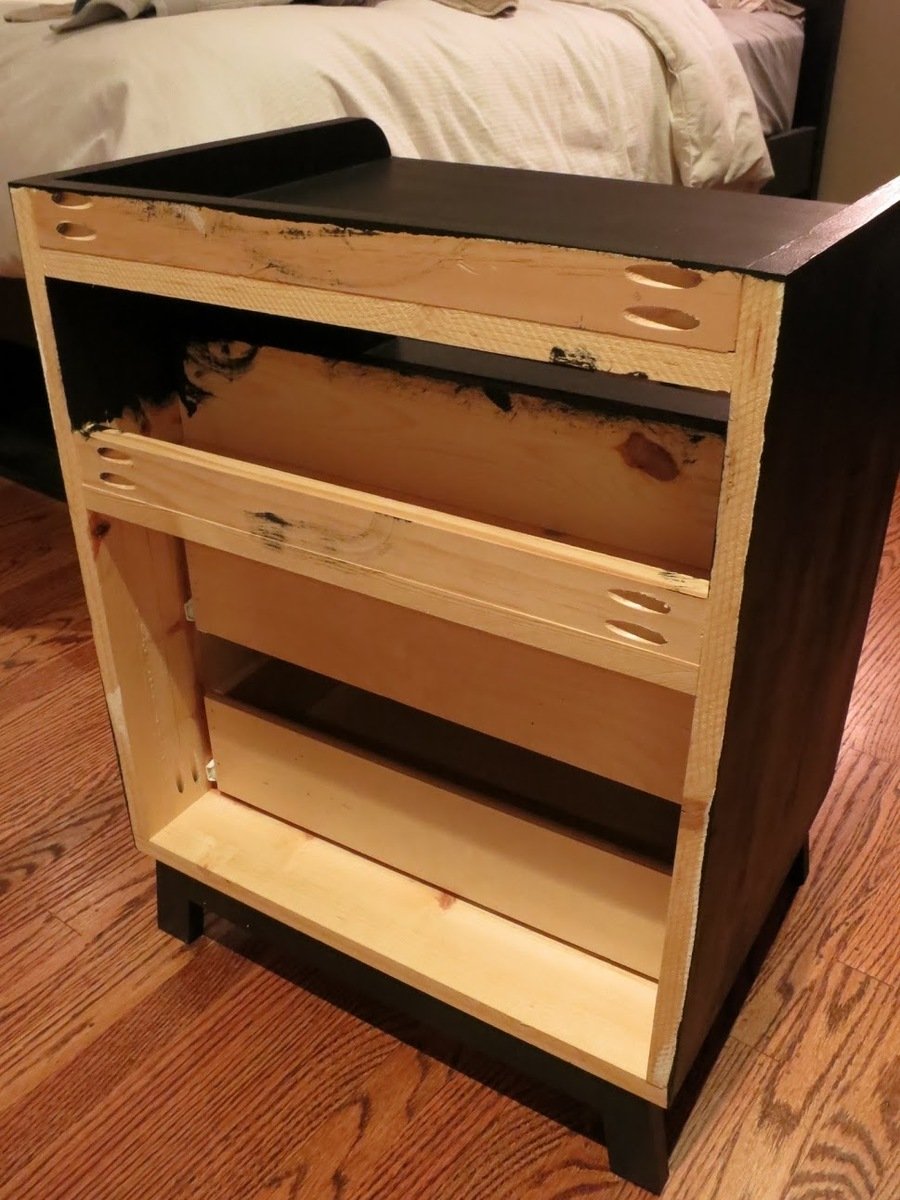
2 Drawer Modern Nightstand (with Charging station)
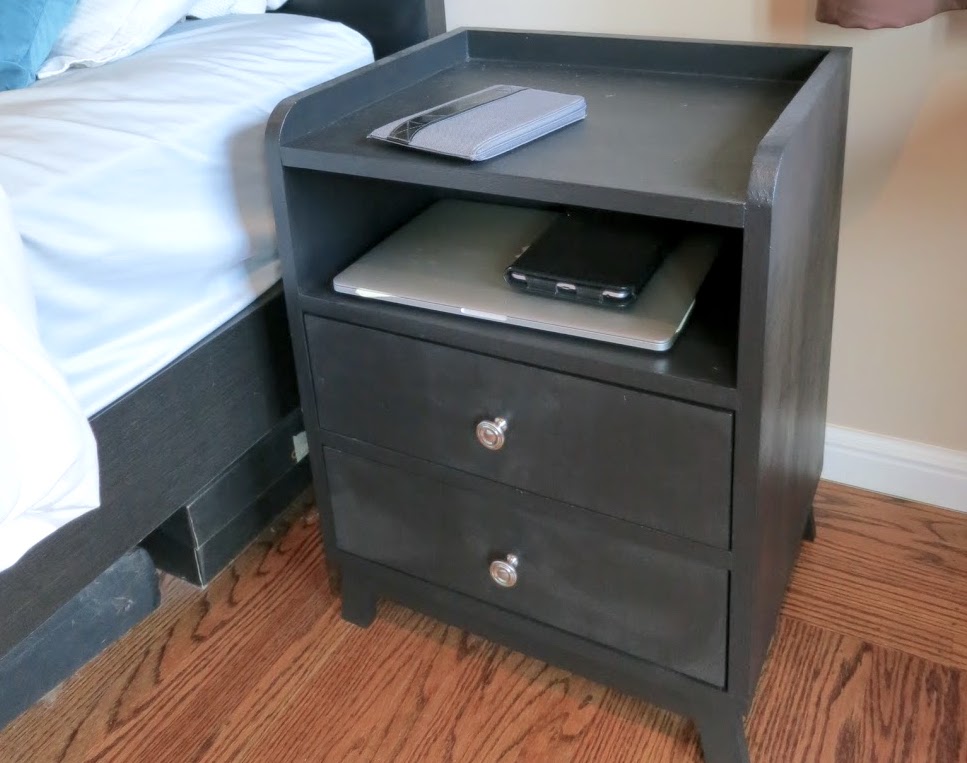
I really liked the look of the 2 Drawer Modern Nightstand but I wanted to add a twist to it. Since I can't live without my devices (laptop and phone), I decided to add an open slot to the middle shelf of the nightstand for power cables. It also has a space that I added in the back that can hold a power strip. Embarrassed that I did not paint the back of the nightstand but I was really done at that point after a long weekend's worth of work!
Pin For Later!

Built from Plan(s)
Estimated Time Investment
Weekend Project (10-20 Hours)
Recommended Skill Level
Intermediate
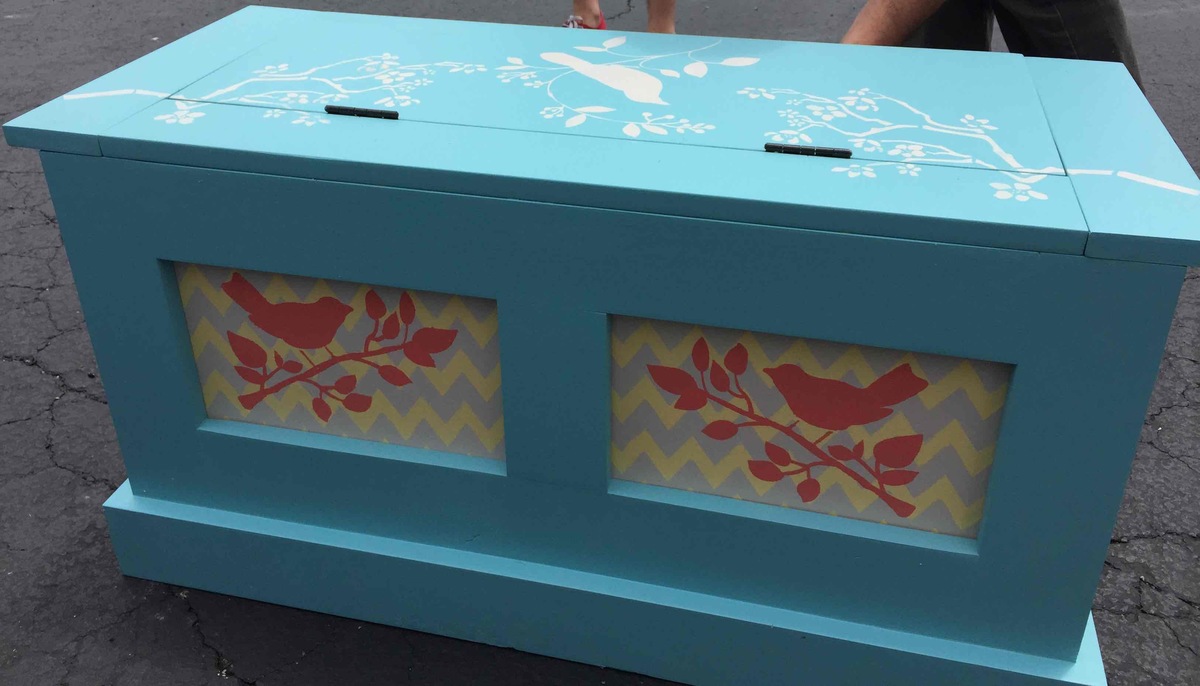
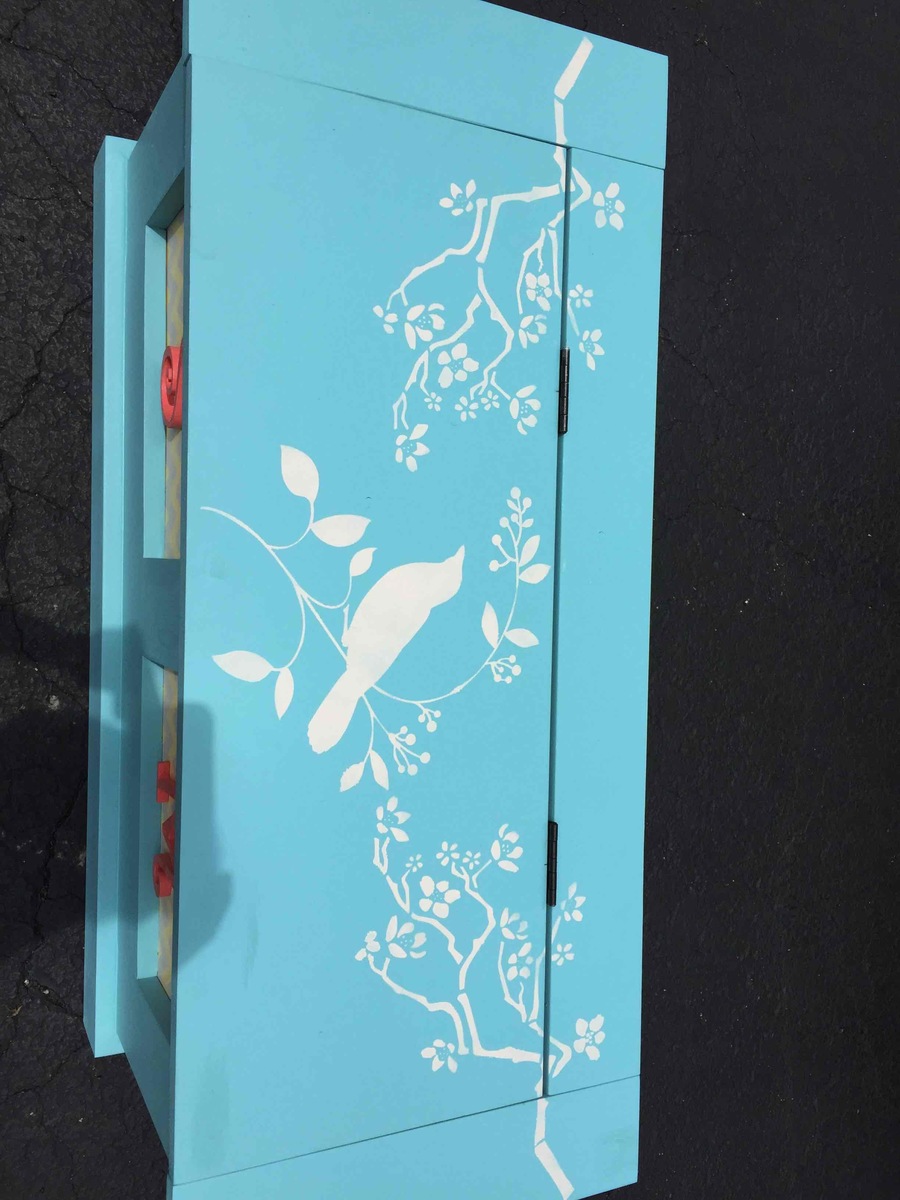
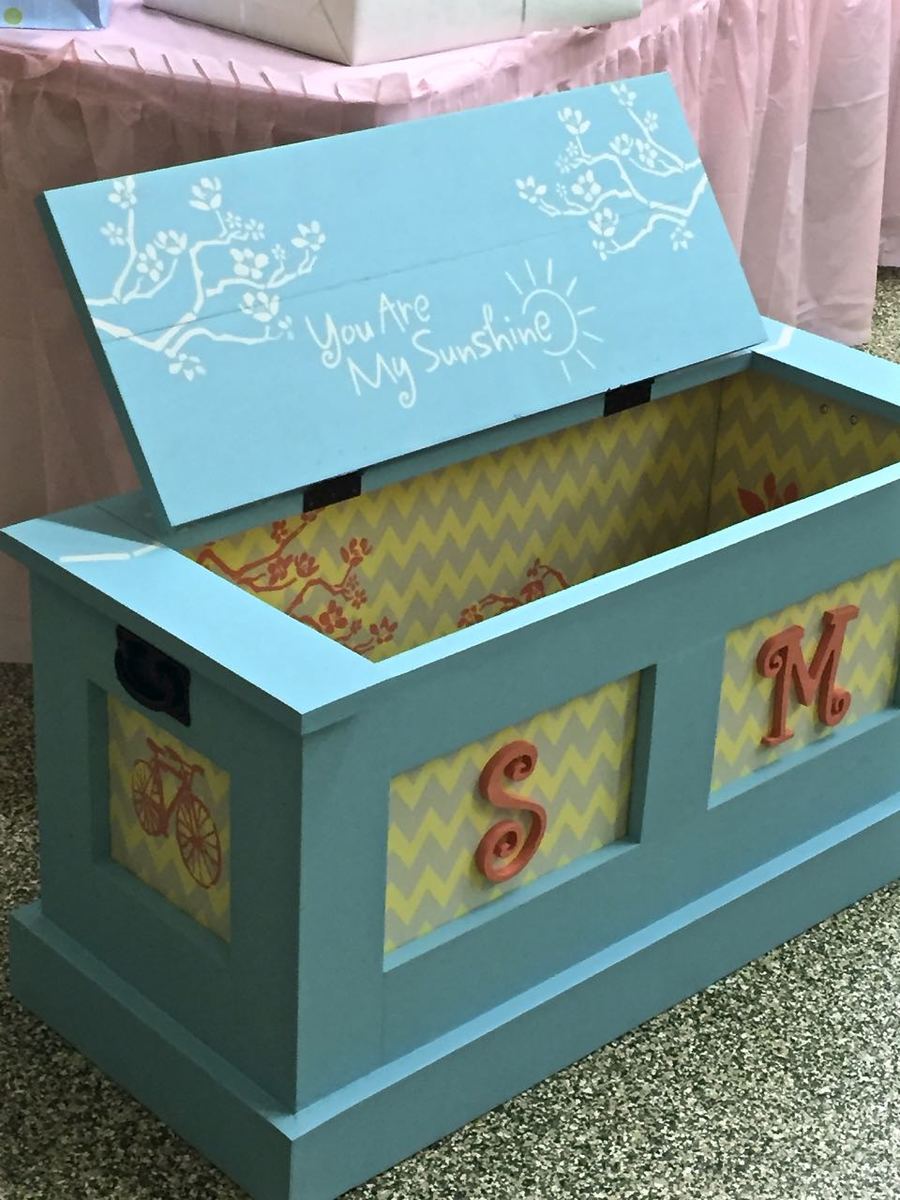
Mimi's Storage Bench as Toybox
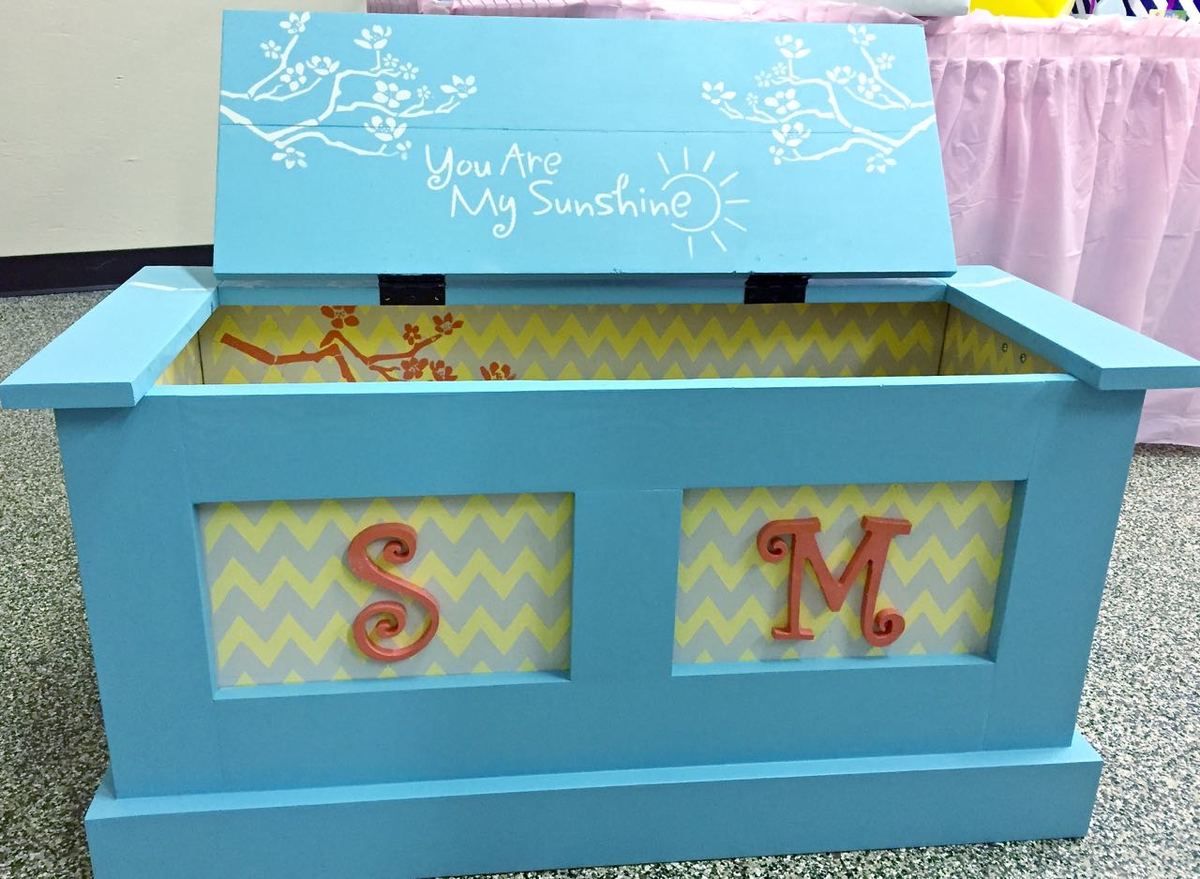
My husband and I decided to make a personal gift for our new niece. Everyone loved it, and we are currenly making another one. The first time took us a LONG time...the second time went much faster! We used nicer wood than suggested, which raised the cost. I used Sherwin Williams paint colors (buy the samples from Lowes...it was more than enough paint and only $5!) and the stencils came from a craft store. Can't wait to try more projects!!!
Built from Plan(s)
Estimated Cost
$120 for nicer wood, but you can do it cheaper.
Estimated Time Investment
Weekend Project (10-20 Hours)
Finish Used
Sherwin Williams paint (sample cans from the Color Pizzazz card, see below) and I sprayed a polyurethane coating from Michaels to protect the inside painting.
Turquoise- Reflecting Pool
Gray- Accessible Beige (it looks gray)
Yellow- Classic Yellow
Coral- Coral Reef
Michaels- Plain Wooden Letters and Stencils- Birds, Tree, Chevron, Bicycles
Hobby Lobby- You are my sunshine
Stenciling: I got really good at stenciling on the very top of the box (the last thing I did!) and I realized that your roller should have almost NO paint on it. It is cheaper to buy a door roller from Lowes. Also, the thicker stencils work much, much better (the ones from Michaels).
Recommended Skill Level
Beginner
Comments

Sun, 10/25/2015 - 17:54
Awesome build!
Absolutely love this! The stencils and paint colors are great! Beautiful job!
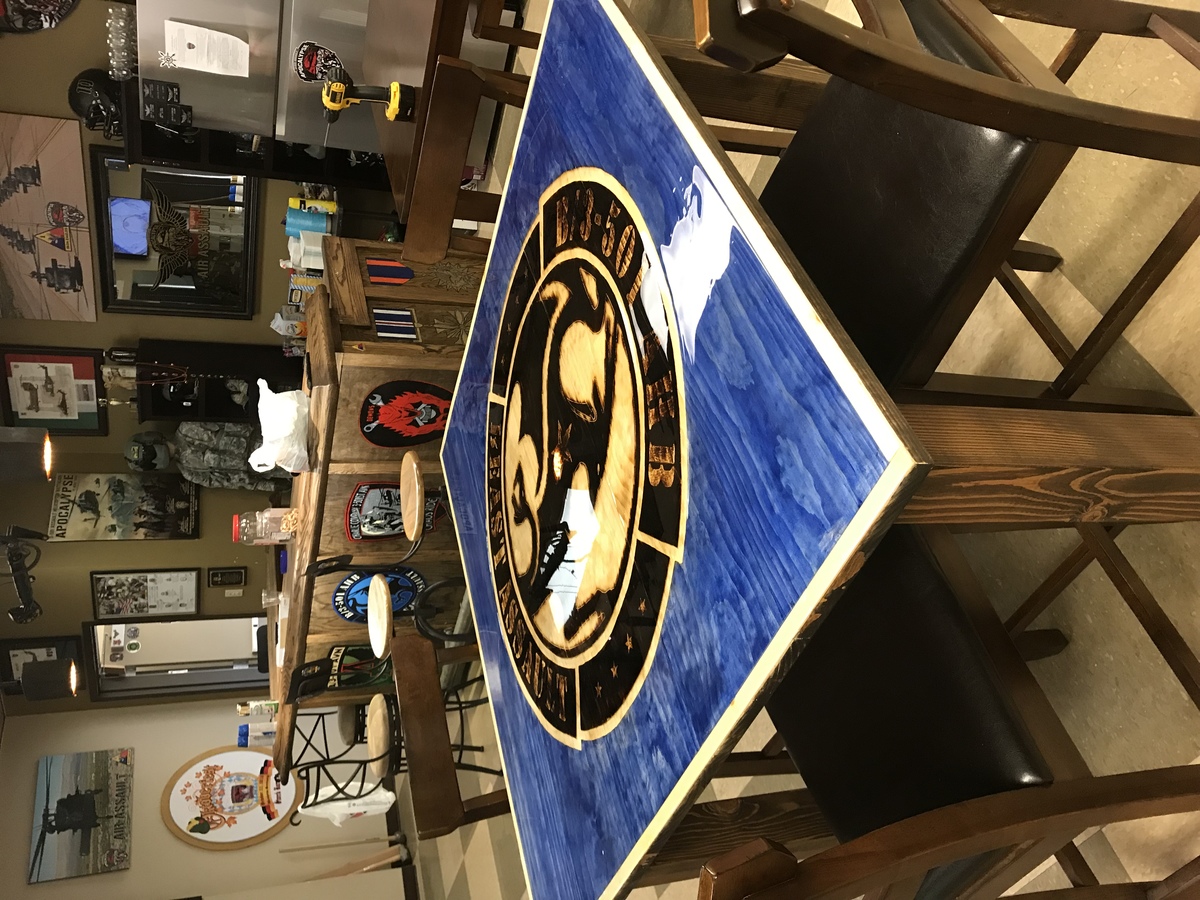
Pub/Counter Height Table
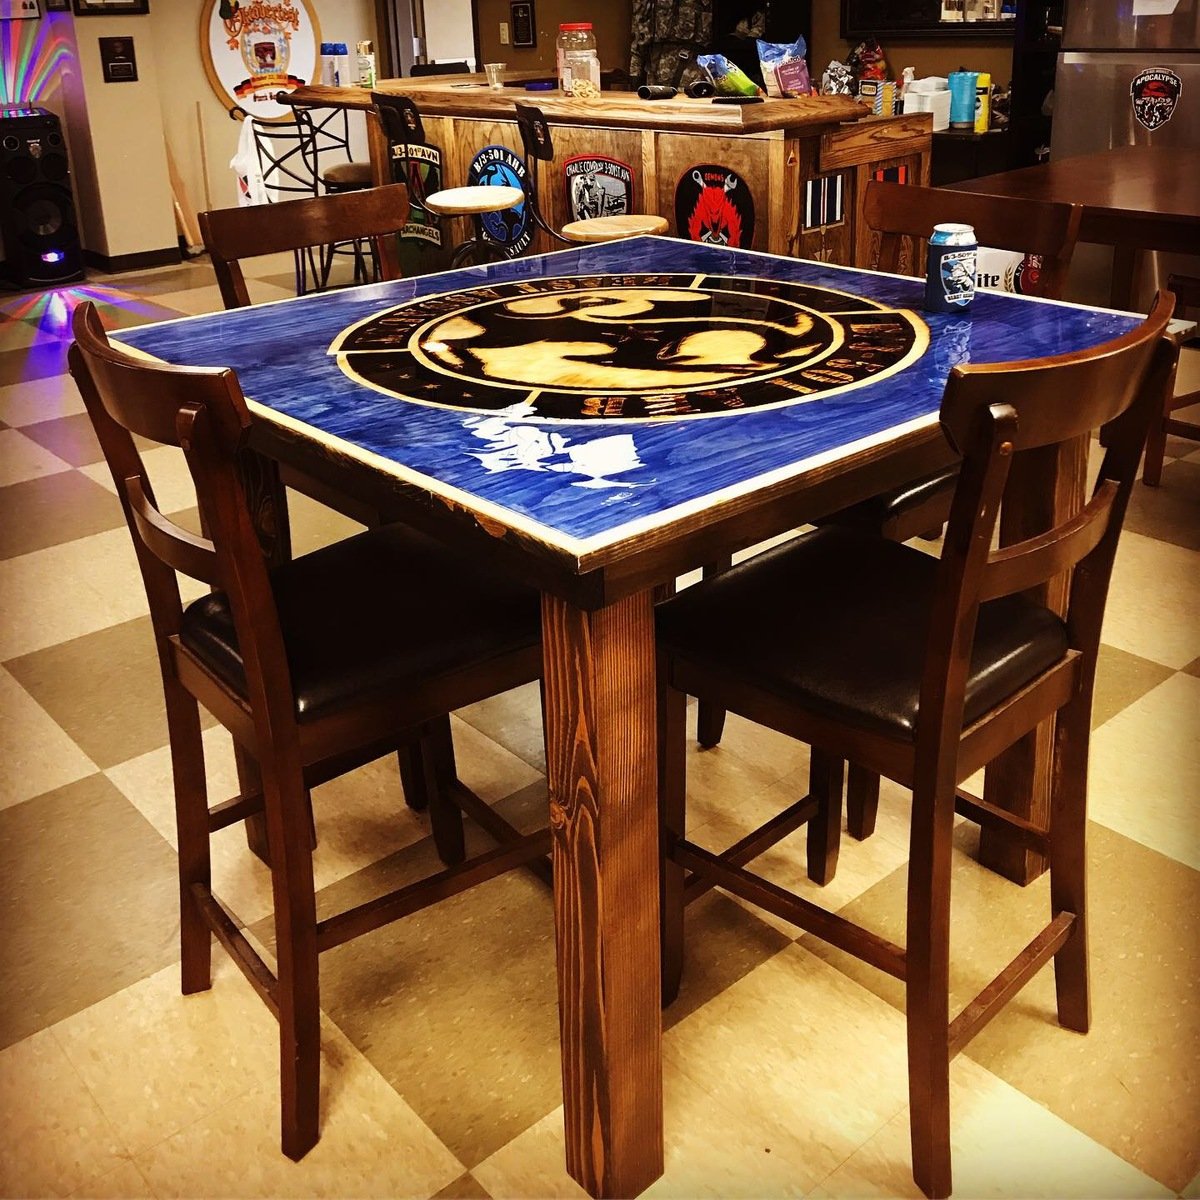
Facebook.com/esfwood
Modified the plans to match size for preexisiting tables in the bar. Table top burned, routed, dremmeled, stained, and finished with glaze coat.
Built from Plan(s)
Estimated Cost
180
Finish Used
Stain and Glaze coat
Recommended Skill Level
Beginner
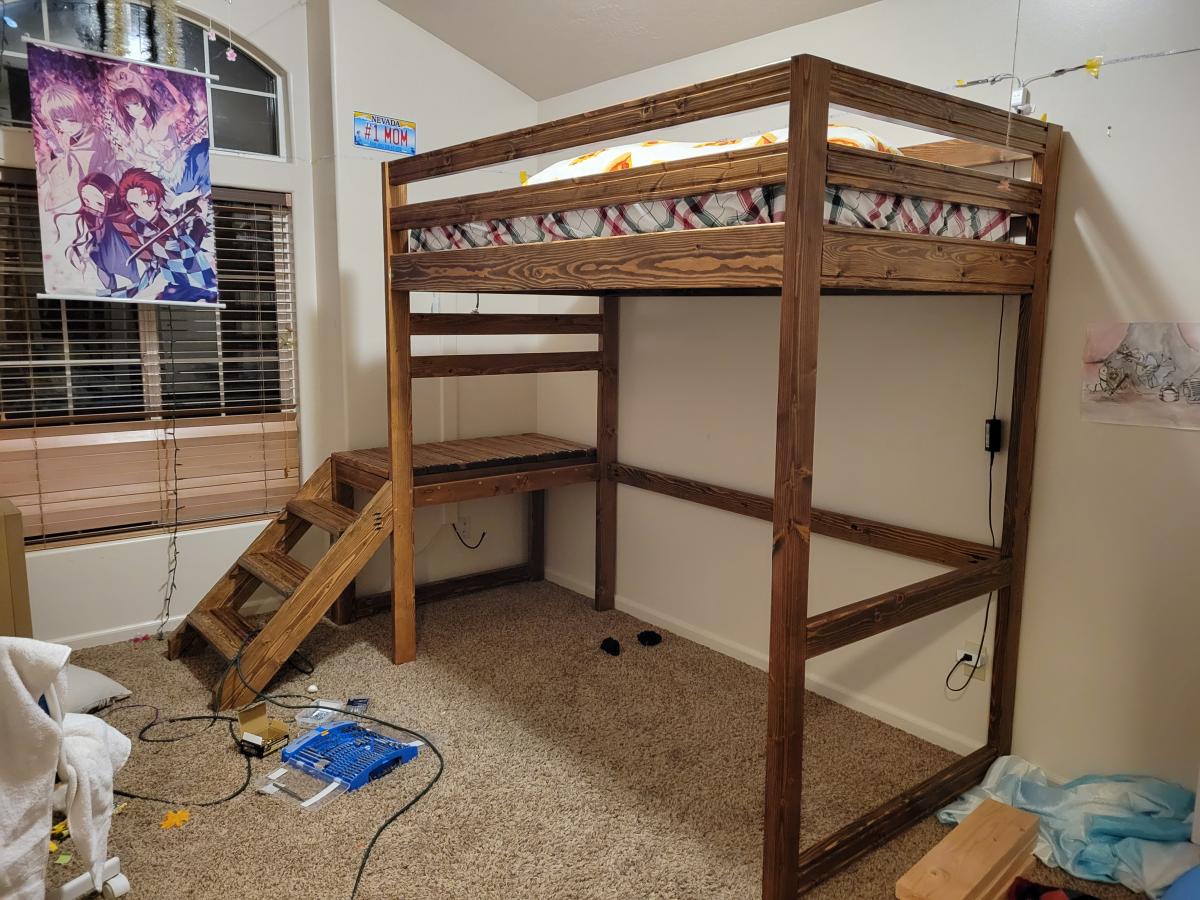
Camp Loft Bed (slightly higher)

I made it slightly higher with some extra bracing for additional strength. Added a table underneath and some colored lights. The stain and satin clearcoat finished it off well I think.
Built from Plan(s)
Comments
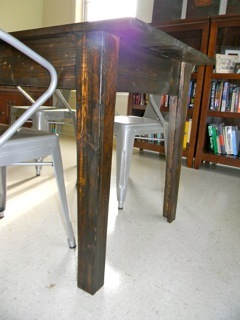
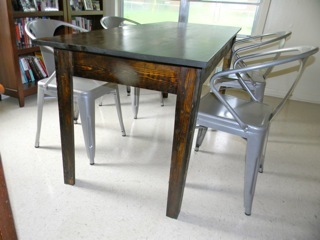
Narrow Farmhouse table

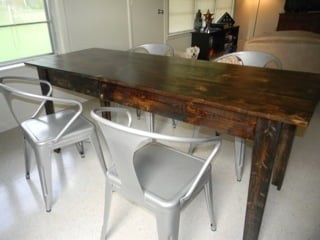
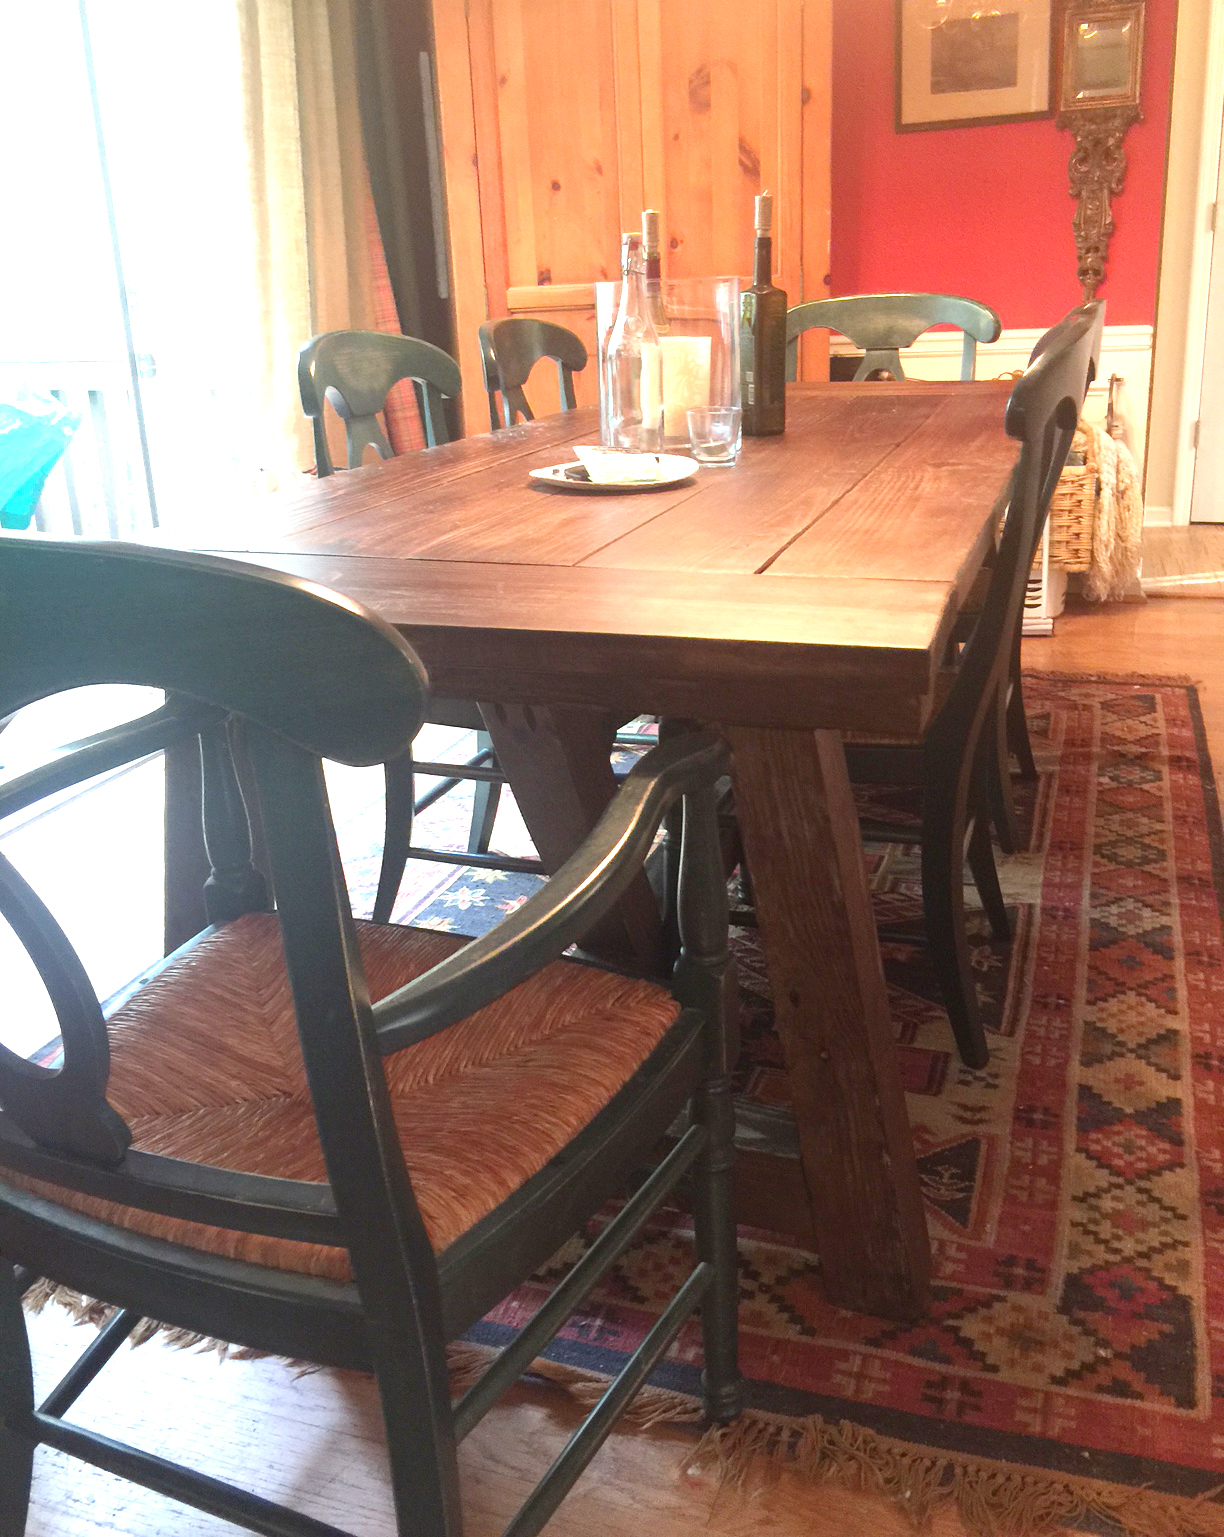
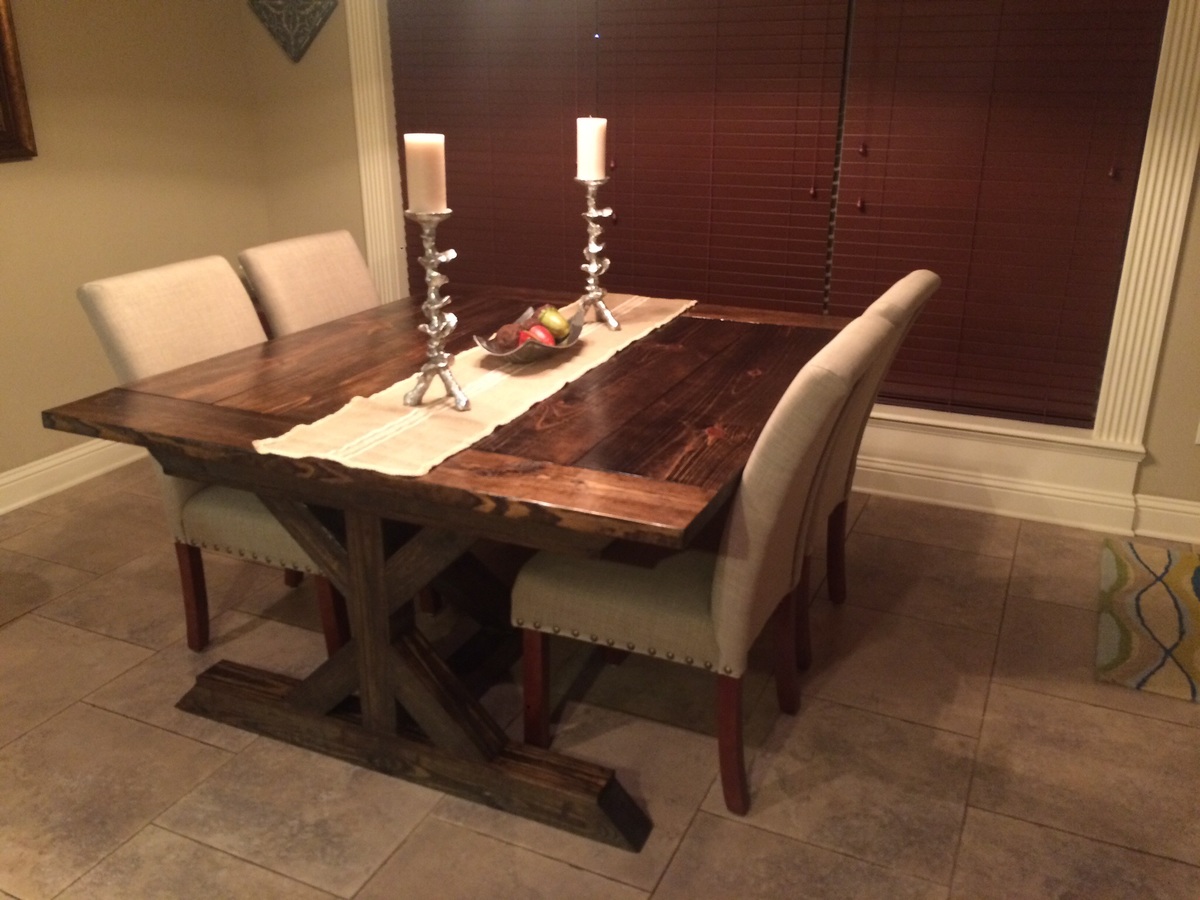
After discovering Ana White over a year ago, we knew that we wanted to build ourselves a dining room table. It was just a matter of finding the right plan for our house and family. The Narrow Farmhouse table was just perfect! We shortened the length to 6' to fit into our combined living dining area. I would love to have the 8' version some day, maybe when we have 2 separate eating areas?!
A note on our wood choices, I would try hard to use pine in lieu of whitewood for ALL the table components. The pine did a much better job with the stain and poly then the whitewood. As I have seen the one other time I tried to work with whitewood, it's CRAZY soft and I suppose I'm just not a big fan. I would take the trade off of more sanding with pine to insane finish silliness, any day!
Built from Plan(s)
Estimated Cost
$100, mostly because we moved this summer and had to buy stain & poly again. The wood cost was about $60 and we already had the pine scraps for the legs.
Estimated Time Investment
Day Project (6-9 Hours)
Finish Used
Minwax Dark Walnut with both Minwax Wipe On Polyuretane and Minwax Polycrylic. I am not usually aiming for a shiny, glossy finish so Wipe On Poly is my go-to finish. However, for this project, the Whitewood just soaked up the Wipe On Poly and the tabletop was not sufficiently smooth. So I bought a tiny jar of Polycrylic. I may just be converted, at least for tabletop surfaces, because the finish is now just beautiful.
Recommended Skill Level
Beginner
Comments
Fri, 08/12/2011 - 13:25
LOVE! This is seriously, down
LOVE! This is seriously, down to the exact chairs, what I am planning in our dining room. You have great taste!
Tue, 08/23/2011 - 16:49
Looks good! I've found that
Looks good!
I've found that if you put a conditioner on first, the soft woods take the stains more evenly and don't soak up the stain so readily. Minwax makes one for both oil and water-based stains.
In reply to Looks good! I've found that by Guest (not verified)
Tue, 08/23/2011 - 16:58
Wood conditioner
I actually used a wood conditioner from Minwax and yet the stain still had a struggle. I did not use the wood conditioner on the pine on the legs and they had no problem. Thanks for the tip though!
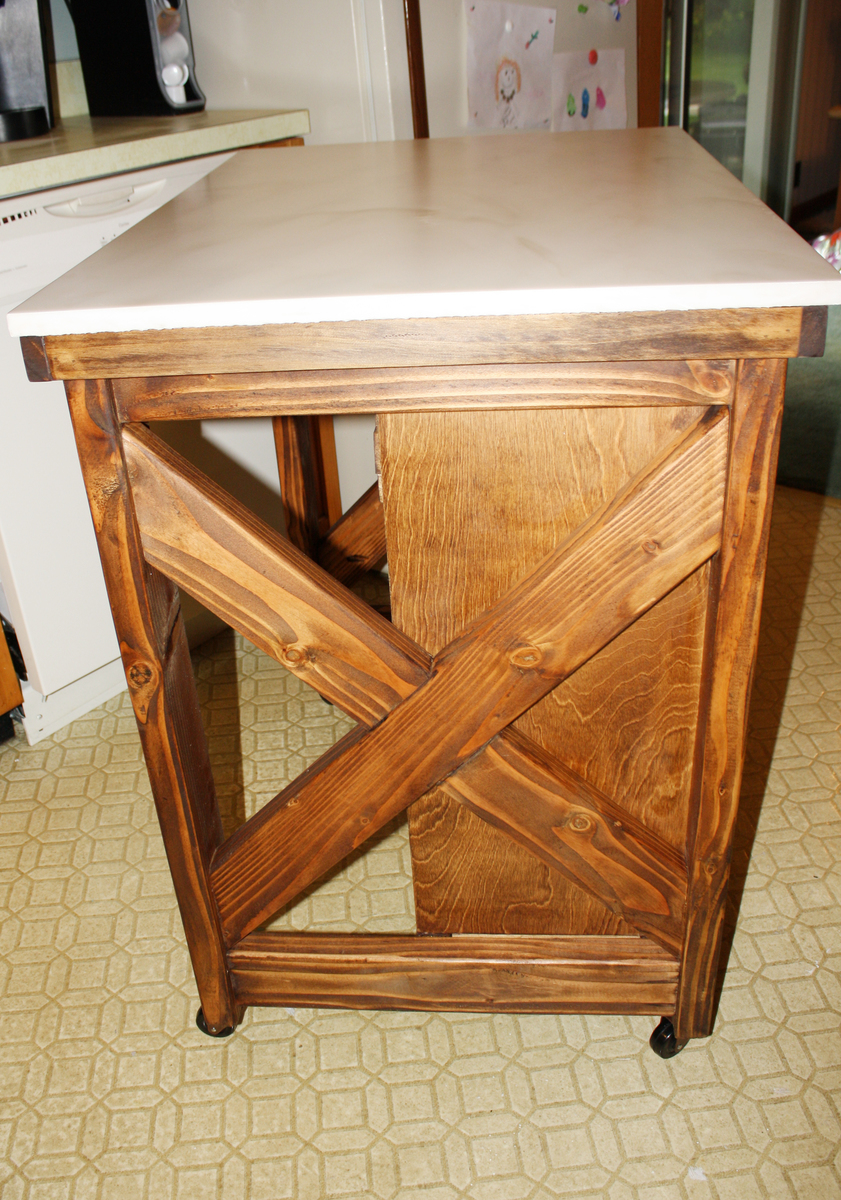
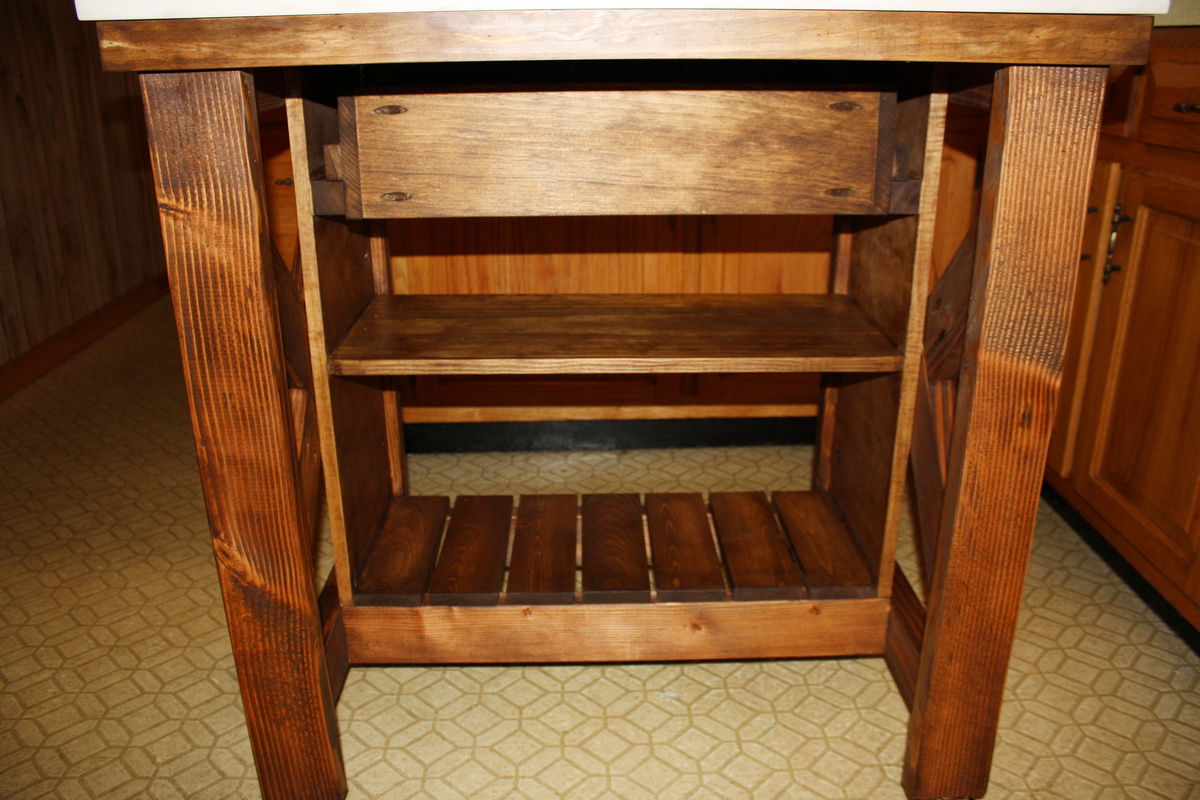
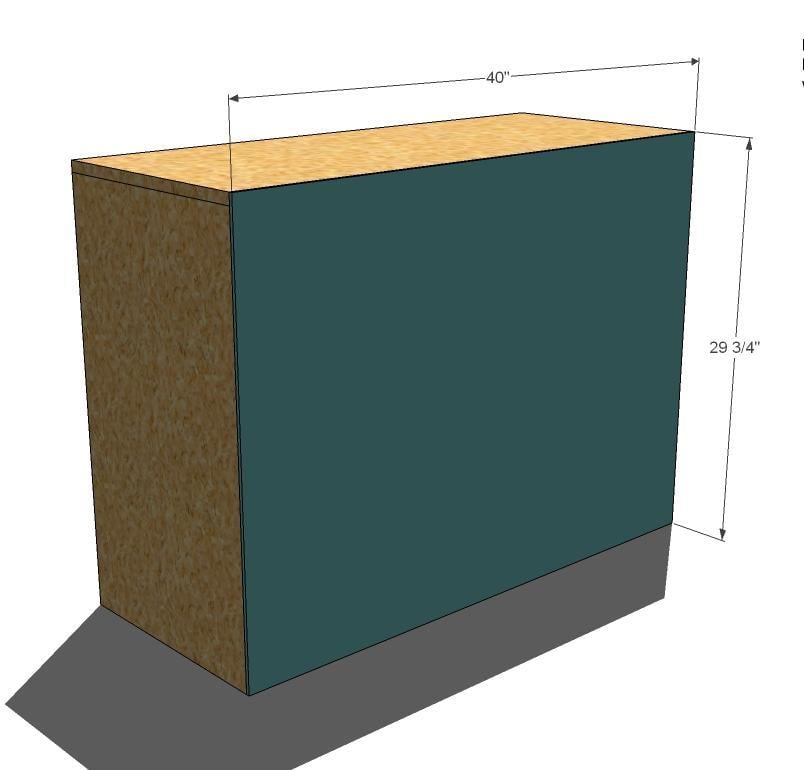
The only glamorous thing in my kitchen...

Is this kitchen island with its beautiful marble top:-) I really hate my kitchen because it is so ridiculously from the 80's and small... but it's a rental so it's not forever. The only counter space I had to cook is right there to the right of the sink by the coffee maker. I started building this the night Ana put the plans up. A friend of mine just remodeled her bathroom; and gave me the top since it was just sitting in her garage. I had to modify the plans only slightly to accommodate the top. It's 3 inches wider than the plans and I beefed up the top frame with 2x2's to support the 29 pound slab of stone. I spent less than $20 on the project because I had leftover wood from another project and a whole bunch of 2 x 4's from a project that got trumped for this one:-) I also ripped a piece of plywood to 11 1/4 to use as the sides and added edge banding on the back. I used paste wax for the very first time instead of polyurethane and I'm not sure how I like it yet.
Built from Plan(s)
Estimated Time Investment
Weekend Project (10-20 Hours)
Finish Used
Early American, dark walnut and paste wax
Recommended Skill Level
Intermediate
Comments
Wed, 09/04/2013 - 17:21
Beautiful island!
This is so lovely! Love the finishes, and the marble is very glamorous. You did a fabulous job!
Rustic Farmhouse Table
Built this table for our dining room. Neighbors kept coming by to look at it and I now have my first commissioned woodworking project for a table and benches!
Built from Plan(s)
Estimated Cost
$140
Estimated Time Investment
Week Long Project (20 Hours or More)
Recommended Skill Level
Intermediate
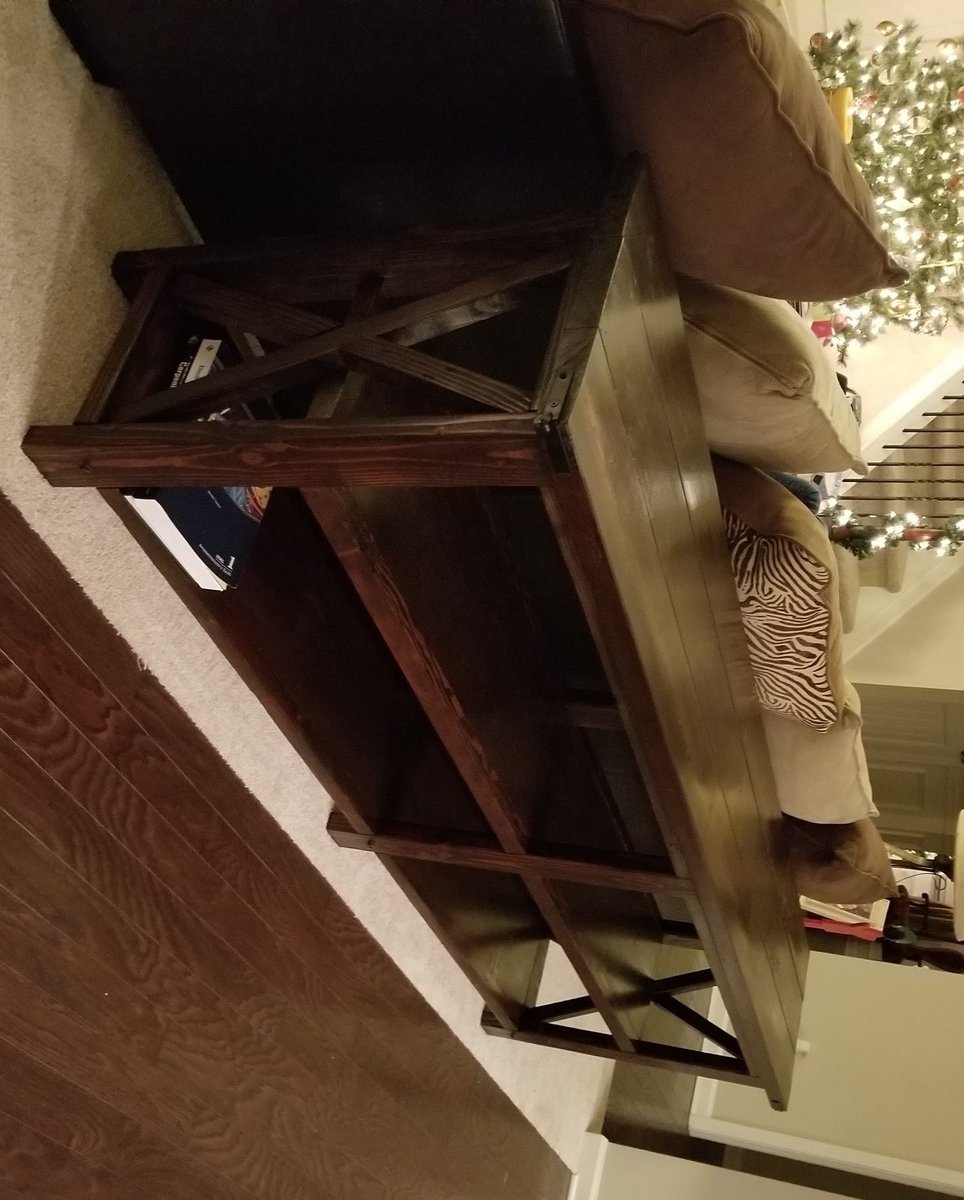
8 Foot Rustic X Console
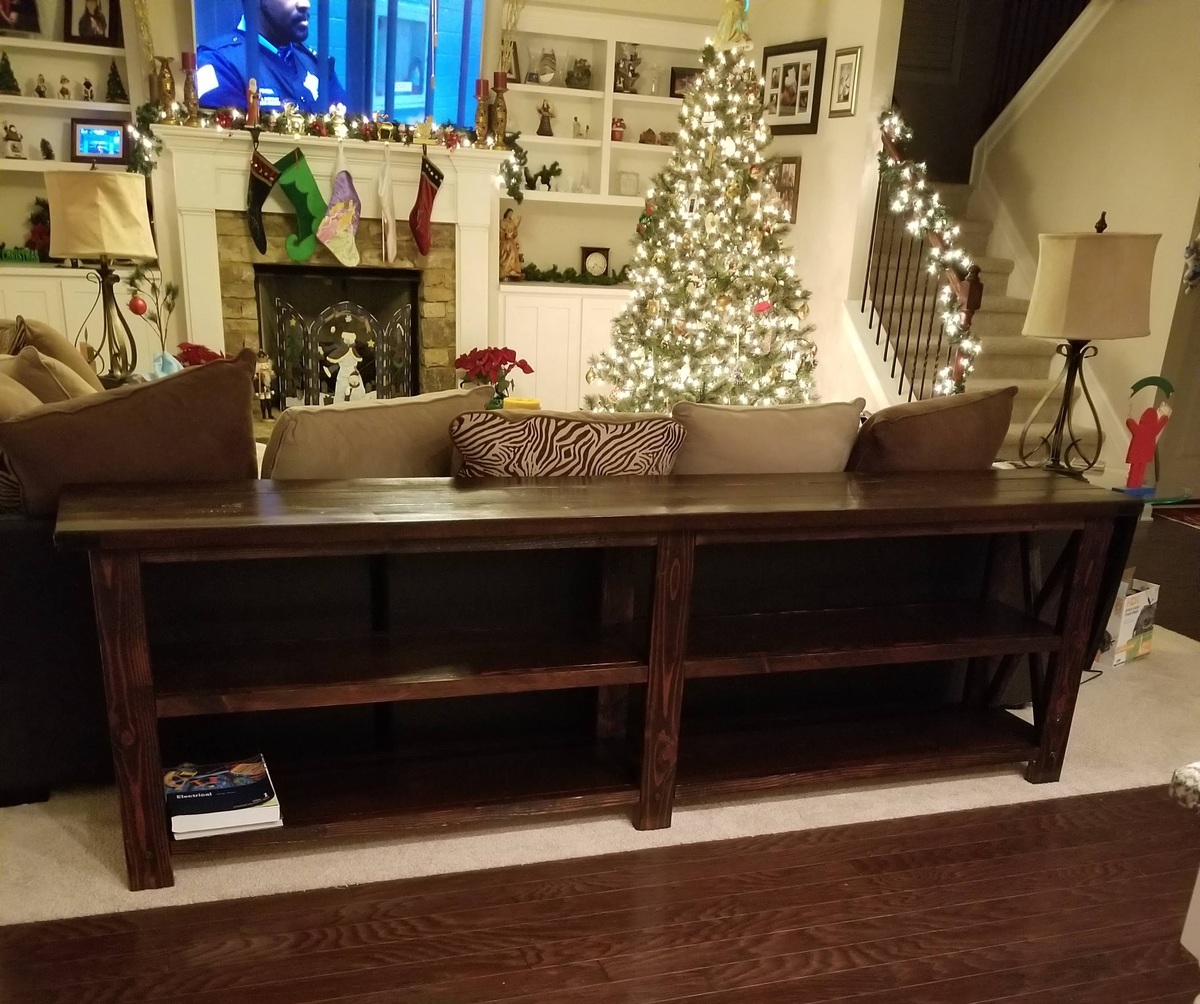
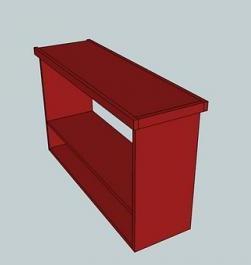
Was inspired to build this to go behind our sectional. Next year, it will house our Christmas town.
Built from Plan(s)
Estimated Time Investment
Weekend Project (10-20 Hours)
Finish Used
Red Mahogany
Recommended Skill Level
Intermediate
Farmhouse Table and Stools
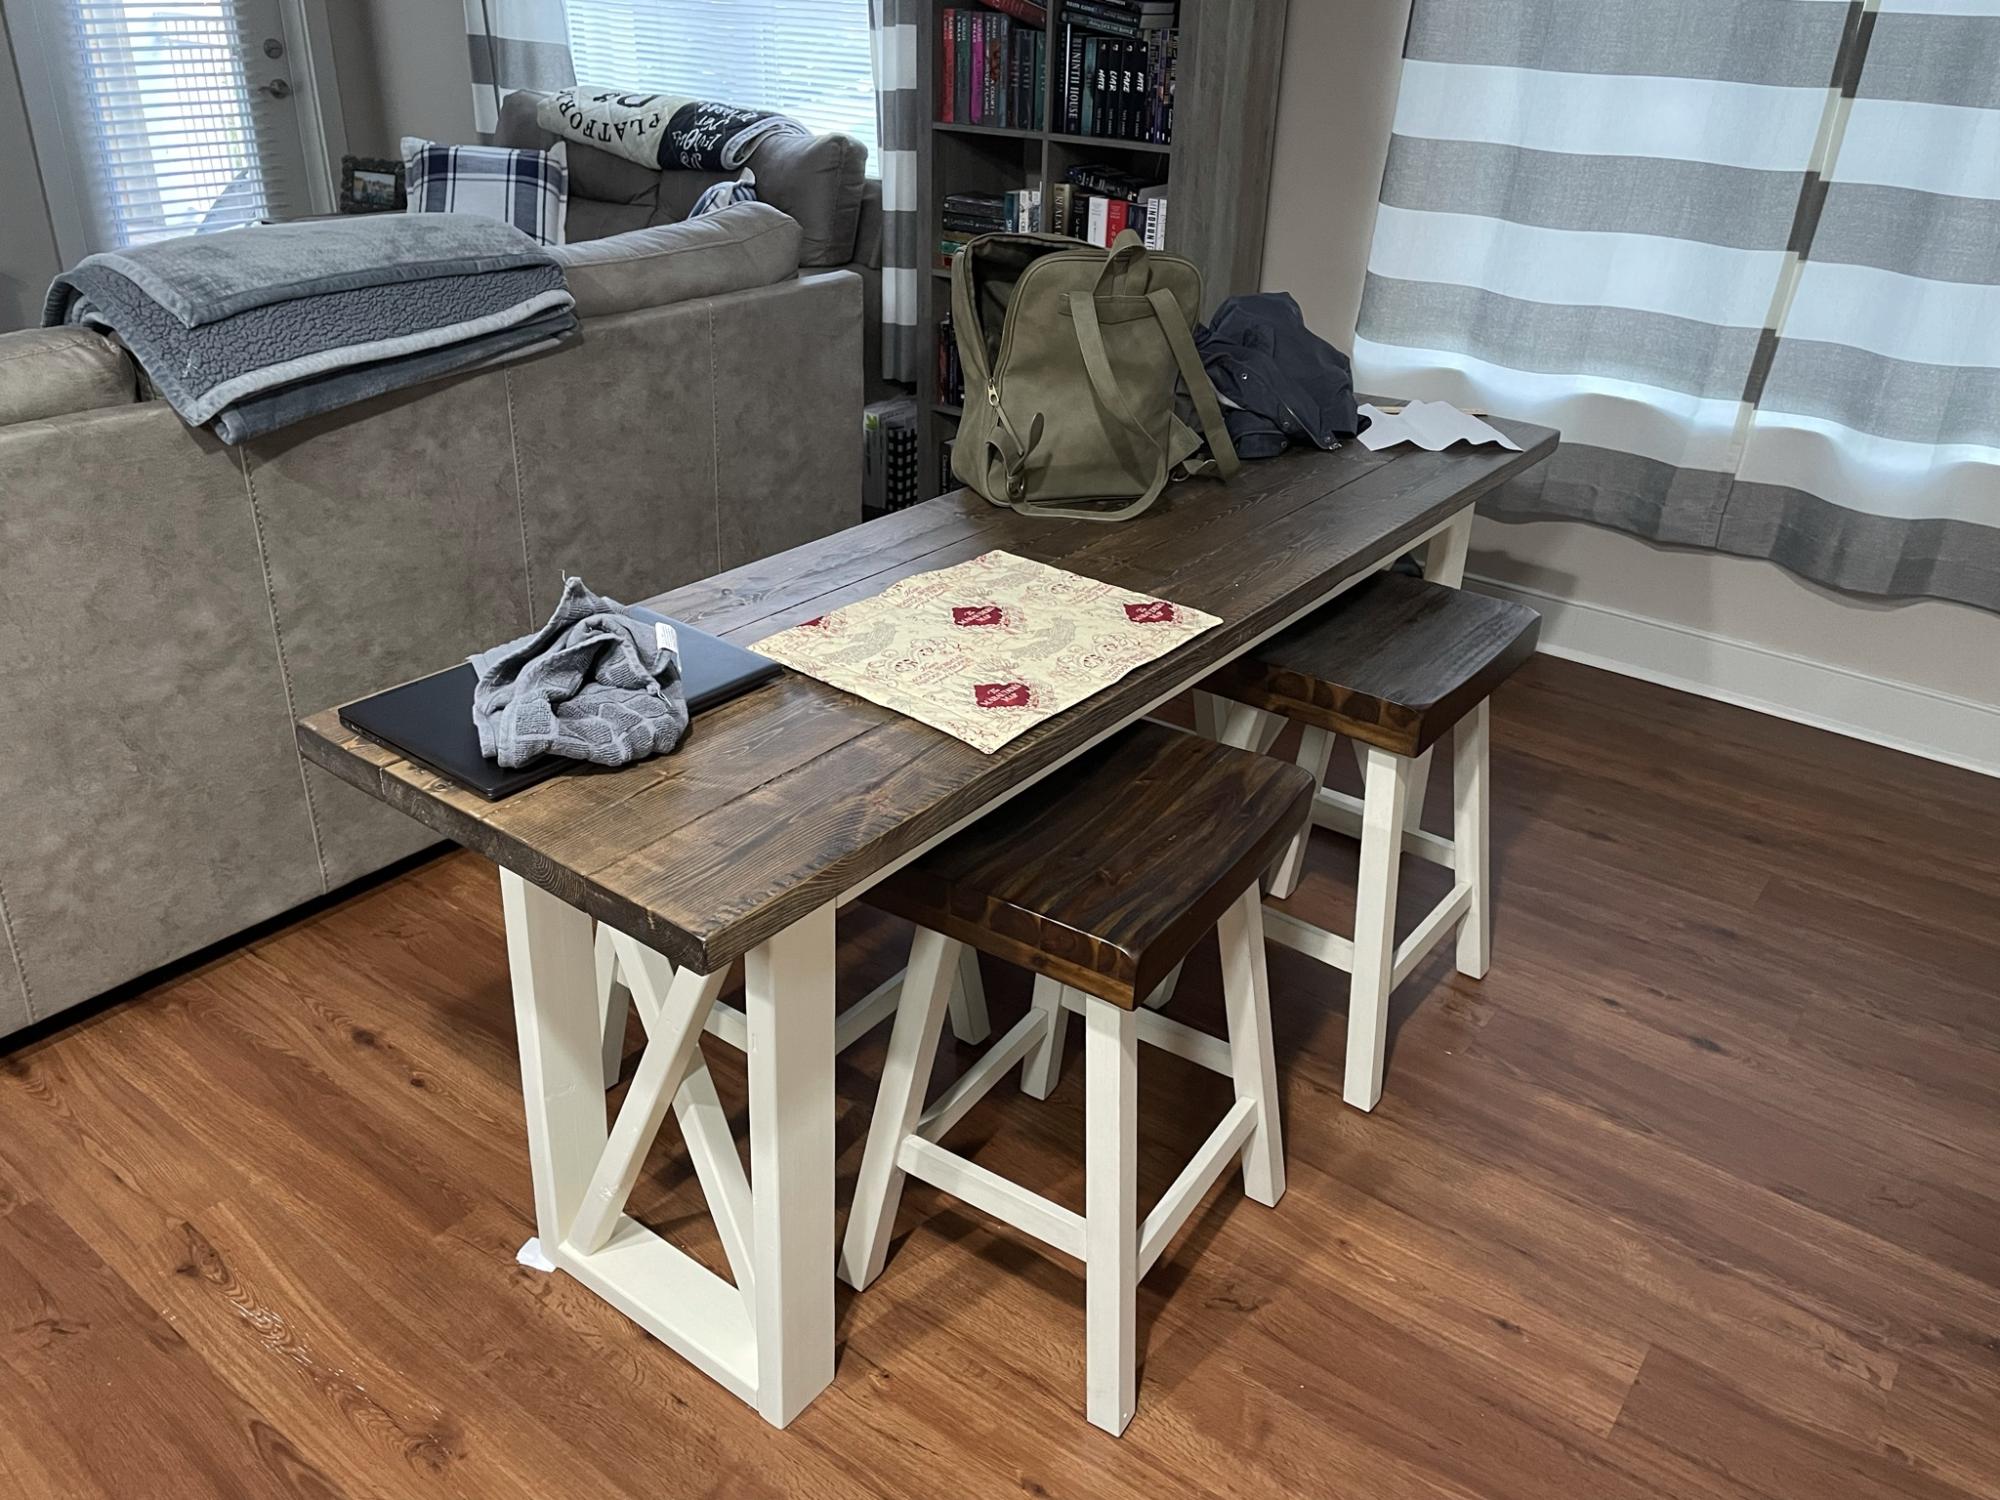
My daughter has a small 1 bedroom appointment and needed a place to eat. I built this table and stools to give her and her friends somewhere to gather. The stools came out darker than expected after I put a harder finish on it. They we’re getting scratched up from the sitting on them. But over all she loves it.
Comments
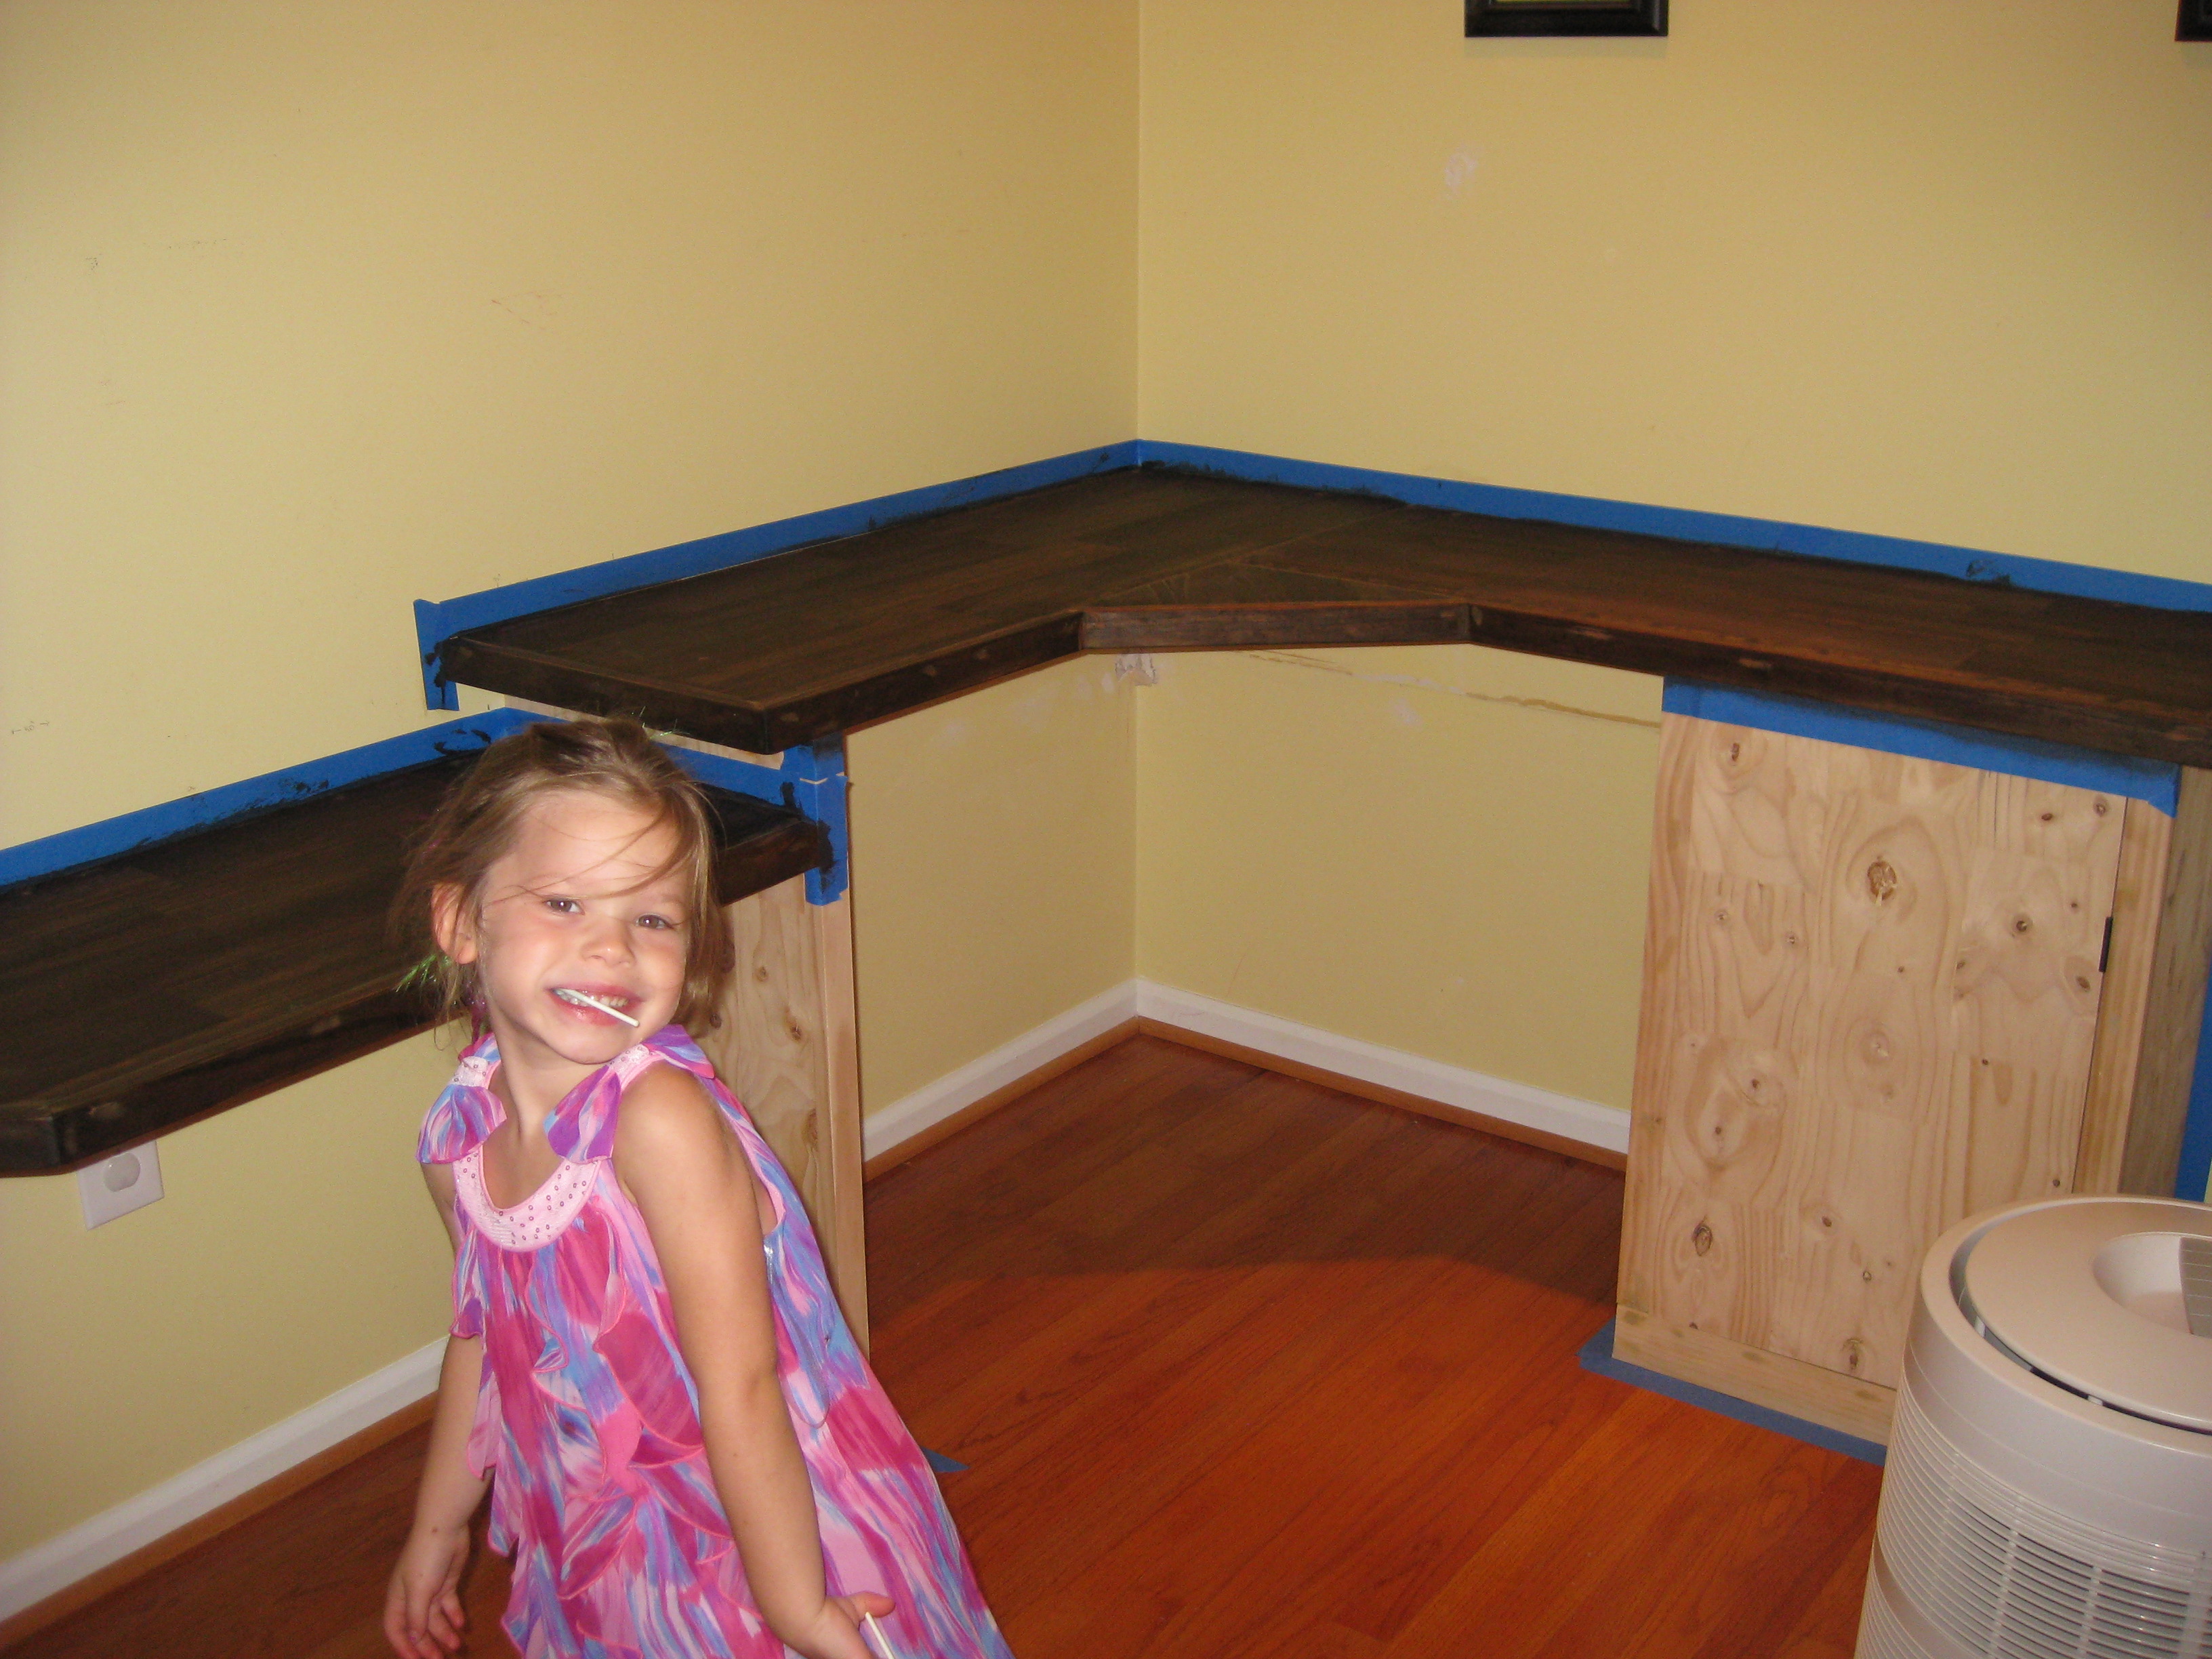
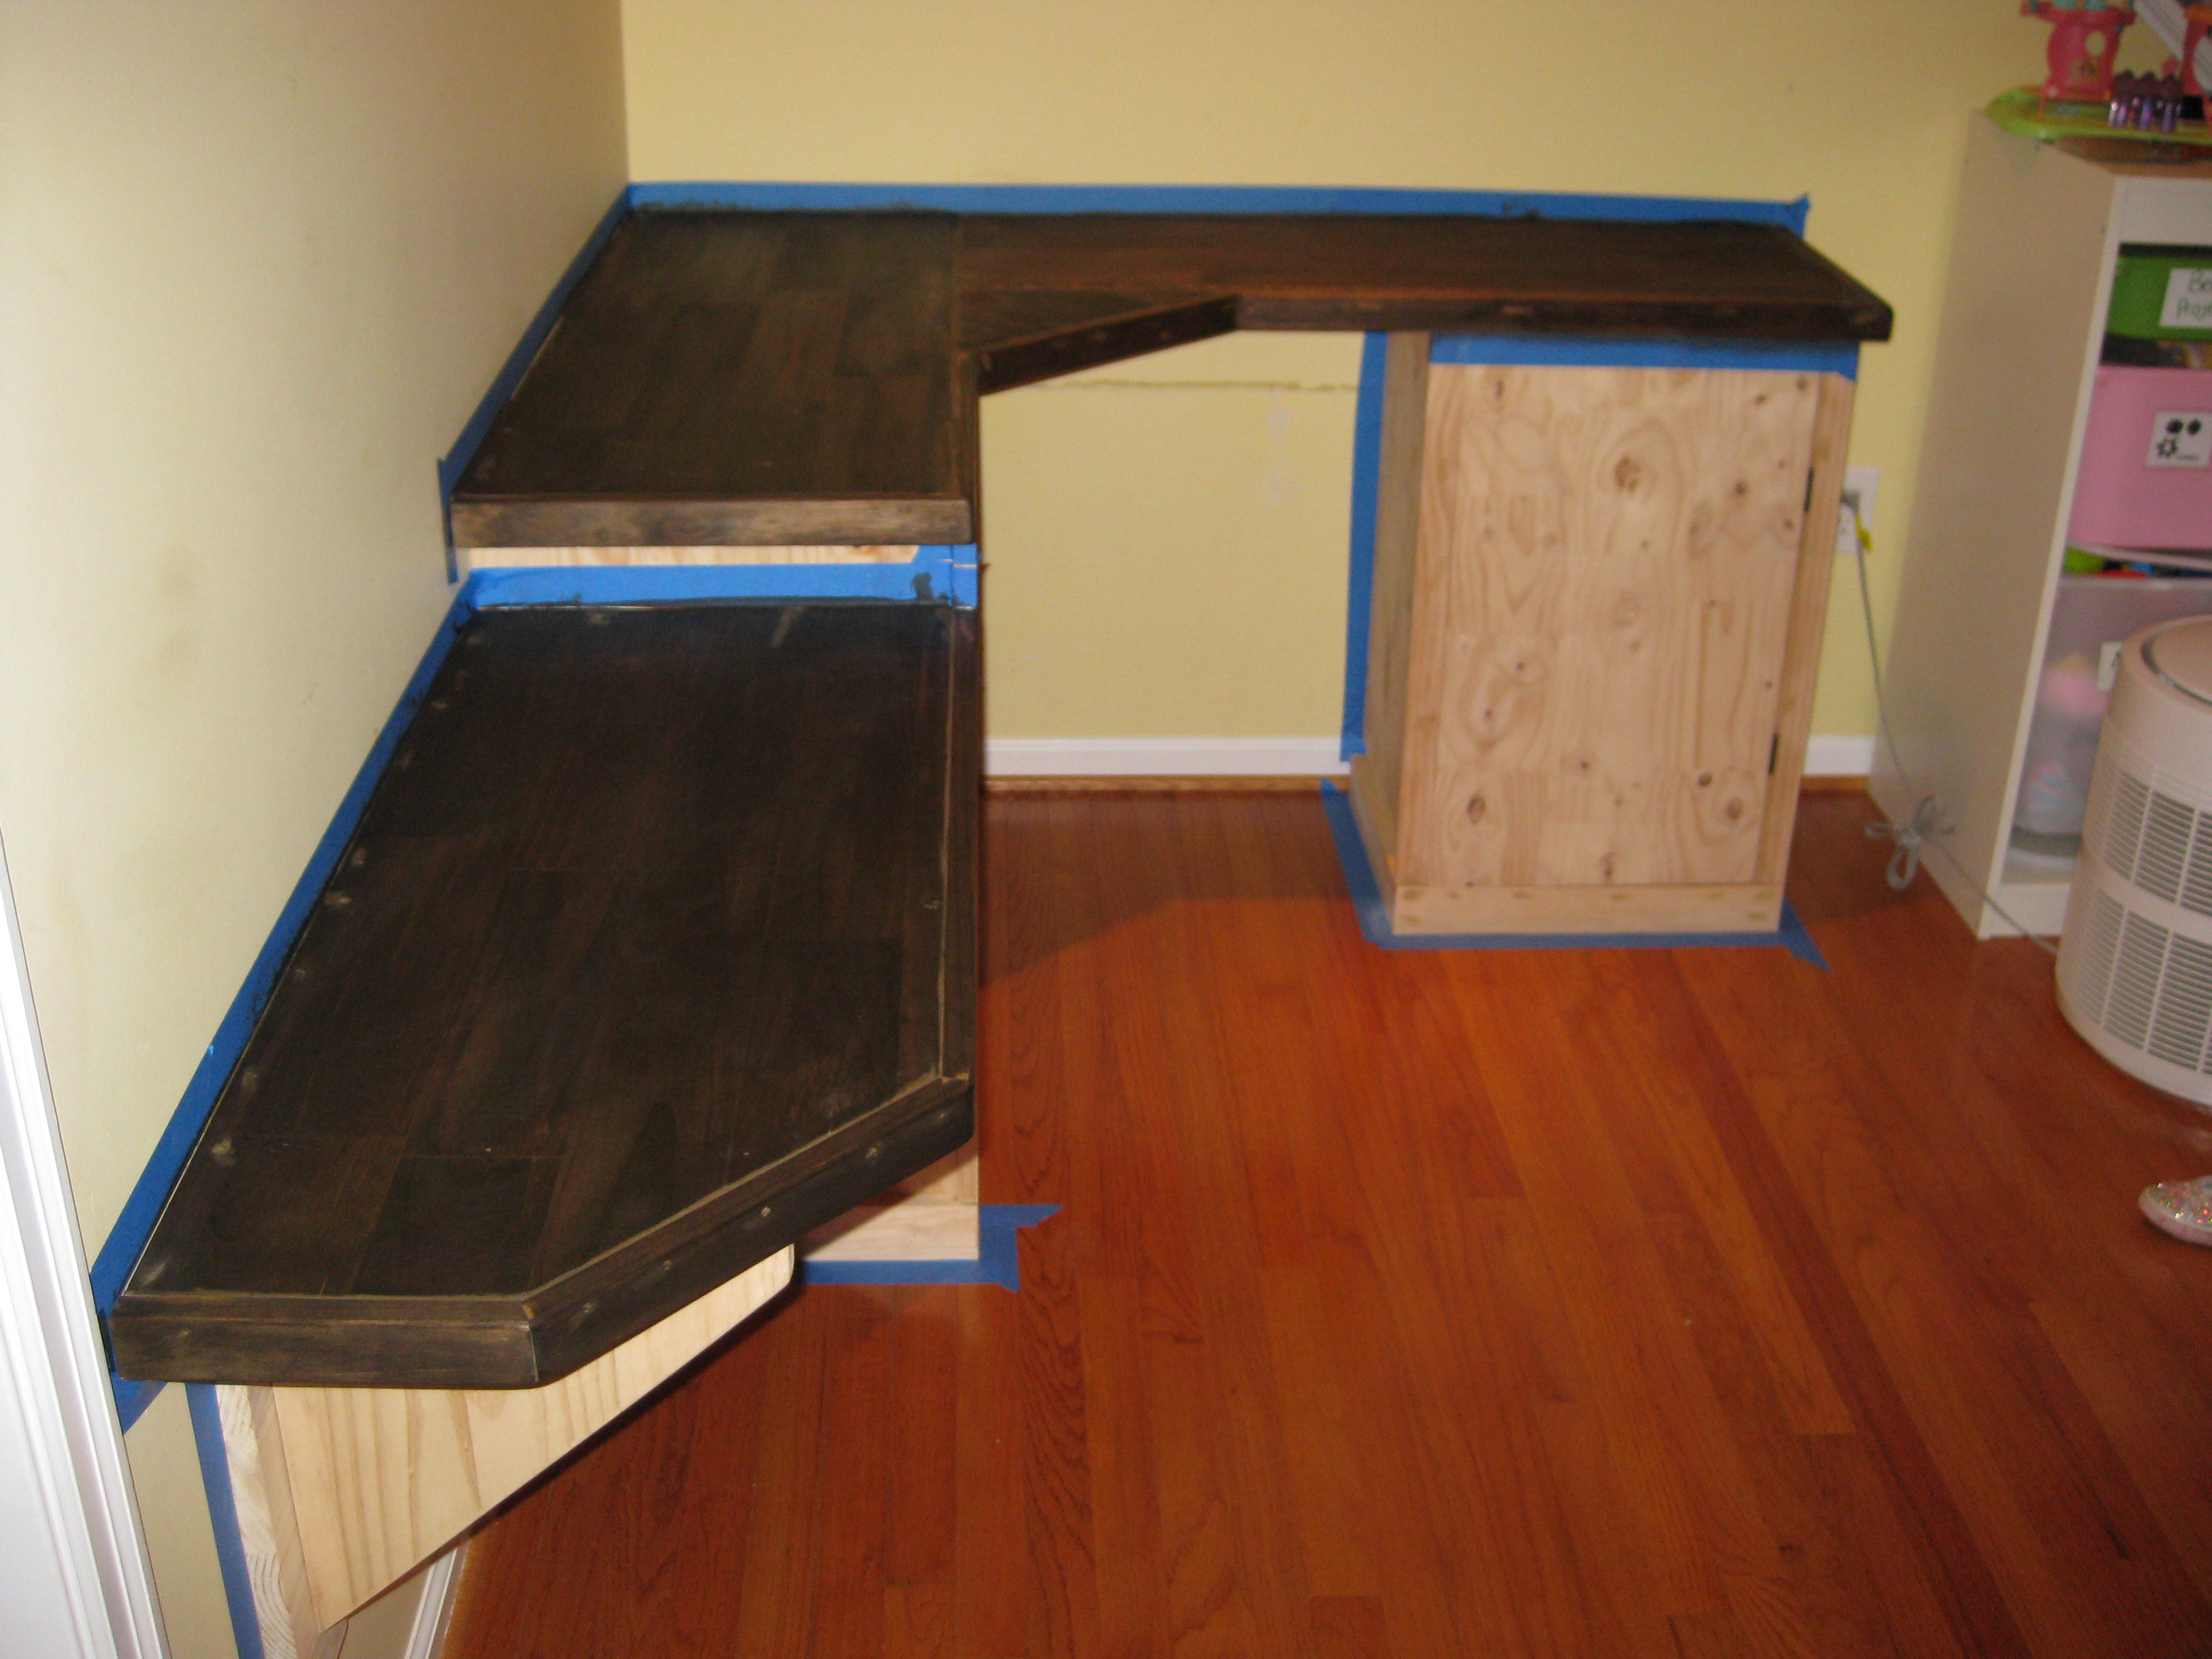
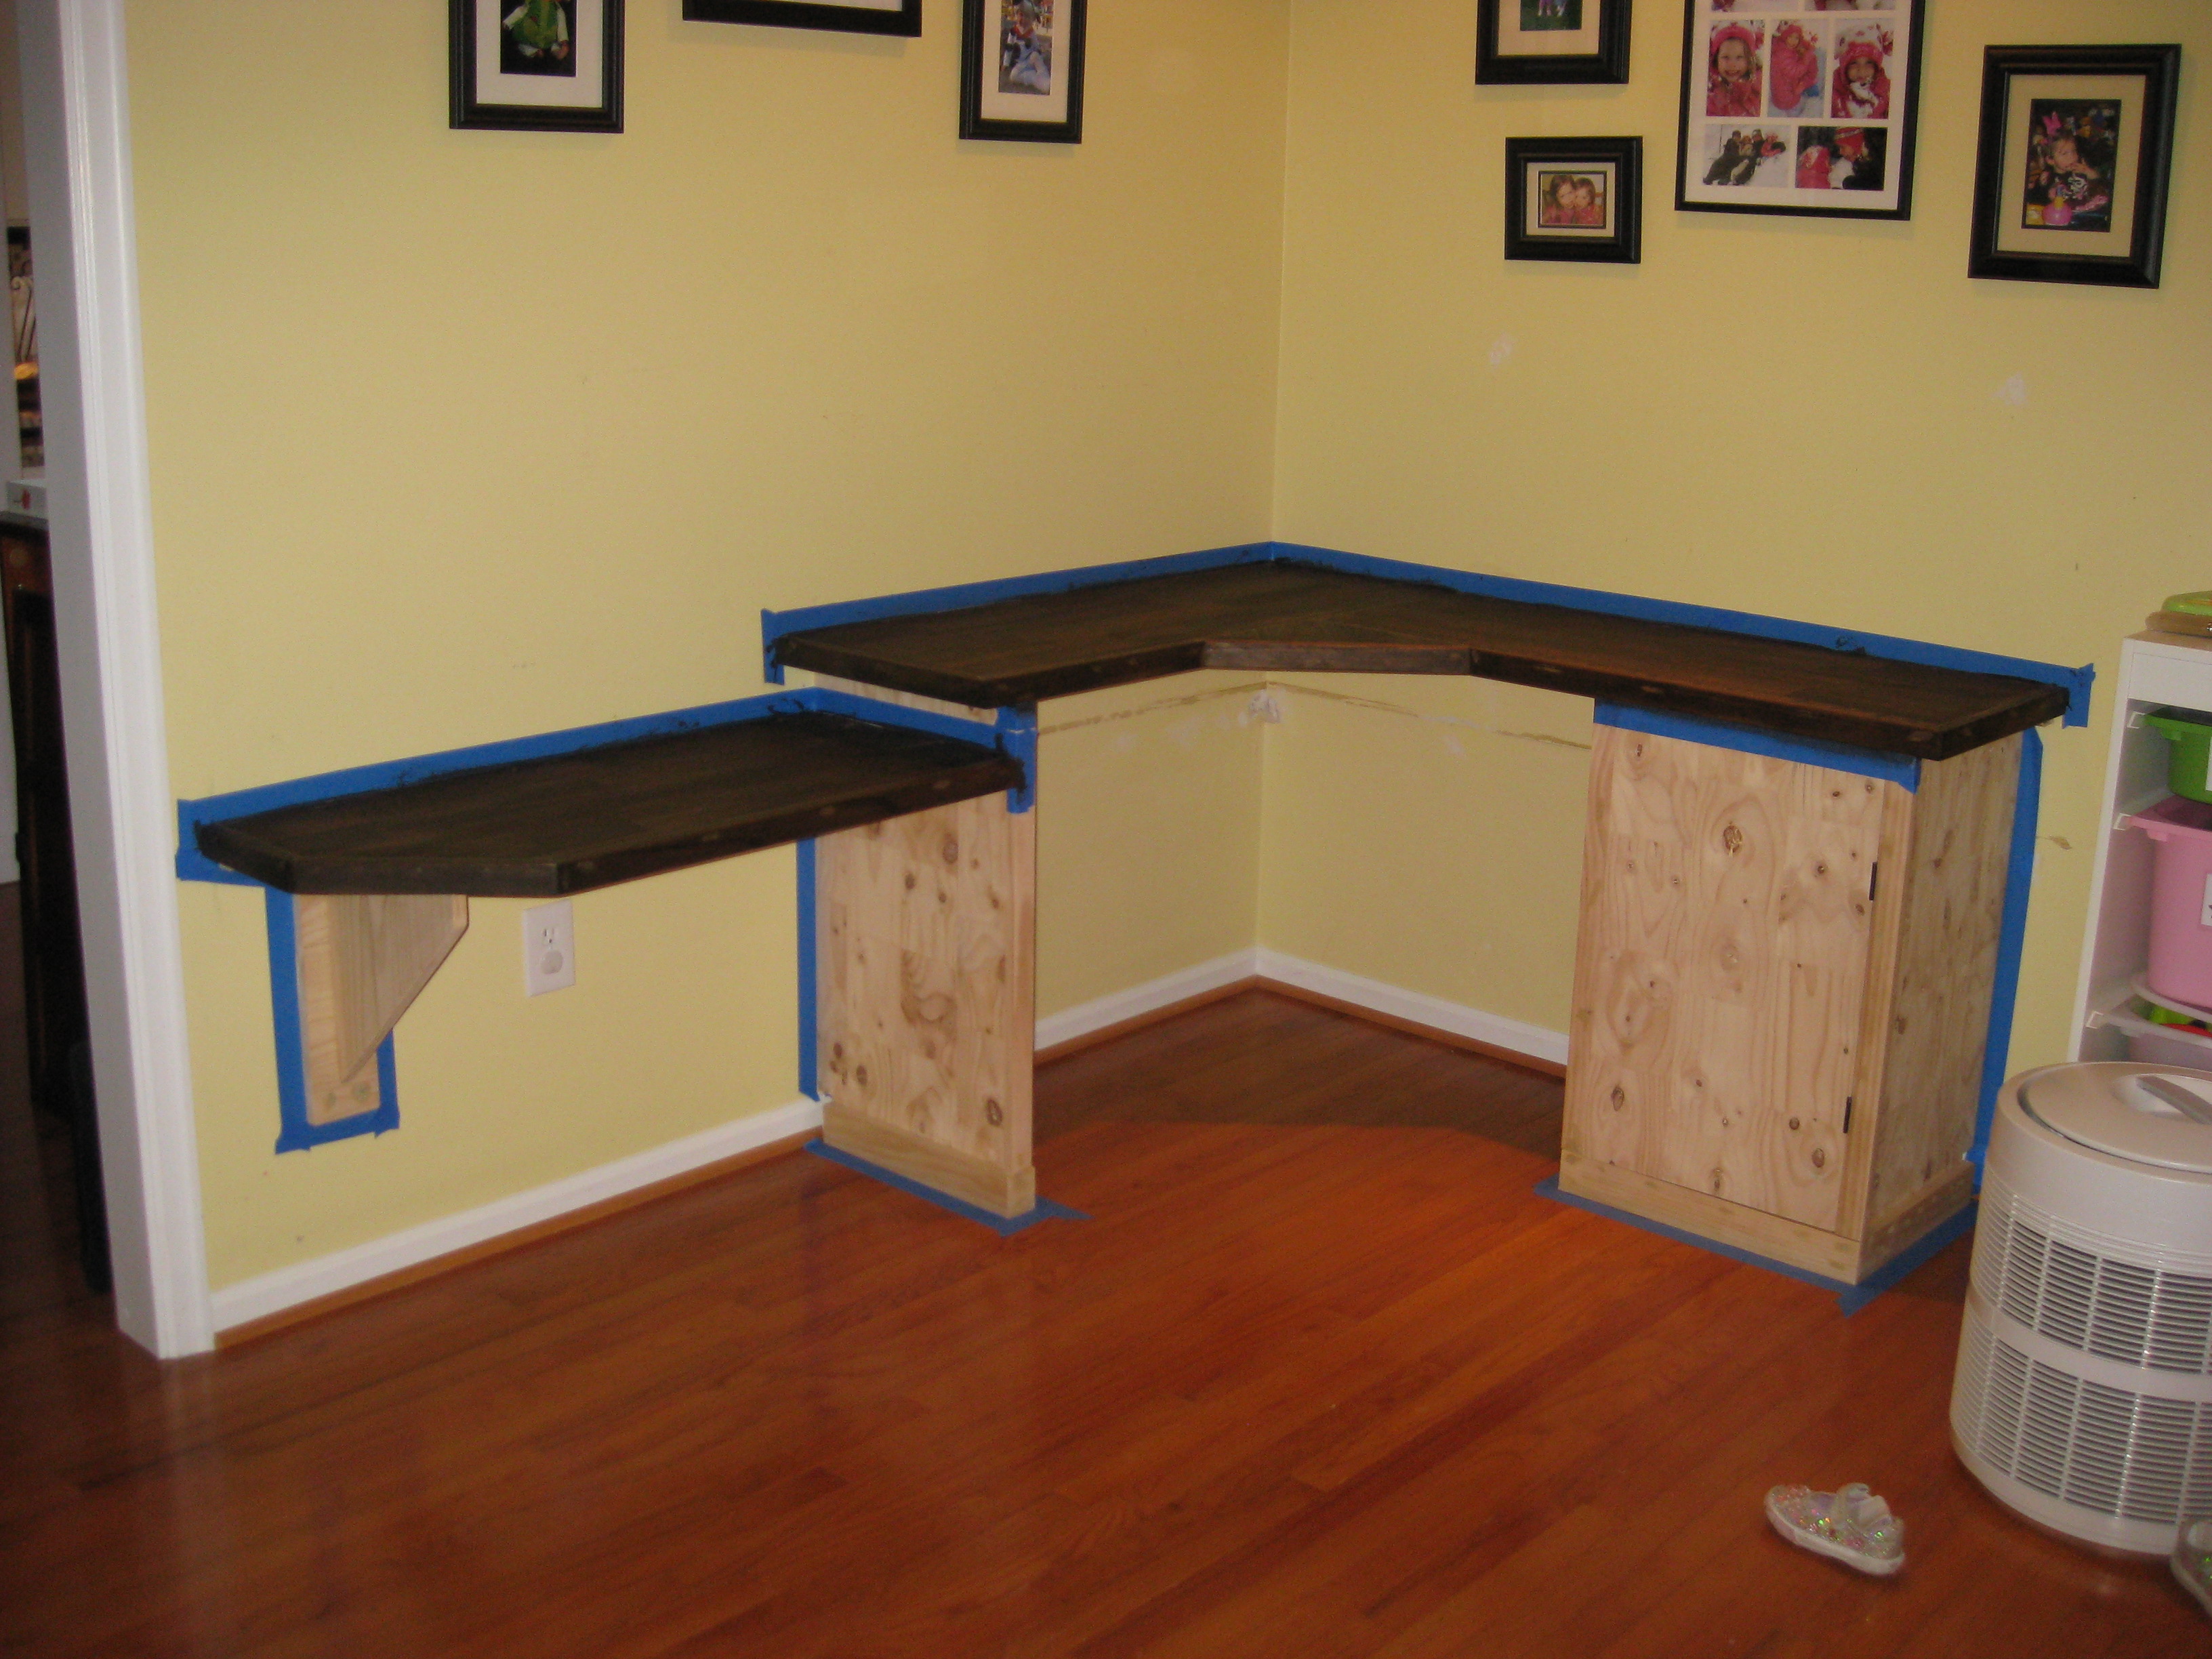
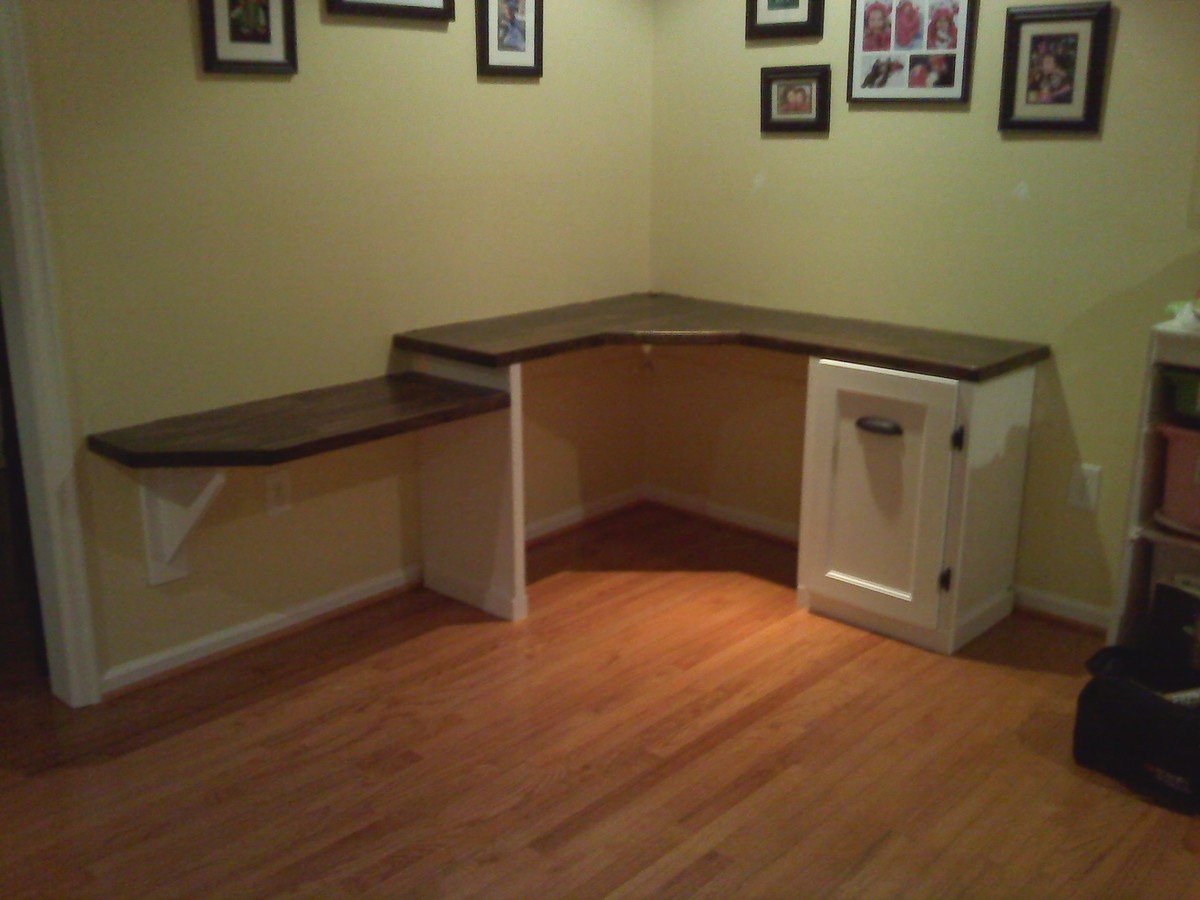
Family Computer Station
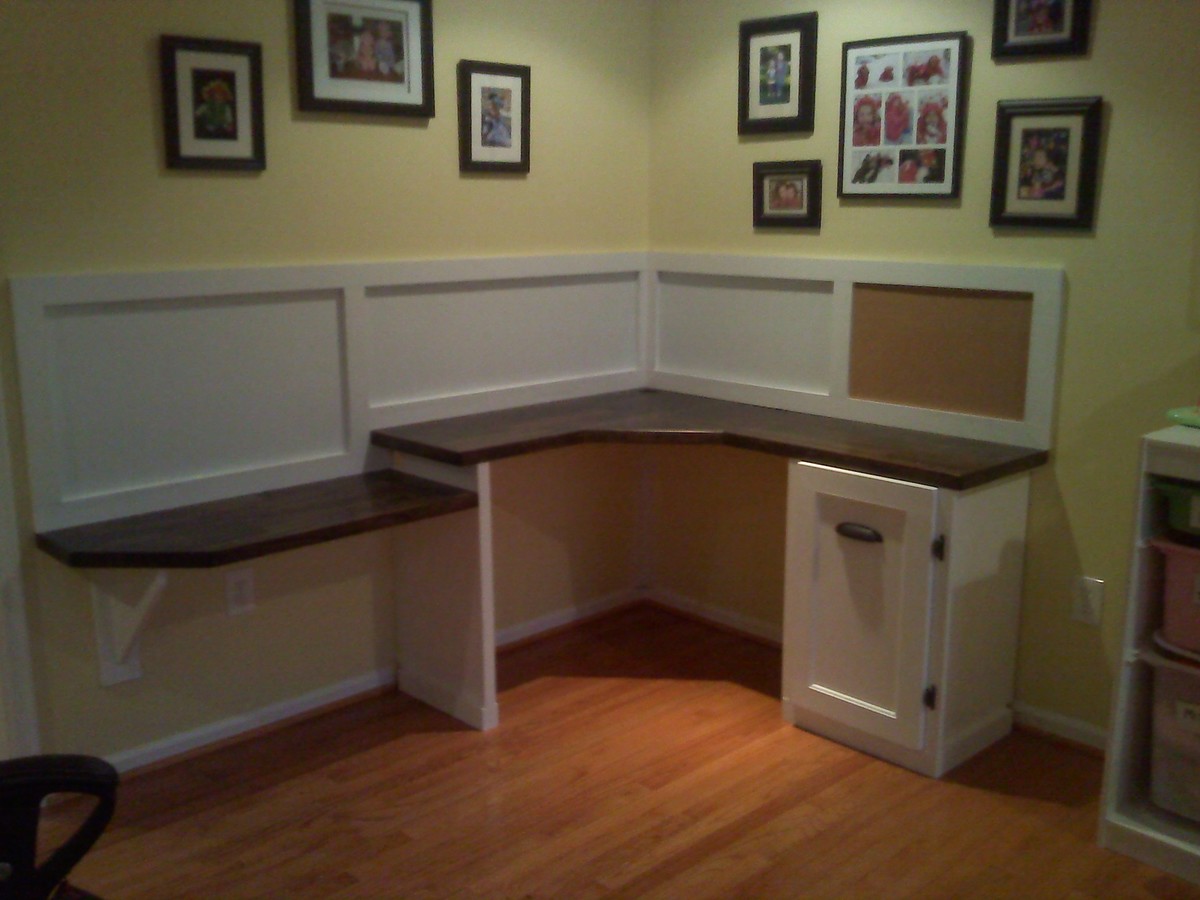
It was an unused corner of the playroom and I decided to put it to use with a computer station with an area for the kids. The desk top is stain grain ply, stained a satin dark walnut. Body is paint grade ply, painted white. On the walls I used whiteboard/dry-erase paint over a magnetic base so the kids can draw on the walls and hang pics with magnets, and added a cork board to the right. Built the cabinet for the computer and printer using same wood with a sliding shelf. This turned out to be one of the best things I've done in the house, the kids do their homework here and we use the desk all day long! A really cheap project that has very few parts. With paint, wood, stain and hardware its a $150 weekend project. I didn't use any plan here from this site but I've taken a lot of inspiration and tips!

Built from Plan(s)
Estimated Cost
$100-150 and two walls of your house!
Estimated Time Investment
Weekend Project (10-20 Hours)
Finish Used
Dark walnut stain, satin white paint
Recommended Skill Level
Intermediate
Comments

Mon, 01/16/2012 - 19:47
Looks Great!
Could you mind providing the dimensions of your desk? It looks like the perfect size to fit our needs!

Wed, 01/30/2013 - 18:04
L.O.V.E. This!! If I had a
L.O.V.E. This!! If I had a little more room in my house, I'd be building this for sure! Alas I don't so I must find another solution!
Thu, 01/31/2013 - 05:41
Looks great, you can paint
Looks great, you can paint and stain prior to putting together saves on taping everything off and possibility of bleedthru of tape. Amazing job and design.
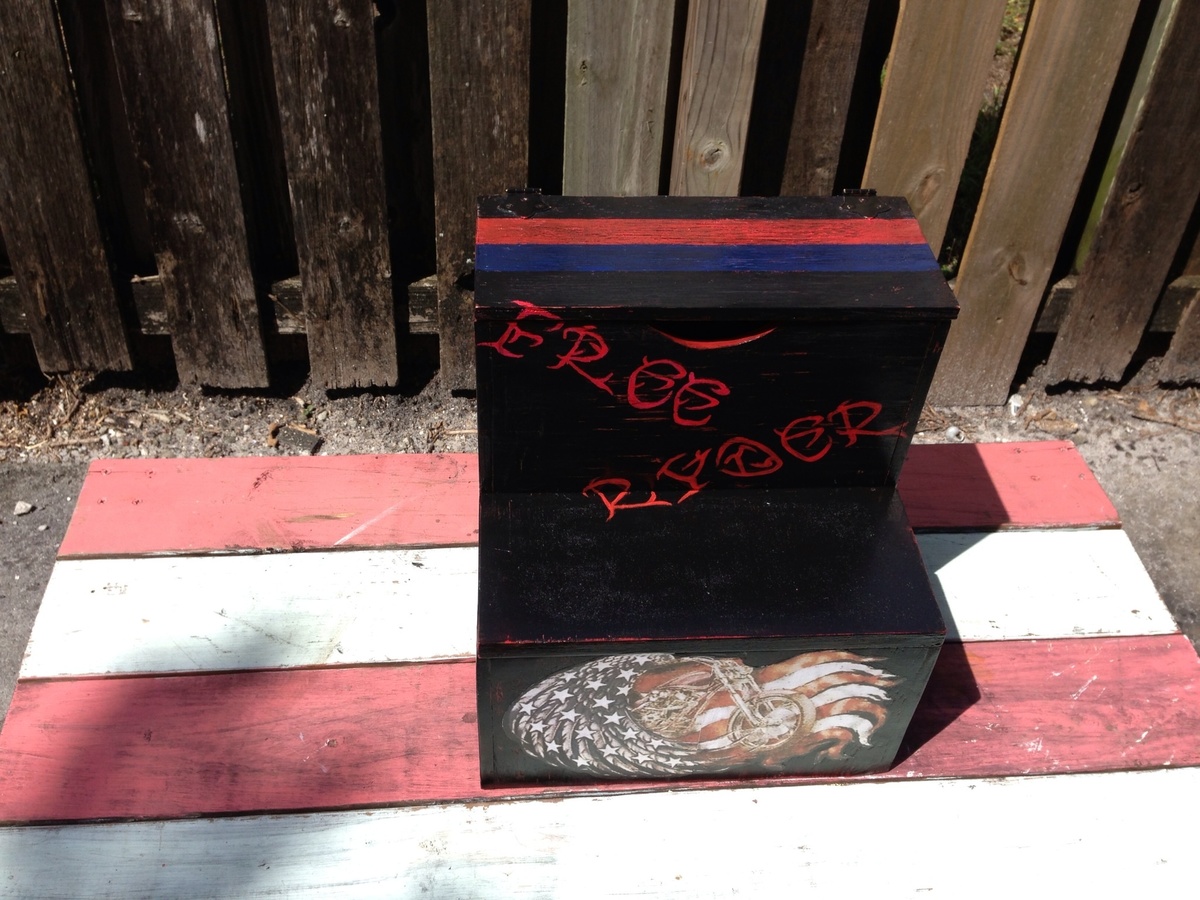
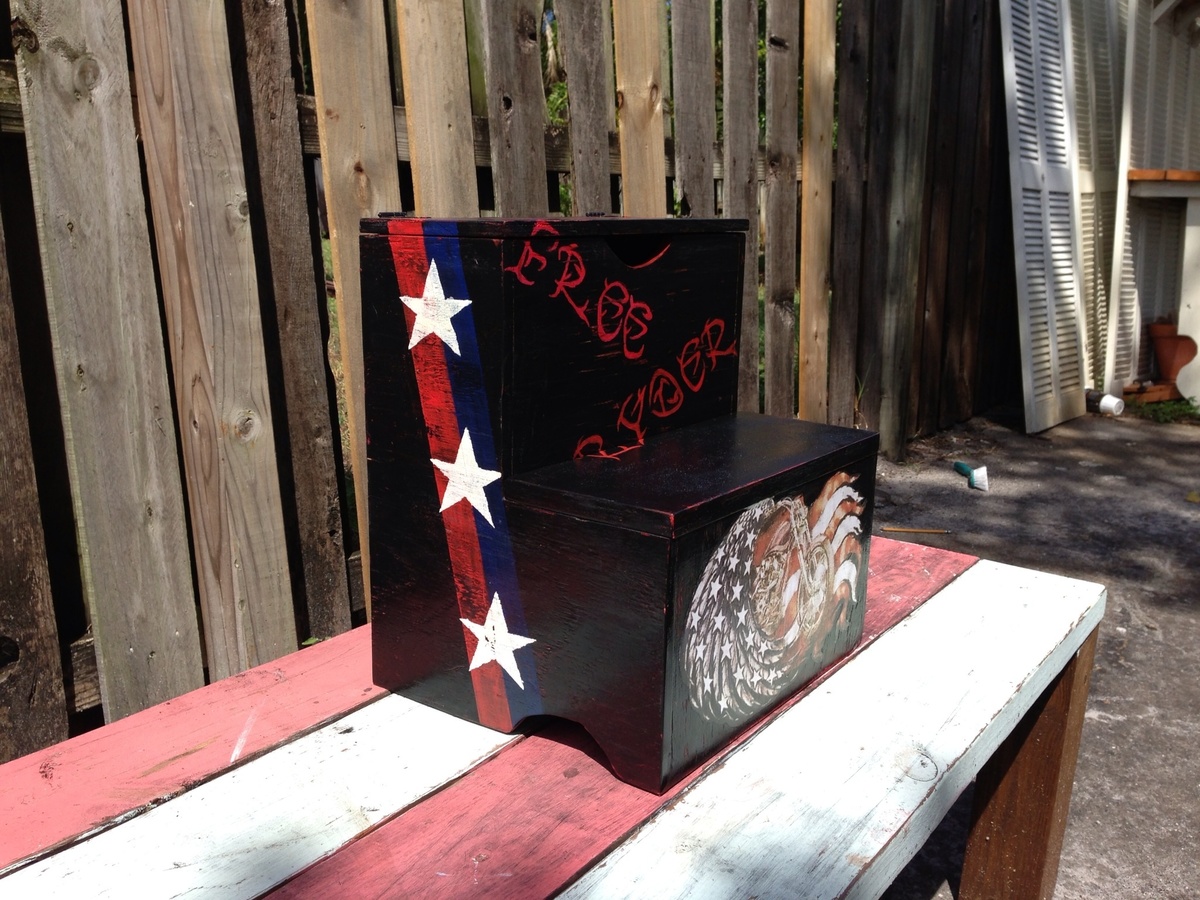
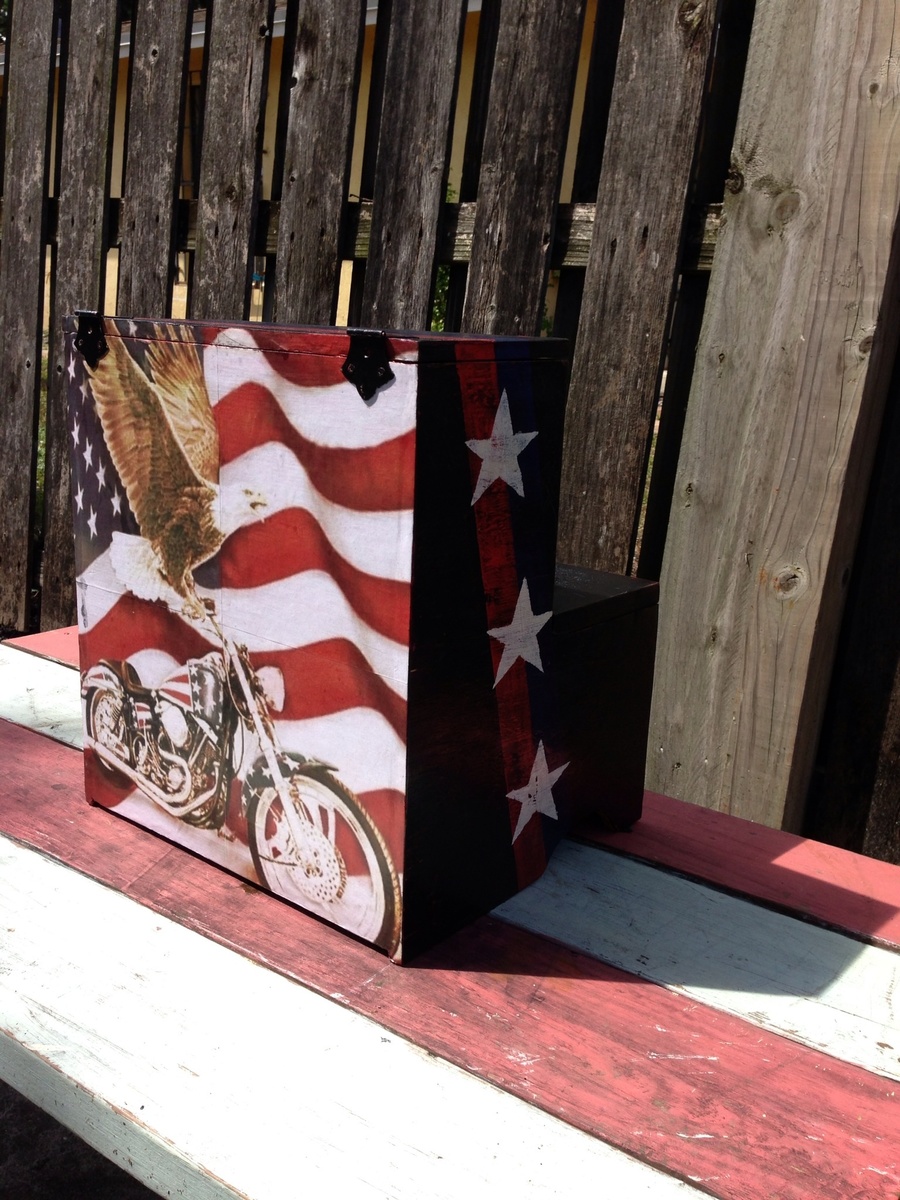
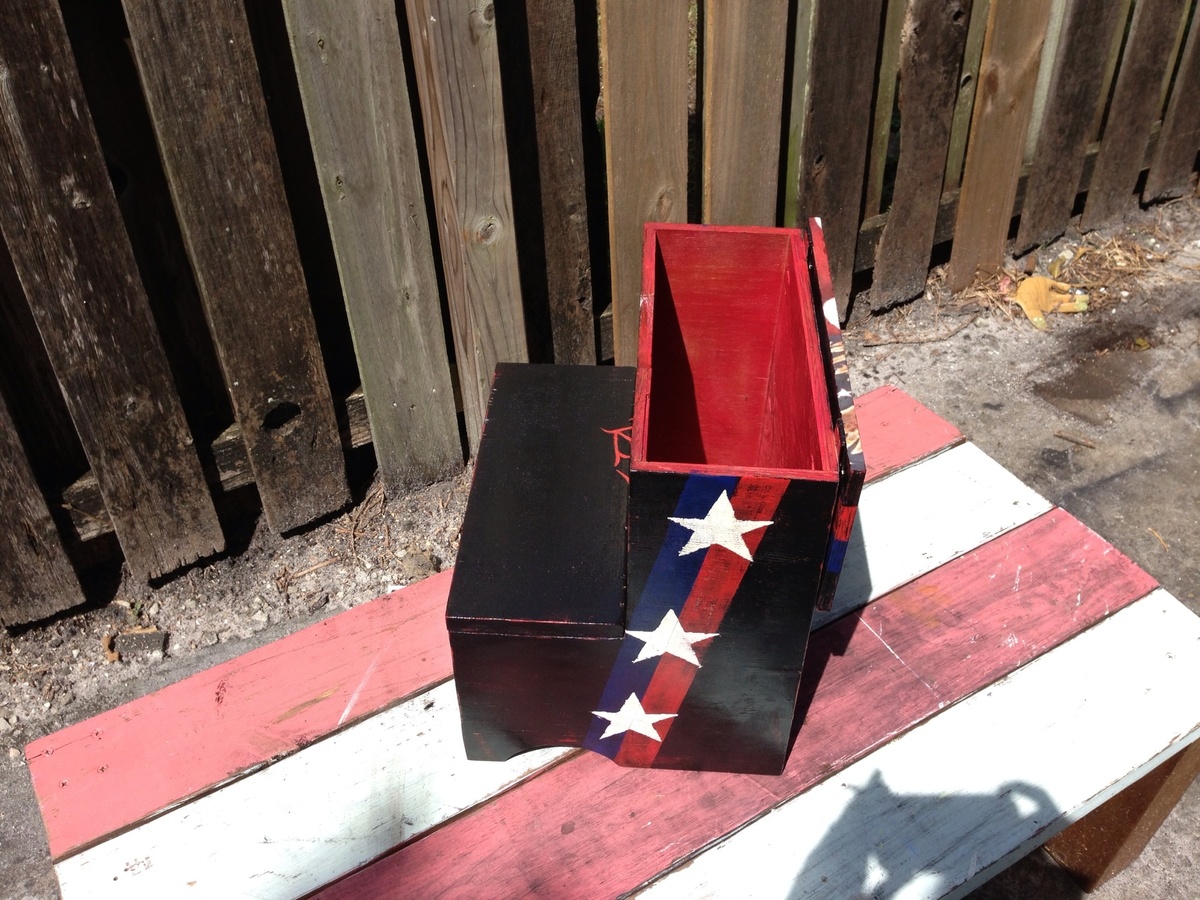
Kids step stool w/ storage
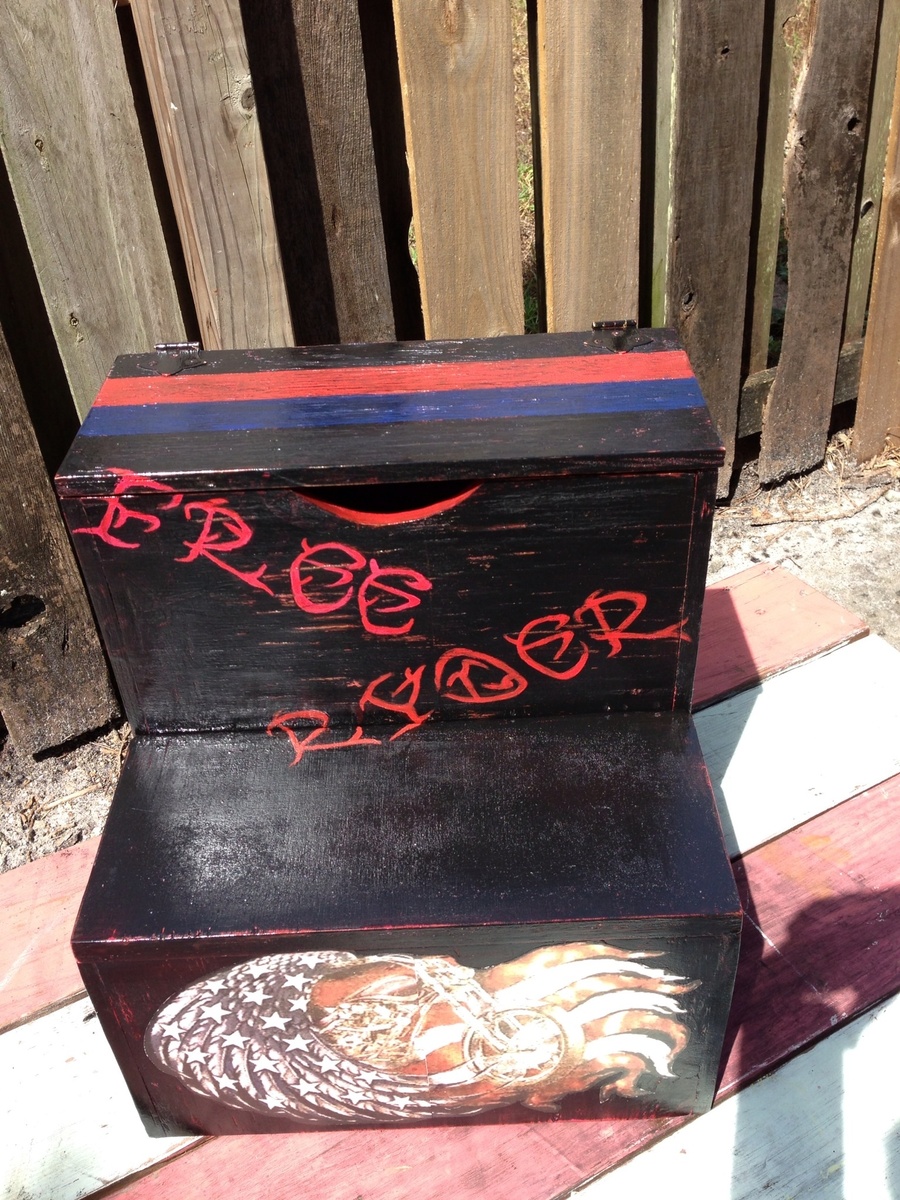
This stool was made as a b-day present for my nephew Ryder (hence the play on words "free Ryder") . His dad, an avid motorcycle enthusiast, is deployed w/ the army in Afghanistan so I went w/ a patriotic motorcycle theme. Ryder just turned 2 so he is about to start the adventure of potty training si I figured this would be perfect for that and double as bath toy storage. To keep the wood from getting damaged by the humidity of the bathroom, I used pressure treated plywood and further protected it w/ tompsons wood waterproofer. I also drilled 3 rows of drainage holes in the bottom so water wouldn't be sitting in there.
Built from Plan(s)
Estimated Cost
$15
Estimated Time Investment
Afternoon Project (3-6 Hours)
Finish Used
General Finishes black milk paint. And an out door varnish. I also added a non-slip texturizer to the paint on the top stool. It's a little rough on bare knees but I figured scrapped knees were not as bad as a cracked skull
Recommended Skill Level
Beginner
X Farmhouse Table
Used 4x4s instead of 2x4s
Built from Plan(s)
Estimated Cost
$100
Estimated Time Investment
Weekend Project (10-20 Hours)
Finish Used
Dark walnut stain
Recommended Skill Level
Intermediate
My very first build!!!
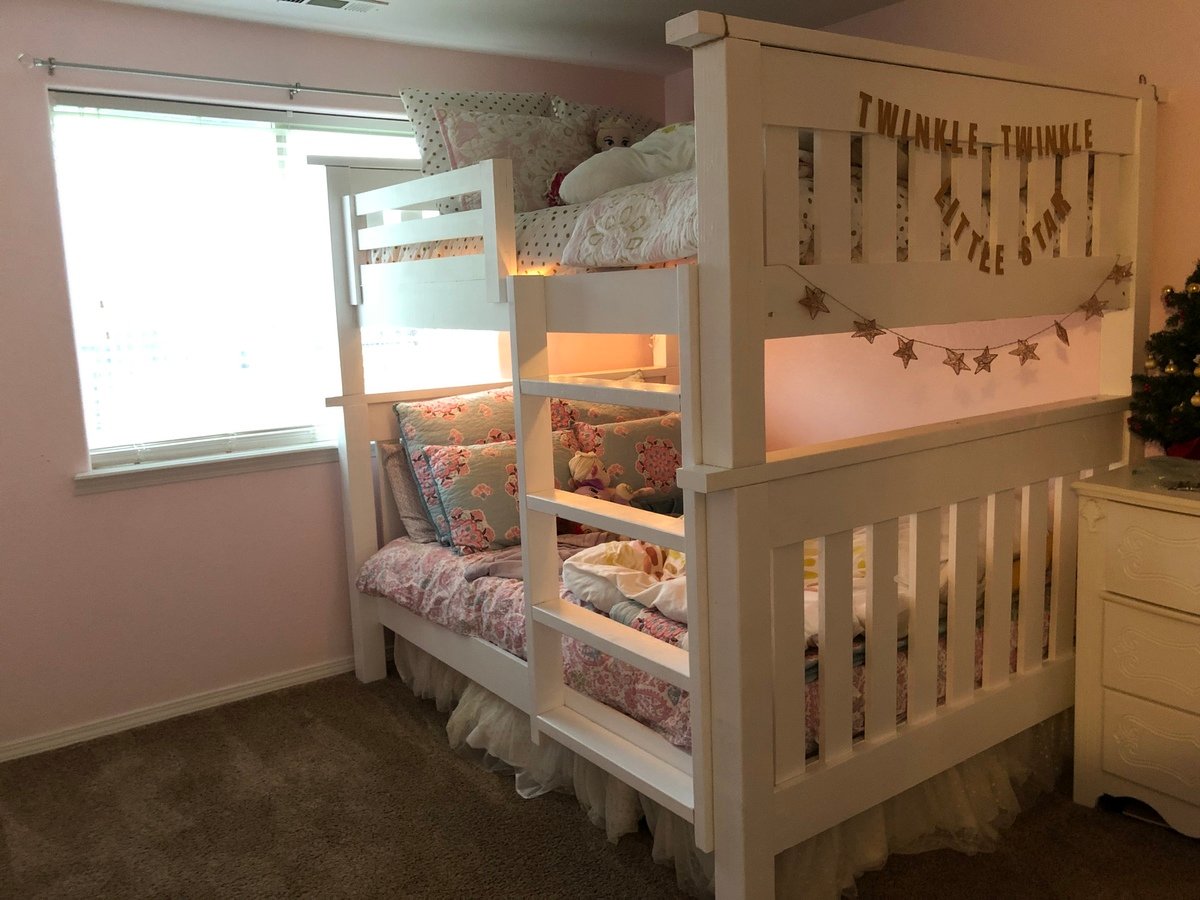
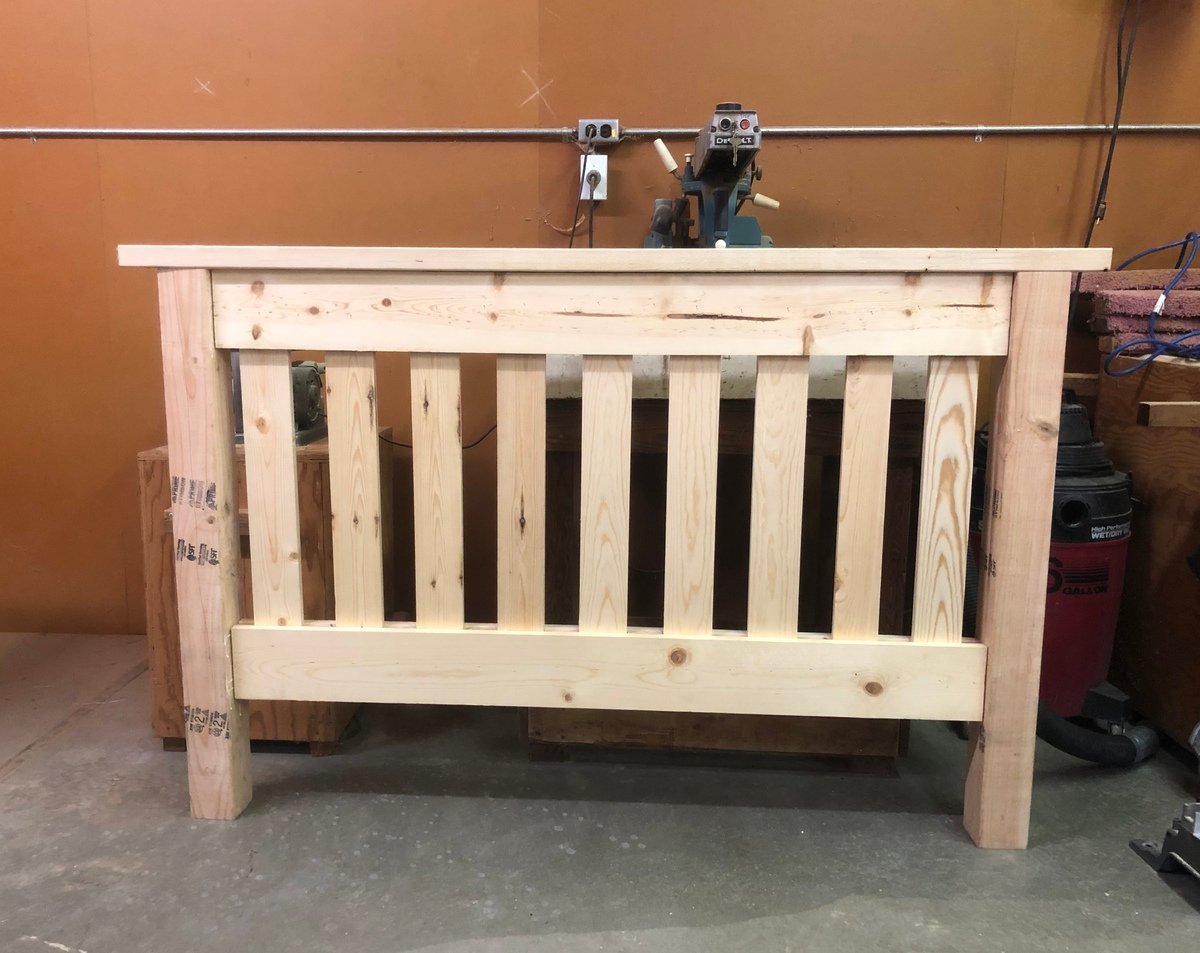
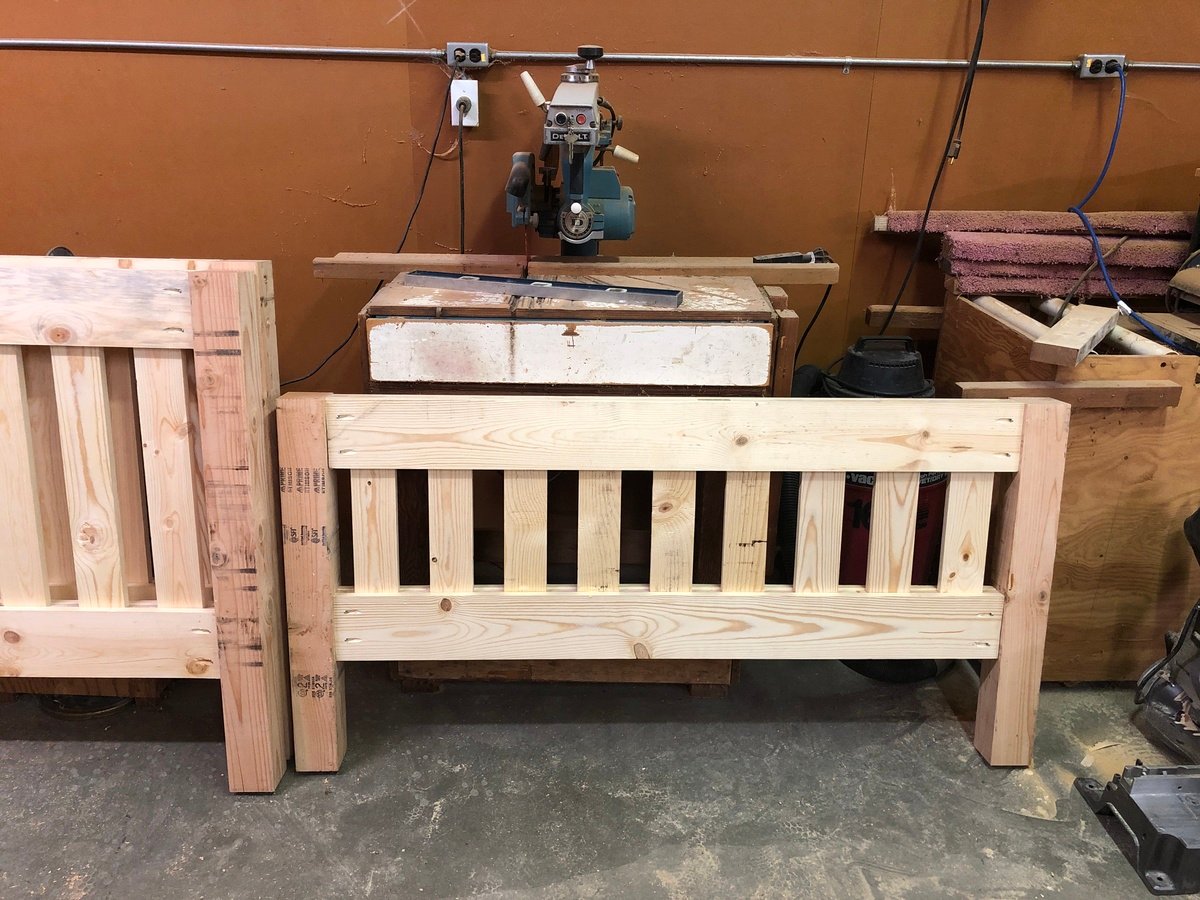
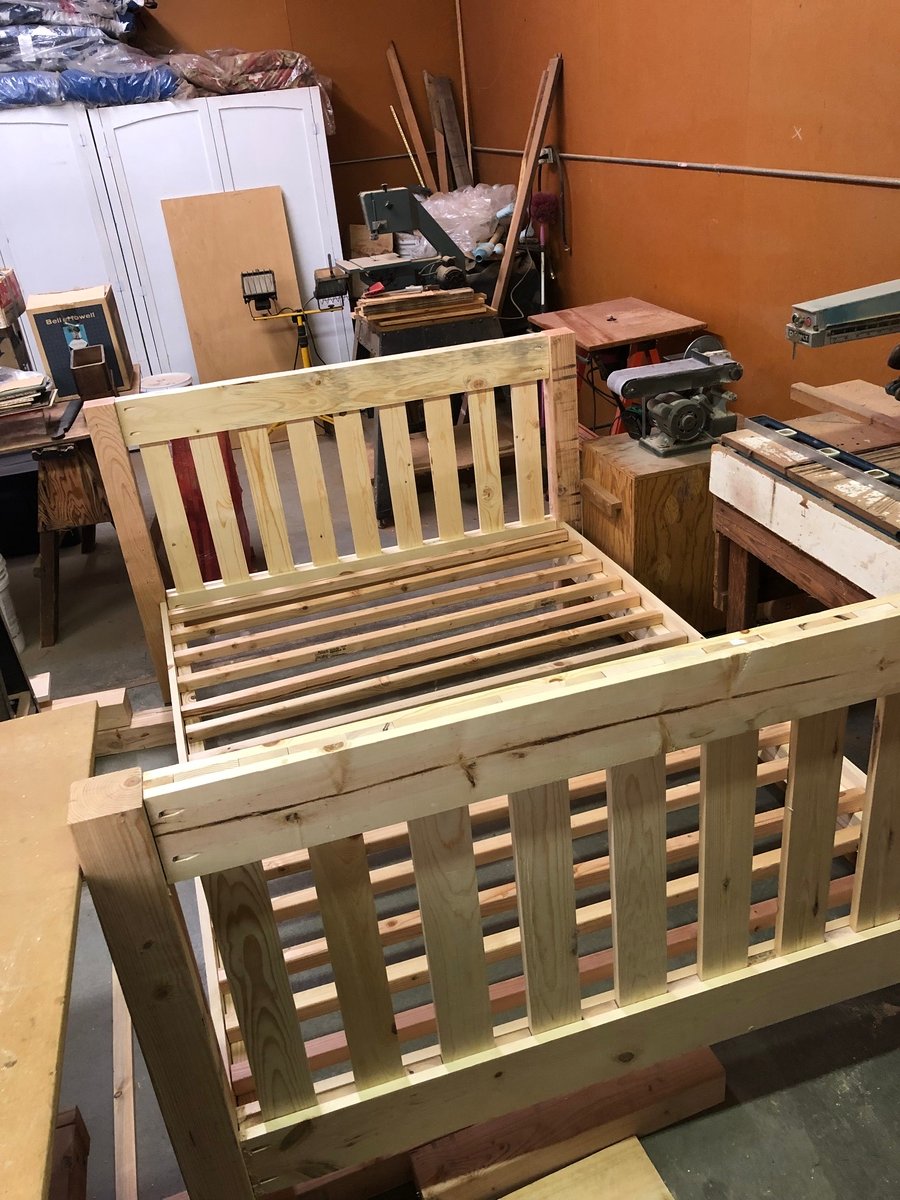
I decided to tackle my very first build this year. I built the full size bunk beds for my girls for Christmas!!!!! I built the rail and ladder (except the 2x4 long posts) out of scrap wood. It took 2 weeks to build & paint only because I did it weeknights after my kids went to bed. I’m in love!
Built from Plan(s)
Estimated Cost
I didn’t price out exactly. But roughly $350. That included all lumber and screws!
Estimated Time Investment
Week Long Project (20 Hours or More)
Finish Used
Painted white
Recommended Skill Level
Beginner
Comments
Fri, 12/04/2020 - 13:22
Wonderful Job!
You should be incredibly proud, it’s BEAUTIFUL! I am planning to build full-sized beds for my twin daughters, and your post is very inspirational!
Shed Tool Rack
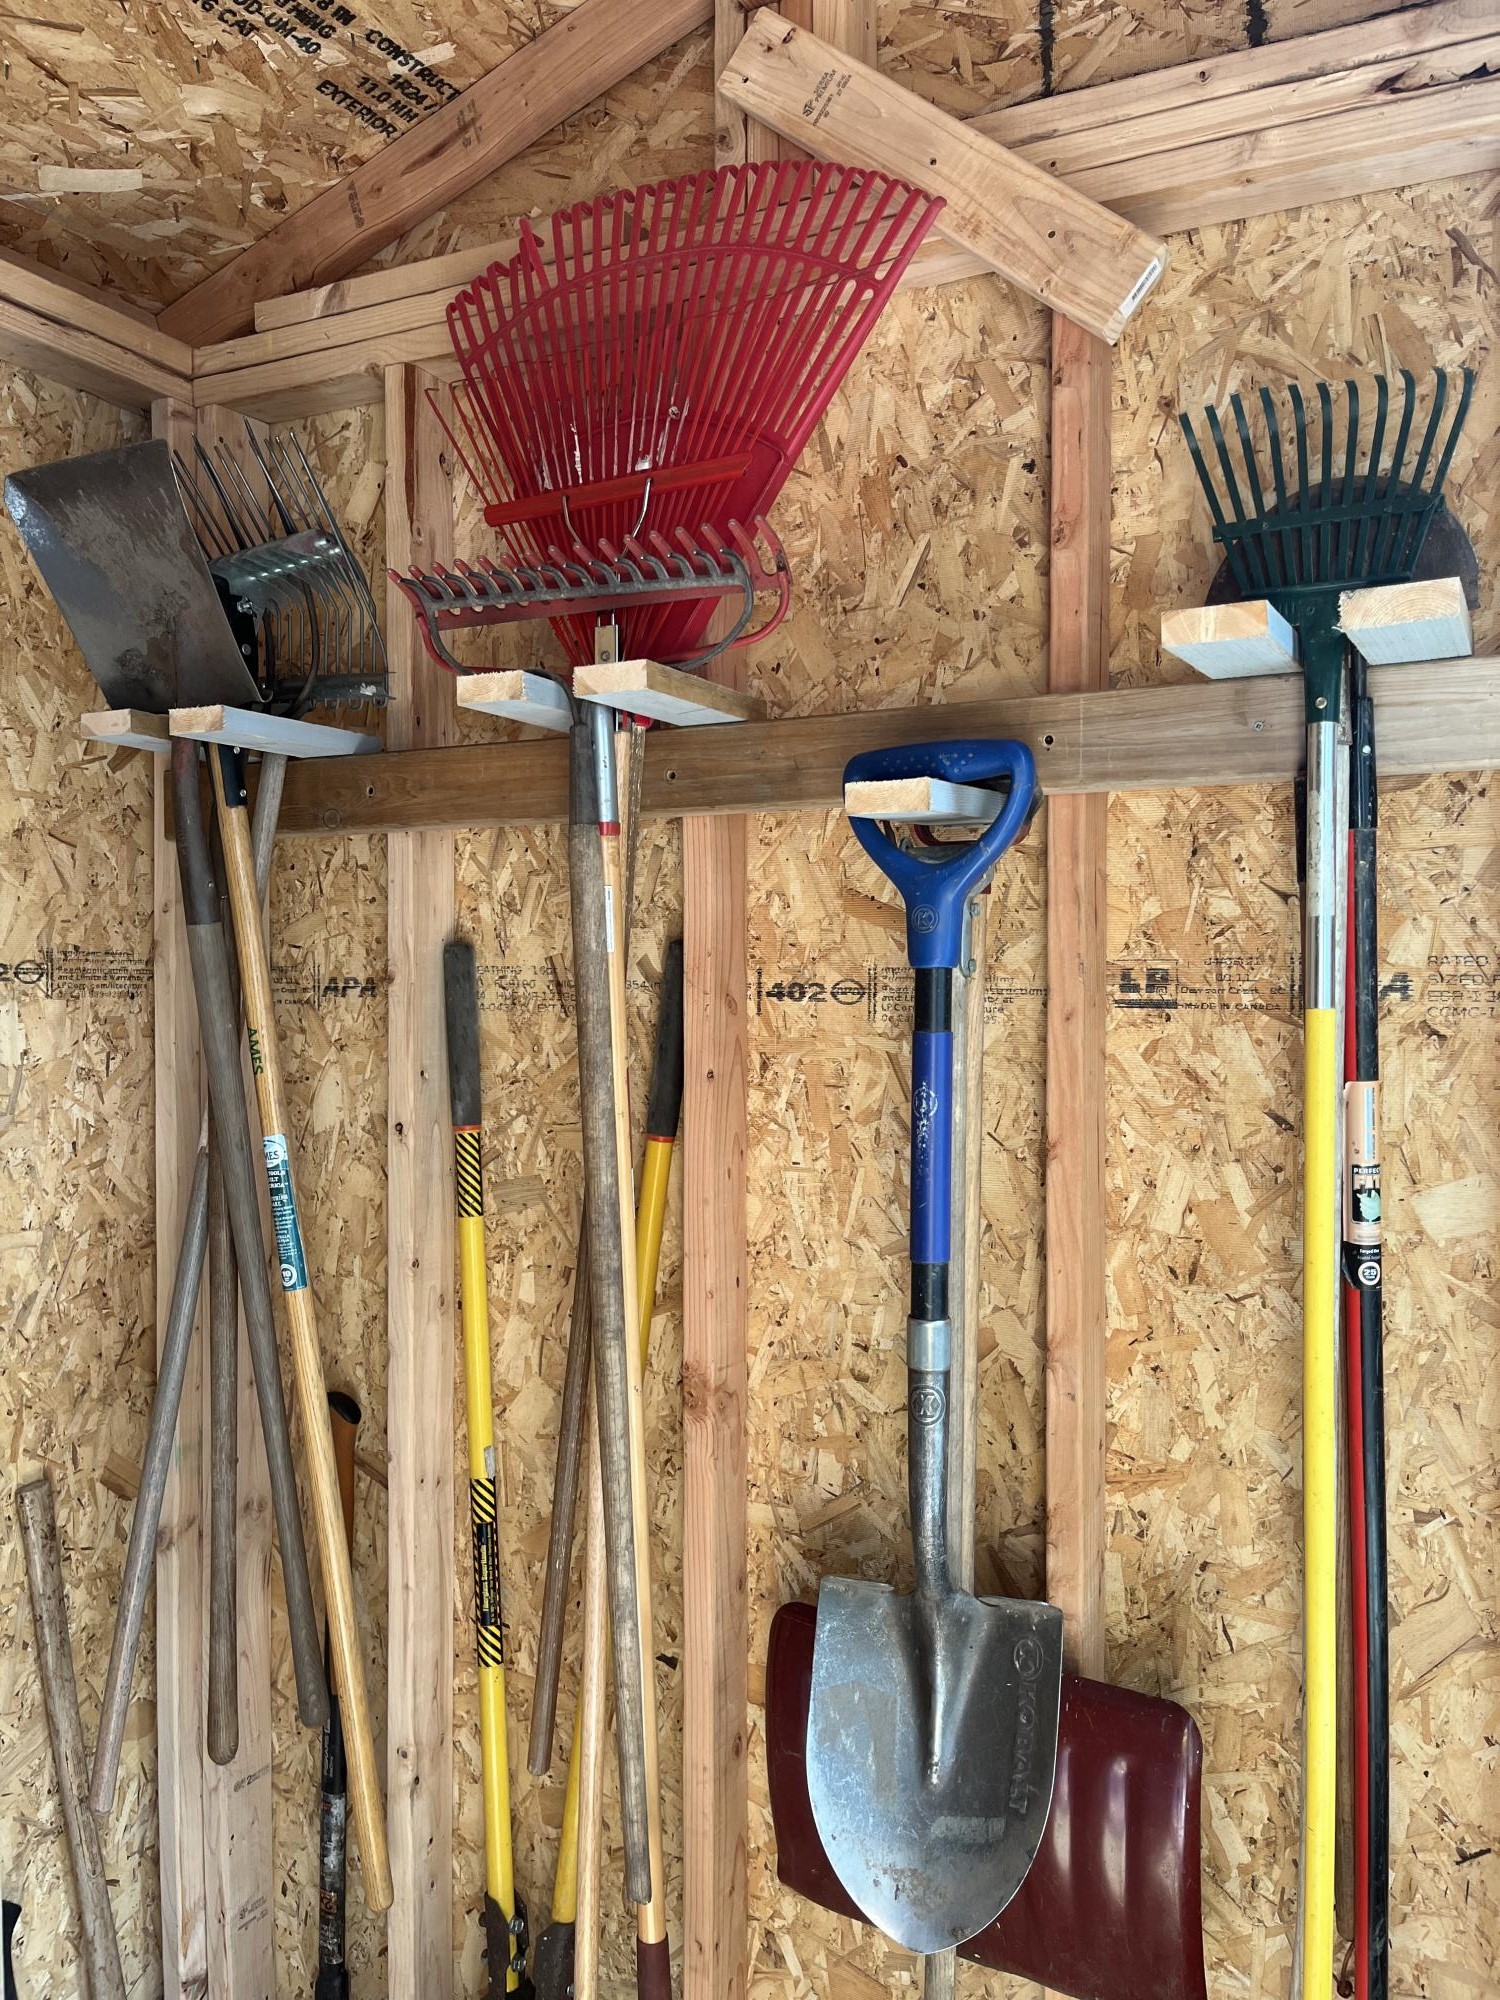
The instructions were easy to follow. I didn’t have the exact wood so I improvised with what I had on hand. Thanks Ana!
Comments
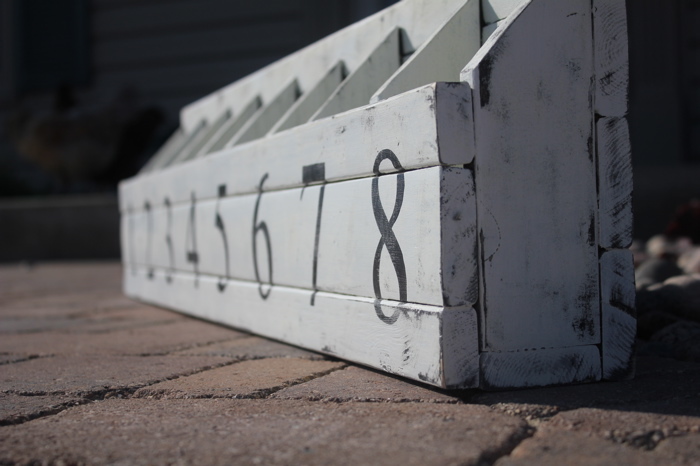
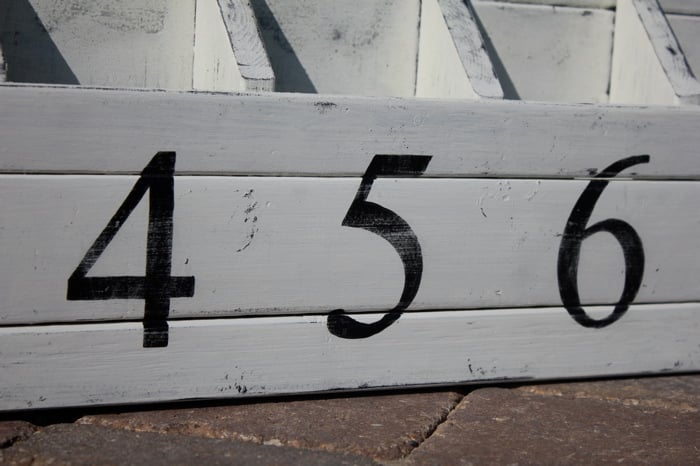
Numbered Cubbies on the Wall
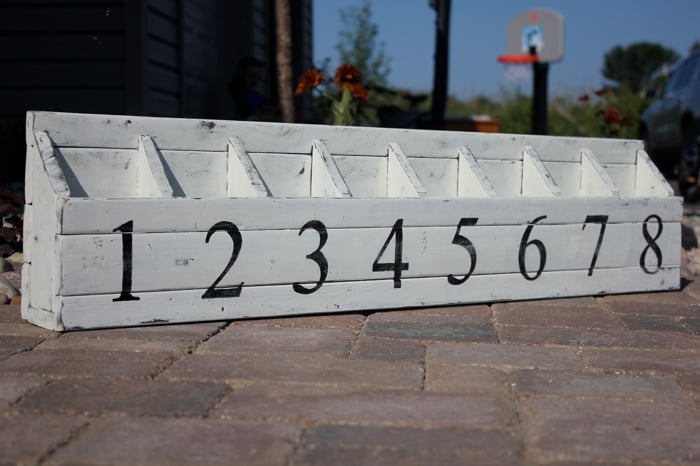
This is not my first Ana project, but it is my very first brag post! :) I am thrilled with the way this turned out.
Built from Plan(s)
Estimated Cost
Less than $10
Estimated Time Investment
An Hour or Two (0-2 Hours)
Finish Used
I used black satin spray paint for the first coat and then brushed on two coats of satin China White. After the paint was dry I traced on the numbers, filled them in with a black satin paint pen and sanded with 150 paper to show wear.
Recommended Skill Level
Beginner
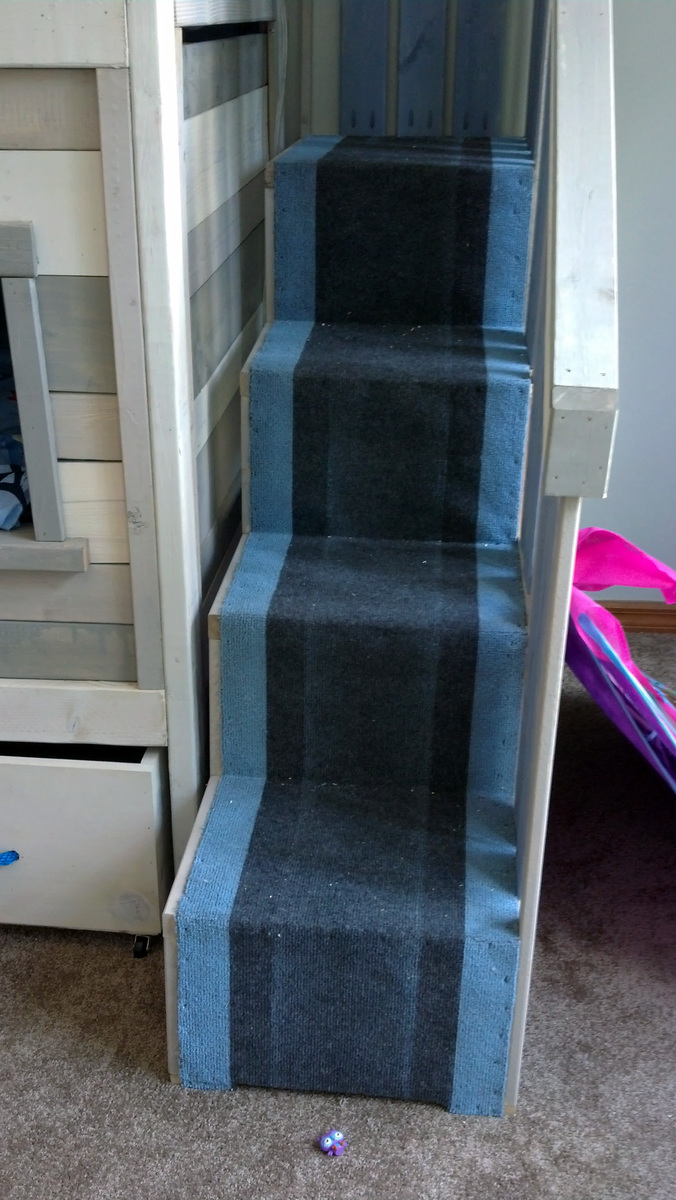
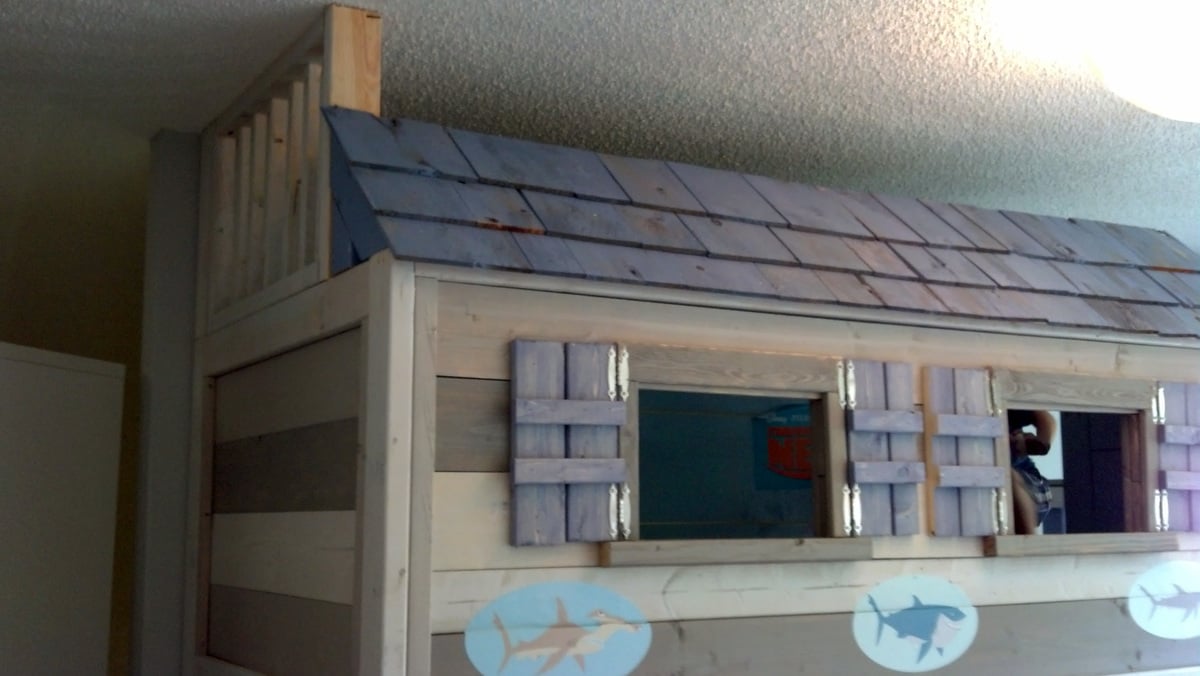
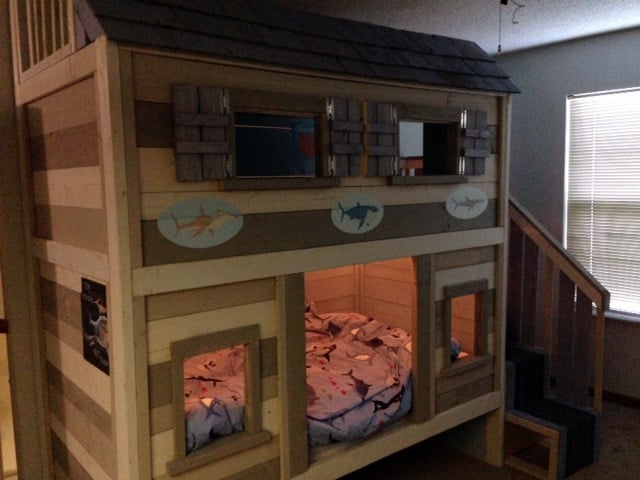
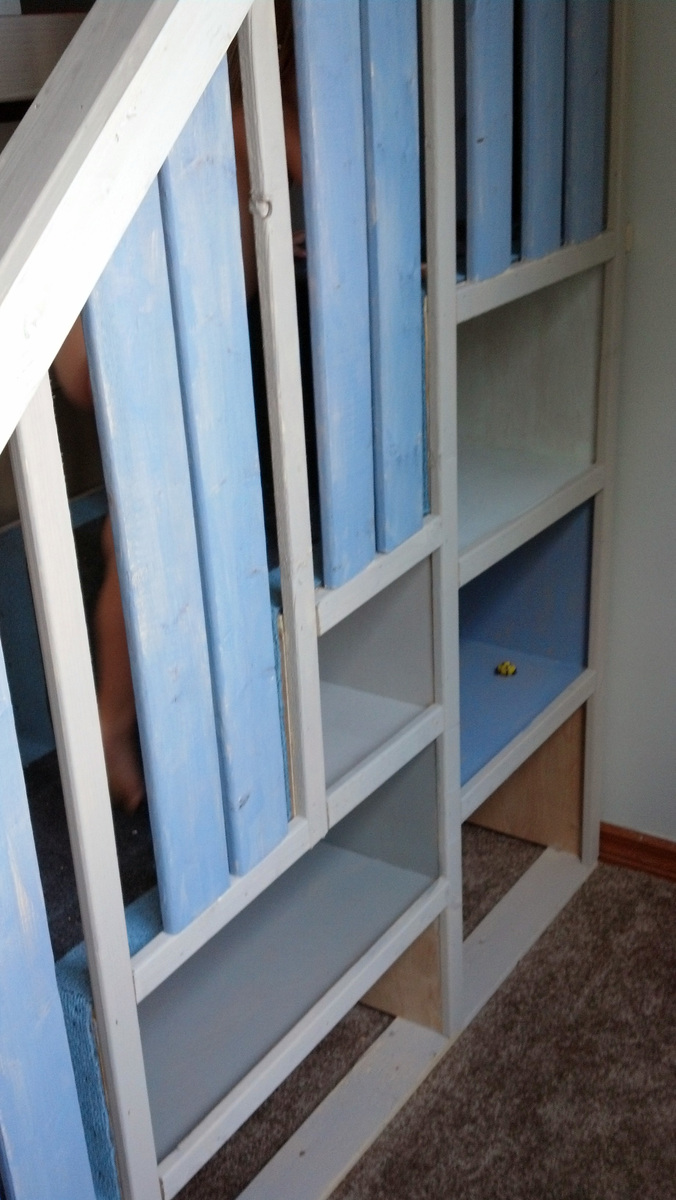
Lex's Shark Shack
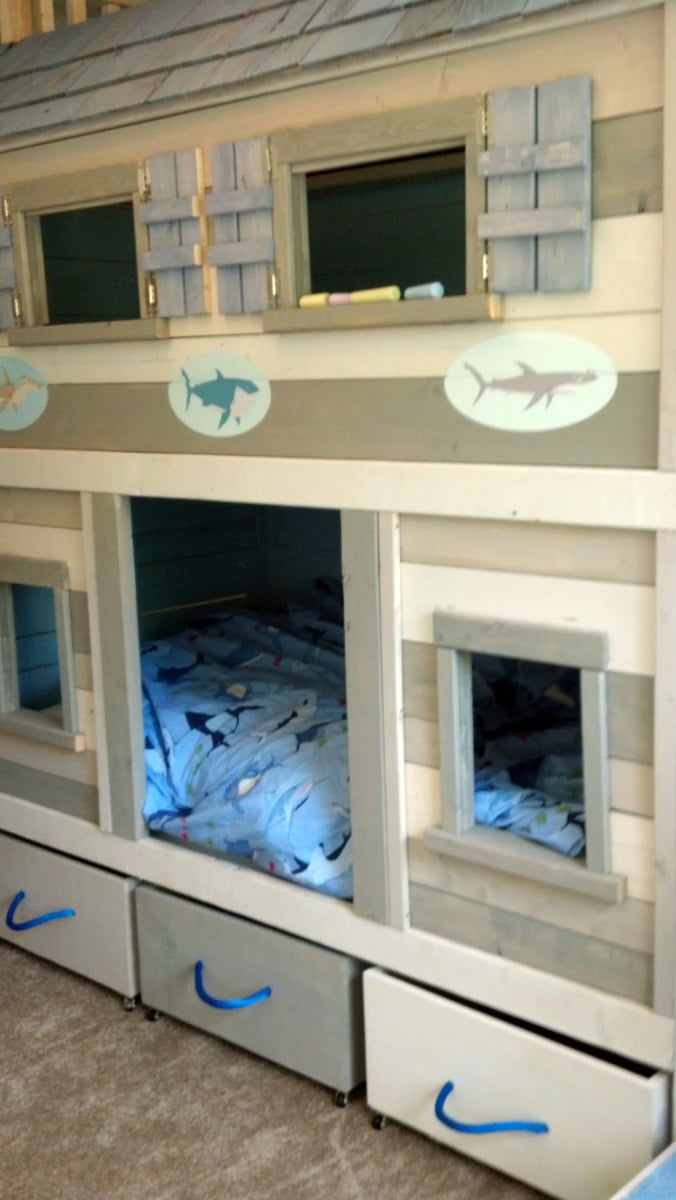
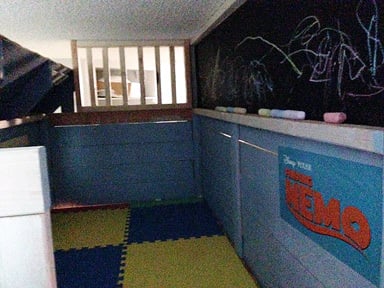
We to make a Loft turn into a closed room for my grandson. We used the Sweet Pea Plan and made it a boy bed. We enclosed the back of the bed. the top bunk is a play area for him and my grand daughter. He loves it. Thanks for the Website.
Finish Used
White Wash. 50% Paint 50% Water
Recommended Skill Level
Intermediate
Comments
Mon, 09/09/2013 - 13:32
Wonderful!
This is an awesome project! I love how you took the plan and customized it to be a boy's space. And the shark motif - how cute is that!?! Love it, great job!
Mon, 09/09/2013 - 21:35
Amazing!!
I absolutely love this! You did a great job with converting it to a boys bed. I was actually going to do the same thing to this exact plan when we move in a few months! Very well done. Love your taste.
Thanks for the inspiration!!

Tue, 09/10/2013 - 21:23
I love this! The play area up
I love this! The play area up top with the chalkboard wall is so cool! I love the stain you used on all the boards too. Impresssive!