dress up station
Ive made a couple of these dress up stations now, for presents for my daughters friends. I plan to make her one next!
Plenty of room for storing all their fancy dress items :)
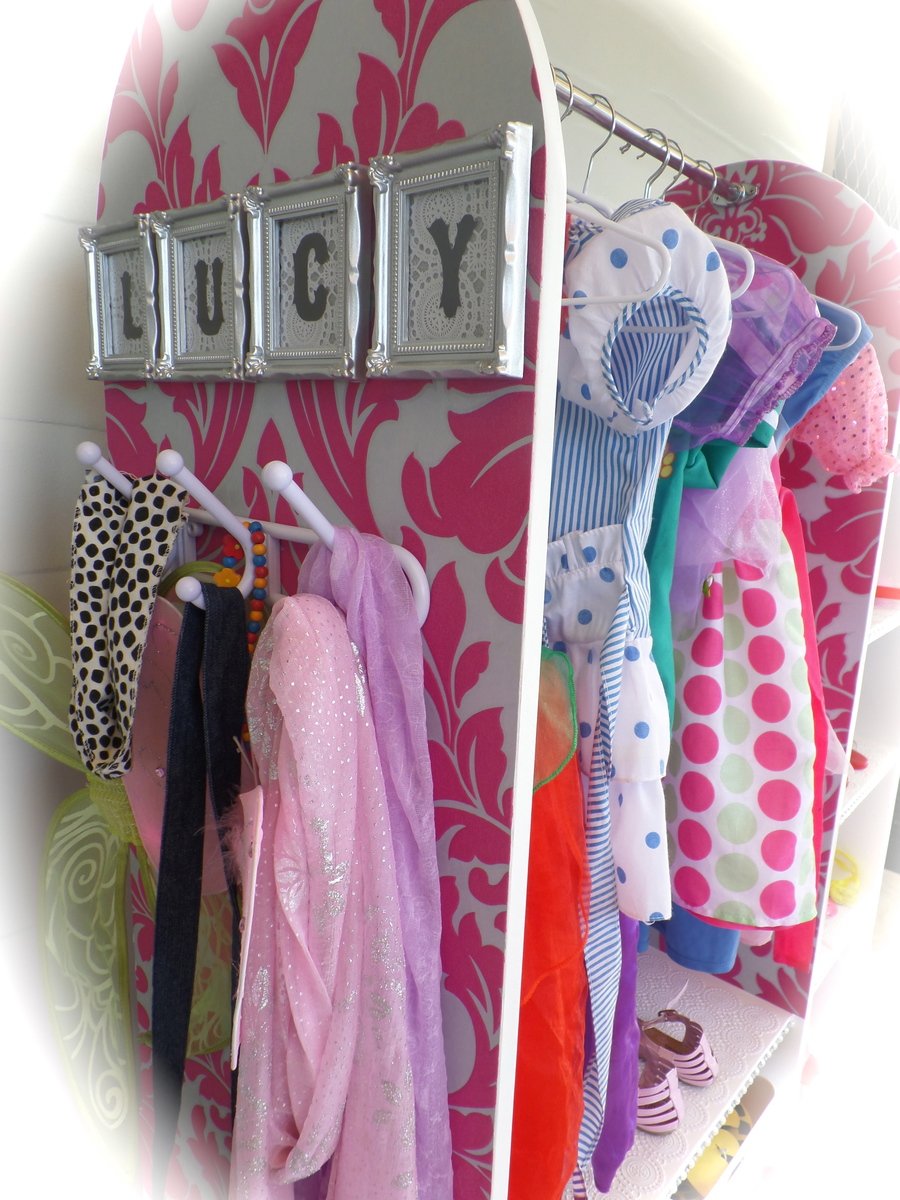
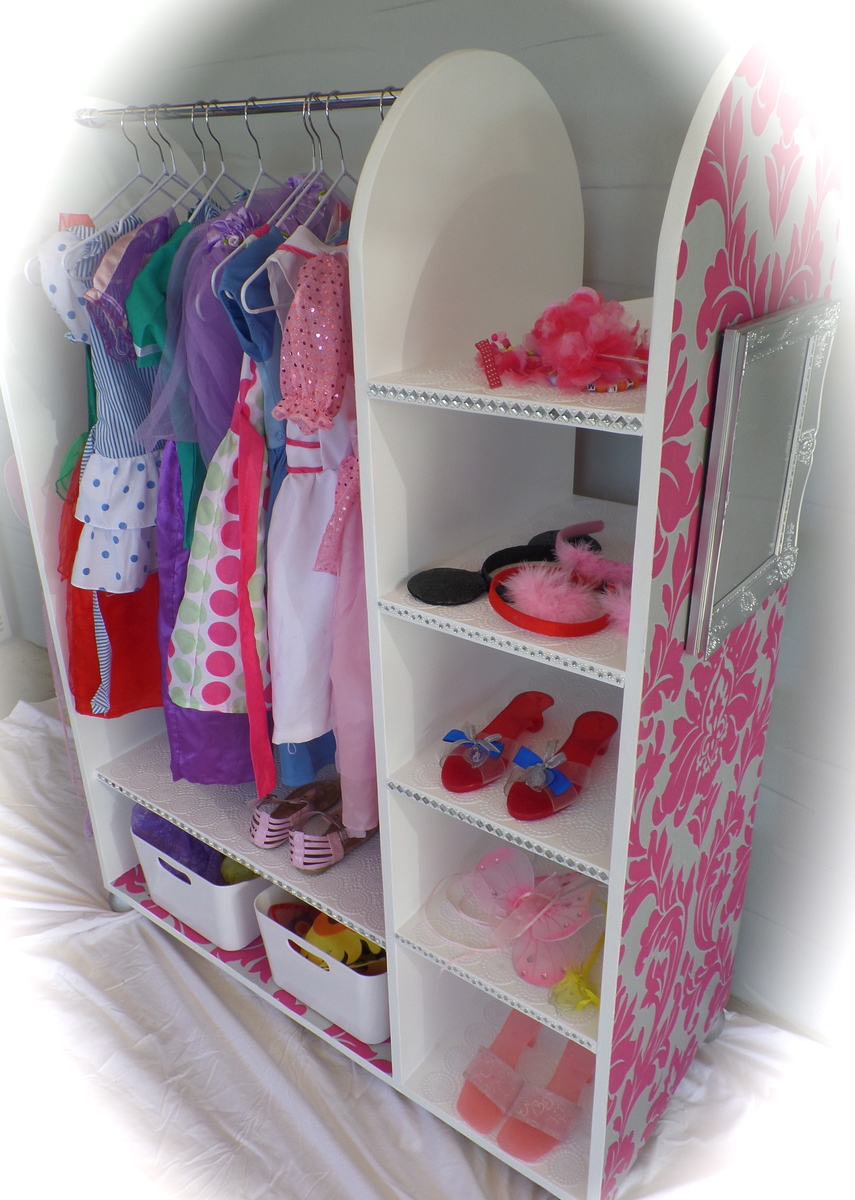
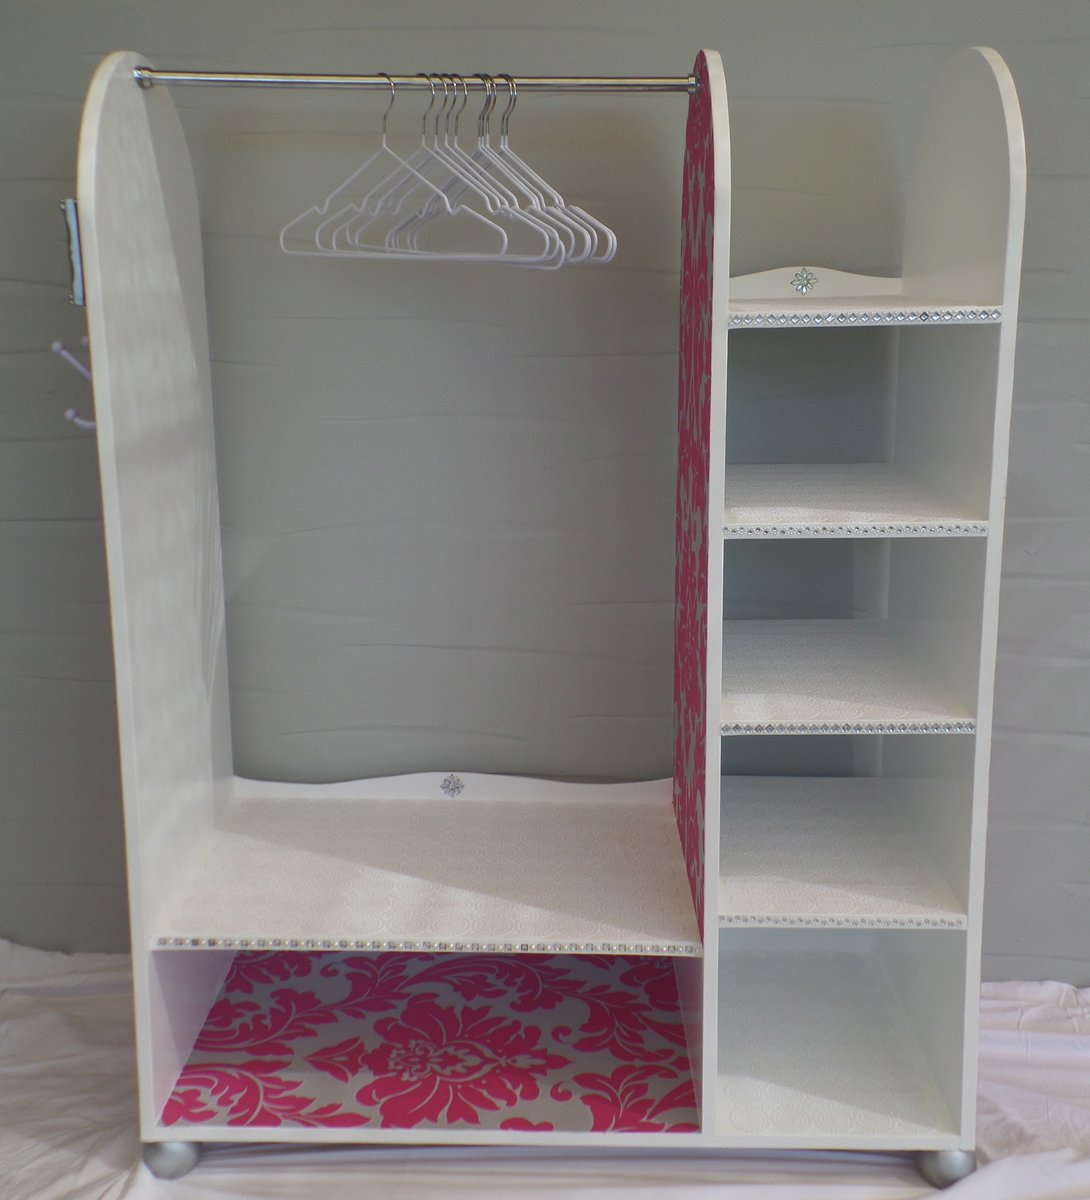
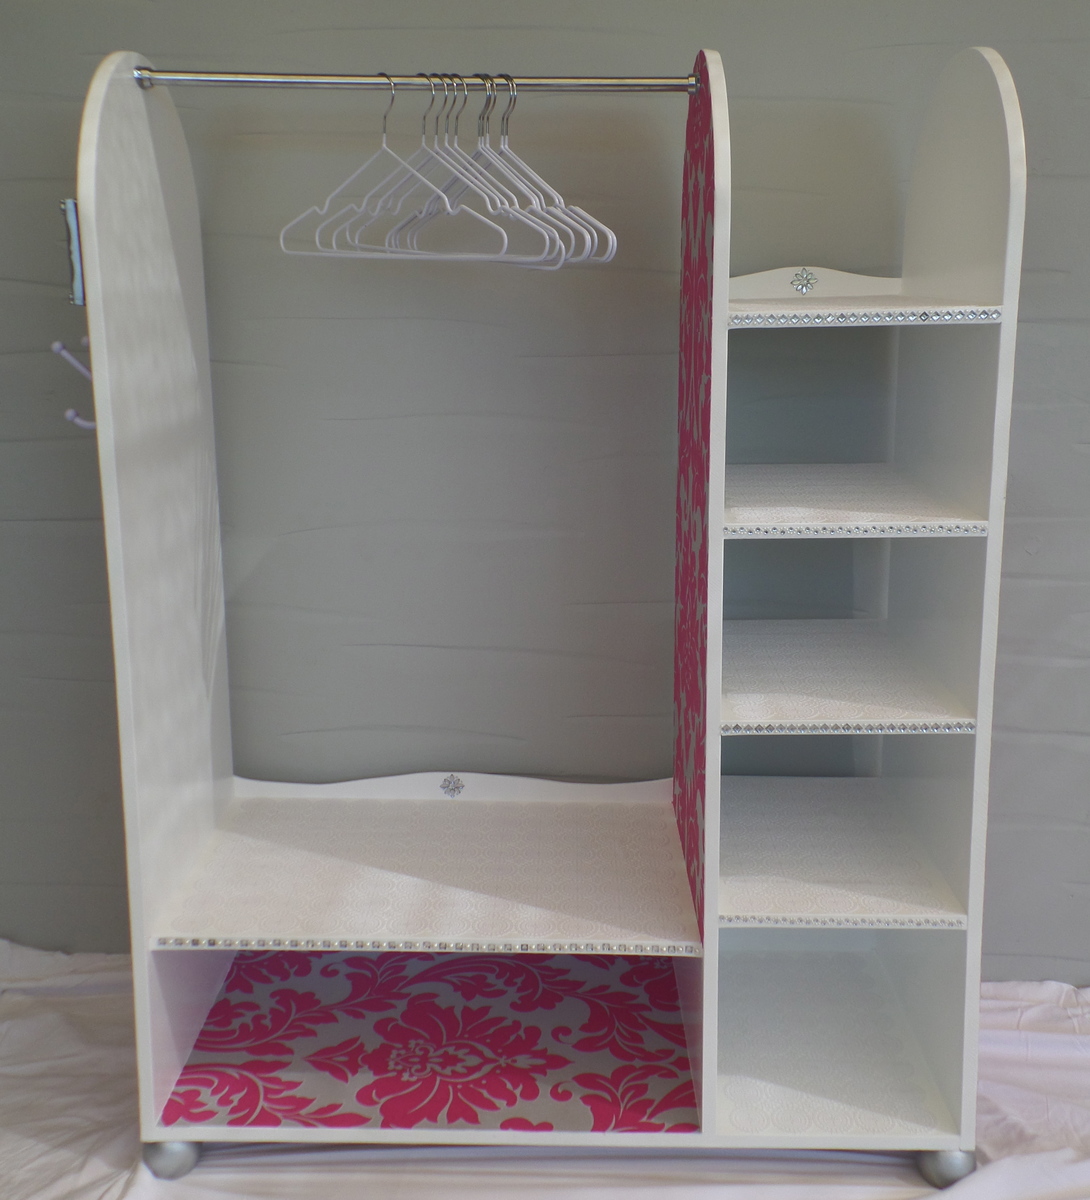
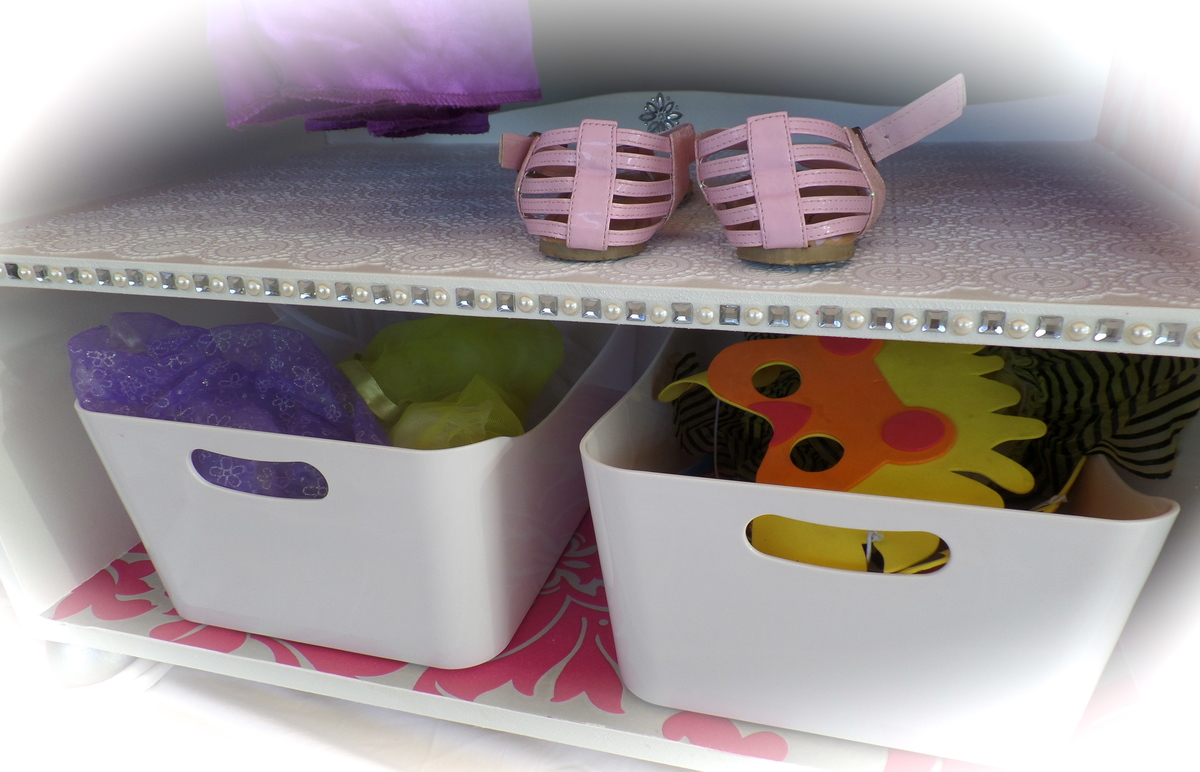
Ive made a couple of these dress up stations now, for presents for my daughters friends. I plan to make her one next!
Plenty of room for storing all their fancy dress items :)


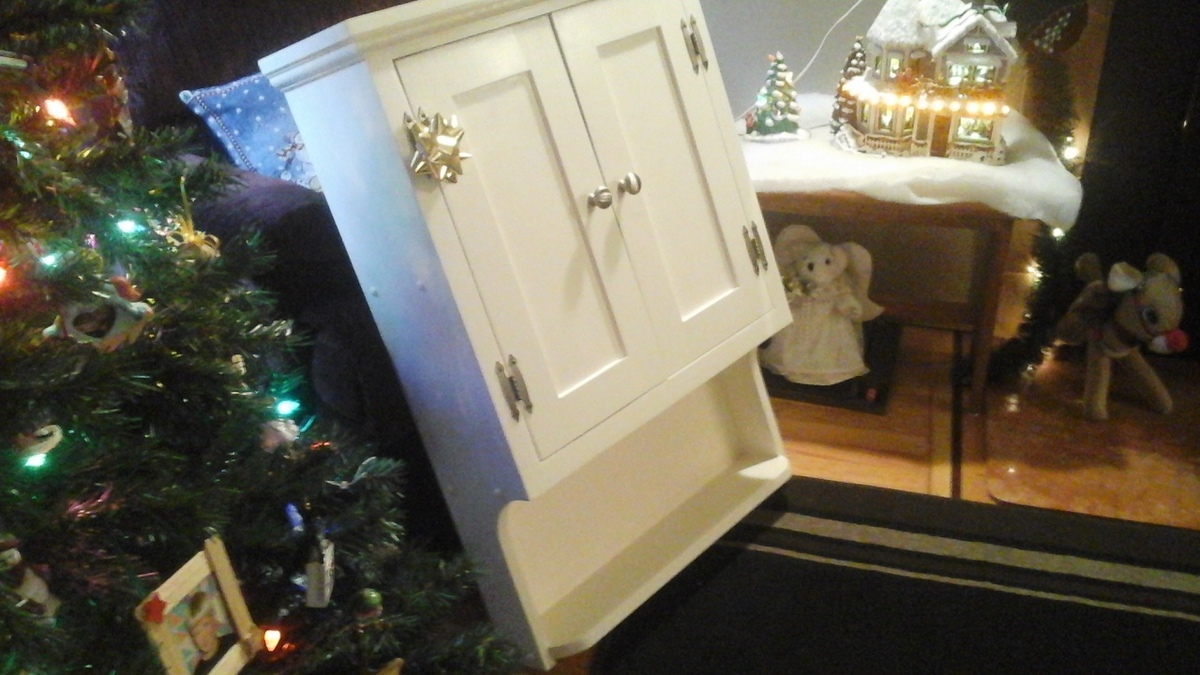
I built this above toilet cabinet for my son and his wife for Christmas. They moved into a new house and wanted this additional storage space. Turned out pretty good!
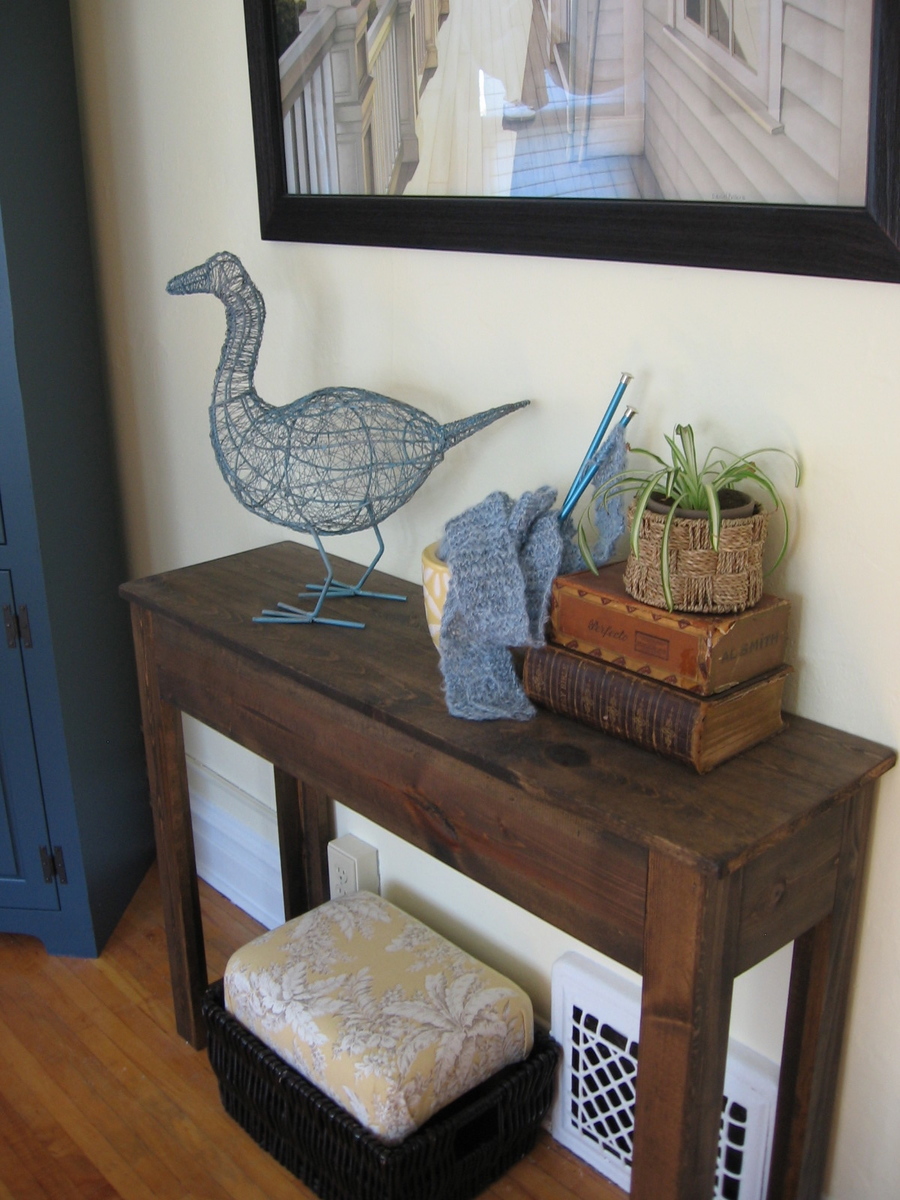
Please tell me I’m not alone…!! I must admit that I have found myself (on more than one occasion) just staring at a room for what seems like an eternity…trying to figure out why the space isn’t functional or just feels a bit “off”. It was during one of these “I dare you to blink before I do” staring sessions that I decided to build a table for my guest room.
Lucky for me, I can always count on Ana’s plans to rescue me from decorating madness! Well at least when it comes to the furniture part. (For everything else…I probably need lots of therapy!)
But seriously…anyone else get caught up in the time-warp-room-stare?! I can’t be the only one… :-)
My console table's complete story: http://gleeinspired.blogspot.com/2011/03/console-table.html
Sat, 10/15/2011 - 21:49
How did you go about finding the wood that you purchased? I'm a newbee and all i have are Lowes & HD around me, also since I'm just starting out I don't have a saw- any suggestions?
Sun, 10/16/2011 - 02:22
Lowes and Home Depot both sell wood. However, it's worth finding a local lumber yard to get a better quality of material. Trying to build a table with material from a big-box store will be an exercise in frustration, because it will warp on you, and your nice flat table will develop some interesting twists that will probably keep all four feet from touching the ground at once. I've been there plenty of times, and it's very frustrating to tear something apart to replace wood that warped after everything was assembled.
If you go to a lumber yard and ask for #2 pine, you should get something pretty stable.
You'll also definitely need to pick up some tools. Anyplace that sells lumber has a saw that they can cut material to length with, but none of them will make cuts accurate enough for building furniture. The only cuts you want made for you are those necessary to get material into your vehicle.
There are hand tools of acceptable quality sold at Lowes and Home Depot (well, mostly acceptable quality: nobody sells a decent chisel). They're cheaper and a lot less intimidating than the power tools, and with a little practice it's easier to do accurate work. The downside is that you'll have to hunt a little more for resources to learn how to use them.
Thu, 10/20/2011 - 15:03
I love the table - it looks great!
And the time-warp-room-stare??? Yep. That's why I'm on Ana's site! We just moved into a new house about 2 months ago and I need some furniture to help pull some rooms together!
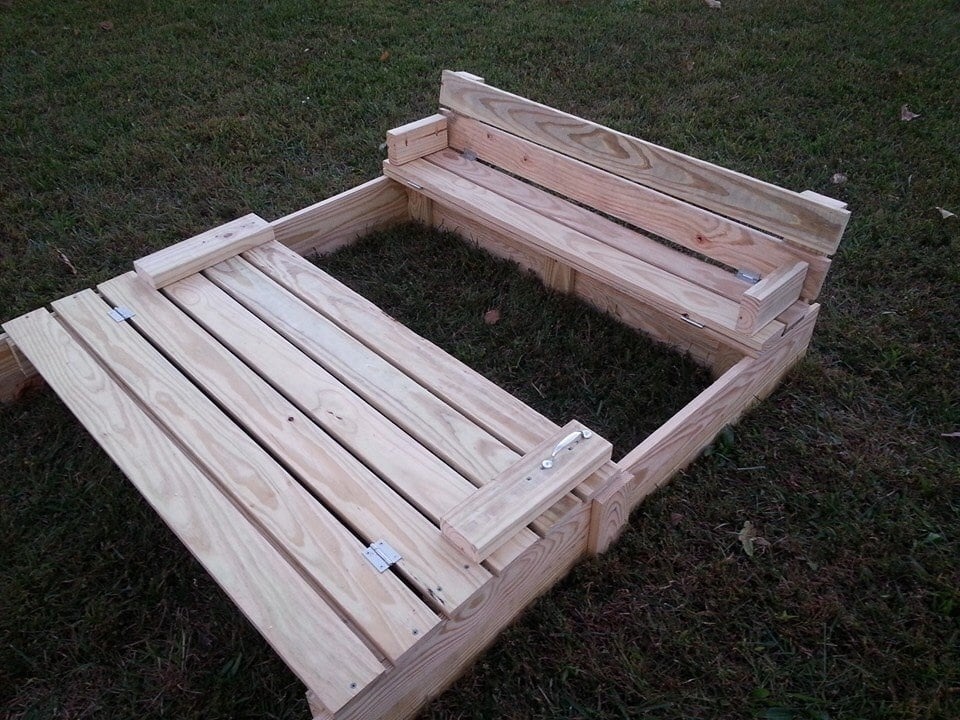
I modified this a tad from the original plans to suit my needs. I will eventually be adding a platform with attached slide and swing set.
Plans were easy to follow. My store didn't have 1x8's so I stacked 1x4's and used my Kreg jig to join them together and then I added extra bracing.
I had seen this on Pinterest a couple years ago and thought it was the coolest thing! Io excited I was able to build it myself!


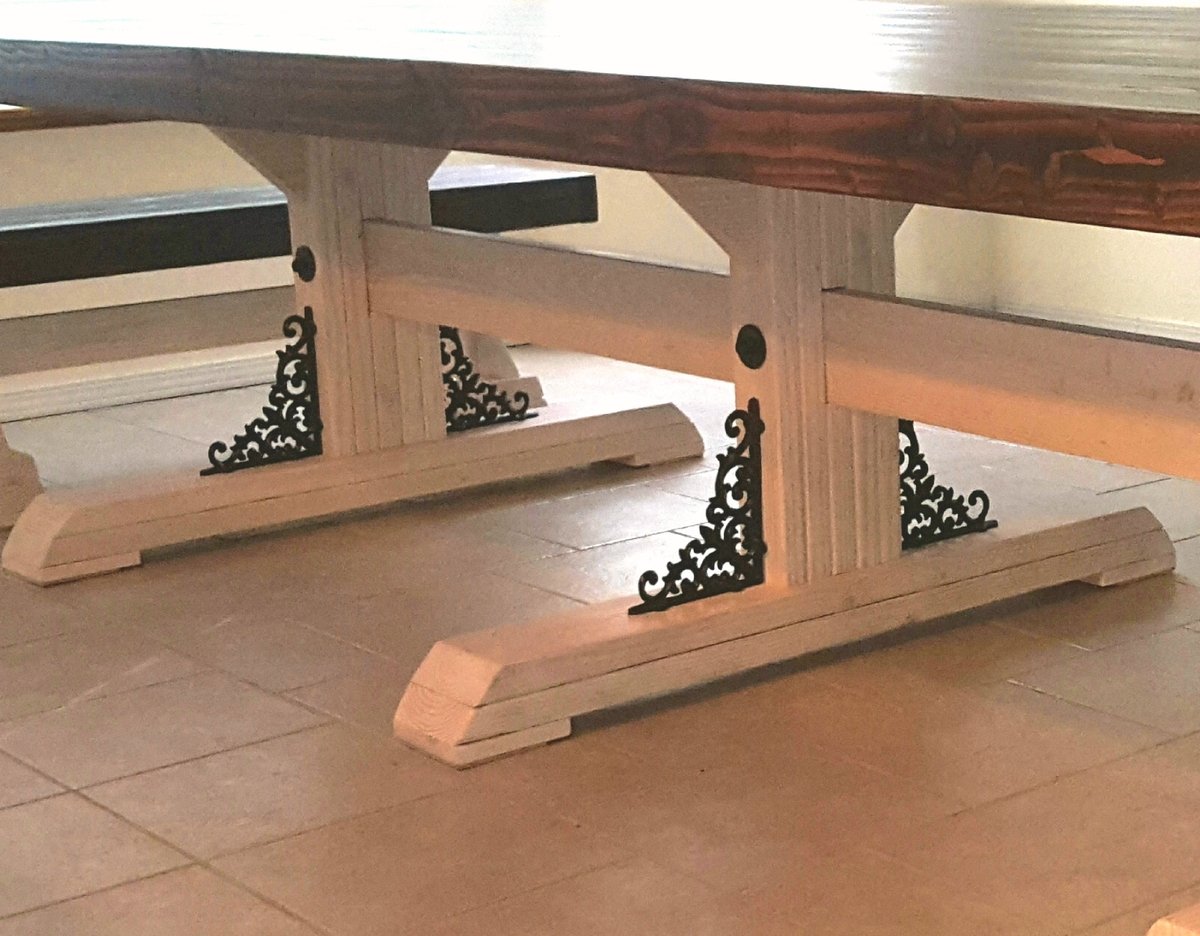
Had to change it up a little..
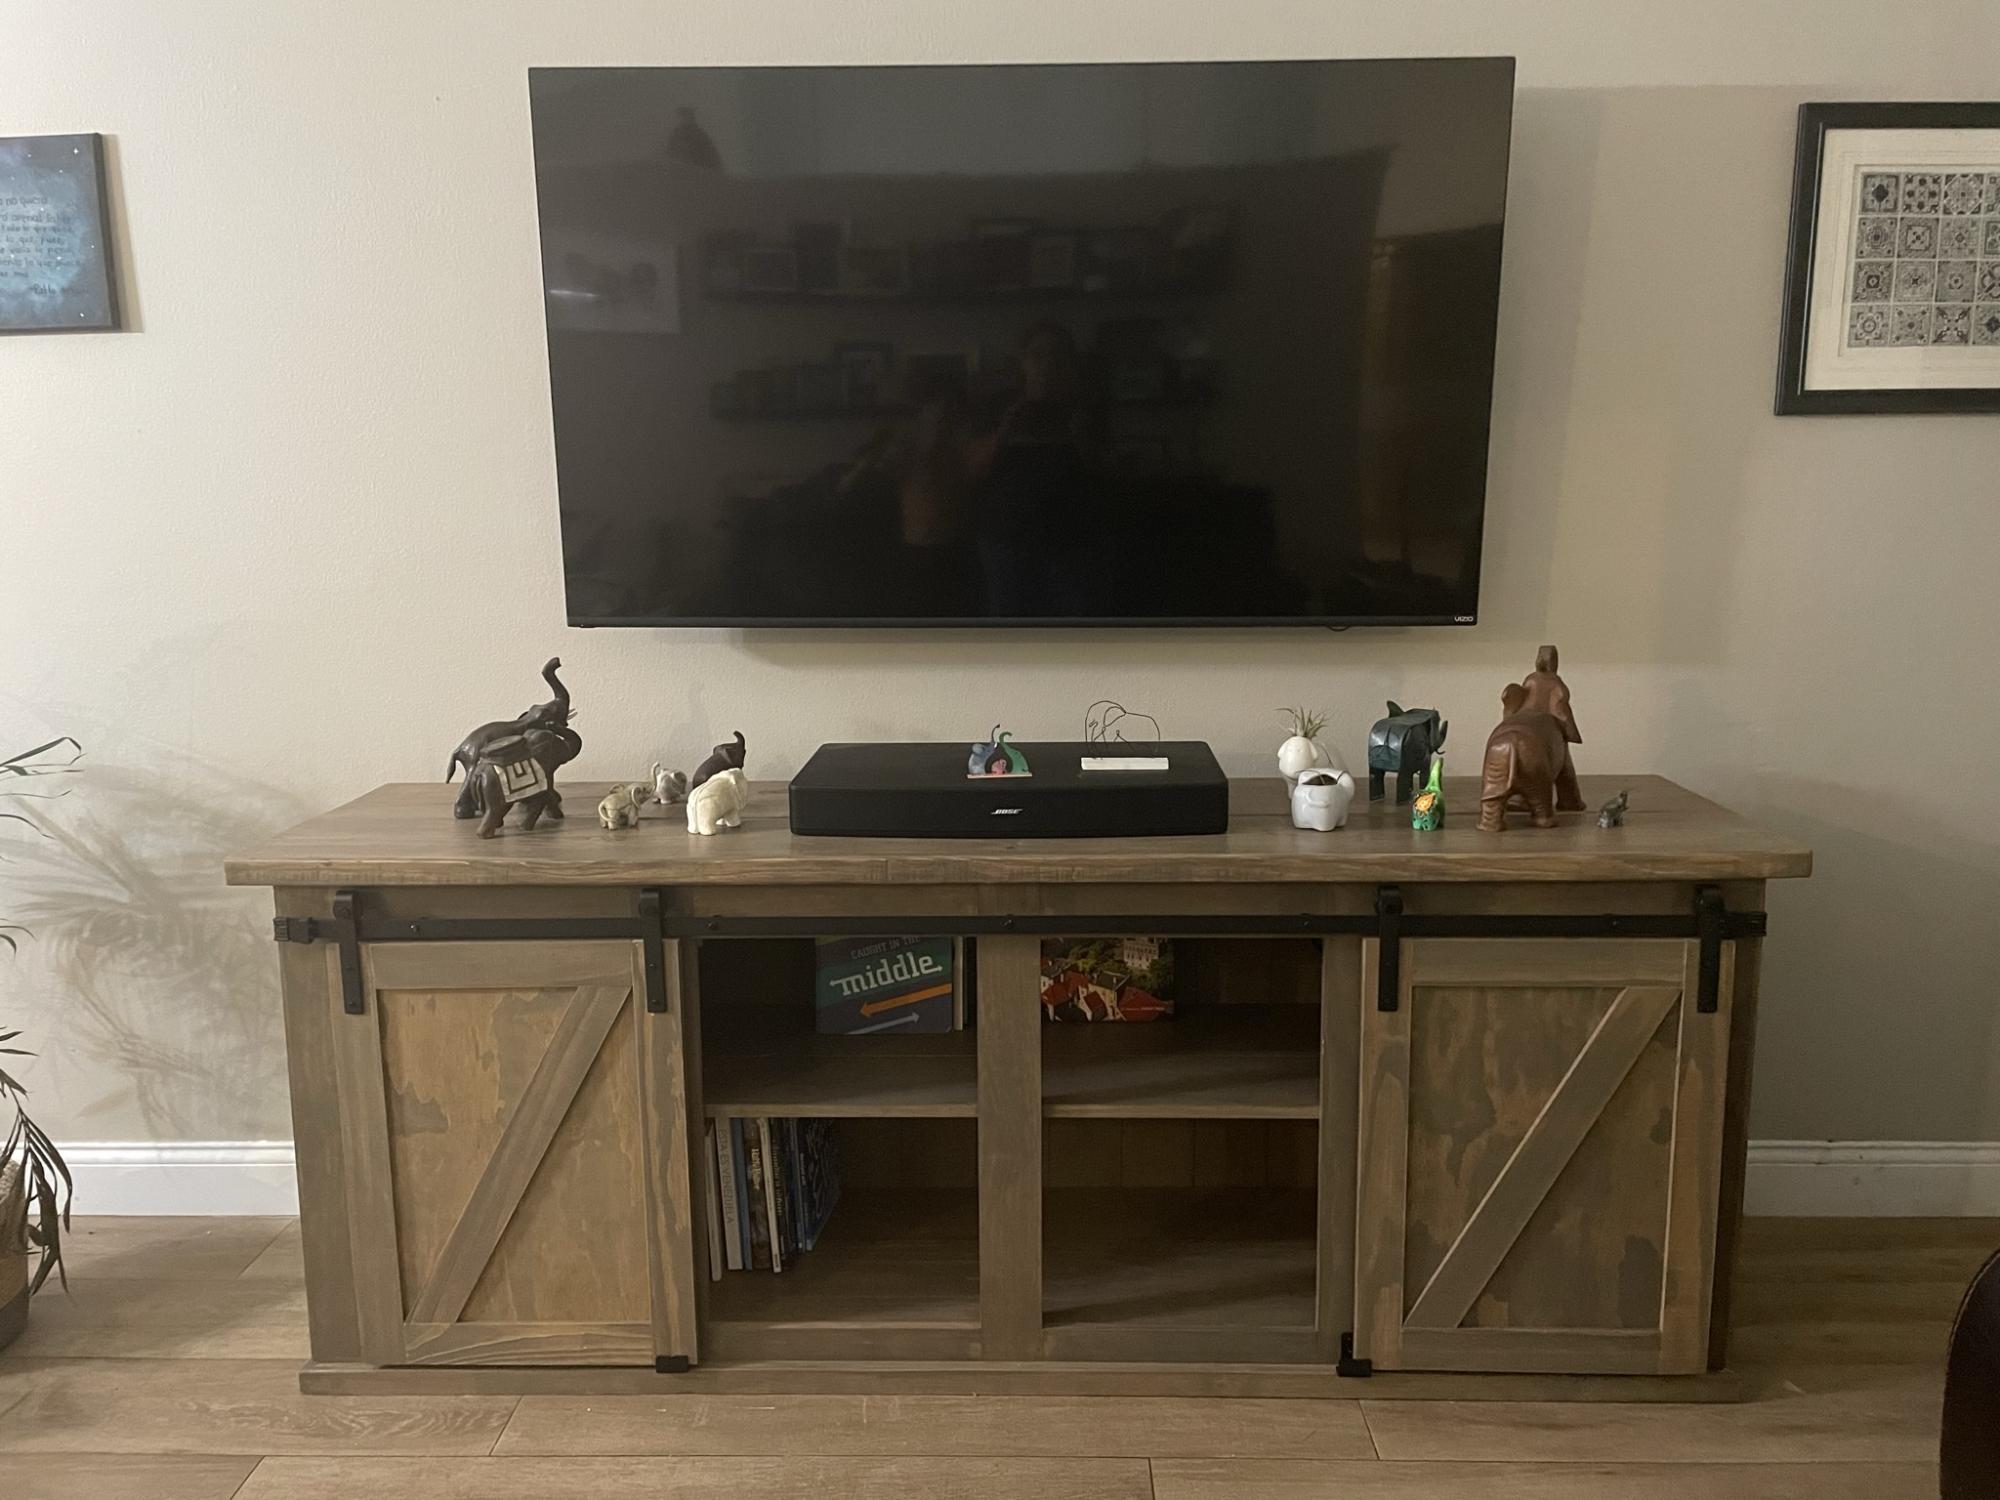
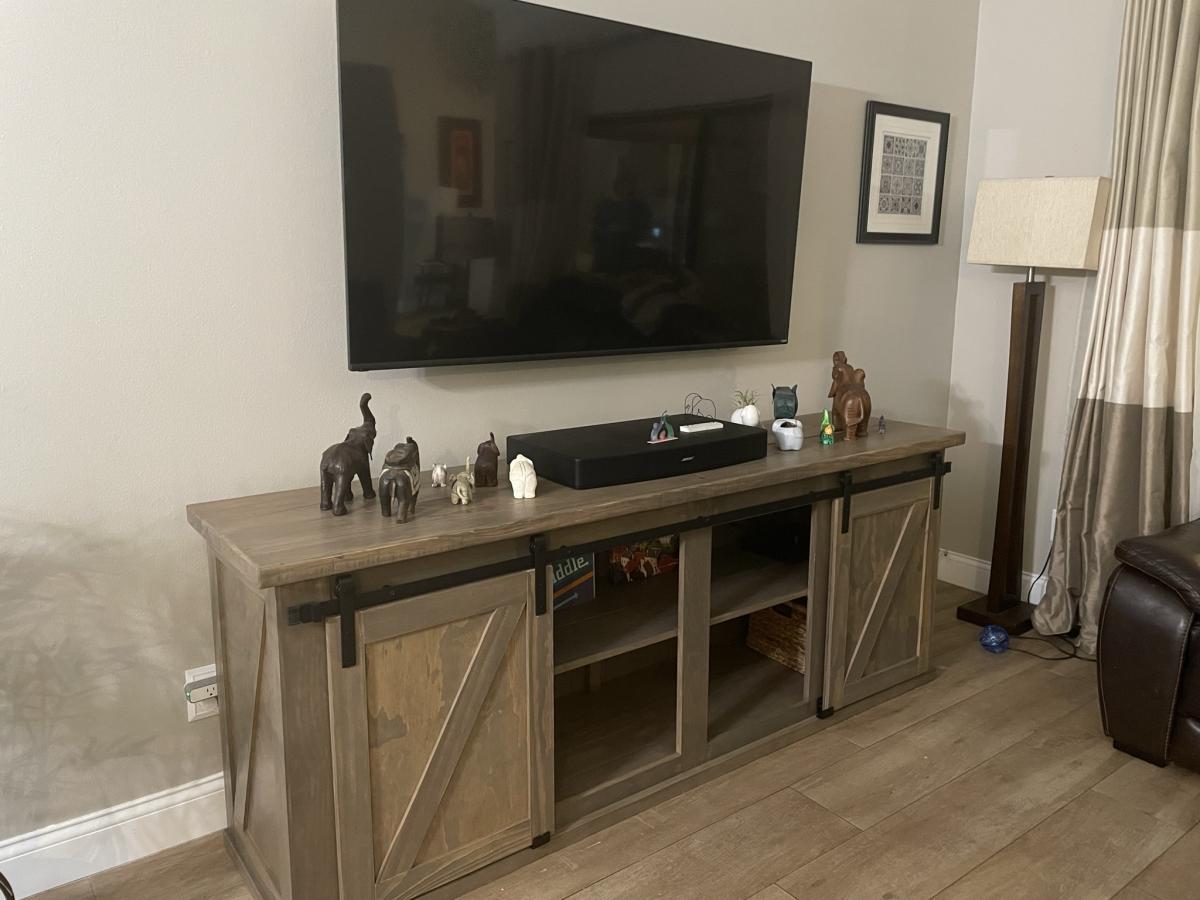
I built this TV console based on Ana’s plan and some modifications from The Turquoise home. Made it 6’ long and a bit lower to fit all my elephants below the TV.
It turned out beautiful and suuuper heavy.
Thank you Ana!
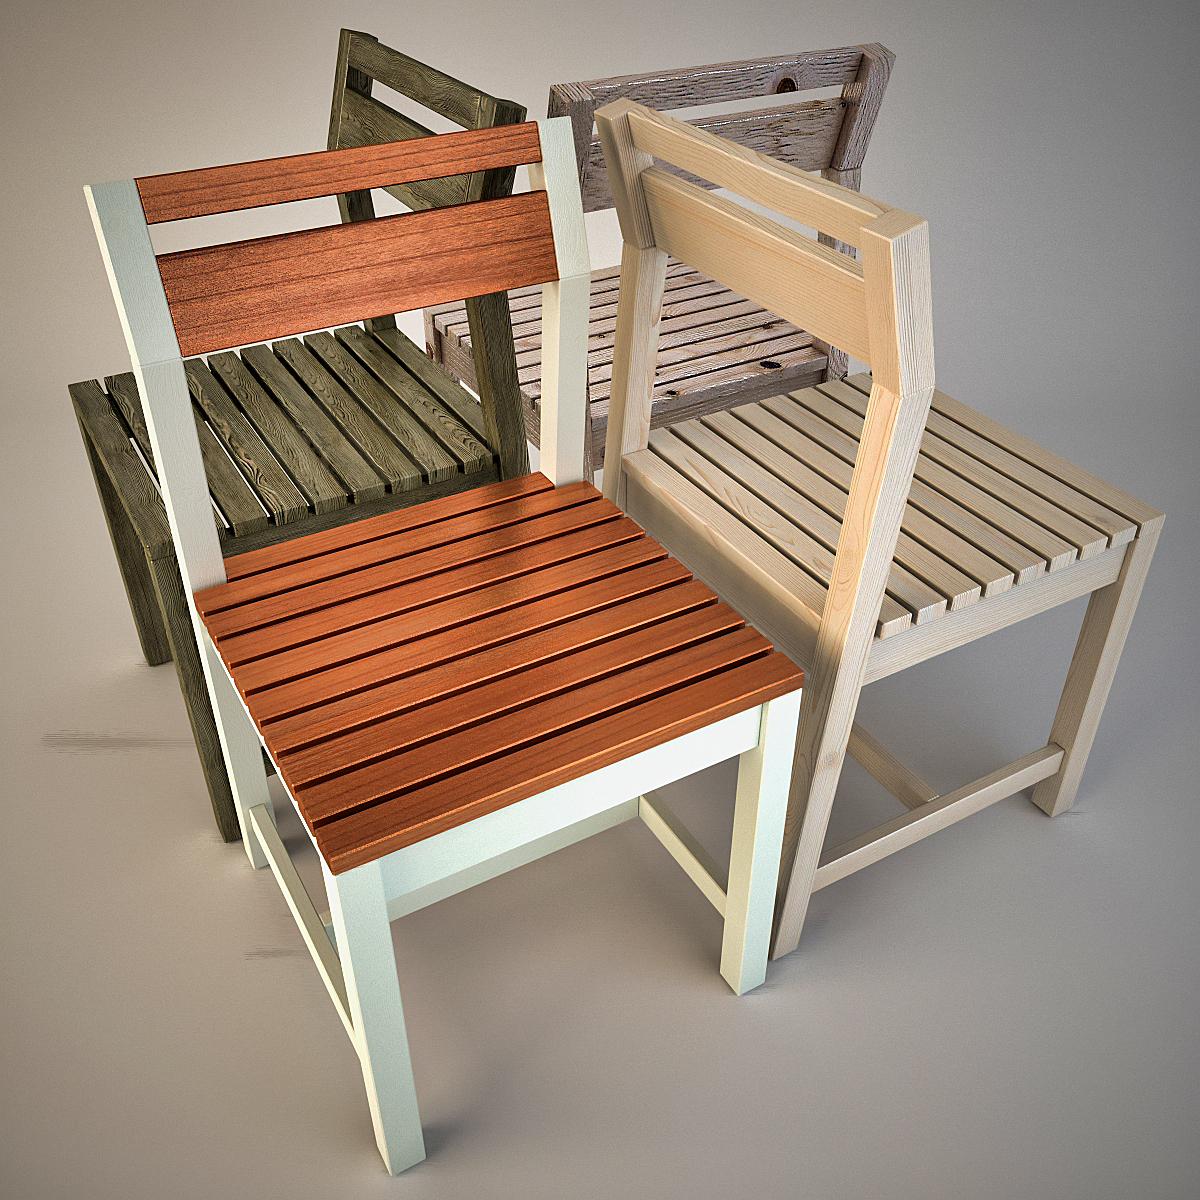
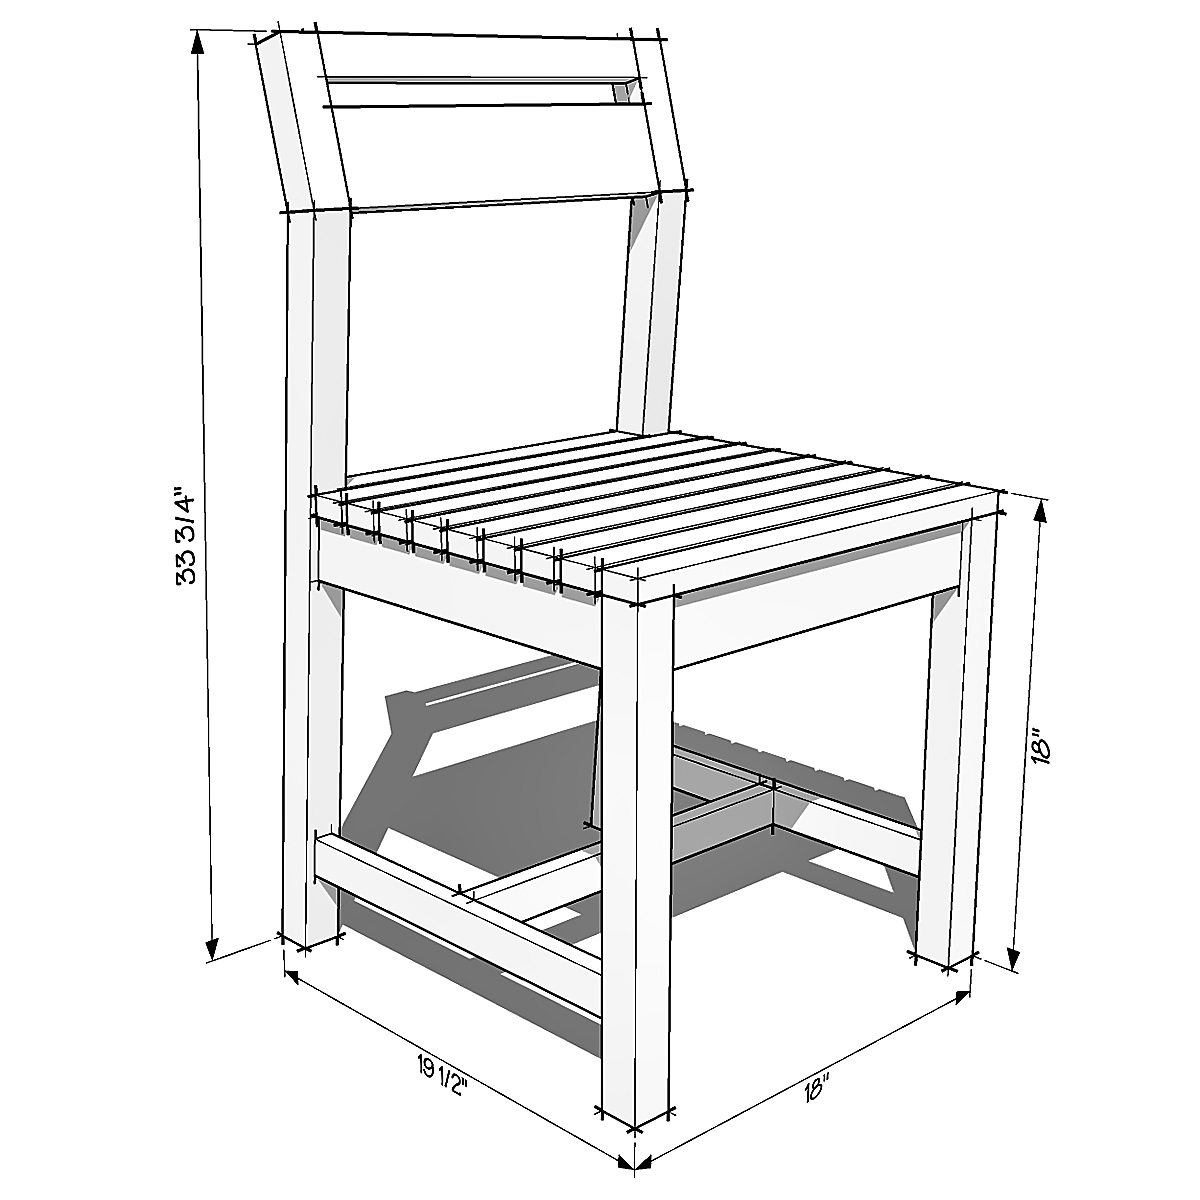
Hello Ana, I decided to modernize your project a little ...
This is 3DS MAX ... ;)
Thank you for your work ...
Regards, Serge...
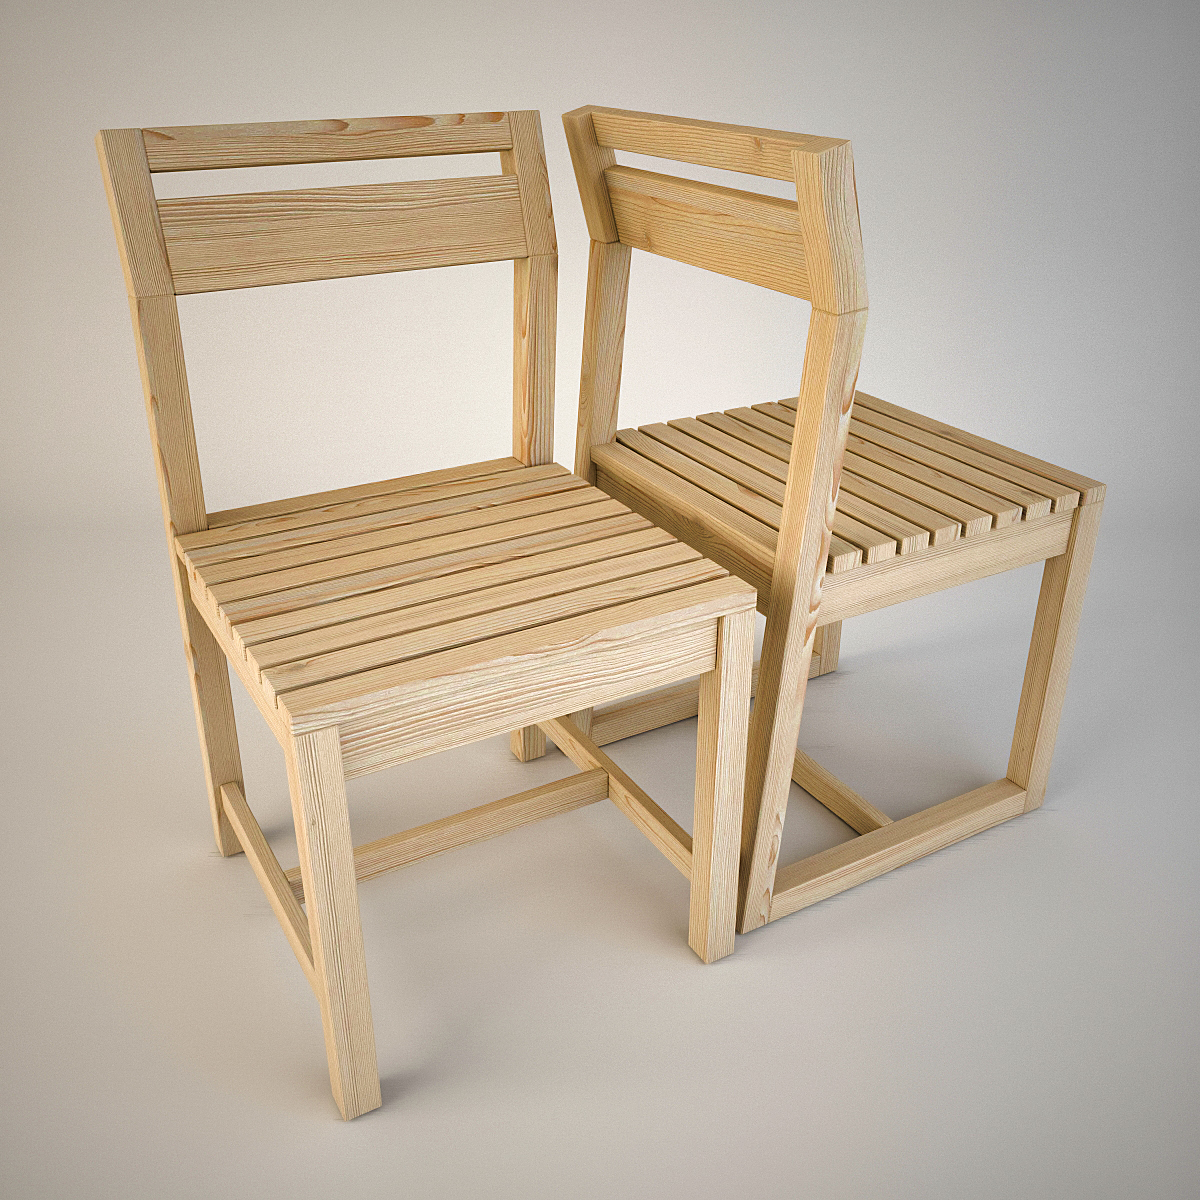

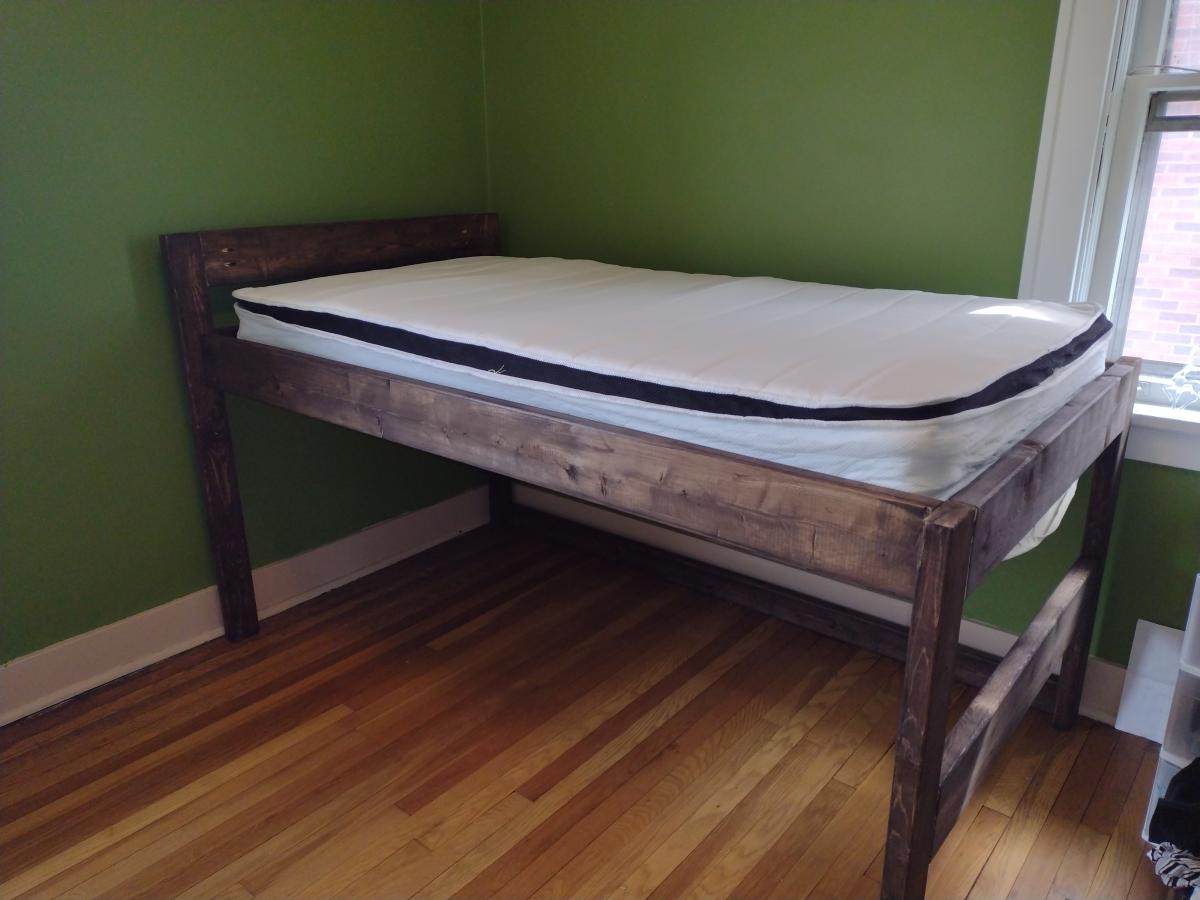
Moved into a new house after a fire destroyed almost everything, rather than buying new beds for my kids, we decided to build! They turned out beautifully, and the kids love them! Decided to modify the camp loft bed, removing the stairs and using the foot of the bed a ladder style.


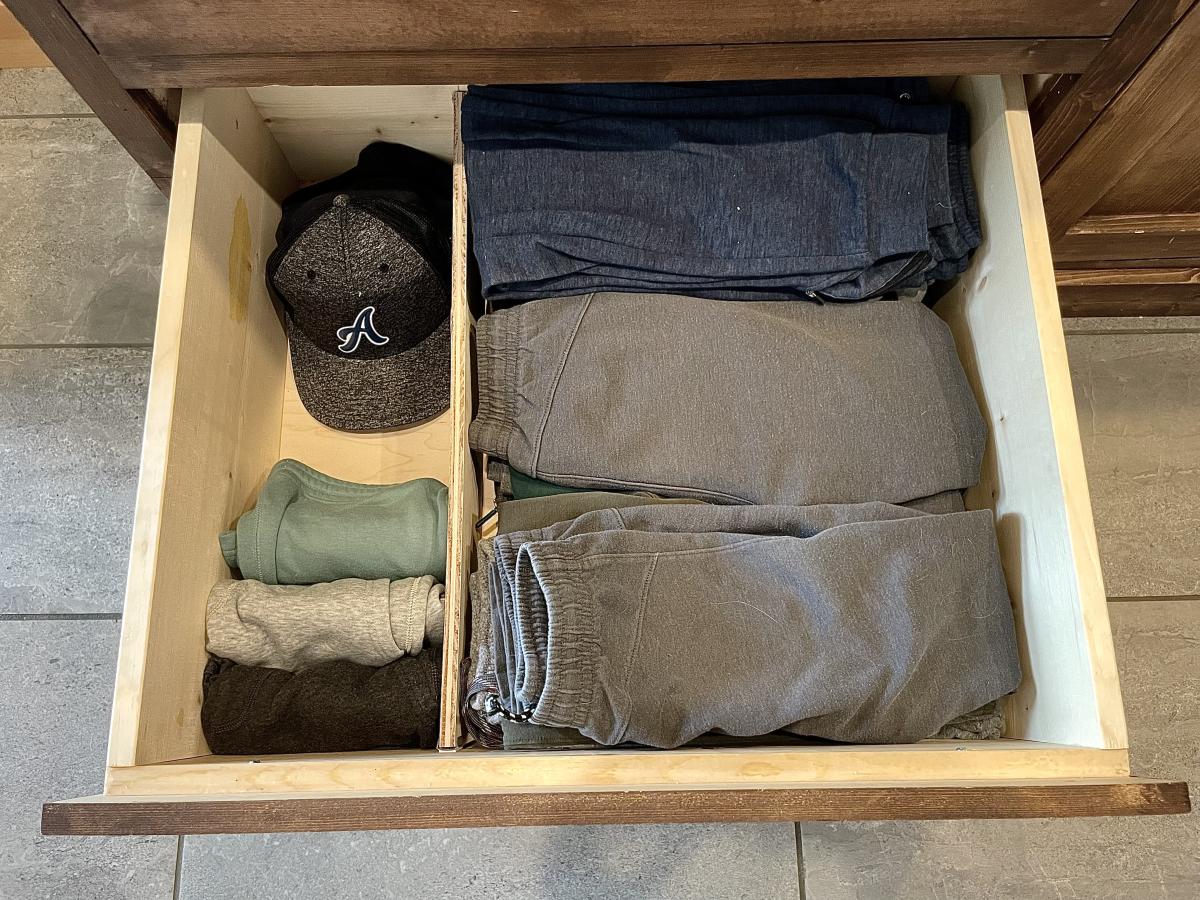
I used the stick on drawer organizer tutorial to divide a giant dresser drawer
With the divider, the drawer can hold more and is so much neater and easier to use
i love there is ZERO planning or sourcing of dividers with this method just have the basic materials on hand, open up a drawer and get it done

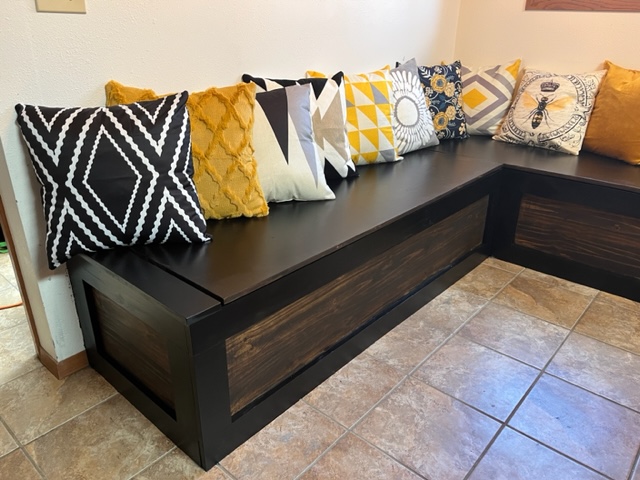
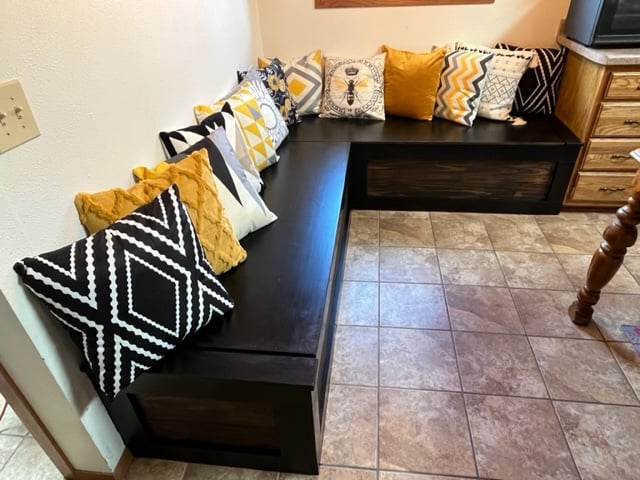
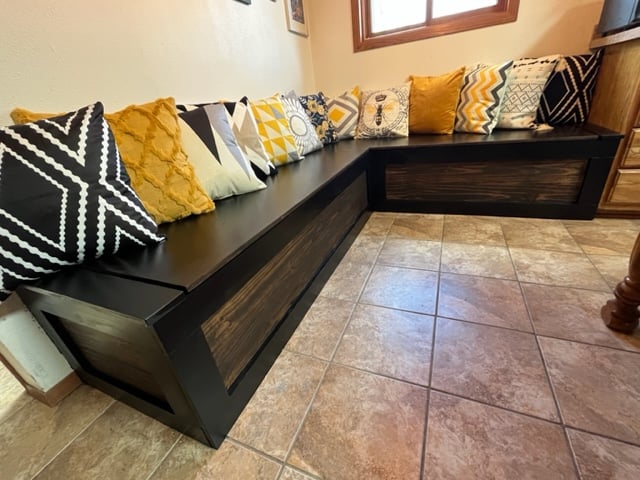
Here are the pictures from the finished Banquette. Thank you for the free plans. Very much appreciated.
by Jason
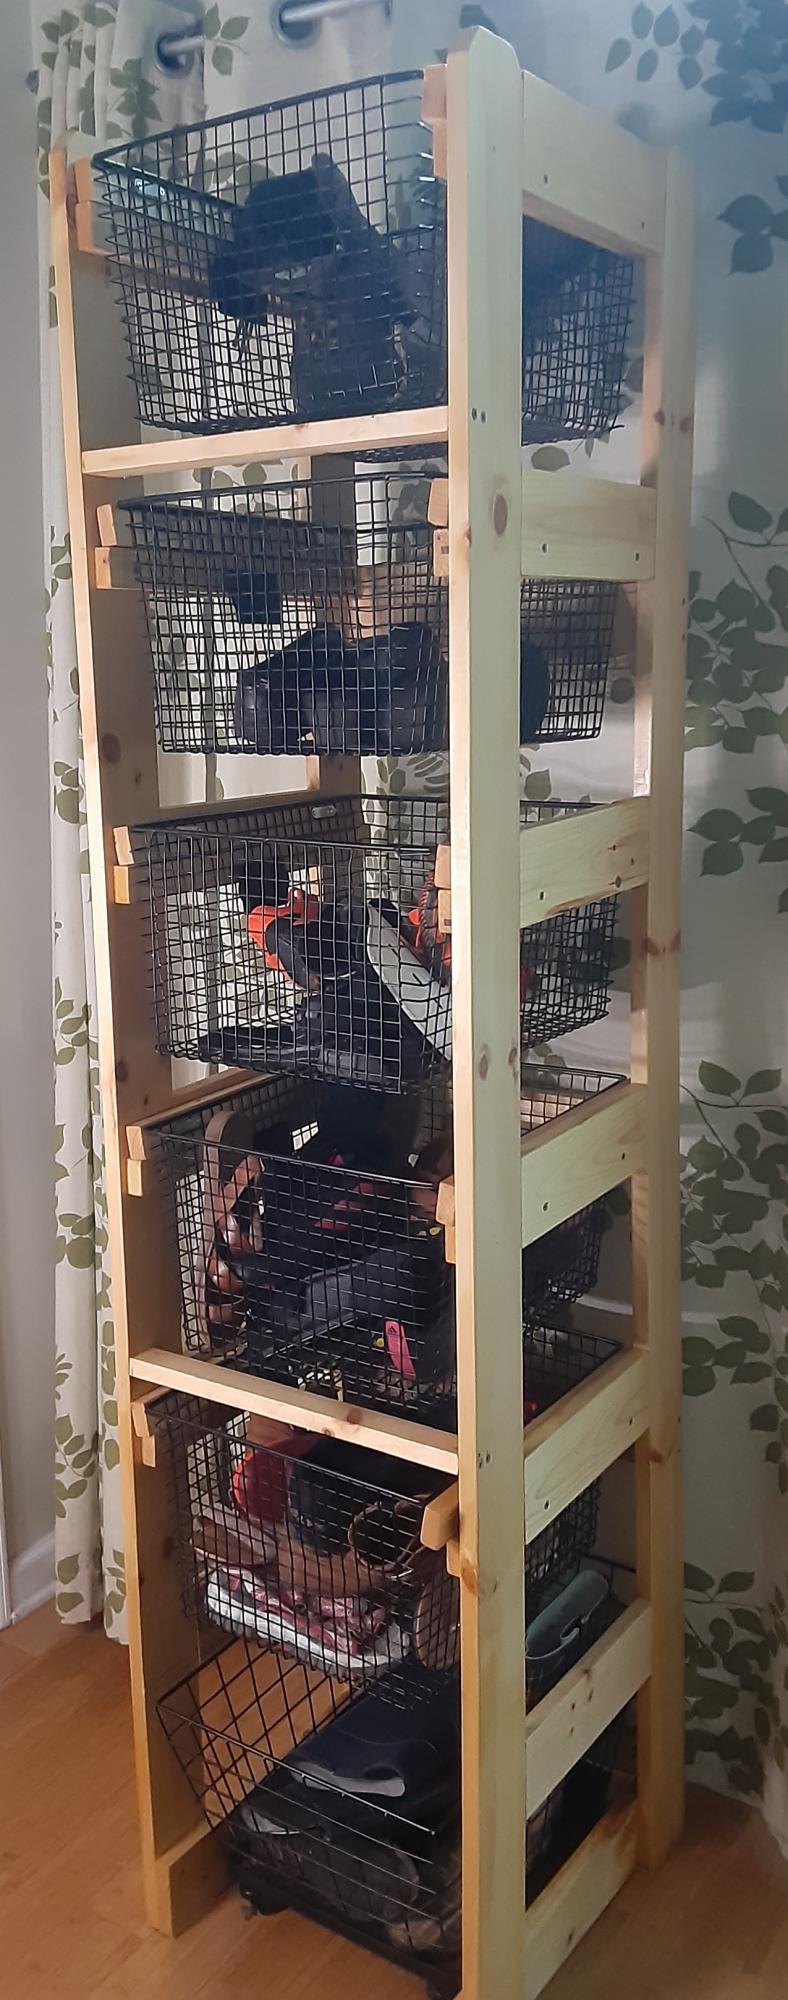
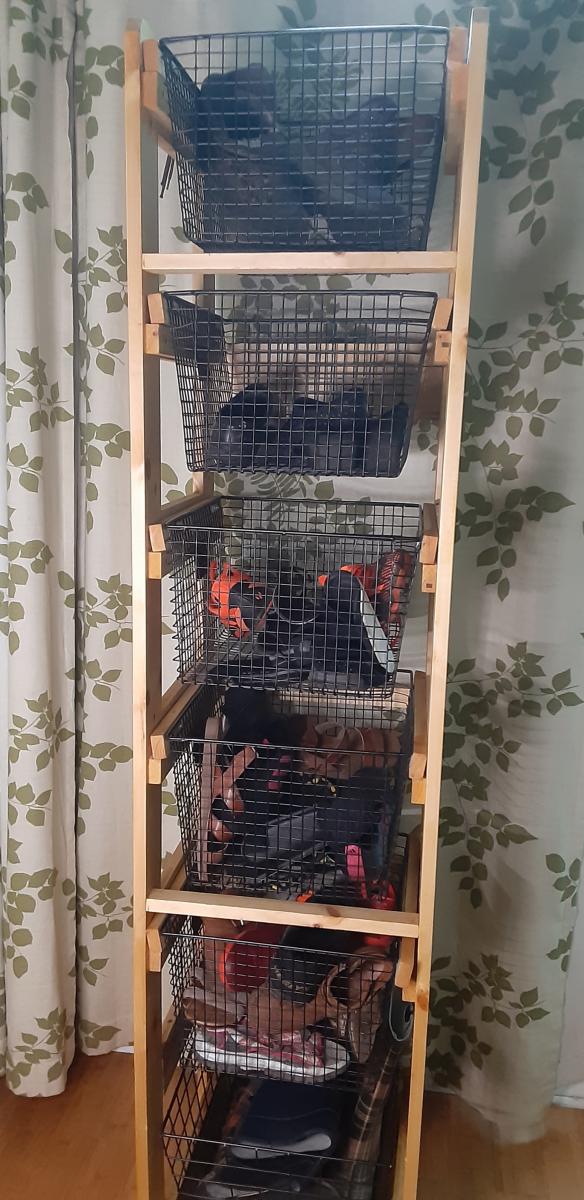
I needed a shoe rack that would work for our limited space and the Laundry Tower that was on the brag post caught my eye. It was modified from the Open Frame Laundry Basket Organizer. This shoe rack is working great for our family now! Thanks for this community!
Sat, 05/06/2023 - 21:09
Thanks for sharing your project, it looks really great!
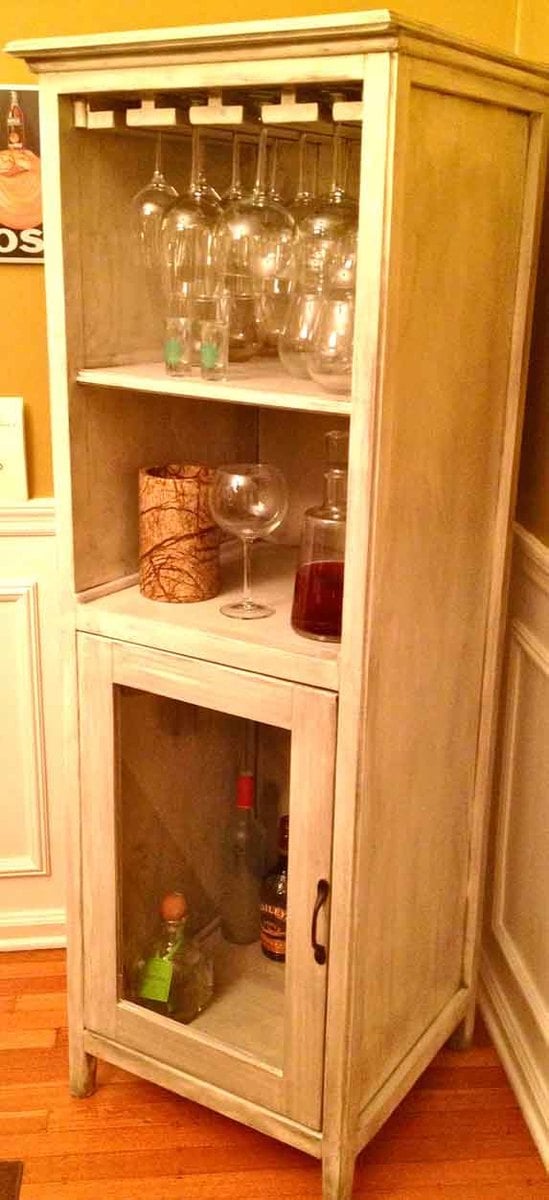
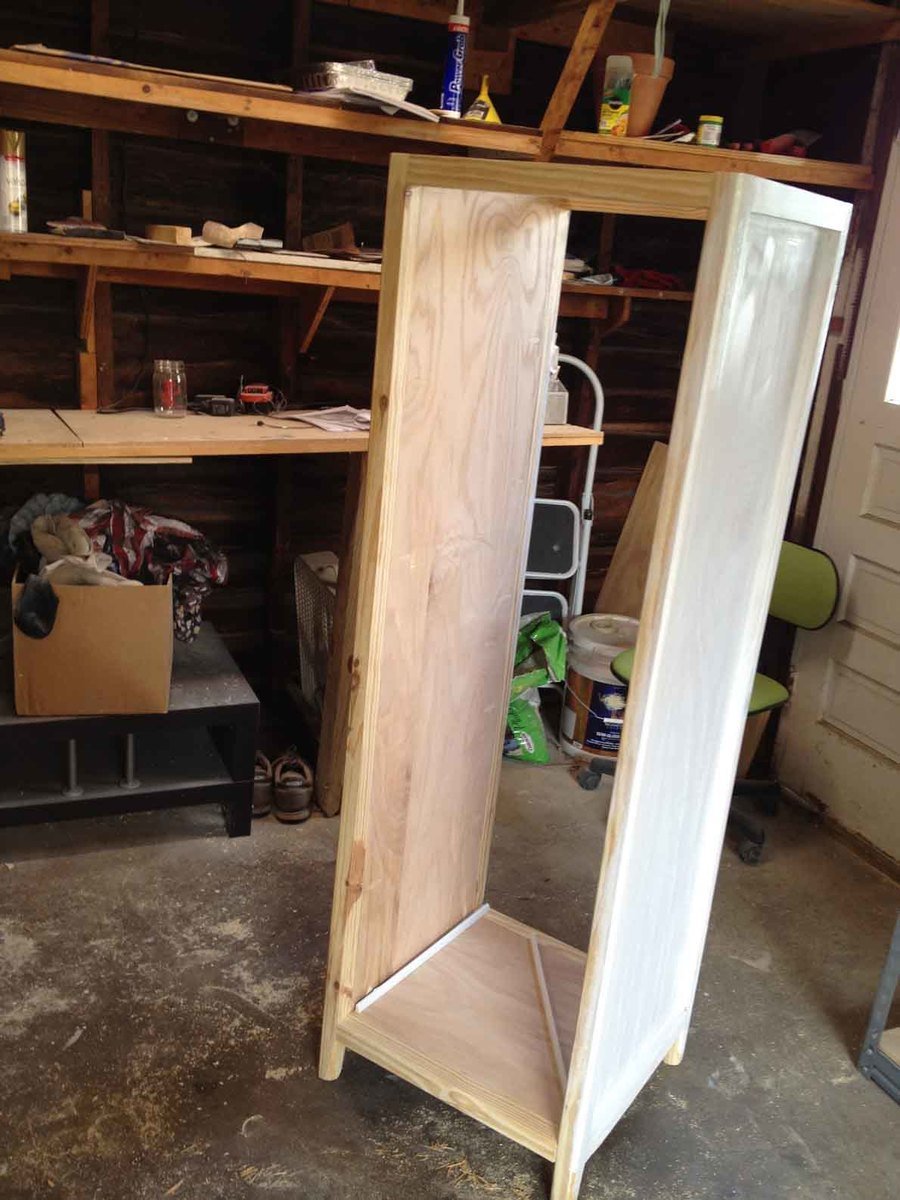
Hallelujah!! Finally, somewhere to store all our alcohol-related necessities :) We adapted Ana's Benchmark Storage Unit to work as a liquor cabinet. We kept the basic design the same, but added some stemware storage across the top (a feature we loved in a Crate and Barrel liquor cabinet that was $$$$$) and some decorative molding to bulk it up a little bit. We lovvvvvve it! Thanks Ana!
PS: everyone please check out our blog for more details on this and other projects!
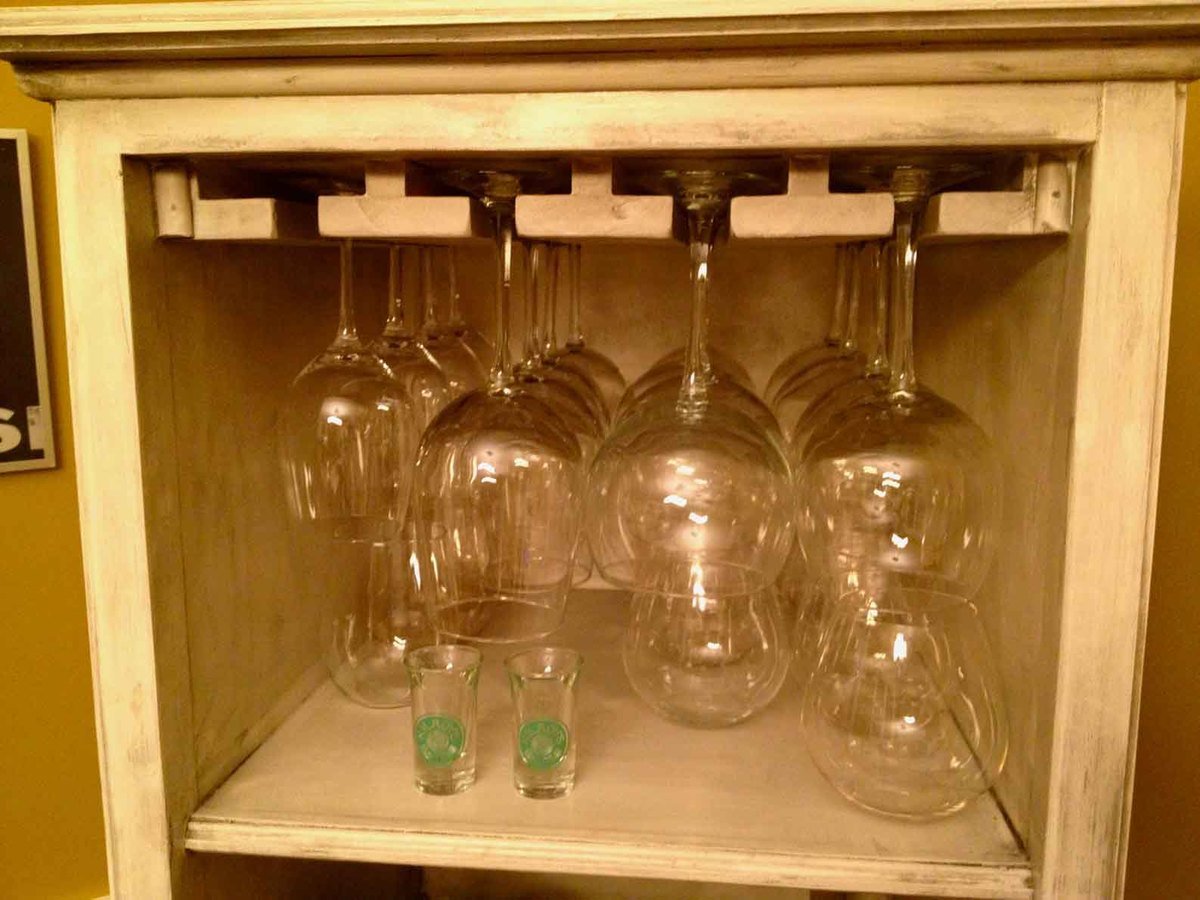
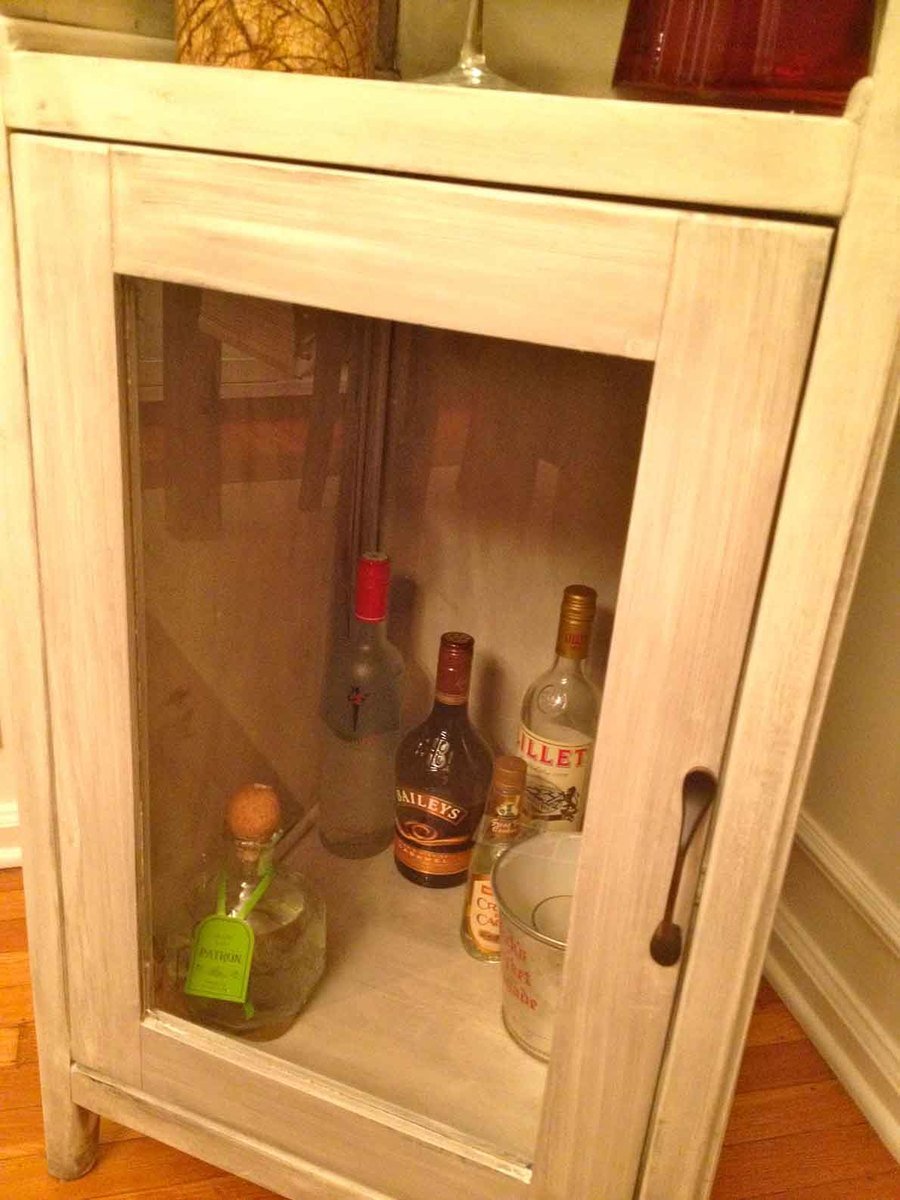
Thu, 01/05/2012 - 17:18
Wow, that is so awesome! I'm gonna have to build one now!
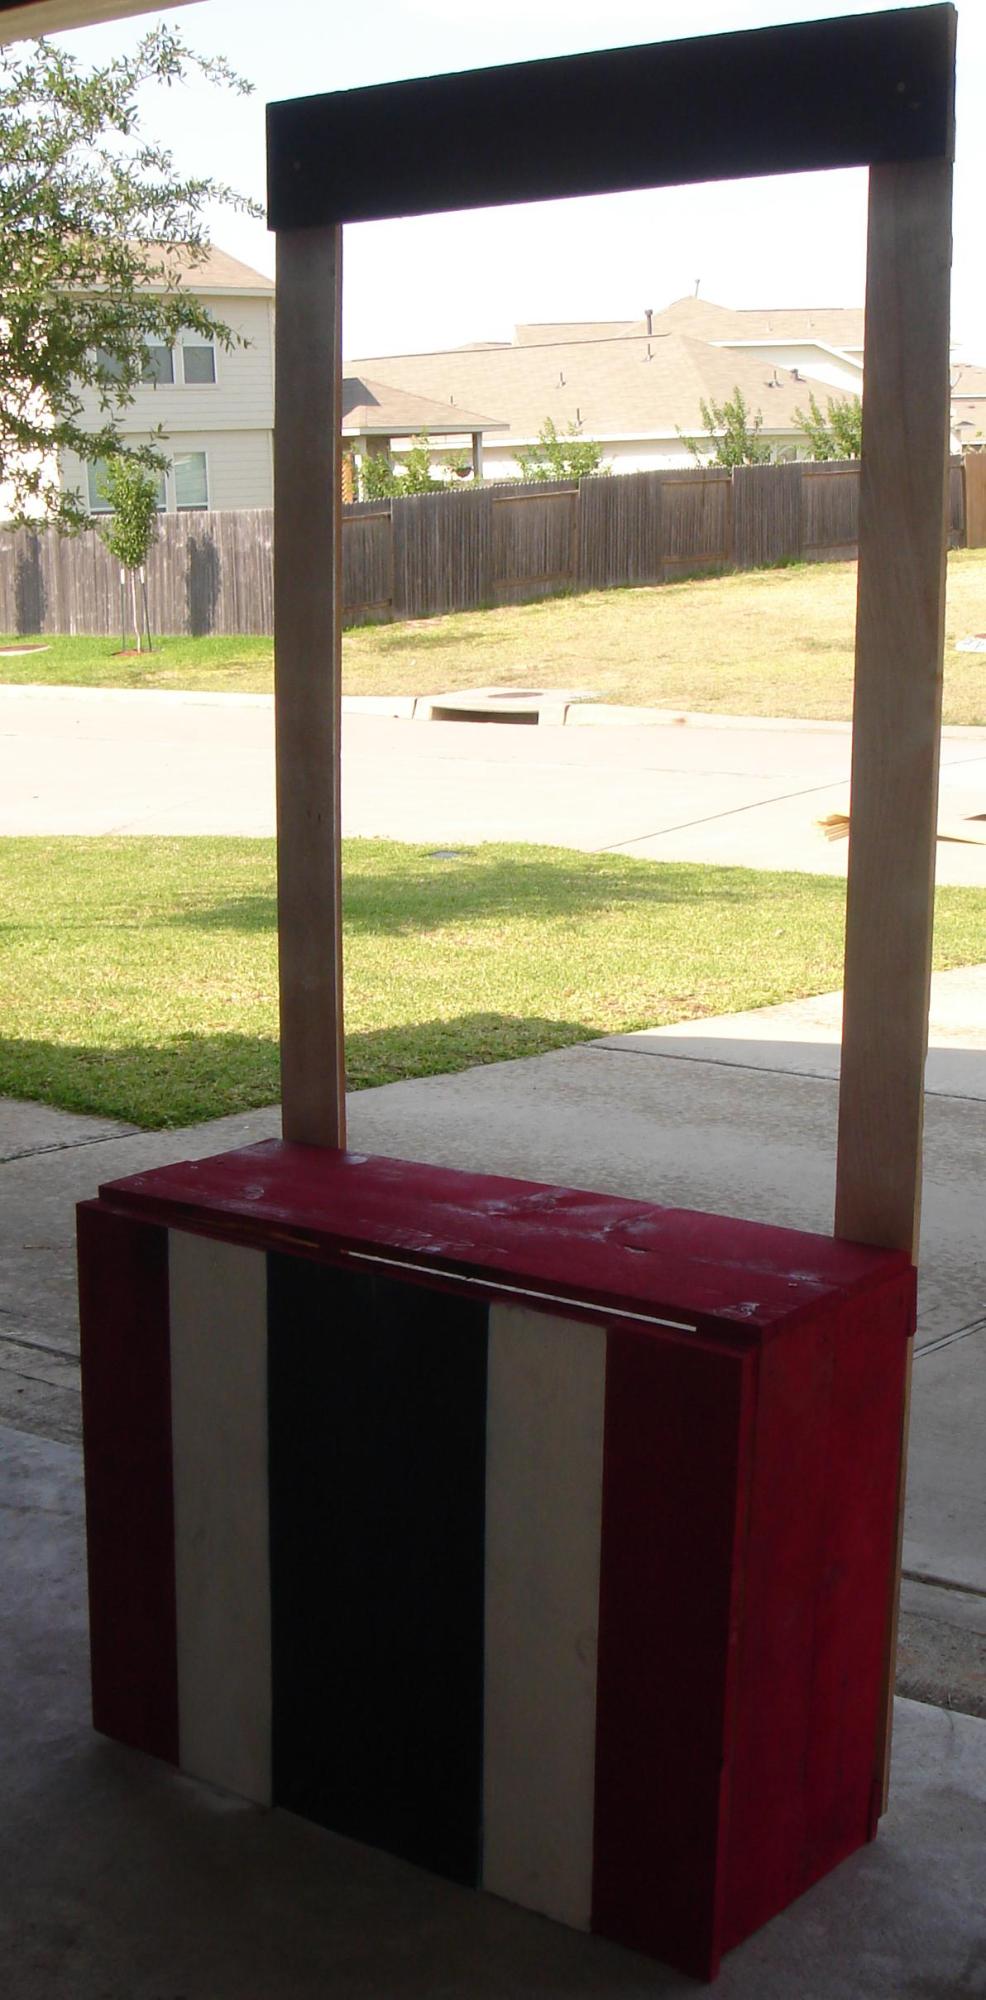
My kid-o's love to sell lemonade. So, we made a trip to the local hardware store. Because I am terrified to use my husbands electric saw, any wood we purchased would have to be cut with a hack saw and a miter box. And since the stand is to be stored in the backyard, we opted to build it from cedar. We ended up purchasing 8 fence pickets for about $15 total. This was also to be a great way for my kids to apply the some of the knowledge they have picked up this year, our first year of homeschooling. My children, ages 7 and 9, measured all of the boards that needed to be cut. It turned out GREAT! We already had some extra boards, spray paint and screws on hand; so, the grand total was $15.00 for the entire project!
Tryde Console Table. First project undertaken. Decided to make a bottom shelf. Used 4 1x4s and notched the middle two to fit around legs. Being that is was out first project, we had a few problems with keeping everything square and level but with a few minor tweeks it ended up looking really good.
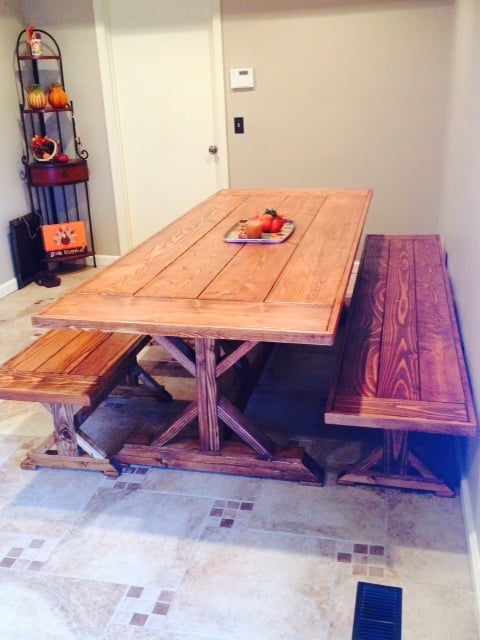
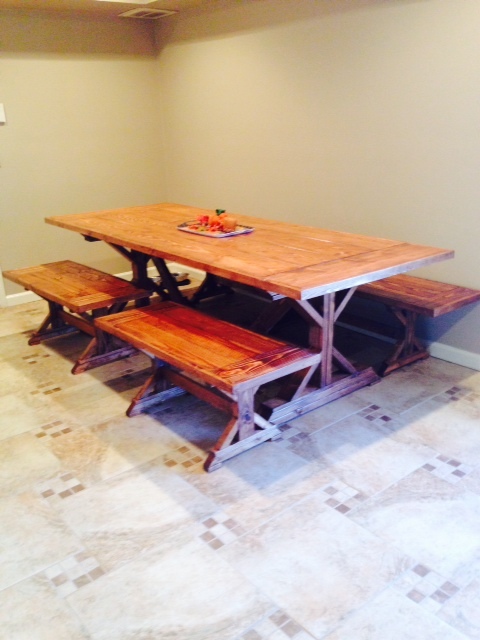
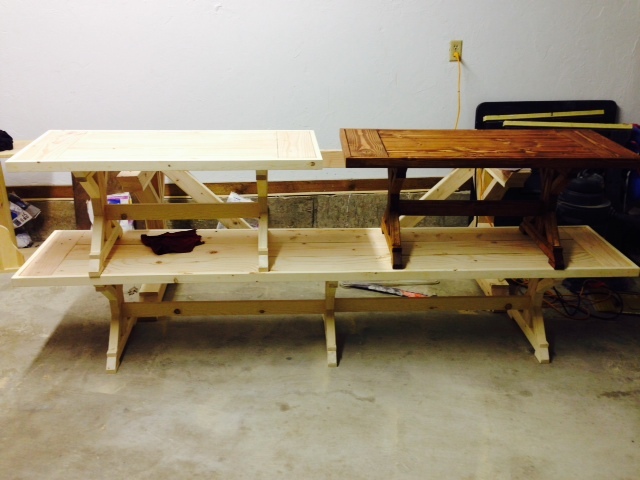
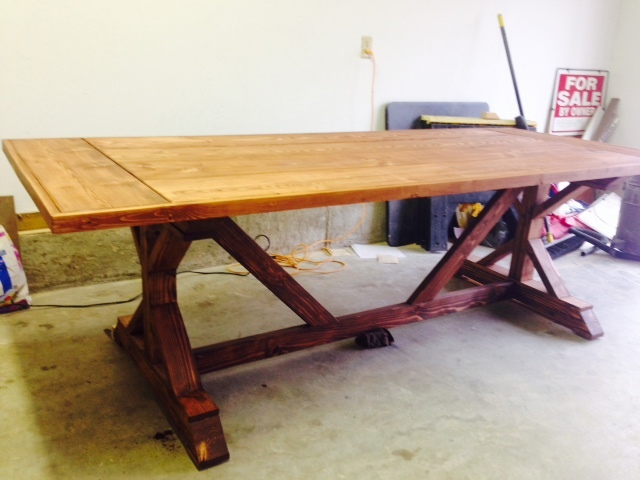
We are a foster family which means we have a large family. The Mrs. wanted a large table to fit 8-10 people, so off to ana-white.com i went.
Plans were perfect! Made one long 96" bench and two 42" benches from the same plans. I changed it up a bit by adding a perpendicular plank on the ends and trimmed it with 1x2's for look and strength. 2 coats of stain and 2 coats of polyurethane. Just in time for the holidays! Thank you again for the plans, this is the third thing I have built.
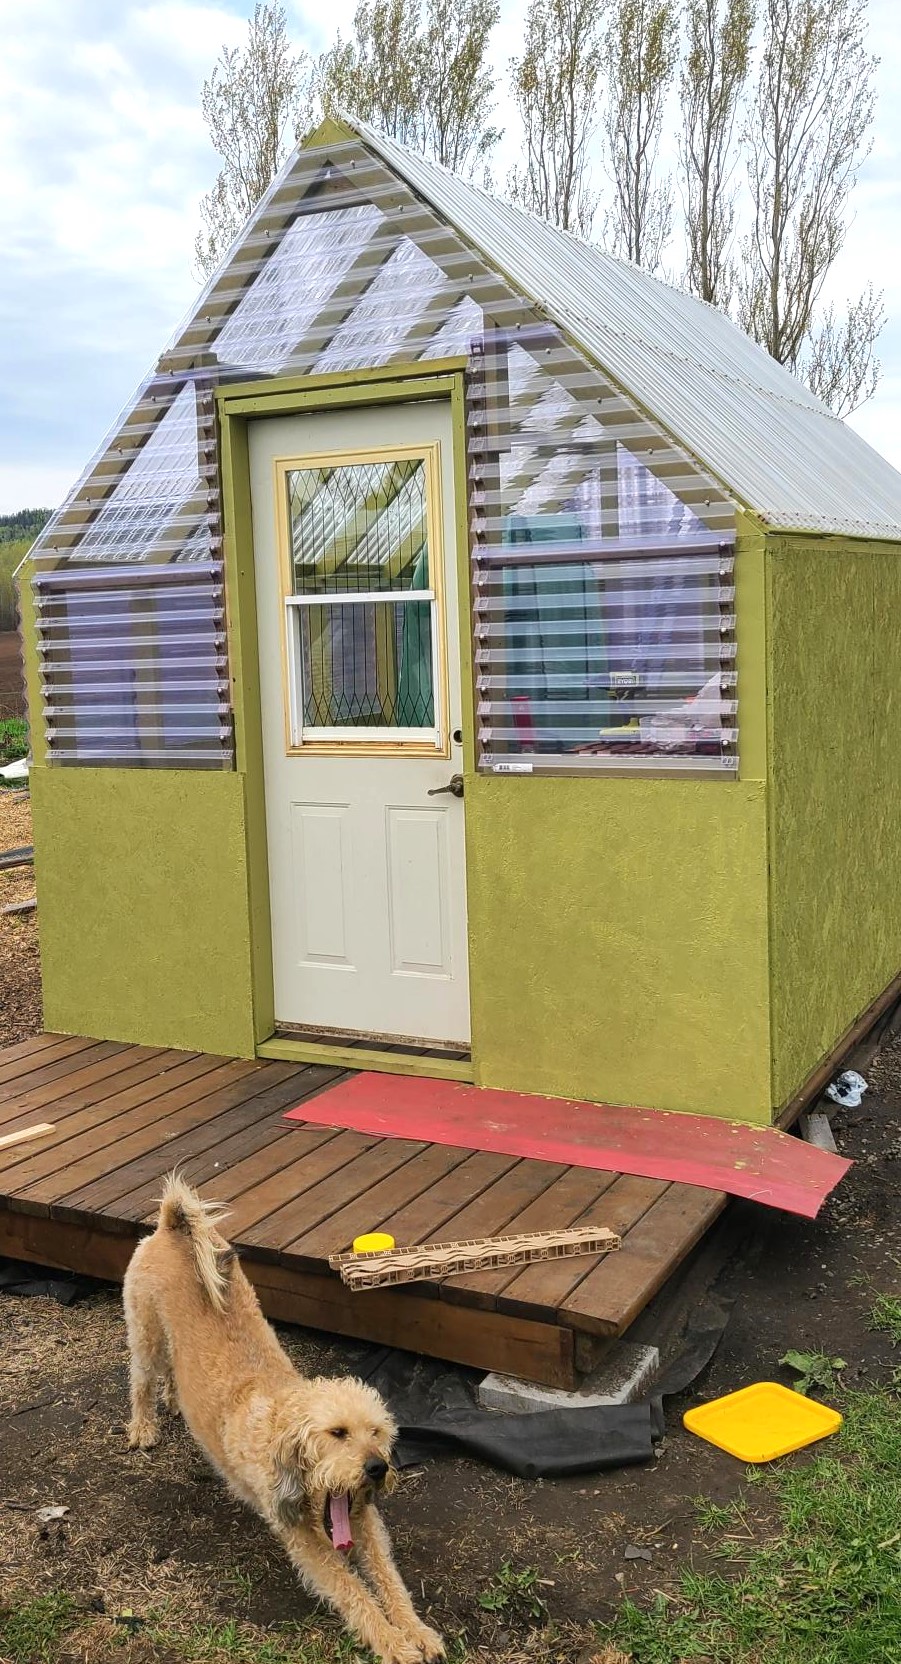
We followed Ana's plans but went 1 ft taller on the pony walls to increase the height. We are so impressed with how it turned out. I'm excited to grow plants in Northwestern Ontario.
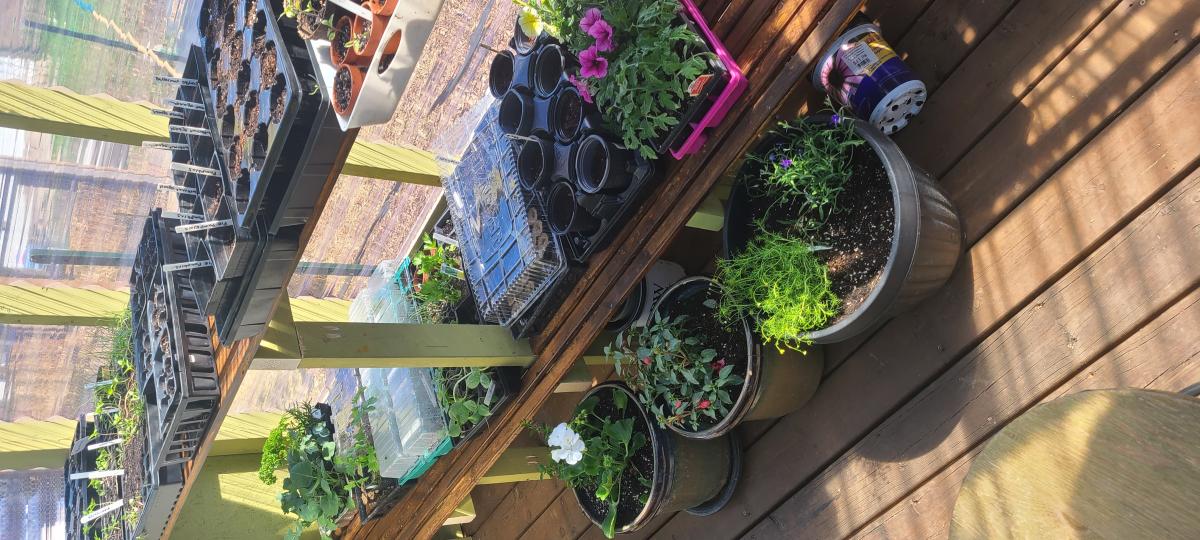
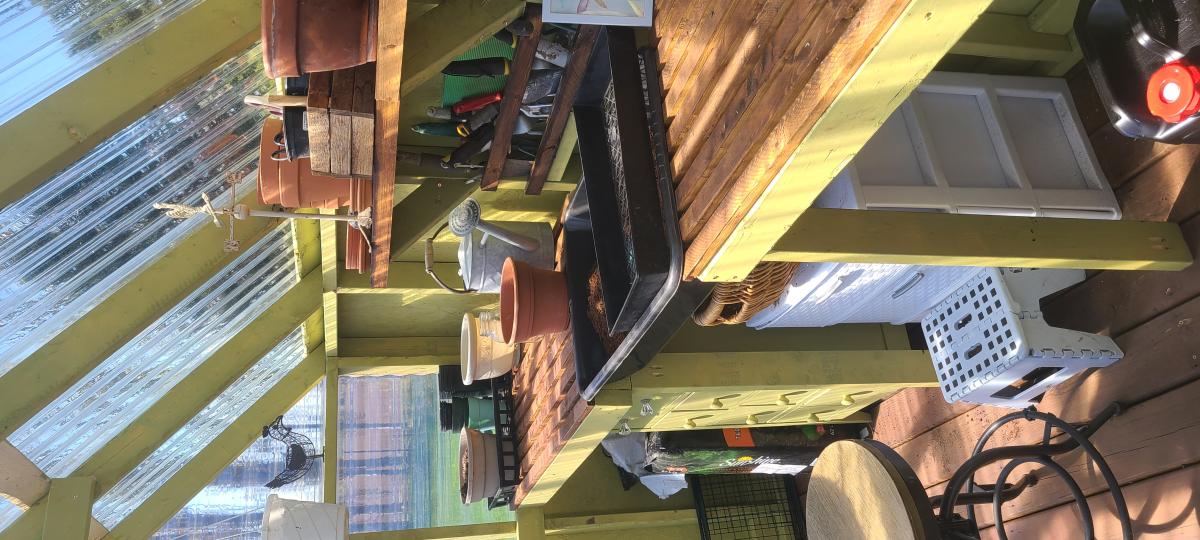
Fri, 05/26/2023 - 19:43
It looks awesome and love your pup! Thank you so much for sharing.

This is my first DIY furniture project inspired by Martha Inspired Craft Space Table posted by Ry. I built it for my combination of console table and craft space. I will be using the shelves in the middle to put my wicker baskets(that is why it was not nicely stained:-)) for quicker access of some of my craft stuff. Thanks for the plan!
Sun, 01/15/2012 - 15:21
The plan that you linked to was actually posted by Ry at The Design Confidential! I'm sure she would LOVE it if you would hop on over to her site and post a brag blog there!
Great Job!
In reply to Wow - Amazing piece! by Lady Goats
Sun, 01/15/2012 - 18:21
Thanks Lady Goats for pointing that out. I am editing..
Sun, 01/15/2012 - 18:21
Leave it here! I'm sure everyone here would LOVE to see this (it's amazing!). AND the plans were posted here. I just know that Ry loves to see, too! :-)
Mon, 03/26/2012 - 15:11
Could you please post the modifications/measurements you made to this plan? I love your changes and would love to make something similar for my foyer.
Sun, 04/01/2012 - 11:13
Console measures 43" long X 13-1/2"depth X 33" tall. The decorative sides were made from 1/4" x 1-1/2" x 8' Stain Grade Pine Lattice I got from lowes.
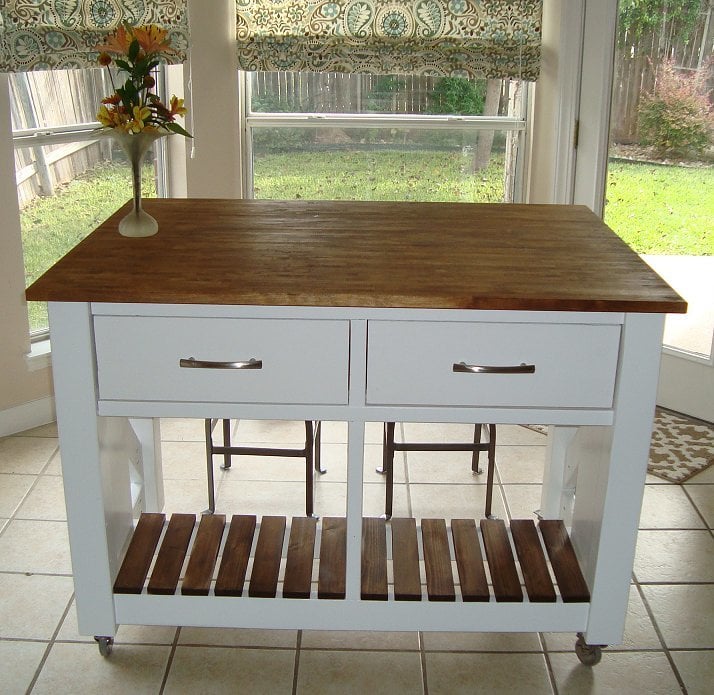
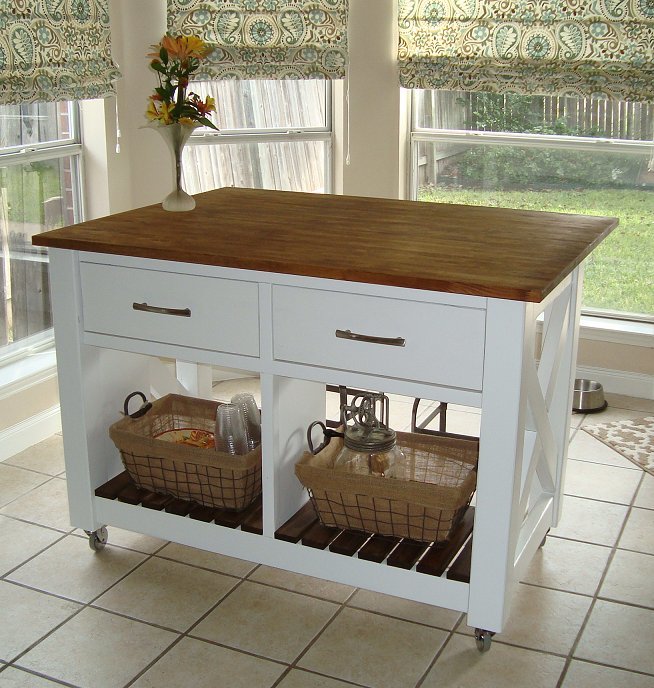
I had always wanted a kitchen island and saw this project. Seeing that the plans were well written I decided to tackle it. In addition I made a few small modifications to enhance the style of the island. These included using 4x4's on the corners and a IKEA butcher block top. The top allows for a larger surface area to work with and more space to sit under. The stools in the picture are from World Market and they were the perfect pair for the island. The island is great for family gatherings or just sitting with your morning coffee. I had family over for Thanksgiving and received lots of compliments. Thank you Ana!
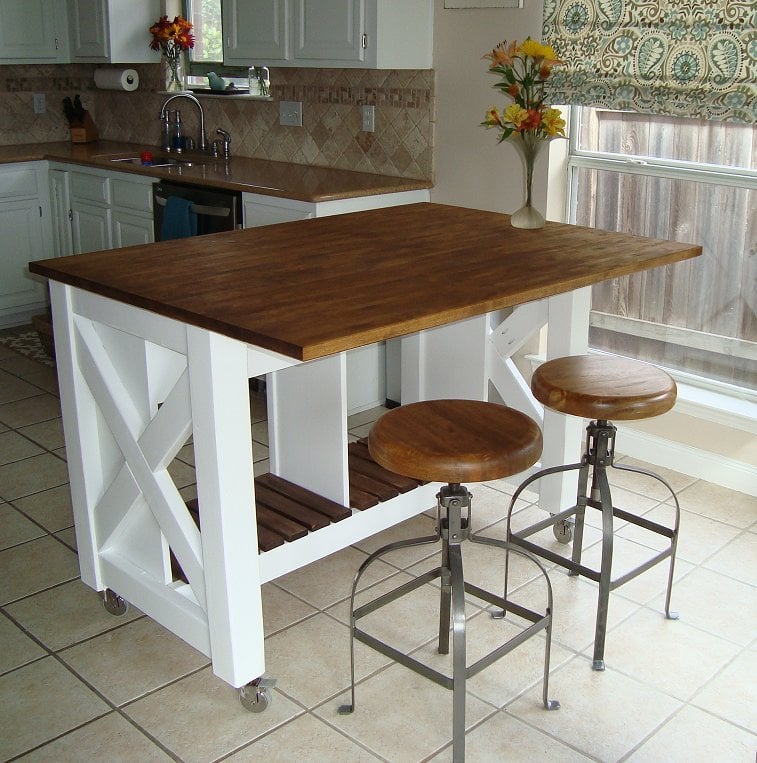
Mon, 12/02/2013 - 21:39
Marvelous job on the island! The baskets are the perfect finishing touch!
Val
artsybuildinglady.blogspot.ca
Tue, 12/03/2013 - 17:43
I love how this looks. This is actually next on my list of projects, thanks for the inspiration!

Made the outdoor sectional. The coffee table was made out of left over pieces!
Wed, 10/02/2019 - 09:54
So smart to make the coffee table out of the spare pieces.
Looks amazing!
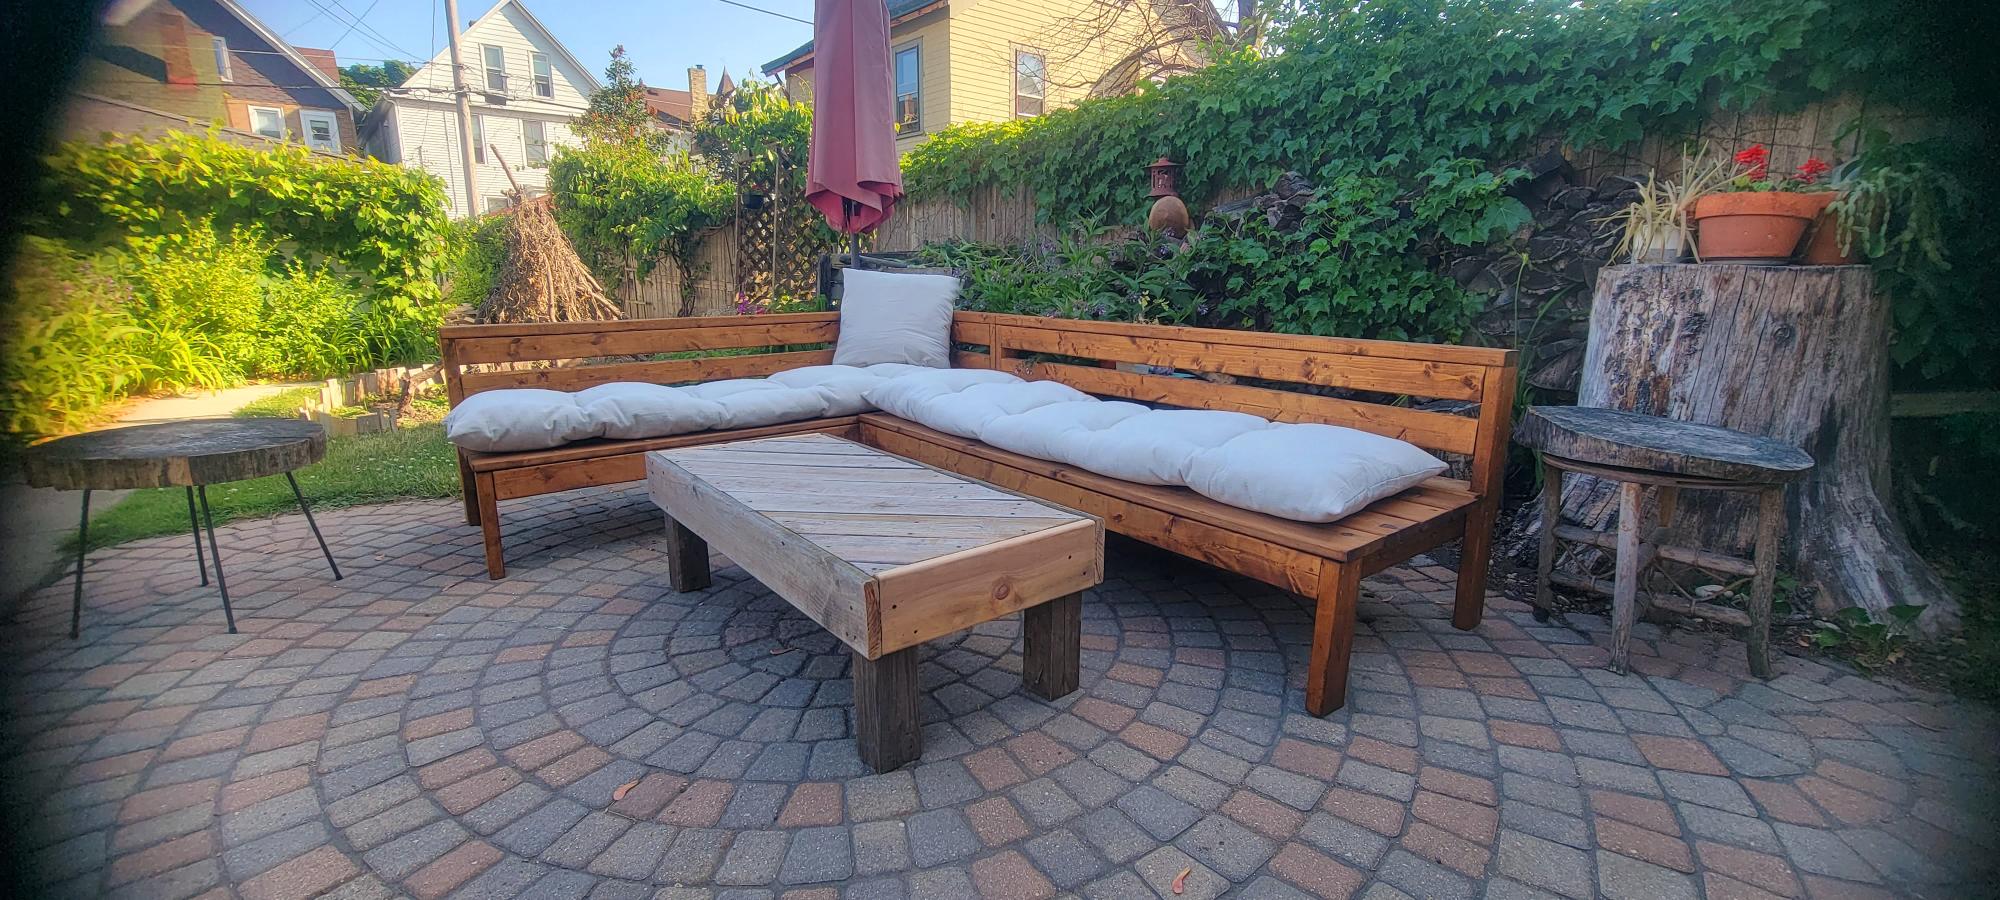
Slight mod, table added from wood picnic table that the sectional replaced.

Ana, you're the BEST!! Thank you so much for sharing these plans. This was a very simple build ... my problem was trying to decide how to paint and decorate it. There's a lady in our little town that cut out the letters for me. I think it turned out so cute. I'm working on a Christmas collection for our church auction next April and thought it would be fun to have Christmas in April :-). Thanks again Ana!!!